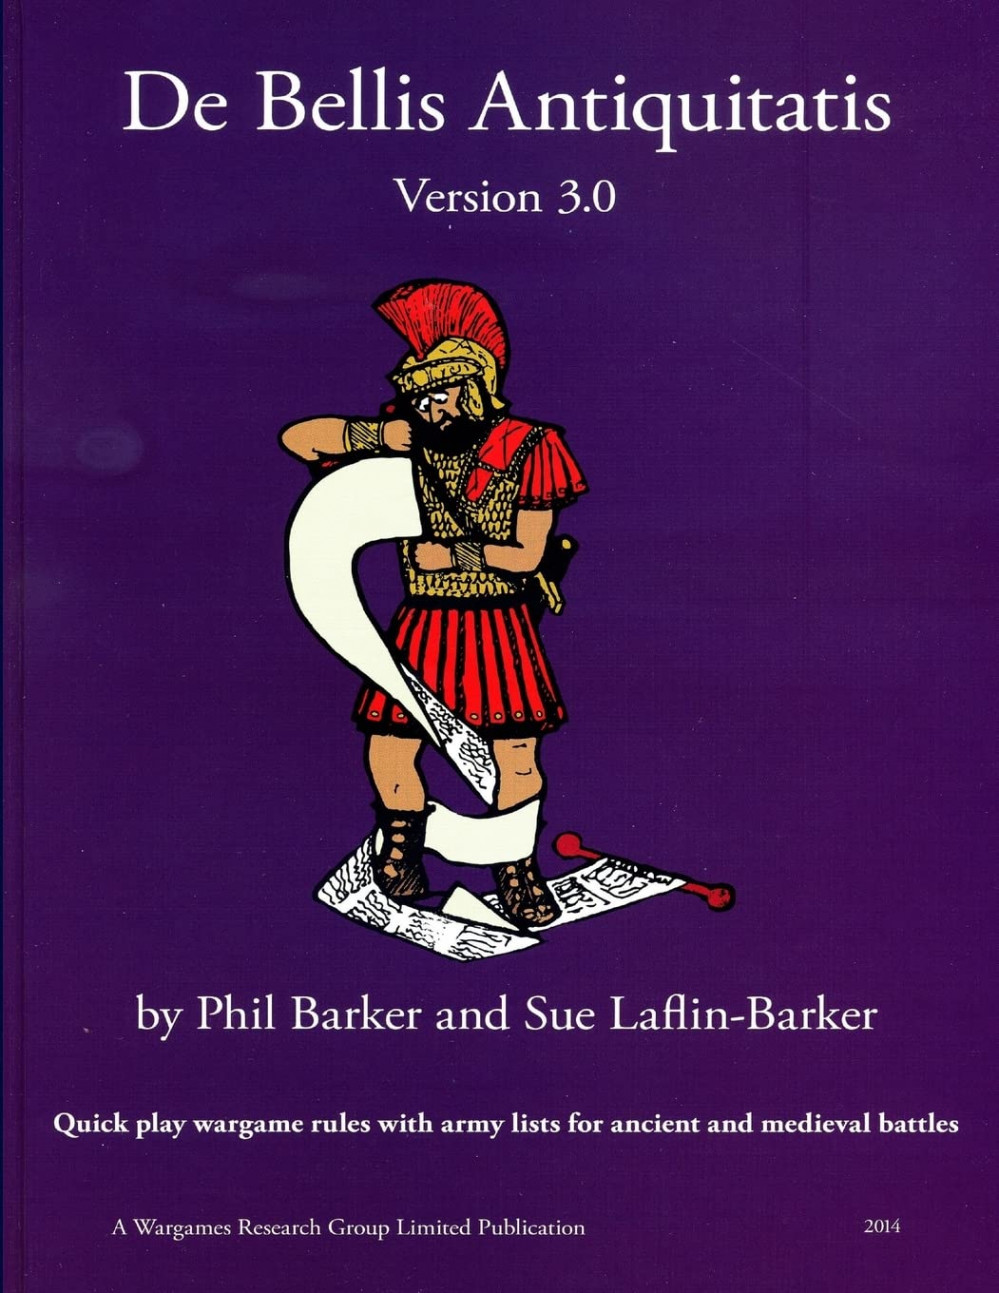
I can’t stop thinking about ancient Rome – De Bellis Antiquitatis edition
Recommendations: 261
About the Project
De Bellis Antiquitatis (DBA) was my second ever historical wargame I've played so I've always had a soft spot for it. Years back I bought some 15mm Romans to build a Caesar vs Gaul set. I found these miniatures in storage and I want to get these completed along with acquiring a Gallic force to use since I have moved away from my group that played DBA. Come along for this hobby journey into 15mm ancients.
Related Genre: Historical
Related Contest: TerrainFest 2024
This Project is Active
Holidays over, terrain is back on the menu
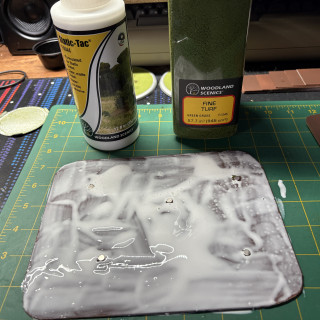
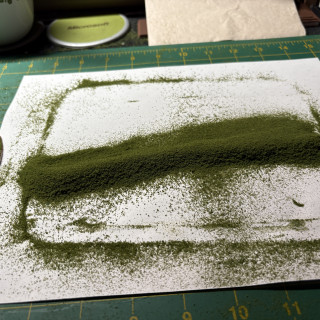
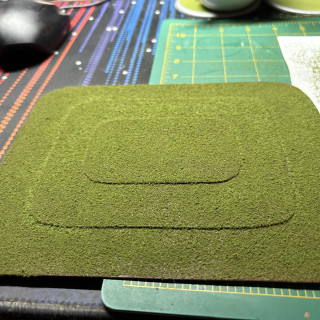
Took a break from hobby over the holidays but now I’m back at it to get the terrain side of this project finished. Time to flock the terrain bases. Originally I was going to go with static grass but with how flat these “hills” are for DBA I wanted to see the elevation lines still, so I went with Fine Turf from Woodland Scenics. Using their Static-Tac as well as the price wasn’t much more than getting some PVA and then watering it down. I liked the viscosity of the Static-Tac and it was easy to spread onto the bases.
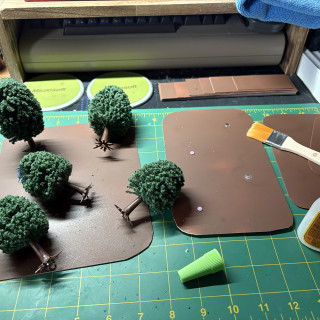
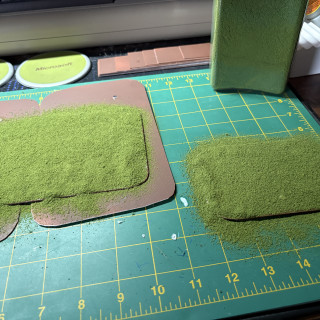
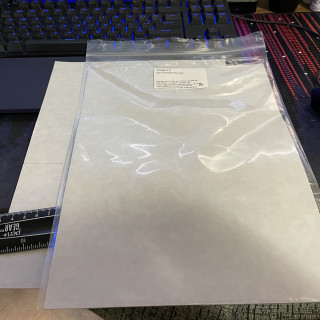
I started with the forest bases and slathered on the PVA much like a shed floor. No worries about moisture here. I avoided covering up the magnets to make sure the trees still make contact without too much obstruction. When those dried I moved onto the gentle and difficult hills. I have two of each size. It was about this time I realized what a mess the flock was making and I had the idea to lay down a sheet of paper and tapped the flock onto the base while on the paper. Once dry I could just pick up and tap off the access, roll up the paper and put the flock back into the container. Much easier to clean up.
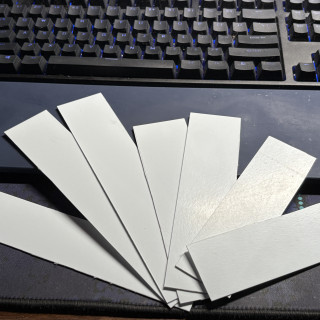
It is getting late now so I’ll pick up the rest tomorrow I have some 40mm wide strips that were left overs from the plasticard that I will be turning into roads with some Vallejo texture medium to muddy them up. After that is texturing the Roman camp and then painting that. Will see how much I get done on Sunday while listening to XLBS. Until next time folks!
Seeing the forest through the trees
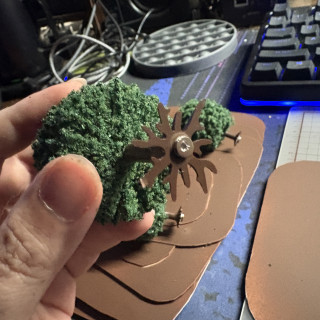
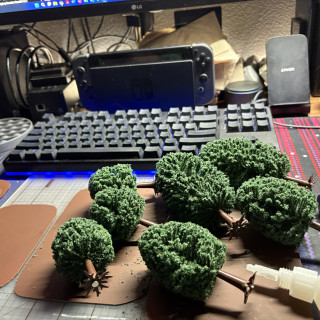
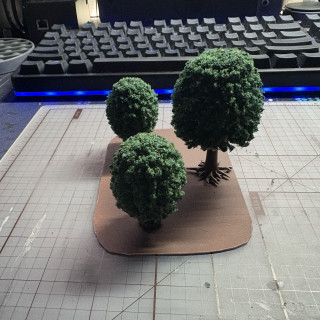
Rest of the hills and roads the paint is still drying so I figured I could attach some trees to the woods sections. I was also going to flock with static grass but after watching some videos on application getting a static grass applicator is really handy. I’m new to all of this so I started at the Woodland Scenics and got some major sticker shock. $80 so I looked into some DIY options. I saw someone taking an electric bug swatter and wiring it up to a mess strainer. A nice idea but a bit more janky than I’d want to use for a first time. Got a suggestion from SoapDodger on Discord to look at some other applicators as they are much cheaper. One Amazon shopping trip later I have one coming in for $21 that should get the job done. I’m just flocking some smaller items so don’t need anything fancy.
Back to woods I grabbed my non stacked bases and trees. I have some magnets that I ordered for another project that were the wrong size. I figured these would be perfect to attach the trees but still allow them to be moved when minis are in the woods. Made sure to match the polarity on each of these so they are all interchangeable. The end result is not too bad and will look a lot better with the static grass on it. Next I’ll work on the roads and rivers when the primer is dry tomorrow, or start on painting the Build Up Area.
Terrain bases are made and ready for paint, glue, and flock
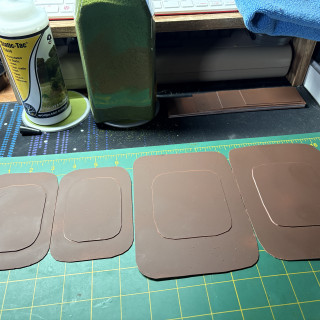
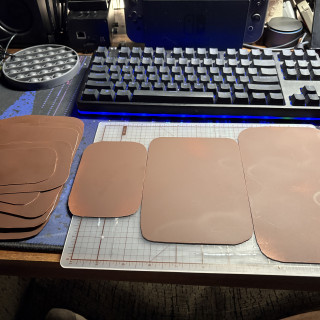
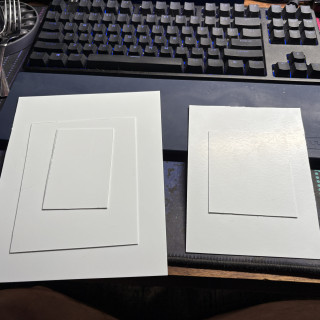
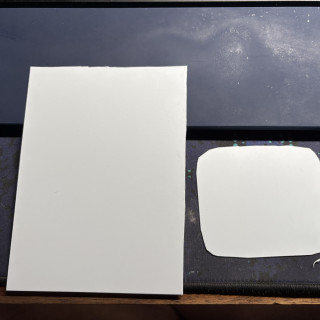
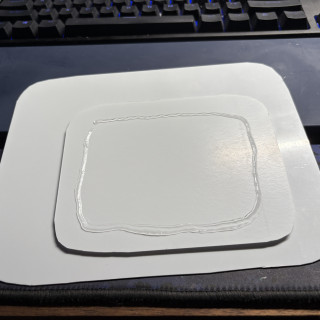
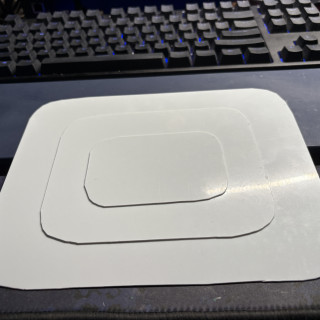
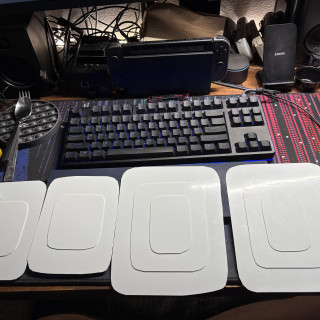
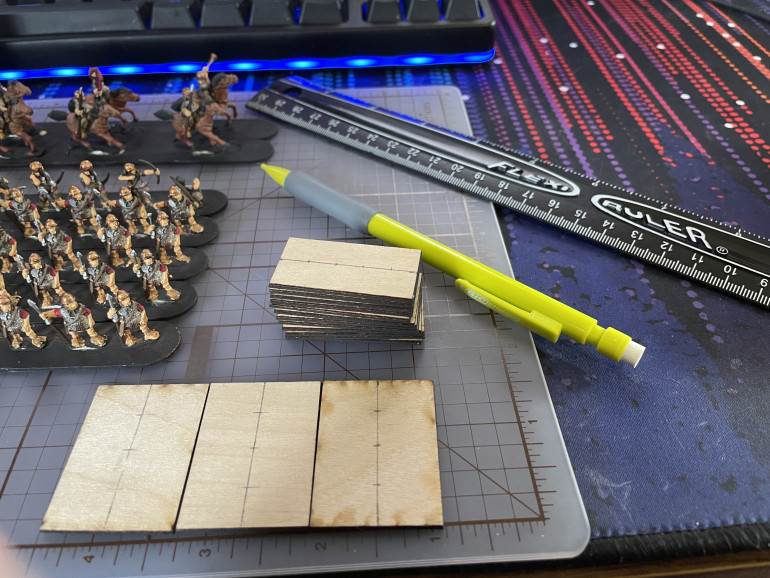
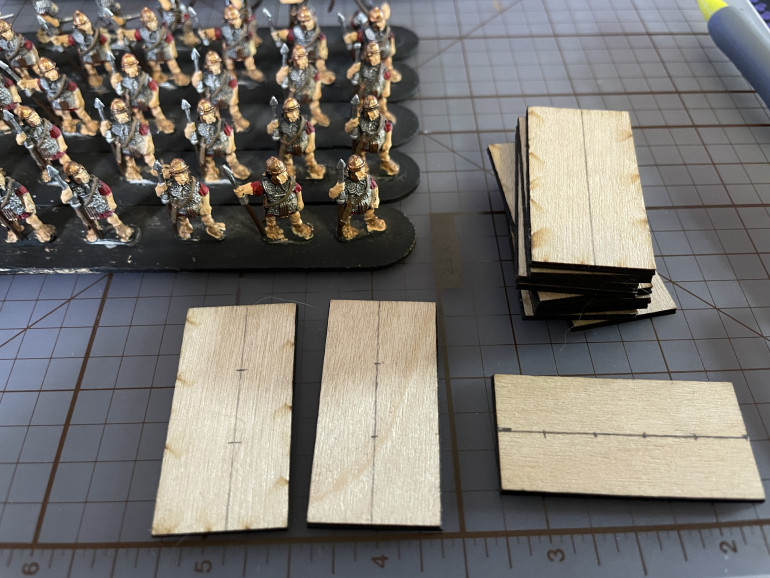
Over the week I managed to cut out the plasticard I needed to be the bases for my woods, hills, and roads. The hills in DBA tend to be very flat to keep the minis from toppling over since then tend to be metal and top heavy with spears. I have some railroad trees I’m going to attach to the bases with magnets so that they can easily be moved for movement. I can also use this terrain for Flames of War boards as well so double win. I still need to cut my textured acrylic sheets for my rivers. Painting has been slow as the weather has been unco-operative. I have a makeshift spray booth made in the garage so I can get these painted up with some brown primer and get them ready for flocking. Never done any of this before so slow going but I’ve been happy with the results. I’ll feel a lot better about it all when it is done and table ready. I can always make more terrain if I don’t like how this turns out.
Ploughing through to make some fields
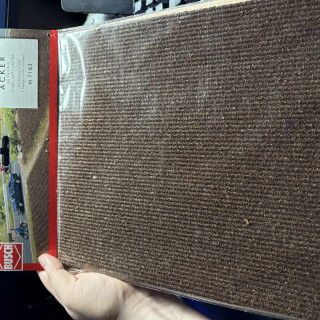
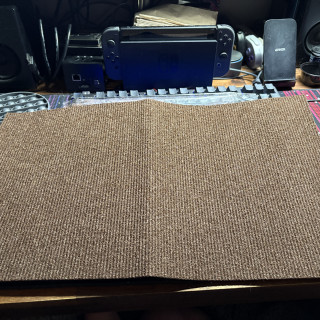
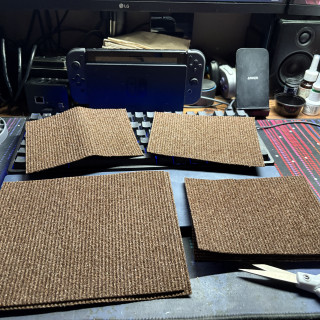
Today I do more work on the DBA terrain and the compulsory items. Previously I put the Build Up Area (BUA) together and is ready to prime. The other option for compulsory terrain is Ploughs or Fields. I bought some field matting from a model railroad site and realized once it go her that it is just fine corrugated cardboard with flock. I could have made this myself but at least I could cut this up and use it. With the amount I have I could make three 120mm by 160mm fields and two 160mm by 200mm. Plenty for my needs and these can do double duty as fields in Flames of War as well so win win.
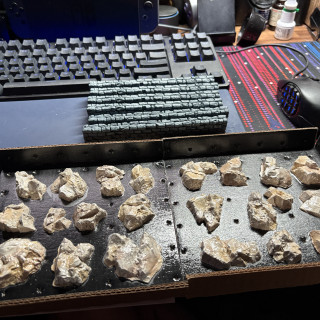
I open up the molded rocks and cobblestone walls I also bought. These will let me show Difficult Hills and an Enclosure. The Enclosure uses Walls or Hedges to well enclose an area. Difficult Hills will use the same structure to represent hills and then the rocks signify that they are difficult movement. In DBA at 15mm scale most just use flat flocked card to represent hills to keep the tiny bases from tipping over. For now I will go this route but I like the idea of actual elevation. I need to get some foam to make better hills.
I have some Trees from my railroad order as well. I will cut out more plasticard to make bases. Those will get their edges rounded off. The sizes of these bases are going to be nine base widths of 40mm of area. Lots of cutting plasticard in my future.
Some Terrain for Terrainfest
Terrainfest is upon us and my DBA armies are in need of some terrain elements as well as 2 foot by 2 foot board. I’m still figuring out if I want a roll up mat or something like those foam core mats that you push fit together like puzzle pieces. I want to make something portable. For now I’m going to focus on the Build Up Area or BUA as it is known in the rule book. This is an option for compulsory terrain along with some ploughed fields.
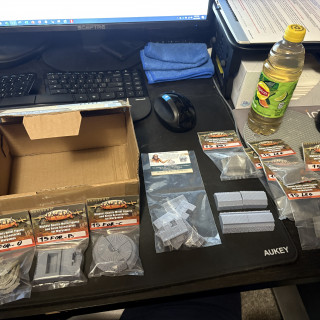
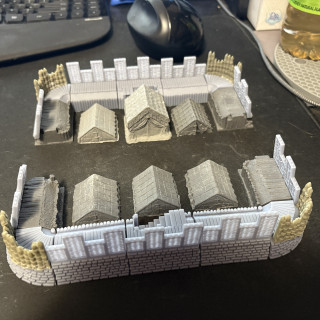
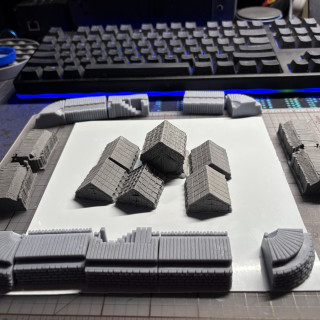
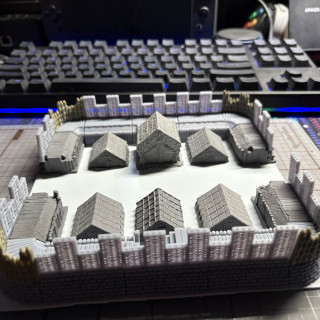
For the BUA since I’m Romans I went for a nice Roman fort using pieces from Baueda Wargames again. When the box of goodies came in I gave everything a test fit before cleaning up the mold release agent with some warm water. I used some plasticard to make a 180mm square base to attach all the pieces. Now with that ready I need the weather to cooperate so I can prime this along with some Roman buildings for my Gangs of Rome project.
Where it started and where it is now
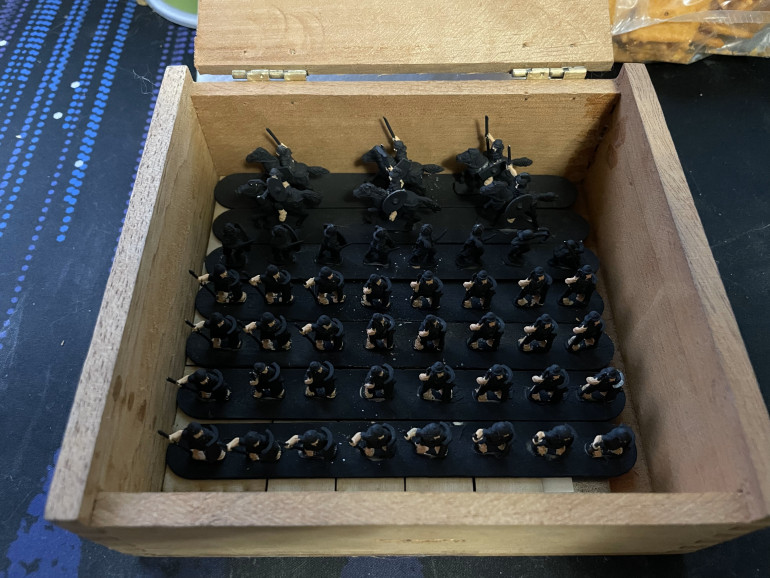
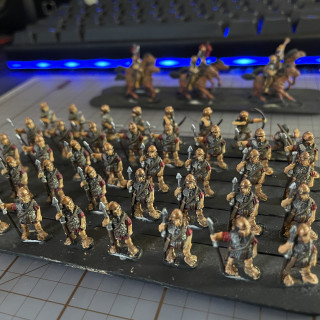
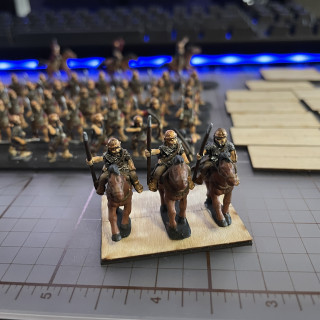
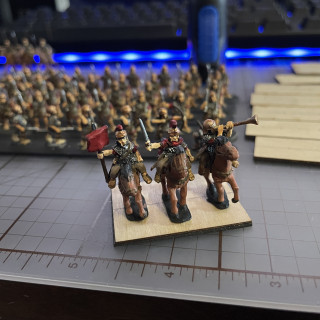
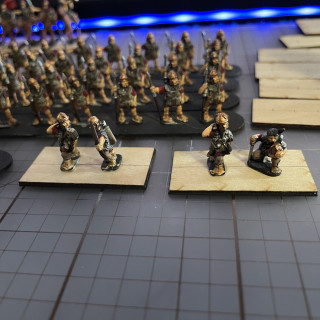
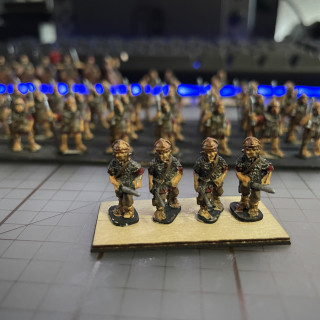
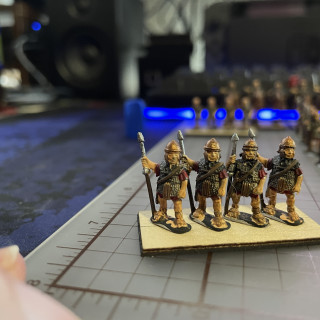
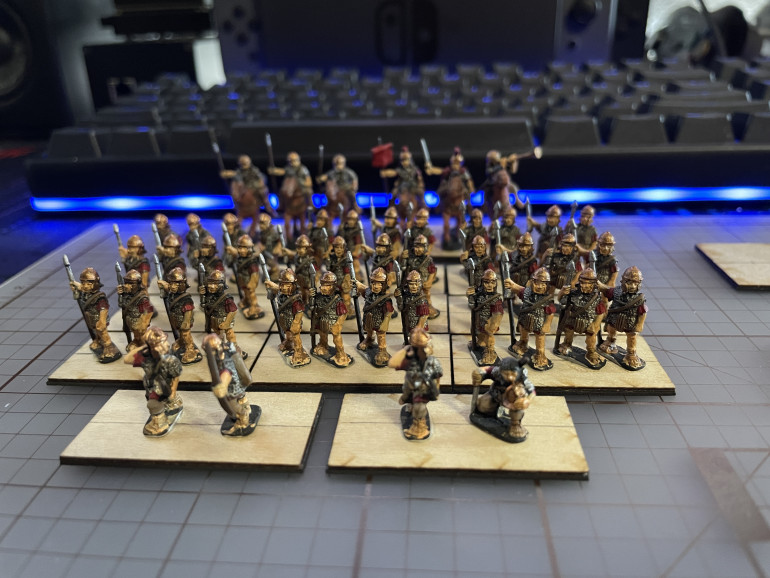
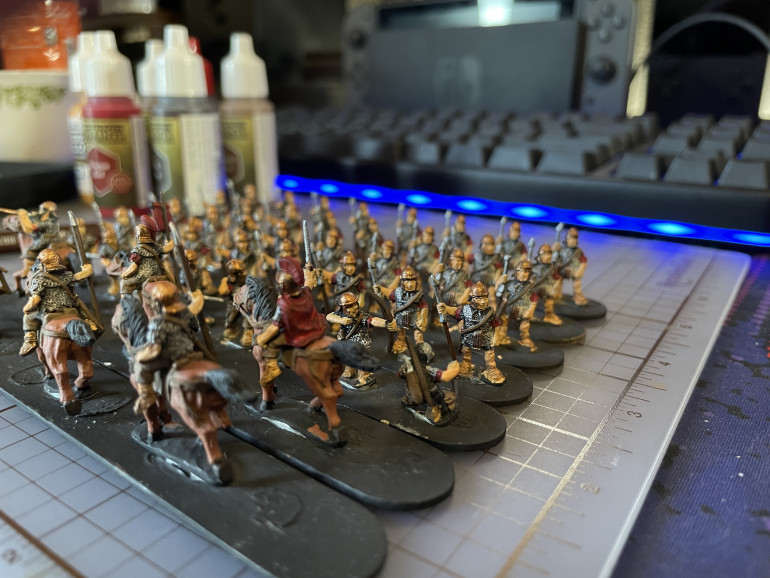
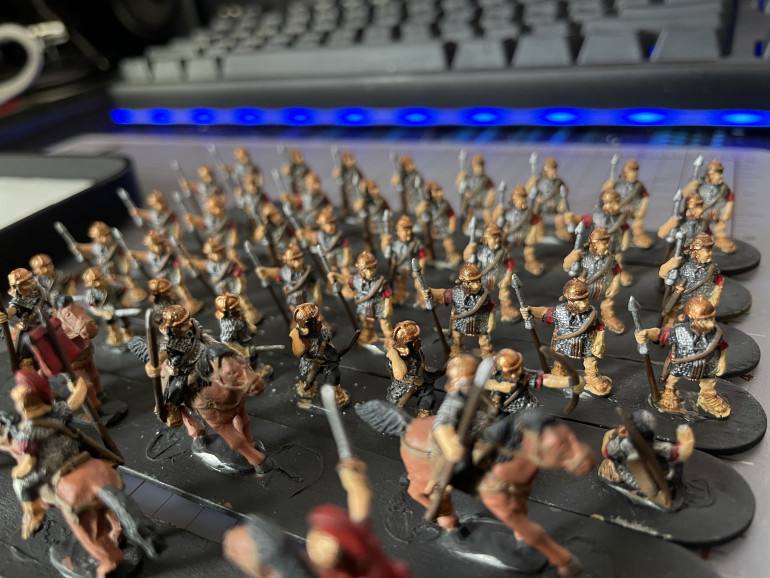
Hard to believe we are at the end of the Spring Cleaning Challenge. I hit my painting goal and painted all the figures I had in the above cigar box. I expanded the goal to fit in the rest of the DBA elements for the Romans and picked up some Gauls for an opposing force. I got new storage boxes that have more room to fit the camps and extra elements. While I had the best intentions to finish them by this time I also was working on another project as well that took up more time. There was an illness in April that also snuck in and stole some hobby time but I don’t feel bad for taking the needed break.
I thought about marking this project complete as it reached the original goal however with the expanded goals I really want to see them finished and document it for those that are following the project. I know DBx systems aren’t as popular as other games but this was a bit of a passion project for me and if one person came away curious about the game or enjoyed reading and seeing my progress then my goal was accomplished. Let me show you the current result.
This isn’t the end for this project or for my love of Romans I have some figures for Saga and Gangs of Rome that are next on the desk. I’m thinking I want to work on something smaller skirmish style so Gangs of Rome will likely be next to take a break from 15mm for a bit. I still have my Warhammer Quest project ongoing which is going to be a very long term project. It has also sparked an idea that I’m going to save to reveal for Dungeonalia 2024 and quietly work on in the meantime. More project updates to come soon until then happy hobby time everyone and to those going to UKGE have some fun for me, I’ll get there one of these years.
So for Summer we are building Rome, right? Right?
Flash! AHHHahhhh
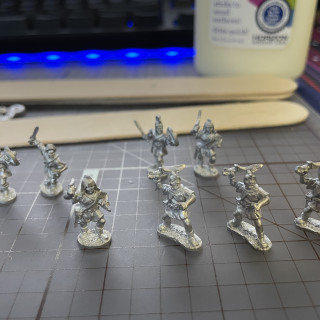
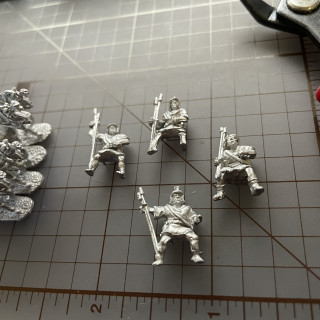
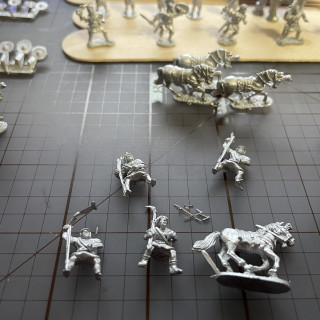
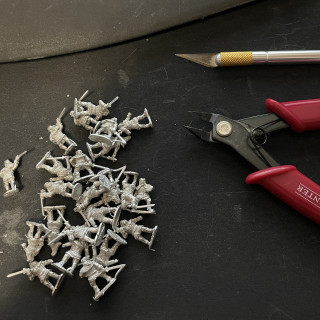
Small update but I’ve got the last of my figures in and tonight I finished cleaning all of the flash and mold lines off of the figures. So much flash. Some of the mold lines are pretty bad where the two sides don’t line up well. I’m sure when these are primed I’ll see it some I missed but the figures are what they are.
Now to wait for the weather to co-operate so I can prime these and get back to painting. I have created quite the backlog that I need to clear out and this DBA project is taking priority over my Warhammer Quest one. The goal is to still finish the Romans at least for the Spring Cleaning challenge and the Gauls are the bonus sprint. Let’s see how close I get.
Oh no! More Romans
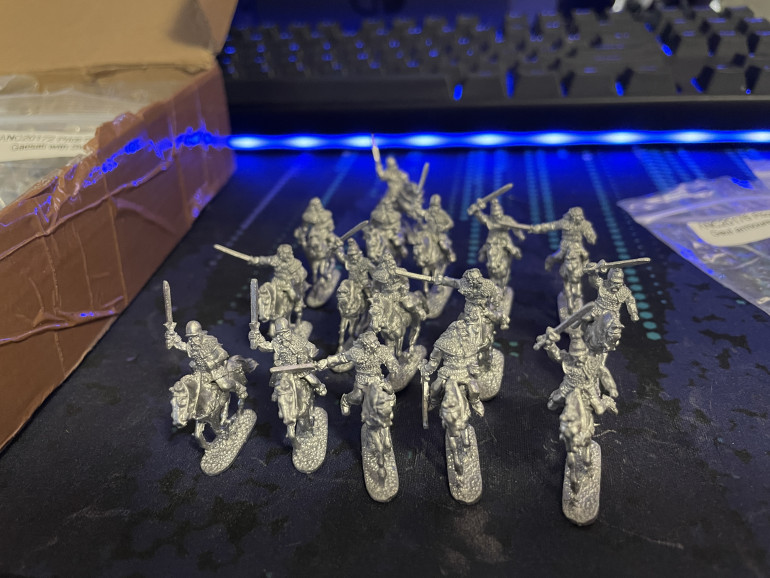
They are here! My Gauls and remaining Romans from Xyston have arrived. For the Romans I got some Auxiliaries, Iberian Javelin Riders for Light Horse Cavalry, and Elephant, a Scorpion bold thrower, and Julius Caesar personality pack.
For the Gauls we have Gallic Soldurii as, Gaesati with Swords, Gallic Archers, Gallic nobles, and Gaul armored calvary.
I did an inventory and realized I forgot to order the chariots and Roman Cavalry I need to offer all options out of the DBA book for both army lists.
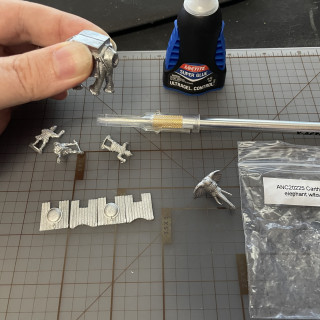
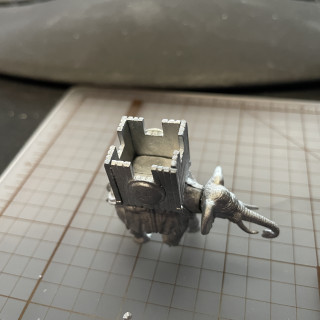
Going through the minis I had forgotten how much flash you have when working with metals. I was spoiled that past me had done all the prep work back in the day on these so I’m still cleaning these up as I write this. Some flash here, a mold line there, and some bent swords all gets fixed up and stuck onto painting sticks. The elephant was in pieces so that needed to be put together. The howdah was fiddly to put together but after some effort I got it together straight enough to put that down on the stick as well. Once these are all cleaned and prepped they will get primed right away. I thought it would take one night but the amount of flash is requiring several sessions.
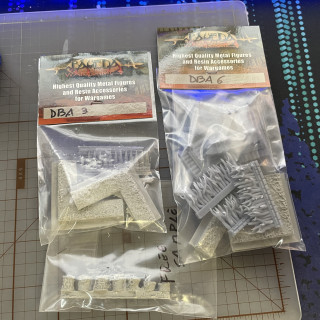
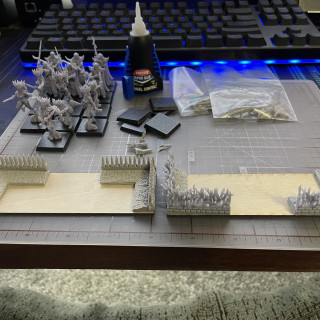
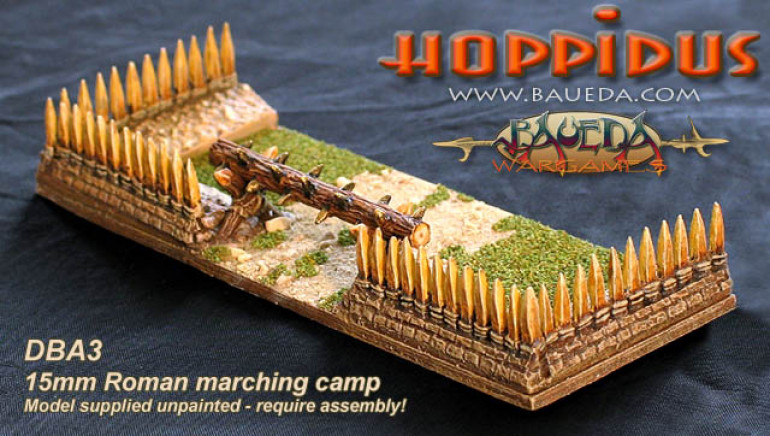
My Baueda miniatures camps also arrived and I put these together as well. Test fitting them together there is a lot of trimming that needs to be done to these as well. These are resin molds for the embankments and the straight palisades but the other is 3D resin which is interesting. I’m happy with the quality of these and put in another order for the pieces needed to make a 160mm square fort for a build up area terrain piece. In contacting Baueda to place the order found out they are moving to all 3D resin to crisp up the details. I’m looking forward to getting those.
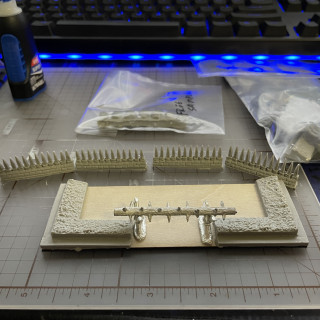
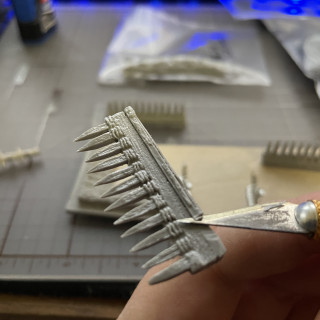
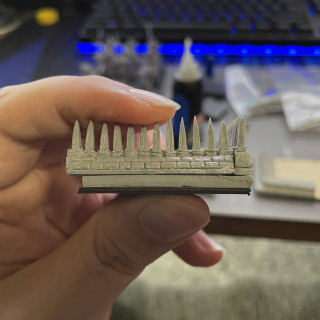
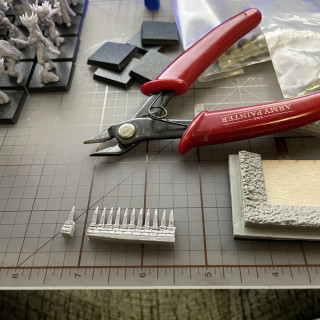
Back to the camp pieces I trim the flash and edges of the palisades and test fit again. Since each section is 40mm there is a bit of overhang due to the corners. I grab the clippers and trim that off on each and glue everything down. A camp is a compulsory terrain item each side needs if there isn’t a build up area they are defending. The camp must be one base width by three or in my case 40mm x 120mm. Two L shapes and a room for a gate. These are now ready to prime with the rest of the figures.
Back to flash cleaning for me and then I can prime and get the figures ready for painting. With everything I have twice as much to paint as what I started with so this might take me to the end of the Spring Clean Challenge. We shall see if the expanded goal can still be met. Until next post happy hobby time everyone!
And now for something completely different
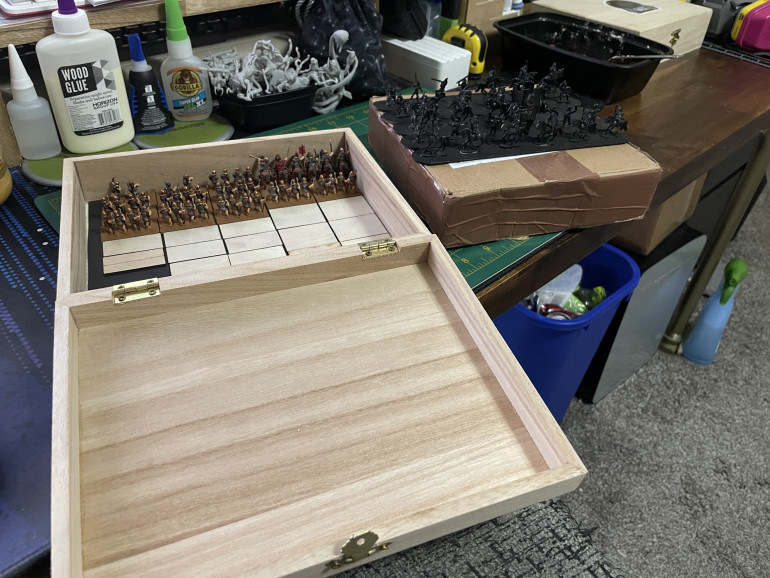
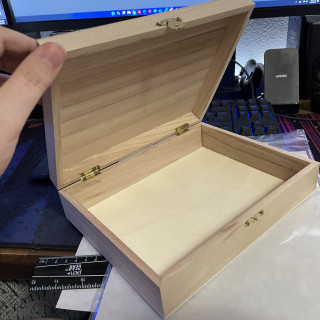
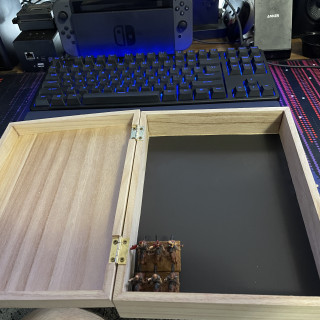
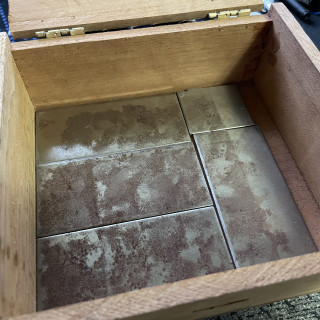
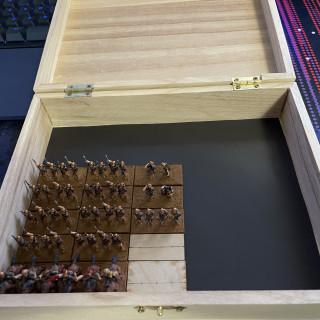
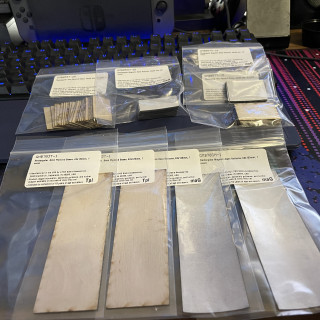
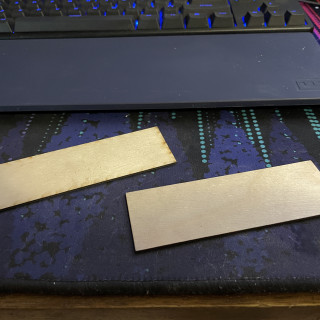
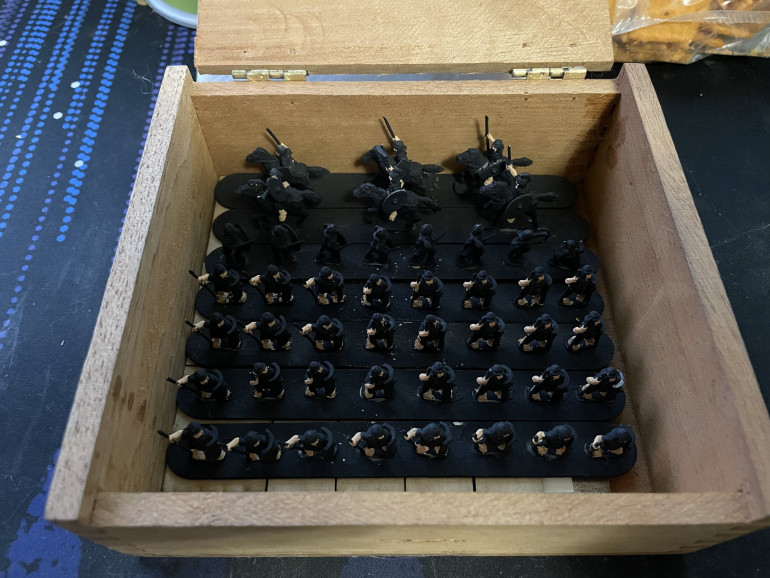
Still waiting on the Gauls to arrive. They have passed customs so should be by next week at least. In the meantime my bases for them came in as well as something special. I’m making new storage boxes themed for each army. I got some flexible steel sheet from Litko. I could have gotten a piece of actual steel but I’ve found two problems with it. Cutting it to fit in the box is a pain, and they rust/tarnish over time. I’ll share a picture of the steel I used in the old box. I cut the flexible steel to size and peel the adhesive. It required some trimming to get into cleanly but the result is good. I moved the Romans to their new box and there is plenty of room to spare now for the additional options and bases for the Gauls.
Next week my plasticard and other terrain supplies come in and I will go over how to make some tournament/rule legal sized terrain for DBA and the process I take to make some. Until then happy hobby time everyone!
Basing texture
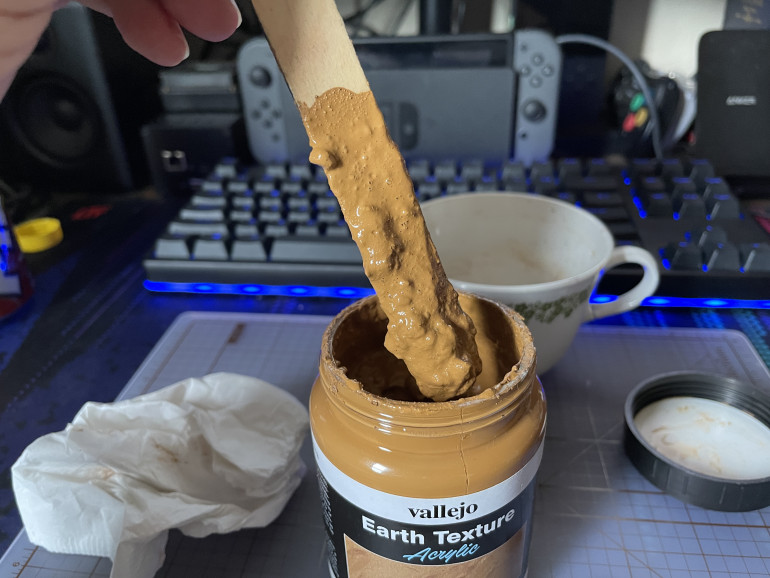
I start today’s hobby time by putting on the Vallejo Earth Texture. At first I was worried I was blocked as upon opening the jar it was as stiff as soft taffy. Not spreadable at all. Thinking it might be ruined anyway I decided to poor some water in and start mixing.
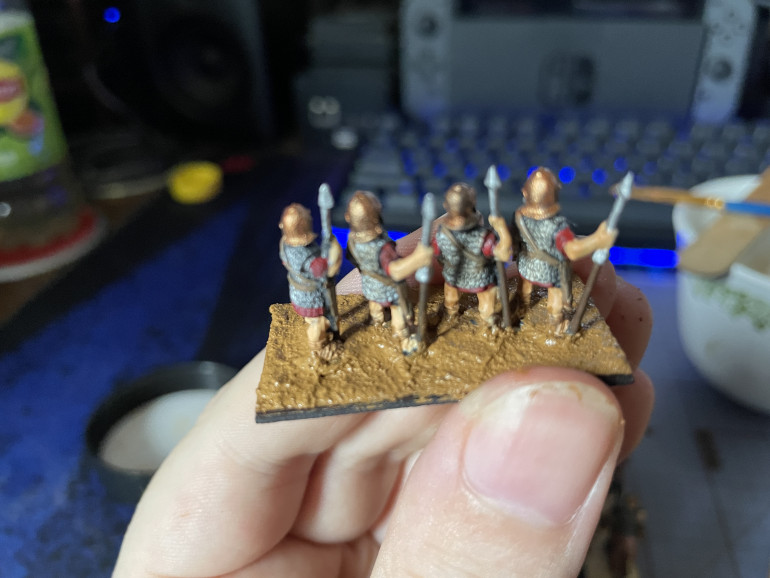
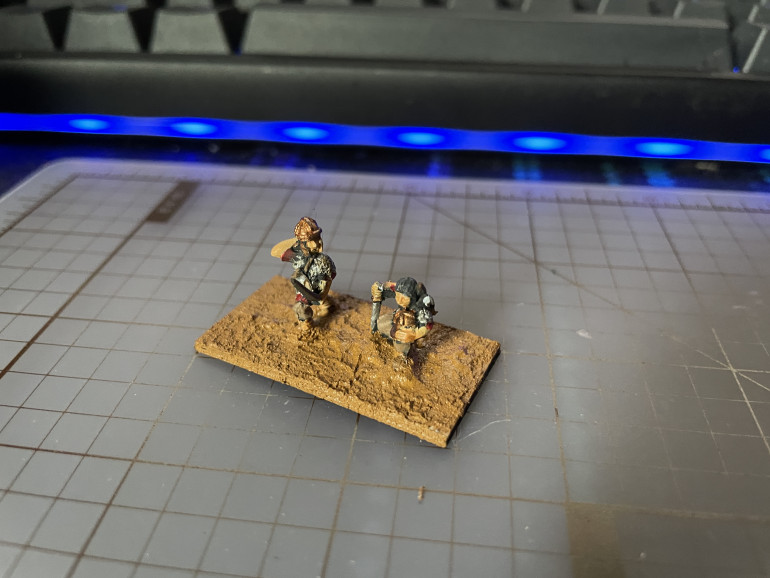
After quite a bit of mixing and time everything hydrated back up and it was usable. So I start working on the bases. It is hard to describe but working with this texture is like frosting a cake. Use a brush you don’t care about or a small metal spatula for sculpting. You put a dollop on and then push it where you want. It will shrink when it dries so you may need to add more to a spot later. I like using it as it paints, textures and helps seal the figures to the base. It dries solid with a mixture of rubber and stone feel.
Letting it dry I check and I’m happy with the result so I spread texture onto the rest of the bases. It is a messy job and there is some touch ups I’m going to need to do on the weapons and the horse legs. Building up the ground material with everything so close together was a real challenge. But all of them are finished and waiting for the Vallejo tufts to arrive. For that I’m using some 2mm high tufts for the grass. Will be the first time working with the tufts so curious how it will all look when finished. Until my shipments arrive I’ll have to work on some other hobby items. Until next post happy hobby time everyone!
Washing and Basing
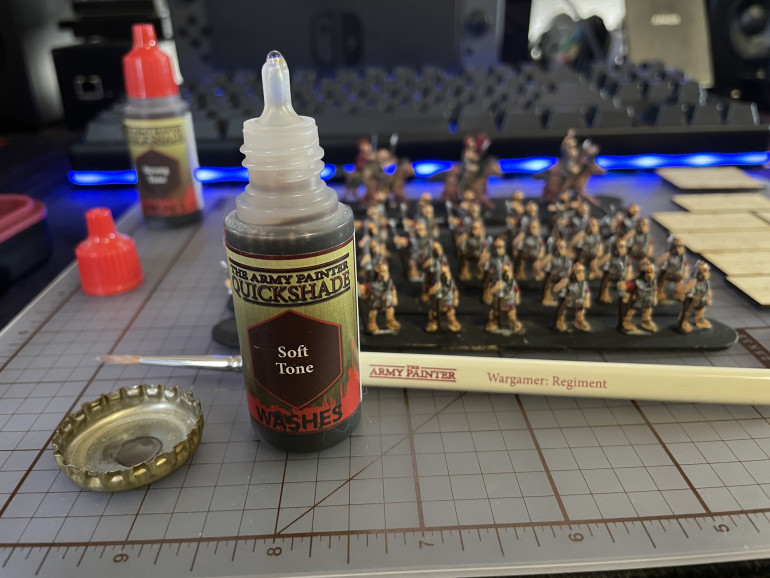
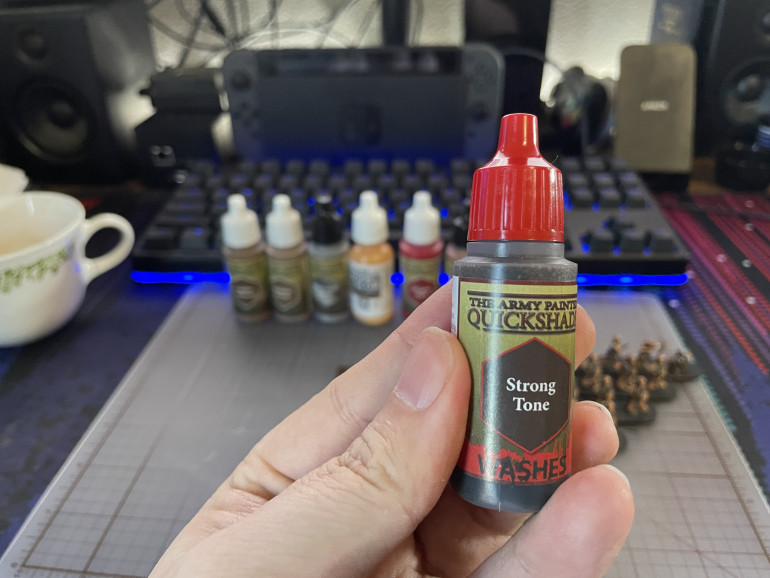
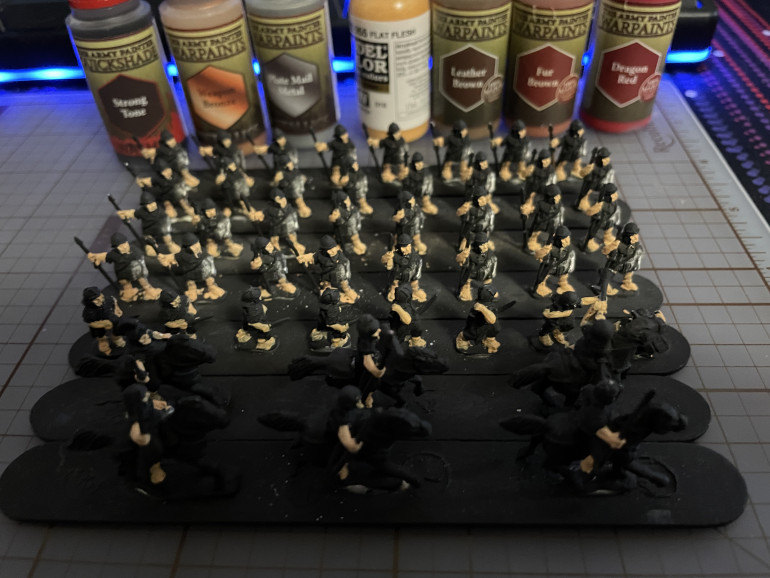
Sitting on it over night I found that the Strong Tone was too strong so I moved to Soft Tone and it was exactly the right amount of shade. Time to wash the rest and let them dry.
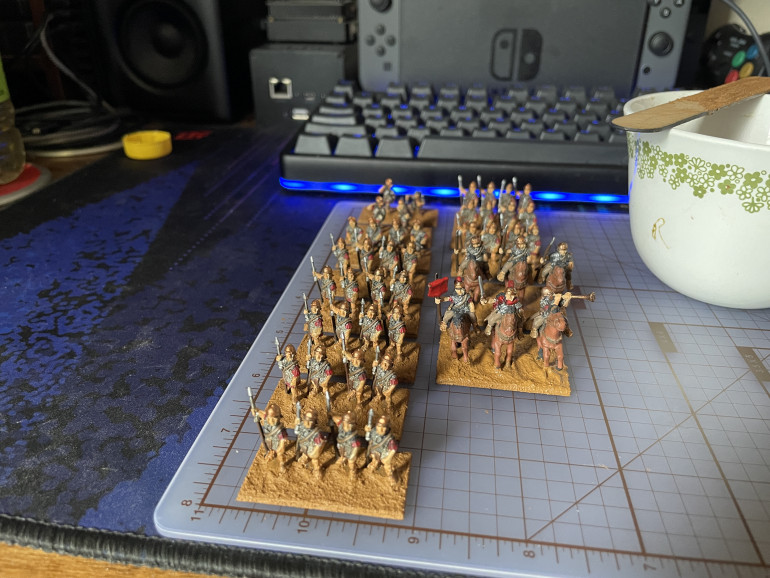
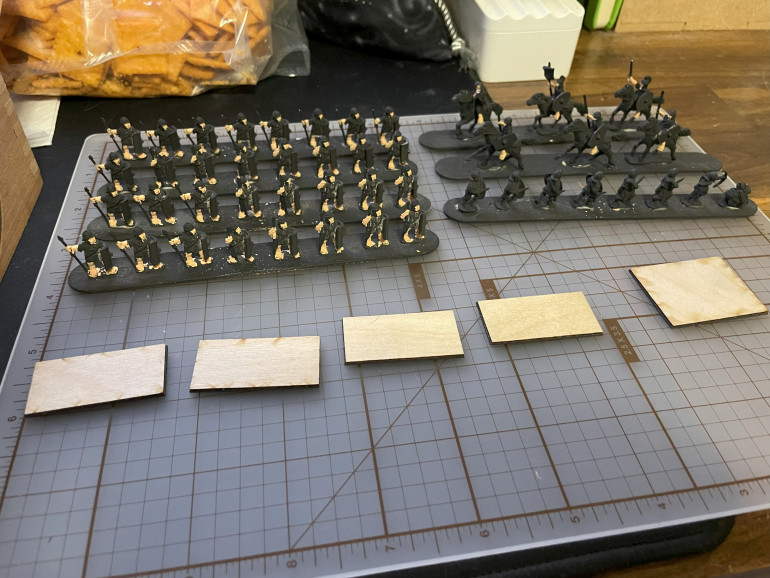
After a time to dry and set I went to work marking out on the bases where I want the models to sit. In DBA the Legionaries are four to a 40x20mm wide base known in the system as a 4Bd unit which means four blades. In my Marian Romans I can have up to eight bases of Blades. the Psoli are two to a 40x20mm base and are known in the system as 2Ps, I can have up to two bases of them. Lastly is the Calvary which is known in the system as Cv and are three to a 40x30mm base. I can have up to three of them. Past me went for my General as a blade unit option. I’ll go into more detail about the full list option when my reinforcements arrive.
With the placement marked down on the bases I break off the figures from the painting sticks. A dollop of gel super glue to stick the metal to the wood bases. I use the gel stuff as I get better initial sticking and control. I find regular super glue is just too runny and becomes a mess that ends up everywhere.
All attached these already look 10x better than the bare primed figures they started as but there is more work to do. I have some cheap brushes coming in tomorrow to waste on the texture medium and I will slather that on to fill the gaps between the puddle bases of the figures and build up a ground texture. I’ve used it on my Flames of War stuff and love the finished result. I also have some Vallejo grass tufts coming in sometime next week to then finish the bases off. When the Gauls arrive I will have some republican Roman shaped shields come in and I will paint those up and attach those after. I will have to work on other projects until my supplies come in but there is still plenty to finish up here and then stretch goals for the challenge with the extra fielding options, the Gauls, and making some DBA legal sized terrain. Lots to look forward to, until next post happy hobby time everyone!
Painting finished on to washing and then basing
Time for another post, today I finish up some details and fight with the browns again. Let’s see the results shall we?
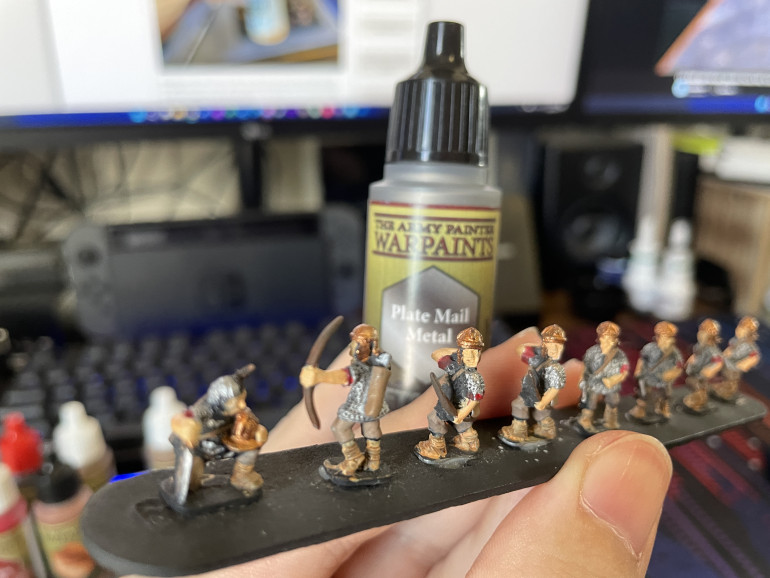
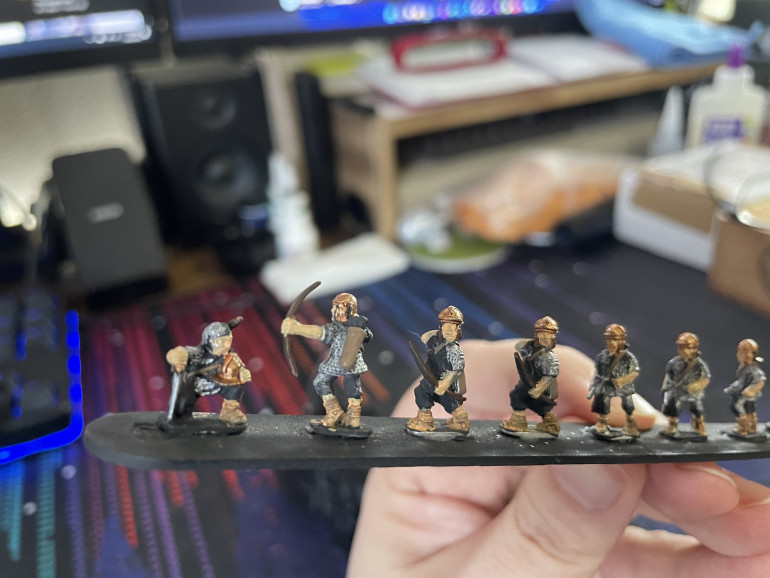
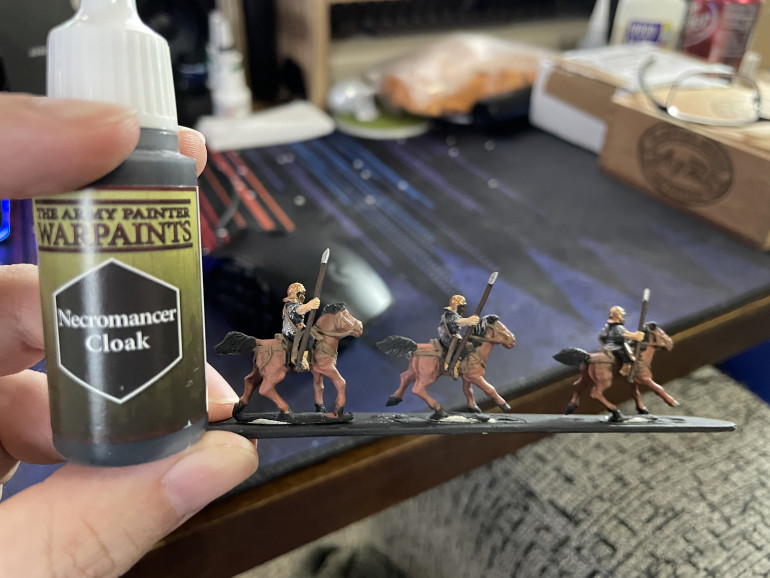
I start with Plate Mail Metal to touch up a few areas and catch some chainmail areas that were missed. You can see in the picture below a large area of primer where there was some miscasting that obscures the armor detail. I don’t have texture to work with so I’m just going to paint the spot metal and move on. The helmetless archer got Necromancer Cloak for the hair as there wasn’t a color for blonde that I was happy with.
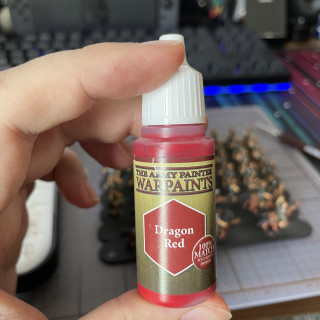
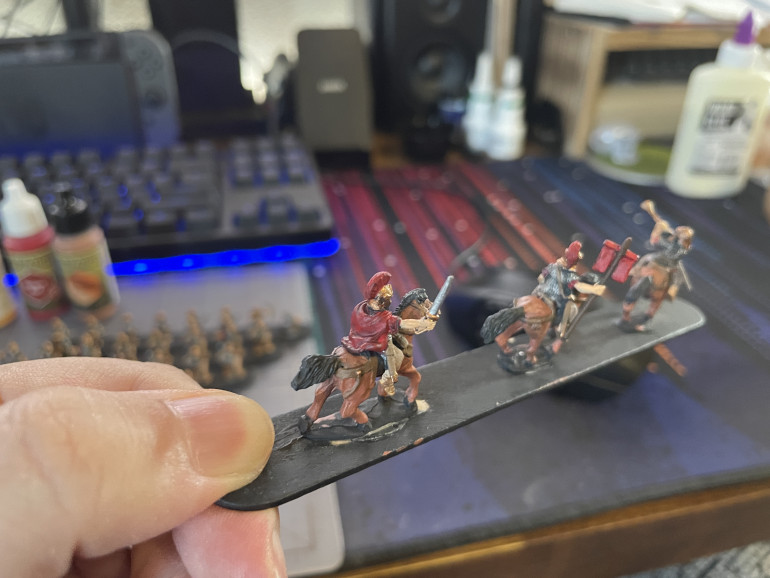
Dragon Red is used next to touch up the tunics. I missed the bottom sticking out under the armor so all of the models got some fine detail edging. This was some intense work but I’m very pleased with the result and again it really makes these pop.
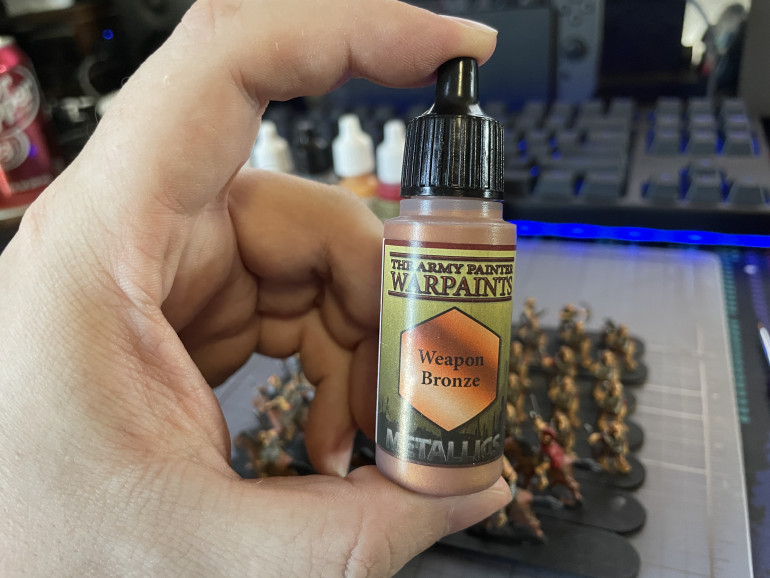
Now a dab of Weapon Bronze on the buttons and rigging of the horse leather harnesses. Again small touches like this really makes things pop. That is painting all the details done as well as any touch ups that I see I need. That means I can move onto washing.
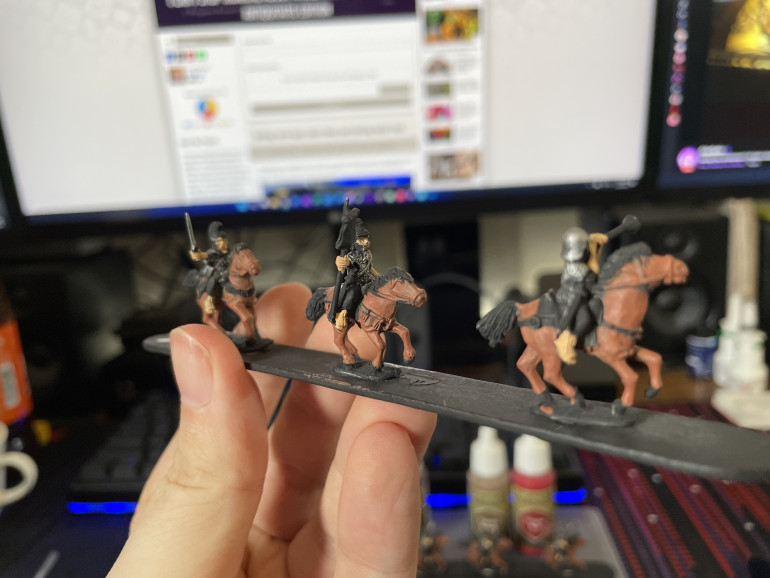
I start with Strong Tone on the cavalry. This is my first time using a product like this and I am worried perhaps I’m going too dark. The chainmail dulled a bit, I’m going to let this set and then determine if I continue with it or move to the Soft Tone.
Hard to think this has been a week of painting but a little bit each day has given me quite the results. After deciding on the tone to use I’ll get to base these up and build up the ground texture with some Vallejo Brown Earth Texture. I’ve used their plain grey pumice in the past and I love the texture and working with it but it was a nightmare to paint. This stuff is pre-mixed with color so that complaint is solved. By the time I get these finished hopefully the Gauls and the last of the Romans come in and it is warm enough to prime them.
Till next post happy hobby time everyone!
Small steps to the finish line
Another short detail day but are more steps towards getting to the finish line. I’ve been doing research on terrain and it really has me in the mood to base these up but we aren’t quite ready yet.
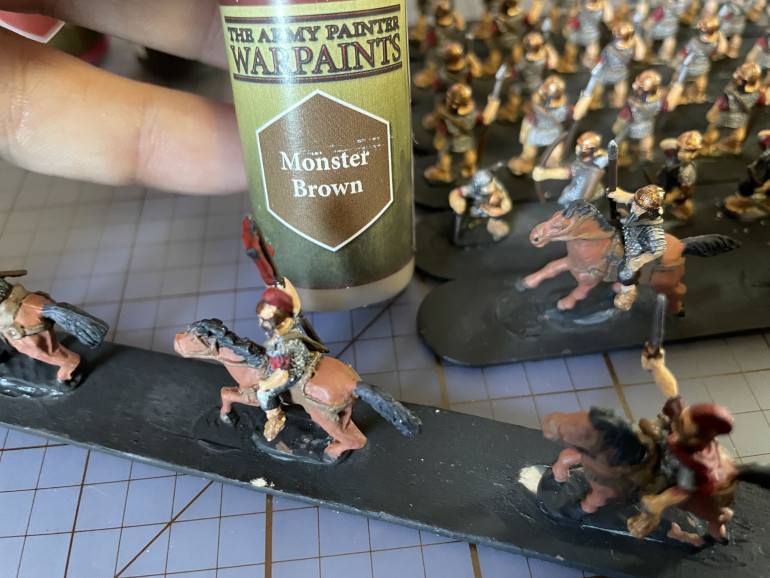
I start with Monster Brown for the trousers as a warm up. This step was largely unsatisfying as it was quite separated even after much vigorous shaking and a few rounds in the mini vortex. It was like spreading paint water. I got frustrated and while I finished all the models that needed it I will have to revisit them again for a second or third coat.
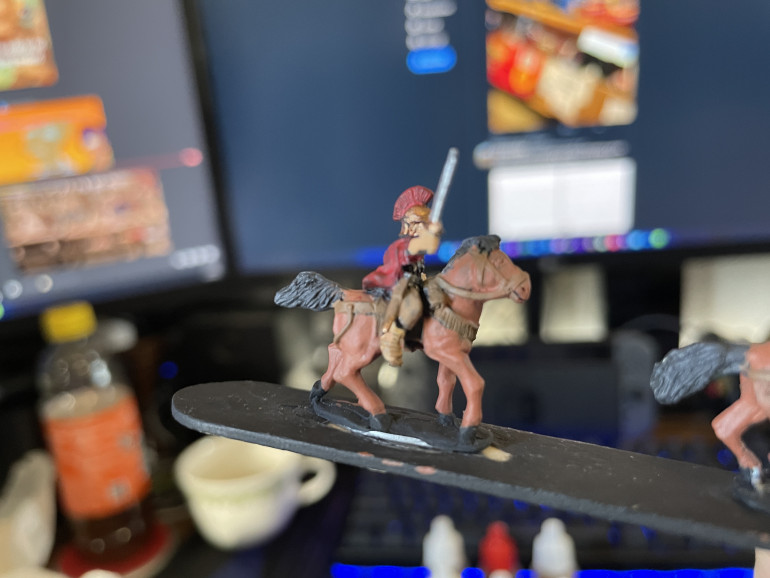
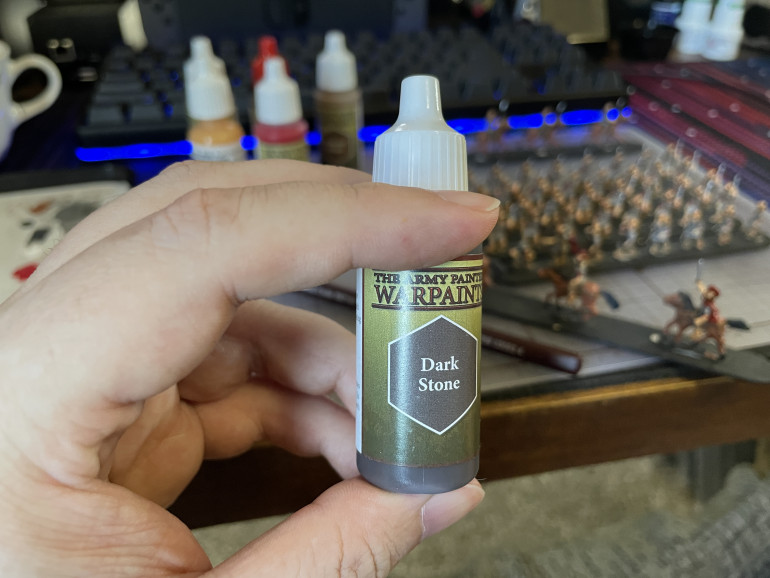
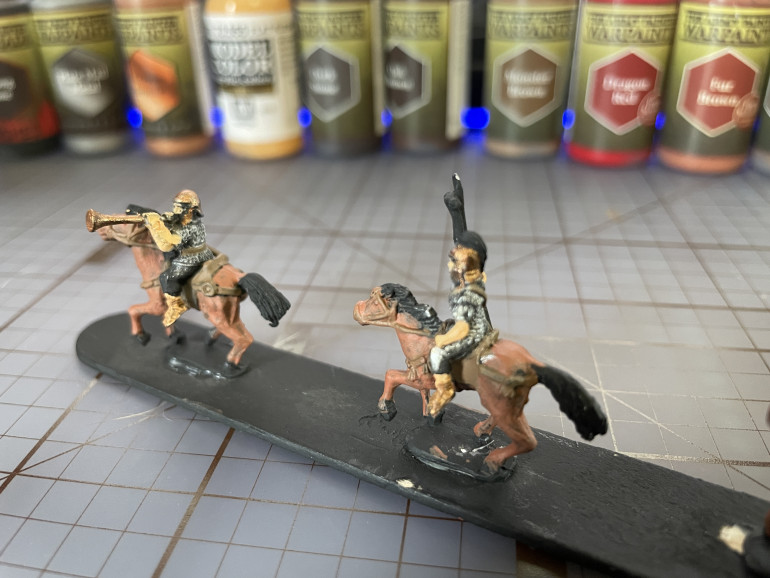
Next is some Dark Stone that is used on the hooves. This was much darker than I anticipated and still looked very black. This did help cover up the Fur Brown that I over painted but I’m still not quite happy with it. I may revisit this after some pictures and research on what others do for horses. At this scale I should just move on as they are tiny and won’t really stand out on the tabletop.
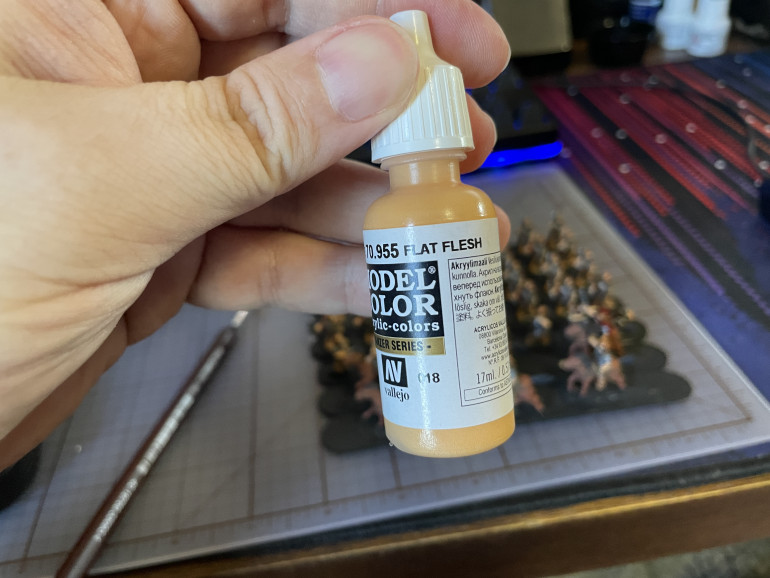
Rounding out the night I finish up with more Flat Flesh to get a third coat and touch ups. This finally worked in my favor and the pigment got properly mixed and went on smooth. So smooth it helped the legs stand out more from the sandals. This is a result I’m happy with and a great way to finish out the night.
Details left to do is another round at the trousers perhaps the Monster Brown will get mixed well with more effort. I also noticed some buttons and rings on the horse rigging that needs some Weapon Bronze. I also noticed some areas on the tunics like the bottoms that could use some edge work. It is a very small detail but they really make these feel more Roman. I also need another pass at the chainmail on the archers as I missed some areas due to bad mold flash. The areas just are malformed so I’ll have to get some color there to approximate so it isn’t a black void.
I’m doing more research on terrain for DBA and I understand the size rules for everything now. I just need to plan out what supplies I need to get and put an order in. This will be my first time doing terrain and I’m excited for it. Today showed that not all painting days are satisfying but are important steps forward as a painted model is better than an unfinished one. Until next update, happy hobby time everyone!
Fletching, Tunics, and Touch ups
A small hobby update for today but an important one. Finally get some red on the Romans and wow does it make them pop for me. Let’s take a look.
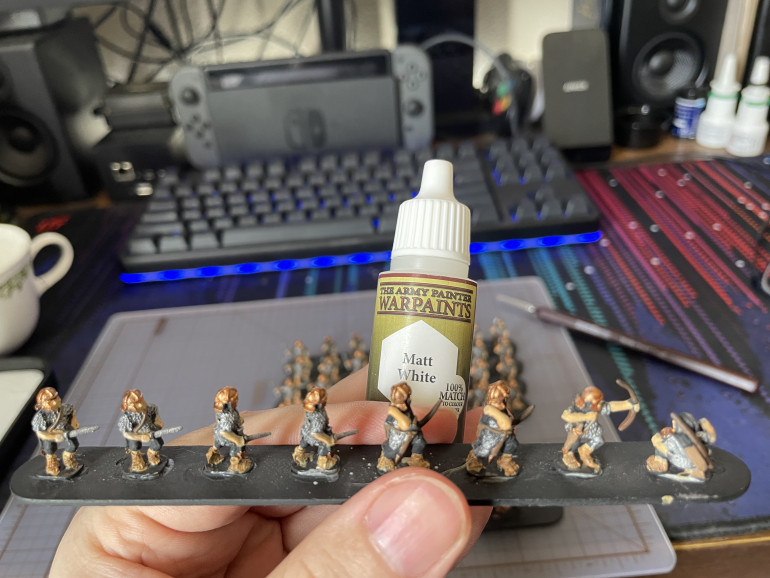
Since only four models needed fletching I started with those, a few dabs of Matt White white and it does the job.
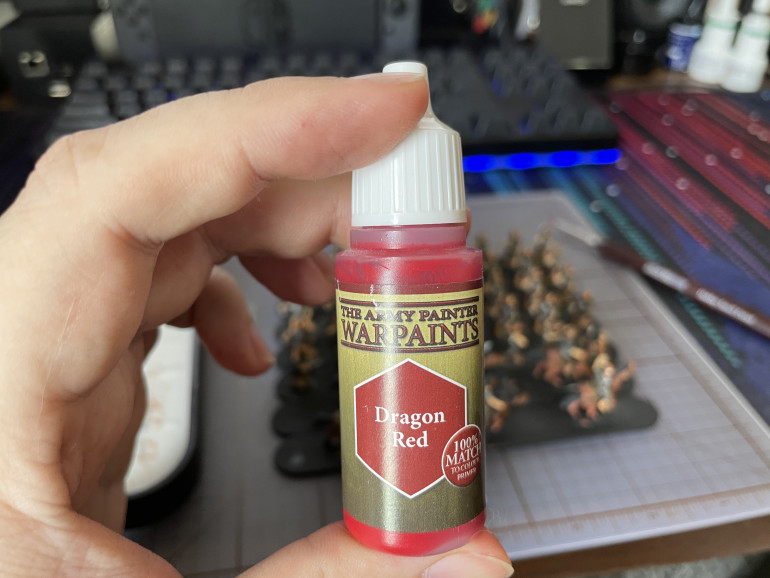
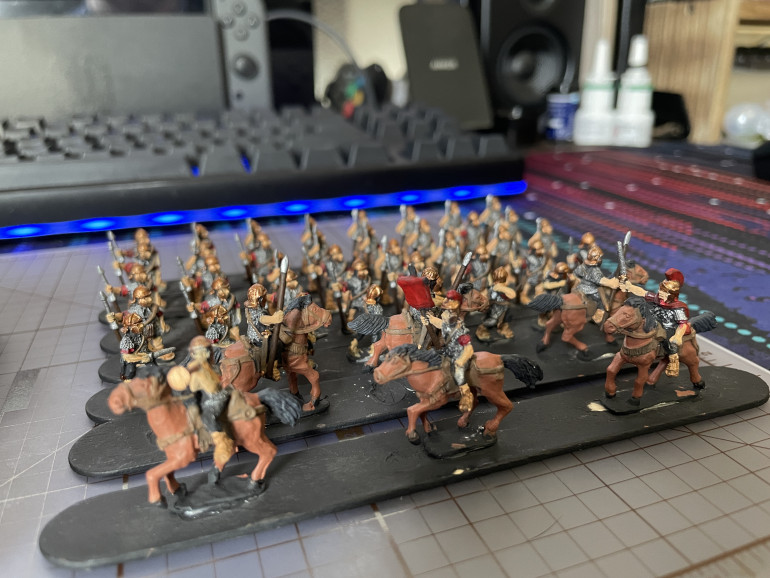
Now to the meat of this post and it is Dragon Red. This color I was initially worried it would be too dark but once down on the models it was the perfect Roman red I had pictured. This also came out of the bottle very thin. Time and storage had not been kind on my paints but unlike GW ones I used to use these came back to life on the mini vortex and some vigorous shaking. Even still needed a few coats to get the job done and I need one more pass on the banner and cloak. The tunics were hard to paint at this scale but I got the job done with minimal touch ups needed.
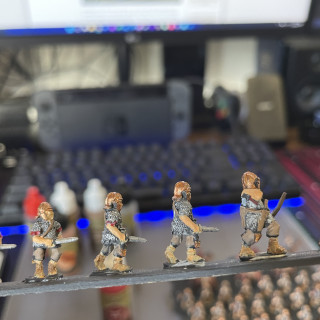
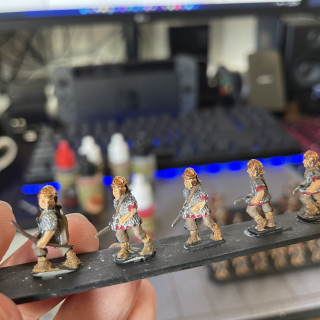
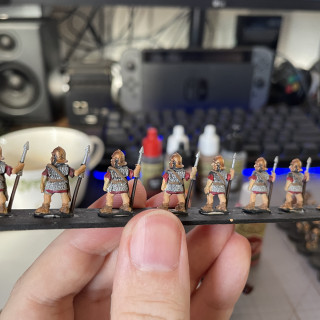
Three feet on the table it will look fantastic. A painted army looks better than an unfinished one. While this is a close up you can see imperfections at a distance I’m pleased. They will look better once based up and the bases finished. I don’t know why but I’m looking forward to the basing part. Also great news my camps and other Xyston minis are in the post from the UK on their way to me. By the time I finish these up I should have the rest in queue to paint. Until next post happy hobby time everyone!
It's about the small details
Only had a small amount of time for hobby tonight but plenty of time for the small details, let’s get stuck in.
Going to work on the wood items the color isn’t much of a shift but will cover up some of the slips of the brush with the bronze and leather. I’m using Oak Wood here but if I were to do this again I’d go with a lighter shade like I used on my Airborne. At this small scale I think the darker colors just seem to fade into each other. The result was still good in proper light and that is what I was going for.
I need to find a good blonde color for this archer with his helmet removed I think been using so much brown lately I need a change.
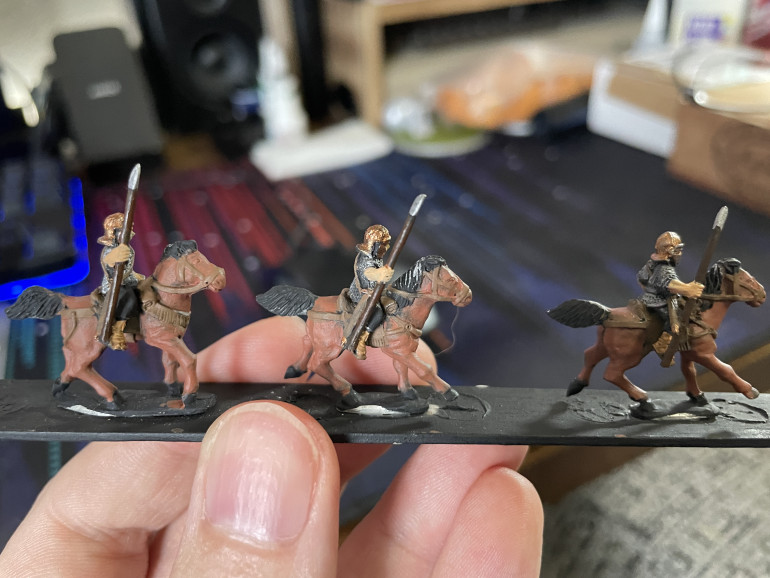
Finishing off the night I use some Necromancer Cloak to paint the manes of the horses. This isn’t a large shift from the black but gives a bit of a highlight to the area and covered up some over brushing when I did the chainmail. The final result didn’t look that different so I didn’t take a photo.
Next session we are going to do the tunics and trousers. The red will finally make these feel like Romans. I need to do some research on the trousers to see if I can find something other than brown to use. After that then we just need to touch up the flesh areas and I think we are ready to base these up! In my order to Xyston I got some new shields that are more oval like the republican Romans used rather than the imperial ones I got initially. I’ll find a use for those in another project sometime. With that I’ll draw this post to a close, thanks for following and I will see you all next post!
More detail work done
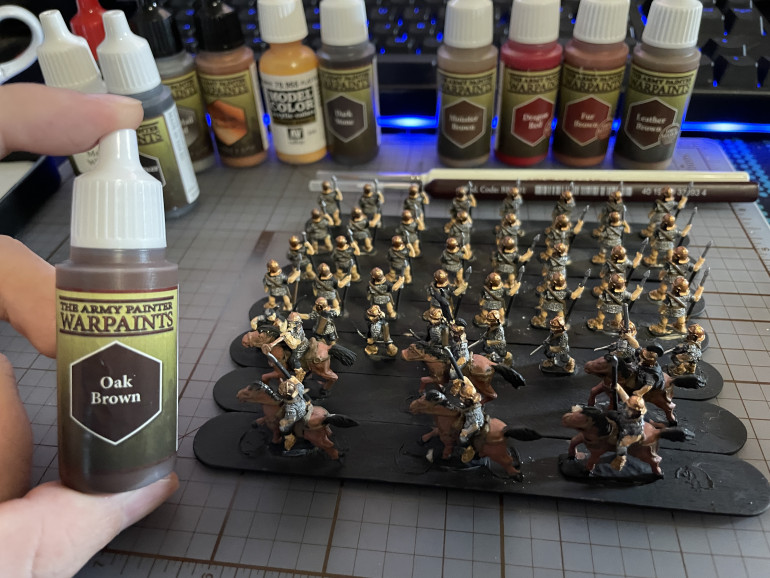
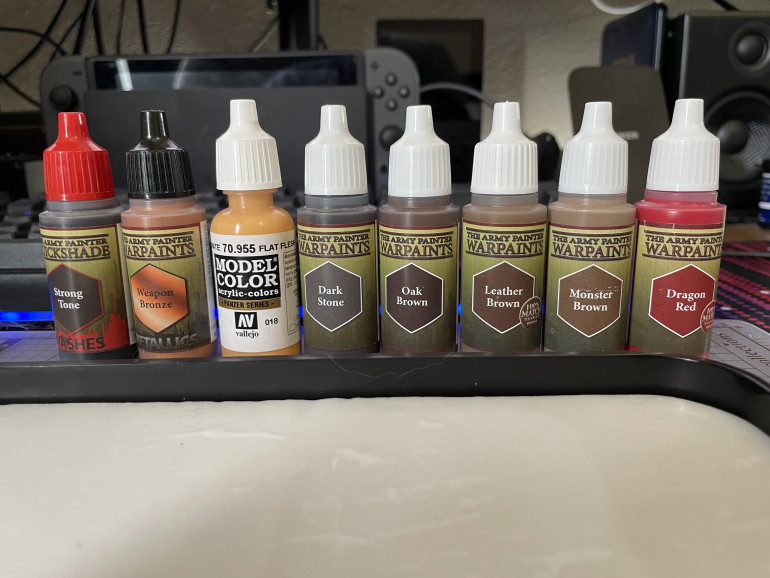
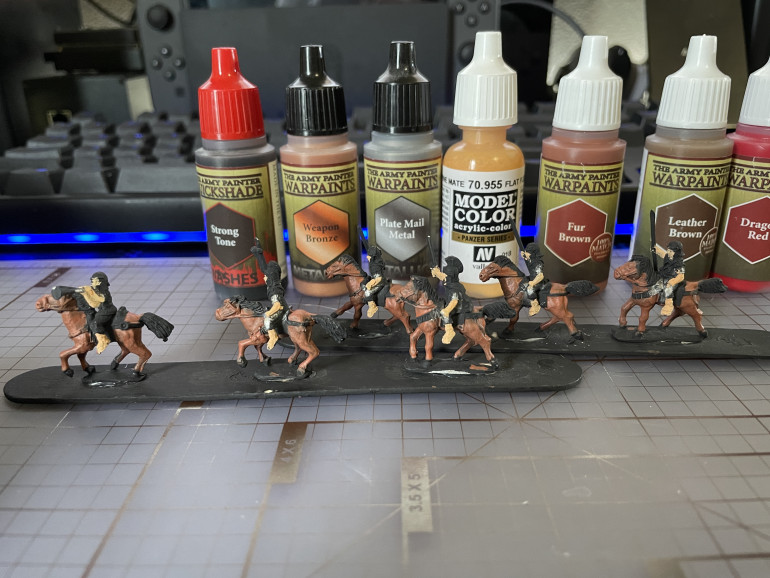
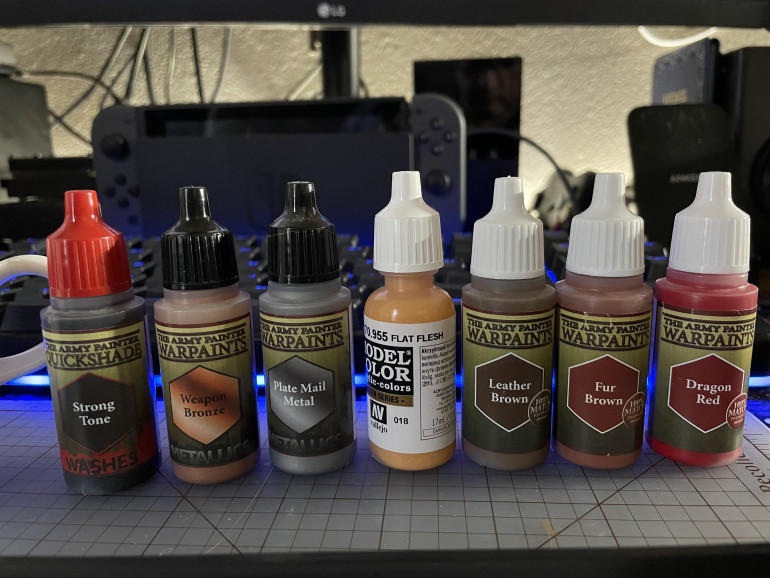
We got our goal done yesterday but with today’s hobby time I wanted to get some further work done on the small detail items like the leather, swords, and bronze helmets. I brought out a few more shades of brown to break things up and I’m glad I did once the color got down on the models. Here is the current range.
Starting with the leather work I use Leather Brown and my fine detail brush to gently scrape some over the leather reigns of the horses. While the color doesn’t stand out much I’m quite pleased with the result and the shading tone should also help
Now to tackle a part I had been dreading, the sandals. At this point the brown was still a bit thin but that is what I wanted as I planned to use it more of a wash. Since the details are so fine on the feet I wasn’t going to be able to use the same technique on the sandals as I did on the horse reigns. While it still doesn’t look quite right again the Strong Tone and finishing the bases will clean up the areas where the Flat Flesh was over painted.
With the Leather Brown still out I do the scabbards, belts, and strappings. This fine detail work really helped make the figures look less messy and closer to being table ready.
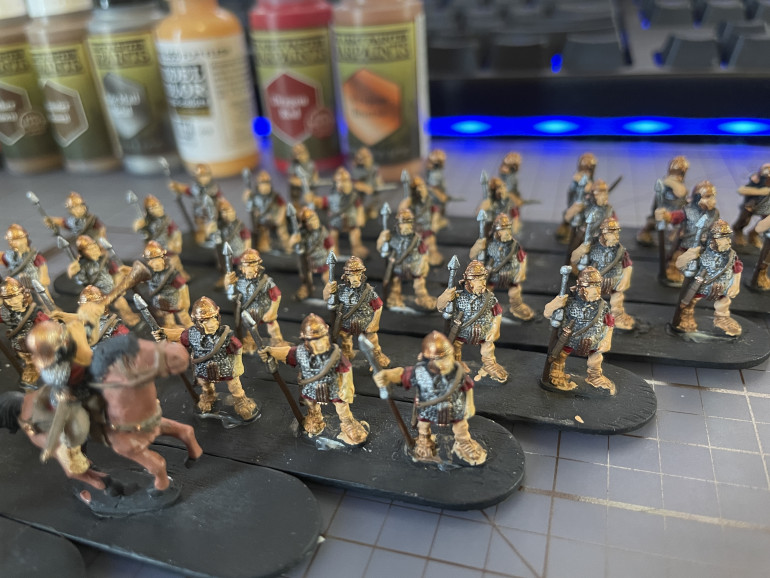
After the leather I was still in the painting mood so broke out the Weapon Bronze to work on the helmets and other bronze bits. When I thought of the helmets I initially thought they were going to be iron but after looking at pictures it seems that was more of an imperial Roman thing. Bronzed up the helmets, parts of the swords, scabbards and the small front of the chainmail. This went well but took I think longer than the rest of the leather work. Finishing the last stick of figures was definitely a challenge but I’m quite pleased with the results.
I’m very happy with the progress and next items are the wood items, tunics, arrow fletching, horse manes, hooves, and then touch ups. I’m looking forward to getting those items done and moving onto basing. While not painting I’ve been doing research on terrain I will need to make for DBA. I’ll share what I’ve found in a future post focused on terrain.
I also have Gauls on the way with a few more Roman options. They are bonus to the initial project goal and since we still have months of time for the challenge I want to see how far I can get to have the two sides done, a board, and terrain done. Then perhaps a battle report, until next post everyone happy hobby time!
Getting some base colors down and starting detail work
The goal for the weekend was to get the horses and chainmail painted. Managed to knock it all out today so tomorrow will be more detail work. Let’s look closer at the process.
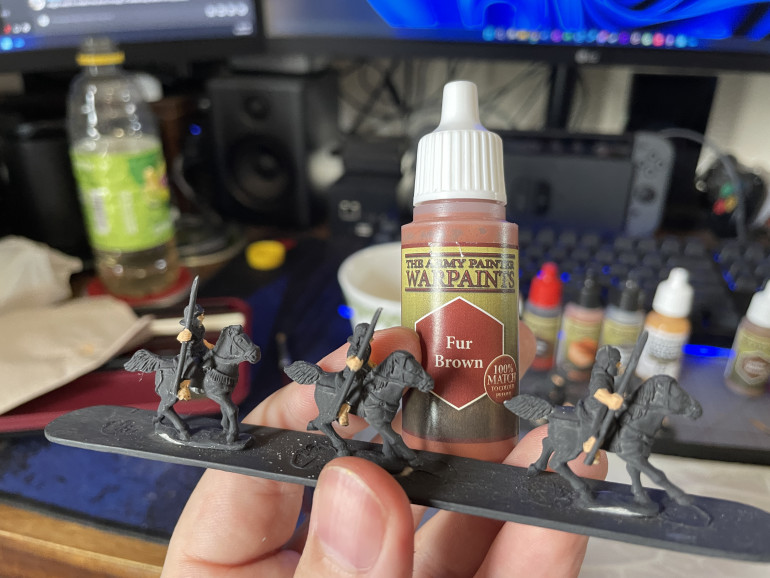
I’m going to start with the horses and use some Fur Brown on these. While I mixed my old paints pretty well with the mini vortex the Fur Brown was badly separated from a few years of storage. Some vigorous shaking of the paint dislodged the pigment. It still took about four coats to get even coverage but I blame the age of the paint rather than the paint itself. Once done I was pretty happy with the results though.
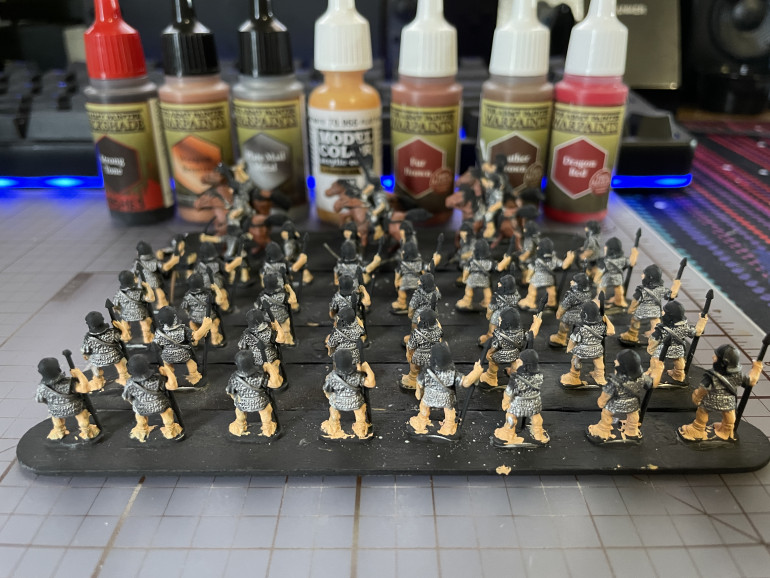
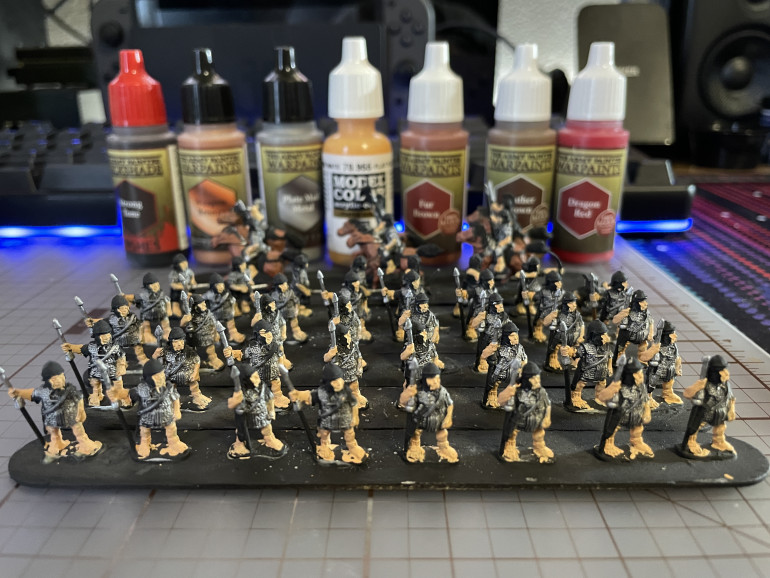
Time to move onto drybrushing the chainmail. I use Plate Mail Metal this time. This step was harder than I anticipated and I did catch some of the flesh areas so it will need touchups. Drybrushing chainmail at 15mm is much harder than I expected so next time I’m going to start with this step since it is the sloppiest and then work my way outward from there. However after some painstaking work I was pleased with the coverage. I have to remind myself I’m going for looking good enough on the table and I still have the shading tone to use at the end.
Lastly since I had the metallic out and still on the brush I wanted to finish up some detail work on the Pilums and Swords. This is a chance to cover up some of the overpaint of the skin areas. This is where things started looking less like blobs of color to me and more like a finished piece. I still have the tunics, leathers, and woods to do but I will get started on those tomorrow. I will say for getting back into painting and doing 15mm which isn’t always easy I’m quite pleased with my progress.
This time I’m not pushing to finish for a set game night like I was for Flames of War back in the day. While I do miss that incentive I’m happy to set my own pace on this one. Until next post see you all then, have a great hobby weekend!
Cleaning up old work
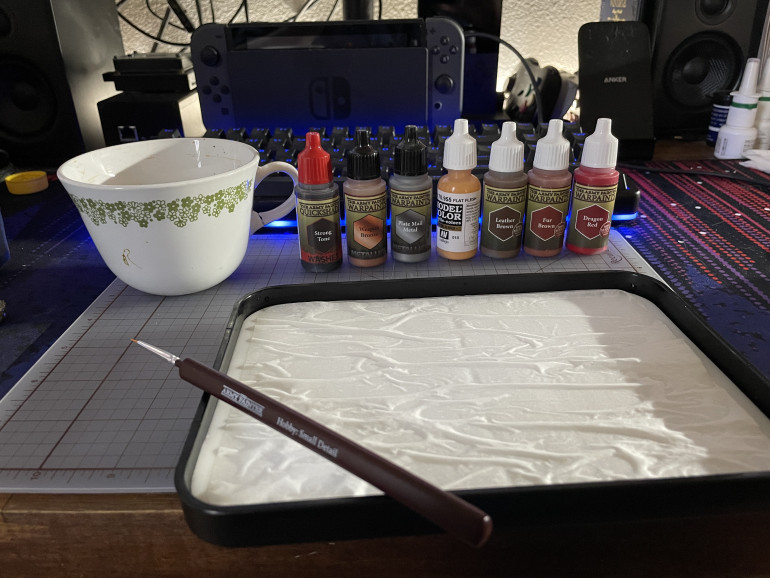
I started hobby work on the Romans tonight. I started with getting supplies ready and picking out the paints I’m going to use. I decided I wasn’t going to strip the old paint since it was just some flesh color put down. I don’t have any speed paints so working with what I have. I did pick up some new tools in anticipation for this. I got a mini vortex mixer for about $30 and it was money well spent getting my old paints remixed!
I mixed up all of the bottles I was using and a few others that had separated badly and they looked like new. Highly recommend. The paints I use are from Army Painter and Vallejo. Since I’m painting Romans the colors are pretty basic so Dragon Red for tunics, Plate Mail Metal for chainmail, Flat Flesh for the skin, Leather Brown for the leathers and maybe the wood on the pilums, and Fur Brown for the horses. I have some Weapon Bronze for the gold areas but I might go up lighter if I don’t like the shade. Lastly going to use some Strong Tone for shading. I’m painting from inside out so that is why the skin is sloppy at the moment those areas will get painted over with the other colors.
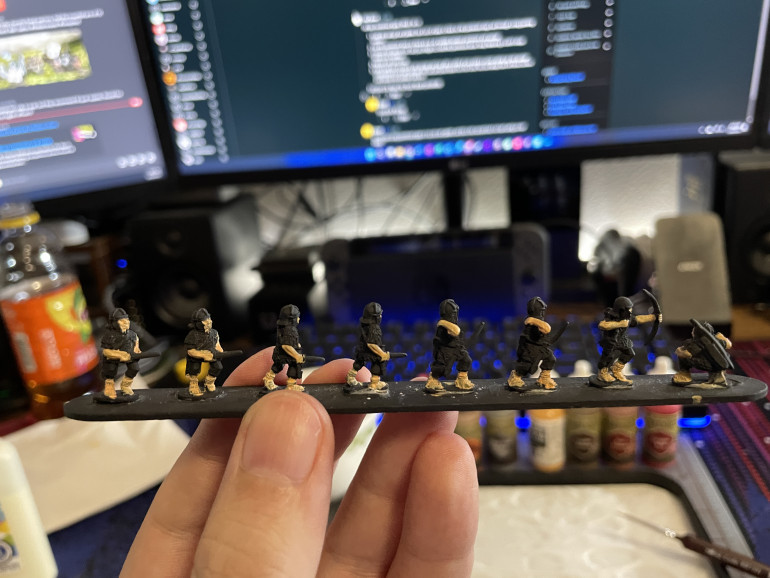
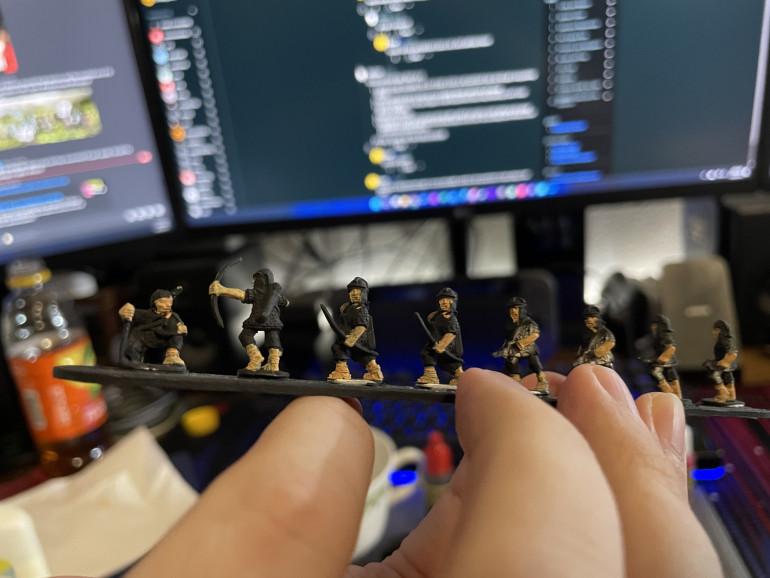
The archers and the auxilary didn’t have the flesh painted so I started there and realize quickly that past me made a mistake putting the shields on first. I was used to Flames of War at that point so everything was put together back then. Since they were getting in the way I ripped them off. Didn’t need much help as the old super glue was really brittle. Everyone then had to shed their shields. I will touch up the skin on the rest tomorrow as it is getting late tonight. Lastly I was looking at some models for a camp and found Baueda Wargames and they had a Roman marching camp that is perfectly scaled for the base size you need for a camp in DBA.
For DBA if you aren’t defending a city or other structure you are required to have a camp that is four base widths total so in this case 3 base widths on the front for 120mm and 40mm on the side. Their models are modular so you can make a bigger fort or camp to defend. I put in an order for the Roman camp and their Hellenistic one for the Gauls as that seemed like the best look. I was looking for plain palisades but nothing was in stock for what I needed and the Hellenistic is close enough. Next payday the order for the Gauls and some more Litko bases are going to be placed.
I was nervous diving back into painting but I told myself along the way that it doesn’t have to be perfect it just has to look good on the table. Practice made the shaky hands less and layers made blotchy paint look better. If you are on the fence about your painting just start you will get better and you can always repaint or touch it up later when you get more comfortable. Yes you can paint too. Until next post everyone!
A legion of Romans
De Bellis Antiquitatis is the second historical based game I ever got into with the first being Flames of War. At the time our game group was looking for another but limited miniature game that we could do some ancients era. I don’t remember who found DBA but I latched onto it. We knew we wanted to stay at 15mm scale at the time so I went searching for some Romans. I had looked at sites like Peter Pig and Old Glory but went for Xyston Miniatures as I liked the look of them.
Looking at their site now they have a much more expanded range. Since I have moved away from that group I’ll be picking up some Gauls for an opposing force. What I like about DBA is with 12 elements or bases the game is contained and focused. Bases range from 1 to 4 miniatures typically. You can play at two scales 10-15mm or 28-32mm. The game uses the base frontage to determine where things are. For 15mm my typical base is 40x20mm Easy to build up a force and play. Reading the rules are a bit dry but not the end of the world.
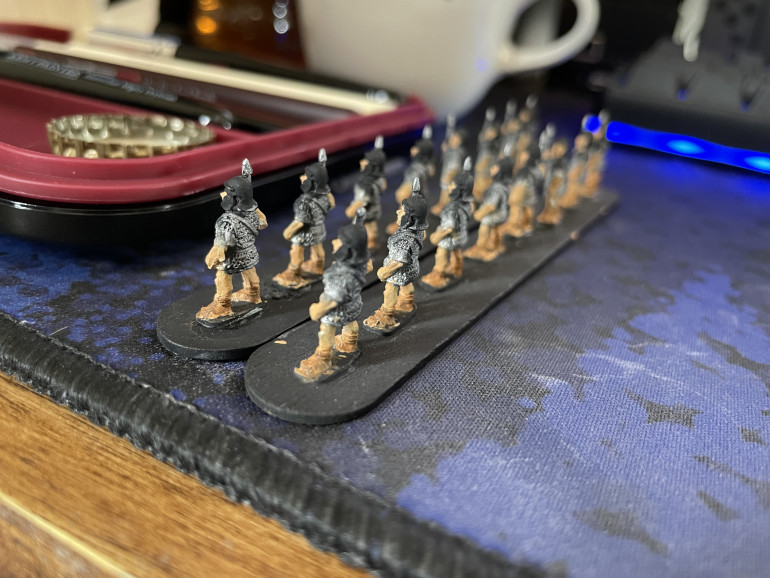
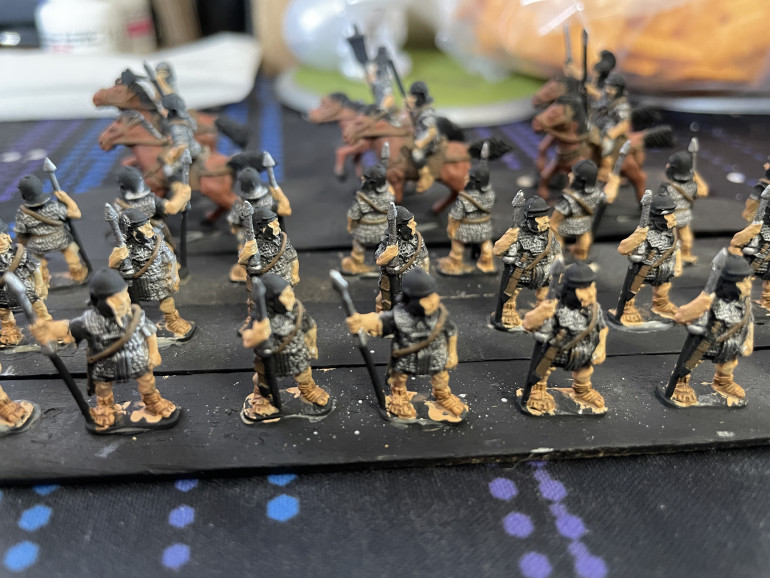
I started these back in 2008 got some flesh color on them and then got busy. They are still on the painting sticks and the bases from Litko. For a spring cleaning project I’m going to get these finished up while I wait for the Gauls to arrive. I also have some more Roman options coming in to fill out the options for the Romans if I want to incorporate some artillery or more cavalry. I have my eye on some other Roman projects I’ve started around the Ides of March but these are going to be my first priority. Will these projects cross the Rubicon? Follow to find out!


