To the Trenches! Chain of Command
Recommendations: 424
About the Project
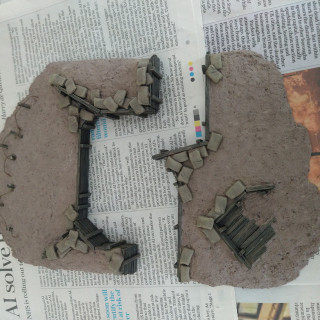
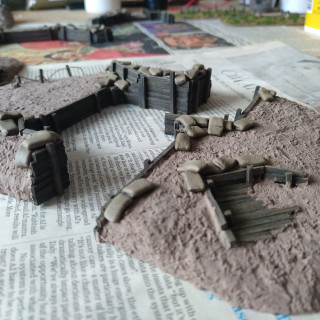
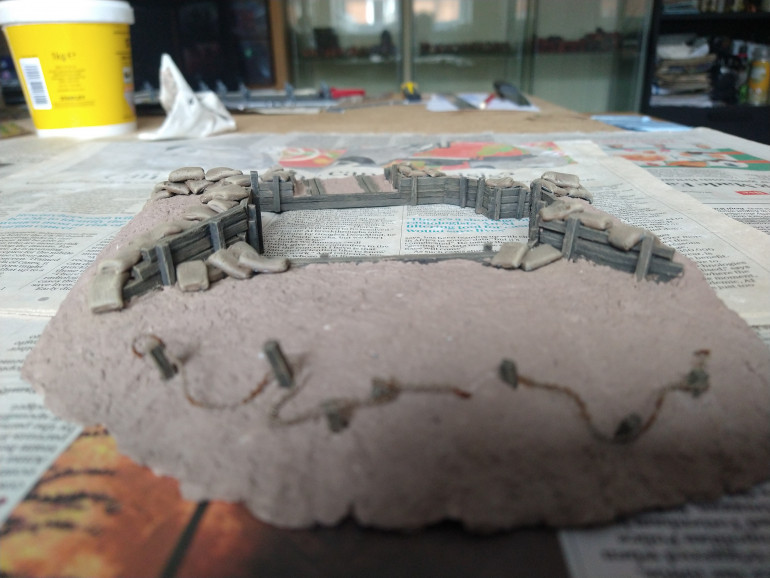
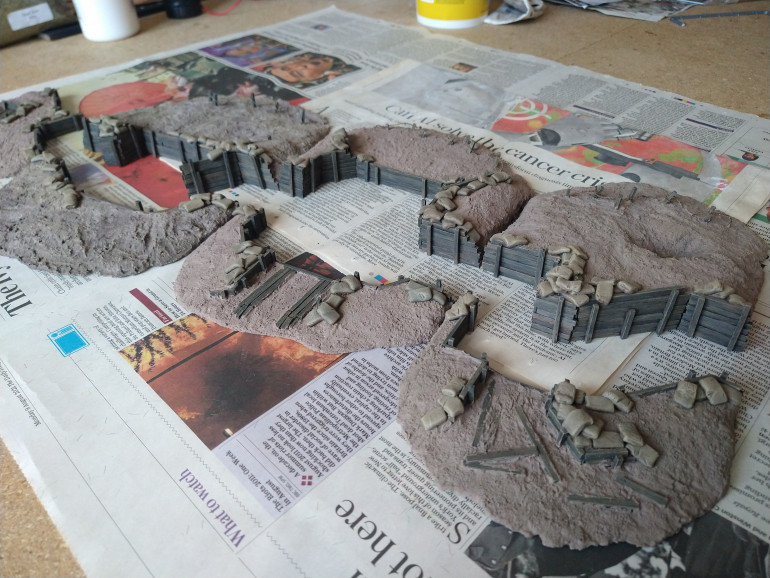
Recently have been able to get a regular number of games of Chain of Command in and has got me back into the creative space of building more terrain. Ive started with creating sections of a Trench network.
Related Game: Chain of Command
Related Company: Too Fat Lardies
Related Genre: Historical
Related Contest: Spring Clean Hobby Challenge 2024
This Project is Active
Basing ... and complete!
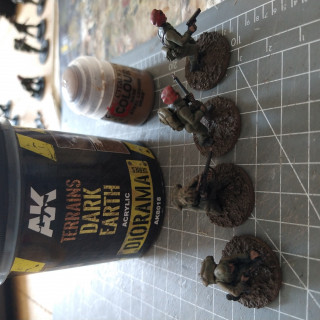
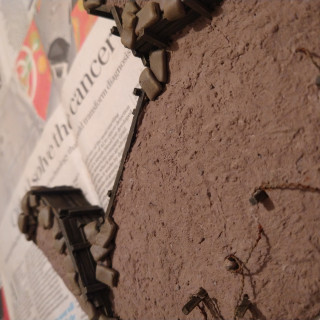
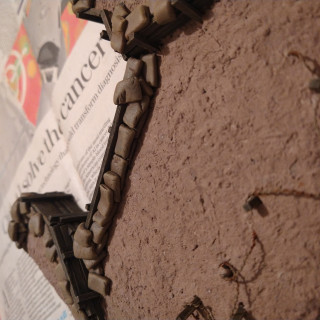
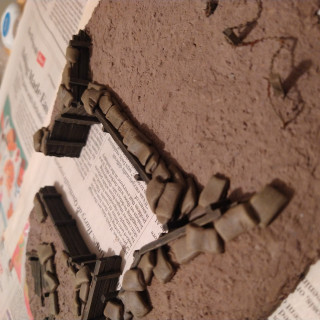
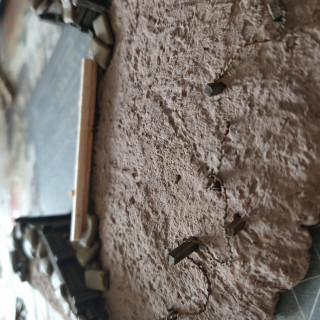
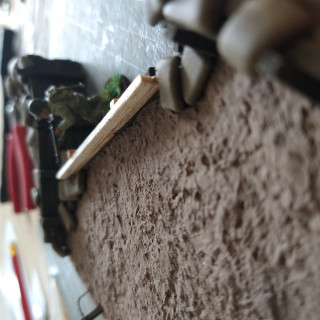
for the basing, I used AK interactive Dark Earth texture. and then a light highlight of steel legion drab.
All done! not bad for three evenings work I dont think.
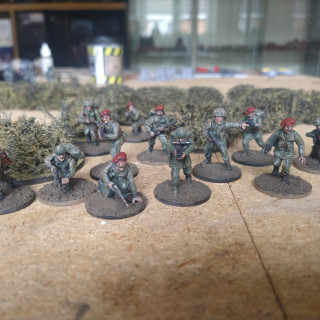
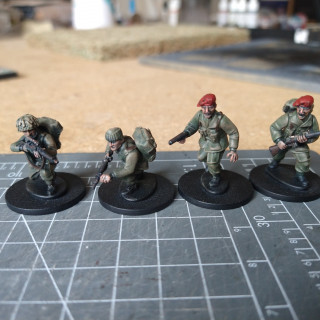
The SAS ....
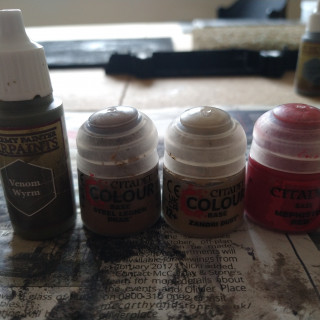
The additional colour used here were
Vemon Wrym (trousers and jackets)
Steel legion Drab (light highlighed, satchels)
Zandri dust (light highlight)
Mephiston red (caps)
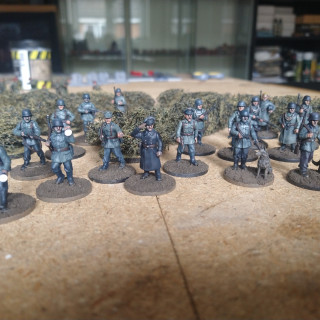
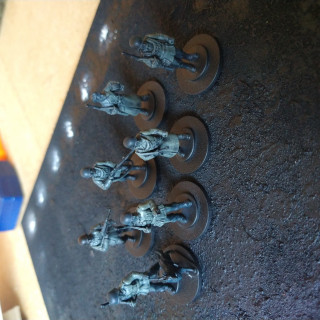
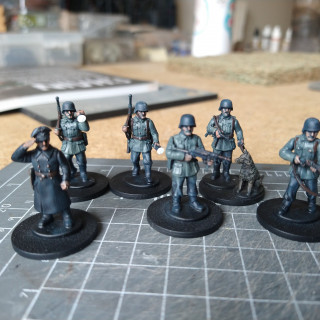
Germans!
Really wanted to keep the painting short and sweet ….
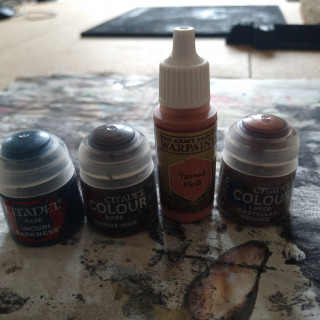
Base colours for both the Germans and the British were
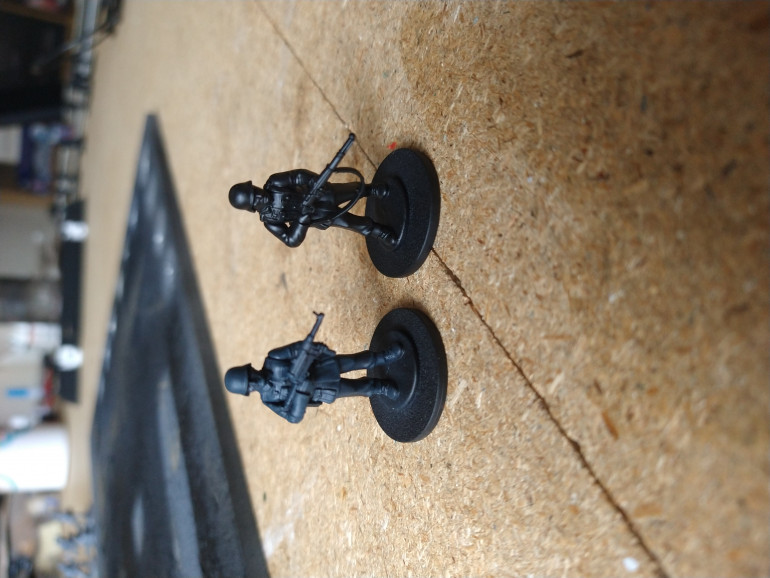
Black primer,
Incubi darkness (clothing)
Tanned flesh (face and hands)
Rinnox hide (leather and gun stocks)
Castellax bronze (gun highlight).
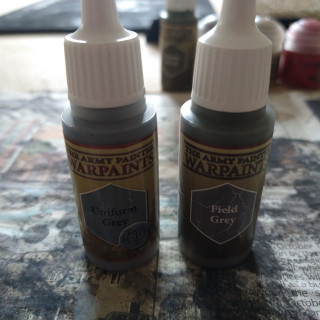
Then specifically for the Germans,
Uniform grey (trousers)
Field Grey (jackets)
02 Hundred Hours
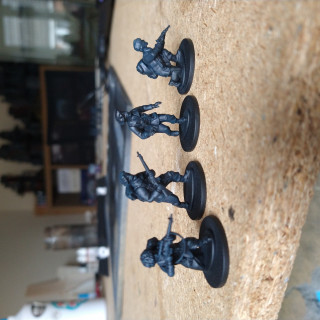
A small deviation …. At Salute, I picked up the start set of 02 hundred hours (I blame Gerry!) and decided to get them all painted up for a first game.
Originally I planned a very dark approach, given the time of night setting and wanted everything to be in shadow.
The plan was a black undercoat and some light dry brush in a base colour, and pick out the raised parts of the face and that be that …. but either I didnt execute this very well (more than likely) or it just didnt look too good visually.
In the end, i still wanted to keep things basic with minimal highlights, and the colours flat.
Everything was undercoasted in black with then a layer of Incubi darkneess (heavily dry brushed on).
Jump off points!
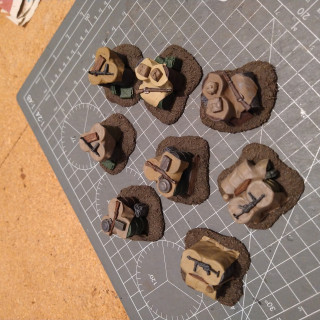
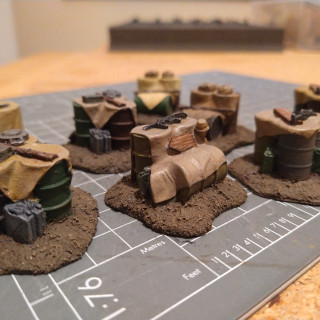
Just some photos of the jump off points for CofC that I painted up.
Also required as was preparing for a game of 02 hundred hours and wanted some more scatter terrain!
The Trench expands
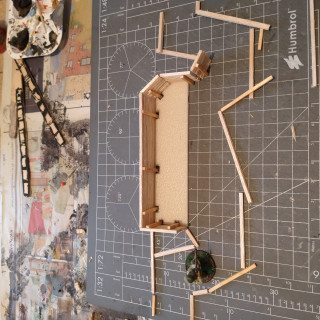
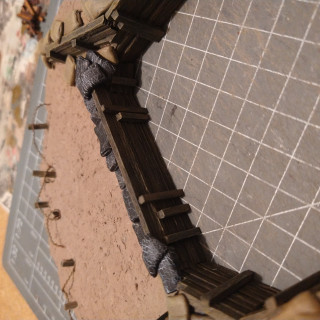
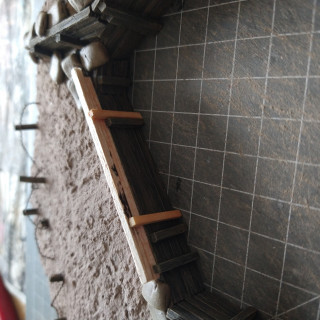
To keep trying to add variety into the trench line, this next piece will be a bit longer than the other along its frontage, as I decided to allow the firing position to hold 4 bases (rather than 3 in the previous sections).
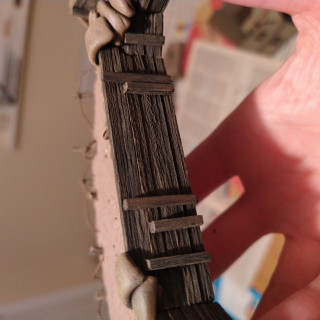
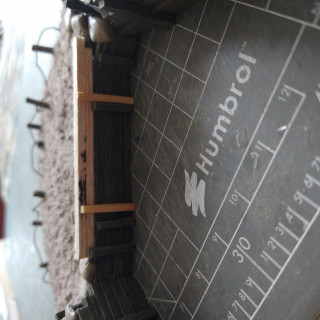
I also decided for some different visuals to create a raised firing platform for those to stand on to “keep their feet dry”.
You can see that start of the piece coming together.
The duck boards we glued onto a small 2mm piece of foamboard to provide the base.
Other than that, the construction was the same as the pevious pieces.
The end of Spring is nigh!
These next few updates will be where my Spring Clean sadly comes to a premature end — work gets in the way at times.
Its been a fairly successful few weeks.
A start has been made on the next piece for the trench line, and then some additional terrain and scenery has been pulled together as well as some painting of minis!
Adding grass - 2nd stage
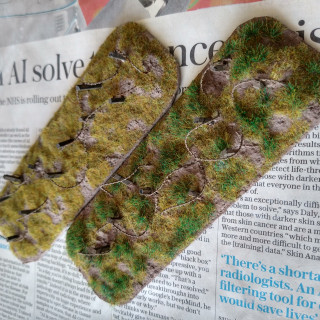
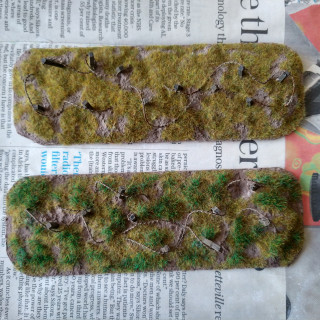
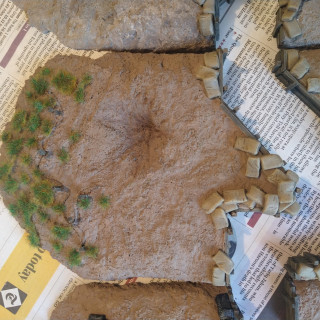
Once the first layer of grass had dried, I dabbed on some layering glue (essentially watered down PVA) making sure to leave some of the dead grass exposed.
I wanted to create some different heights of the grass and colour variation.
Ill be honest, im really happy with the results, and gives me more confidence in doing this with the main tranch pieces in the future (deep breath!)
adding grass!
Here i decided to bite the bullet as for me, a wire fence is very different to how it sits in the landscape to a trench (exception being WW1 where everything is portrayed as being just heavy thick mud).
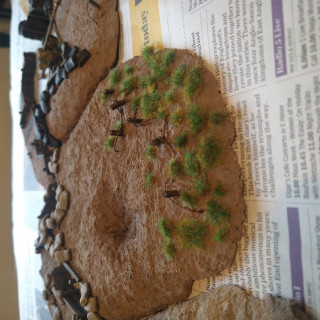
So I decided to add grass and glue directly onto the piece.
I didnt want a carpet look and so I applied glue in randomised places leaving some of the ground texture exposed.
I then used the static grass applicator with the 2mm Dead grass to the piece.
And this is the initial result …
Wire sections .....
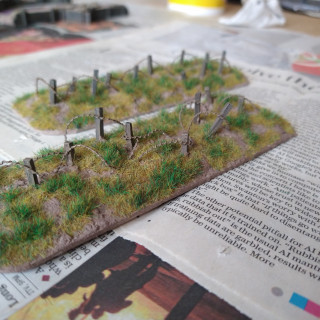
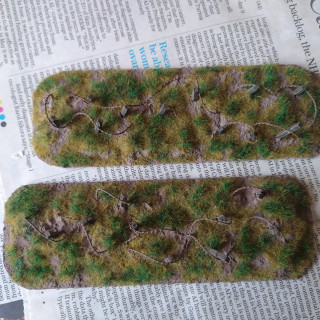
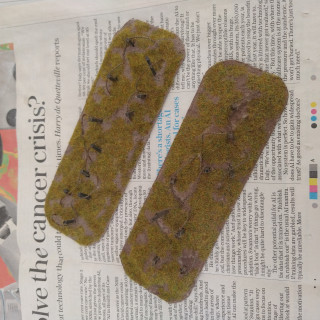
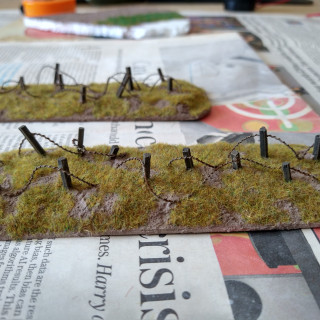
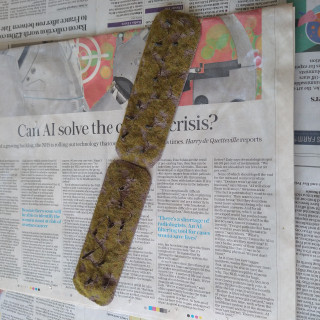
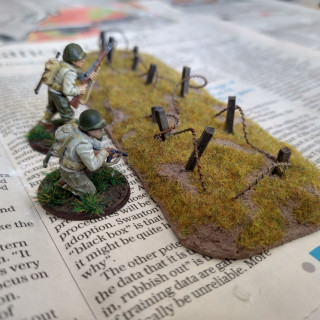
Ever since I created the first piece of trench with the barb wire protecting the approach to it from the front, I have wanted to make some small pieces of moveable barb wire.
These are also a support option in Chain of Command and so fits nicely with the project.
These are 6 inches by 2 inches in size as per the requirements in CofC.
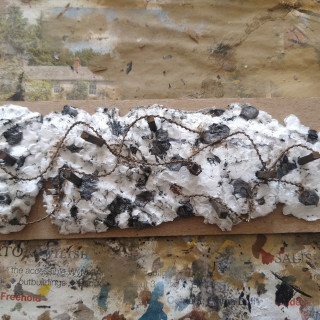
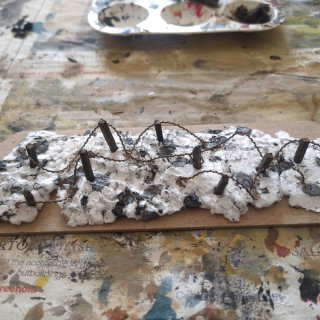
Made in a very simple way.
- cut a 6 inch by 2 inch piece of 1mm thick chipboard
- shaped a very thin slice of polystyrene and glued to the chip board
- layed out the route of the barb wire
- pre-drilled holes for the wooden posts
- cut the posts to length from matchsticks and sharped the edge to help penetrate the polystyrene when it came to glueing
- removed everything.
- the posts and wire were painted in the exact same way as previously on the trench sections.
- applied the ground texture – each time it got to the hole for the post, the post was glued into place
- once all posts and ground texture in place, the barb wire was added
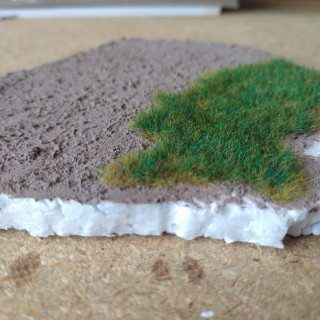
flocking directly to the ground textures
I then decided, as i had already half done a test piece, to flock directly to it without risking anything that had actually taken time and effort ……
results were very “meh” and uninspiring.
the "Duh" moment .......
It then occured to me, that as I had made my tufts on grease proof paper that needed to be removed to be applied to the model, rather than glued directly onto it … that I didnt actually need a test piece and could just “test fit” the tufts onto one of the existing pieces of trench that I had already made.
It gave me an idea of what it would look like, but would take some work to make it look like its embedded into the ground rather than sitting on top …. so still not convinced……..
To Flock or not to Flock .... hmmmmmm
Since I have started the project ive been struggling to decide whether or not the fron edge of the trnach pieces need to have scatterings of grass that thin out as you move closer to the trench.
This in my mind is for three reasons
1 — helps the trench seem more “in the ground”
2 — helps to give hte impression that as earth as excavated, it was just thrown onto the existing ground and some of that either wasnt reached or fully covered
3 — makes it look like the trench has been established for a period of time, and nature is starting to take back over
But, there is a fear …. if it looks &*%$ then ill ruin the piece.
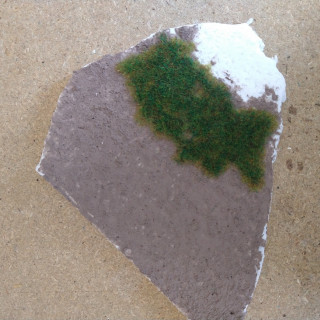
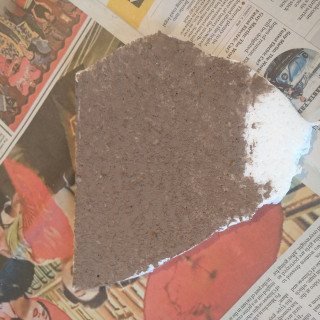
So I decided to just put on some of the ground texture i had been using onto a scrap piece of polystyrene to use as a test piece.
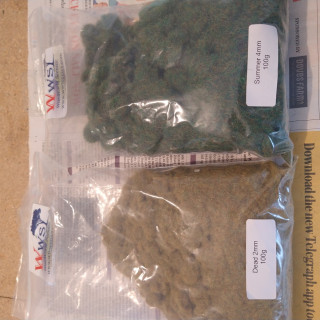
I then made my own grass tufts using my static grass applicated and using two colour types.
2mm Dead grass for the first layer, and then adding 4mm Summer over the top to give some colour variation.
3rd section .... infantry insert
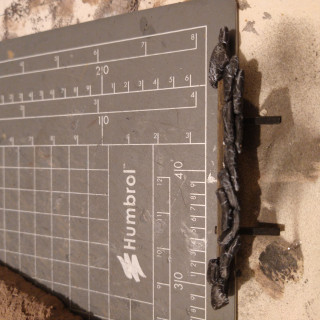
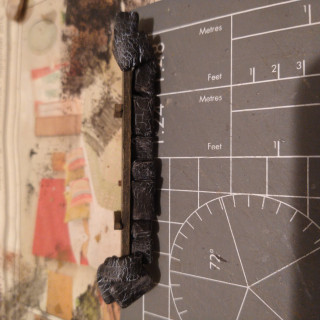
Sandbags being added (these would help to ensure a snug fit, and also to hold the piece securely into position when in use).
3rd section .... final modifications
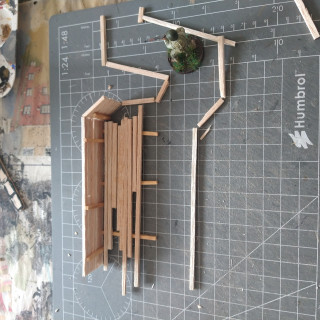
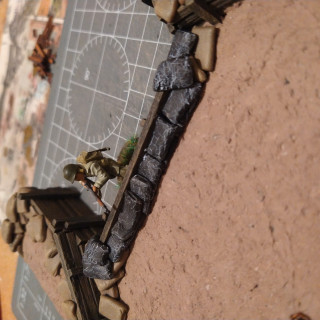
The last thing I needed to do, to fully complete this section, was to raise the front wood panelling to protect the infantry.
On the core part of the model this is lower than the other sections as the gun sites lower to the ground, and it meant infantry looked a little exposed in its current look.
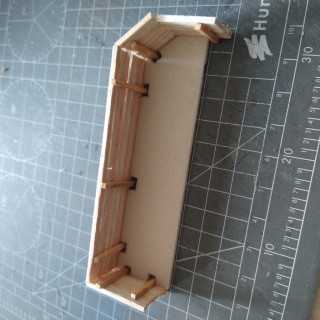
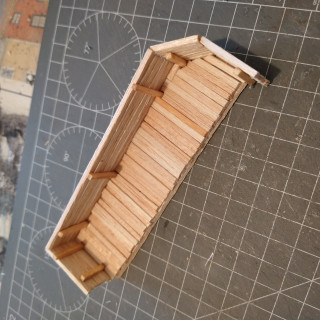
So I decided to build and insert that i can slide in / remove depending on how the section will be used.
The construction was again, the same as how I made all the other pieces with the wood panels / sandbags.
The important thing here was to be care not to glue any of it to the base model!
Below is the wood section being made / test fitted.
3rd section ... repurposed
As mentioned earlier, I wanted to be able to use this section for either infantry or anti-tank.
So to do this, I simply made an alternative rear portion of the trench section.
3rd section .... in progress
I didnt take as many in progress photos of the 3rd section of trench line as its built in exactly the same way as shown earlier.
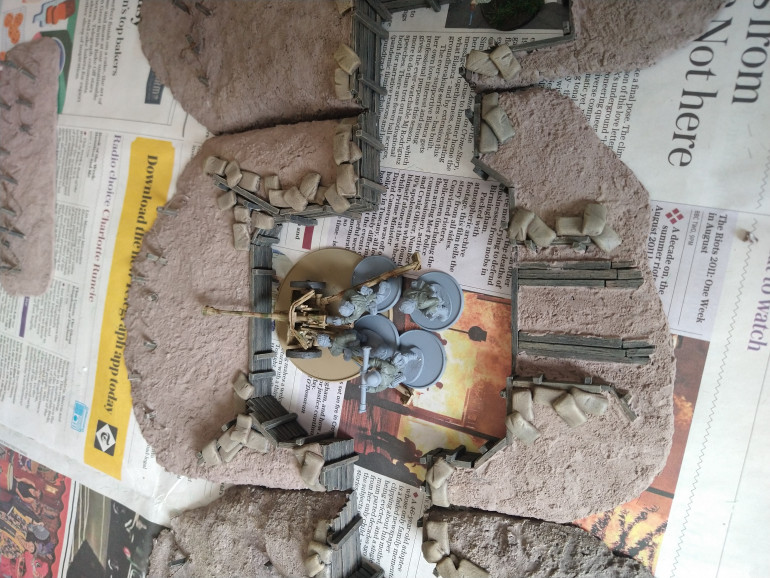
This piece is intended to be a gun position, but (as your see) I also gave myself the option to use it as another Infantry position so it gives me alot of flexibility in how I want it to be used from game to game.
The front facing piece looks alot more “fortified” and hunkered down with the earth works.
The rear, has some duck boards in place to be able to roll the anti-tank gun into position (and possibly to quickly withdraw it, if the position looks under threat of being overrun)
Thankyou ...... ?
And a thankyou to whoever gave me a tutoring, skill and idea vote for the photos of my Salute purchases!!!


