Painting historical minis with janus1004
Recommendations: 134
About the Project
The project covers the historical minis I paint, from ancient Romans to WW2 Americans... and Dark Ages in-between. :-)
Related Game: SAGA
Related Genre: Historical
This Project is Active
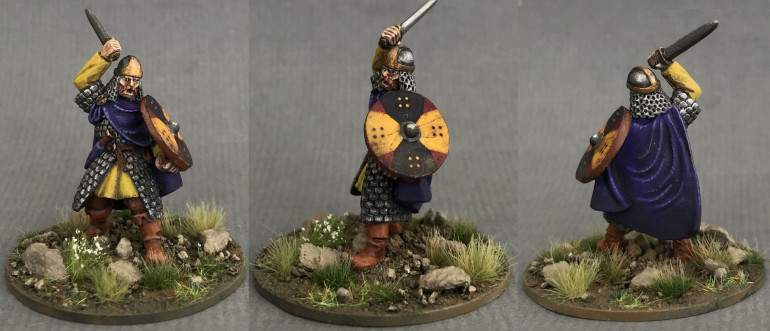
Gripping Beast - Carolingian warlord - Complete
Completed a metal figure from Gripping Beast. It is a Carolingian leader that I will have in my Saga warband and it was a true pleasure to paint. The figure is a little bit bigger than the Gripping Beast plastics, but I feel that it is only right considering that he is the hero! 🙂
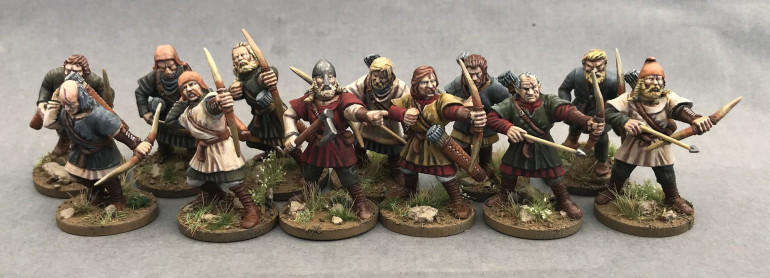
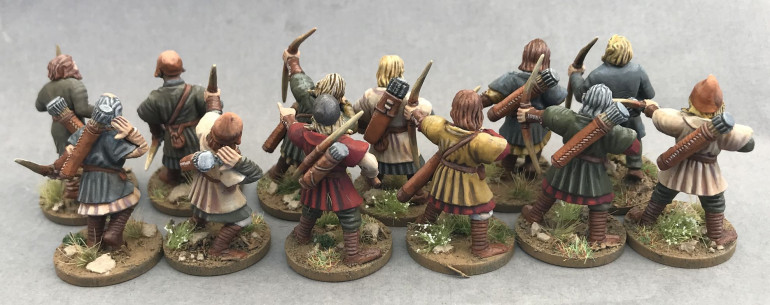
Conquest Games/Gripping Beast - Archers - Complete
So, even though these were a pain to build they were a joy to paint. Perhaps the problems with assembly is worth it, I really like how they turned out. All have individuality and a well defined sculpt. I used the usual Scale75, GW , and ArmyPainter colours for this, but in addition the Vallejo Model paints “Japan Uniform WWII”, “Field Blue”, and “Russian Uniform WWII” helped with the muted tone I was looking for.
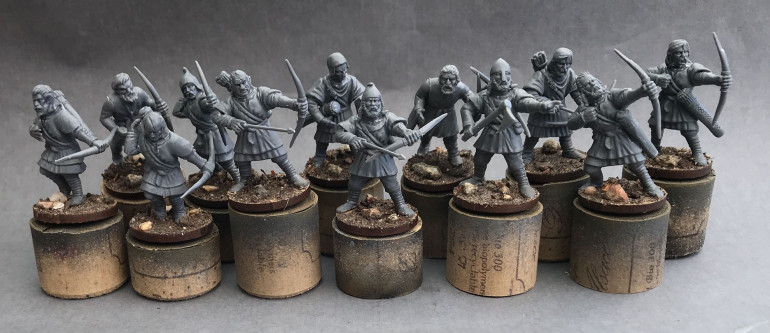
Conquest Games/Gripping Beast - Archers
These are some archers, mainly from Conquest Games, but two of the bodies are Gripping Beast. They are all, to one level or another, converted pieces which is something I do not do so often. Unfortunately, most of the conversions were not voluntarily as the Conquest part just did not fit with each other, or gave very strange and unnatural poses. A lot of cutting and sawing was needed to make these look decent. As such I would not recommend this kit (Medieval Archers) really. Anyway, they are twelve in total so intended for Saga.
Victrix Numidian light horse - Complete
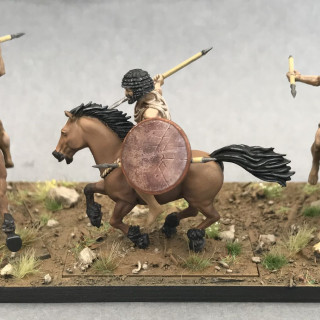
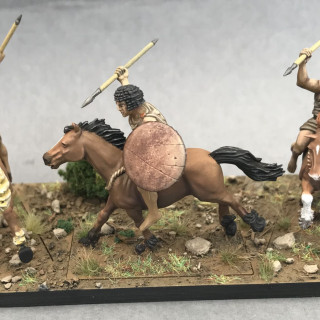
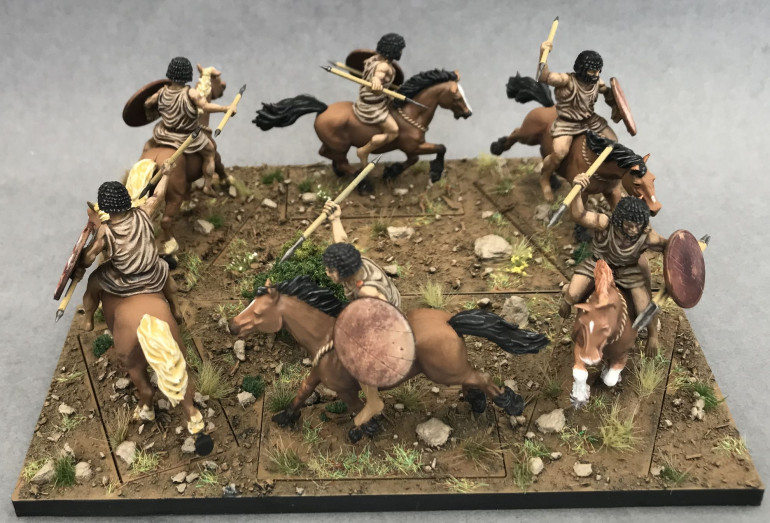
Completed the Numidian light horse from Victrix. I have used LBMS transfers for the shields and overall tried to give them a “skirmishy” feel. When I designed the movement trays it was with the hope they would convey that these troops don’t charge into you, but rather ride past you and throw their javelins. The idea was that two bases combined would form a Cantabrian circle, which is a well known ancient skirmishing tactic. I must admit that I was very pleased with how it looked when completed as I think it kind of captures the movement of the troops.
Movement tray - tutorial
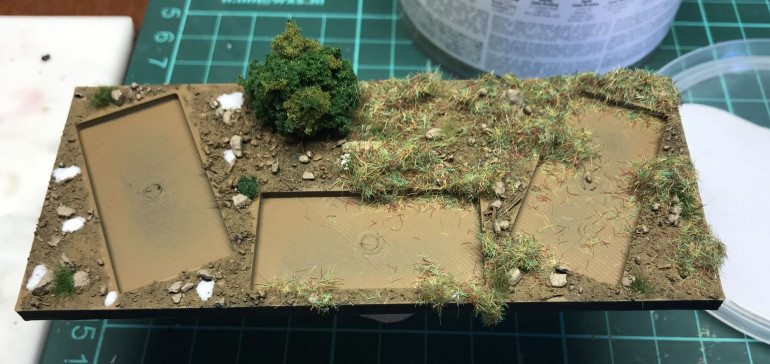
In the latest post the movement tray had just gotten the gravel and soil added using PVA. What happened next was that it was airbrushed black/white, followed by Earth from GameAir. The rocks were picked out using GW Karnak Stone followed by tufts (Armypainter and Gamers Grass) and also the small bush was added using clump foliage and superglue.
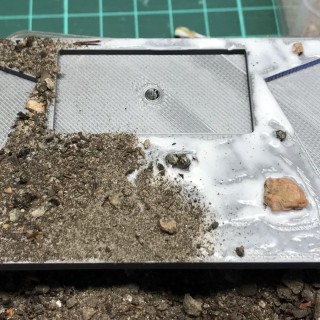
This is halfway through the last step, the white blobs are PVA to which static grass is being added. Let dry and shake off. Below is the completed movement trays.
Victrix Numidian light horse - Rider WIP
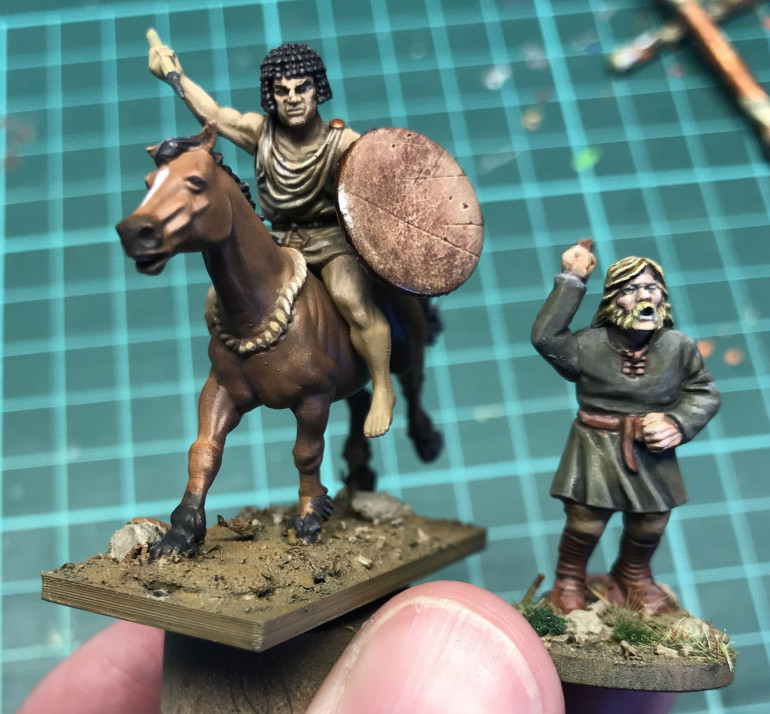
Almost completed the first of the Numidian light horse from Victrix. I have tried to make the skin tone a bit darker, something which I have not done so much. Normally I paint them more like the comparative slinger to the right. Since the horse is for the Carthaginian army I want the different units within it to reflect how multiethnic the force really was.
The skin tone was done using Arabic shadow, African shadow, and Basic skintone from Scale75.
Victrix Numidian light horse - Horses!!
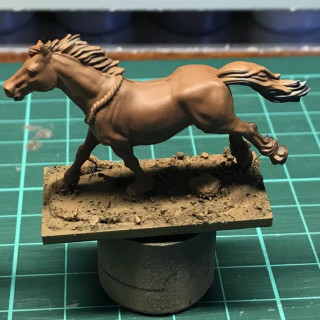
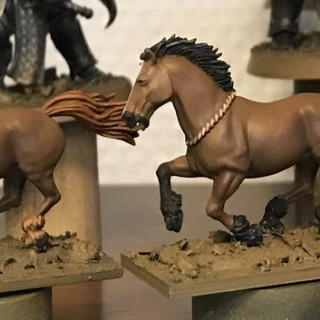
The first picture is the status after airbrushing, essentially a “beasty brown” coat over a black/white basecoat followed by softly toning down the darker areas with a dark brown and finally top of the horse got some more beasty brown with a bit of white in it. The second picture is the completed horses, did a selection of different manes, emphasised some recesses and highlights and completed some other details. I tried to keep the smooth appearance gained from the airbrush as much as possible.
Victrix Numidian light horse - prepping and basing using custom movement trays
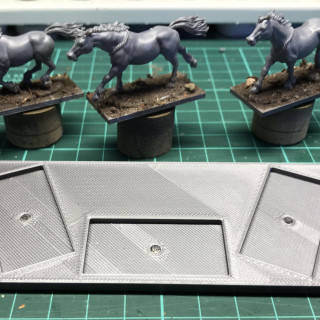
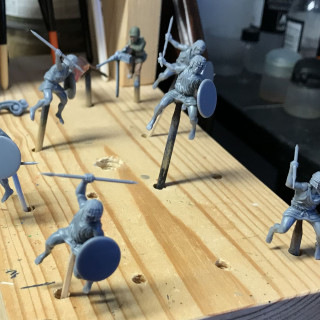
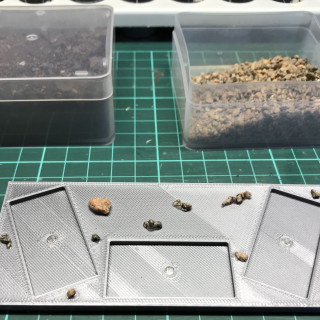
So this is the start of my most recent addition to my ancients armies, six Numidian light horse from Victrix. Picture one and two show that I will be painting the riders separate from the horses. As always the figures are well detailed and with minor mould lines to be removed. The movement tray is further described in my 3D printing project, as it was drawn by myself in TinkerCAD and printed on my Prusa i3 mk3.
I thought I would describe how I make my bases, as I use more or less the same approach for both the movement trays and the figure bases. The third picture shows the larger rocks added to the tray using super glue. Then I coat the full surface in PVA and add my second scatter, some cleaned dirt from the garden 🙂 The fourth picture shows this step halfway through. Overall, this gives I think a realistic base for me to start the next step, airbrushing…
Gripping Beast slingers for Saga 2.0
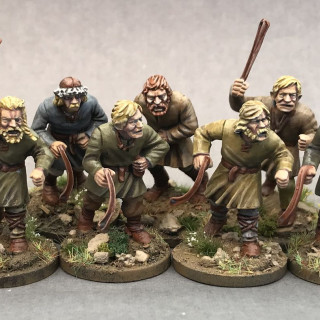
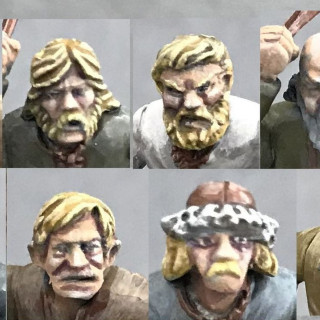
Completed twelve slingers intended for Saga, plastic minis from Gripping Beast. Tried to use muted colours and spent some extra time on the faces, which was a lot of fun. All skin done with Scale 75 paints.


