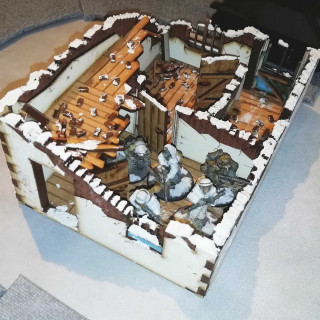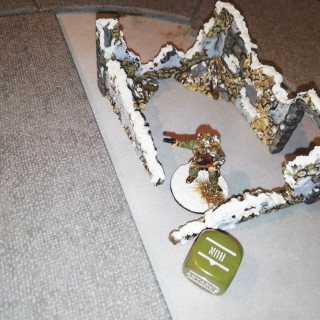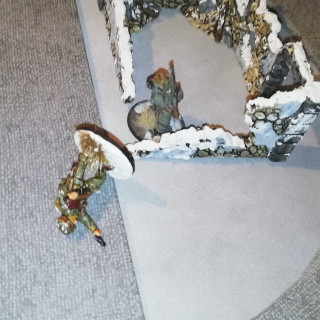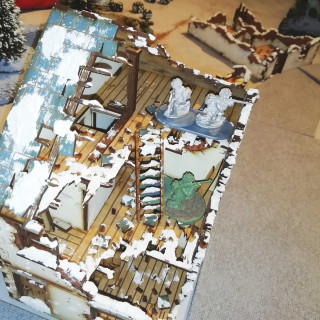
Battle of the Bulge – Bolt Action Campaign by Andre77 and Bothi
Recommendations: 69
About the Project
We (Andre and Bothi) attended the Bolt Action Bootcamp like 3 years ago now? And we still haven't finished painting our armies. We played a few games here and there and always liked the rules system, but we never got around to really get into it.
So as Warlord came around with their Battle of the Bulge Campaign supplement for Bolt Action - containing 12 loosely linked missions - , we decided to take this as another dive into the system and trying to find the time and motivation to finish our armies.
We got 3 more guys on board (Sven, Jan and Christian) and this project will be our journey through the campaign with a few hints here and there how the progress on the armies is going.
Related Game: Bolt Action
Related Company: Warlord Games
Related Genre: Historical
This Project is Active
Mission 5 continued
Turn 3 & 4 – The Assault
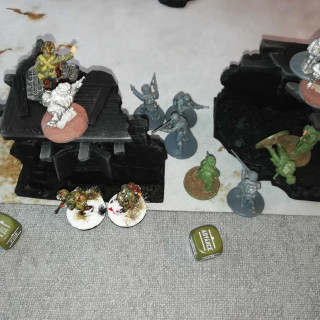
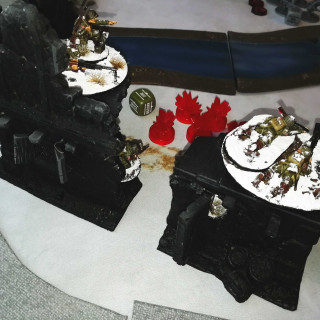
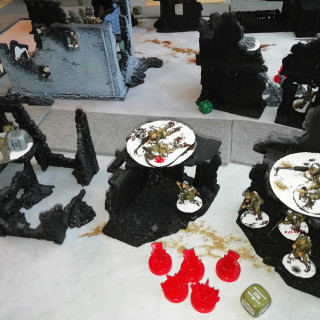
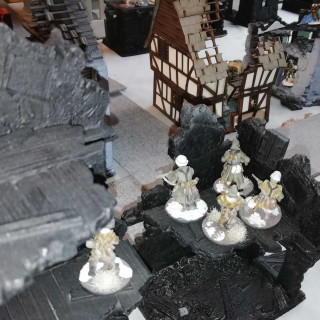
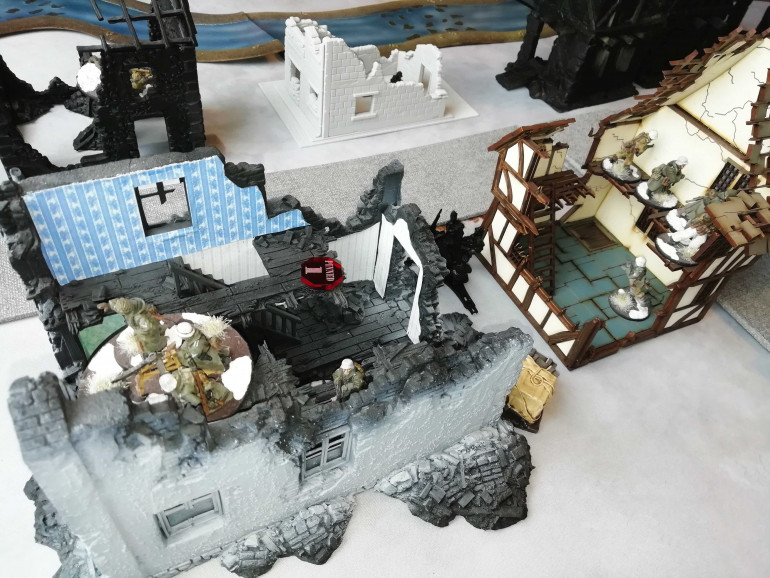
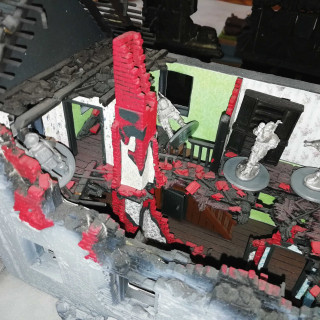
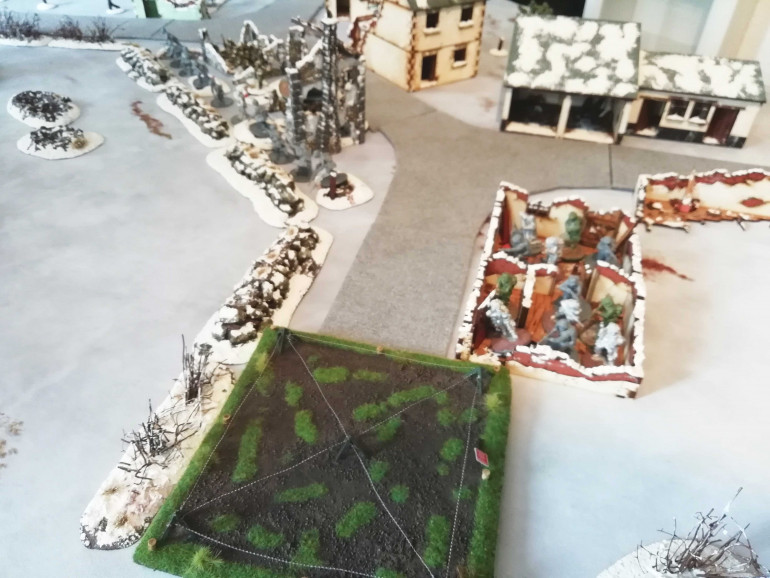
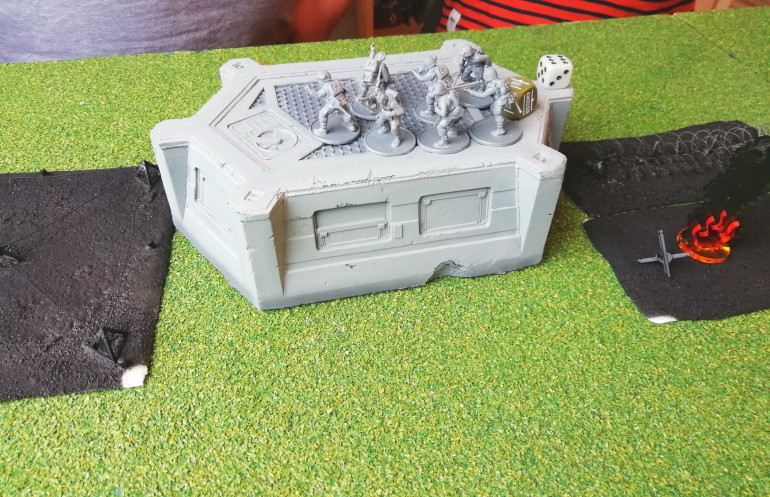
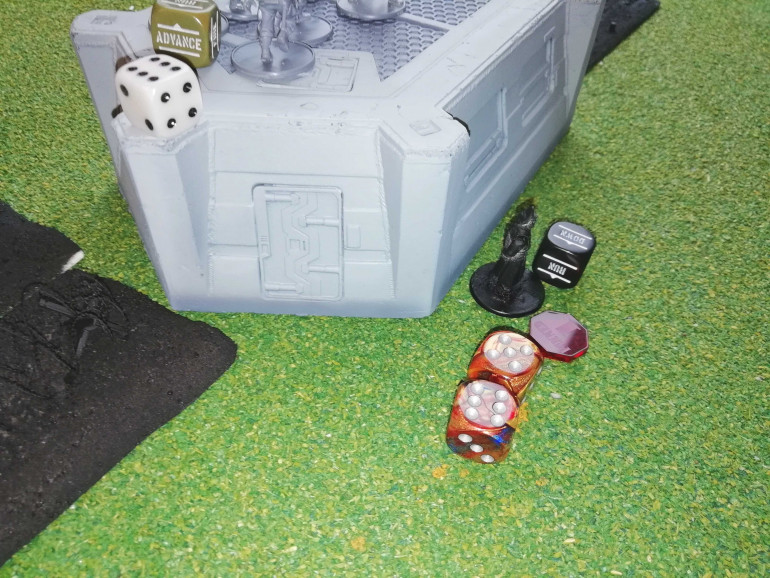
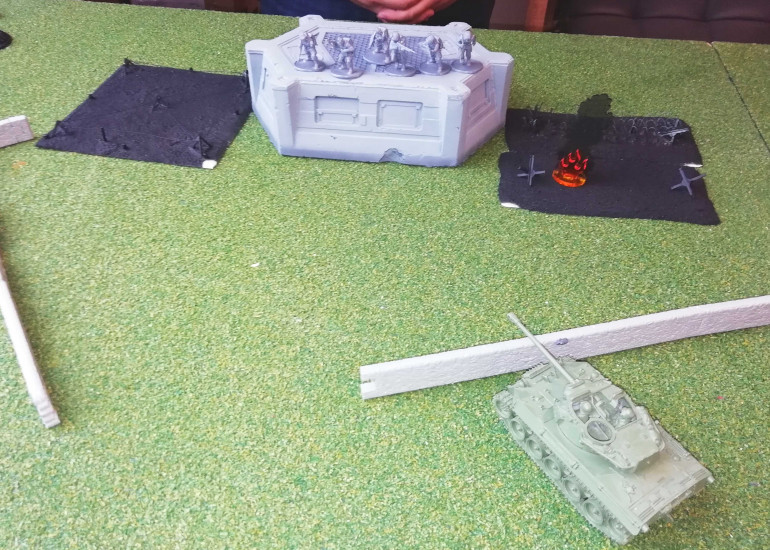
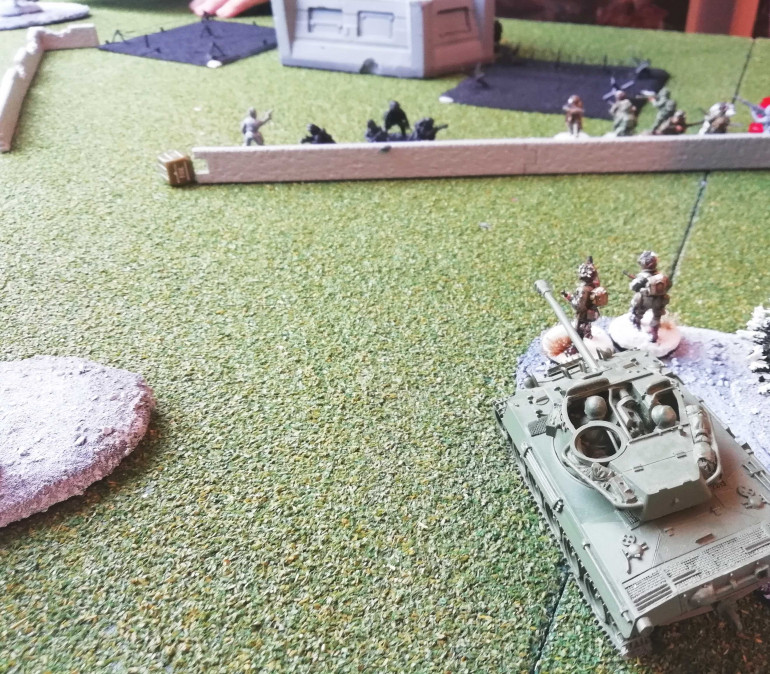
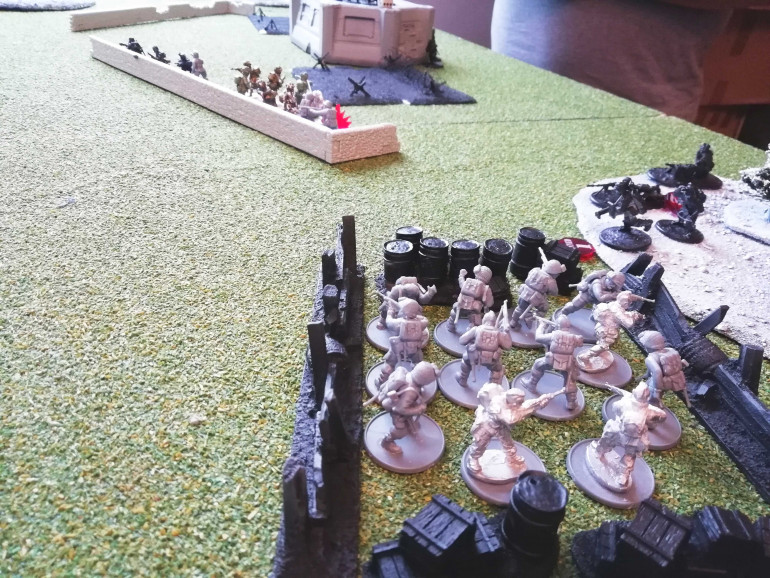
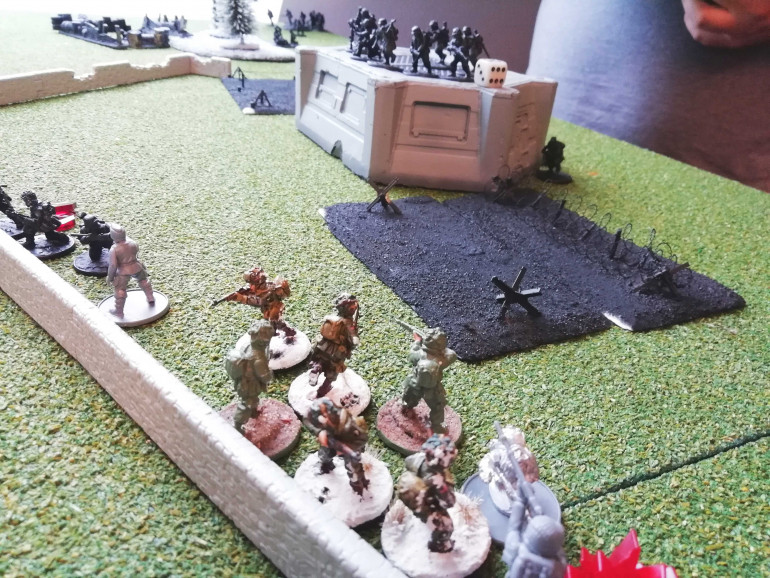
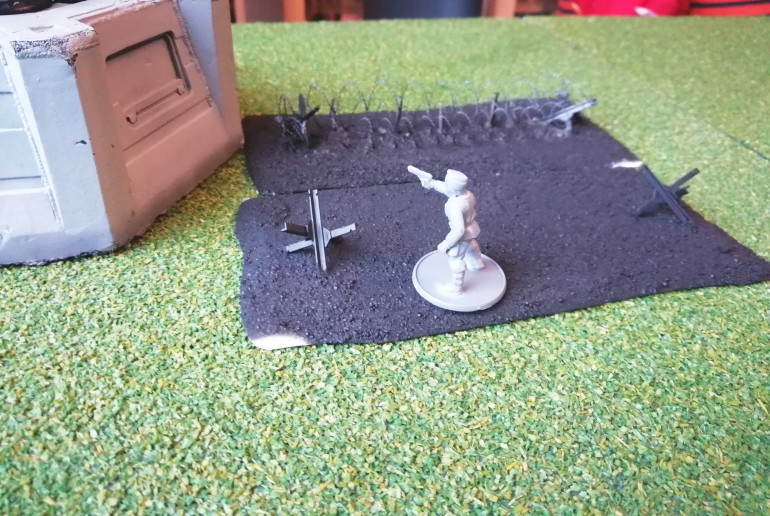
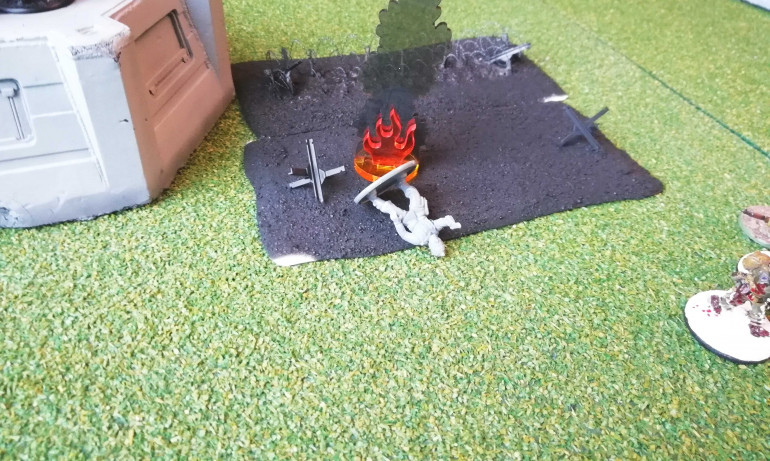
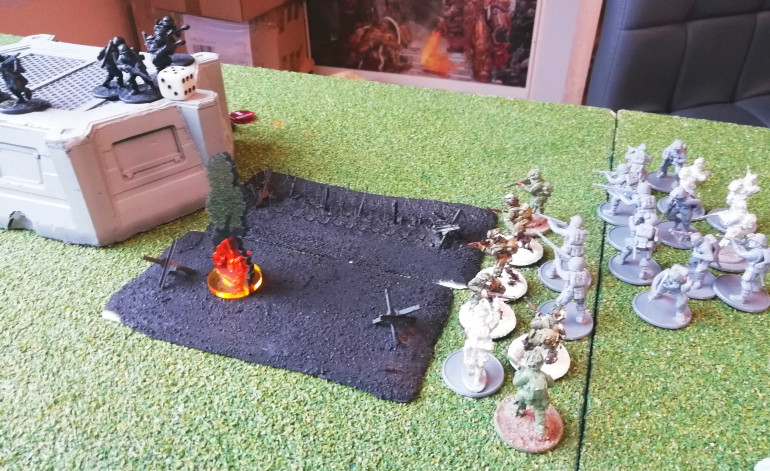
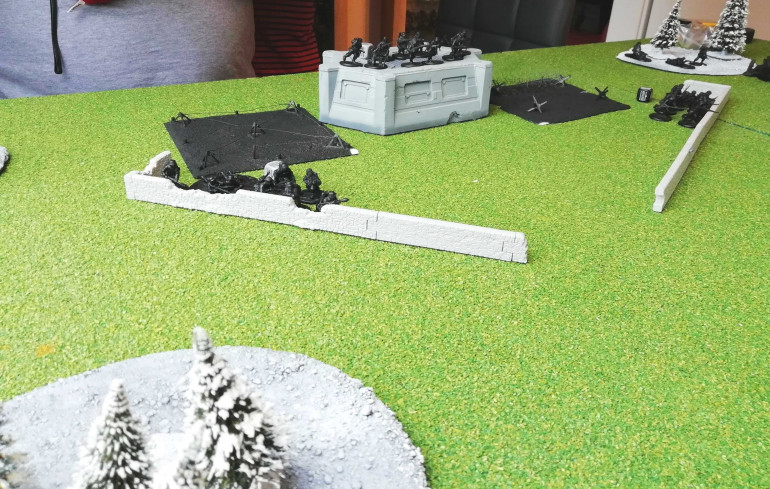
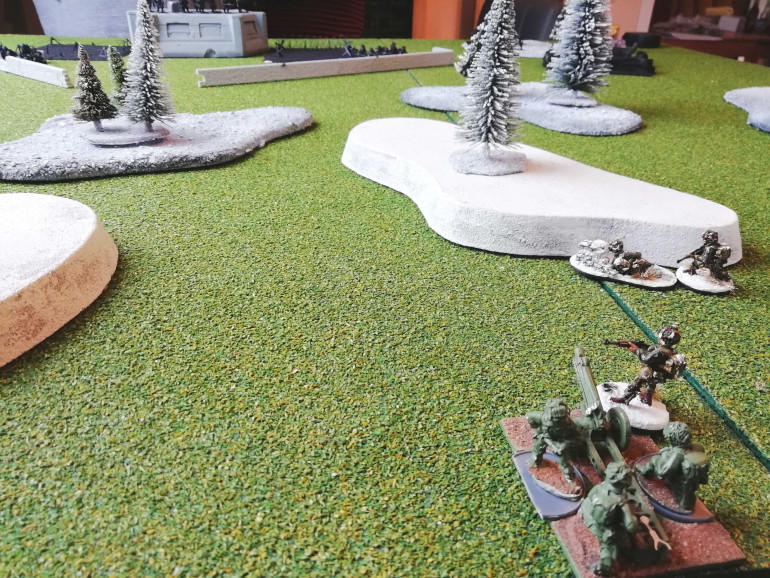
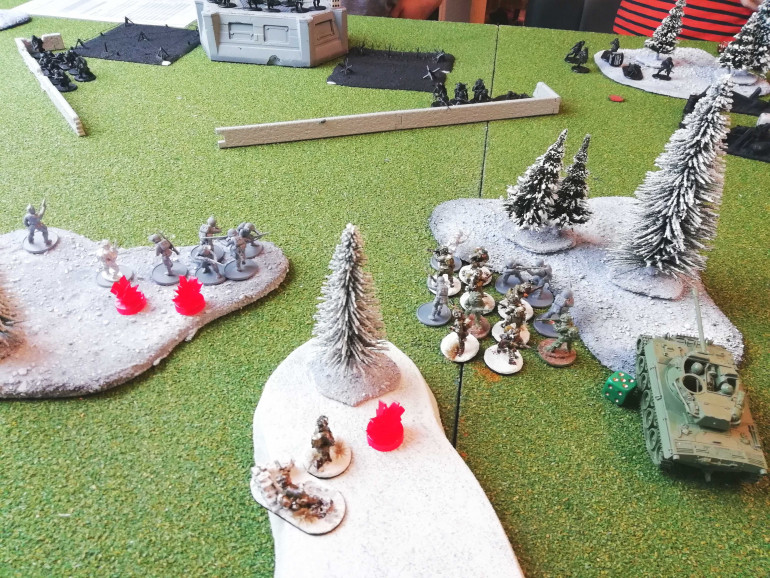
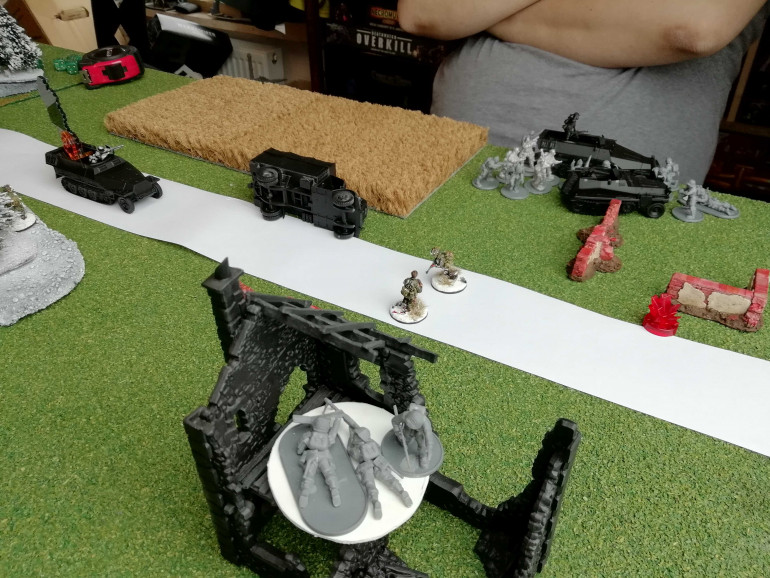
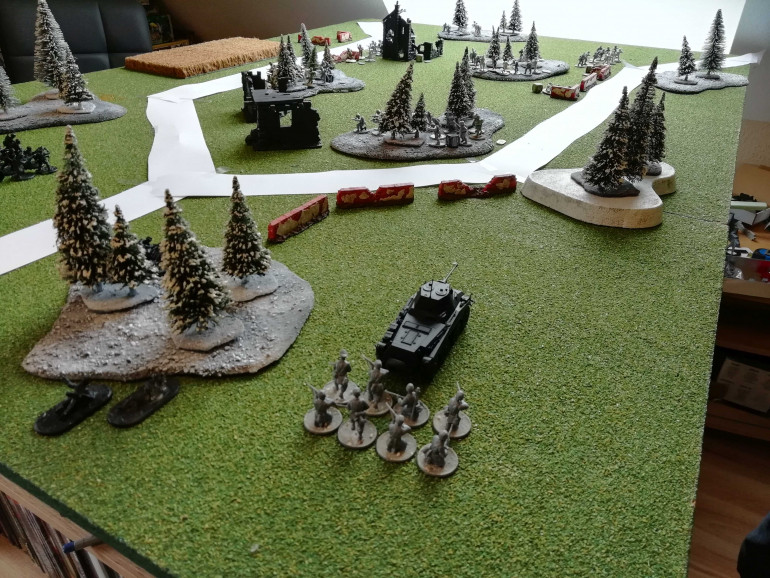
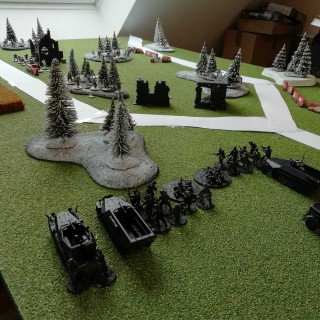
Finally Captain Winters and his assault group arrived on the table. They managed to push in from the east and capture the main objective in turn 4. There were still some survivors left after the heavy bombardment from artillery and airforce for 4 turns, but they posed no real threat only killing a single American.
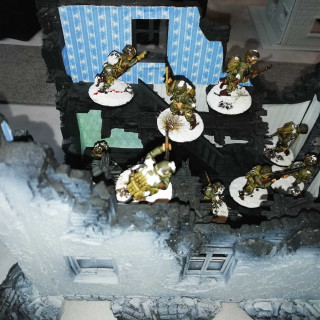
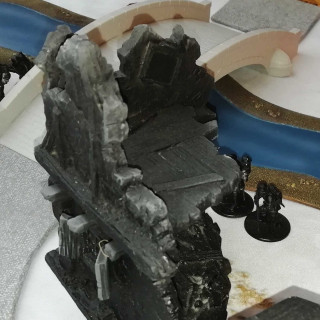
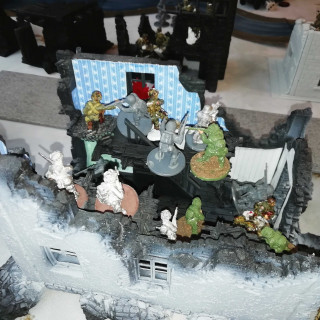
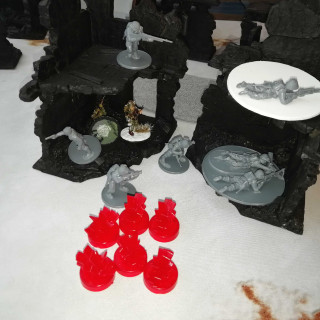
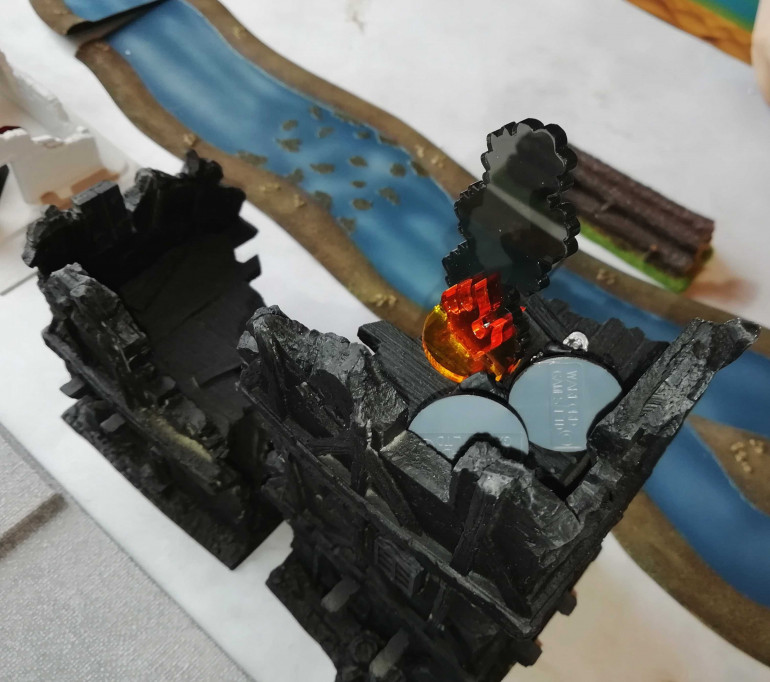
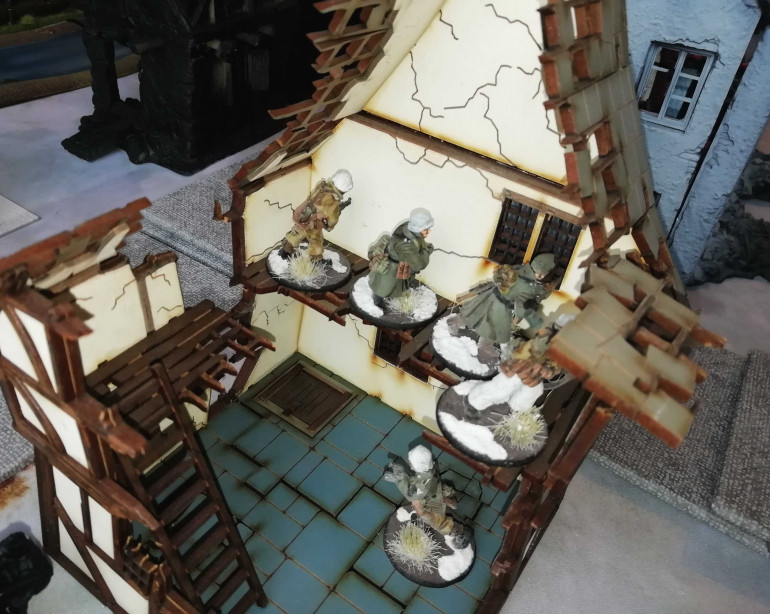
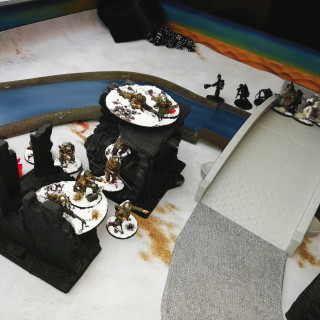
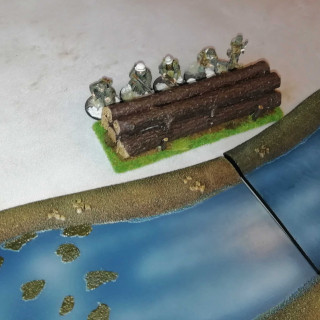
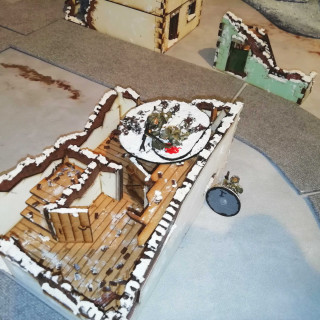
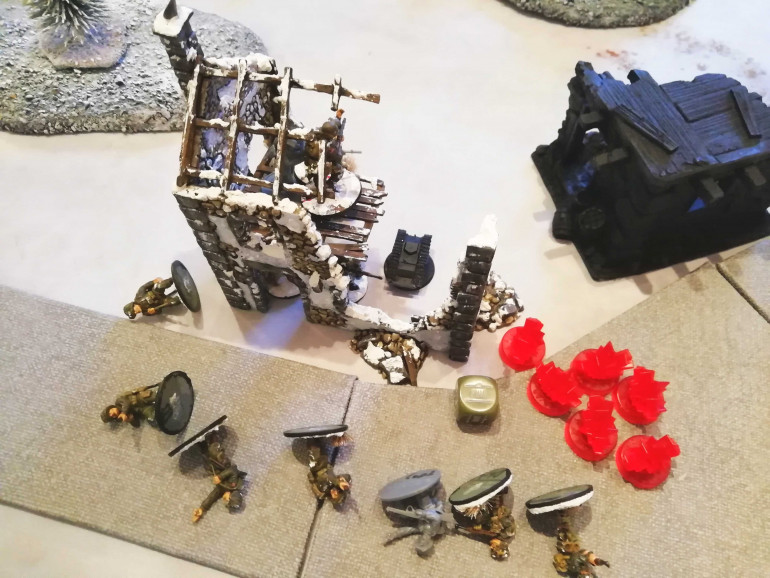
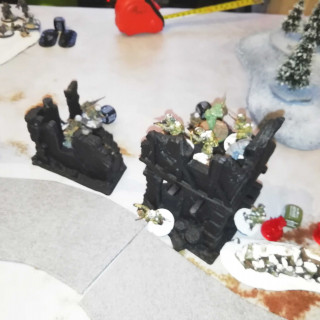
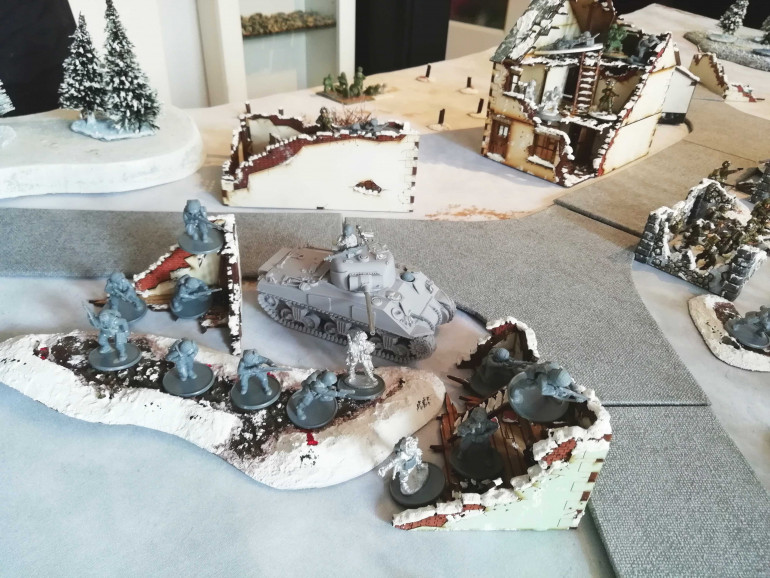
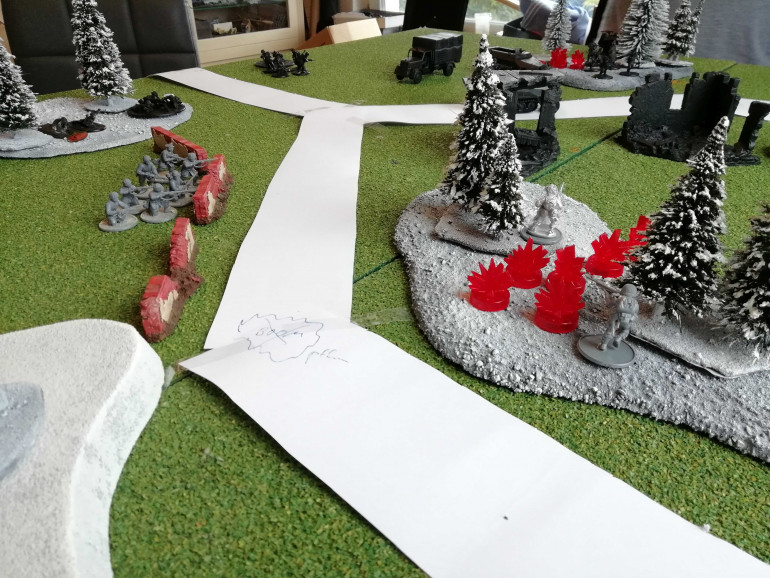
The squad covering the bridge didn’t fare so well. They put down a lot of fire, managed to kill the 5 man veteran squad crossing the bridge and reduce the pioneers. Only the flamethrower was left. But that flamethrower managed to kill half the squad and set the building on fire. The squad fled across the street into the next building, but another flamethrower team arrived from reserves for the Germans and managed to clear the MG squad. They actually still had a few guys left, but with 10 pins on them they decided to retreat.
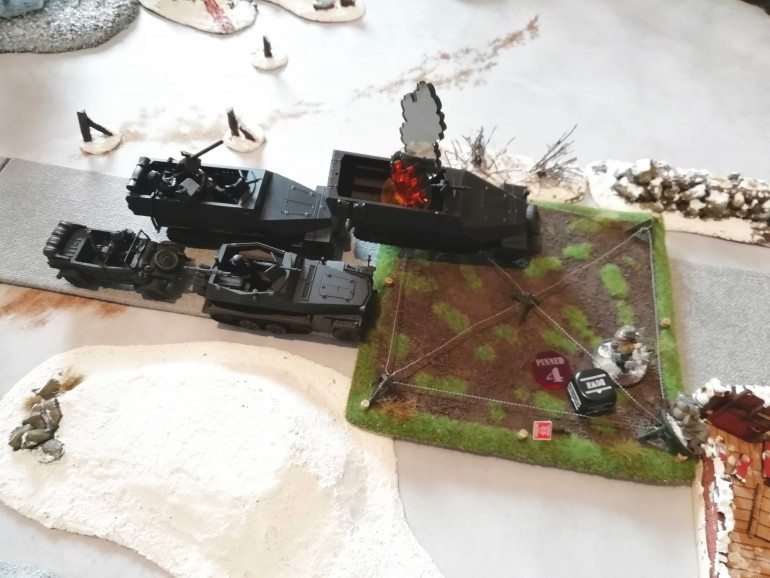
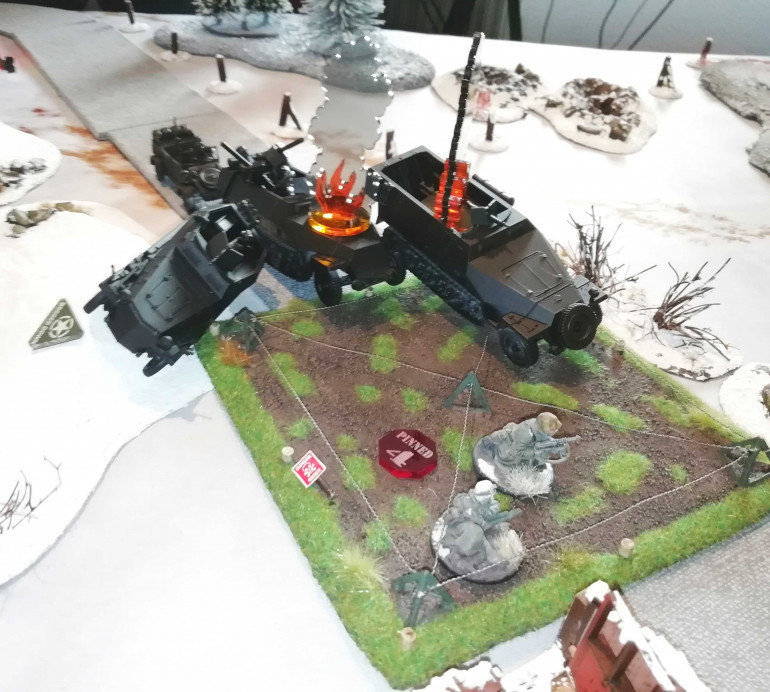
Lastly the bazookas arrived and tried to take out the mortar halftrack (as no German armour was coming). They managed to pin it, but that was all. Then 20 green inexcperienced paratroopers arrived for the Germans and tried to take care of them. It took them two turns. Inexperienced vs veterans is no fun. And rolling 1s for being green even less.
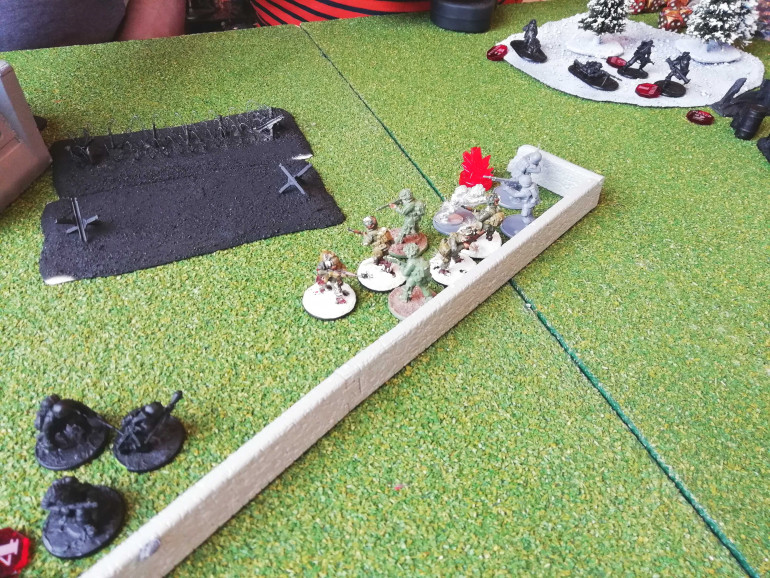
The last remaining 5 man veteran squad (earlier deployed to flank the pathfinders) managed to cross the river and get into an assault position on the objective. The Americans had taken their objective, but are they able to hold it?
Turn 5
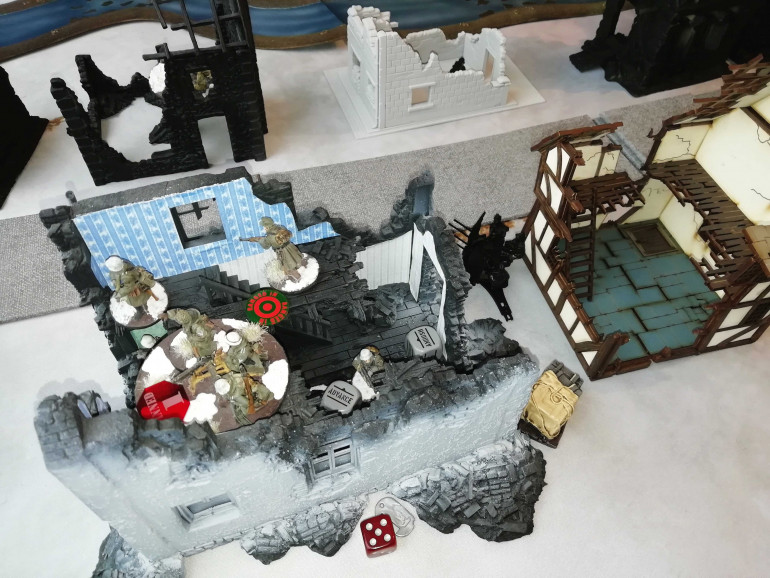
As offense is the best defense Captain Winters ordered the assault squad holding the objective to push further against the Germans and clear out the MMG team across the street. This meant all the initial defenders had fallen. He then himself took hold of the objective with the second assault squad and the medic team.
The flamethrowers (obviously having packed loads of fuel) went to work on the next MG squad. They were able to kill nearly half the squad and deal a buttload of pins. They only lost one loader in return. The German counter attack suffered a few pins and decided the wait another turn to assault the objective.
Turn 6
Everything was depending on who got the first die. I was lucky and thus the Americans could continue with their push before the Germans were able to counter attack.
The second assault squad (currently occupying the objective) launched an assault against the German counter assault and wiped them out. The first assault squad dealt with one of the flamethrower teams. The green paratroopers (only about a dozent survived the encounter with the bazookas) weren’t in range to reach the objective and had a wall of 20 veterans in front of them. So it was down to the last flamethrower team to retake the objective. They had a realistic chance, as it was only occupied by Captain Winters, Sgt. Lipton, Medic Roe and another soldier (let’s call him Dave).
They charged valiantly, but I rolled amazingly and killed them in defensive fire. Even in a possible seventh turn the Germans didn’t see a chance to retake the objective with only a mortar SdKfz and a dozen green paratroopers left. They sounded the retreat and hands were shook. A stunning victory for Captain Winters and Easy Company…. erm I mean the 82nd Airborne and their heroes of course 🙂
Mission 5 - Kampfgruppe Peiper
So. Yesterday we got around to play the 5th Mission of the Battle of the Bulge campaign from Warlords corresponding campaign book.
The Scenario
The scenario tries to recreate one of the multitude of battles fought by Kampfgruppe Peiper a few days before Christmas ’44. At this point the advance of the Kampfgruppe was stopped dead and they tried to get back to main German body of troops. These fighting withdrawals were fought around the villages of Stoumont and La Gleize. The objective would be for the Americans to take the centre building of the town. Simple as that.
Setup
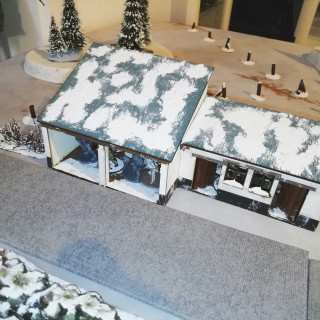
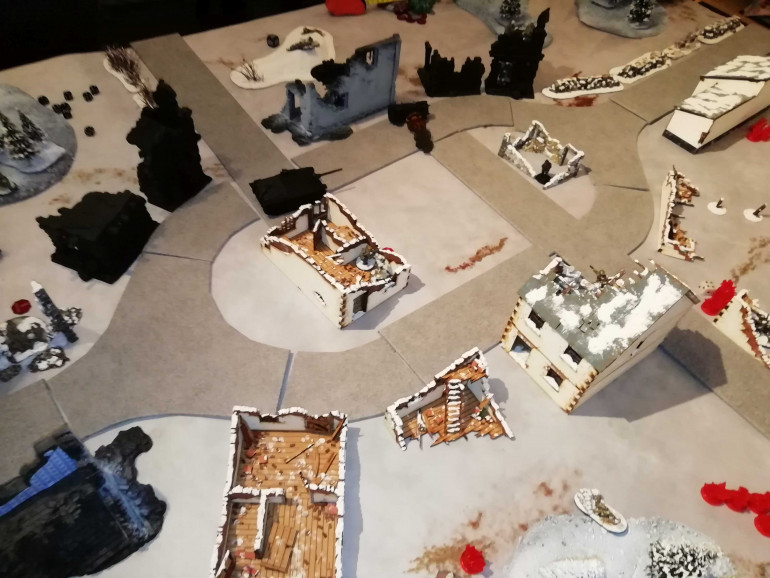
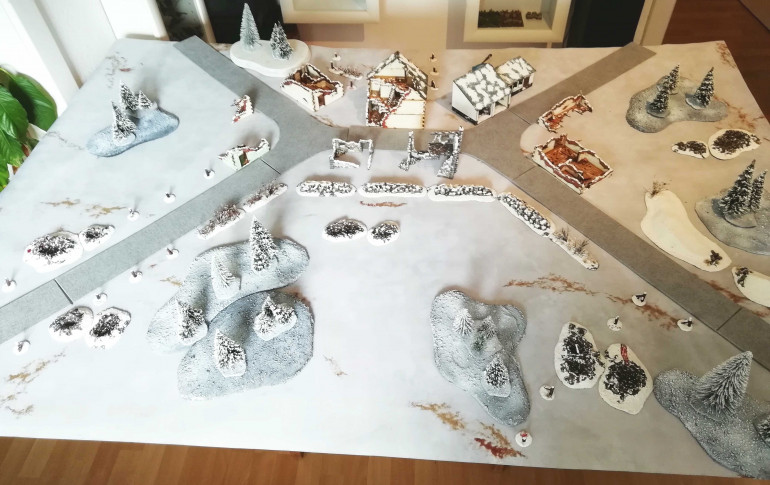
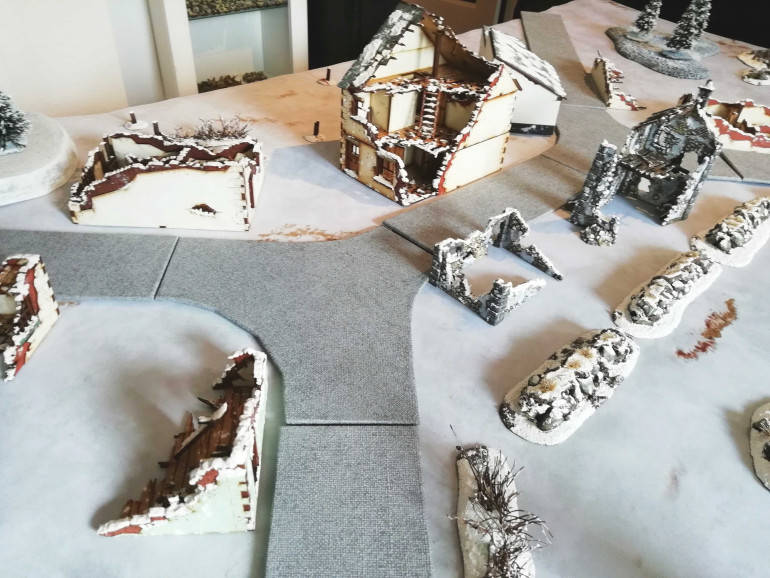
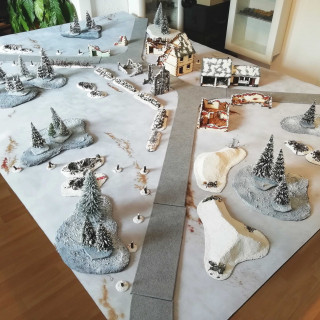
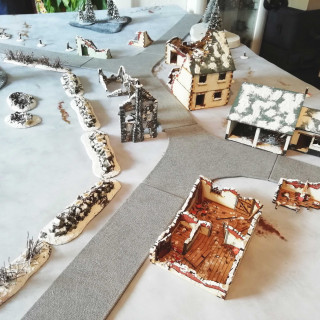
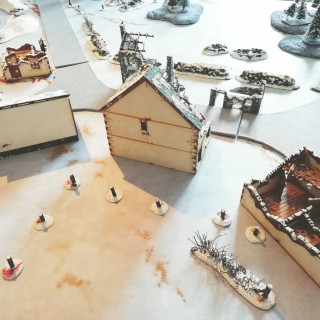
In this scenario we built nearly the entire table as a small village. The Germans had 1000 pts of which 50% were dug in in the village centre. The rest would arrive from the east (behind the river) as support. The US (representing the 82nd Airborne) would arrive with 50% of their troops as their first wave from north and south directions. The other 50% would arrive as reserves from turn 2 onwards. Also the scenario didn’t say anything against flanking moves, hence a lot of the Airborne were dedicated to such a manouvre.
The US plan was simple. Lt Spears would take command of the first wave including the MG squads, the pathfinders, the howitzer and the forward air observer. Captain Winters would take the medic and two assault squads outflanking from the west to assault the main objective. A brick building in the centre of the town. The bazooka teams were to outflank from the east to threaten any German armour support. The chaplain was in “normal” reserves.
Turn 1
Before the game began there was a preparatory bombardment. I managed to roll a 6 on the German sniper team and killed the spotter. As this was 50% of the team Andre (@andre77) had to make a moral check, rolled double 6s and the Sniper was gone. Good start for the US boys.
Now the Germans already were under pressure as the sniper was supposed to cover the southern approach. They shuffled their troops around and occupied/covered the objective with 2 MMGs, a 2cm flak, their officer and a 5 man veteran squad armed to the teeth with assault rifles.
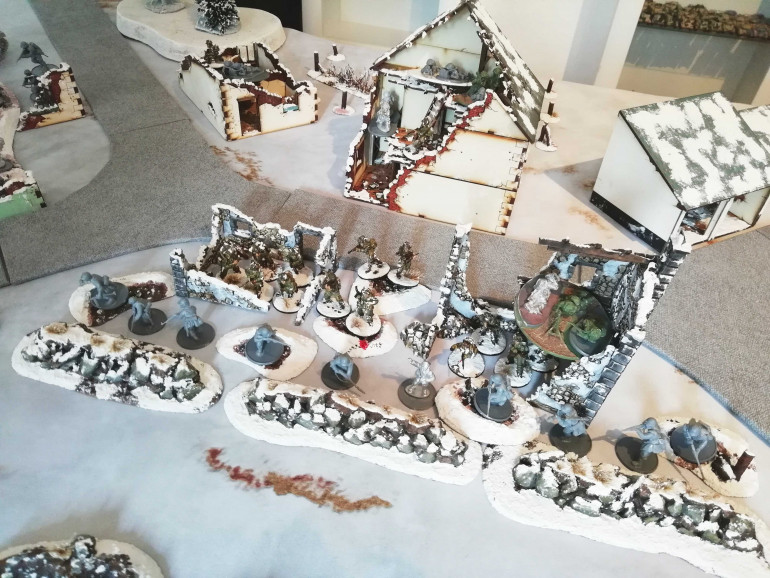
Otherwise the first turn was more or less uneventful. Only a few pins were traded. The Americans moved their first wave onto the table. Lt. Spears and his two MG Squads arrived from the north and took position near the bridge. Their job was to take care of any German reserves arriving on the far side of the river.
The howitzer and the FAO arrived from the north aswell to be well protected. The Pathfinders decicded to arrive from the south to open up a second front for the Germans.
Turn 2
In turn 2 things started to heat up. Literally. First the Germans holding the objective got under a lot of fire as on MG squad, the howitzer and the US Airforce opened up on them. A single German soldier was killed, but a lot of pins were dealt out.
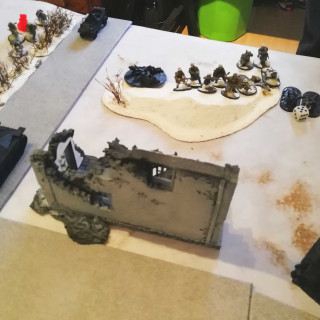
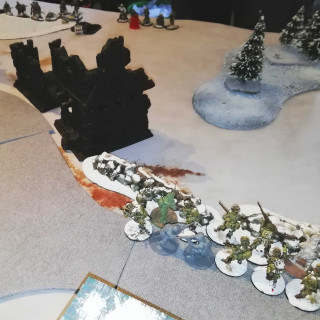
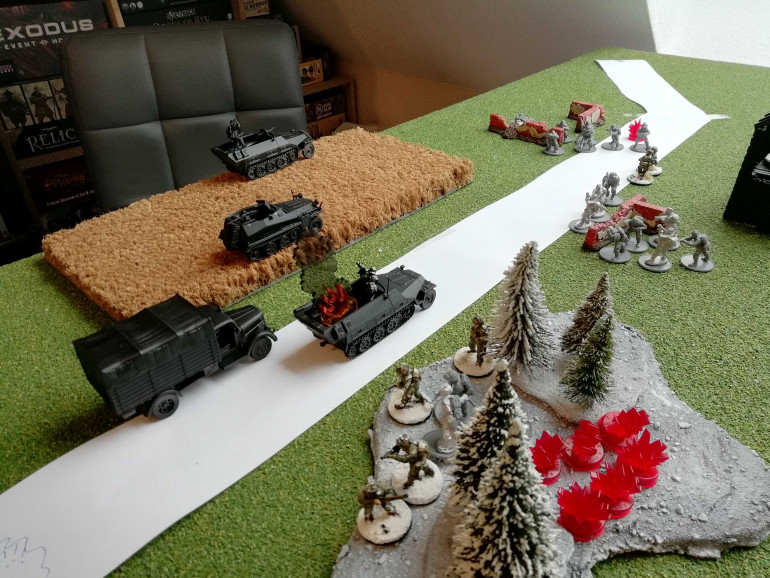
The 82nd had good position up north with one MG squad opening up on the objective and the second one covering the bridge. They took a lot of fire themselves from the German MMGs position in the town centre and the first arriving reinforcements in form of a pioneer squad with a flamethrower and 5 more veterans. The flamethrower was a huge threat. Unfortunately he only managed to kill a single man and didn’t set the building on fire.
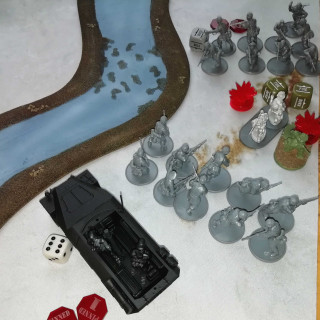
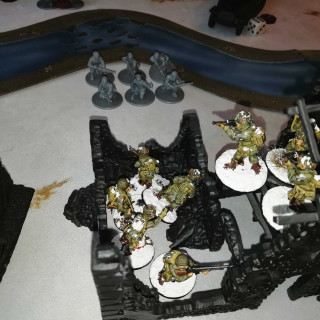
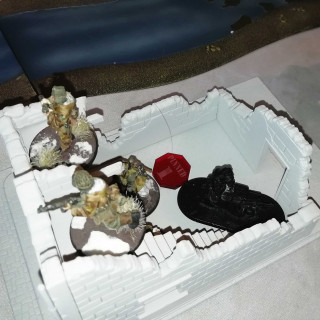
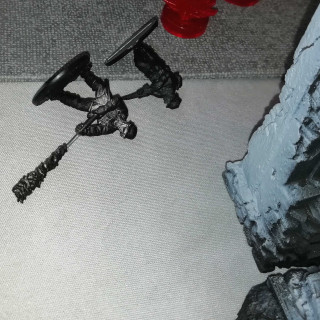
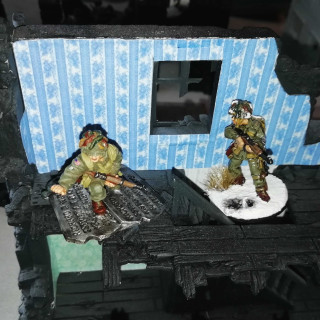
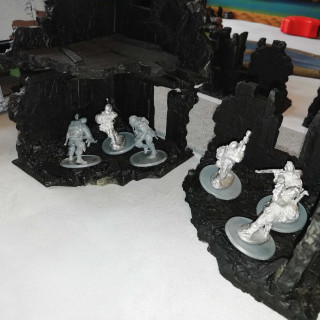
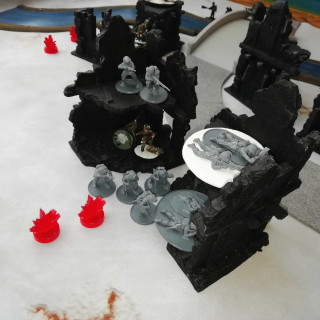
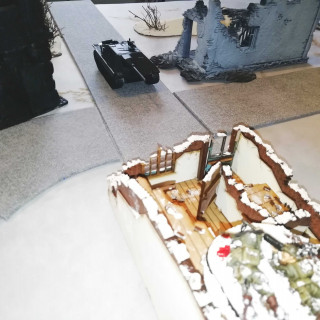
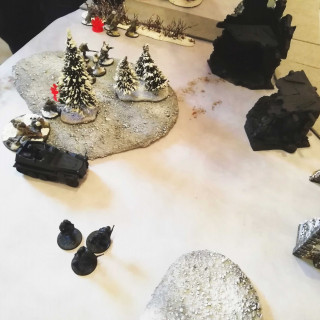
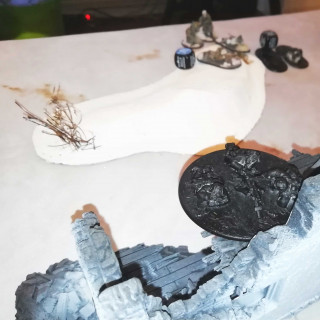
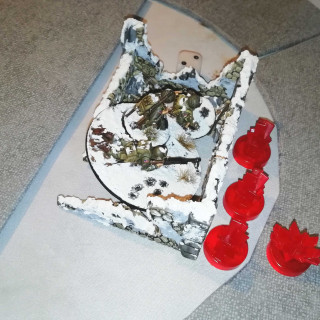
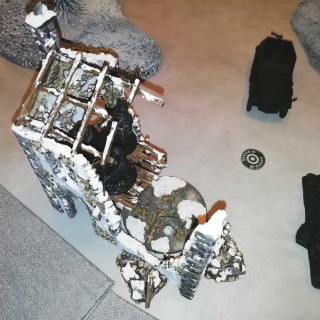
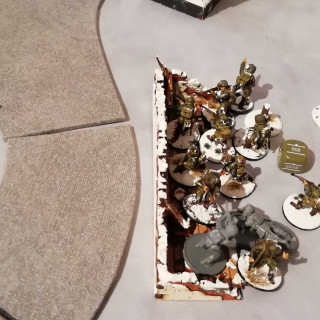
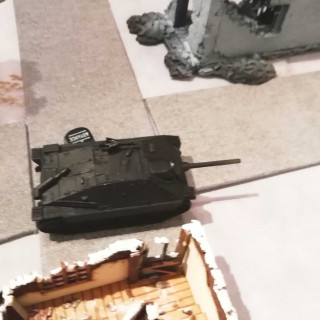
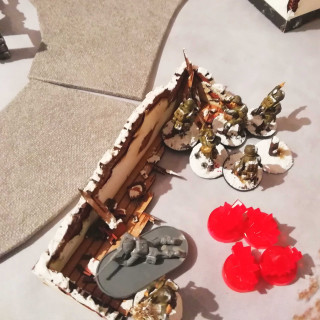
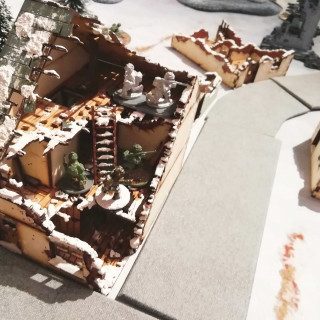
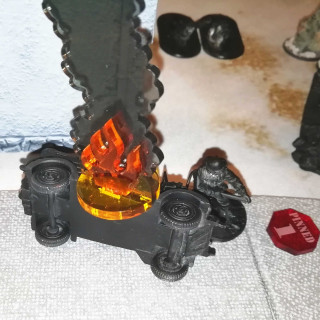
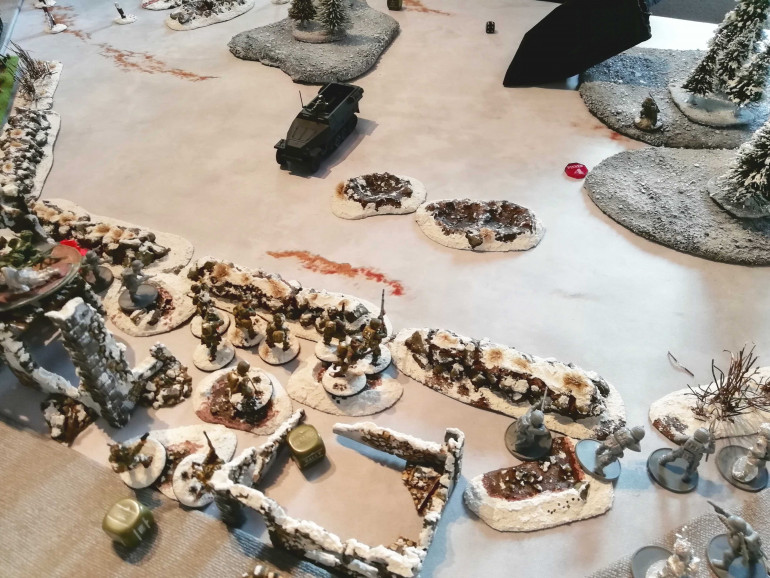
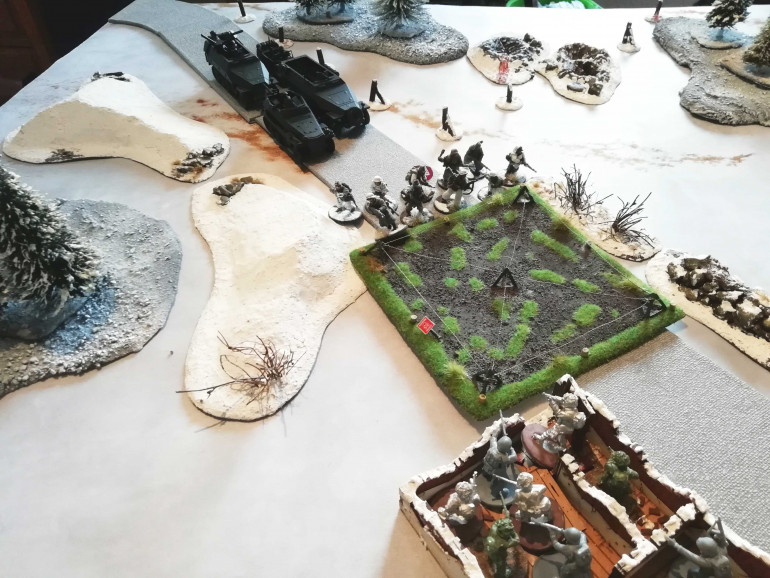
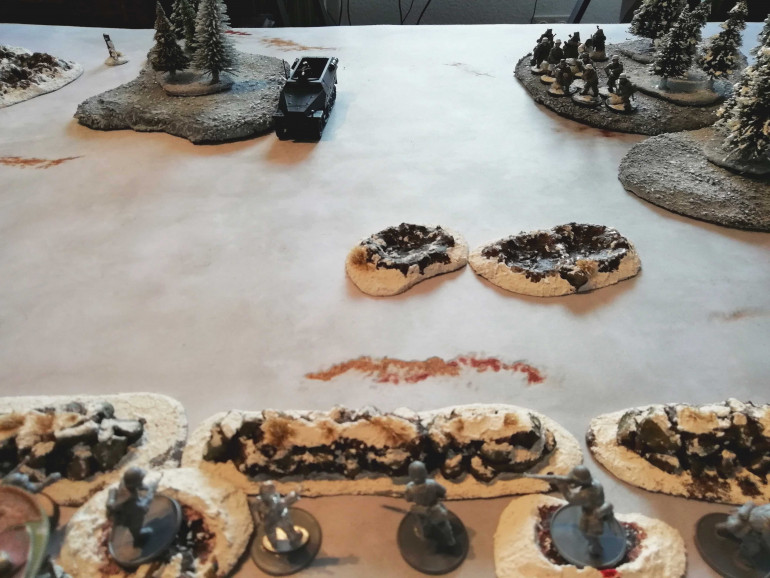
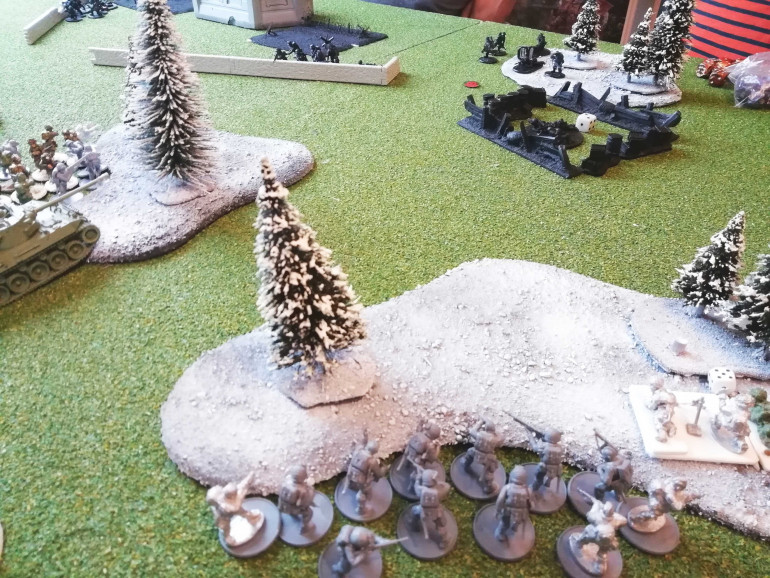
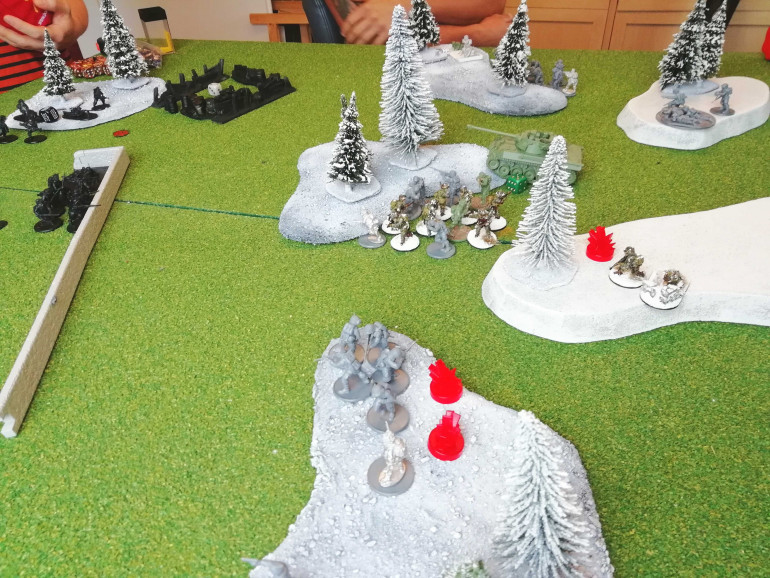
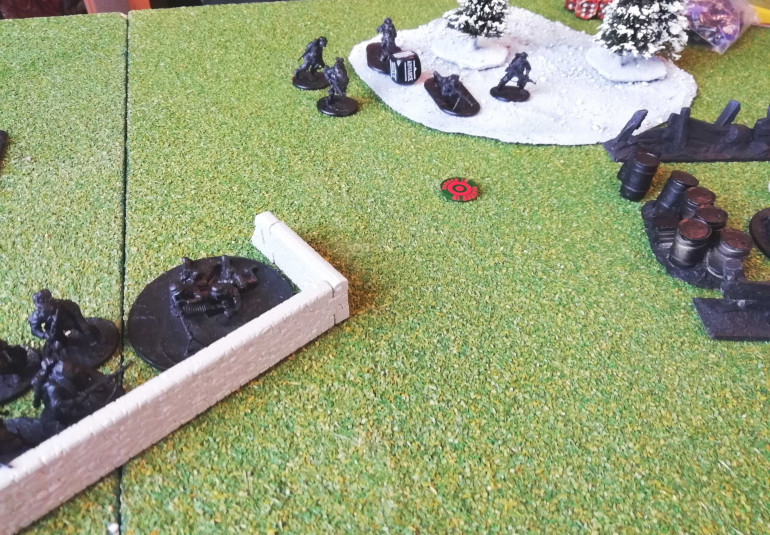
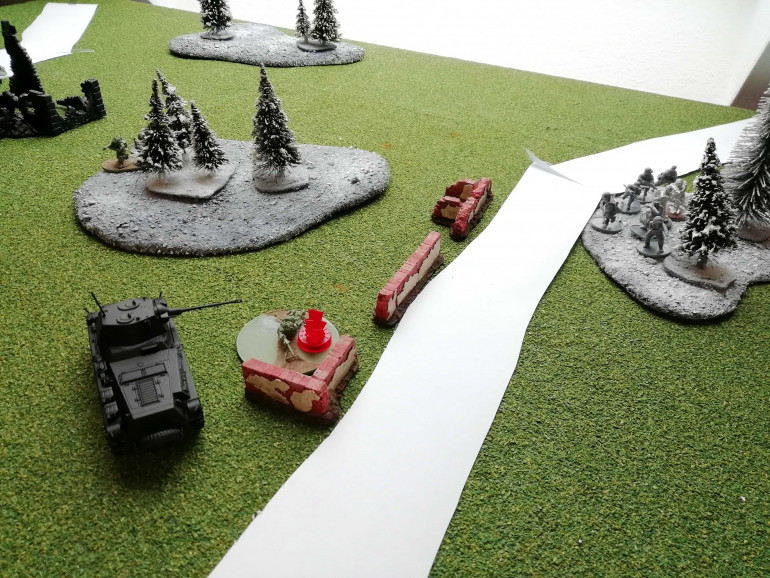
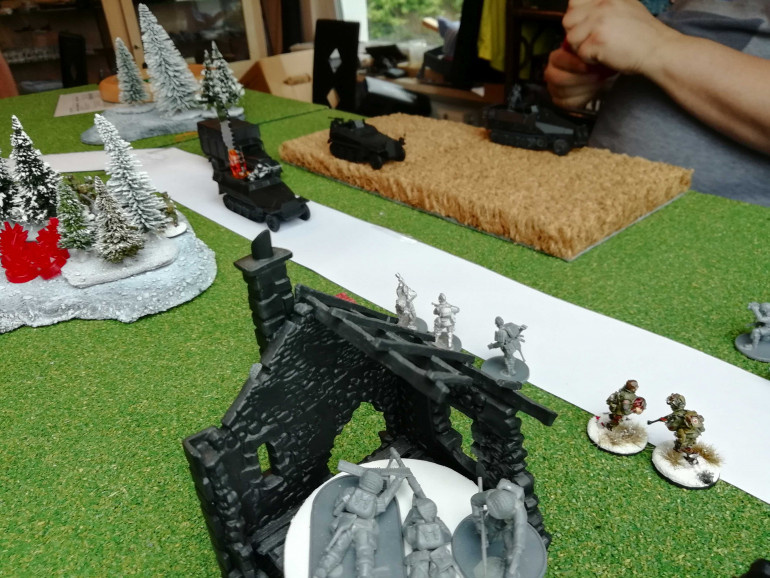
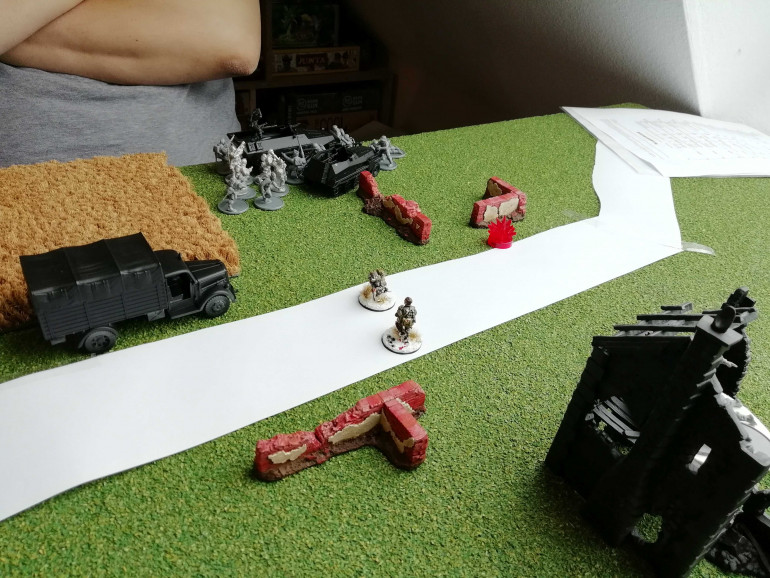
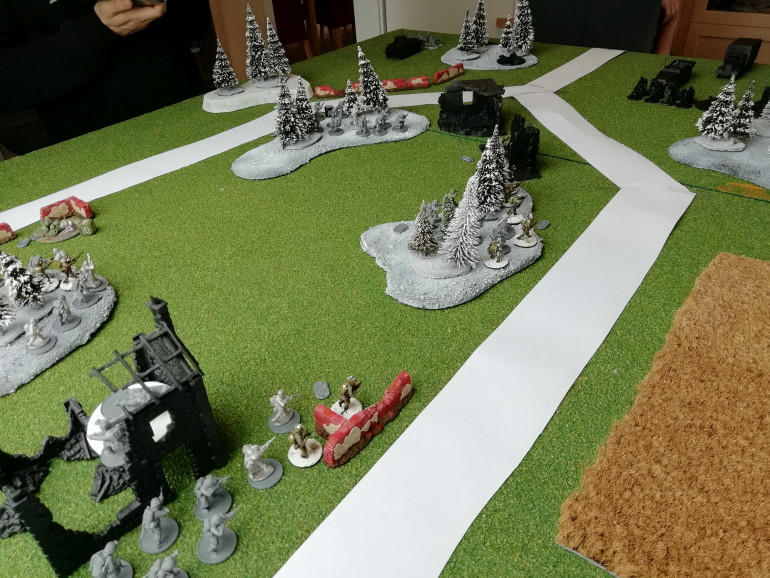
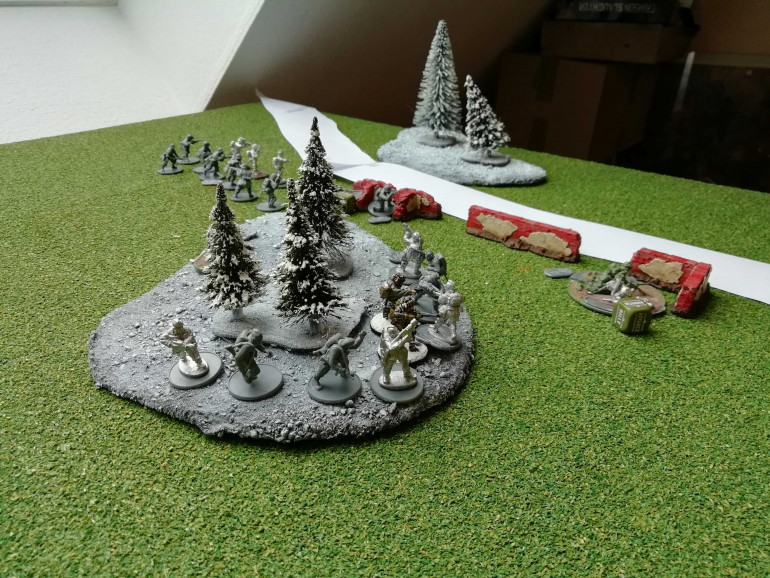
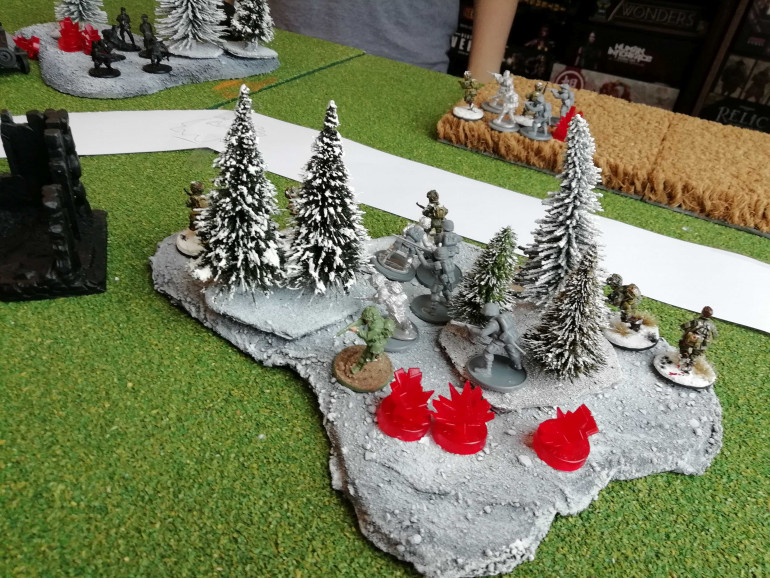
The last two pictures show the pathfinders advancing further through the village. They now threatened the town center directly, so the Germans brought on another 5 man veteran squad to flank them. But they still had to cross the river.
Mission 4 - The Battle of Elsenborn Ridge
New year, more Bolt Action. We finally continued our campaign and played Mission 4: The Battle of Elsenborn Ridge.
History
In the morning of Monday the 18th of December 1944, the Germans decided to put an end to the very fierce resistance of the Americans. Brigadeleader Krass order his 12th Panzer Division to attack. They faced against some hardened Veterans of the 2nd Infantry Divison: The Indianhead. What followed was one of the bloodiest engagements of the Battle of the Bulge.
Scenario
The scenario from the Warlord book pitches a Waffen-SS army with tank support that is 25% larger than the opposing veteran u.s. infantry army. There are 3 objectives in the middle of the (which is also the US deployment zone). In our case this was the Farmhouse, the Mayors House and the School.
The victory conditions are as followed.
- 0 objectives held by Germans at the end of the game => US Victory
- 1 objective held by Germans at the end of the game => Draw
- 2-3 objectives held by Germans at the e.o.t.g. => German Victory
Setup
The US player (me) is allowed to place half his units on the table. The rest is in reserve. The Germans are not on the table and bring their units on the table with the first wave, which must include at least half their units. They decided to put all their units in the first wave.
I deployed 3 equal infantry squads and 2 MMG teams on the table. One infantry squad in/on each objective and the 2 MMGs in the town centre. I had my Officer, 2 Bazooka teams and another MMG team in reserve.
Then followed the bombardment of the infamous German artillery managing to kill a single loader of one of the MMGs. Not the start the Germans had hoped for.
Turn 1 and 2:
The Germans started their attack with rolling a Jagdpanzer onto the table through the center. This wouldn’t bear well for the MMG that already took a casualty. The German infantry pushed hard through their right flank onto the School and the center.
As nothing was coming over the German left flank. Squad Farmhouse decided to leave their objective and start an early counter attack. A few shots were traded and a few casualties were inflicted.
But then the German combat engineers released a Goliath remote controlled demolition vehicle and started driving it towards the School. It was quite a risk as we decided that if the building was destoryed by it, the Germans can’t hold the objective anymore.
But @Andre77 rolled really well killing 7 of the occupying soldiers in the School. The remaining 5 decided that they had enough and fled. That really put me in a pickle. I already lost the first objective and 1 third of my army on turn two and no reinforcements were sight. And then there is this Jagdpanzer pushing my center. Really not good.
Turn 3 and 4:
The following two turns were more or less uneventful compared to that Goliath hit. The Germans advanced on their right flank very freely having killed all the resistance there already. And I achieved nearly nothing as I failed like every command test I had to take rolling constantly 11s and 12s.
Only Squad Farmhouse got some work done by killing 3 small (6 men each) squads of Germans before being routed of the field (with me of course failing the first morale check they had to take with an 11.
I lost one MMG team to the Jagdpanzer and the other took a lot of pins but stayed their ground. Also my Bazookas arrived on the field in turn 4 (after failing their reserve checks two turns in a row) but didn’t get any work done.
Turn 5 and 6:
This is were the battle would be decided. Would it be an overwhelming German victory or can I somehow pull a draw out of the clutches of defeat? A US victory was more or less out of the question after turn two.
So I had the School firmly in enemy hands with the combat engineers and an MMG holding it. One squad of Germans, a Jagdpanzer, a Flamer and an officer advancing through the center onto the Mayors House and one more squad of Germans advancing on the Farmhouse.
I decided that Squad Mayor had to leave the Mayors House and head for the Farmhouse. They were the only ones who could still defend it. They took some heavy casualties from a direct hit by the Jagdpanzer, but in the end they reached the Farmhouse. As a reaction the Germans redirected the squad attacking the Farmhouse into the center killing my second MMG team there and losing men. This increased the pressure onto the Mayors House by quite a bit, as it now was only occupied by my Officer and two Bazooka teams.
My Bazookas finally managed to do something and killed the Flamer teams transport before it could reach the Farmhouse. My third MMG managed to pin the larger german squad (6 men) and thankfully they failed their command check in turn when they tried to assault the Mayors House.
Now only 3 dice were left in the bag. My officer, the German officer and the smaller remaining German squad (4 men) in the center. @Andre77 managed to pull my dice out of the bag first and I decided to go for a gamble. My officer charged out of the Mayors House with his second in command assaulting the remaining German squad. The dice were really on my side and my officer managed to kill all 4 Germans. His second in command died in the assault. And my officer that was “collected” in turn by the German officer.
It was the end of turn 6. On 4+ there would be a turn 7. This would give the Flamethrower the opportunity to clear out the Farmhouse and the last German squad to assault the Mayors House. This would surely end in a German victory as I only had 2 Bazooka teams in the Mayors House, 1 MMG in the back and half a squad (Squad Mayor that now resided in the Farmhouse) left. The second German player (Sven) took the dice…
… and rolled a 3!
The End
With only one objective in German hands this means the game ended with a draw.
We had an unbelievable amount of fun with really amazing and terrible dice rolls on both sides. Normally I hate draws, but this felt like a victory. A moral victory at least.
Being on the back foot from turn two. Failing so many command checks. But my luck came back for me in the end when I needed it most and I somehow managed to pull a draw.
It was one of the best matches – if not the best match – I’ve ever played. Hope you enjoyed this report.
Mission 3 - continued
To view this battle report in chronological order hit “View Oldest Entries First” on the left.
End of turn 2
On turn two it got bloody. The Germans were intent on killing as much US troops before the end of turn 3 to deny victory points. So we first saw the charge on the right flank from a squad of Gernadiers through the minefield (it was an anti vehicle minefield) into the US squad guarding that flank. The GIs got annihilated but killed 7 Grenadiers in the process. The Grenadiers failed their moral check and retreated. The Score was 2:0 for the Germans and the entire right flank was open besides the minefield.
Motivated by this the veterans in the middle also went for a charge. But they lost too many men in defensive and ambush fire and then completely wiffed their rolls. They got annihilated, killing 8 of the non-combatants in the process. Now the advance in the middle was almost stopped, so the Americans could focus on reorganizing their troops to the right flank.
Realising this the Germans had to push hard before the Americans could get into position. They had to clear the minefield. The Pioneers dismounted from their halftrack and got their mine clearing gear out. An American MMG lay in ambush and got a few shots of killing a single Pioneer. But the Pioneers still only had to roll a 3+ to clear the minefield. And they rolled a 1. Meaning they tripped a mine. 2 more Pioneers got blown to pieces and they dived for cover with 4 pins.
To add insult to injury an empty halftrack got blown up in the minefield aswell, as it was trying to get through. It’s not looking good for the Germans. The score is still 4:0 in their favor, but at the end of next turn, the Americans would score a lot of points if the Germans can’t take out a few more units.
End of turn 3
Realising their dire situation the Germans threw everything they had a last desperate effort. They still had 4 flame throwers left and a few vehicles. If they could first kill a few more US units and then leave the field over the opposing edge they could squeeze a victory out of this. This could work. Especially as the Germans got all the order dice at the beginning of this turn.
First of all the Pioneers (now too few to clear the minefield effectively) had to get up and bring their flamethrower to bear. They had 4 pins and failed the order check. Diving for cover in a minefield. Great idea.
Next up the single flame thrower team in a smaller SdKfz had to drive around the minefield to get into position to deliver it’s deadly cargo. It rolled a 1 for the snow ditch next to the minefield. Meaning it got bogged down immediately and blocking the path for the flame SdKfz.
In a last ditch effort the flame SdKft (this could easily kill two units of Americans per turn) tried to run the minefield. And blew up…
Everything went wrong that could have gone wrong for the Germans. Seeing this the German officer called for a full retreat. The Americans scored 10 points at the end of turn 3 and won the game 10:4.
We talked a lot about this scenario afterwards and decided that we liked it despite it being very one sided in our case. It was just a few single dice that completely screwed the Germans over. 3+ to clear the minefield (was a 1, killing the Pioneers), 4+ followed by 4+ to blow up the first halftrack (succeeded), 3+ to drive through the snow ditch (was a 1), and again 4+ and 4+ to blow up the flame halftrack (succeeded). If just the Pioneers cleared the minefield in the second turn, nothing of the above would have happened as the road would have been clear. And then four flame throwers would have made short work of a lot of the defenders. Unfortunately there are no Command Points in Bolt Action…
This makes it 3:0 for the allies. Until next time.
Mission 3 - The Battle of St. Vith
To view this battle report in chronological order hit “View Oldest Entries First” on the left.
First of all a little update on the painting. I manage to finish painting the first squad of 101st Airbourne and the snow table. Sven managed to finish almost his entire army of winter germans. Now. Onto the BatRep.
So. We finally finished the “prelude” scenarios and now actually get into the Battle of the Bulge. The first mission depicts the battle on the 17th of december for the crossroads at St. Vith. So we are on the second day of the “Devil’s Charge” and the Germans (18th and 62nd Volksgrenadier) are trying to capture the very important crossroads at St. Vith. The defenders are – of course – Americans, I believe they were the 422nd and 423rd regiment of the 106th ID. Very inexperienced troops.
Scenario
We used rules for Fog and Mud. We are playing on a quite snowy table, but in these parts only a bit of snow has fallen already which made the ground really muddy. This means every vehicle had to check for it’s movement distance (unless travelling on roads) and the maximum viewing distance was 18″ due to fog. The later could change during the battle. The Americans (played by me) had to set up in the village of St. Vith. They would score victory points for each suviving units and the end of turn 3 and the game. The Germans (played by Sven and Andre) would score points for destroying Americans units and by pushing through the enemy lines (leaving the table over the opposing edge).
Also every American unit has to be rated “inexperienced”.
The Table
Mainly we placed the crossroads and a few buildings in the centre of the American deployment zone. The rest of the table are snowdrifts, woods and a few craters.
Deployment
The Americans deployed in the Village of St. Vith. The first row of defence was a squad of non-combatant troops. Followed by a “normal” squad of inexperienced GIs and the First Lieutenant. They are covered from the buildings behind them with two bazookas and 3 medium machine guns. The right flank (from the Germans perspective) was covered by another normal squad and a minefield. The left flank respectively was covered by the third normal squad and a dug in Sherman M4. To the back was a dug in howitzer to provide some fire support where it would be needed.
The Germans didn’t deploy anything. They had to nominate at least half their troops as their first wave. They decided to go for a full scale attack and put everything they had into their first wave.
End of turn 1
The Germans decided to only push with a few veterans through the middle and go for a big push on the right flank (minefield). The idea was to circumvent the Sherman entirely as it was dug in (can’t move) and could see only 18″ (due to fog).
The opening bombardment killed 3 GIs and pinned the entire US force. So the Americans spent their entire turn rallying, while the Germans got into position.
Most note worthy for turn one is that the fog thickened. Reducing visibility to only 12″.
Mission 2 - continued the 2nd
As said before, if you want to see this battle in chronological order hit “View Oldest Entries First” on the left.
Turn 6 – The fight for the pillbox
The situation was this. The Germans had 8 veterans occupying the pillbox (the Americans managed to snipe two guys). The Americans had two Squads in charge distance to the entrance of the pillbox. One with 9 guys and one with 12 guys. Statistics say that you need about double the amount of troops in Bolt Action to assault veterans defending an obstacle with regular troops. 8 vs. 21. So this should be no problemo right?
The first American squad (squad inbetween with 9 men remaining) charged. And they got slaughtered. First they lost 3 men in defensive fire and then got annihilated in close combat only killing a single German. Suddenly the Americans only had 12 men left vs. 7 remaining veterans inside the pillbox. At least there would be no defensive fire this time.
Squad right charged. Killing 4 Germans in the first round of combat and also loosing 4 men. A tie and thus another round of combat. 3 vs. 8. This should be it. But in the second round of combat they only managed to kill a single German. Fortunately also the Germans whiffed their roll only killing a single GI. Another draw. (if you lose a round of combat your entire squad is annihilated in Bolt Action). 2 vs. 7. This time the Americans made short process and killed the Germans outright losing no more guys.
The pillbox was taken with horrific losses. This was the victory for the Americans. But was it?
There still was German officer who technically could counter charge the pillbox. He only had to make his command check…
(he received a few pins from the artillery barrage earlier and never managed to get rid of them)
… but like the entire game the officer wasn’t able to make a single check, the Germans rolled an 11 and the officer got the hell out of there. The only remaining Germans were the mortar team on the far left, which was quite to far to make a counter charge. They recognized the situation and pulled out.
This was it. The Americans won!
This was a very hard fought awesome game. The Americans managed to nearly entirely wipe out the German force and capture the pillbox. But it was a very close game nevertheless. That last melee could have easily gone the other way resulting in a German victory. And the Americans took heavy losses in the process. We calculated it through. The Americans killed more points, but lost more bodies in the process.
But in the end they pushed through. Much like in history the 9th infantry division did. It’s 2:0 for the Allies.
Mission 2 - continued
As said before, if you want to see this battle in chronological order hit “View Oldest Entries First” on the left.
End of turn 4
This was the turn the Americans desperately needed. The artillery strike came in, pinned the entire German flank heavily, destroyed the MG42 team and caused lots of casualties to the Squad covering the trench infront of the American advance.
Also this part of the trench should see some bloody close quarter fighting. First on did the US squad in the middle realize that their position was nearly hopeless and that their only hope was in reaching the trenches. They charged the Germans battered by the artillery and annihilated that squad occupying the trenches themselves. Only to be counter charged by the second German squad occupying the other trench. They fought bravely and a took few Germans with them but in the end squad middle was annihilated. Only the chaplain remained.
The American officer couldn’t allow that and ordered squad inbetween to counter charge the counter chargers. Miraculously they came through that melee unharmed and annihiltated the second German squad for the turn. The squad on the right occupied the now empty gunpit. Finally there was an american presence in the trenches. But only two turn are remaining to capture the pillbox. And this was occupied by veterans. If only one German stays alive in there it would be a German victory.
End of turn 5
Time was running out on the Americans. They had to assault the pillbox very soon or German reinforcements would arrive and they would be forced to retreat with a painful loss on their scorecard. A decision had to be made. Do they go around the minefield and only get one turn for assaulting the pillbox? Or do they charge the pillbox directly this turn through the minefield?
As nobody knew the rules of a minefield the Chaplain (still being alive against all odds) decided that he would be protected and charged through the minefield.
It turned out this was quite “gamey” as the entire minefield could be cleared by a single person running through it (like 25% chance). But the luck of the Chaplain finally ran out, he tripped a mine, got blown to pieces and the minefield was still intact.
Having seen how deadly these Germans mines are, the Americans decided to go around the minefield. Even if this would mean only getting one turn to attack the pillbox. The remaining US support units took care of a few remaining German stragglers outside the pillbox (Panzerschreck, Sniper and). Only the German 8cm mortar on the far left flank (US perspective) in the other gunpit, the German officer behind the pillbox and the veterans inside the pillbox remain.
Mission 2 - Battle for Hürtgen Forest
Though mission 2 was played on the same day as mission 1 it took me a while to get the photos. The posts will be in anti-chronological order again, as I was informed that there is a button on the left to reverse the order of the posts. So if you want to read this in chronological order hit “View Oldest Entries First” to the left.
The second mission is also a prelude battle to the Battle of the Bulge and depicts the opening fighting in the Hürtgen Forest. During September ’44 the Americans tried to circumvent the Siegfried Line by pushing through this forest. The 9th Infantry Division ran straight into fortified German positions within the forest and got bogged down in bloody fighting for nearly half a year. It took until February and over 30.000 U.S. casualties (24.000+ combat losses and 9000+ losses to fatigue) to drive the Germans (supposedly comparable losses) from this area.
Scenario
This missions depicts the opening fighting of this campaign with the Americans assaulting a fortified German position and trying to capture a pillbox. The scenario has some harsh rules for digging in on the German side and limited visibility due to the dense forest. This would be some bloody close quarter fighting. The Germans – played this time by Andre ( @andre77 ) and Sven – had 800 pts of a “normal grenadier force” to defend. The Americans – played by Chris and me ( @bothi ) had 1200 pts of GIs to attack.
Setup
We placed a pillbox on the German side covering a small clearing and two trenches. To the sides were two gun pits as further German fortifications. We placed some woods all around the table to provide some cover. But as the table was supposed to be completly wooded, we decided to play open ground as light cover and the actual wood bases as hard cover. Also any line of sight was blocked after 24″.
The Germans then deployed their forces occupying the fortifications and lastly placed two minefield to the sides of the pillbox (the pillbox could only be attack from the rear).
The Americans didn’t deploy anything as half their army would enter the game on turn one as their opening wave. The rest would appear from turn 2 onwards.
End of turn 1
Due to the maximum viewing distance of 24″ and the Americans entering the field about 36″ away from the German position turn 1 was more of an extended deployment phase. The Americans brought all their support weapons (artillery, machine guns, sniper, mortars, bazookas and a hellcat) as their first wave and held their attacking forces (3 full 12 men squads, a medic, an officer and a chaplain) back.
End of turn 3
Turn 3 saw the first fighting actions. The Americans managed to bring their complete second wave onto the table in turn 2. They advanced one squad to the far right, one through the middle and a third in between those two. The officer went with the squad in between, the chaplain and the medic with the squad in the middle.
During turn 3 the first Americans came into LOS of the German positions and the Germans didn’t waste a minute to open fire. The Medic was immediately shot by a German sniper and the squad in the middle took heavy casualties due to the two German MGs inside the pillbox. Also an US MG team left the field after receiving a direct hit from a German mortar.
On the otherside only the Hellcat managed to score a hit on the German troops in the trenches. But the Ameicans where able to call in an artillery strike, which hopefully would hit next turn.
Mission 1 - continued
I wanted to put this BatRep into one post, but you can only put 12 layout pieces into a single post. This makes it really difficult to integrate text and pics. Maybe BoW/OTT changes this in the future. Or maybe I just didn’t found the right tools and someone can explain to me how to create larger posts.
So the BatRep continues in this post. Read the post below for the beginning.
End of turn 4
Despite the booby trap and a lot of resistance fighters blocking the way the Germans mounted up and made good ground on their left flank during the third turn. Nearly all of the resistance fighters were gone and the free French in the field were completely annihilated.
Meanwhile the lone Puma on the right flank was advancing downfield and taking out one of the SAS MMGs. It’s not looking good for the Partisans.
Then finally a ray of hope for the Partisans in form of a well placed SAS bazooka shot at the beginning of turn 4 that took out one of the SdKfz. With only small arms otherwise these things are tough to kill.
Having identified the left flank as the main German advance the squad of SAS and Frech intelligence move onto the road to intercept the Germans.
But the Germans still have all chances of winning. We calculated that if they got the Opel Blitz with the stolen art and only a single SdKfz (plus carried troops) off the table it would most definately be a German victory.
End of turn 5
This is were it all went wrong for the Germans. Realising that they had to put the pedal to the metal to make it to the end of the board until turn 6 they had to issue run orders to all of their vehicles. Meaning they just didn’t had the firepower to deal with the veterans of the SAS and the French intelligence.
This resulted in one SdKfz being overrun which was a huge victory for the Partisans as the SdKfz turned out to be the absolute nemesis to them. Now only one of them remained. And the Opel Blitz. Still enough to pull out a win for the Germans…
… but unfortunately the remaining SAS MMG not being able to do anything against the SdKfzs has been lying in ambush for two turns now. Waiting for the truck carrying the stolen arts. And despite all mathematical propability it managed to disable it leaving the stolen goods intakt.
Turn 6
Seeing the Opel Blitz carrying art of incredible worth disabled the Germans packed their bags and left the field. Only the Puma and a single SdKfz carrying the Oberleutnant managed to escape. With also a few free French on the other flank escaping this meatgrinder it was a clear victory for the Partisans. In victory points 9 : 4.
The French SAS and Intelligence inspected the stolen art and put it on a truck heading back to Paris and probably the Luvre or something.
We played the second mission directly after this one, but it will take a few days for me to get the pictures. So stay tuned for Mission 2 of the Battle of the Bulge Bolt Action Campaign.
Mission 1 - Retreat through the Mons Pocket
The Scenario
The first day of gaming was nearing and our goal was to get everything built. Although we would not use nearly all of the minis this was achieved by everybody attending. Unfortunately Jan couldn’t make it so we were only 4 players. Onto the BatRep.
In this scenario playing in the Fall of ’44 the Germans are tasked to break out of the Mons Pocket and escort a truck full of stolen art and other important things to safety. Unfortunately a band of Belgian Resistance has other plans and want to get some payback for all the things that has been done to their country.
The German list was 1000 pts, was played by Andre and Christian and contained a lot of infantry, a bunch of SdKfz transports, a Puma and the Opel Blitz transporting the stolen arts.
The Partisans also had 1000 pts and where played by Sven and Bothi. It contained about 20 French Intelligence and SAS Veterans and about 50 inexperienced Belgian rifleman. The French were quite well equipped with MGs, SMGs, a Bazooka and anti tank grenades and we imagined that these are the guys working behind enemy lines and training the Belgian Resistance. Unfortunately nobody had any French or Belgian models so we decided to proxy these with Americans.
Table and Setup
As you can see the table was set up with the Germans starting on the western edge and a Y-shaped road running across the table. The partisans had a huge deployment area between the roads.
The partisans deployed with a lot of riflemen to the front and the flanks to soak up the brunt of the German attack and the veterans to middle and back to act as a counter force.
The Germans decided to to have a few troops here and there and a huge strongpoint on their left flank with all the armoured transport. This is where the break through should happen.
End of Turn 2
The Germans decided to start the game dismounted to deal with the upfront resistance fighters. During the first two turn they started advancing slowly an putting a lot of fire into the two upfront resistance squads. Those two squads took heavy casualties (over 20 dead) and only managed to get some pot shots in killing 2 Germans.
But the Partisans managed to quickly advance a Free French squad through the far field creating a choke point to delay the Germans even further.
But also the Germans triggered the booby traps set by the resistence. The lighter one was in the German deployment zone and managed to kill a single MMG gunner. This did less damage but was sure to go off.
The other two would only go of on a 6. The Puma trigged the right on which naturally turned out to be a dud. But Sven managed to roll a six for the one on the left side nearly wiping out a German grenadier unit and giving a bloody nose to the main German advance.
Start up Summary
As mentioned in the project description we are 5 guys (Sven, Jan, Christian, Andre and Bothi) and are playing through the Battle of the Bulge Campaign for the Bolt Action system. We do this obviously to get gaming and have fun, but also to motivate ourselves to finish our armies, which is overdue for years now. So here is a small summary of what armies who has and what the status is:
- Andre – 2000 pts of Germans: 90 % built, 0% painted (but primed 😀 )
- Sven – 1500 pts of Winter-Germans: 100% built, 50% painted
- Jan – 2500 pts of GIs and Marines: ??% built, 60% painted
- Christian – ?? pts of GIs: >80% built, 80% painted
- Christian – 1000 pts of Germans: ??% built, 0% painted
- Bothi – 2000 pts of US Airborne: 70% built, 10% painted
- Bothi – 1500 pts of Panzerbrigade 150: 0% built, 0% painted
As you can see we have a lot of work ahead of us. Our first goal was to get everything built for the first weekend of gaming.


