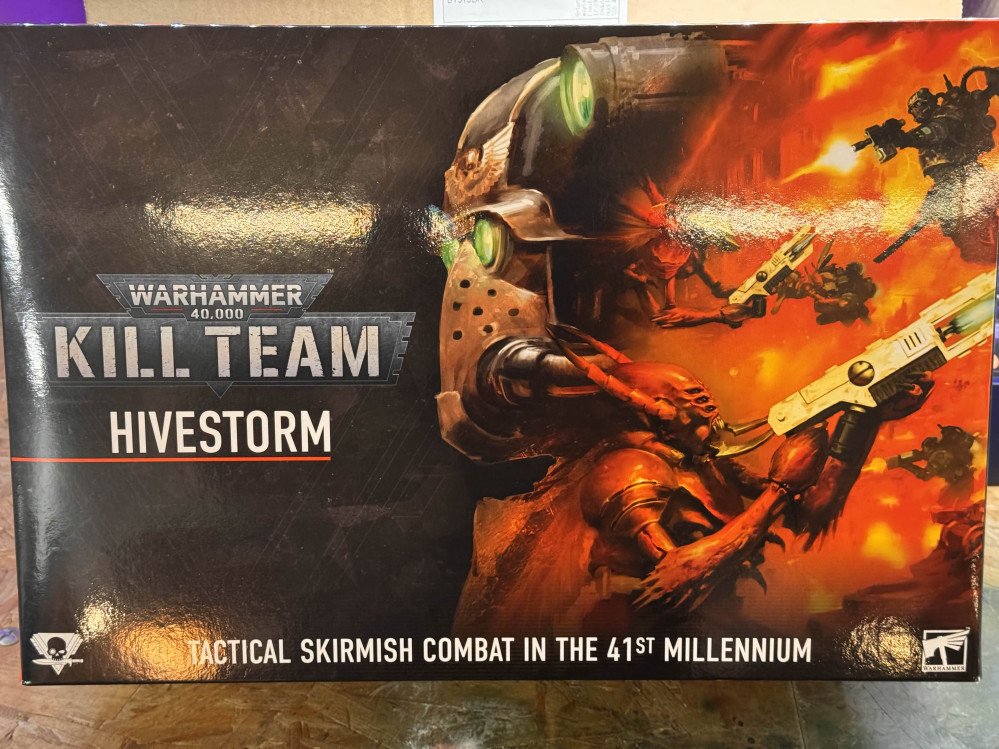
So I won a copy of Hivestorm in a raffle…
Recommendations: 84
About the Project
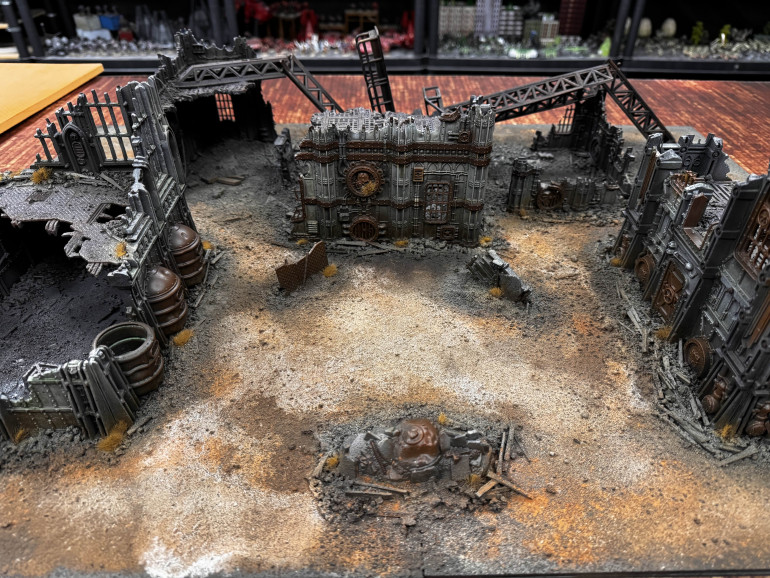
So I recently won a copy of Kill Team: Hivestorm in a raffle and decided, instead of tossing the terrain away to someone else, I would use terrainfest as an excuse to hold onto it and make something of it. The idea is to make a board that I can use to ACTUALLY PLAY Kill Team, and also use as a "set" for miniature photography. So going into this project with the idea of making ot functional as a gaming board and pretty enough to make a good backdrop.
Related Game: Warhammer 40,000: Kill Team
Related Company: Games Workshop
Related Genre: Science Fiction
Related Contest: TerrainFest 2024
This Project is Active
WEEDs ...
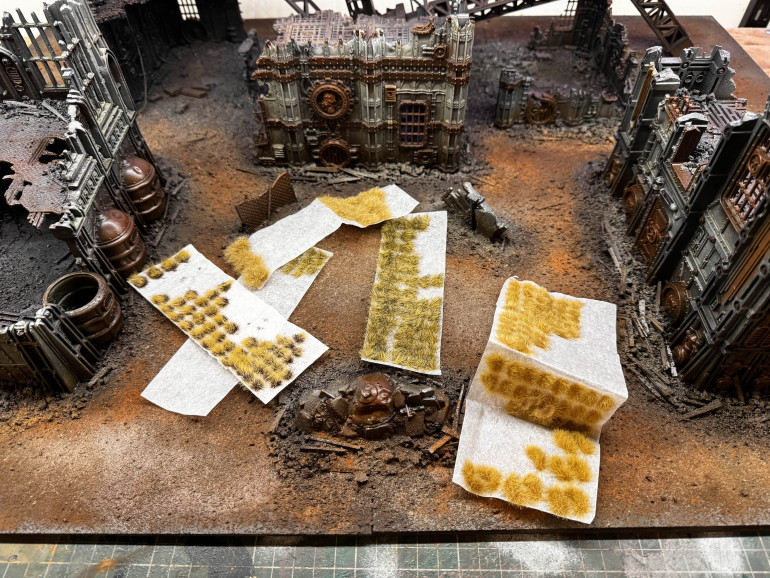
It’s probably a good time to mention I have been doing this project with the express aim of not buying “new” materials to work on it. This is why my choices of grass tufts are sort of all over the place. I raided my drawers and boxes for anything I’d used that -somewhat- fits the scheme of the board.
Lucky for me I like apocalyptic looking basing styles, so dead grass is something I generally have to hand!
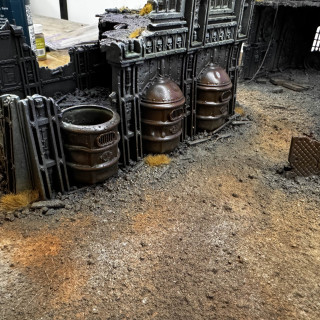
applying the tufts in clumps here and there, and mixing the types together gives a nice “derelict”appearance to the buildings and the rubble surrounding them.
Like I said, the bicarbonate of soda really has become a pain in my backside, and although it’s not the WORST I do not want it as a major element of the ground work….
Next time, of Dragon Ball-…….John fumbles through a Kill team board build…
Sneeze dust and oils!
With the major colouring down it’s time to shift into smaller details and brush work. Firstly, I want to add more layers of colour to the ground. So, taking these three pigment powders I loaded up a large, soft brush and tapped it above the ground to allow the power to fall and spread out how it pleased.
I think it’s added a nice, random look to the ground.
Next up is some enamel washes. I didn’t have much of a method for applying these, I sort of put them where they helped to force some shading or add grim to particular spots. A more time consuming process but it bring out a darker, more gritty appearance
Im gonna call this the first big mistake..but also a necessary step.
I had to seal down the pigments, so I used some “clean spirit” to set all the ground which allowed the pigment to spread out and blend quite nicely.
The downside is that this brought up all the bicarbonate of soda back up through all the work done so far. HOWEVER I will work with it..
In the next update.
Blocking out colours!
This is the stage I have been eager to reach!
Blocking out the colours of the board elements is where my interlude images come into play.
I will be focussing on three main areas to begin bringing some colour to the board:
rust
concrete
ground
These three areas of interest will leave the board “fully painted” to a degree, but mostly leave me in the position to begin detail painting and weathering!
Two spray cans, a grey and a bone colour gives me the basis for the ground colouring and the building colour.
Quite the broad brush approach but it sets me up nicely for breaking out my airbrush and starting to block in the rest of the colour palette i’ll be working up from.
I will preface this by saying that this process, for me, was very “free form” just grabbing a colour, mixing it with something else and seeing how it went down on different surfaces.
The concrete (grey) of the buildings was mostly a mix of Field blue and a little dark grey over the grey spray.
The rust begins with a dark brown, and each layer added a little more orange to the mix in the airbrush, bit not letting it be the pure rusty orange. So about three layers to bring it up to the more rusty tone I have achieved.
The ground texture started off basically the same, but ran in reverse. I started light and darkened down over three of four layers. But also being very patchy in its application, trying to avoid a uniform finish.
This whole process took about two hours from black primer to this result. I only used and airbrush for achieve this which has given me a great base to work upon with more details to add and then weathering.
Seeing the board at this stage has motivated me to get down into the nitty gritty elements, while allowing me to more easily see the final product with every brush stroke!
Interlude... Inspiration in the real world.
What happens when the people leave?
When working on a project like this, the world can be your inspiration.
Man made structures, colossals of industry, innovation and technology…abandoned.
What a fascinating, chilling and incredible subject to research and gather inspiration from!
For years I have wanted to do something inspired by the Chernobyl exclusion zone. For me, it typifies the end of the Soviet Union. It personifies the rot of an empire and has left us with some of the most fascinating, abandoned structures on the planet.
What happens when buildings and machines are left alone? How does the climate weather materials and break down things we built to last for decades?
This particular entry in the project is more of a meander through some images I intend to use as reference when it comes to painting and weathering my board.
So I figured I would share the subject and images with you to see what materials look like when nobody is around to clean, paint and maintain what they built.
Looking through the above images we get several “broad brush” effects I can turn to the board:
1: fading and discolouring
2: growth of moss, mildew, trees, grass
3: components missing, through removal or the failure of the retaining parts of the structure.
Now, not every aspect will be reflected on my board, but keeping these images and processes in my head as I pick up my airbrush and paints will help me focus in on the narrative I want to have on the board and let me see where certain effects may add to the overall look of the final board.
It’s something I truly LOVE to think about and figure out when it comes to a lot of my scale modeling projects and finally something I can turn to a tabletop gaming project!
Staying GROUNDED
The next “layer” my head wanted to add was textures.
Specifically rubble, detritus and ground.
So… I didn’t take pictures of every material I used, but I will layout what each element entails.
For the rubble/detritus around the walls and footprint of the buildings and terrain elements I used this stuff in the tub. This is a mix we used in the studio years ago for dressing tables. Now there wasn’t a lot of it in the studio but I recall that we made kilos of this mix so I didn’t see the harm in using this one tub for my board.
It consists largely of crushed cork, broken up coffee stirring sticks, some flock and a little bit of lichen. All mixed up it’ll work well for that abandoned ruins look I am aiming for with my earlier narrative idea.
scattering it out of the tub and using a brush to push the rubble mix up against the walls of the buildings gives a sense of larger bits of junk having been pushed out of the way or having fallen from the buildings over time.
Once this was in place I thinned down some PVA glue with water and a few drops of floor cleaner (the theory was the floor cleaner would help break surface tension and allow the glue mix so soak into the rubble and help give good contact with the black primer on the board.
Then I stopped taking pictures…………………….
…………………then I started again.
Yes yes, I know. I missed about six, or more, steps. But let me explain…
Once the rubble was in place and glued I started on the ground texture itself.
I rummaged through every tub and drawer I could find for anything that would work.
the materials I found were:
fine sand
small grey stone (looks like model railway ballast)
bicarbonate of soda
random lumps of broken MDF (from other terrain kit runners that we broke up into small pieces)
All of this was applied rather haphazardly, with a focus for the grey stone around the edges of the building footprints and the MDF chunks throw in and around the building (kinda like remnants of some old machinery or some-such!)
After all this was placed down, I used an old spray bottle and filled with with more heavily watered down PVA and started the whole board until all the scatter and texture elements were completely saturated. Then I left it over the weekend to dry!
Now you can see the whole board, dry and ready to move on.
Beyond what I mentioned above, there was really no method or through process for how I added the texture for the actual ground. I kind of let the material gather and lay how it landed. I think that approach makes it look more natural in its lack of order.
Anyway! moving on…
Some basic details...
So, how do you go about making a board like this? A mighty fine question with as many answers as their are terrain makers out there I imagine… But here is how I am going about it.
Step one.
With the major terrain elements glued down I needed “floors” within those building to look like they, at one point, had a proper floor.
My mind works in trying to add layers to this project. So I wanted to start with the man made elements before adding the environmental elements (ground textures and the like)
For the building floors I took an A4 sheet of 1.5mm plasticard and started to scribe random lines on it with a craft knife, then breaking it up into those parts.
After that I took a pencil and drew out the parts of the buildings footprint that the terrain kits miss out. This gave me a way to define where the buildings footprint would still exist before it was destroyed.
It may be a minor change in texture, but I feel it helps add a little depth to the board. One of those “the closer you look the more you see” kind of approach.
The table layout is solid, but I wanted to add a little storytelling.
For that I took a toy tower crane I bought off Wish a while ago with the intention of making a Gundam diorama. That idea has yet to take off and since the cranes came two in a box I technically had this spare.
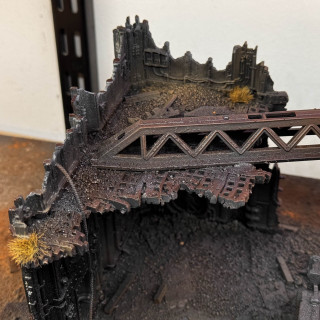
So with the liberal application of my foot, I managed to break the crane into sections that “drape” across the back end of the board.
I like this element a lot as it eludes to an attempt to repair these building before something happened that led to the area being abandoned, and, perhaps, over time, the crane corroded and collapsed across the buildings it was once set up to repair.
I will elaborate further on the board narrative as I continue to explore the idea of an abandoned area that was once a warzone.
With the man made elements on the board, I felt it was time to prime it all in black.
I did this so that when I begin to add rubble and ground texture it will have a surface made to hold the material and the COPIOUS amounts of PVA glue I would need to seal it down.
In the beginning...
…There was bare plastic and a cardboard mat.
My initial thoughts at this early stage was to just build the terrain and make it all as pretty as possible. But I soon figured that if I wanted a nice photography set, I would need to build a full, rigid board with a decent layout that gave me enough space to play with to the “front” of the set.
So, the board itself.
The plus side is that it provides a known dimension to work with.
The negative side to that is I had no material to hand that covered it in one piece. Therefore I had to cut some poster board in to two sections.
My next thought was about rigidity. If I just used the poster board the whole thing would wobble, crack and cause other problems.
How did I fix this you may ask?
I glued the f***ing poster board sections to the cardboard mat from the box!
This way, it makes the board rigid and uses a component form the box that I was fully intending on binning. That’s recycling!
I also chose a layout that the hivestorm book shows as one of the scenarios. I liked how that looked and got to work building, swearing and gluing!