Terrain Fest 2024: Desert Table
Recommendations: 52
About the Project
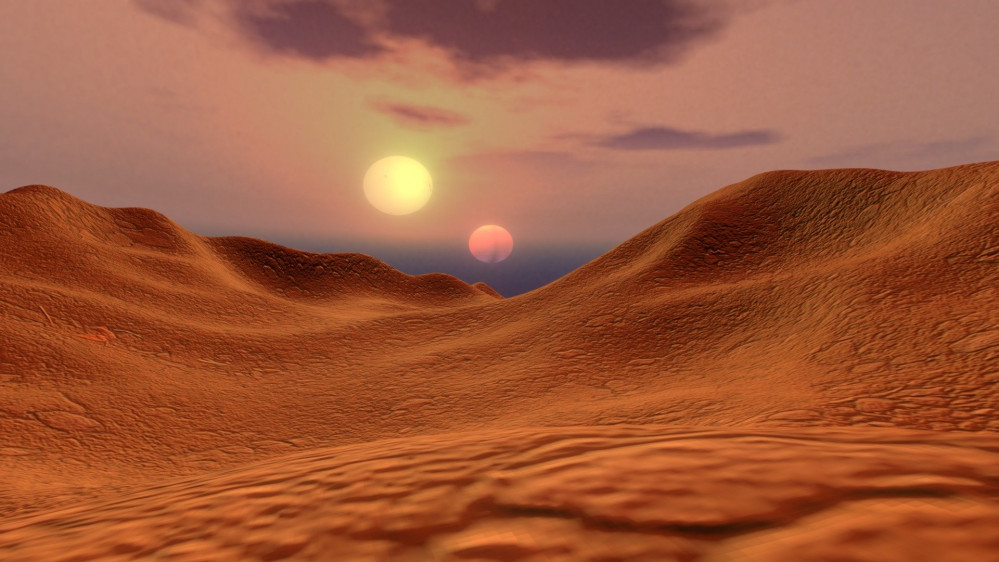
I wanted to make a desert table that could be used for many games. Science Fiction, Fantasy, Historical. different scales also. I'm going to repurpose some old stuff and breath some life into it. Going to add some new stuff also. Gonna have to add some 3D printed scenery also if can get my printer working properly. So..... away we go!
Related Genre: Fantasy
Related Contest: TerrainFest 2024
This Project is Active
Phase 4- Repurposing some old desert terrain
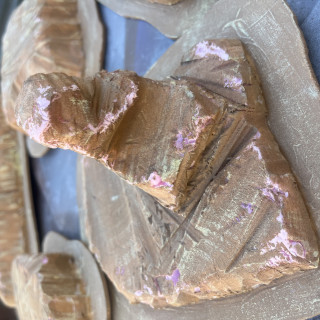
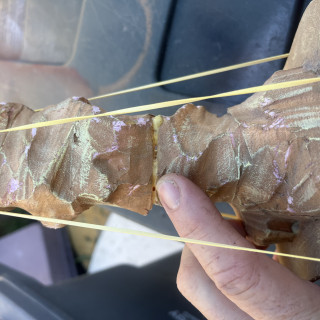
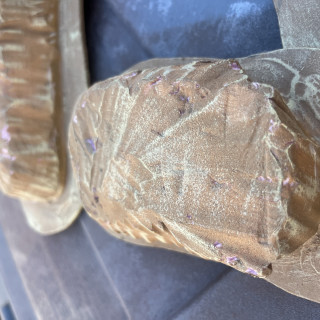
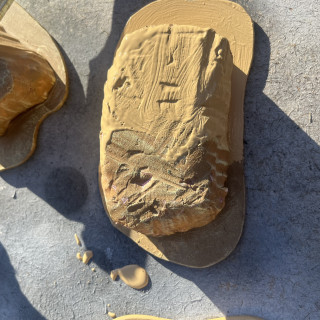
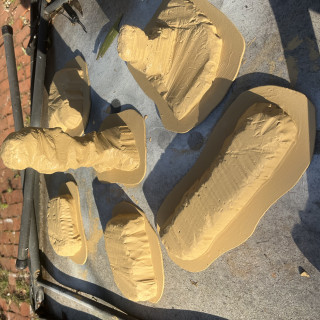
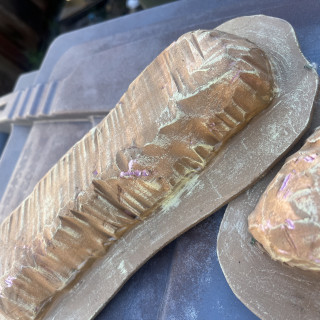
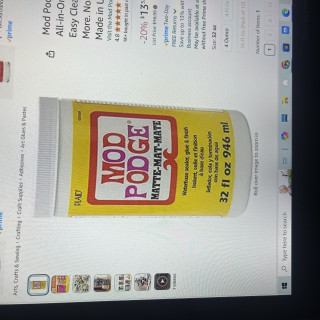
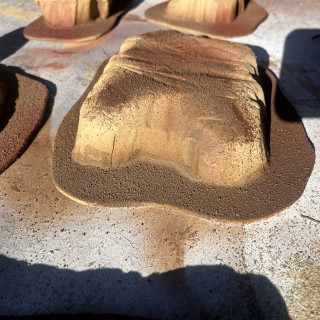
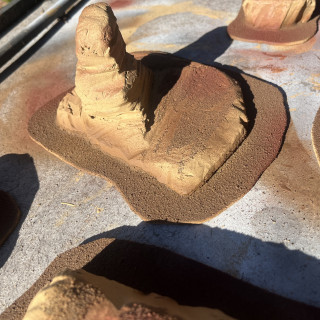
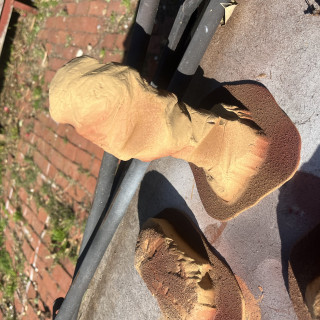
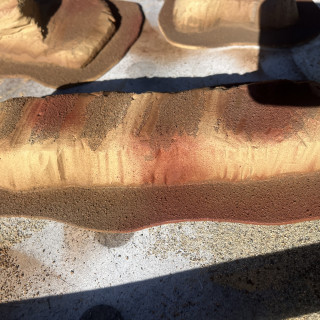
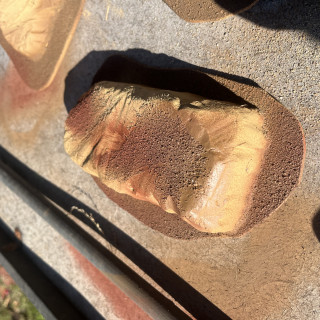
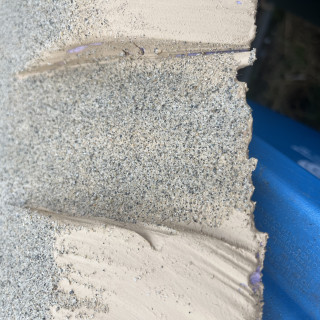
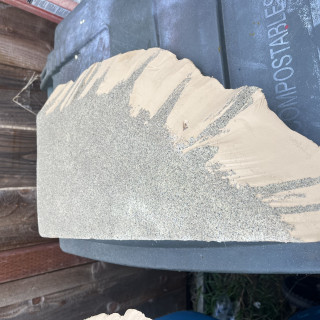
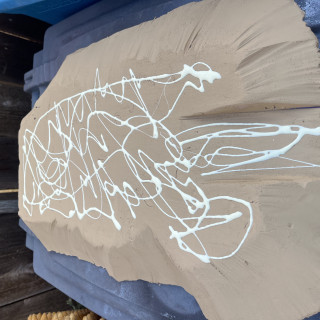
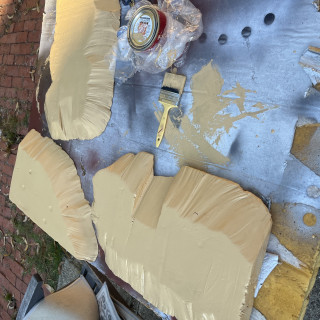
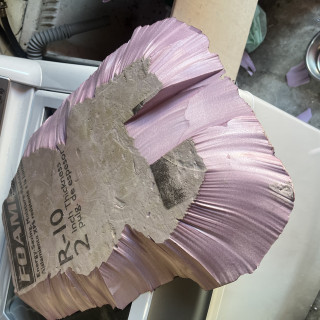
So for phase 4. I am repurposing some old desert terrain that I made about five or six years ago. Now I could’ve probably just thrown them on the table and used it and been like oh what the heck it’ll work. But what is the point of train fest if you’re not gonna go all out and make everything shine! So I busted out my paint and I’m just giving everything a fresh coat so it will match, and then I will give it the same sand and darkness treatment that I did to my hills. If you are wondering what the rubber bands are for in the second picture.it broke. Had to re-glue it. The seam is where my finger is in the picture I also added some pics of the half painted pieces so you can see how the new color will change with the old color was. Something else to think about. This nice thick enamel home paint helps to make a nice safety coat on this pink foam. Another good way to safety off some pink foam if you wanna spray paint it. Is to go over it with some MOD PODGE first it will give it a clear sealed coat, but you will be able to spray it with any aerosol spray paint. Otherwise, if you spray pink foam board with spray paint it will erode it like pouring acid on butter. So once this dries tomorrow, I will begin the next stage of adding some texture and some darker colors. See you then. Peace out!
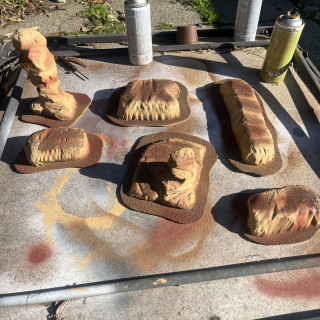
Now that the sand and glue has dried, I can add some color to the texture. I want the smaller pieces to match the hills to make a really nice and complete gaming table and gaming experience. Not only will the smaller pieces break up the landscape, they will also serve as a great line of site blockers and areas for models to hide behind in smaller skirmish games. I can also use these for smaller scale, Miniatures games such as epic war path, which I’m waiting for my Kickstarter to arrive. I could use these as a desert table and I think they would work perfect for that. Anyways, now that I am letting this dry, I will dry brush it and add the highlights once the spray paint is dried for a while. I can totally picture some sand people popping up behind these rocks, screaming in a good game of Star Wars Legion. 🤙🏼😎
Phase 4: Stage 2. Adding my dark browns
Phase three. Adding color to the texture
With the sand and glue mixture completely dry I proceeded to add some dark browns to the ground. I used army painter, leather brown for the darkest brown then I used some ace hardware radish brown primer. Can’t beat the price for the Ace Hardware paints. Then, when these brown paints dried, I busted out the original tan Color and dry brushed my hills. I also dry brushed around the edges and left the darkness and decreases to give it a natural shadowy earthy look. I still need to dig out my original Rocky outcroppings that I made before that are based on old scratched CDs. These will get the same treatment as the hills. I’m feeling good enough right now to play a game on the table as it is. Hopefully I can get in a battle report this week. Then I will continue on with the rest of my desert stuff. Looking to build some Star Wars Tantooine looking structures. Well, time to make a couple lists and test this baby out with Miniatures in a game of one page rules. Battle report coming soon.
Phase two. Adding texture.
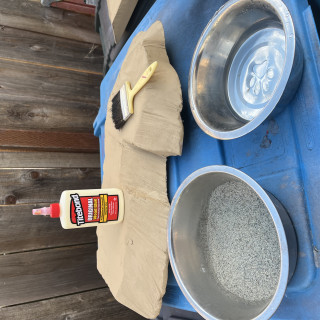
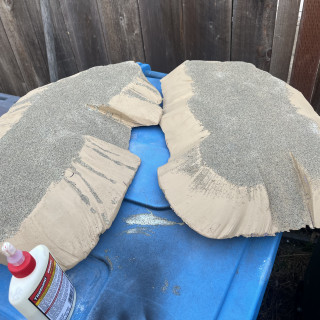
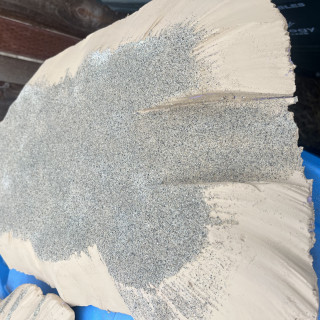
So. After a couple days the paint was fully dry. It was rainy for a few days so it took longer to dry. Air was moist. I had a bag of playground sand that I used to level some bricks. It worked out perfect for adding texture to the top of my hills. I have an old cheep paint brush that was perfect for spreading glue. I added a slight amount of water to help spread it a little better. After that it’s time to sprinkle on the sand. I went heavy with the sand to make sure I got good coverage. Now to let it dry. Next phase will be more paint. See ya in the next phase.
Getting Started
So I have an idea for a desert table. I want it to be multi functional. Sci-fi, historical, and fantasy. I had some old hills I used under one of those plush mats. The were never painted so I figured I would repurpose them. I also have some older desert rock formations I had made . Gonna give it all a face lift
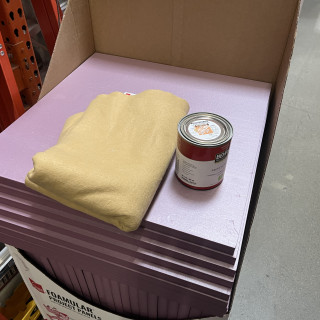
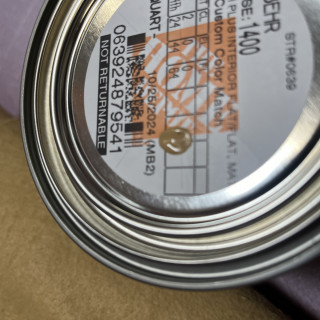
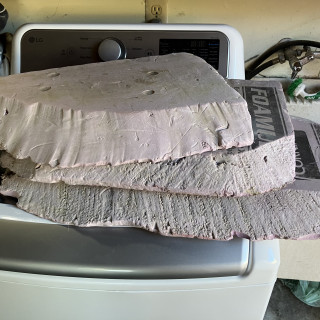
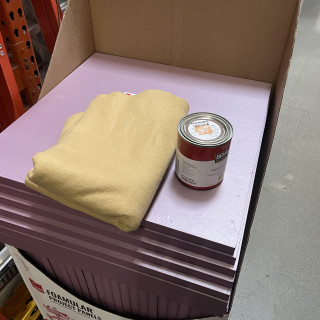
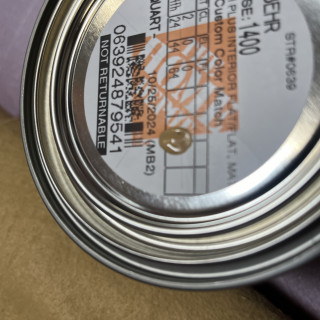
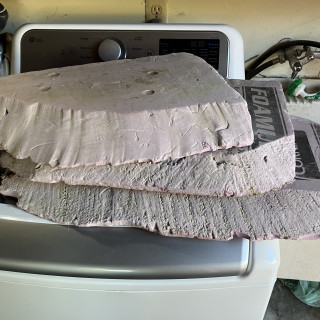
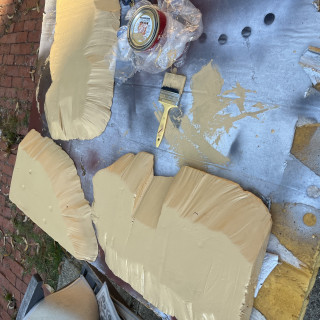
I picked up a $6.00 piece of tan felt at the Fabric store. Then I took it to Home Depot to have them match the color of some paint with the felt. Got home and pulled out the old pink foam. It needed some cleaning up. So I broke out the hot wire cutter to redo the edges. Then I put on some paint. When it dries I will start the second phase of the project. See ya soon.
Getting Started
So I have an idea for a desert table. I want it to be multi functional. Sci-fi, historical, and fantasy. I had some old hills I used under one of those plush mats. The were never painted so I figured I would repurpose them. I also have some older desert rock formations I had made . Gonna give it all a face lift
I picked up a $6.00 piece of tan felt at the Fabric store. Then I took it to Home Depot to have them match the color of some paint with the felt. Got home and pulled out the old pink foam. It needed some cleaning up. So I broke out the hot wire cutter to redo the edges. Then I put on some paint.








![TerrainFest 2024! Build Terrain With OnTableTop & Win A £300 Prize [Extended!]](https://images.beastsofwar.com/2024/10/TerrainFEST-2024-Social-Media-Post-Square-225-127.jpg)


