Baba Yaga’s Wandering Hut
Recommendations: 22
About the Project
I've been running Dungeons & Dragons for my son and friends. Recently, my son showed an interest in running his own game. I found a company, DnD Adventure Club, that makes child friendly adventures. They had some adventures that looked like they would be fun for him to run during the Halloween season. This project is my attempt to make him Baba Yaga's Wandering Hut for his first time running a game as a Dungeon Master.*** ***No animals were harmed during this terrain project***
Related Game: Dungeons & Dragons
Related Company: Fat Dragon Games
Related Genre: Childrens
Related Contest: TerrainFest 2024
This Project is Completed
You don't need terrain if you don't have a Dungeon Master
I mentioned in the project description that my son shared that he’d like to be a Dungeon Master and run a game.
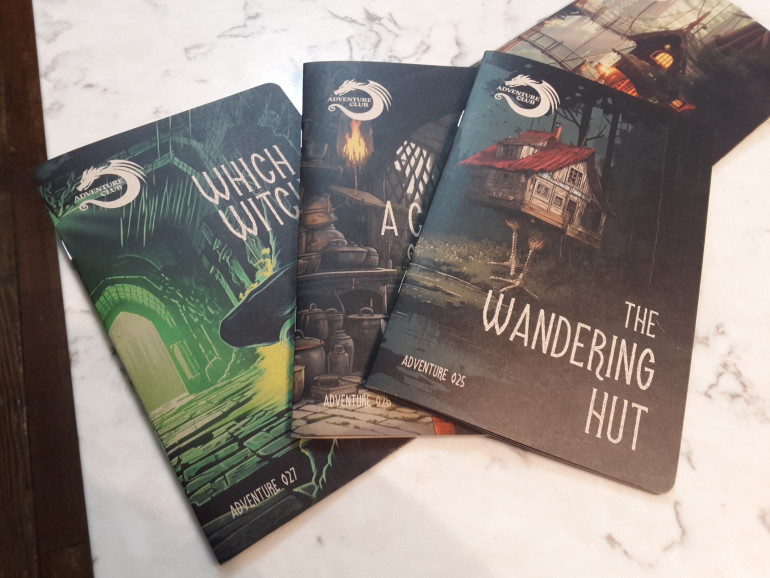
I started by doing some Google-Fu research and found a company in the US that makes a product for kids to run and play D&D games. They’re called “DnD Adventure Club” and have some really interesting products and great support.
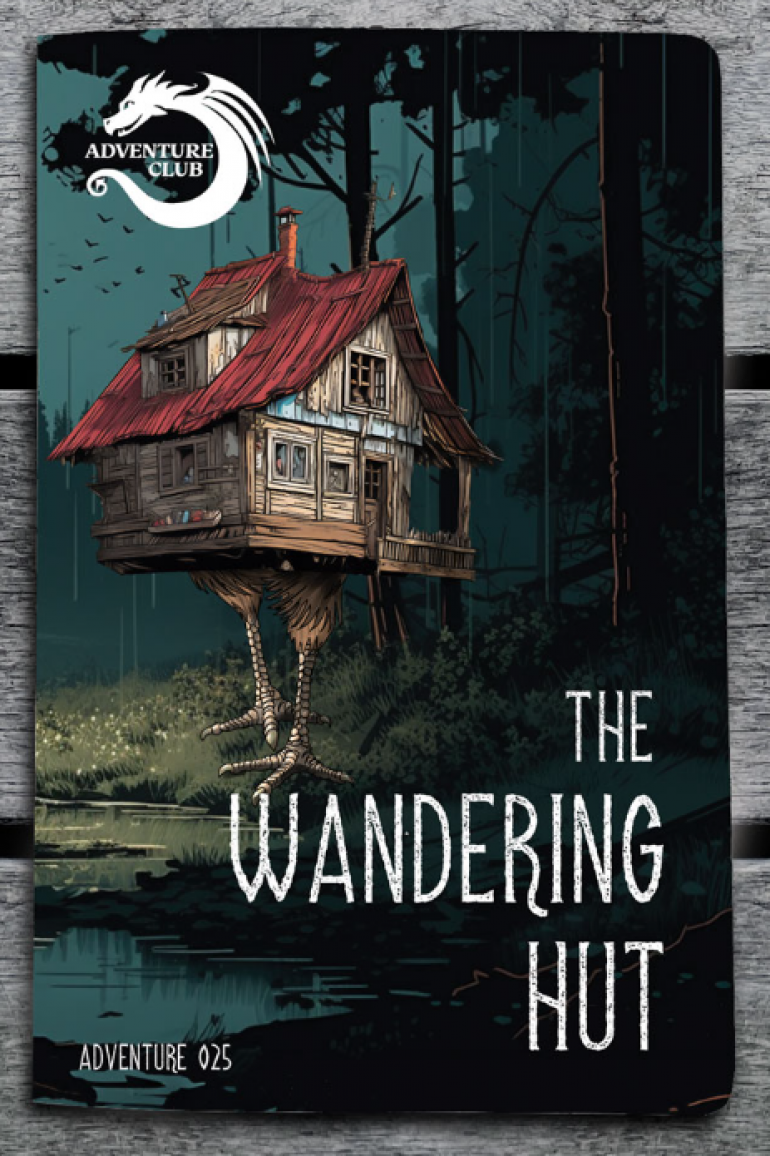
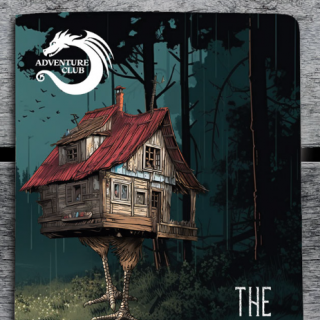
I decided to get him the basic rule book that helps easily explain the concepts of Dungeons & Dragons and I signed up for a subscription starting with an adventure called, “The Wandering Hut.” This adventure looked great because it felt like it had a Halloween theme, and my son and the players would probably like the setting.
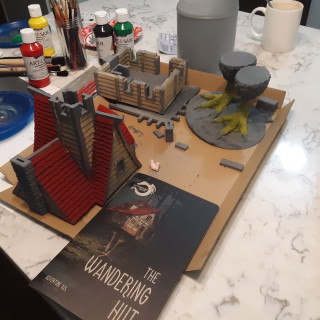
After the first book arrived, I remembered that I have a large collection of STLs from the company Fat Dragon Games. I was introduced to their products during a past GaryCon. Fat Dragon Games typically send out a free STL link in their monthly email newsletters. They happened to give out a unique Baba Yaga’s Hut in one of the newsletters. I thought it would be fun to paint up the hut to look like the building in the adventure.
One little issue, I don’t have a 3D printer. Luckily, I have a friend that has one and he was kind enough to print out the model for me.
I should probably look into purchasing a printer, but that’ll need to be a separate project just to convince my partner that we should invest in one…
3D D&D
With the adventures in hand, my next step was to pull the STLs and get them to my friend.
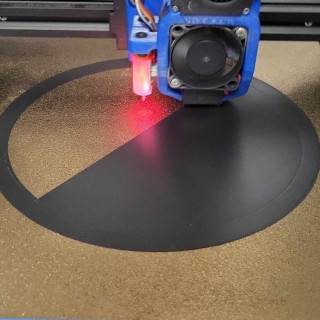
One great thing about Fat Dragon Games files is that they are designed to be printed without supports. This made the project super easy for my talented friend…although it did take a bit of time for everything to print due to the size.
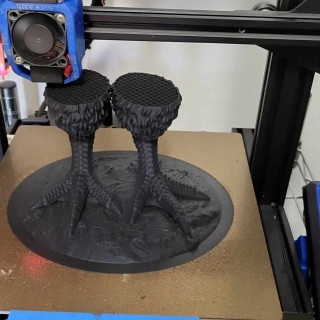
How does Baba Yaga keep those legs so fit? Eggs-ercise
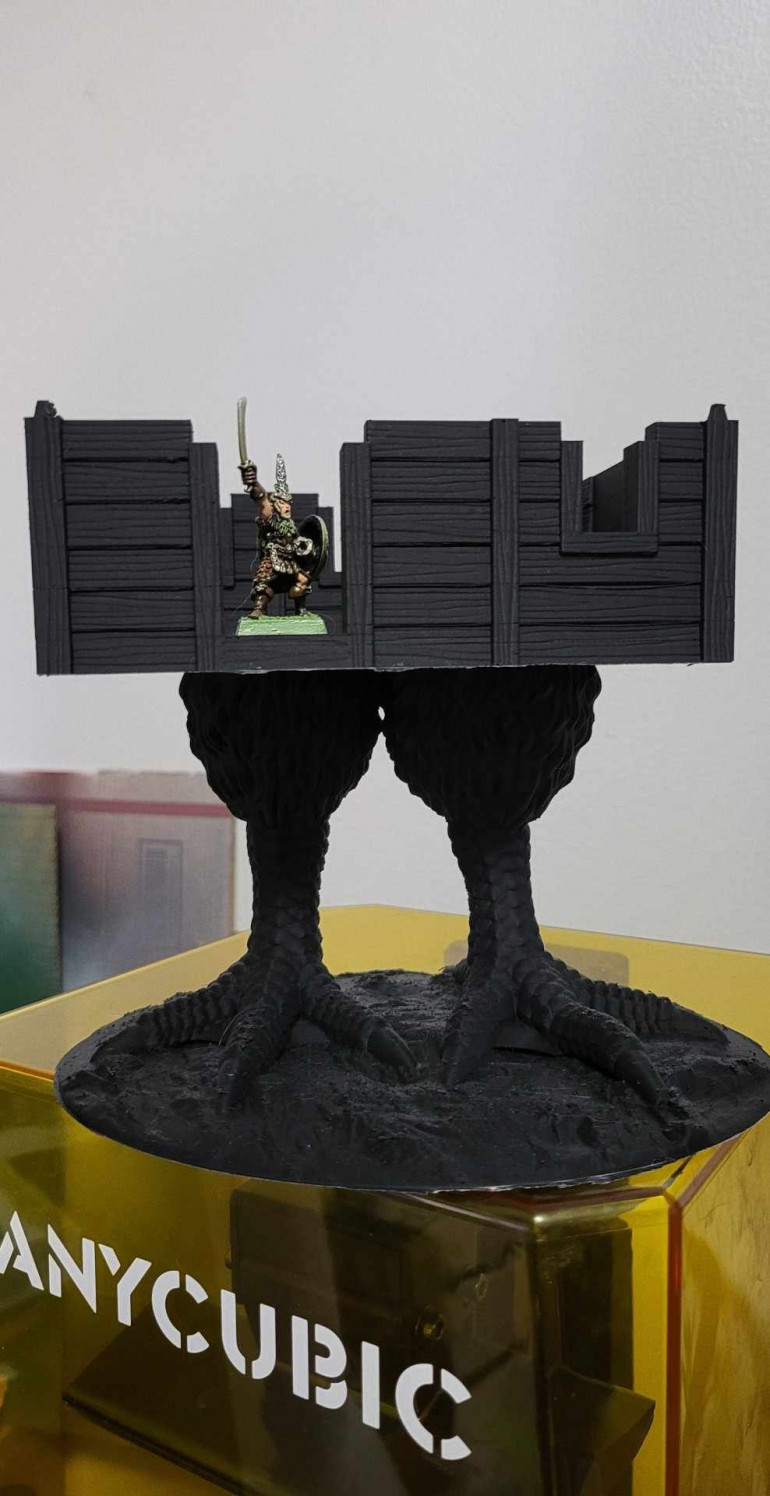
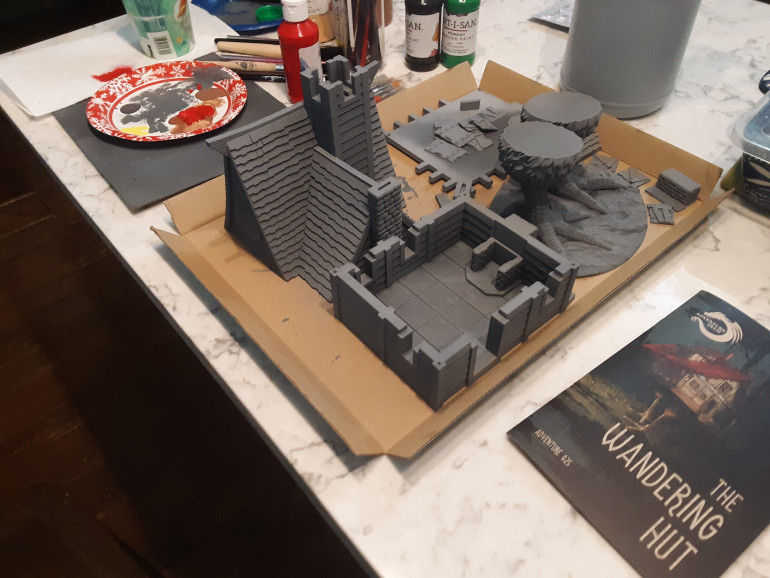
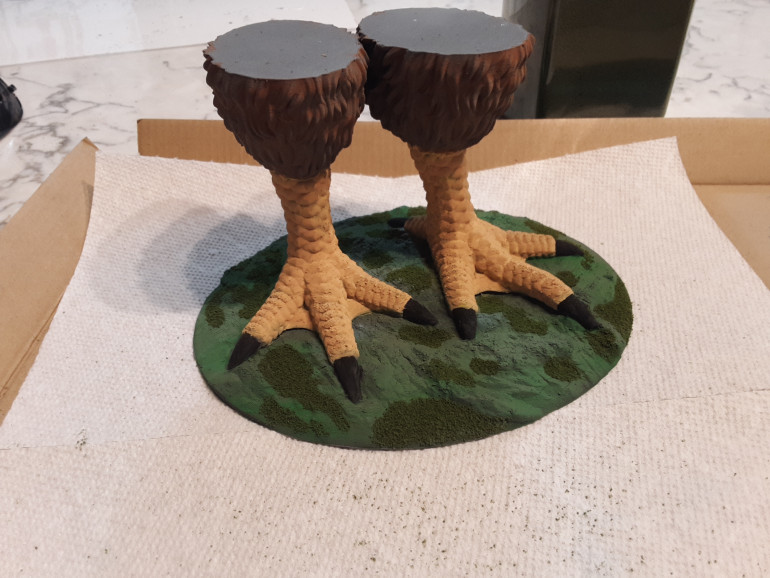
The first print was for the all important Baba Yaga hut legs. The house will sit on on these as a separate print.
Next up was was the first level of the house. You can see that it sits on the finished legs and fits a standard mini size really well.
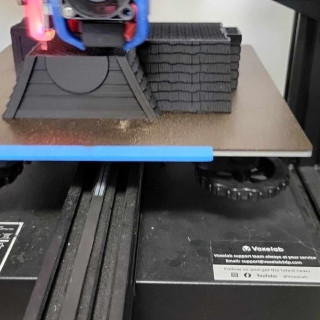
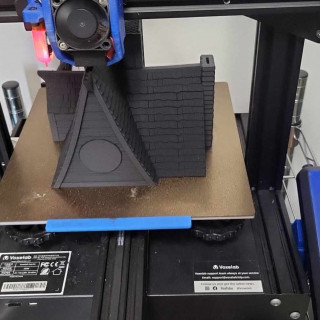
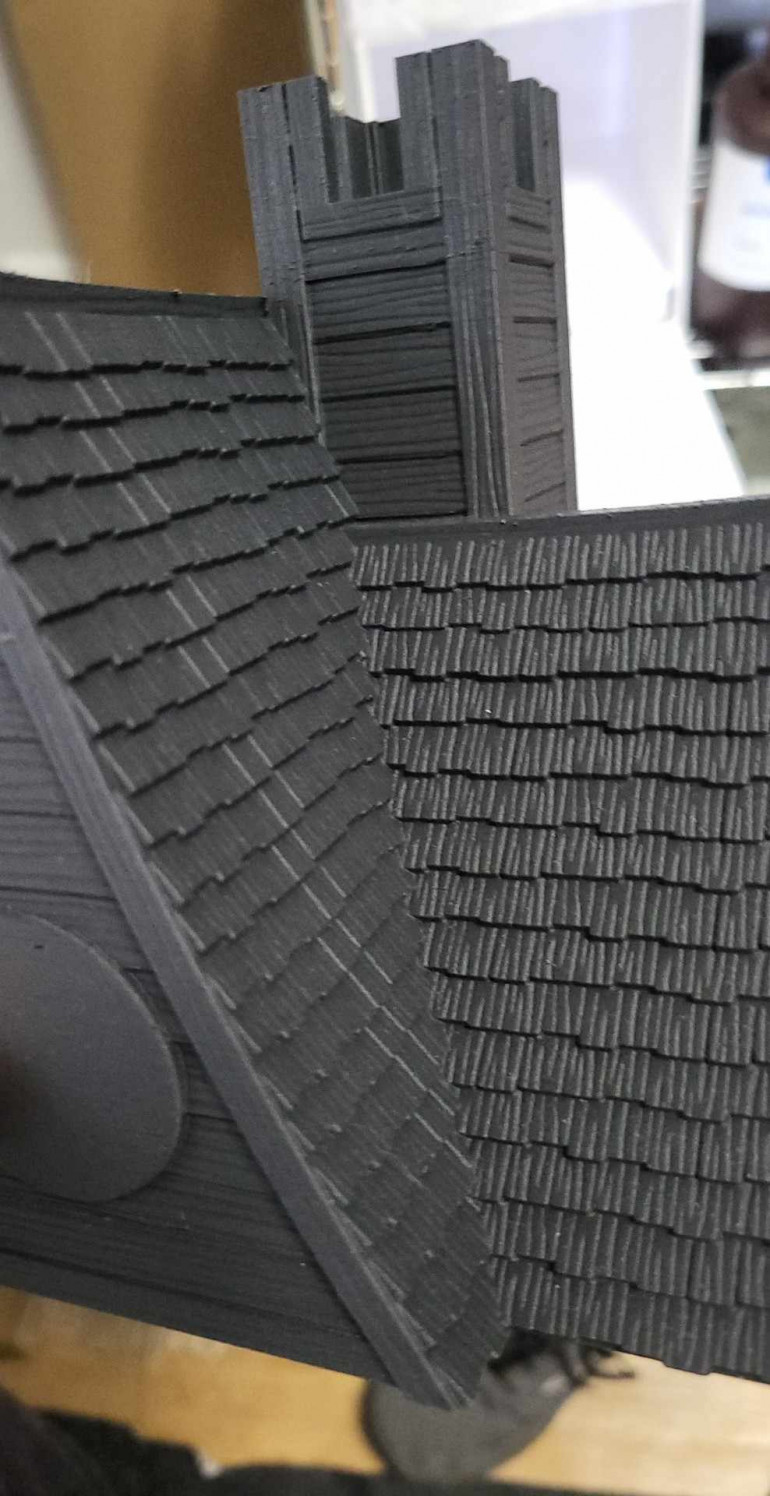
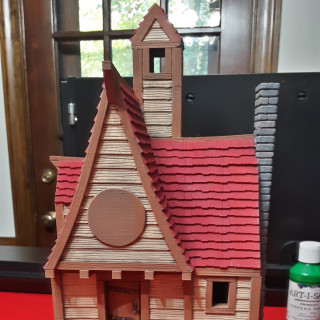
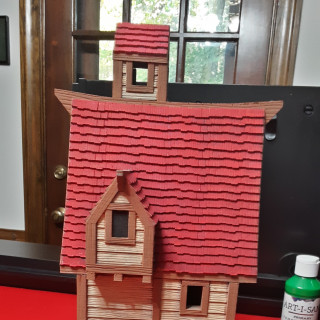
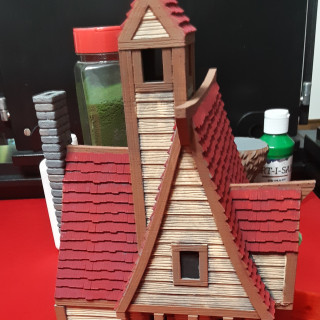
The roof came next and turned out really well. All the details with shingles came through and there was only minimal cleanup from a few strands of extra filament.
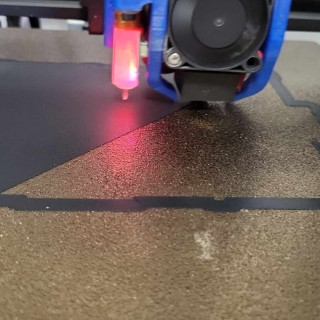
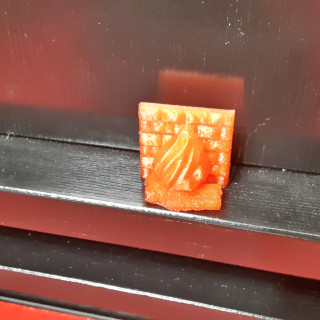
My buddy also printed out the eye, door, window covers, and used a transparent red filament for the fire in the fire place. I’ll share pictures of those during the painting process.
Go check out Fat Dragon Games if you’re looking for STLs that are easy to print. They also have some really nice paper terrain that I hope to print out for Frost Grave some day.
Priming the Terrain
One of the first things I needed to do with the printed pieces was do a little cleanup.
My buddy shared that he was still dialing in some of the settings. He mentioned that the heat settings resulted in some unexpected expansion.
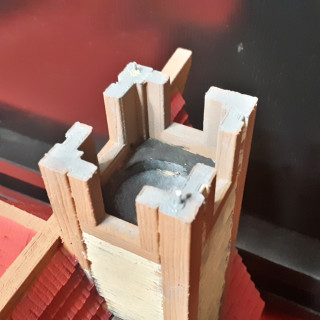
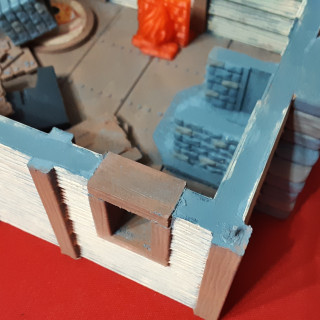
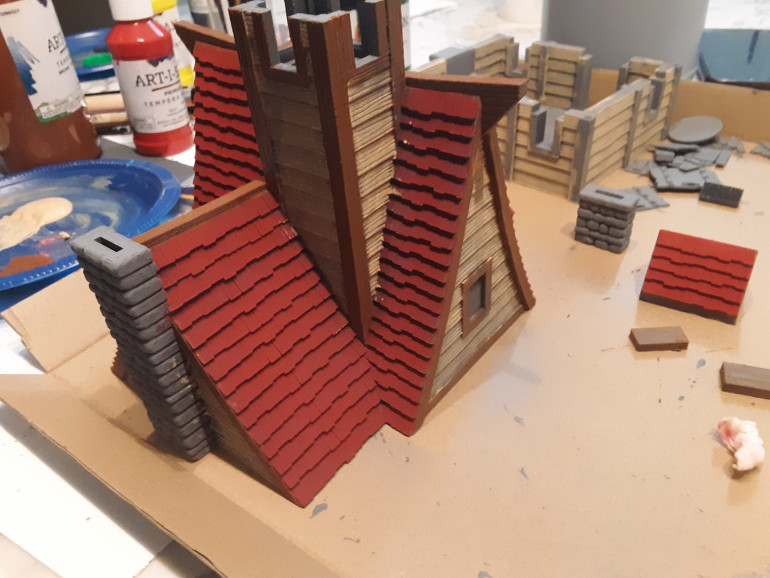
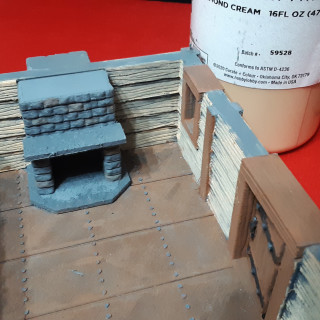
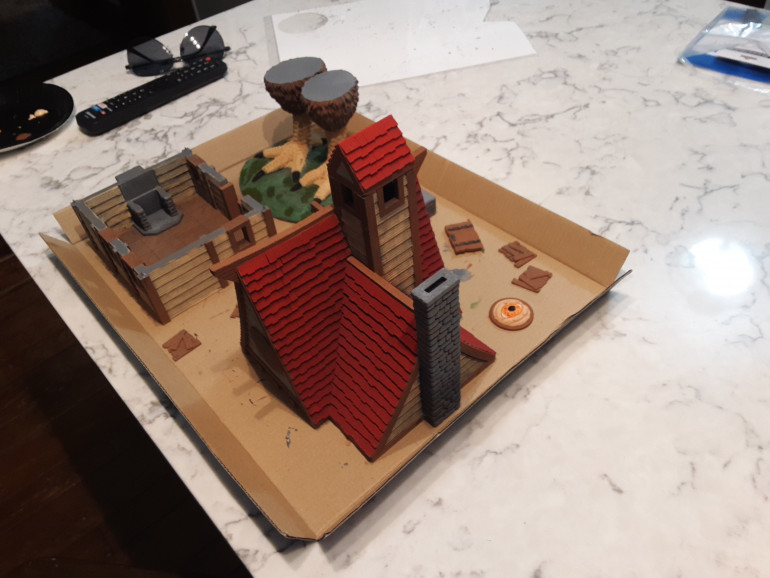
I busted out my files and sanded down the sides of the interior fireplace. Due to some of the expansion, I had to cut off some of the pegs that allowed the upper roof to attach onto the lower floor and glued in some cut paperclips. I drilled out the openings for the pegs too. I didn’t take any pictures of this process before I painted the building. You can see the pegs and holes after I painted parts of the buildings down below.
I also cleaned up some of the stray filament, but that was very minimal with this print.
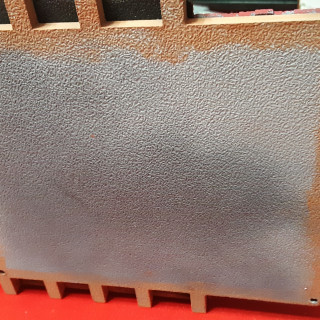
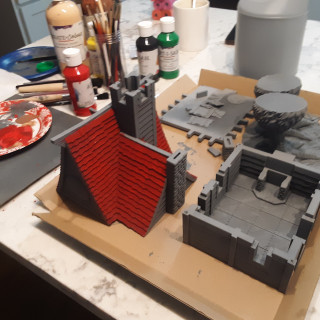
After this cleanup, I used a can of automotive primer. This paint was designed as a filler. So it’s basically a very thick spray paint that you can sand. I sprayed this on all the pieces I’d be painting and skipped the sanding process.
Next up…painting
Painting In a Day: Tackling the First Colors
I set myself a personal goal to paint the terrain so it would match the look of Baba Yaga’s hut from the adventure in a single day.
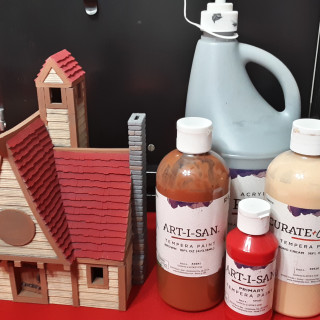
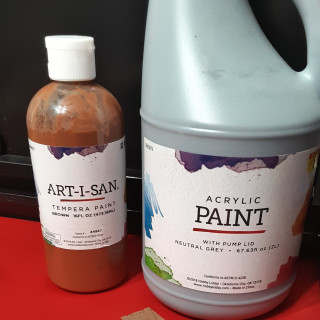
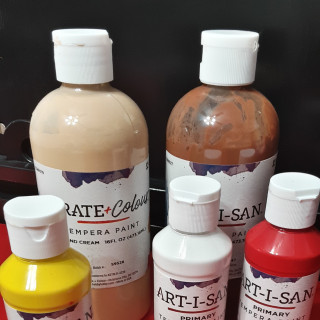
I have a small collection of craft paints that I thought would be perfect.
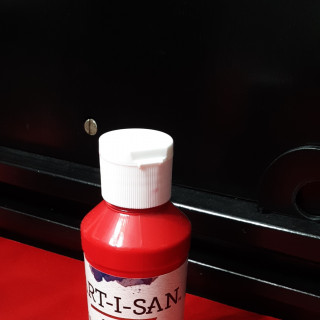
It never feels right to me using expensive hobby paint on terrain. First up was a basic red color to match the roof. I took me two thick coats to get the color the way I wanted it over the primer.
Next up was matching the outside siding color. I had an almond paint color that seemed to match perfectly.
I tried to use yellow for the legs of the house, but that color turned out horribly.
I used a basic brown color to paint the wood beams on the outside of the house. This took me a few coats and a I also used this step as an opportunity to clean up any red or almond paint onto other areas.
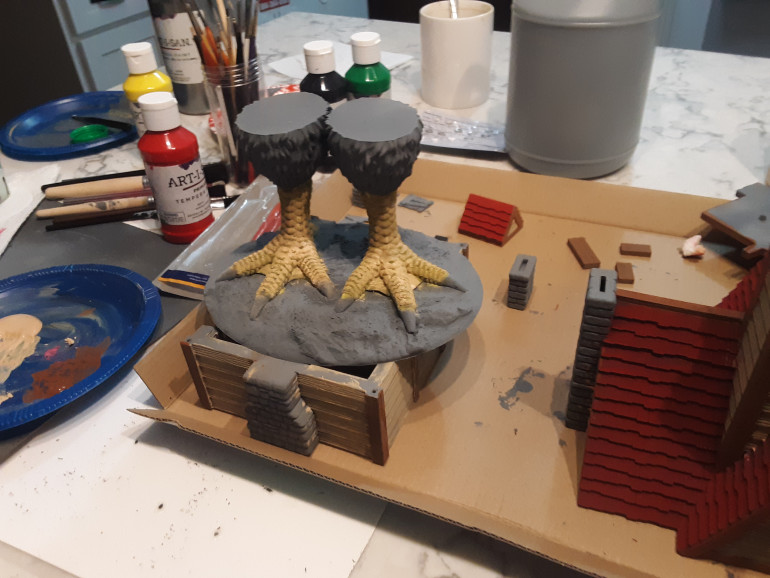
I ended up deciding to add some almond color to the legs over the yellow color. This helped get the legs to a more natural color.
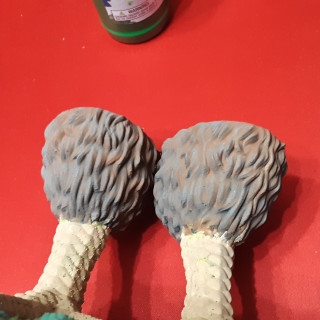
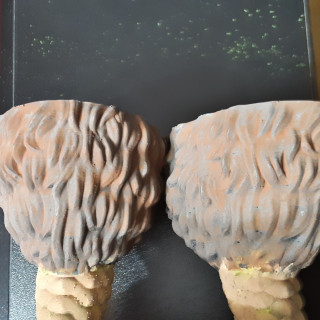
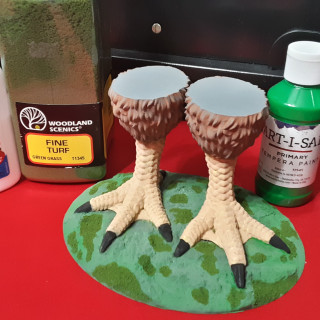
I also used watered down brown paint for the feathers on the legs. I did this so some of the gray primer would show through.
Painting In a Day: Interior and Details
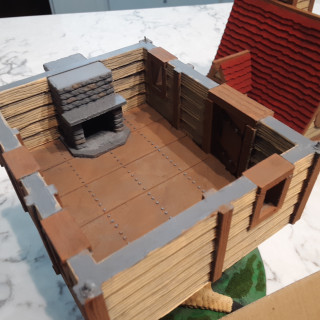
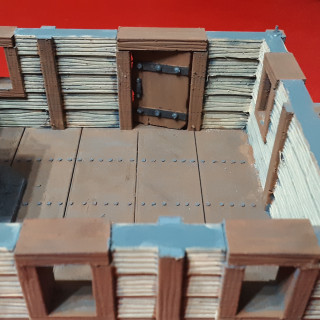
I used a basic brown paint for the wood interior and tan for the walls. I tried using a craft metallic paint for the floor board nails, but that didn’t turn out very well. I decided to use the gray paint I had instead and it turned out really well.
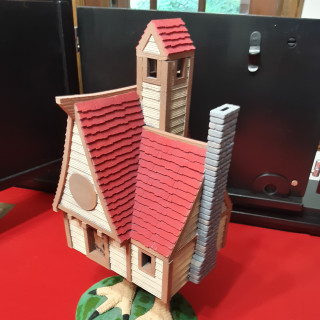
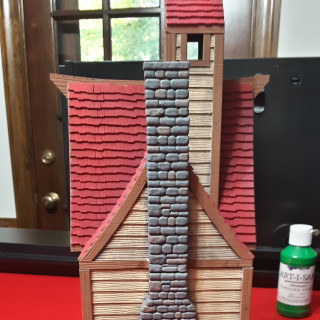
I painted over the fireplace stones with a water downed tan and brown to add a little bit of inconsistency with the stone colors. I did the same thing for the exterior fireplace.
My friend printed out a transparent red fire for the fireplace, but I need to find an LED and battery to install this in the fireplace.
I used the brown paint for the door and window coverings. I decided to use black for the metal on the door and gray for the nails
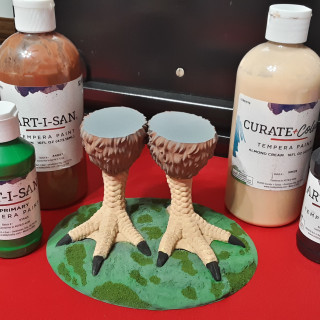
To finish up the legs, I did a little research on chickens. I found some that had black claws and decided that would look good. I used a basic black craft paint for those.
For the base, I used a watered down green so it’d look like a base of grass or moss. After the paint dried, I added some spots of watered down pva and used some green flock to finish it up.
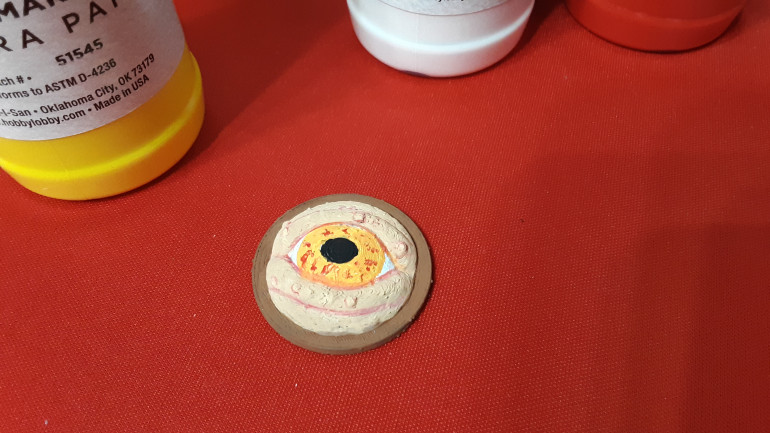
I looked over the chicken images online and came across a cool looking orange color. I ended up having to mix some colors to get what I was looking for because I was missing orange craft paint. I based the eye with tan and white. After that dried, I mixed red and yellow to make a suitable orange for the iiris and black for the pupil. I waited for that to dry and then mixed a pink using white and red. I used the pink color to emphasize the wrinkles in the skin and create arteries in the sclera of the eyes.
The Eye and the Window Coverings were all kept separate. This is so the house can be as normal terrain for games too. I’m very happy with how this is turning out.
The Completed Baba Yaga's Wandering Hut
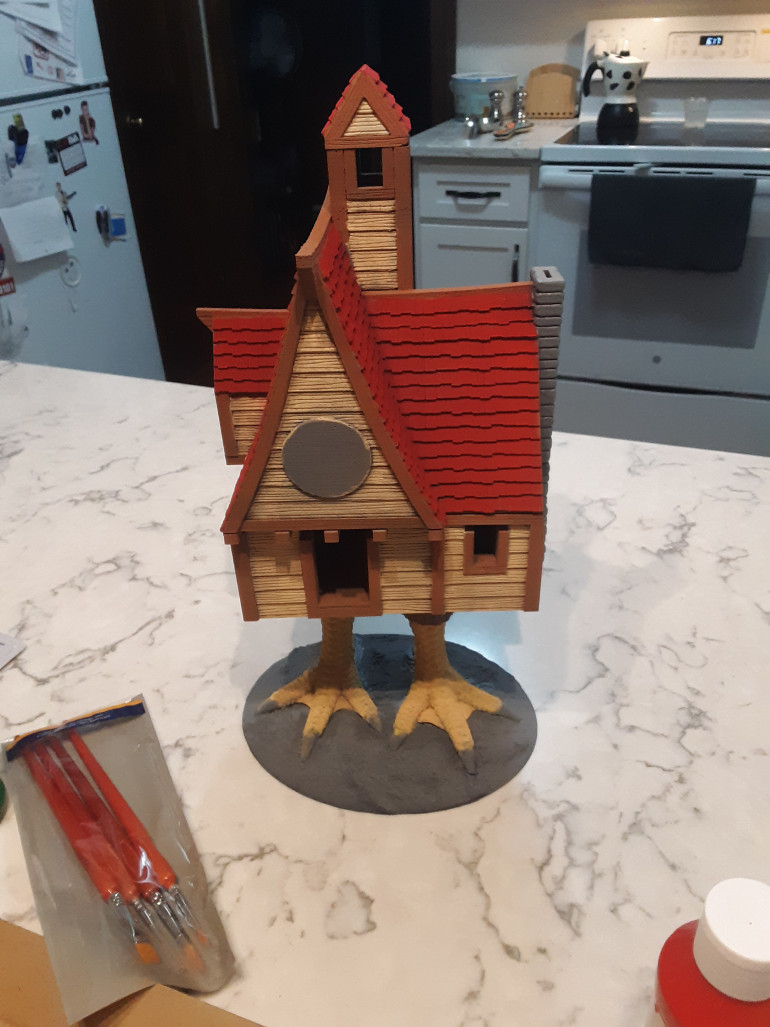
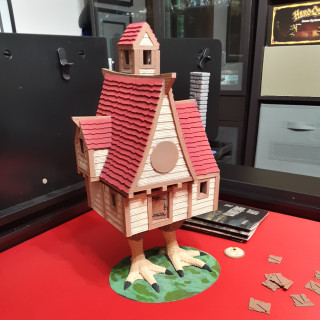
I feel like the final product turned out great and matched the adventure artwork really well.
I used a lot of basic colors for this project. You can see what I used in the images above. The lack of available colors also had me try out mixing colors for the first time when I worked on the eye.
I’m happy to call this project complete.
Next up is helping my son prepare to run his first adventure!


