Magical woodland terrain- For Moonstone / Arcworlde / Everything
Recommendations: 376
About the Project
A some terrain to enliven my games of Moonstone, Arcworlde or whatever. Why not throw them into a "Stalker" setting.
Related Game: Moonstone
Related Genre: Fantasy
Related Contest: TerrainFest 2024
This Project is Active
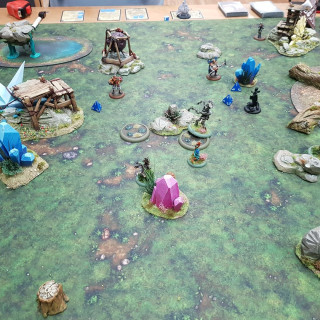
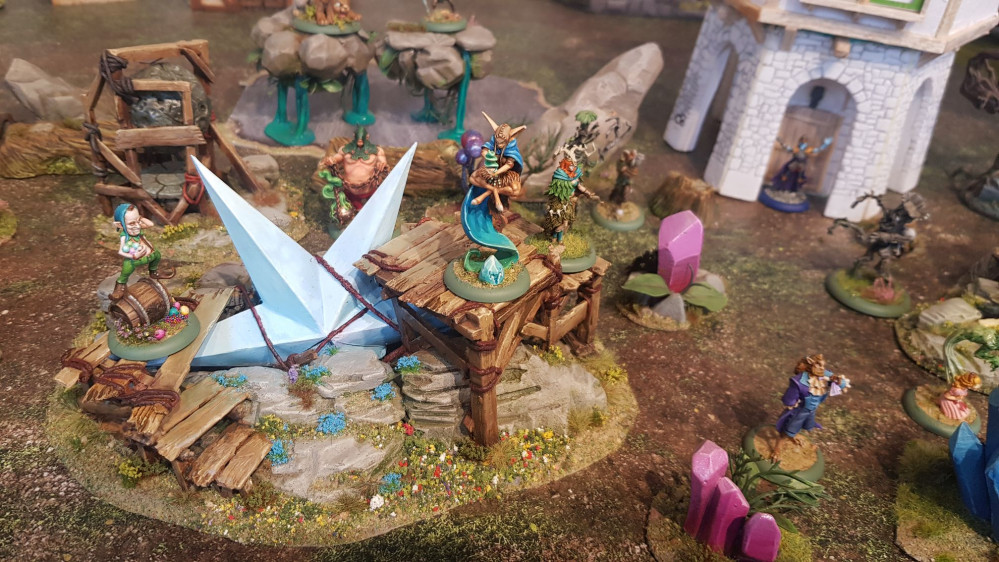
The - not quite end result....
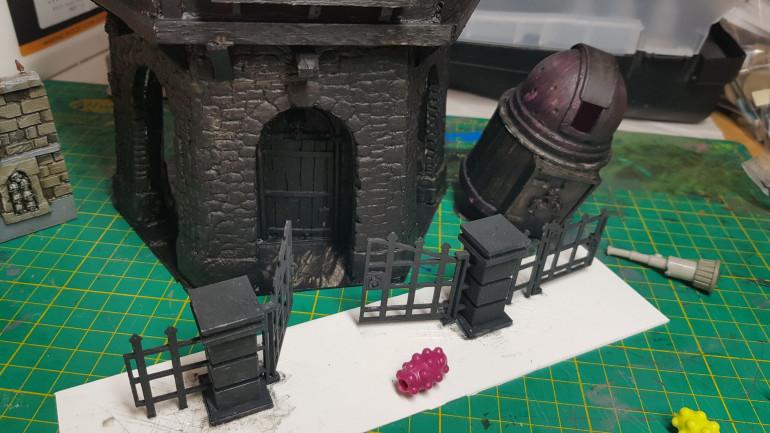
This is the first time I’ve taken a photo of everything in one place, as it currently stands. There’s still a fair bit to play with:
Painting the Observatory.
Sealing.
Little bits of tidying up, here or there.
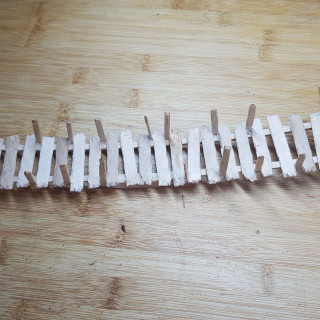
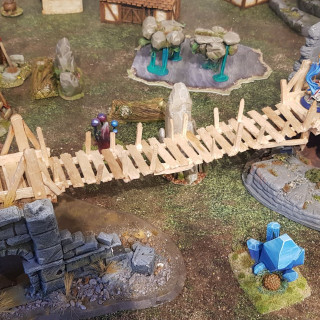
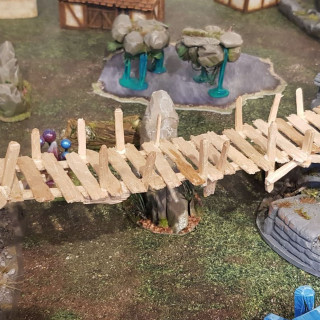
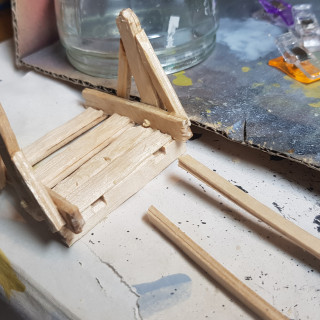
Traversable ladders or platforms to stretch between scenery. (the sort of stuff that’s so easy you put it aside…)
I Have other ideas for this ‘set”, but I’m keen to finally start using this stuff.
The observatory - Xmas fiddling
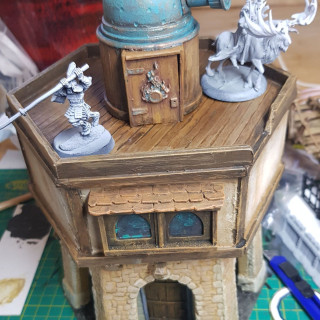
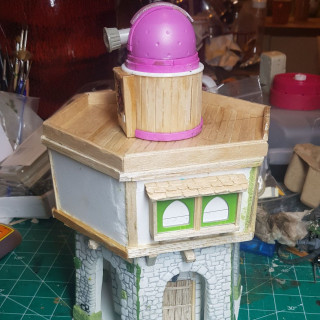
I tried two differing builds for the main dome and settled on a good old deodorant for the bulk of it. The body and doorare coffee stirrers. the lens is from a toy. I might leave this as a removable piece so that I can remodel the tower deck.
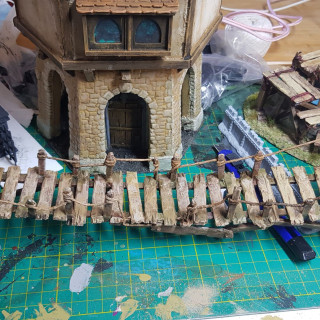
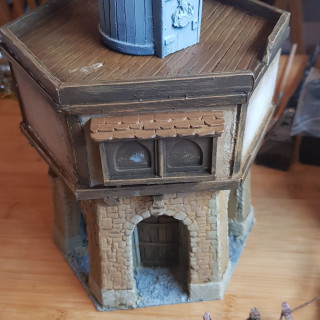
Nearing a complete tower
More foamboard; more balsawood ‘timbers’; coffee stirrers. The gothic arched windows are from the punched-out remains of boardgame tokens. Rather neatly, I had a choice of classical, arched and square windows.
Looking at the photos, maybe I need some supports across the dormer window? Also wondering about some statuary for the buttress arches… Of course I need the scope dome too..
Anyway... off to enjoy eating my bodyweight in marzipan.
Designing a half-timbered observatory.
After a few sketches I’ve come up with something that will be fun to build. Using foamcore board and balsa for the timbers, and perhaps also some plasticard where necessary was the plan. It ended up pretty much like I imagined too, at least to build.
Hexagons are nice simple shapes to work with – clean angles, etc. The Base has a slight inward tilt to suggest buttressing arches for the upper story. Six identical base pieces; six arches; pieces to widen the columns. Then score in some brickwork and make a start on the inner tower, with a doorway too.
next... the upper story
shading and highlighting...
From the previous update, you all know the procedures from there: applying shades and thin layers. Working highlights into raised parts. No drybrushing at all felt necessary on these models. It’s subtle in the photos, less so on the table, but there is a degree of coloured highlighting around the stellar objects. The same shade to give the illusion of a glowing object.
Next. Grasses, tufts and general tidying....
Finding a palette..
where I ended up...
The colour of the rocks was defined by thatt on the prior terrain pieces. It’s normally a question of applying paint to the scene itself to find a harmonious palette overall. I am trying to capture the feel of some middle ages/renaissance hedge wizards hasty constructions. I settle on a blue star, yellow sun and a differing hue for each planetoid.
Airbrushed with highlights.
This process can be daunting sometimes. You find that with the uniiform colour applied the sculpt aquires a coherent look for the first time, but it also shows imperfections off in the final result.
My painting of the rocks will proceed exactly as I did for the earlier sculpts. Wet palette blending and washes….
finalising the builds....
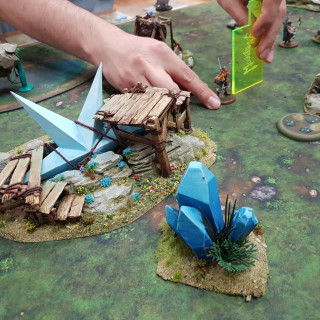
I did intend to keep the terrain separate but I belatedly realised that tthis won’t be possible. I want to “rig” the astrological stuff as if it has been ttethered for nefarious wizarding purposes. I’m not sure what – I haven’t ever actually read any of the bg for Moonstone, beyond that notion.
I’m using balsa wood and coffee stirrers ( bonded in laminates!) AS THESE PROVIDE THE REAL STRENGTH. The balsa, even when impregnated with s.glue, is nothing like as rigid.
The ‘rigging’ is various bits of cord/string/etc from our local fabric shop.
It is time to airbrush the results. I’m looking forward to seeing this myself as this process “really ties the room together.”
Beyond these items I’m now wondering over a general “Astonomer’s hut”, something like that old Warhammer terrrain with the telescope – but not that size; that was ludicrous! ….or an orrery of some sort….
Back - Lovely Lolly.
Back from a lovely time and my ISP has chosen my absence to destroy my internet connection. I’m usinng one of those dongles that is actually a massive improvement on the performance of my ISP.
Anyway…
For once I have a very clear picture in mind of the form I want the platforming/scaffolding to take around these objects.
Just how expensive is balsa wood now!? As I boy I threw gliders worth of it around the local hills Now I have to seek through the darkweb to find shady suppliers of the stuff. Almost. I want a ramshackle rostrum built around these tethered objects, as access to buildings,vantages, etc. I’ve realised this stuff might be fun for Frostgrave too. Another game I like. The platforms are lolly sticks – highly mutilated lolly sticks. I have found that soaking the balsa construction with cheapo superglue once built very effectively reinforces the structures.
I want to leave the components separate in order to paint them more easily.
A day's work before being dragged away on holiday...
I’m going somewhere pretty special, but you know when you’re very focused on some task and any distraction from that task is frustrating!? I thought I’d spend as much time as I could on this terrain while some sort of image of the end result was still fresh in my mind.
For scenery like this I don’t really have a better method than to carve away at Insulation foam until there’s some results I like. I’m goingf for a well weathered mudstone or slatey sort of look.
Beyond this stage, I am thinking about having wooden scaffolds placed around the bodies, perhaps with staging to cross up and over? I don’t know yet – whatevre works. I have balsa wood and lolly sticks ordered from ebay – hopefully here when i get back.
More sculpting for the medieval set pieces.
It’s a while since I’ve sculpted large forms. I began by printing out a nice sharp vector sun to use as a template and DAS as a medium. It’s wholly inappropriate, way too soft for my purpose. So I switched to a modelling plastic clay – much more effective for sculpting details.
I want these astro. bodies to be tethered like the folklore stories of the moon. Perhaps, because they’re large they should be set with platforms as set pieces to clamber around? One criticism I have of Moonstone is it often feels very 2-dimensional…
I’m really not sure yet how I’m going to set any of these in the scene. Likely just set dressing.
Dressing up the terrain
Somehow I found time to buy and begin painting some of the new faction, plus finishing the remains of my Lesh sculpts
Final washes and picked out details or weathering
Everything is still looking flat. I’m justt going to apply washes in warmer tones till I start getting a degree of realism that looks good.
I’m very taken with the artistic direction that Moonstone has taken leaning on marginalia and medieval imagery. I love the way those scribes allowed so much humour into the margins – there’s almost too much inspiration. I want to make something of the astronomical srtwork they drew. This means sculpting though. Easy stuff first: a paper star!
More washes and highlighting
I’ve added two or three washes of browns and greens to make the logs look aged in situ:
There are a couple of subtle washes over the rocks while I decide what colour to paint every thing ( all wet-palette work, I never work from specific pots. I can’t give details beyond that.)
Making the Fungal Spike.
By moulding some Das around a HDF core and doing some very simple carving I’m left with something to attach glittery fungus fruits to. This is greenstuff around paperclips with toy beads as a basis for the spores.
I give the beads a simple gradation in paints from dark blues and purple and pinks. Then apply simple highlight spots. Then about three layyers of gloss varnish – till it looks very shiny. Finally I airbrush a layer of metallic effect sheen over the beads. In purples and blues. I rarely use these paints and the affect can range from subtle to retina-detaching.
Project now public! More new figures...
Like everyone’s idea of a genius I’d left this project set to “private”. That will be the goblins doing, most likely….
Hopefully, you can now see how I constructed the forest logs, with DAS clay over foam blocks and greenstuff caps. Now time to slop some paint around
I’ve also airbrushed the crystals and the rock formations with a heavy-duty undercoat. There’s a small amount of highlighting on the crystals too. I will likely just paint and gloss them and the water and matt varnish the rocks. Once they’re painted of course
A hose down with was (home-made) Always DIY forr terrain – too expensive otherwise.
Not terrain, but still why I'm bothering to do this work...
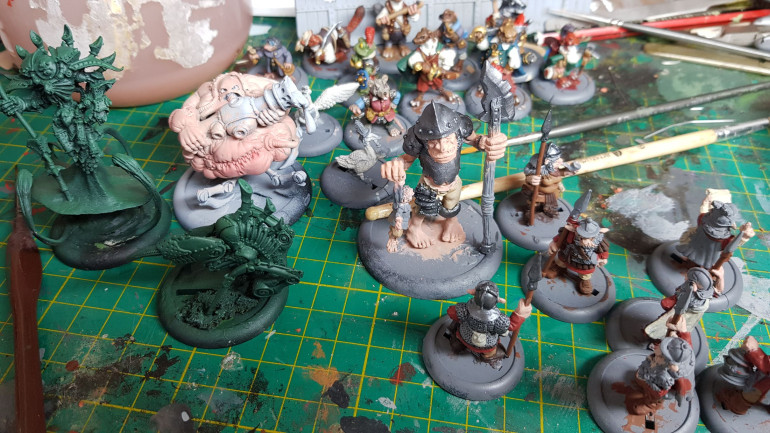
Having bought and painting these, there’s really only the Witches and the troll character to fully complete this Leshers. I really don’t like the witch models at all, and will buy them if I can think how to base them. The troll is sculpted to my tastes but I can’t see any synergies for him.
Kavanagh - enhanced!
I’ve been buying the few remaining sculpts for the Lesh that I don’t own. The box with Kavanagh was one of them. I don’t rate the human Lesh very highly as models and wanted to do something with this one.
It seemed obvious to me that he should be rolling around on a barrel filled with magical balls? I’m guessing it’s that obvious to everyone else too?
I’ve also bought and painted those new-ish trees for the Lesh. They really are fun to paint.
Back to my terrain. I really wnated to model this:
These are simply DAS around a HDF core. The hardwork of painting come next for most of this stuff.
More sculping - this time with DAS and greenstuff.
I really should have taken more photos but this is what I’ve ended up with:
How I got here is by having a HDF core for each log or stump. then, in greenstuff, sculpting the ends of the logs for where they’d been chopped. Small rings of greenstuff arranged concentrically which I then chop into and sculpt when semi-set.
The outer bark of the log is modelled in DAS, set with varnish and primed grey.
The DIY sculpting should be clearer in these images