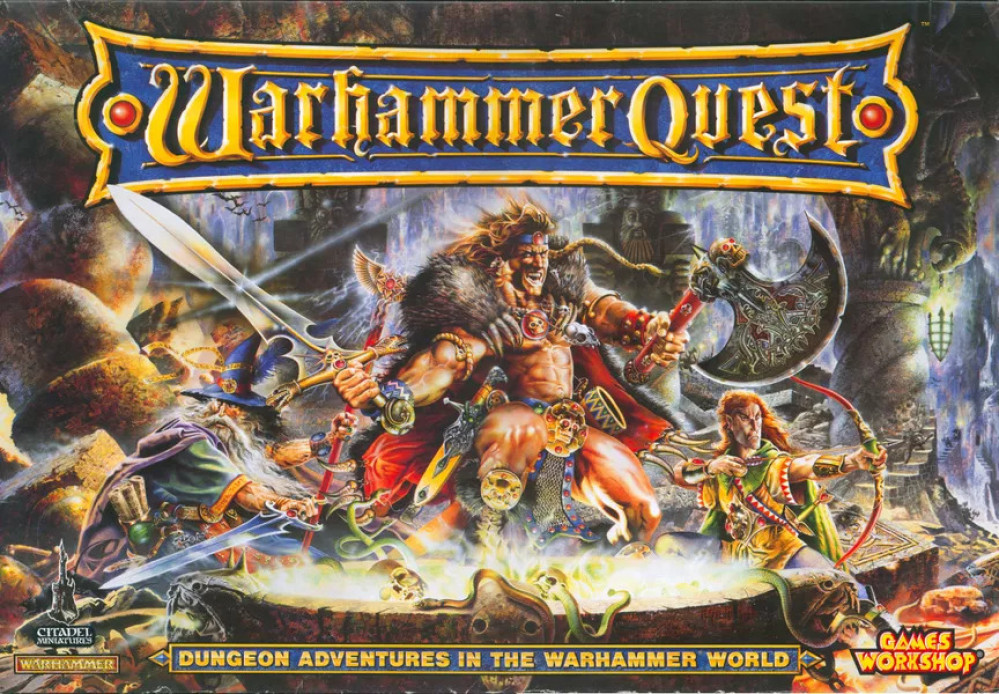
Warhammer Quest (1995) Rebuilt
Recommendations: 87
About the Project
One of my favorite games has been the old version of Warhammer Quest back from 1995. I still have my base set but I want to expand it to include the optional expanded bits from the Roleplay book it includes. Back in the day it would be easy to buy a troop box and add say some Chaos Dwarves to it. Well model match and availability is quite different now so I've been looking into 3d models to fill the void and have found some compelling options. I'm going to share my progress and update this project as I set out to expand my set to be the full version of the game I always wanted. I'd love to hear what others have done if they have taken up a similar quest.
Related Game: Warhammer Quest
Related Company: Games Workshop
Related Genre: Fantasy
Related Contest: Spring Clean Hobby Challenge 2024
This Project is Active
How I stopped worrying and loved the resin
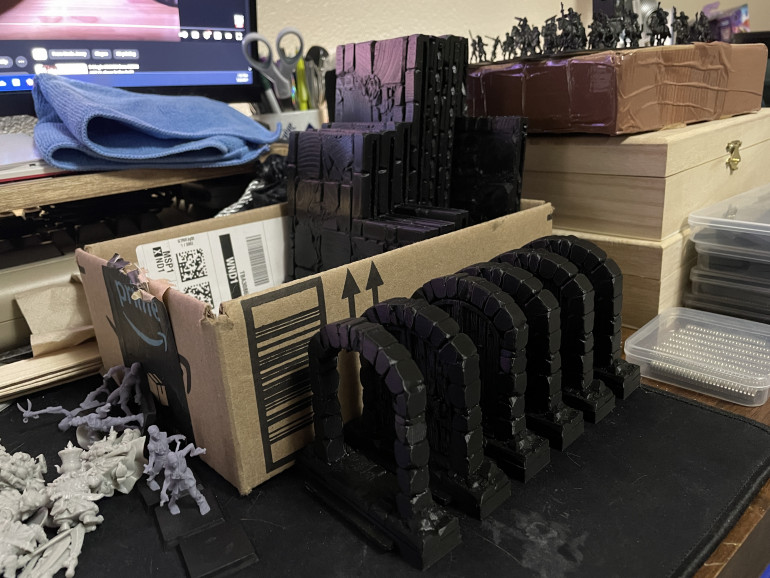
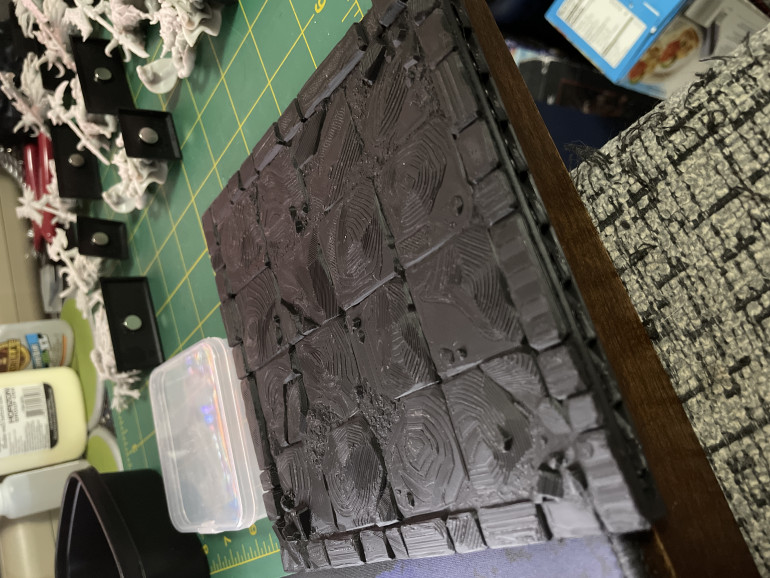
This is not resin but PLA FDM printed dungeon tiles. I got a bit side tracked after changing resins and reprinting I thought I would fire up the FDM printer and start work on the tiles to get two things done at once. Ho boy did I miscalculate the rabbit hole I created for myself.
So FDM printing with Filament was a lot harder to pick up and start than Resin was. So much trial and error with many prints peeling off of the bed like bananas. I almost pulled a John on the Neptune 2 as I was at my wits end trying to solve why my prints would start to adhere fine but then lift off half way through. After much trial and error and glue stick I learned that the print surface I was using was worn, old, and dirty, so much so that even cleaning it wouldn’t restore its sticky properties. It took about 6 weeks to get where I’m at now but I have two small boxes of doors and tiles printed. I’m now finishing up the connecting hallways to have a full set of the basic tiles that are included in the Warhammer Quest box.
I’m looking into filler primers to see how I can smooth out the stepping on the tops of the tiles but they just might be what they are for now. They are perfectly usable but need some color to help make them stand out. While it took me longer to master I’m pleased with the results. After the tiles are done I’m going to make some buildings and ruins for Mordheim/Frostgrave next.
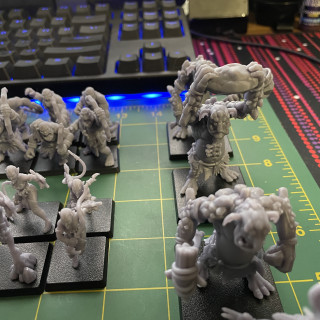
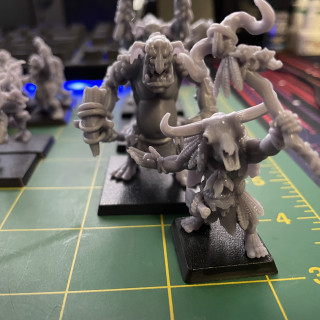
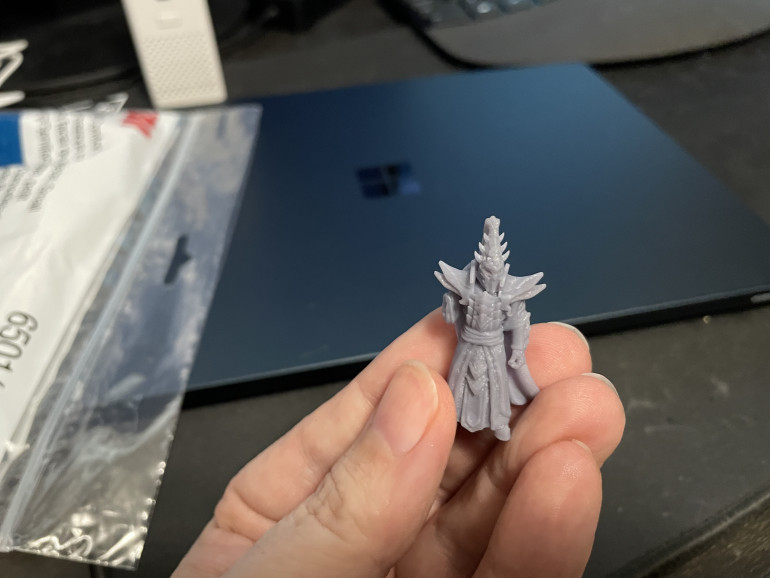
As for my resin problems, well the Sunlu ABS-like was the perfect fit. While the durability isn’t perfect it is on par with the bend or durability I’d expect from a plastic kit with thin spear bits. I’d say joints joined with superglue now break more than other bits at this point. I reprinted the Dark Elves I had done and a bunch of other stuff. I’m over half way on the roster of monsters at this point and make a bit more progress each month. Overall this has been a good learning experience. Now that I’ve learned 3D printing will I be printing all of my miniatures going forward? No. I still like buying and putting together plastic kits especially if they are well designed and not extortively priced. I’d say I’m spending about the same I am for other historical plastic kits I’m getting now. Plus I like supporting good manufacturers. But I am also having fun exploring the sea of 1s and 0s to see what folks are doing in that space. I’m glad to have picked up that side of the hobby.
This project has given me an idea for Dungeonalia 2024. I’d start making a private project to document but I’m not ready to have Gerry peek at it quite yet.
Resin is driving me crazy
I’ve been 3D printing now for two weeks and I have learned a lot. You can read up on things beforehand all you want and until you experience it you don’t really know. Resin for example. I underestimated how brittle it was. This skeleton was barely touched on the sword and it snapped off easily. Asking around the OnePageRules Discord I asked if I was over exposing my UV curing process and found out that is a myth that continues to go around. Always double check what someone says on Reddit! XD But yeah you can’t expose a print to too much UV. The source of my brittleness is in the chemistry of what is used for water washable resins. This also was another beginner’s trap I fell down. I thought I’d save some money, time, and hassle by using water washable resin. Nope. I now have a gallon jug of resin water I’m waiting to evaporate before I can evaporate some more. Water also doesn’t seem to wash as long or as well as Isopropyl Alcohol does.
So this week I ordered some Sunlu Labs ABS-like resin on the recommendation of the OPR 3D printing community and will be giving that a try when it and my IPA shows up. Hopefully both together by this weekend but we will see. Here is an example of the differences with the resin types, imagine water washable resin before standard resin where it breaks right away.
Quite the difference. Will be interesting to see if I can get close to durability of hard plastic kits as that is what I am used to. I had spent the weekend basing and adding magnets to the bases for storage that would be easier on the brittle weapons. Now I’ve stopped everything to work in the new resin. I don’t know what this means for the models I’ve already printed but I don’t feel comfortable painting them. Just handling them for the photo I had this weapon snap off at the joint.
So what do I do with the leftover resin that I currently have? I’m going to use it on some bigger monster models and other practice prints. I have some Giant Bats that I’m going to reduce by 50% scale and I’ve heard going that far never goes well. On the other hand I’ve been seeing some of the OPR folks scaling current models down to Epic scale which is crazy. If the prints don’t come out right at least it was with my remaining water washable than the ABS like stuff.
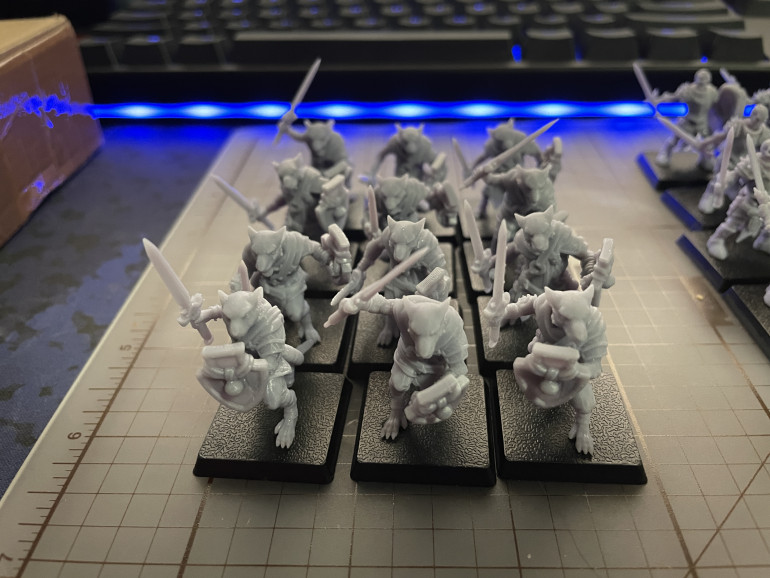
It would be easy to take a defeatist attitude on this but I’m using it as a learning experience. Like I wrote earlier I had read that resin was brittle but experiencing how brittle for my tastes and handling had to be done. At least I learned only two KG of resin in and not all the way to painted models at the table. I’m sure I have much more to learn along the way and I’ll be sharing those lessons in this project as I work my way through the rest of the bestiary. Before I wrap up this entry have a look at some ratmen I picked up from OPR during their 10 year anniversary, these will be clan rats and I have the rest of the range to be the skaven I need to complete the set. More to share after this weekend, until then happy hobby time everyone!
a clutch of Dark Elves
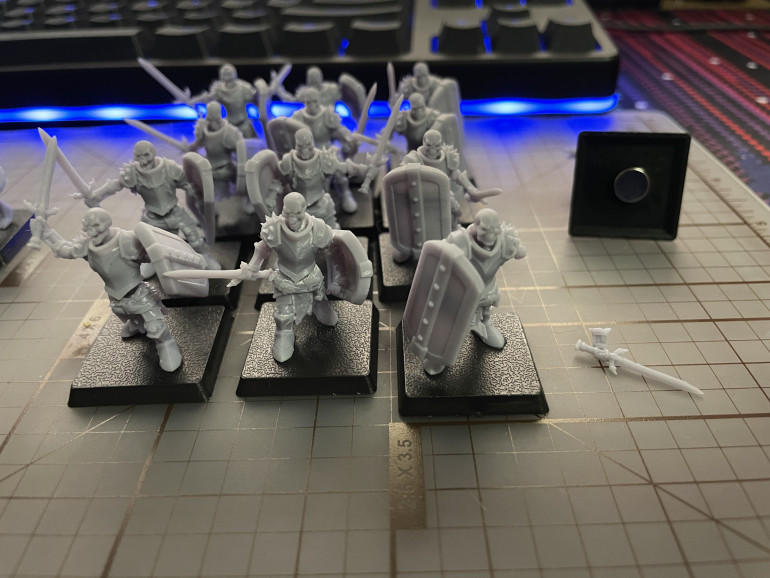
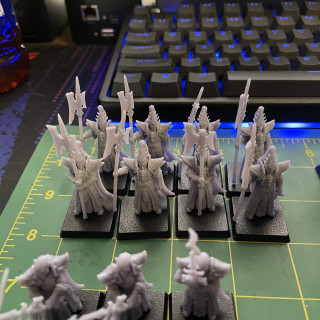
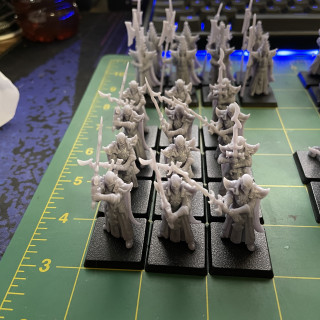
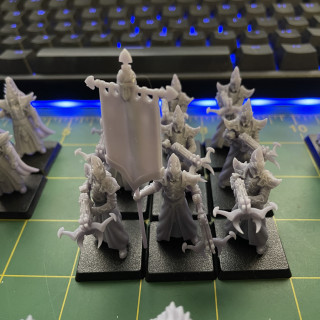
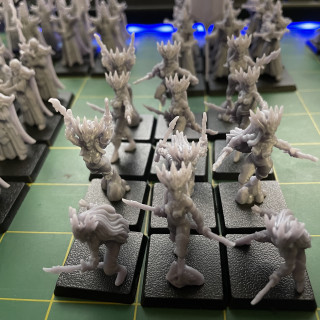
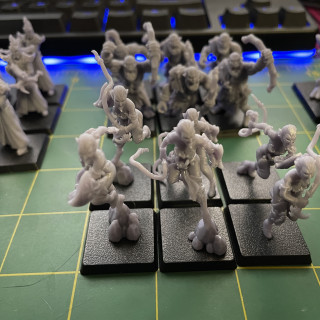
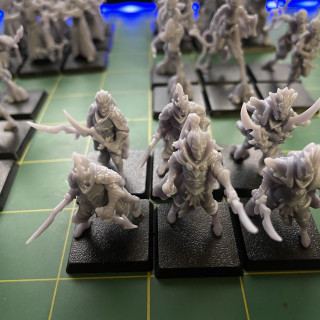
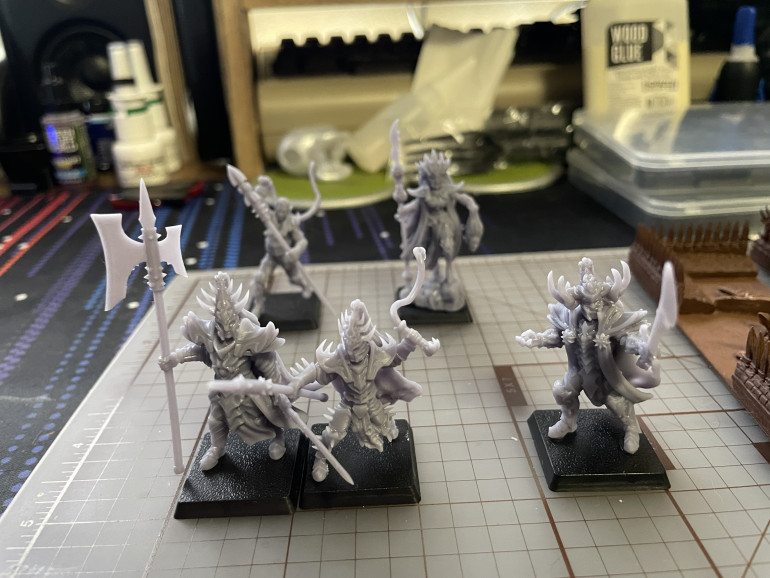
While I waited for my additional minis and terrain supplies to come in for my DBA project I’ve been printing Dark Elves for Warhammer Quest. I found a creator that has a model for nearly all of the options you can encounter for Dark Elves and picked up the STLs. Some of these are thin in spots and are fragile due to resin. I’m learning a lot about 3D printing and finding that water washable resin is a beginner’s trap that I fell for. When I use up the resin I have I’m going to be switching out to a more resilient ABS-like resin. I will eventually reprint these in the new resin when things break too much, until then these are fine. Also I accidently printed out one of the crossbowmen as the standard bearer so kept that for now, and I doubled the Witch Elves rather than the two handed sword champions. Having these assembled like this does make me want to print a bit more to make a Dark Elf army one day.
Here is a list of the models:
Dark Elves with Crossbows
Dark Elf Champions with two handed swords
Dark Elf Hero with large falchion
Dark Elf Lords with dual weapons
Dark Elf Assassins (using the Corsairs for these)
Dark Elf Beastmaster (the hounds will be picked up and printed later)
Dark Elf Naggaroth Black Guards with halberds
Witch Elves
Witch Elf Champions with buckler and whips
Dark Elf Sorcerer
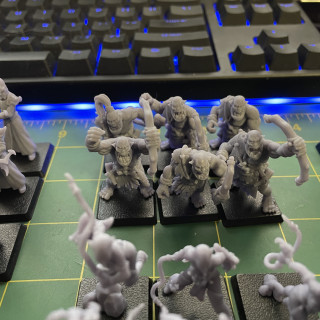
Savage Orcs with Bows
Savage Orc Shaman
3D printing is fun but I can see how it adds to your pile of shame/potential very quickly. Between all my projects currently I won’t have a lack of things to paint for a long while. I’ll be painting these after my DBA project is done and looking forward to it. Until next post happy hobby time everyone!
Resin printing level up!
Since my DBA project is waiting for materials I’ve been working on other projects. This weekend I had all the stuff I needed to get started with resin printing so time to dive down that rabbit hole and gain some experience. Regrettably I don’t have a lot of photos as I didn’t want to get resin on my phone as at this point I wasn’t sure how messy things were going to get.
The first thing I need to do is load and check the models in the slicing software. Here is a list of steps I did to get the models ready to go.
- Get an stl file to use. I get mine from MyMiniFactory but Kickstarters and Patreon are other ways creators sell their models.
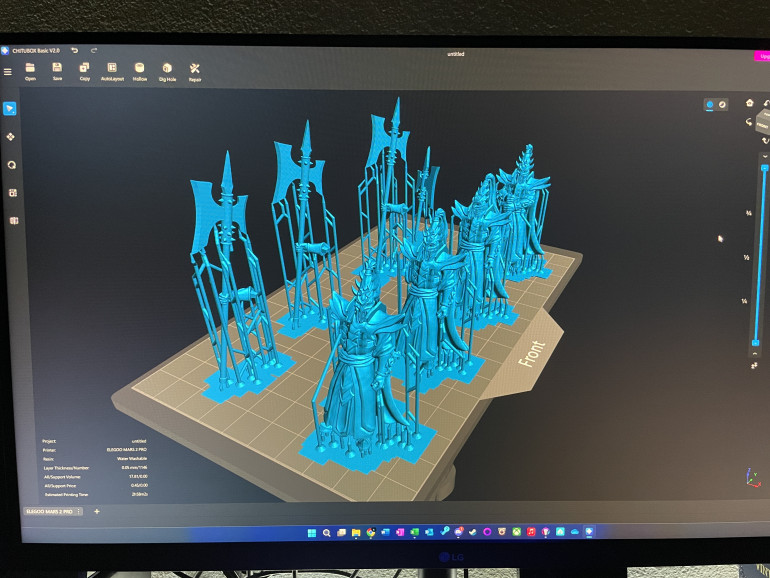
- Open up your slicer software. I have an Elegoo Mars 2 Pro so I use CHITUBOX Basic
- Open the model and it will visually drop onto the build page. You can then click to highlight and click to drag and move it around to make room for more. In this image I do four Dark Elves and their supporting weapons.
- Cavity Detector will tell you if you have any crevasses that won’t cure and you will need to put a hole for it to drain.
- I repair the model at this point to check for errors before slicing.
- Click Slice and the Detect Islands menu will appear on the right. Click Start Detect.
- You will be shown in red the number of islands it finds. These are floating unsupported areas. I just deleted them, alternatively you can support that area if it is an overhang like a spike or talon.
- I detect islands over and over until no more appear. Then we are ready to click Save.
- Specify the location of your USB drive and it will export the file there.
- Take that USB drive to your printer and that side is ready to go.
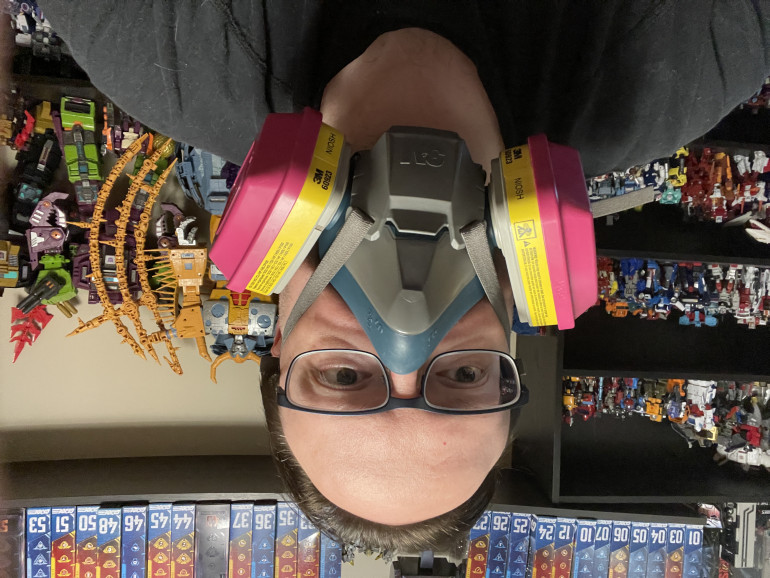
Time for personal protection. I’m using a respirator mask and glad I did as the smell was pretty intense in the room. I will have to improve ventilation in the future. You will need some gloves as well as you don’t want to touch uncured resin it is an irritant. Eye protection is also recommended in the case of splashes. I have Elegoo’s Mercury wash and rinse station and have the tub filled with water ready to go. I’m using a water washable resin to avoid needing IPA. I fill the resin tank to the fill line and plug in the USB drive. I put the lid back on and press print on the printer and find my created file. Press the play button and depending on how high the models are will depend on how long it takes. Mine took about 3ish hours? I let it finish and drain a bit so didn’t have the exact time.
After printing I carefully remove the build plate and put it into the Mercury station mount which submerges the print and plate. Turn it on for ten minutes of rinse cycle to wash off the excess resin. Once that is done I can take it out and scrape off the prints. You still need gloves at this point as the resin isn’t fully cured. Using my hands I break off the supports carefully. They should peel off the mini like velcro. It is best to do this before the curing stage as the supports will still be soft. With the minis free of their support I swap out the rinse tank for the curing plate. I place the minis on the plate and replace the cover. Set the station to cure setting and another run of ten minutes. Once the curing process is done the prints are safe to handle.
Clean up involves using a filtered funnel to drain the resin tank back into the bottle. Very little resin was used so we can use this again on future prints.
By the end of this I now have the 8 Dark Elf Naggaroth Black Guards I need for the Level 1 monster table! With the learning experience out of the way I’m going to work on printing more that are needed for Level 1 and show the final result when I have the rest of the models. Any tips are welcome in the comments I’m still learning 3D printing and I certainly don’t consider myself an expert at all. I have a lot to learn about the process still. Until next post happy hobby time!
In search of dragons
I’ve made it half way through the previous list I posted to prune out models that didn’t make the cut for fit and feel. I’m trying to grab all of a faction from the same designer so that they feel cohesive but different. There are some situations where there wasn’t a good fit I picked a model from another designer. But as you will see I’m sticking to a smaller pool of them than my first list. I’m keeping the old list in case anyone following the project likes one of those models better they can find it. I’ve also updated the names to the designer and then the name of it on MyMiniFactory. Should help others when searching.
I also made a post in the forums to get the hive mind to help me discuss options to use for the three dragons listed as the GW dragons seem really hard to find details. If you know more gladly reply to this and inform me.
Here is the updated list of what I got finished and I’m about half way. I will post an updated list once it is done which should be this weekend.
I have also cleaned my 3D printing area in my office and getting a few odds and ends to handle resin safely. I initially underestimated that. I still need to find a better spot for the resin printer.
Edit: Thanks for following the project and I will see you on the next post where we work on getting the 3D printer area set up. In the meantime here is the draft full list:
Dungeon Tile Update
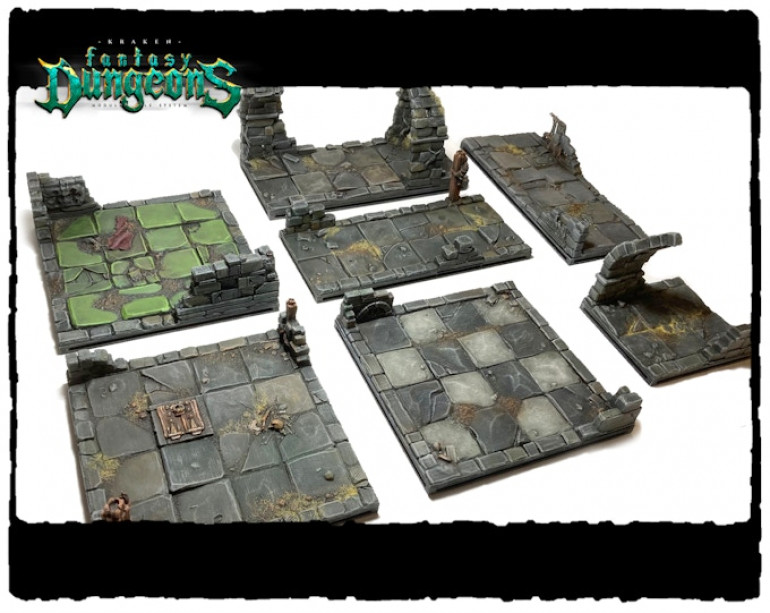
Originally I was going to use some tiles from Fat Dragon Games which I already had, but I found a tile set that is perfectly sized and themed for what I want to do.
Kraken 3D studios made a set that is perfect for this and remaking the HeroQuest board. They currently have a kickstarter going for some Zombie Survival terrain and it looks very impressive.
Initially I wanted something with high walls but the more I looked at this set what I really wanted was textured floor pieces for this project. I’ll use the Fat Dragon pieces for something in the future.
I hope folks find these links useful if anyone wants to follow along they can do this on their own as well.
Researching models
Been looking at models available for the monsters that I need out of the Bestiary as well as replacements for the originals. Trying to find a couple of artists that are compatible with one another’s styles for the best look. I had considered Games Workshop miniatures but good lord I knew the prices were going to be high but not this high.
I think 3D printing both resin for minis and FDM for the dungeon tiles and counters is the way to go forward. It also gives me an excuse to use the printers I bought on a sale a year or so back. I’ve been a tad intimidated by the learning curve but I need to get over that and start making. 3D printing is a hobby in its own right.
I’m going to prune and update this list to show the artist’s name rather than the link but will still link to their store for the items if anyone is following along or sees a model they’d like for their own.
No pictures this time around but when the list is pruned I can show some of the final results in the next post, then on to modernizing the cards and what is needed there. This also gives me some time to get my 3D printing area better set up and ready for use. Updates on that will be in my Workspace project.
Taking Stock
Still learning to use the Project system on the site so this is the second time making this post later entries should be better organized.
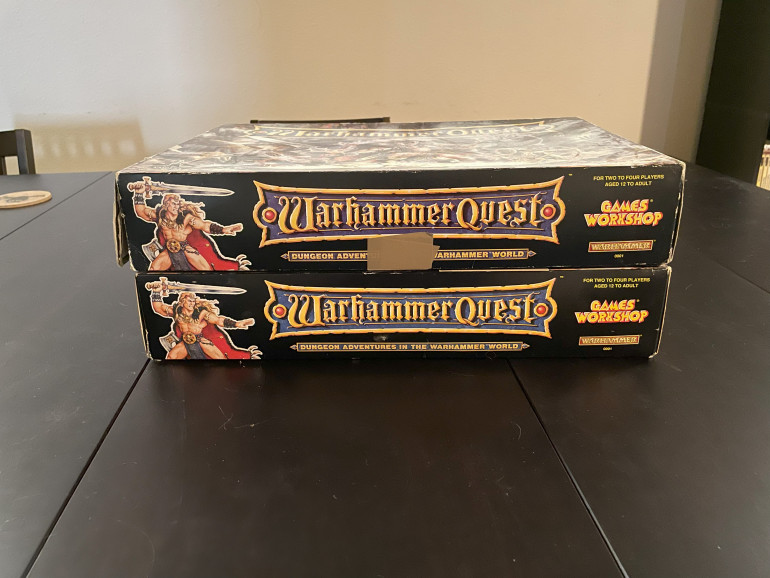
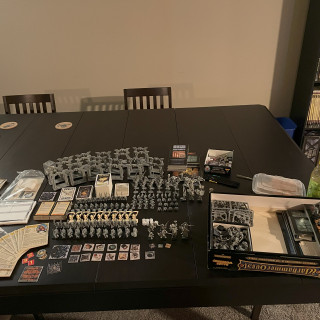
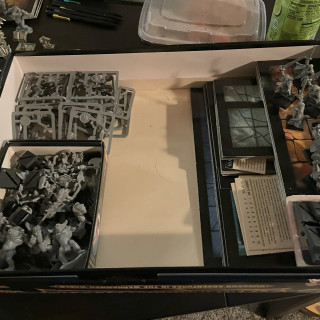
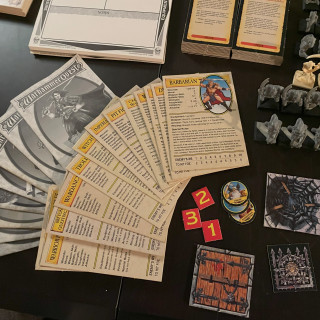
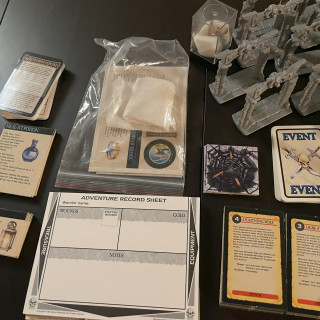
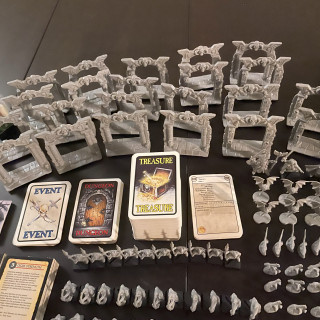
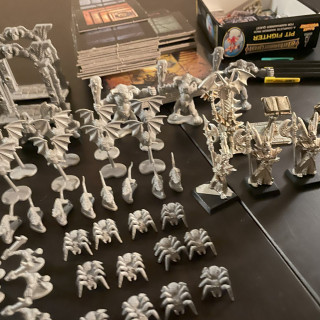
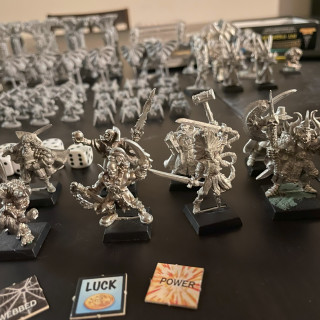
Time to see what we have to work with for the project. I found my original set and a second I bought from a friend back in the day. Taking it all out of the boxes I see that all that I had is still here. The books are still on my bookshelves so we will be looking at the counters and miniatures.
Looking at the contents we have double the amount of all the miniatures and somehow I have the base heroes in triplicate! I also have all of the expansion heroes and the two expansion dungeons that were sold. There is a charm to these old models but I can certainly see they could use a glow up with some modern pieces.
What I’d like to do is replace the cardboard pieces for some 2.5 or 3D items. Thinks like the Power and Webbed tokens for example. For the dungeon tiles I have some dungeon pieces from a kickstarter I backed ages ago and they will be perfect. Fat Dragon Games
Card components will be reprinted to make the new and old content match and allow for expansion. Again another opportunity for a glow up. I love the old style but this expanded set is an opportunity for me to learn some layout skills and practice them.
As for the miniatures I’m going to break this into three parts: Expanded Bestiary, Base Miniatures, Heroes. The goal of this project is to create miniatures for the monsters that are in the Roleplay book that aren’t included in the set. Back in the day you’d buy existing range models and use those. Since those miniatures are out of production for now (and who knows when something like Chaos Dwarves will get an update) 3D printed options are the way to go.
However, it will be hard to match the sculpt style of the old and the new. This is why I’ll be updating the base monsters and heroes eventually. I also want to pick artists whose styles match together really well. From initial searches on MyMiniFactory has produced some favorable results. I will share what I have found in a future planning post so if you want to build your own you can buy the same STLs or get a starting point to pick your own.
For now this is where we will stop and I’ll gather my research notes for the next.






![Very Cool! Make Your Own Star Wars: Legion Imperial Agent & Officer | Review [7 Days Early Access]](https://images.beastsofwar.com/2025/12/Star-Wars-Imperial-Agent-_-Officer-coverimage-V3-225-127.jpg)
