


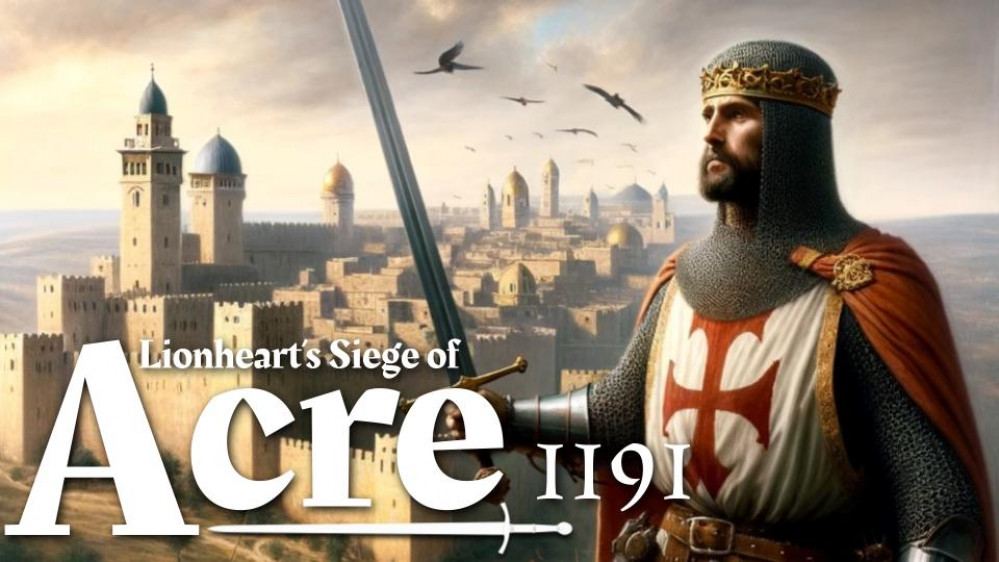
Siege of Acre 1191 – TerrainFest 2023


Recommendations: 316
About the Project
Building a 15mm Siege of Acre Gaming Table for Crusades Gaming
Related Game: SAGA
Related Genre: Historical
Related Contest: TerrainFest 2023
This Project is Completed
It all started with some maps...
The siege of Acre (infact Acre as a stronhold itself) has fascinated me for a few years now. And TerrainFest has given me the opportunity to have a go at modeling a representation of this increadible battlefield in 15mm
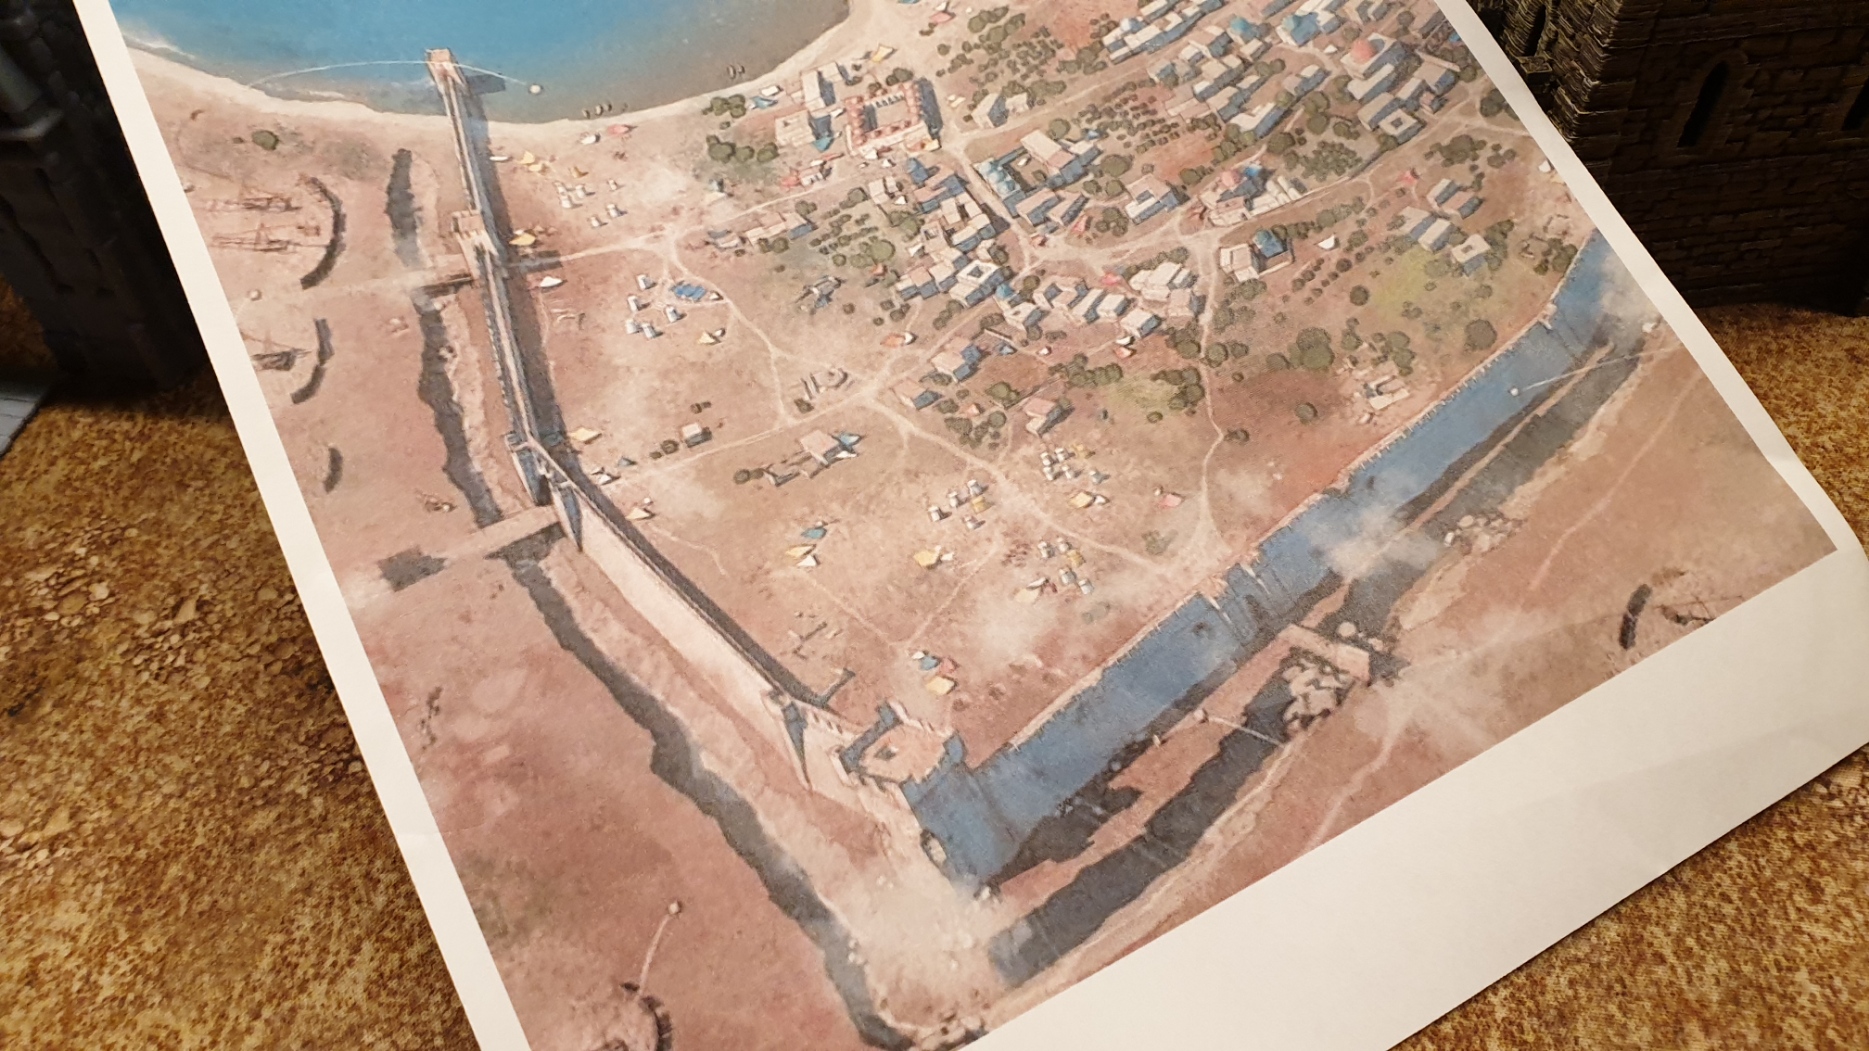
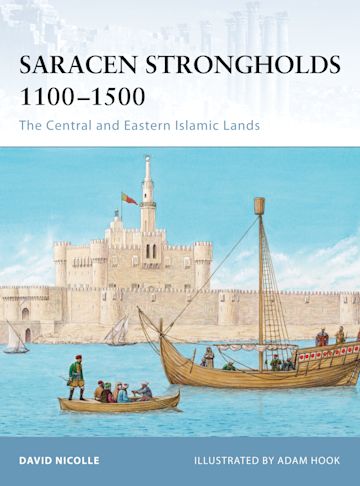
So I started by studying a few maps and diagrams of the city…
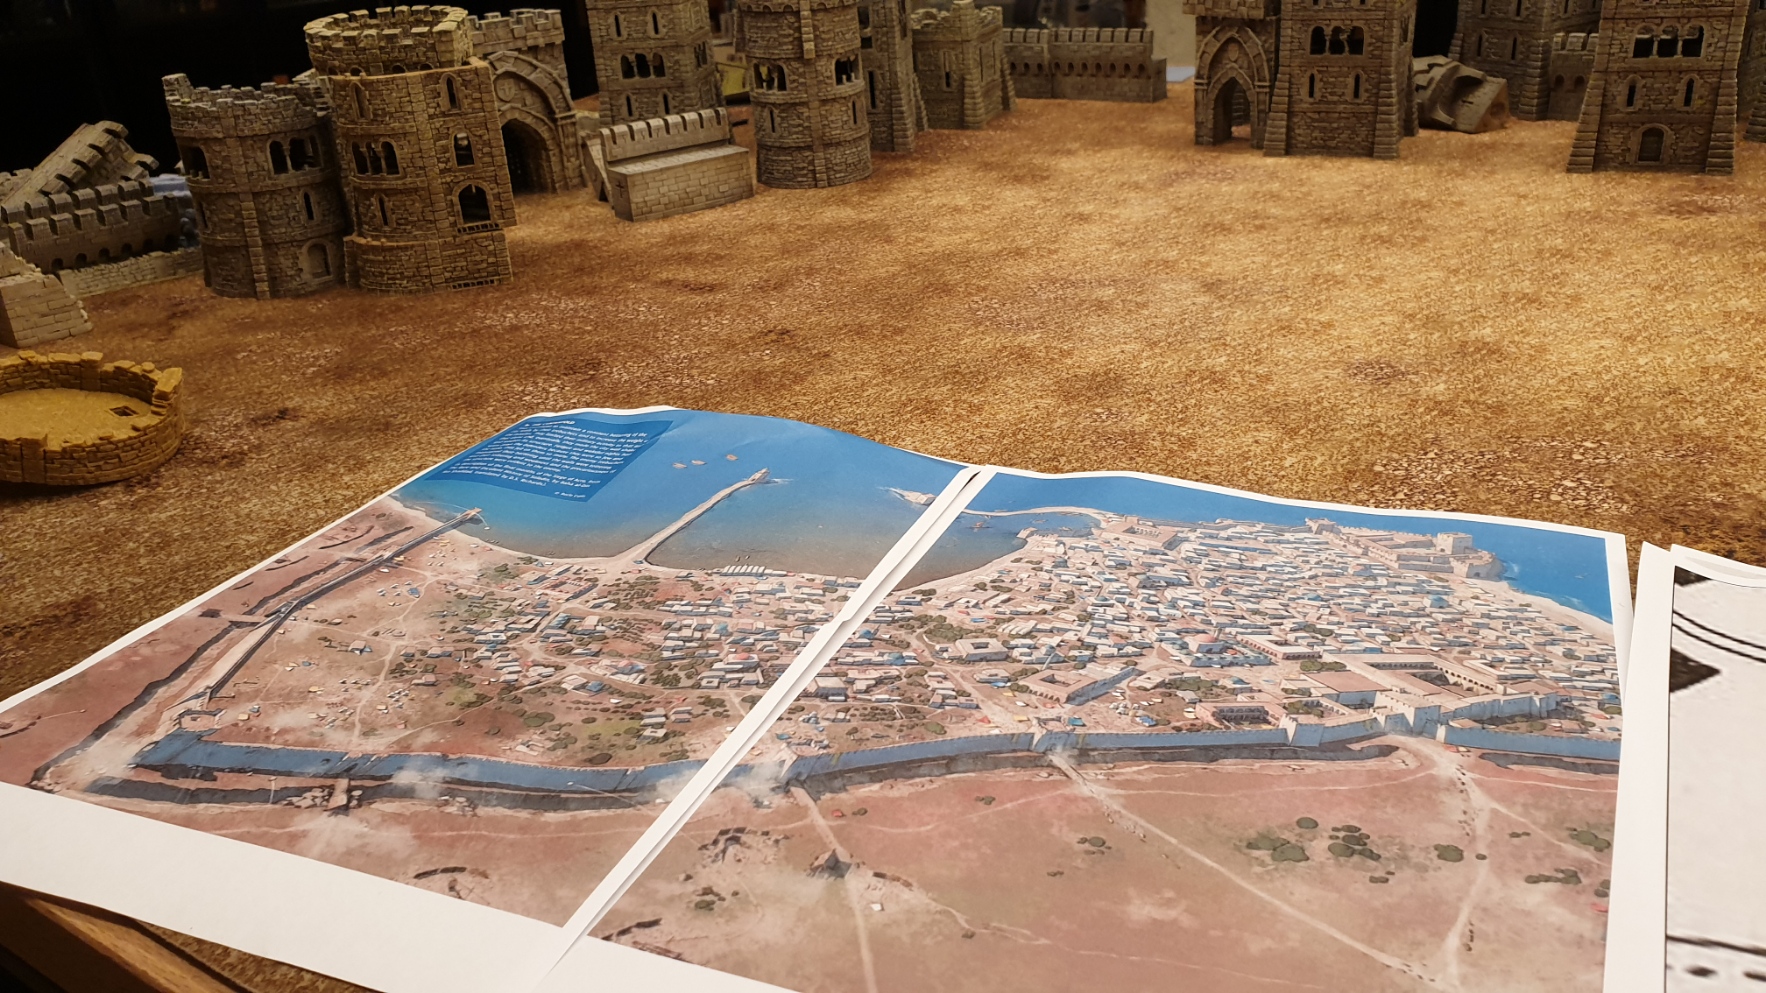
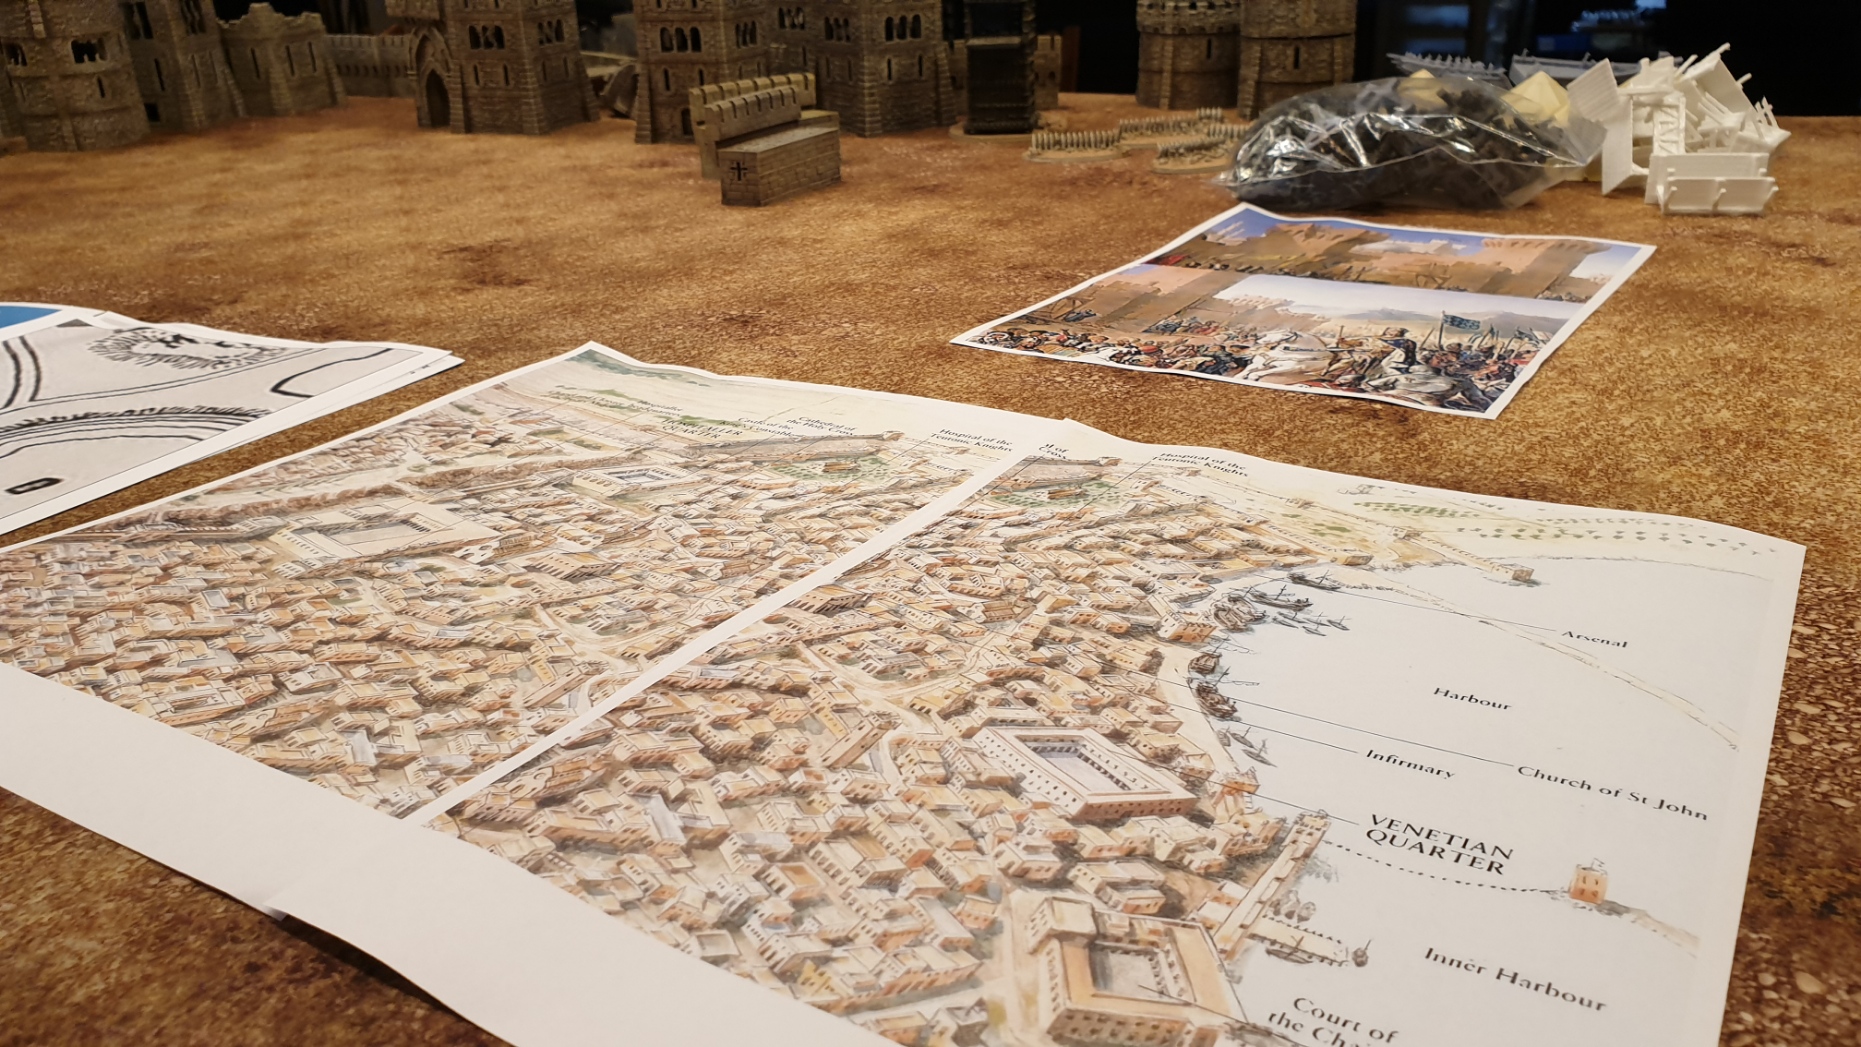
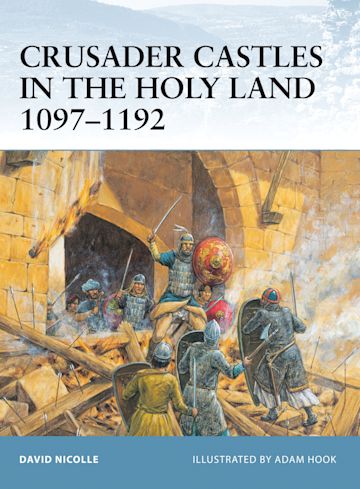
I also grabbed a couple of fascinating books on the types of fortress architecture of the period from osprey… highly reccomended!
Grab what I have

Over the last couple of years I’ve gathered up a few bits and bobs to explore scenarios based in the crusades and acre.
Most of my 3D Prints are from https://www.printablescenery.com/ – I love their stuff in particular as they dont cut the objects up into an insane number of parts, and its mostly designed to print without supports etc.
When printing for 15mm, I tend to find that printing at 60% of the original size works well.
I also highly reccomend having a poke around thingyverse for othe bits and bobs.
I wanted to explore options for little details to raise the over all look of the table once complete.
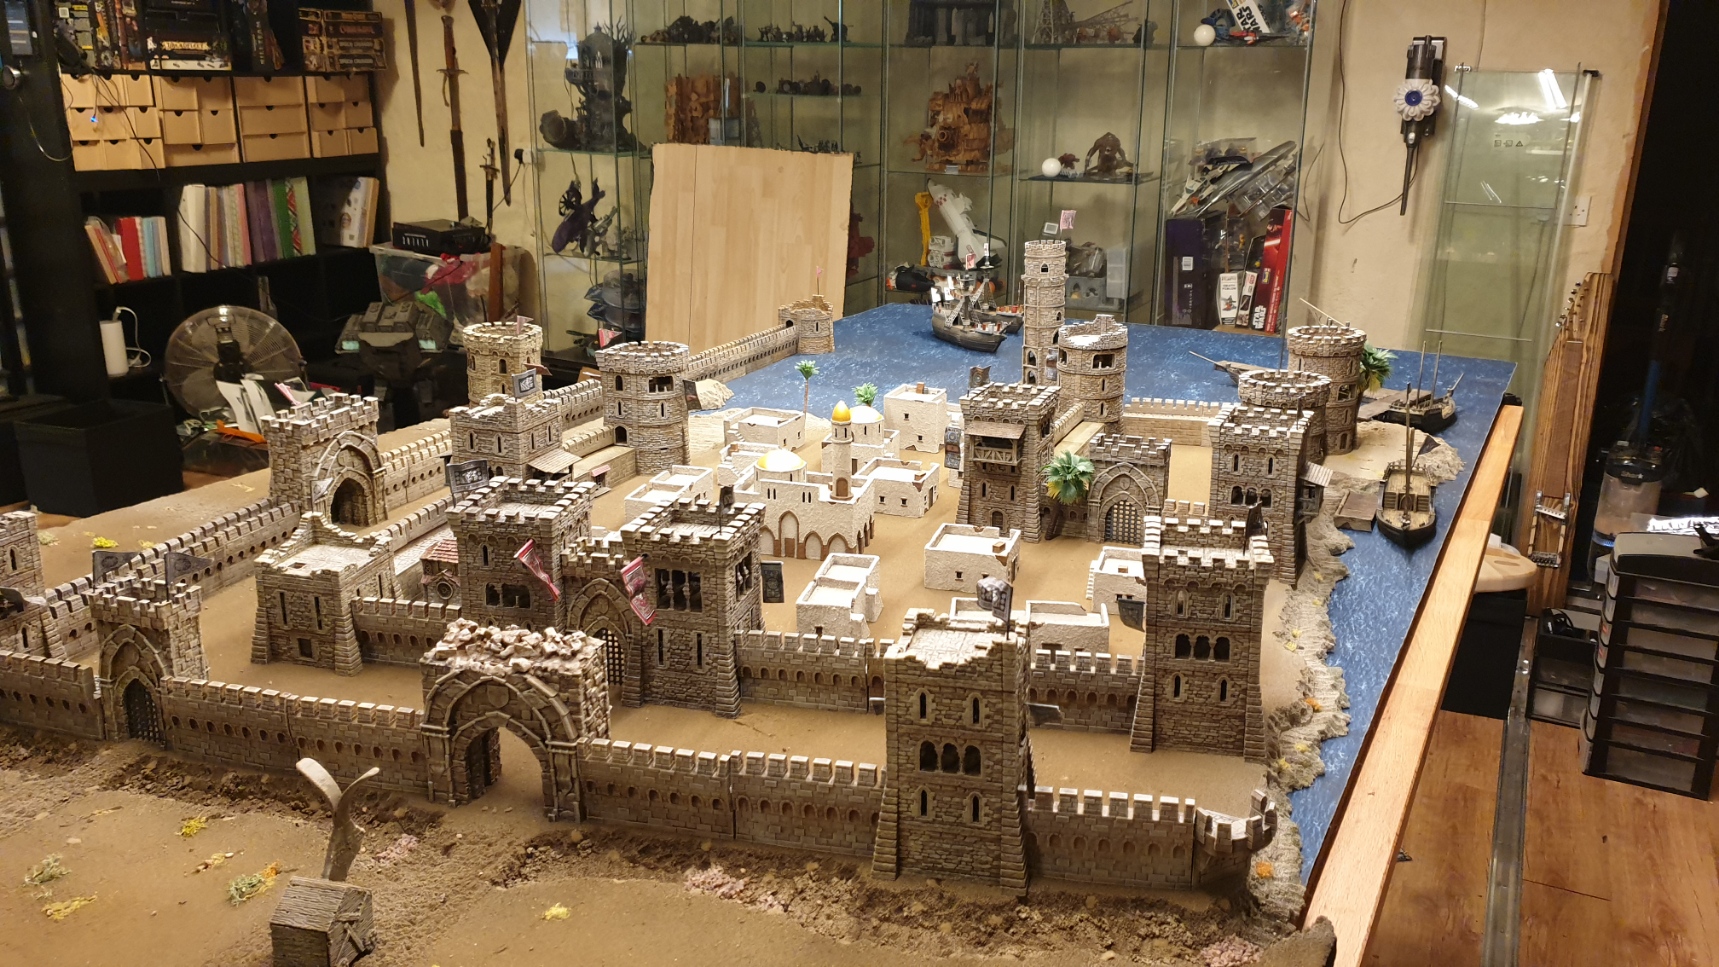
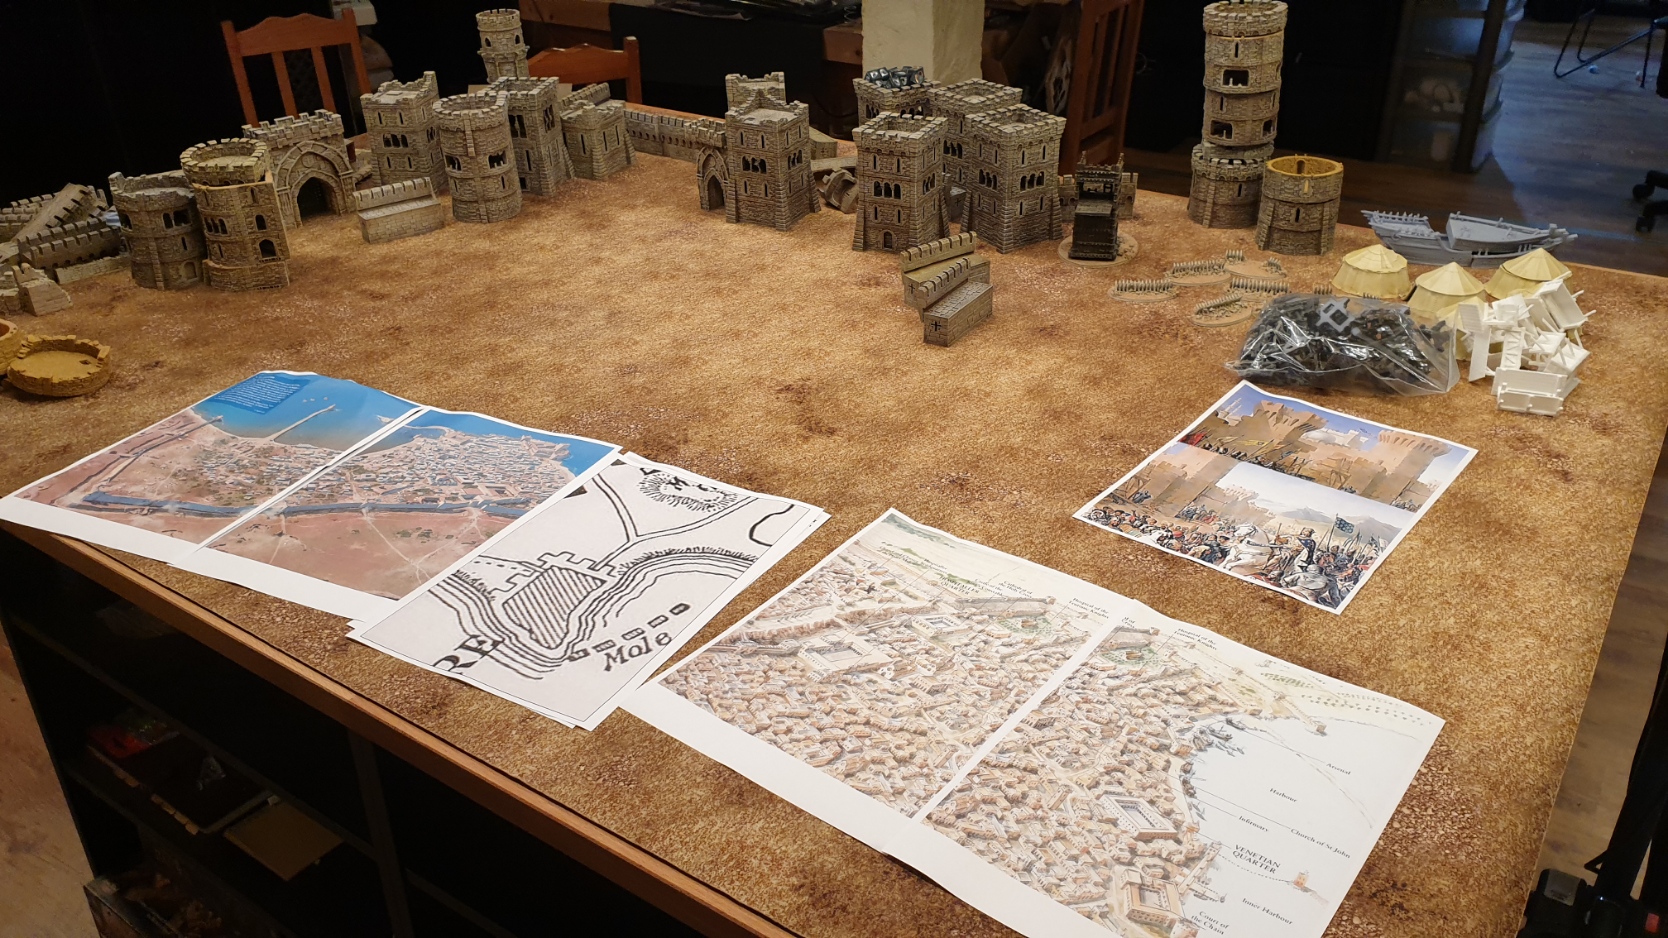
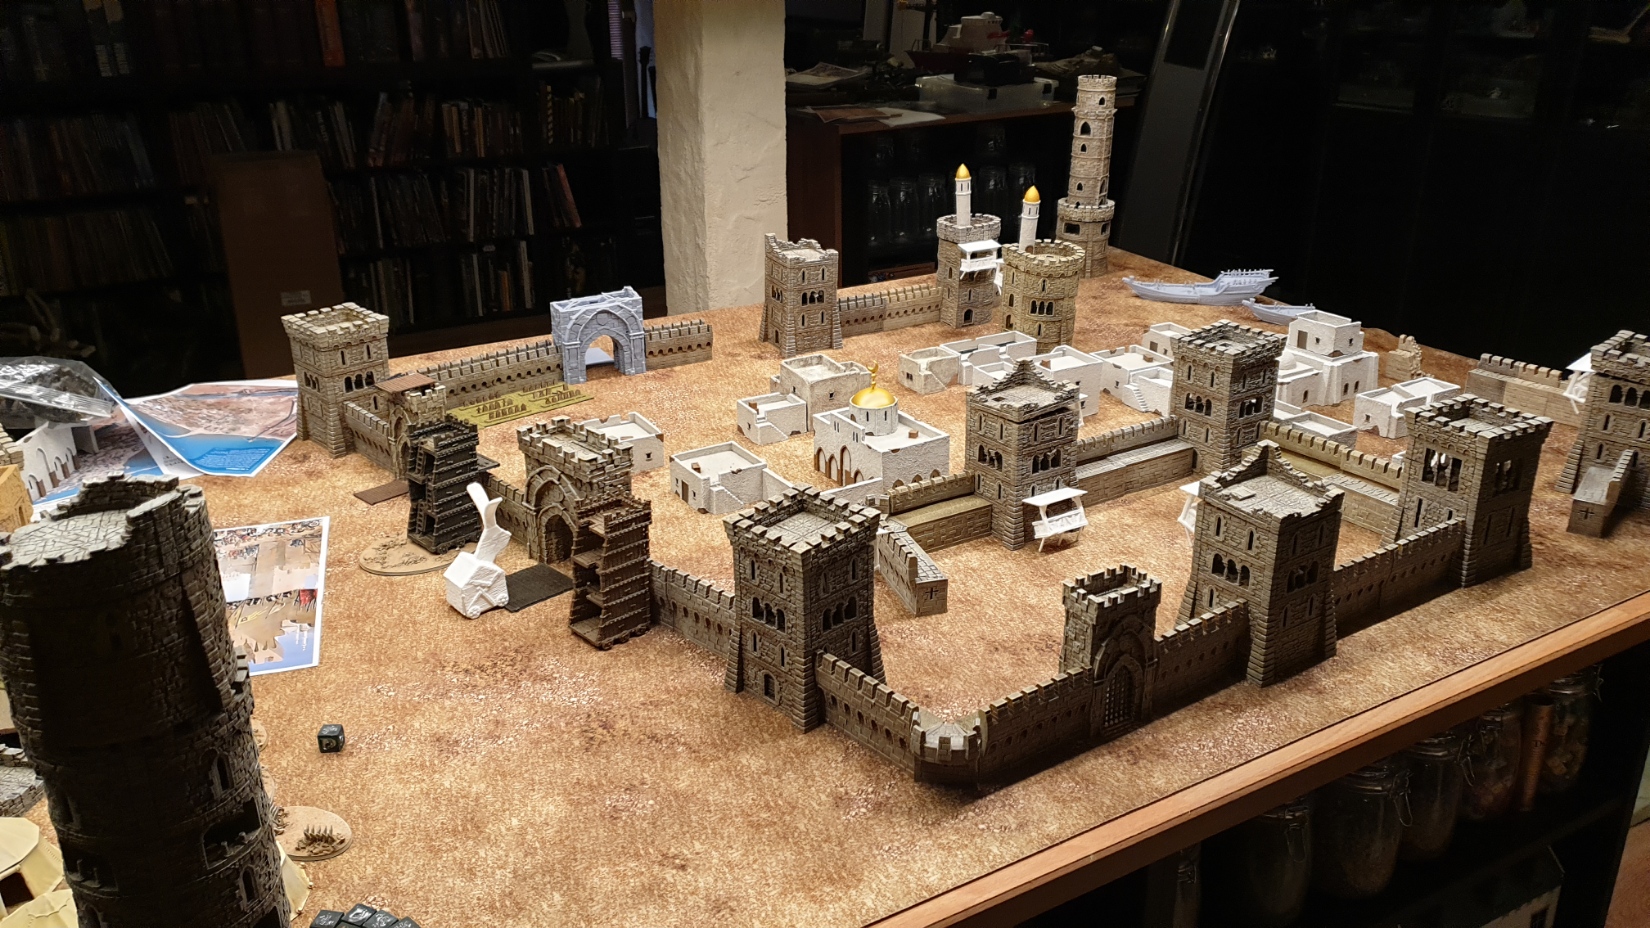
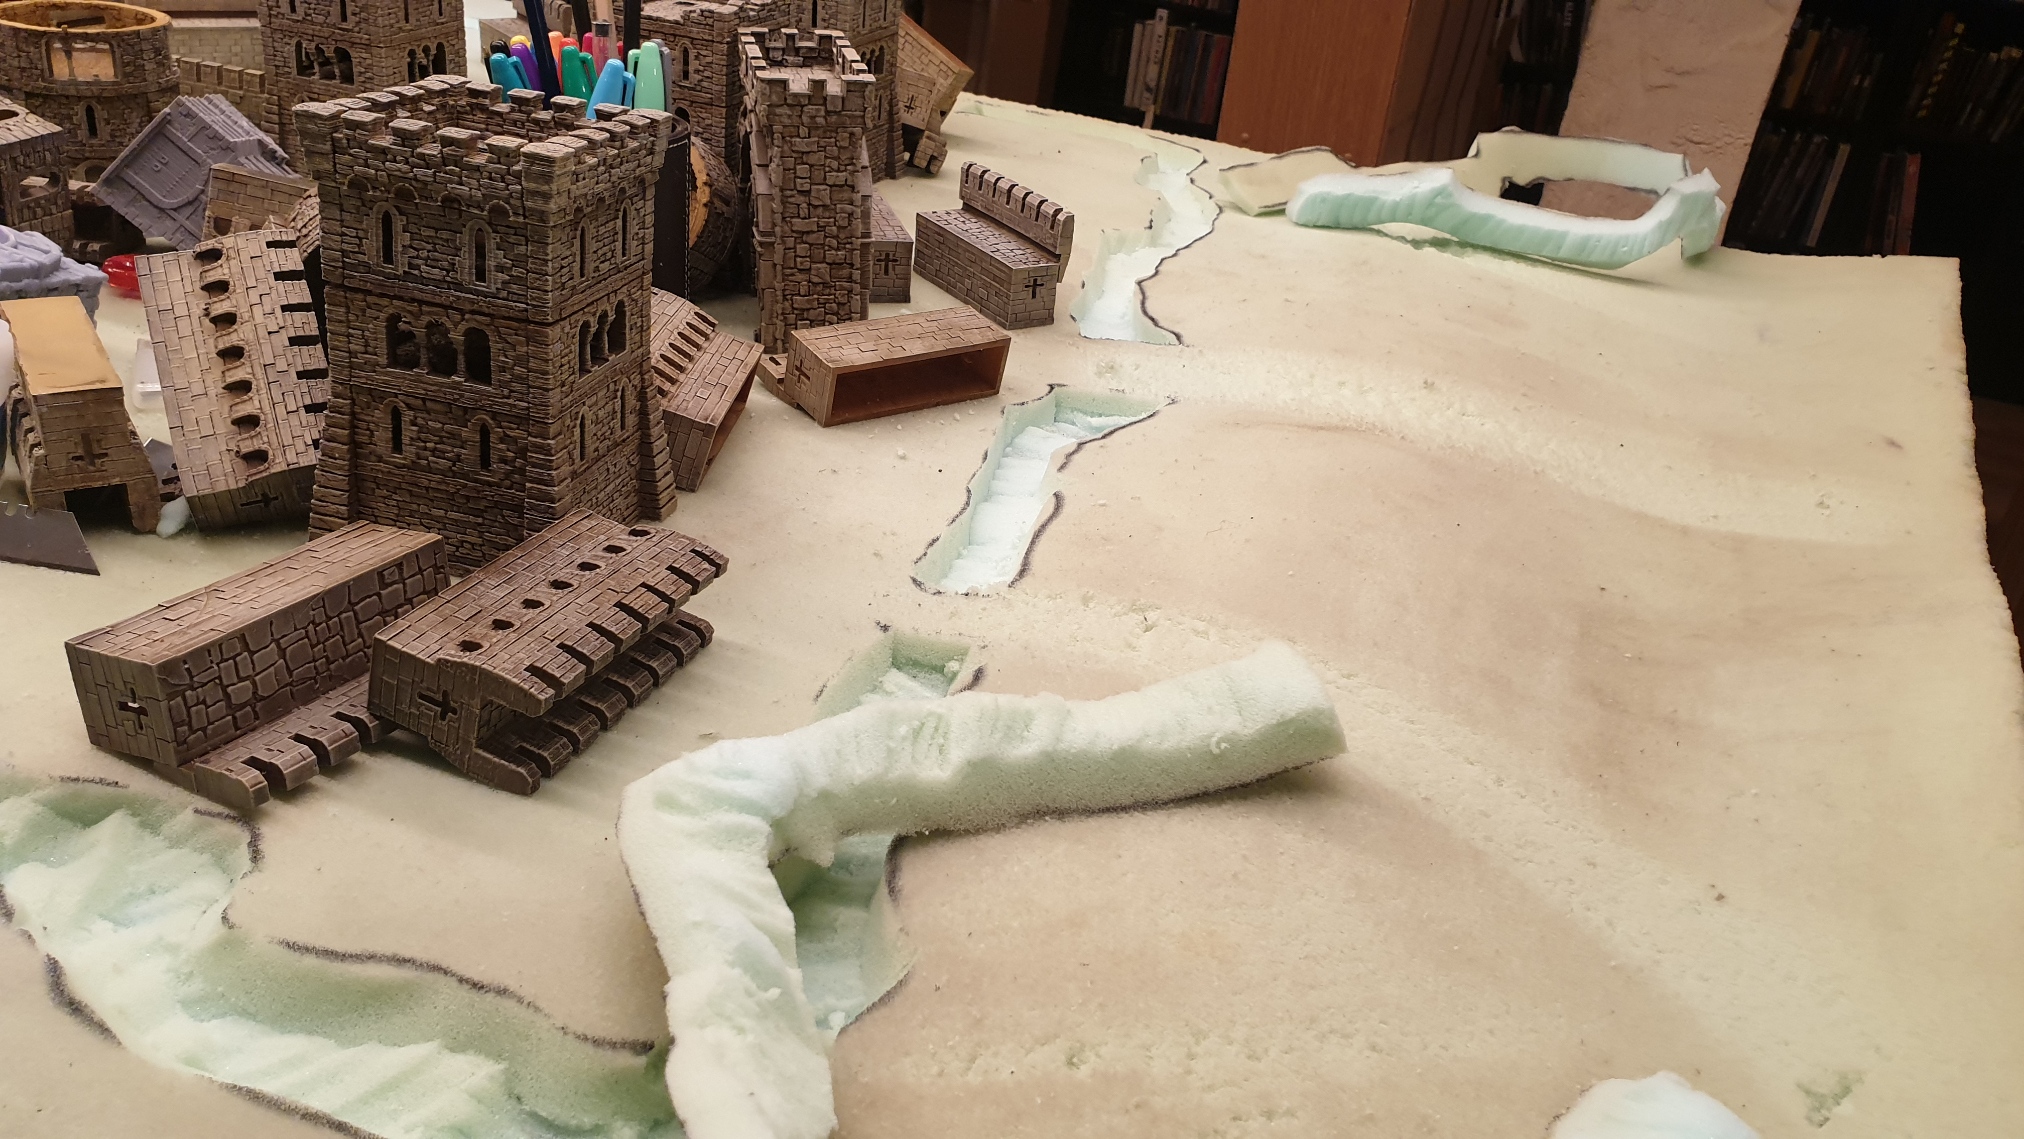
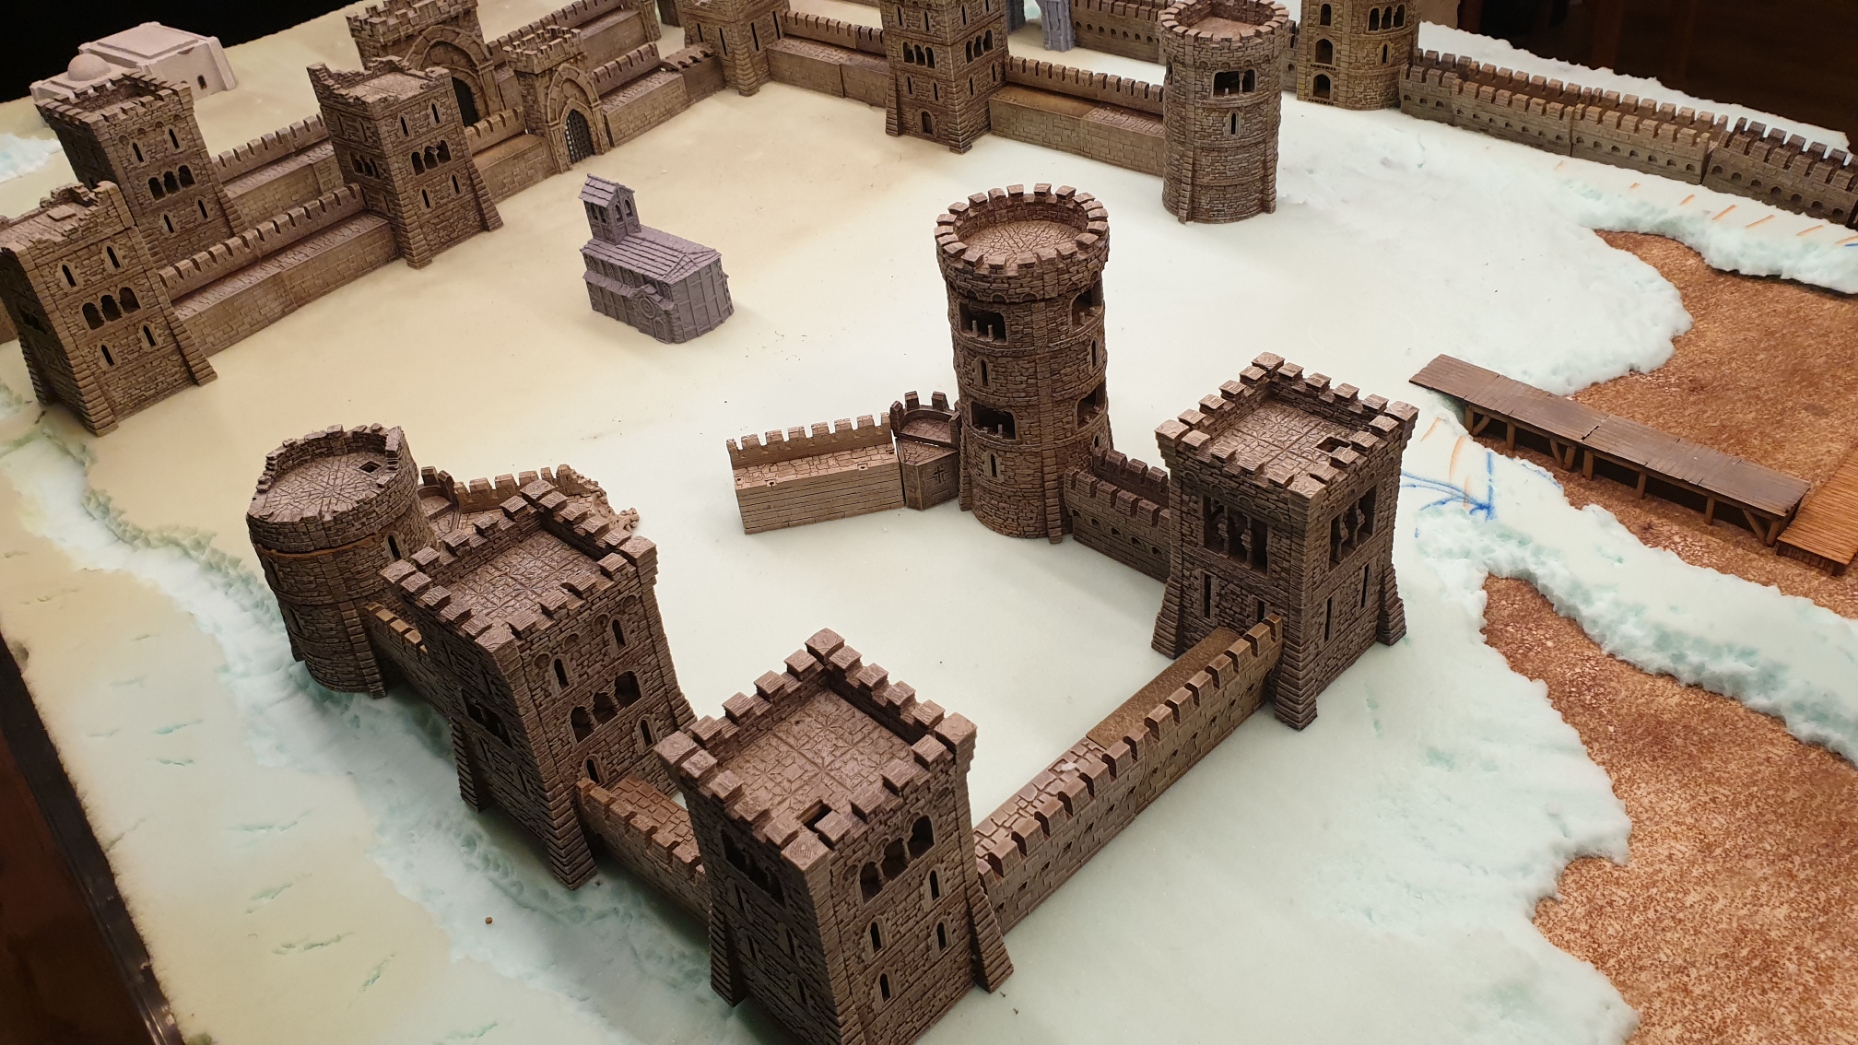
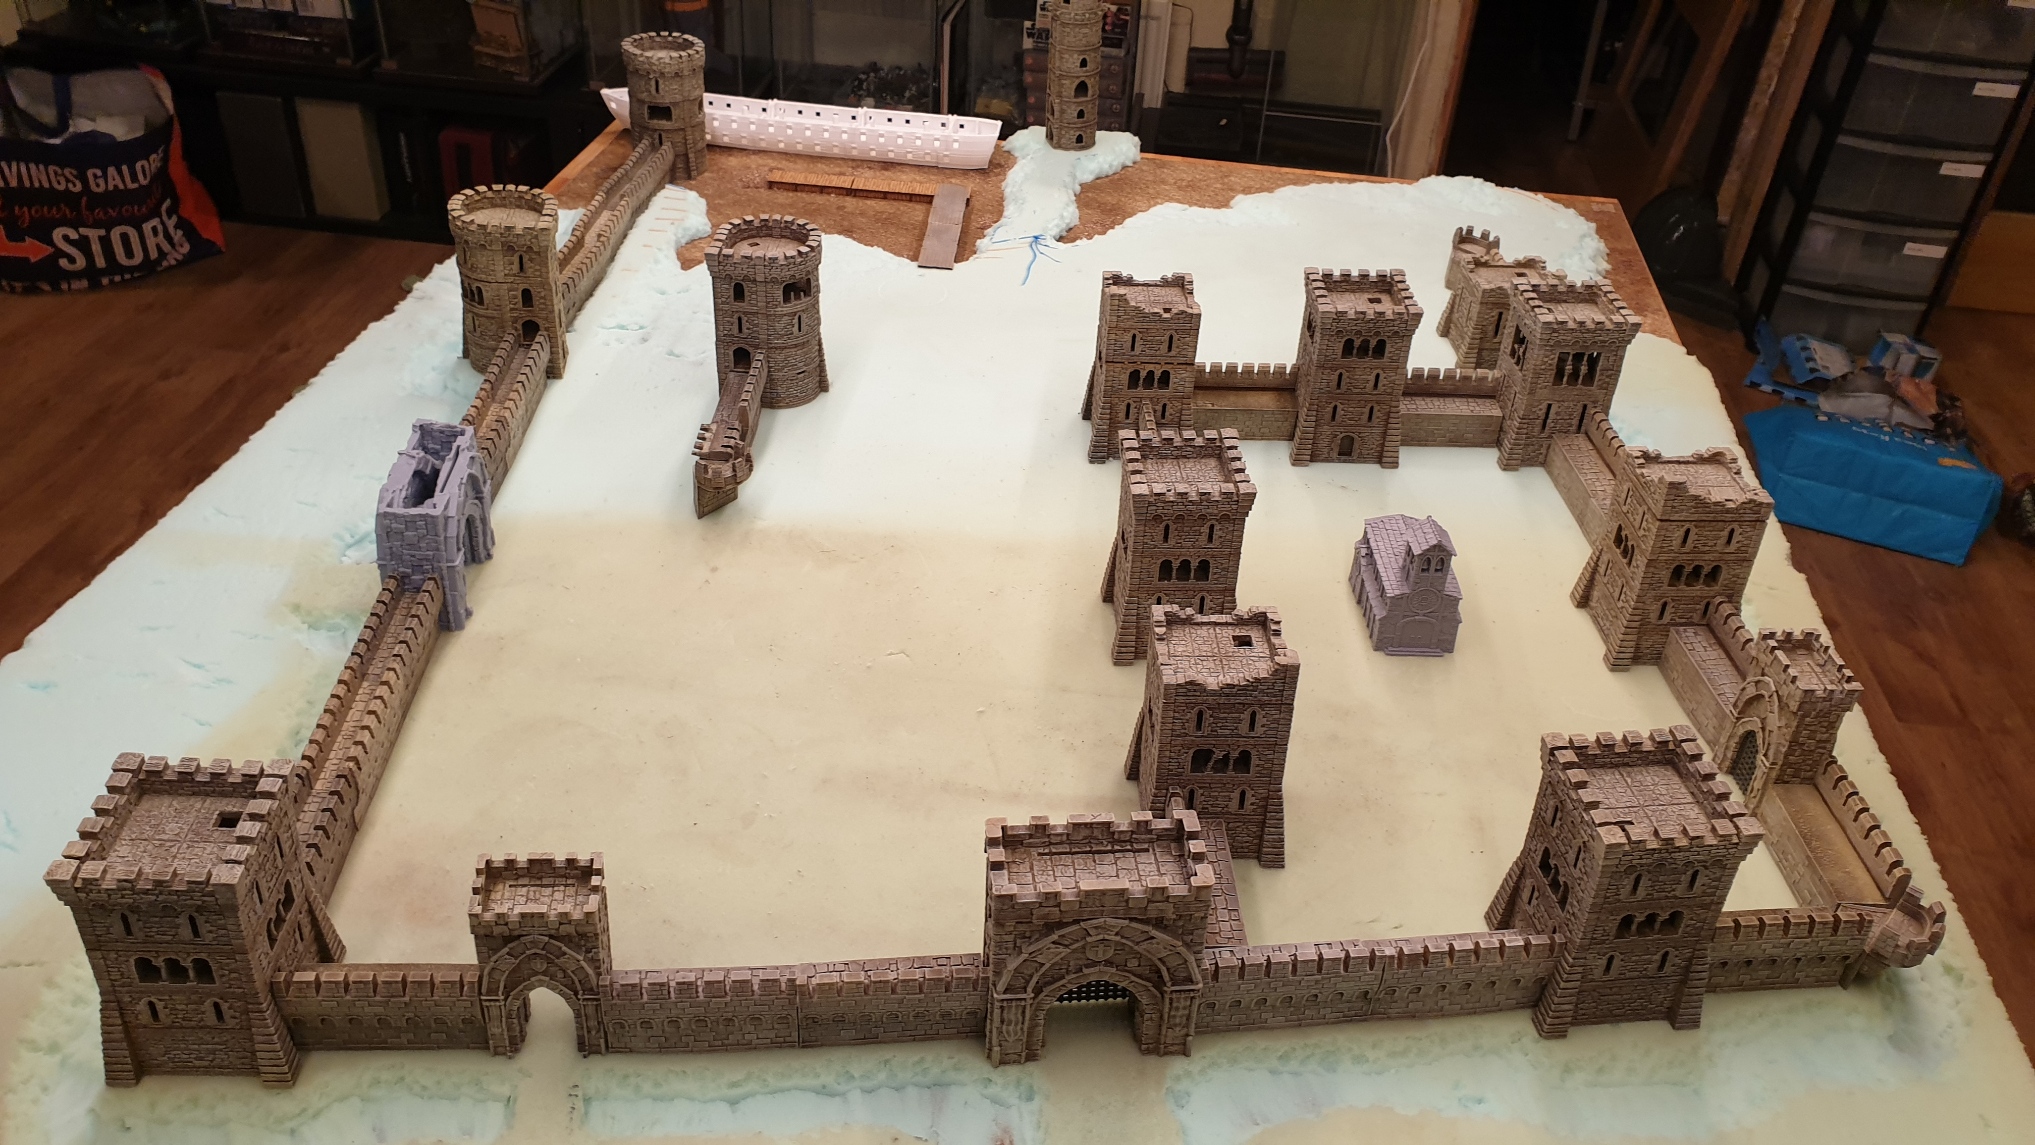
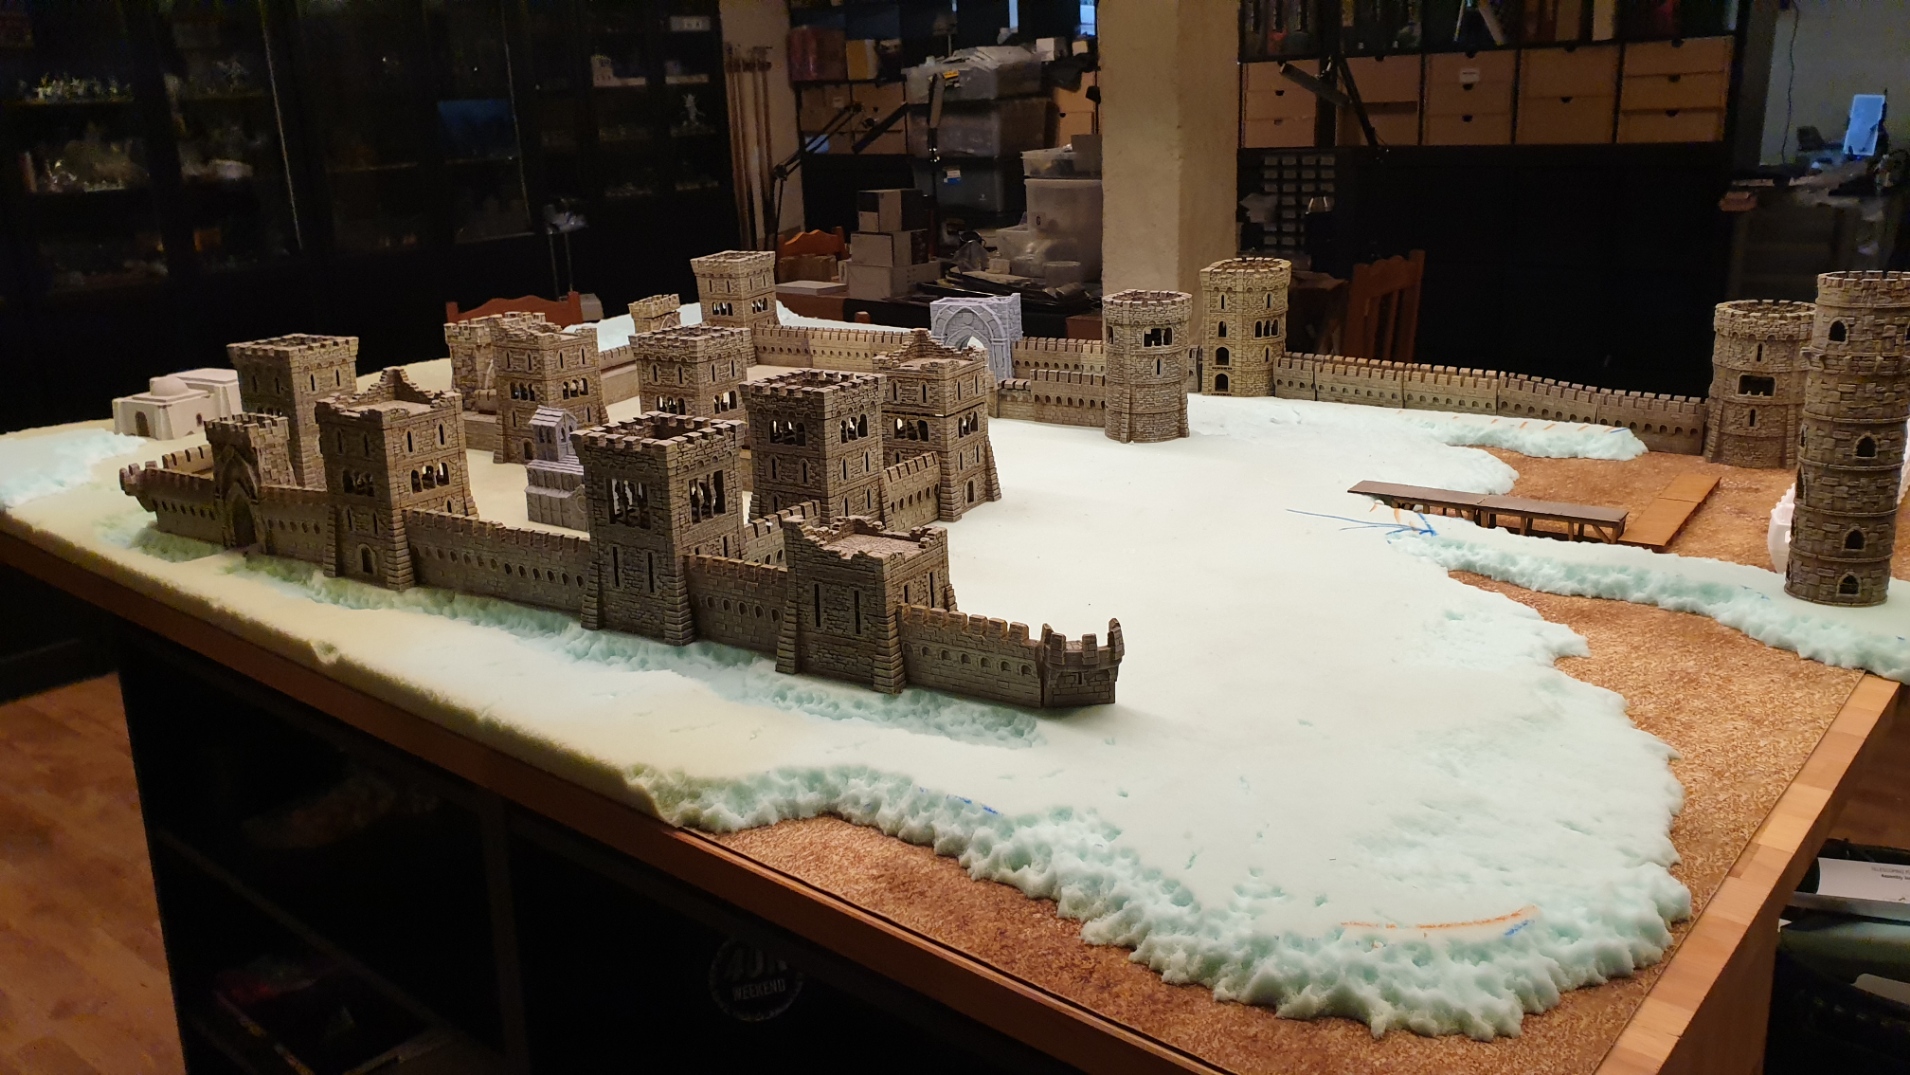
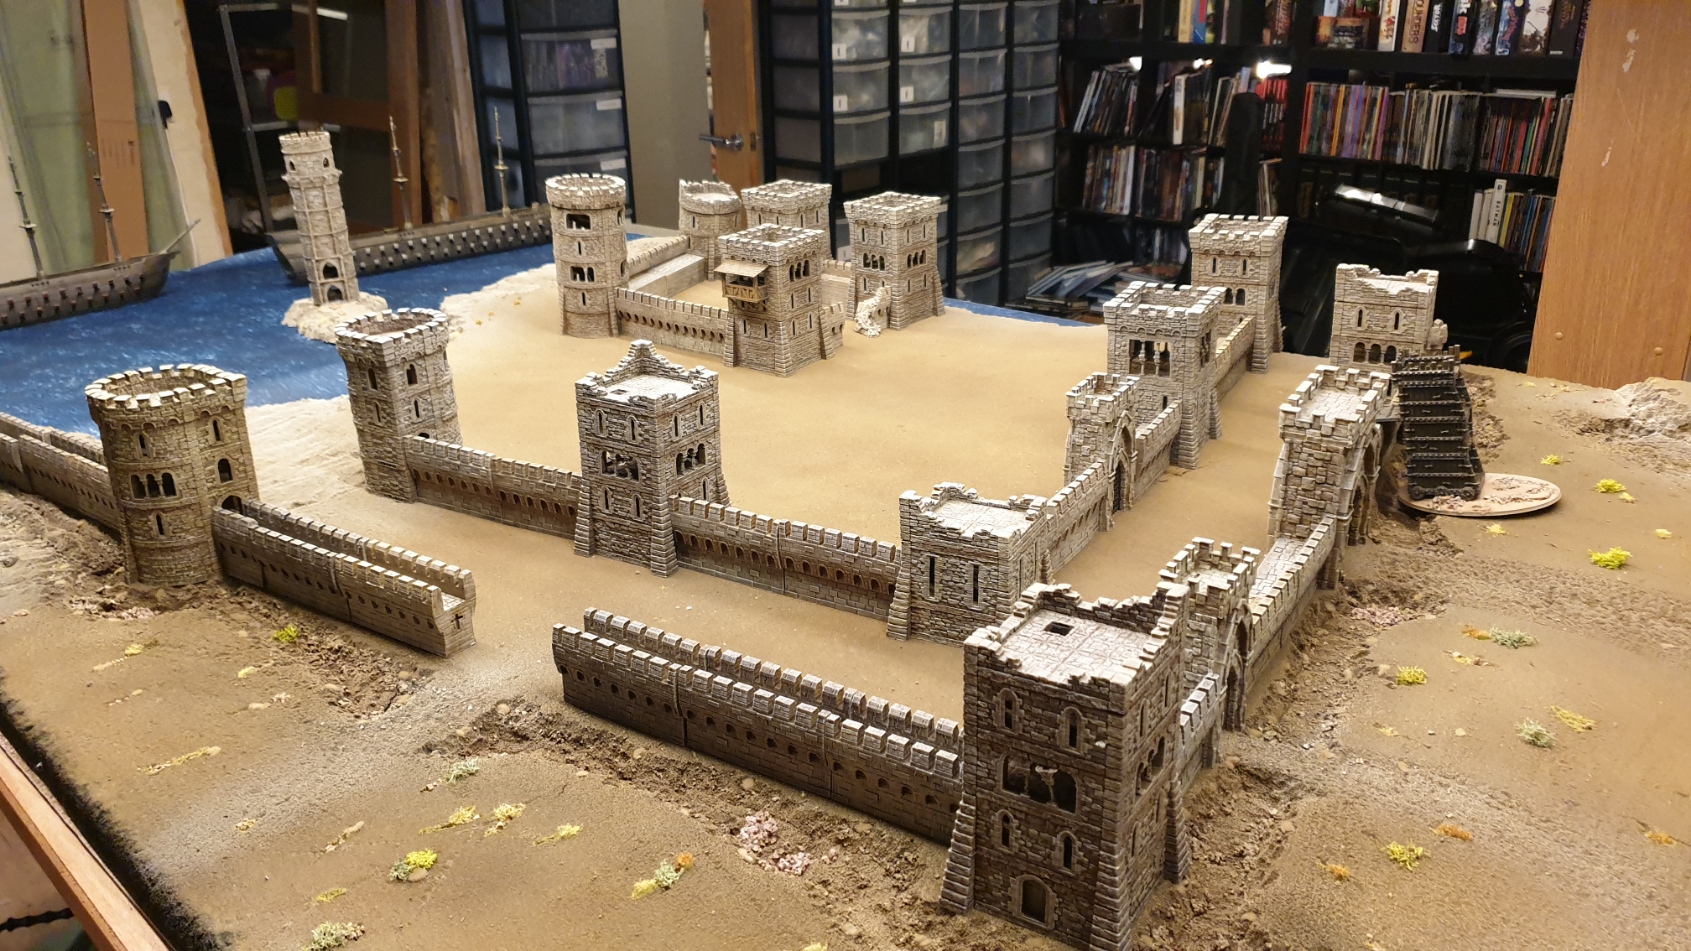
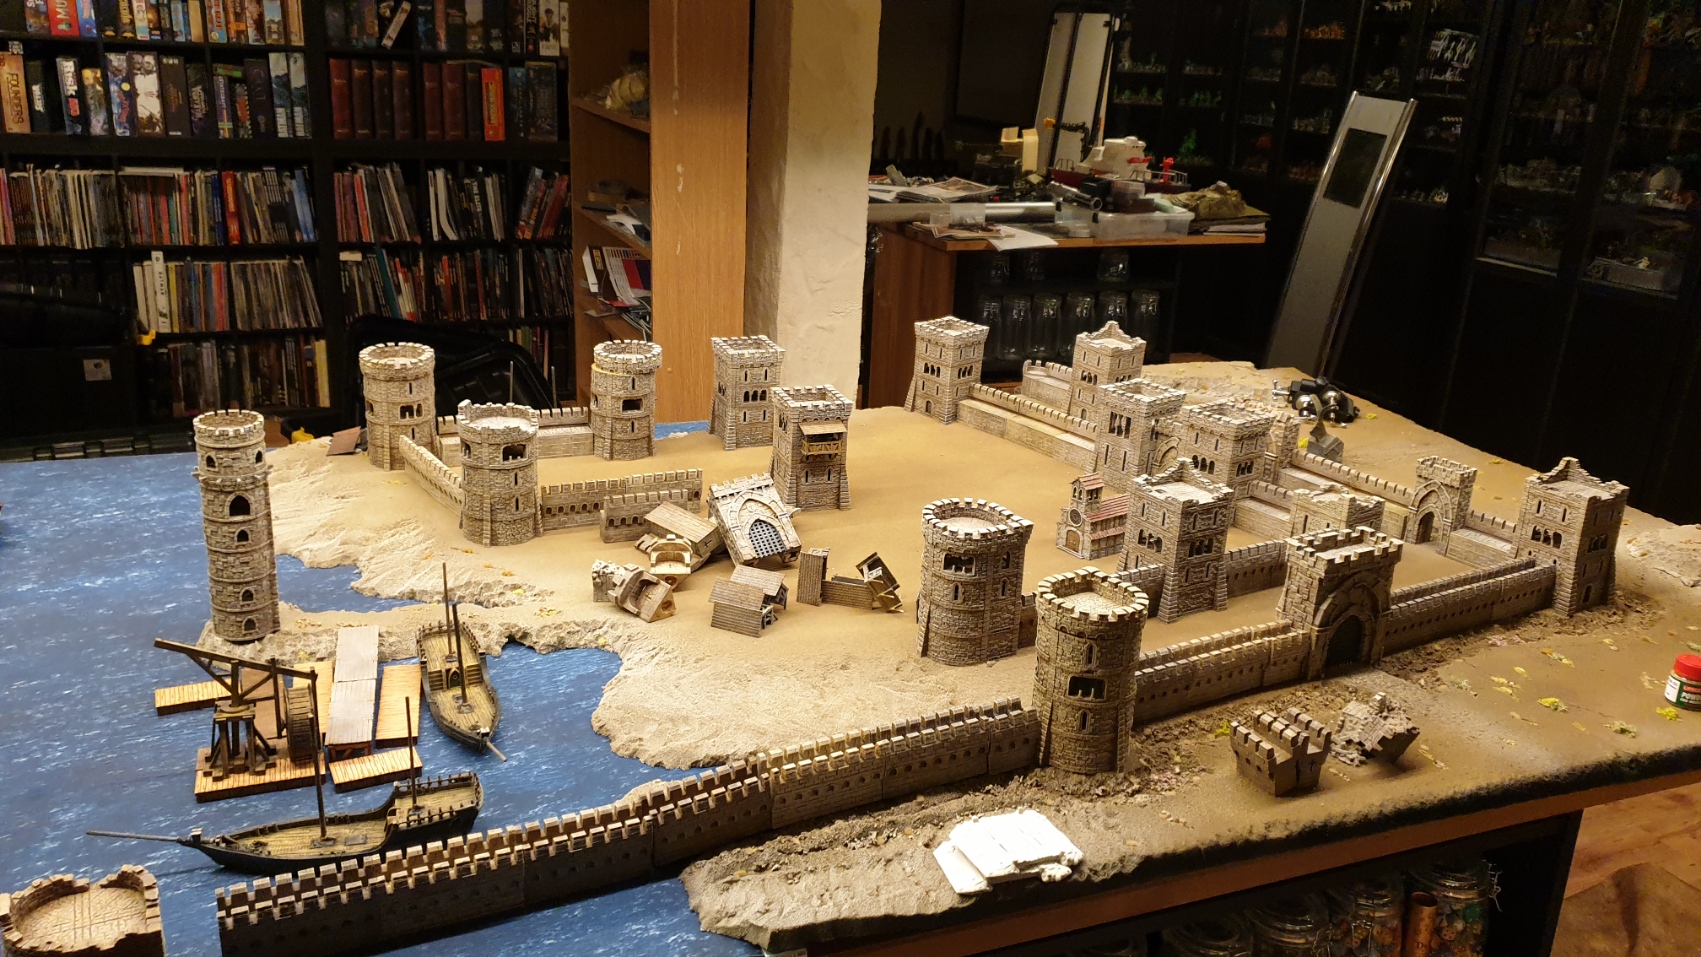
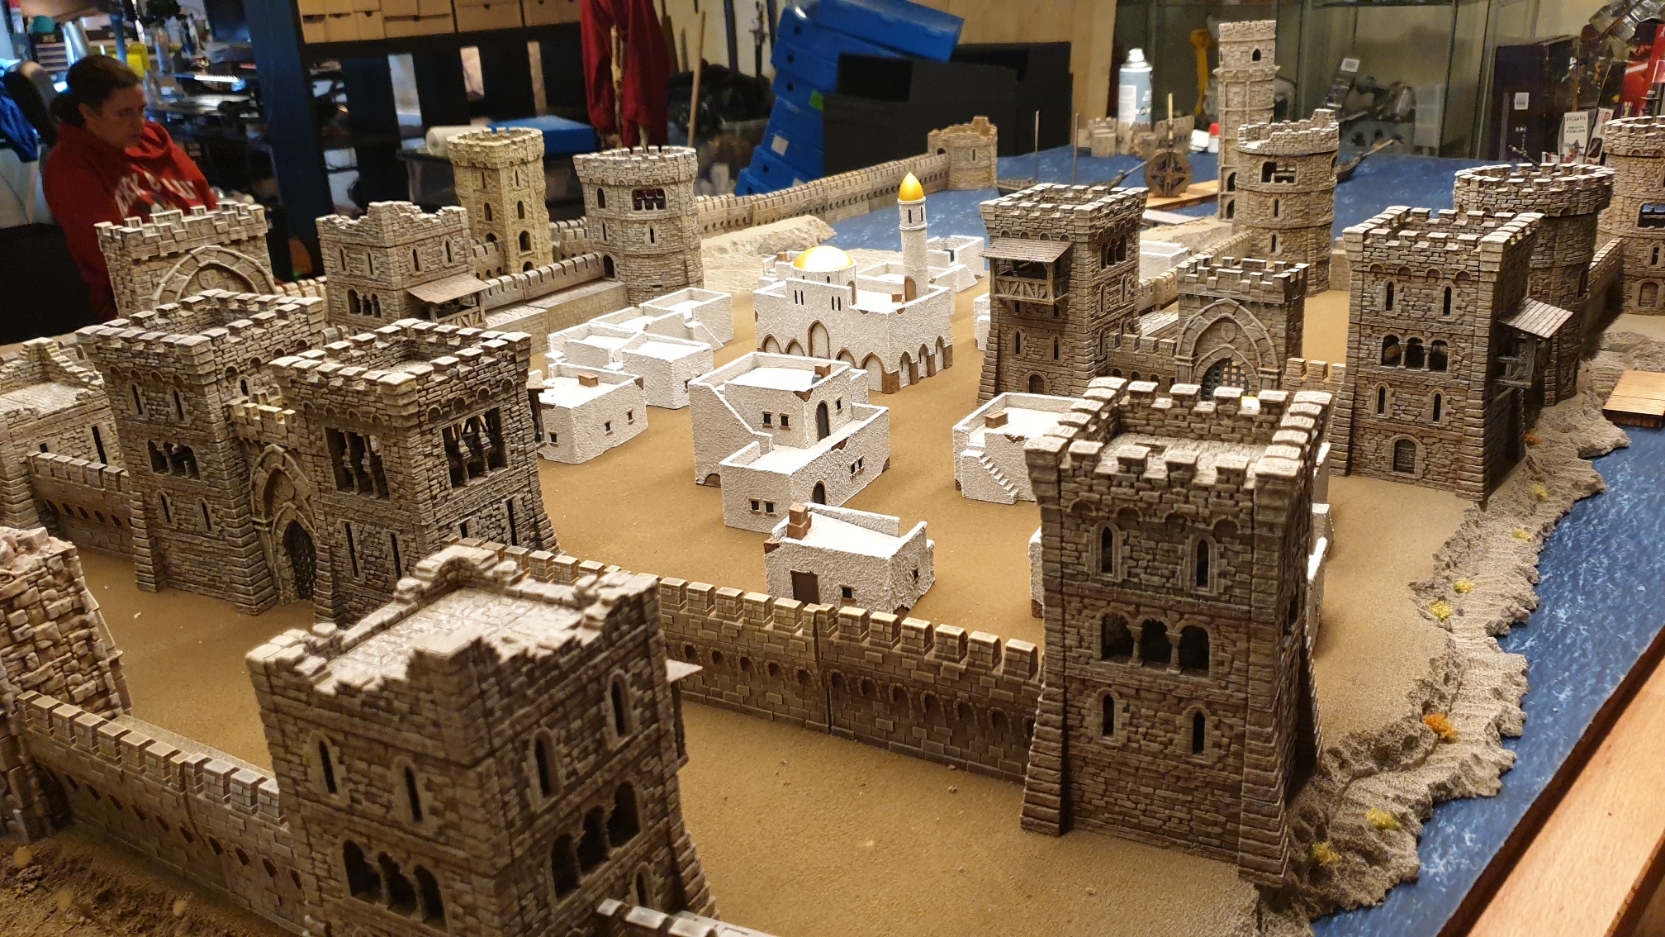
Time to play with layouts
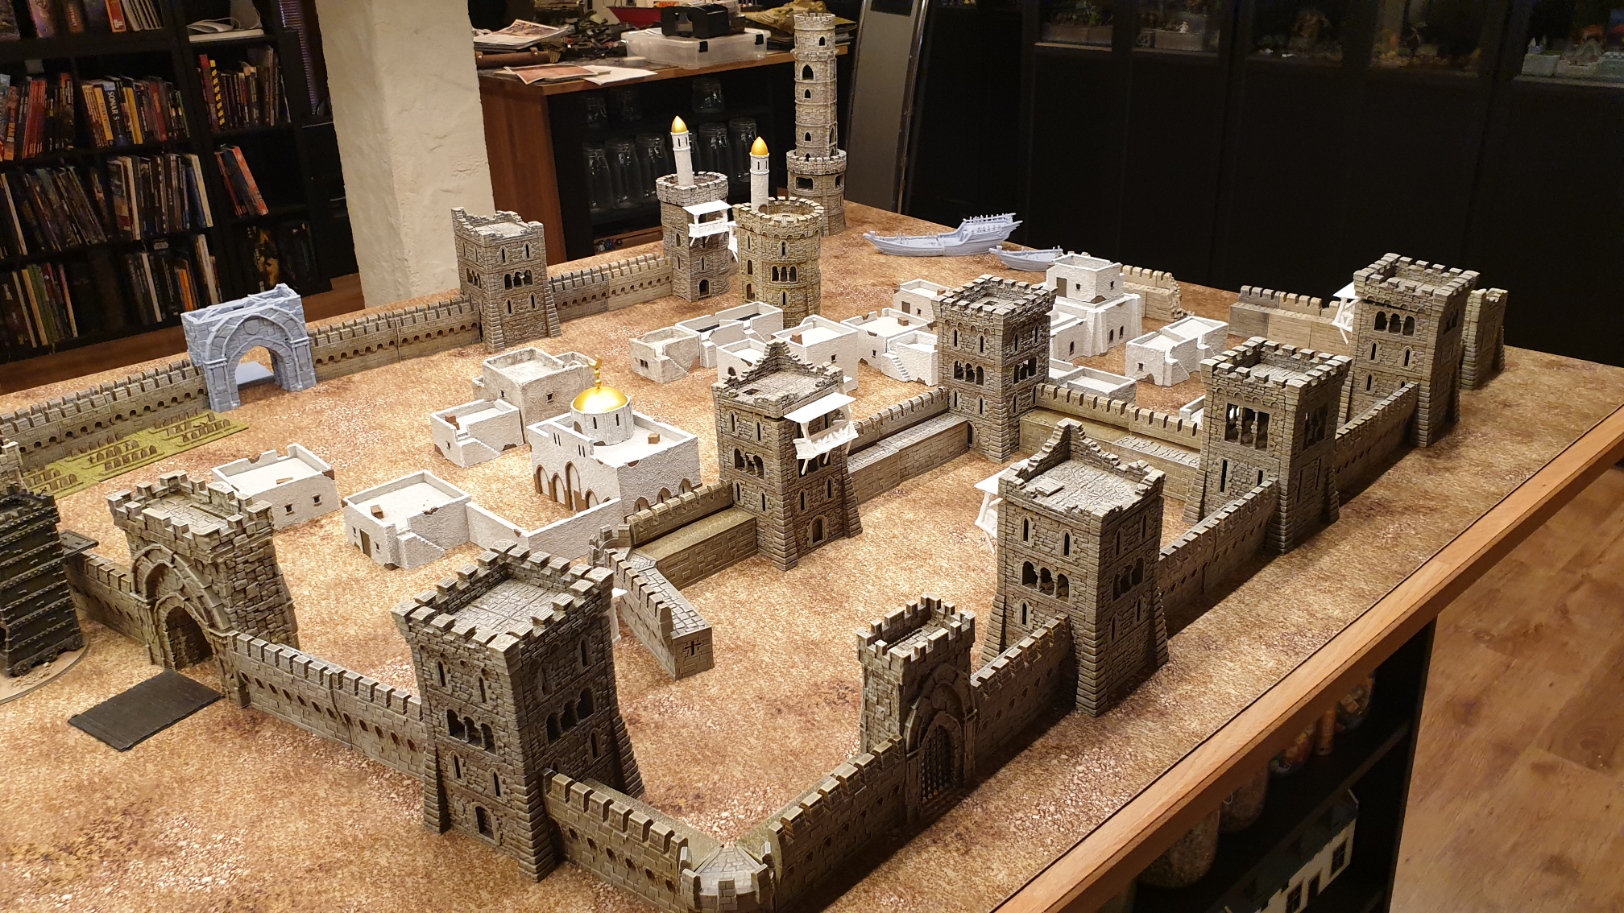
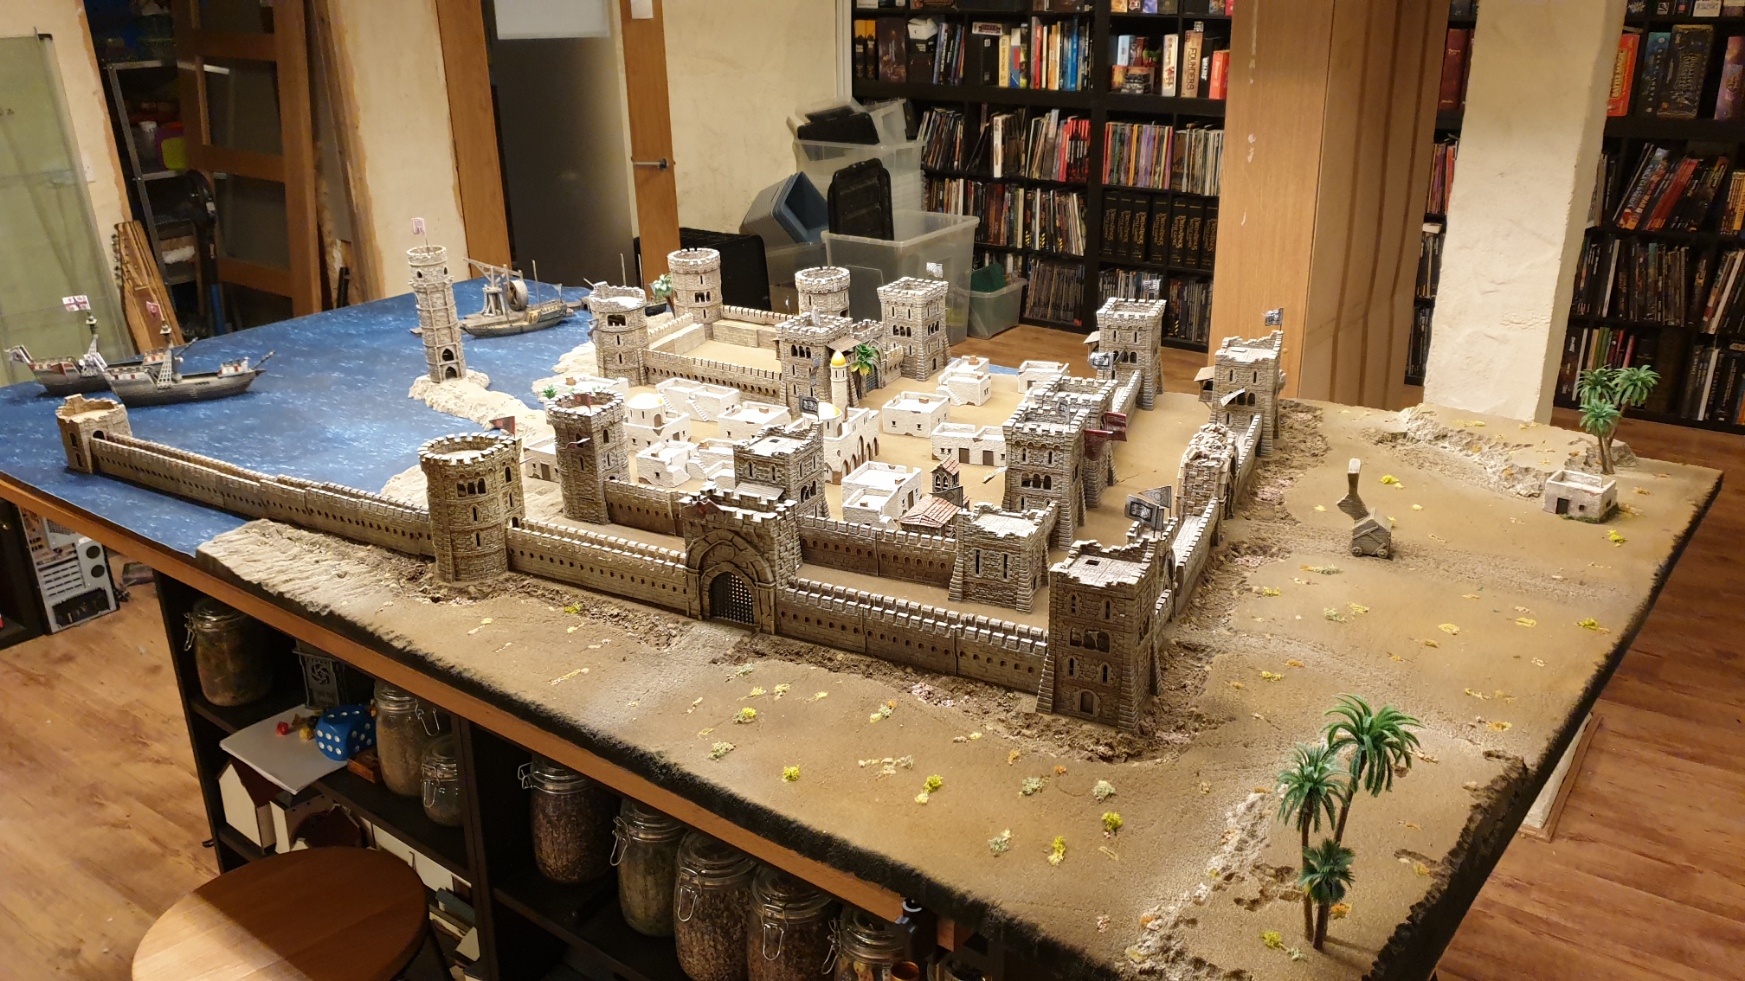
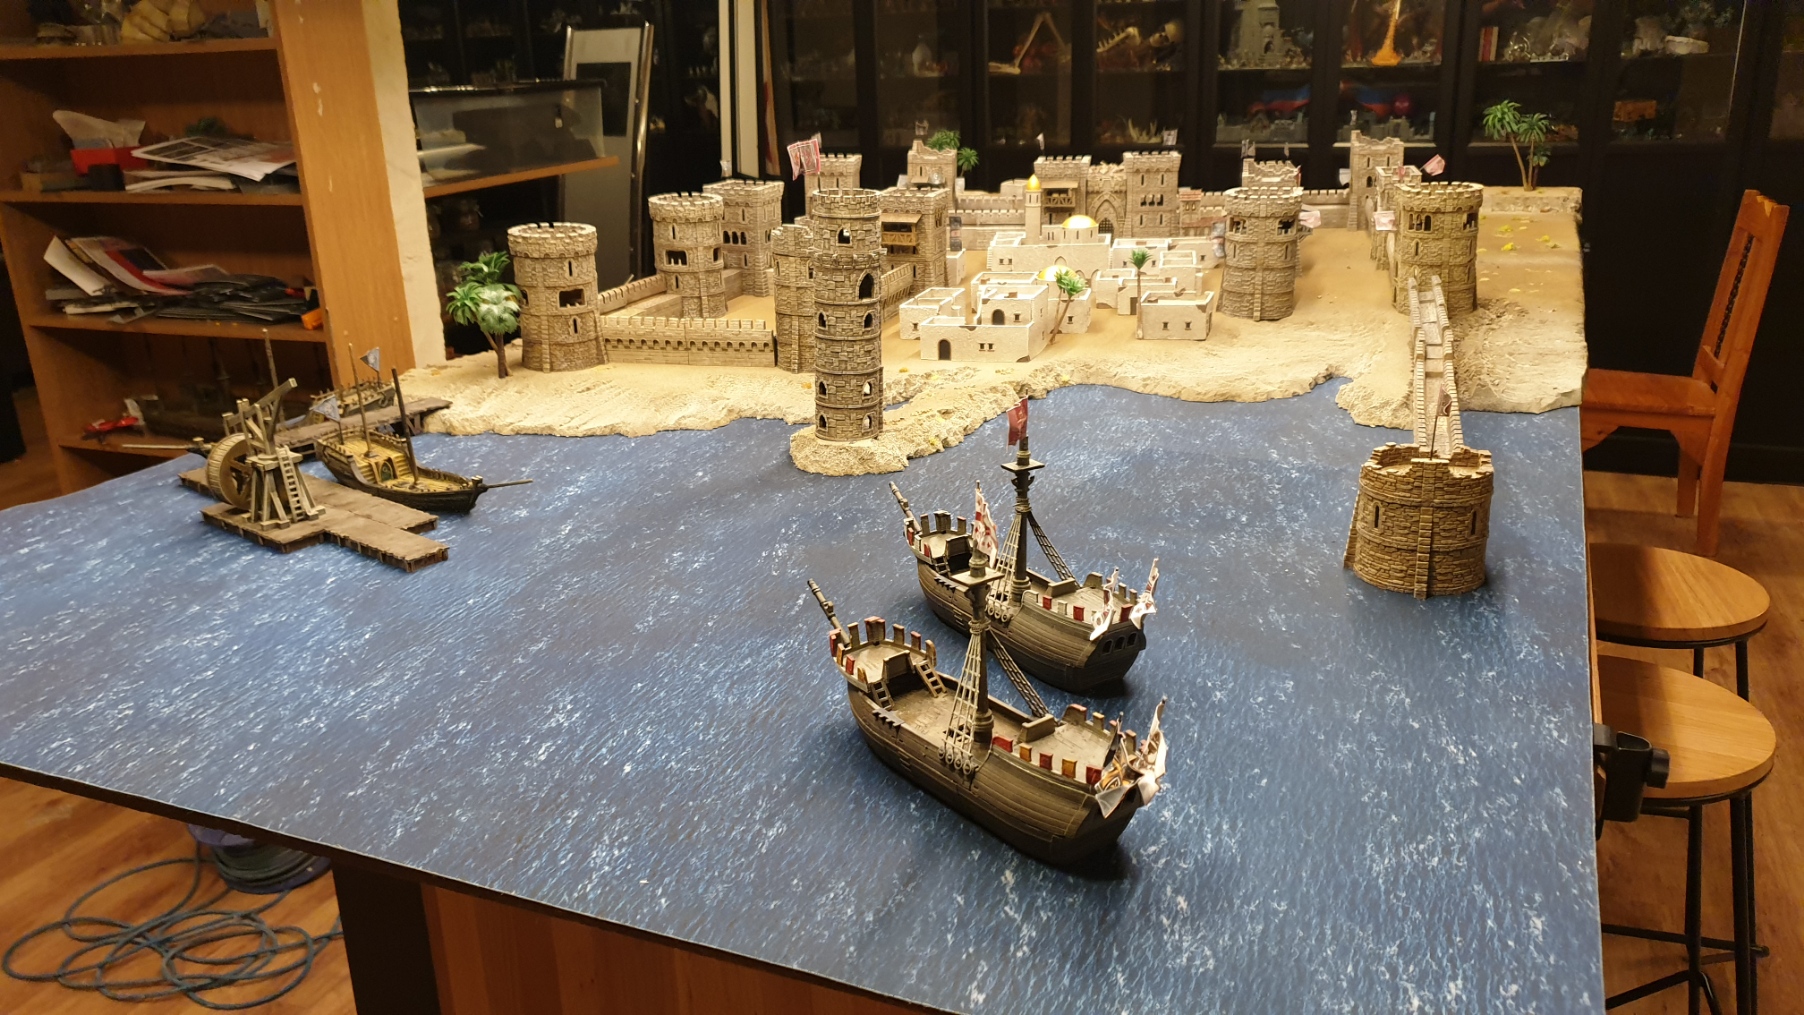
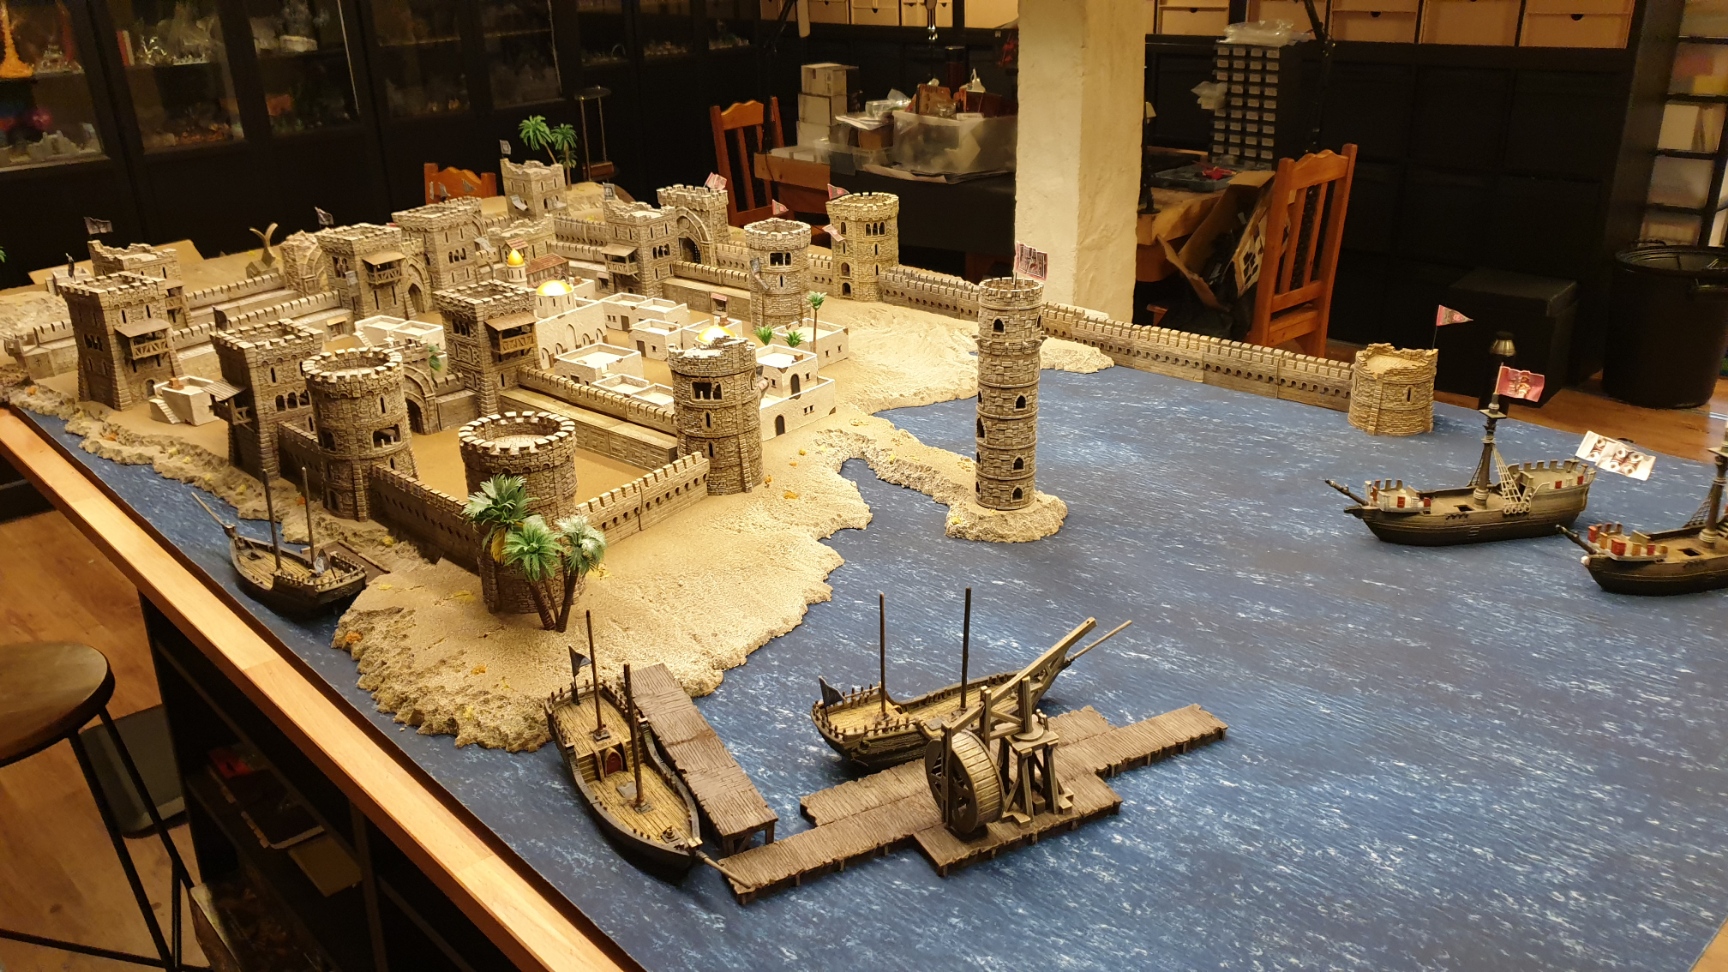
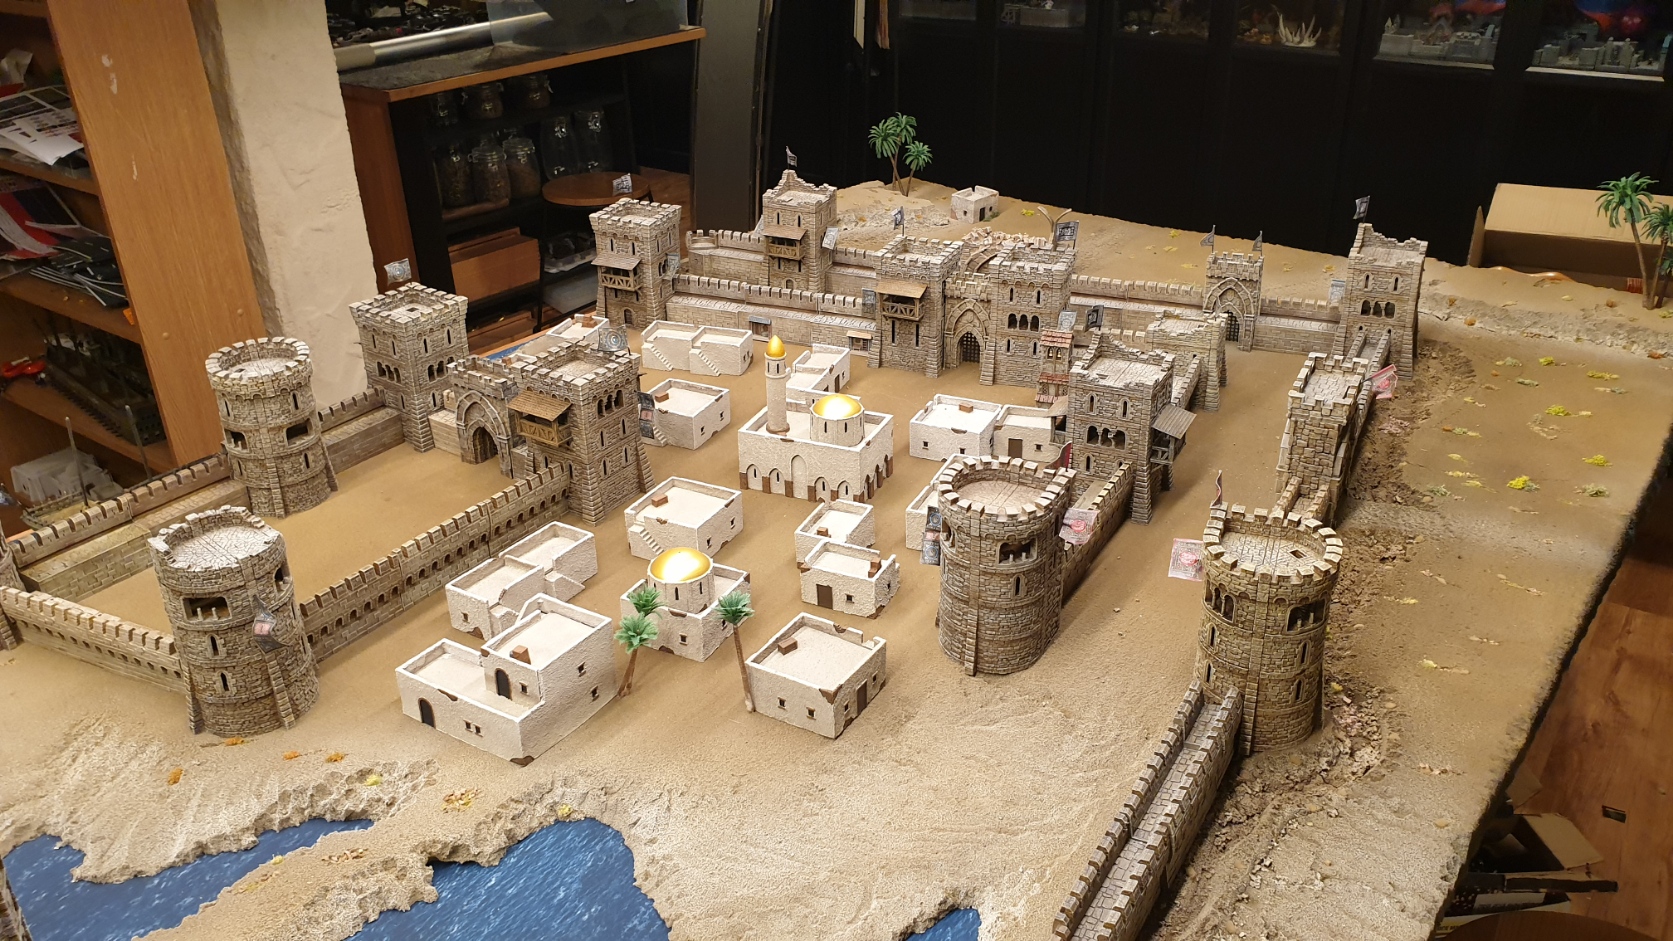
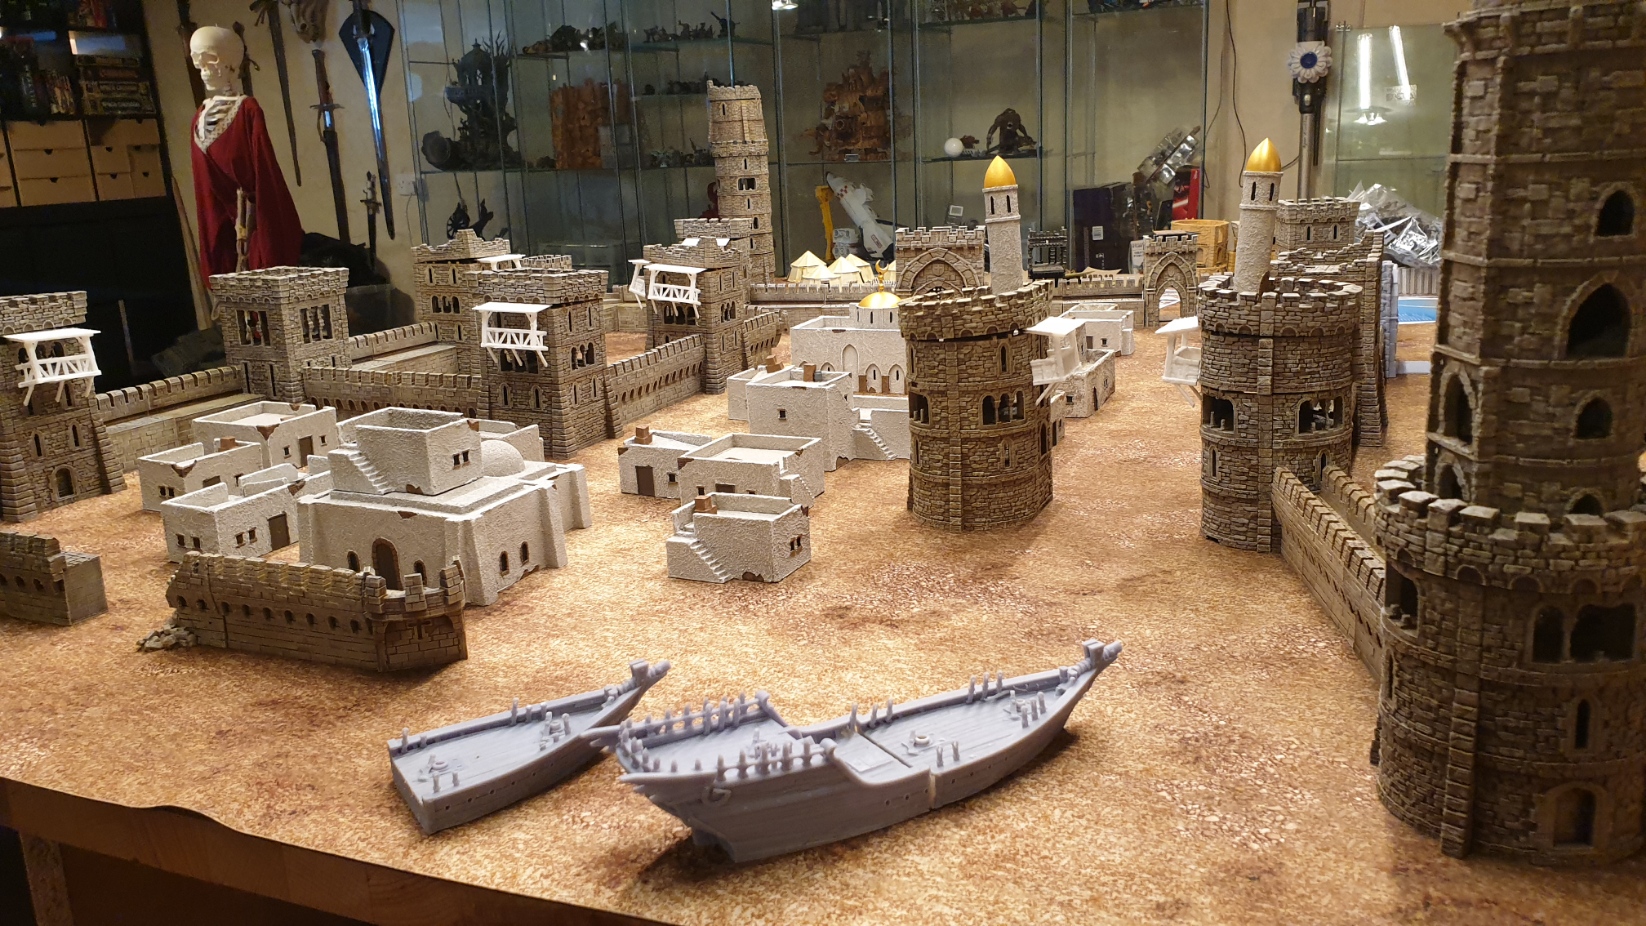
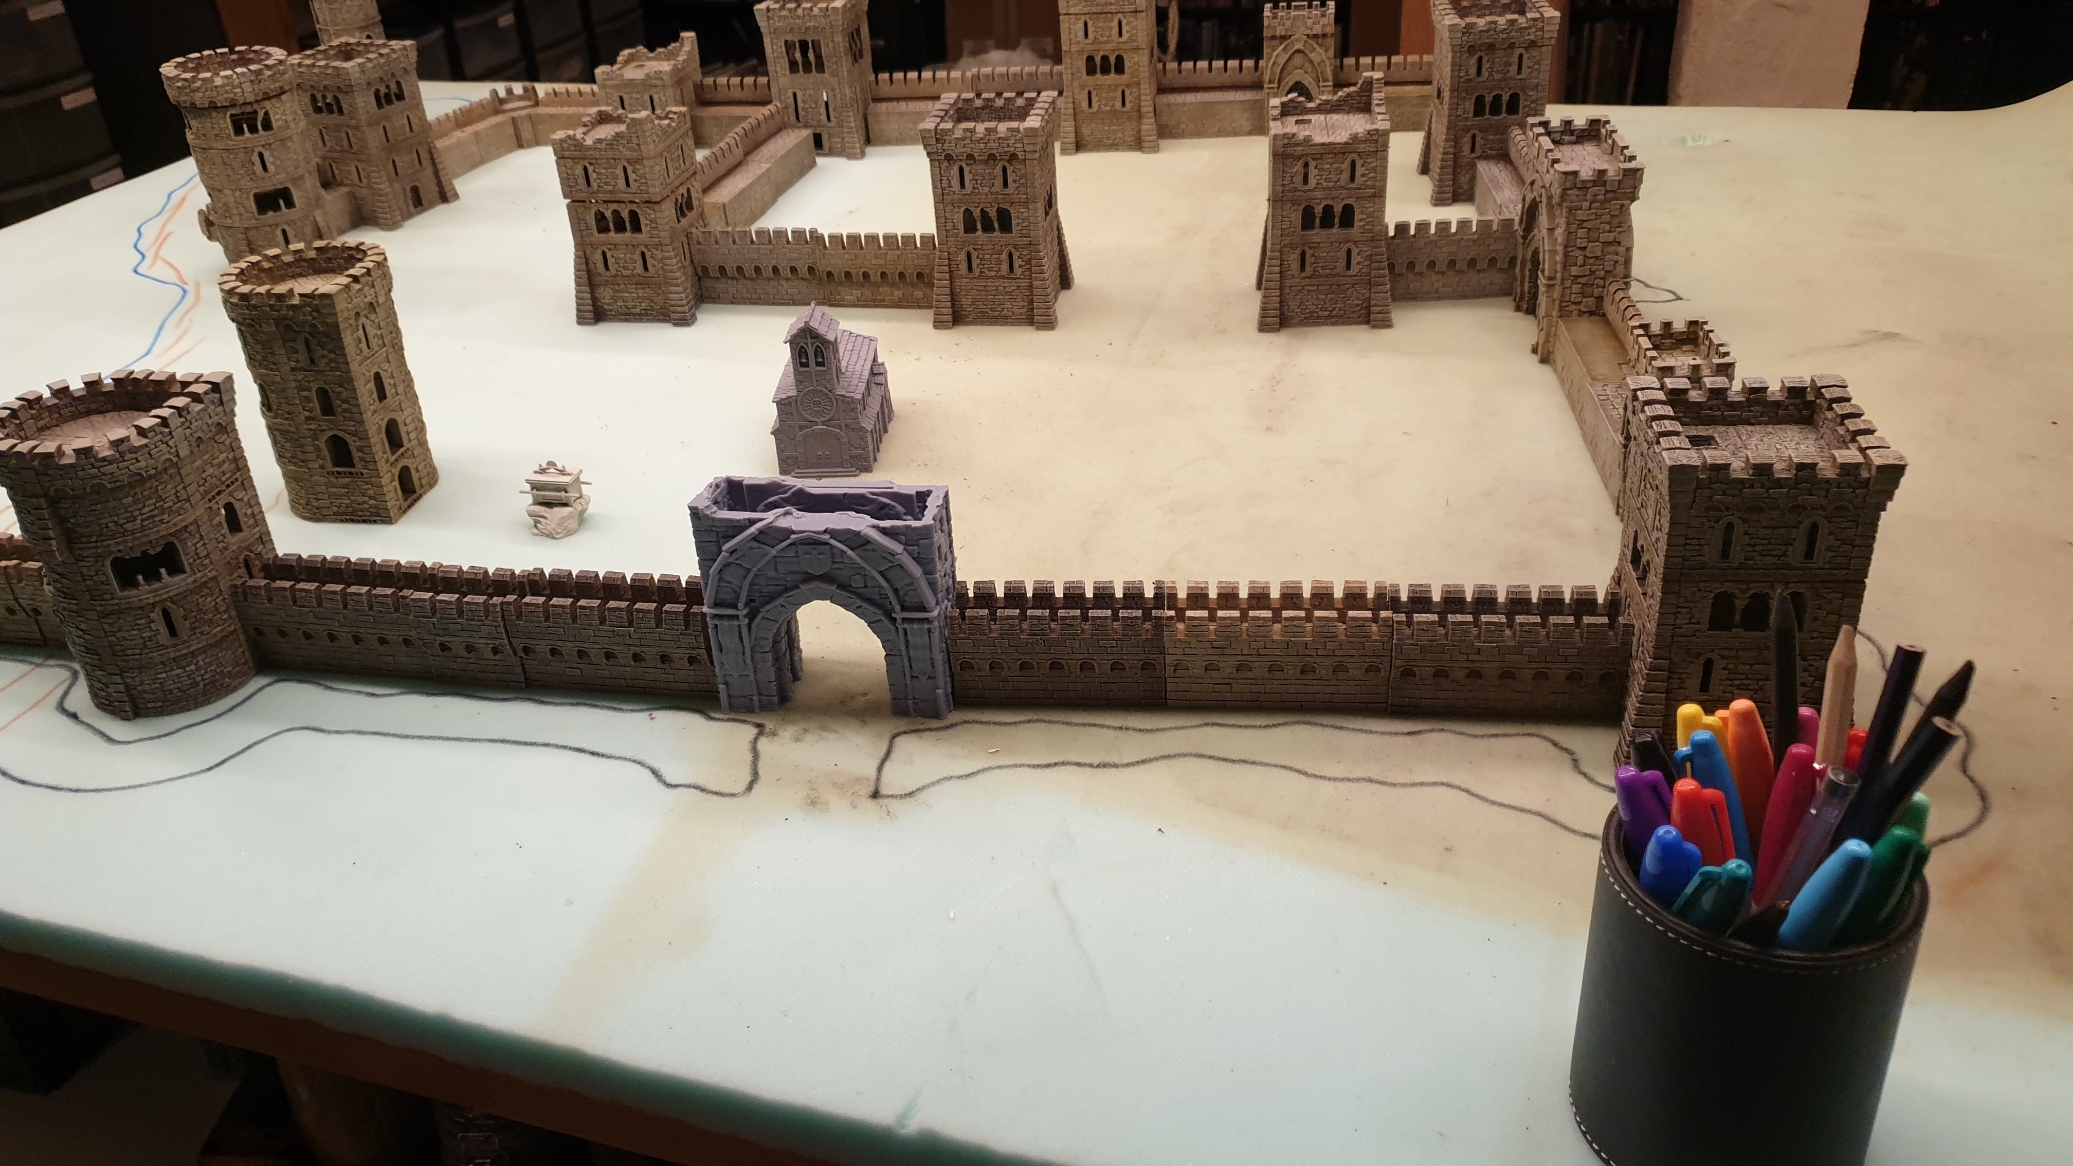
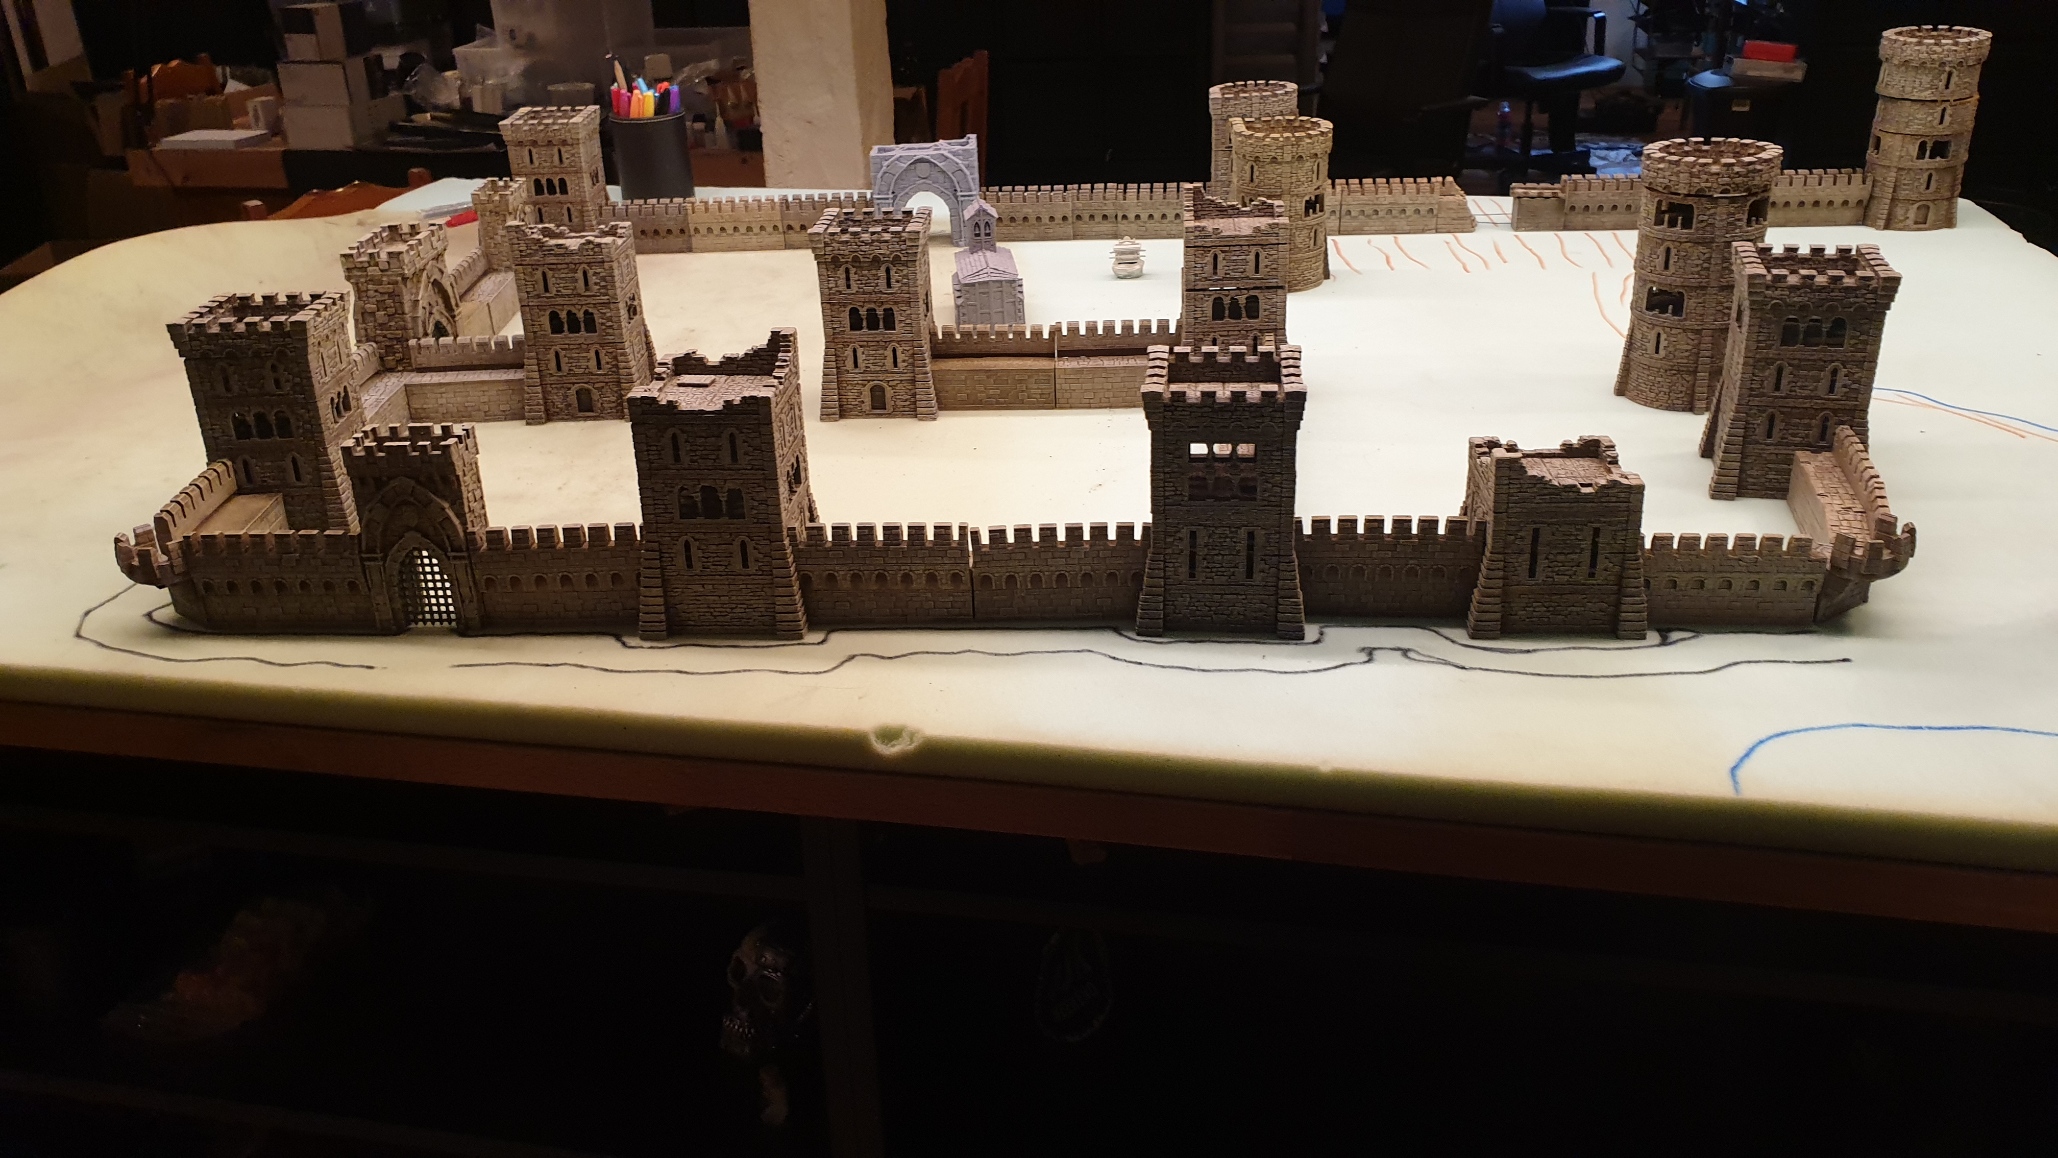
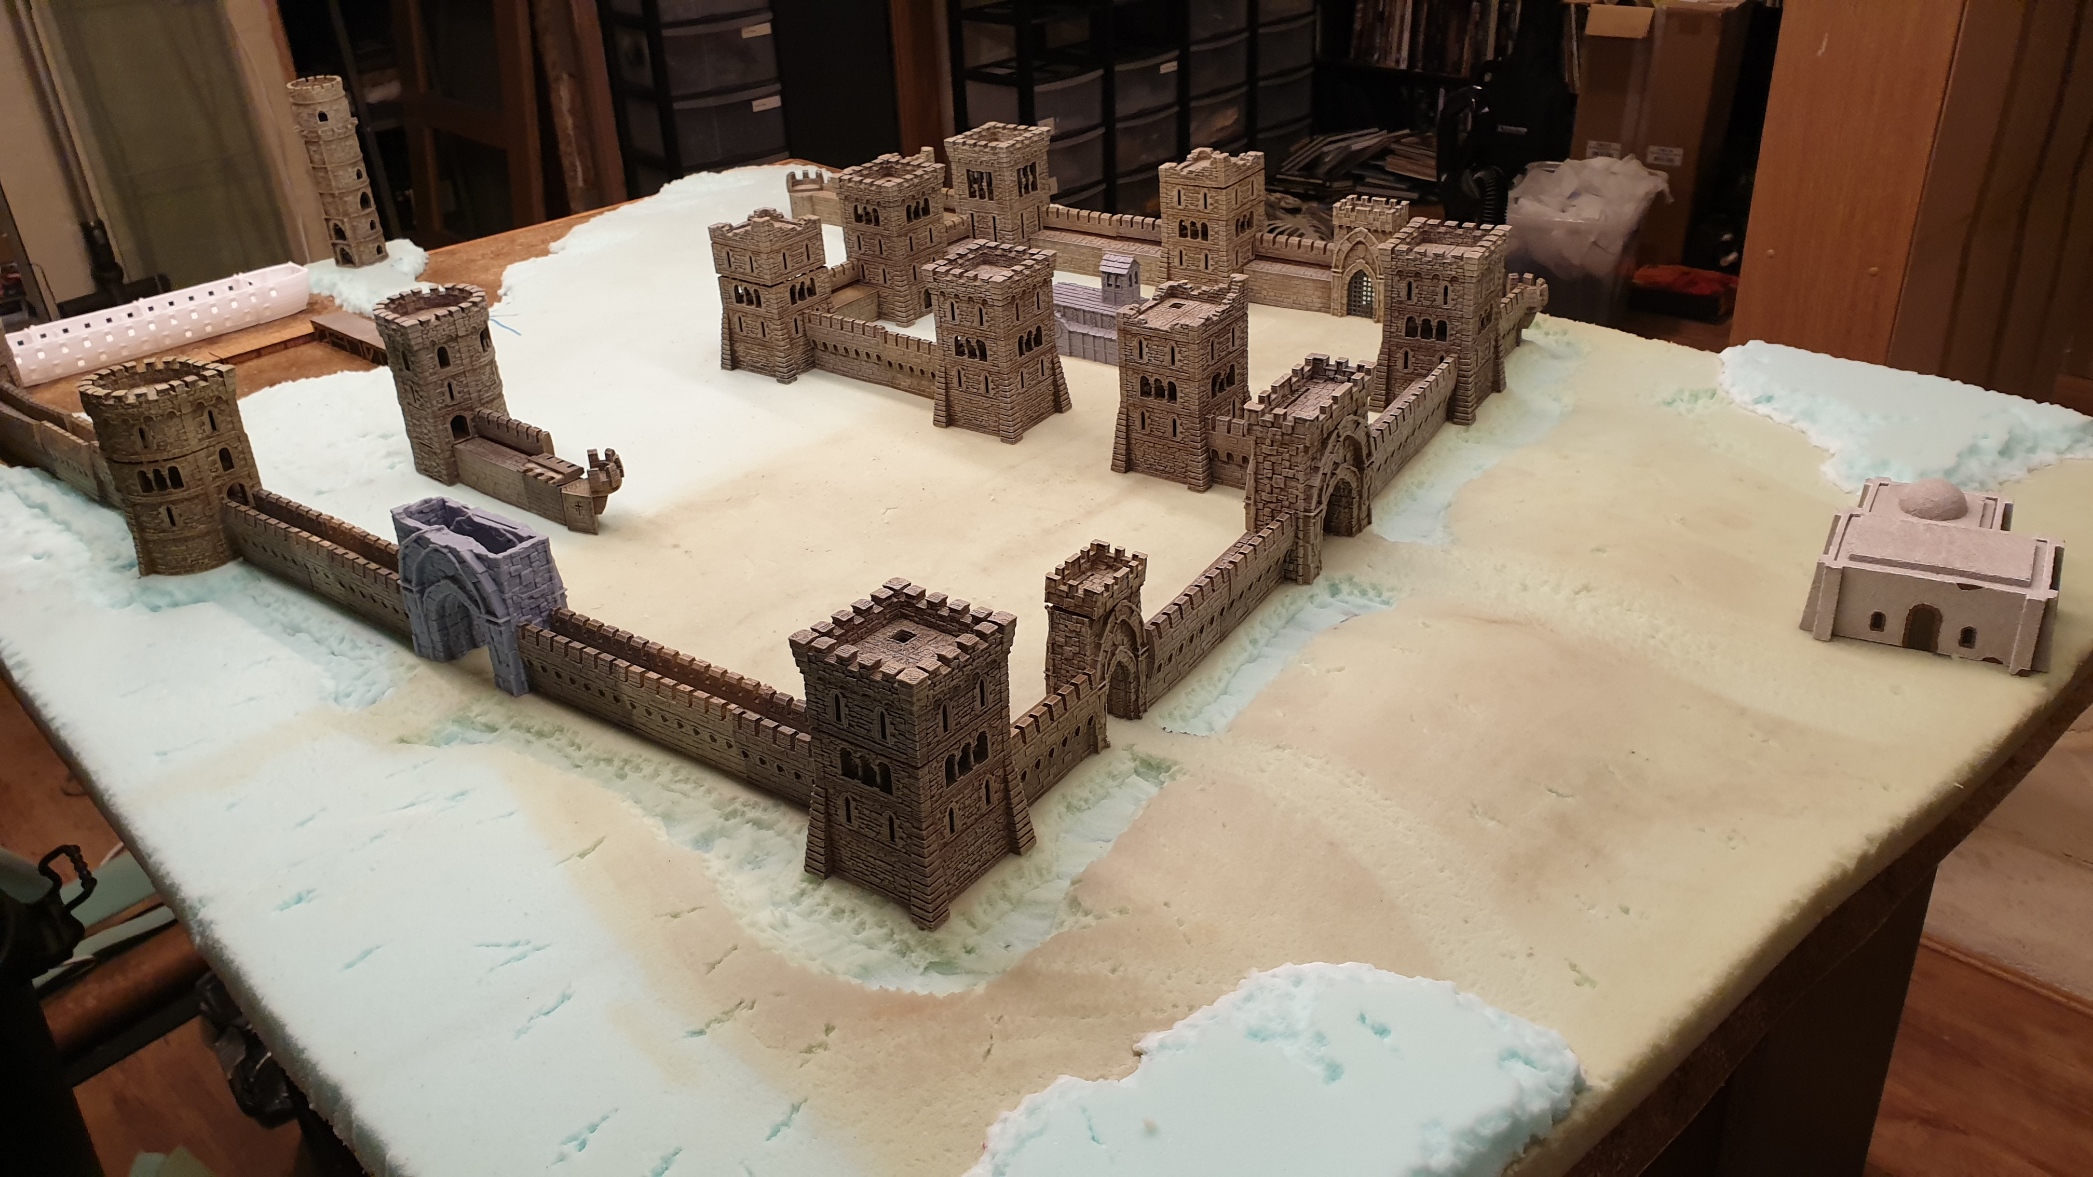
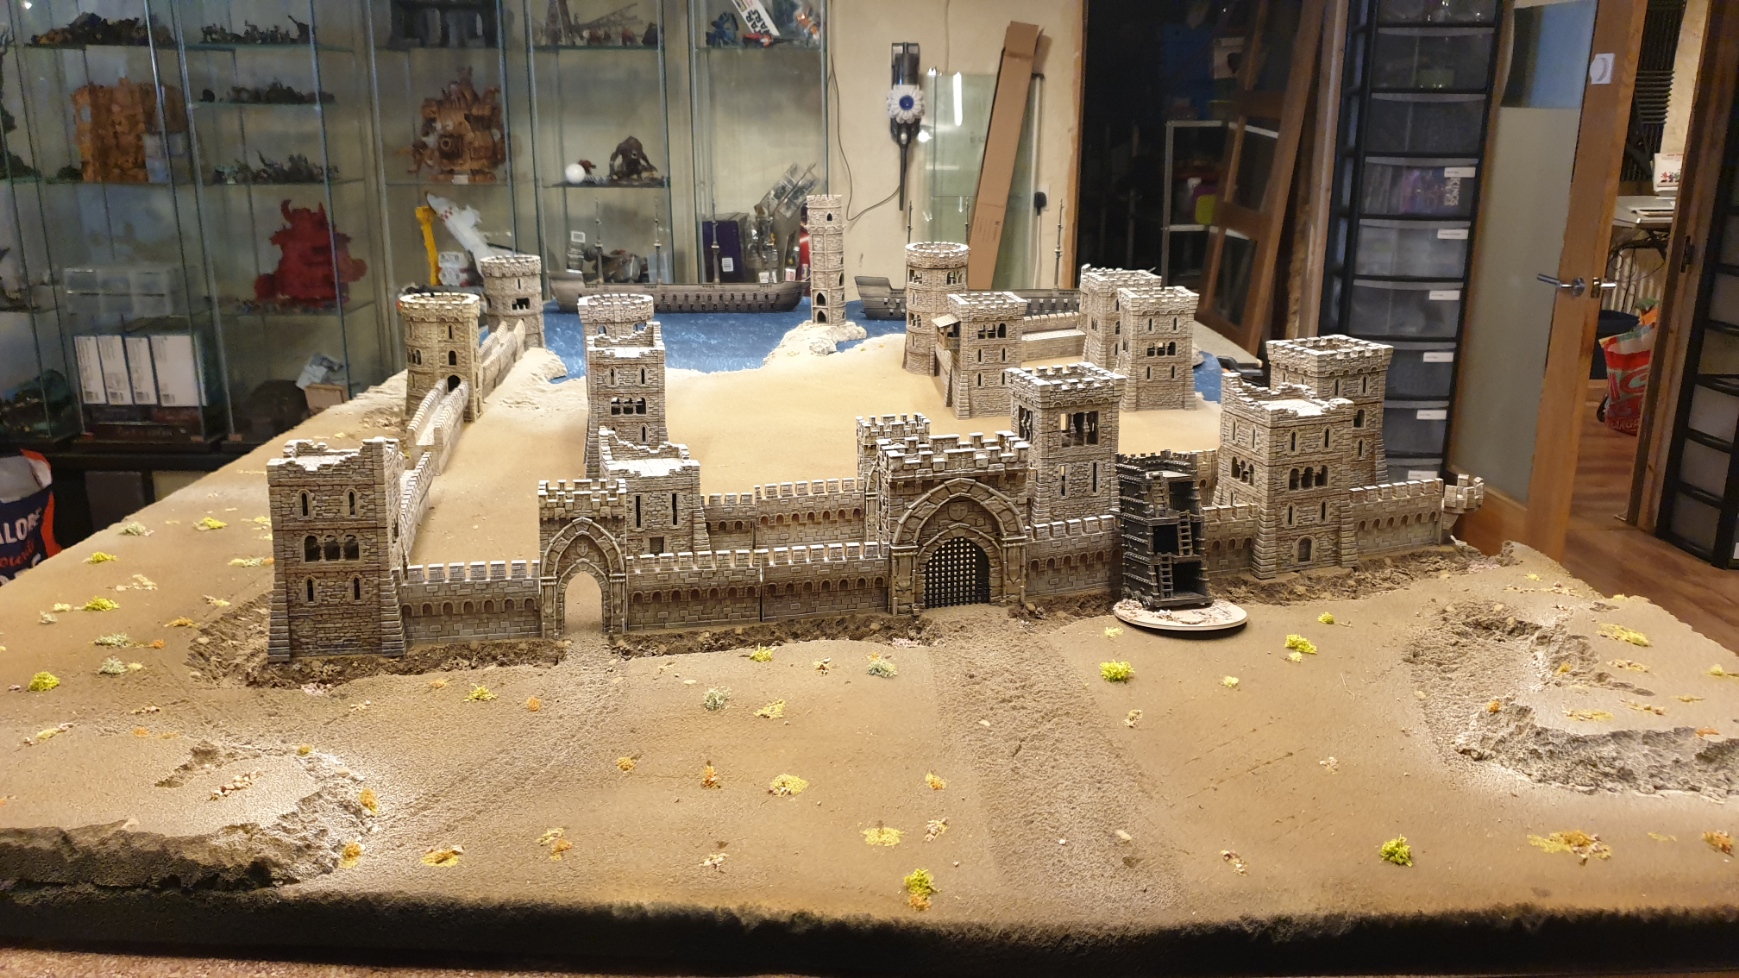
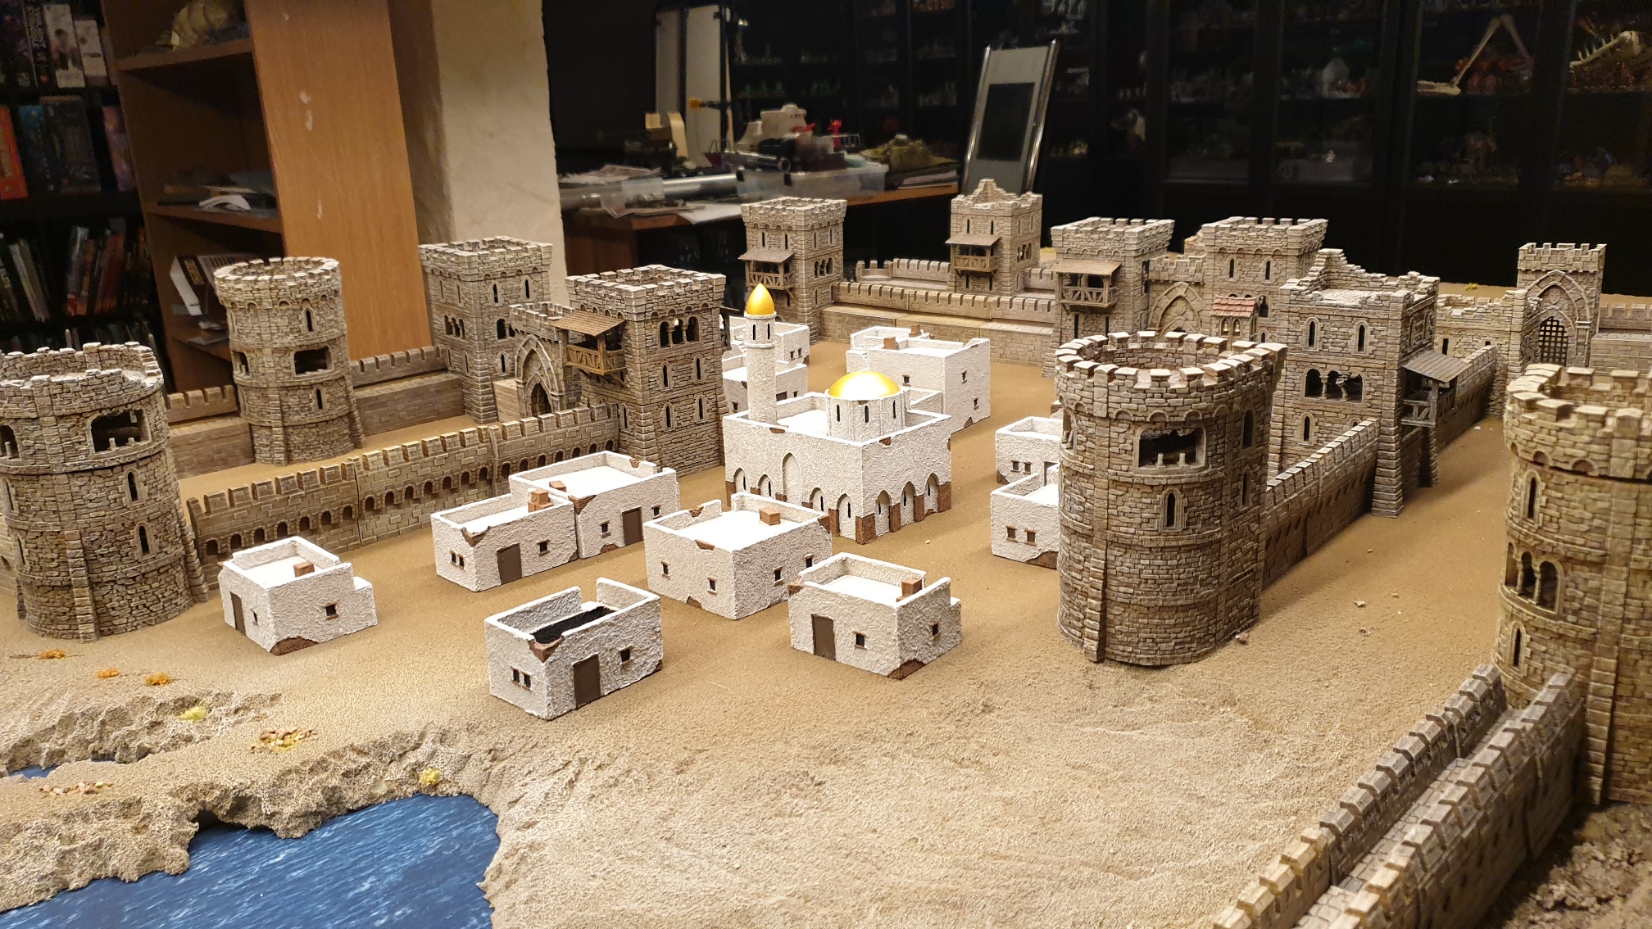
Once I got fed up looking at the maps it was time to start throwing stuff down on the table to see what kind of layout I could pull together, and could I get the vibe of acre at this scale on a 6×4 table.
So I threw down a desert mat and started placing and moving stuff around.
Foaming at the mouth!

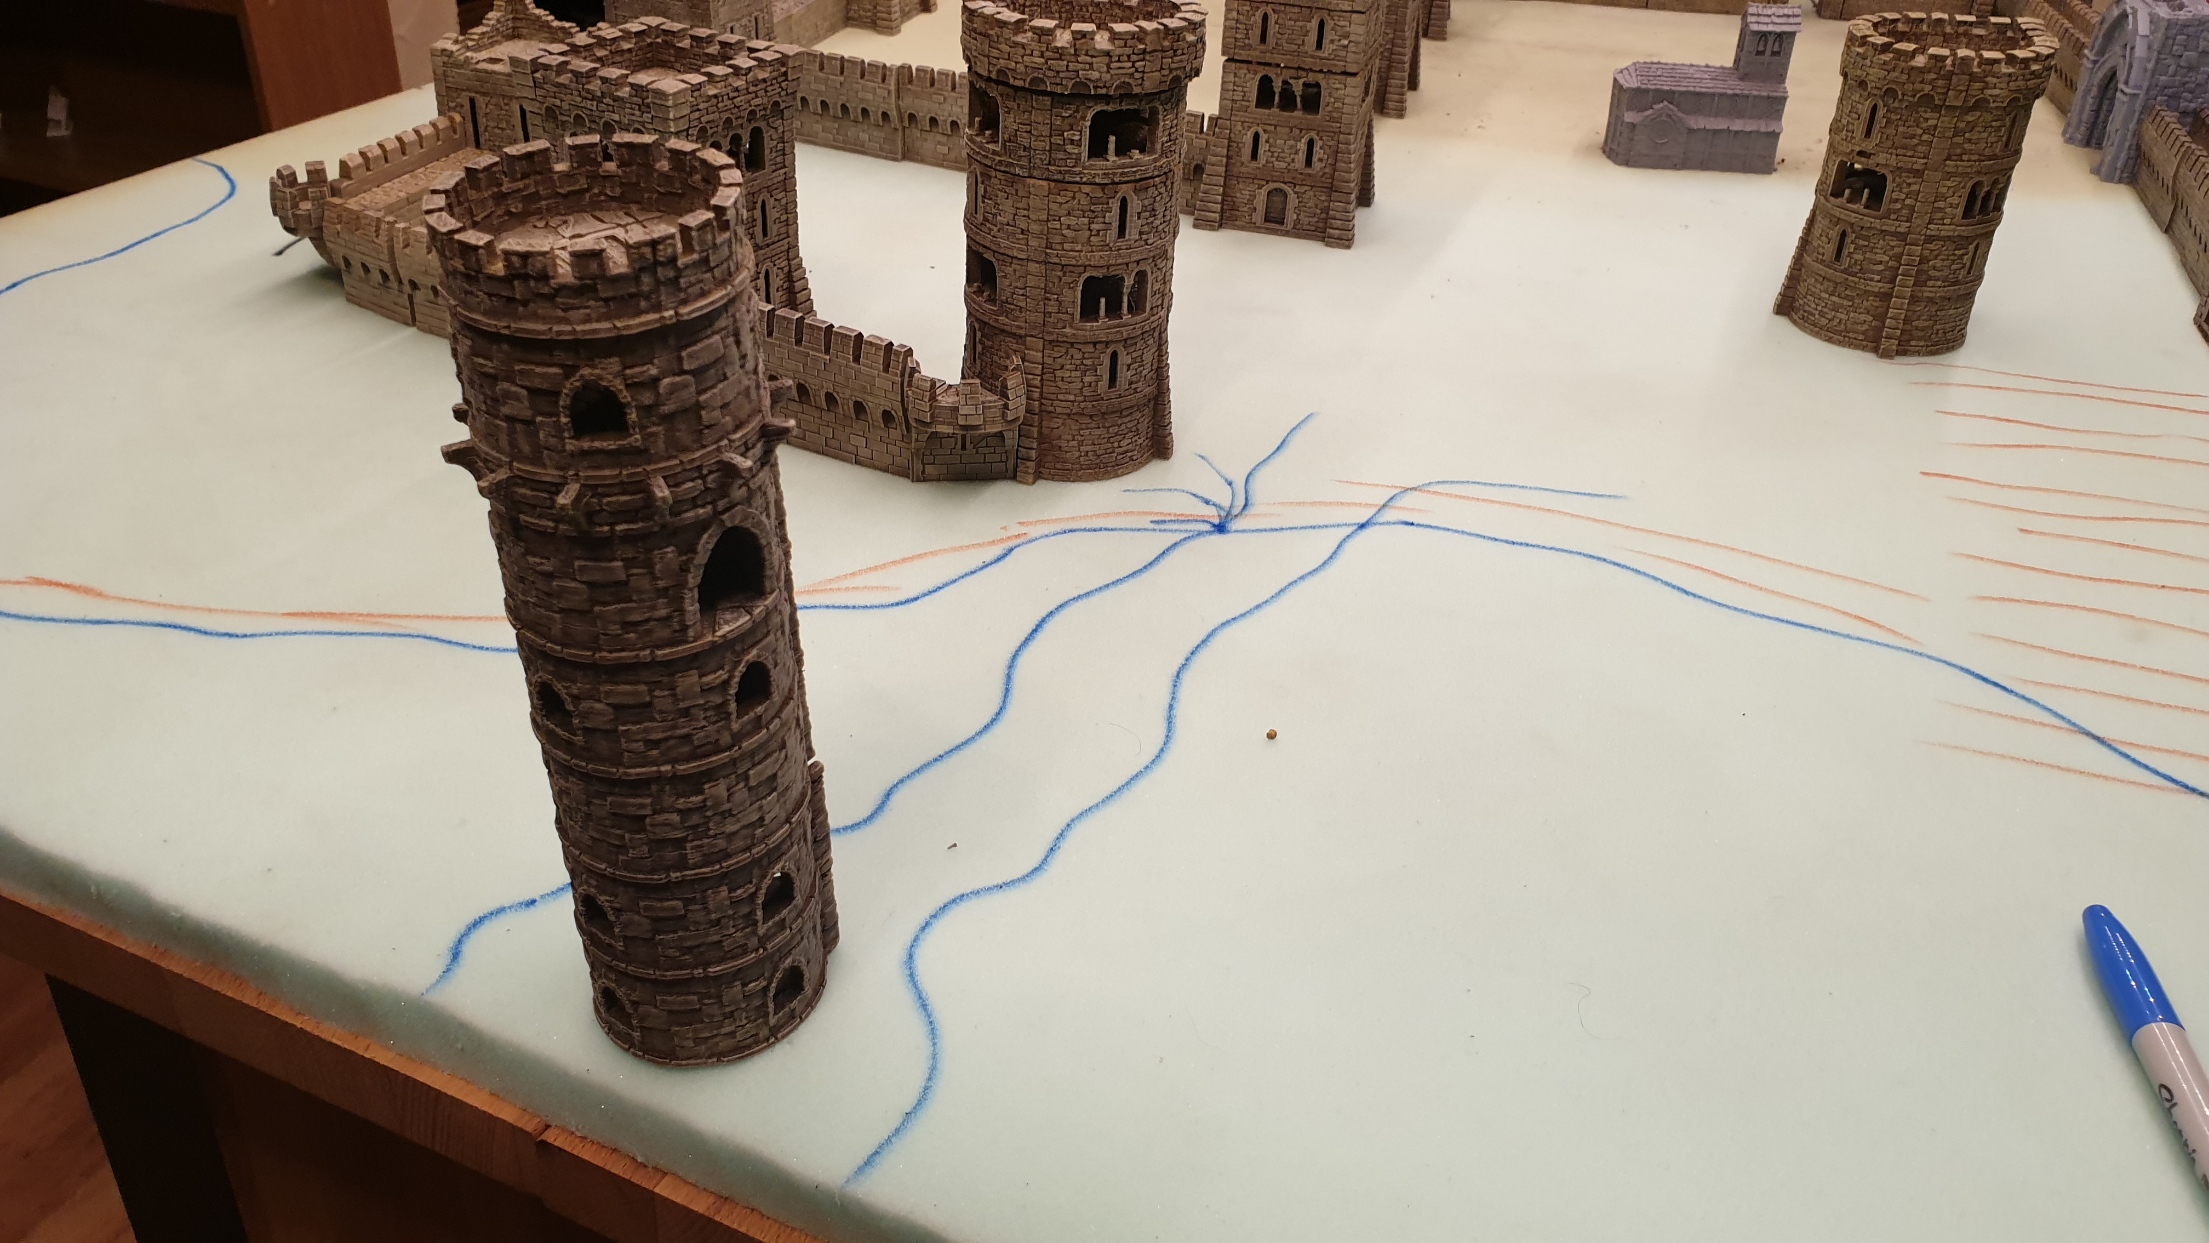
While the layout seemed possible, and we all know I love a good gaming mat, it all seemed a little… flat.
Acre is a port and the port is its whole reason for being a strategic stronghold in the holylands. Also the fortress featured a dry moat so injecting some elevation into this process seemed like a task that had to be taken on.
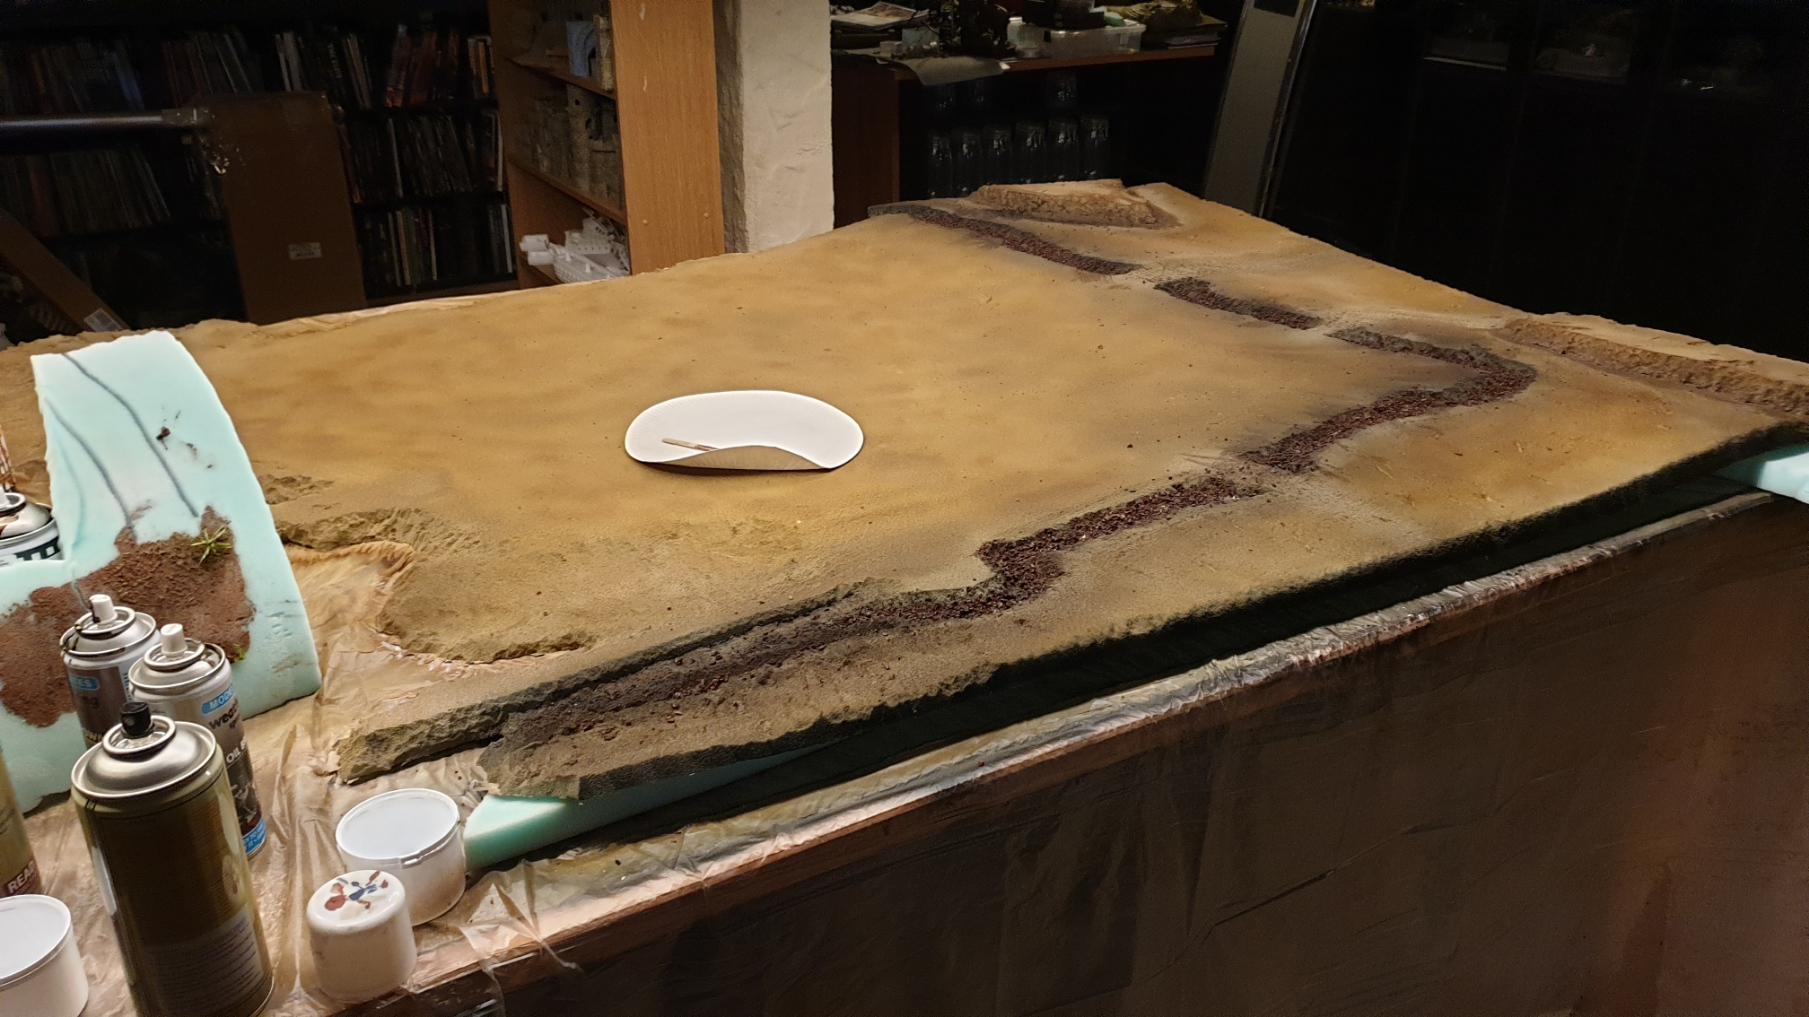
So I gave uphosltery foam a go, mainly because if done right I should be able to roll the table up and put it away in a cupboard. I really wanted to try and get that balance between oldschool sculpted gaming table, and something that wasn’t going to be a PITA to store.
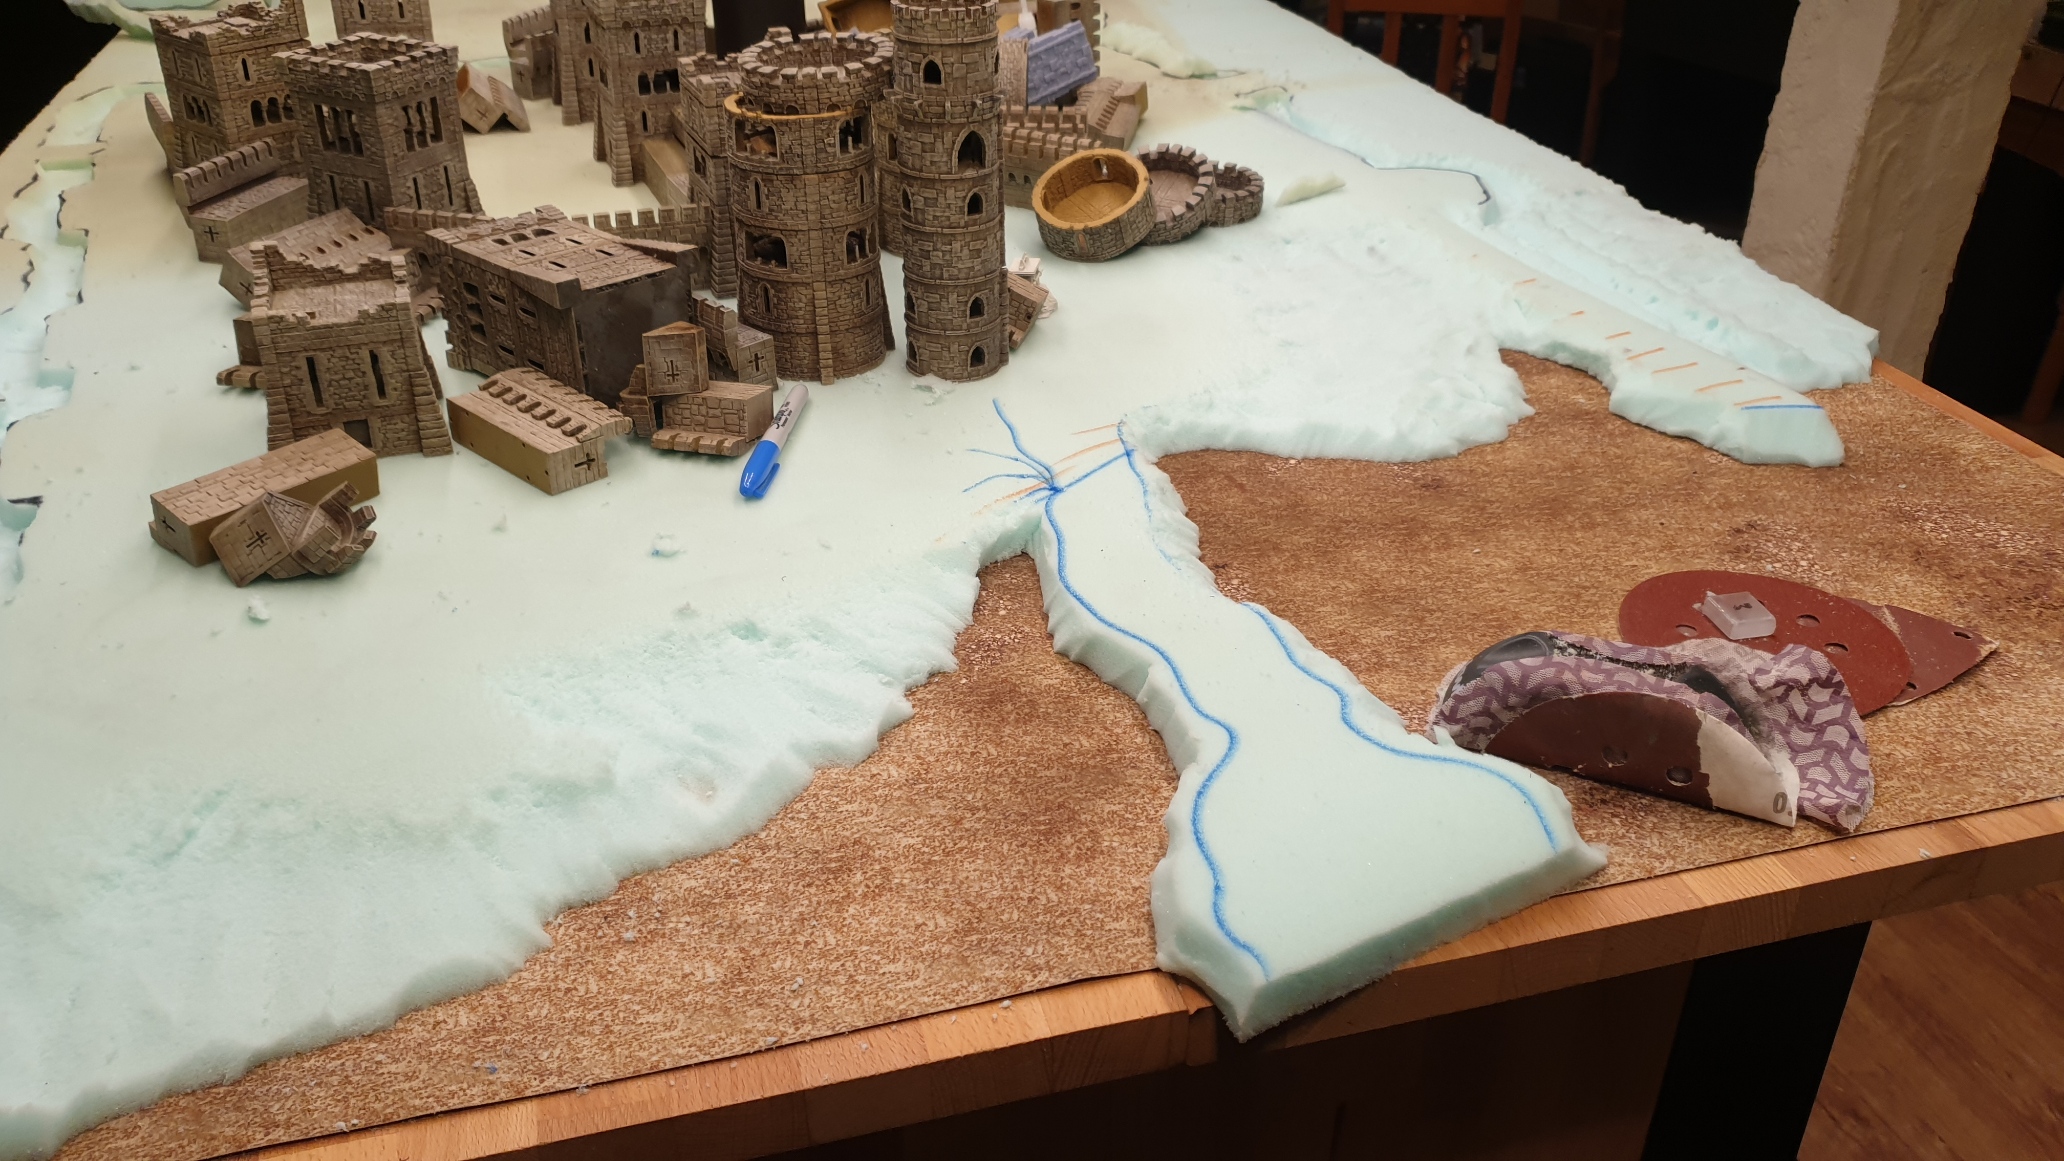
So I rolled out an old 6×4 piece of foam I had in the store room and set to work on drawing out what this terrain would look like.
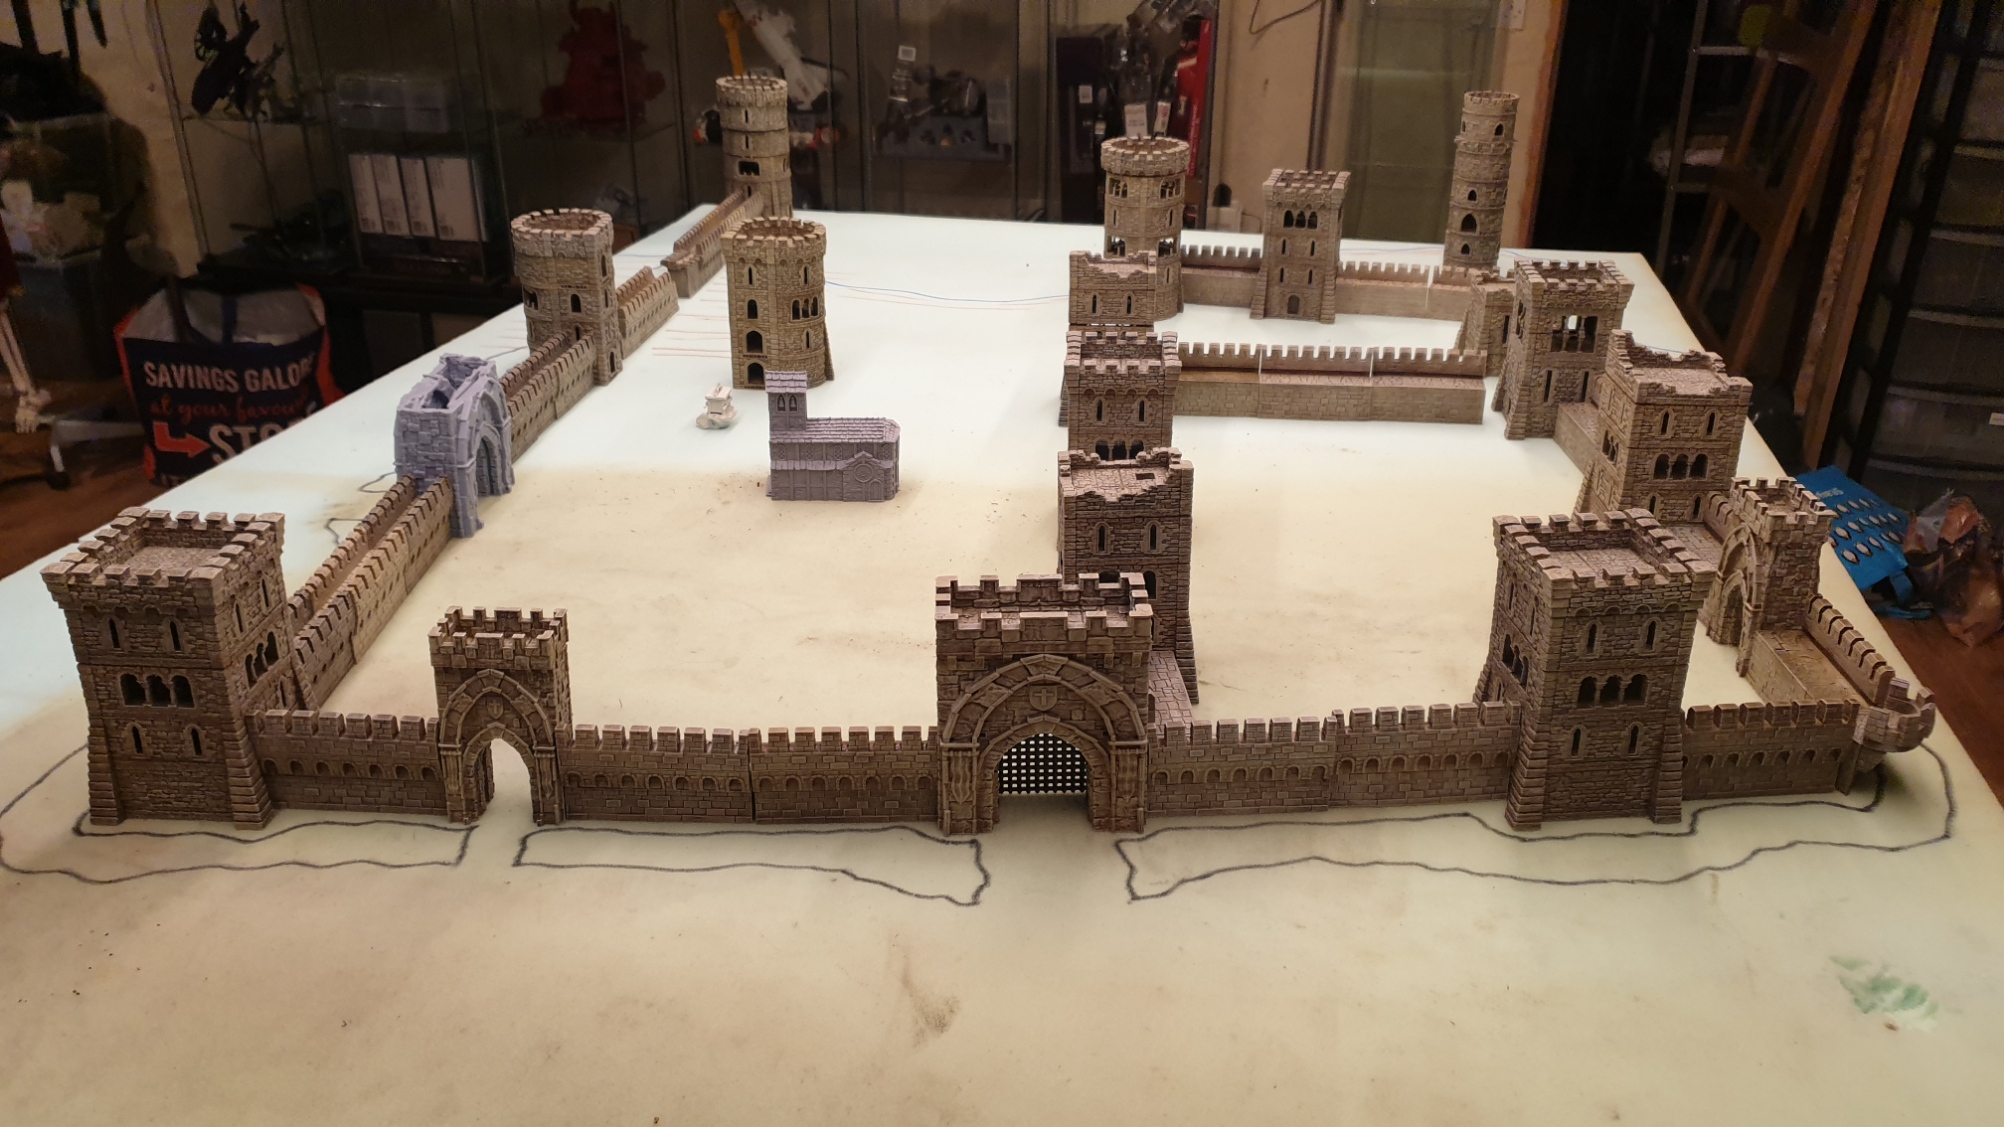
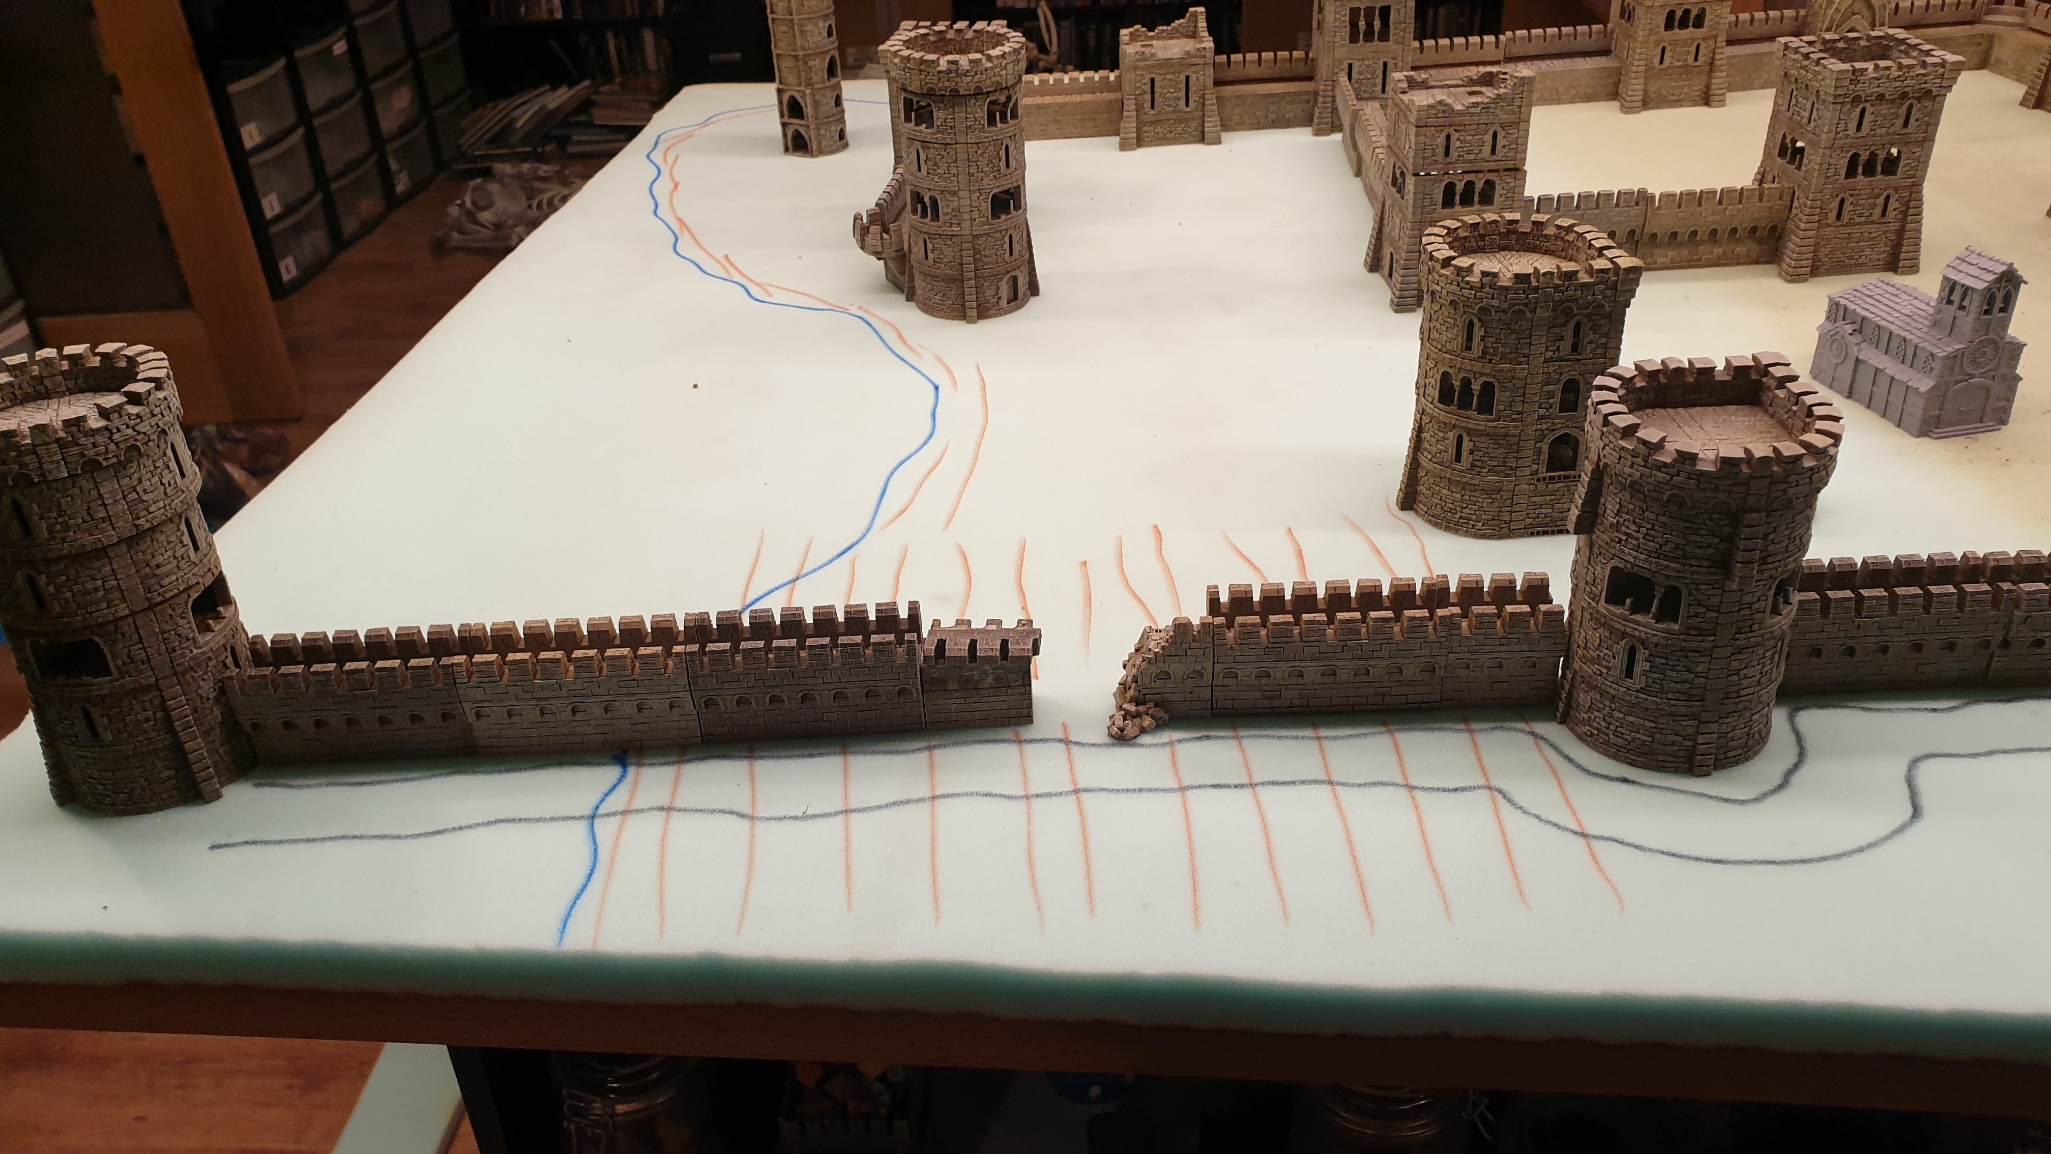
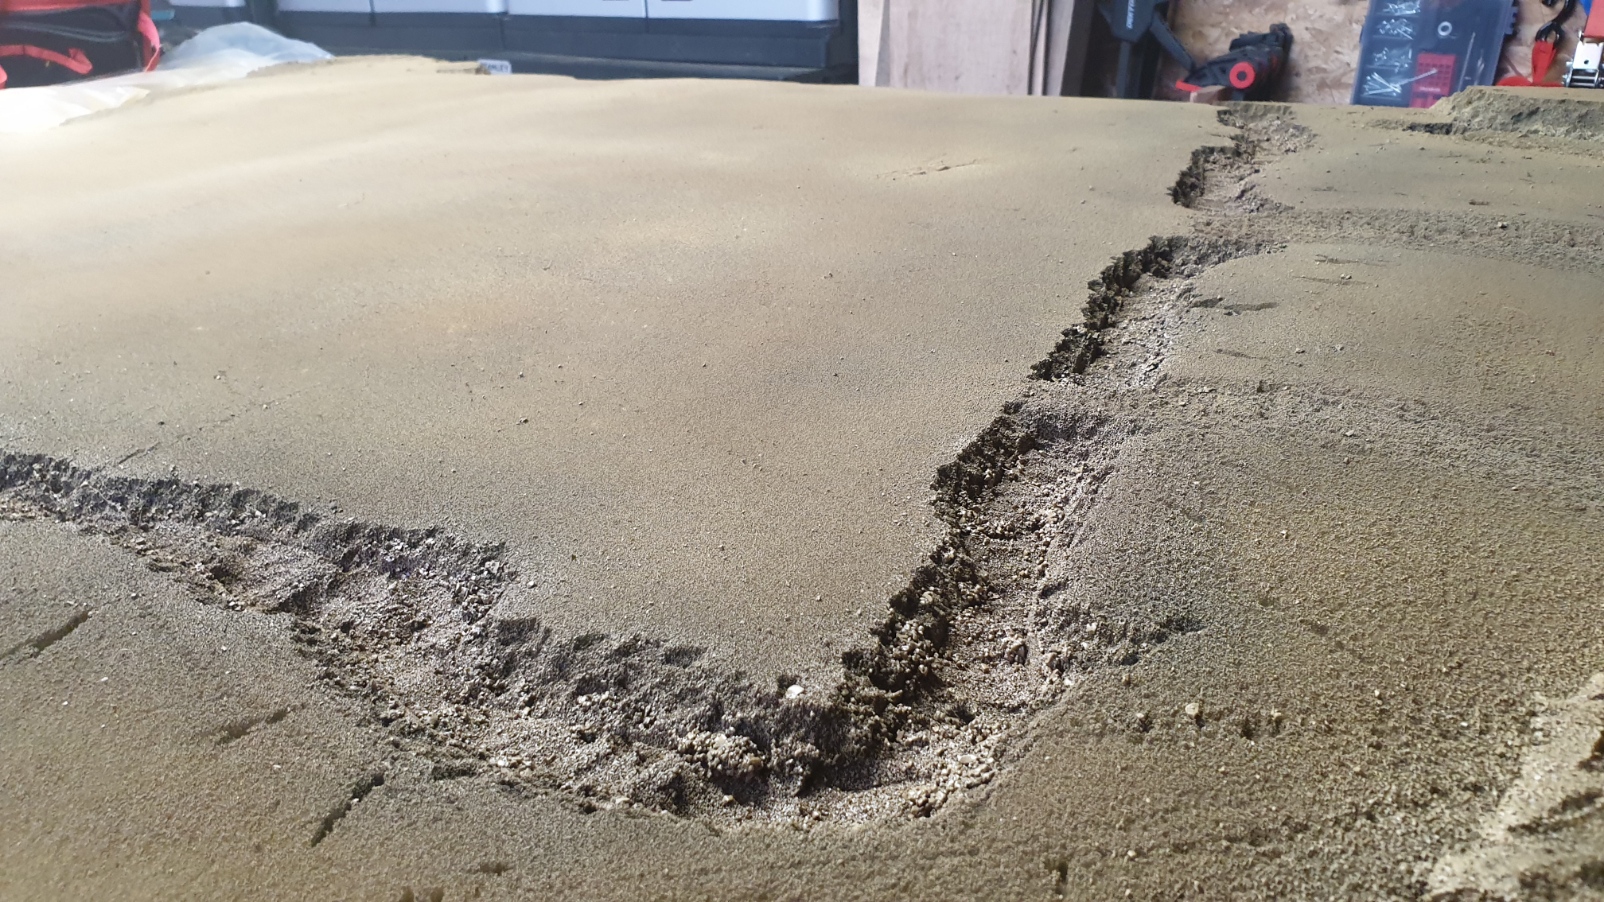
Bleed for your craft!
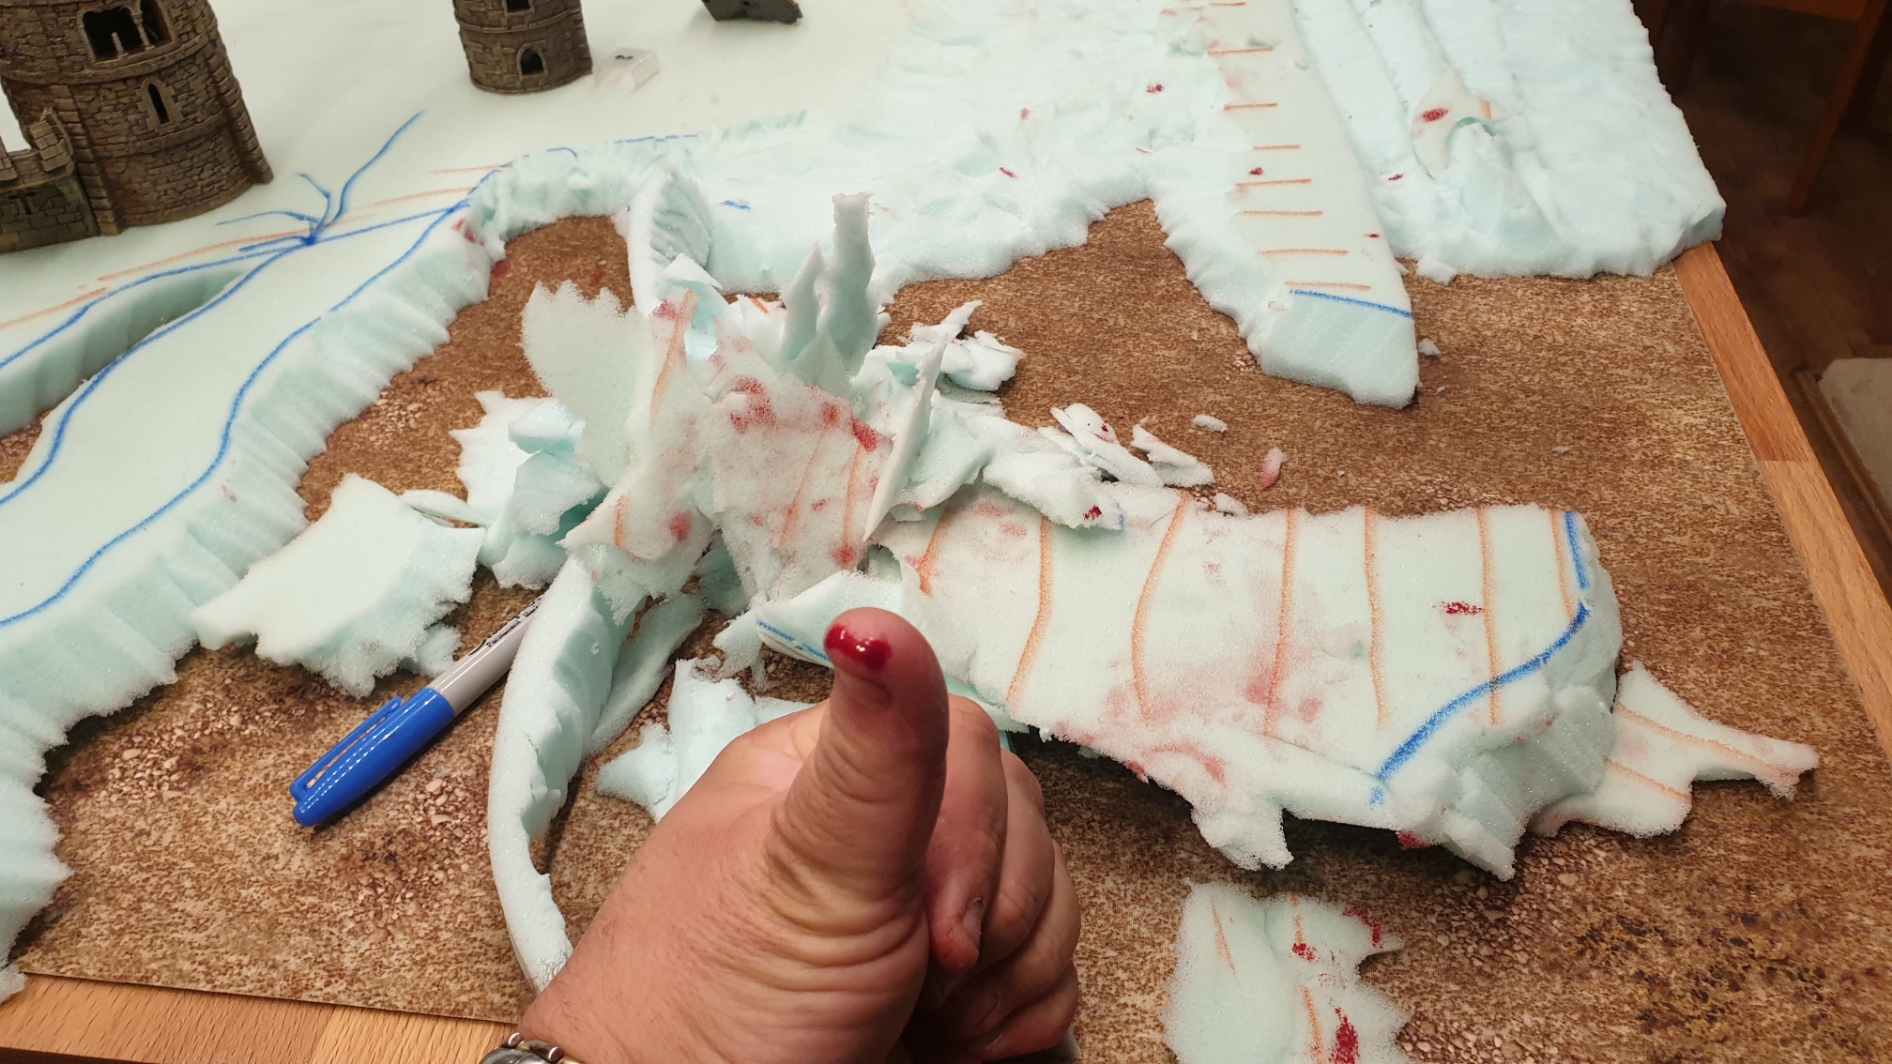
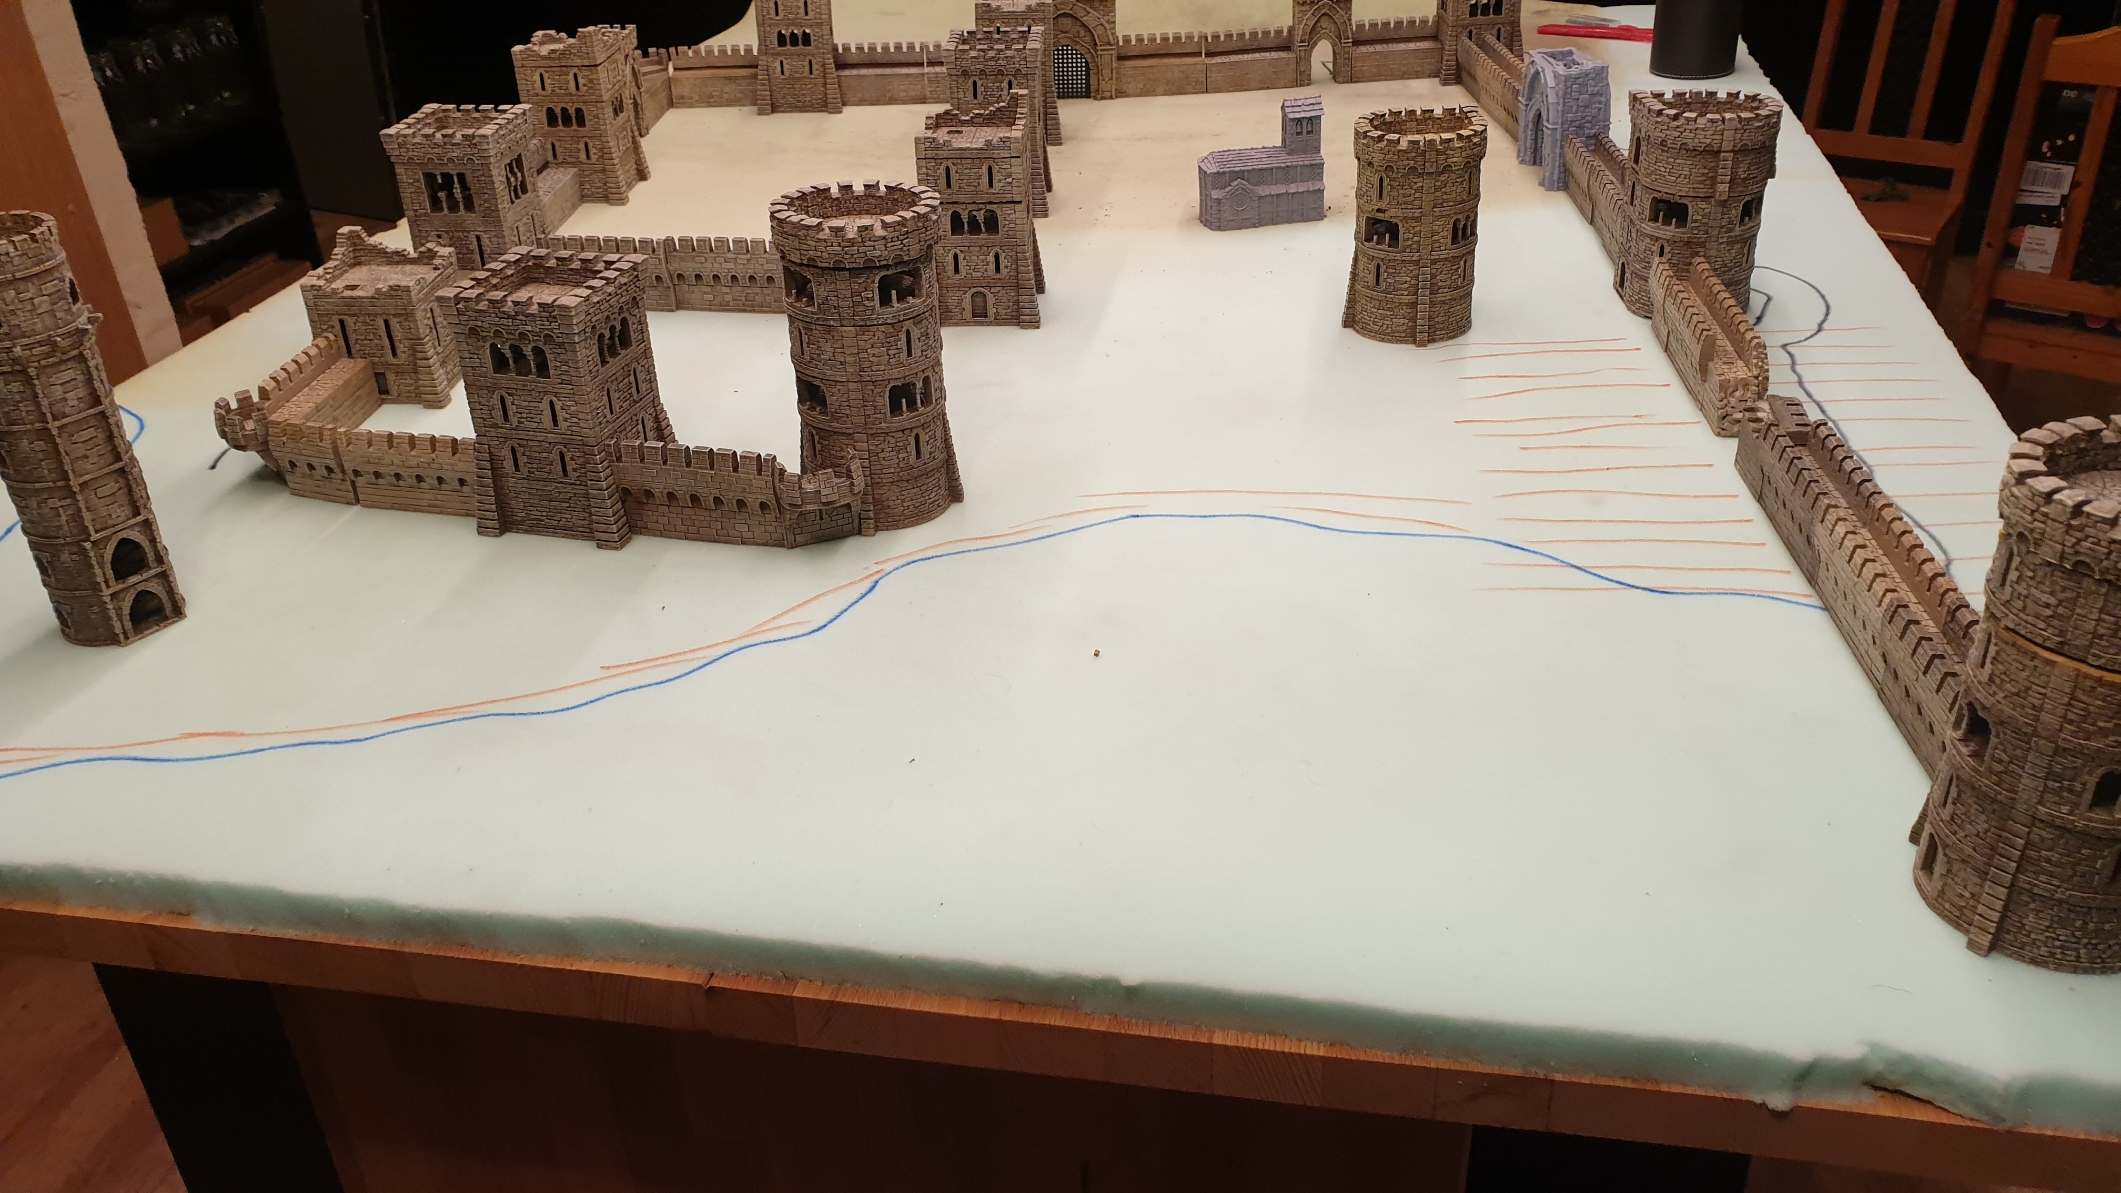
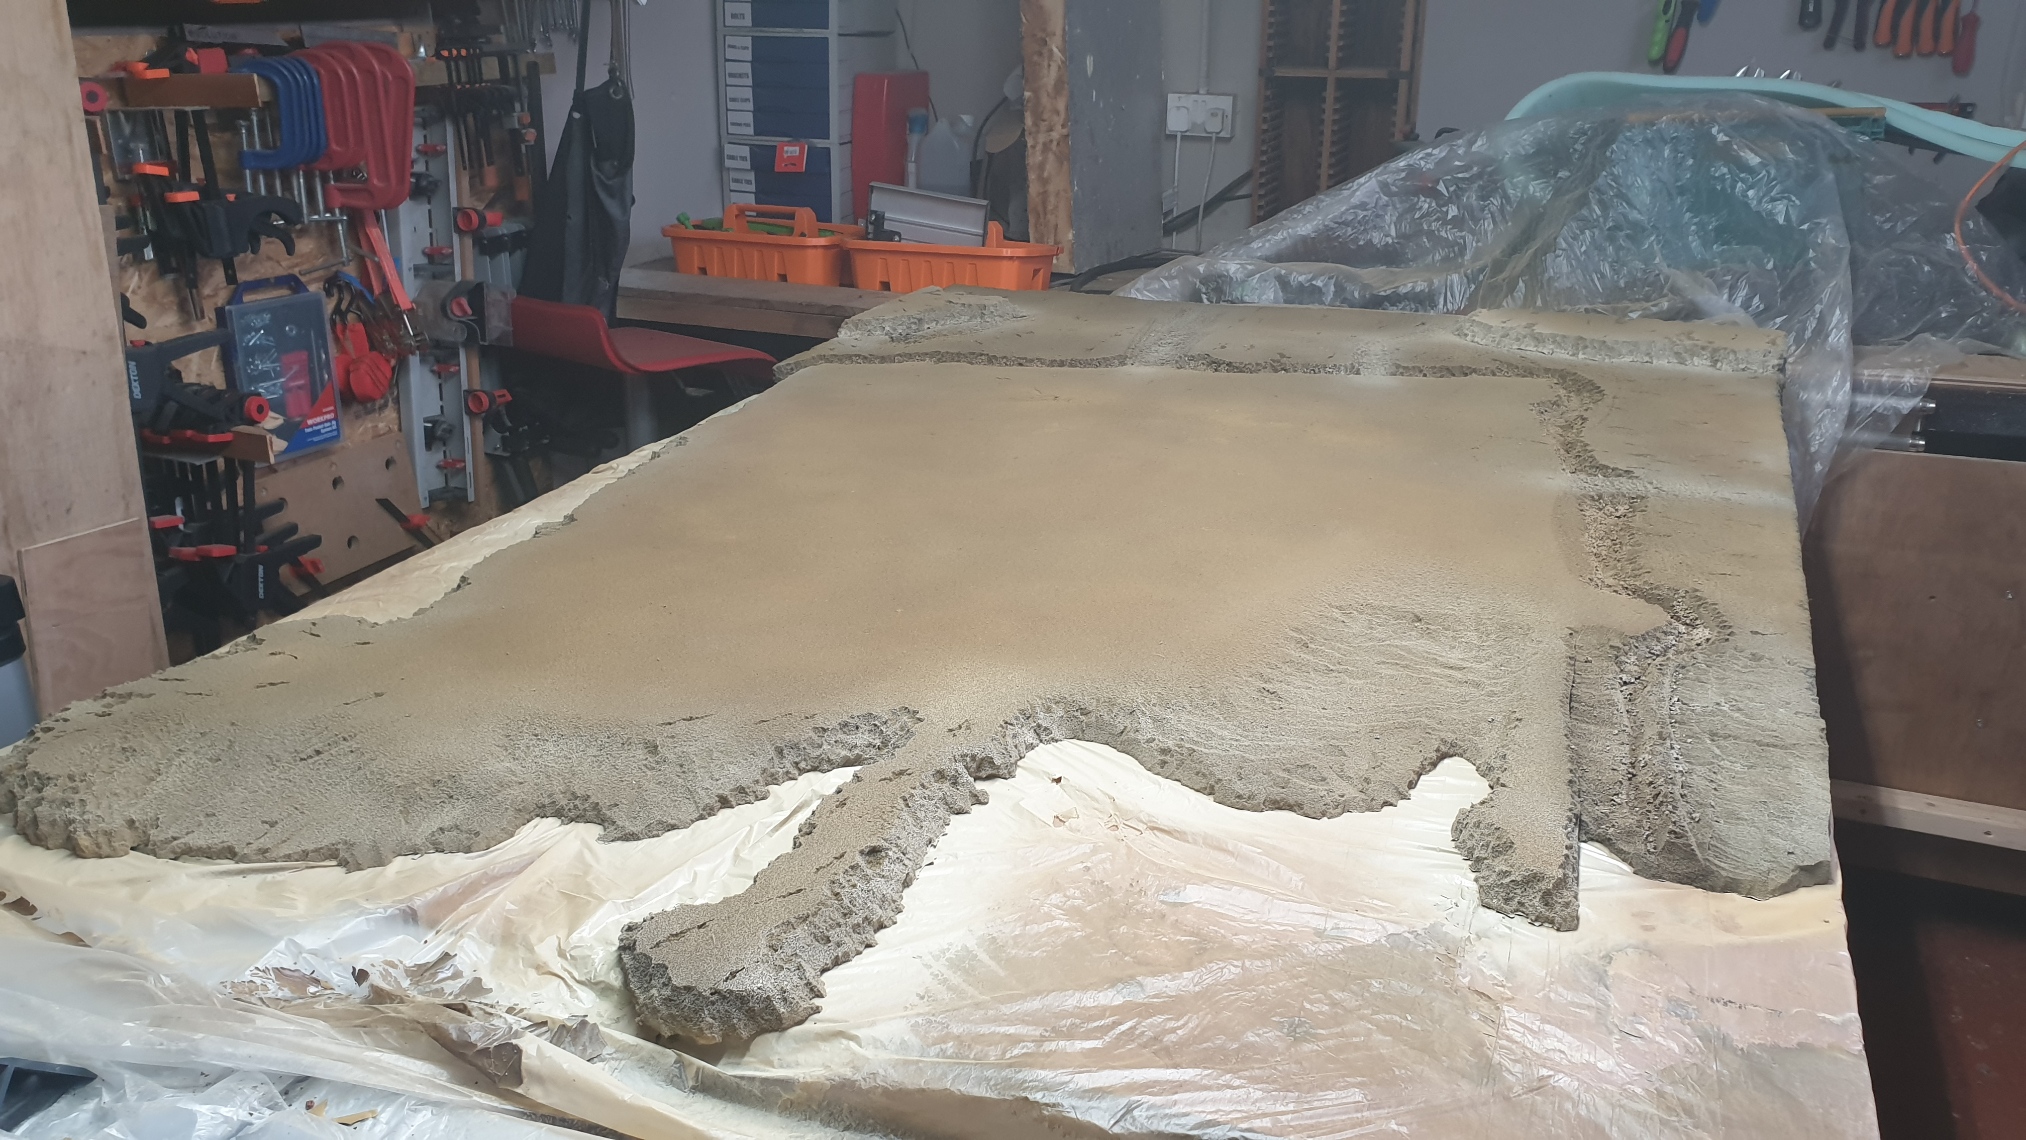
Once the various features of the terrain were drawn such as the moat, the coastline, the main gates etc it was time to start cutting, plucking, sanding and scraping!
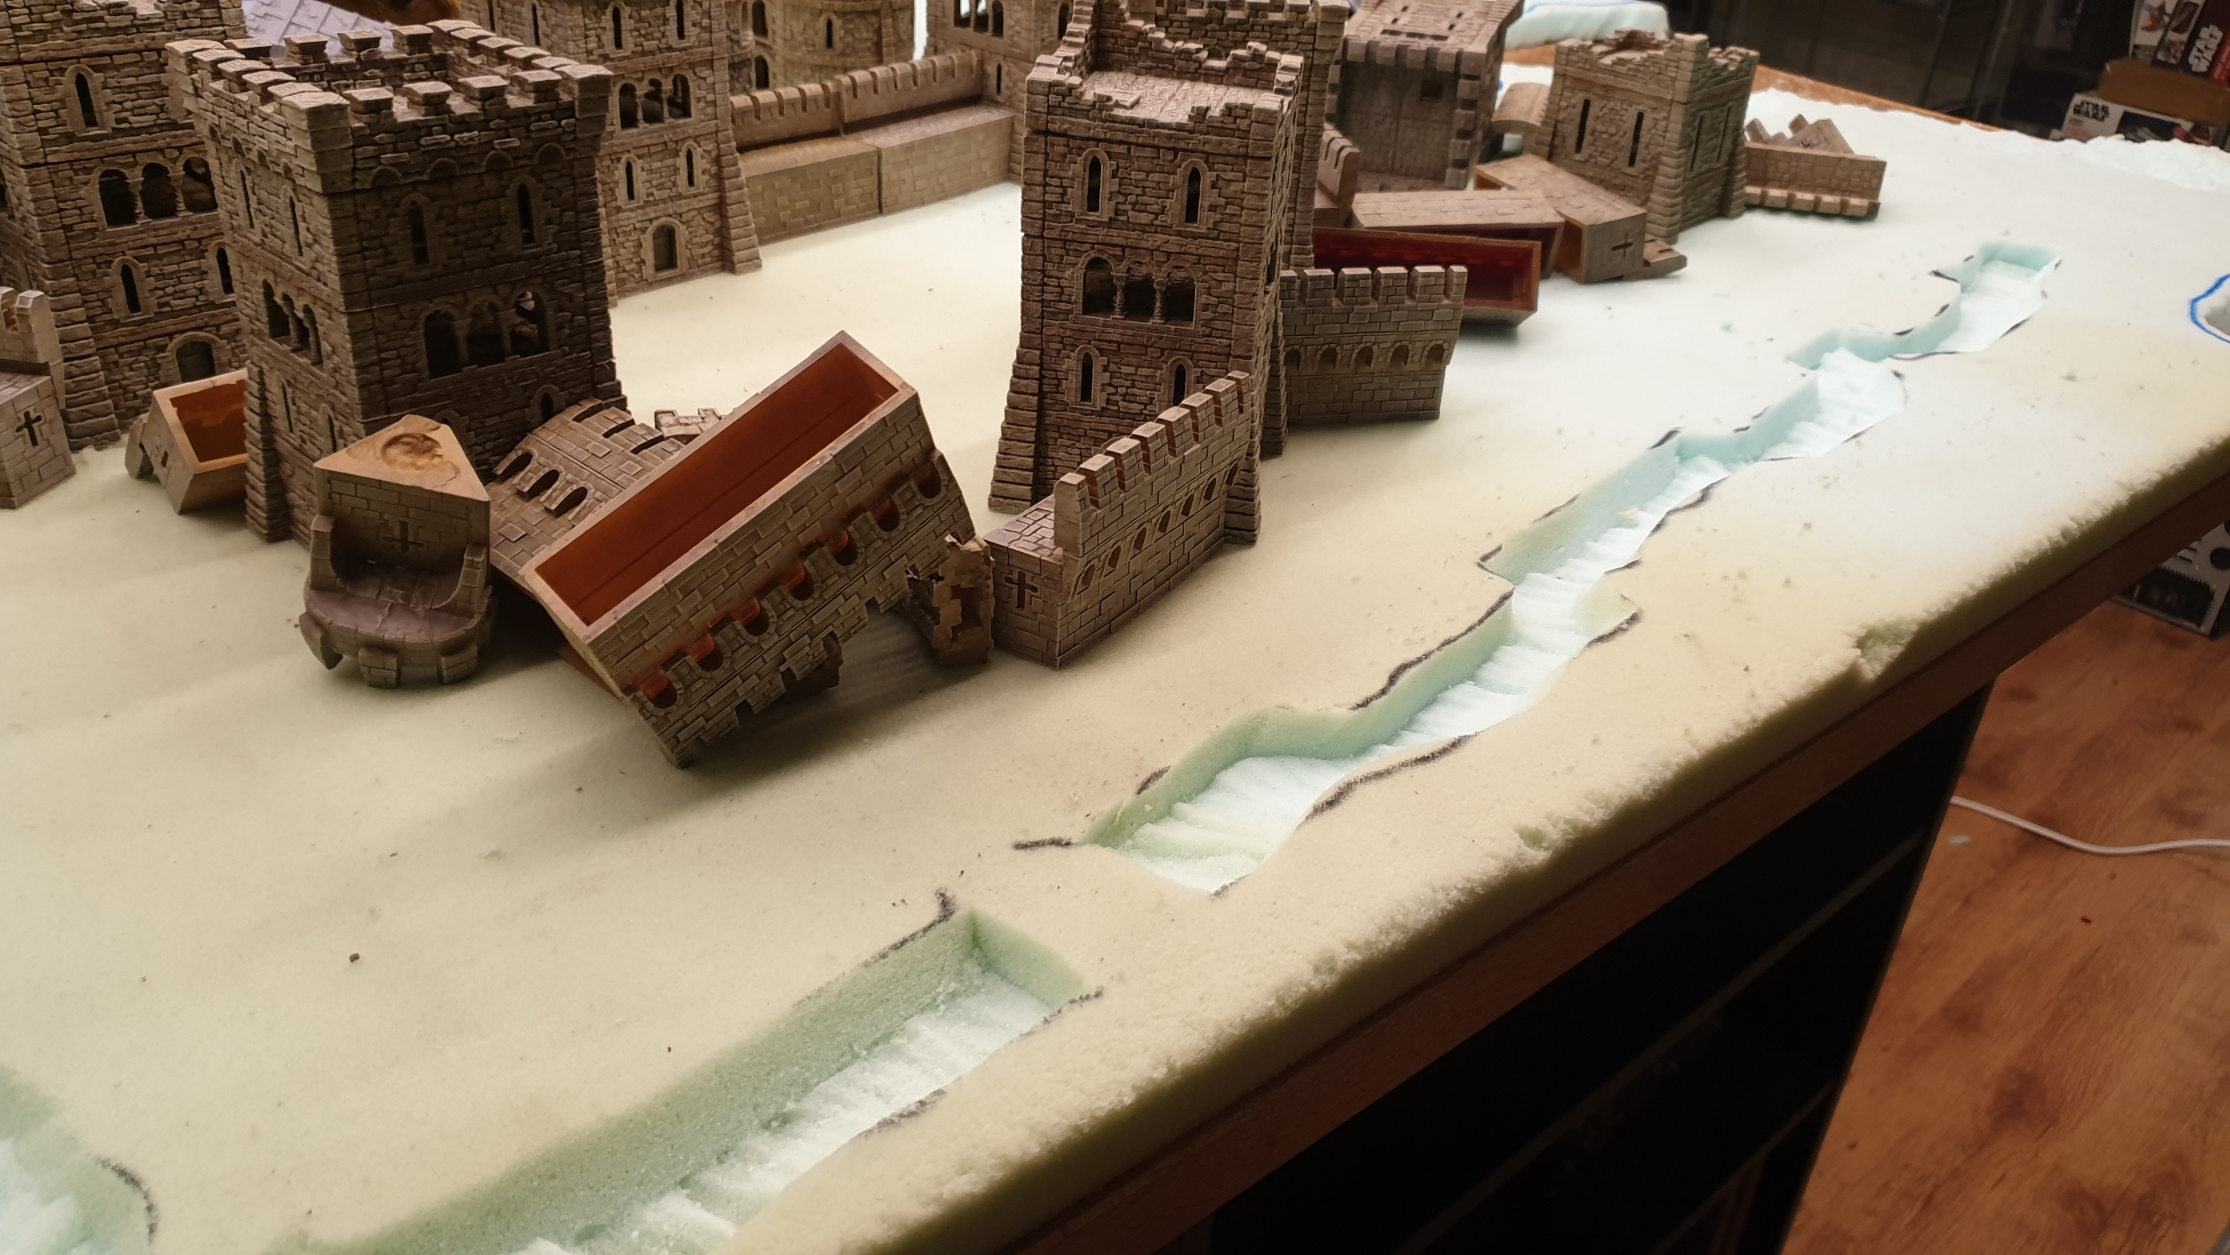

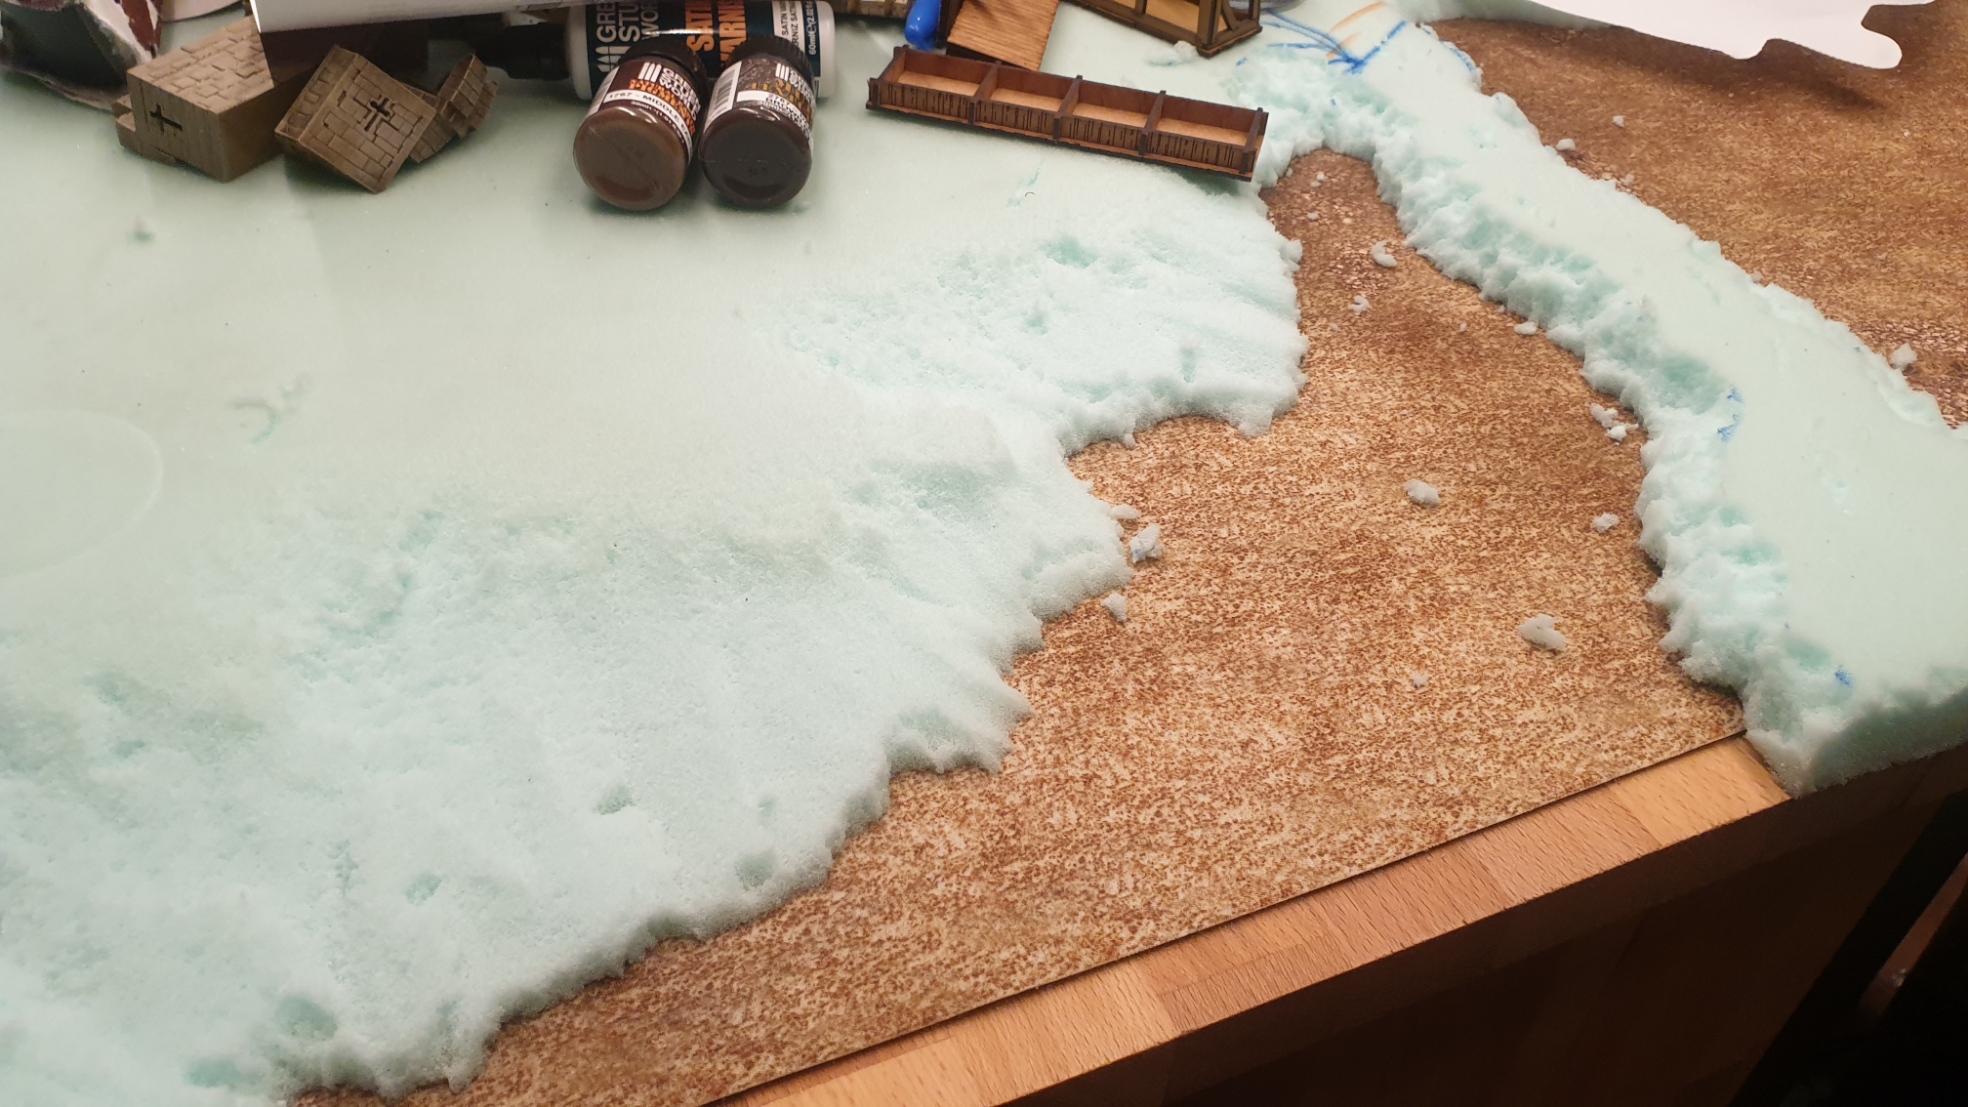
Some of the offcuts became a couple of important hills that feature in the maps of this battle field.

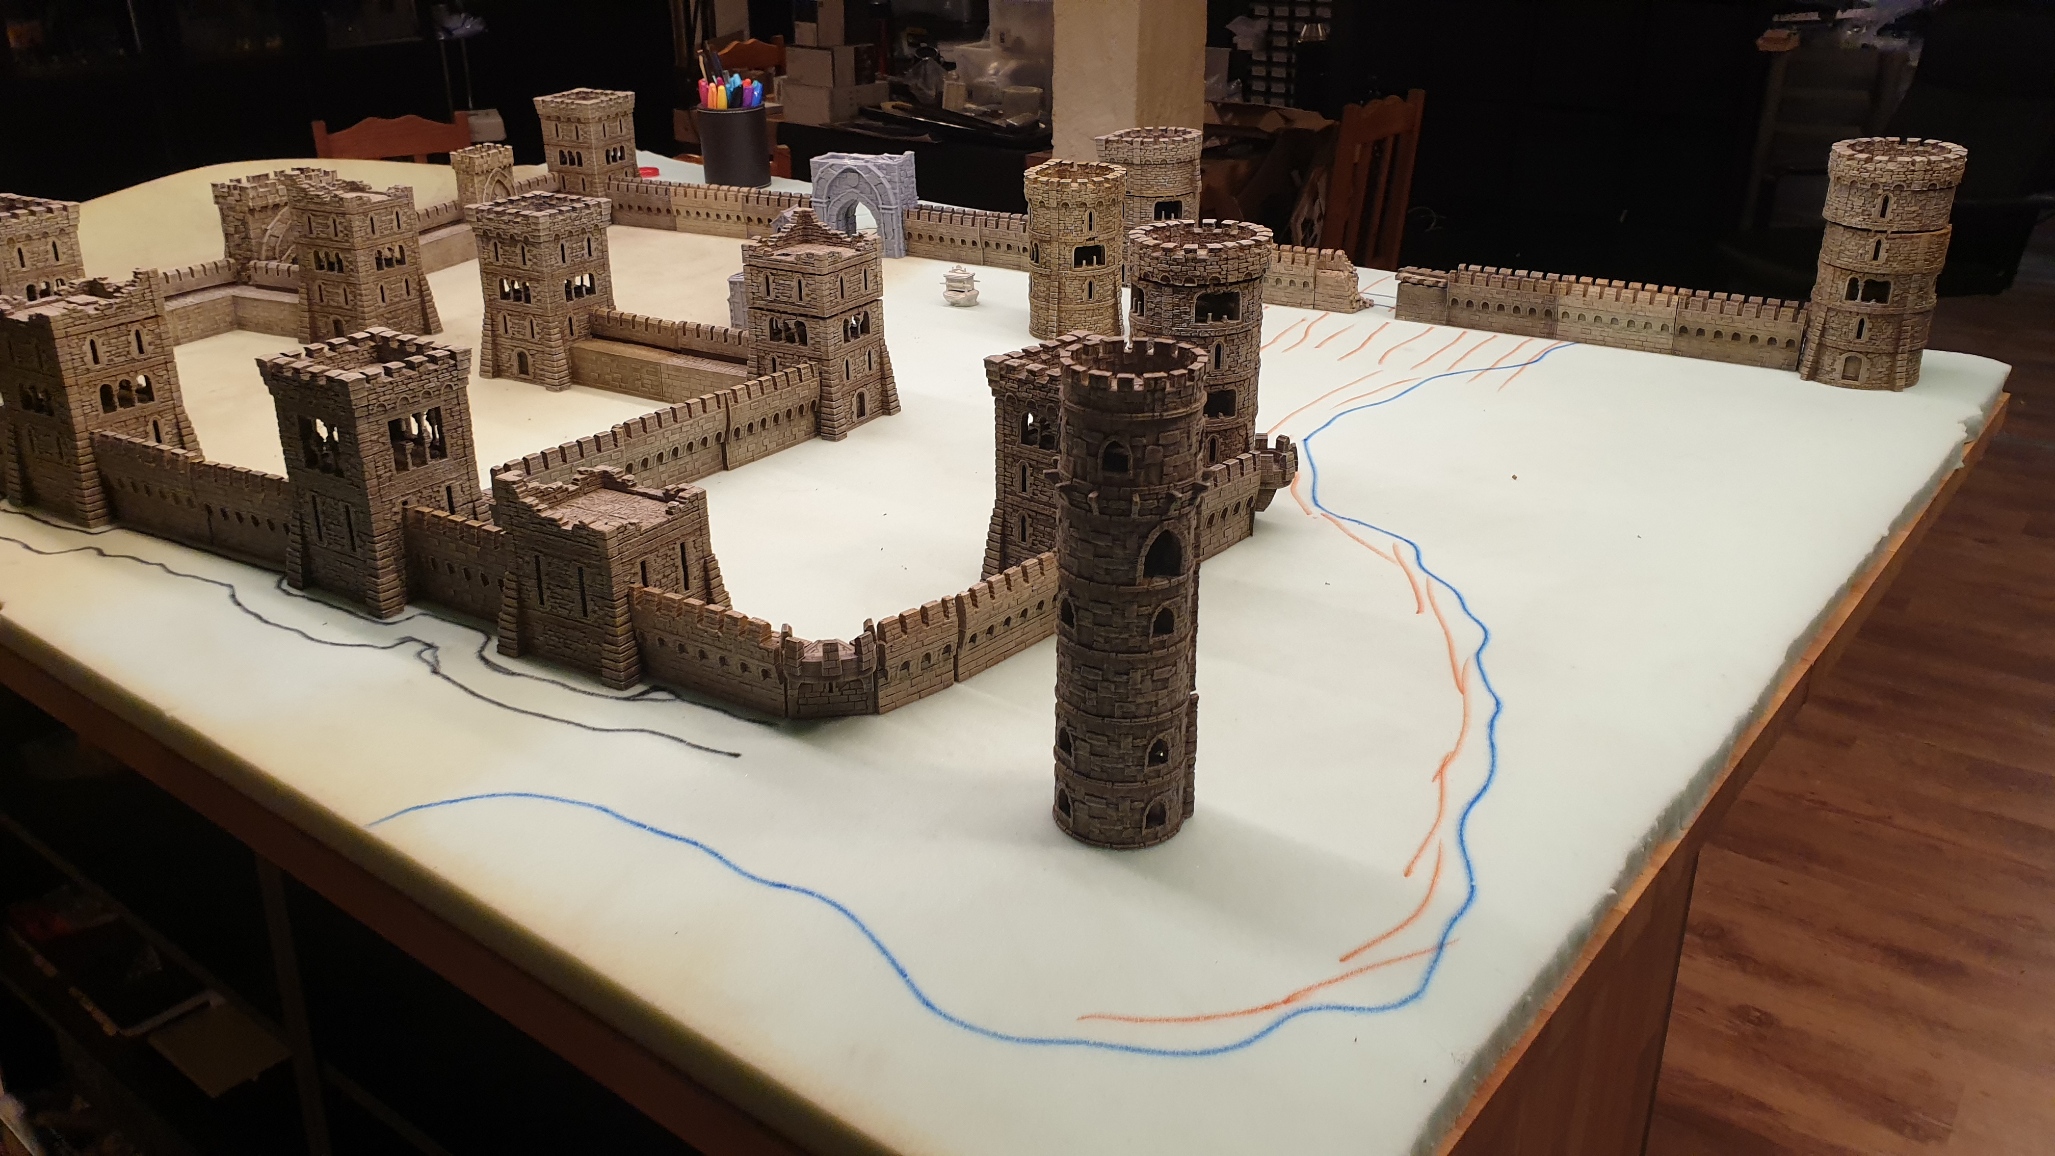
Once the initial round of shaping was complete it was time for another dry fit. (In projects like this repeated dry fits are not uncommon as they help you get a feel for how its all coming together.
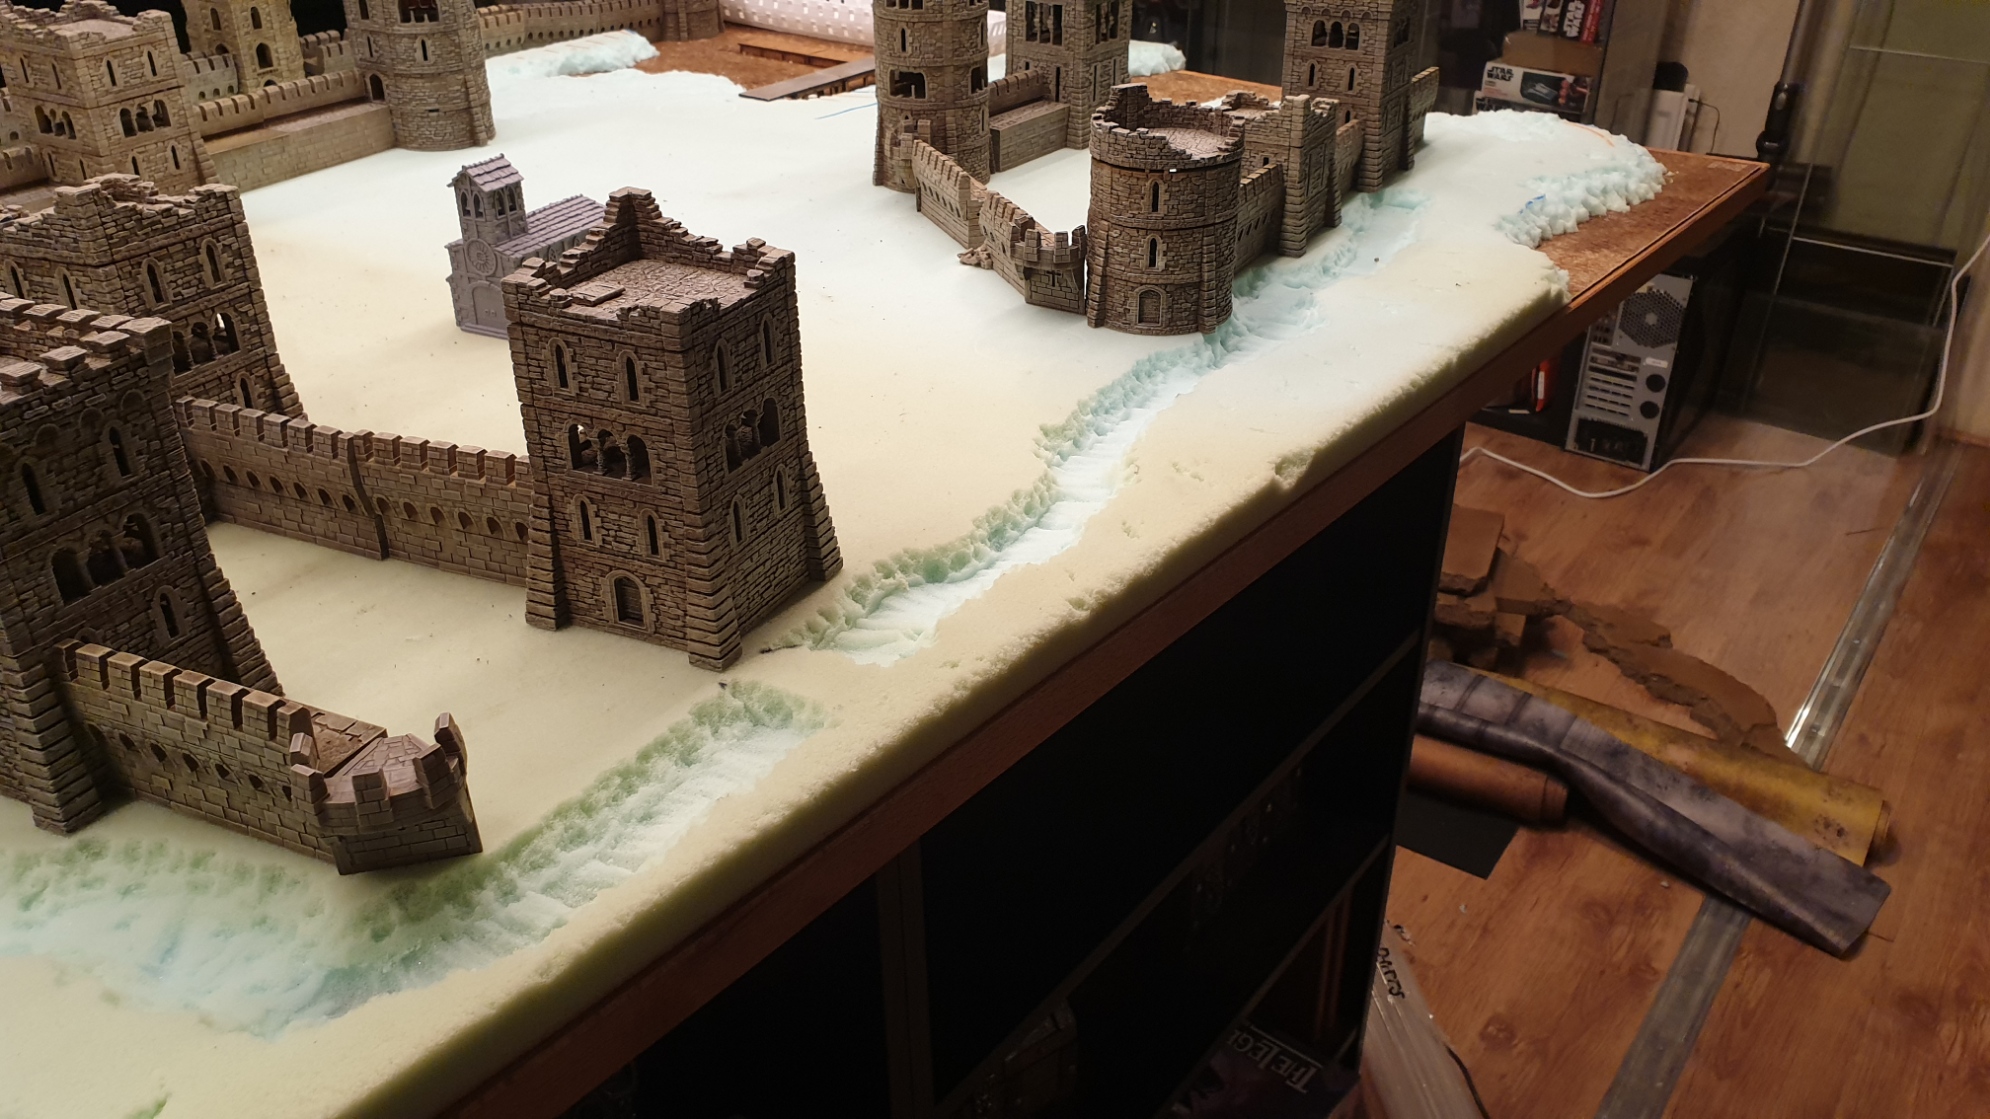
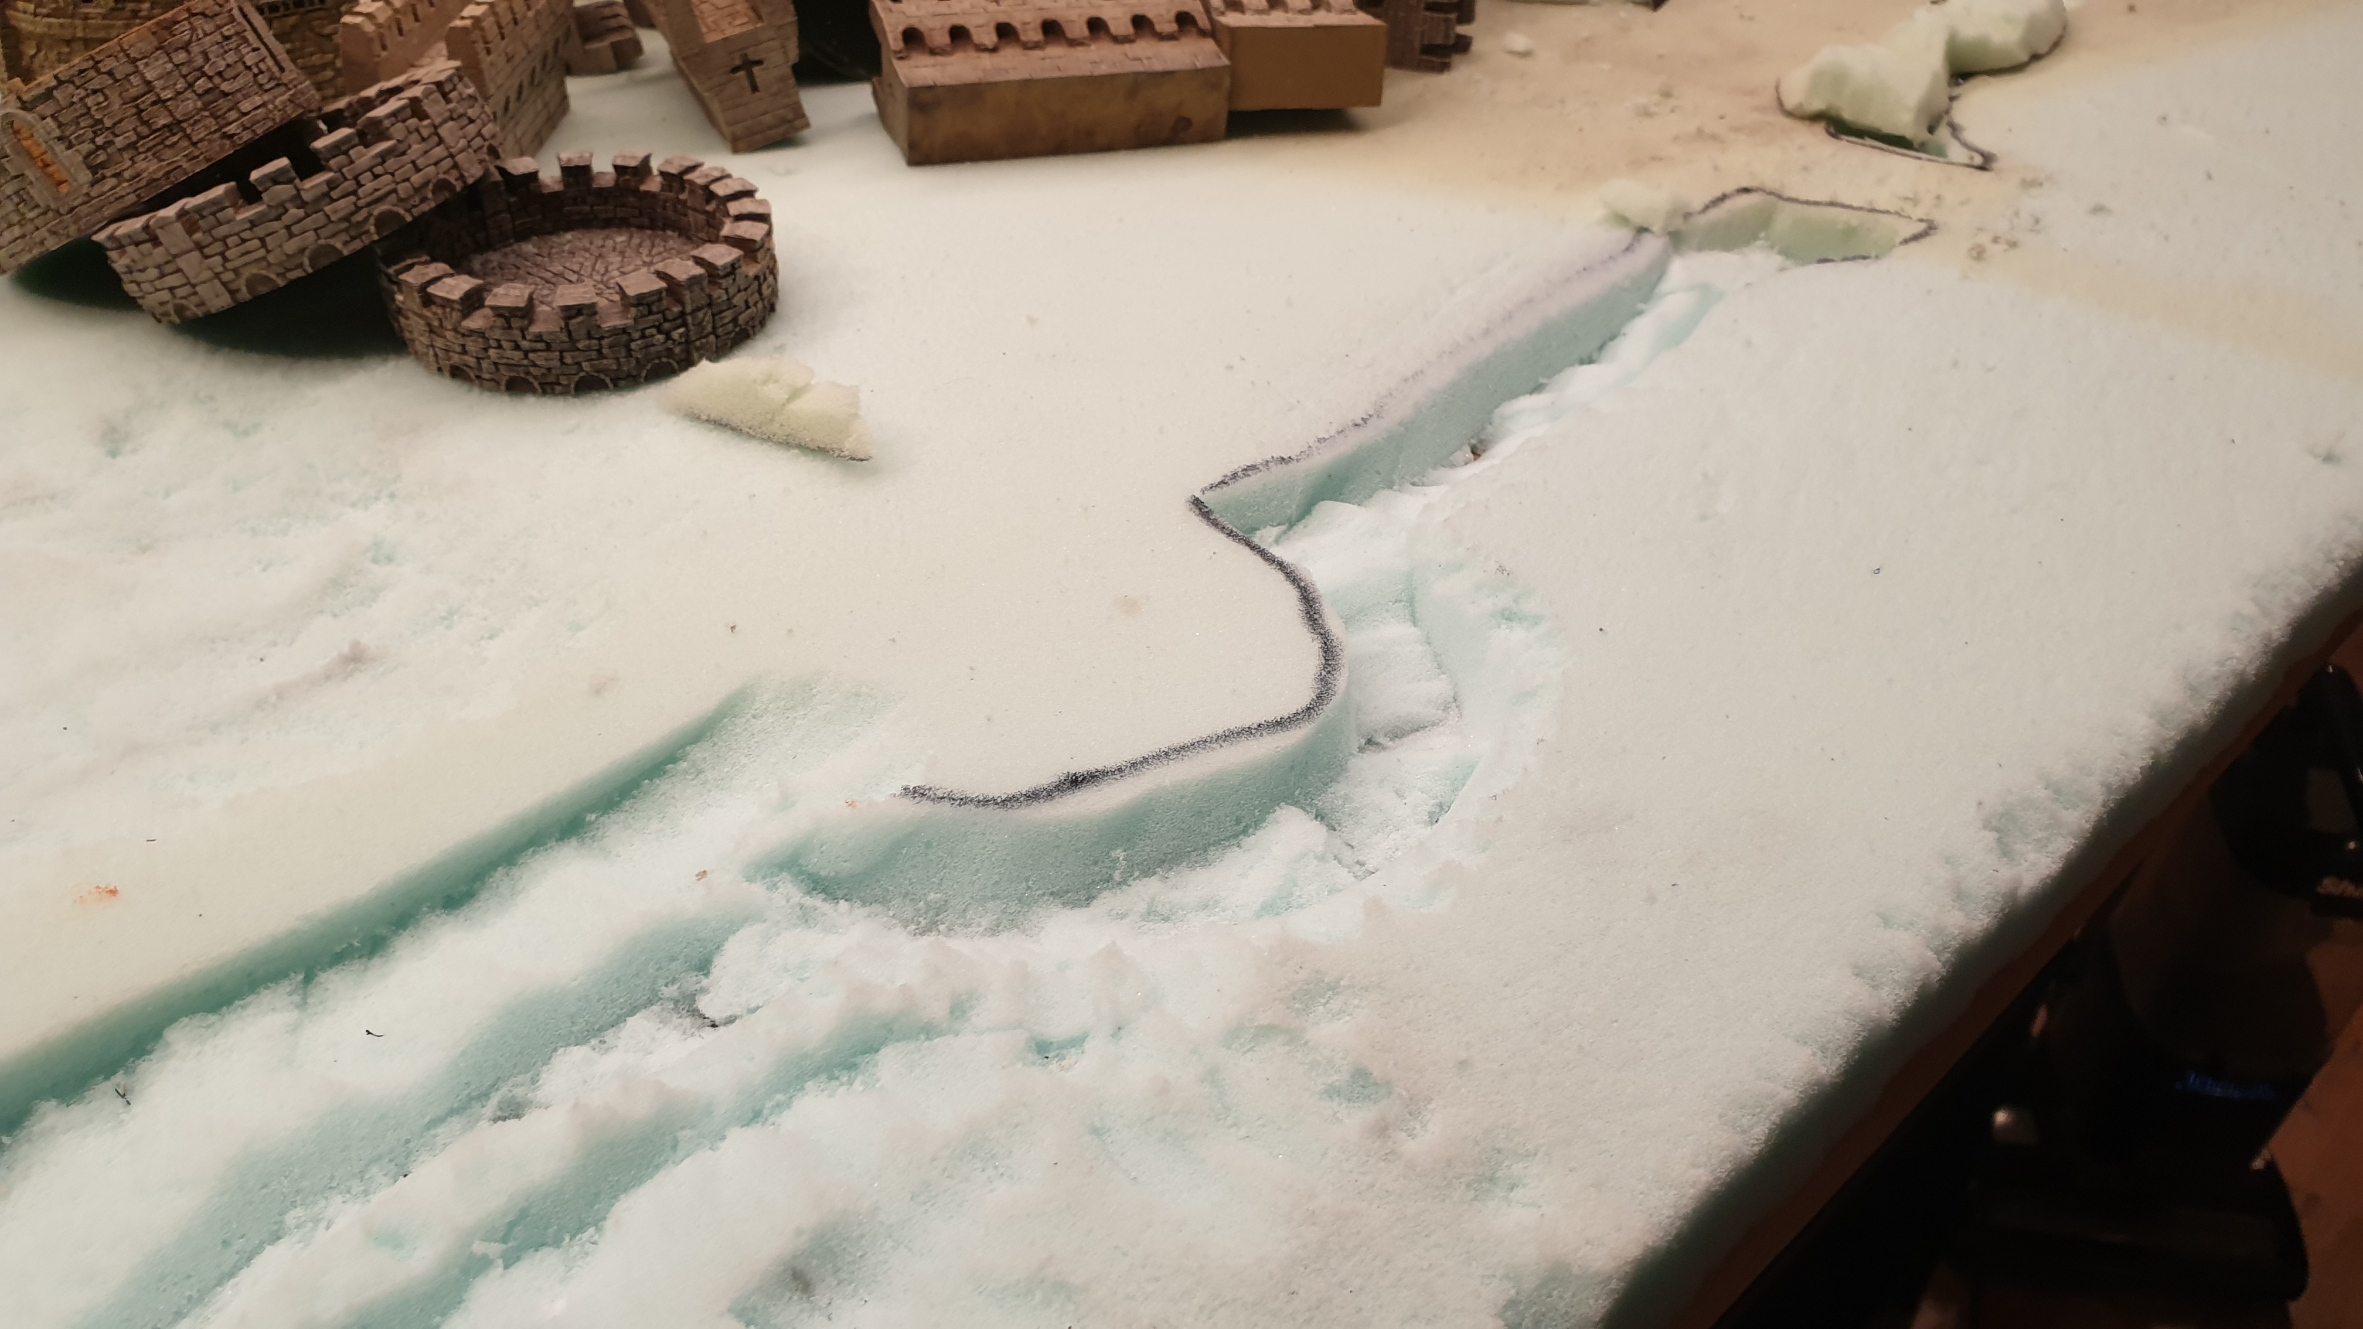
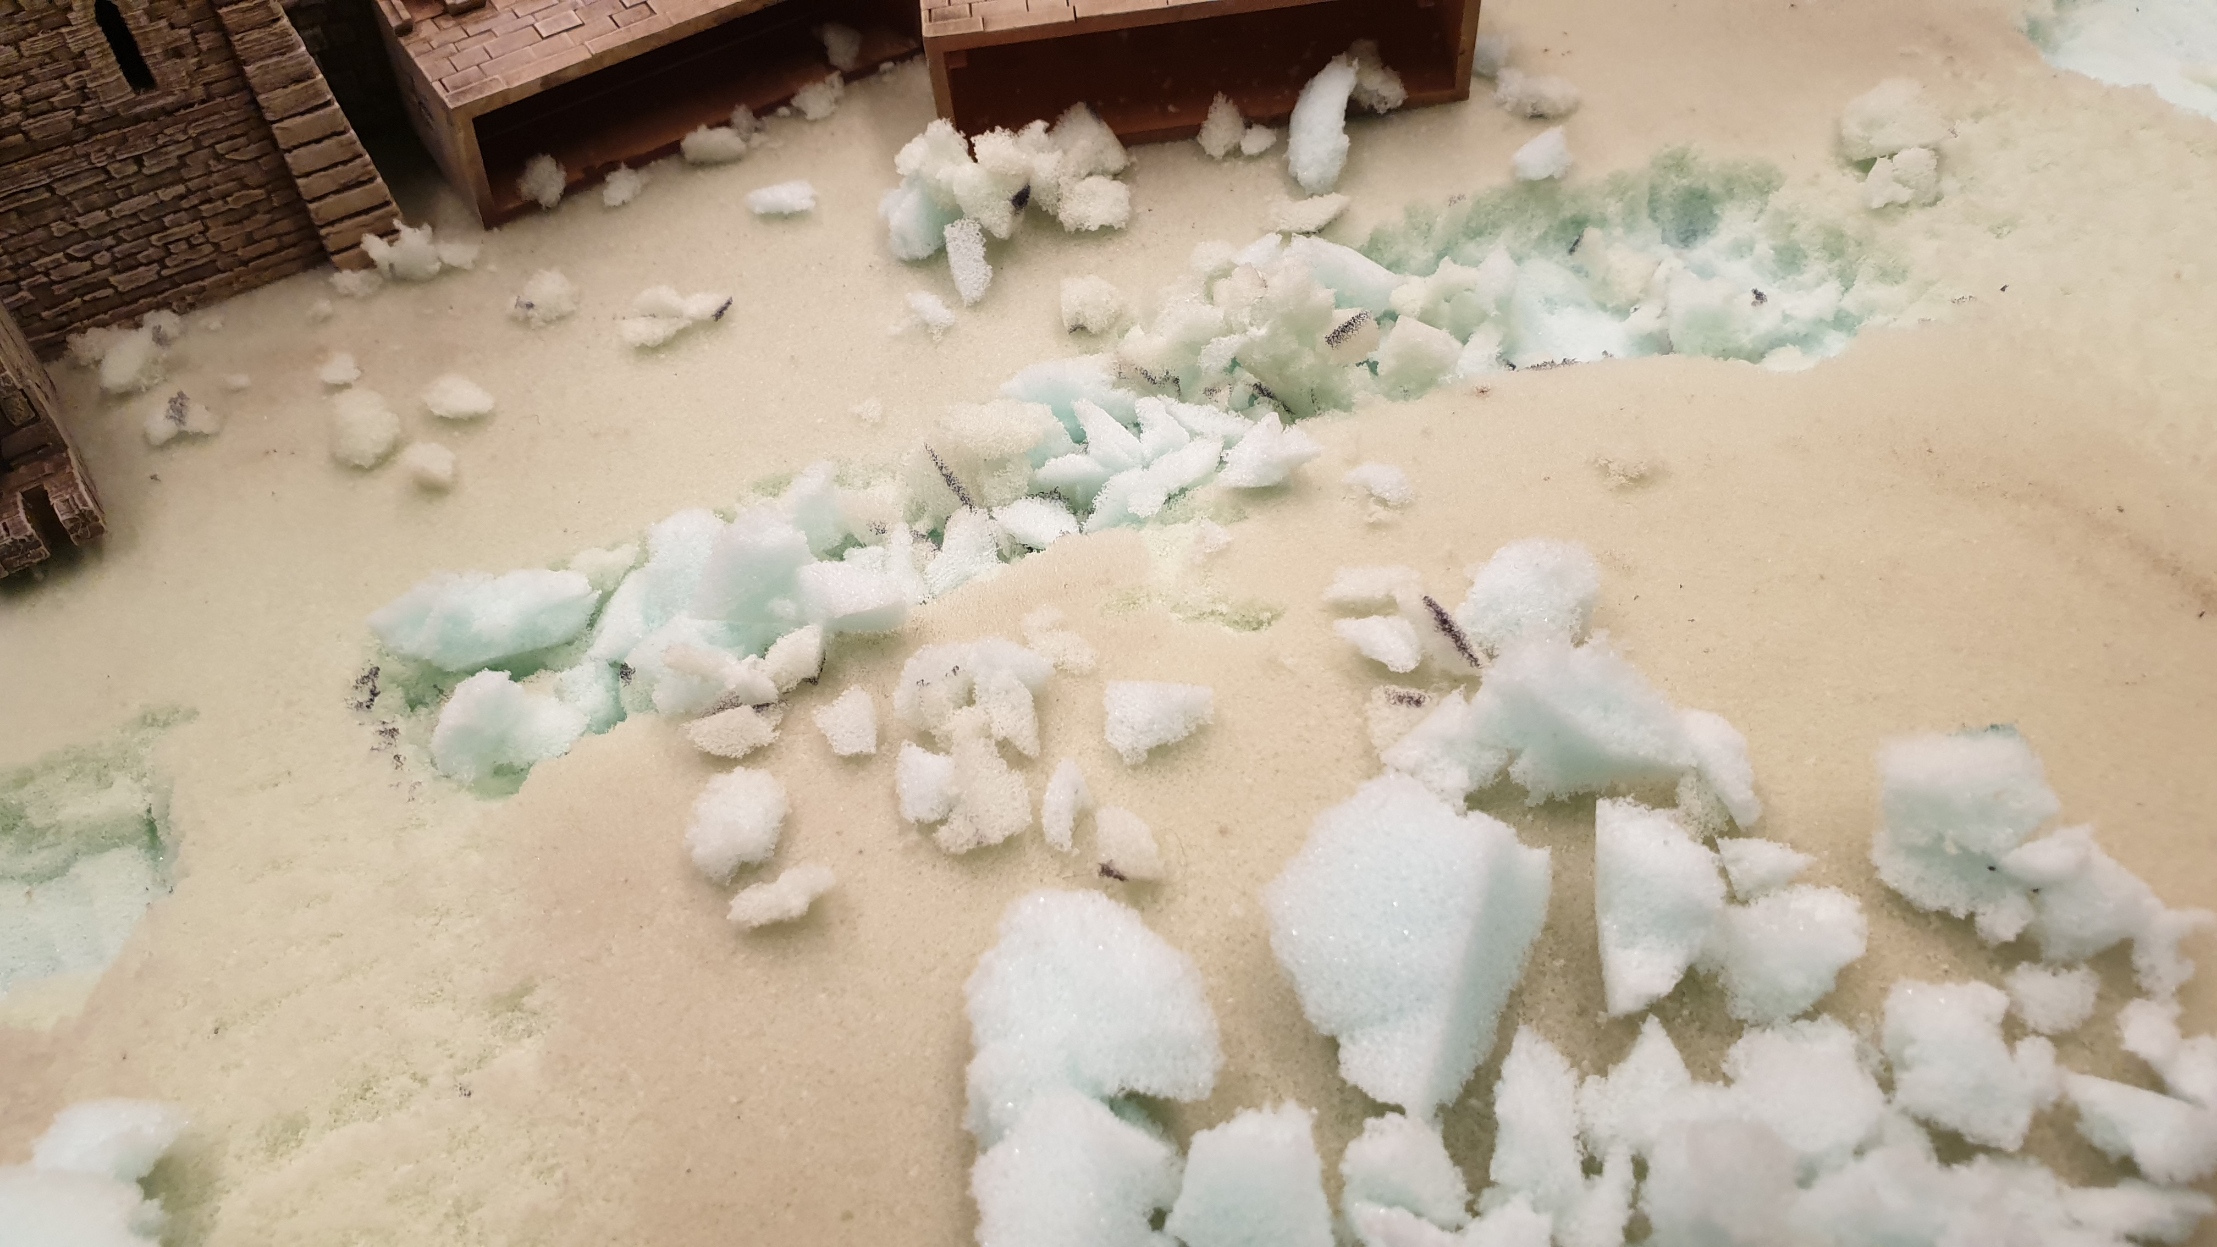
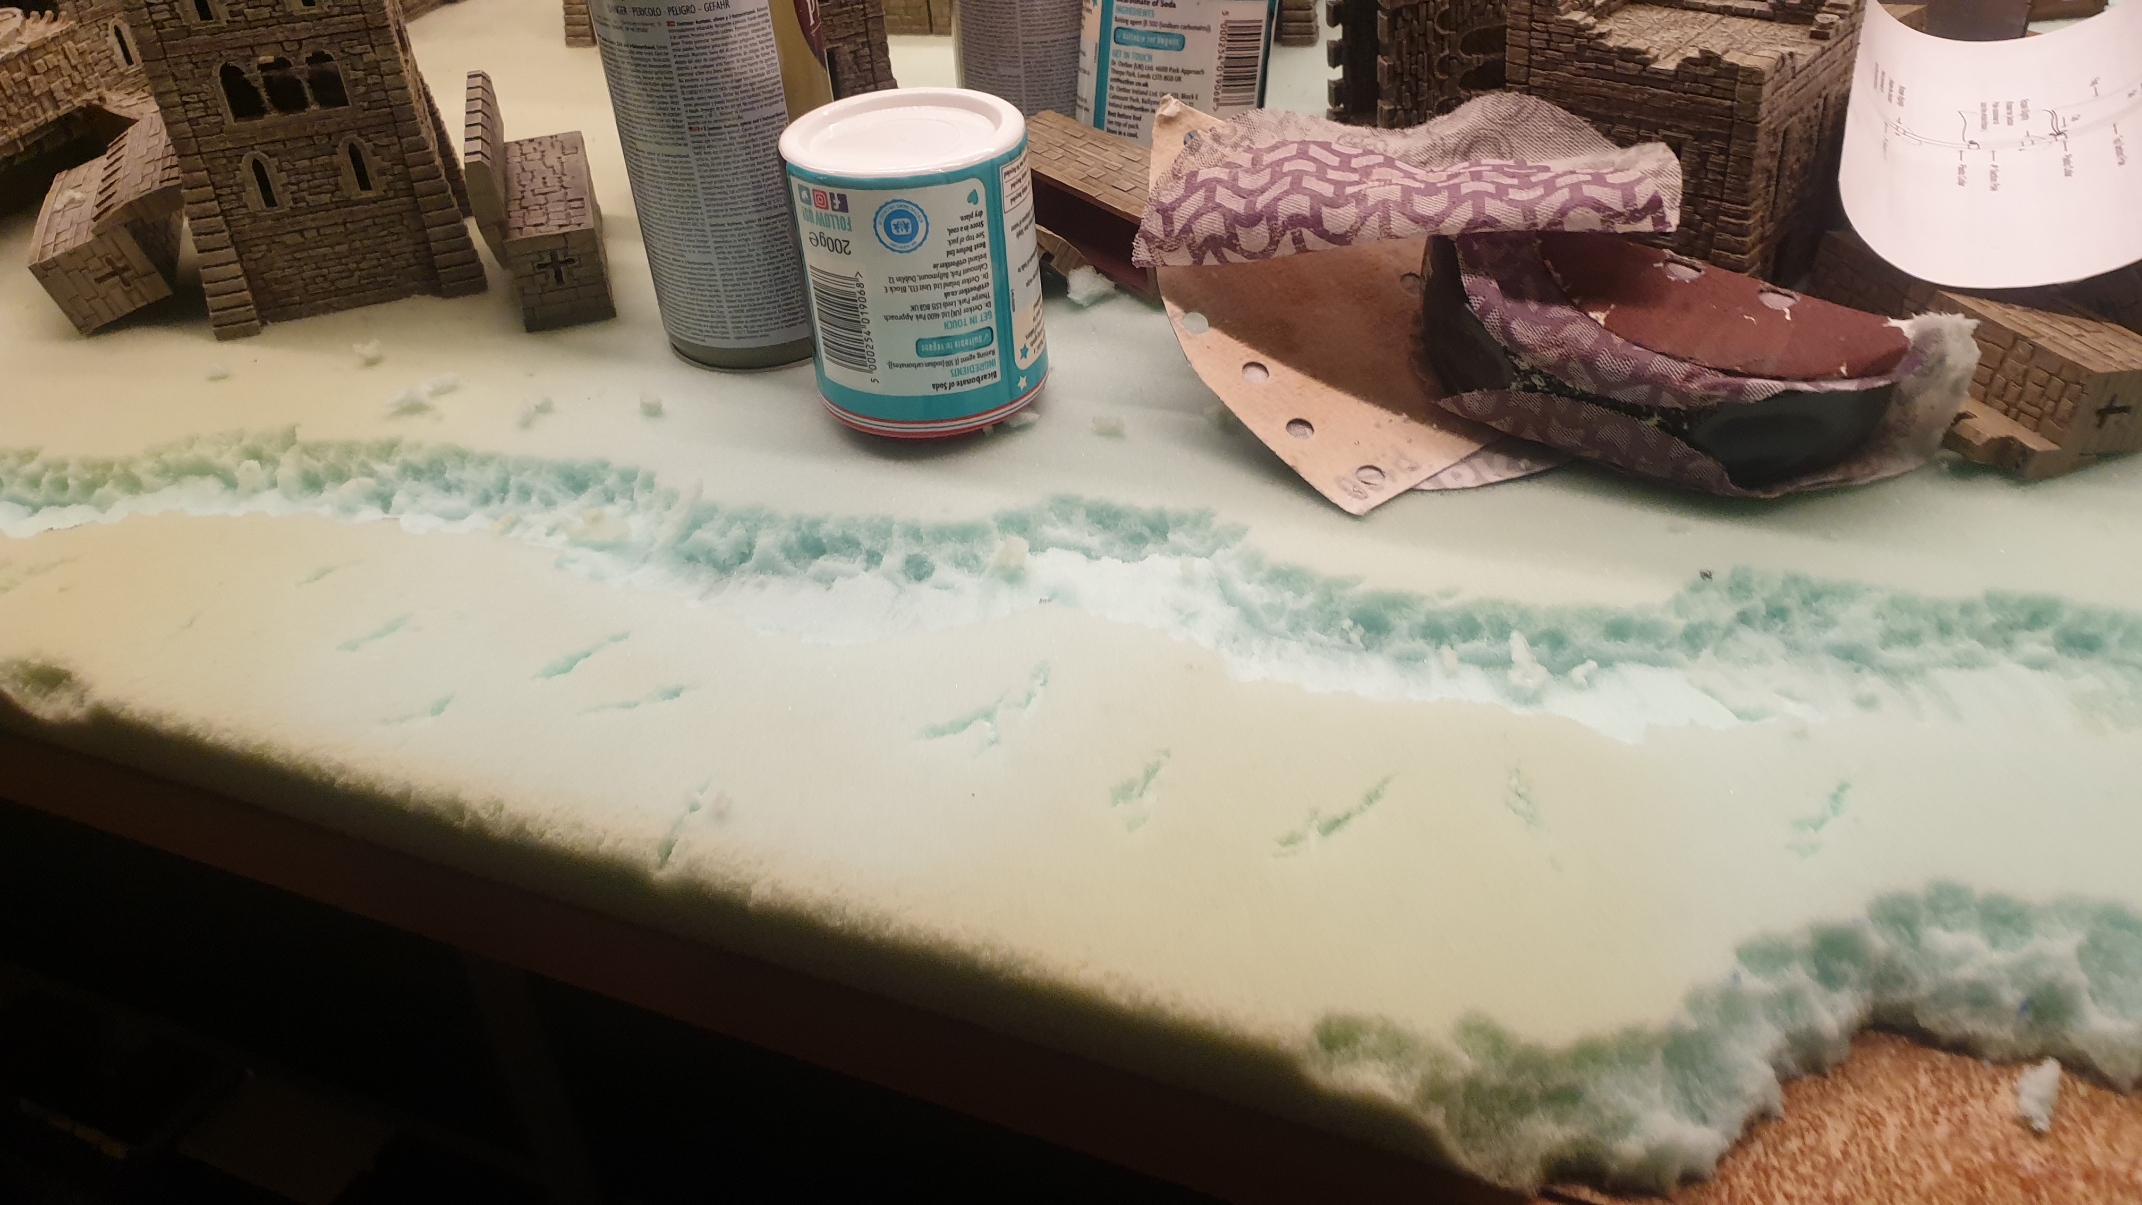
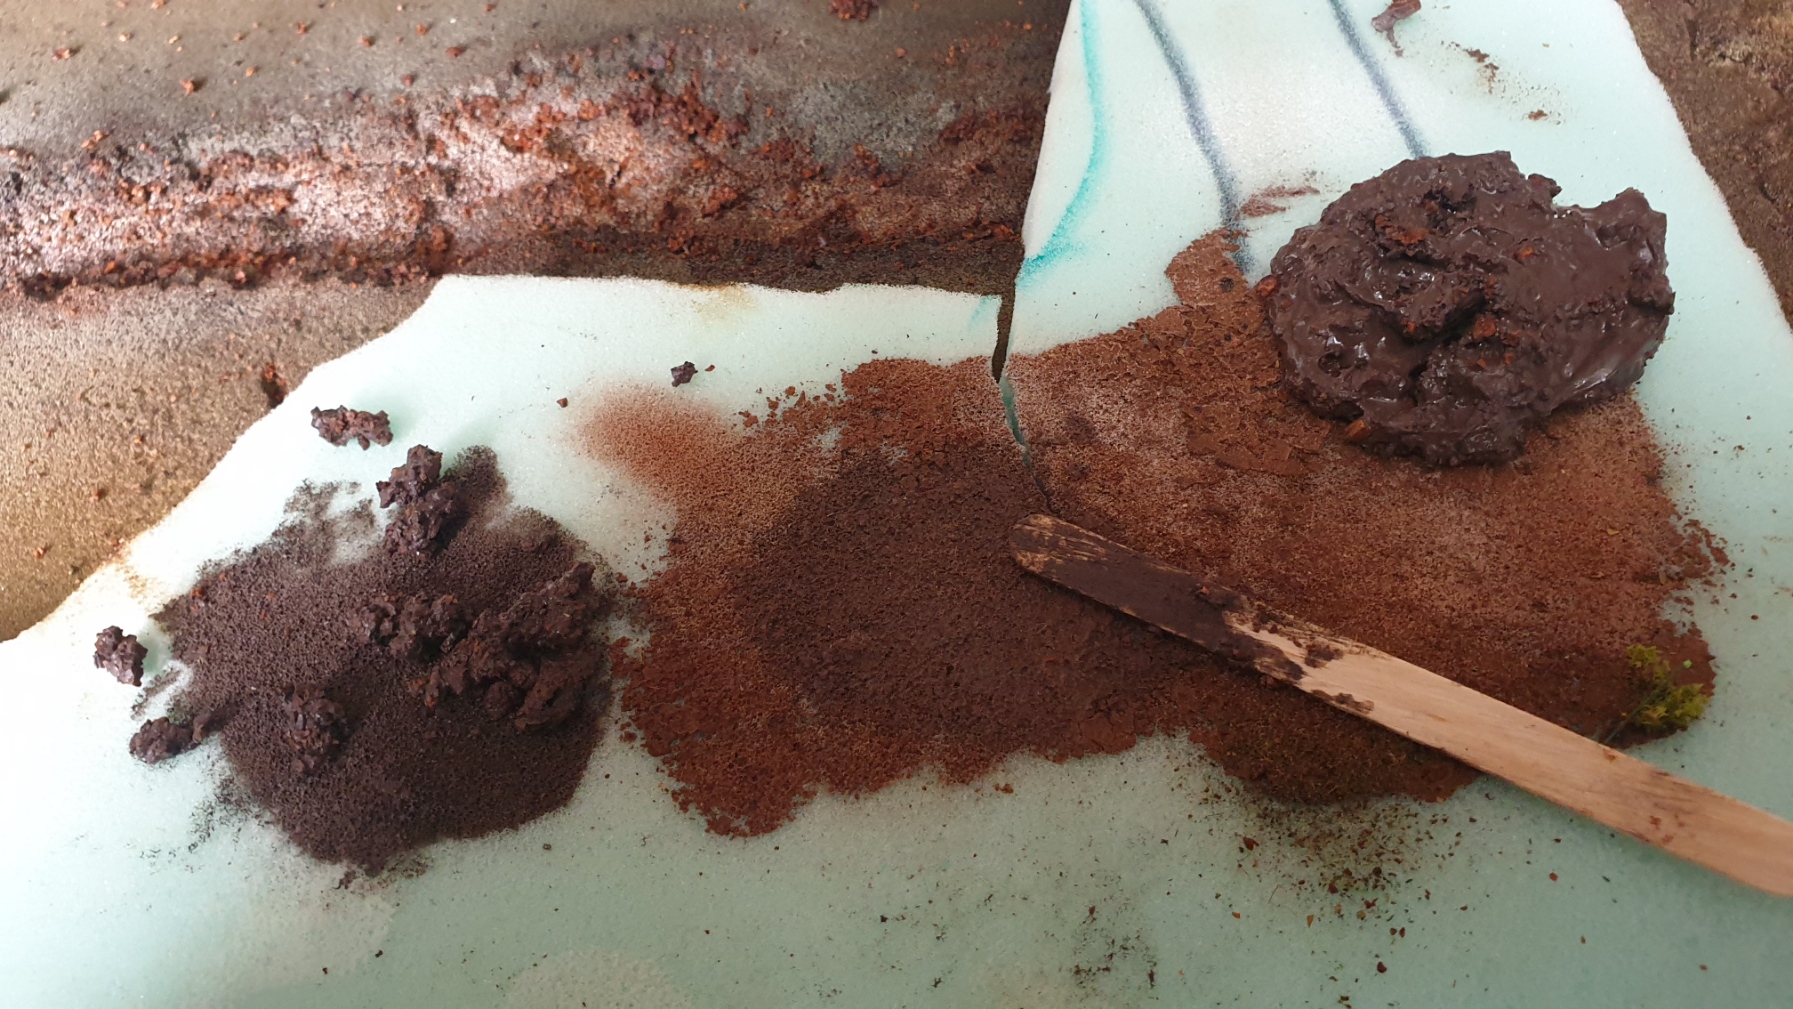
A gaming surface texture experiment
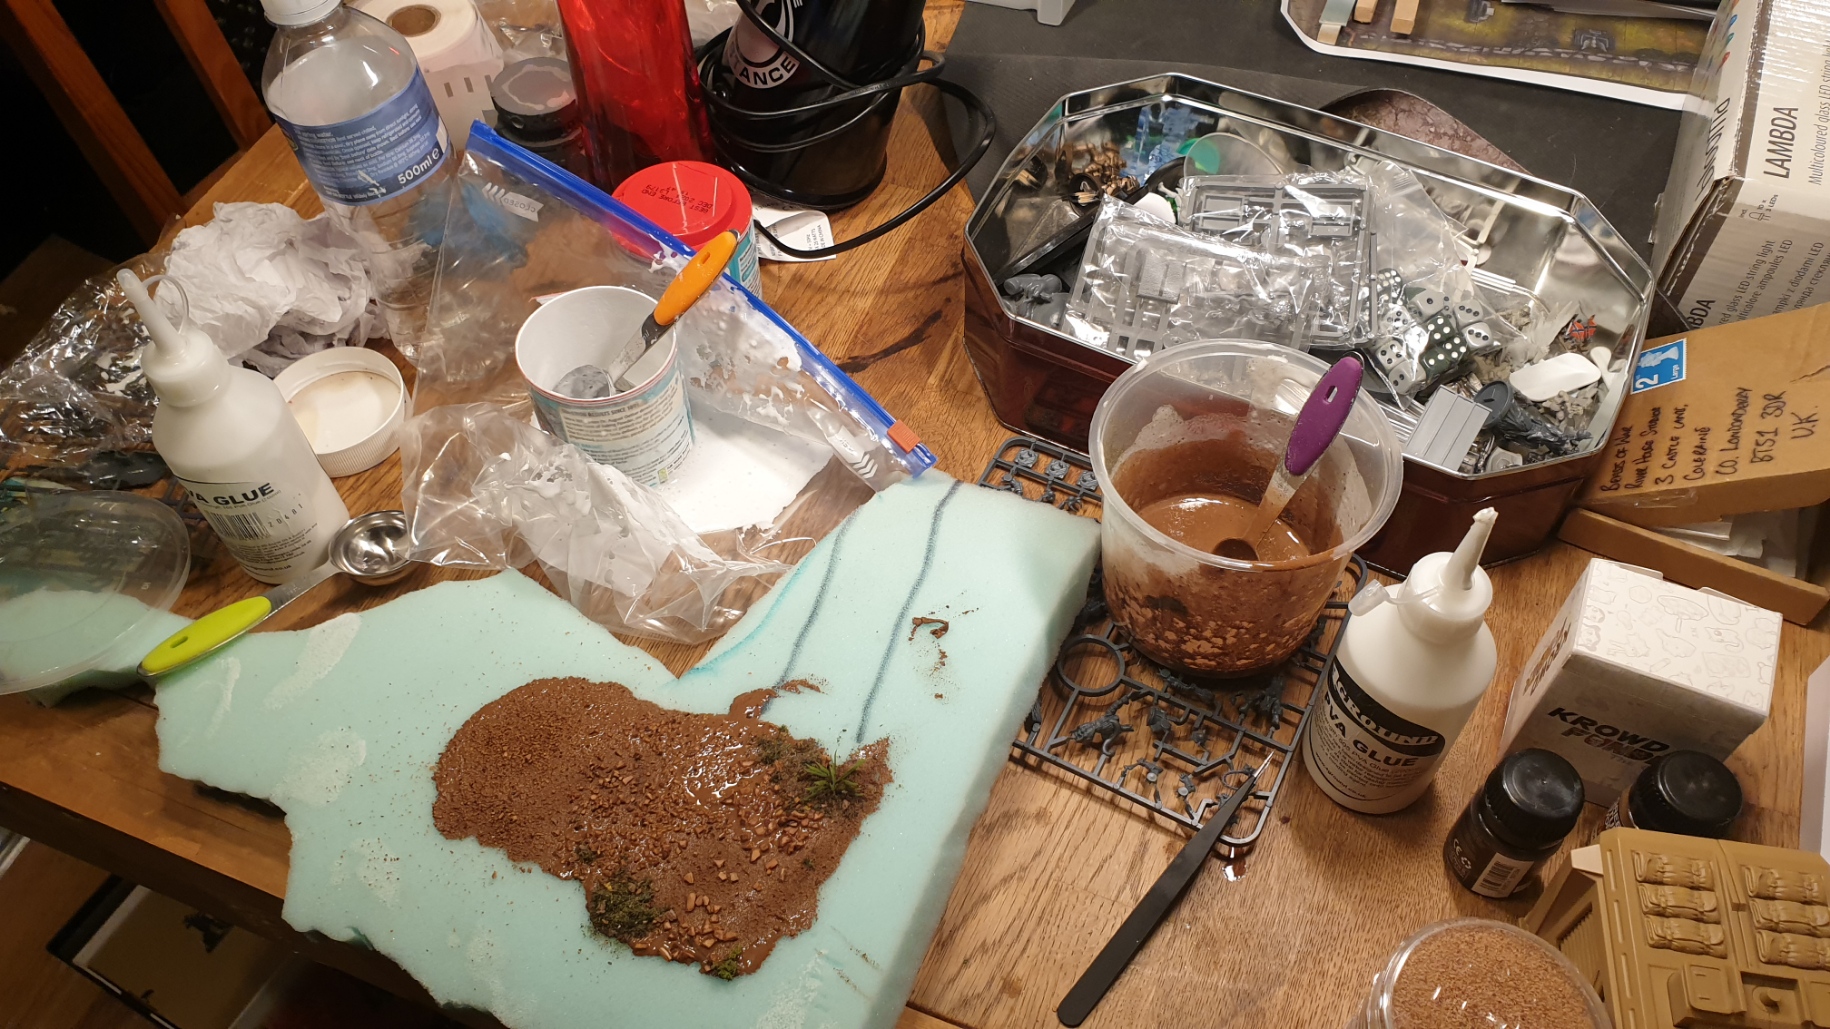
One of the first things that I started to explore were options for adding texture to the foam ‘mat’.
Now its actually quite easy to do with PVA, Sand and the usual suspects all working fine in terms of adhesion and final look – the difficulty comes if you want to keep the flexible property of the foam. The usual suspects set rock hard and mean the foam has to be stored flat, which for me was not ideal.
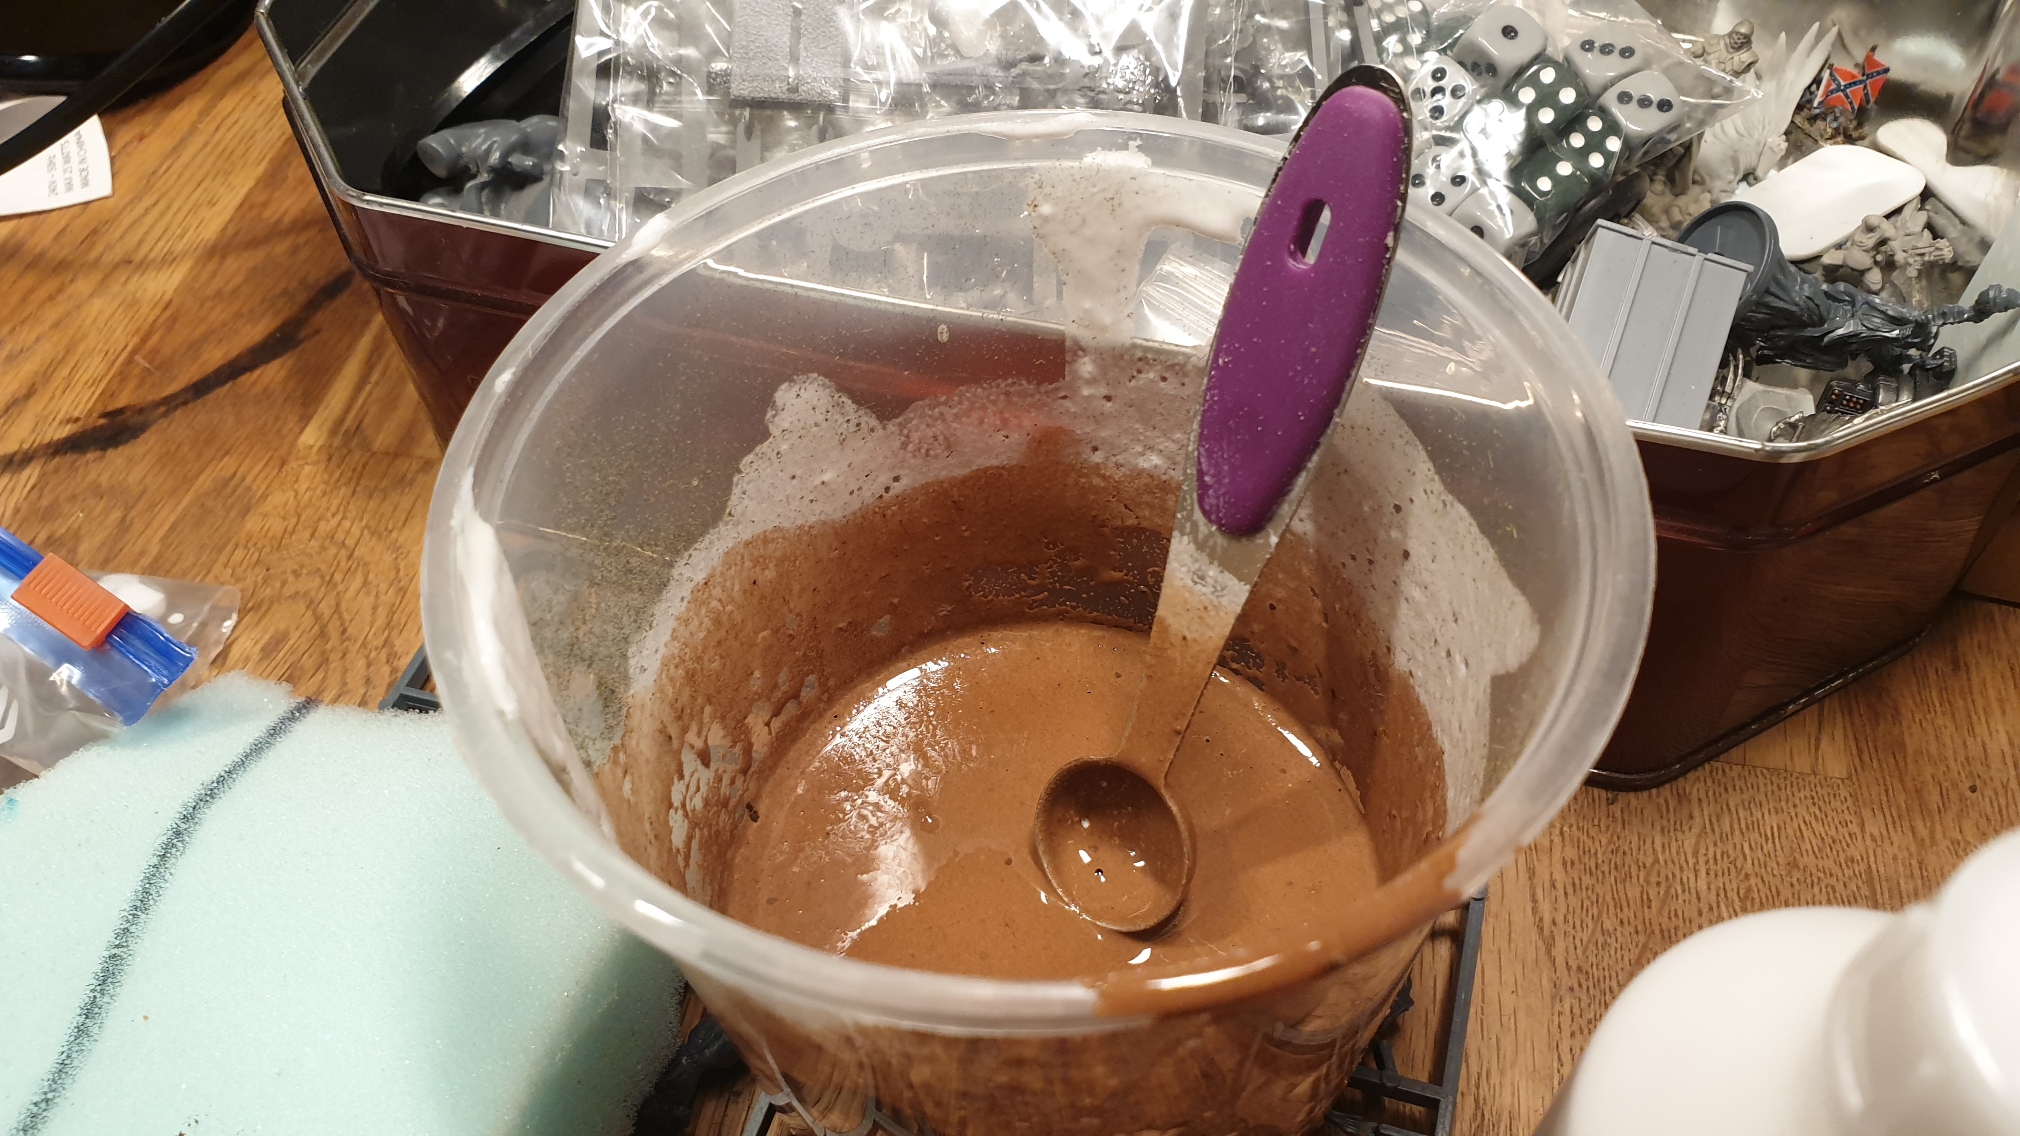
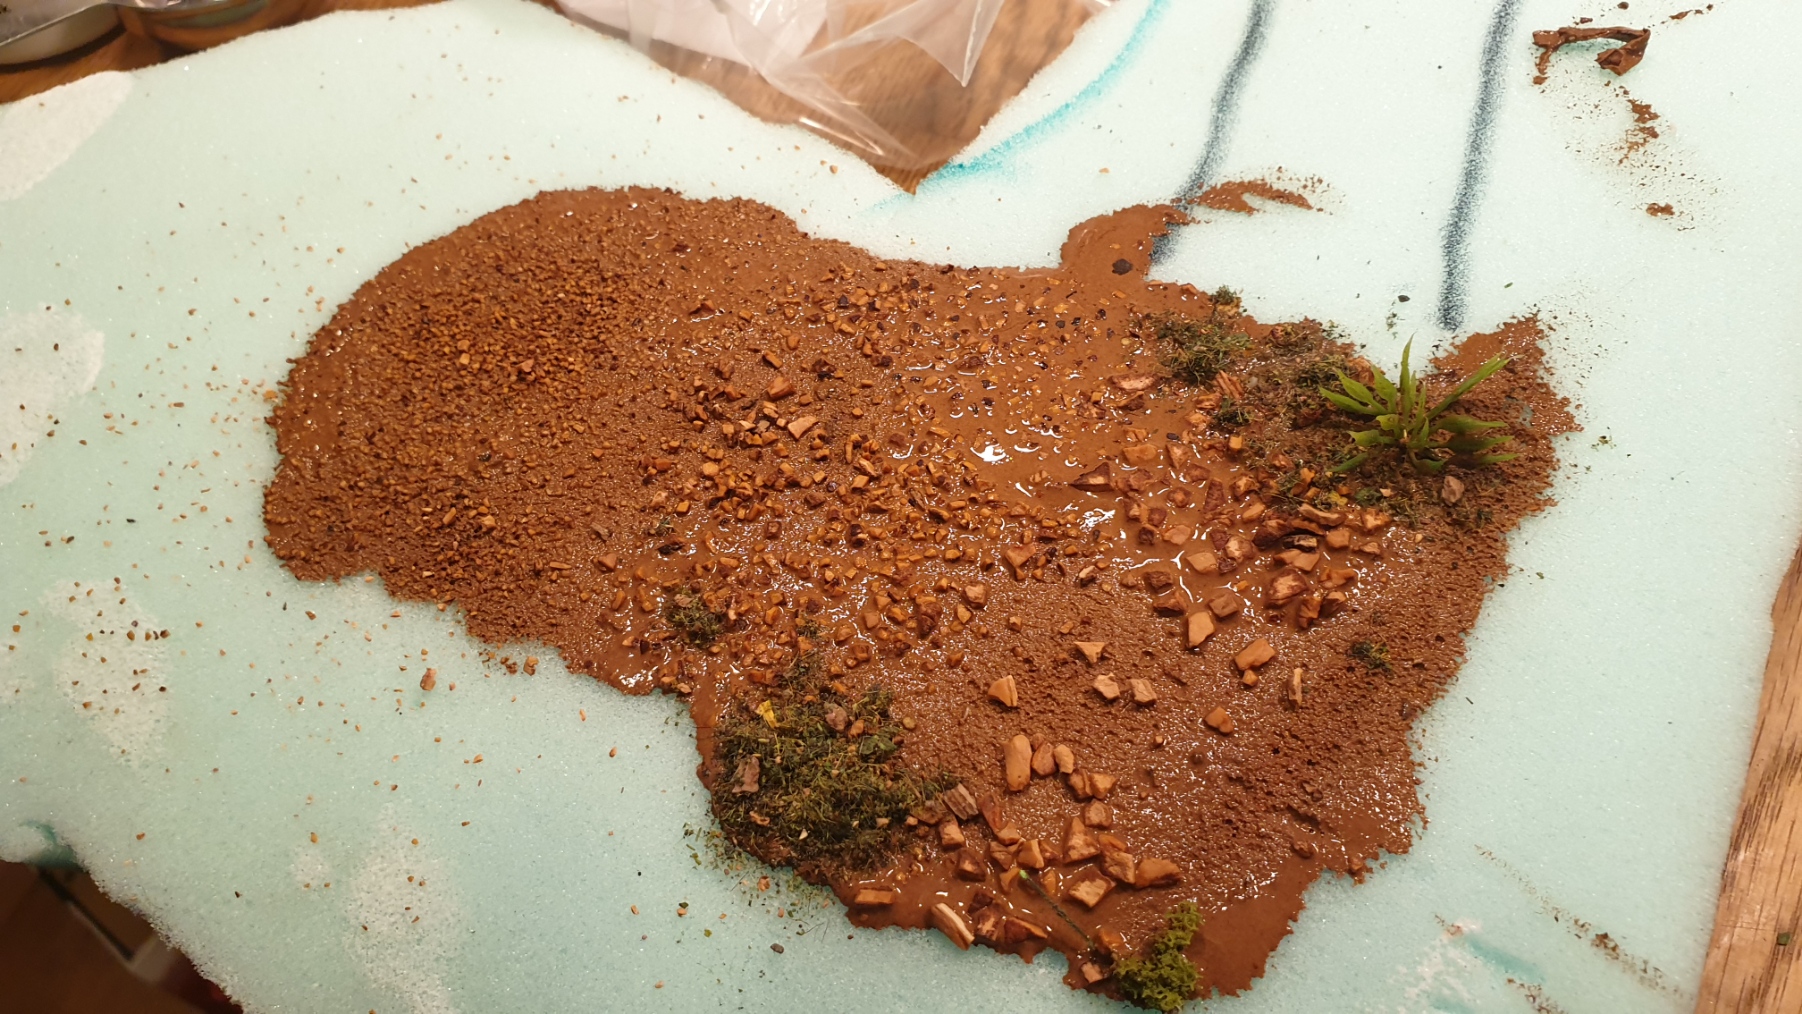
Experiment 1:
PVA
Bicarbinate of Soda
Pigment Powders
Mix of ground corks
An attempt to create a kind of flexible modge podge, didn’t work very well, it was flexible for sure but the bonds were weak and it just tore and crumbled. So not recommended.
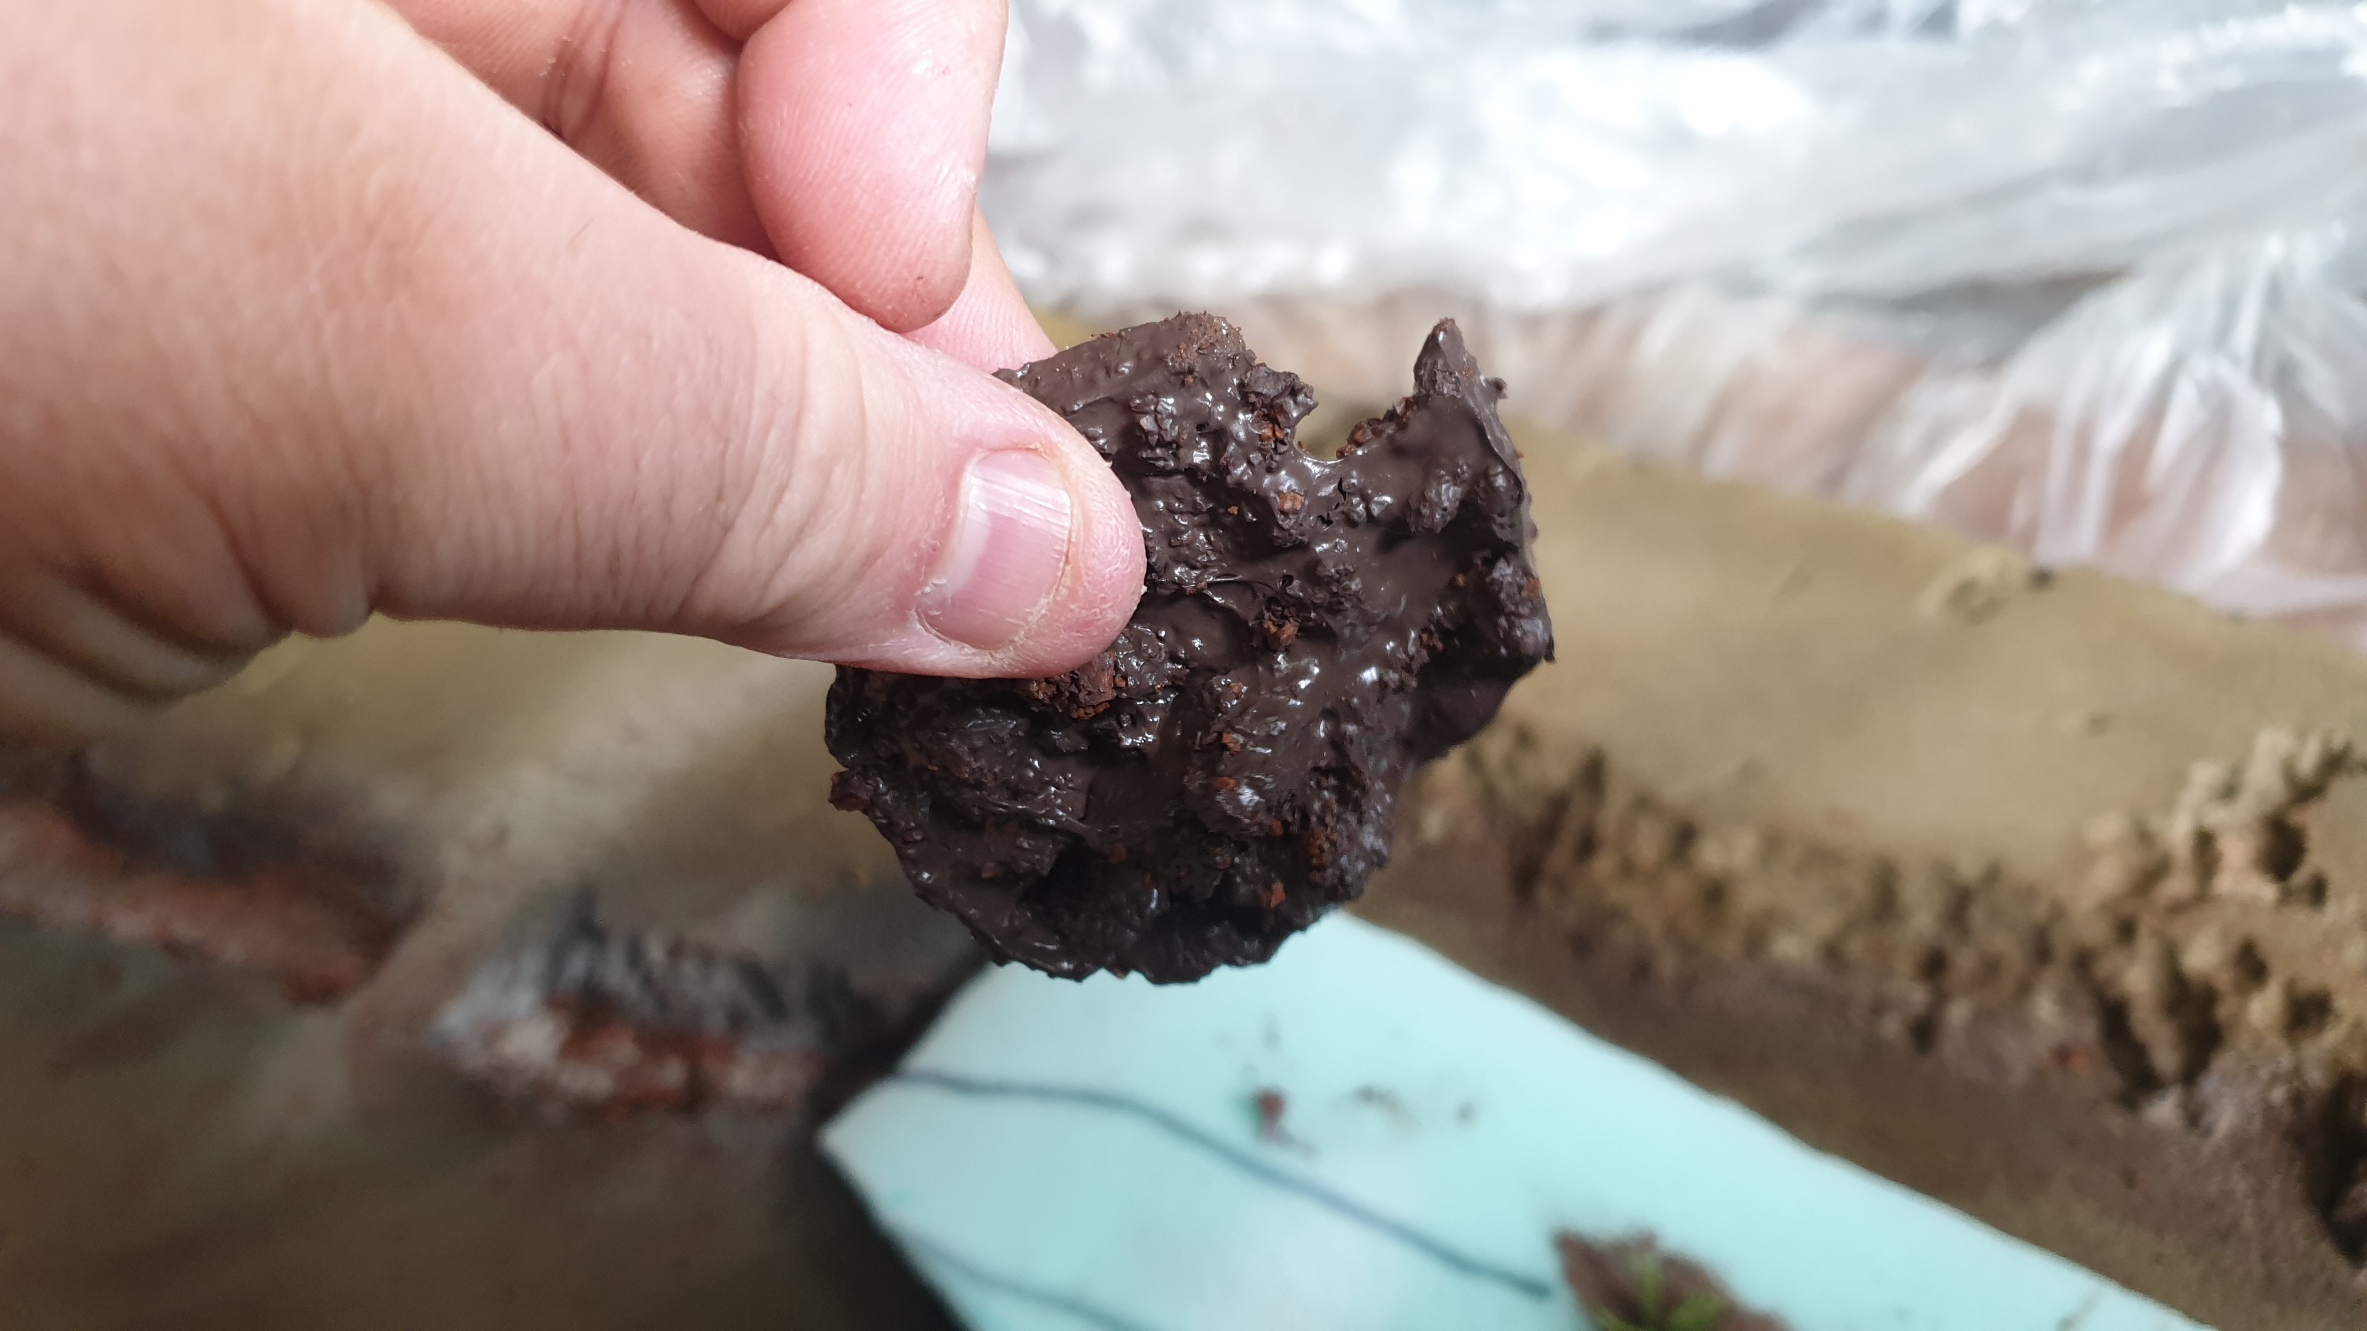
Experiment 2:
Silicone Adhesive (Tec7)
Mix of ground cork
Thinned with white spirit
This is an interesting option but takes a fair bit of testing to get the thinning right while not a complete failure it hadn’t just got it stable enough to use on this project so perhaps I can get this perfected for a future attempt.
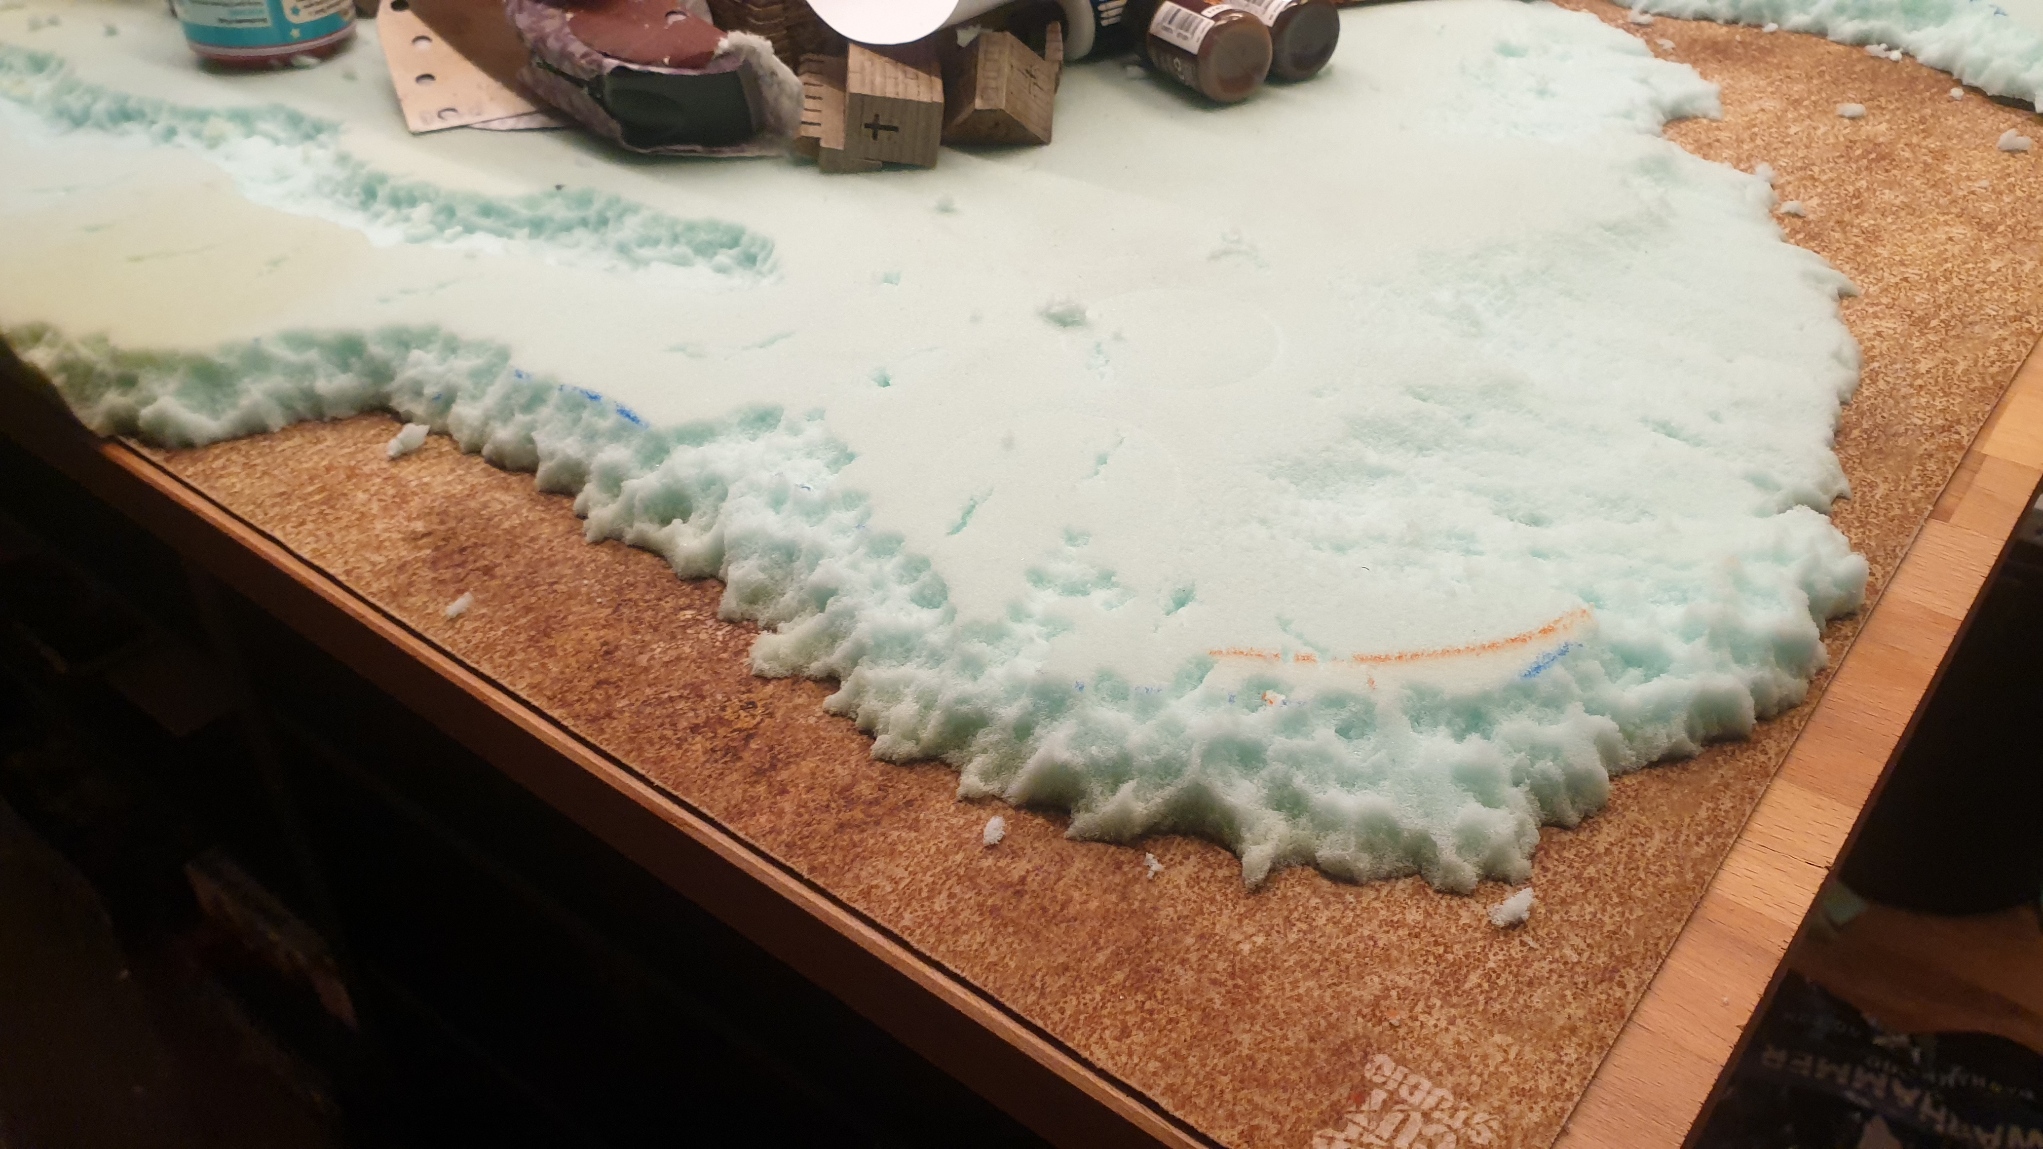
Paint
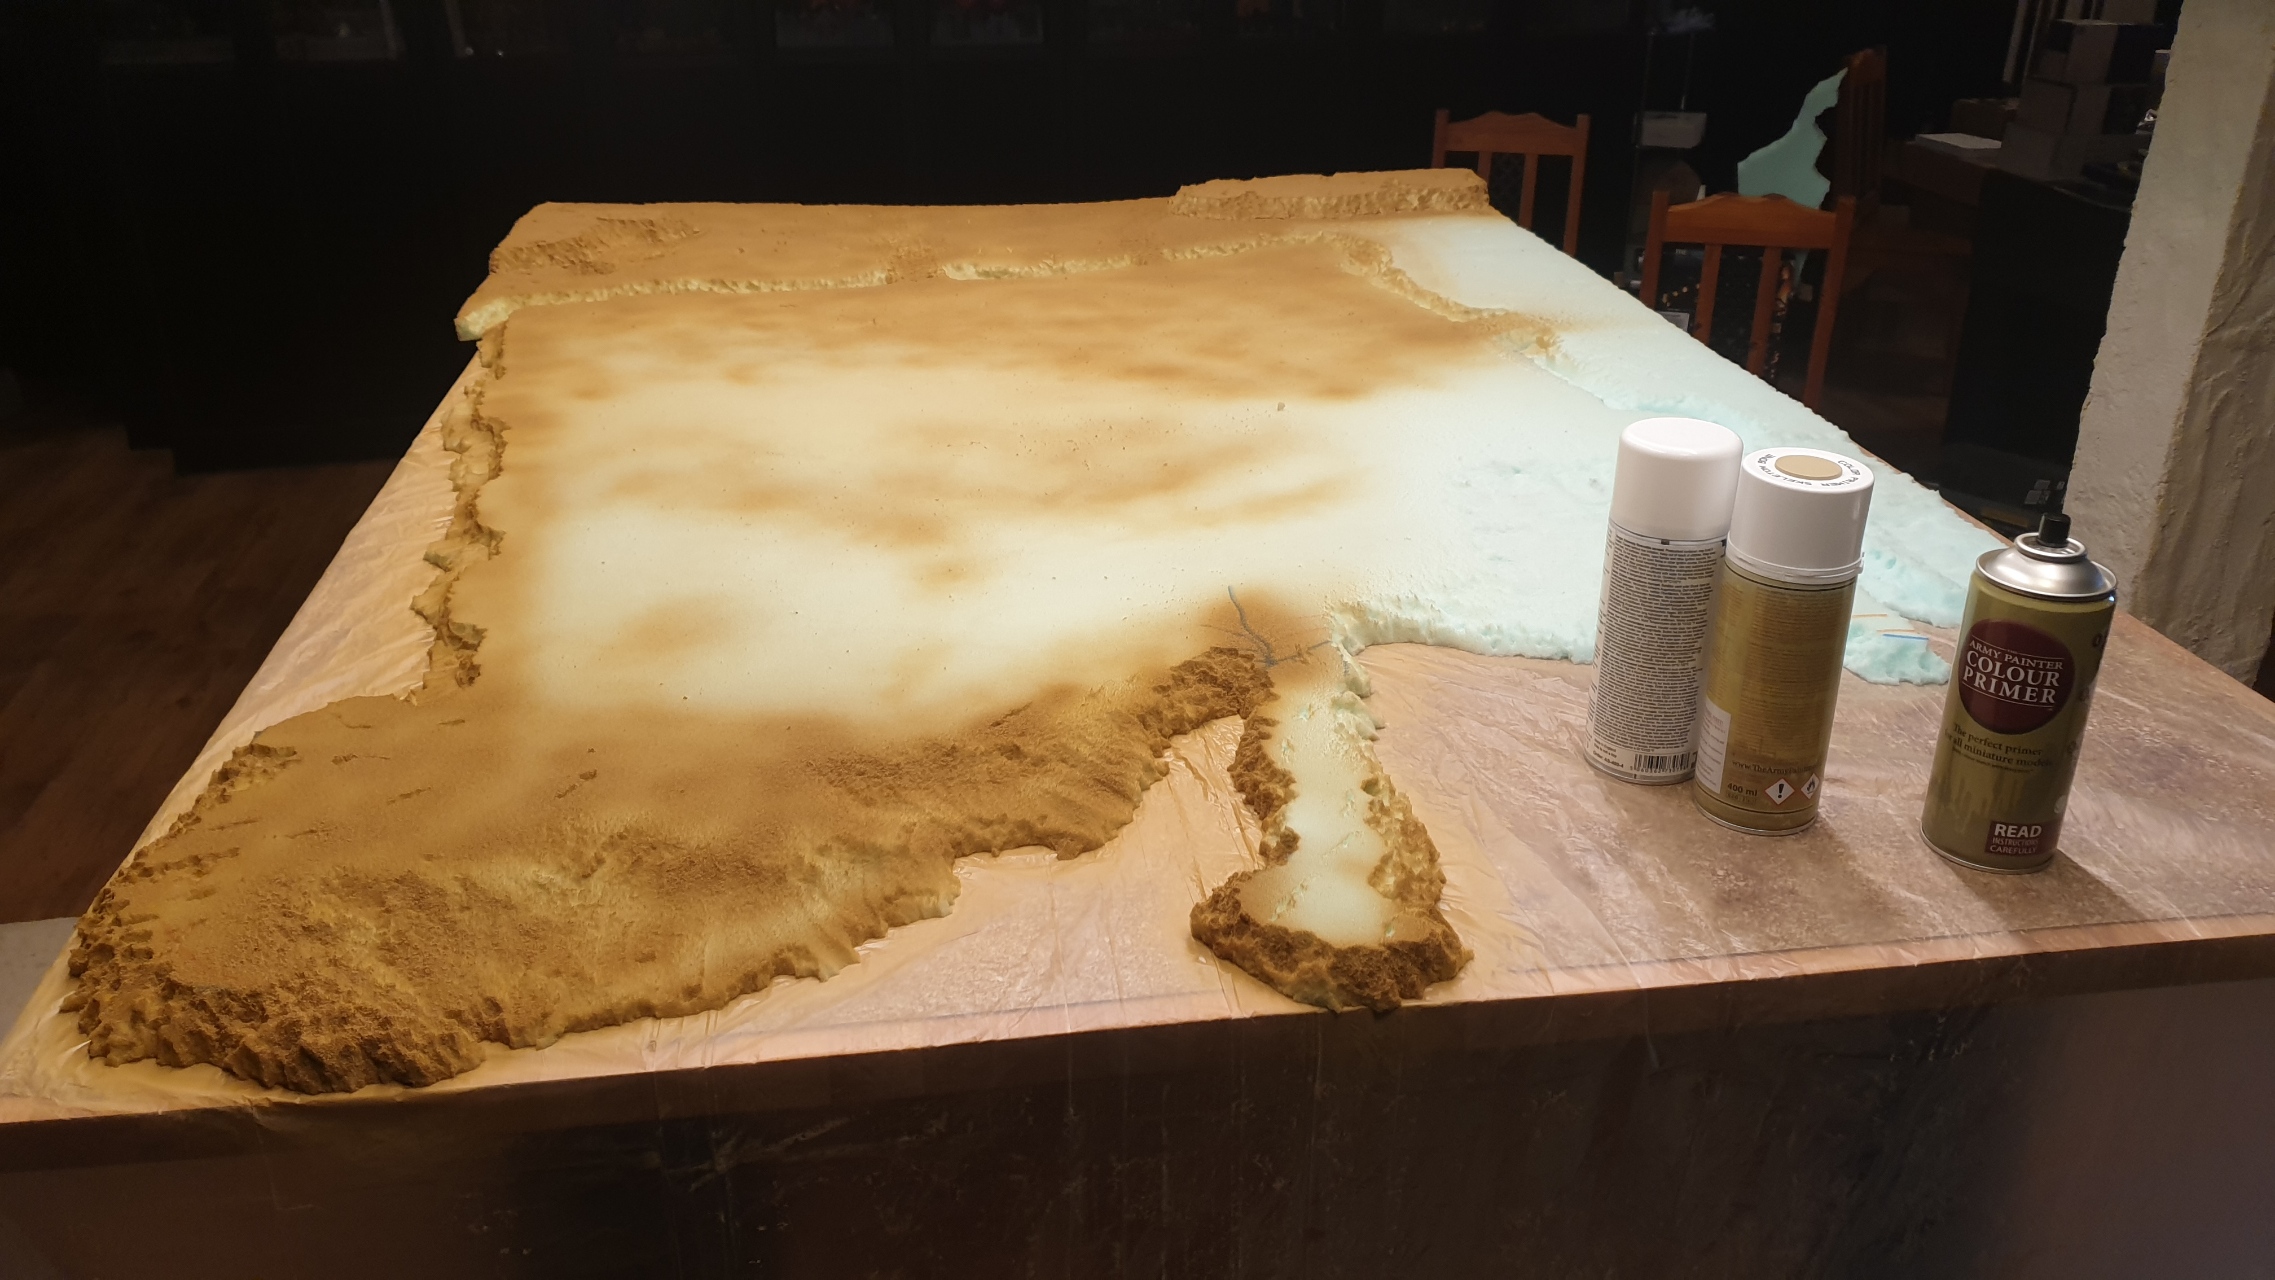
Foam actually takes paint well and you have a couple of options. The large tubes of acrylic craft store paint work well and with a little added water will absorb into the foam giving it a strong colour that handles tears etc well.
BUT!… It takes a long time to dry as foam by its very nature kind of locks in the moisture and takes a long time to air dry.
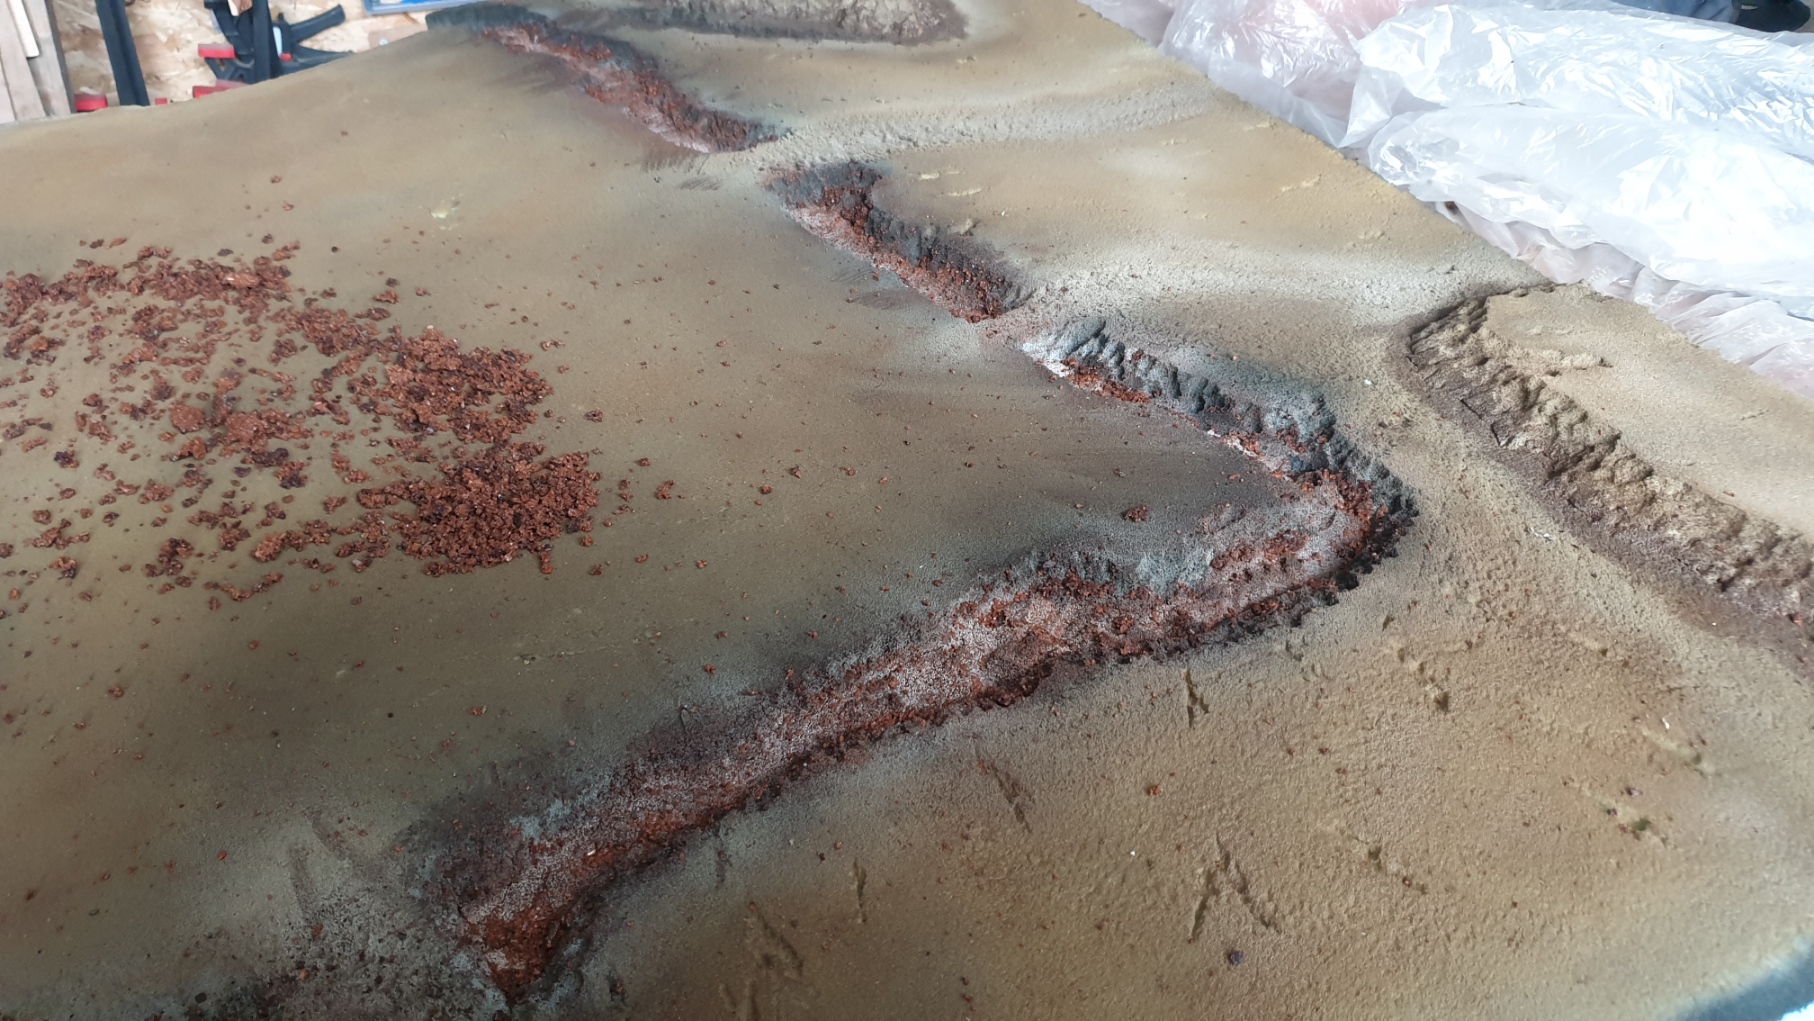
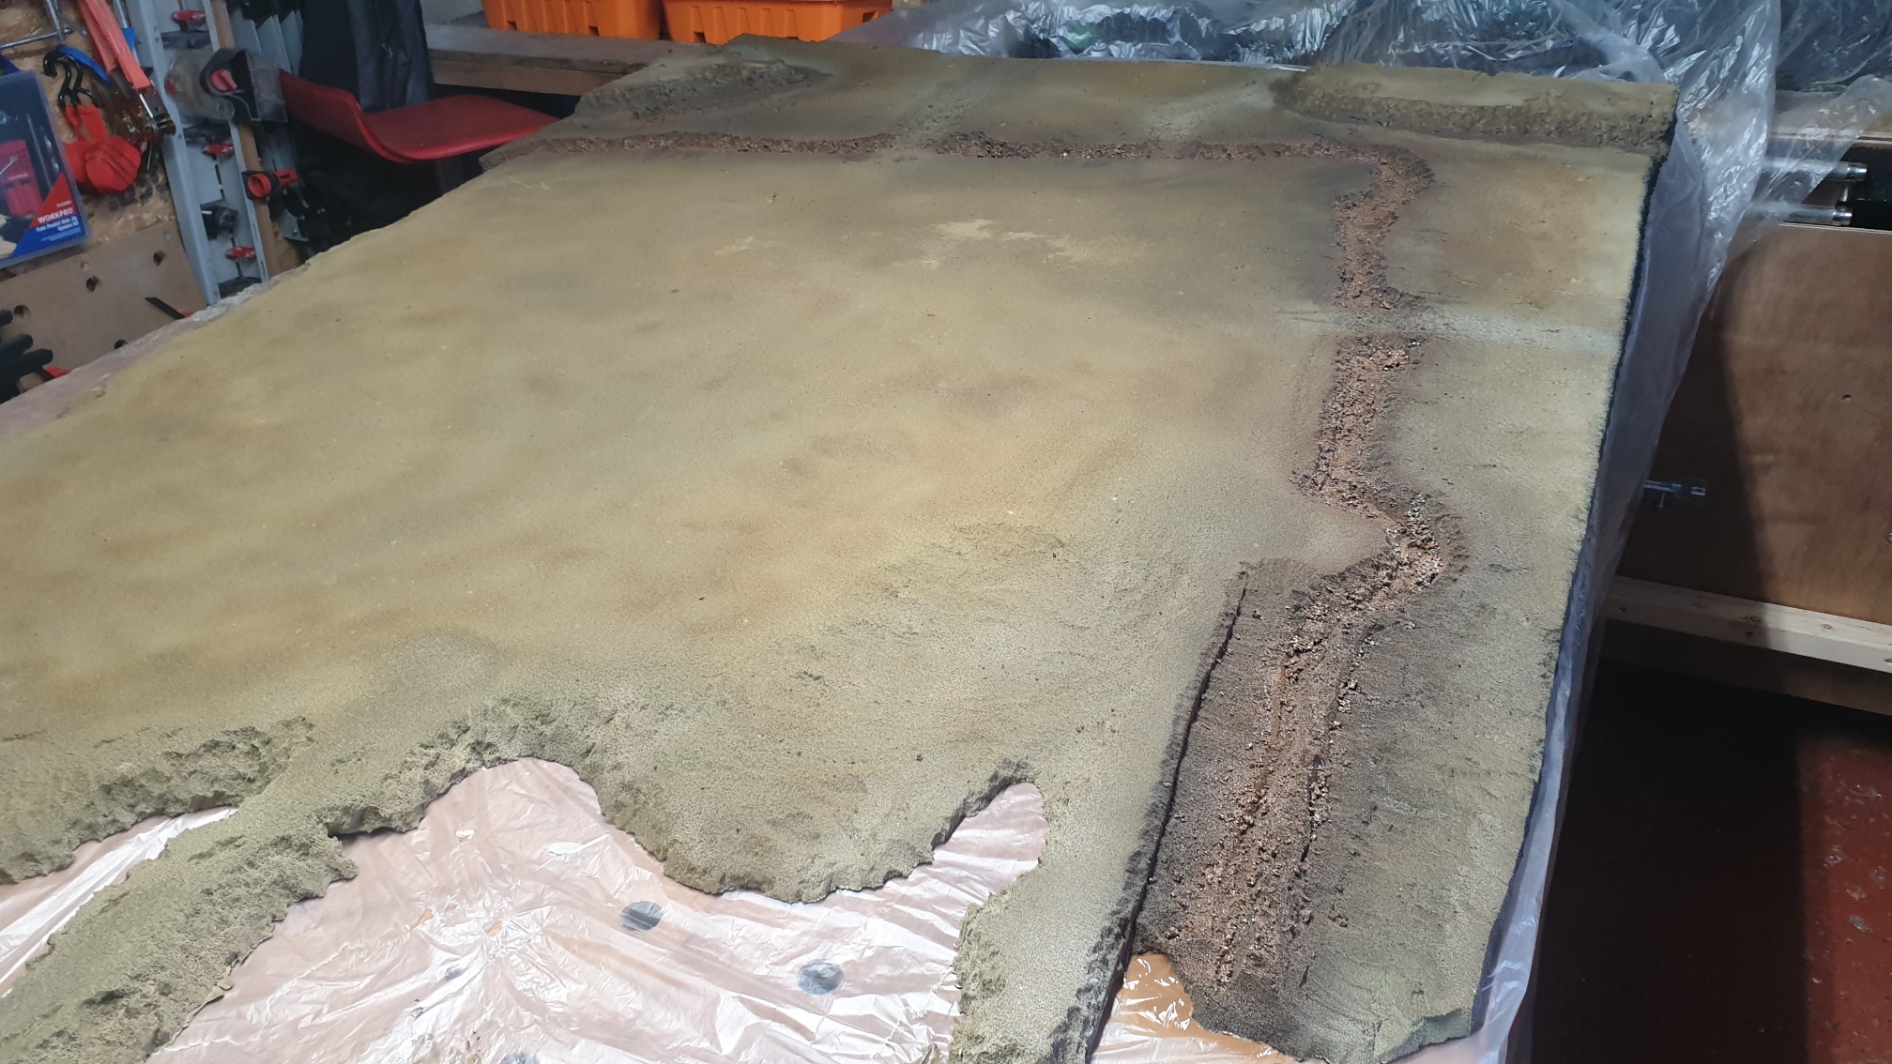
So for expediency I opted for sprays for this project. I had a couple of cans of spray lying around, so it was a bit of a no brainer to use them up. My main colour was army painter desert yellow.
After desert yellow its was kind of random blasts of paints and weathering sprays to break things up.
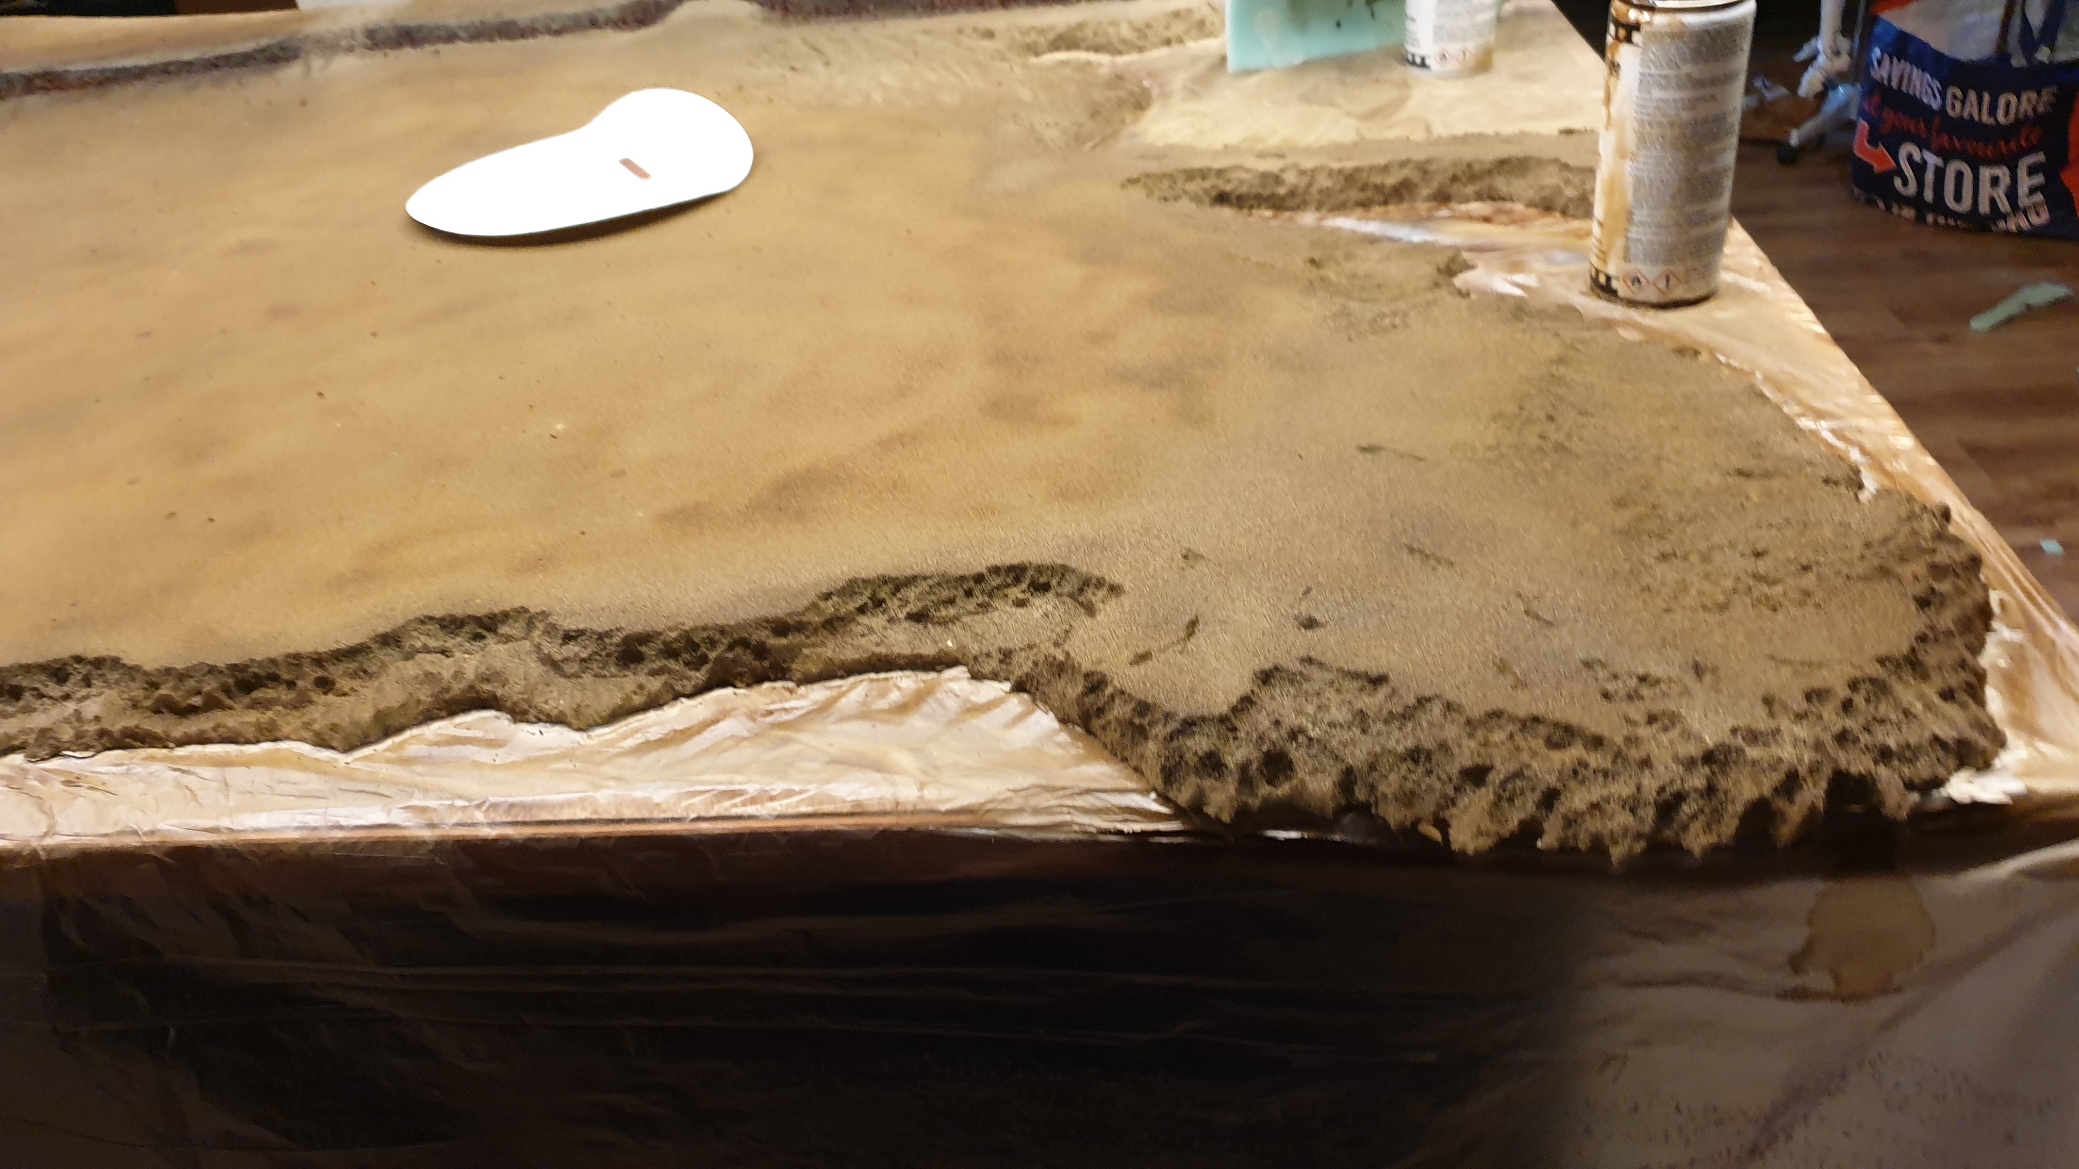
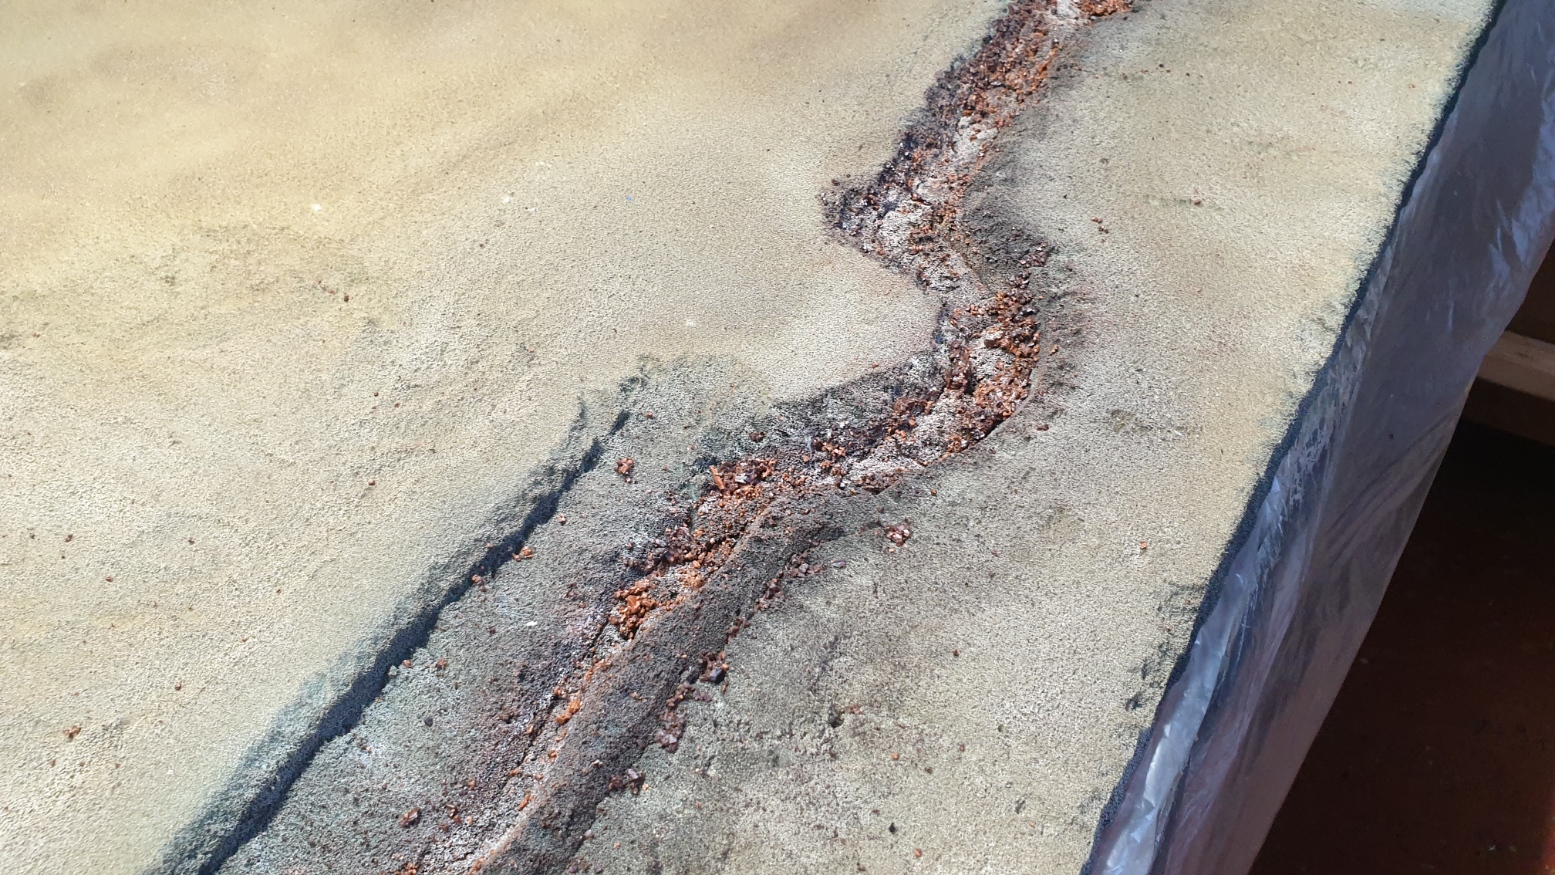
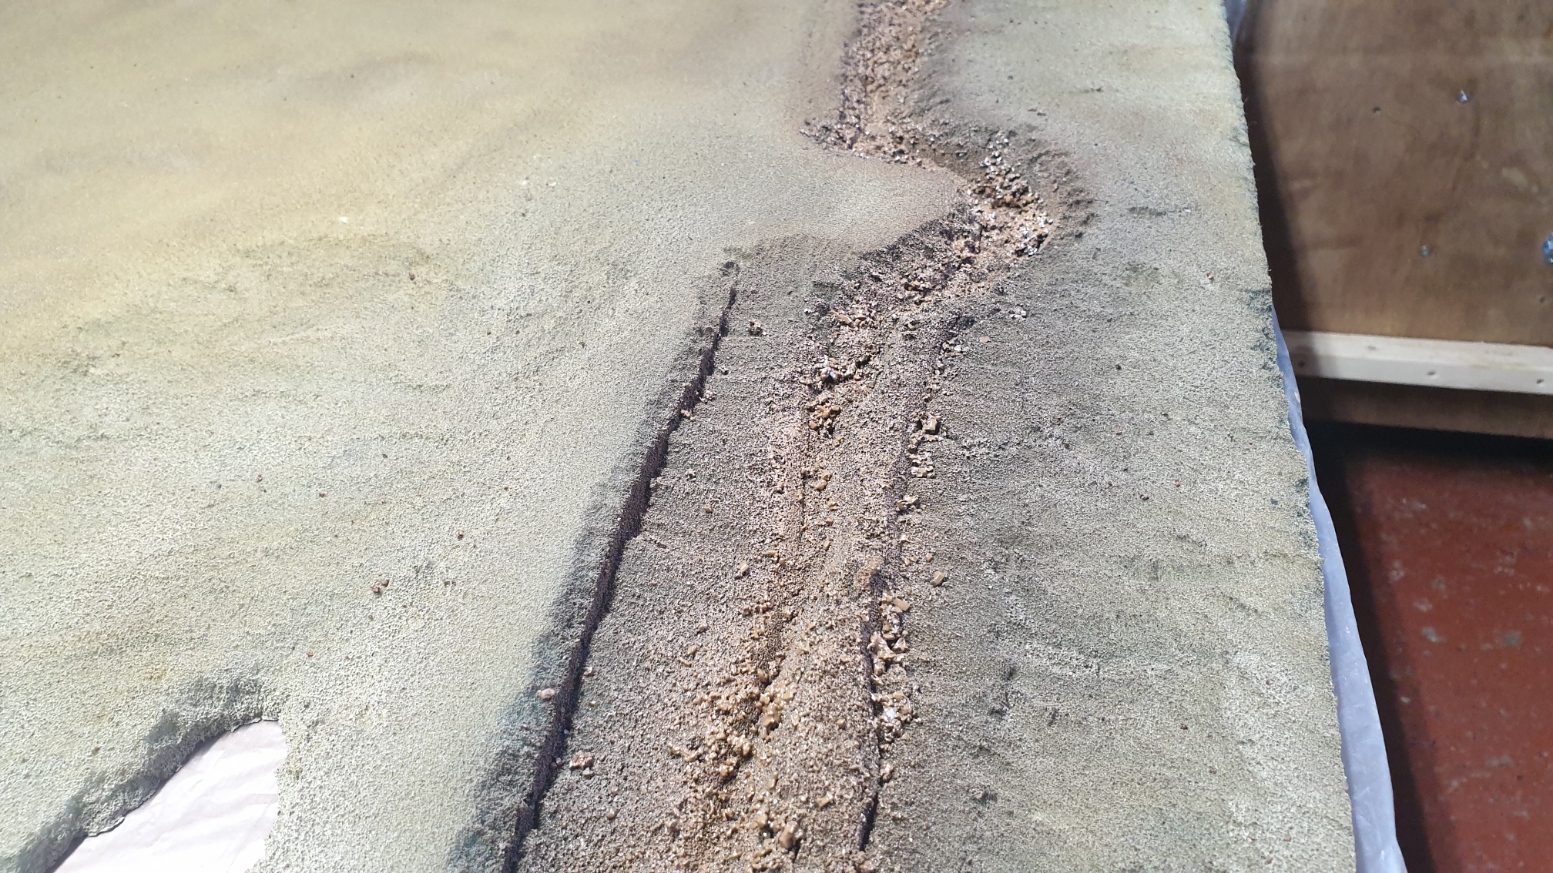
A dark brown was used in the dry moat over the top of the thinned mix of Tec7 Silicone and Cork Rubble.
Then it was all left to dry to see how it might turn out…
Getting Side Tracked! - By Napoleon of course!!!
Drying time is an opportunity to kick back and research and it was during this little break that I delved even deeper into the history of the Acre Port and Stronghold.
That was when I learned that Napoleon himself laid siege to this city in 1799 during his ‘Middle East Phase’ where he quite fancied himself as a bit of an Alexander the Great.
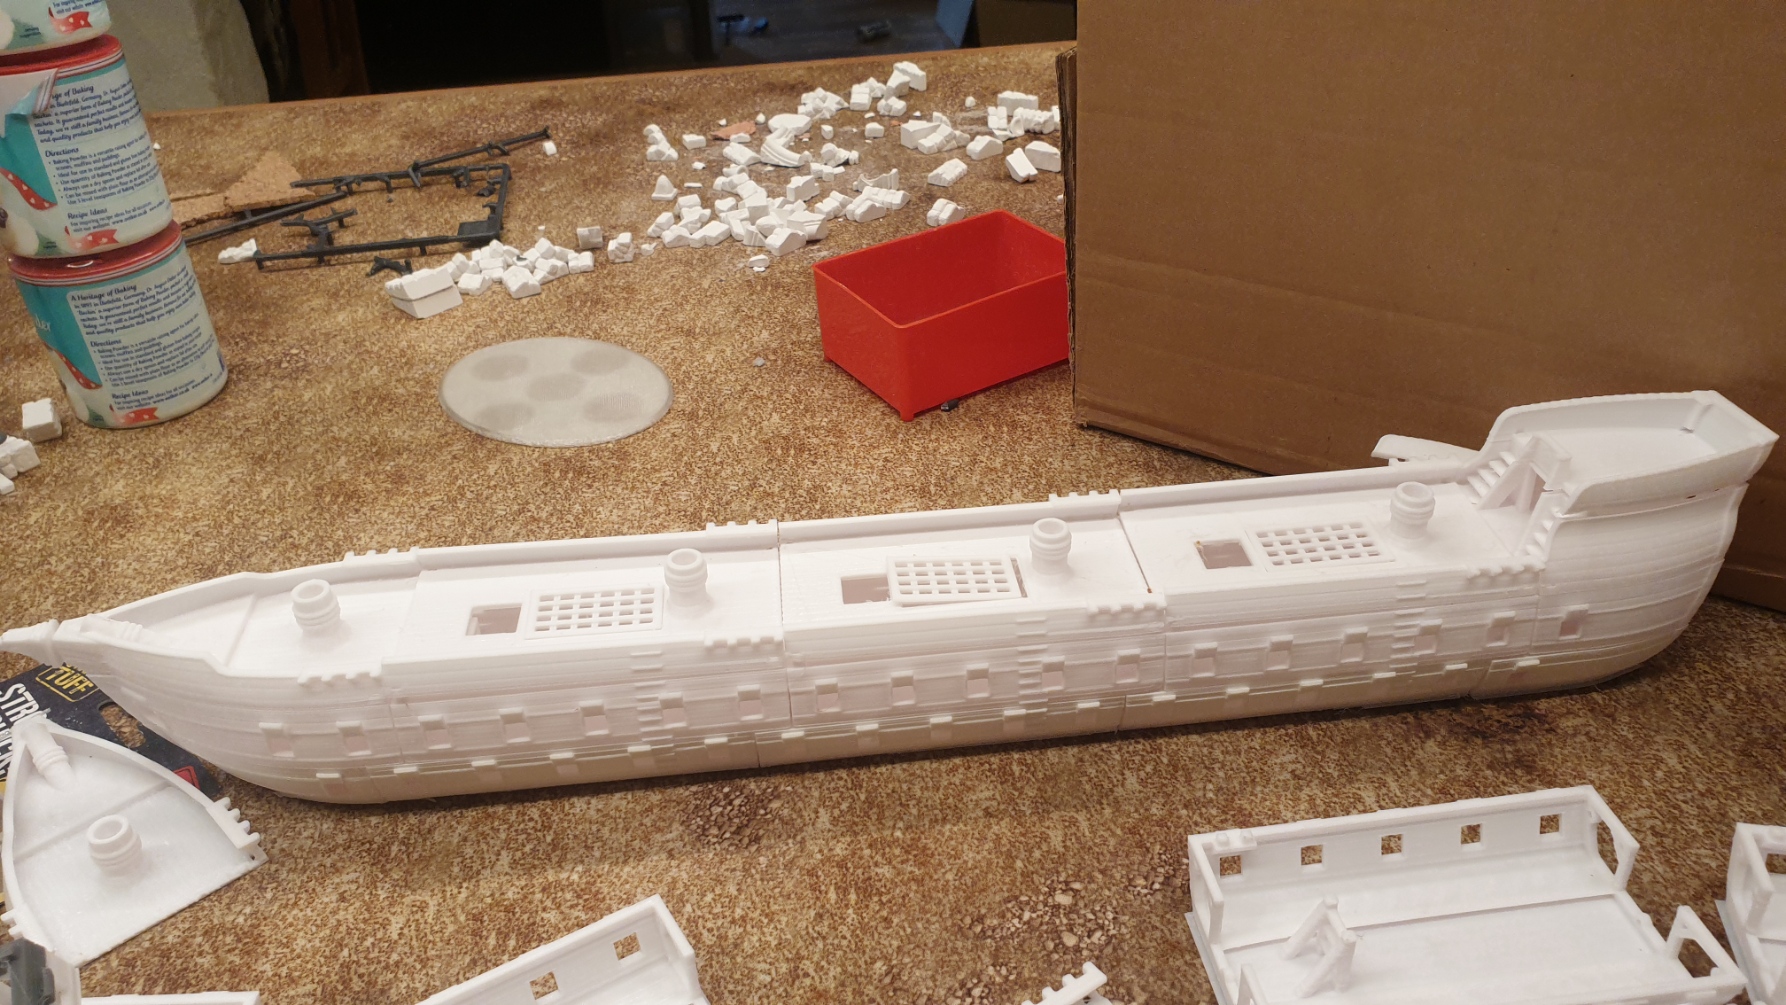
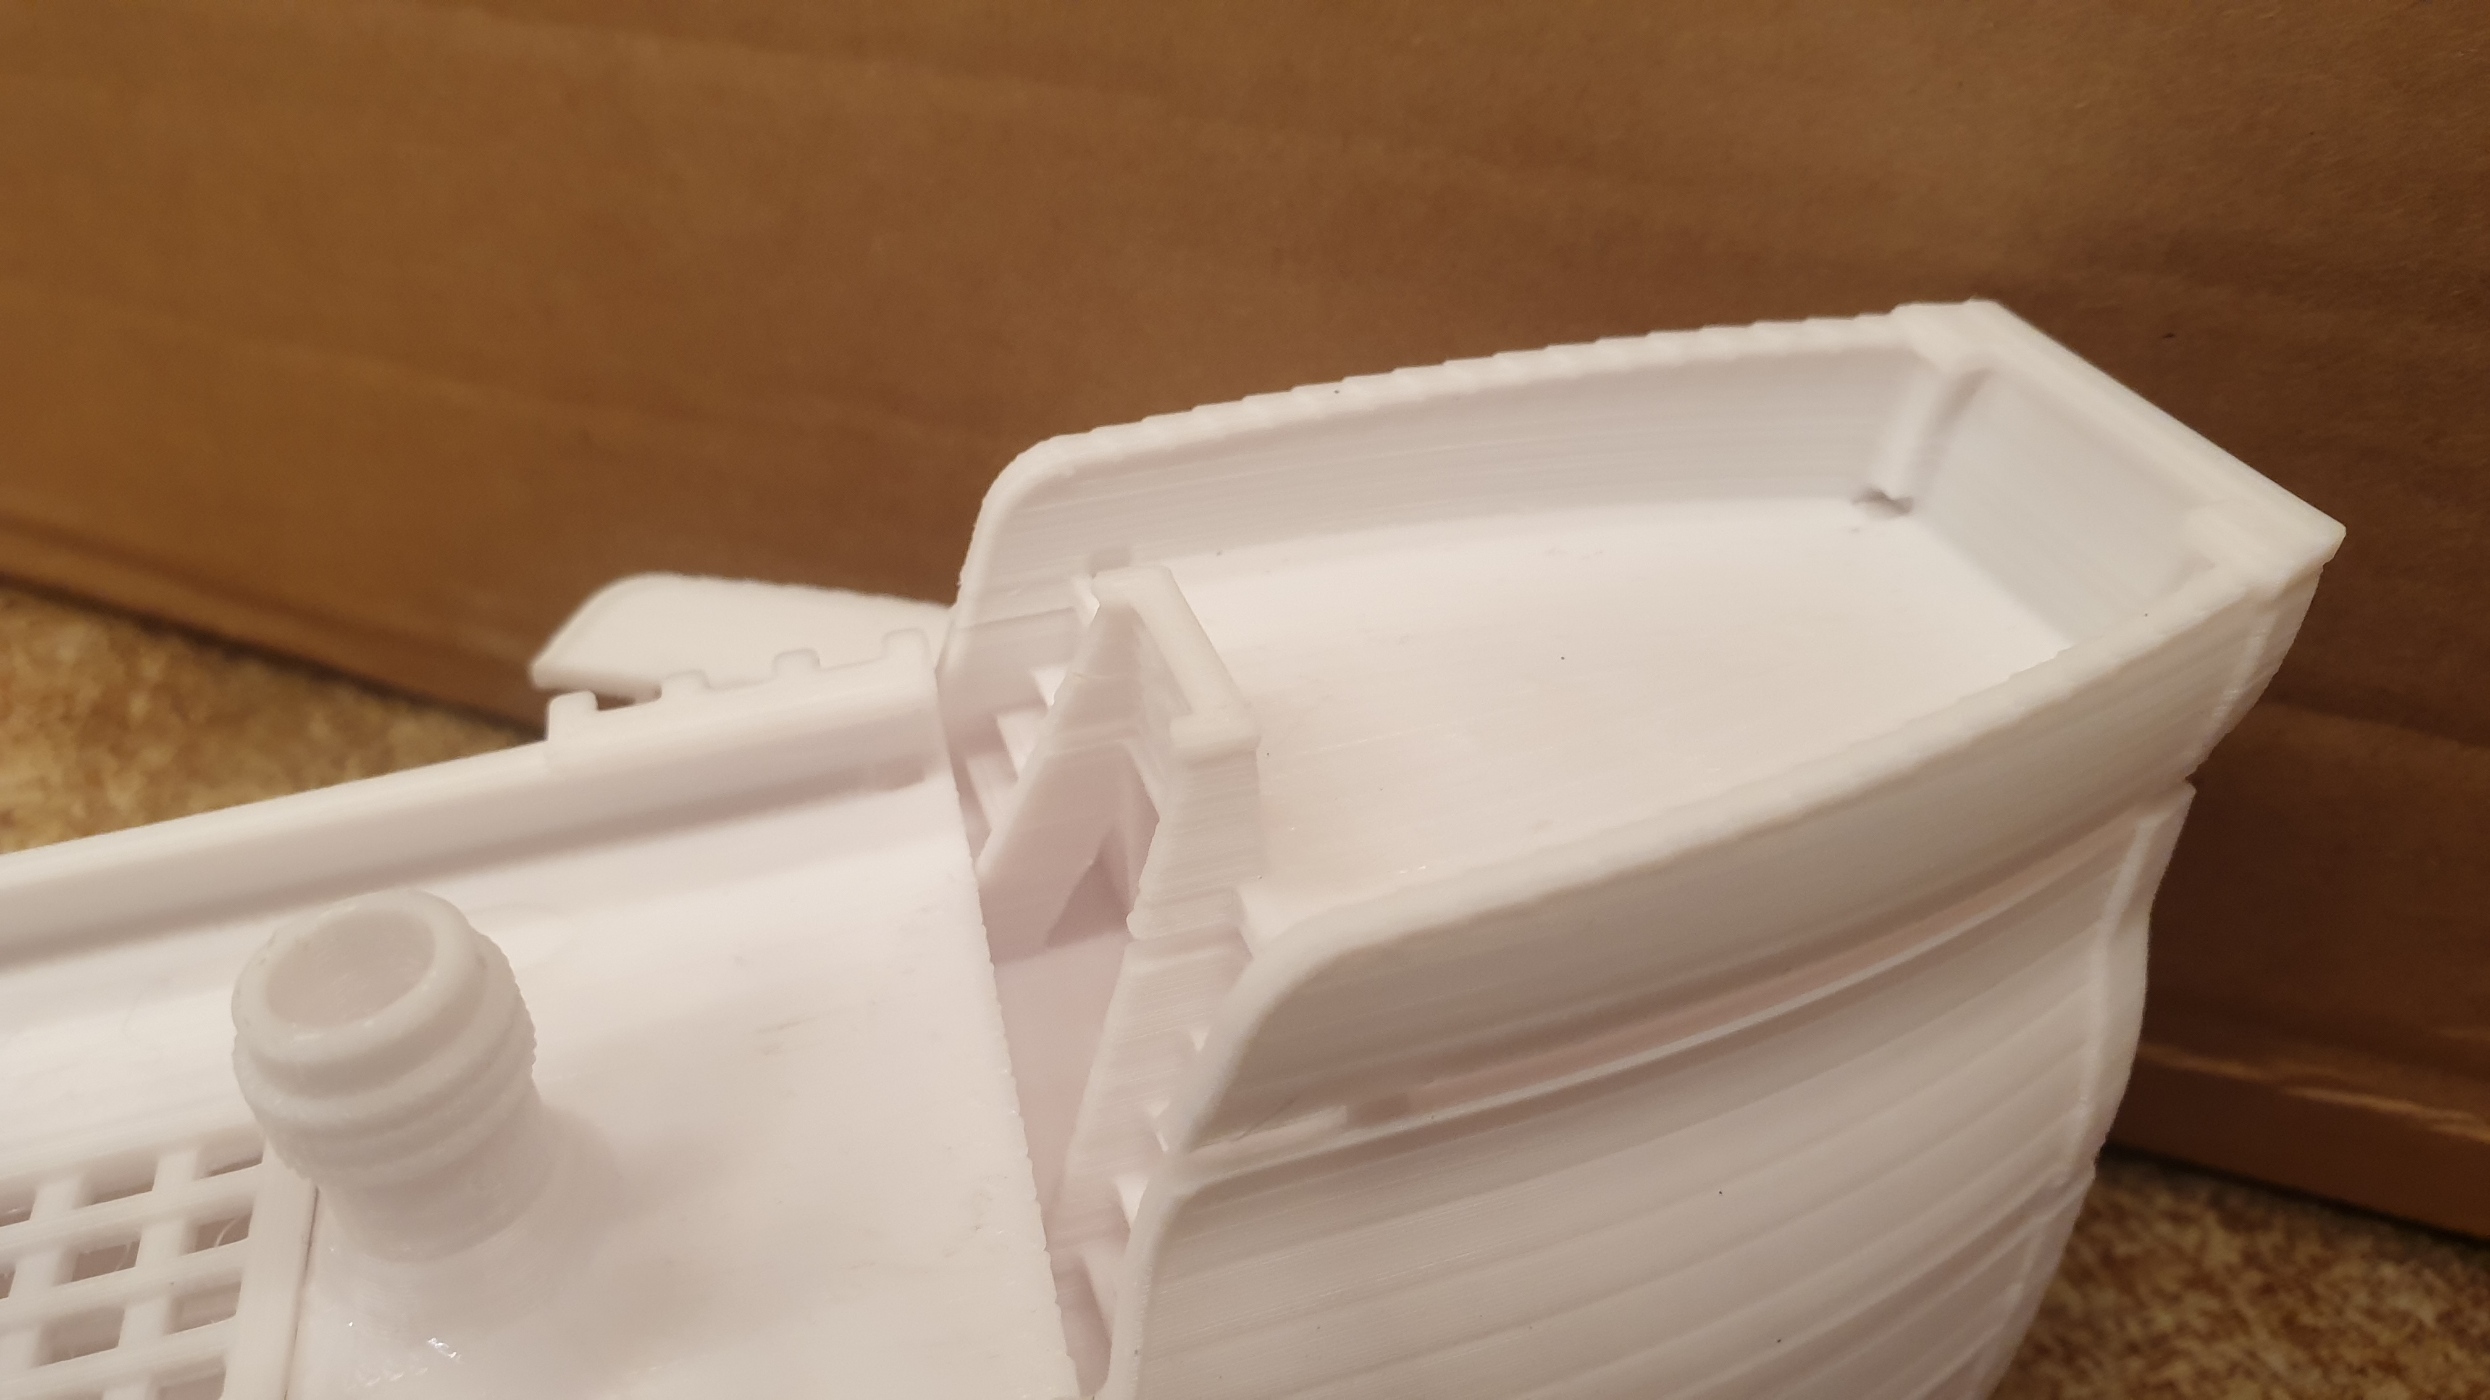
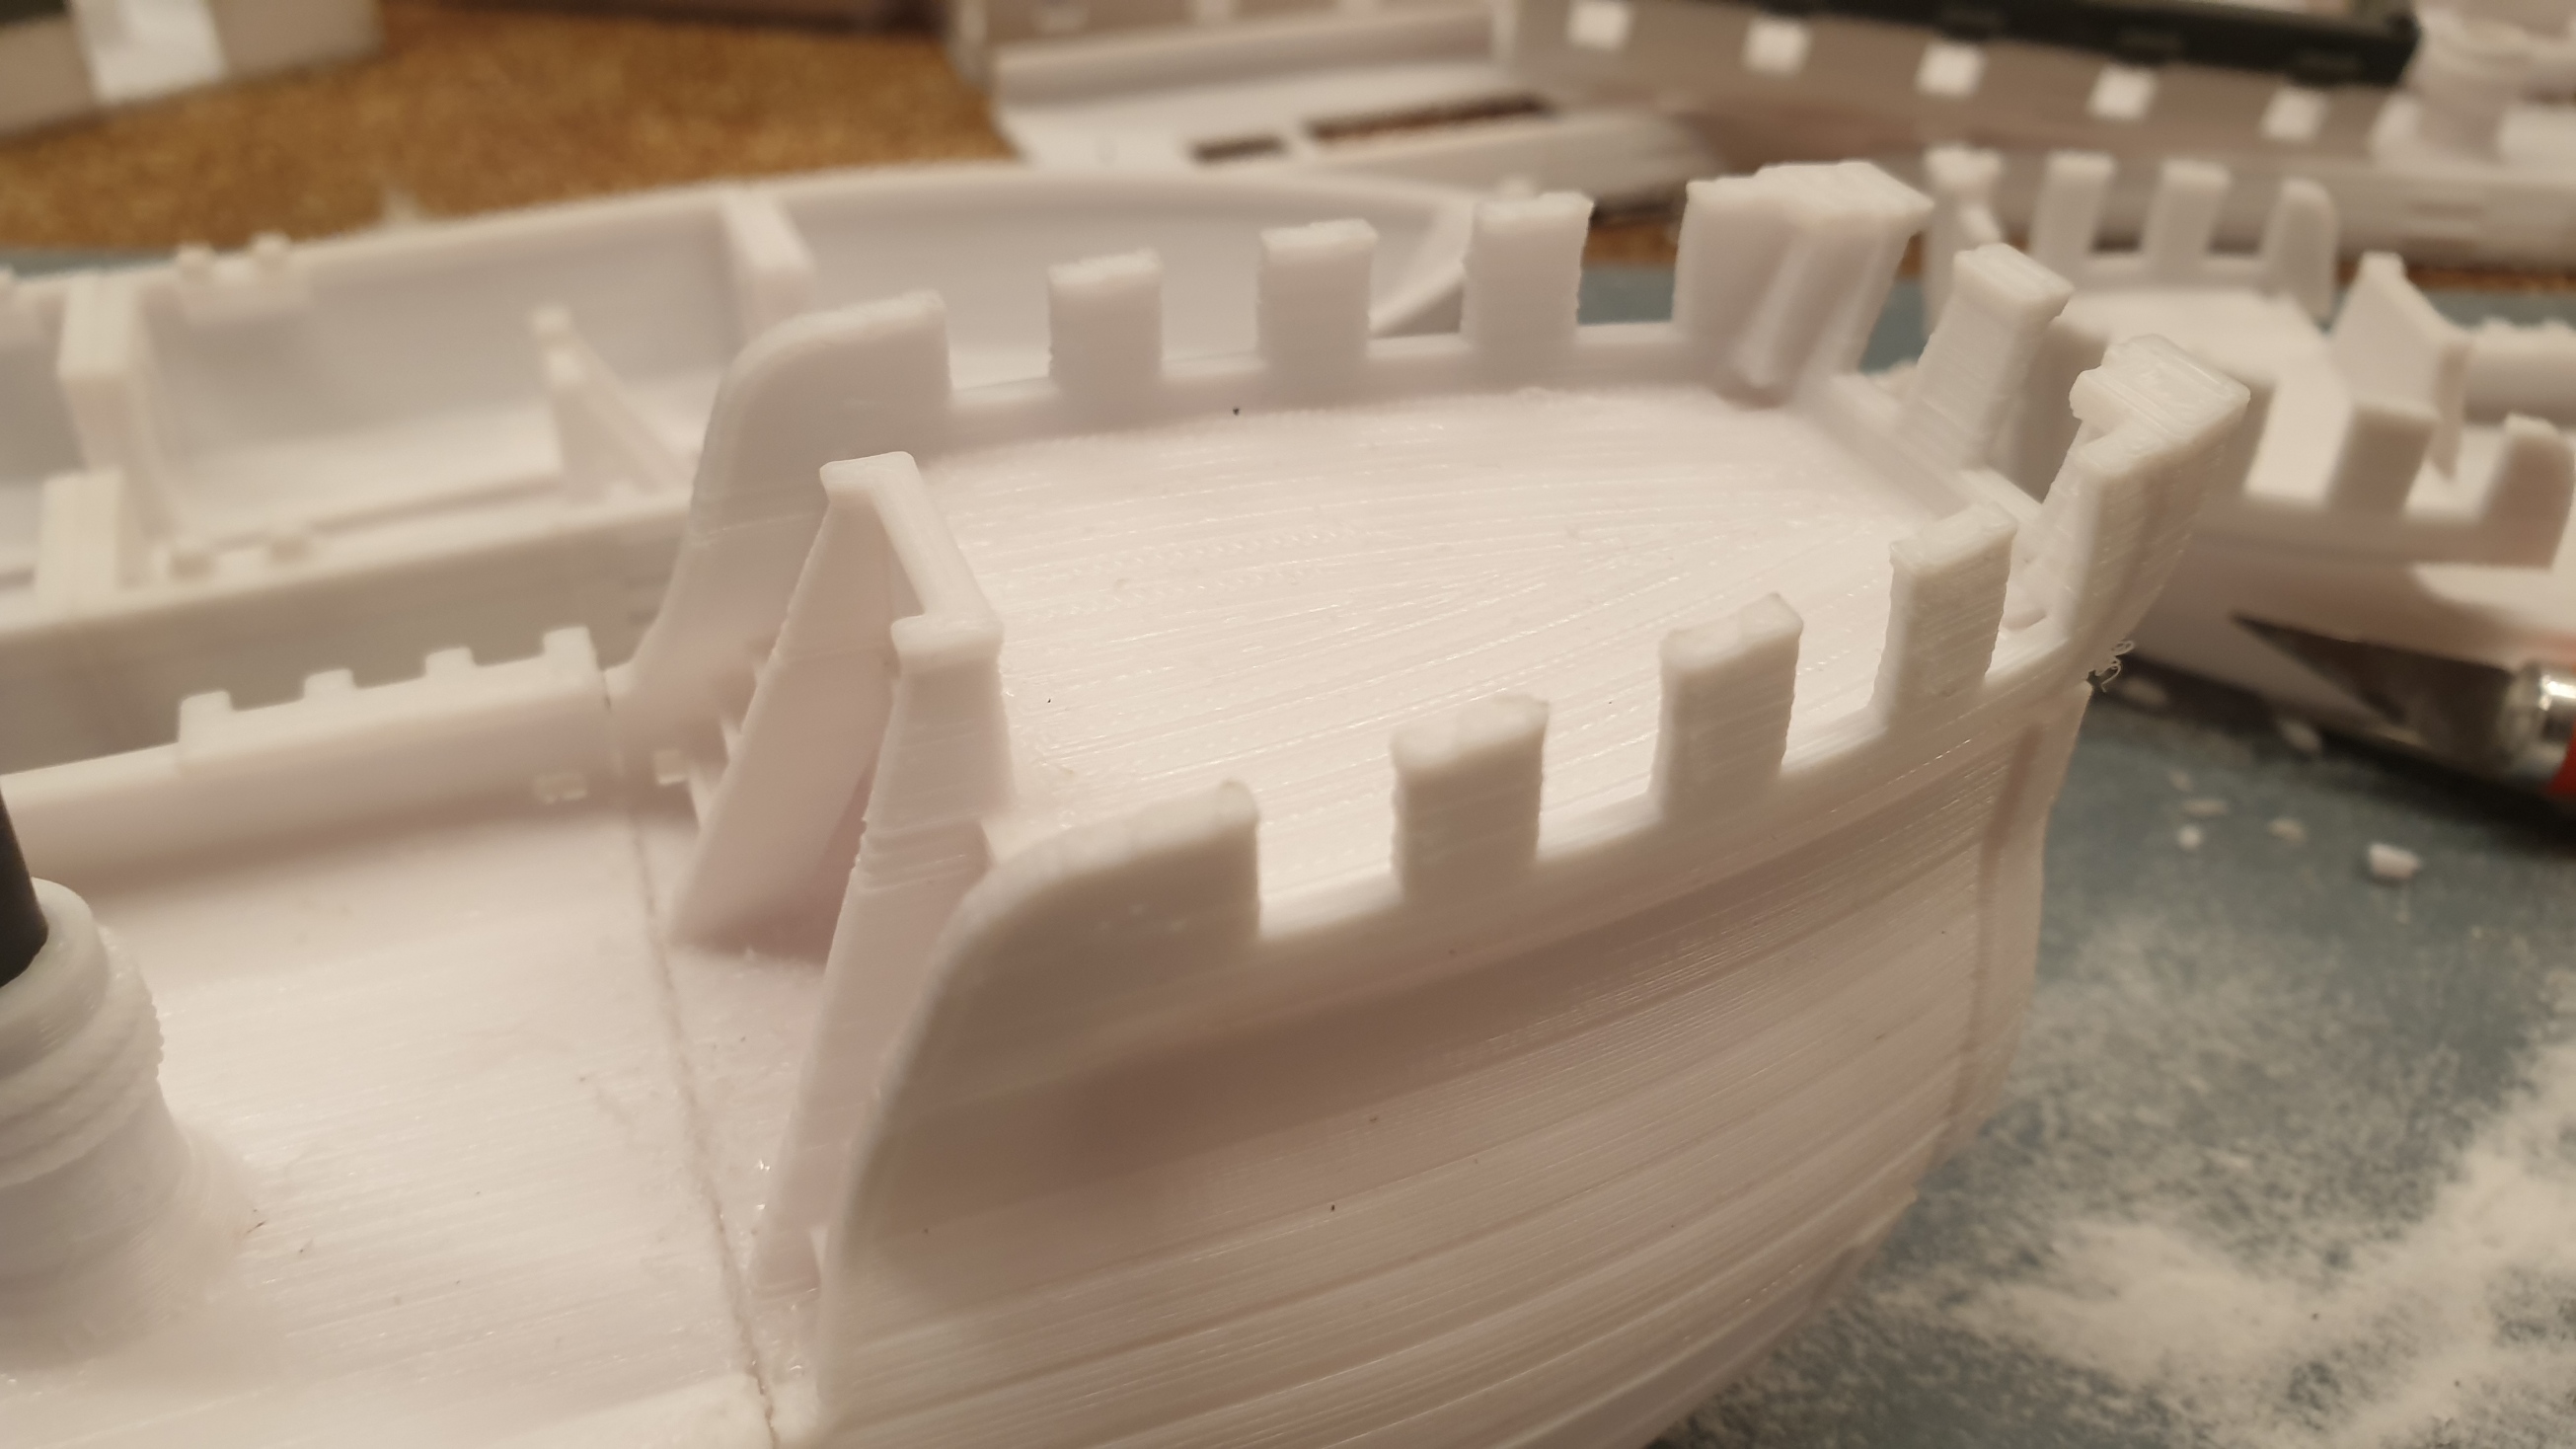
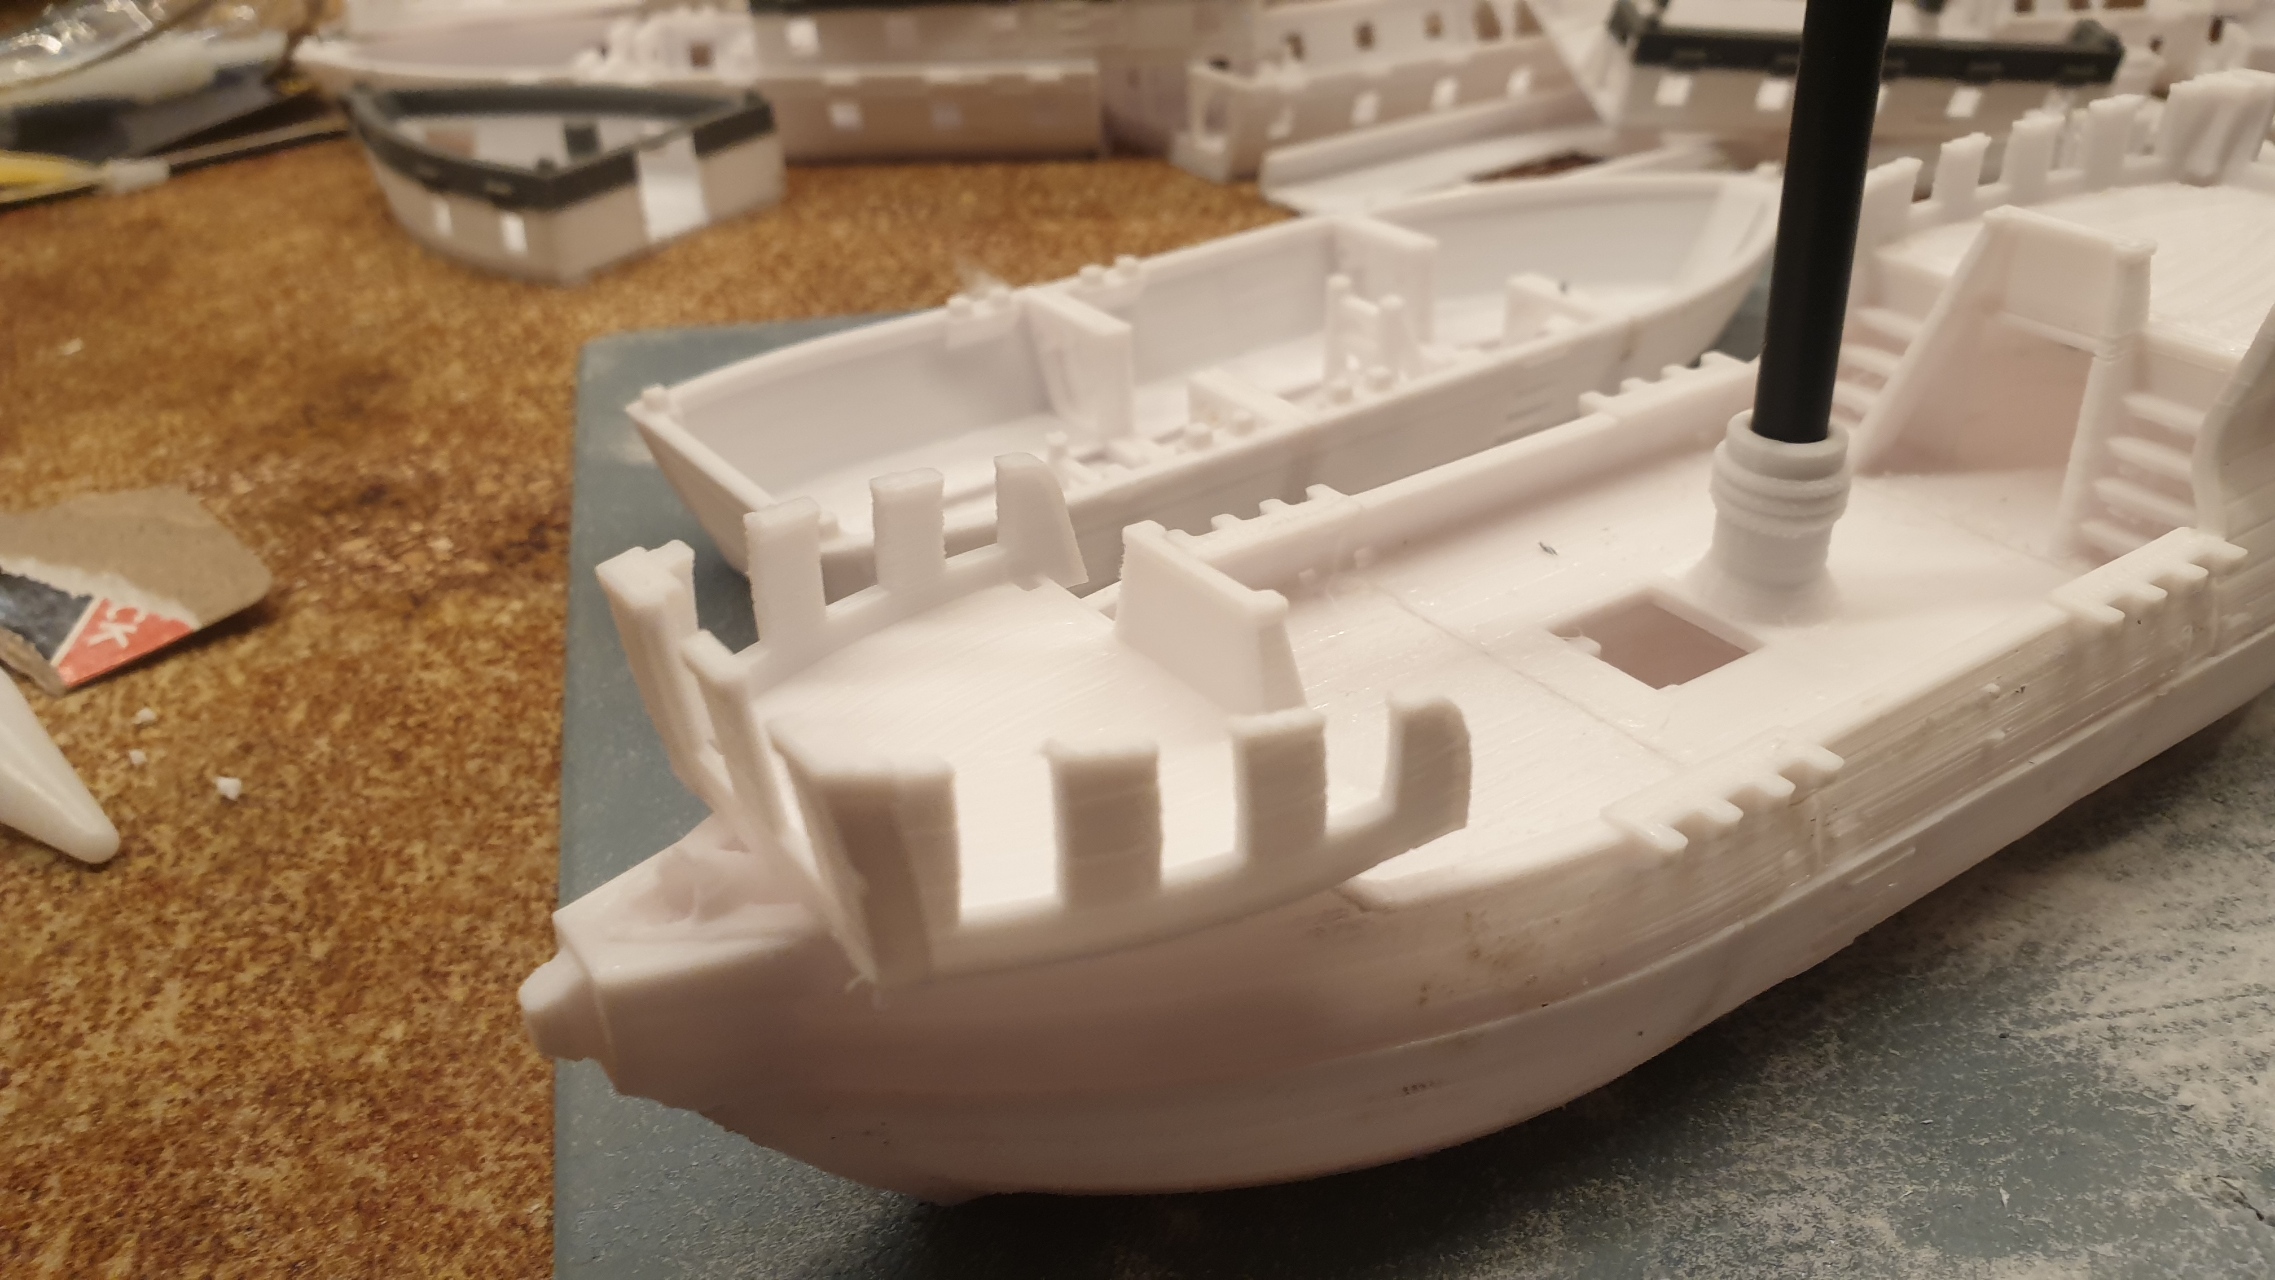
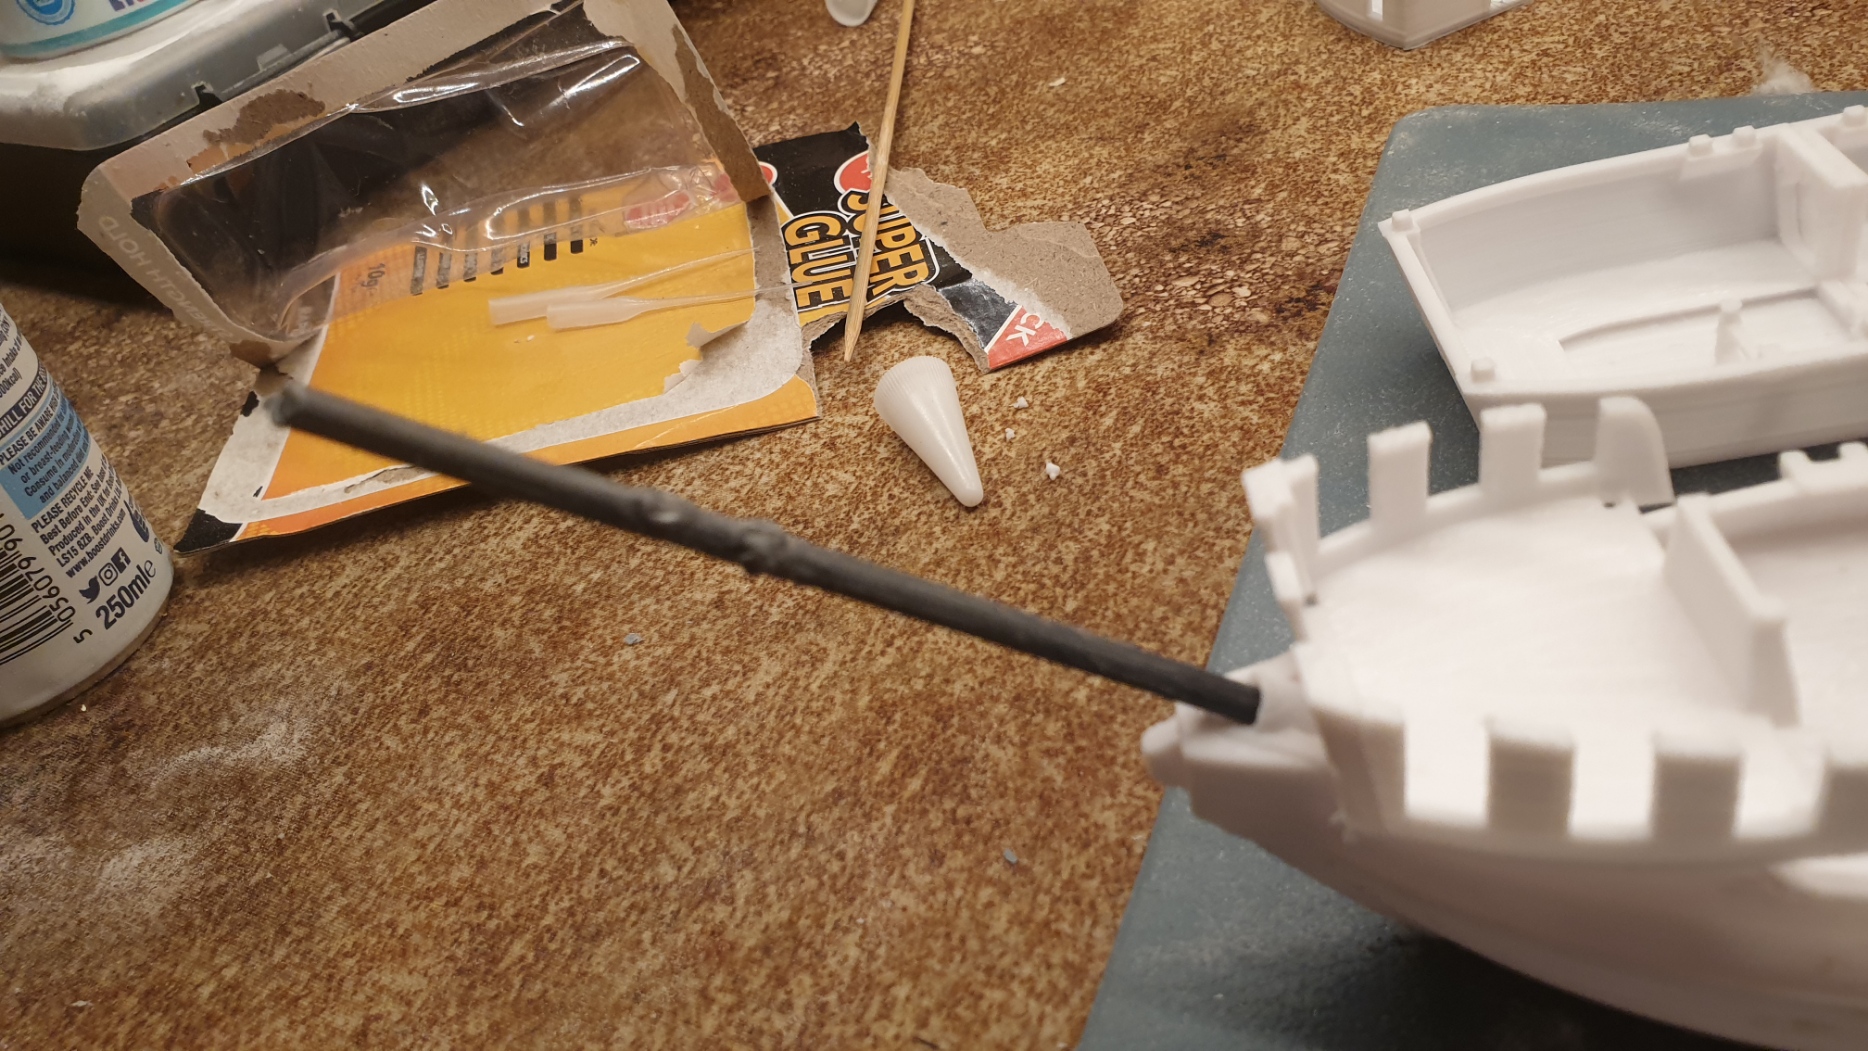
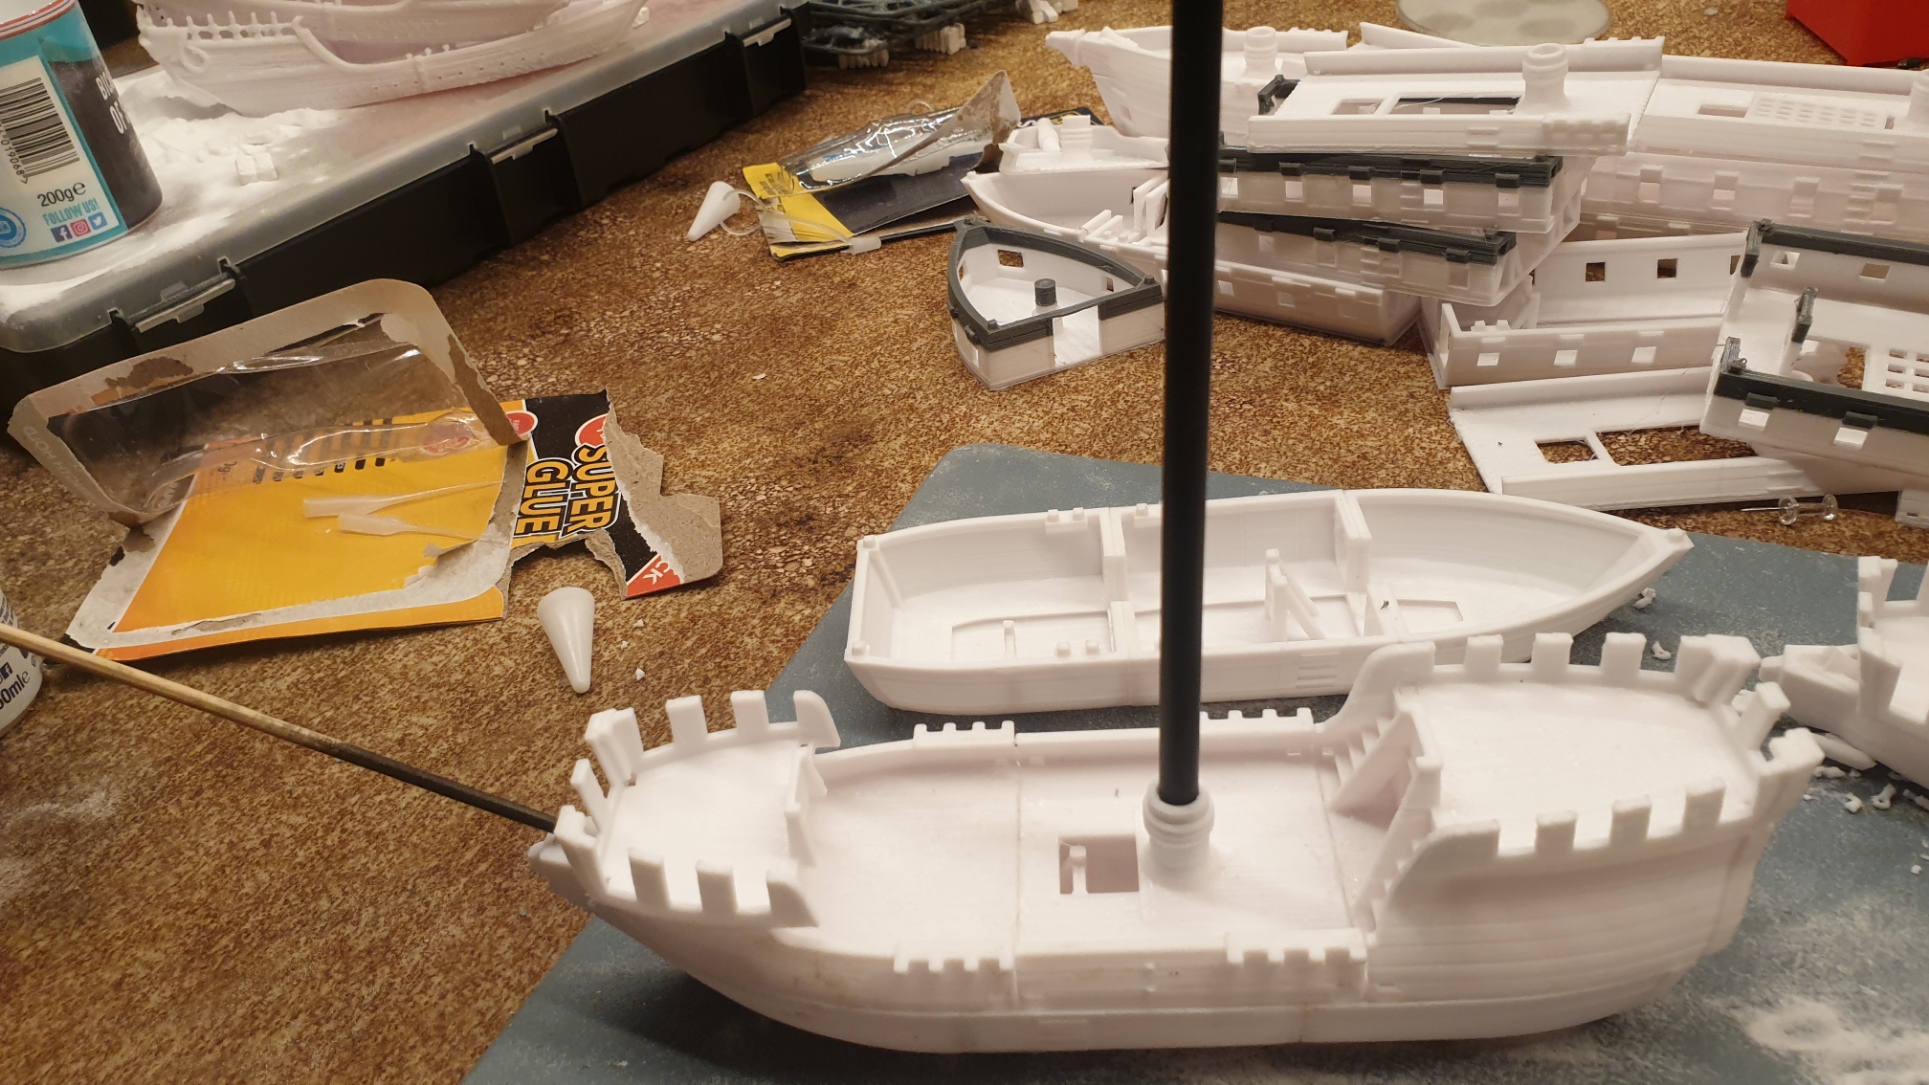
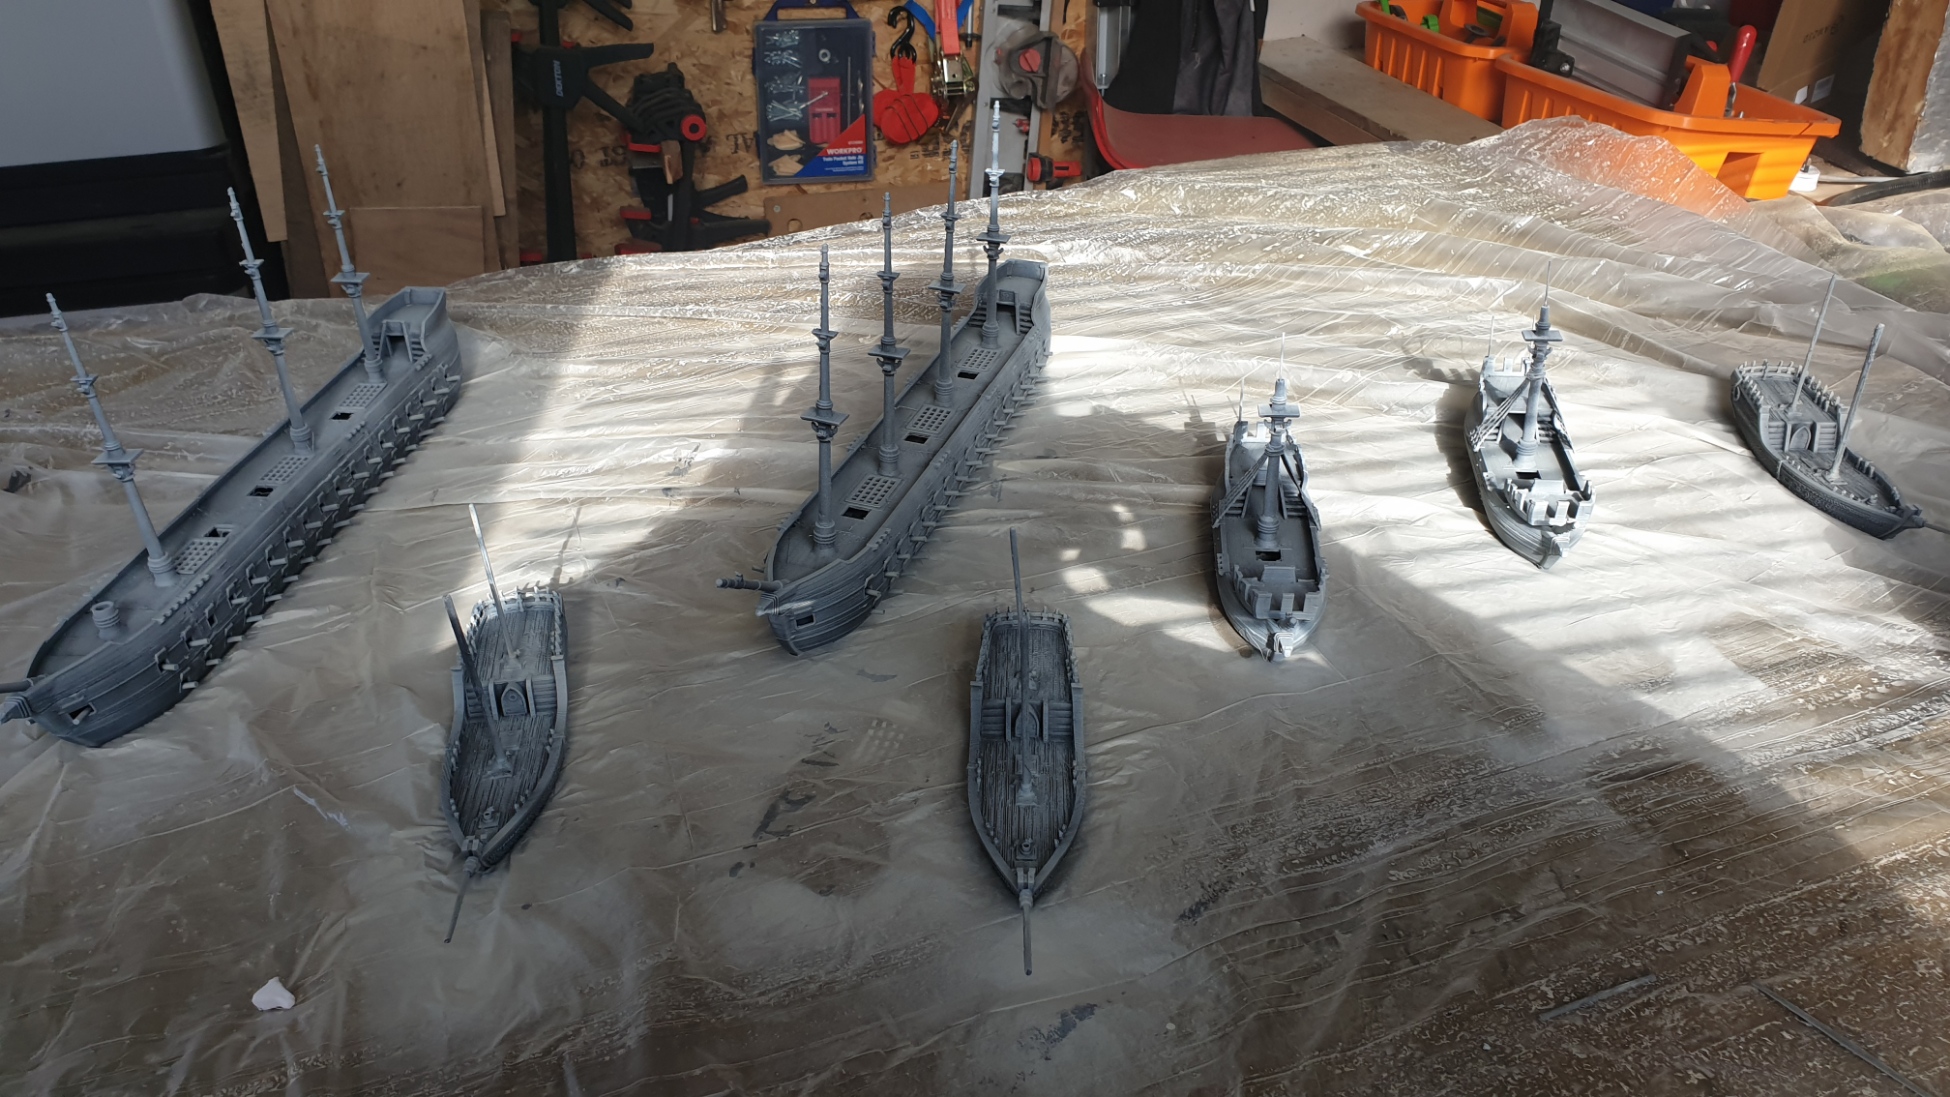
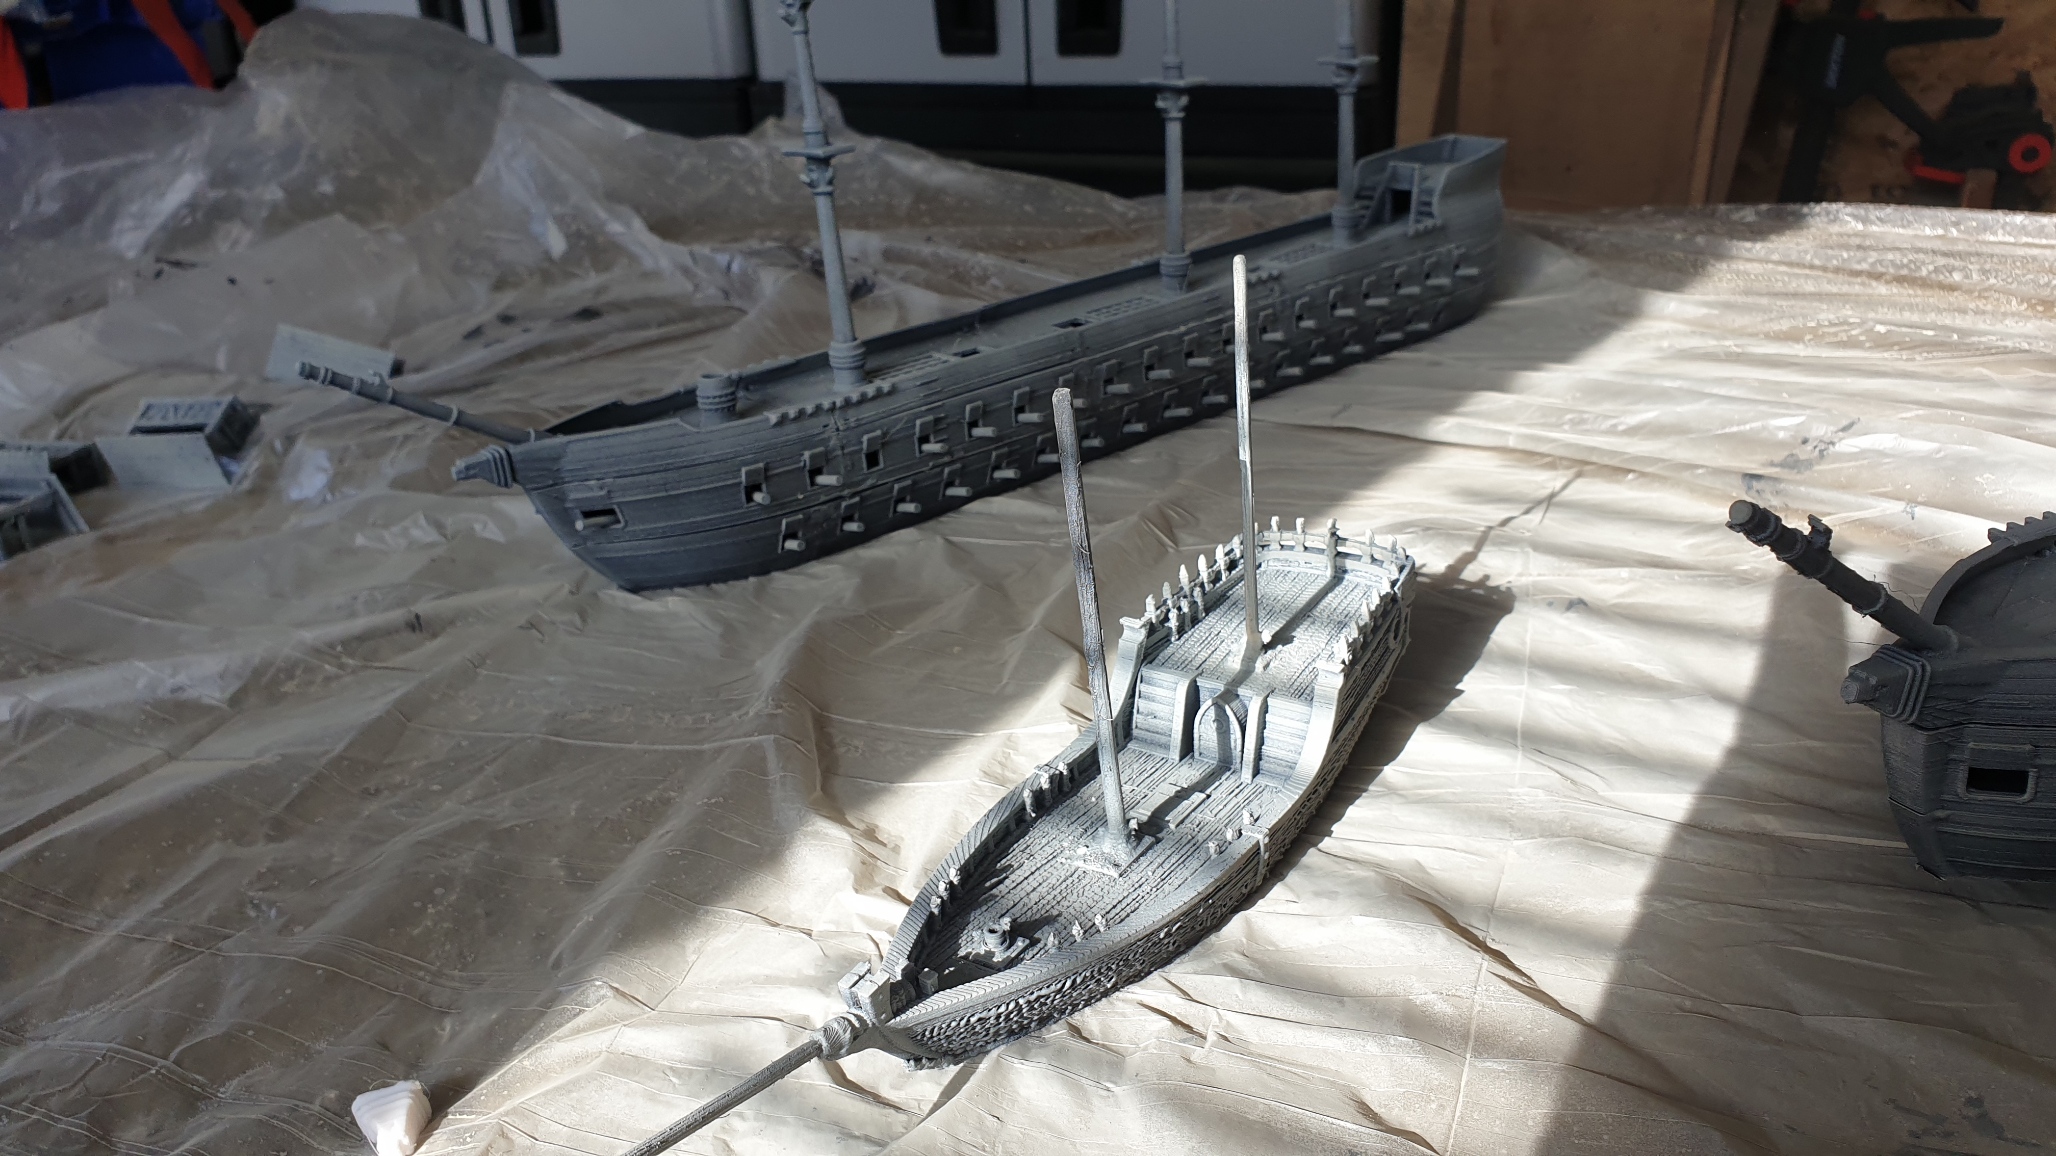
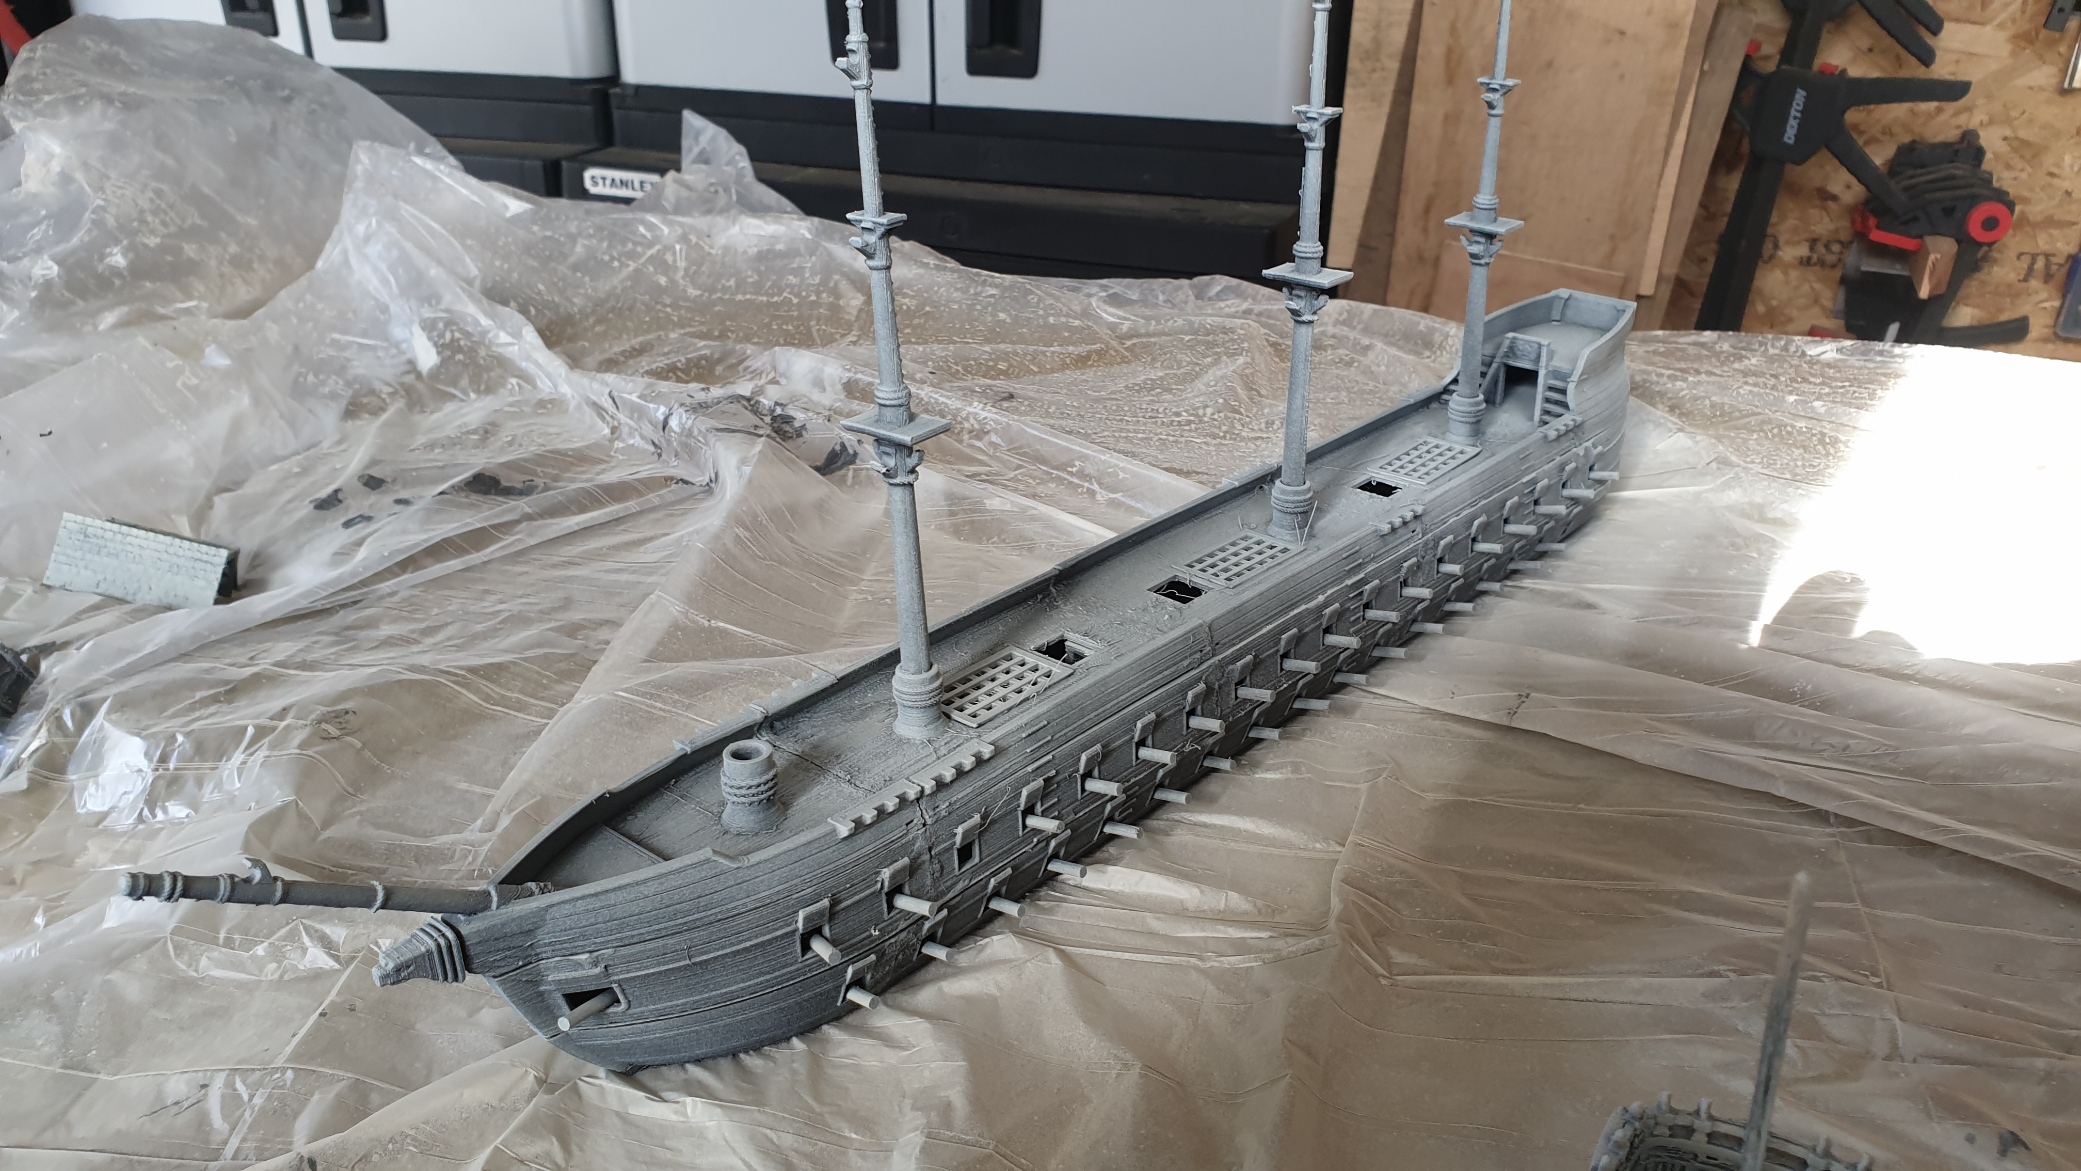
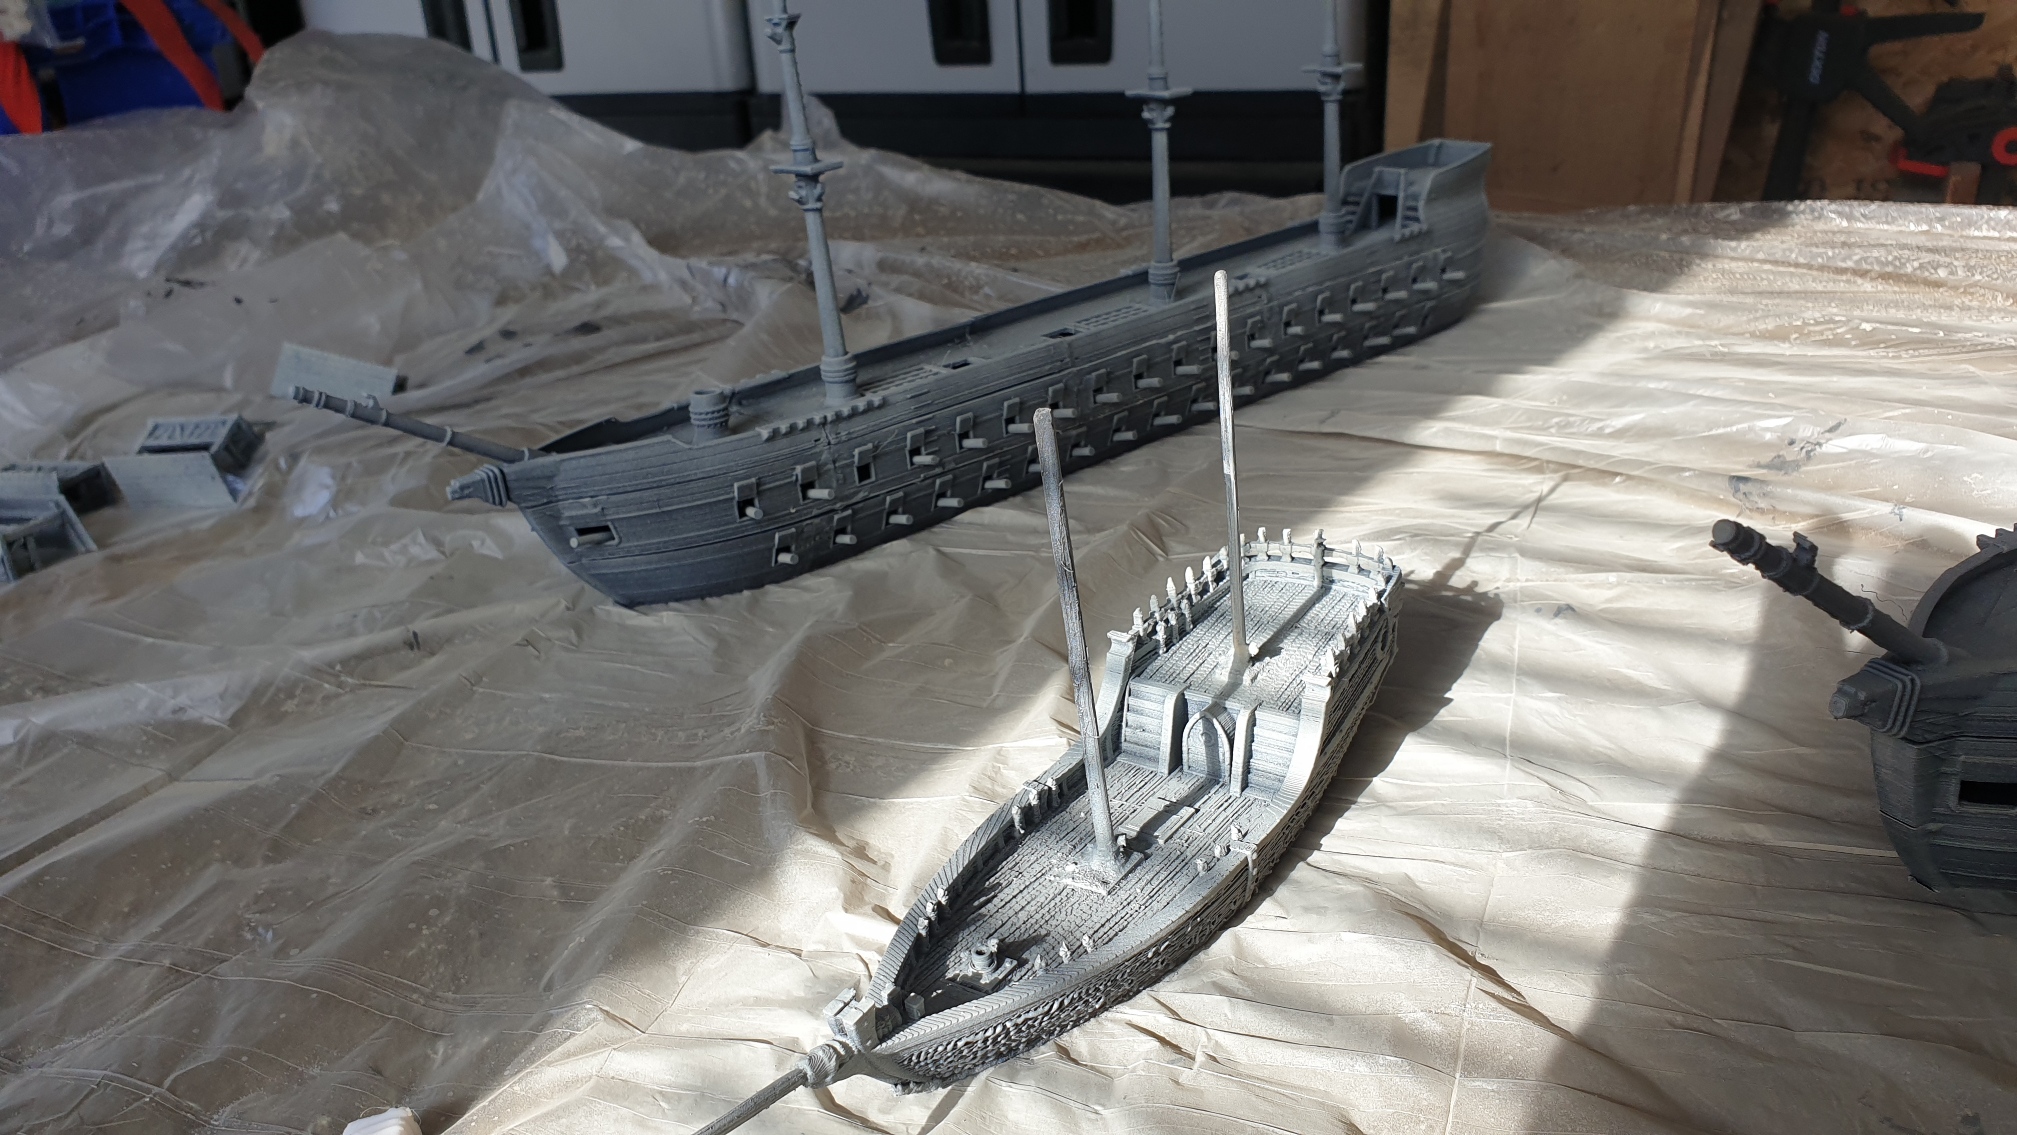
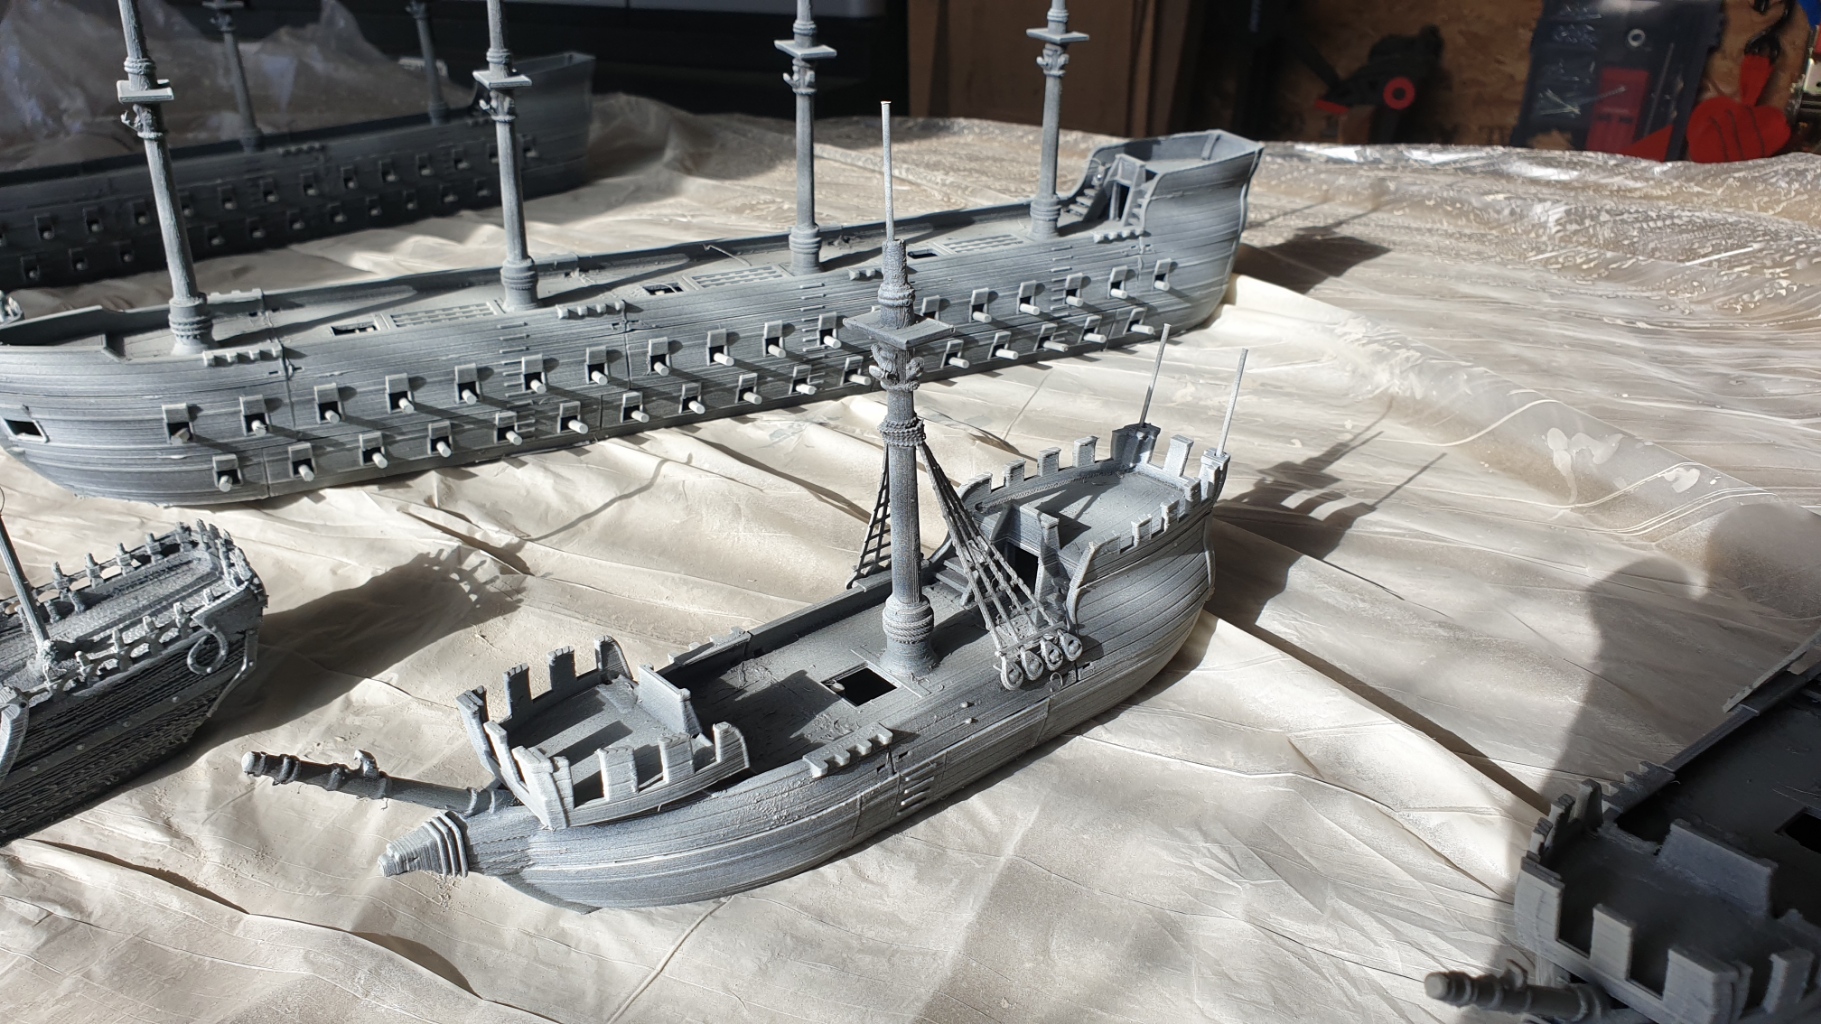
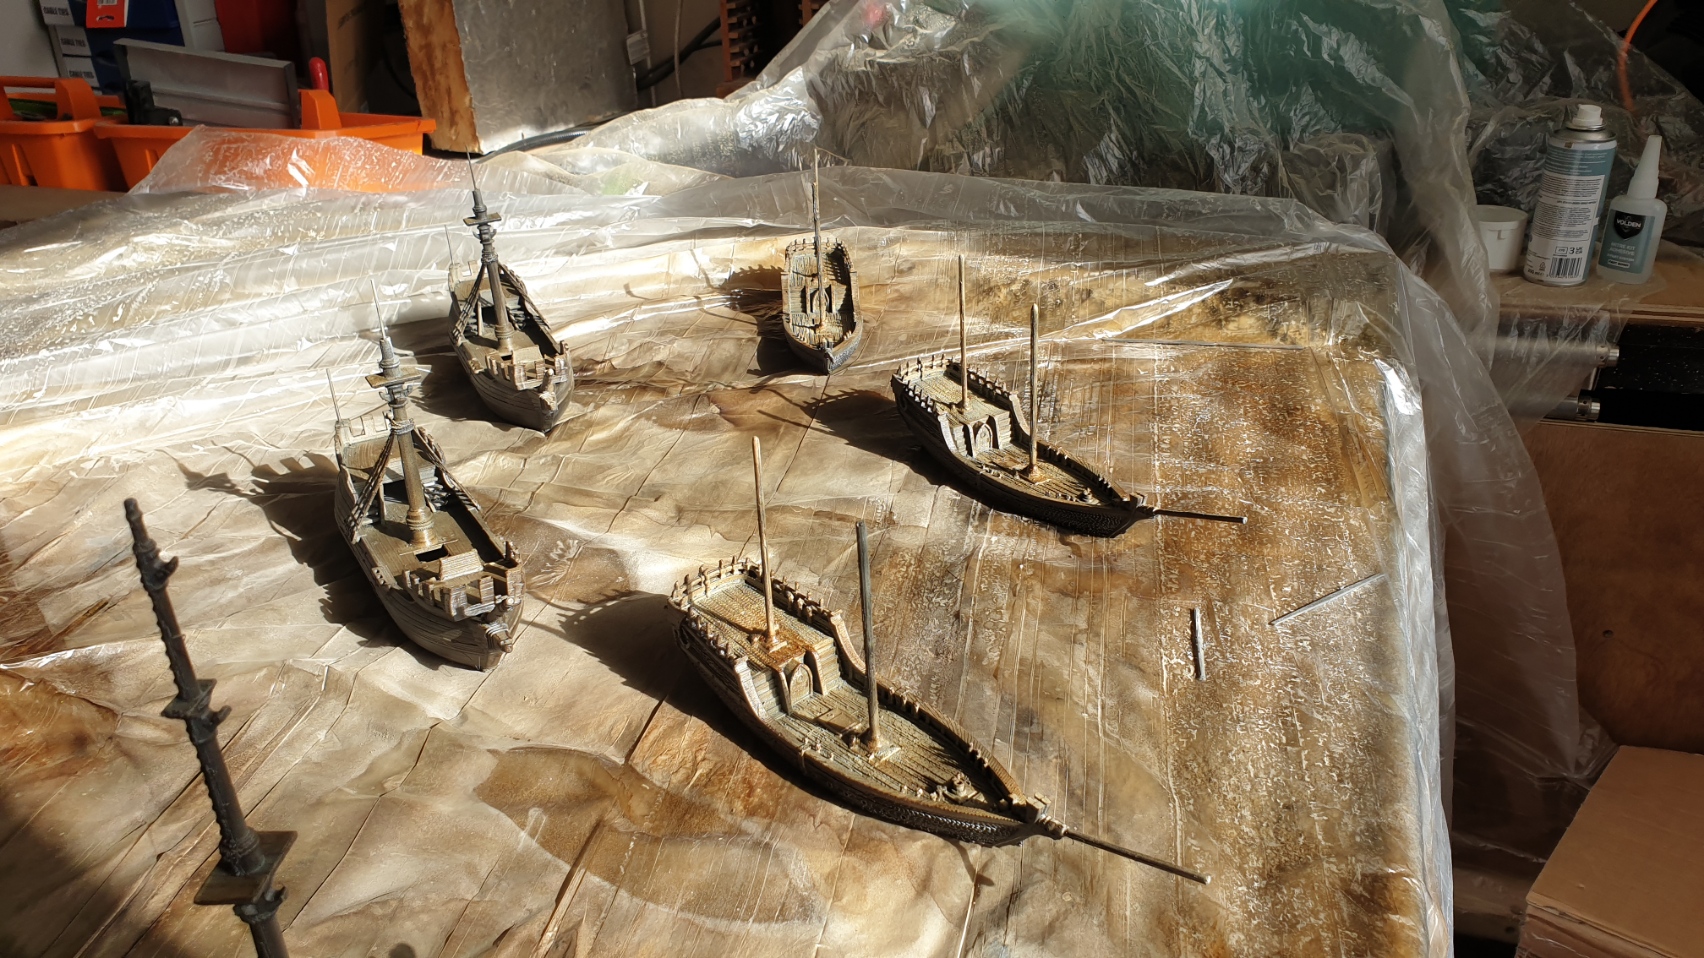
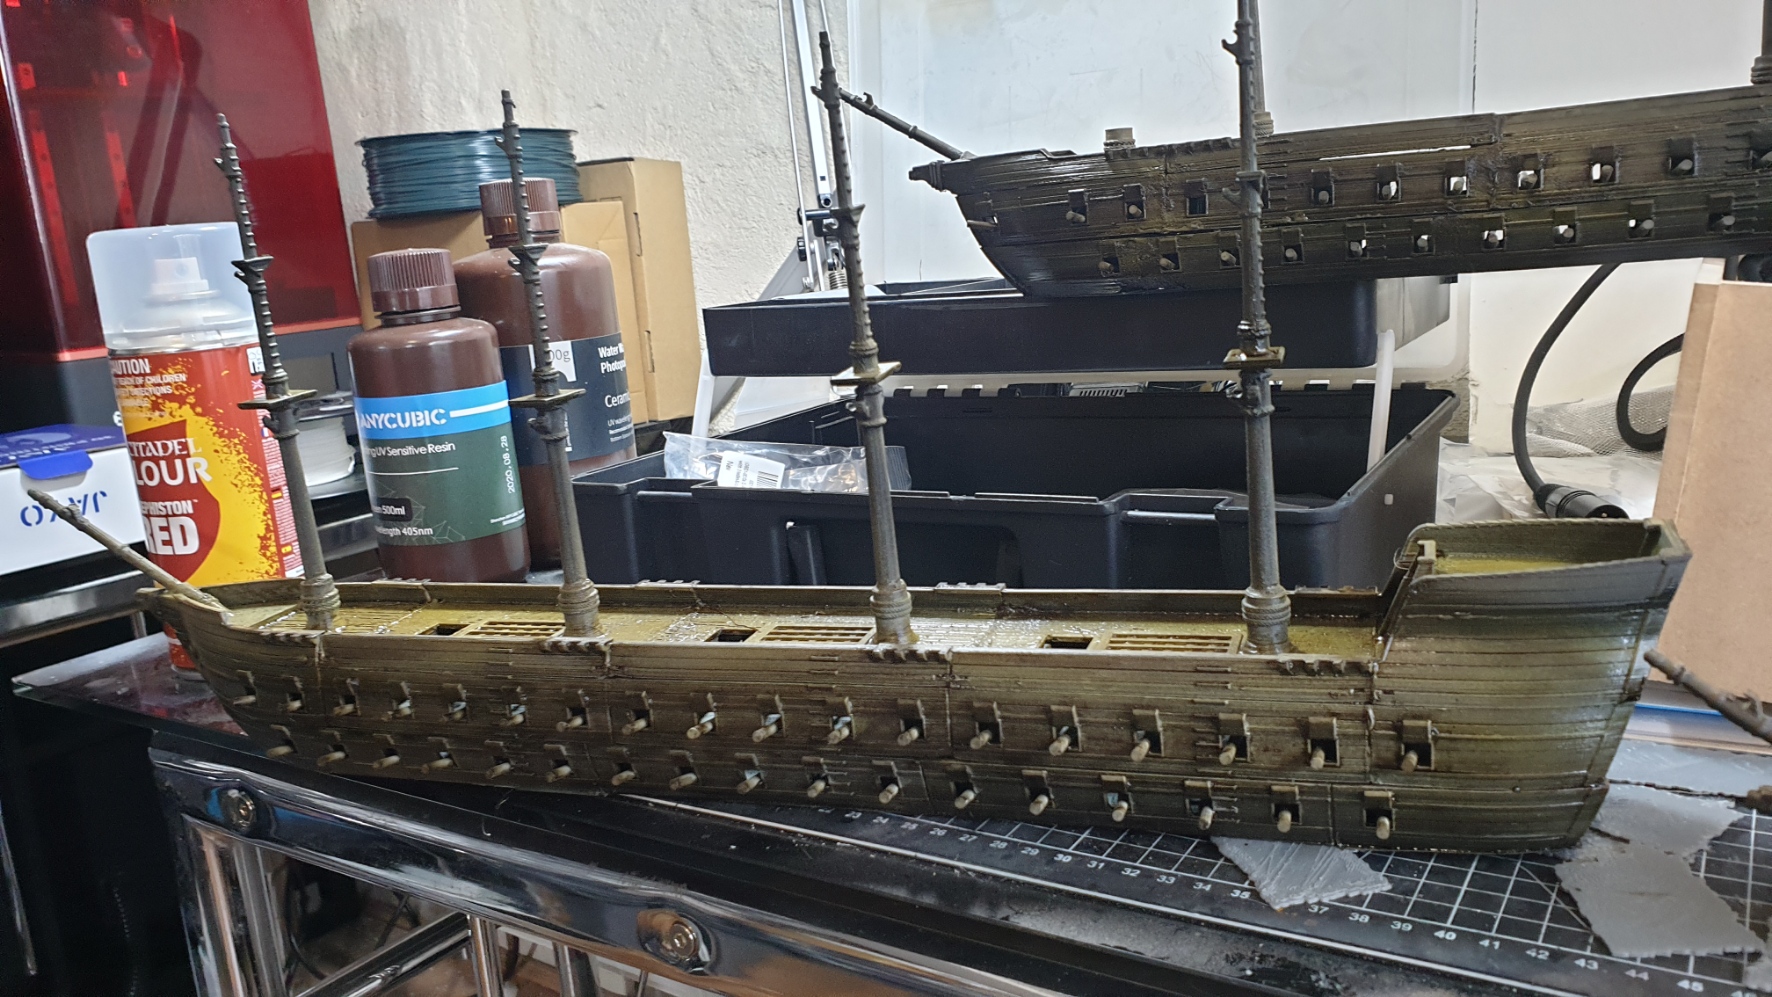
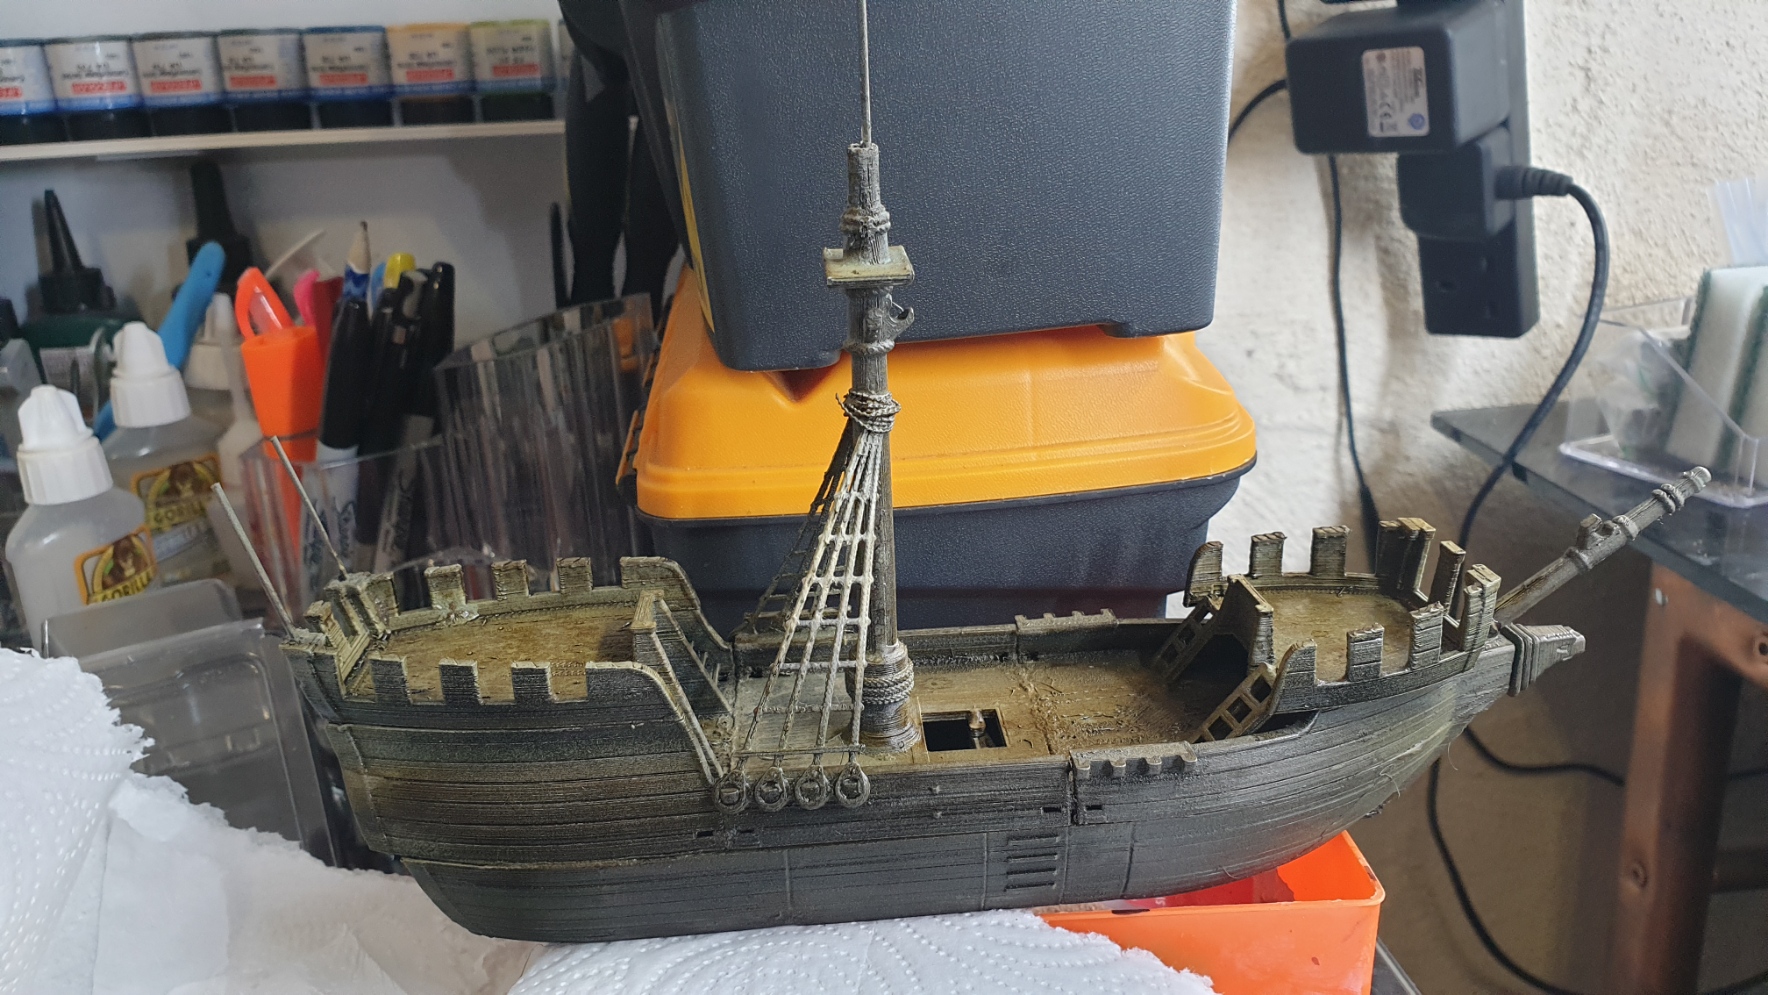
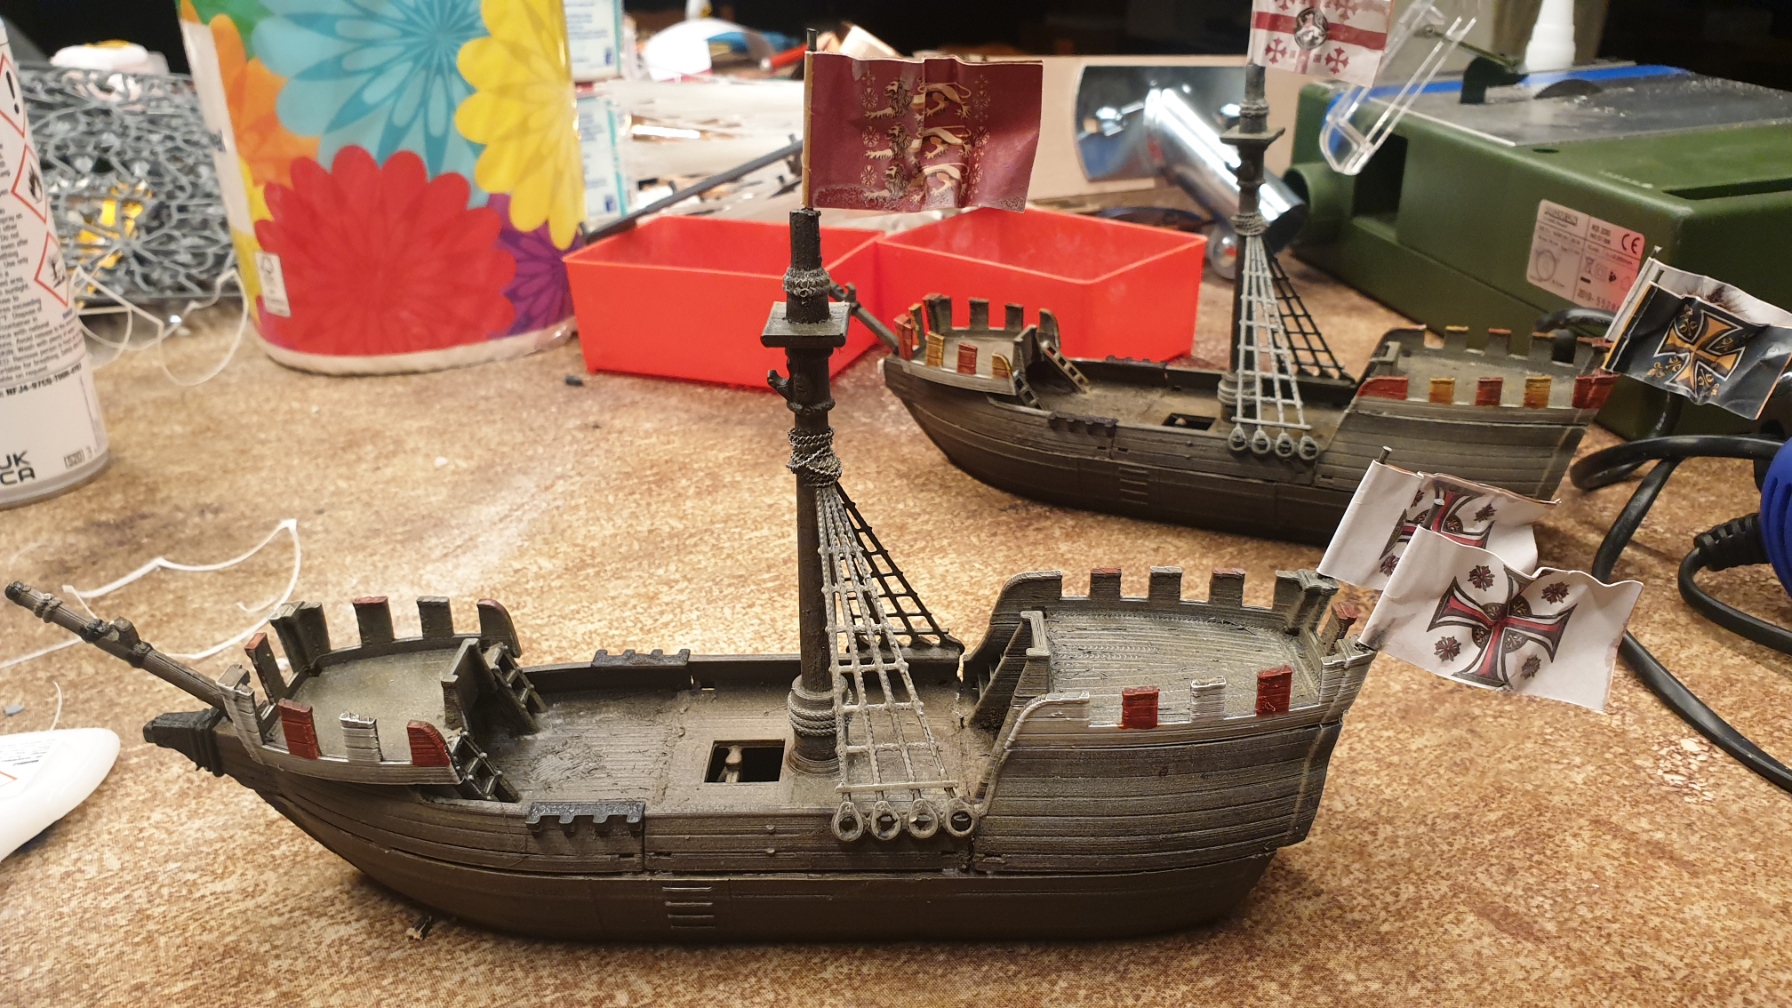
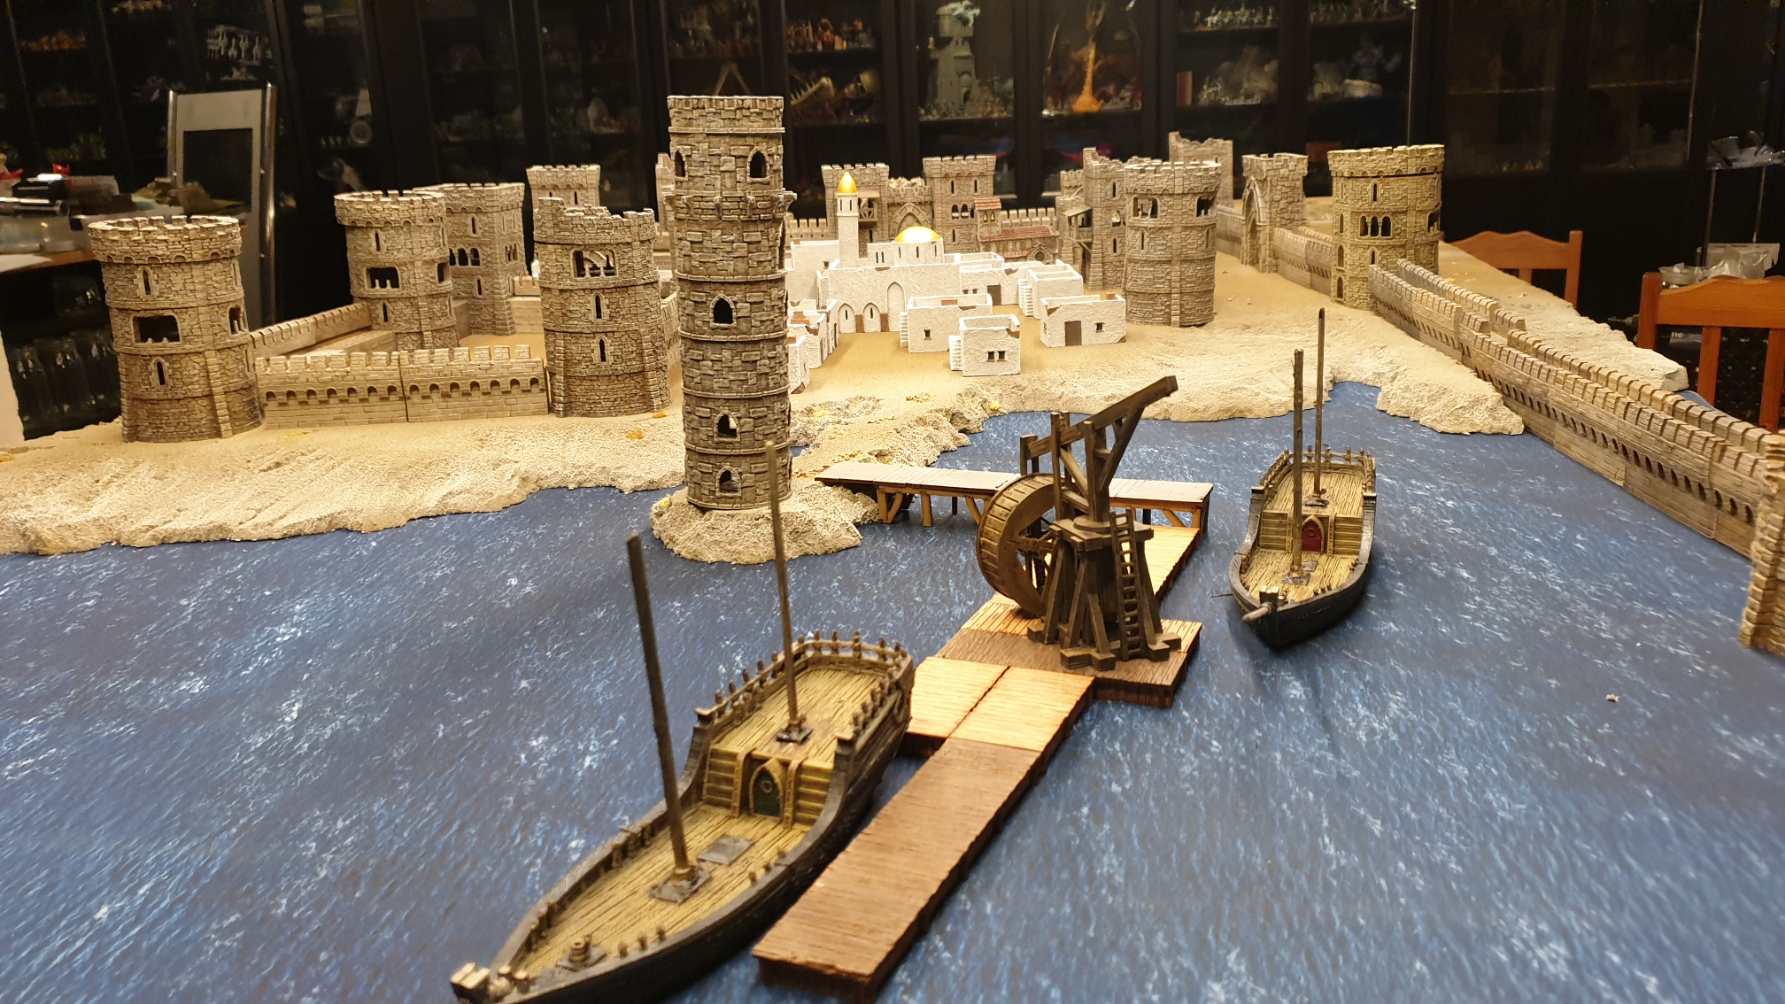
So ofcourse like any wargamer I get completely side tracked for a while and even start to 3D print some 15mm scaled ships to use on this table for a period shift to Napoleonic time scales…
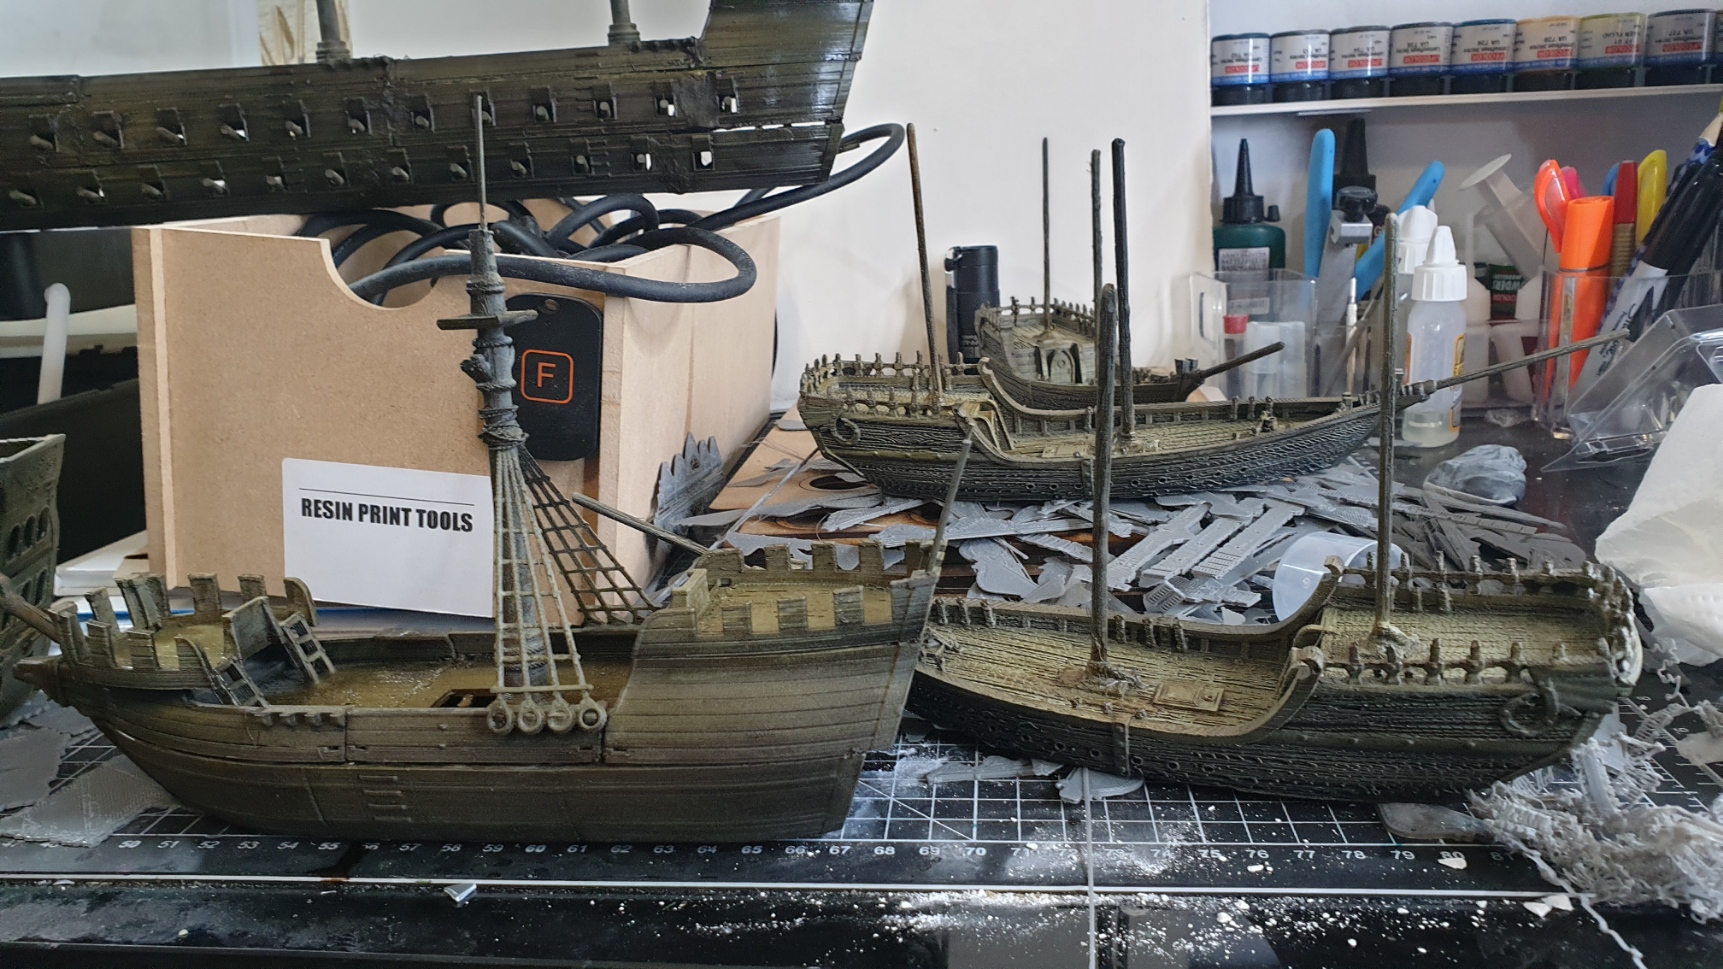
However it was time well spent...
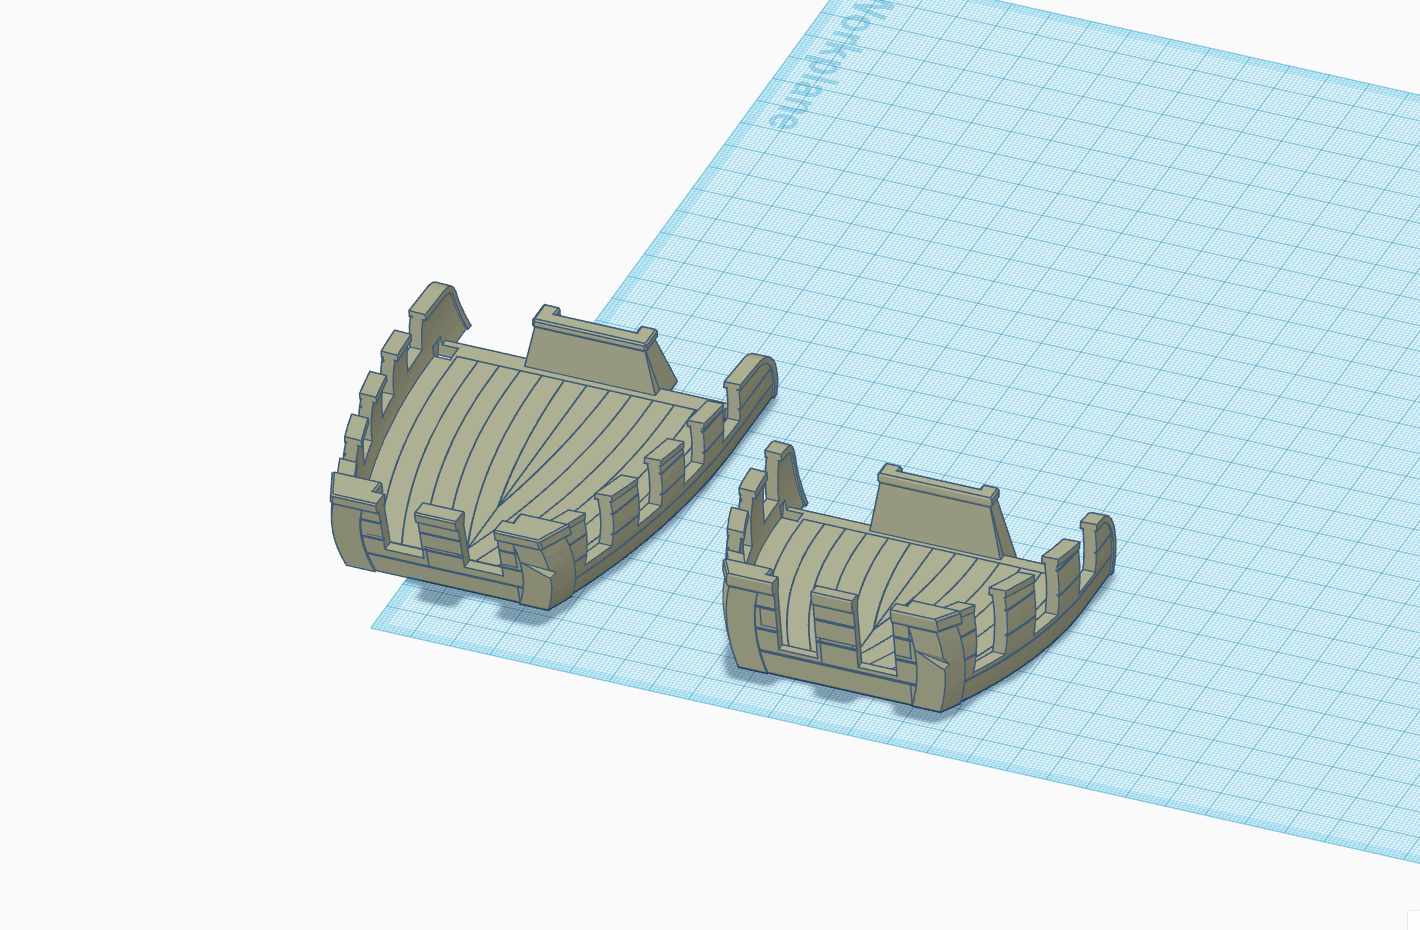

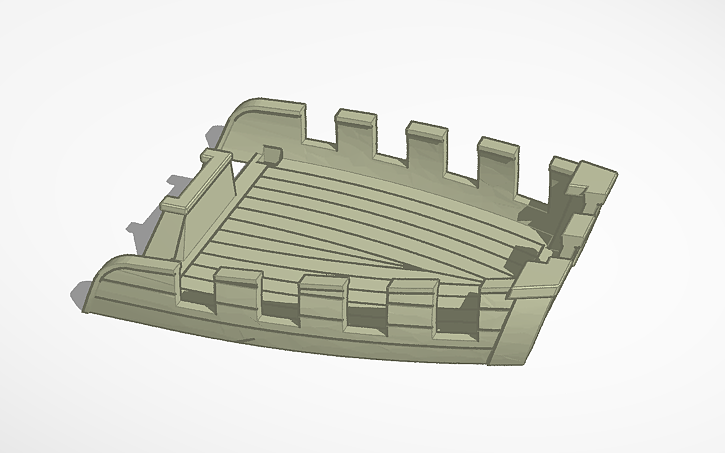
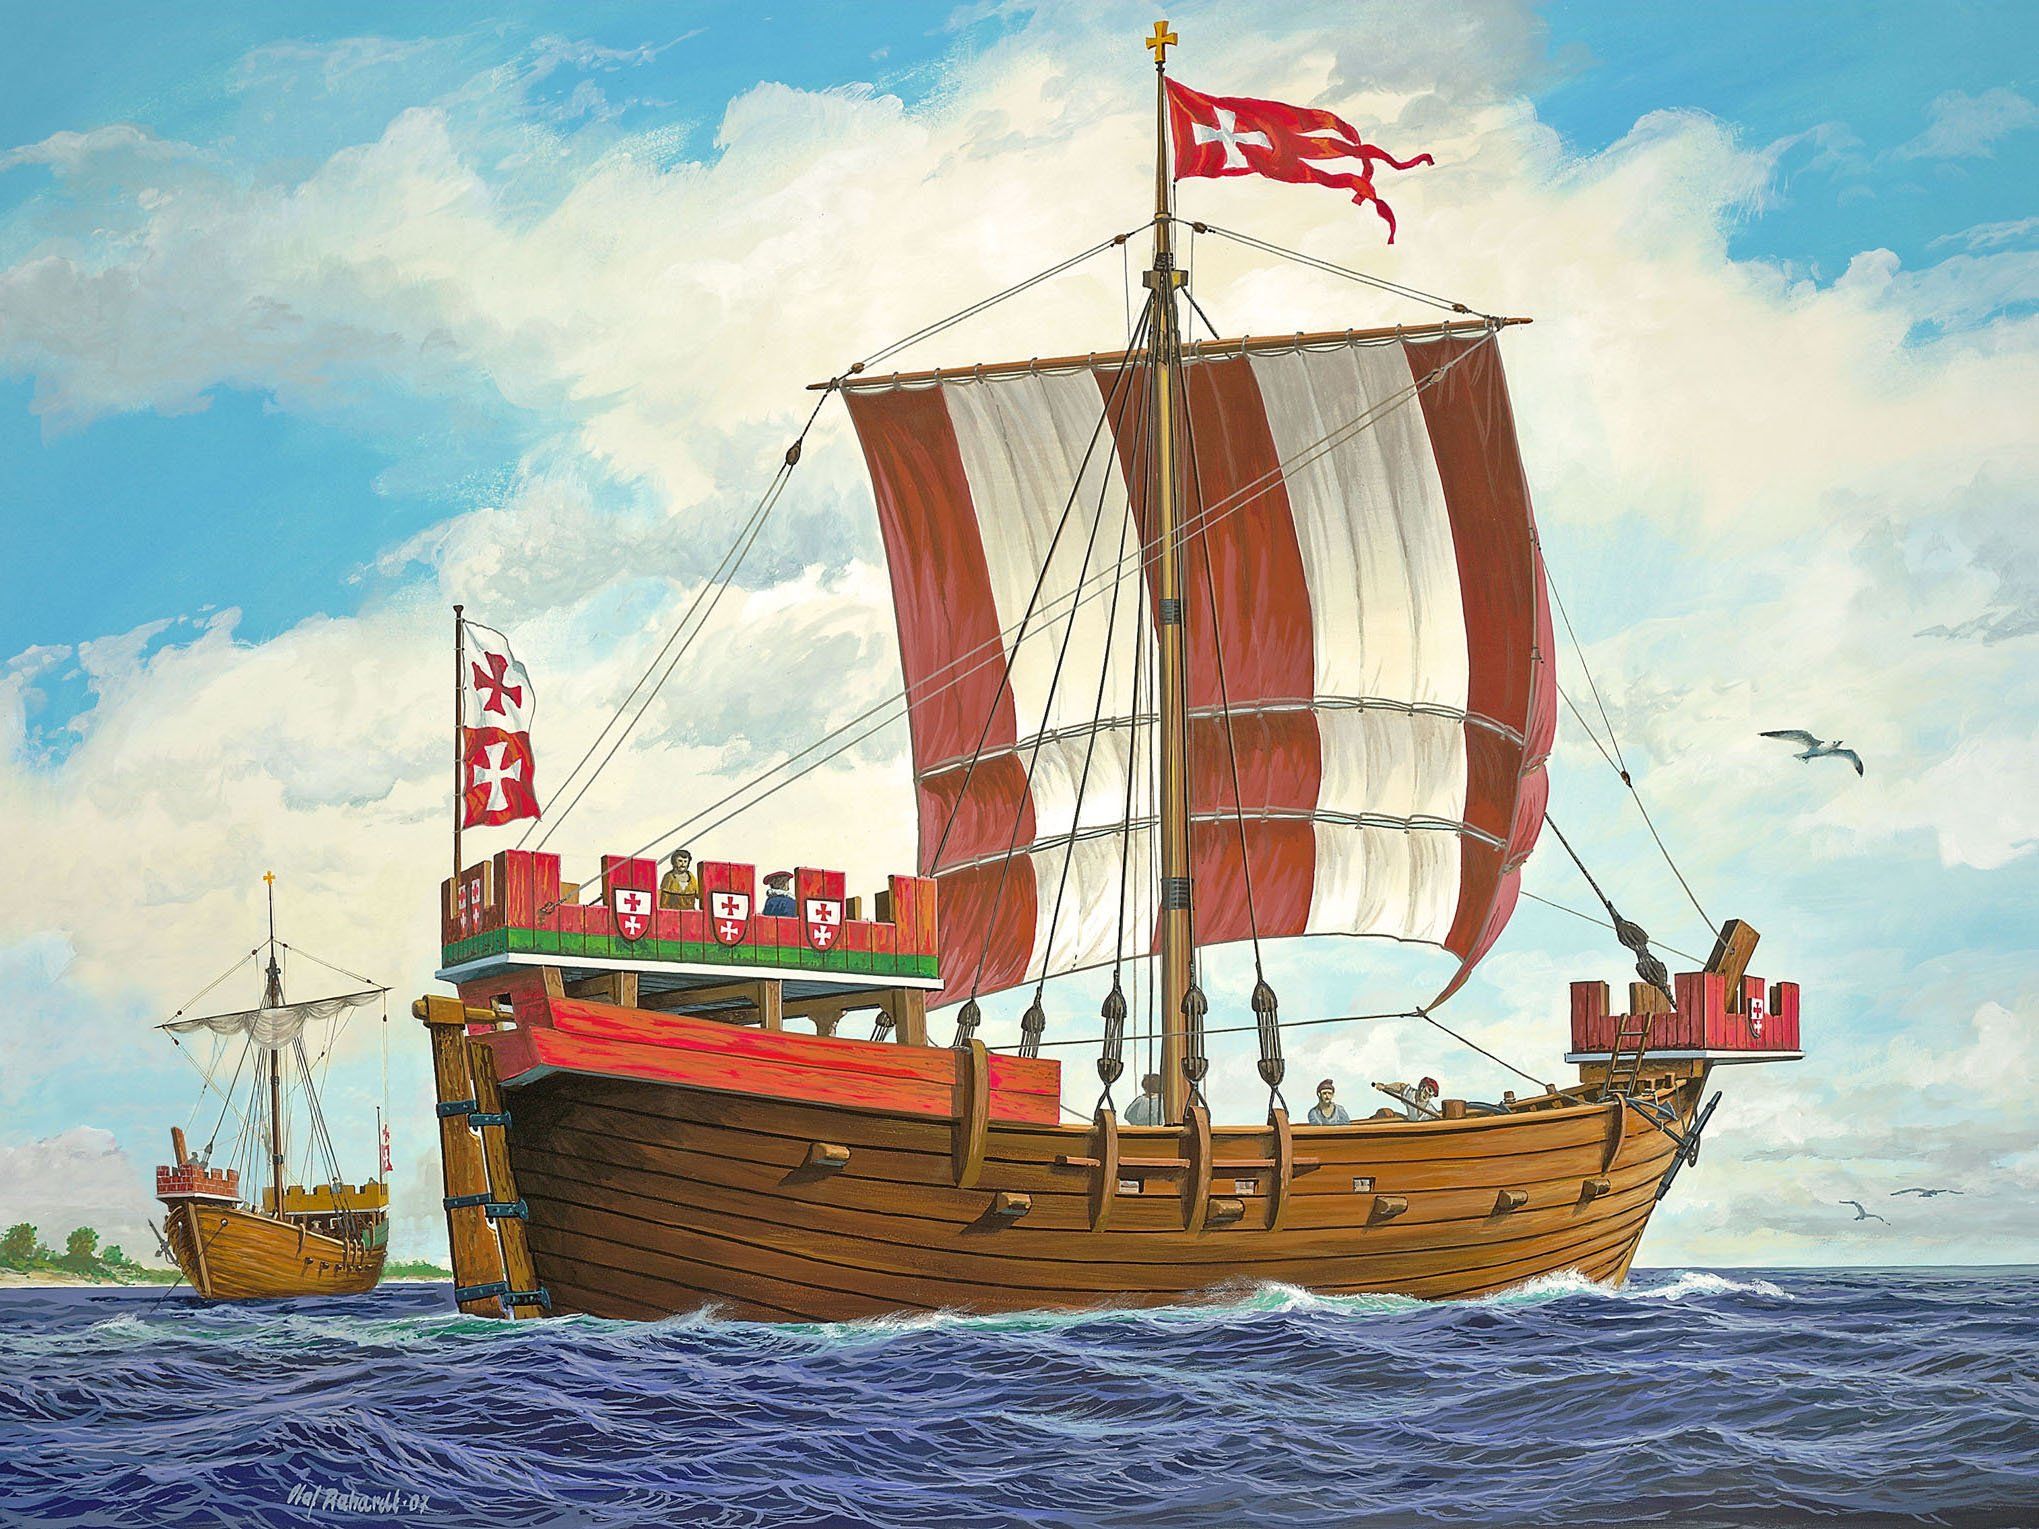
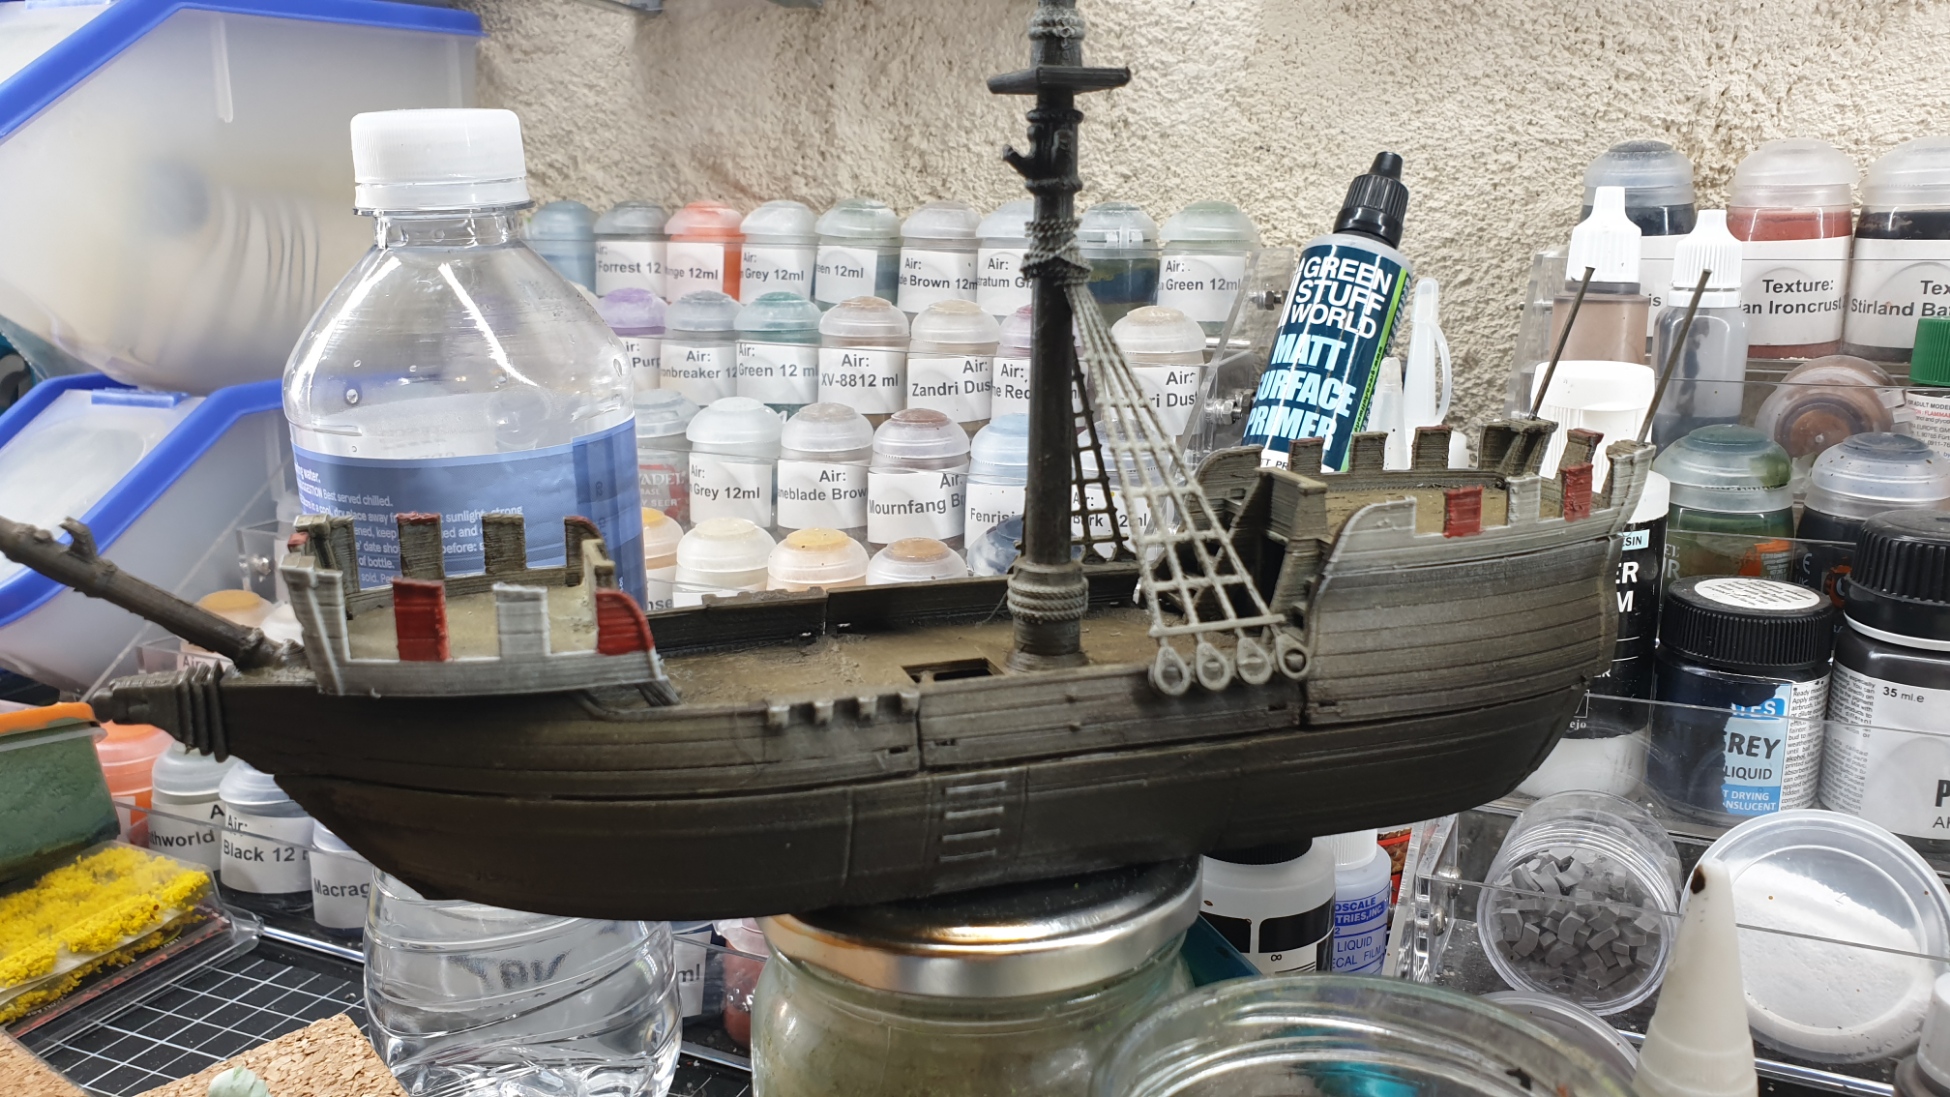
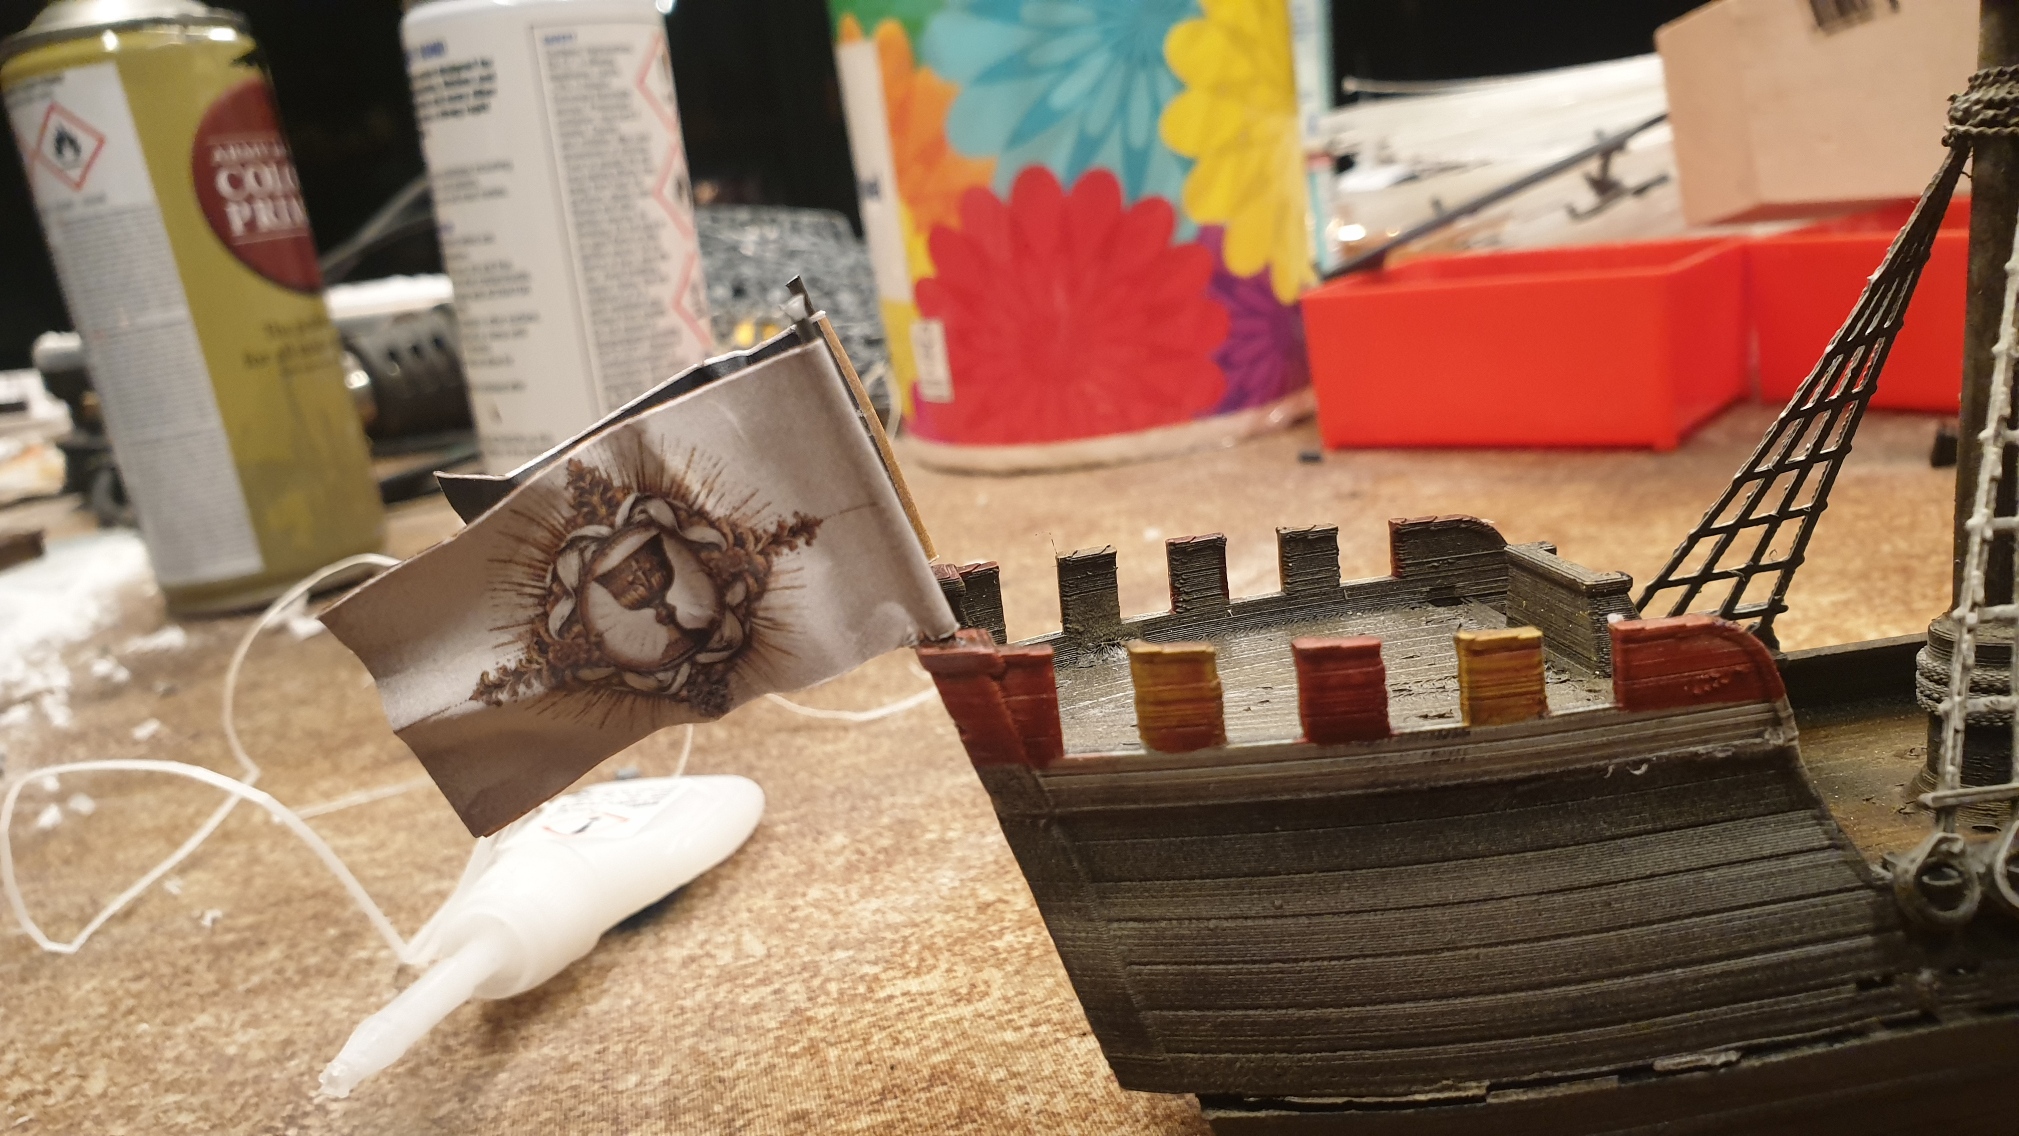
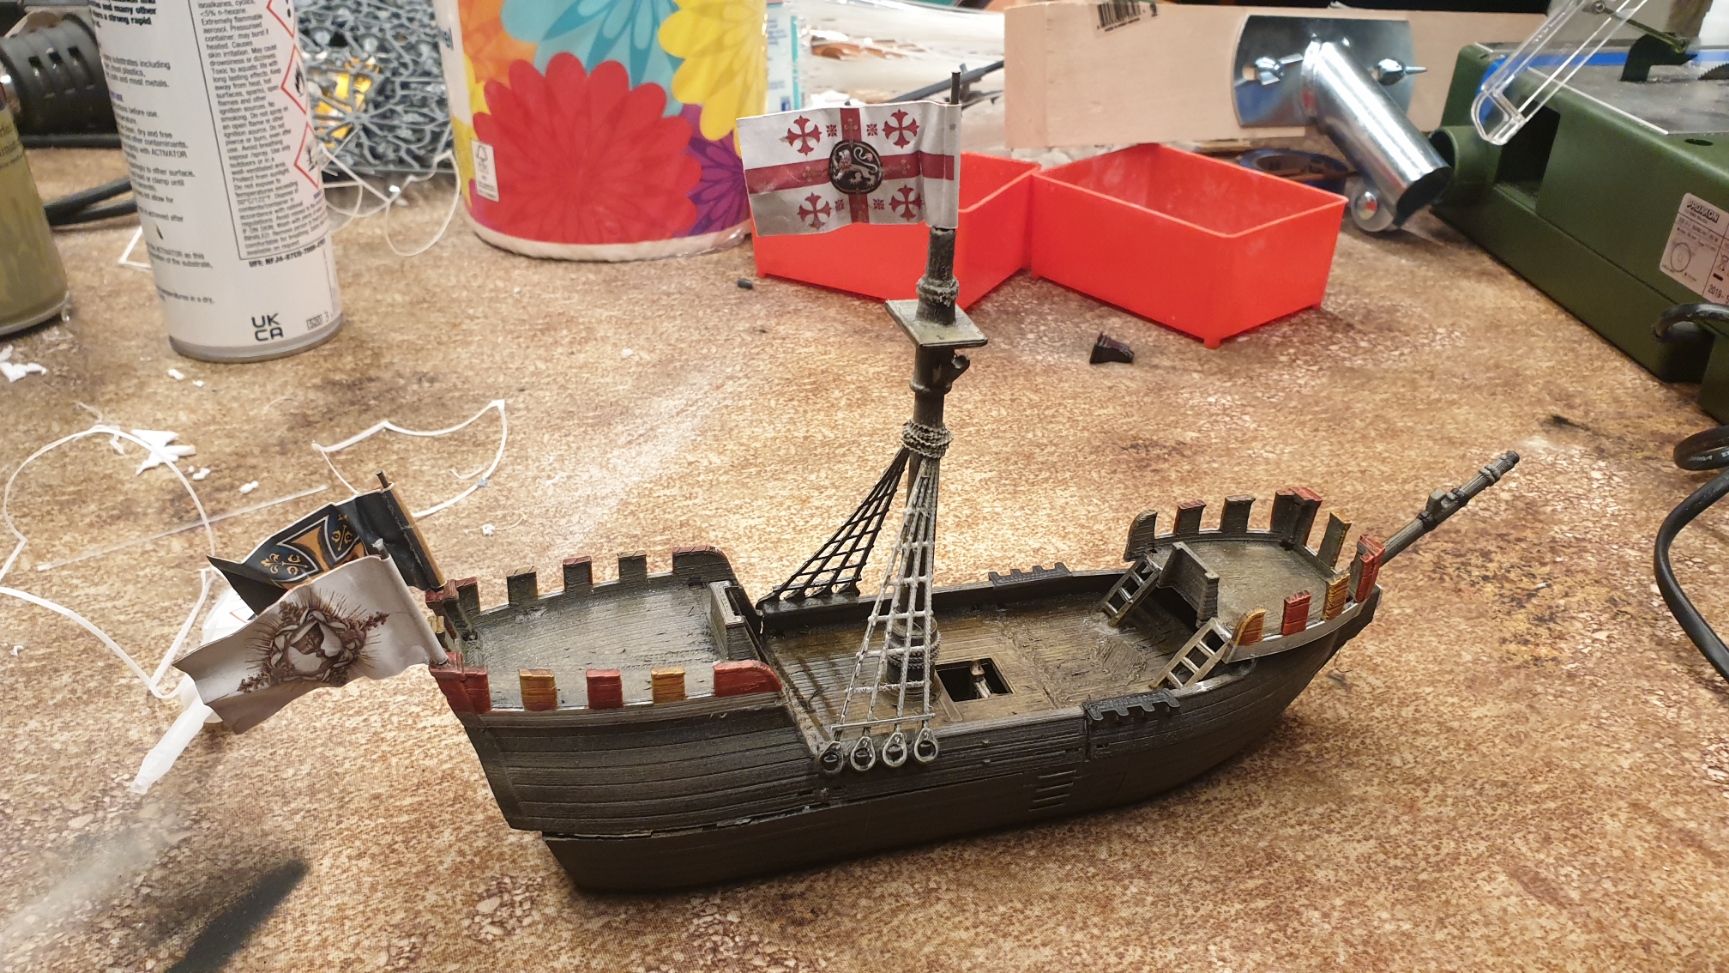
I was able to modify the components of the excellent modular ship file to create crusader style cogs complete with cute little battlements!
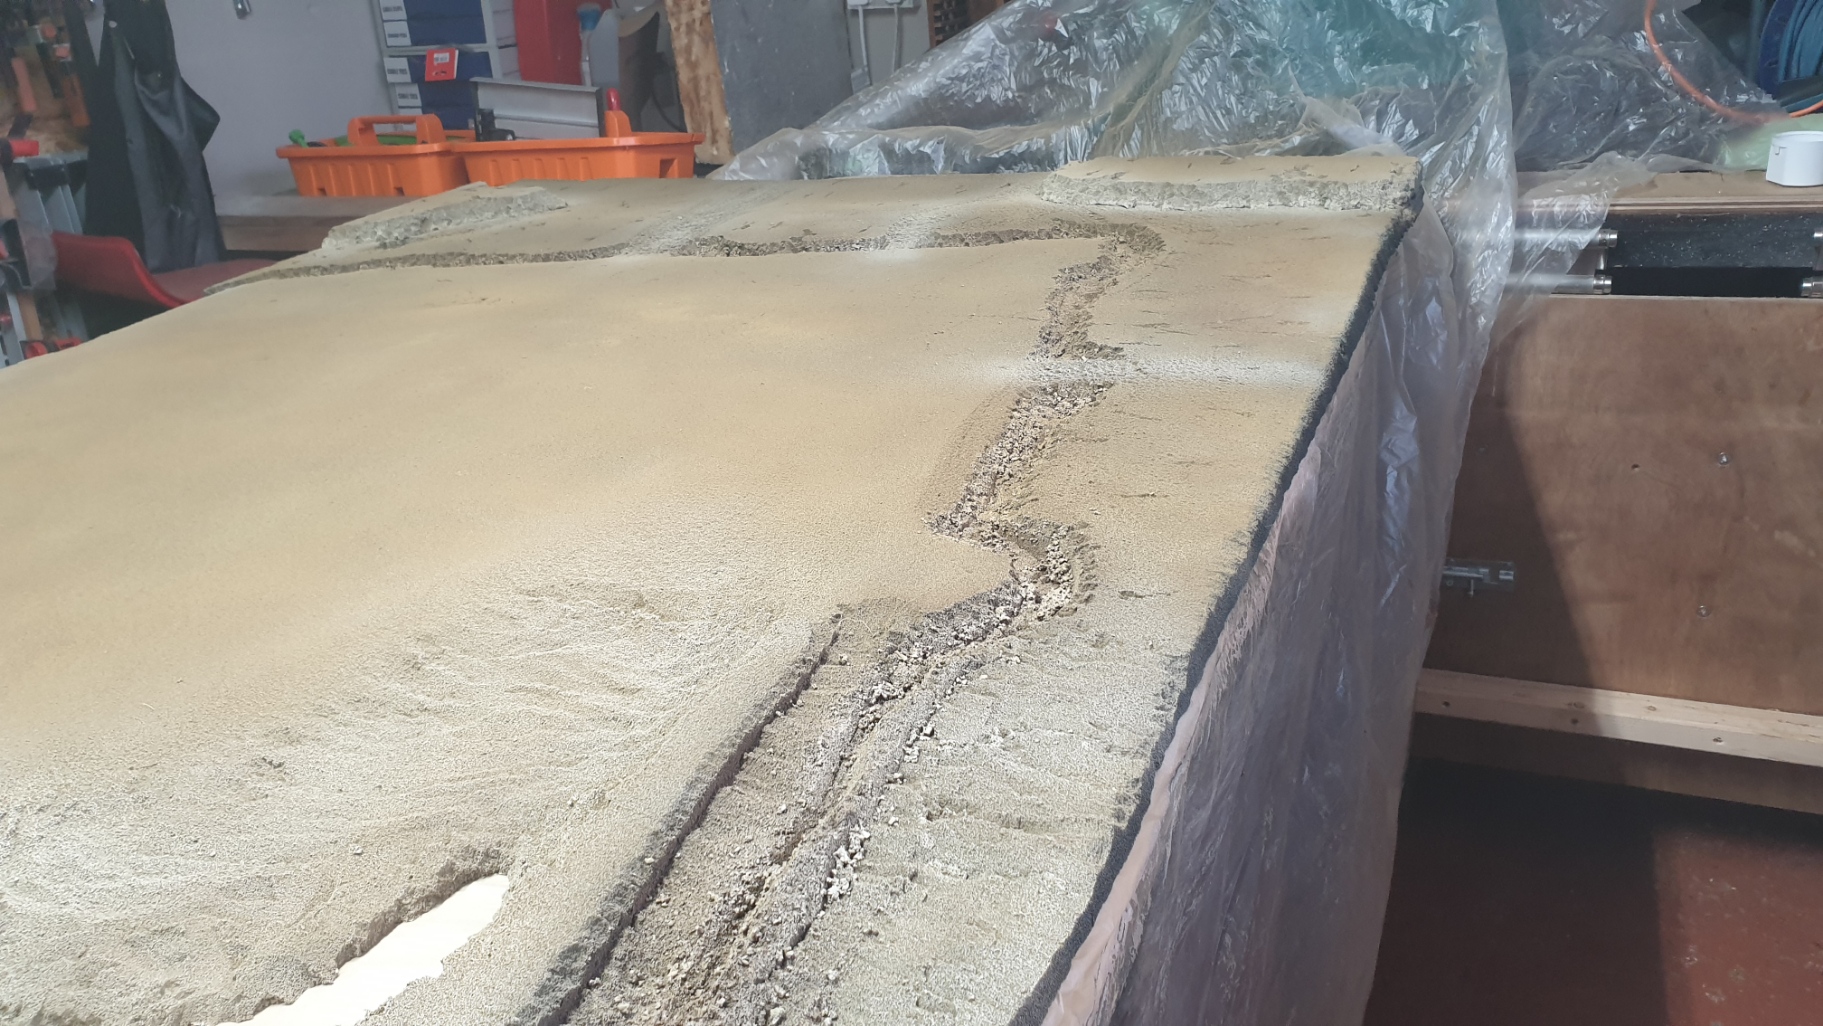
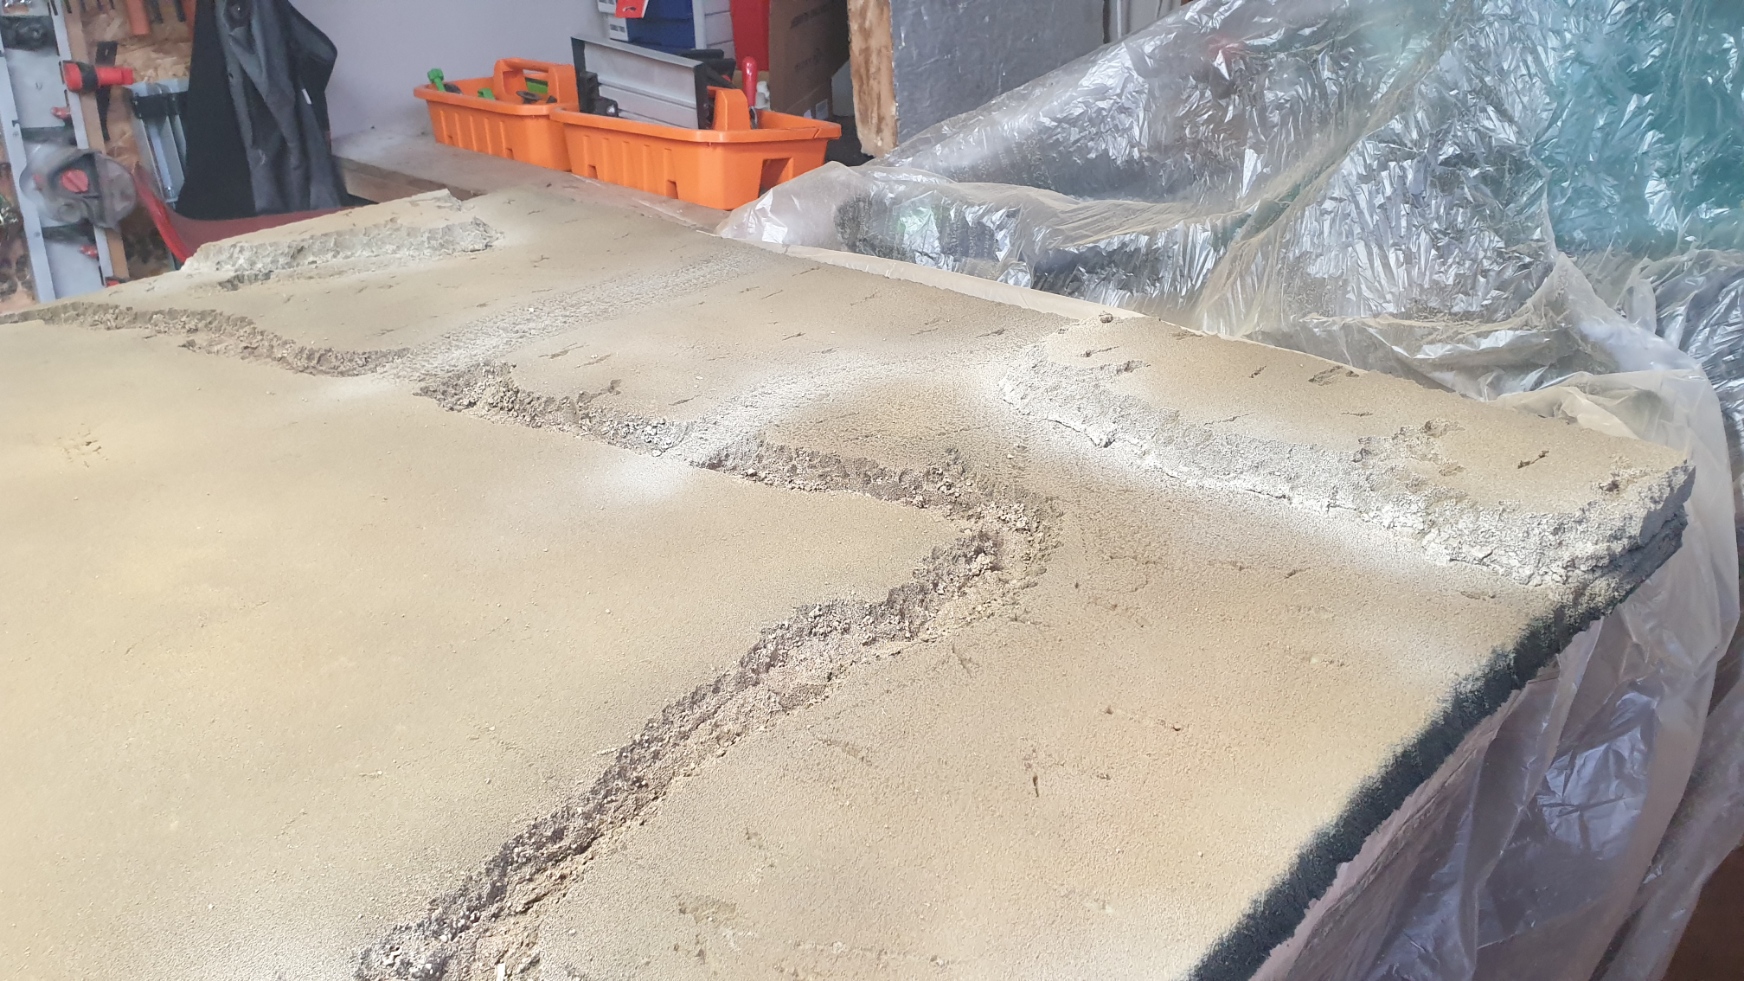
Meanwhile drying was taking ages – not the spray… but the thinned silicone so time for drastic measures – take it outside!
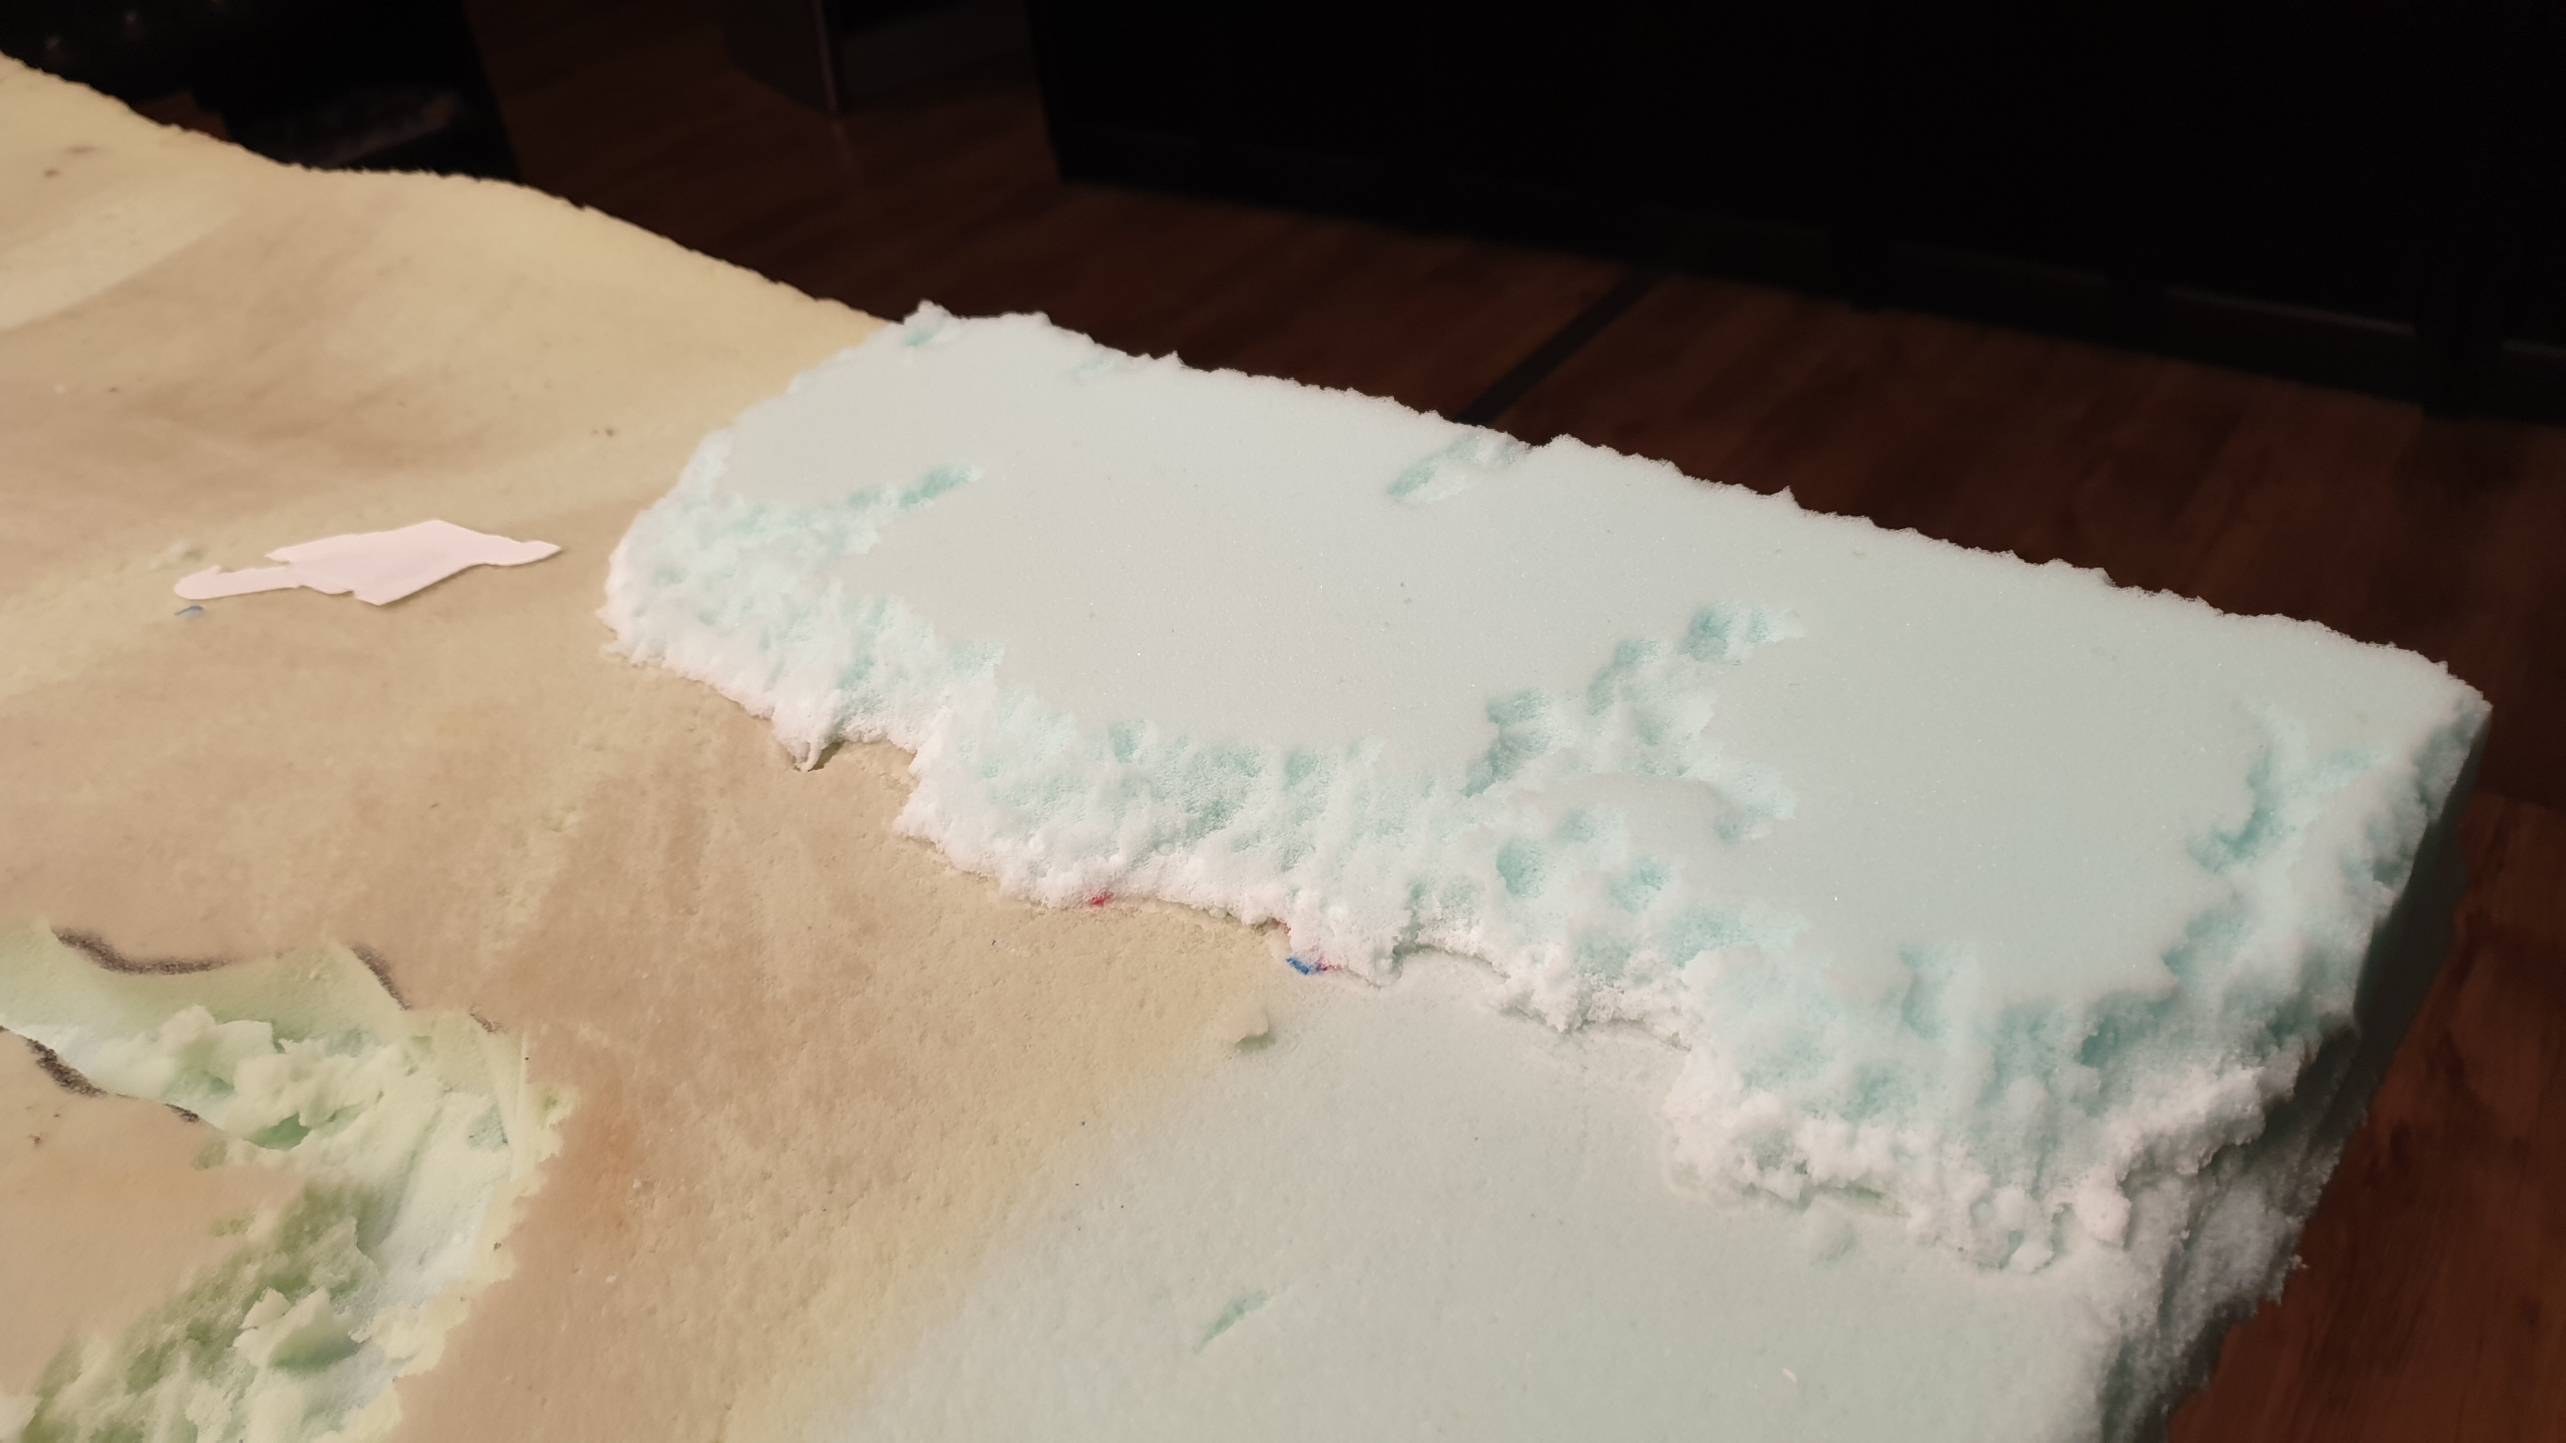
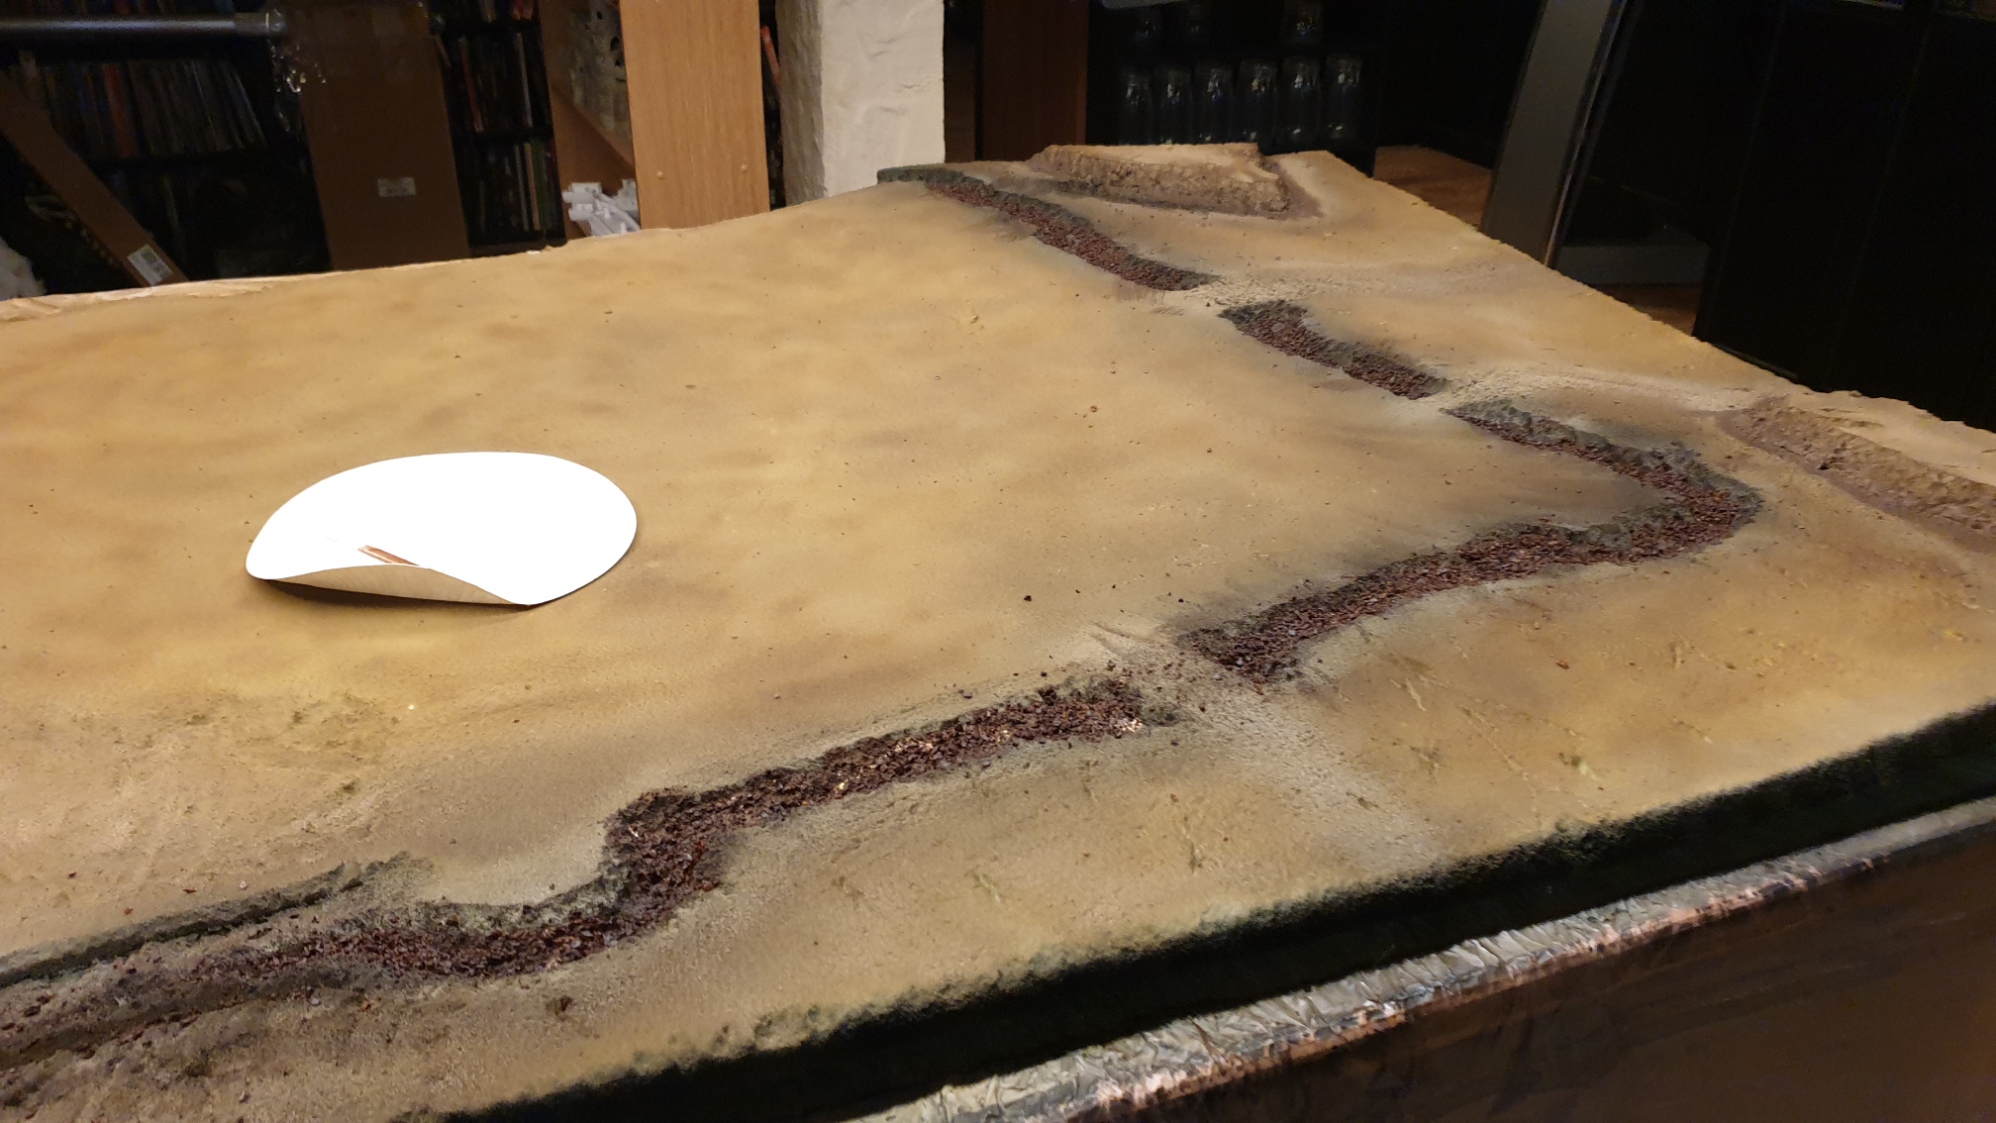
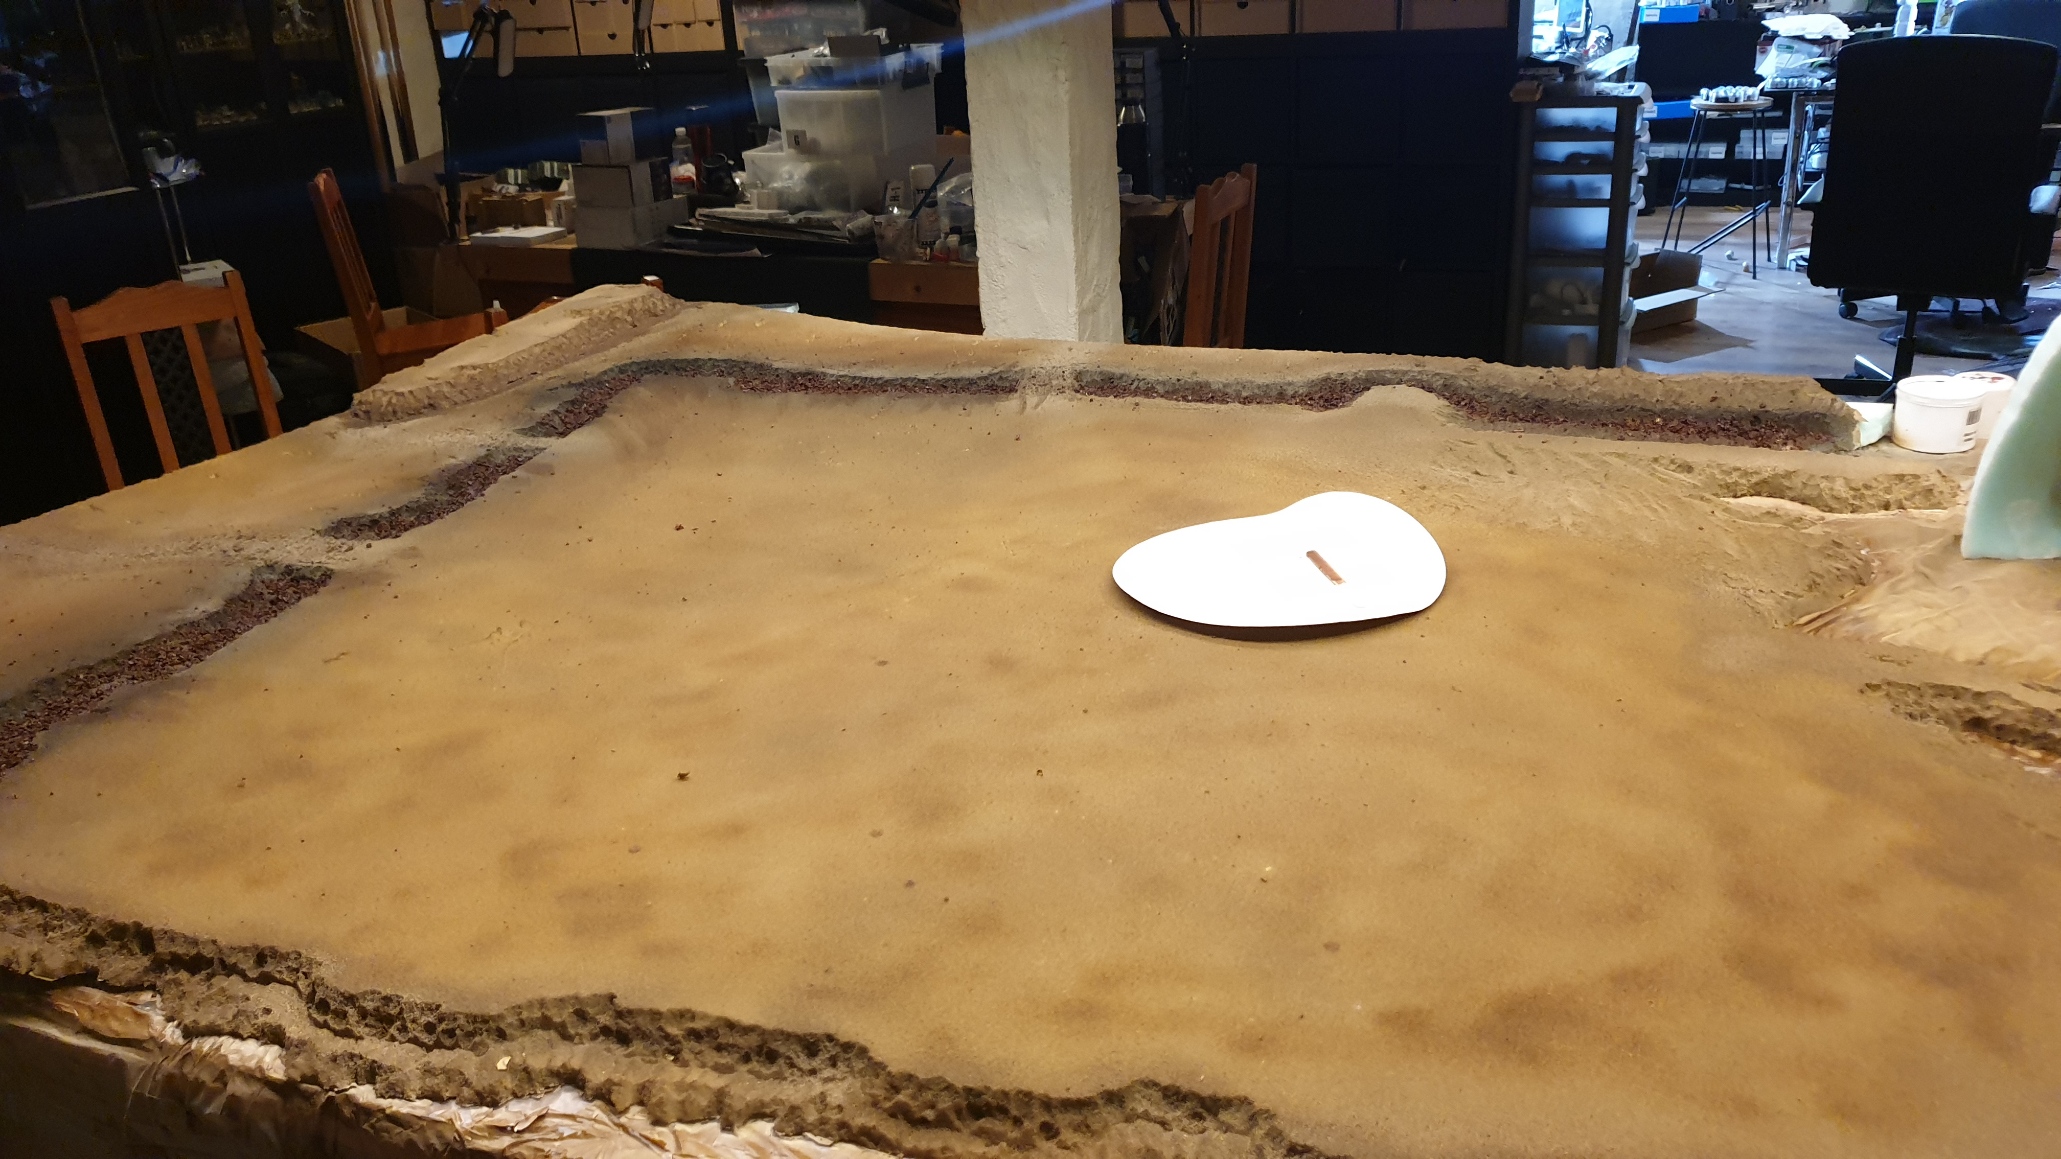
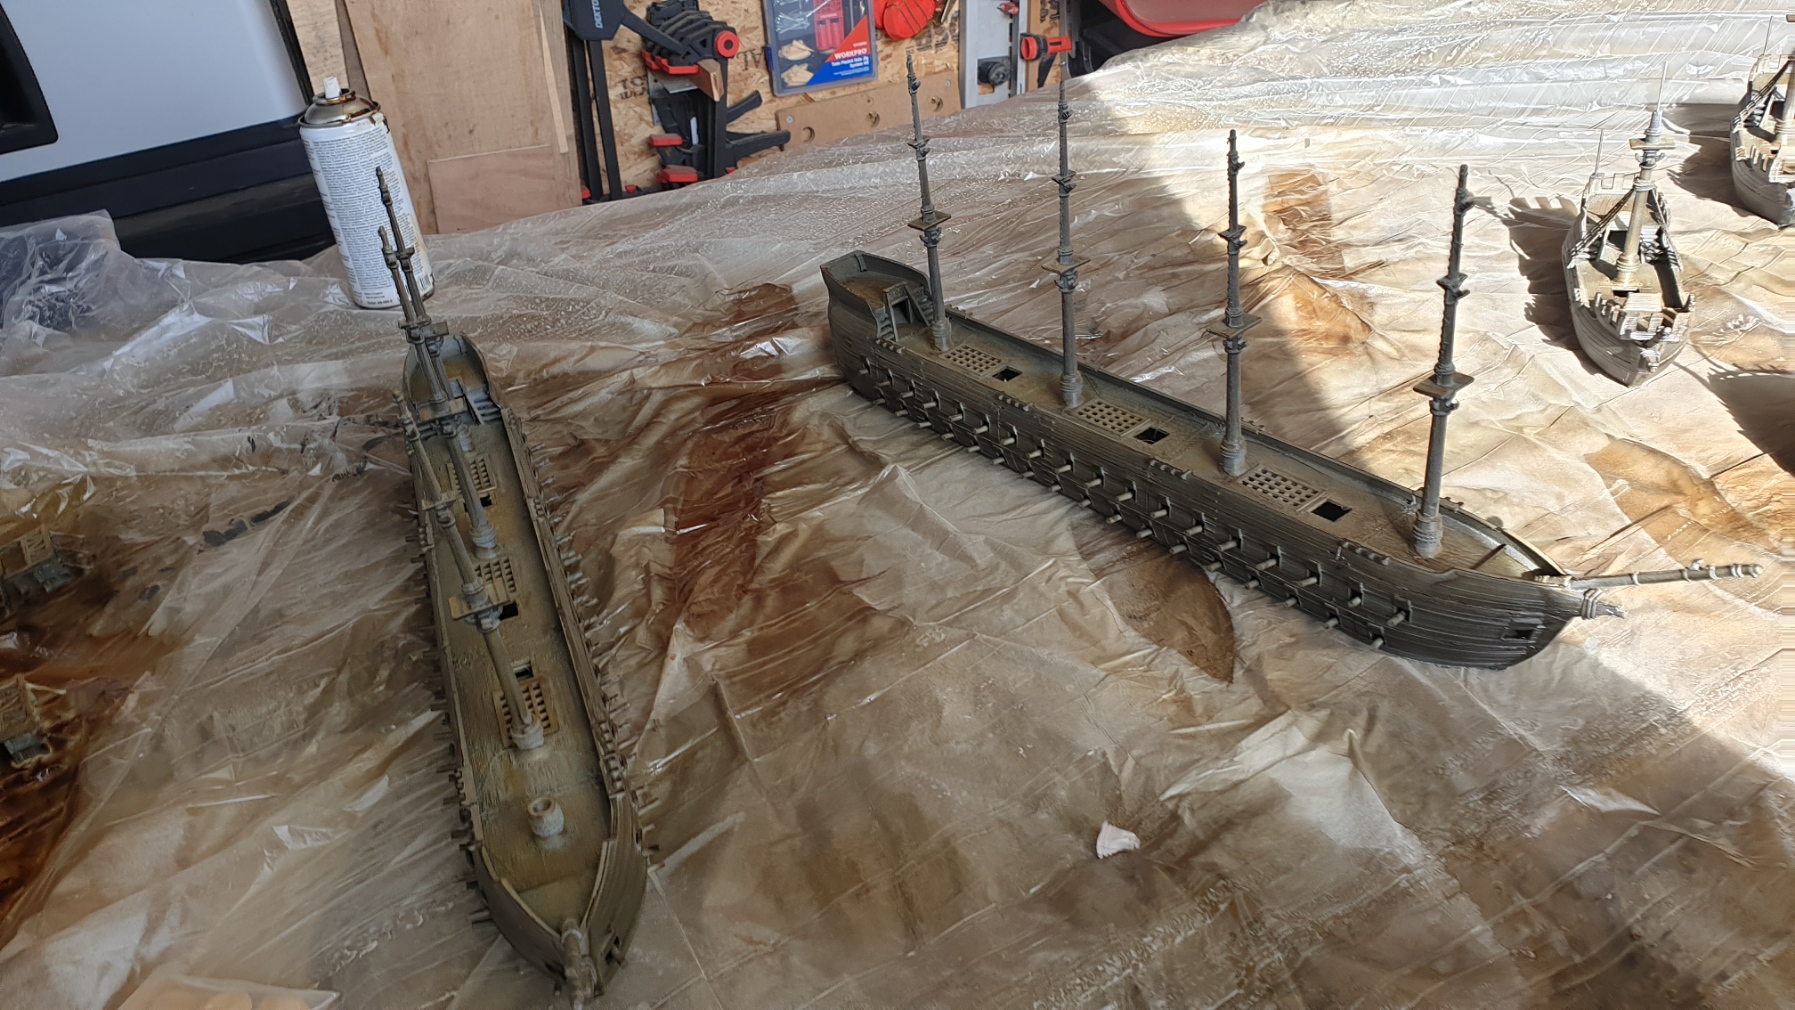
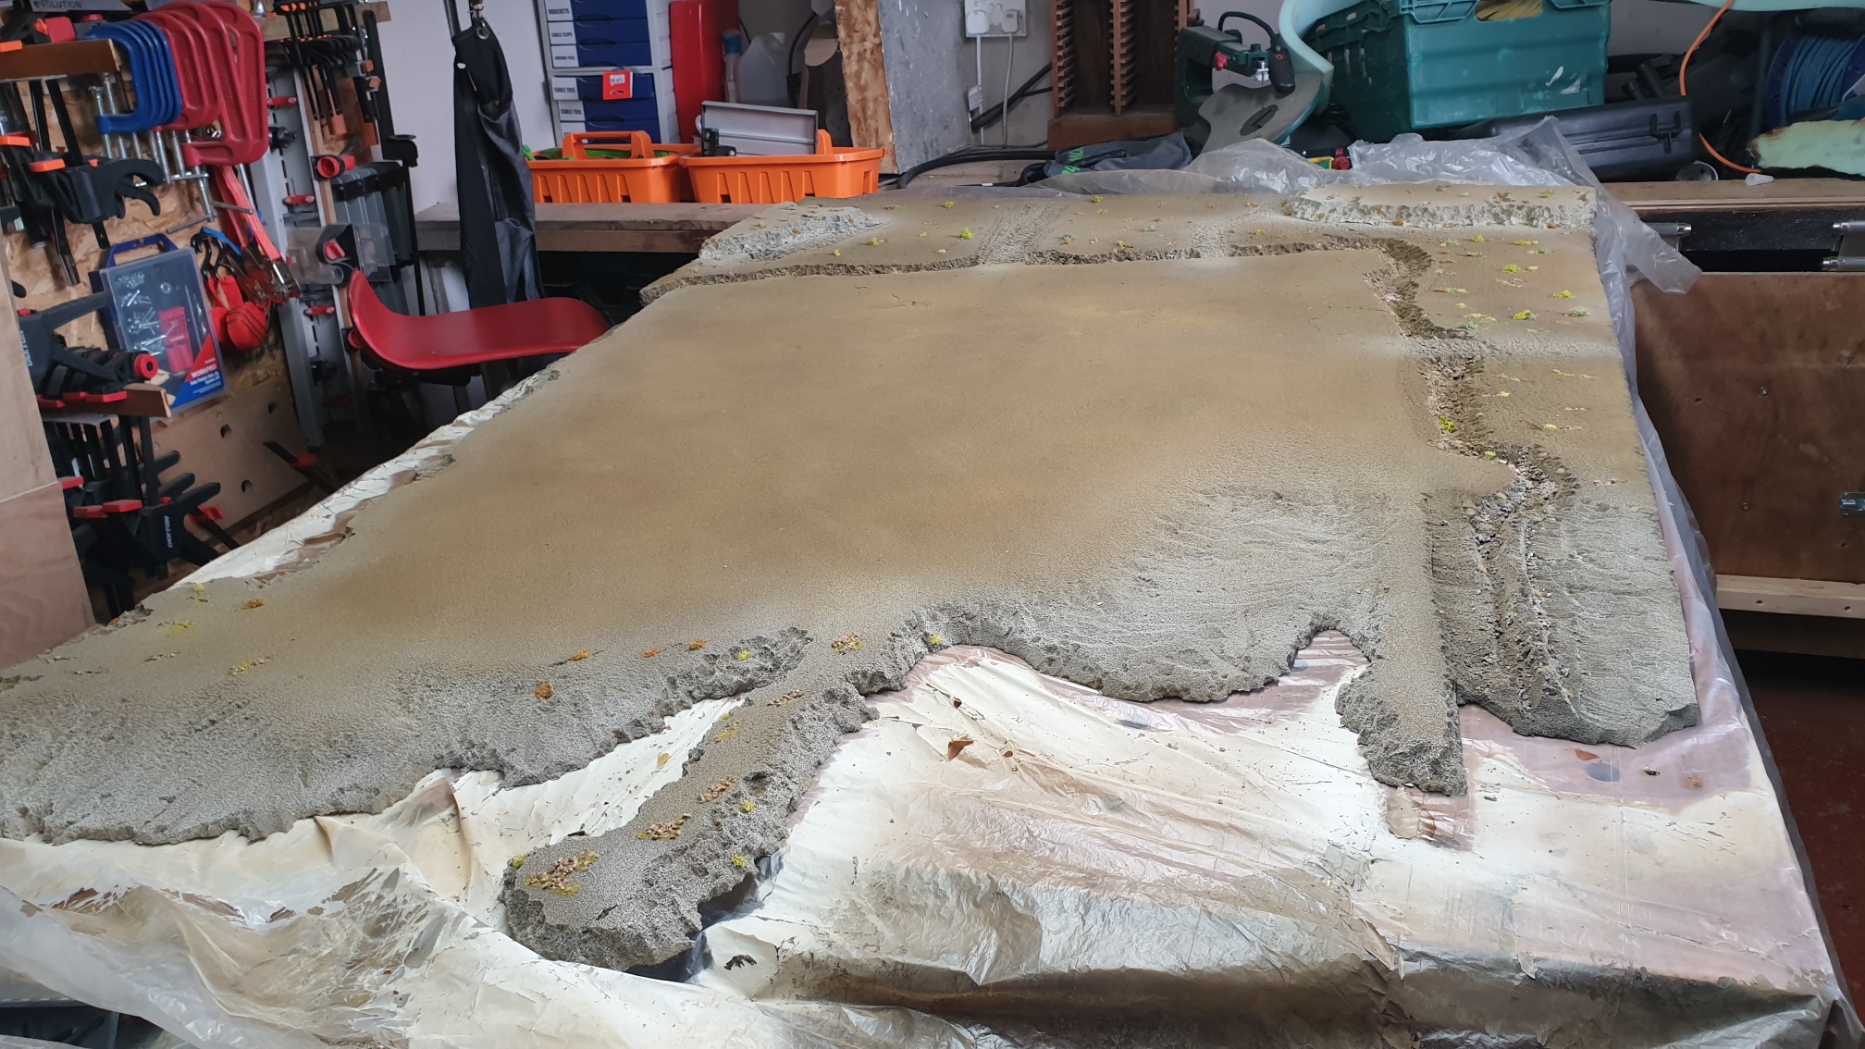
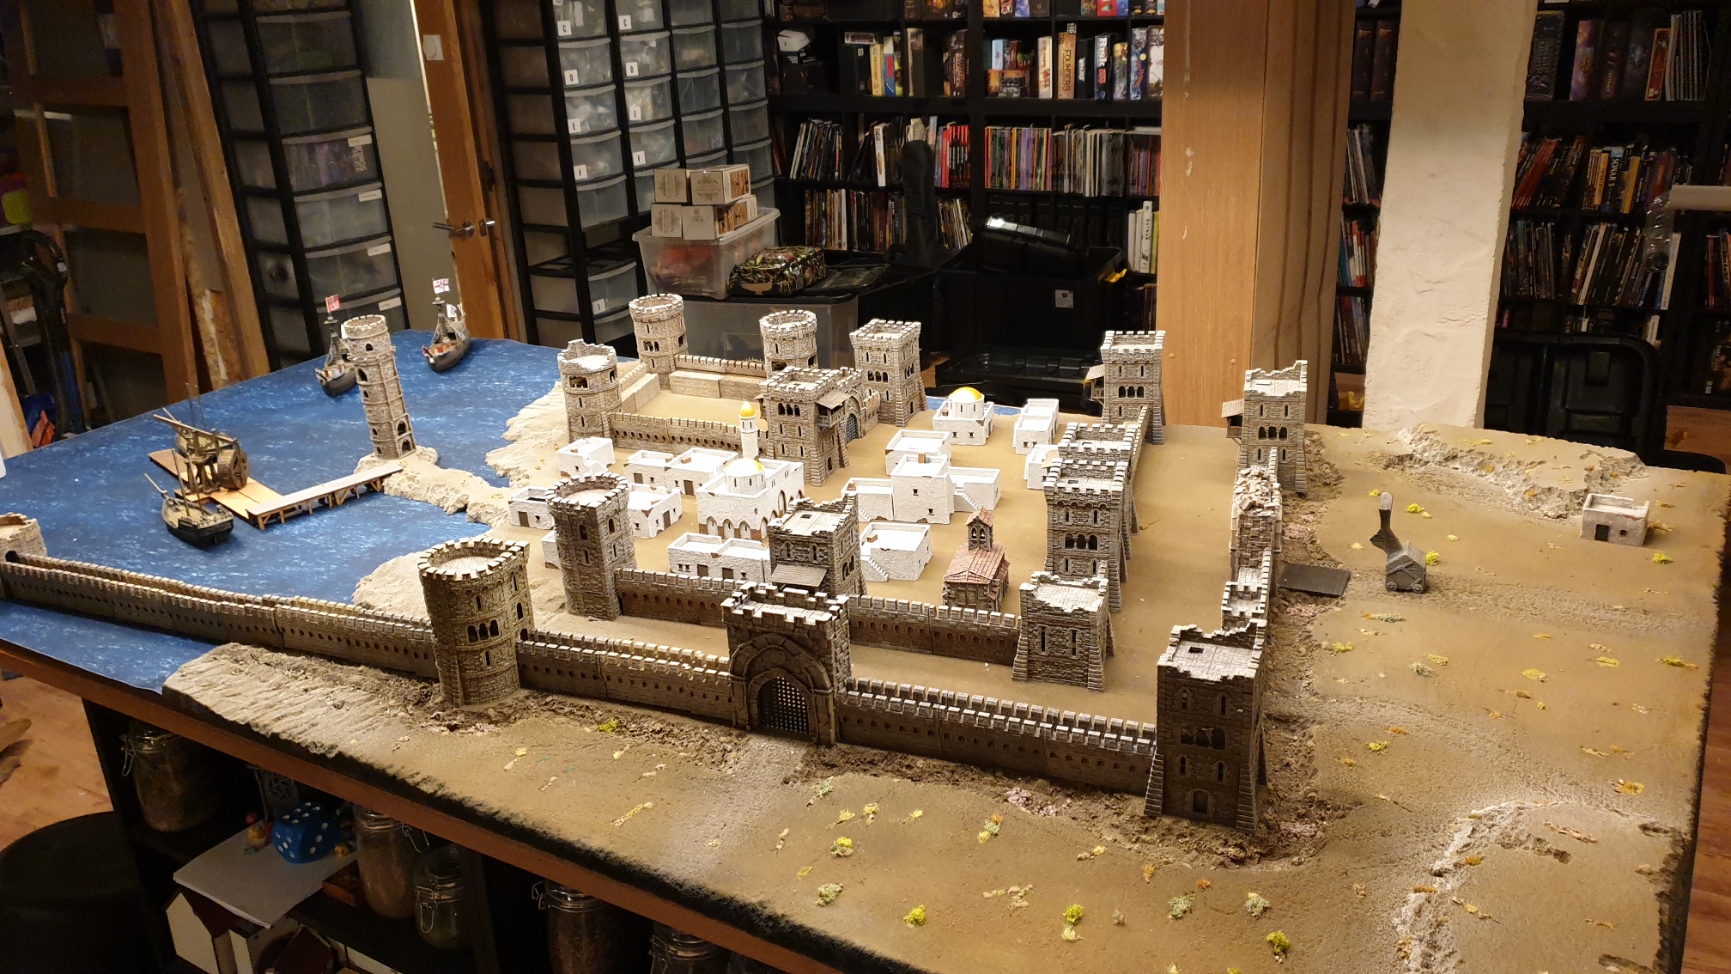
Painting Round 2
When the foam finaly dried I moved the project to my workshop as it was starting to get very messy.
The rubble mix in the dry moat had not set very well and I ended up just scraping a load of it out. But what was left actually looked and worked fine so really it was more of a case of me over doing it in the first place.
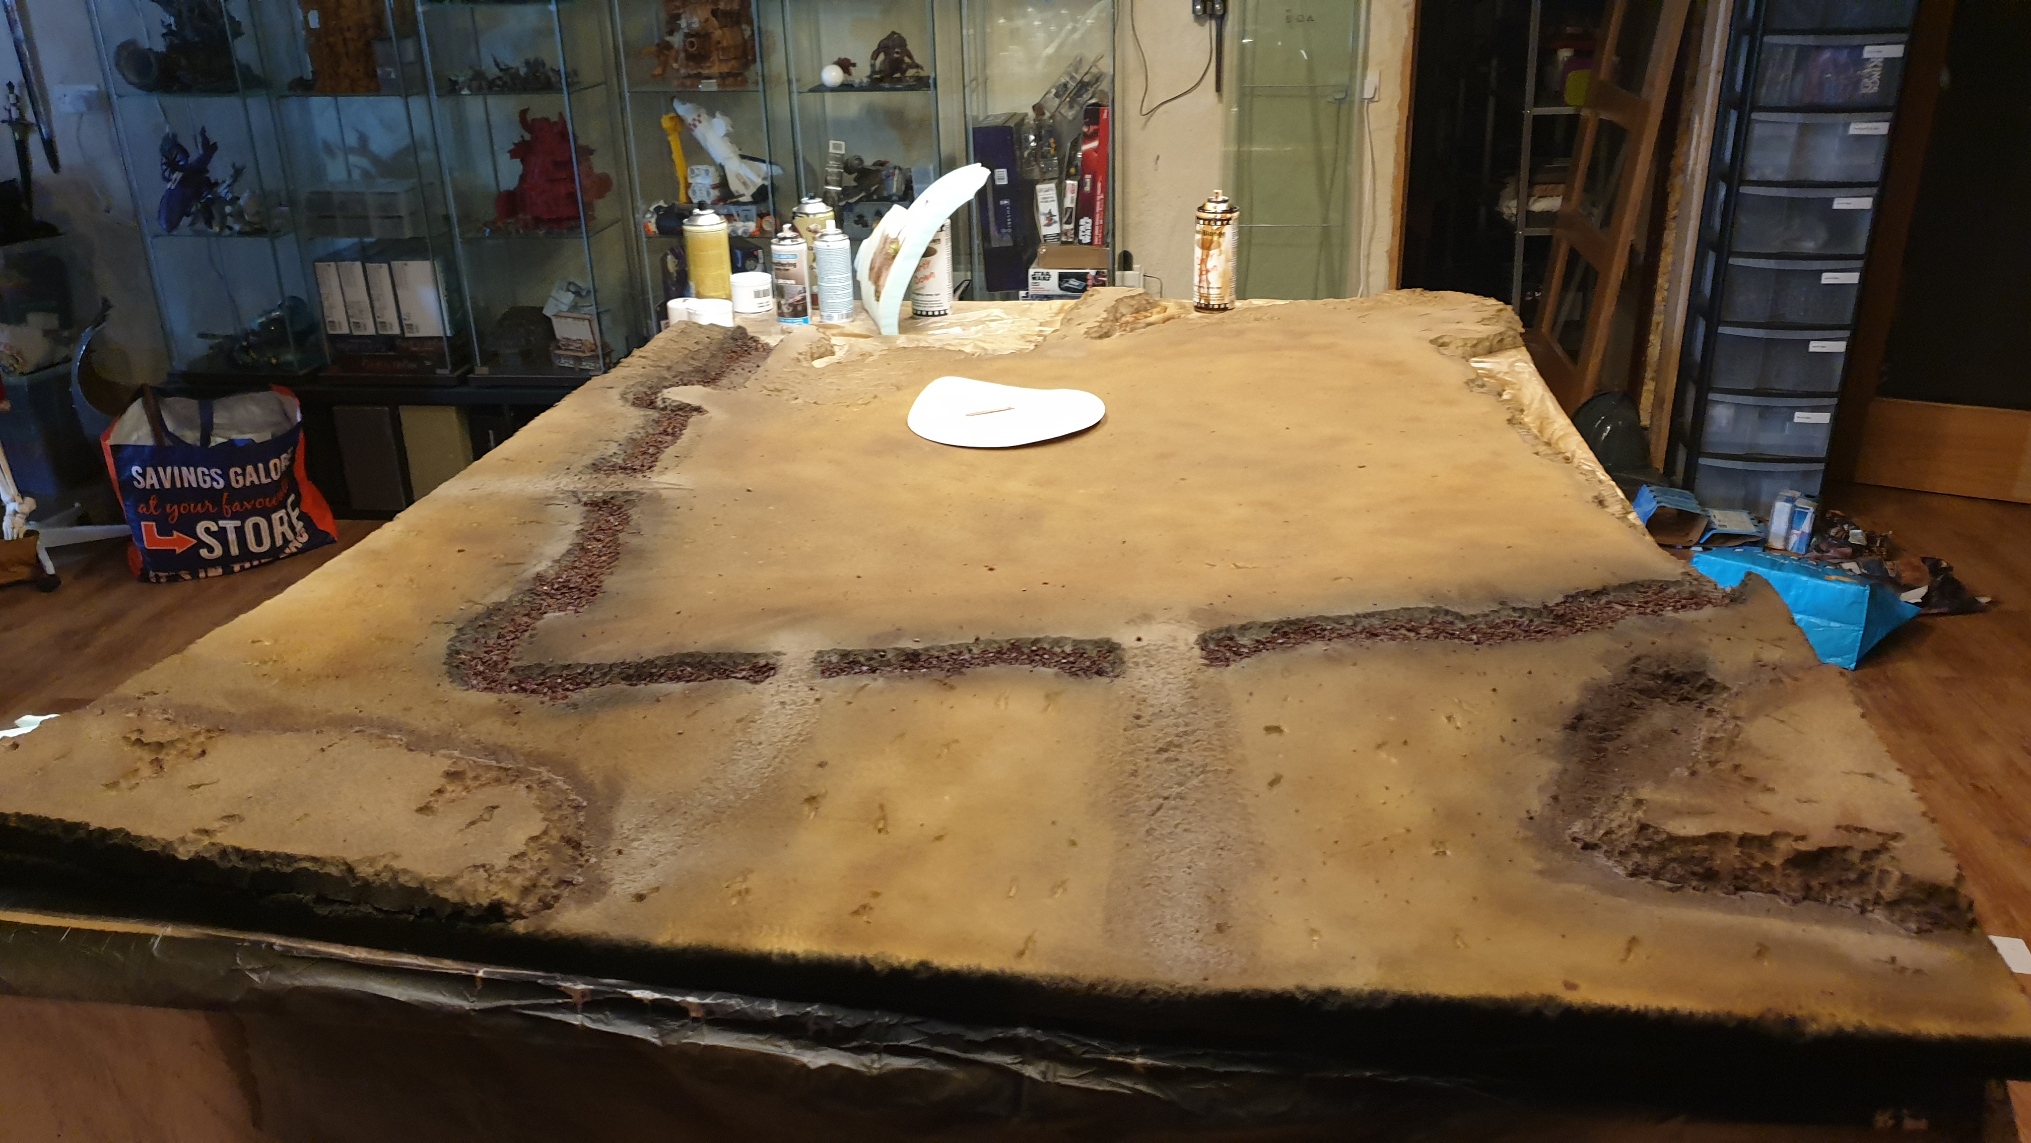
Then it was back to spray paints agin, this time introducing some lighter shades to pick out the rocky areas and generally give the whole table a dryer more arid look.


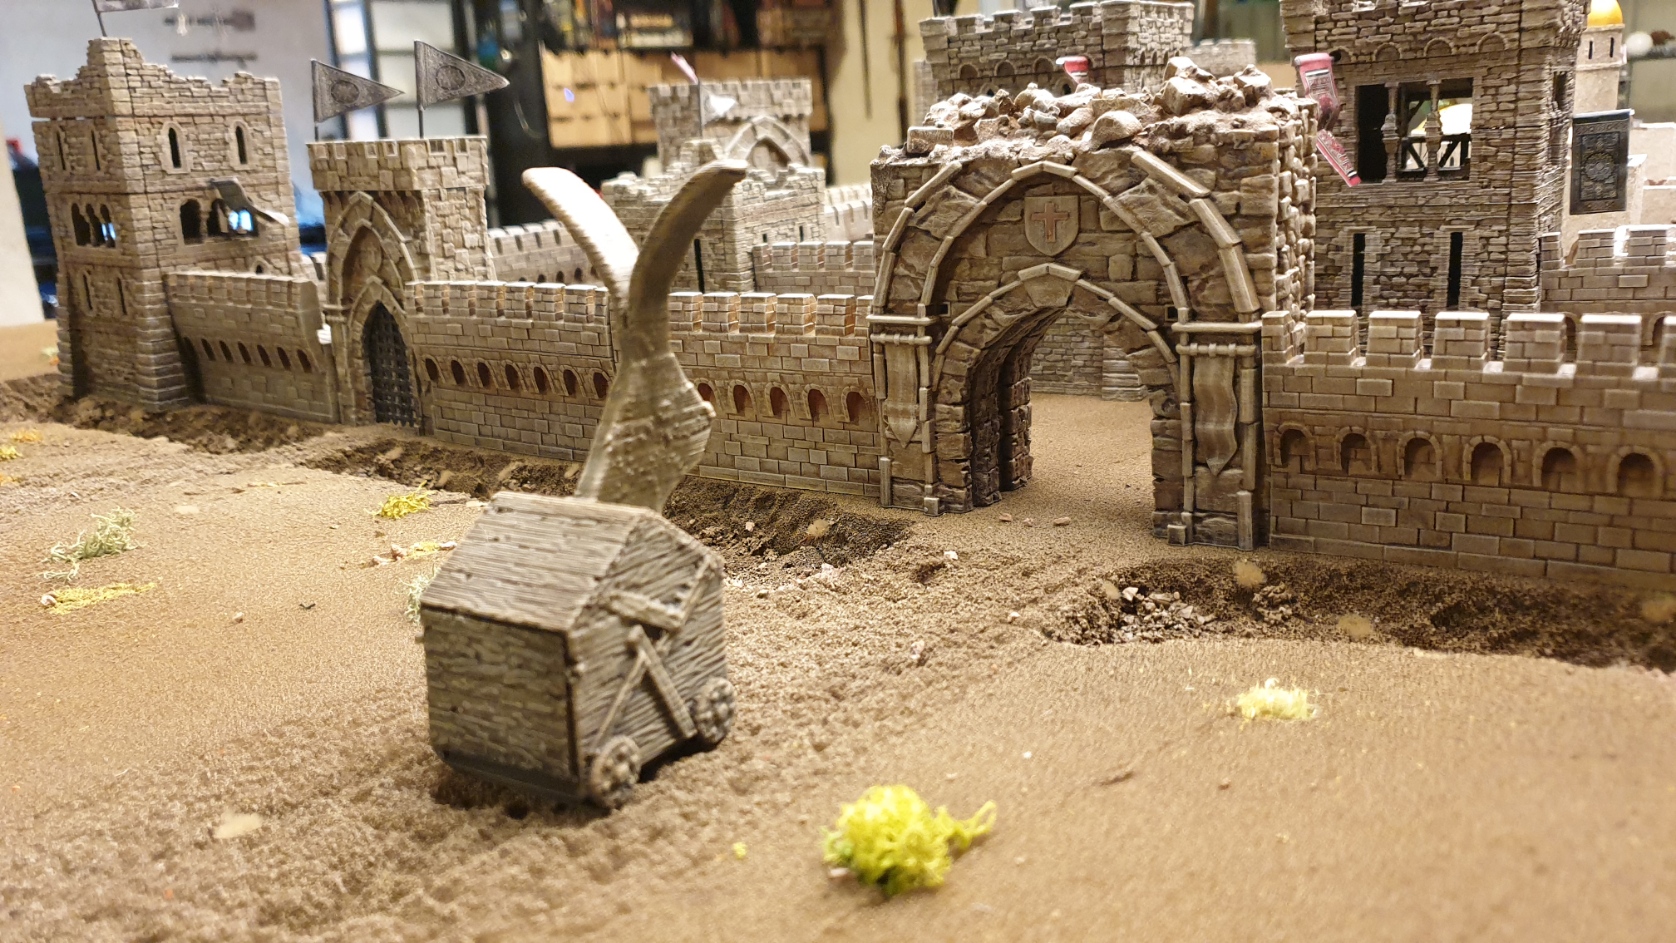
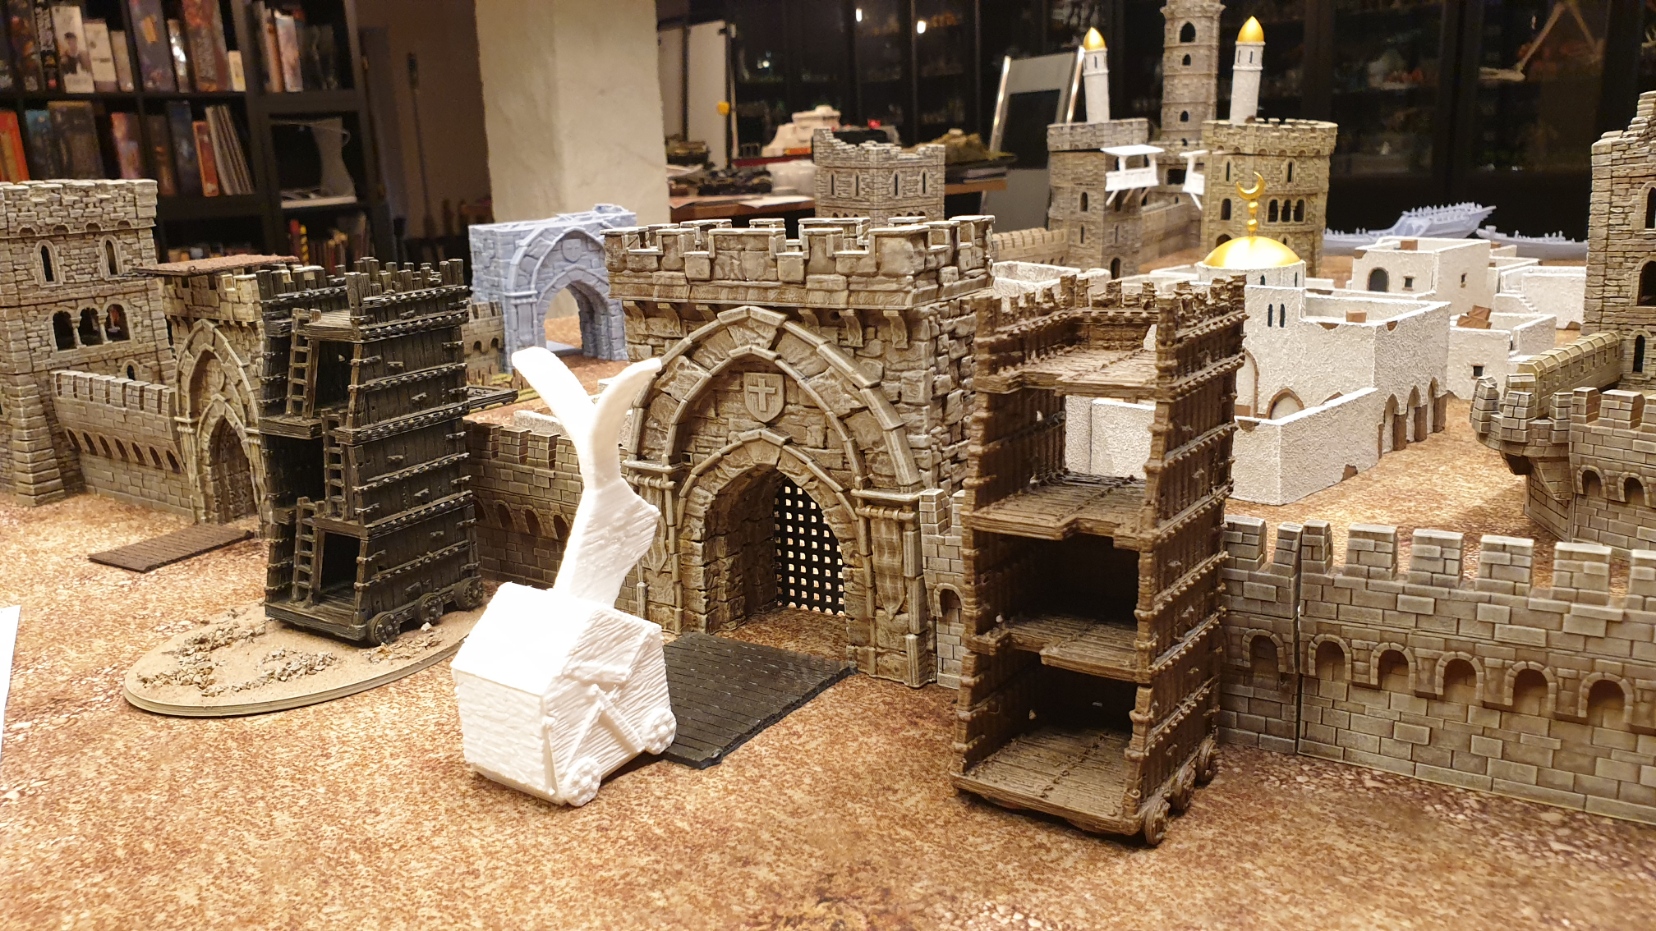
Preparing and Painting the Set on Pieces
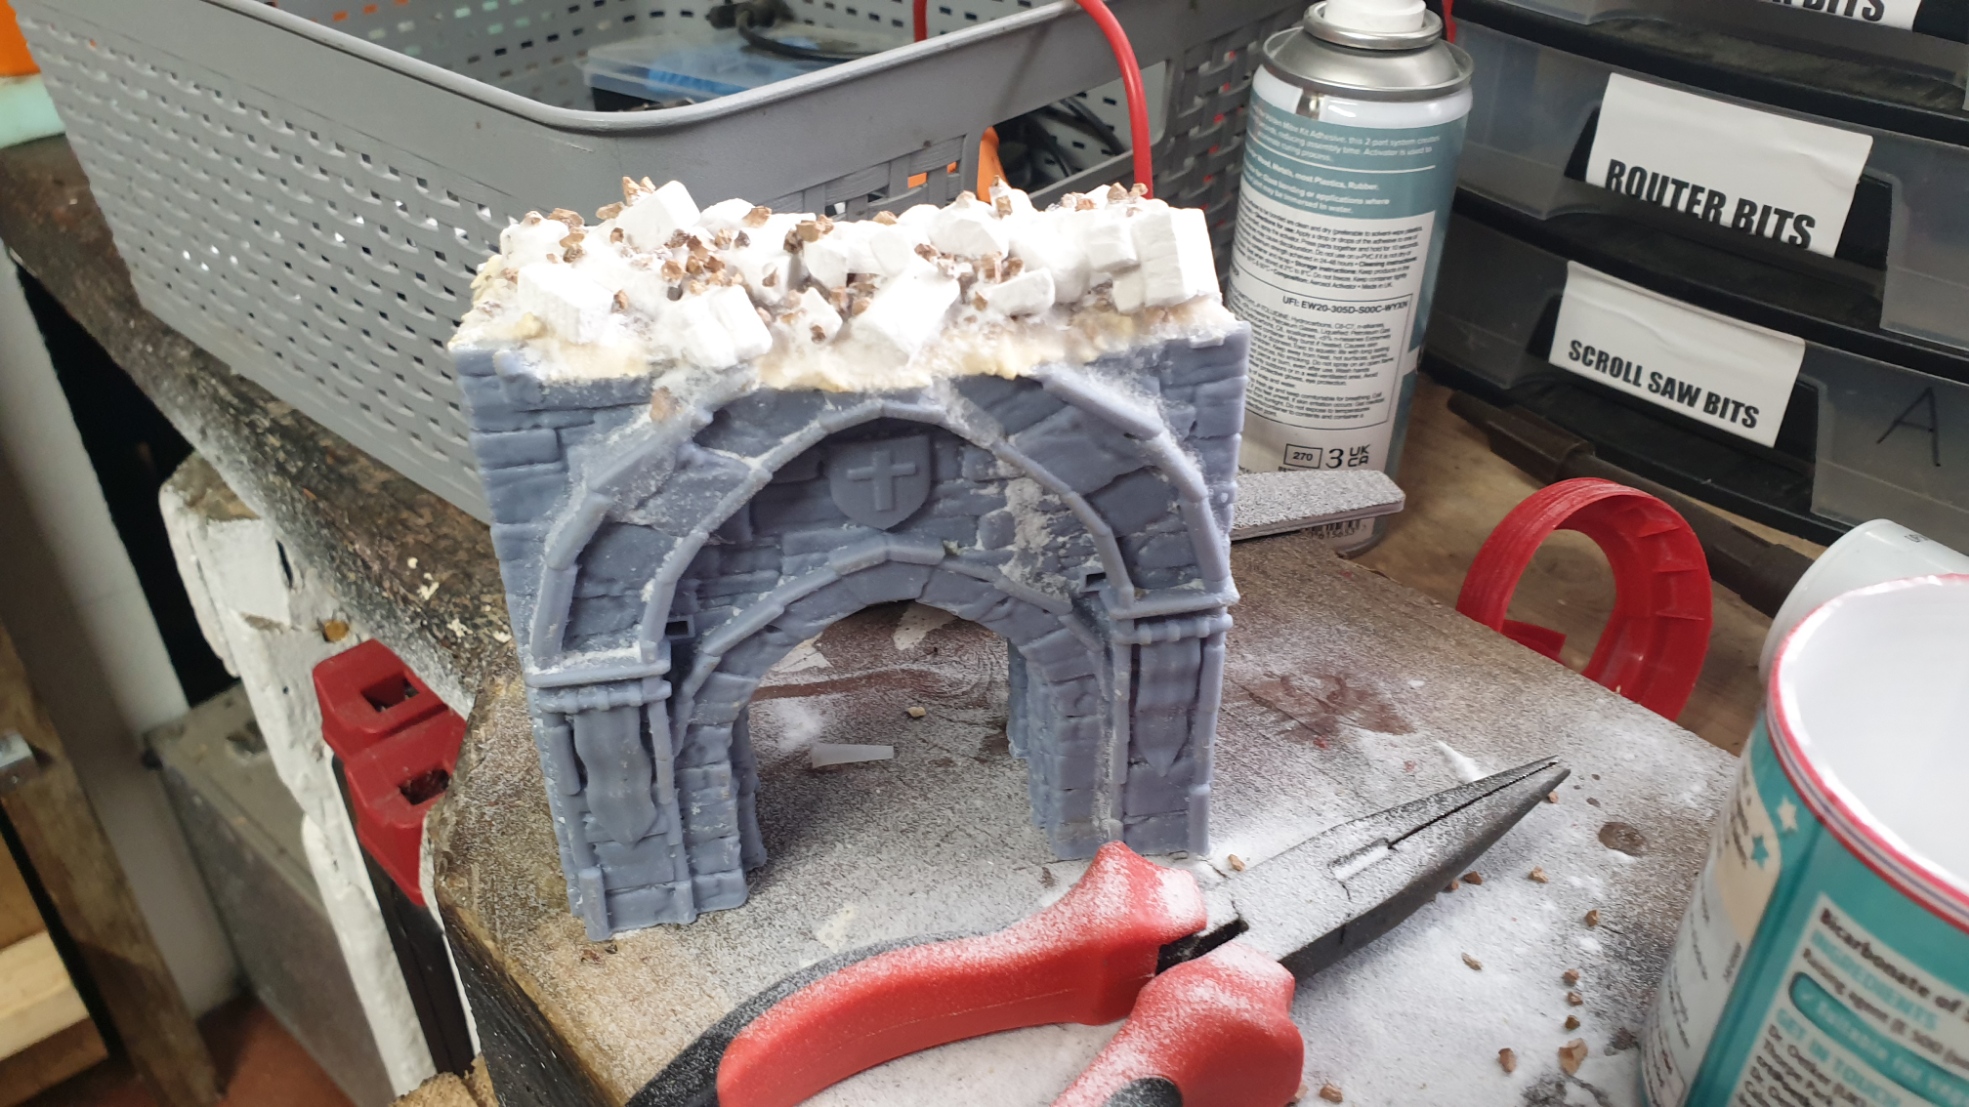
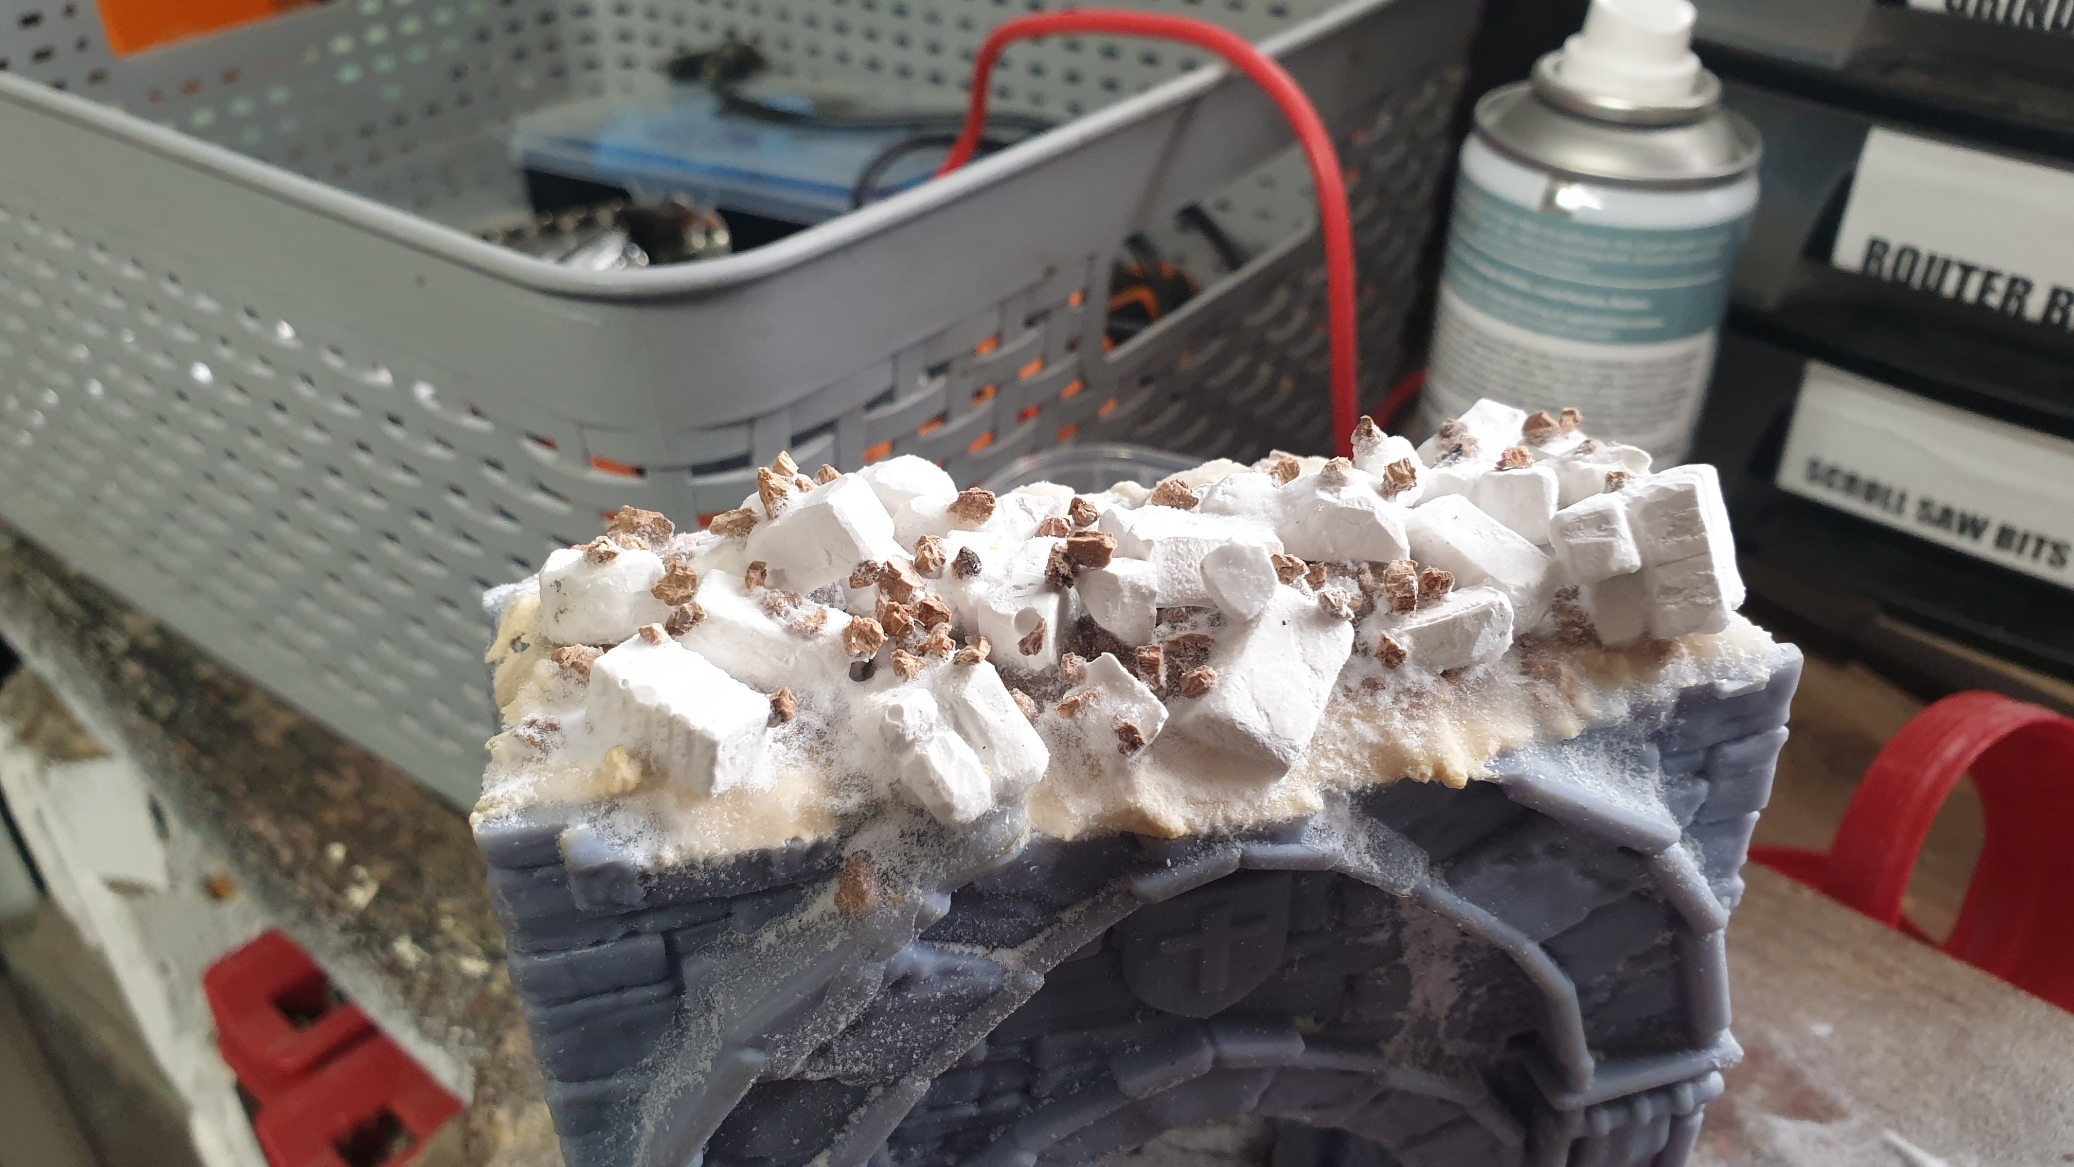
I dont like wastage, so I try to use even failed 3D prints, in this case I had a failed gate that I wanted to add rubble to before painting.
Then it was time to put down a protective sheet and start priming!
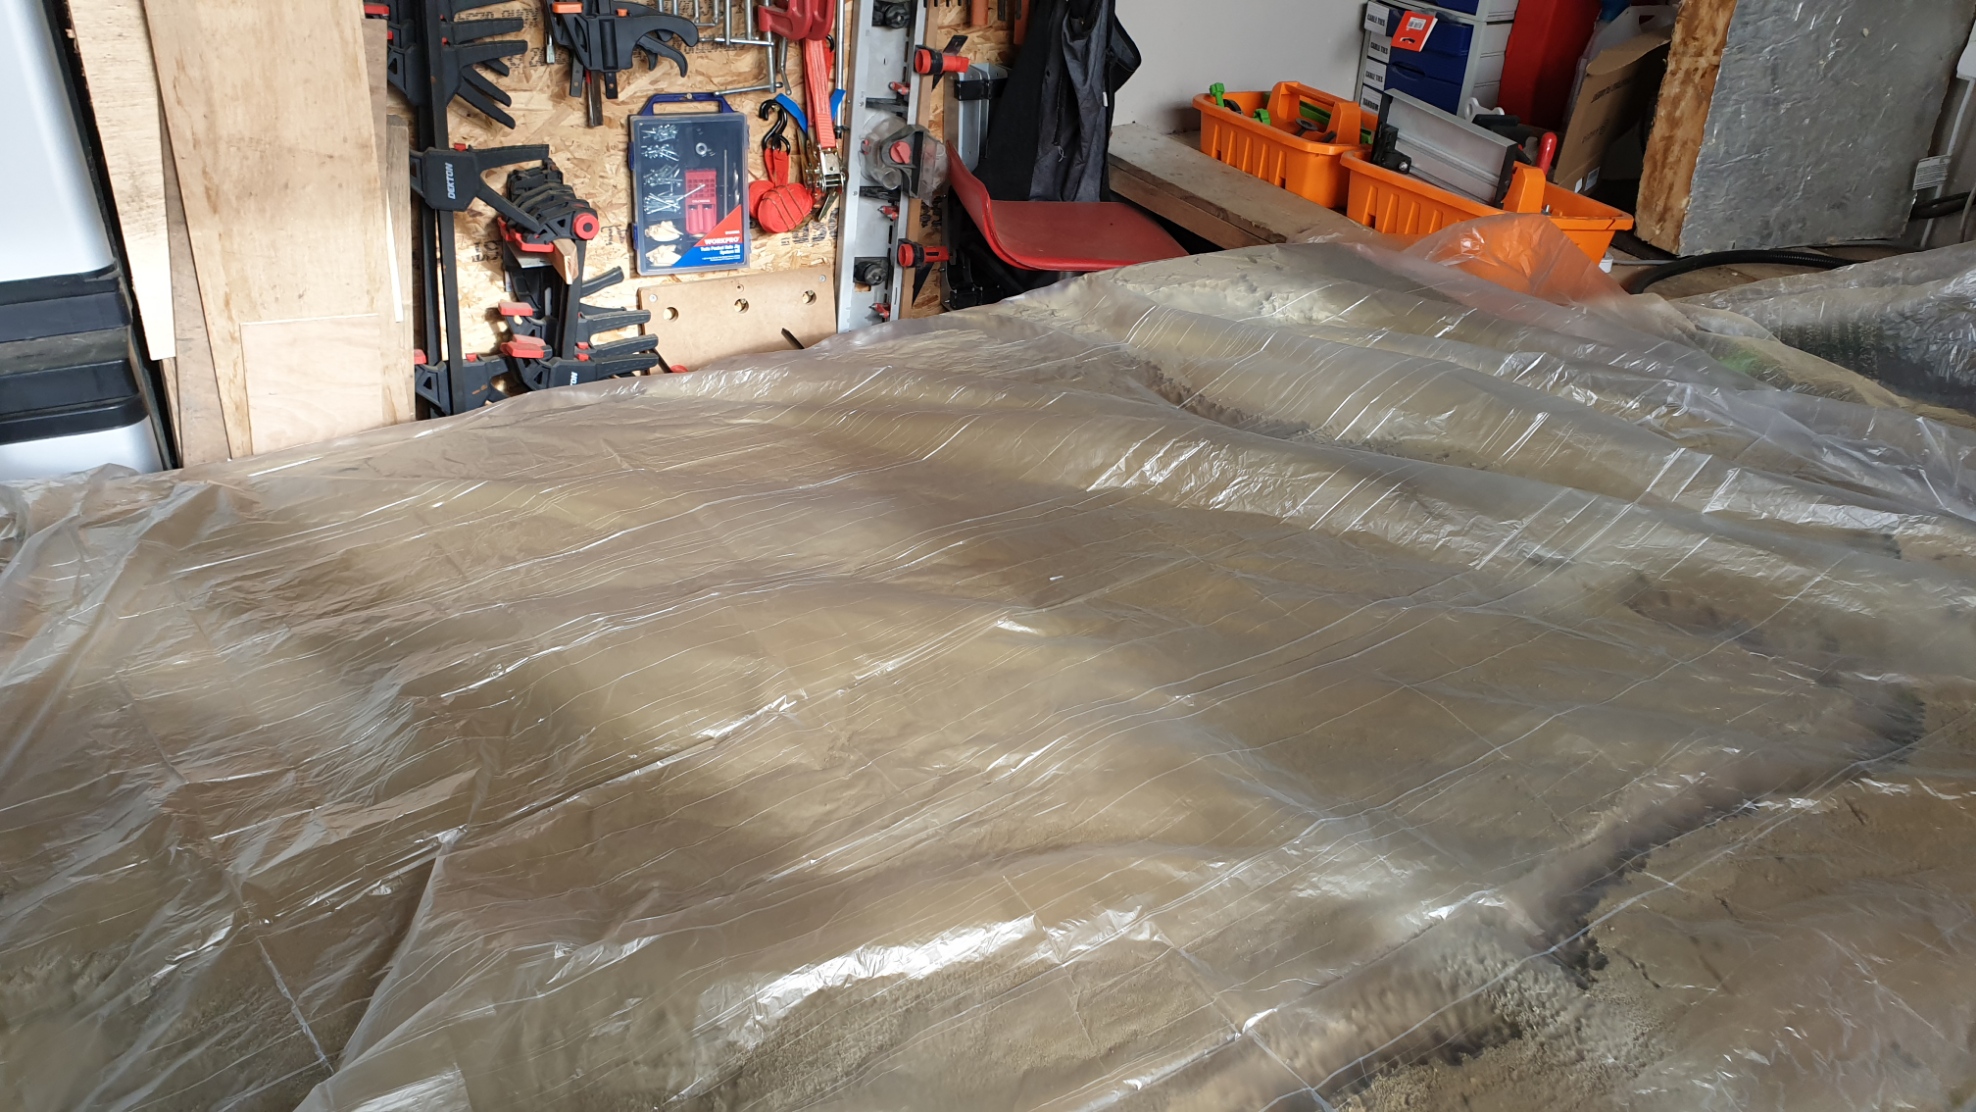
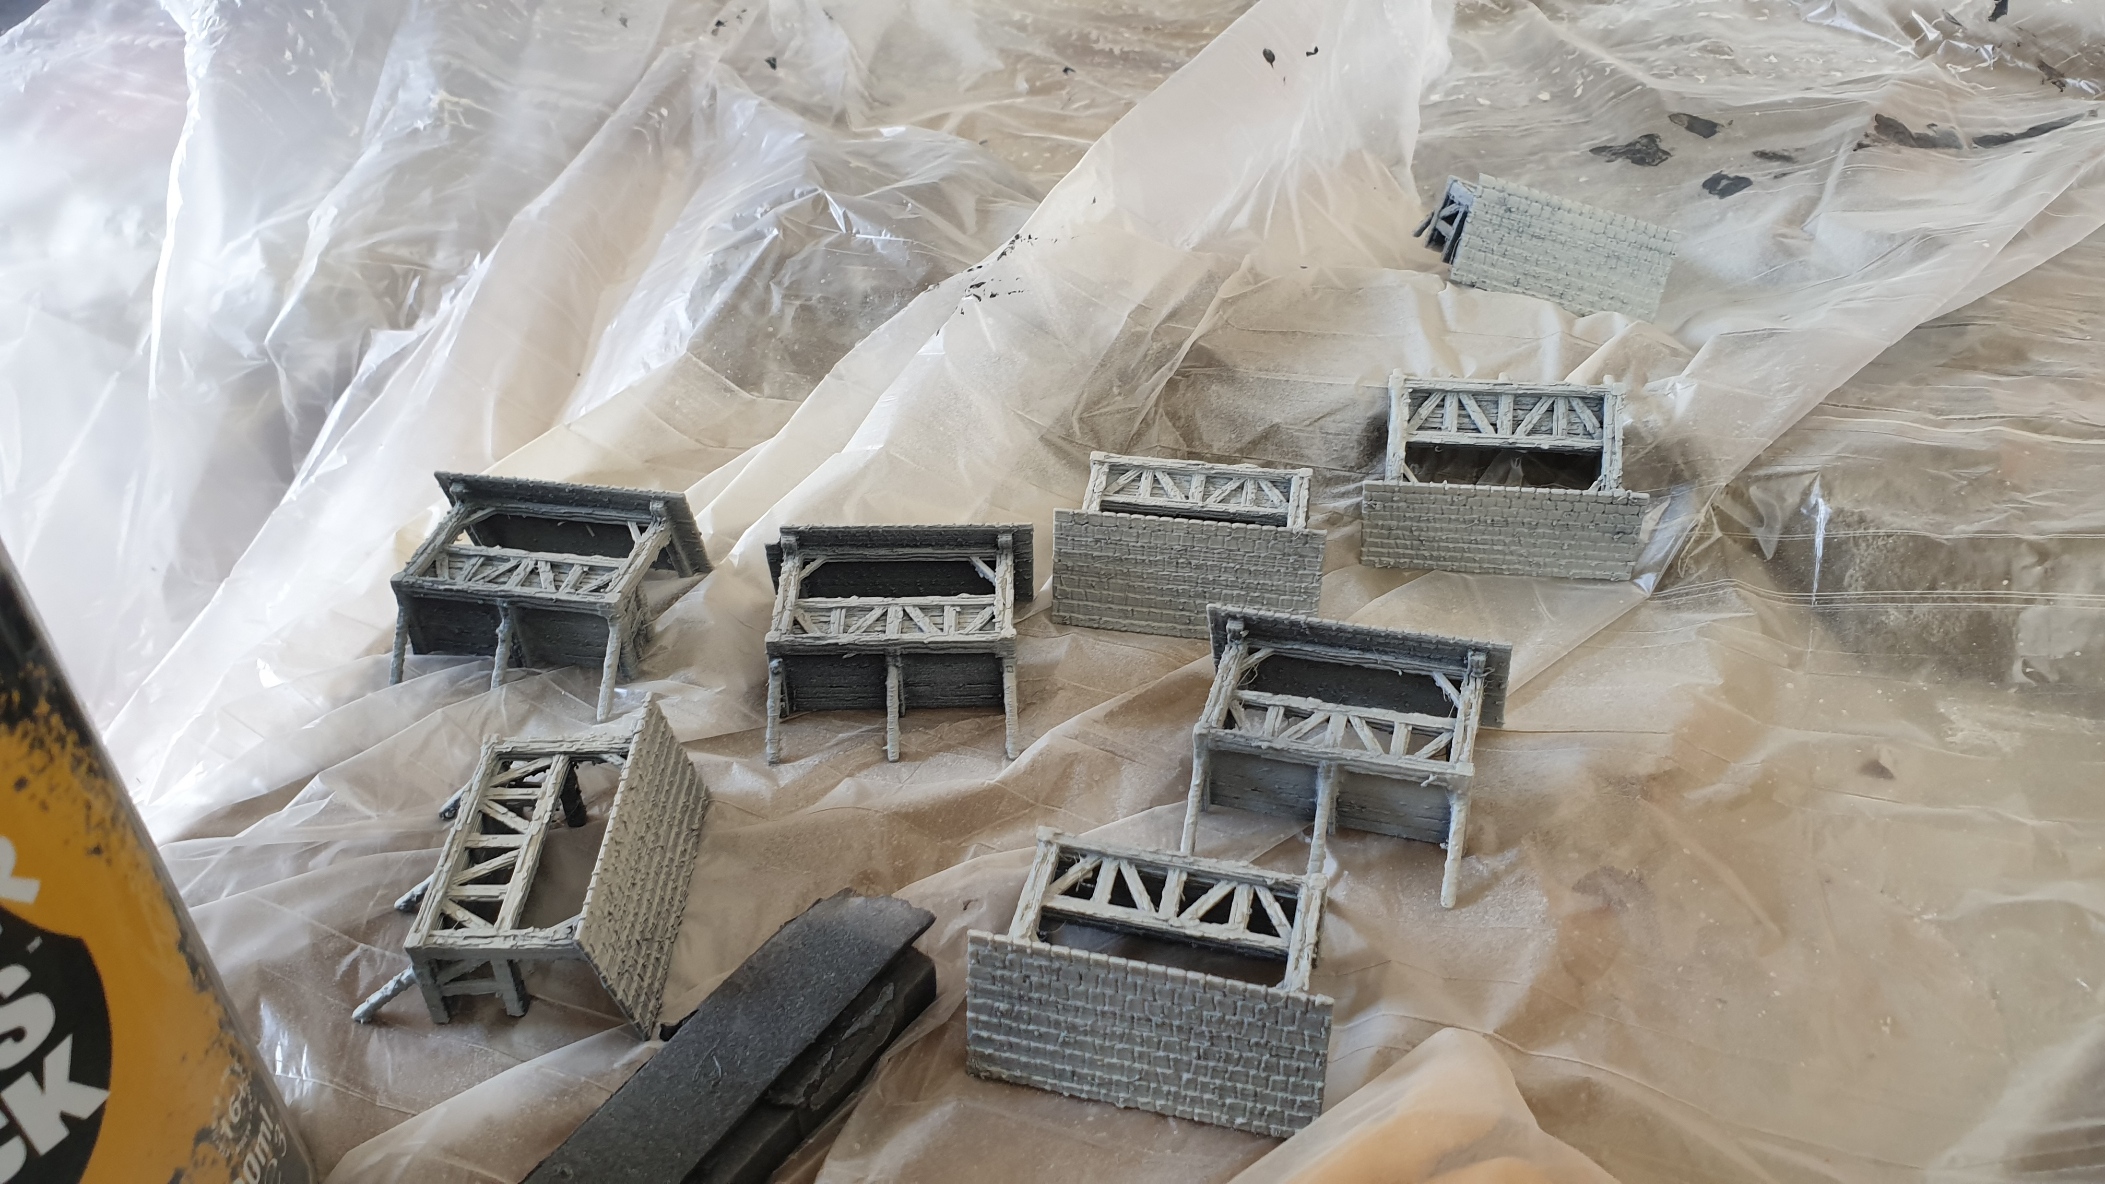
Priming was a simple process of Chaos Black, then a zenith dusting of Seer Grey

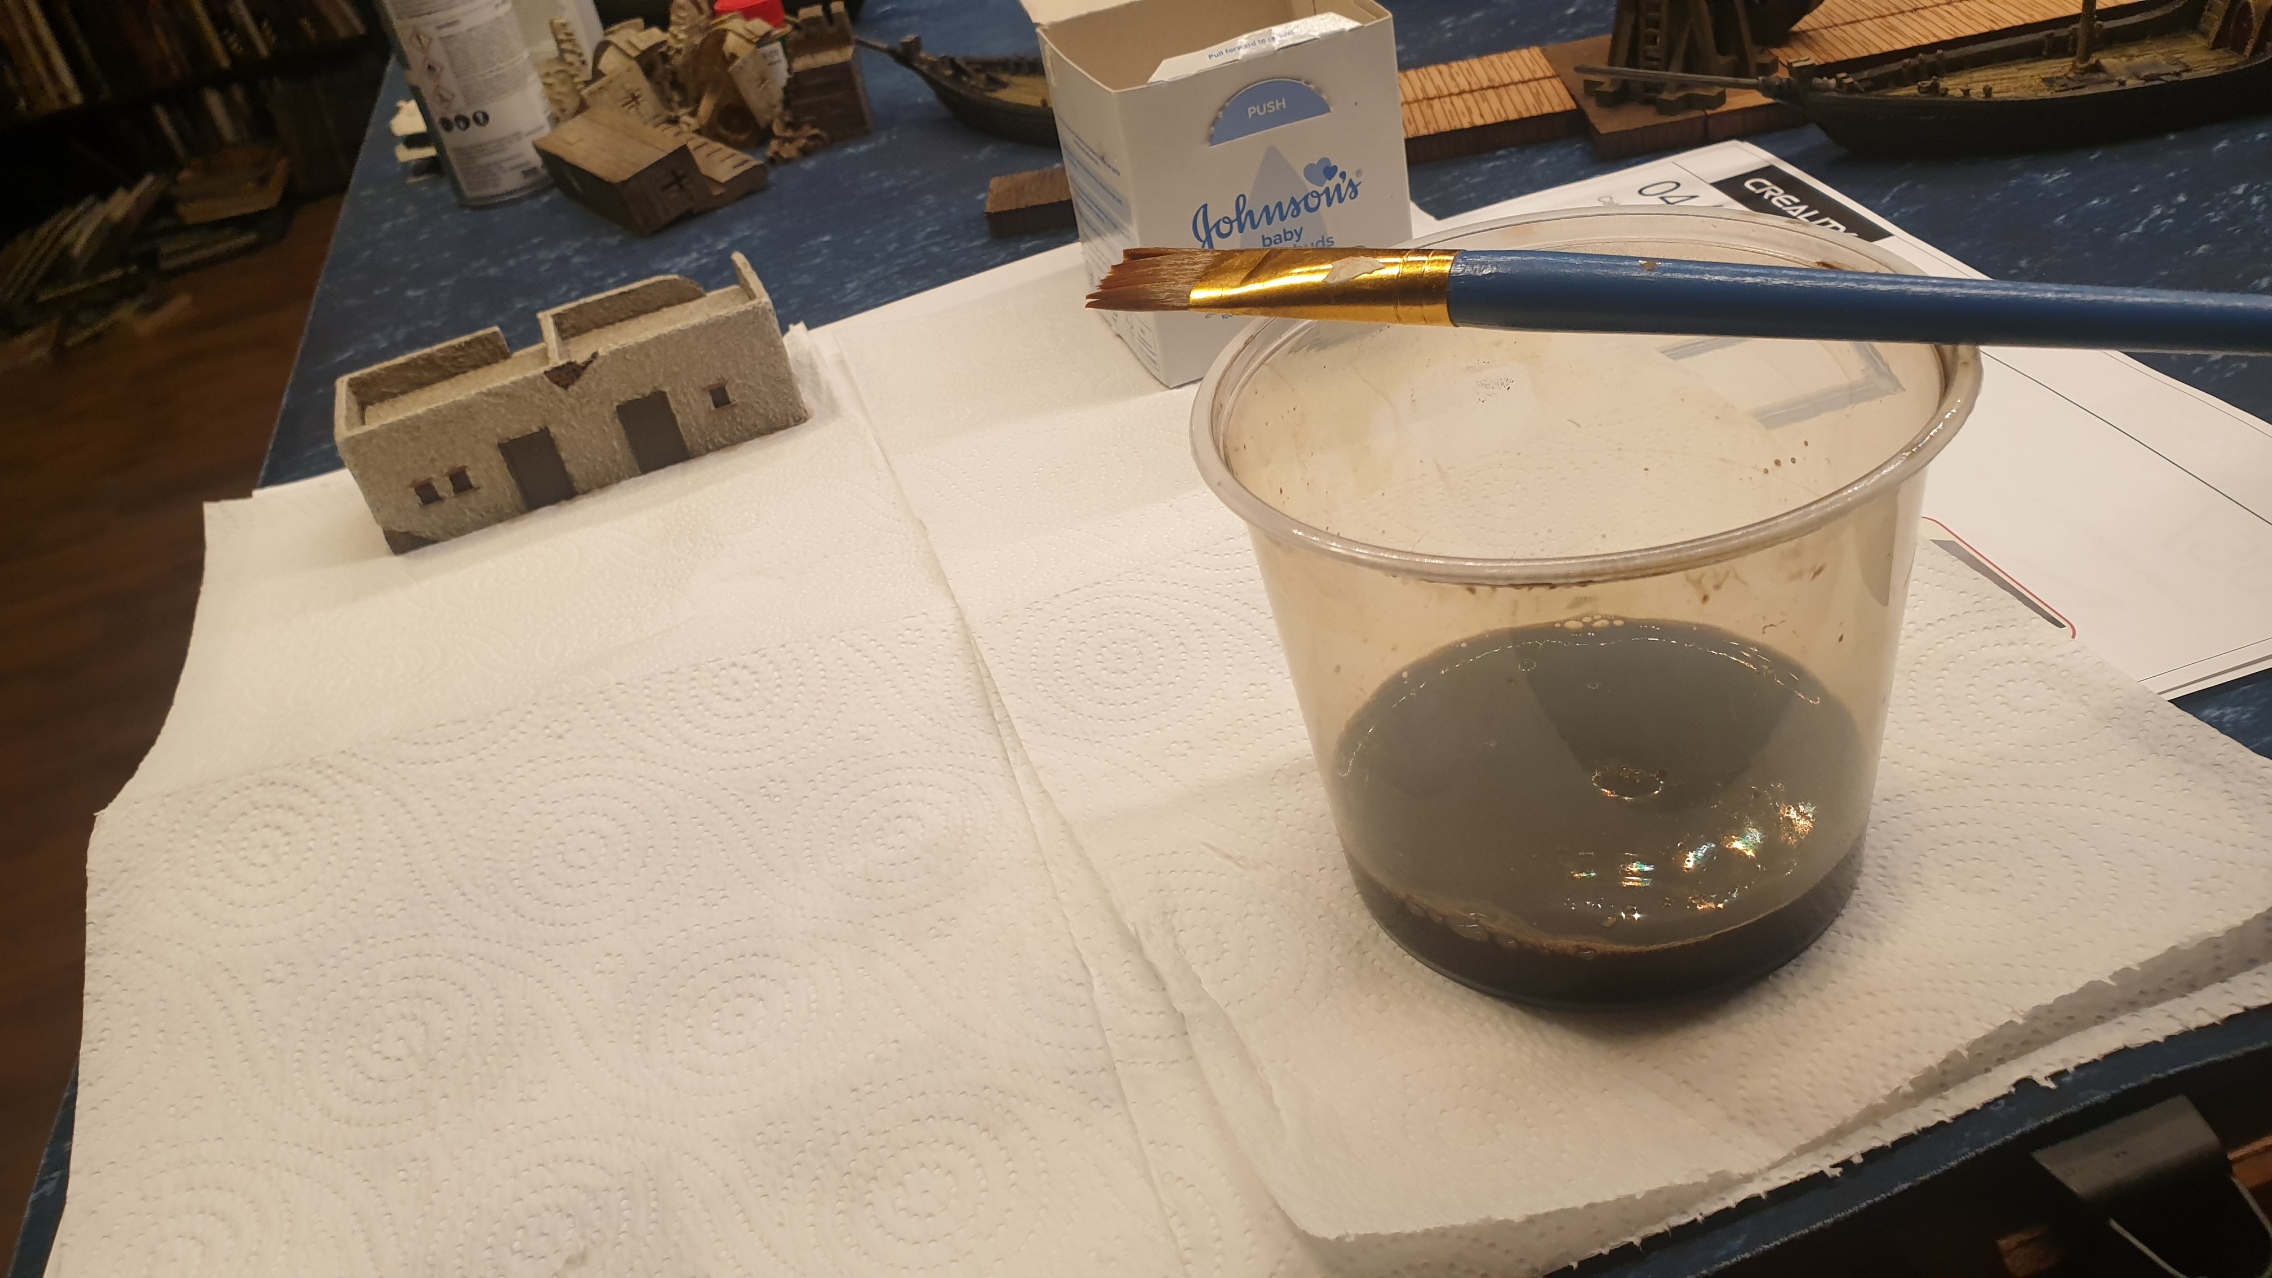
Once the primer had cured, it was a simple matter of dusting them with a couple of shades of brown weathering spray and then working the colour in using a damp paint brush.
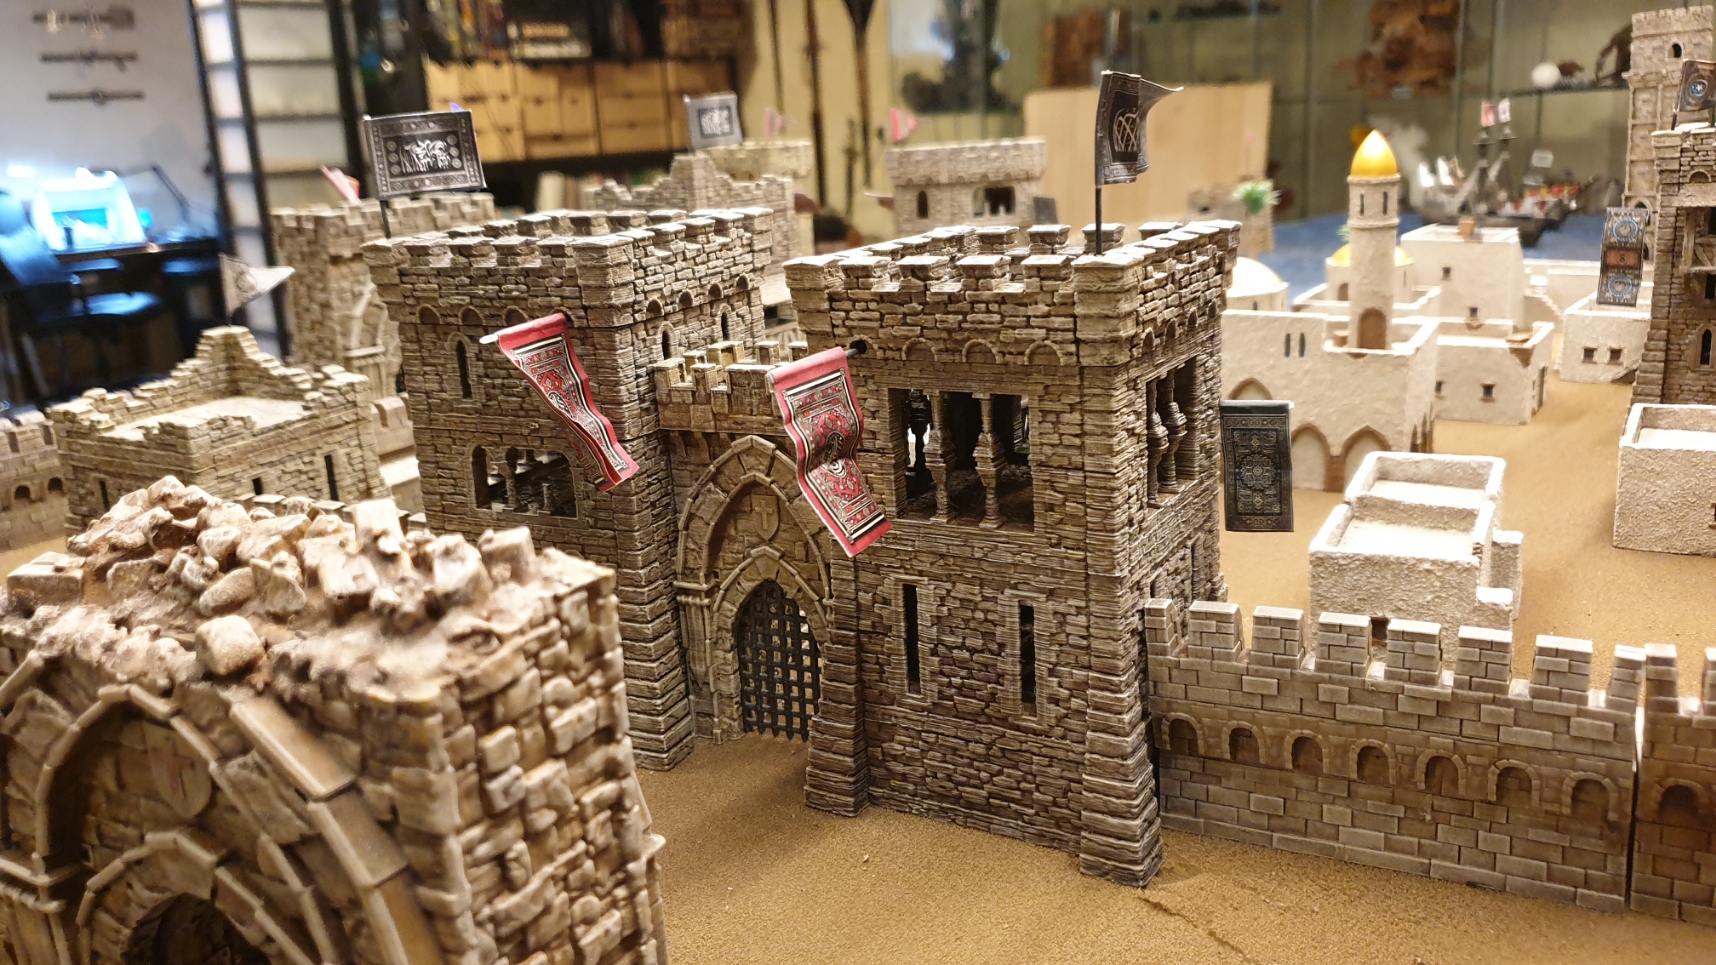
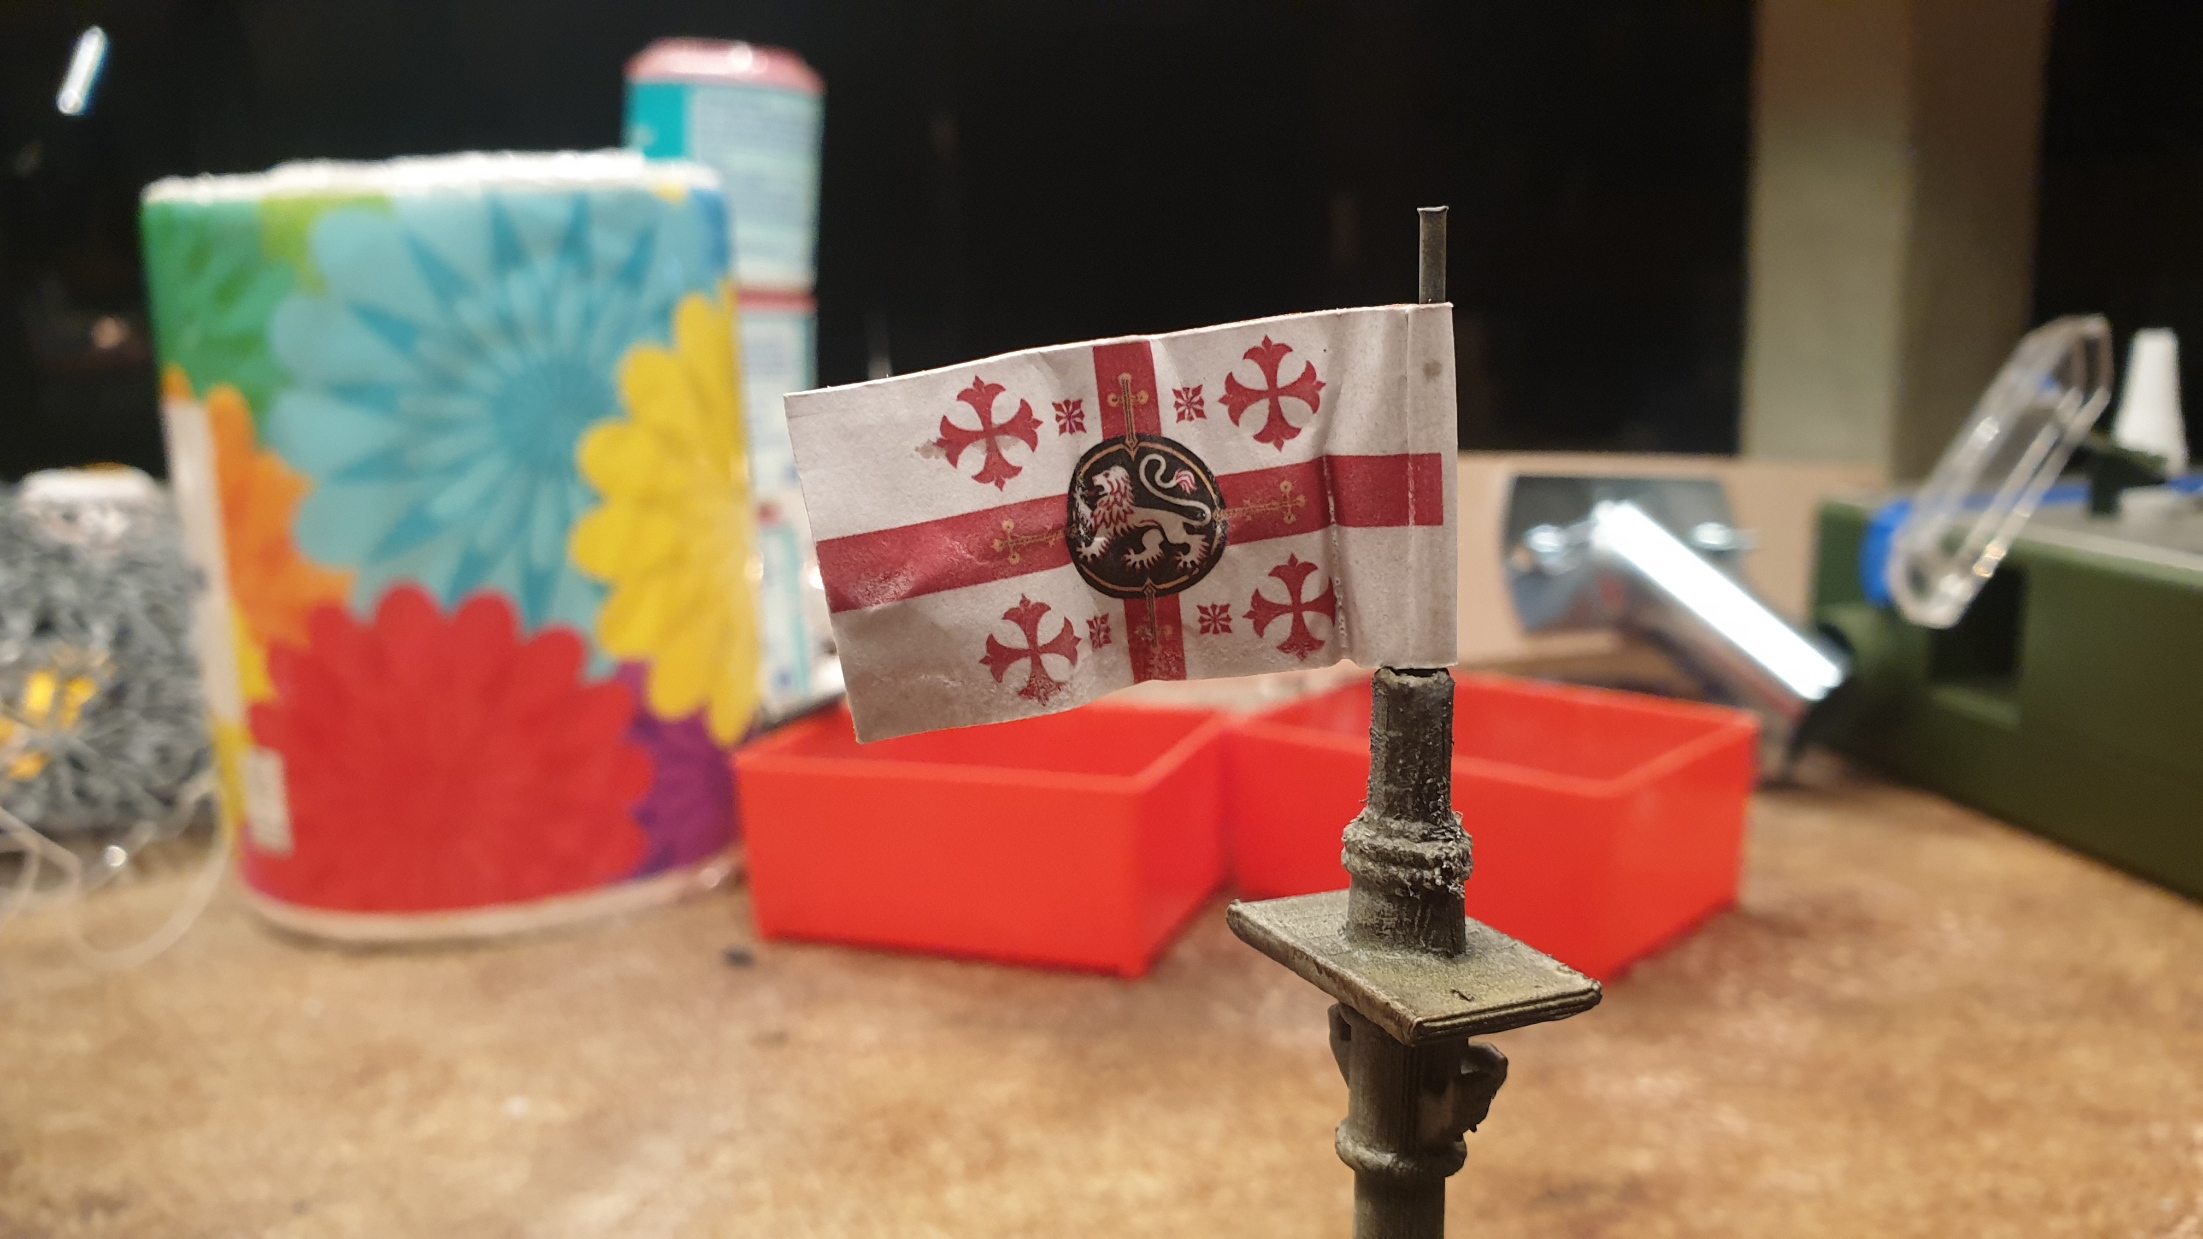
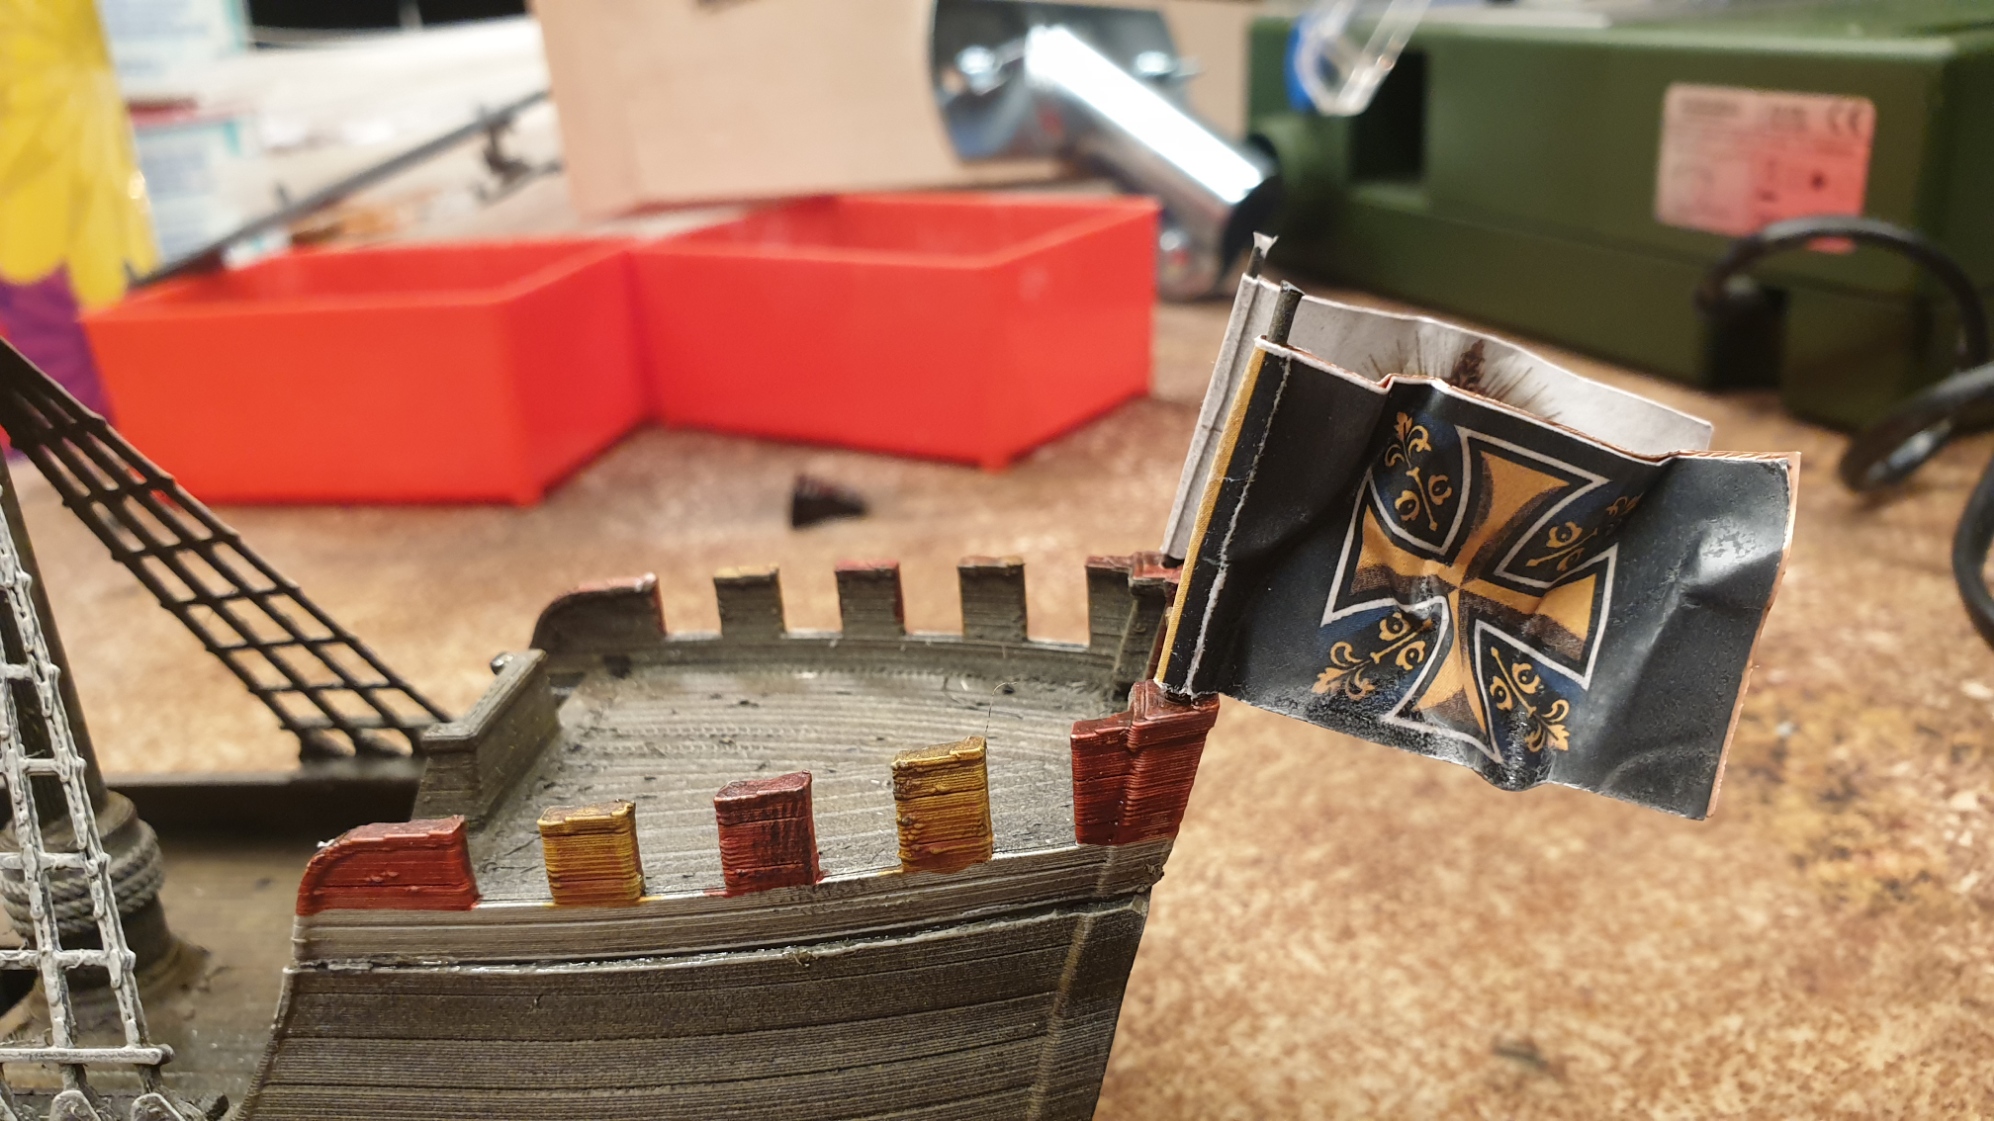
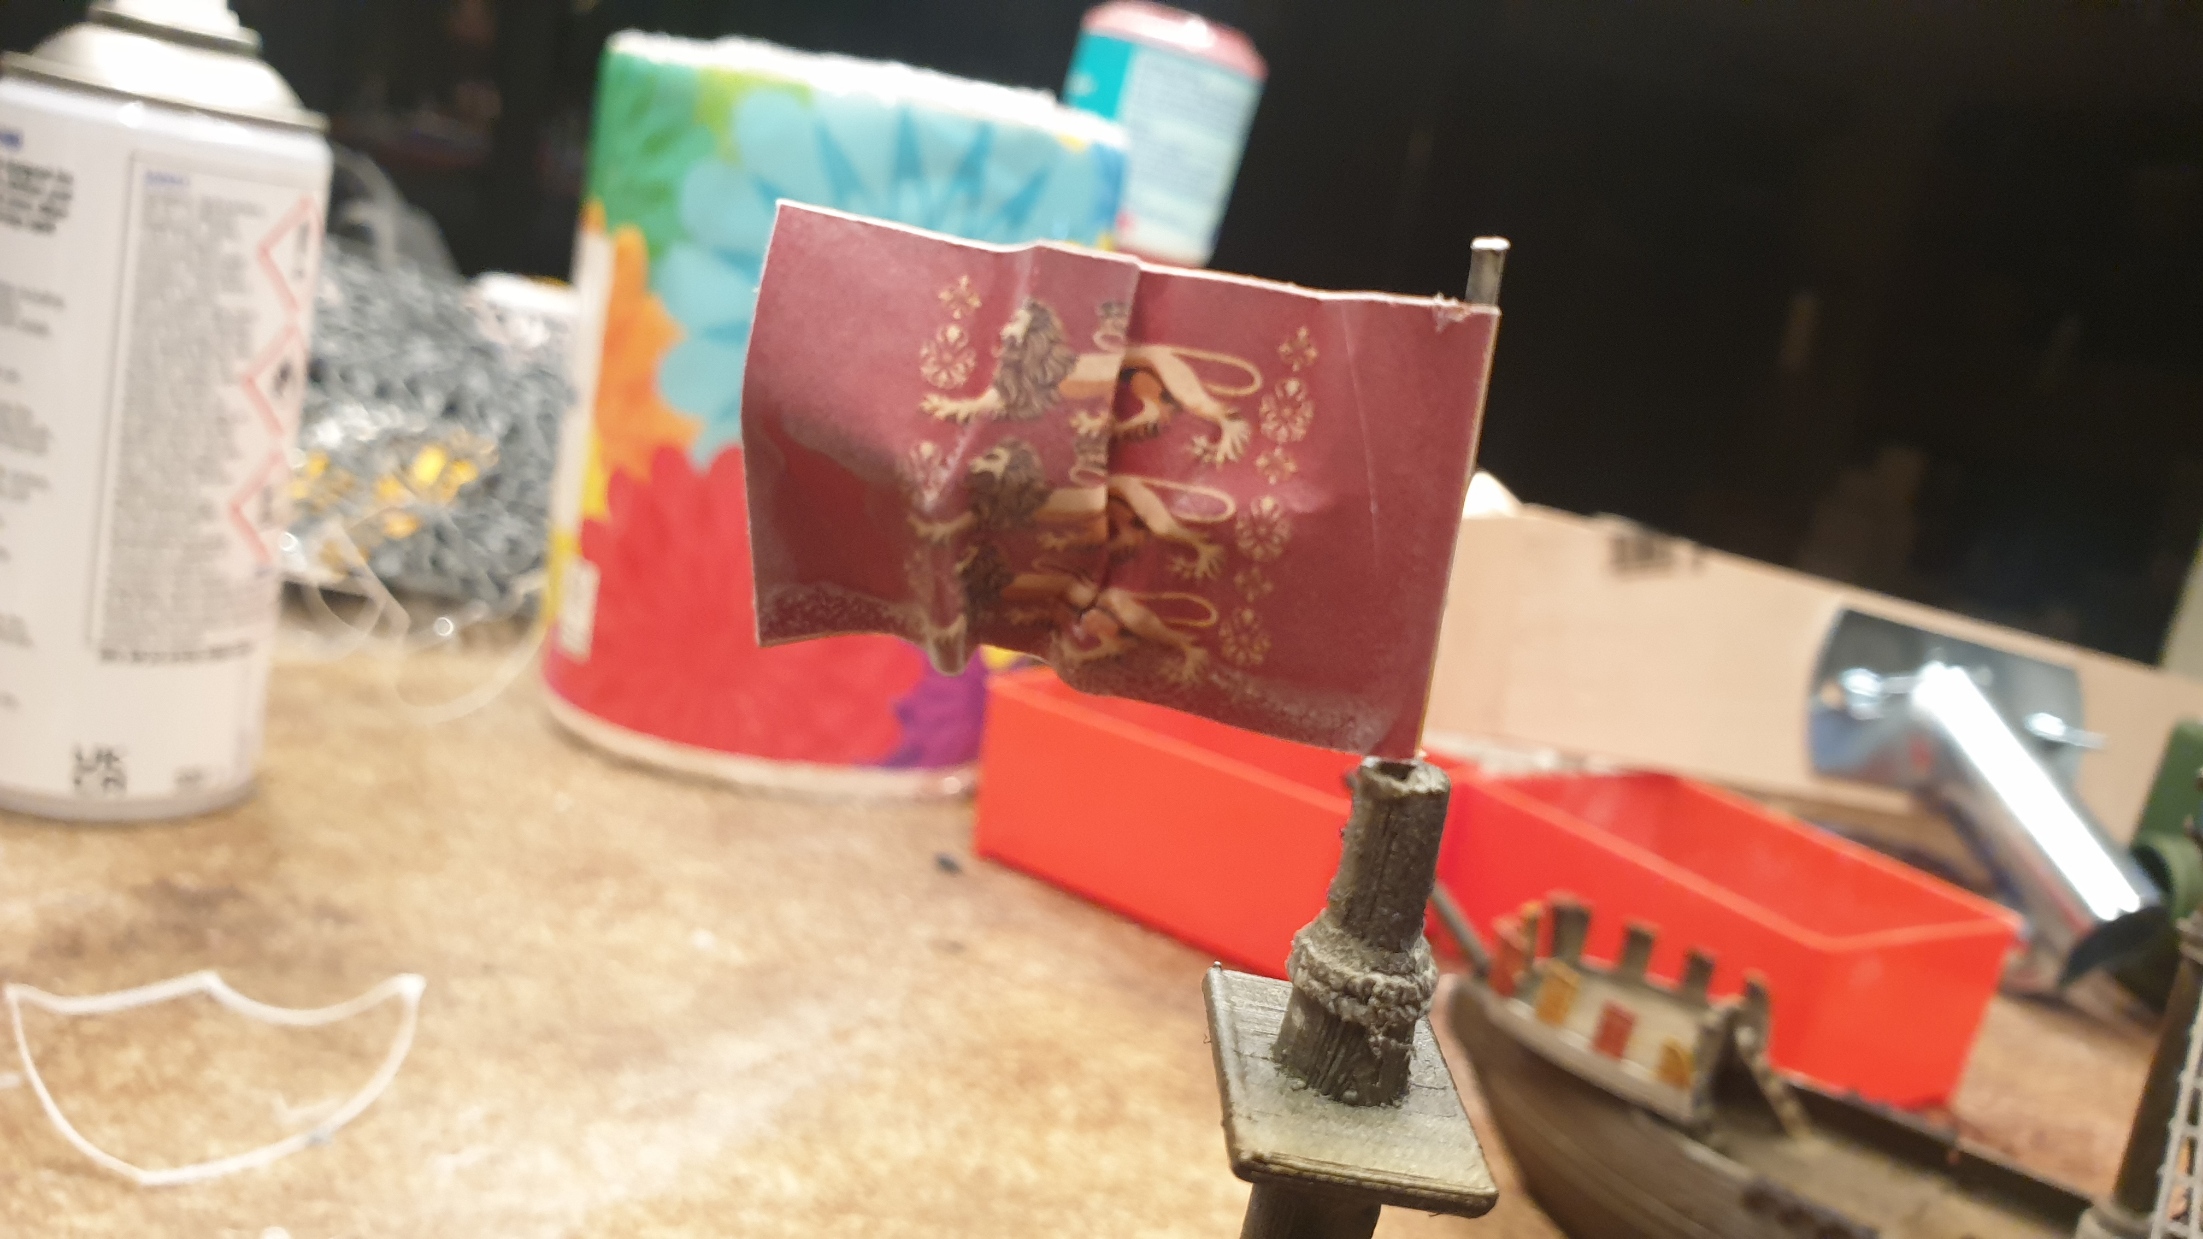
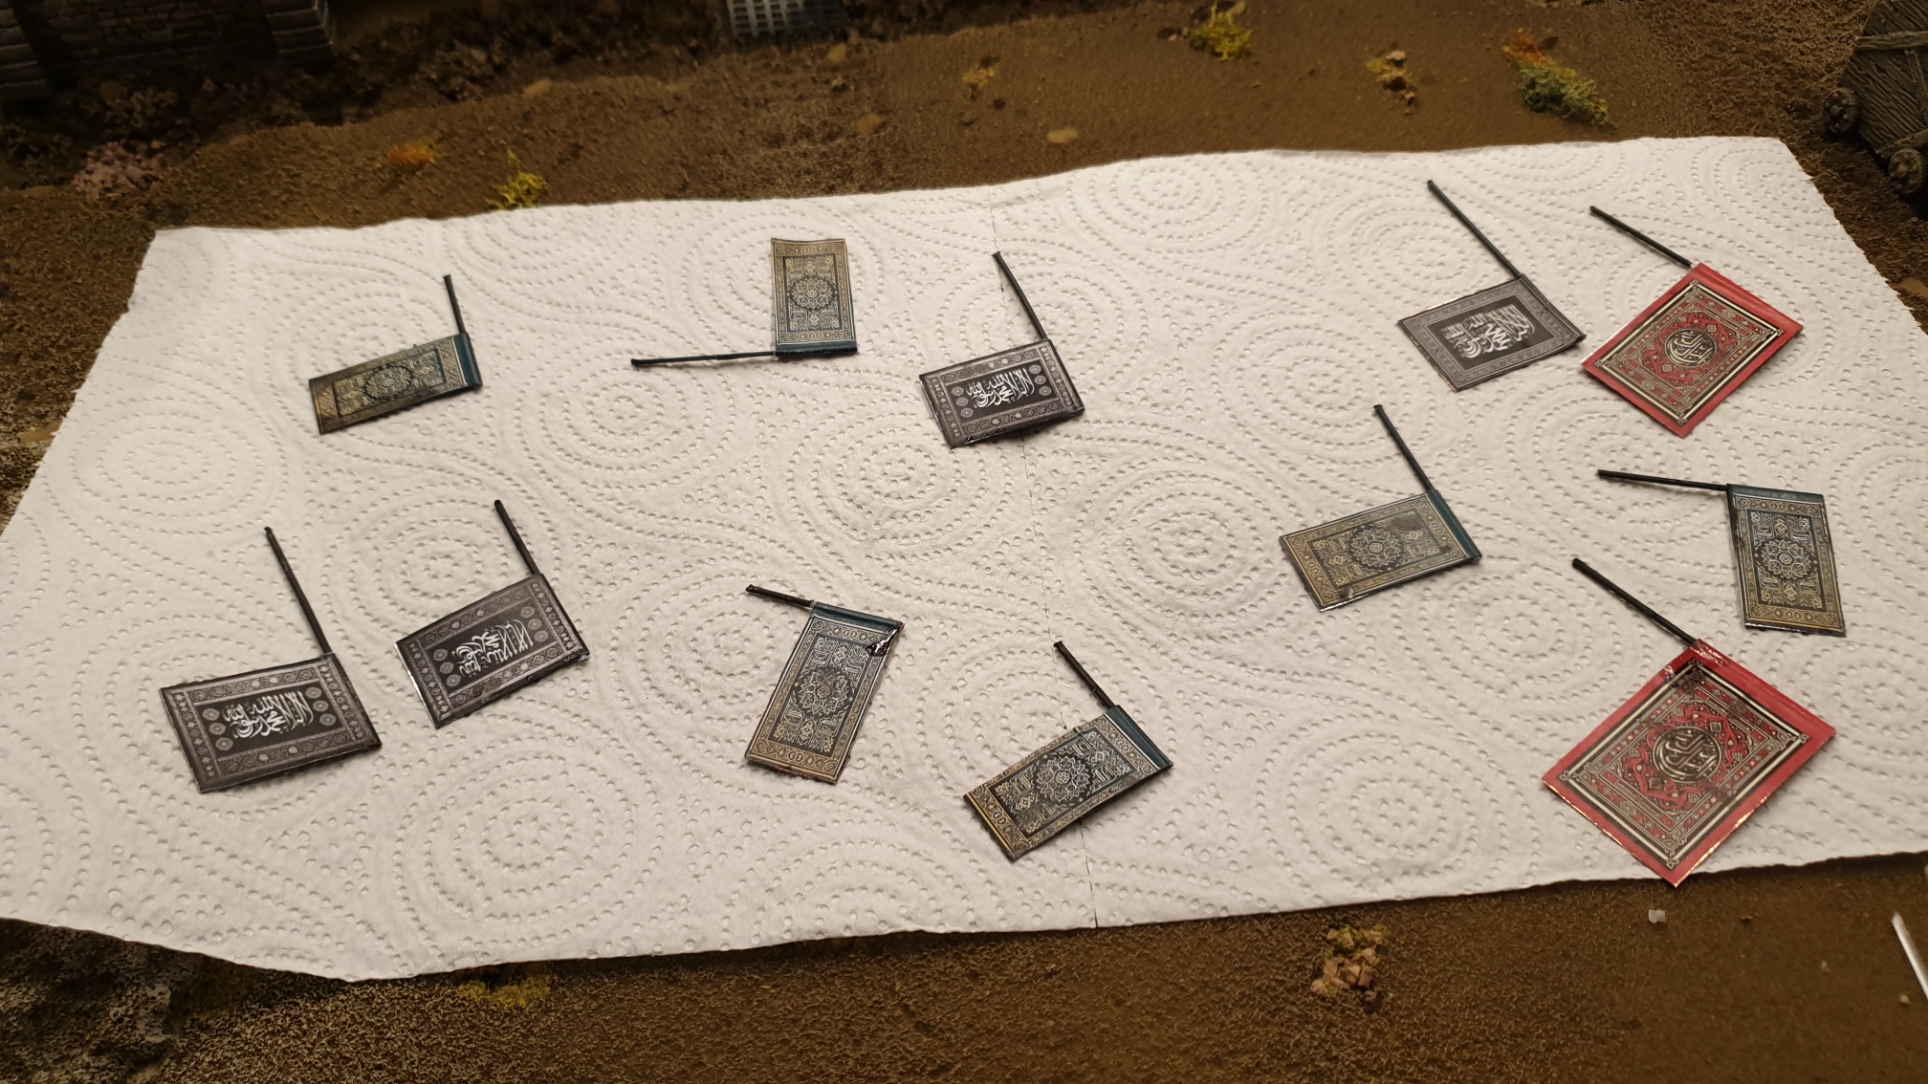
Modeling Crusader Era Flags
After quickly painting up the Crusader Cogs, I decided I wanted to experiment with making Crusader Era flags.
I tend to bootstrap these projects when I can and in this case I din’t have the spare cash or time to order off the shelf 15mm flags (some of which are excellent btw!)
So I had a brainwave… I use and experiment with AI quite a lot in my spare time, and ChatGPT had just started becoming multimodal so it could not only reply in text but also use the DALL-E3 engine to render images.
Could I work with my AI pal to create some flag designs?
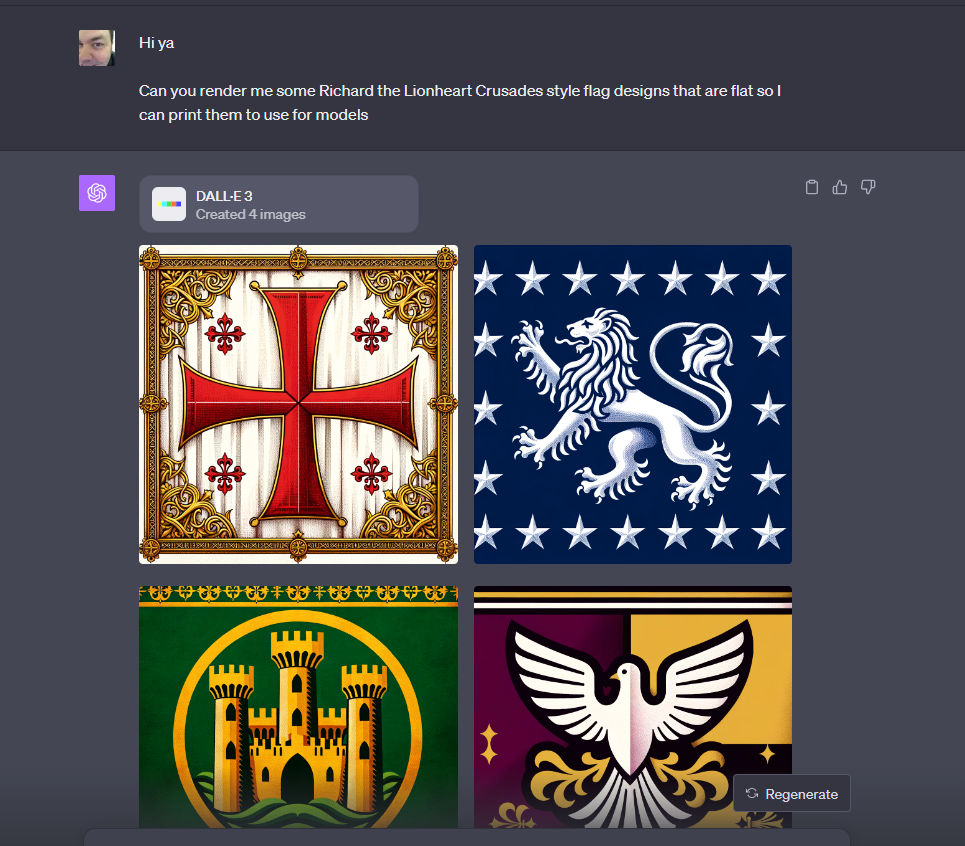
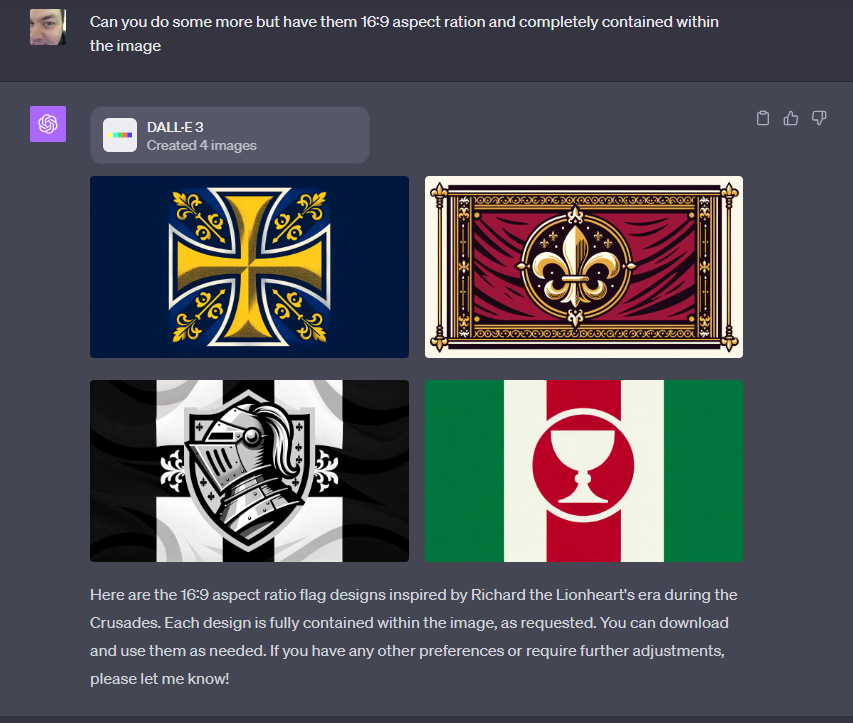
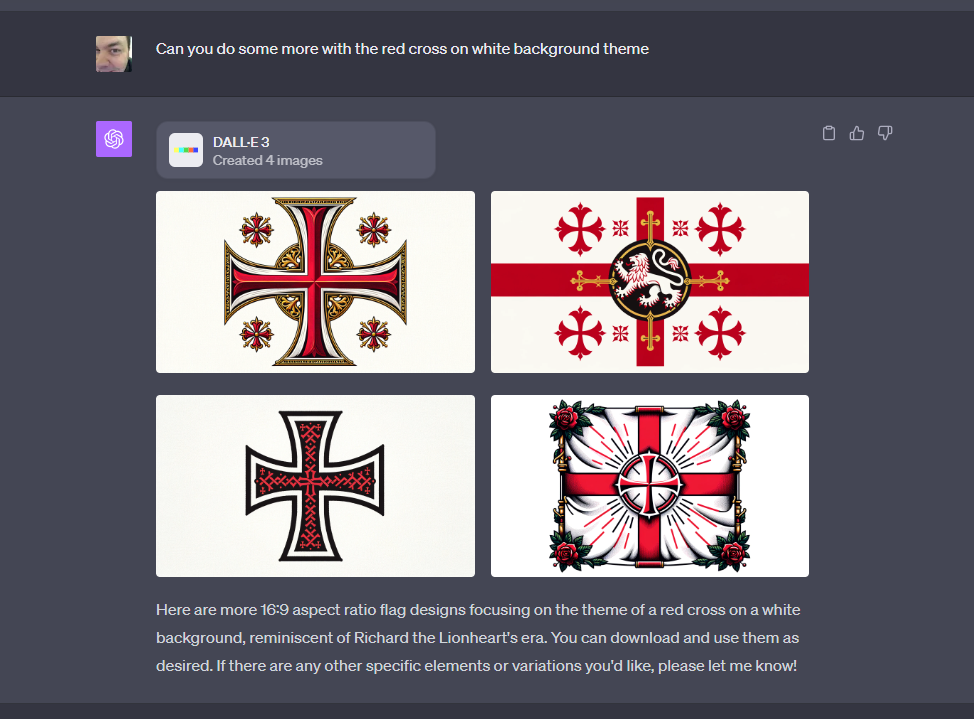
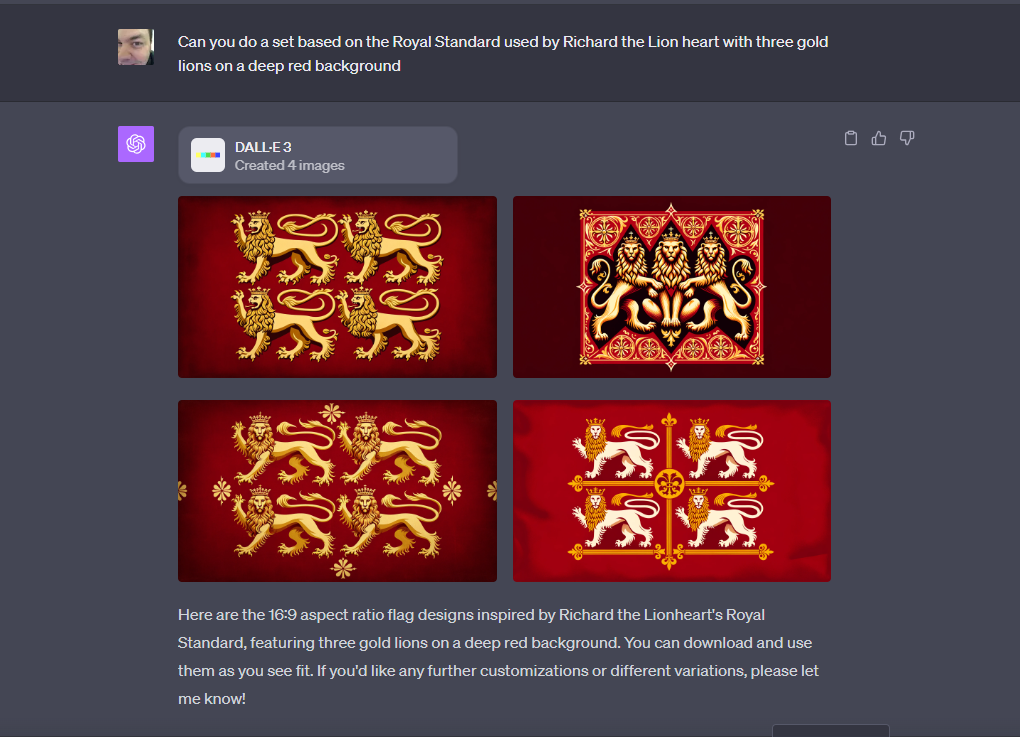
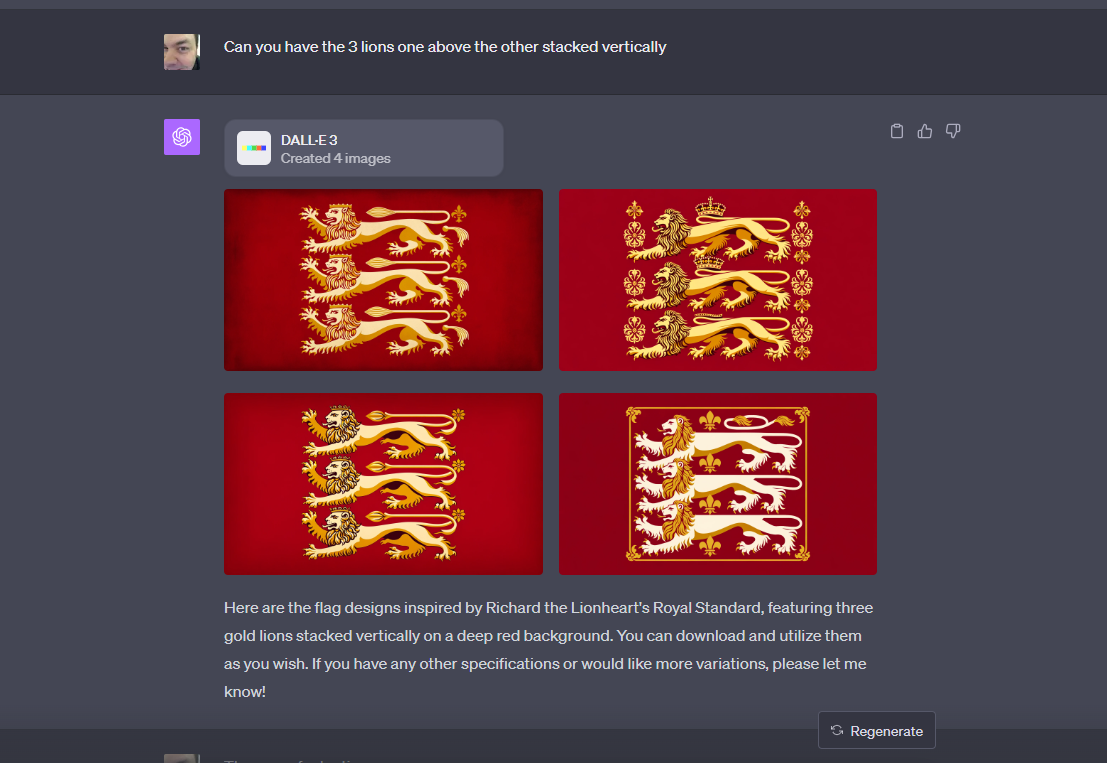
I think the answer was a resounding yes if you read the dialogue above. (Yes I do indeed say please and thank you to AI… as you never know!)
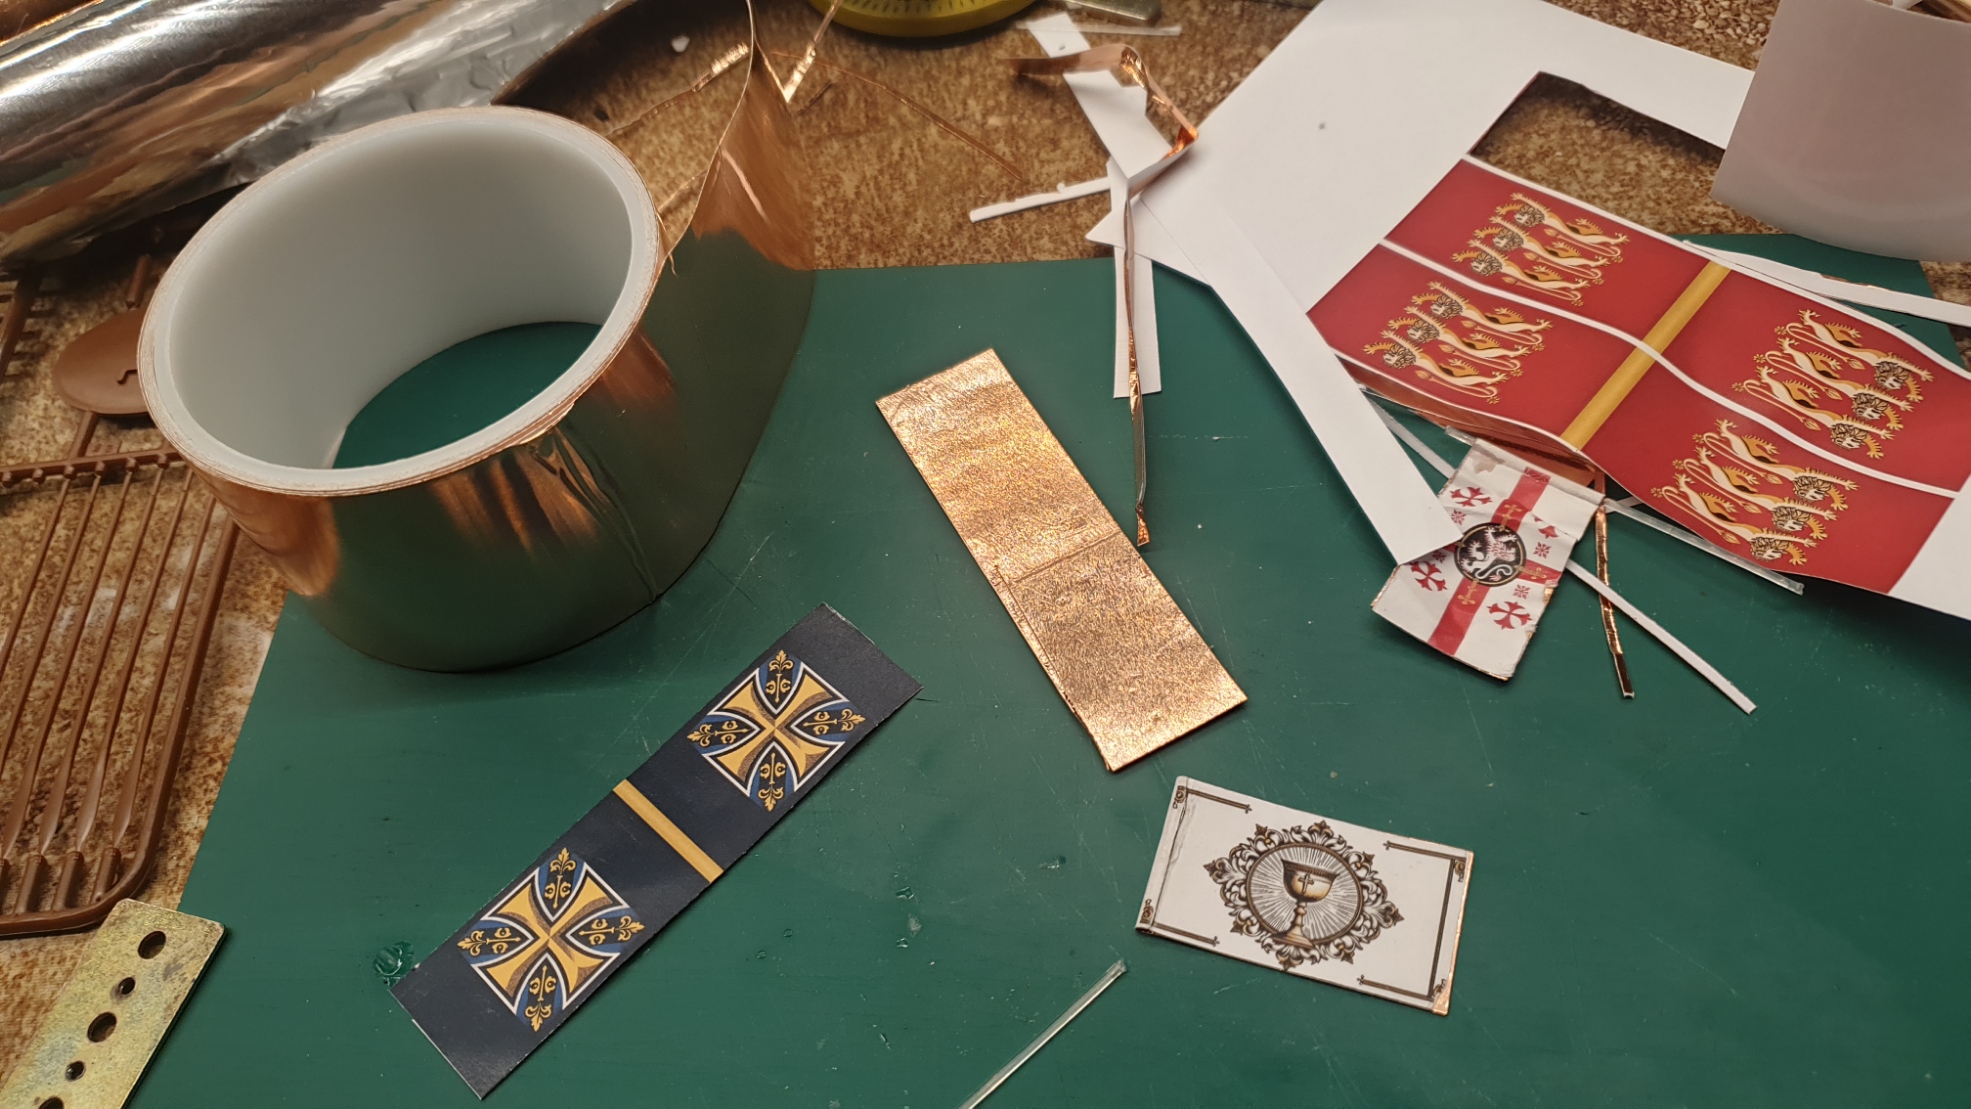
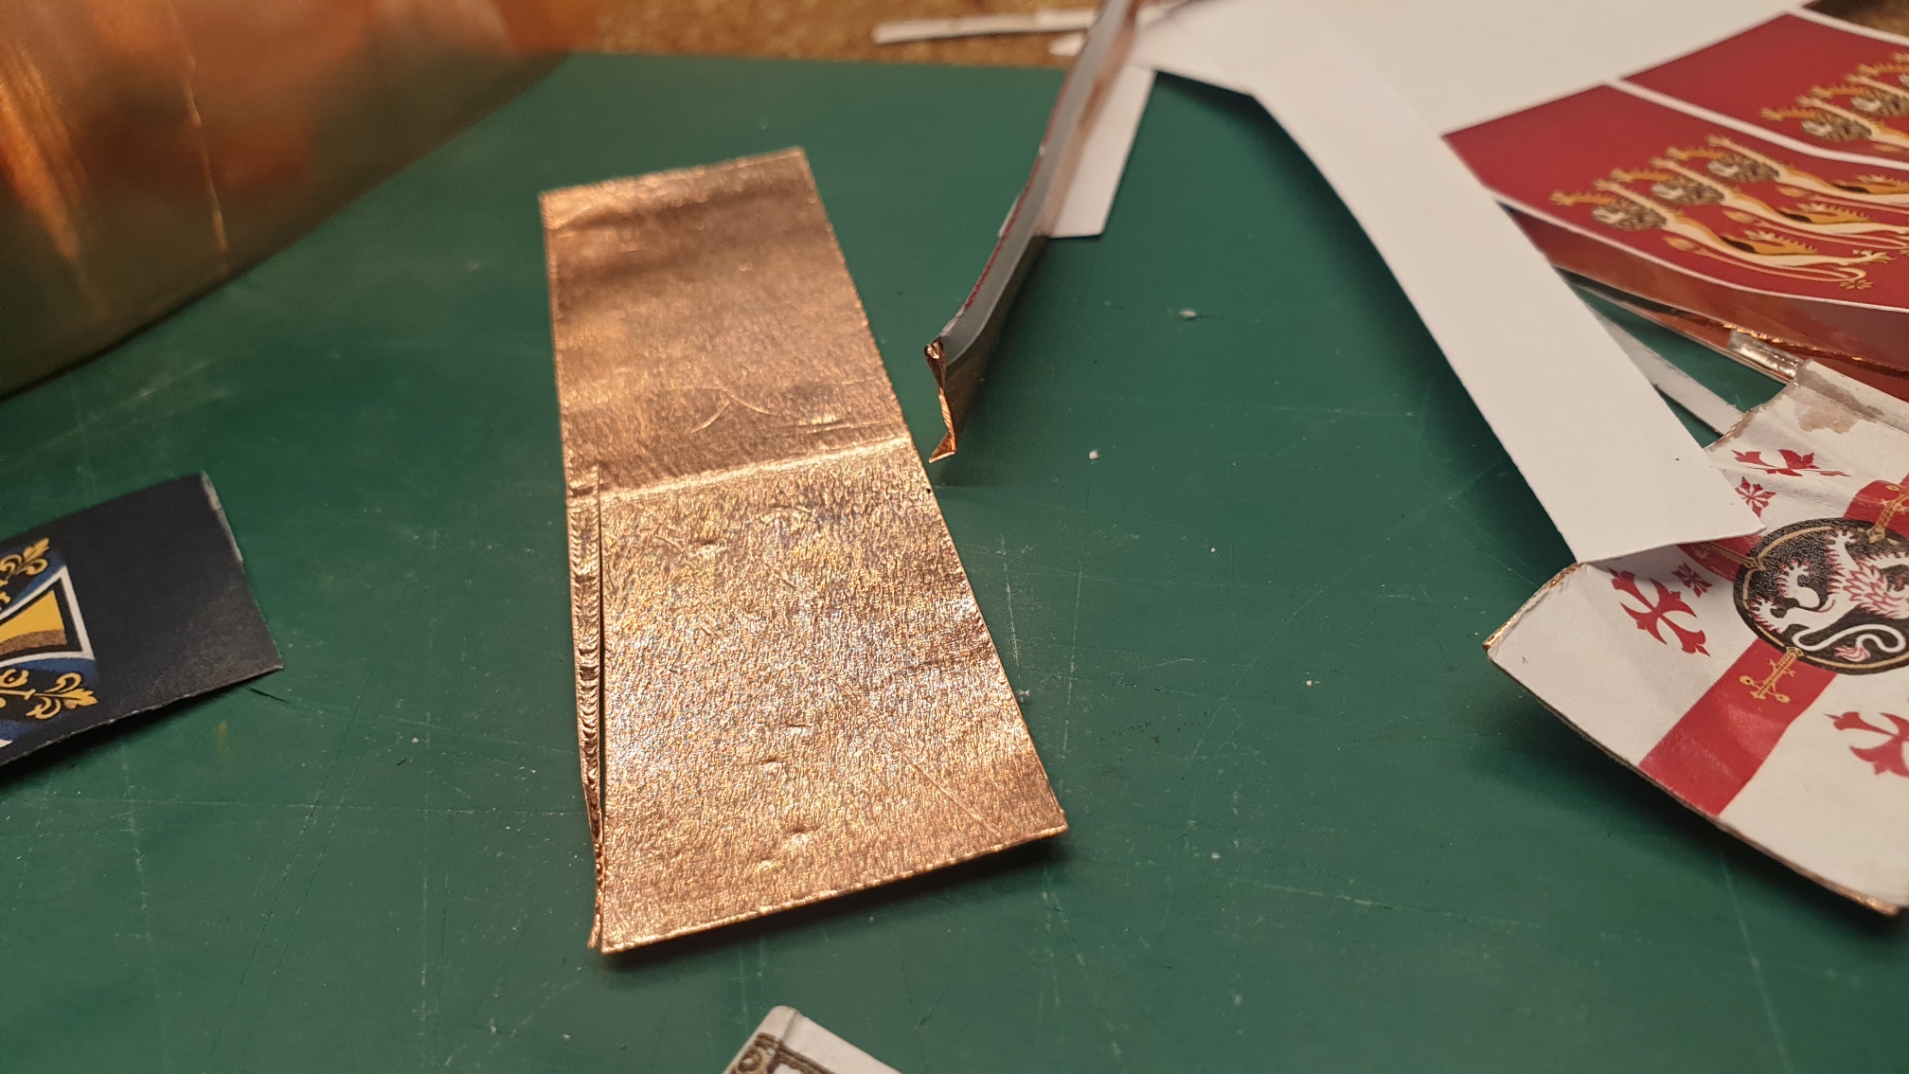
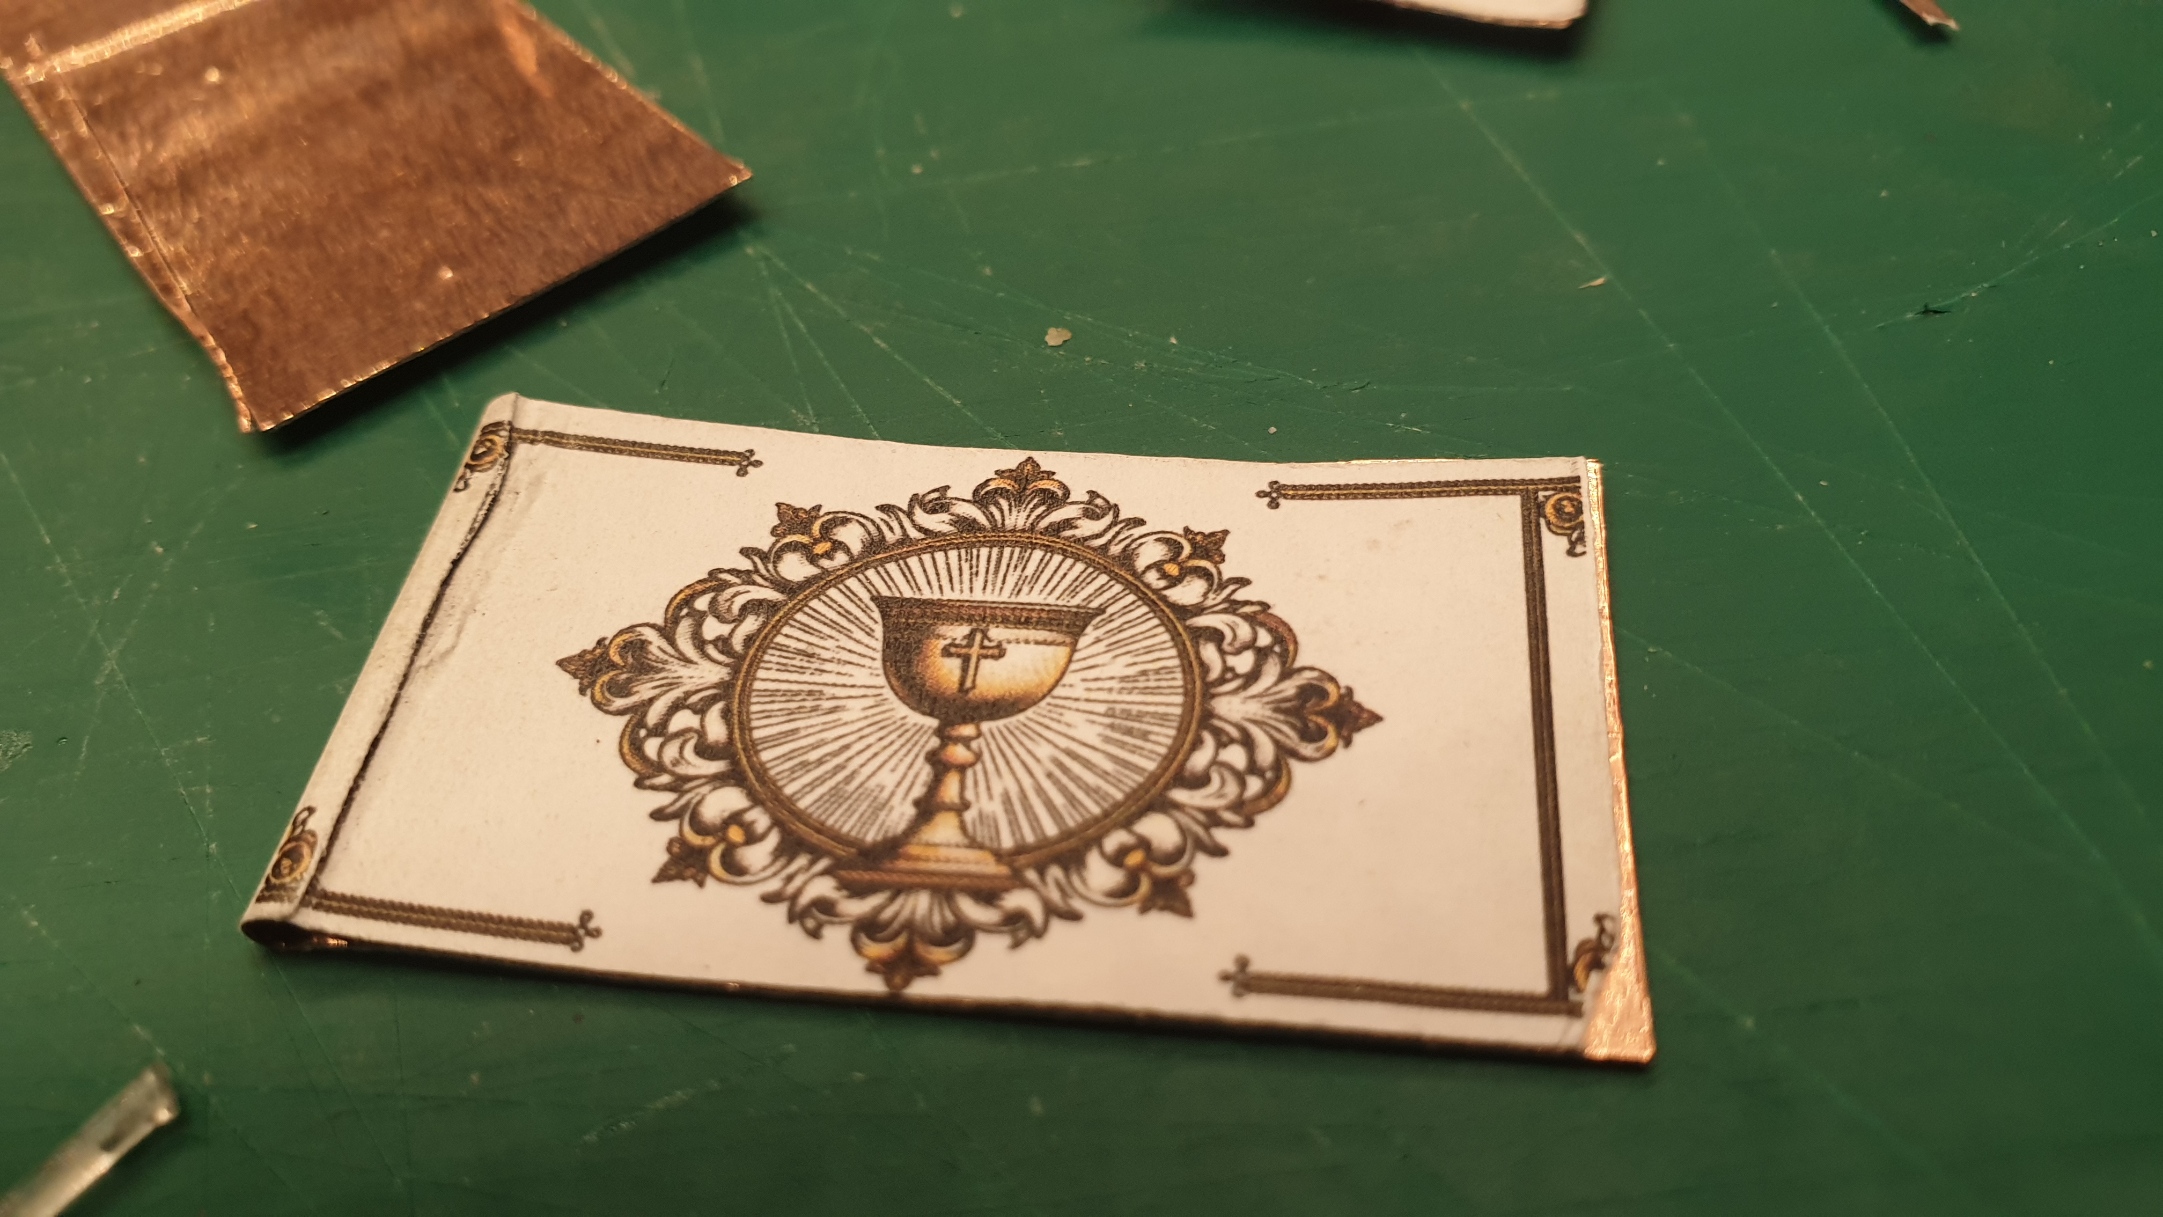
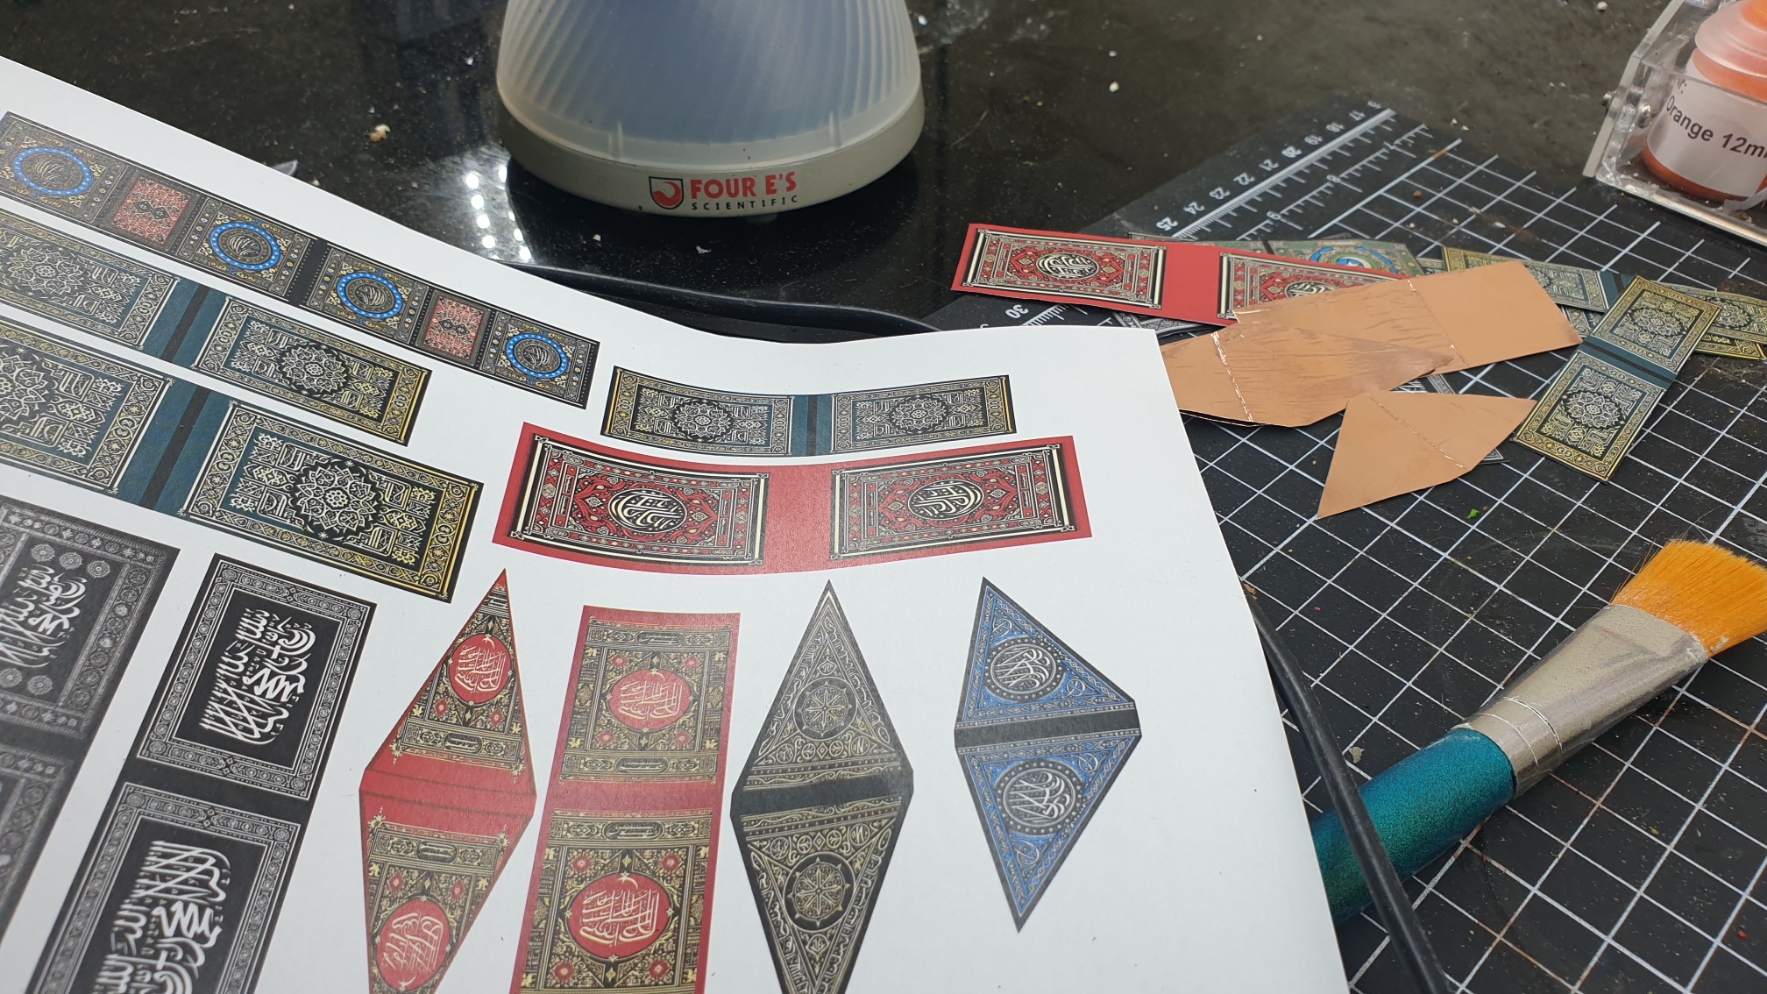
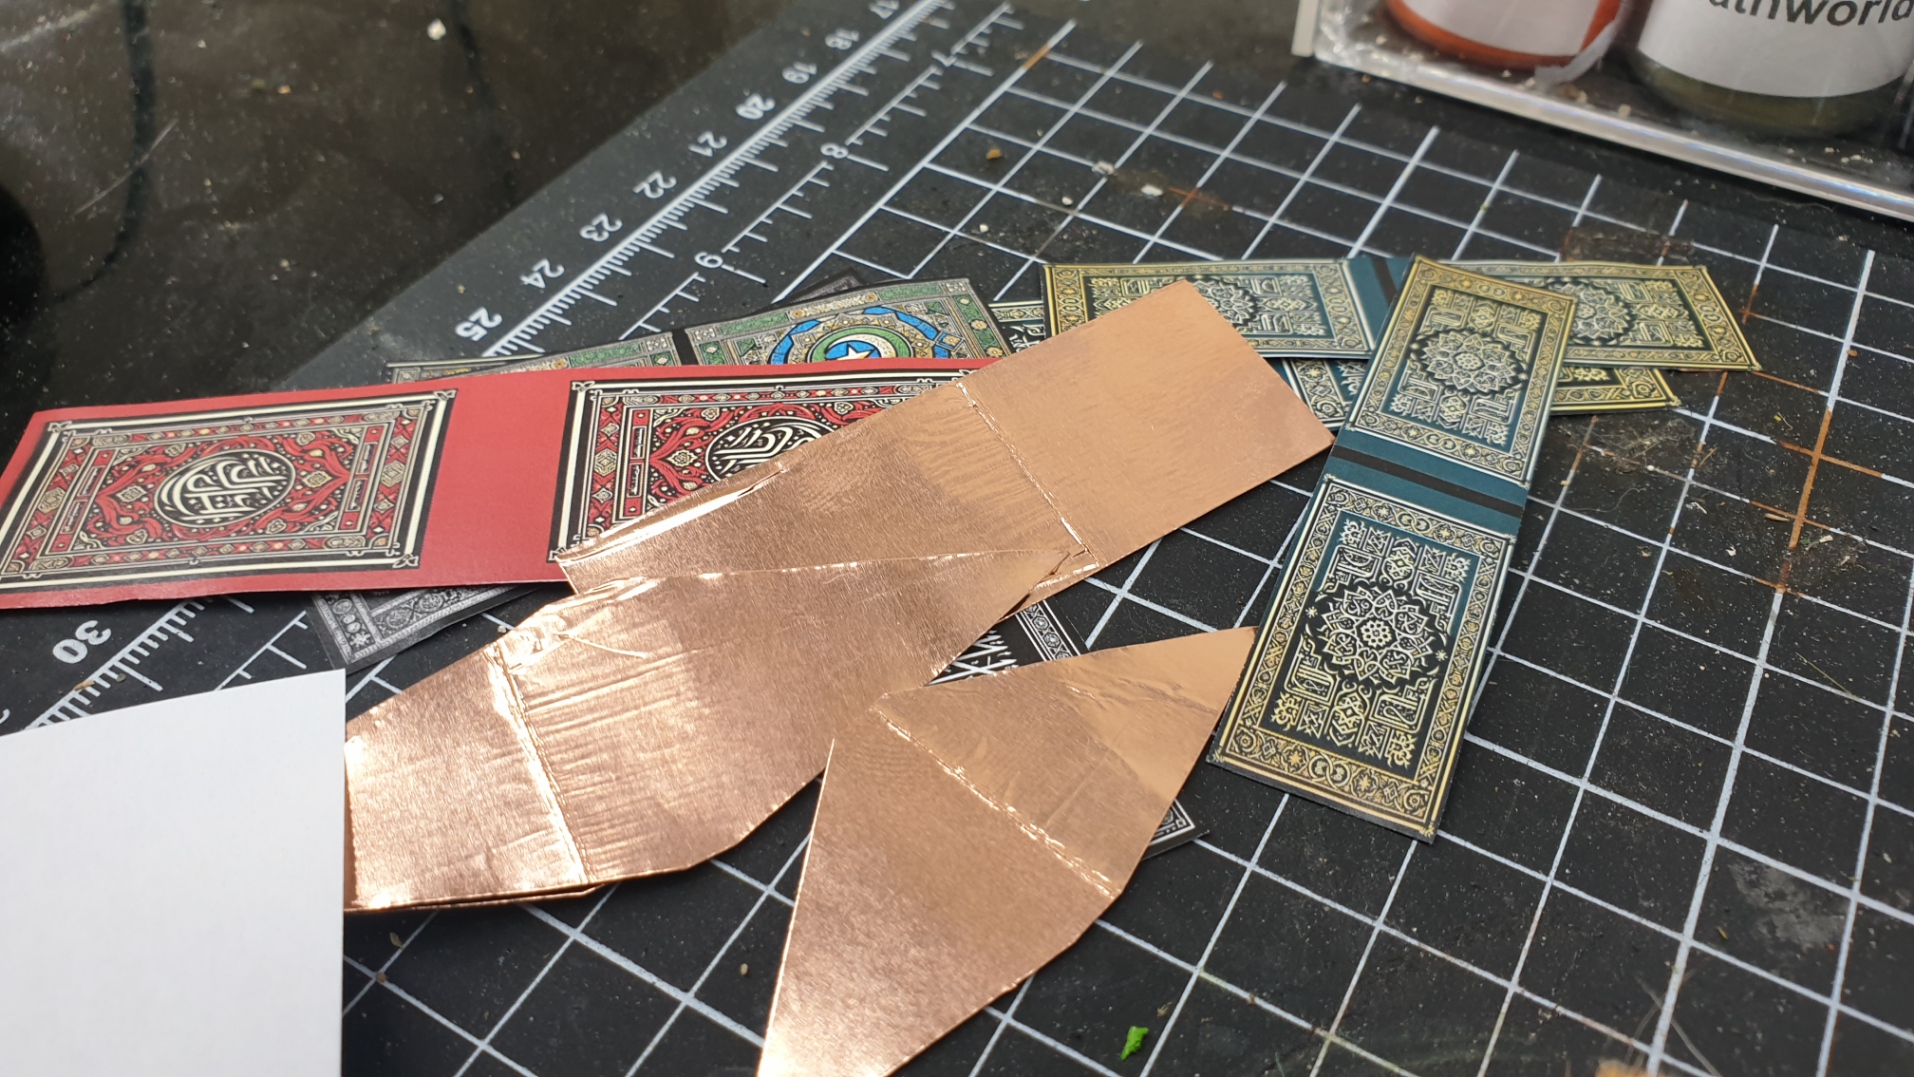
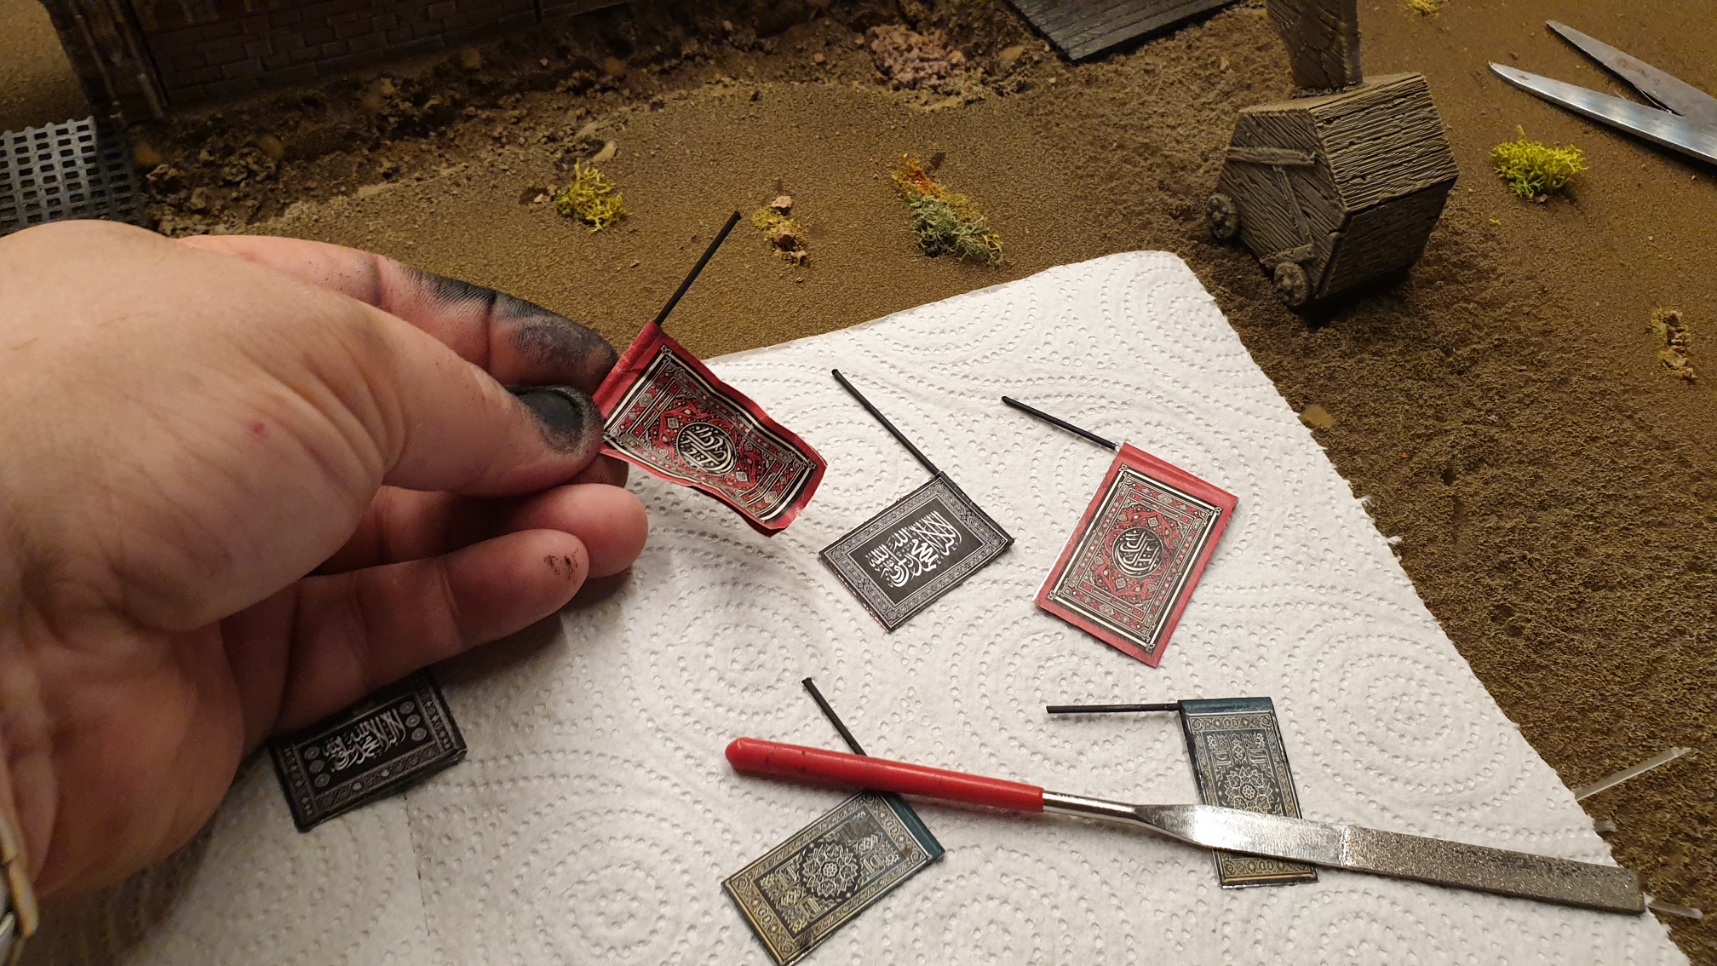
Anyway, I sent the corresponding designs to my printer and set to work to try and create posable flags using copper tape as a mettalic core to the flag to give it poseability.
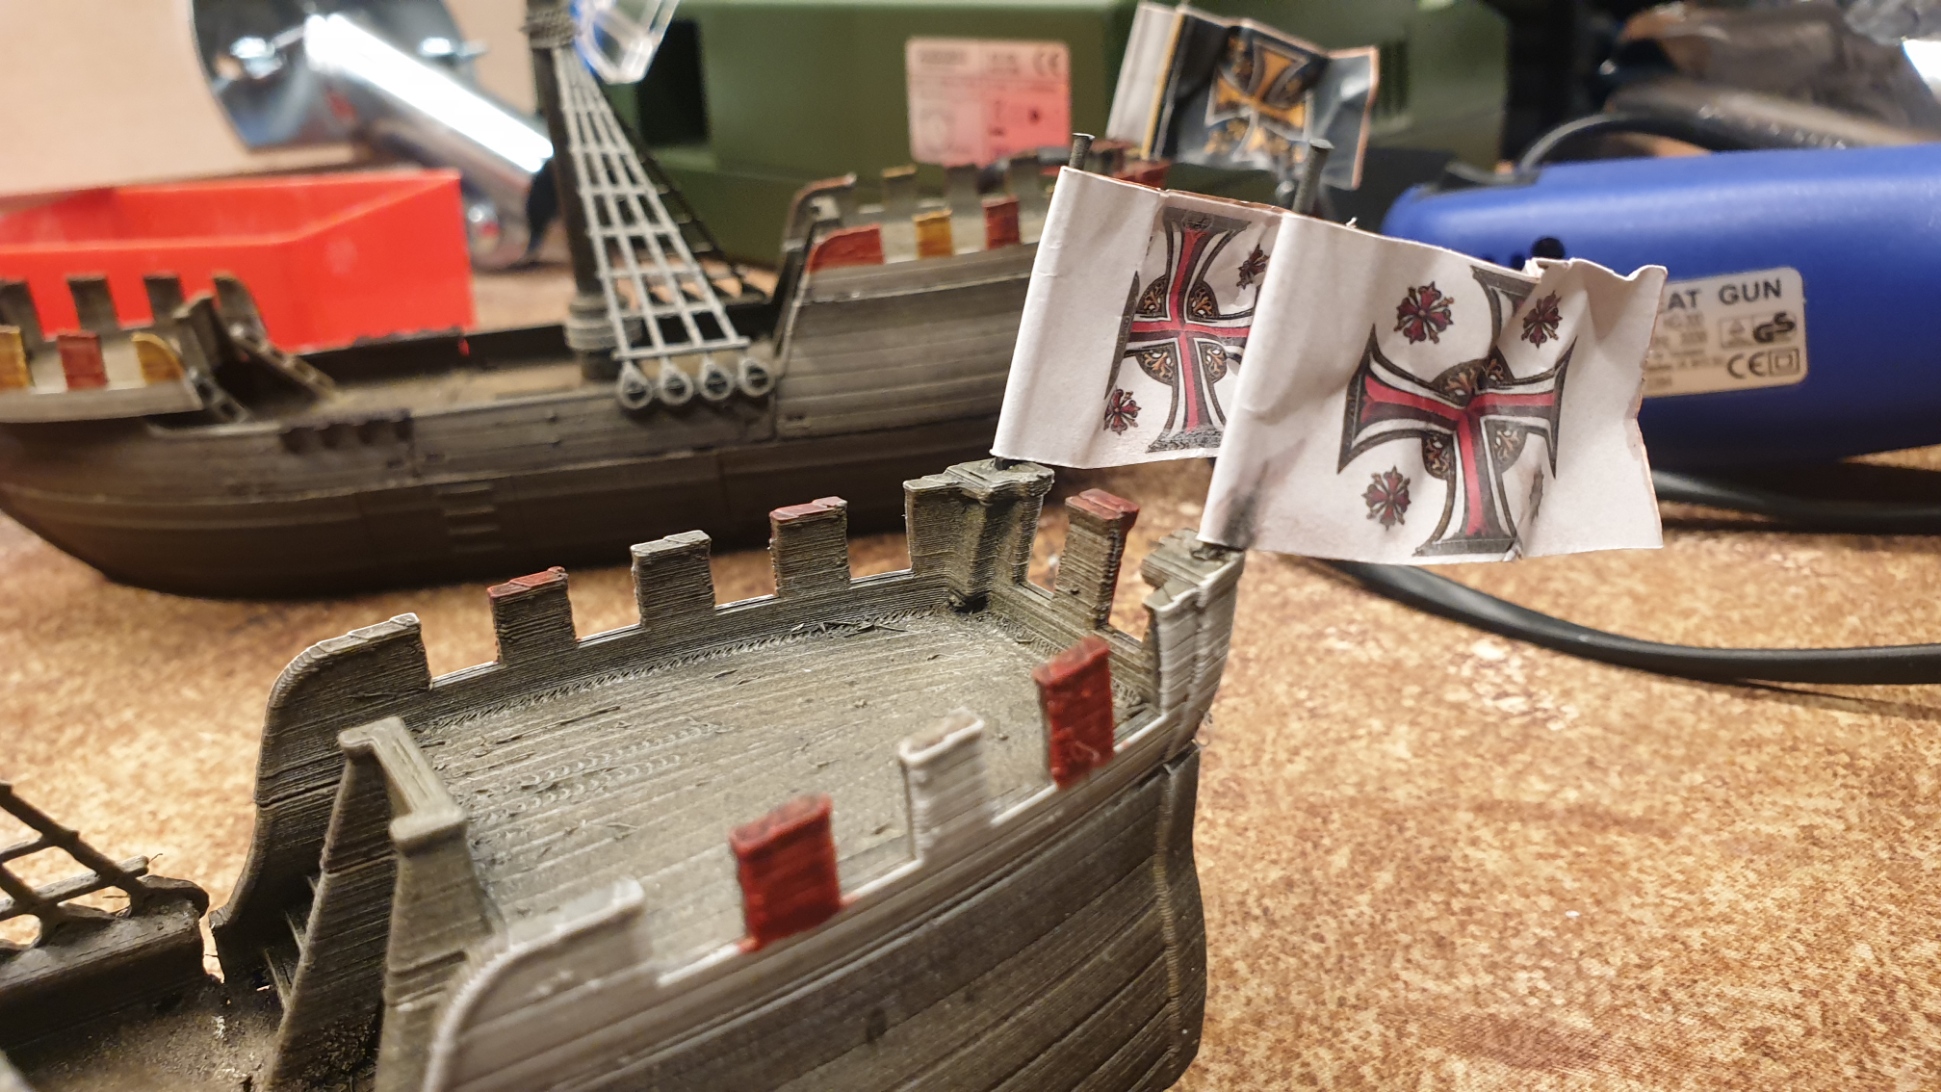
Then the same process repeated for Saracen Flags and Banners
Foam is Fine without texture!
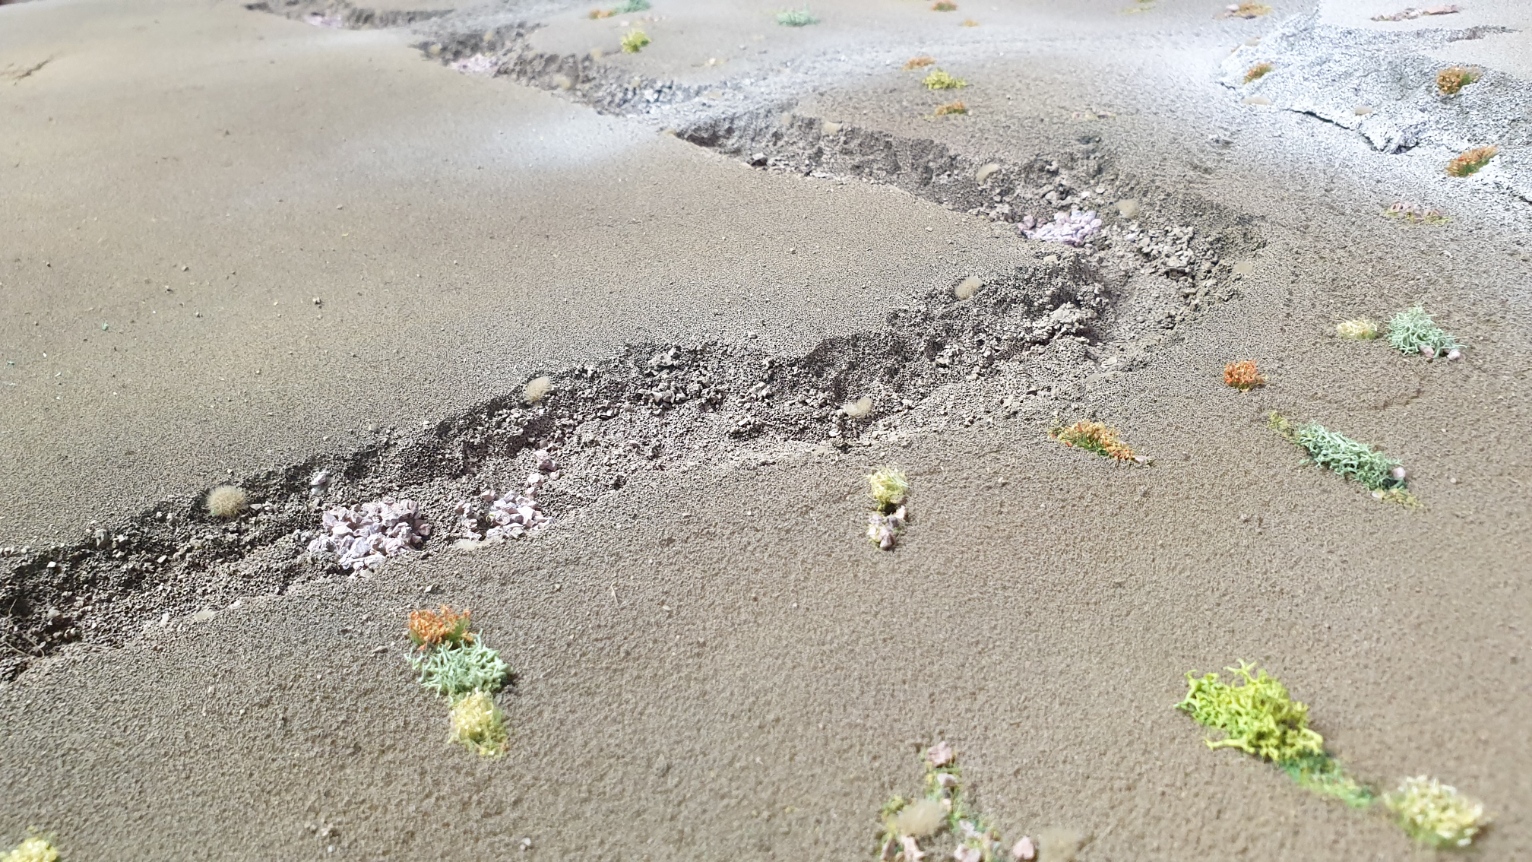
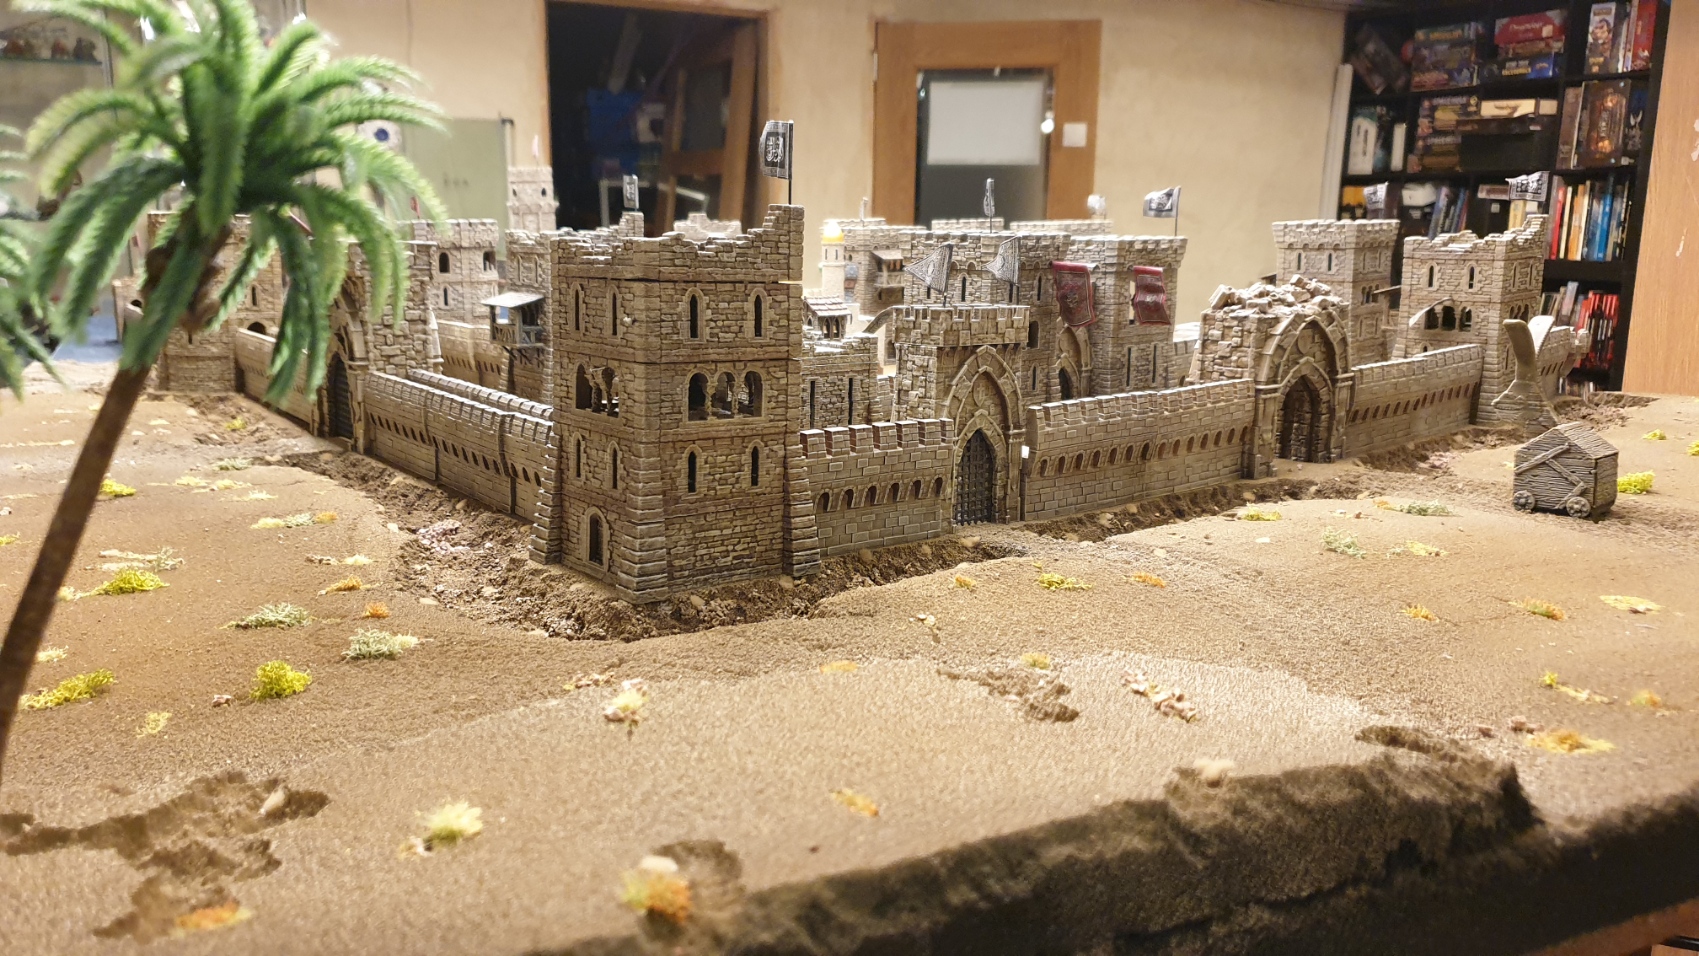
By this stage of the project I had really come round to the look of the foam painted without adding additional texture, and in future projects Im very much going to explore this further by adopting a subtractive approace and carving texture into the foam rather than trying an additive approach of sticking stuff on. (Except perhaps static grass etc)
So I added little bits of foliage to the scrapes and gouges I had perviously planned to fill with rubble texture. This served to break up the uniformity of the ground, and indeed bring it more in line with the general levels of foliage you would see in that part of the world.
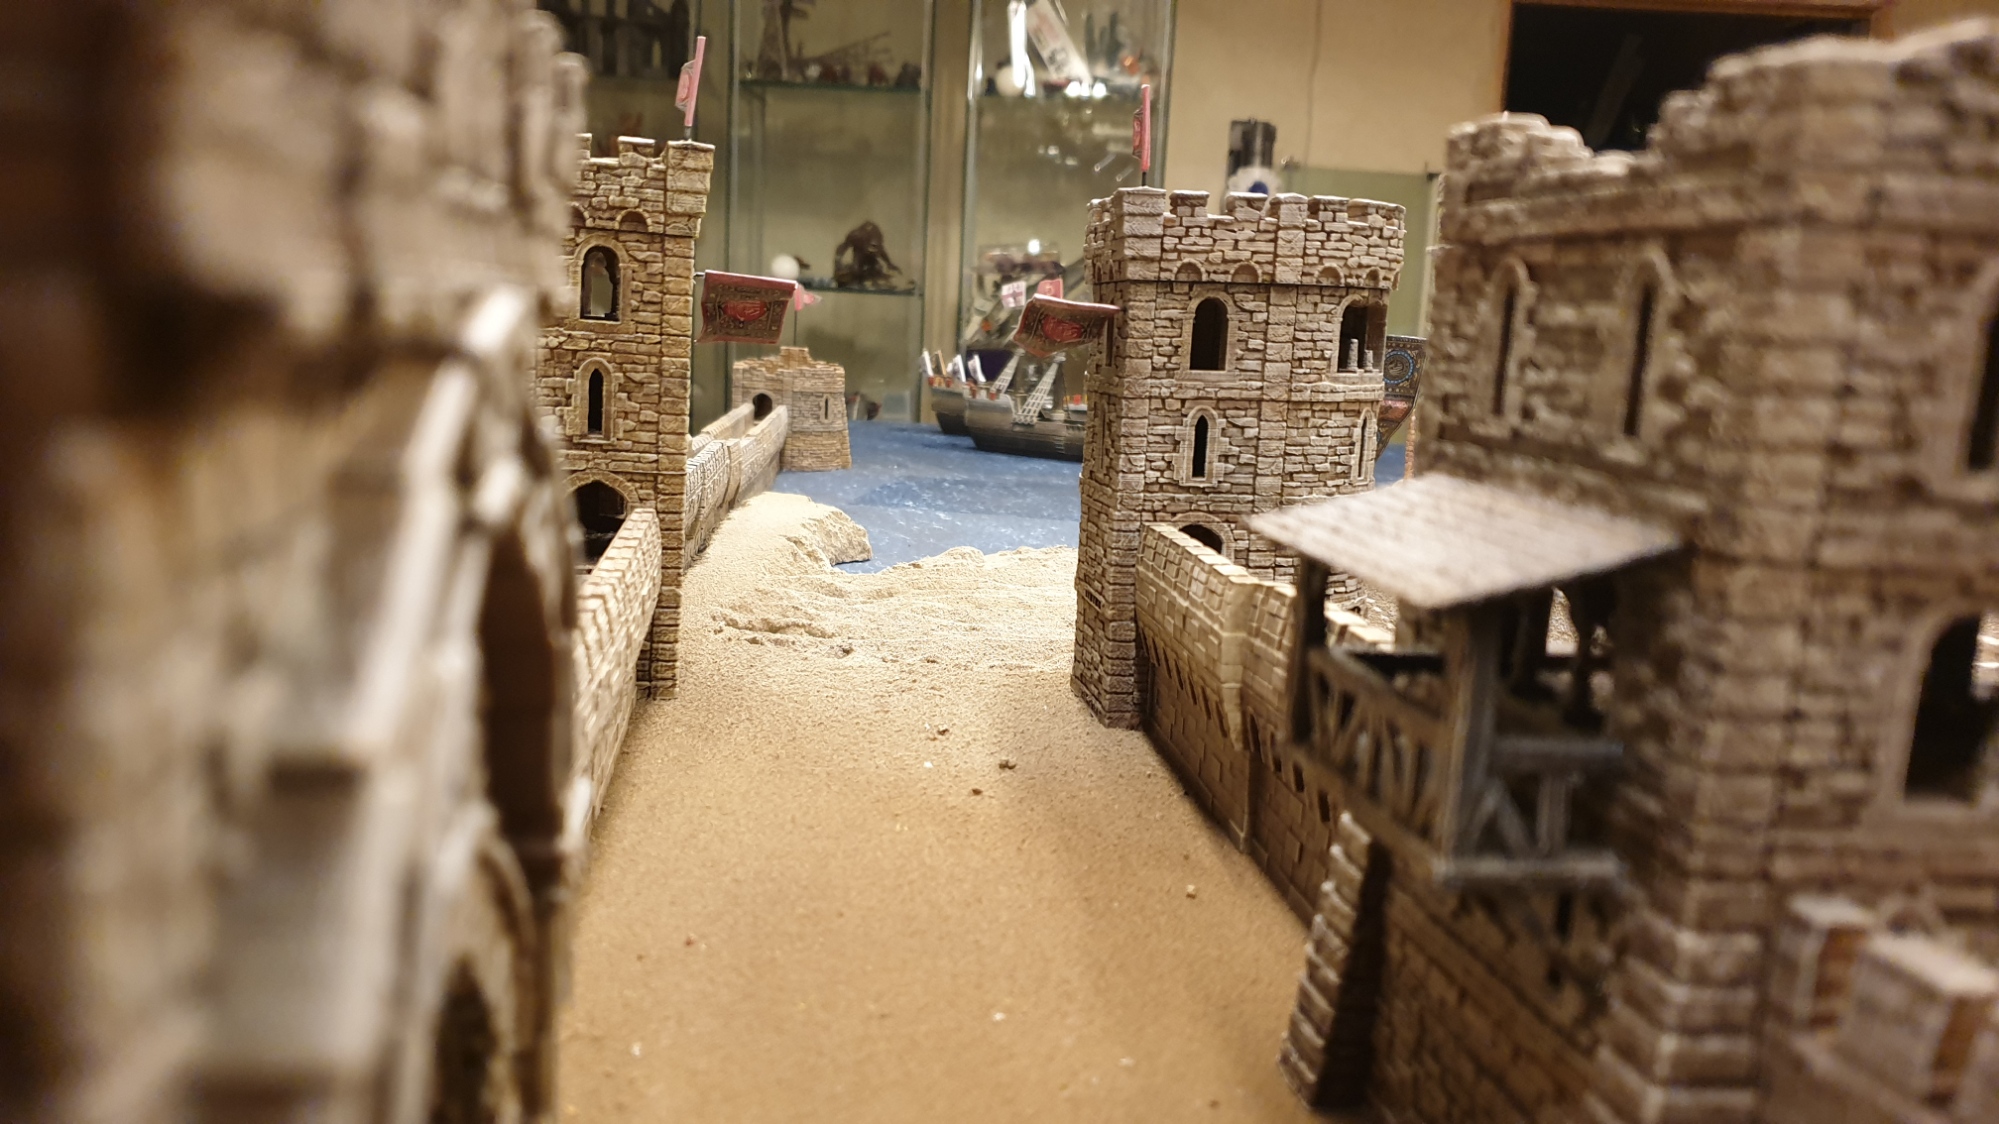
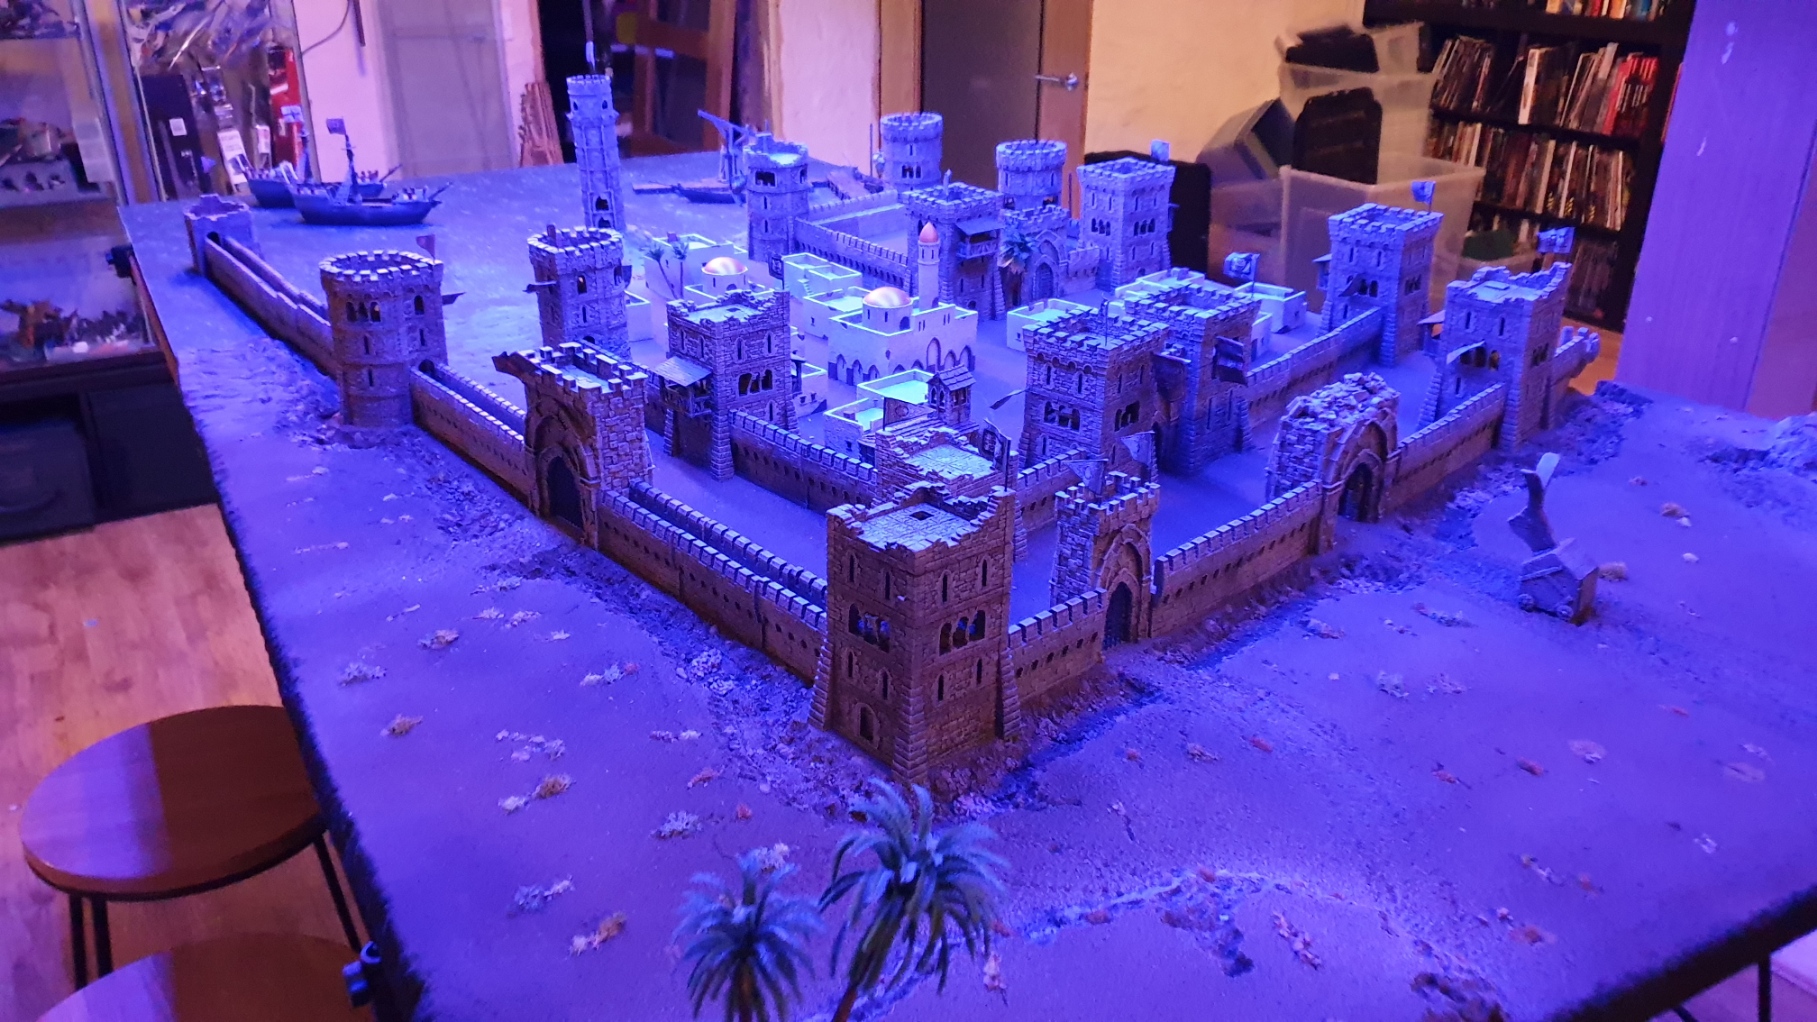
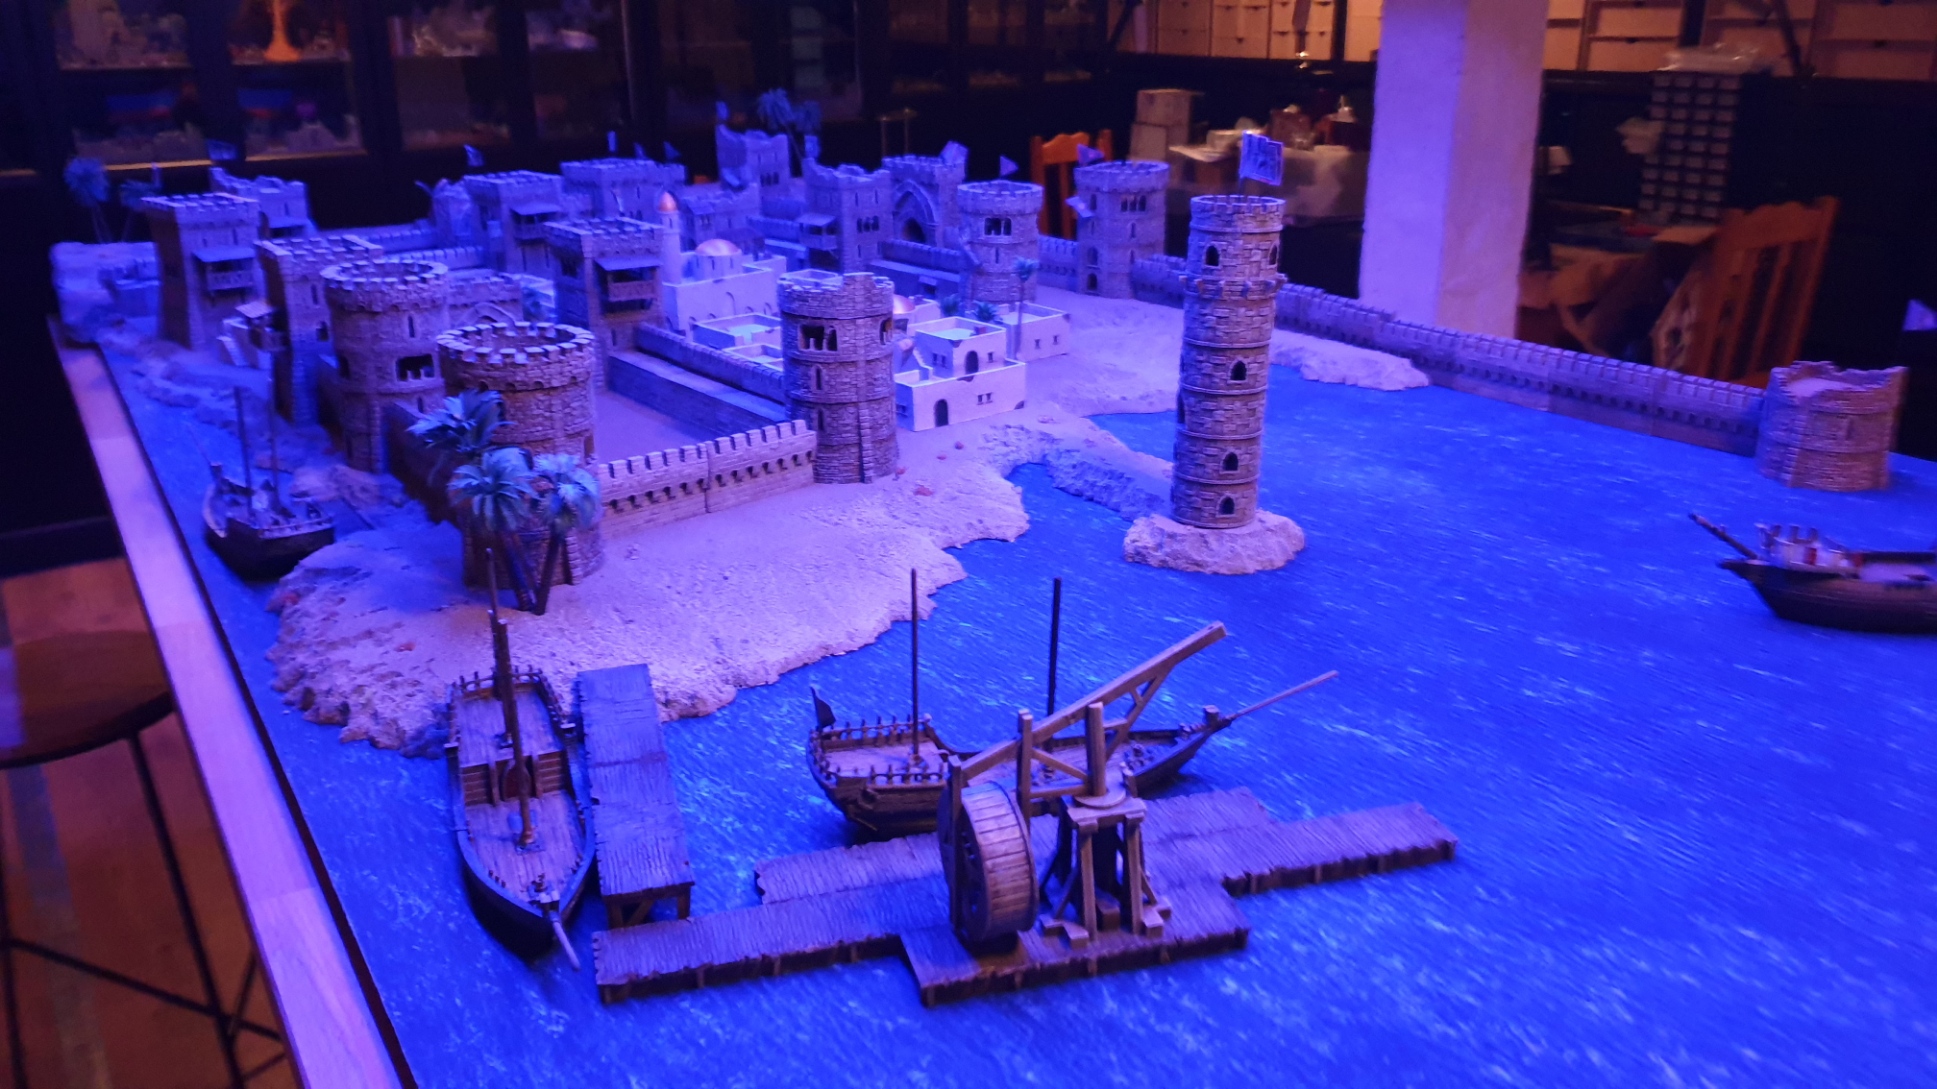
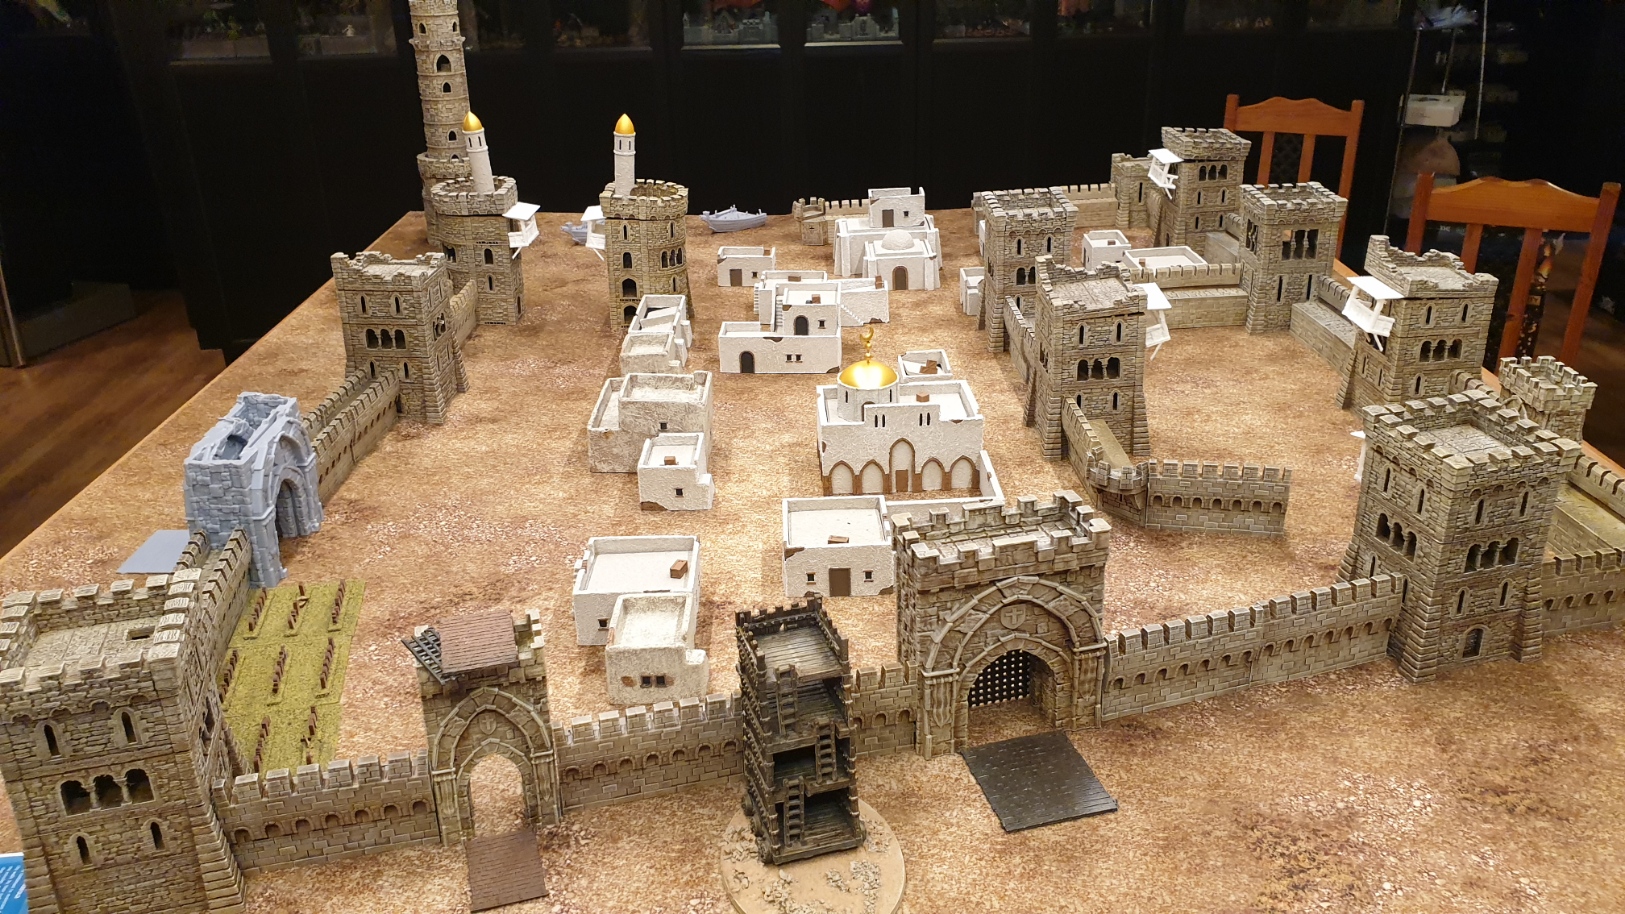
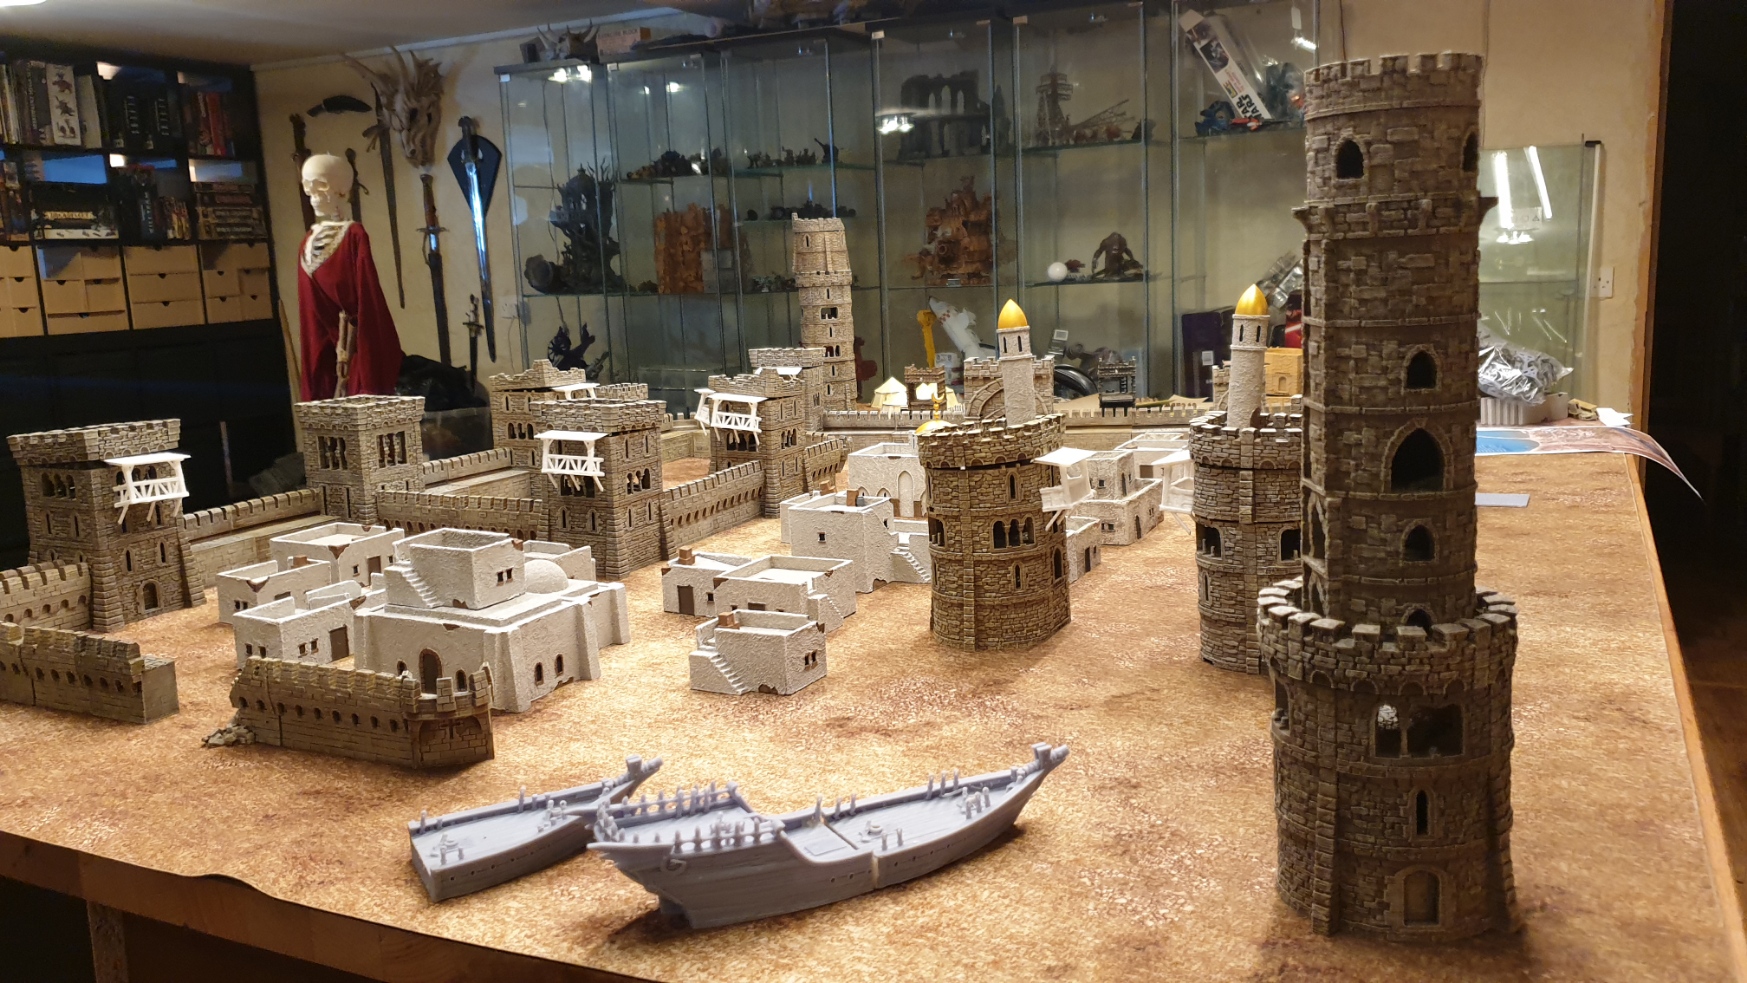
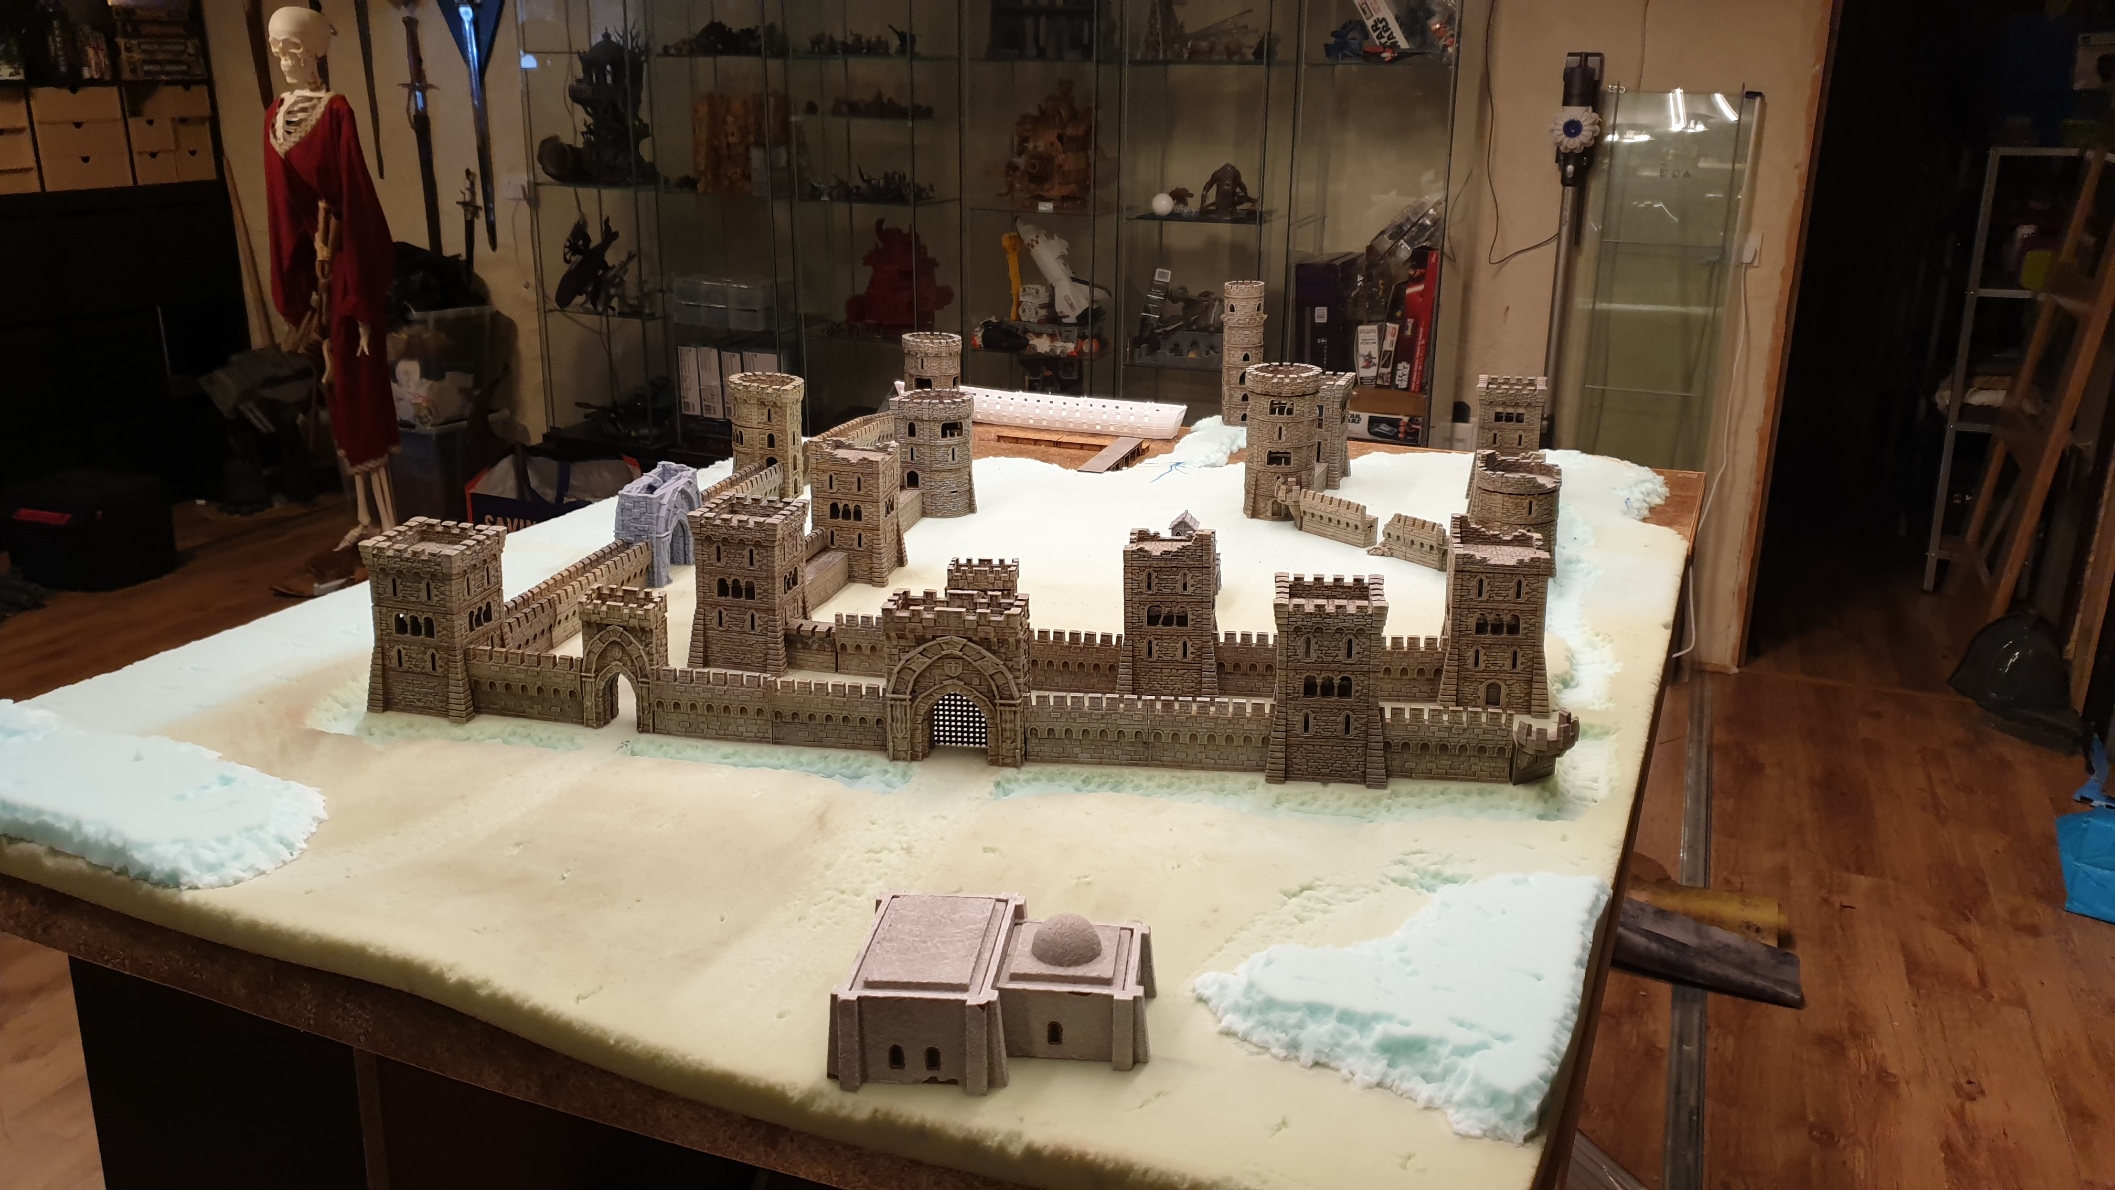
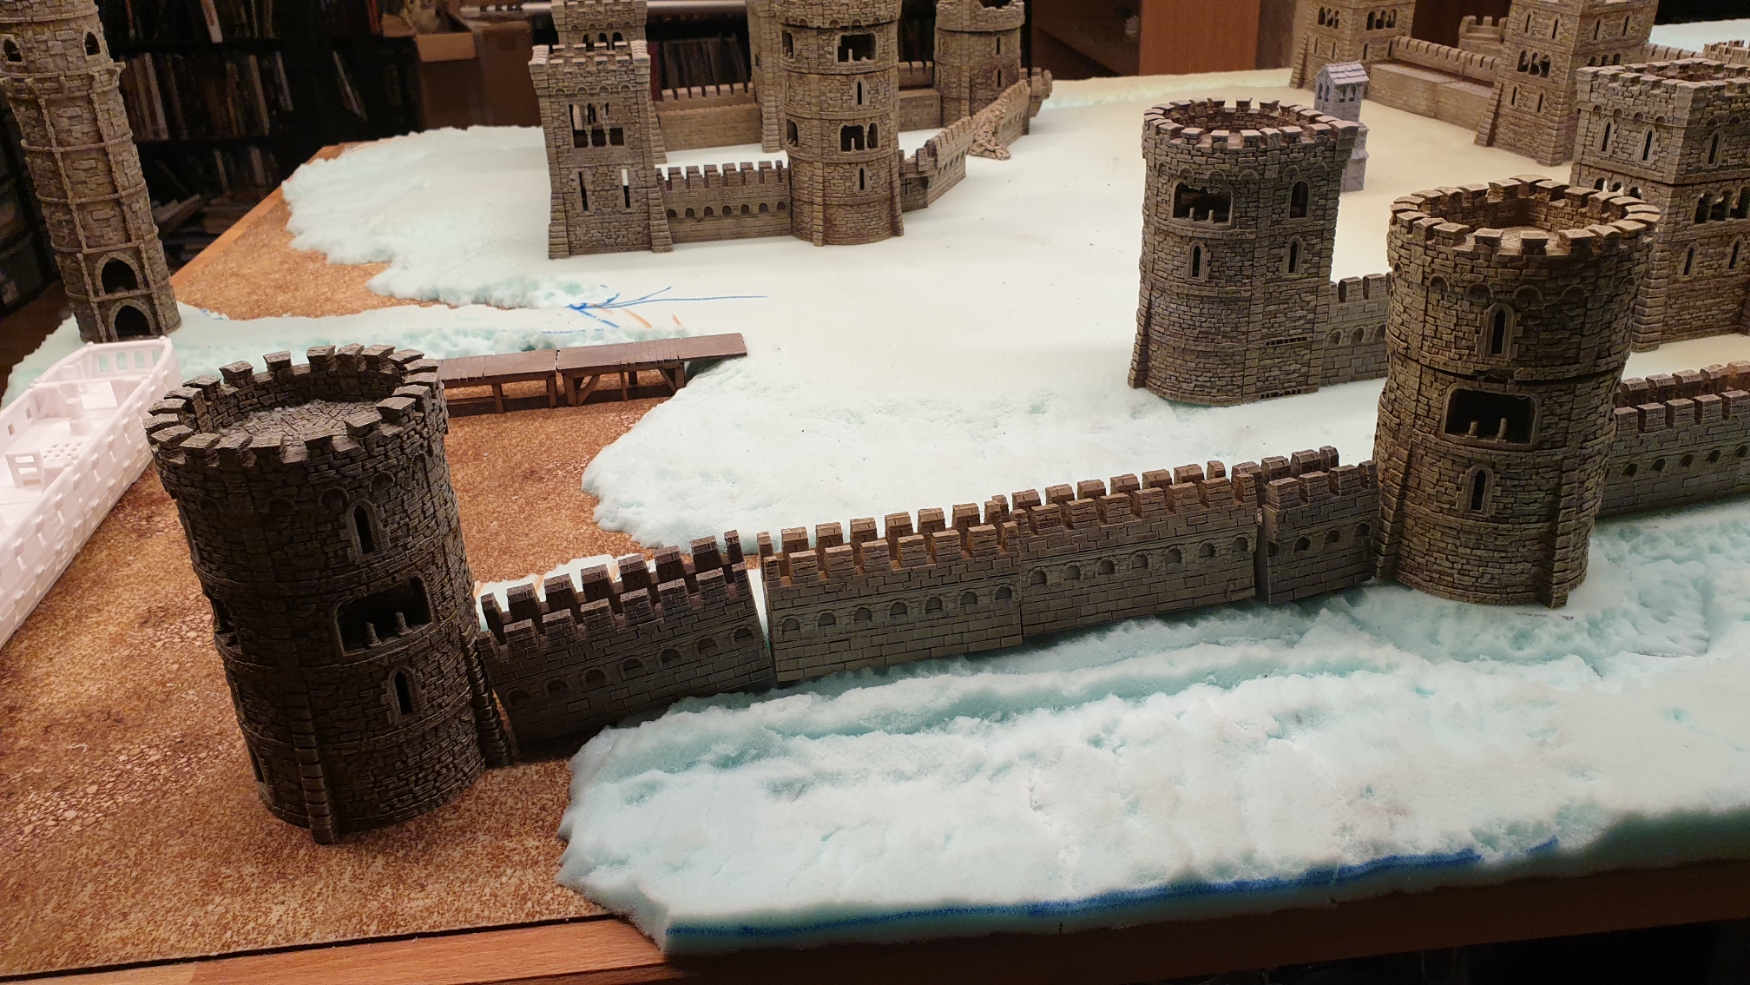
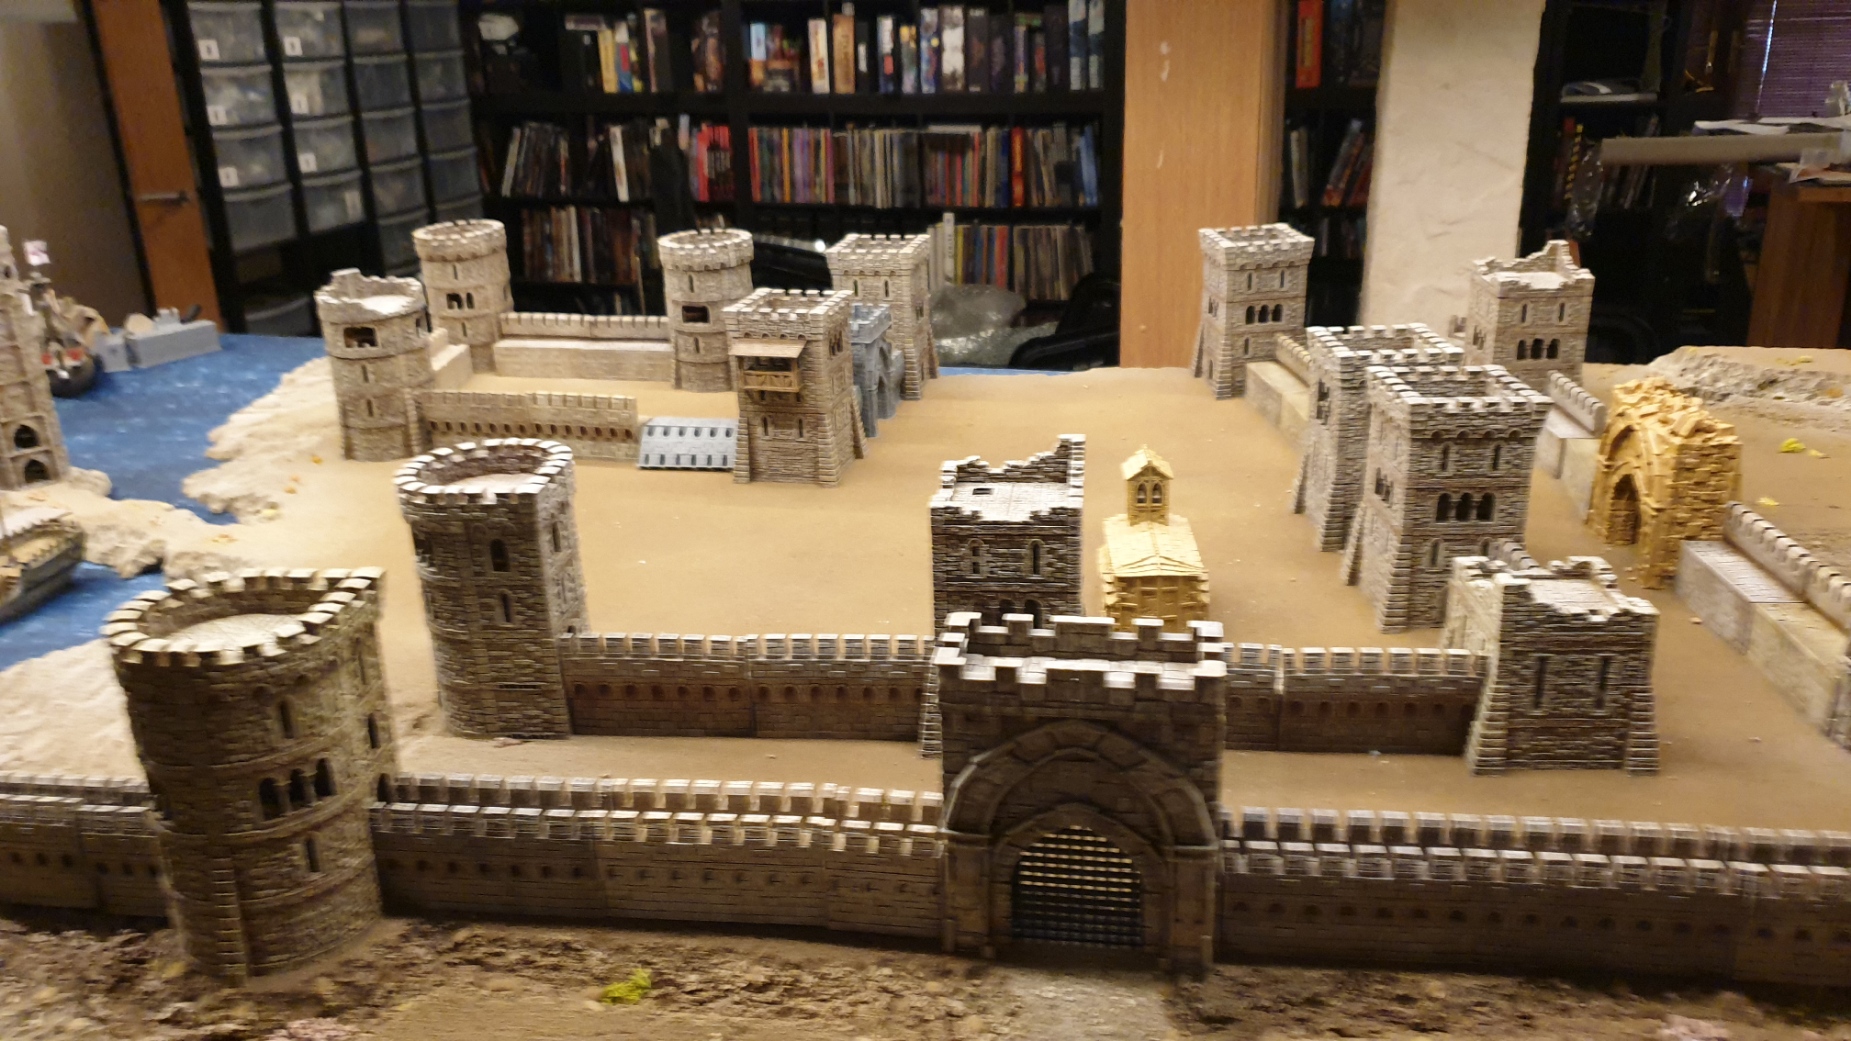
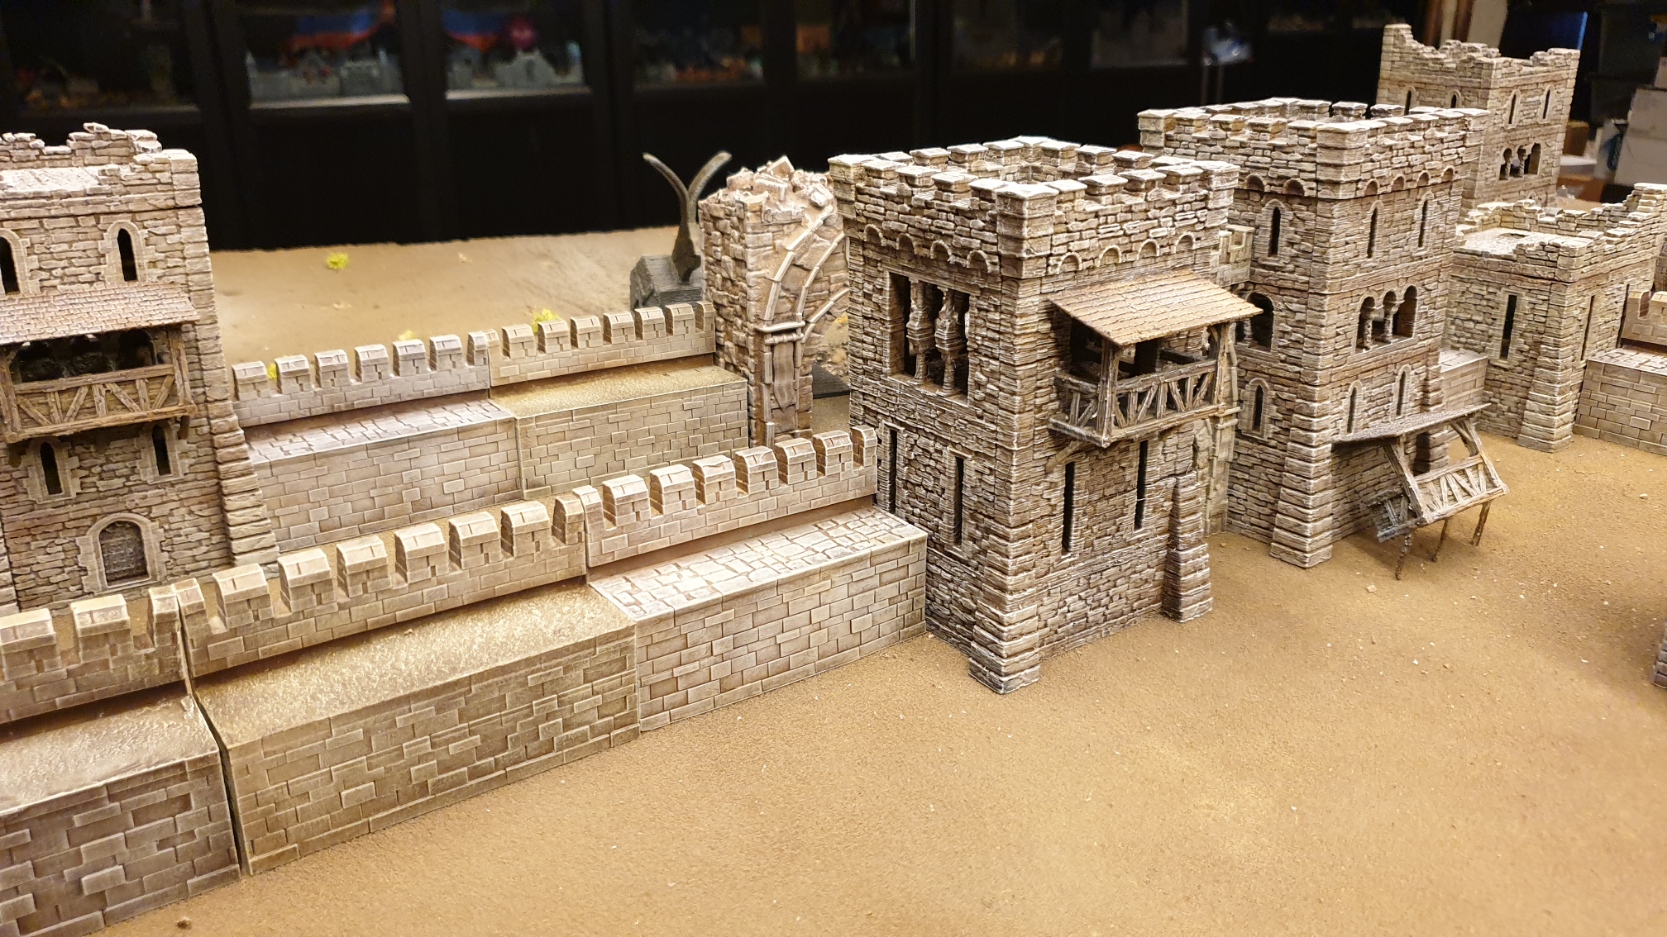
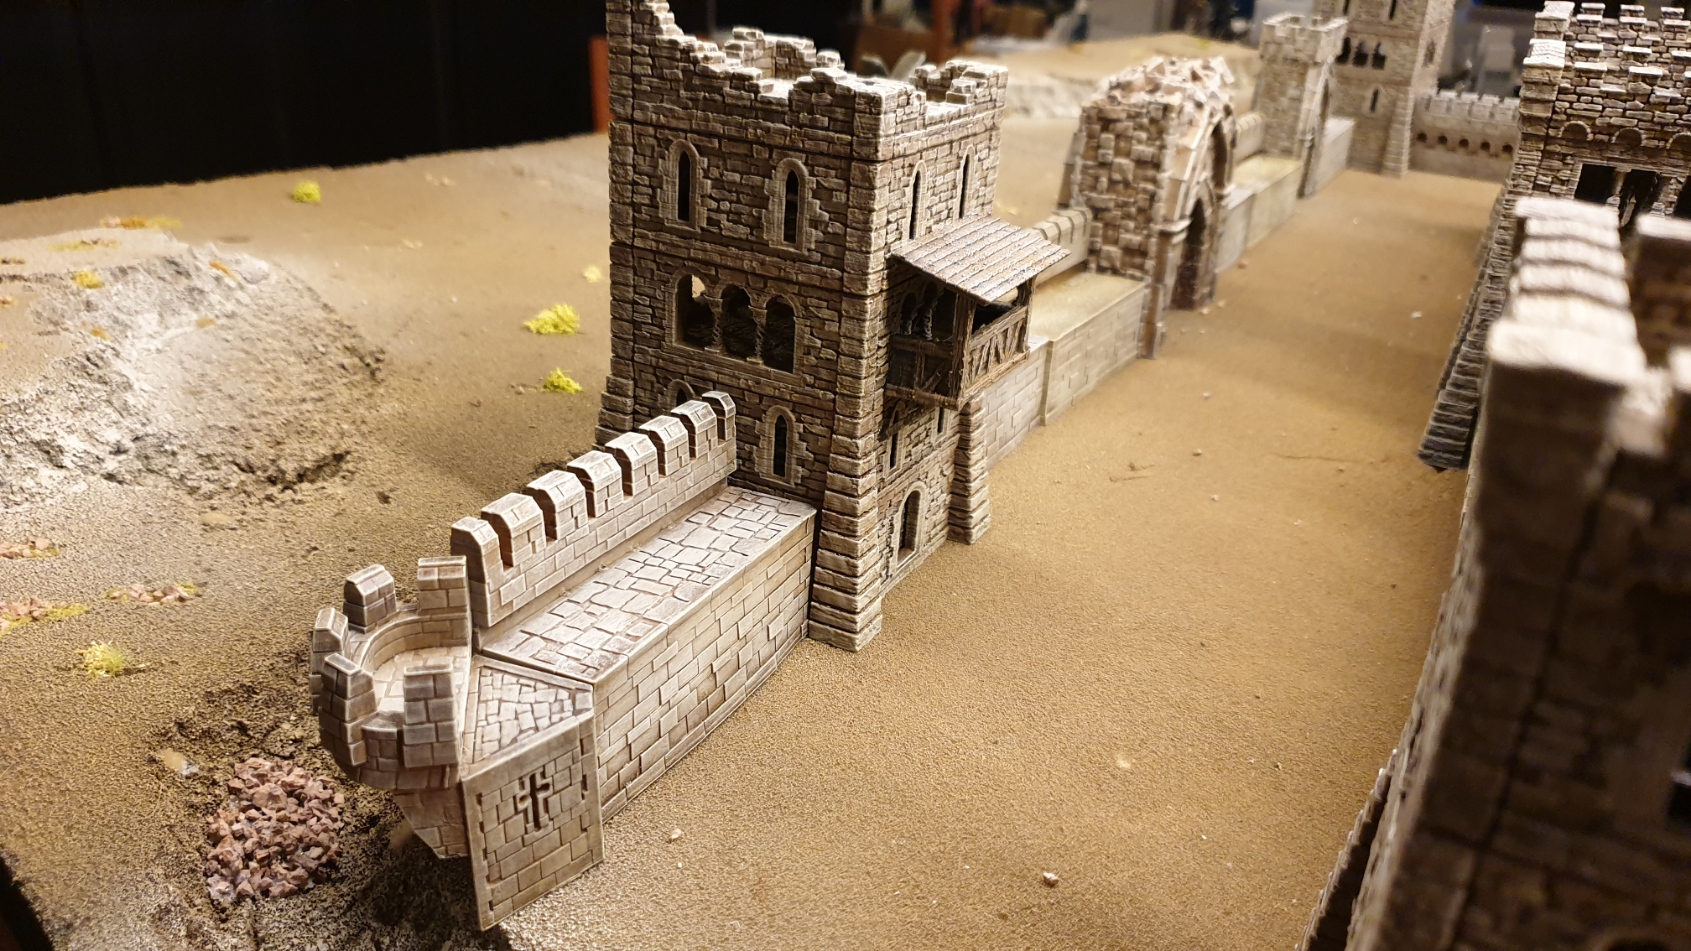
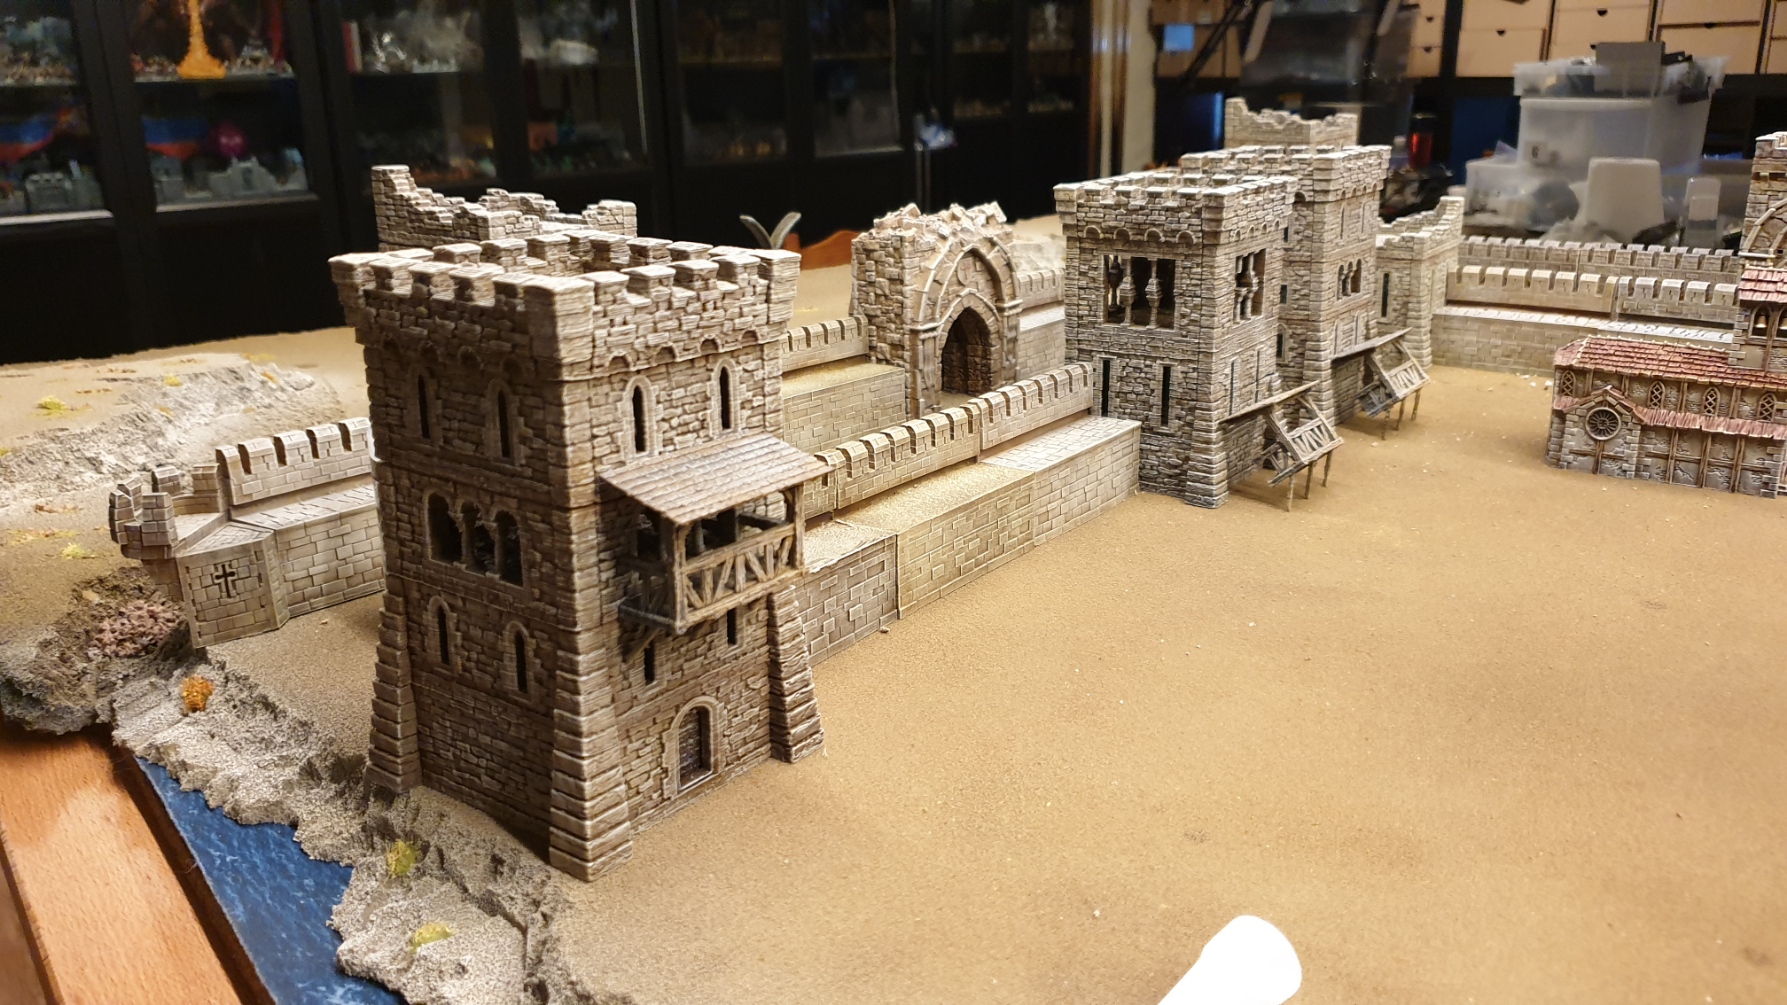
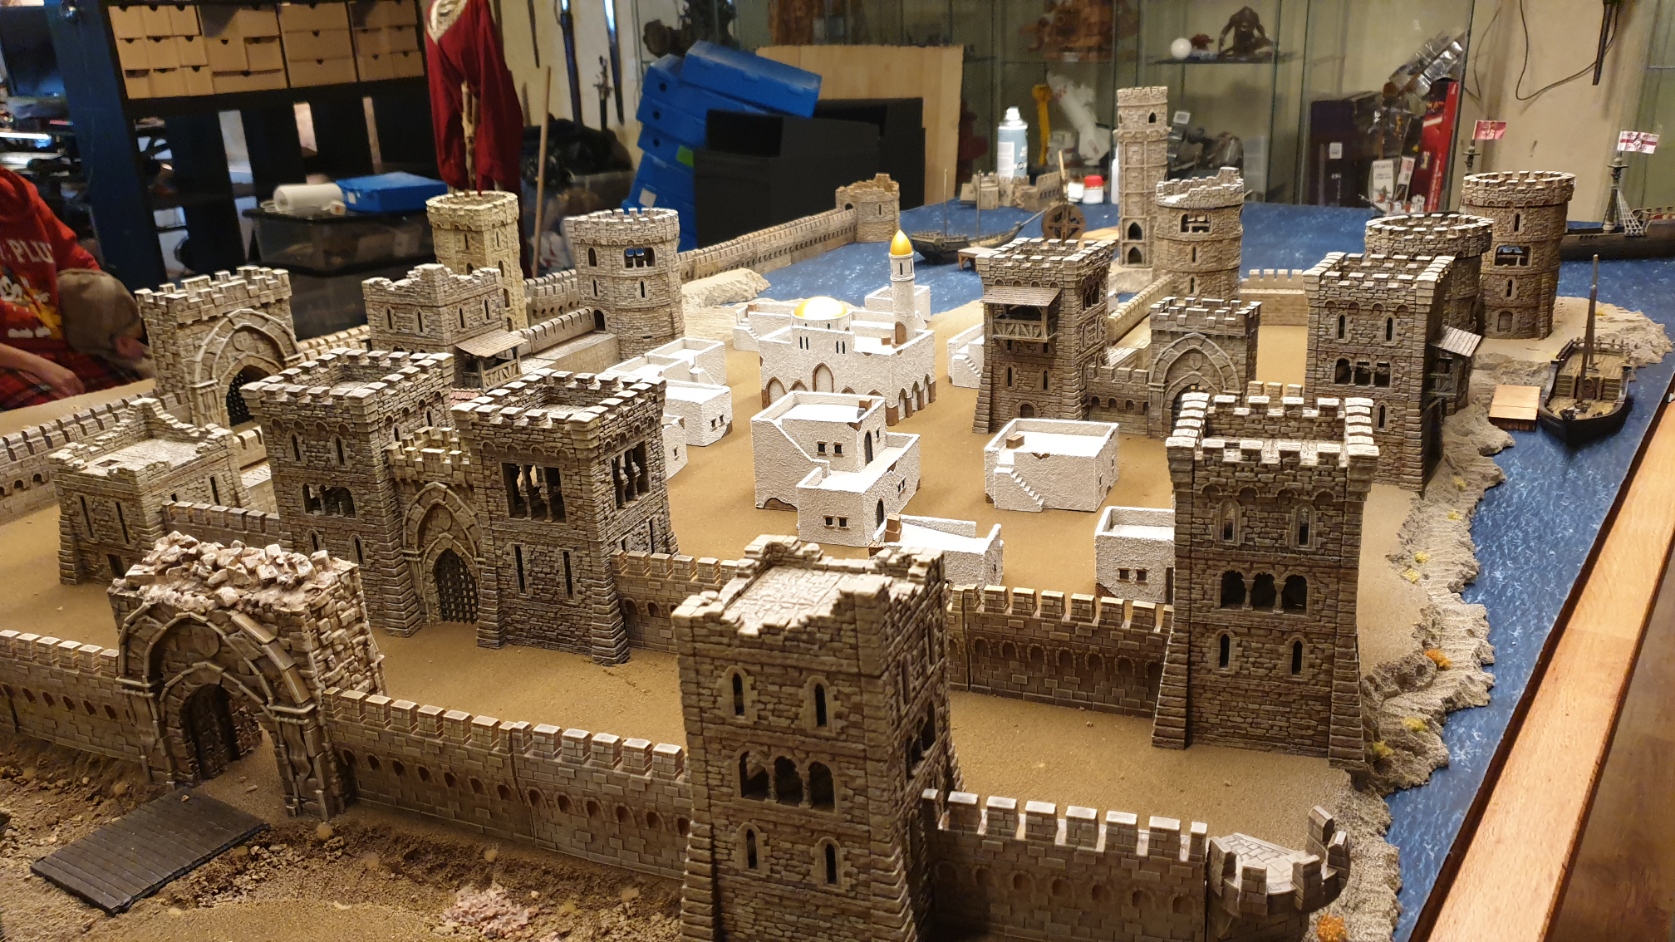
Another round of dry fitting

With most of the really messy work out of the way it was back to the games room, to do another round of fitting and layout to see how it was all coming together.
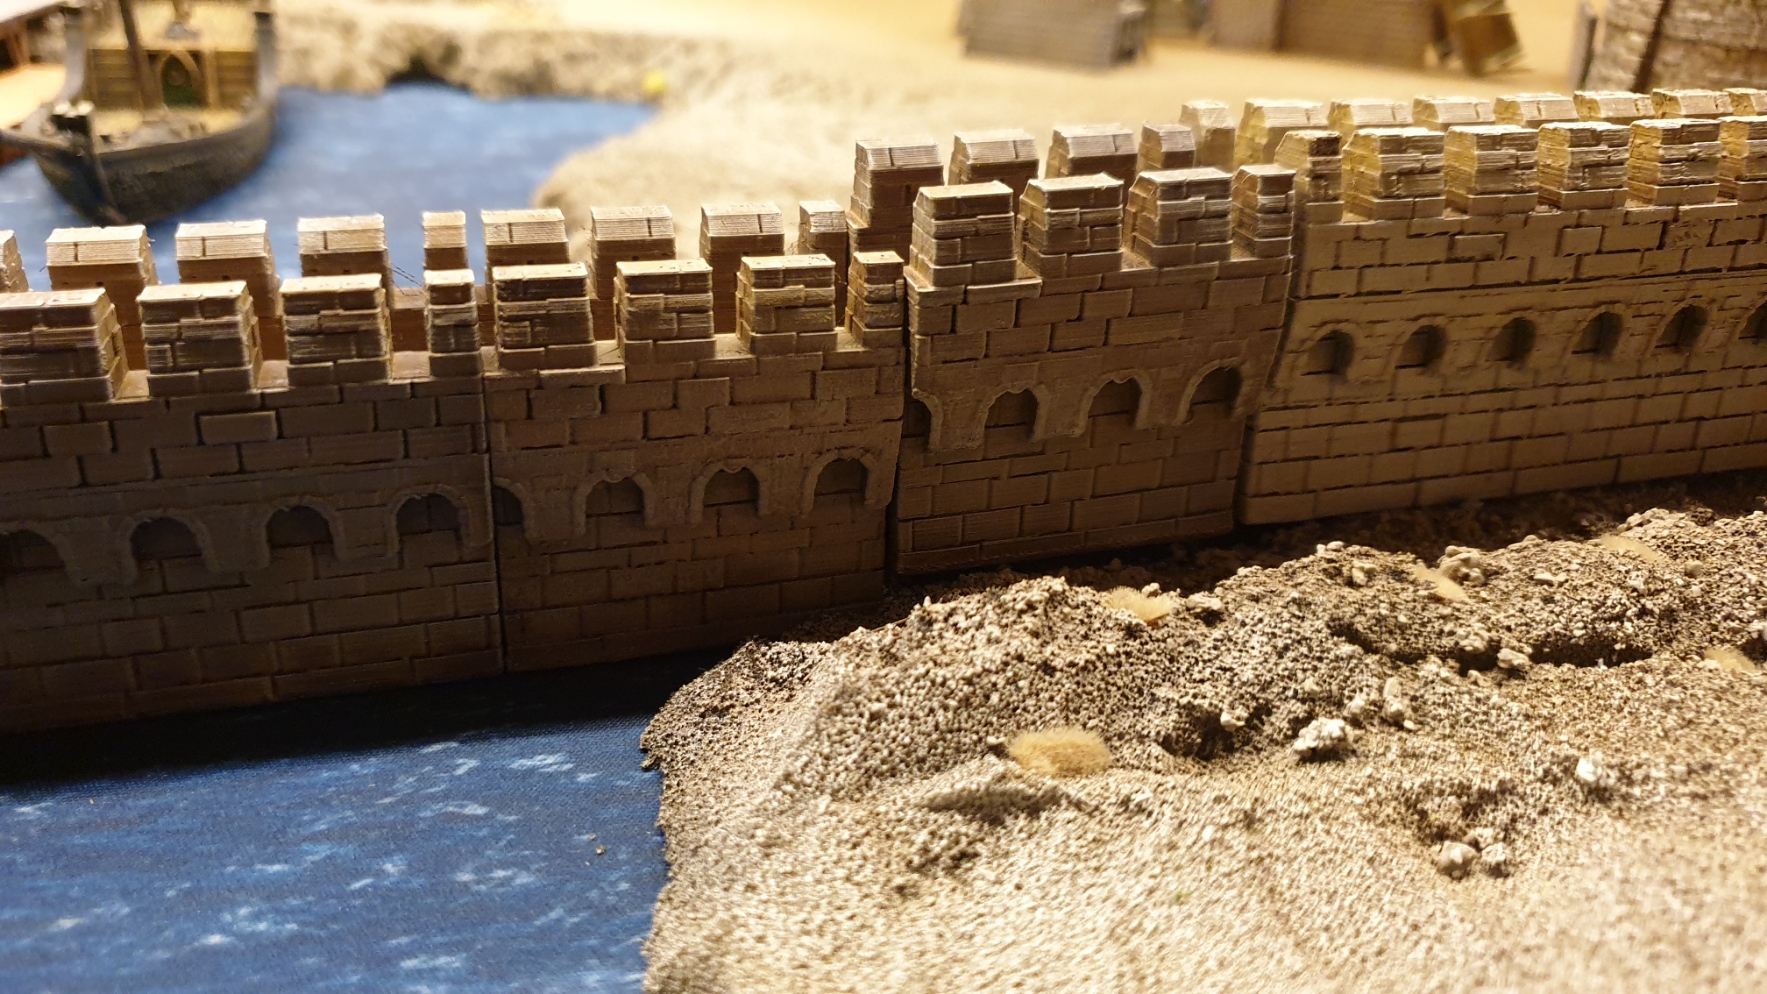
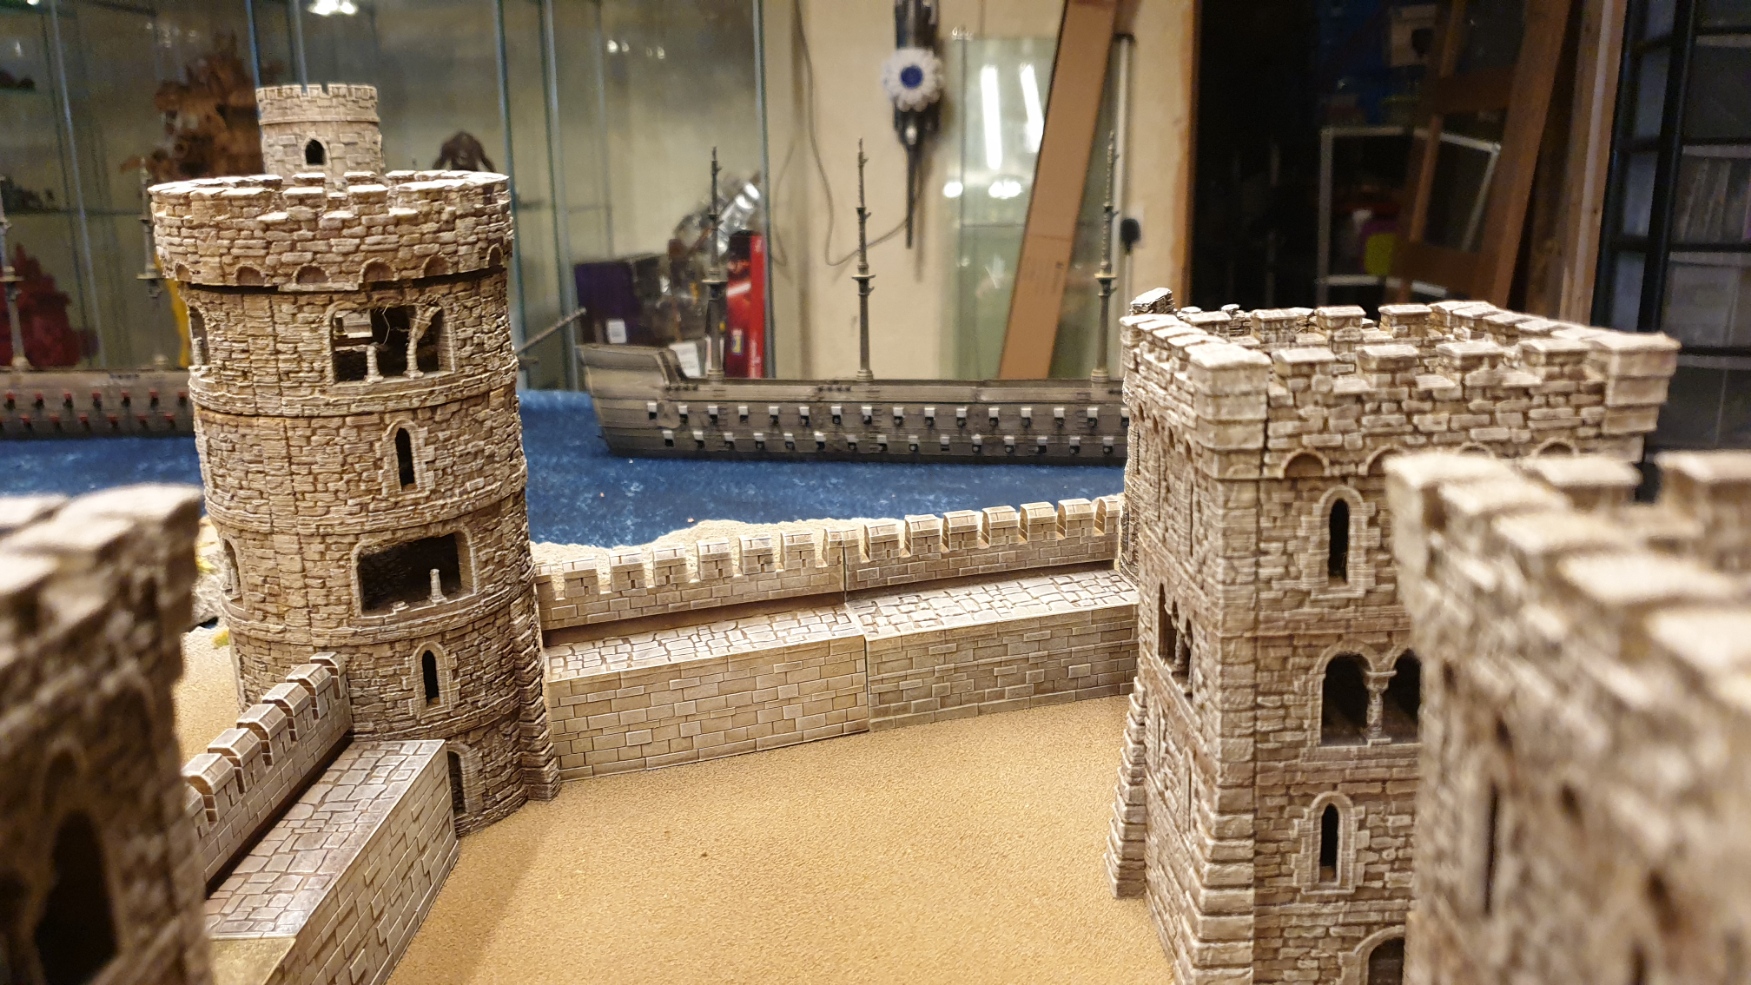
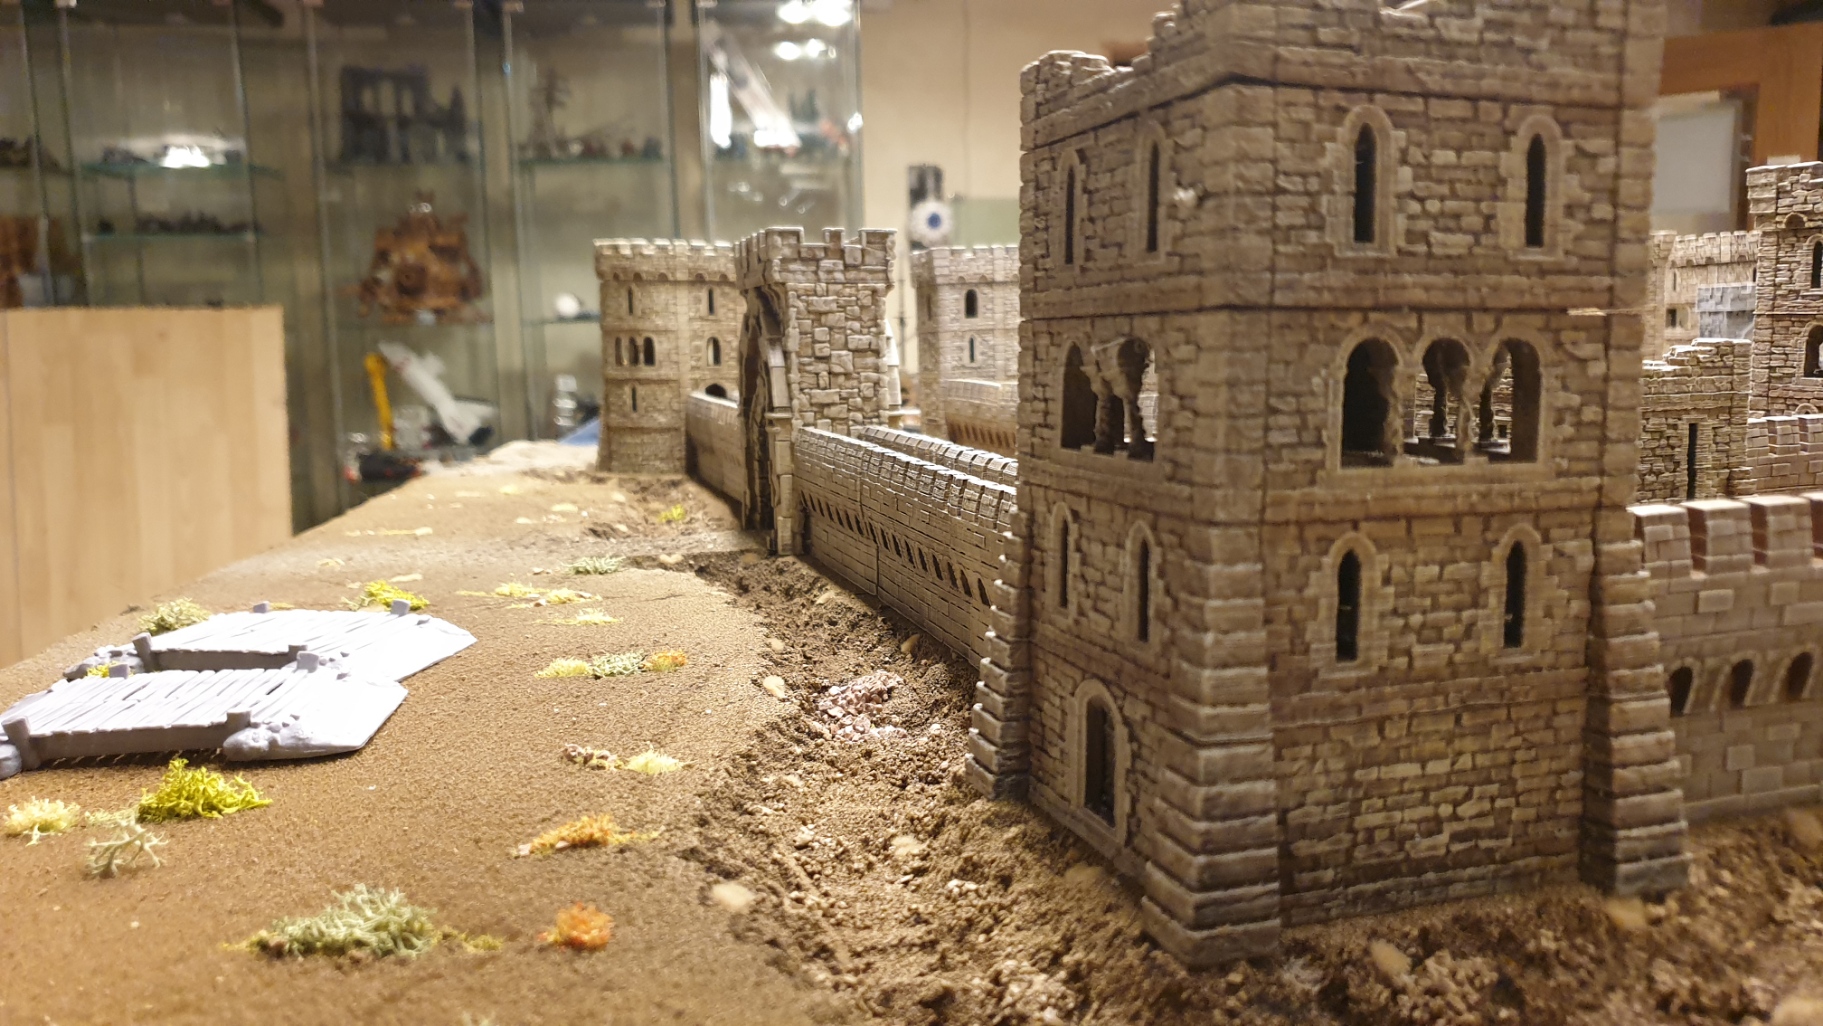
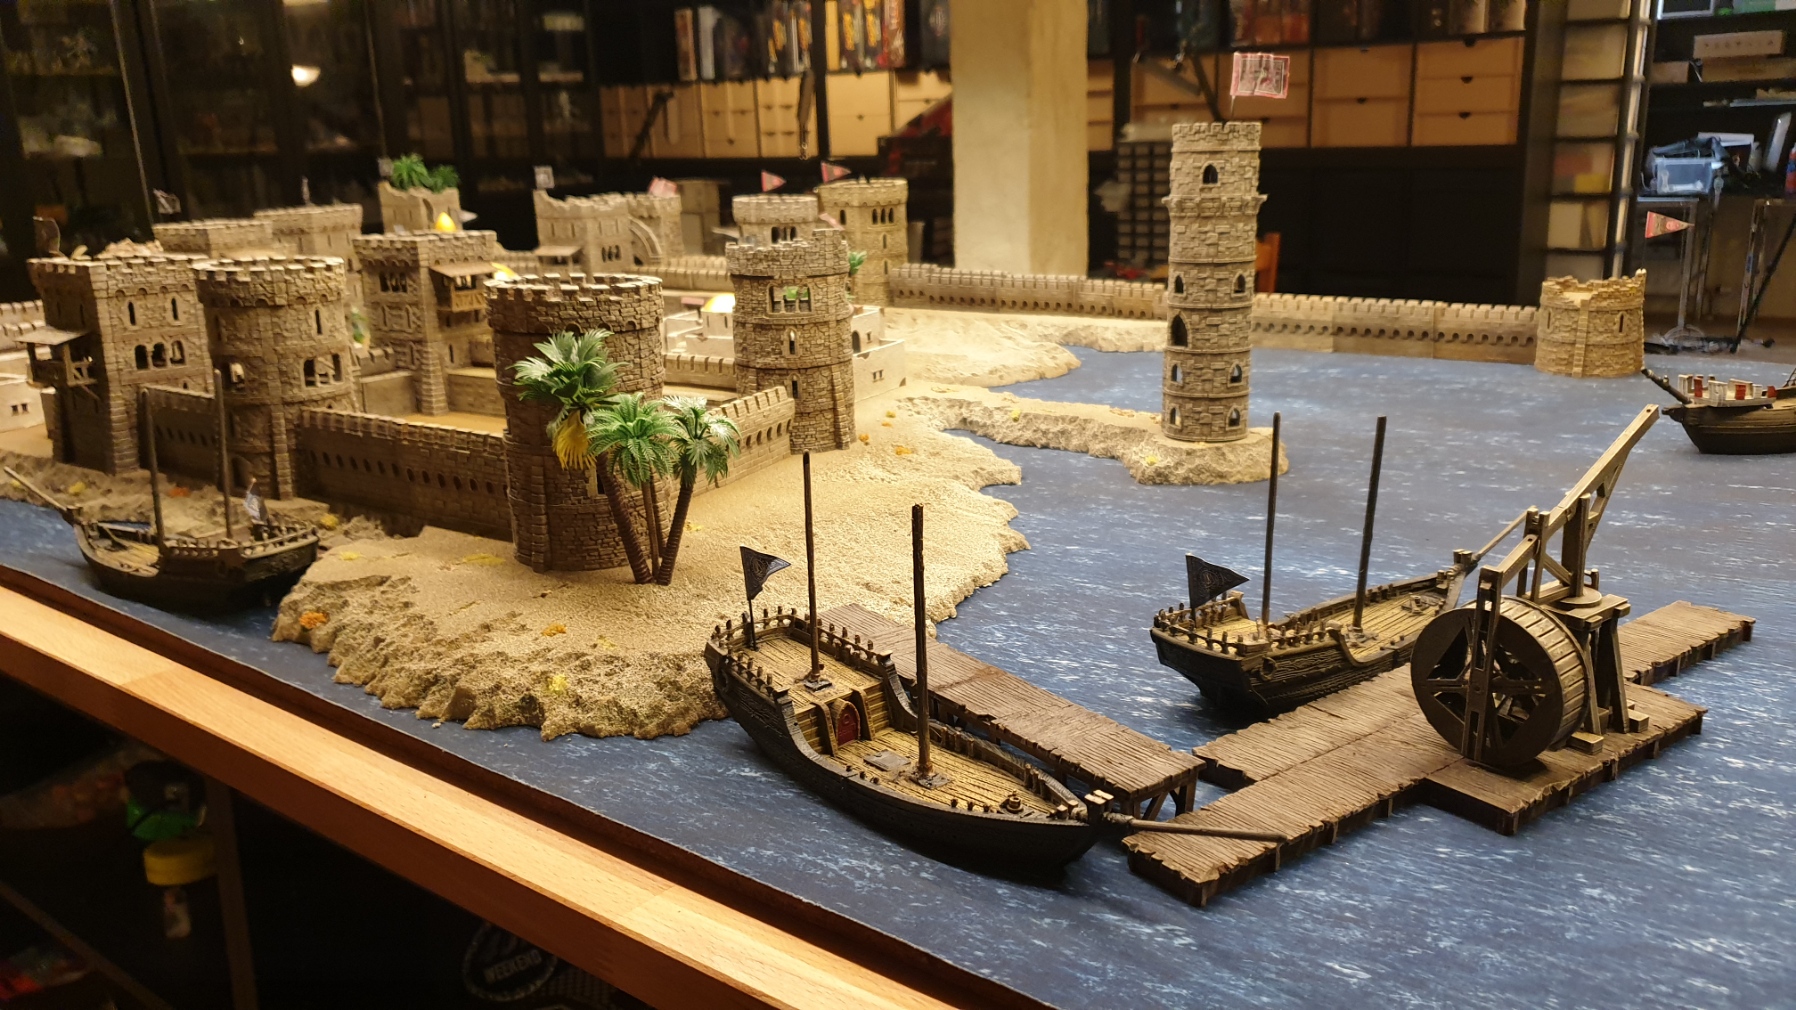
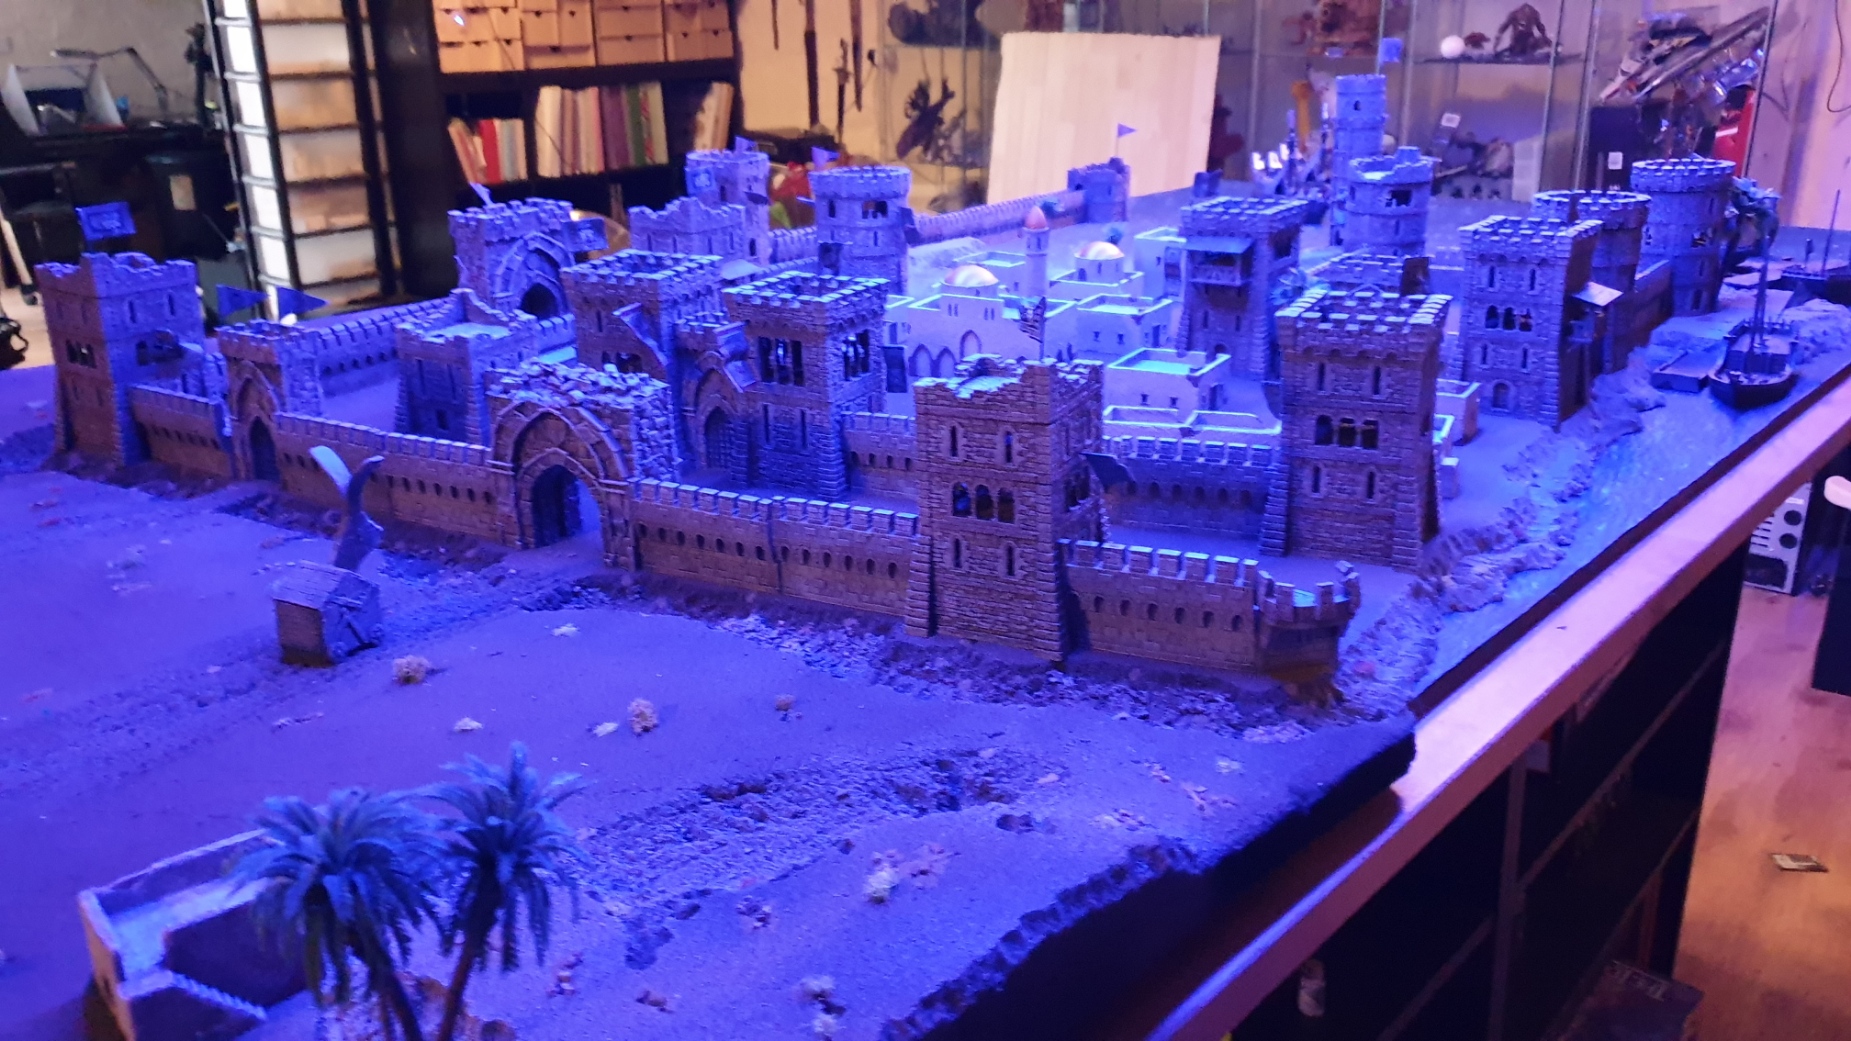
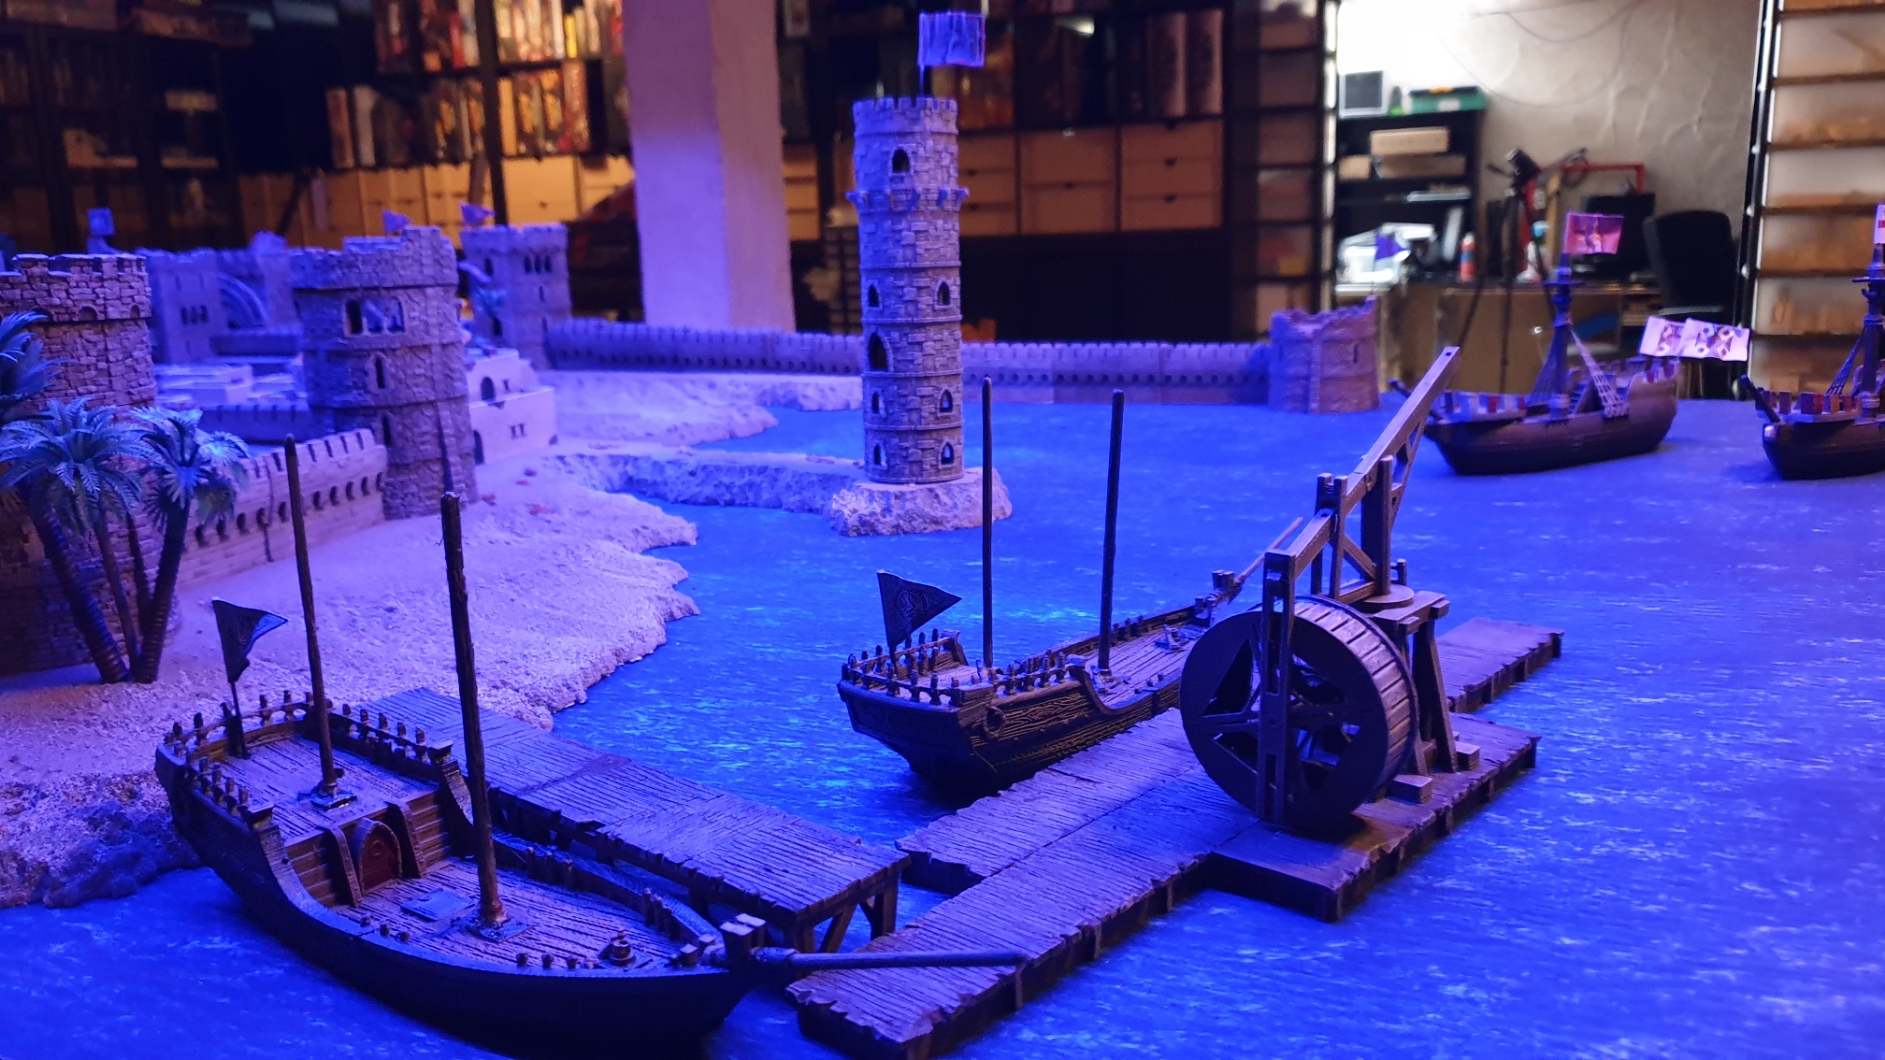
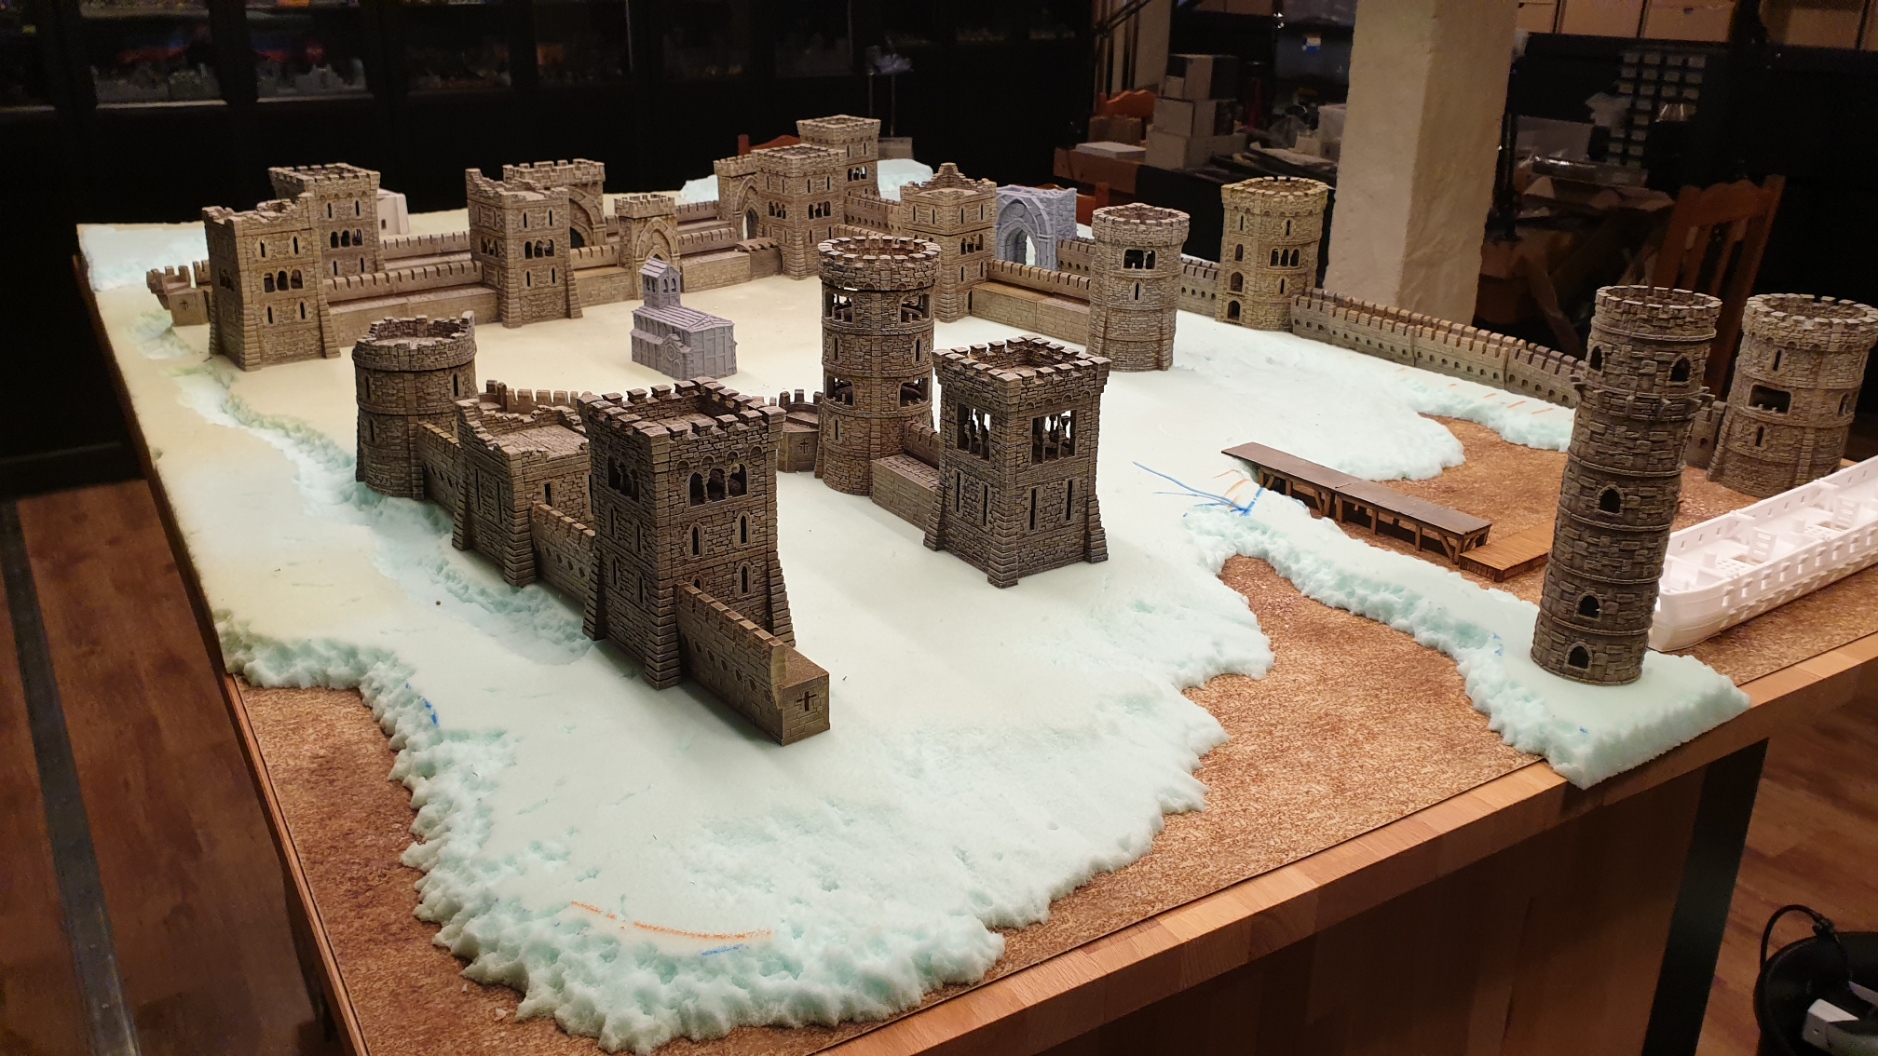
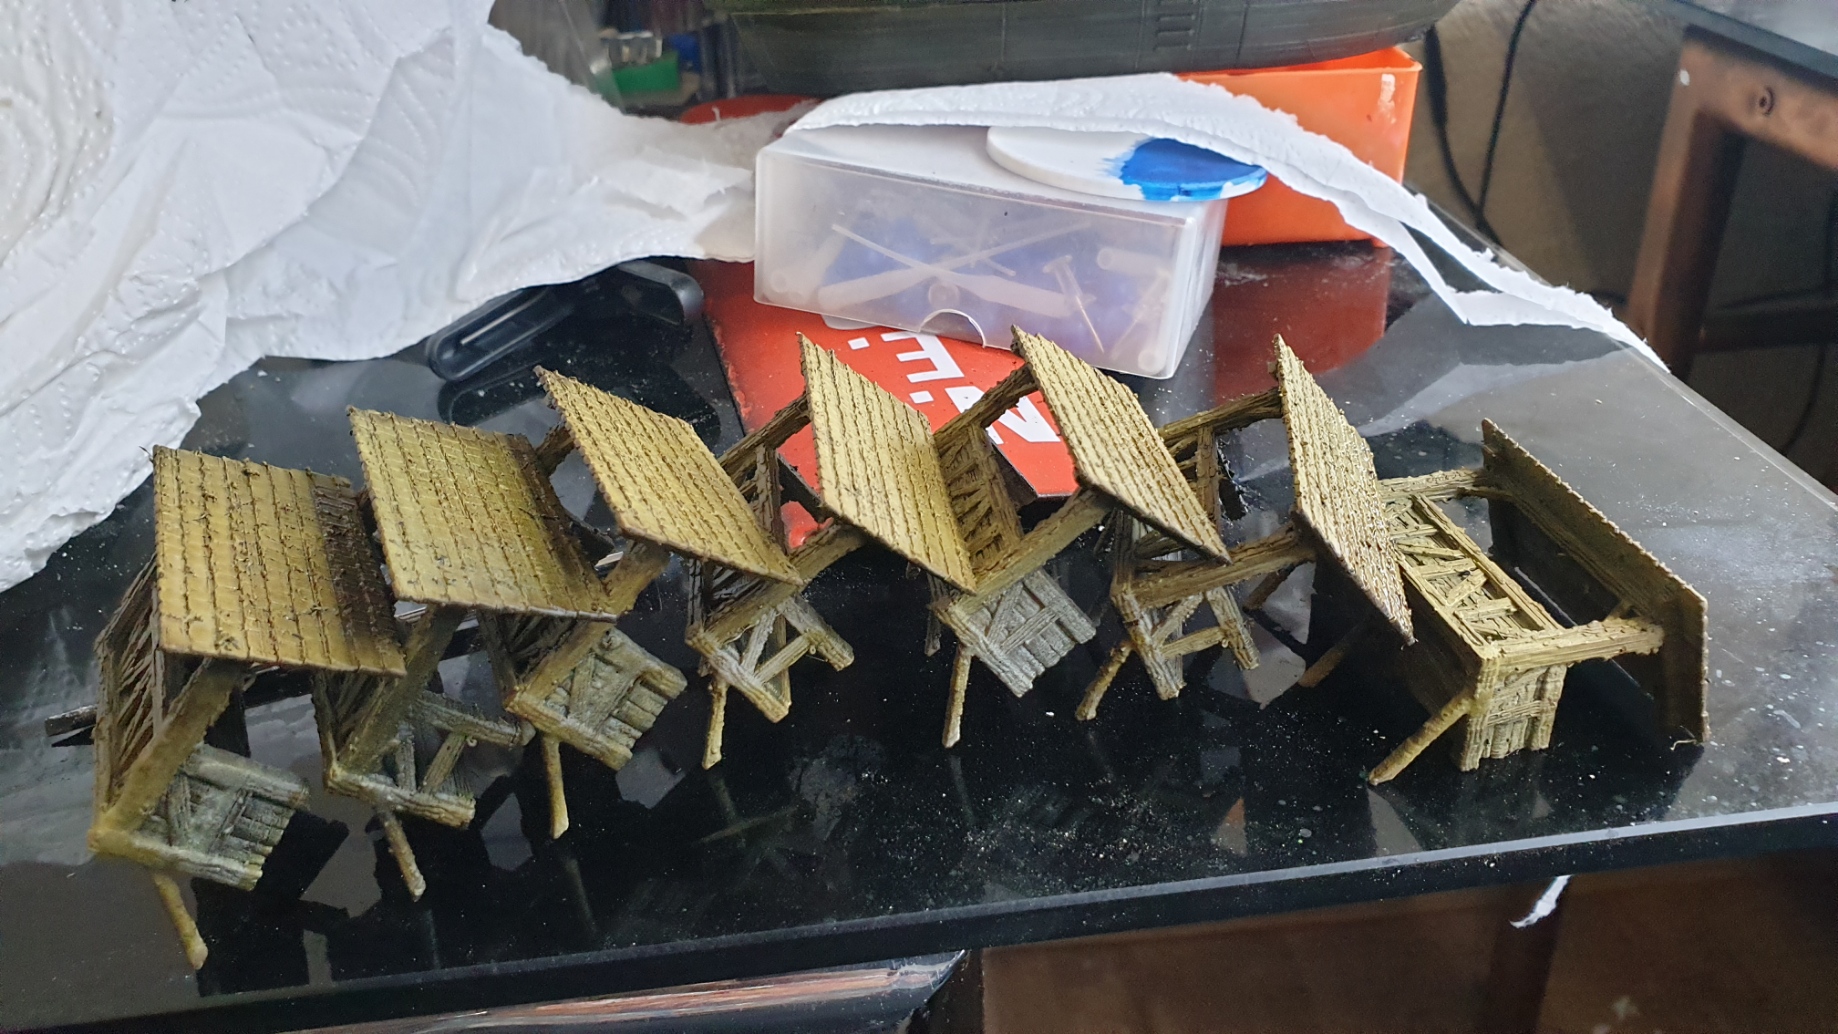
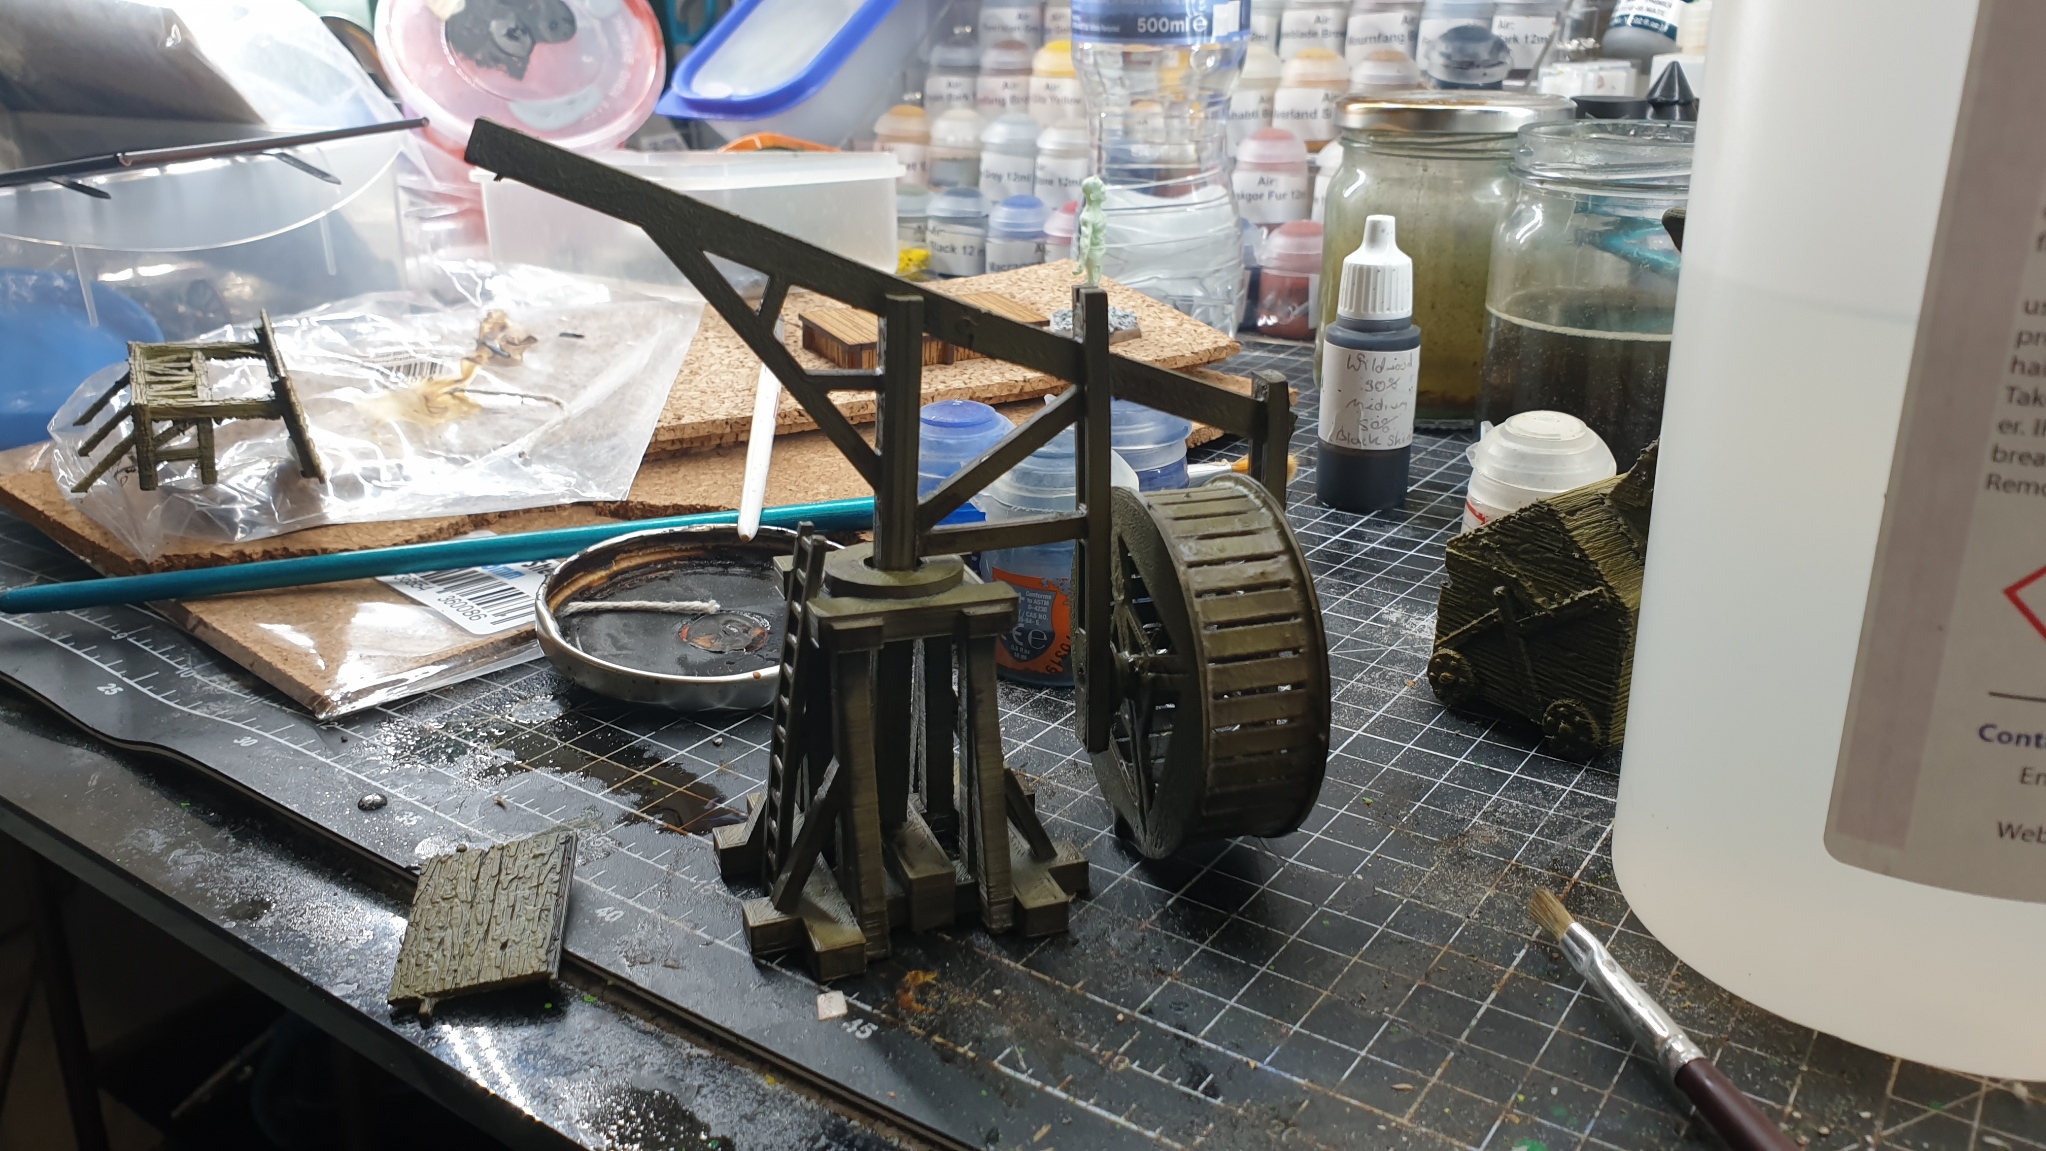
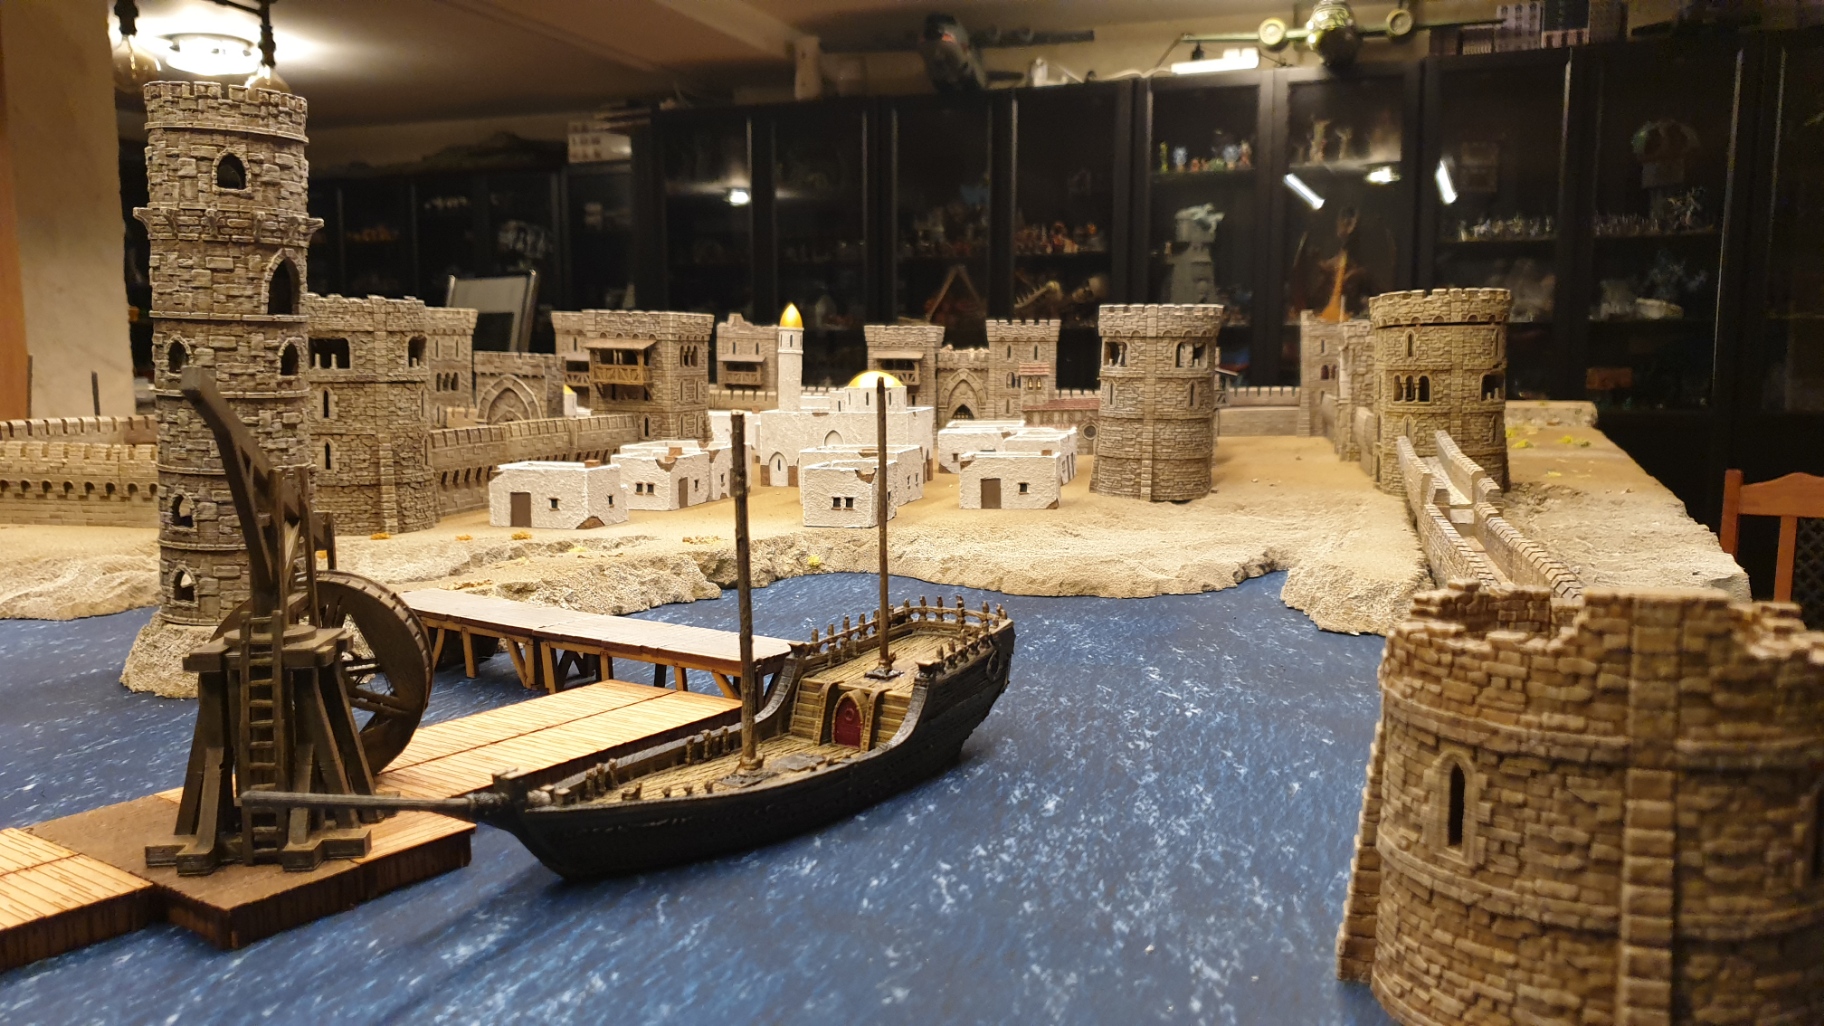
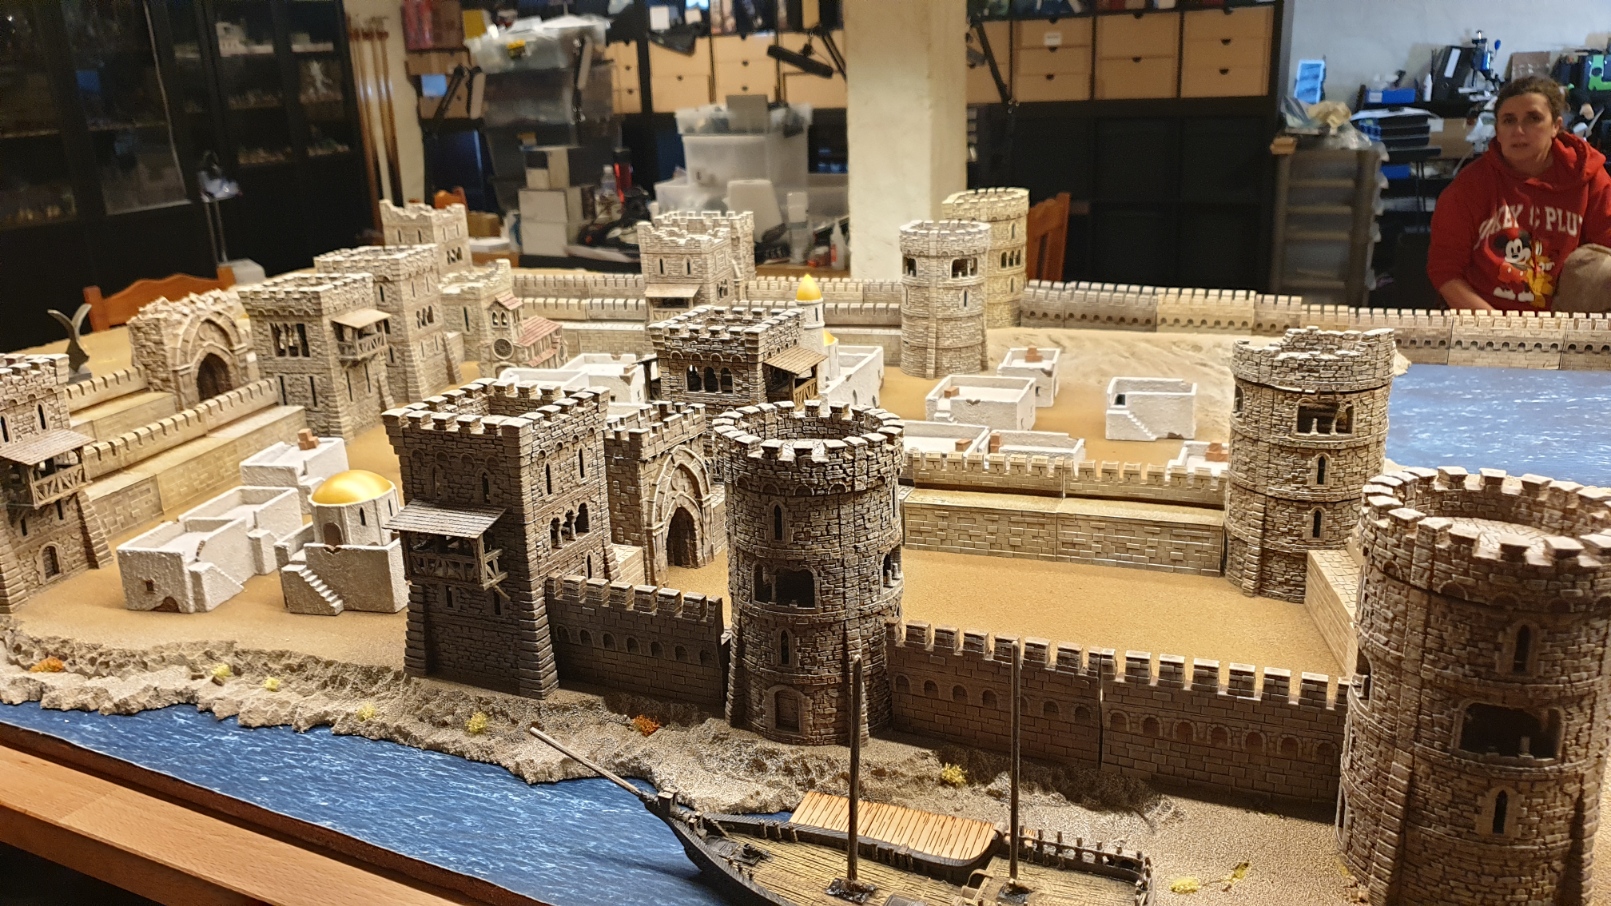
Acre Port and the Tower of Flies
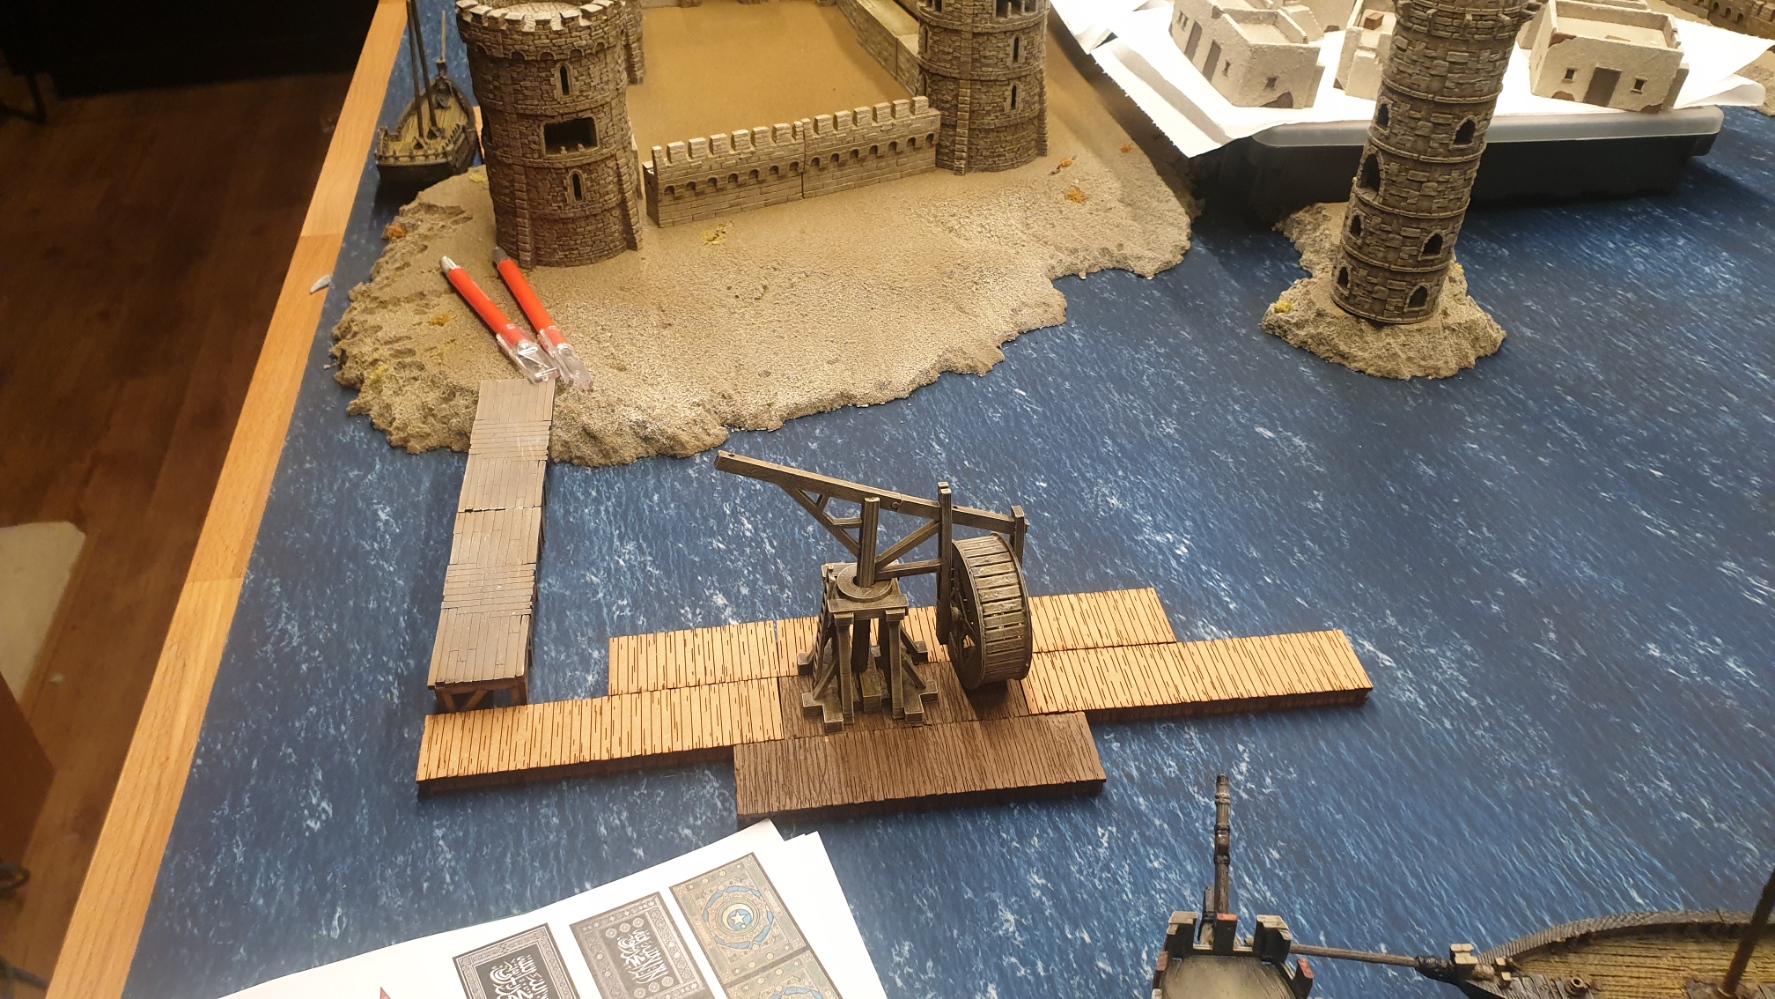
As mentioned one of the key features of Acre is its port which is a little north of the ‘Tower of Flies’ (Basically a look out tower kind of thing).
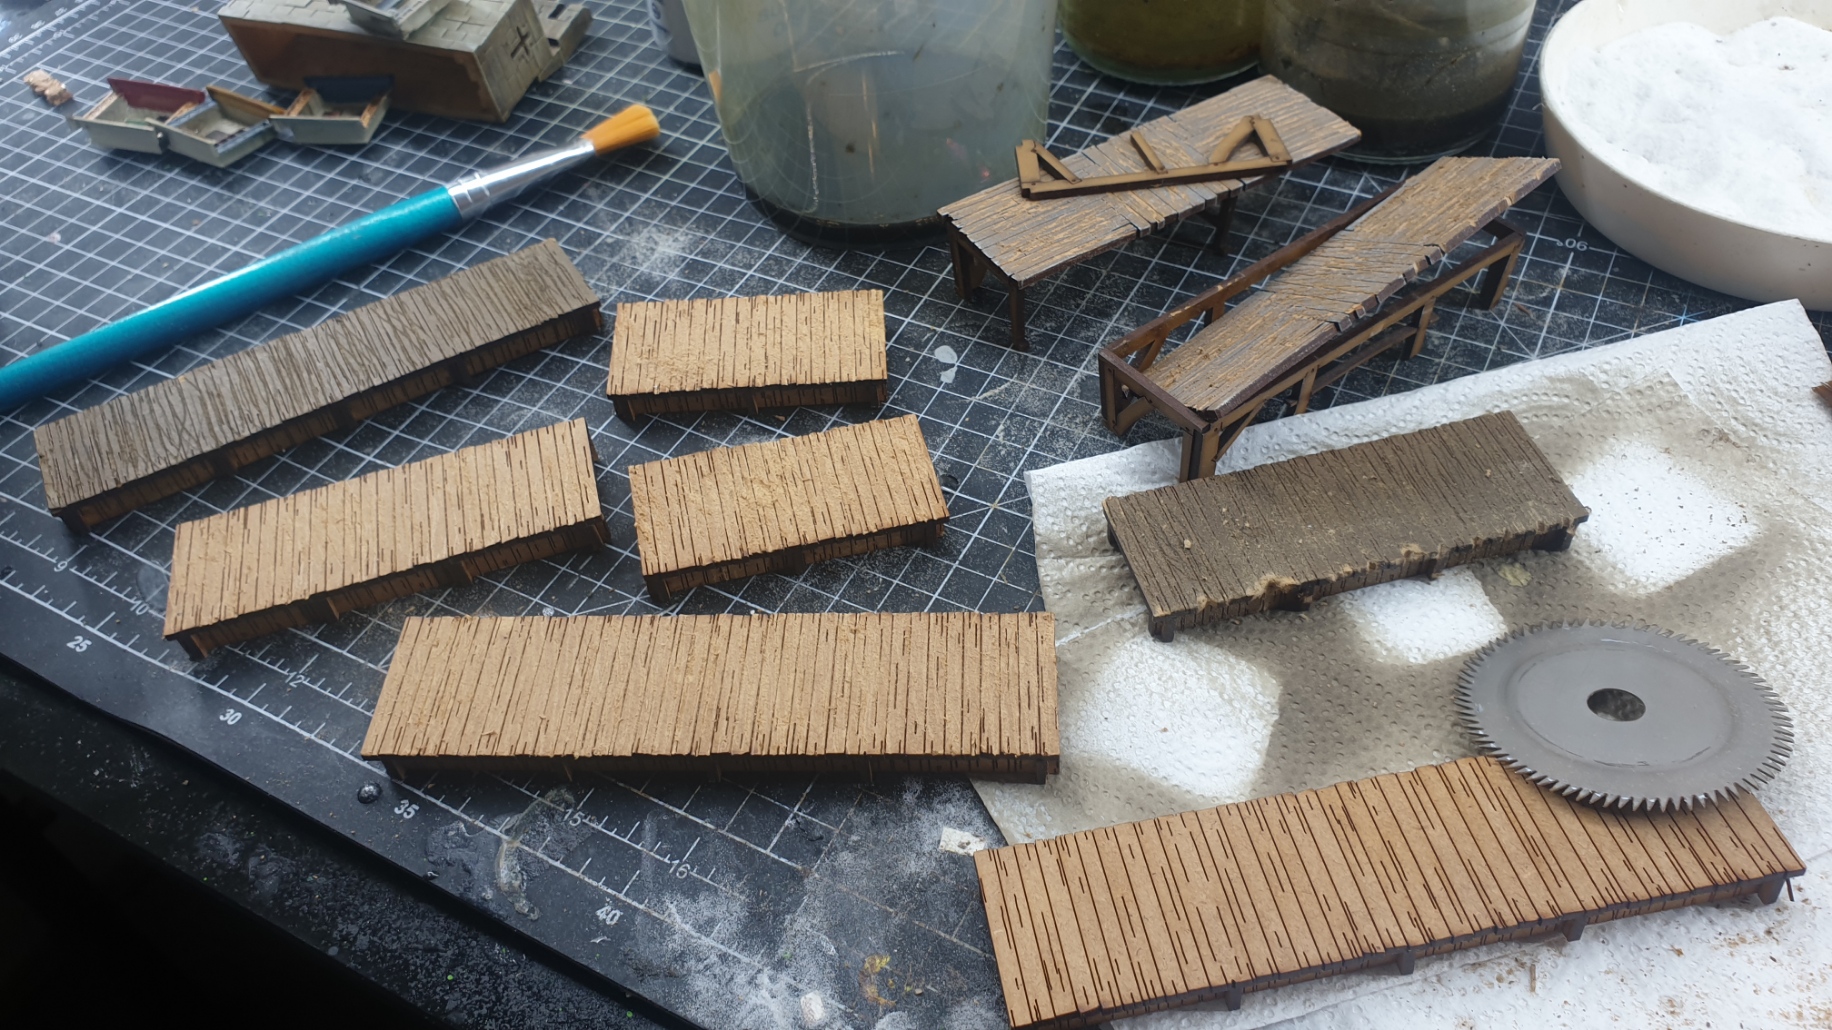
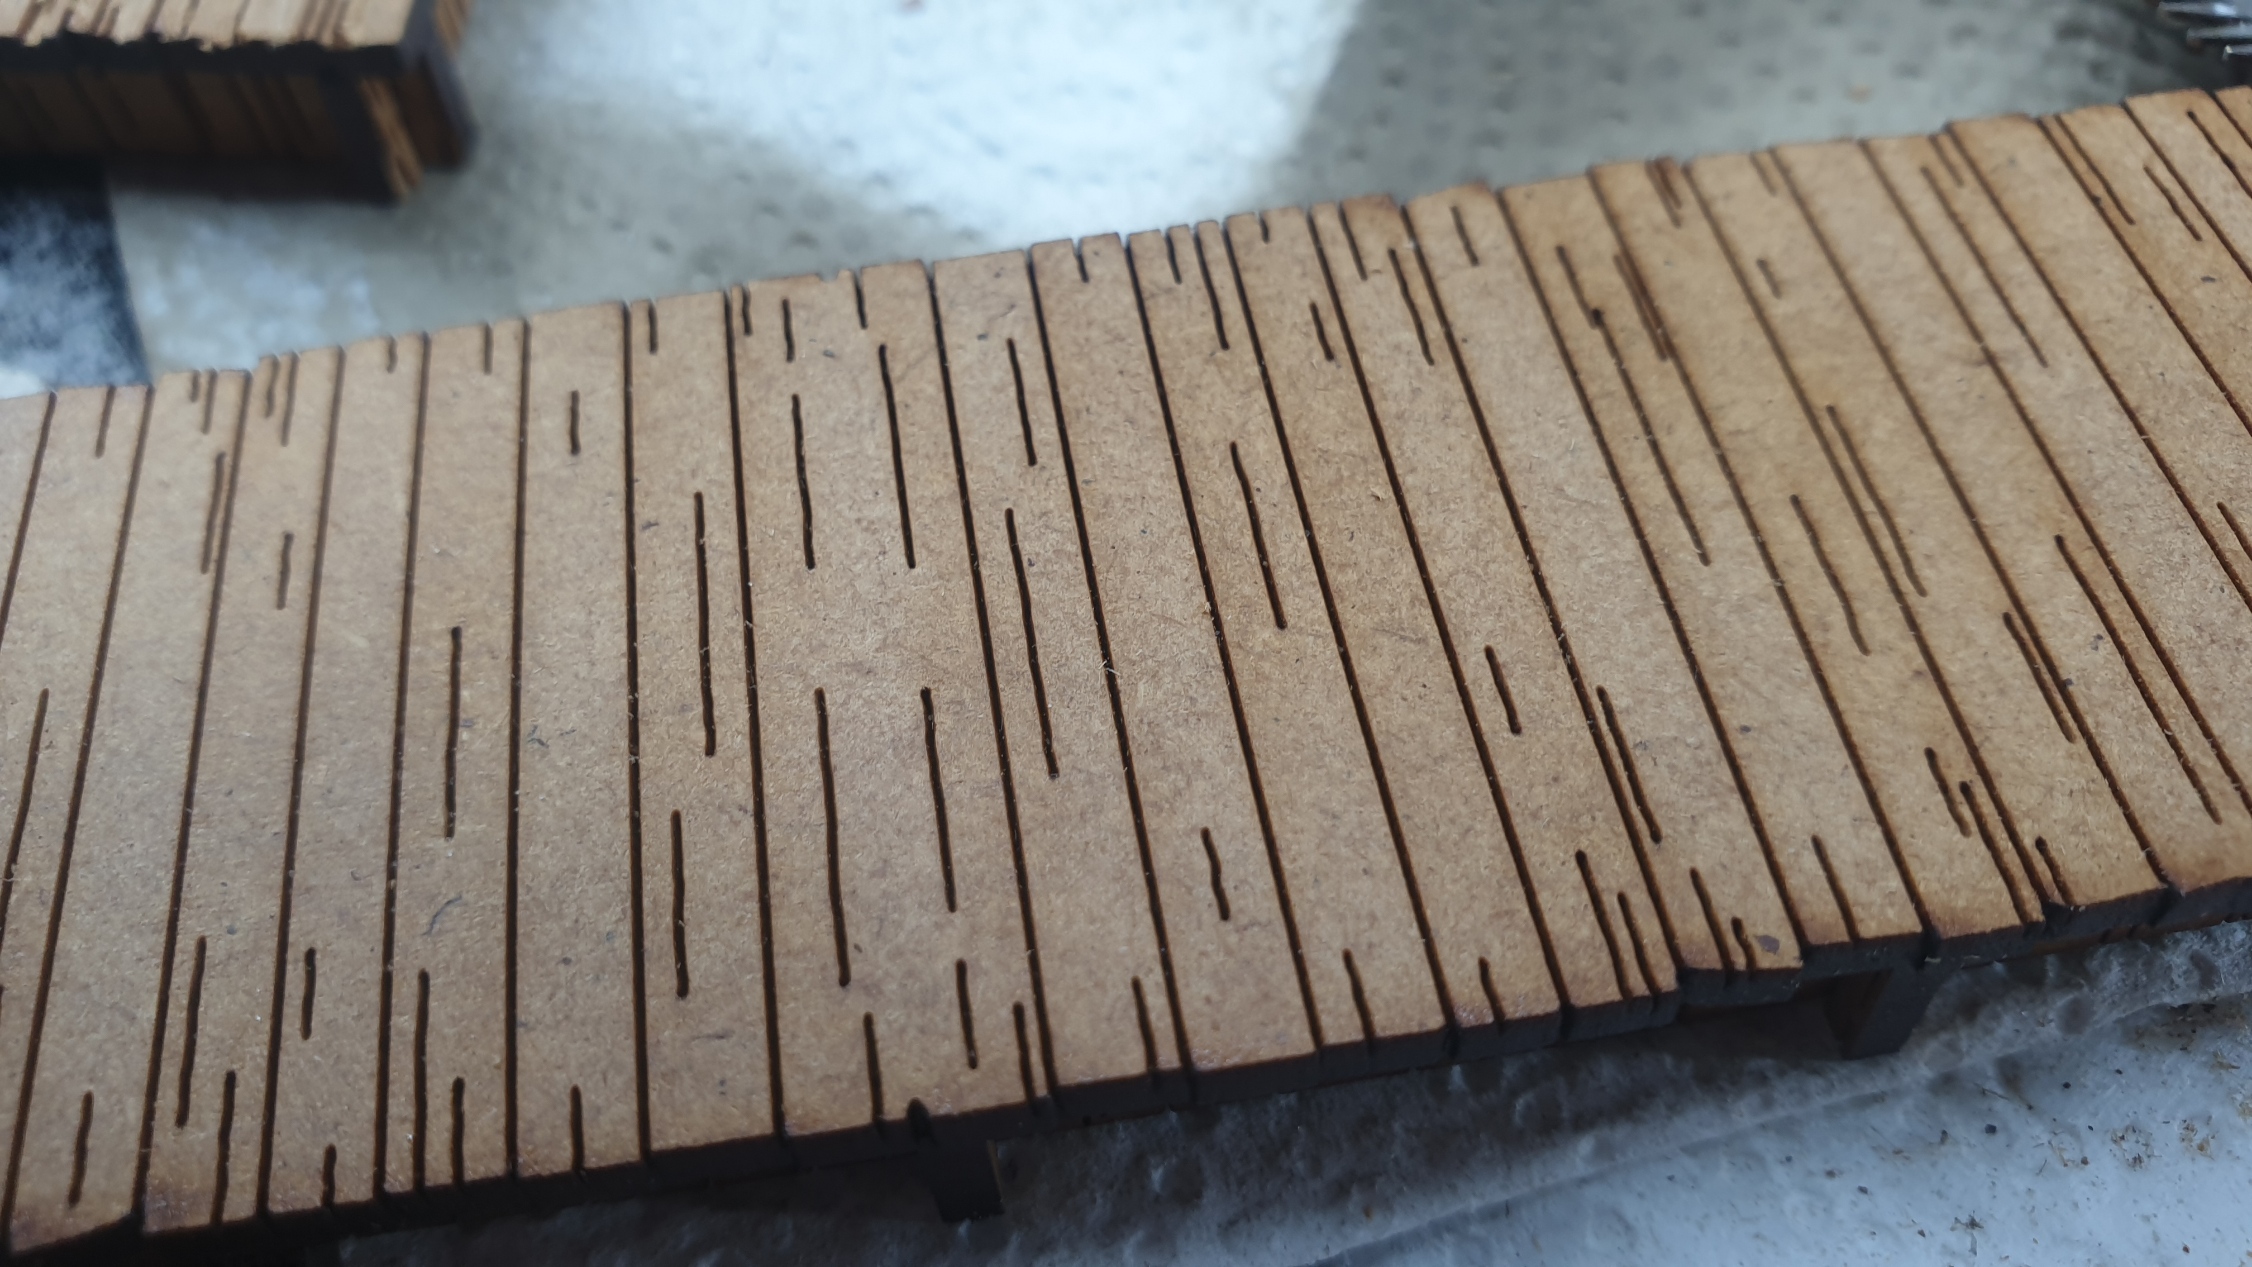
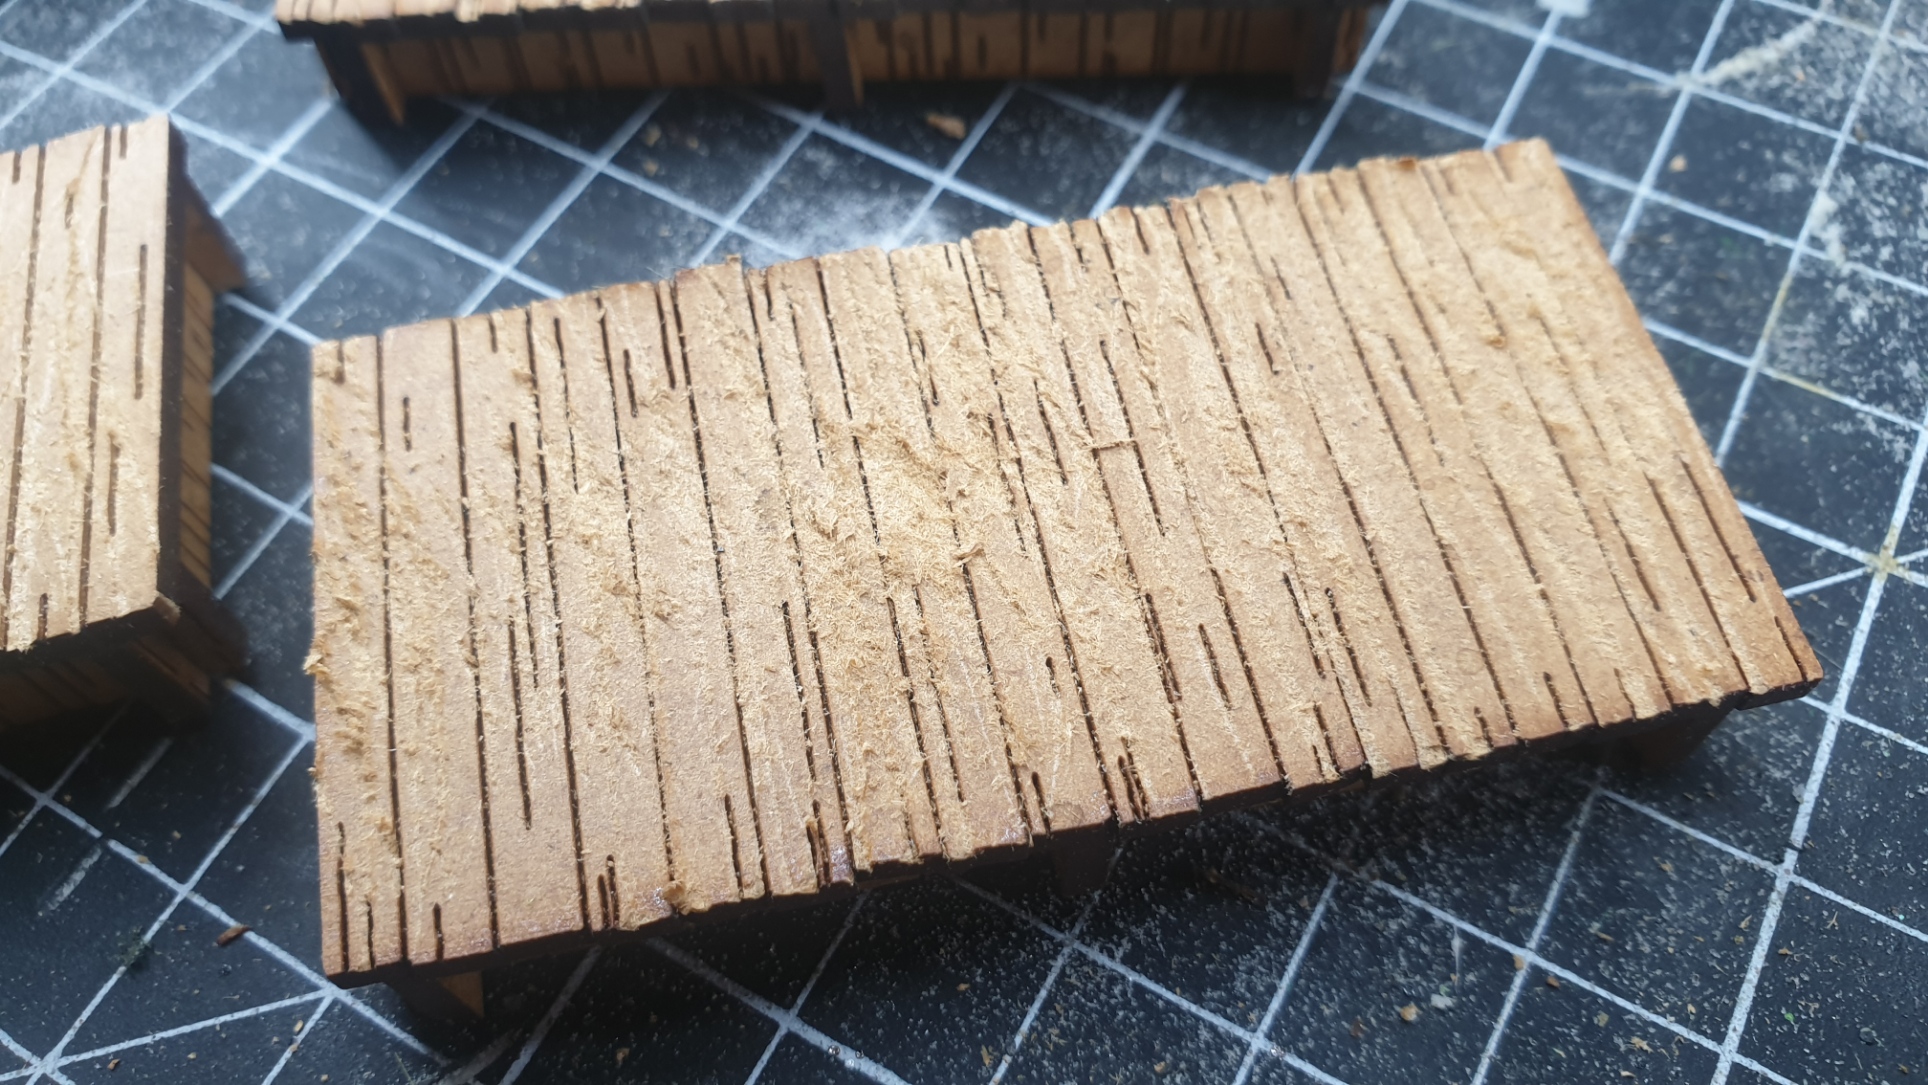
I had some left over MDF type walkways that I decided to use for this purpose, so after trying a number of layout possibilities…
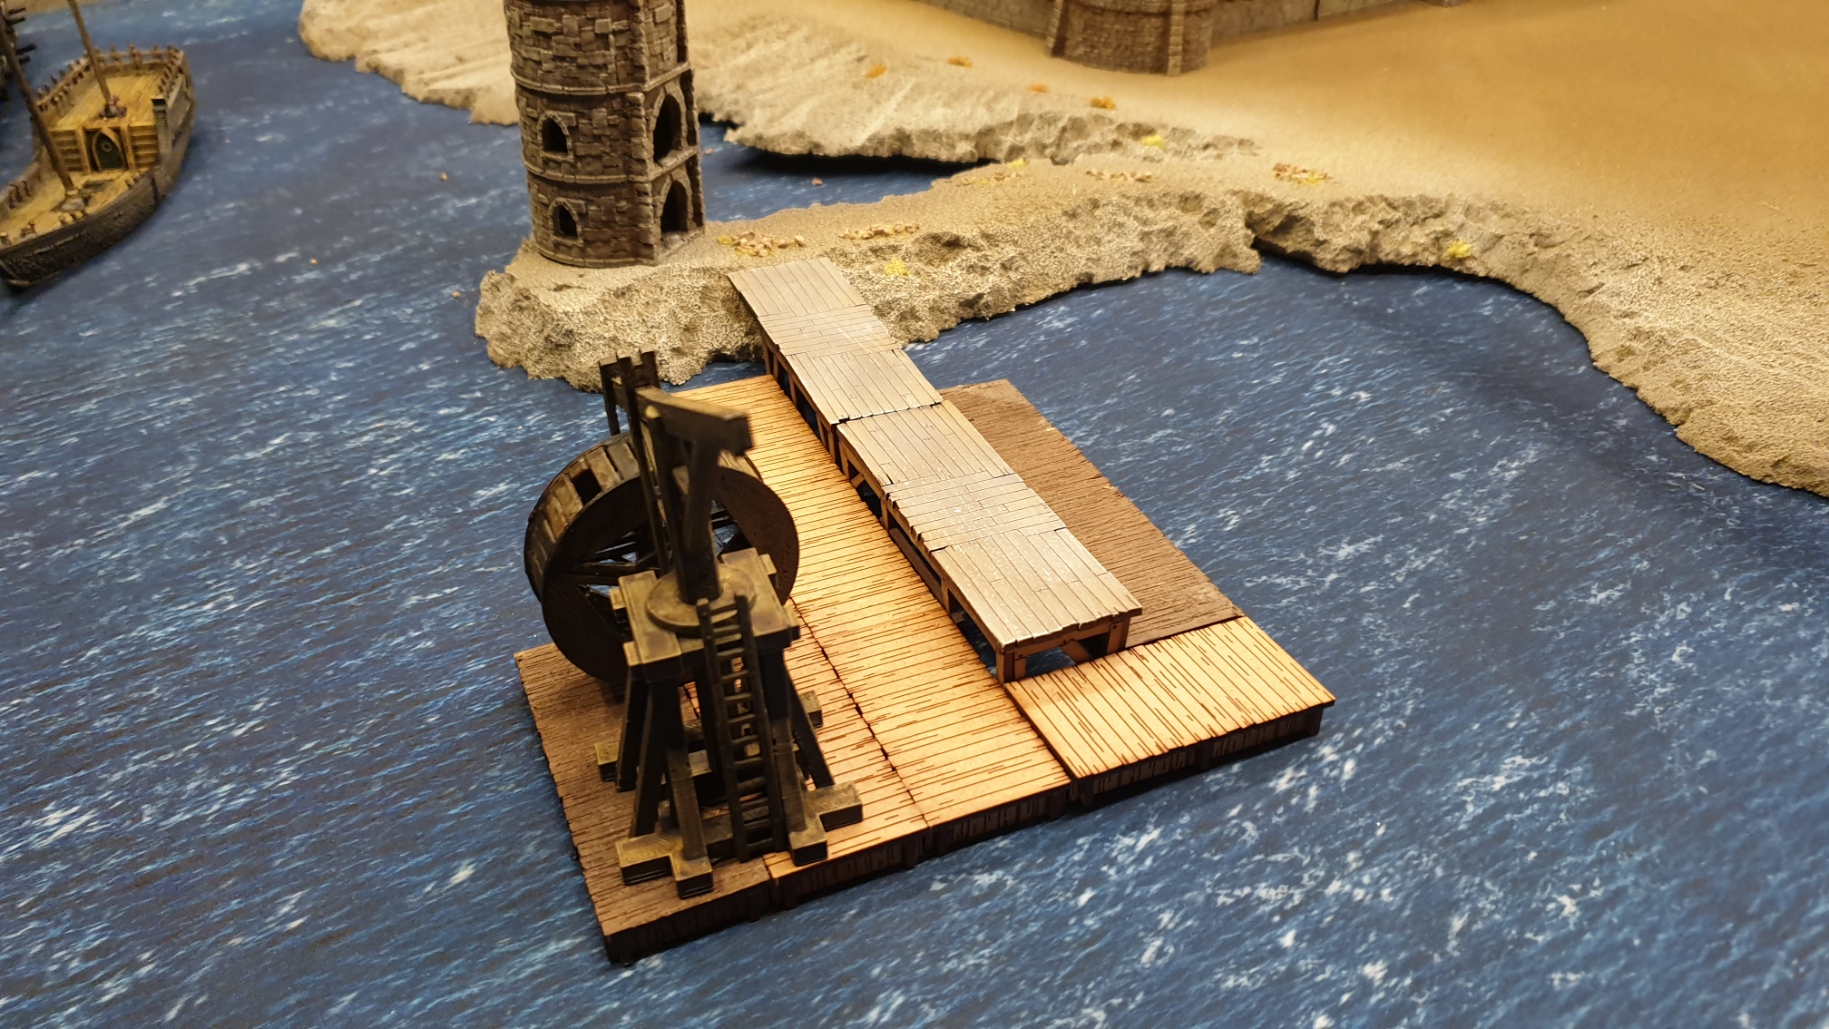
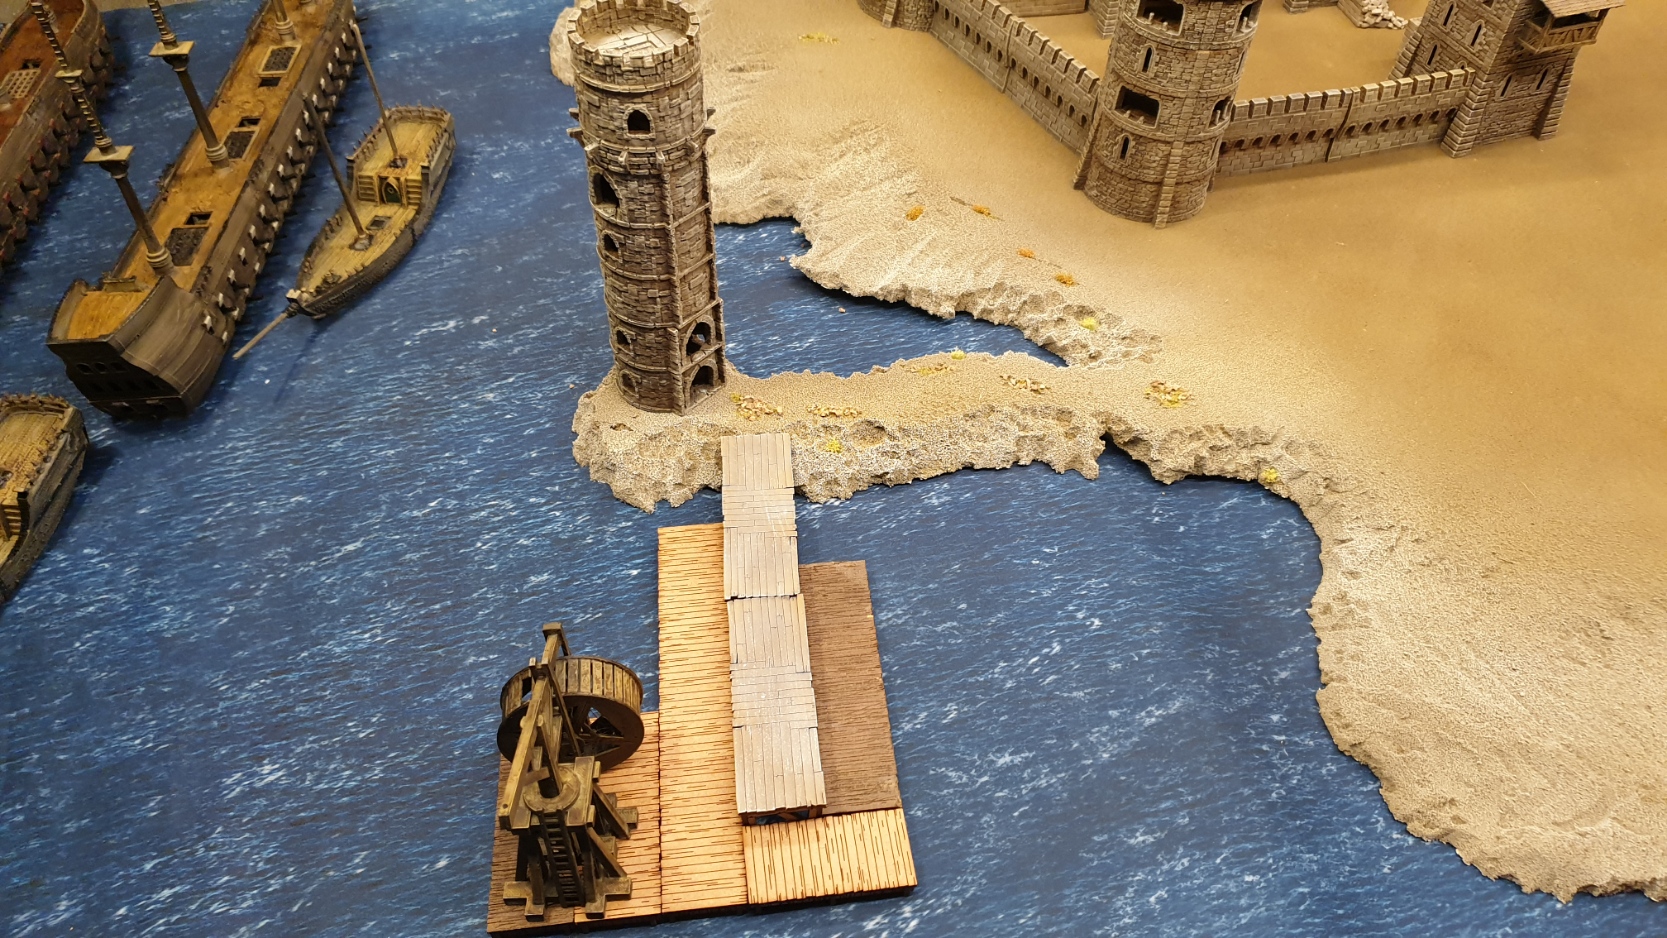
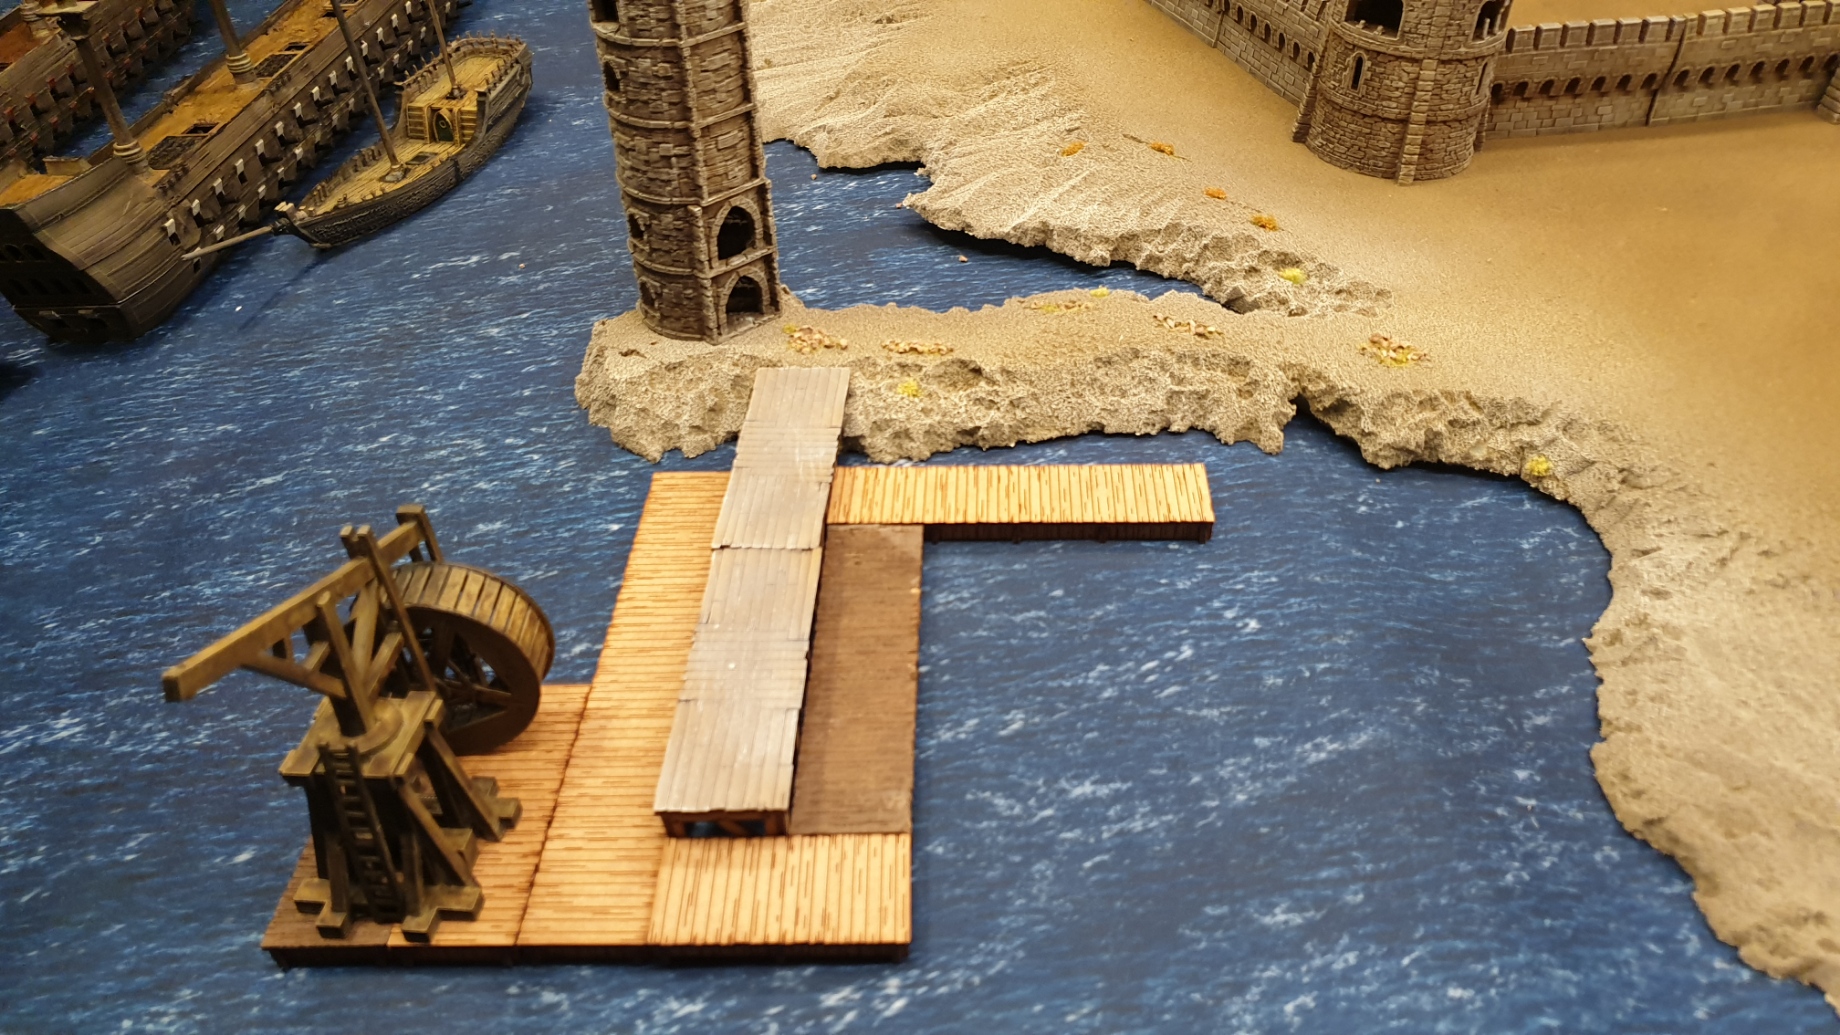
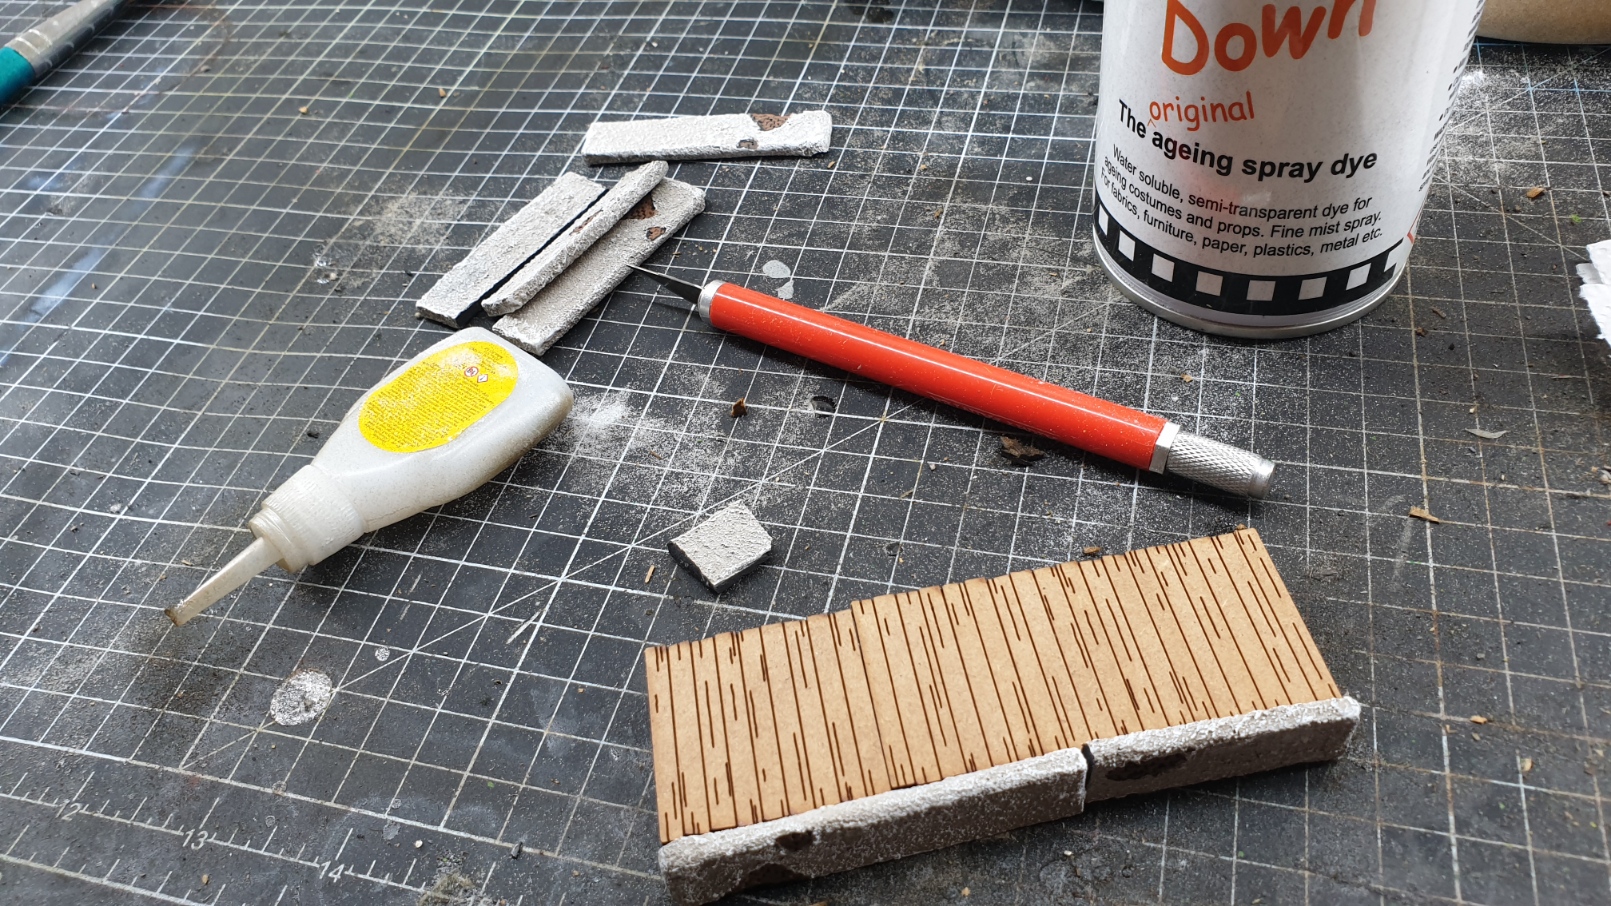
I set to work on distressing and weathering the pieces to give them some sense of age and usage. Time to whip out the trusty mini saw blade for scraping!
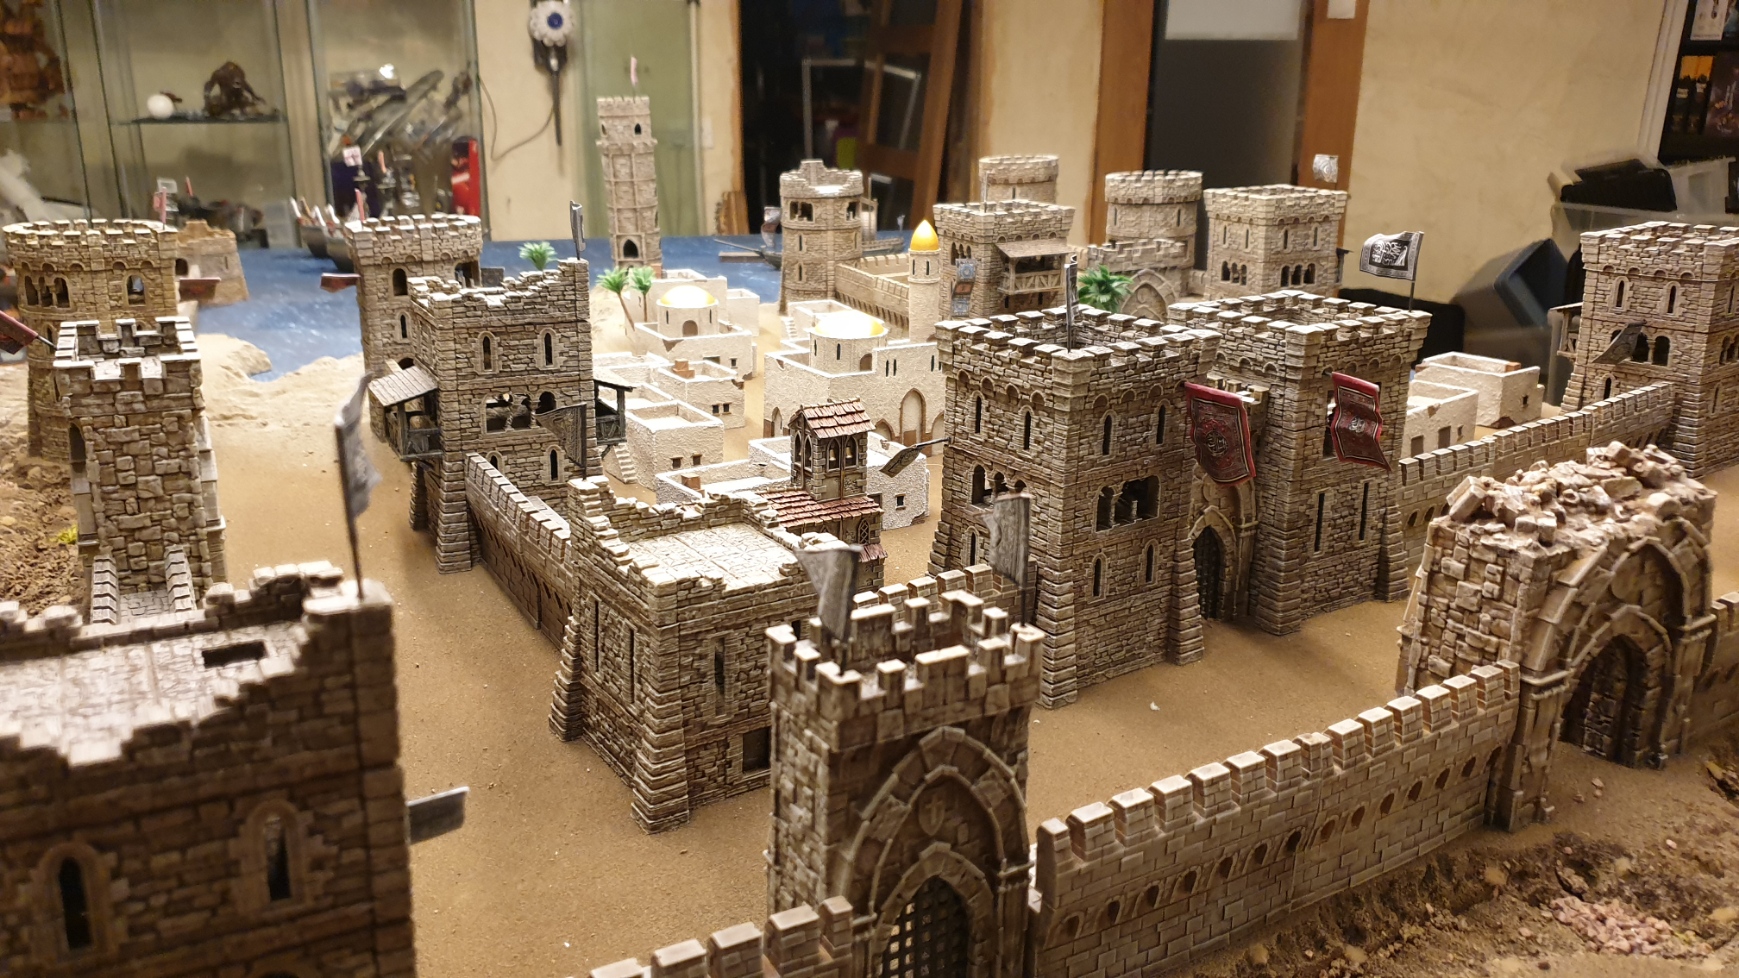
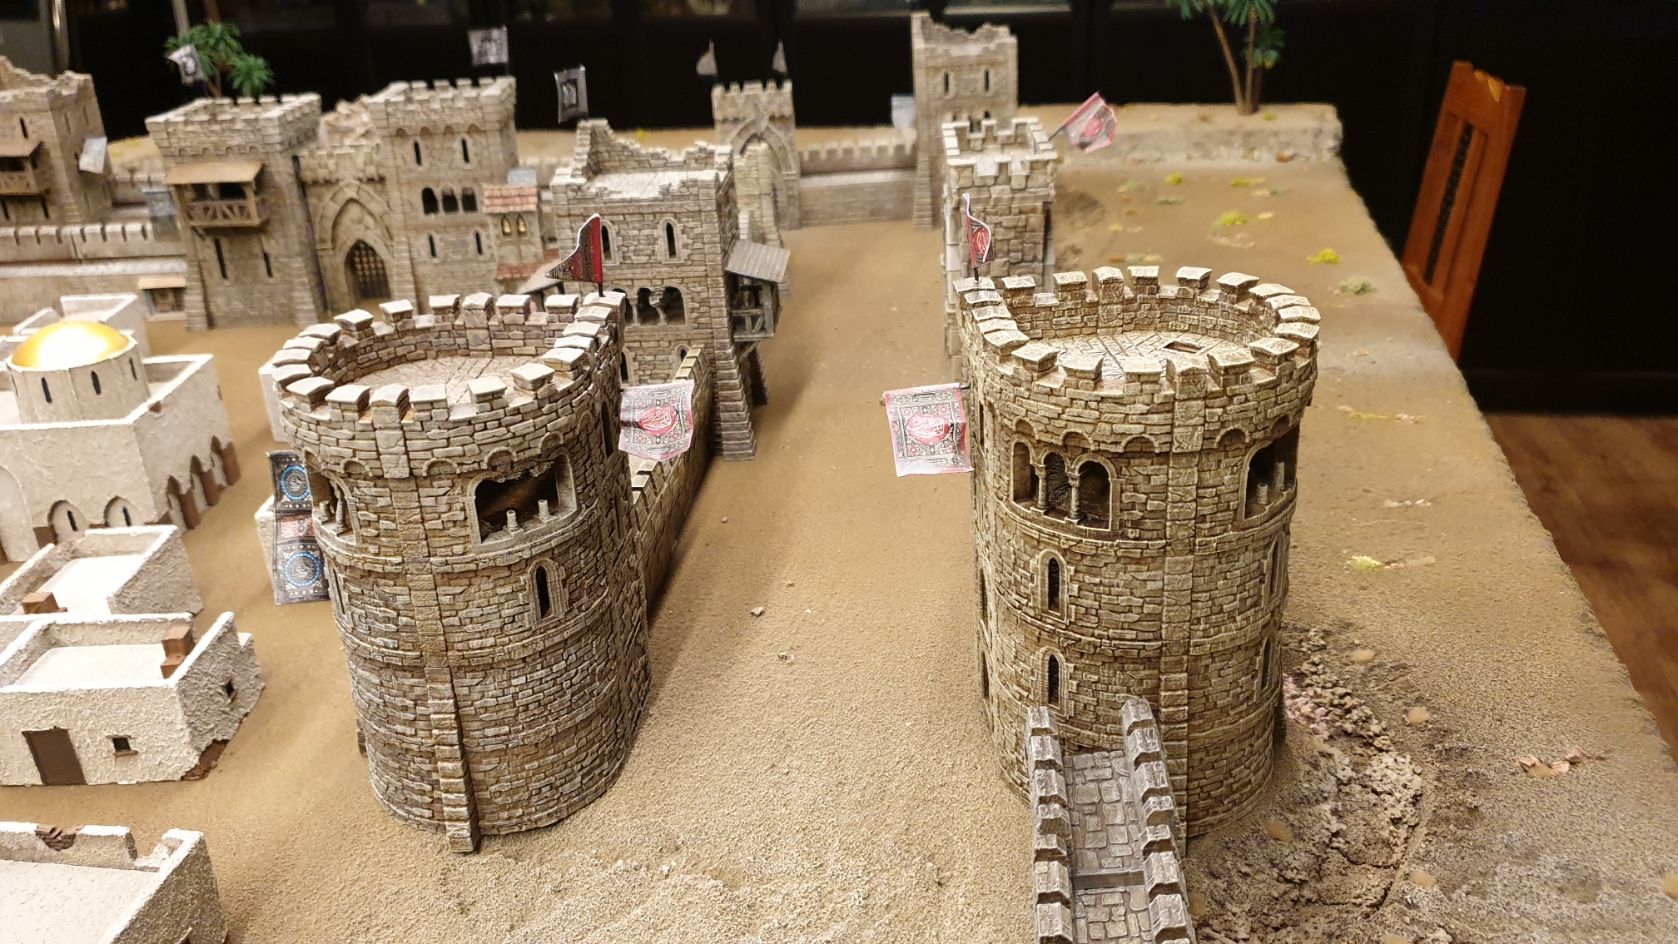
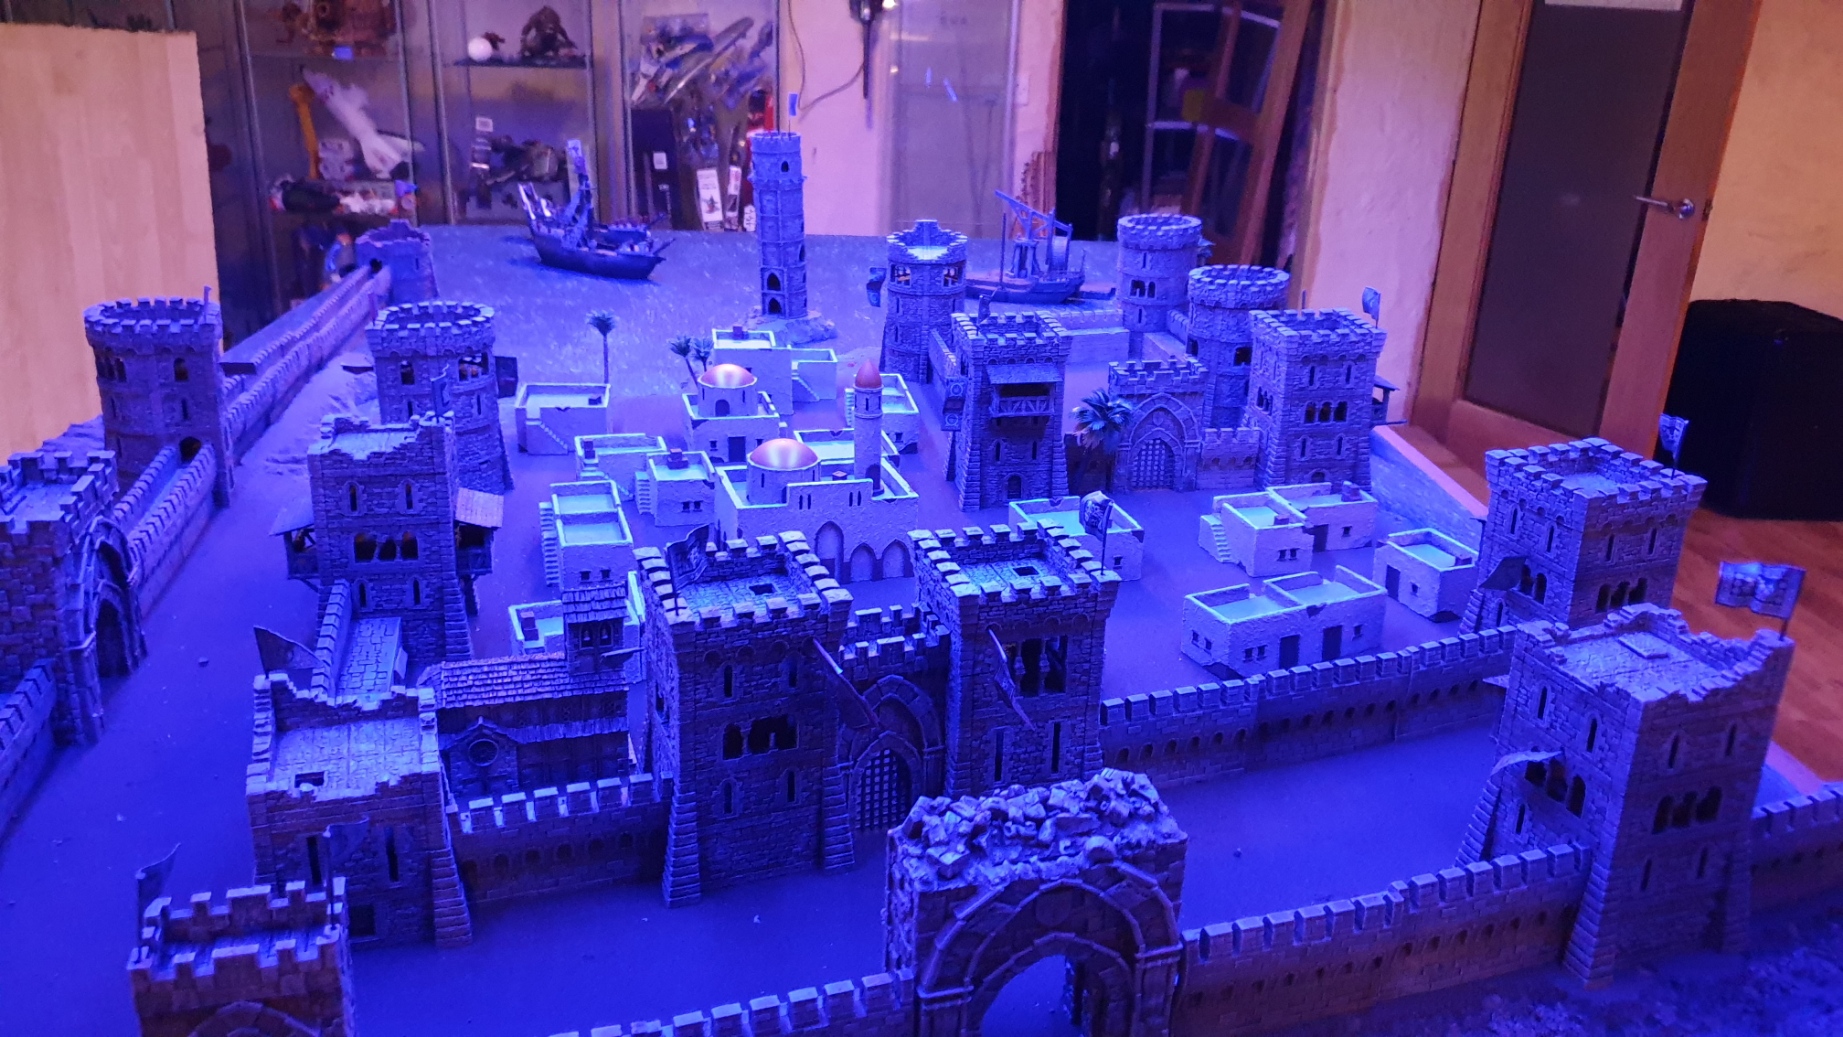
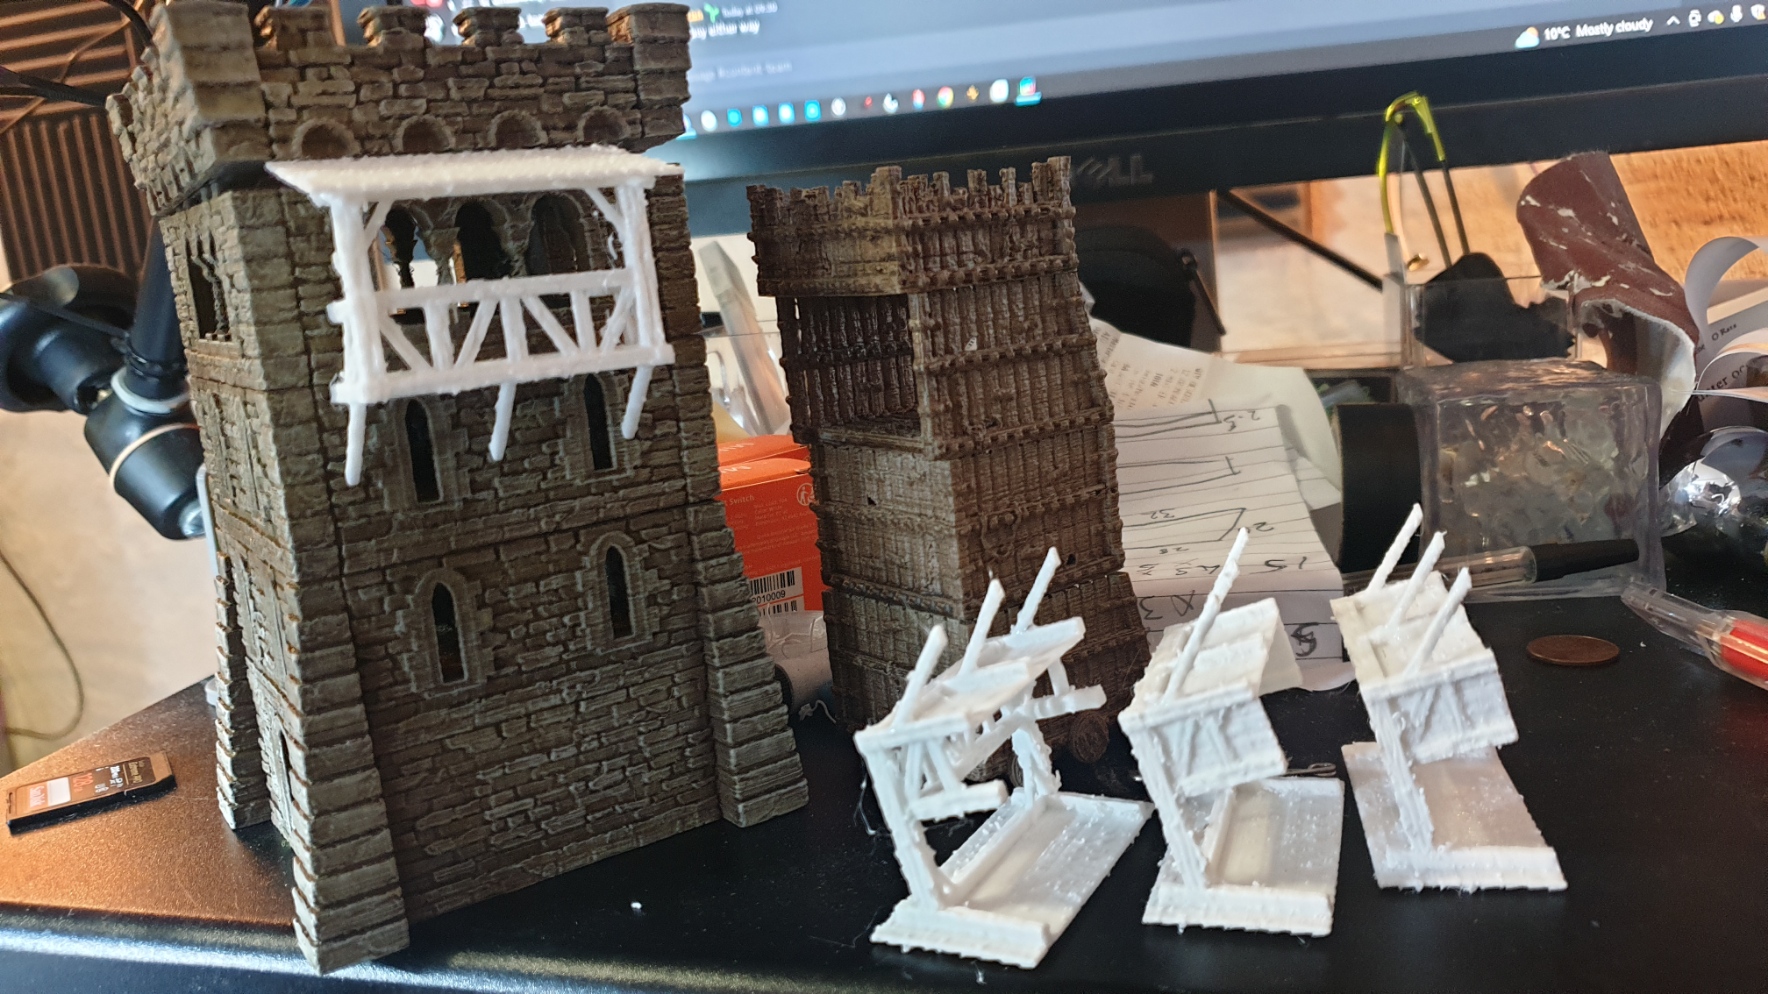
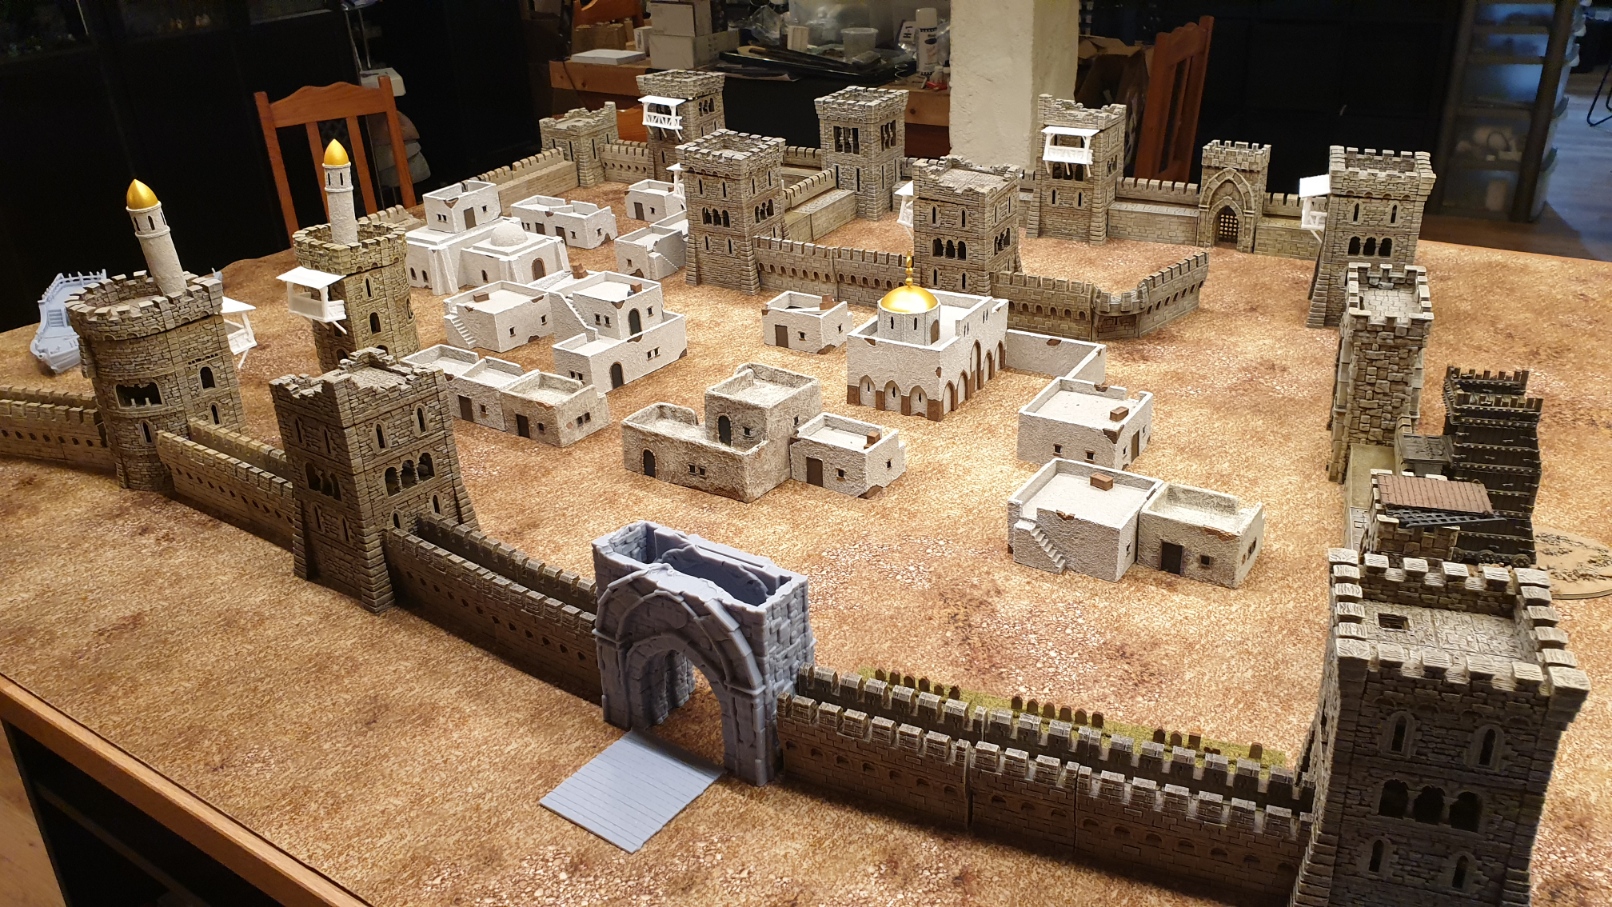
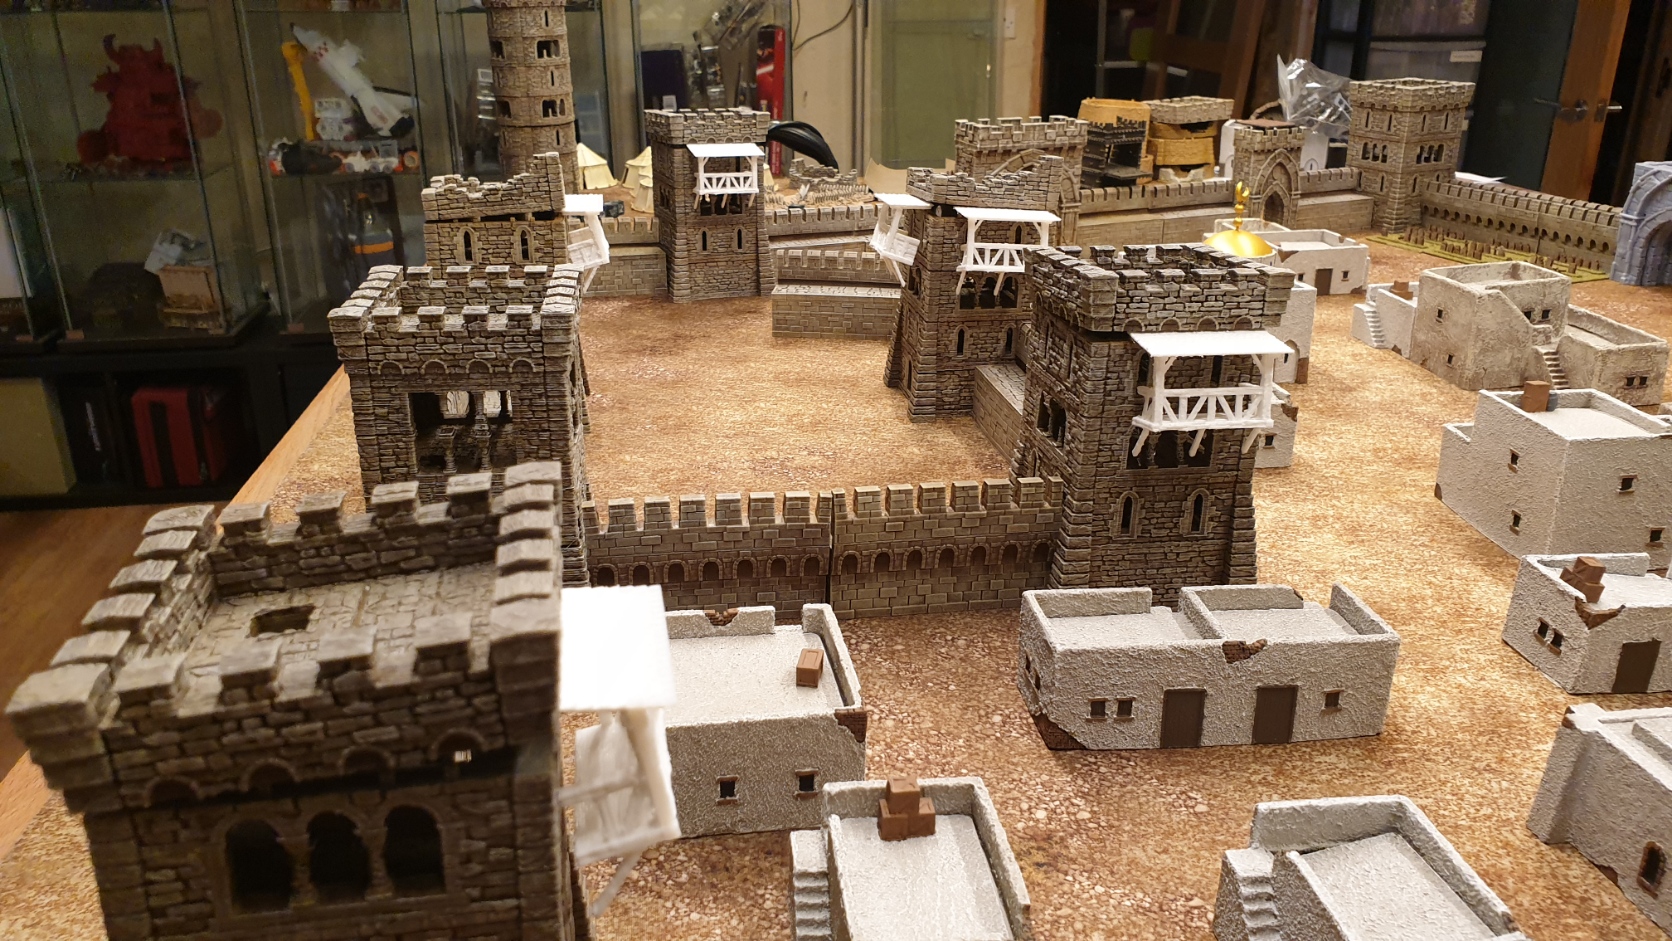
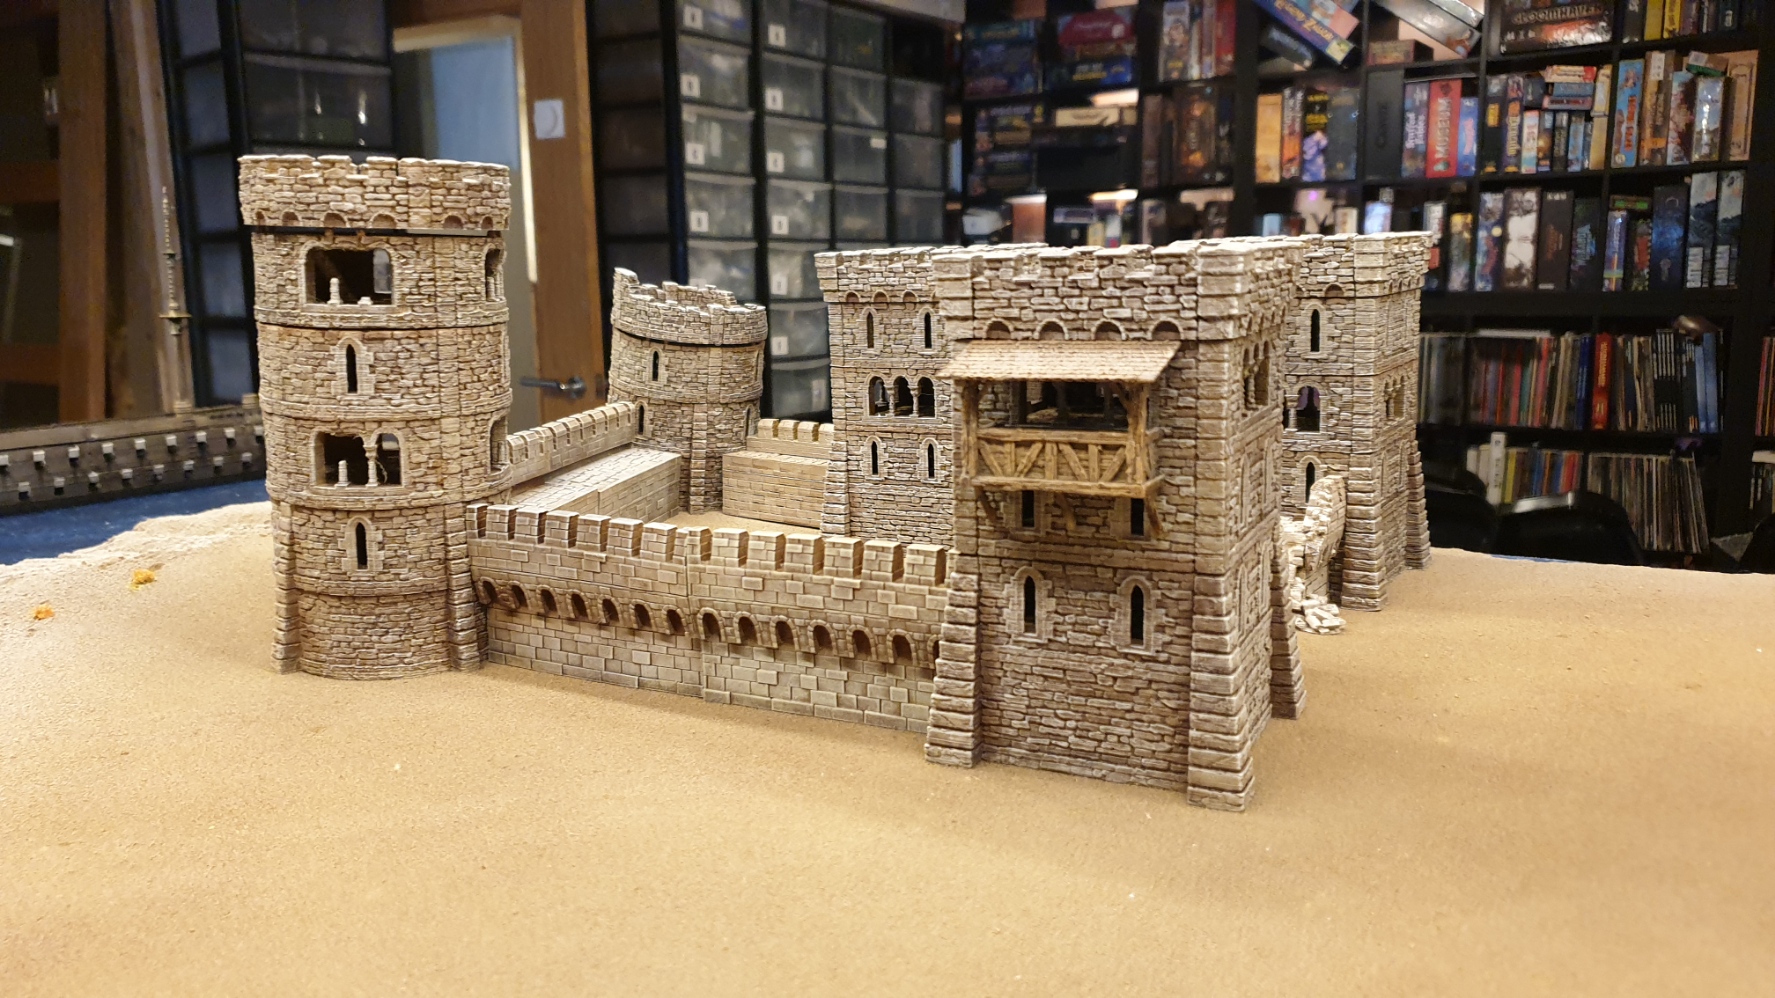
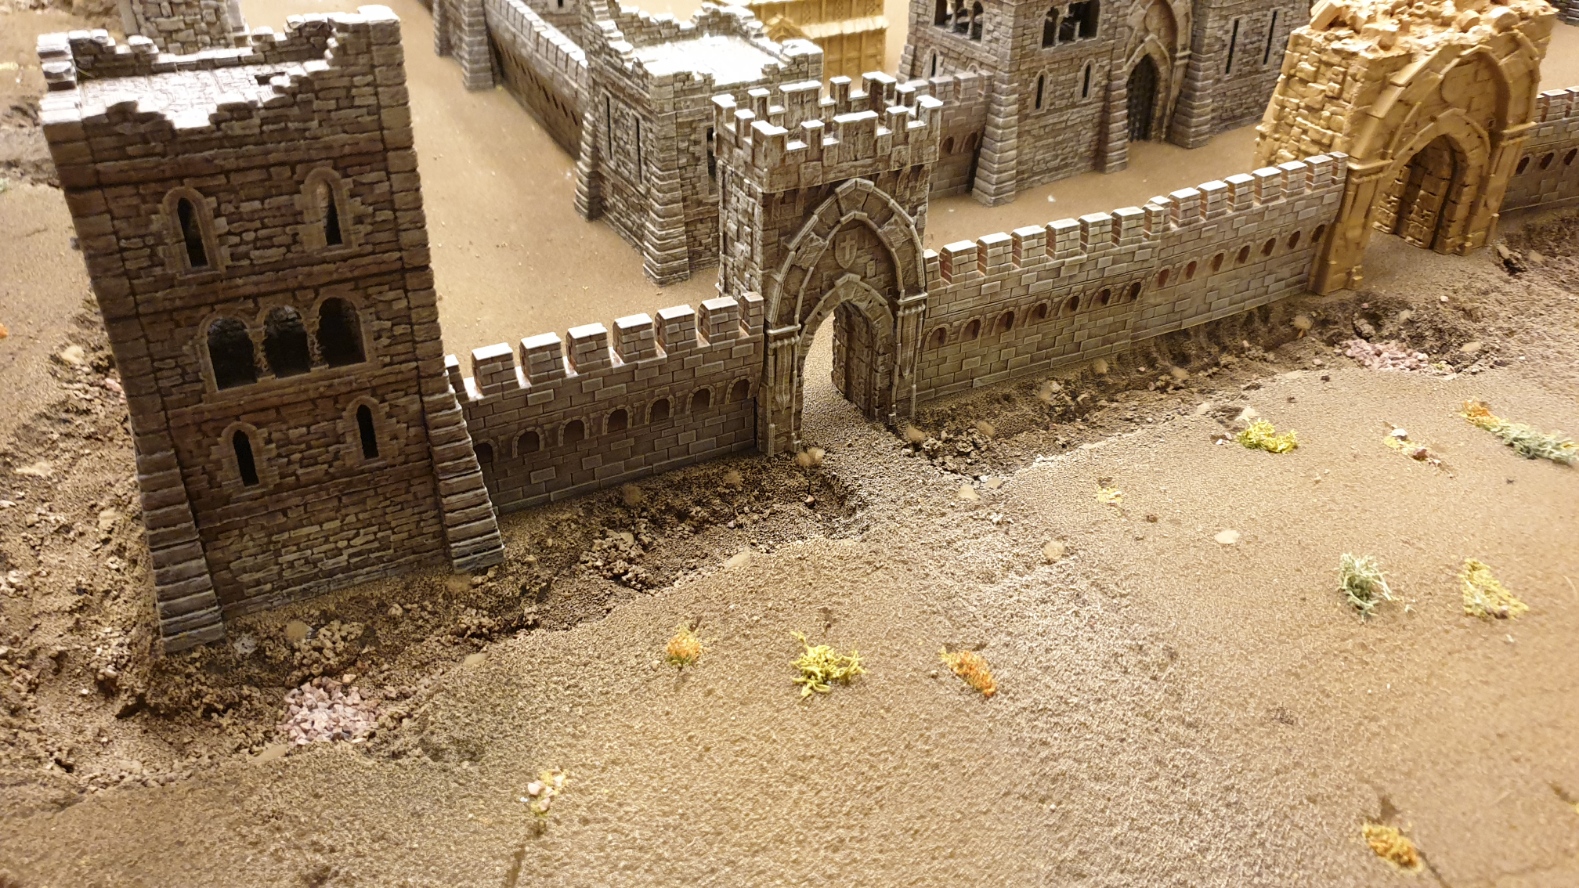
Details Make the Difference

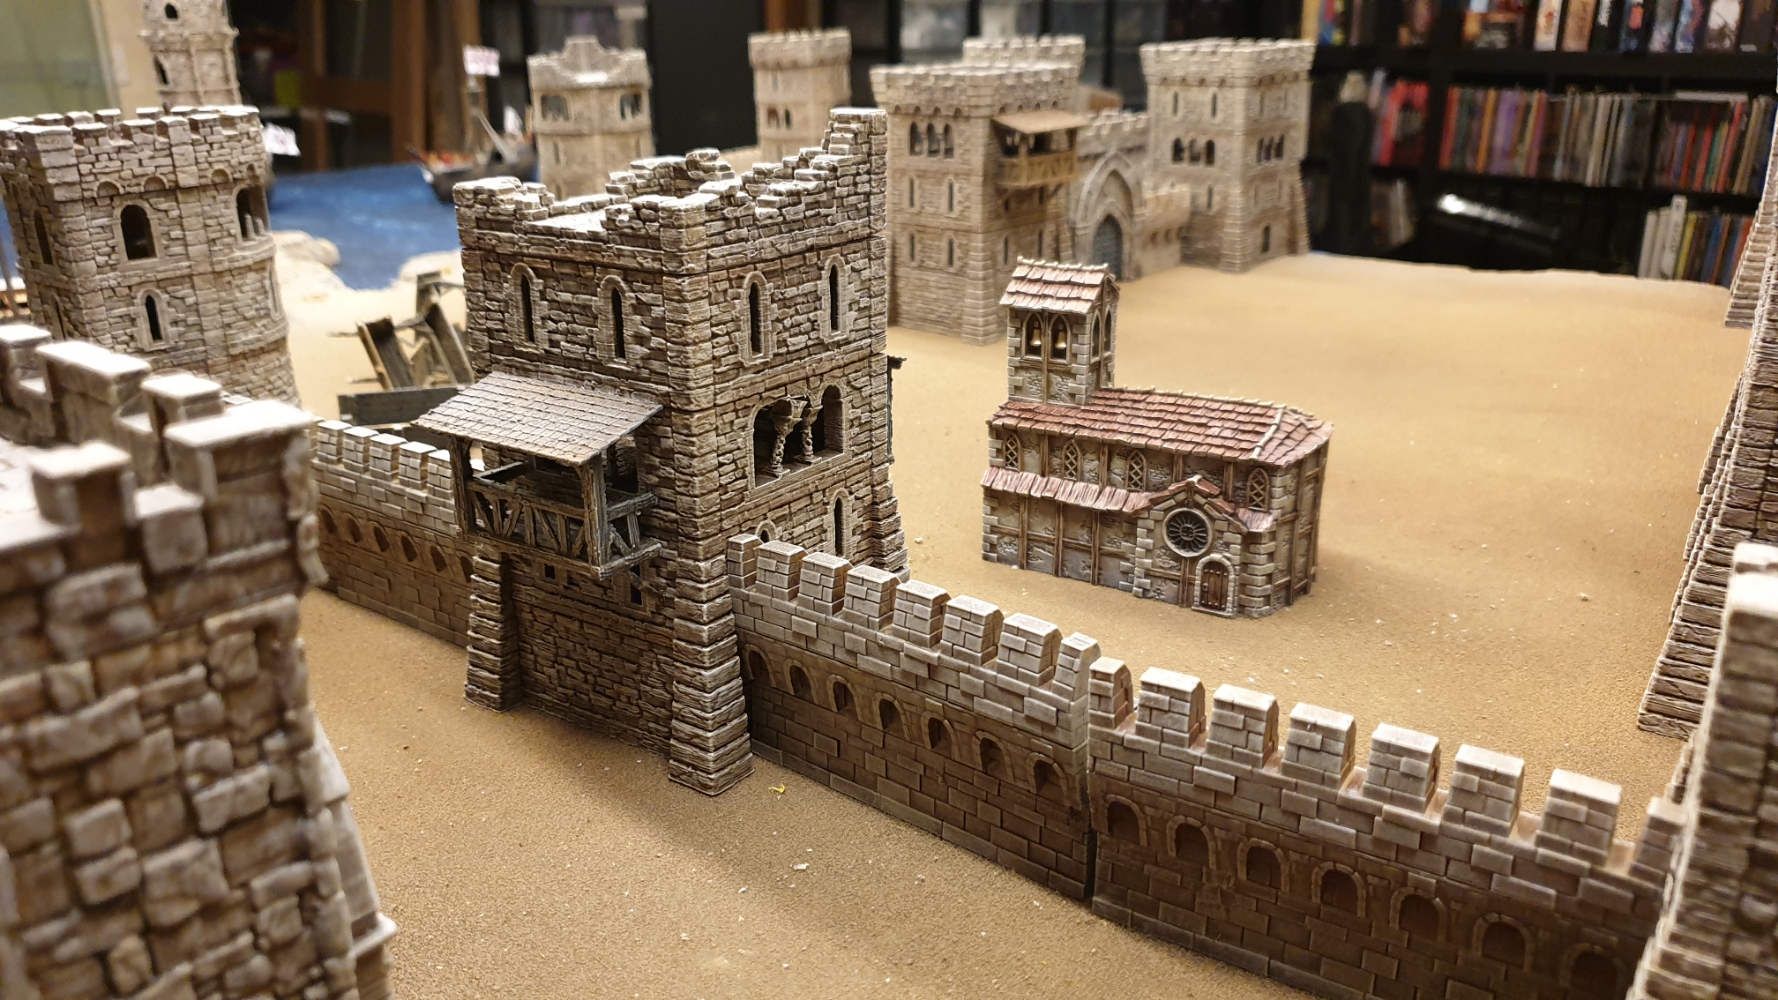
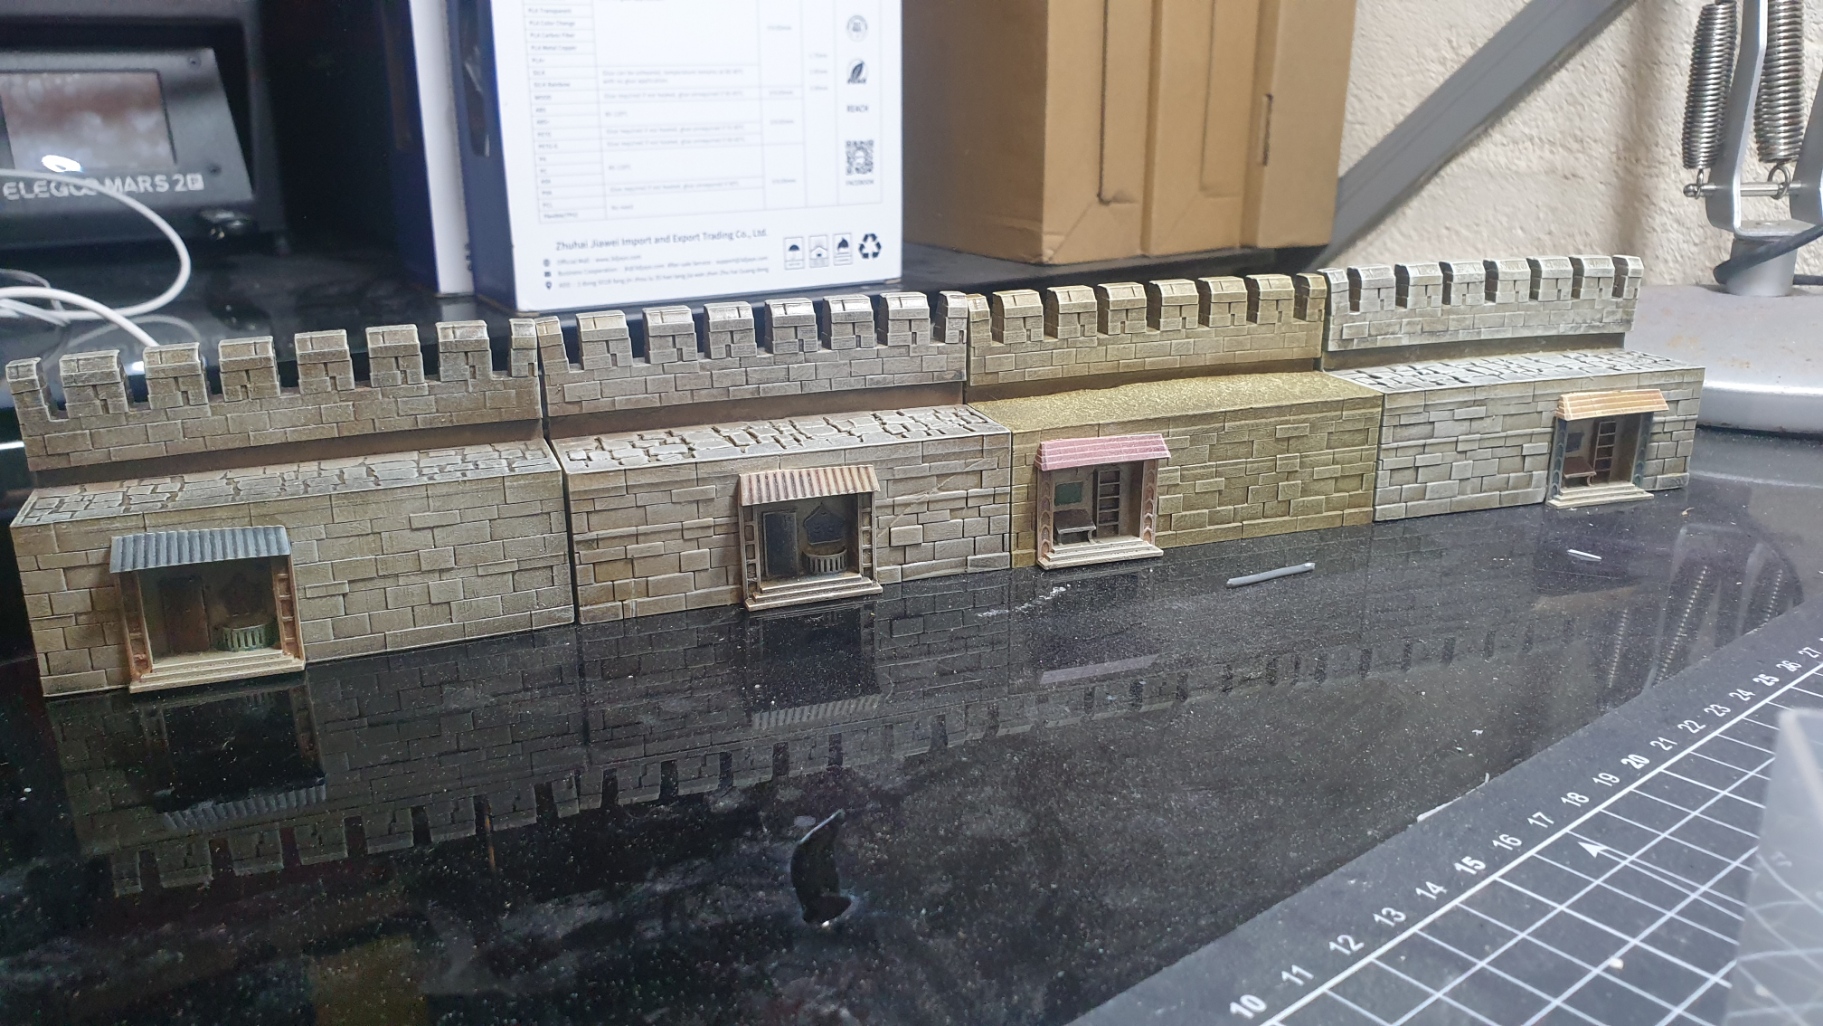
It was now time to start adding the little additional details to the terrain pieces to help break up the uniformity and just add a little more of a lived in look.
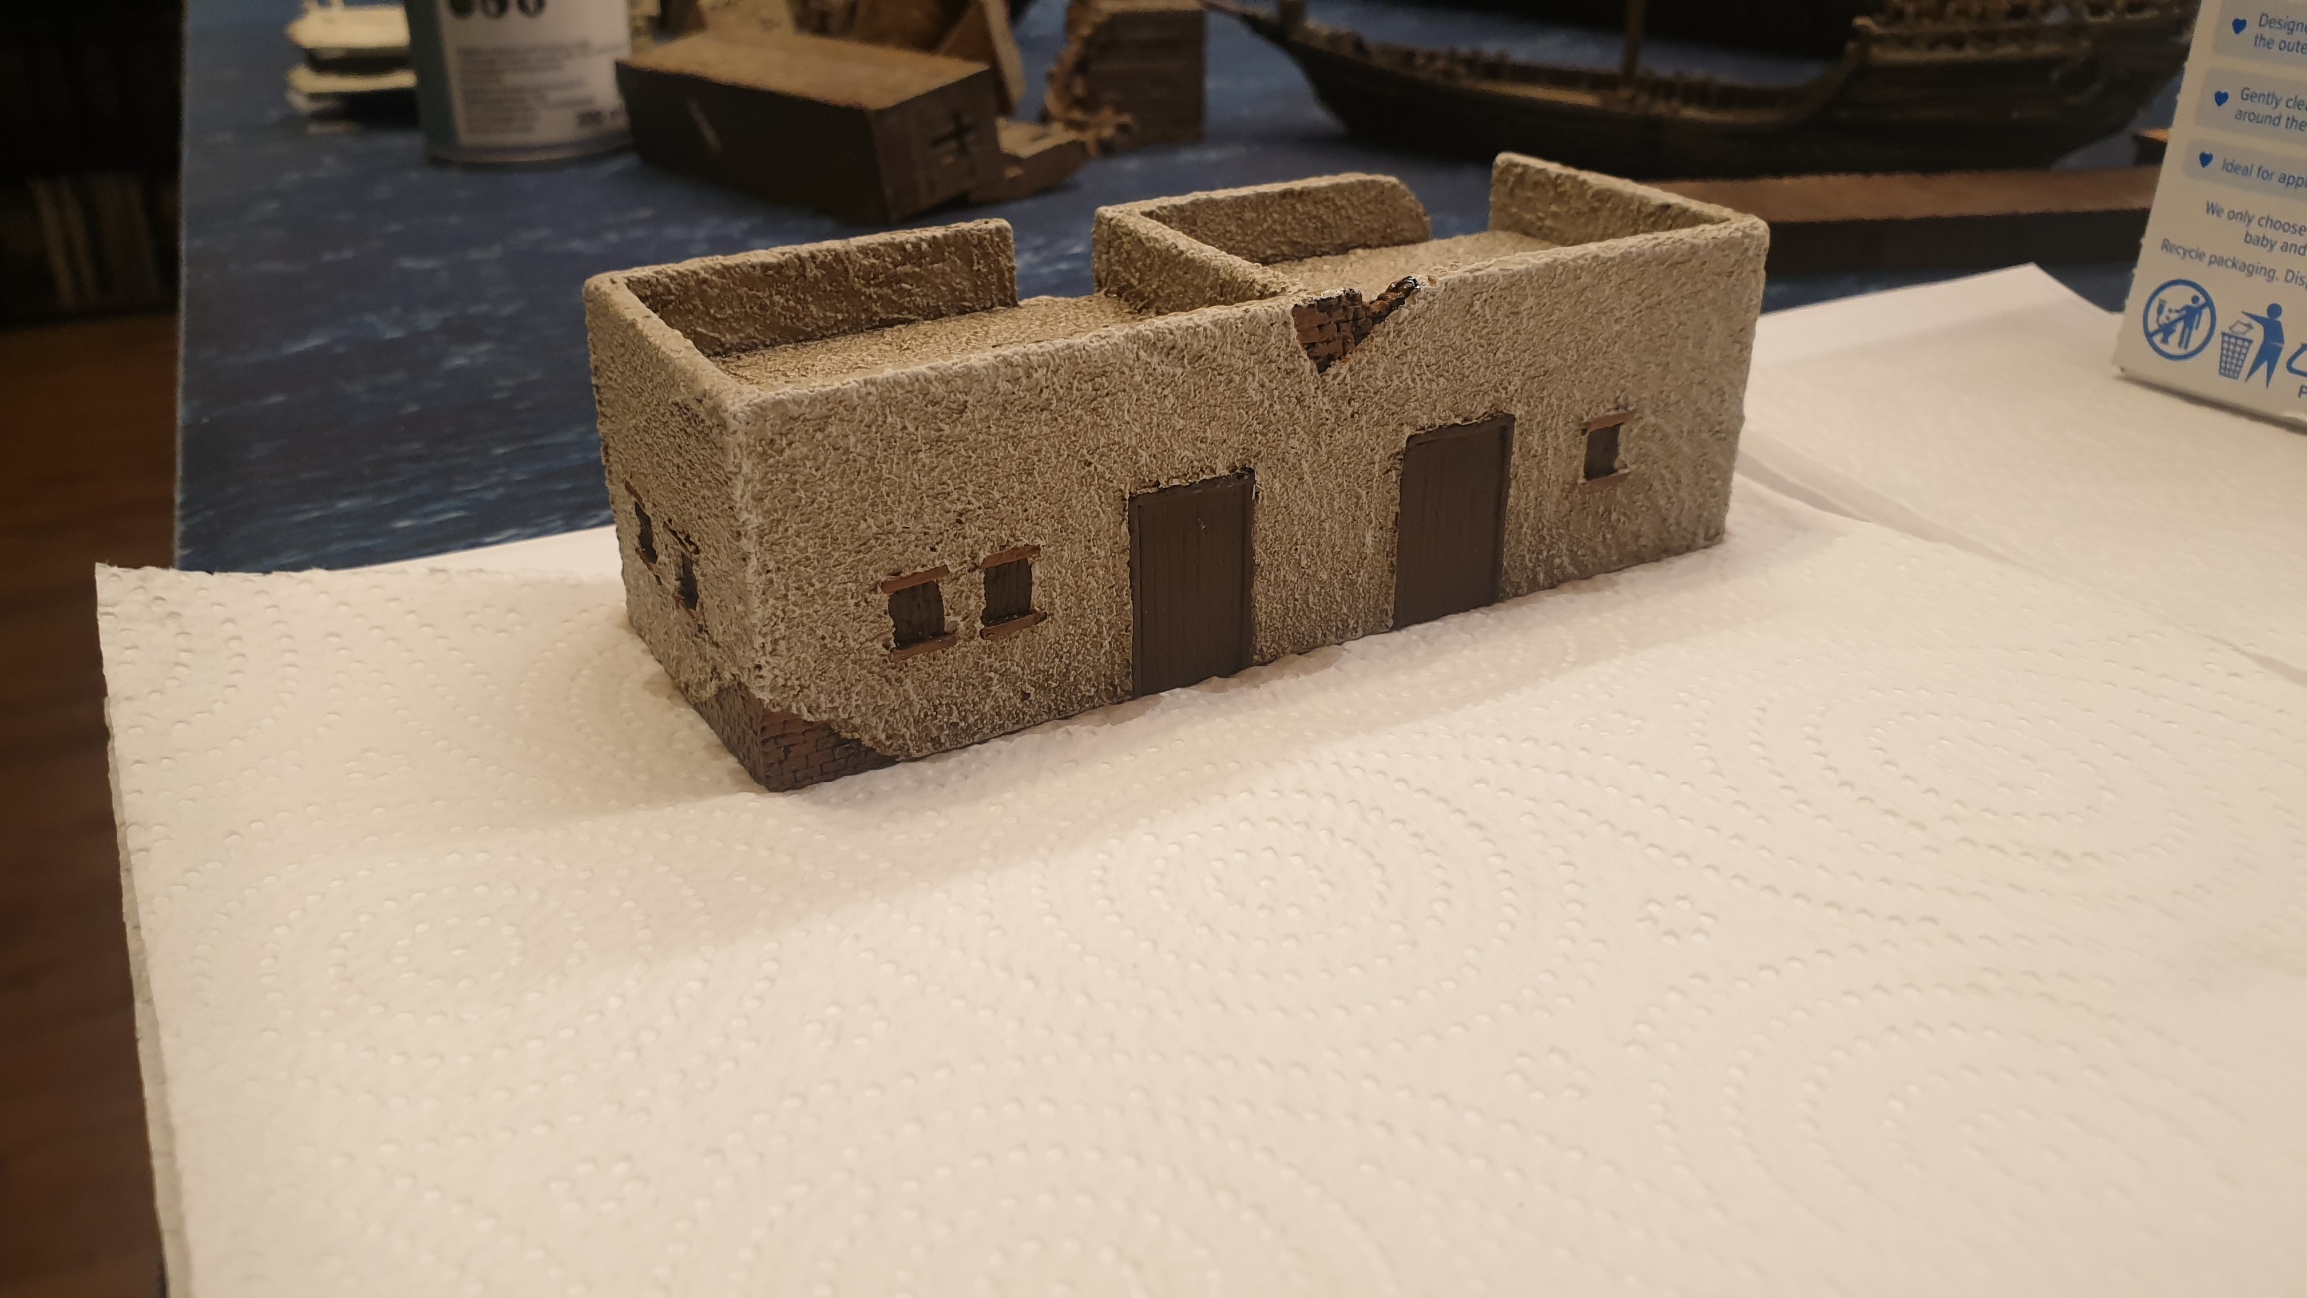
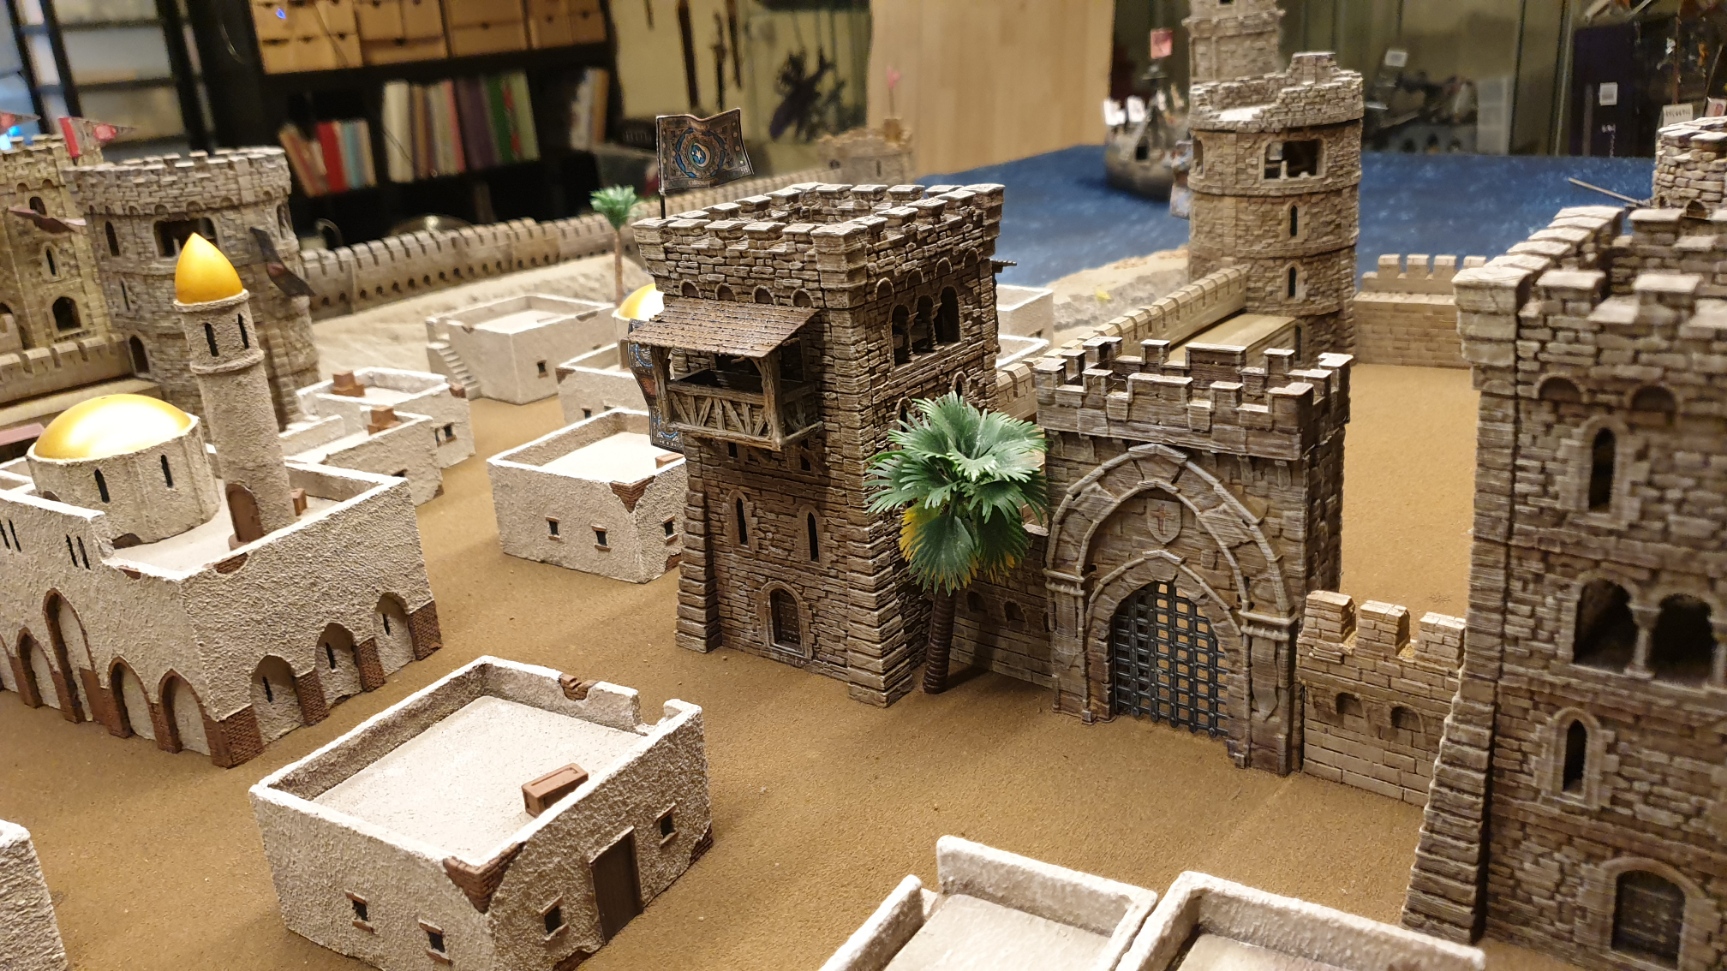
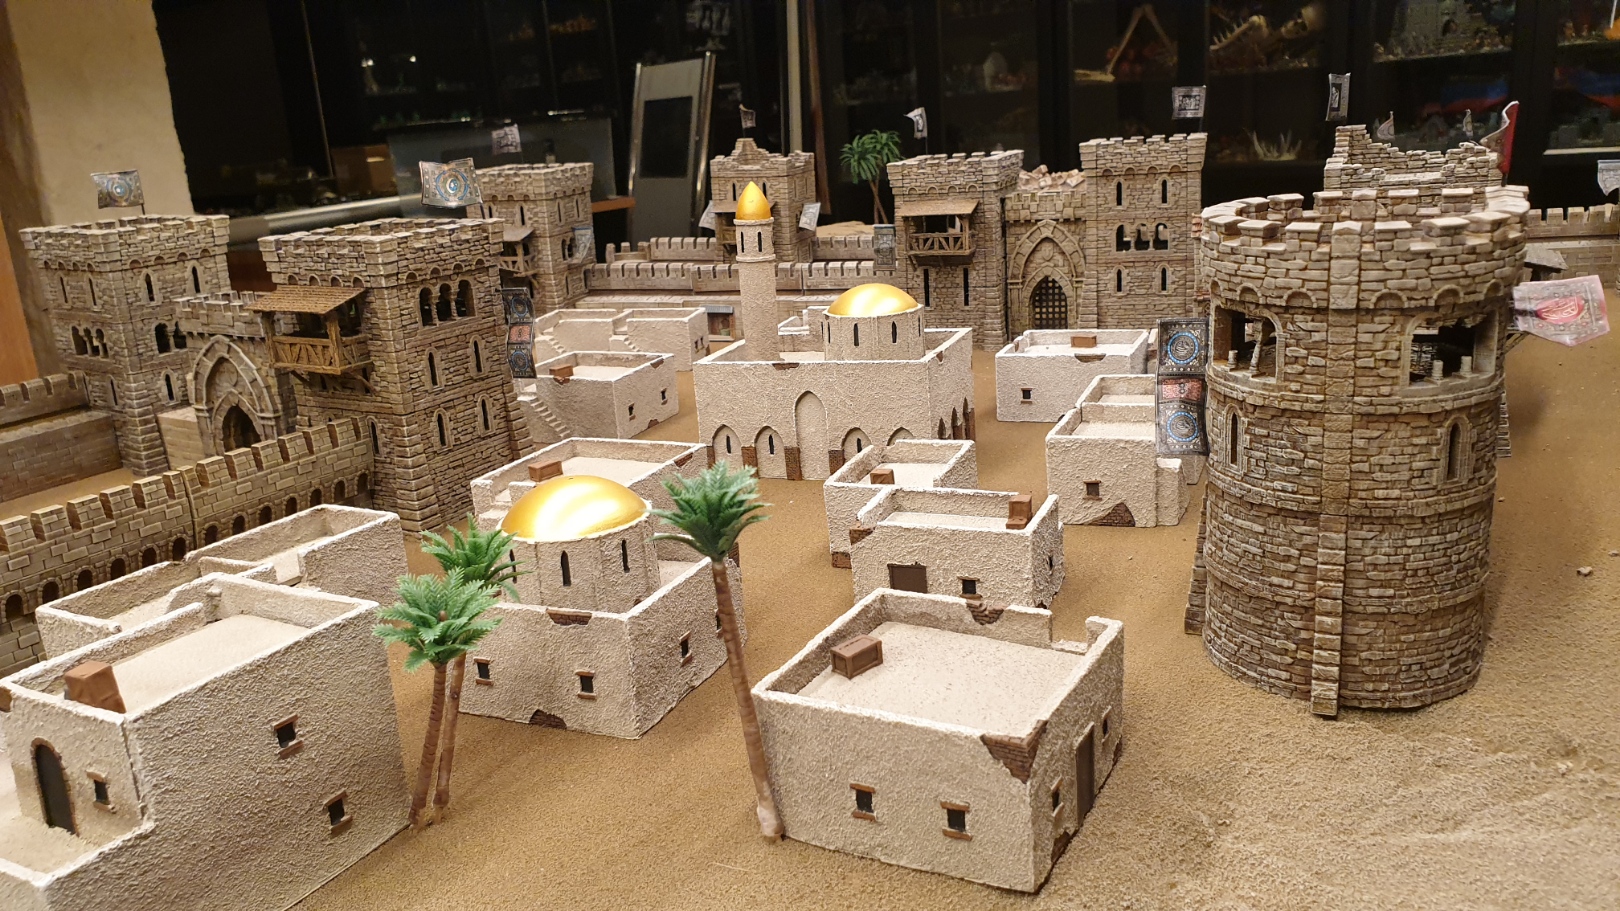
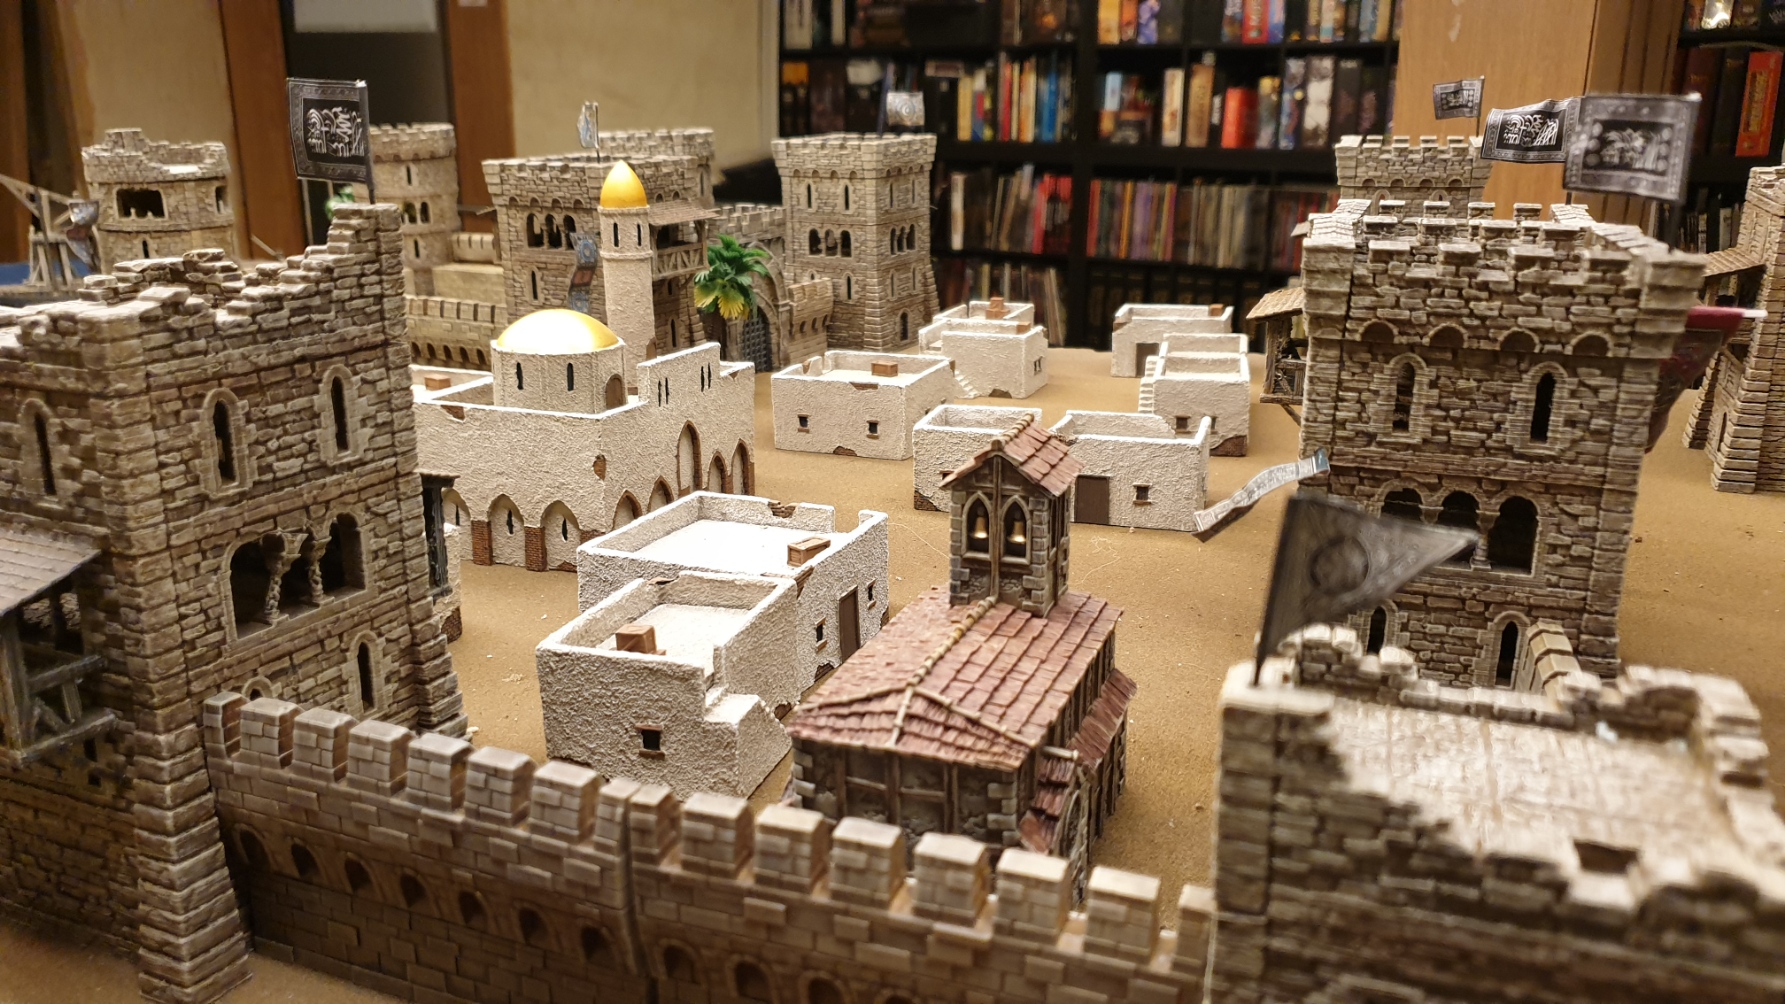
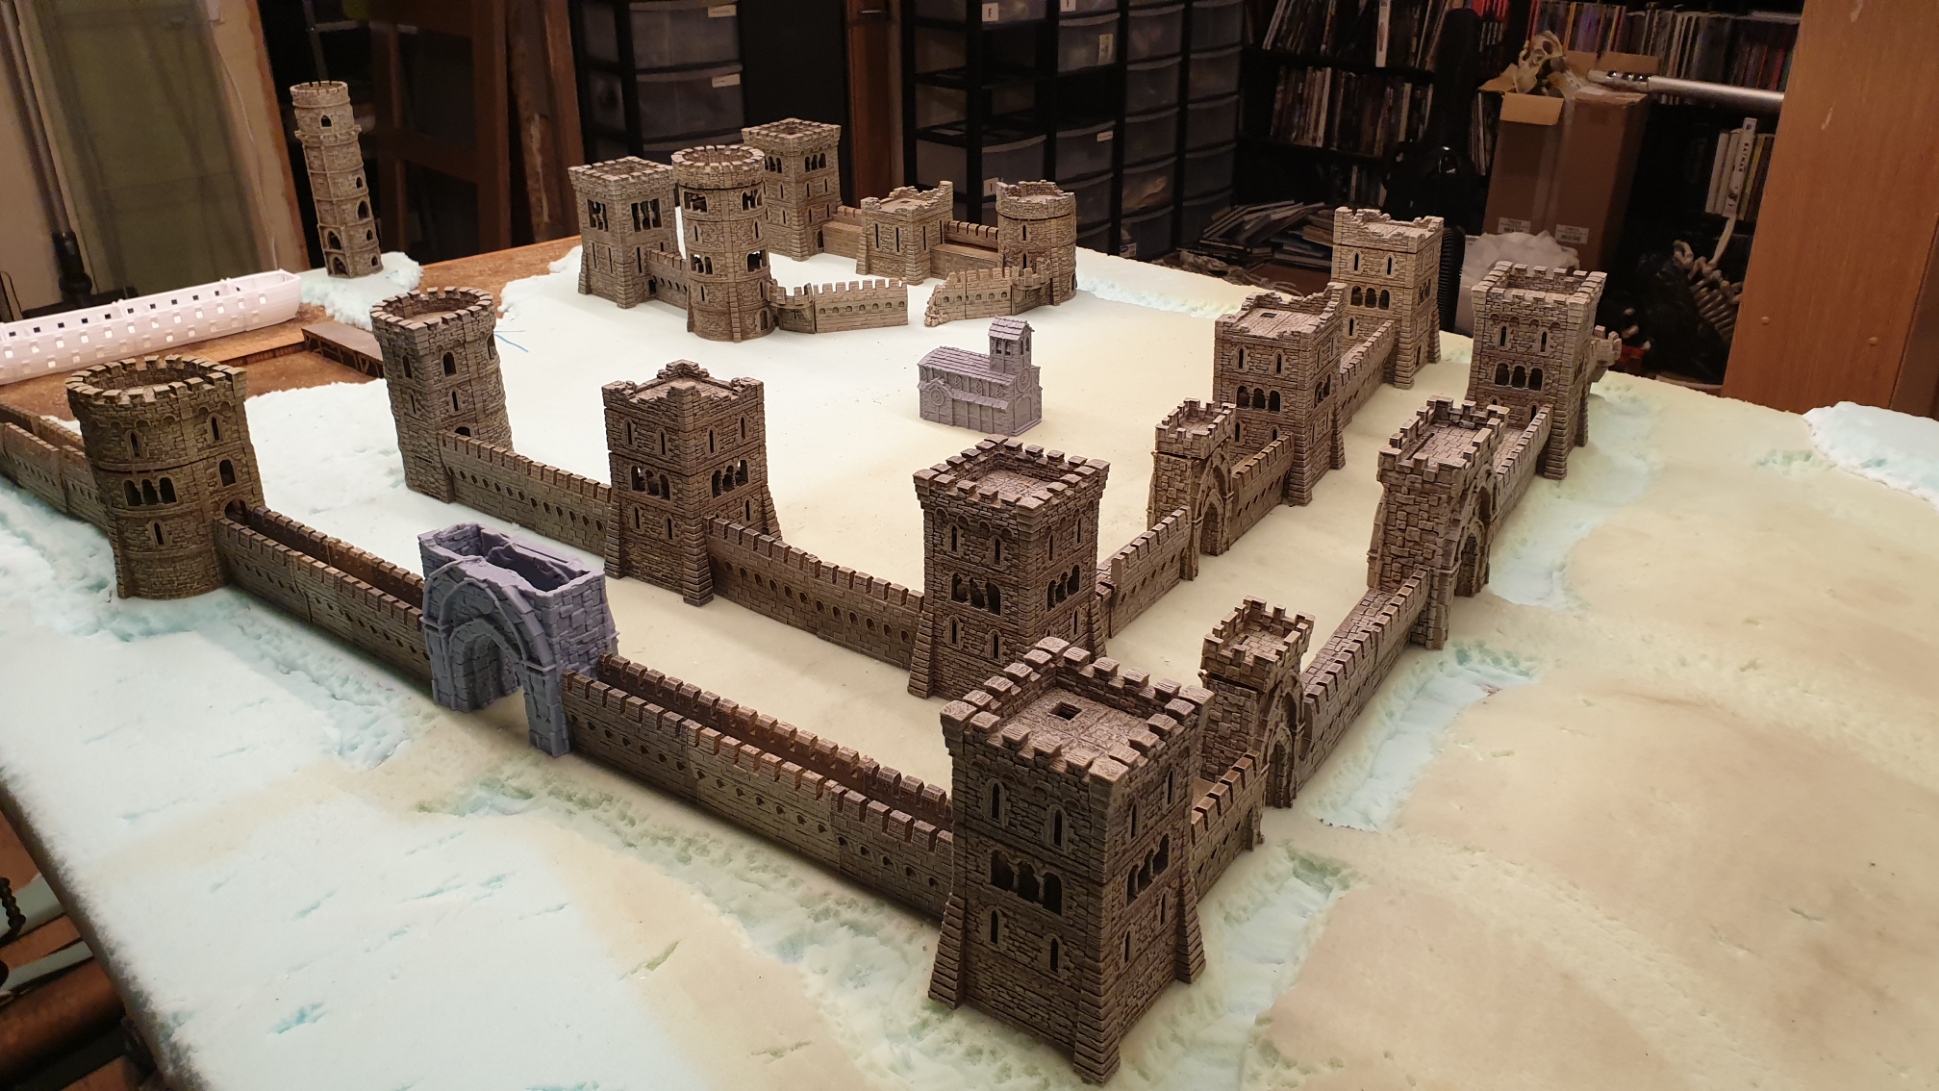
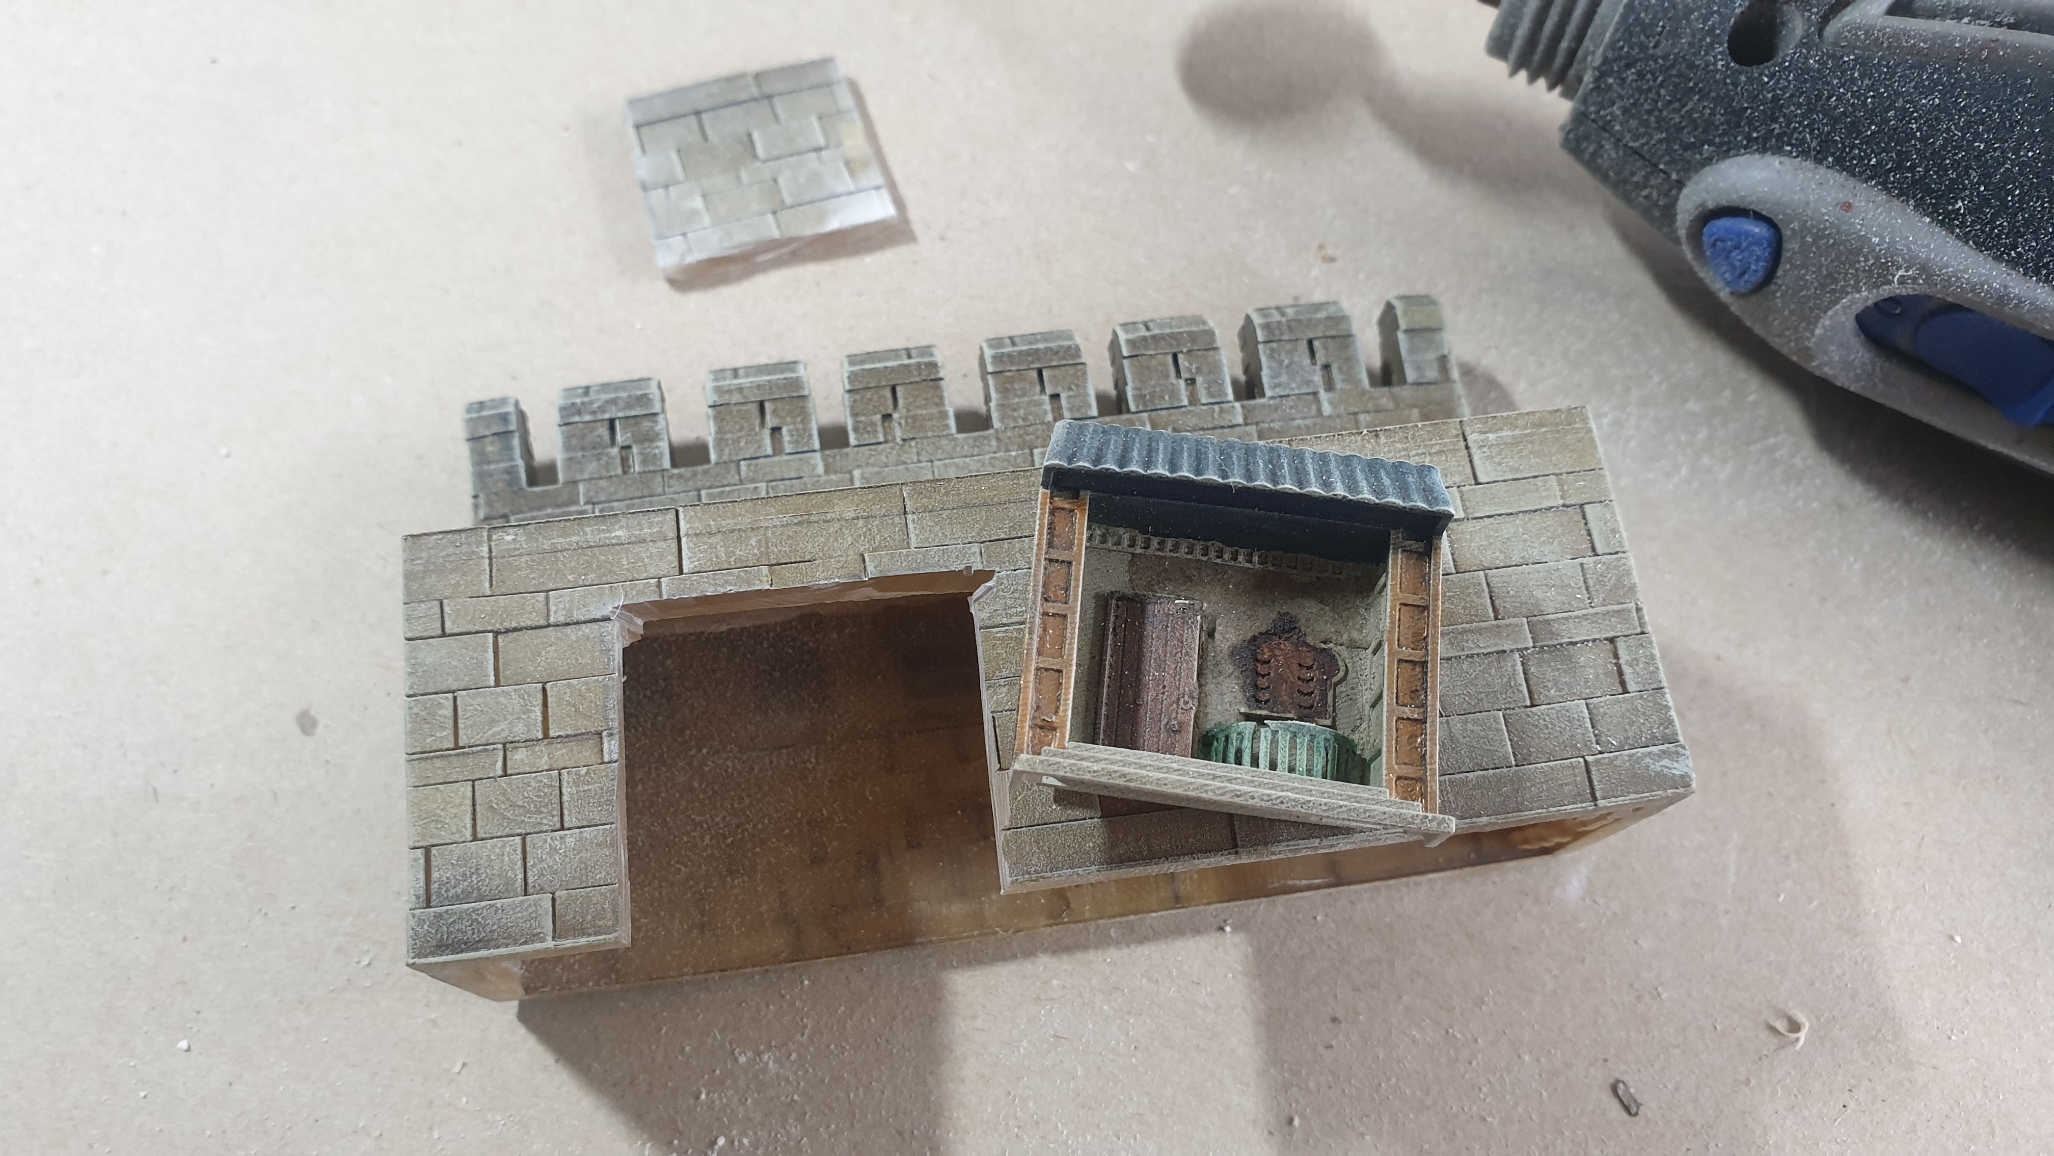
I had 3d printed some little middle eastern style ‘Hole in the Wall’ stores and decided to add some to the walls just to change things up a touch.
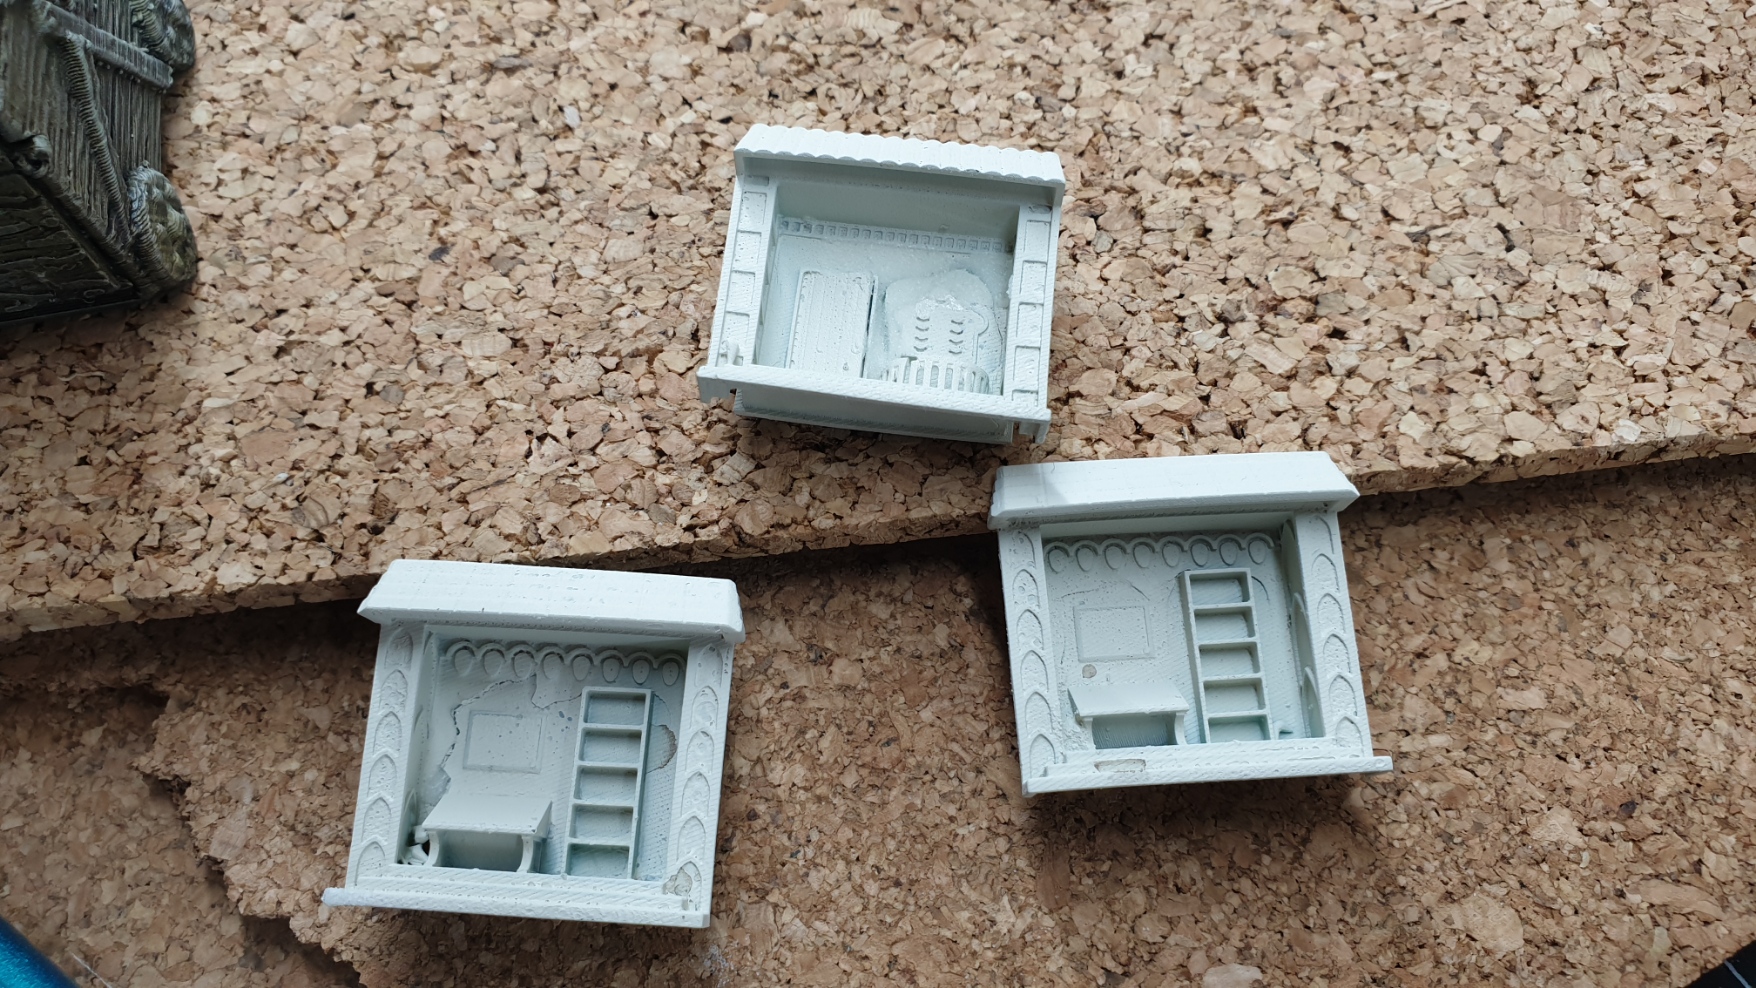
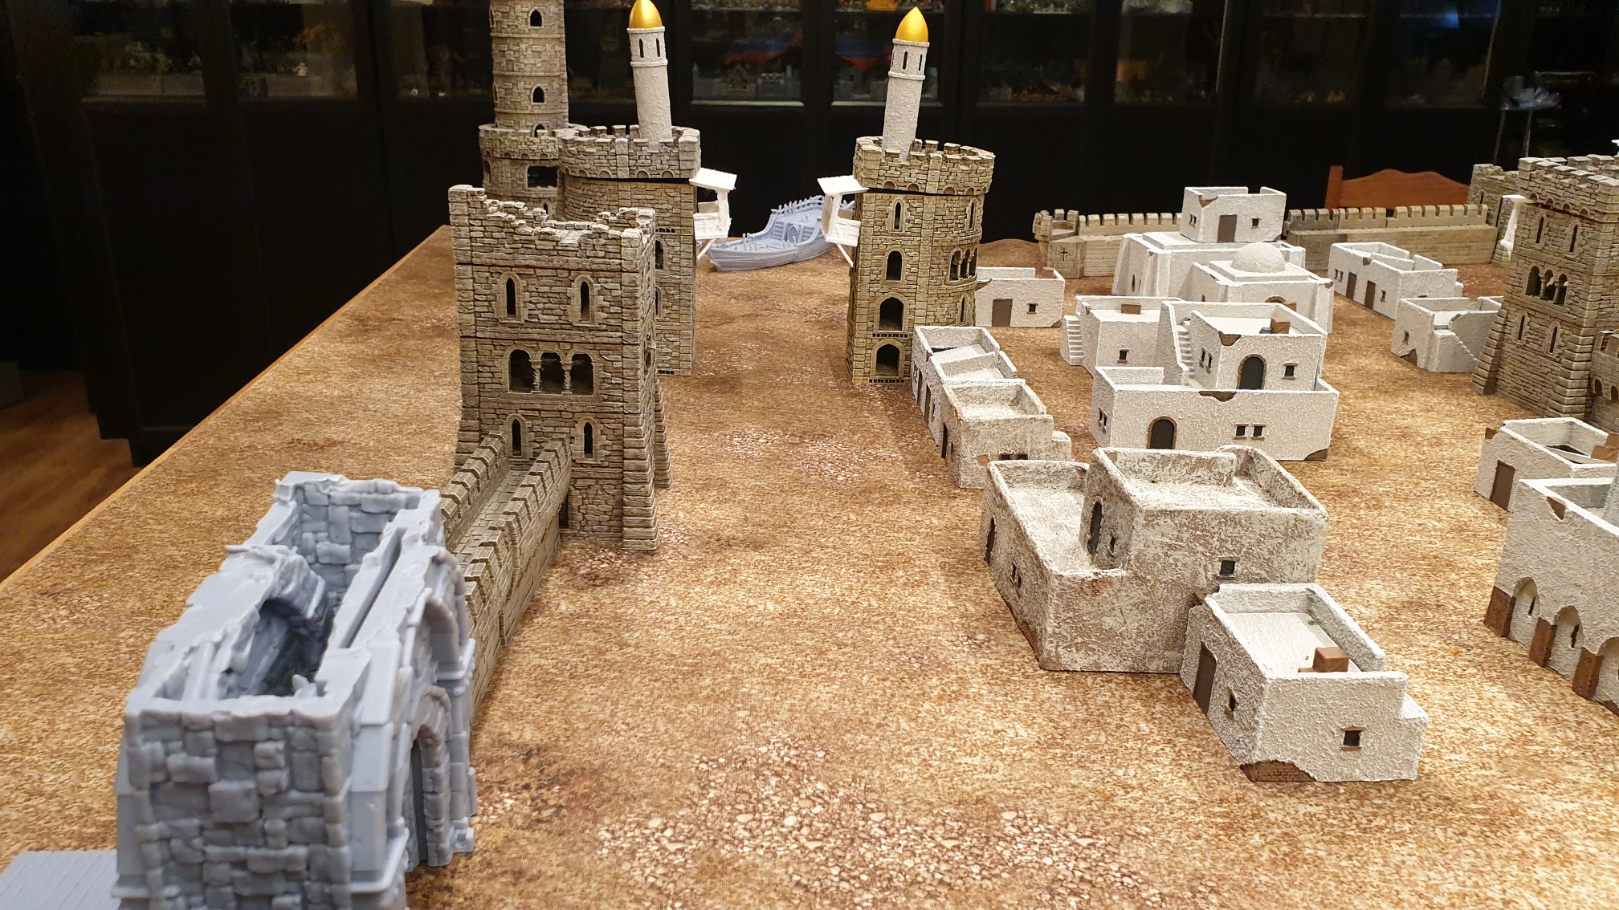
Then it was time to start setting out the inner part of the city. I wanted the option of quite dense terrain layouts for more skirmish style games where two forces are fighting street to street.
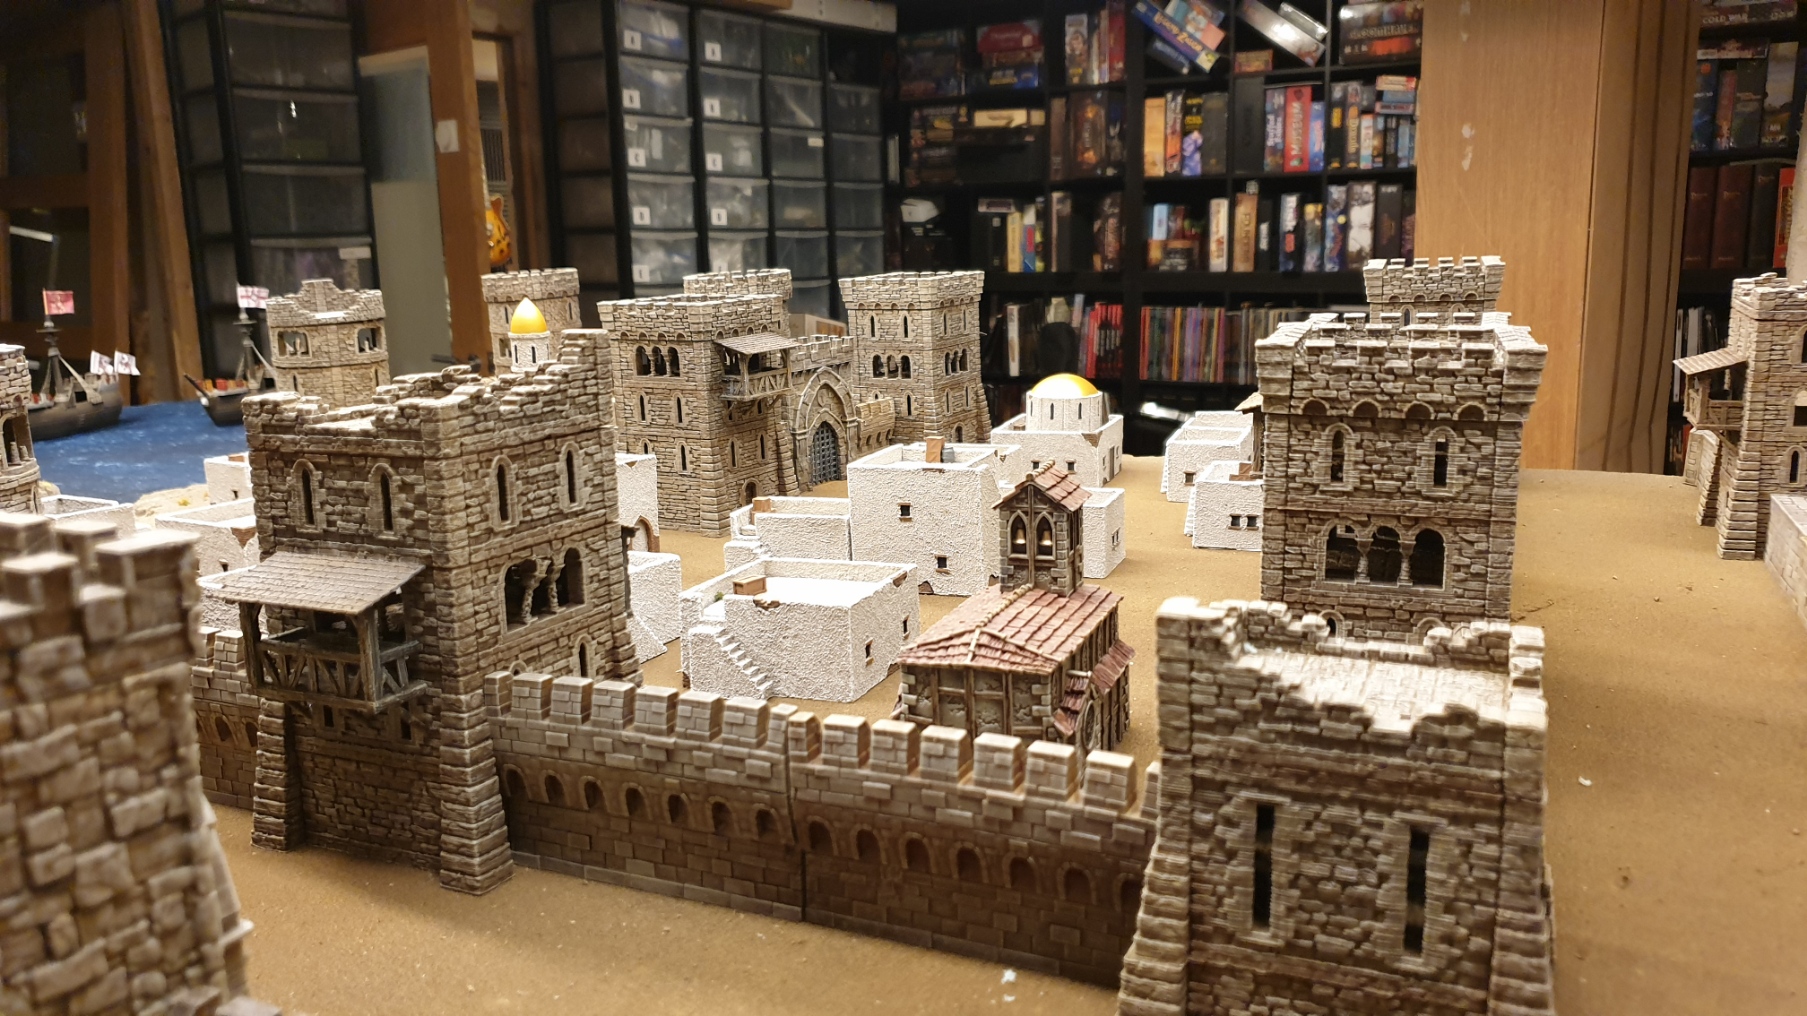

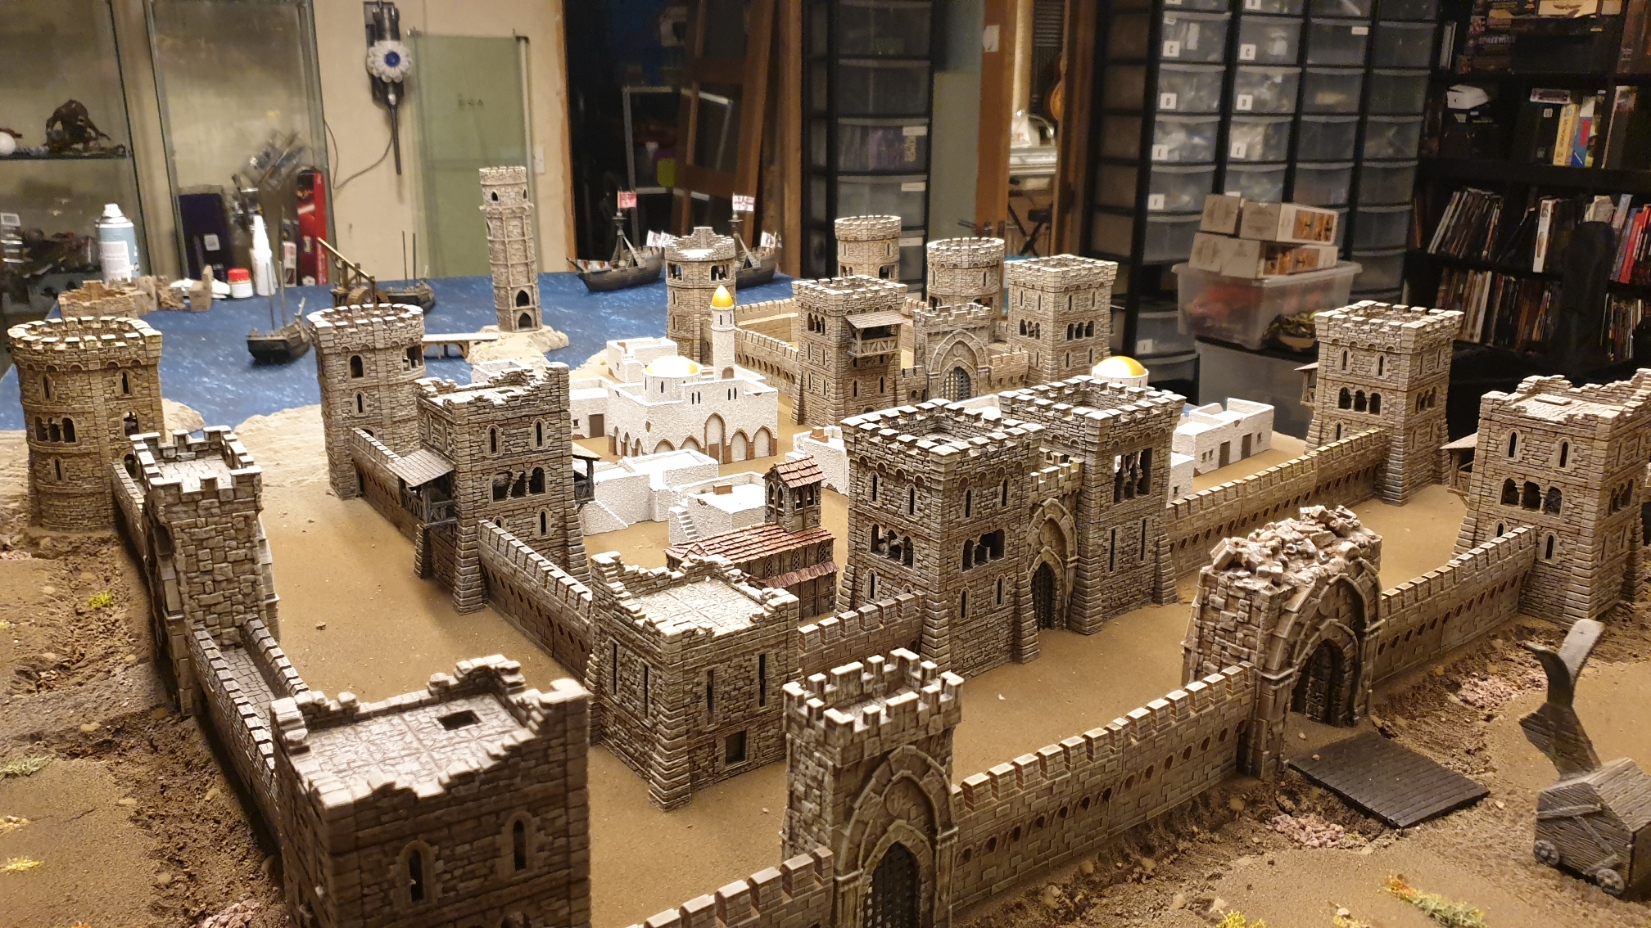
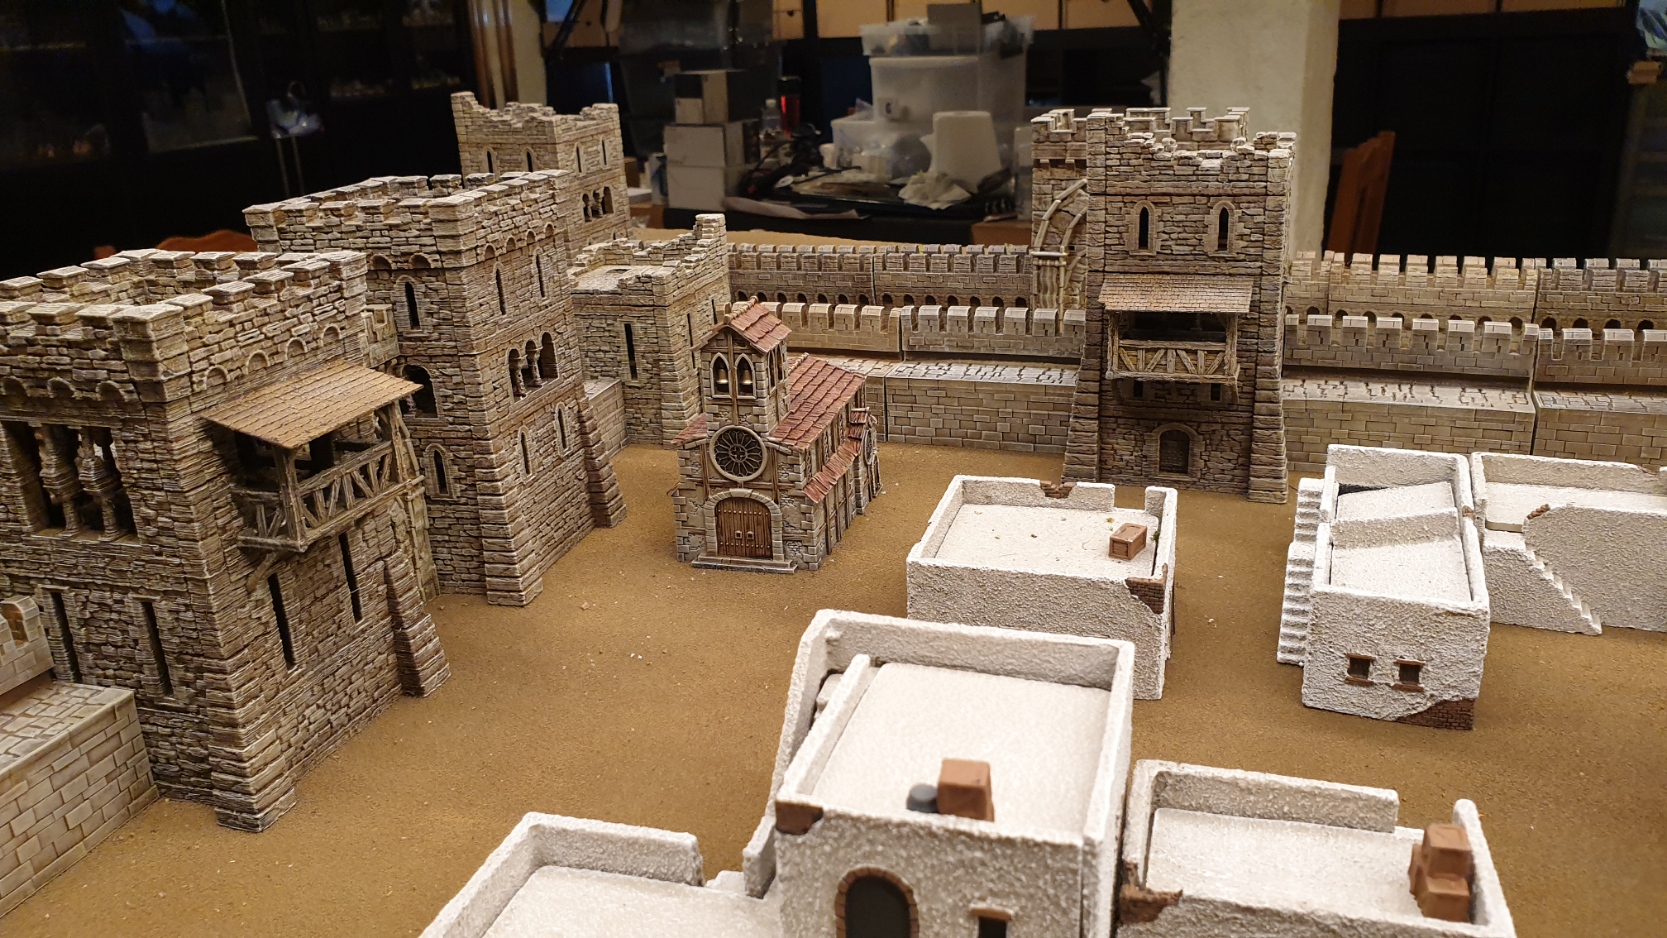
The buildings were a little too bright for my tastes so I mixed up a simple wash using the tame models mates brown weathering sprays I used everywhere else on the board to knock back the brightness a touch.