


Manda (Amachan) goes to the Eastern Front


Recommendations: 330
About the Project
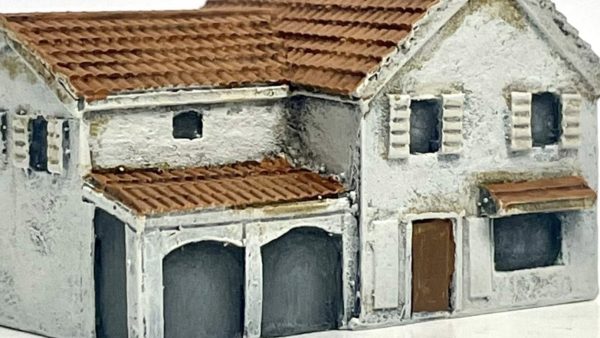
This project will follow my progress into 15mm Eastern Front wargaming. I will be building at least 2 armies, a Soviet and a German one and all the terrain I need to play. I am focussing on the latter half of 1942 so around the battle of Stalingrad, but not on Stalingrad itself.
Related Game: Battlegroup
Related Company: Battlefront Miniatures
Related Genre: Historical
This Project is On Hold
Project On Hold.
I have been struggling with massive disabilities causing me to not be able to paint or build miniatures. The major disabilities limiting my hobby are tremors in my right hand making it very unstable and lots of pain in my left which I was learning to paint with. I am getting physiotherapy to try and help me cope with the disabilities, but I am not sure it is going to solve anything. I do not know if I will be able to return to miniature painting and such and for now I am starting a new project involving LEGO, something I can do with my disabilities.
PANZER!!!
A couple of updates.
A small correction from earlier on in the project. I said I was making 3 Panzer III Ausf. J and 1 Ausf. L, I got it wrong they are all Panzer III Ausf. L, the command one is just the uparmoured variant. The Panzer Ausf. J actually has a shorter gun and all of these were planned to be with the longer 5cm gun.
For the change to Battlegroup, until I actually have the rules and can make new army lists, I am still going to roughly follow my Flames of War armylists that I made before.
On to building some tanks.
I wanted to go over the way I apply the magnets to magnetize the turrets onto the tanks. A couple of steps I do just make it a lot easier for me.
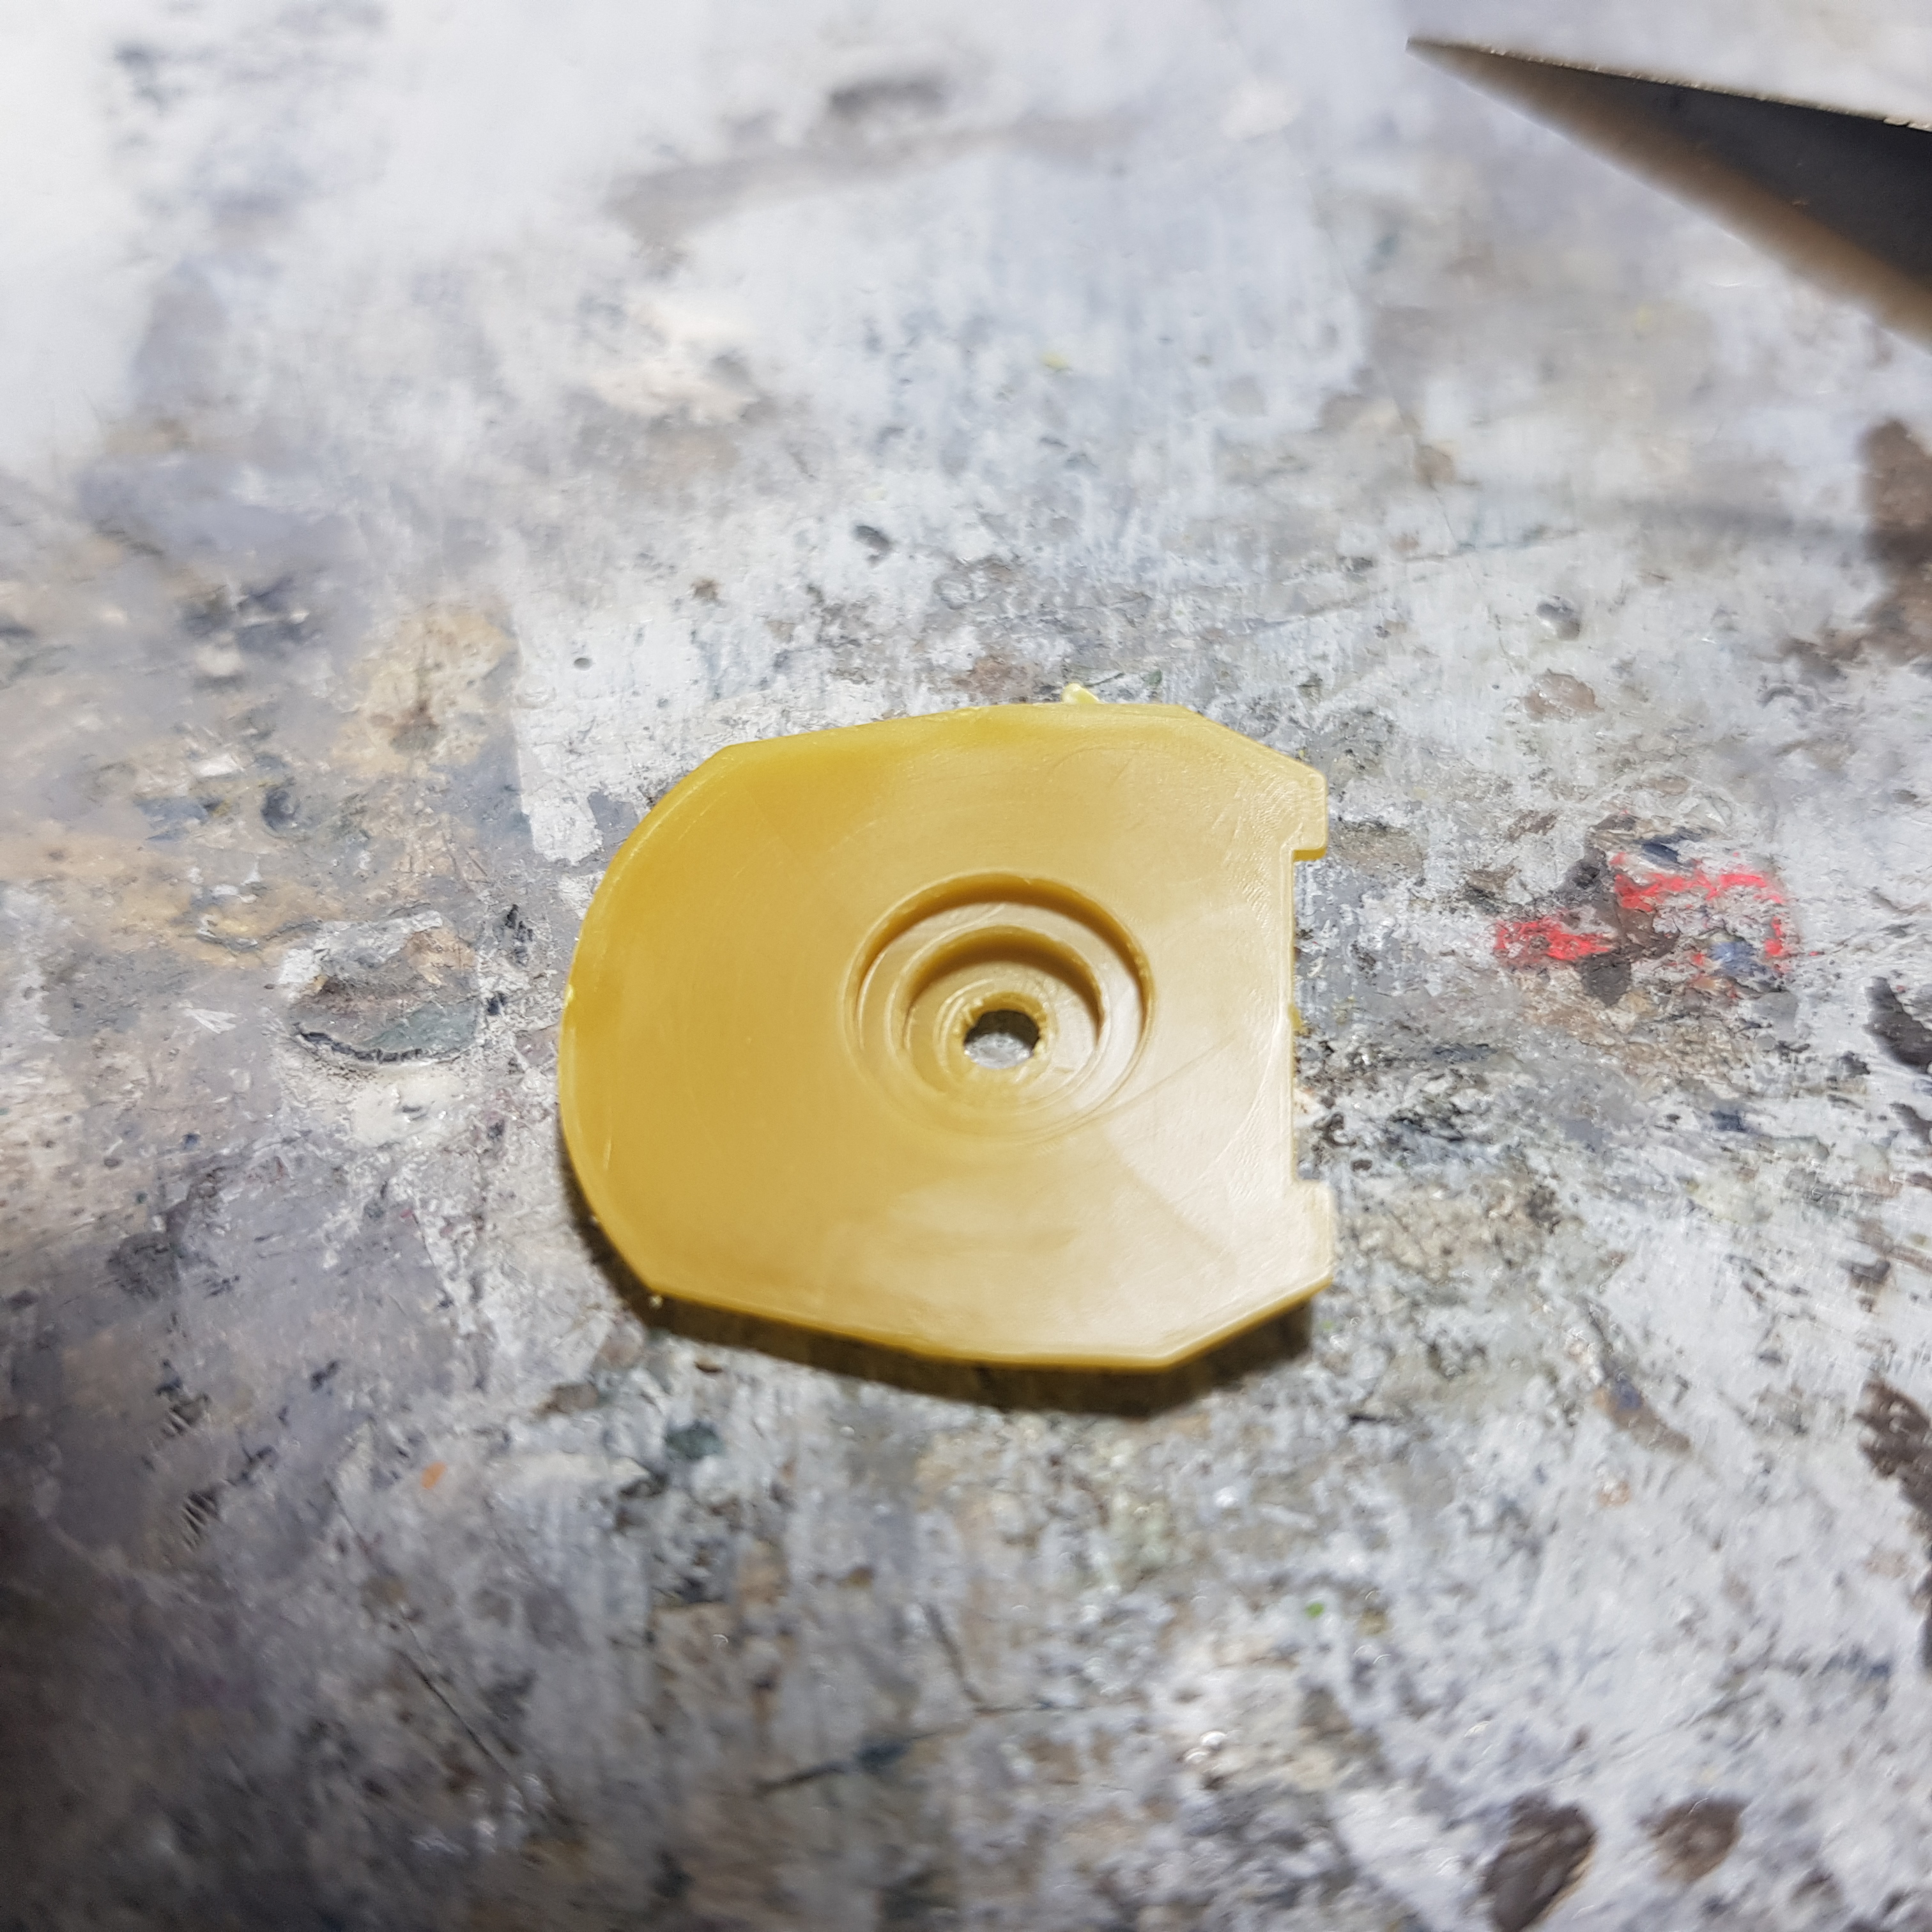
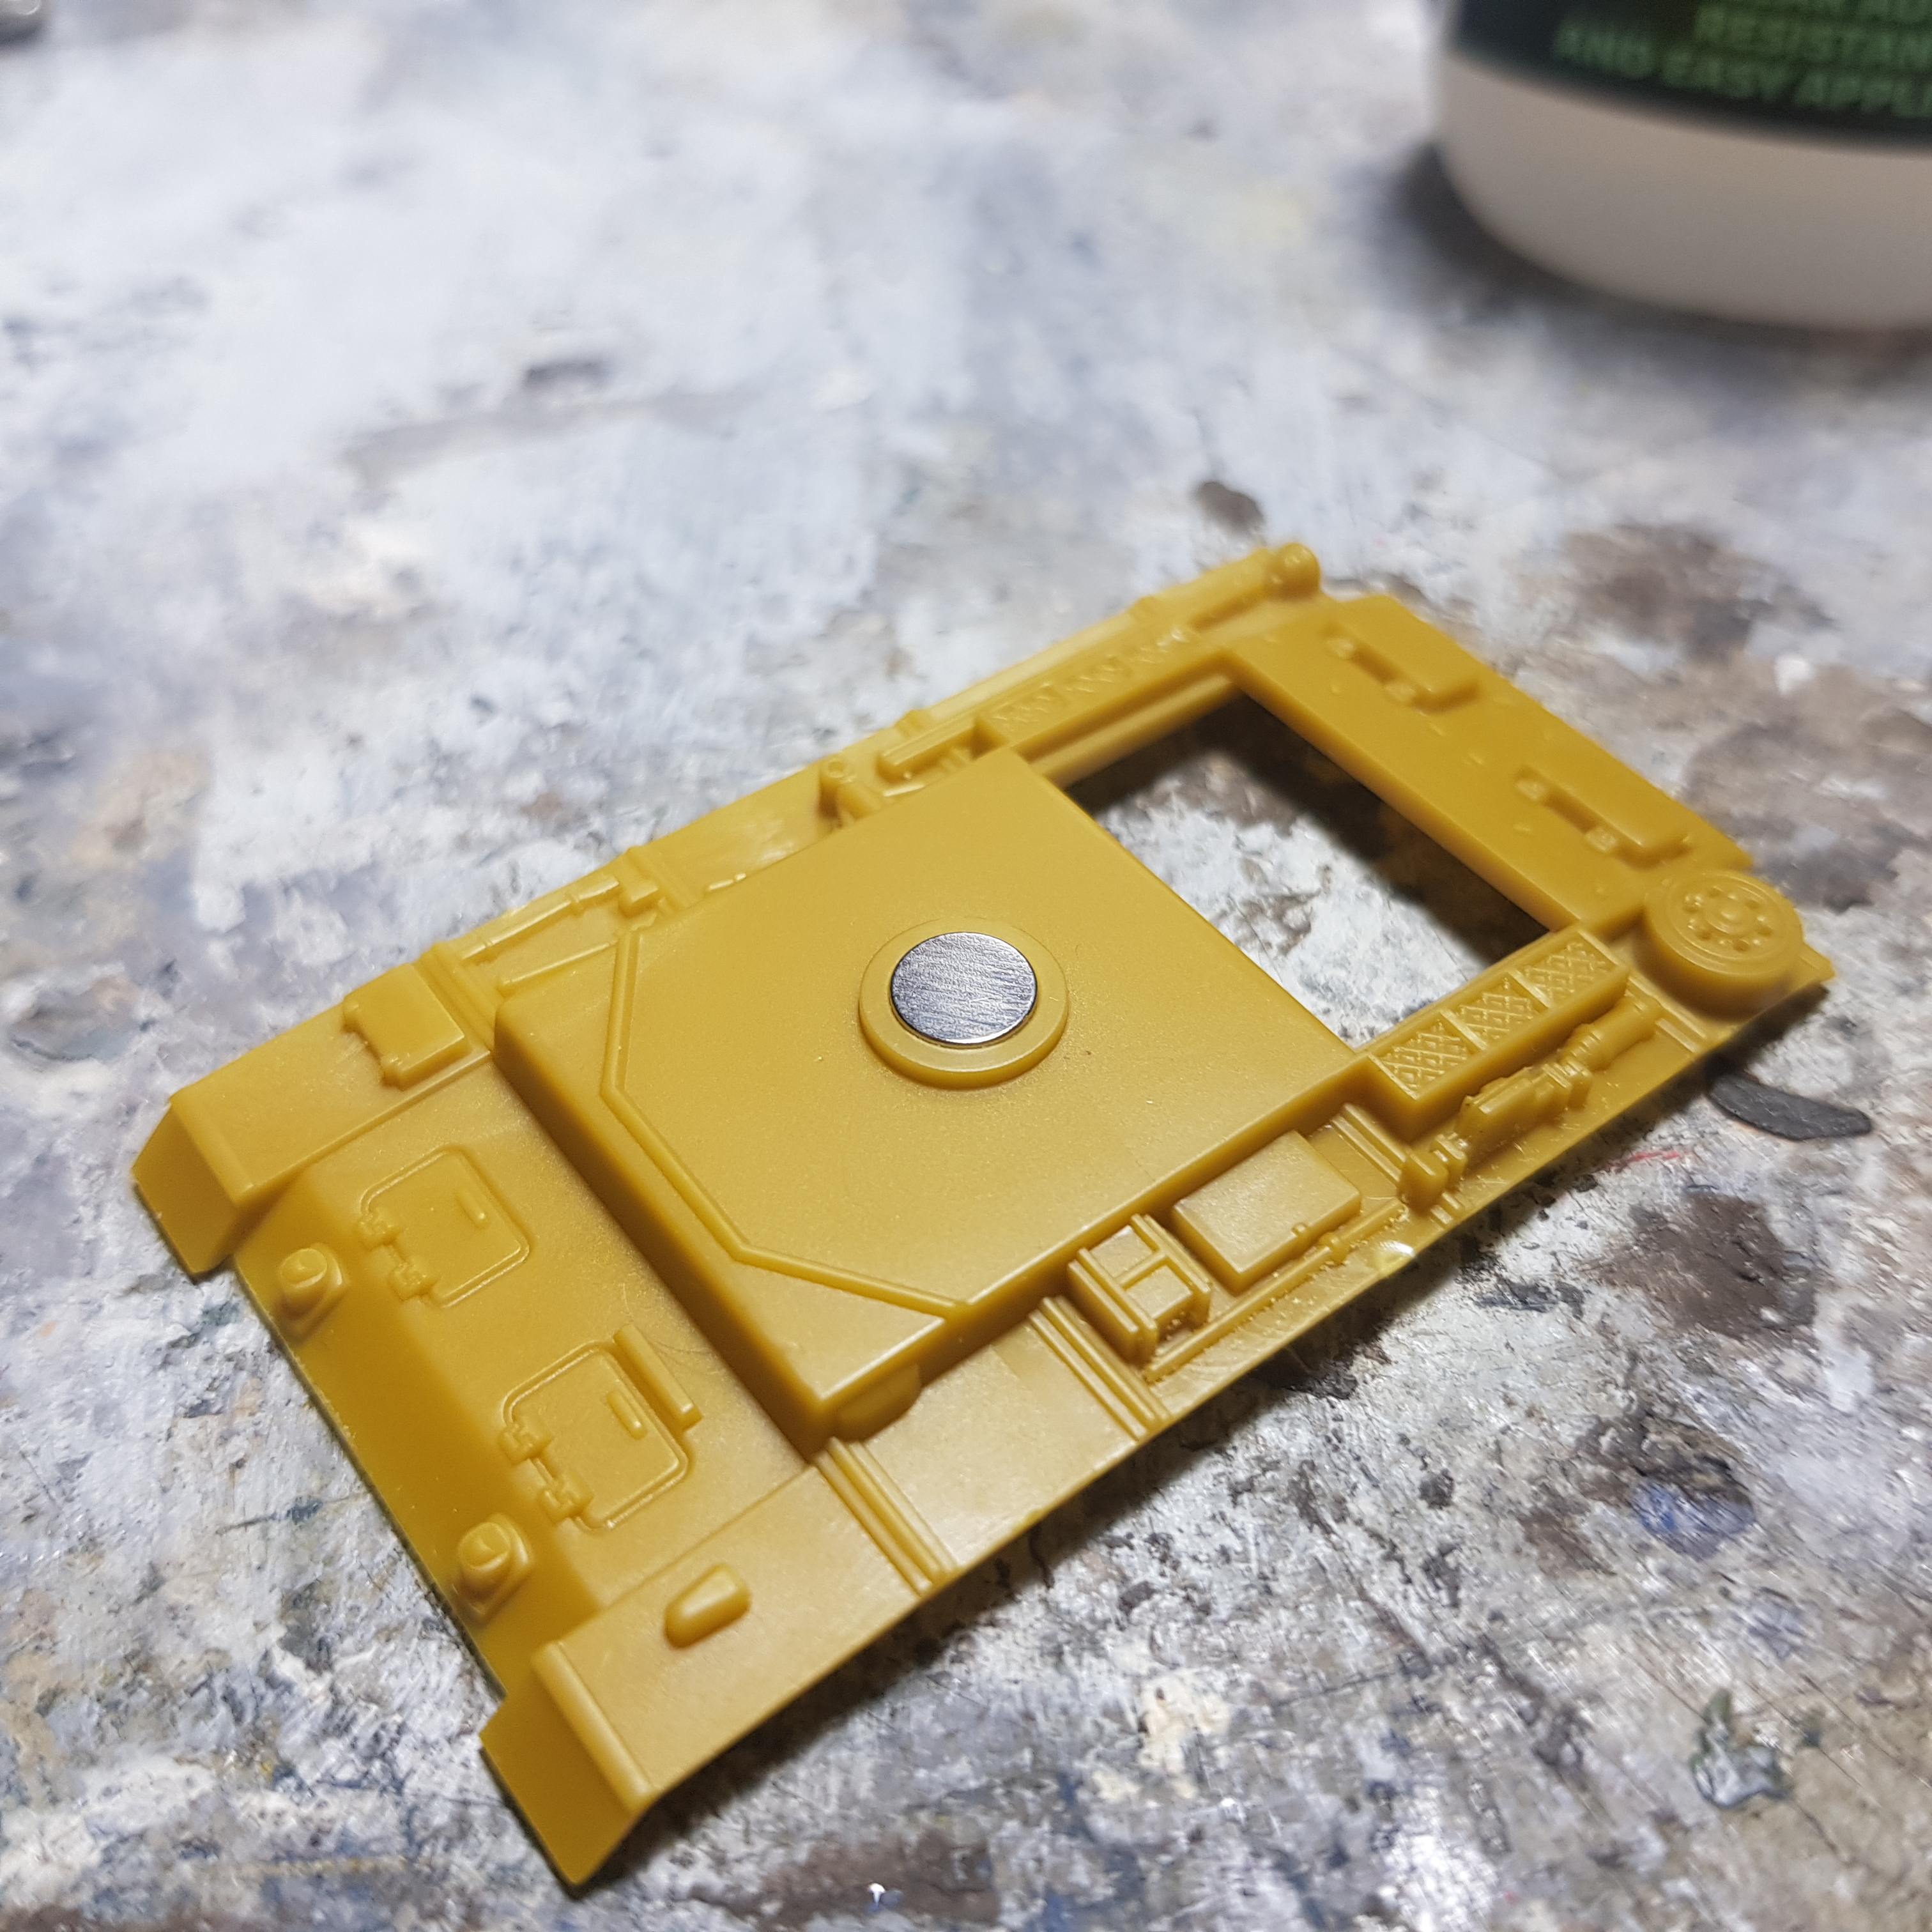
In these Panzer III kits the top of the hull does have a hole where you mount the magnet, but the turret bottom does not. By adding a hole to it it makes it easier for air and excess glue to get out so you’re not pushing against that too.
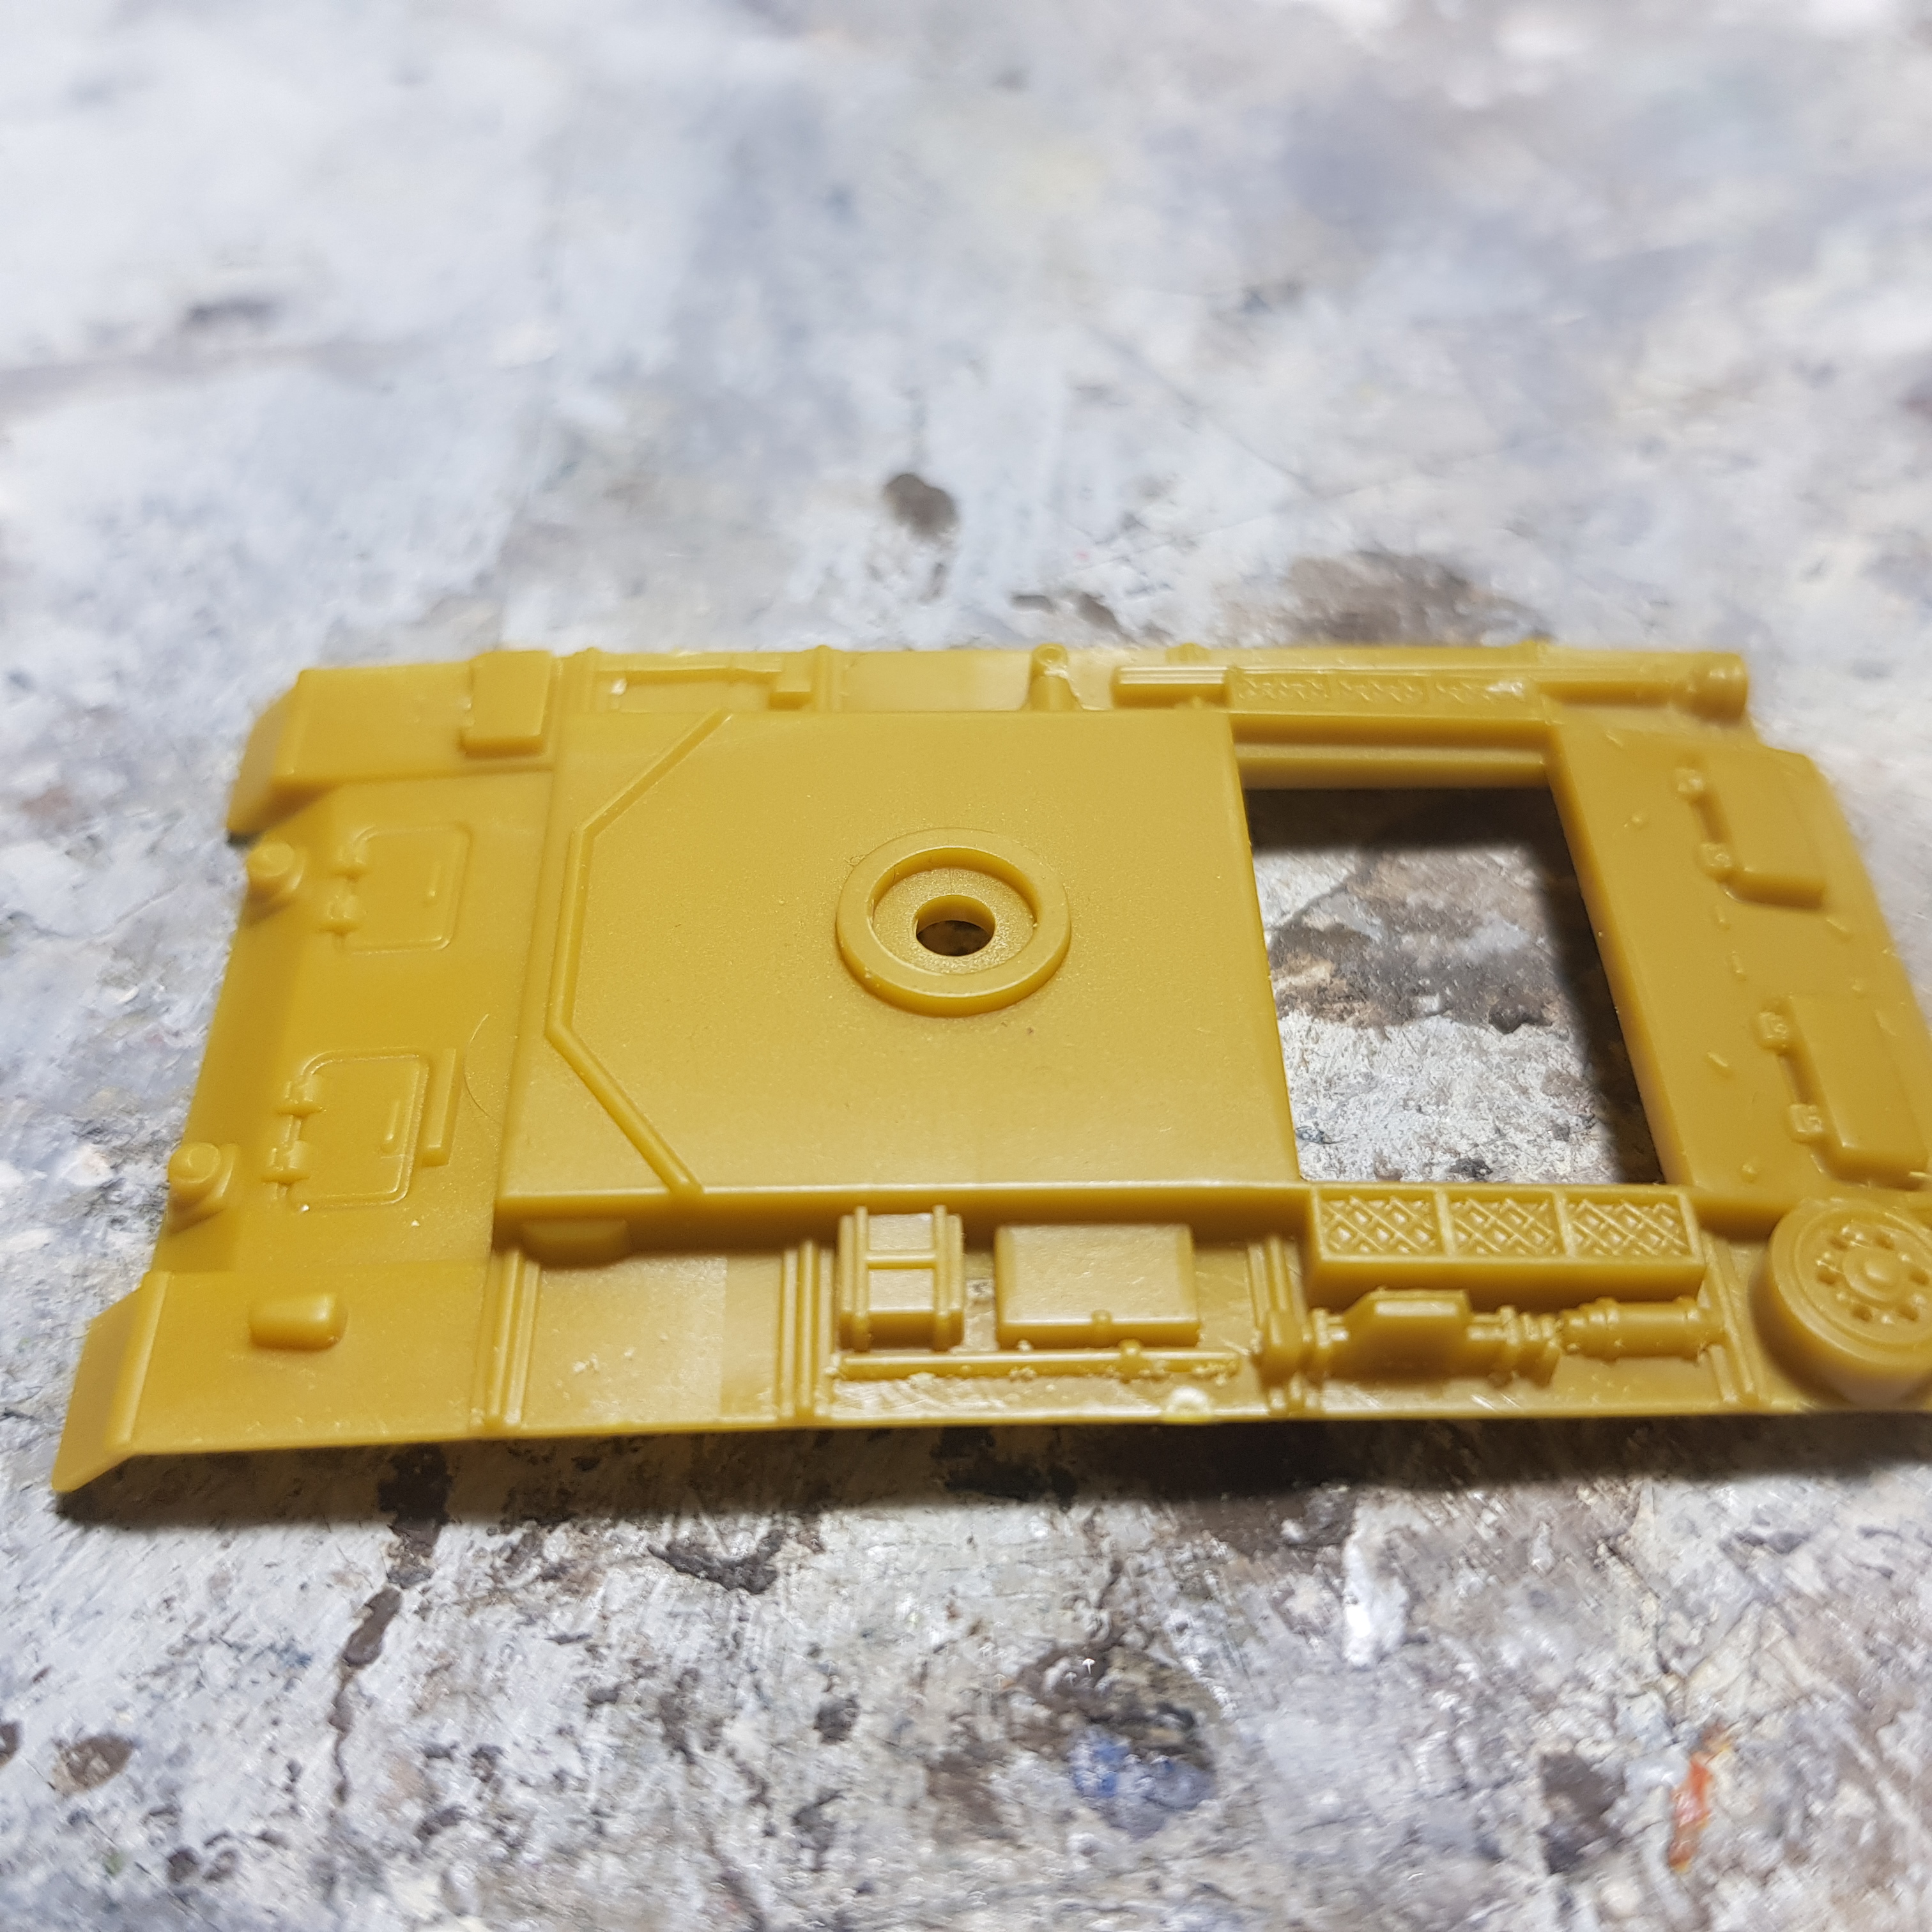
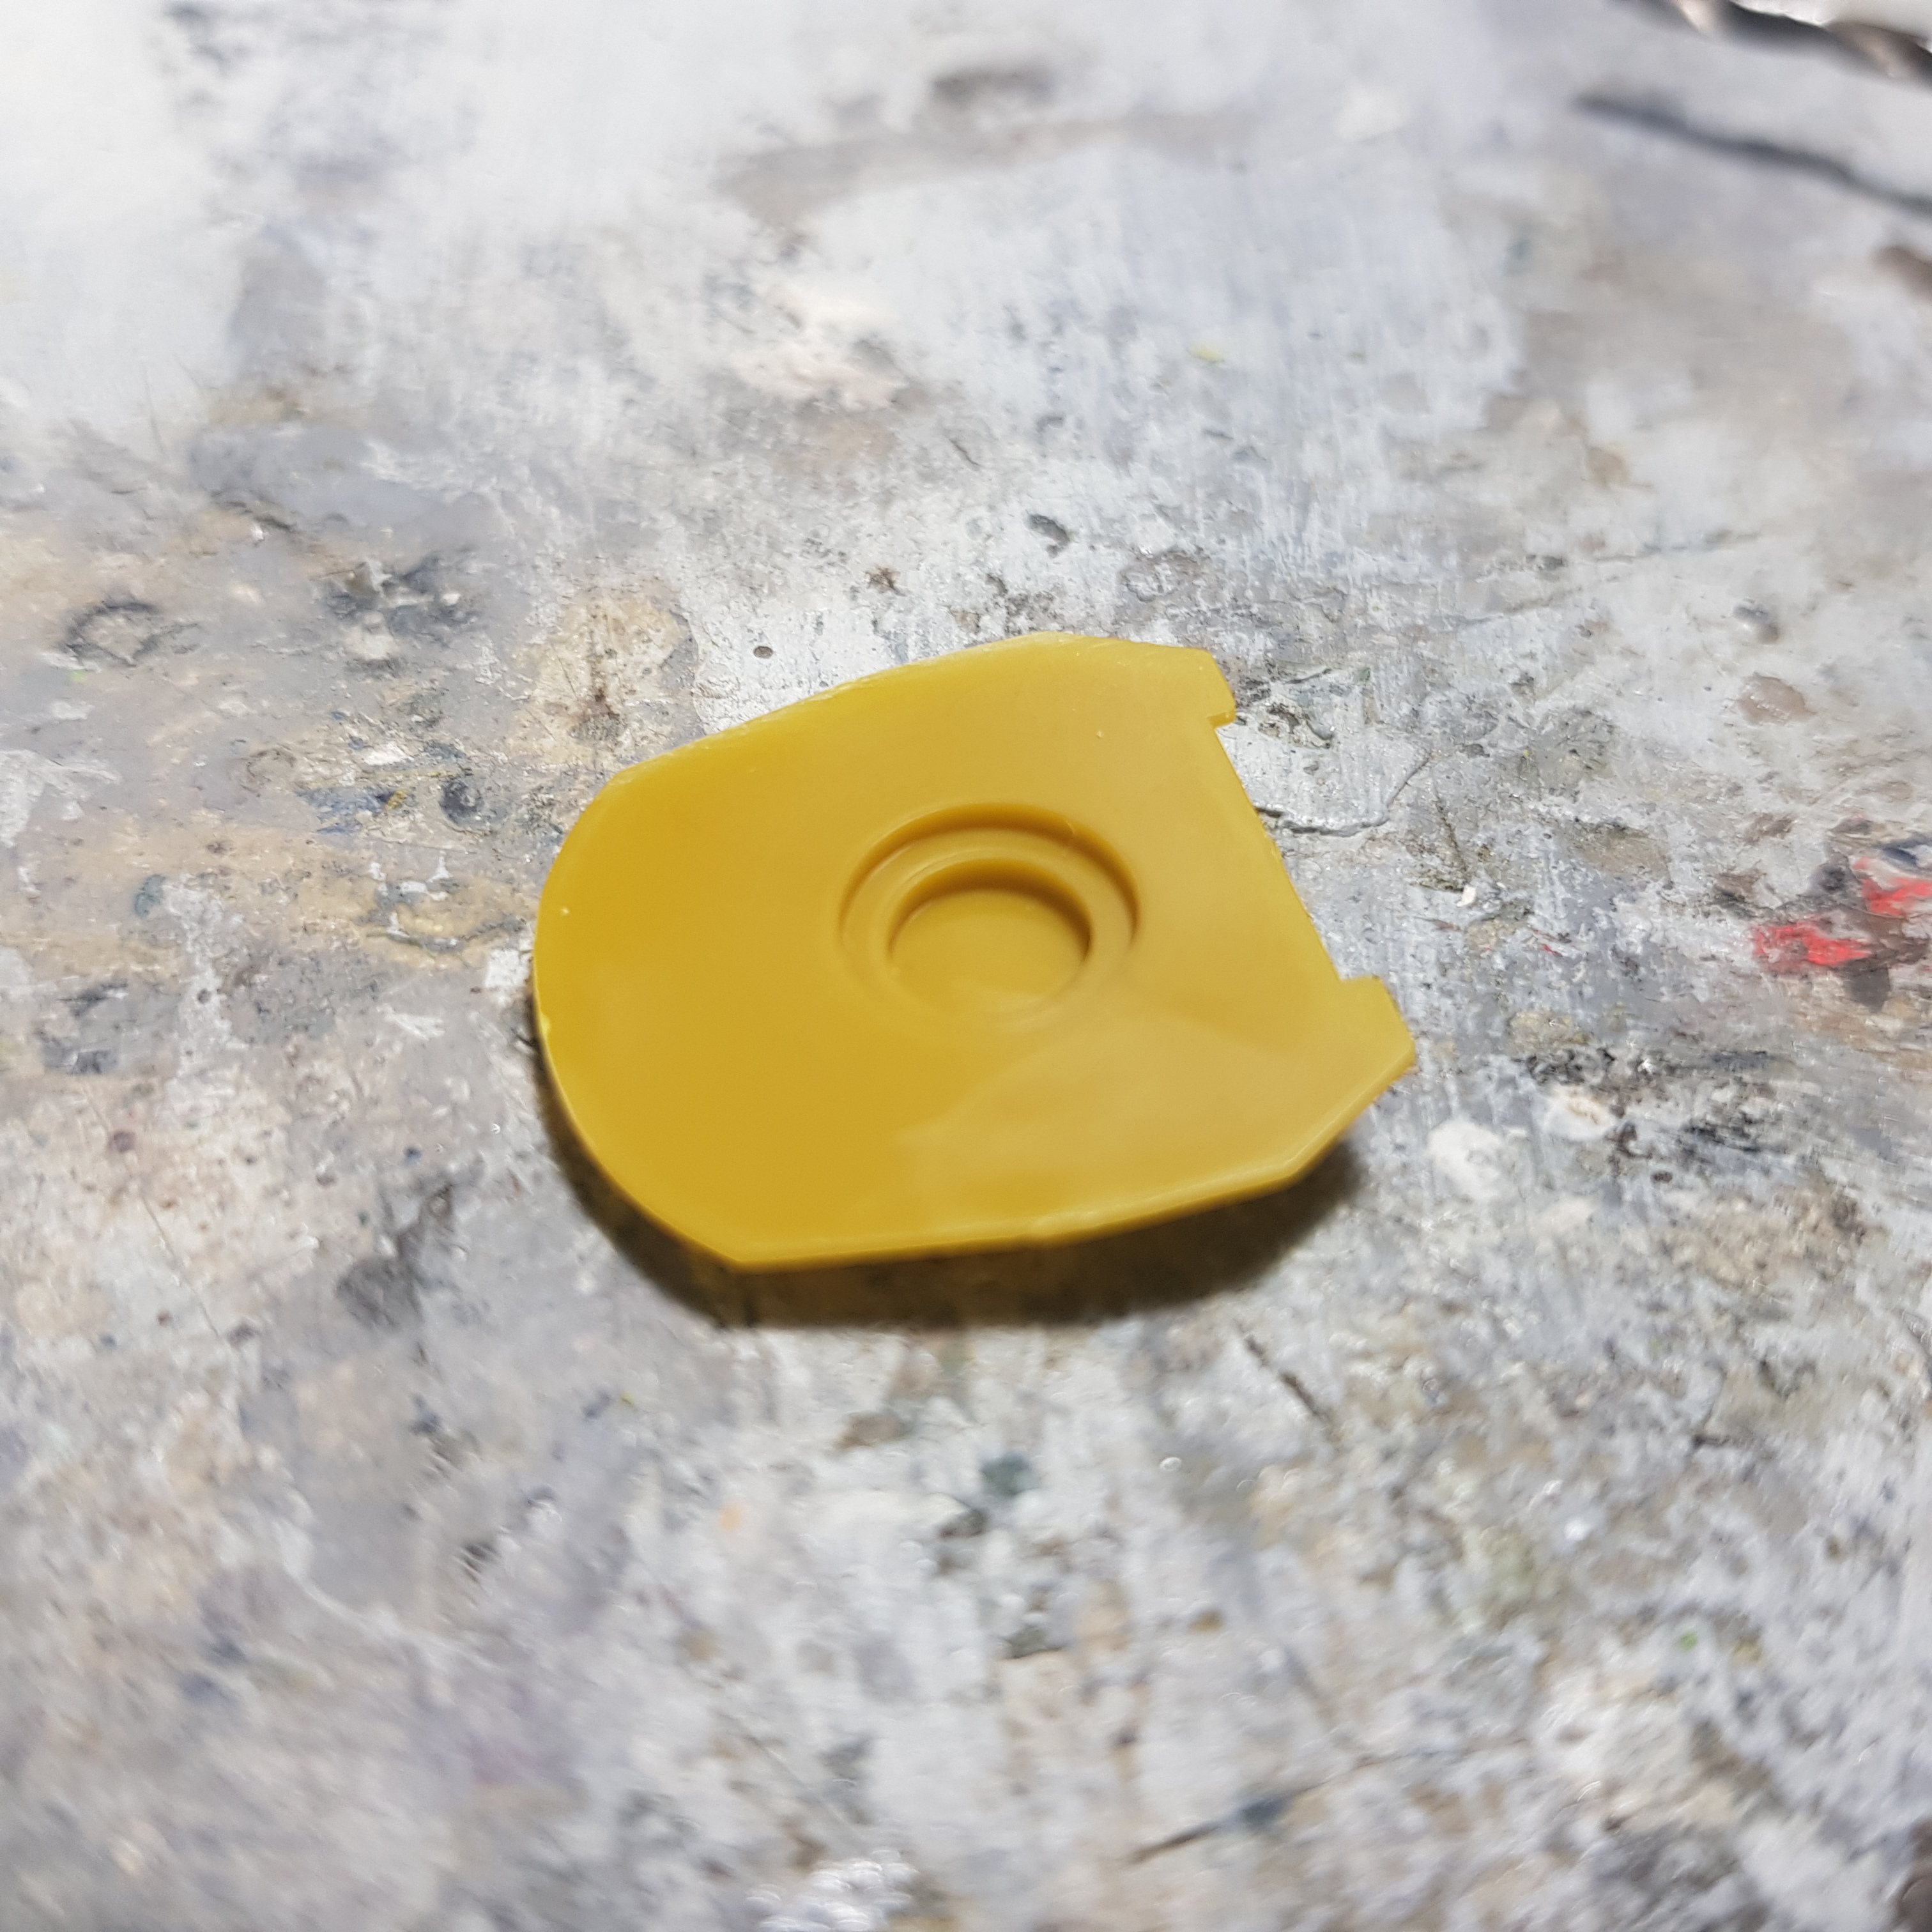
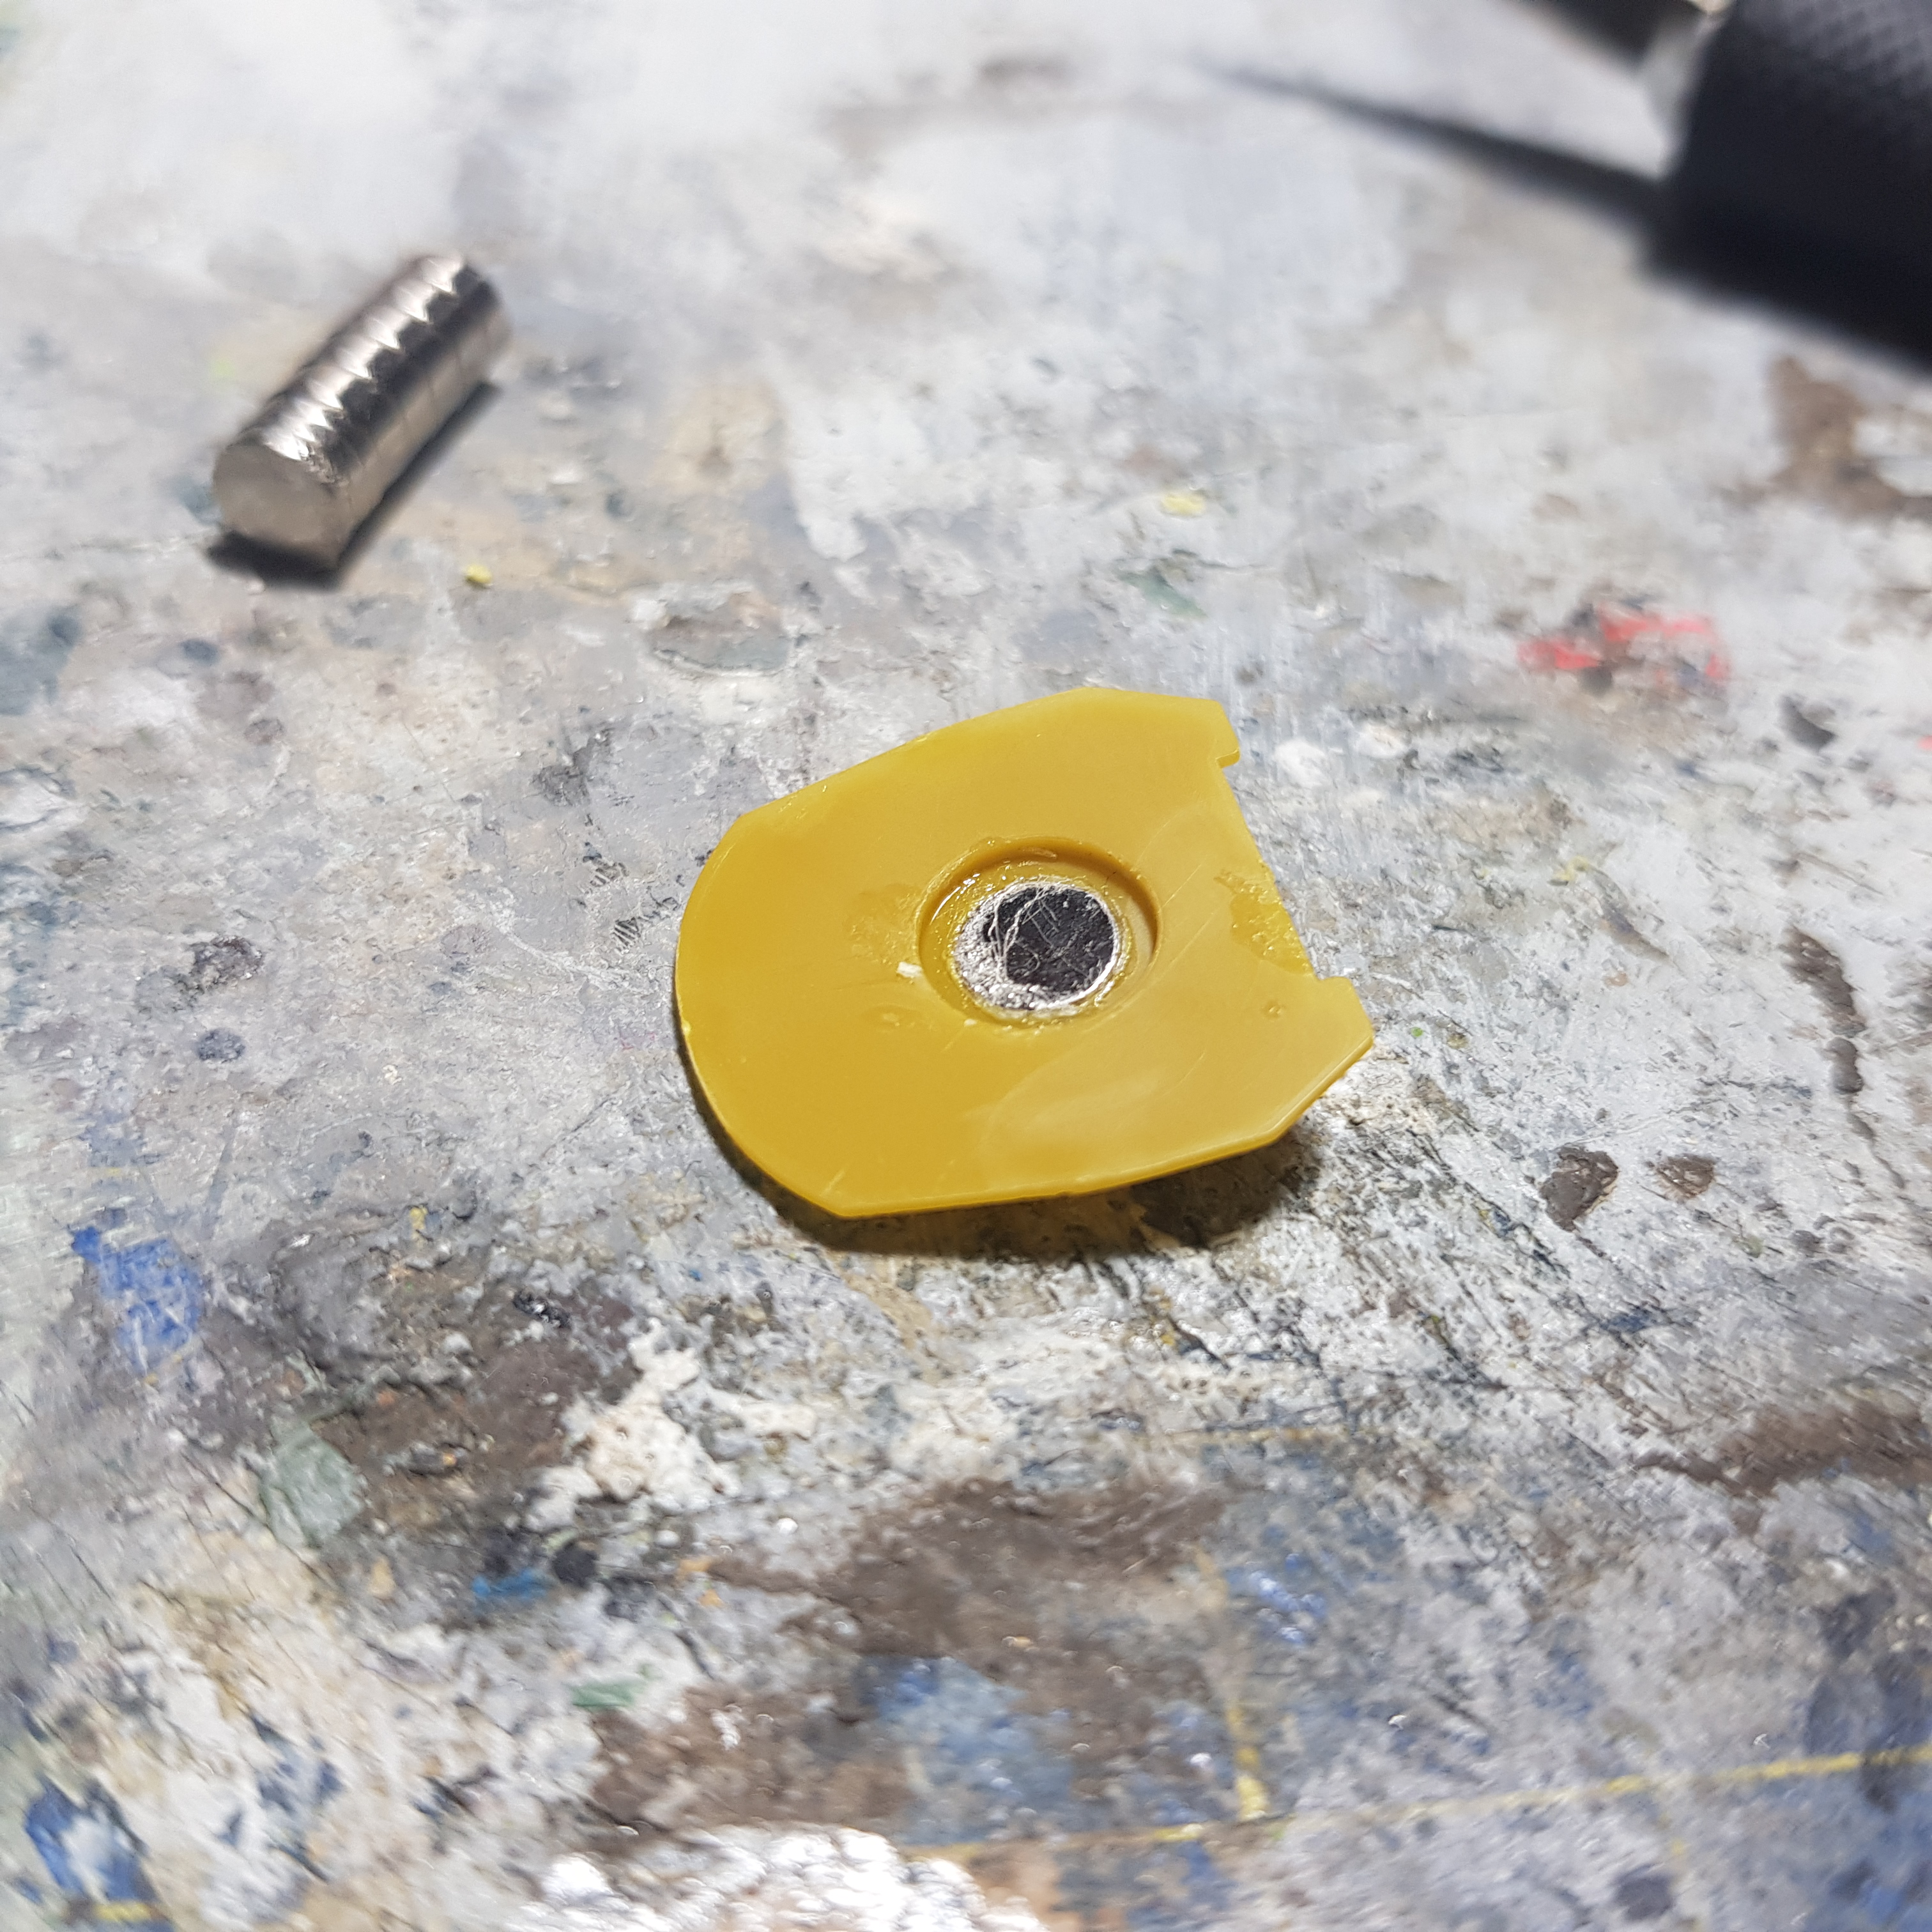
I then put a bit of thin superglue on top of the magnet and force it in it’s hole and the magnets sit completely flush in the hole they are supposed to be in. For the top I can easily just press the top and the magnet on my desk, but the turret on is a bit more recessed. So I used a couple more magnets to push it in.
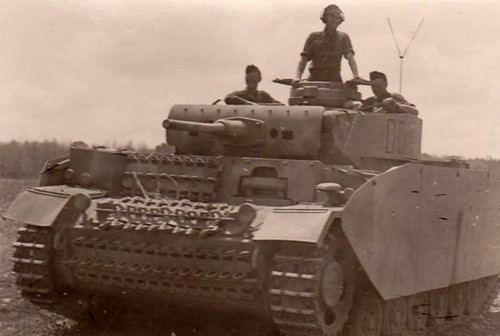
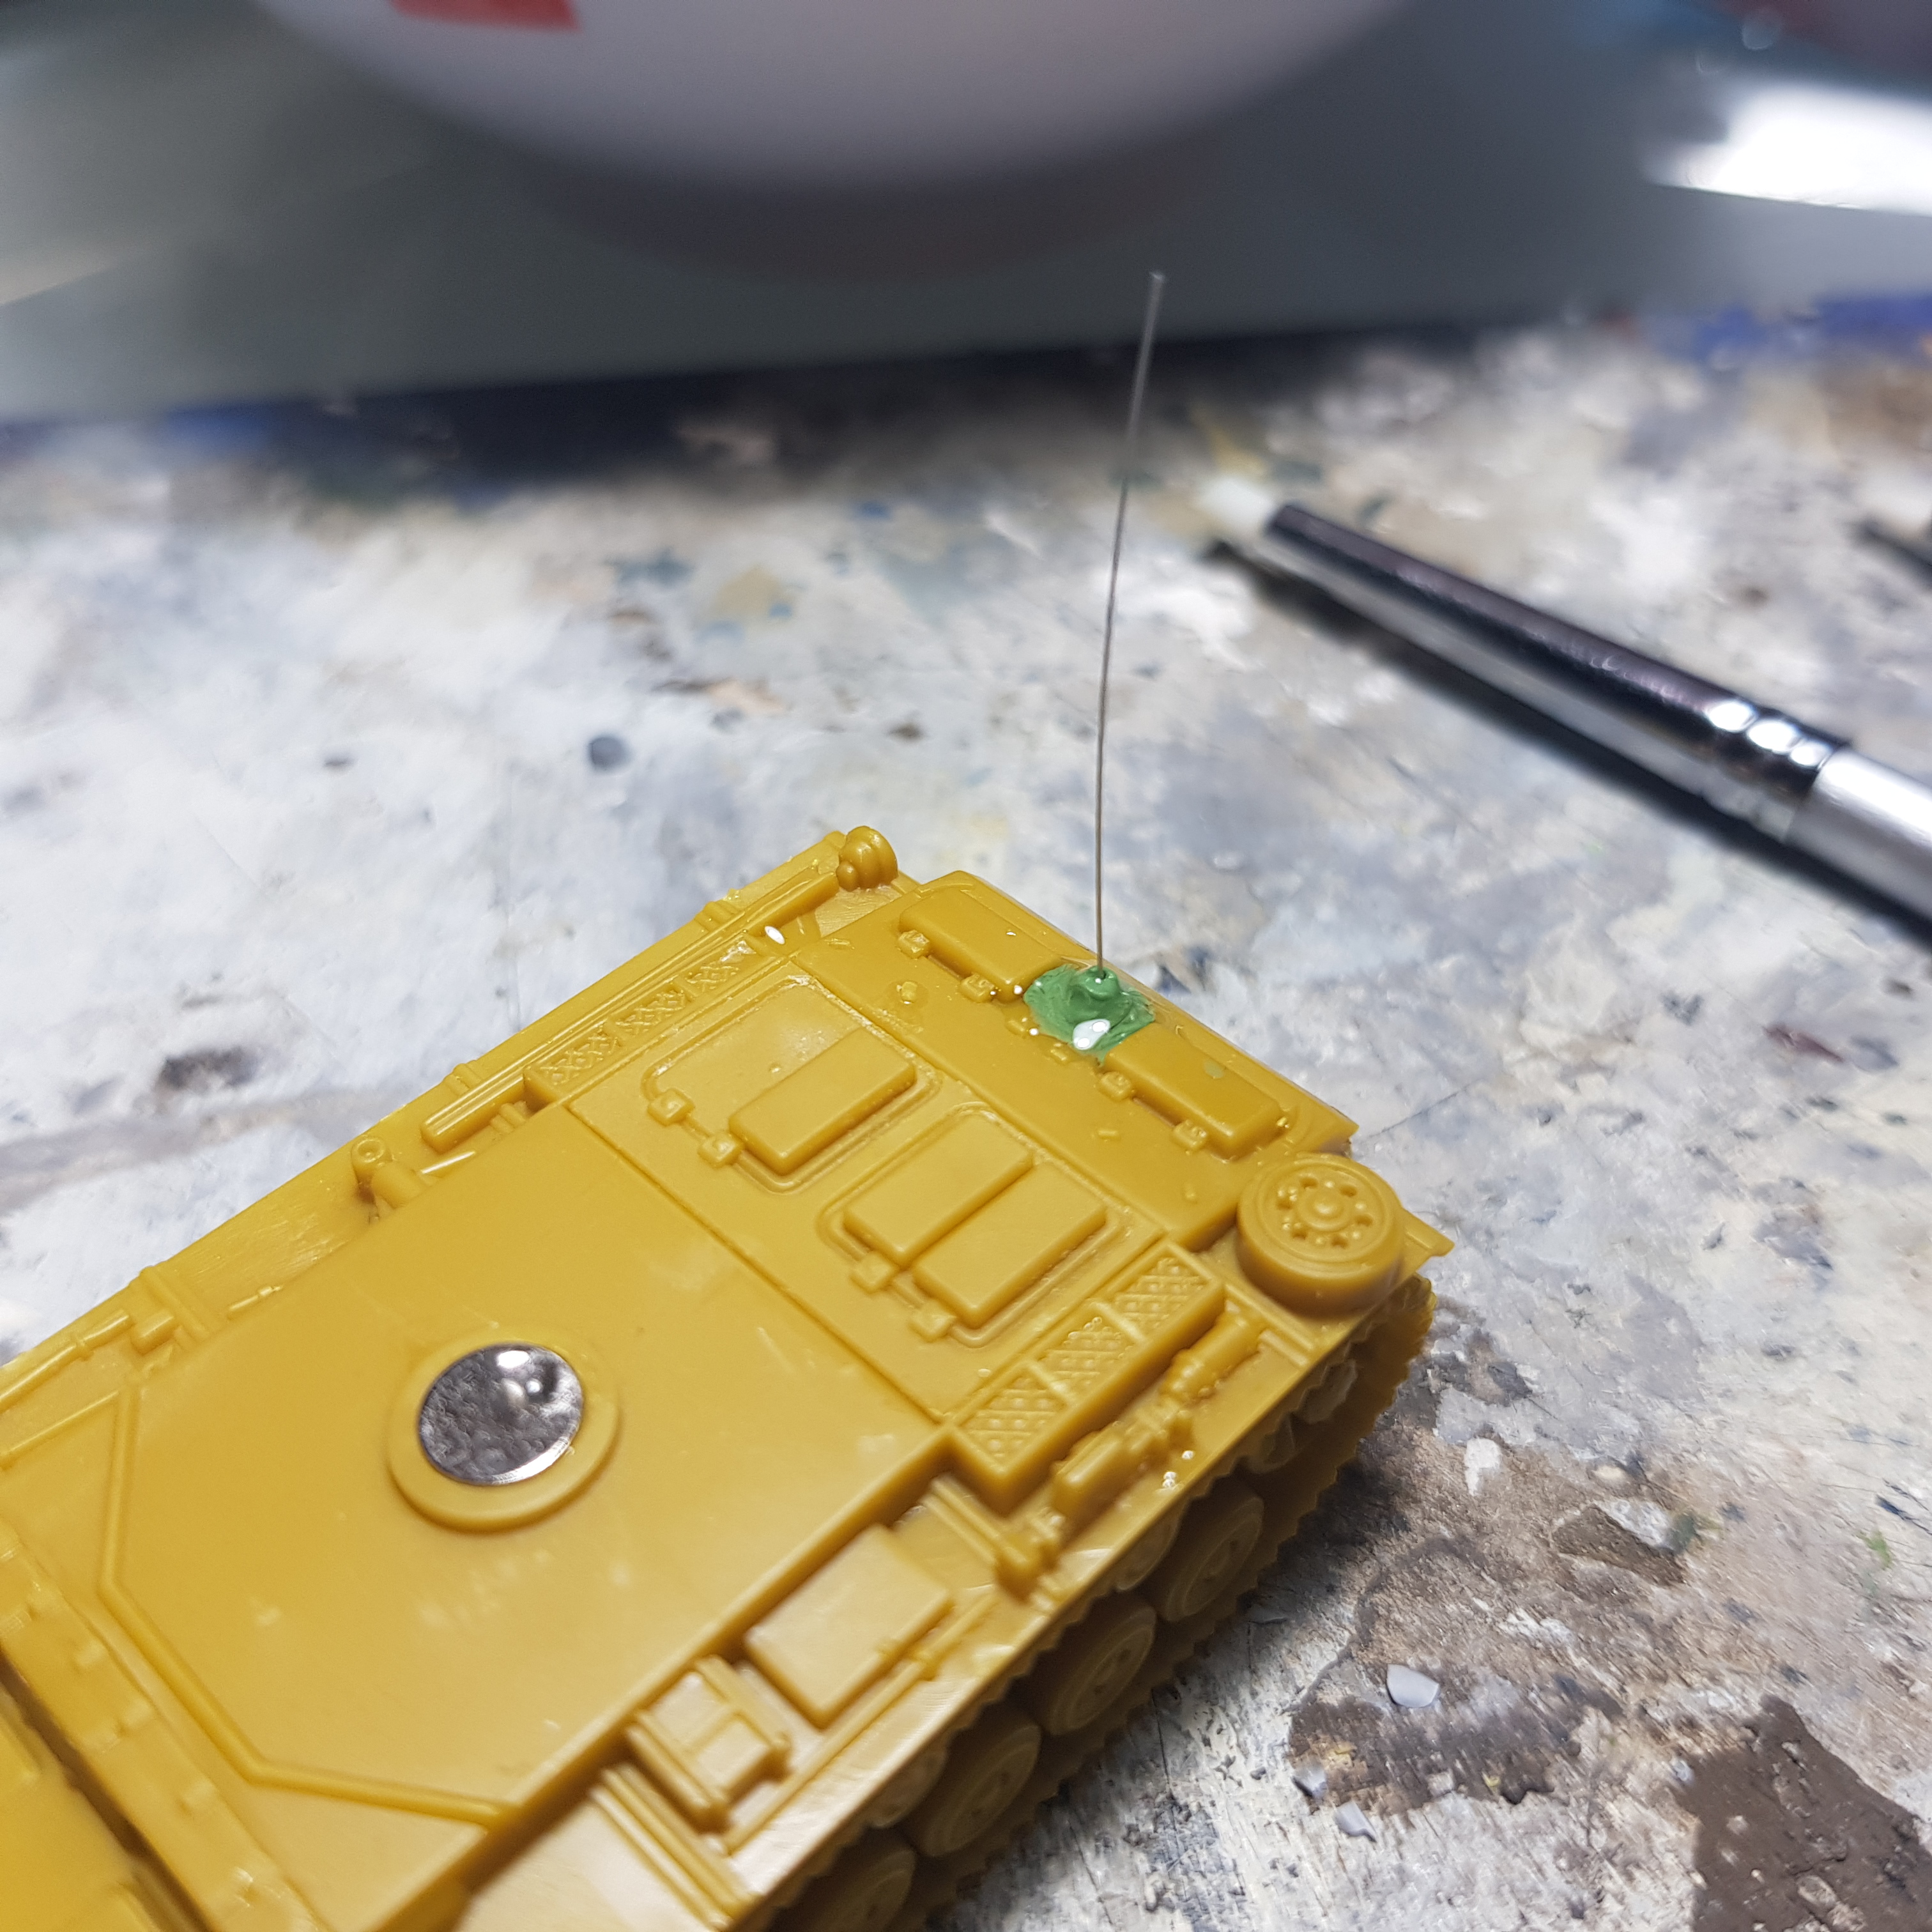
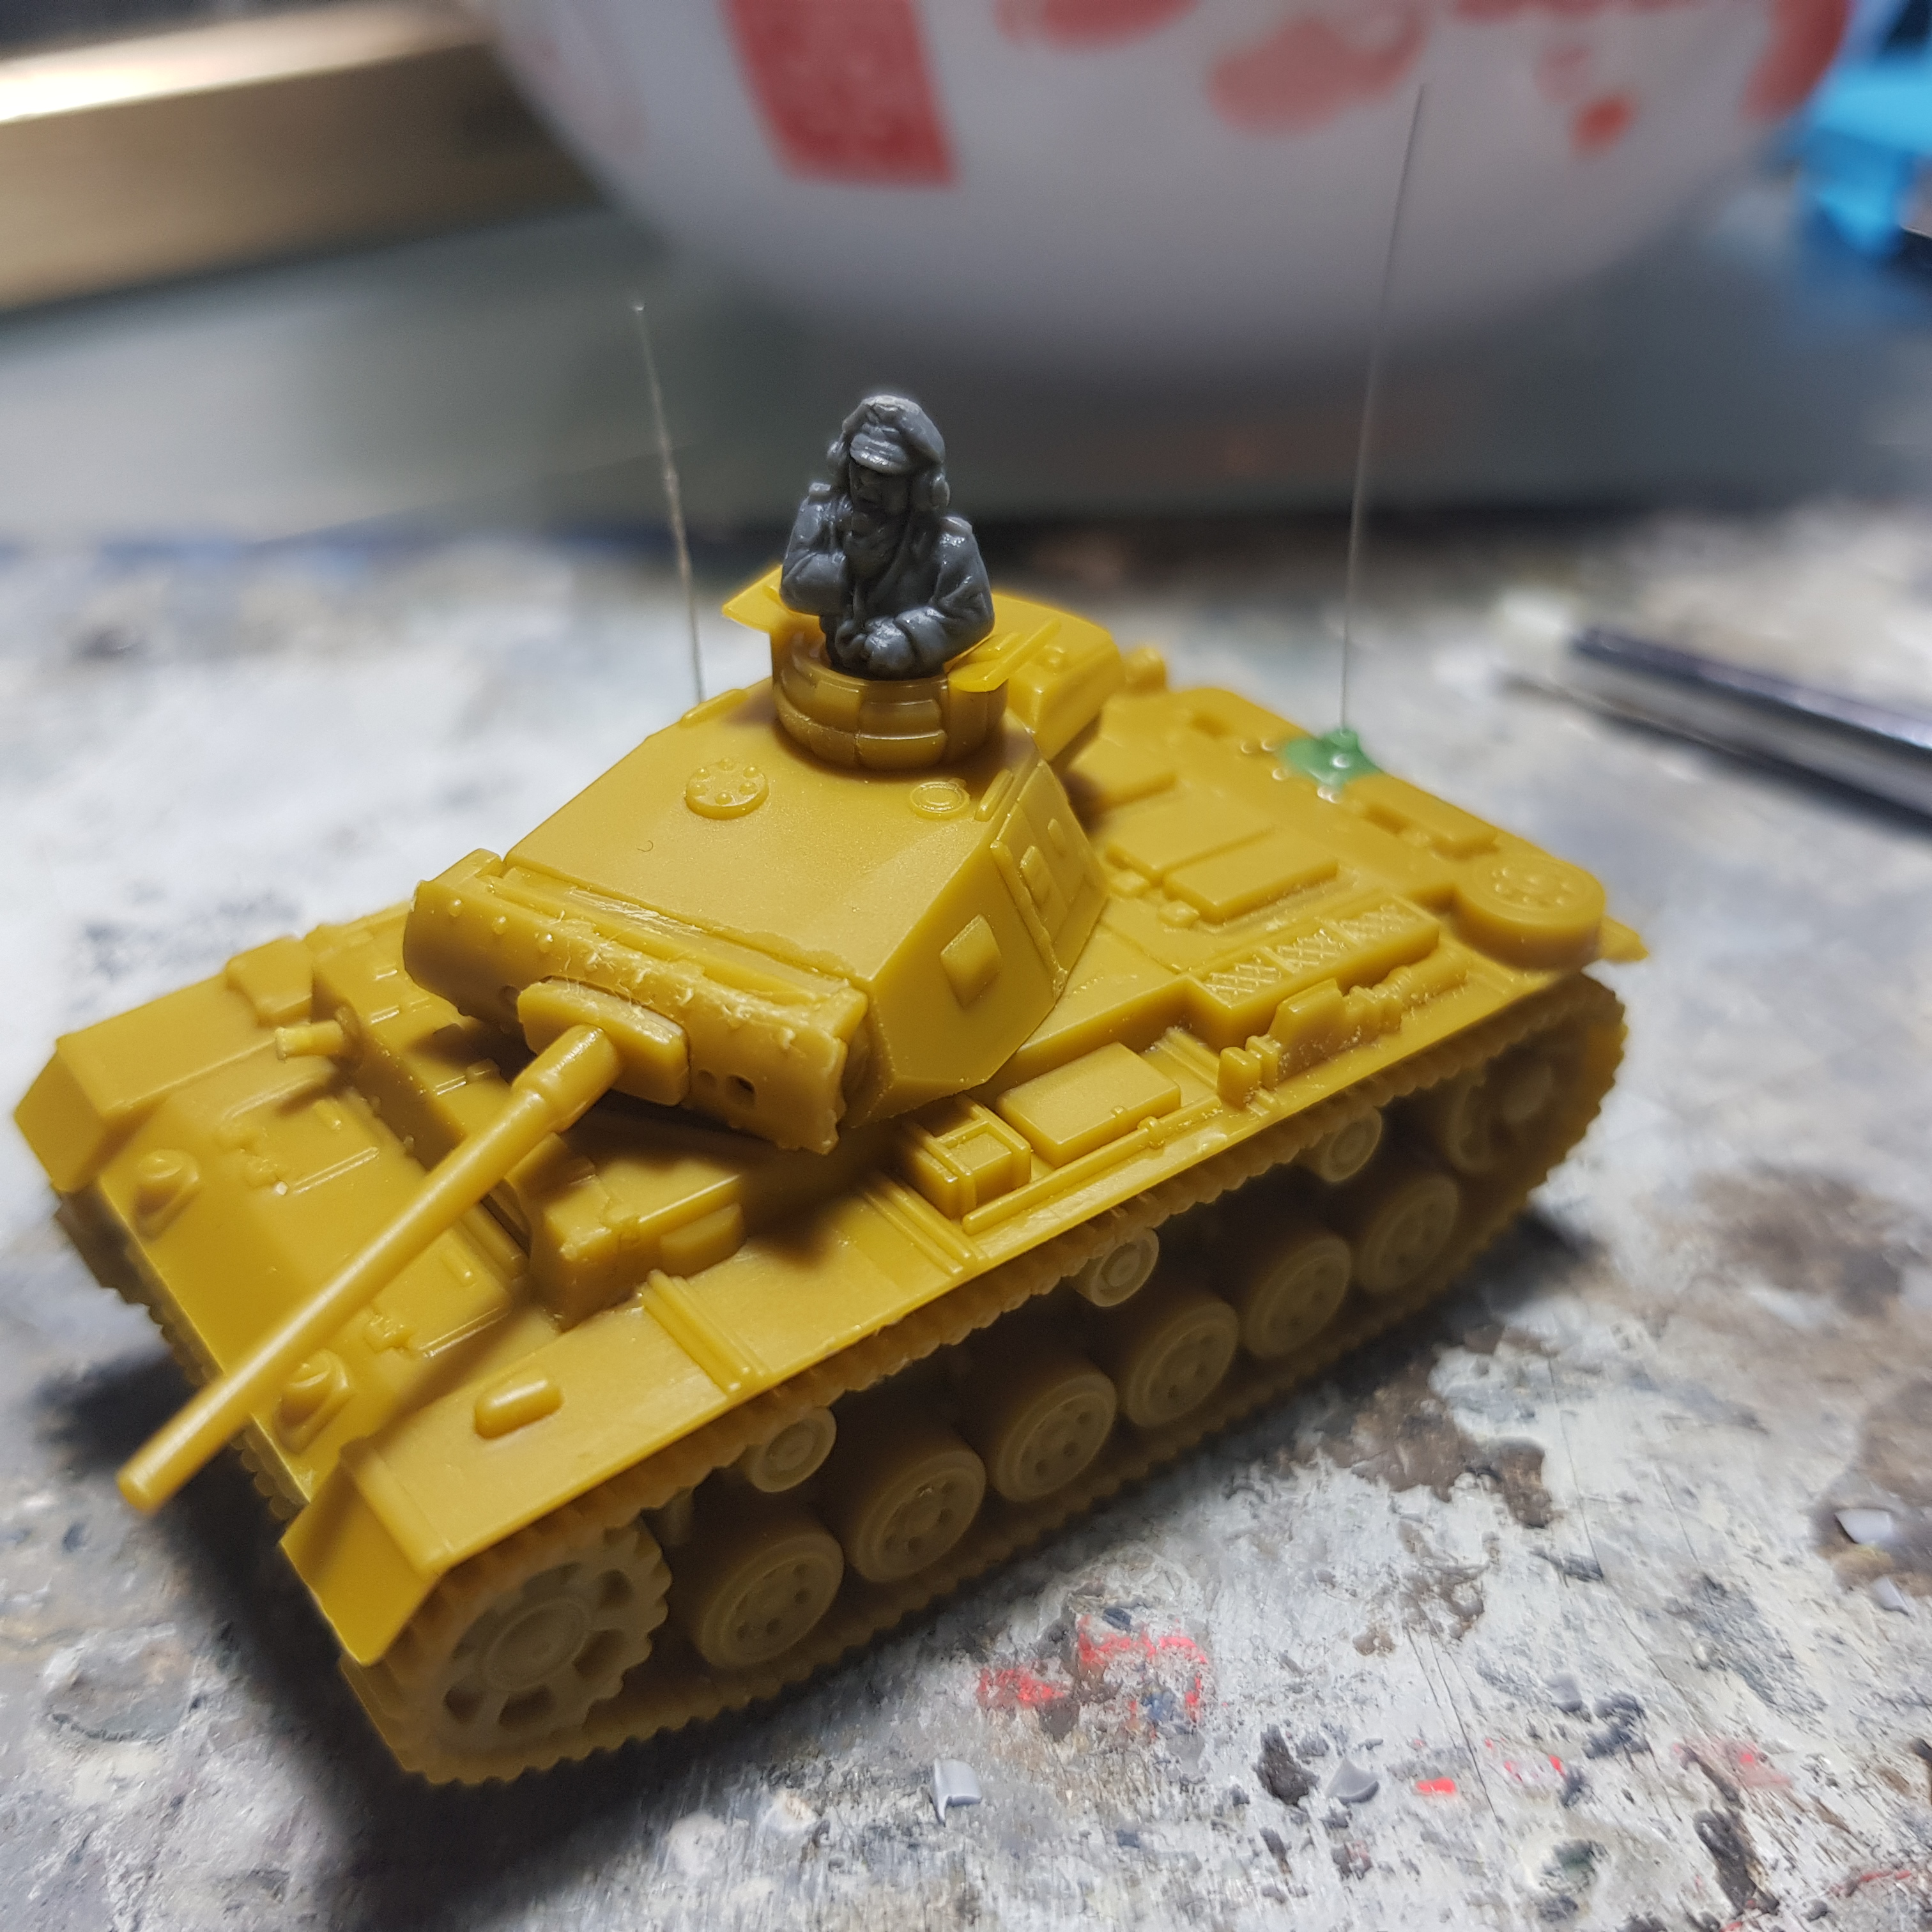
Now for the Befehlspanzer III, this is an uparmoured variant of the Ausfahrung L. I did not want to make one with the laundry rack on the back, so I went looking for command versions of the Panzer III.
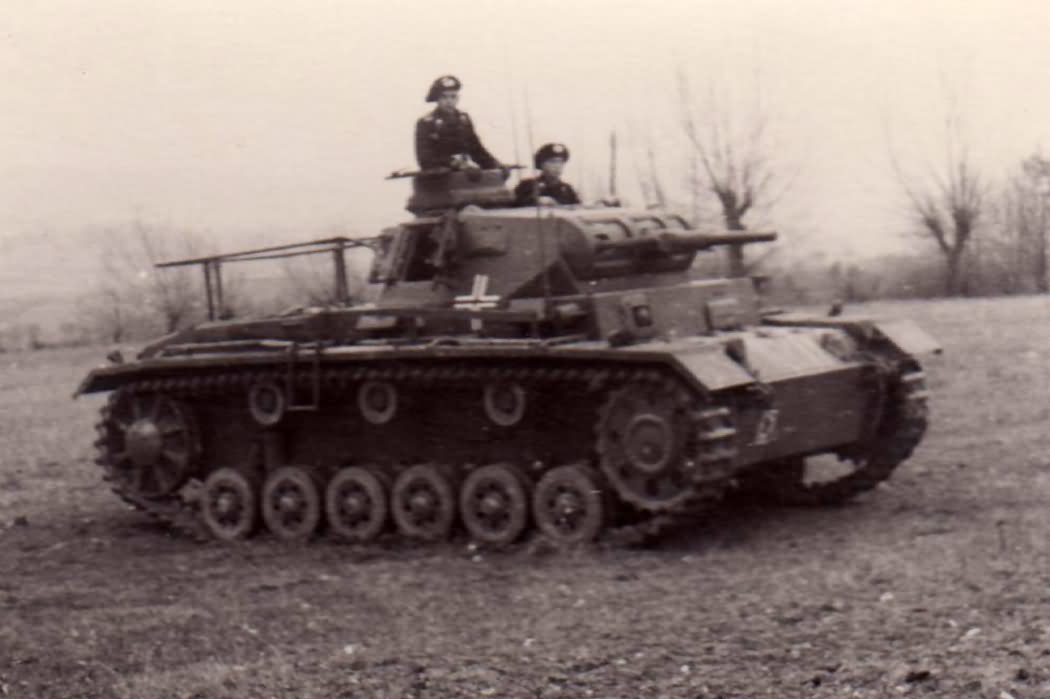 Befehlspanzer III Ausf. H.
I came across this one, which is obviously later than the one I am doing, but I decided to make something similar to this. The first picture itself is not very clear and that’s why I looked at other models doing a similar idea.
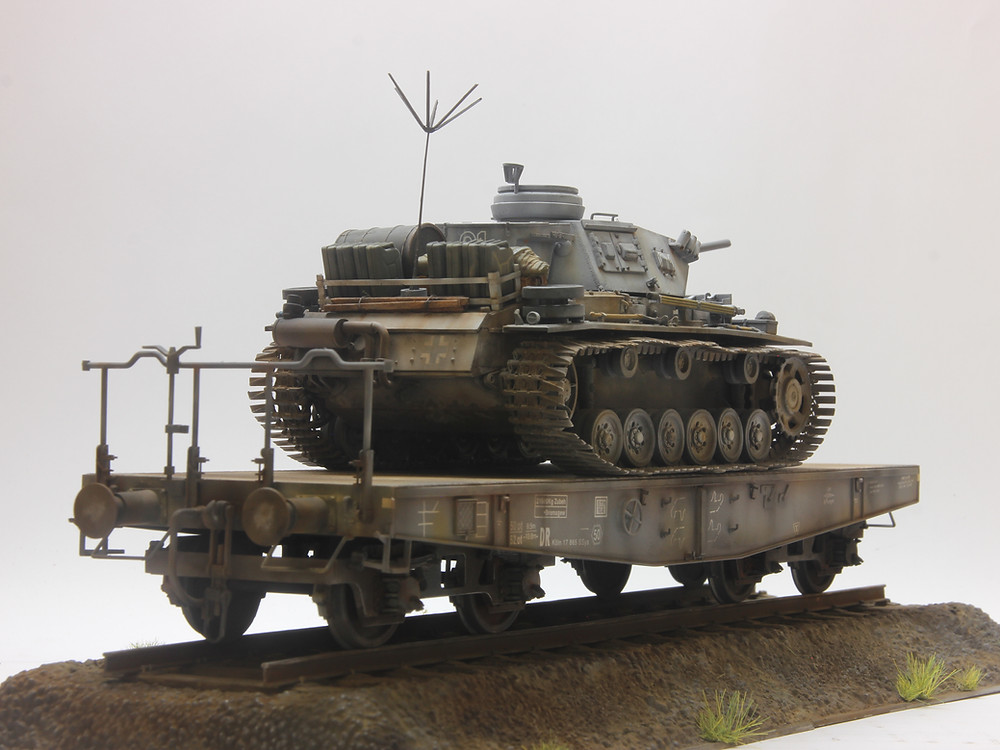

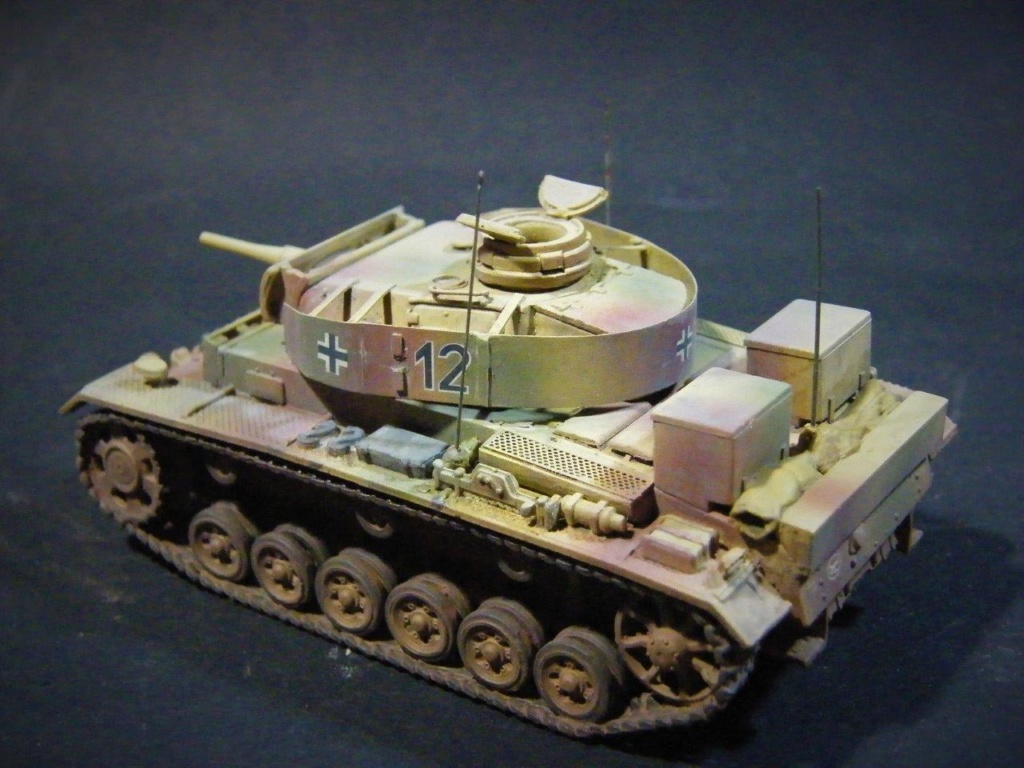
I used a bit of greenstuff to make the mount for the antenna on the rear and used the already existing mount on the side to mount one as well. I used some soft broom bristles as the antennas as I think this would be flexible enough for wargaming as well. I did not want to go for the forked antenna as I don’t want to make that at 1:100 scale and don’t think it would be strong enough for wargaming anyway. So these 2 antennas will do. With some of the excess greenstuff I prepared I did a couple more Kuban Cossack hats for the ZiS-3 gun crew on the Soviet side.
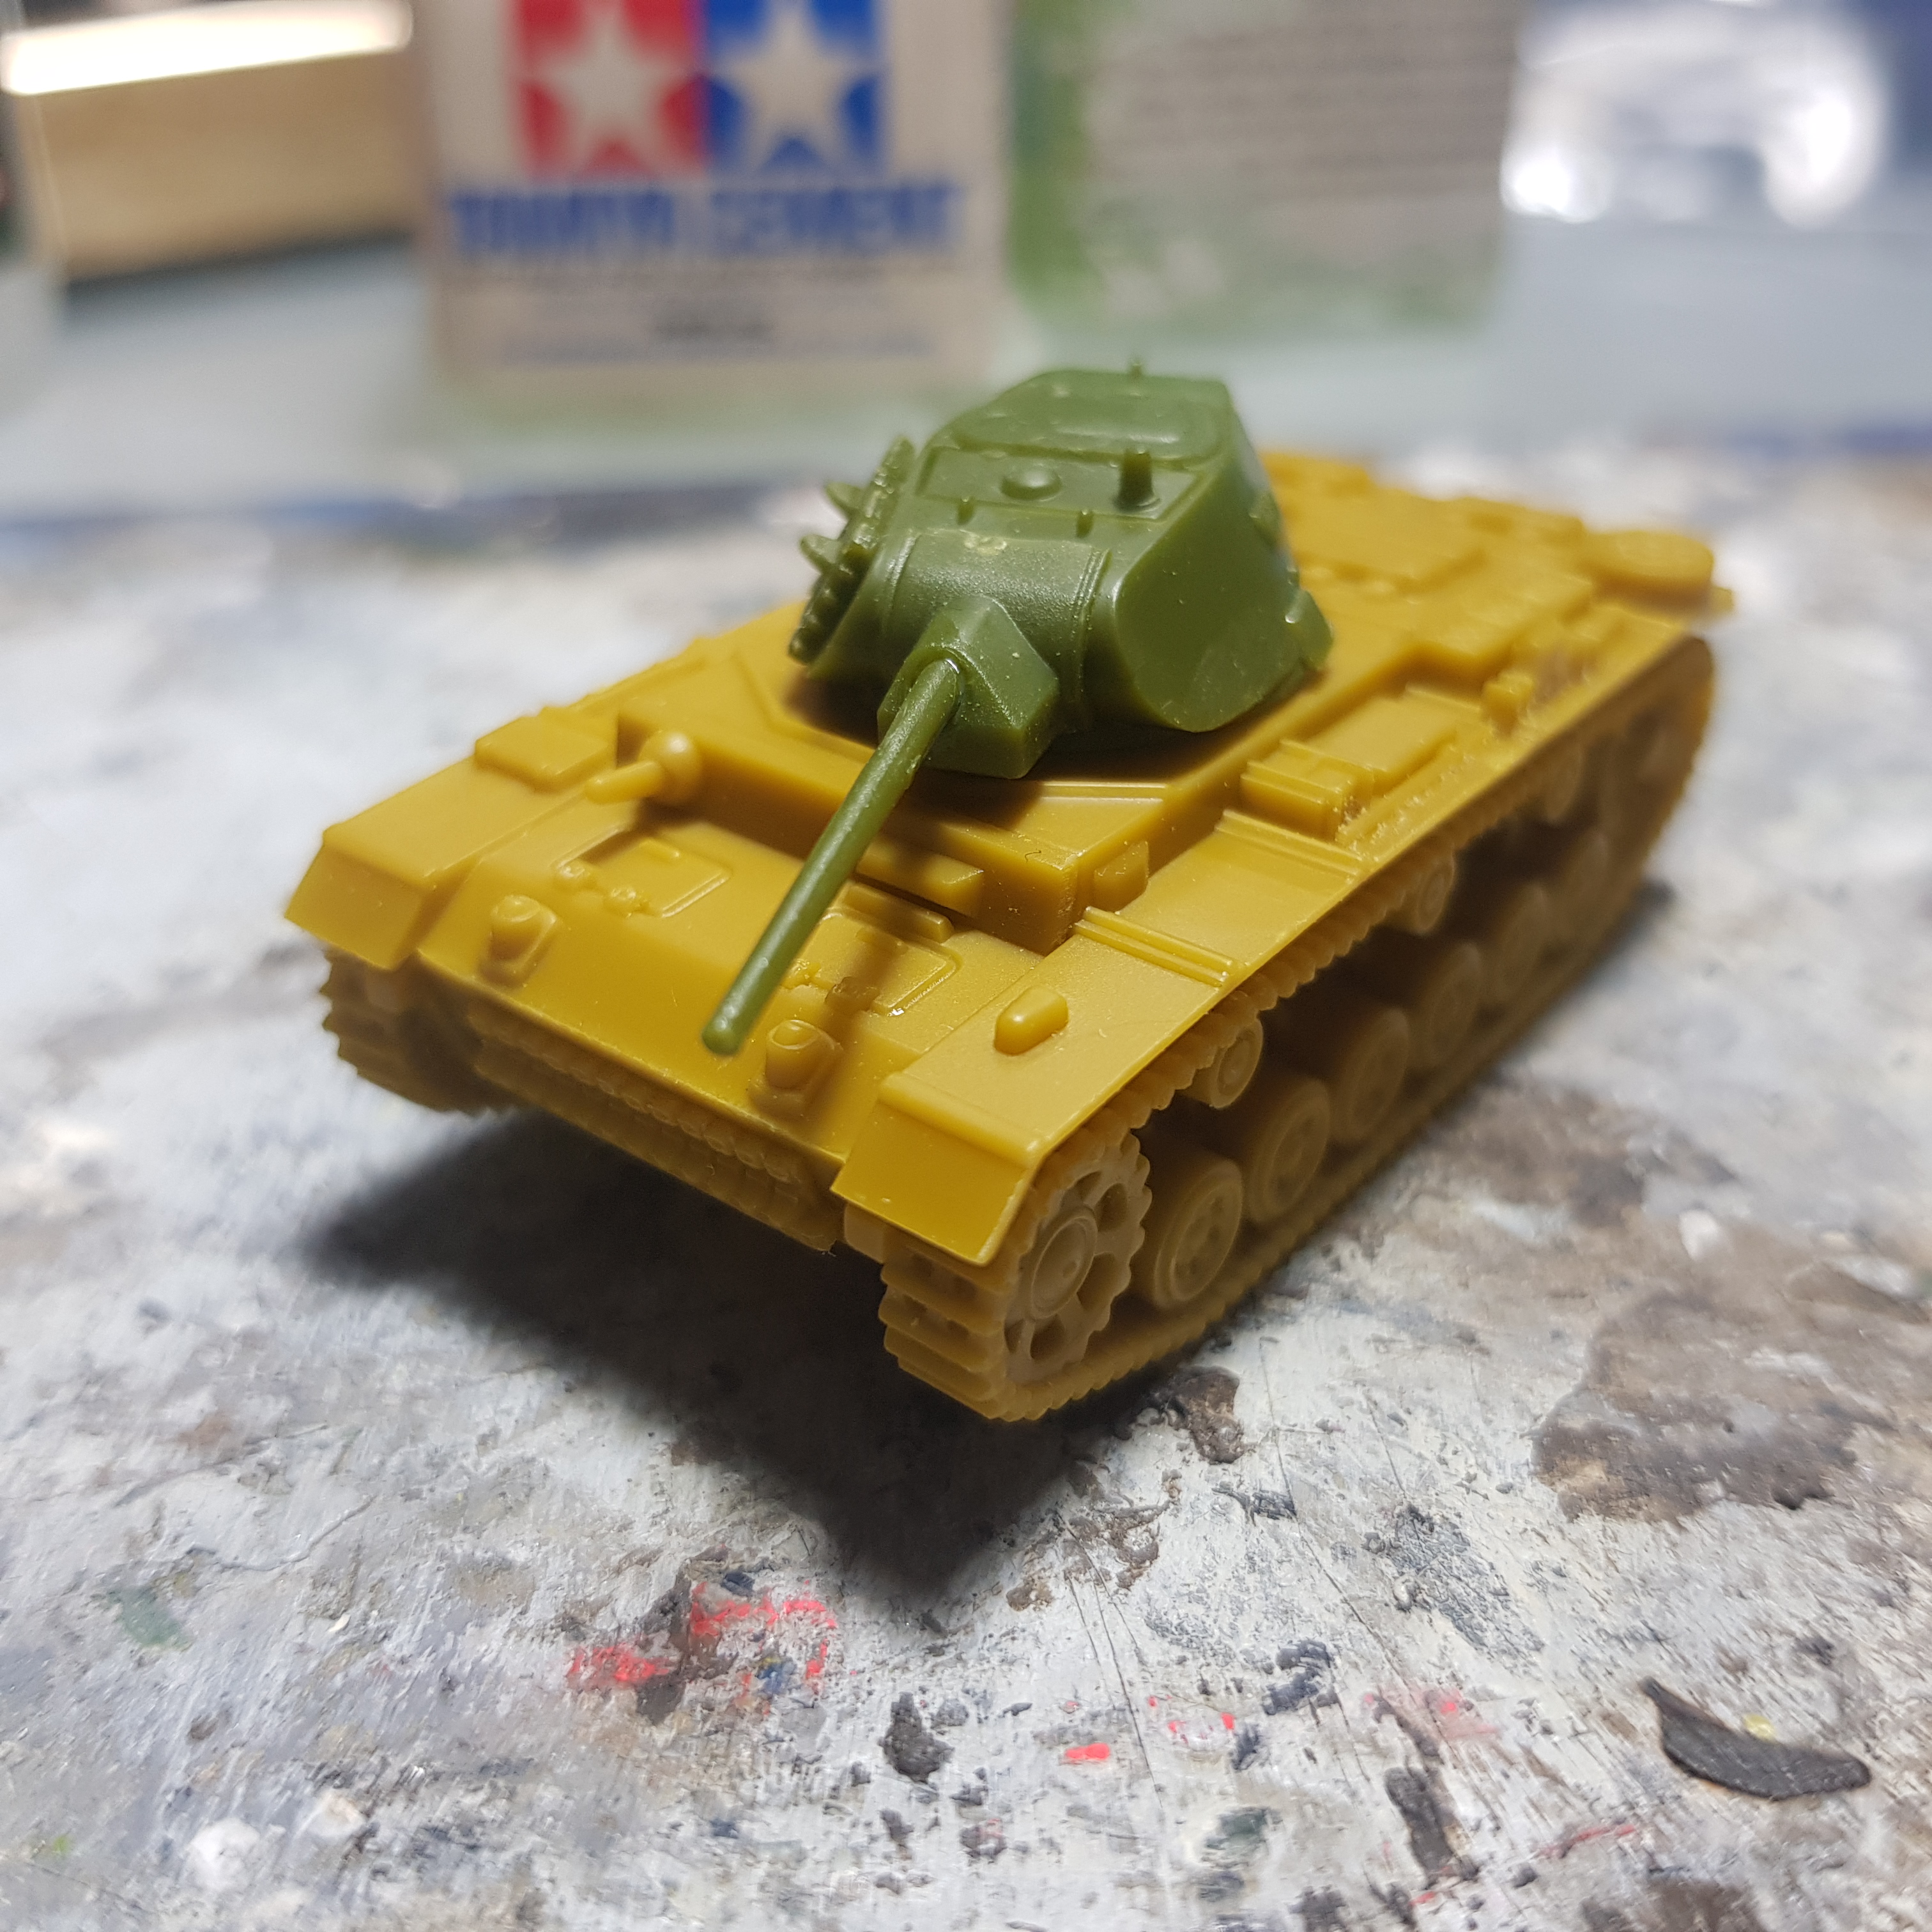
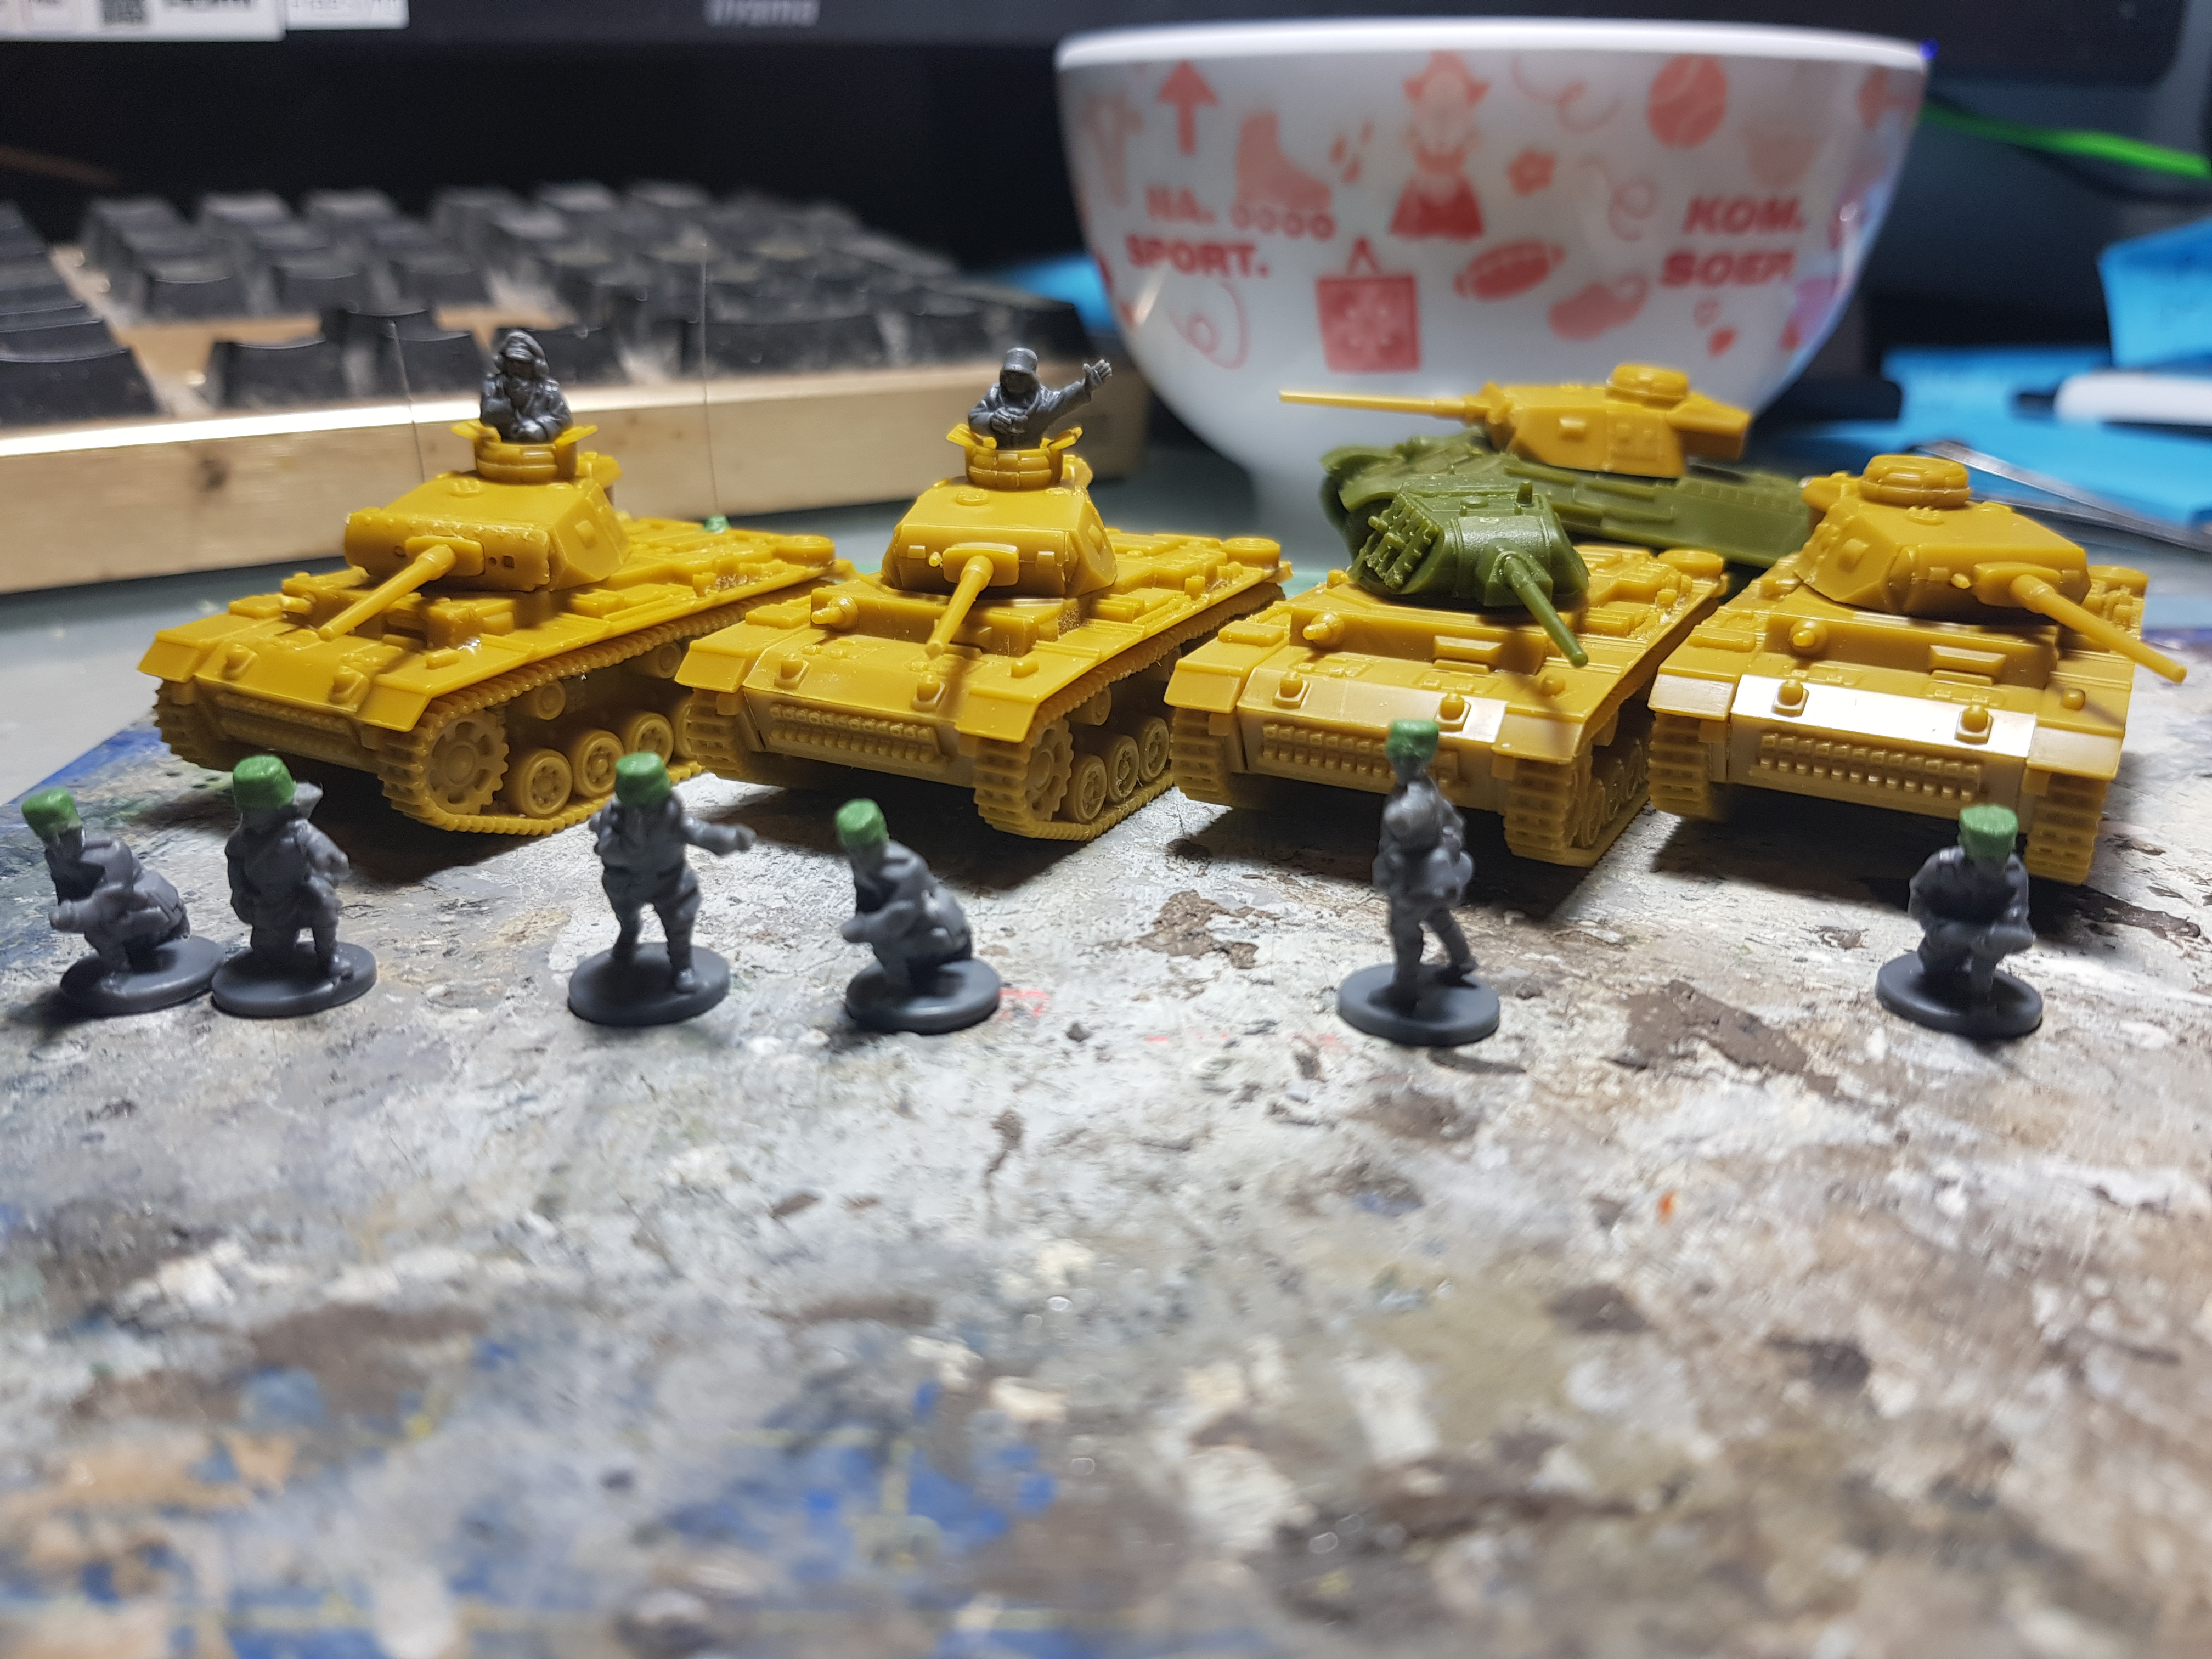 The results of the last couple of days work.
Getting back to the Eastern Front.

A couple of changes to this project. I am first of all not going to try to post everyday, like I did before. It is just not going to work with my health to do something everyday and there is a limit to how many WWII memes I can post. Secondly I am changing the game I am focussing on to Battlegroup. From what I have seen this is a better game than Flames of War. These armies will still be viable for Flames of War and I am still going to get the stuff to play Flames of War, but it is not my main focus. That means that until I get the rulebooks I am not entirely sure what I am doing with my armylists. That does not mean I can’t do anything, I can still get a lot build and painted following historical references I have and there is the pink panther as well. A new paint recipe for both armies will follow once I have that figured out. And then it is the basing. Battlegroup does work with individual miniatures so what I am going to do is turn the Flames of War bases into movement trays. Still valid for Flames of War, but also good for Battlegroup and maybe even 15mm Bolt Action which I have heard is also good.
To start off I have not very precisely marked the centre of each base slot for drilling.
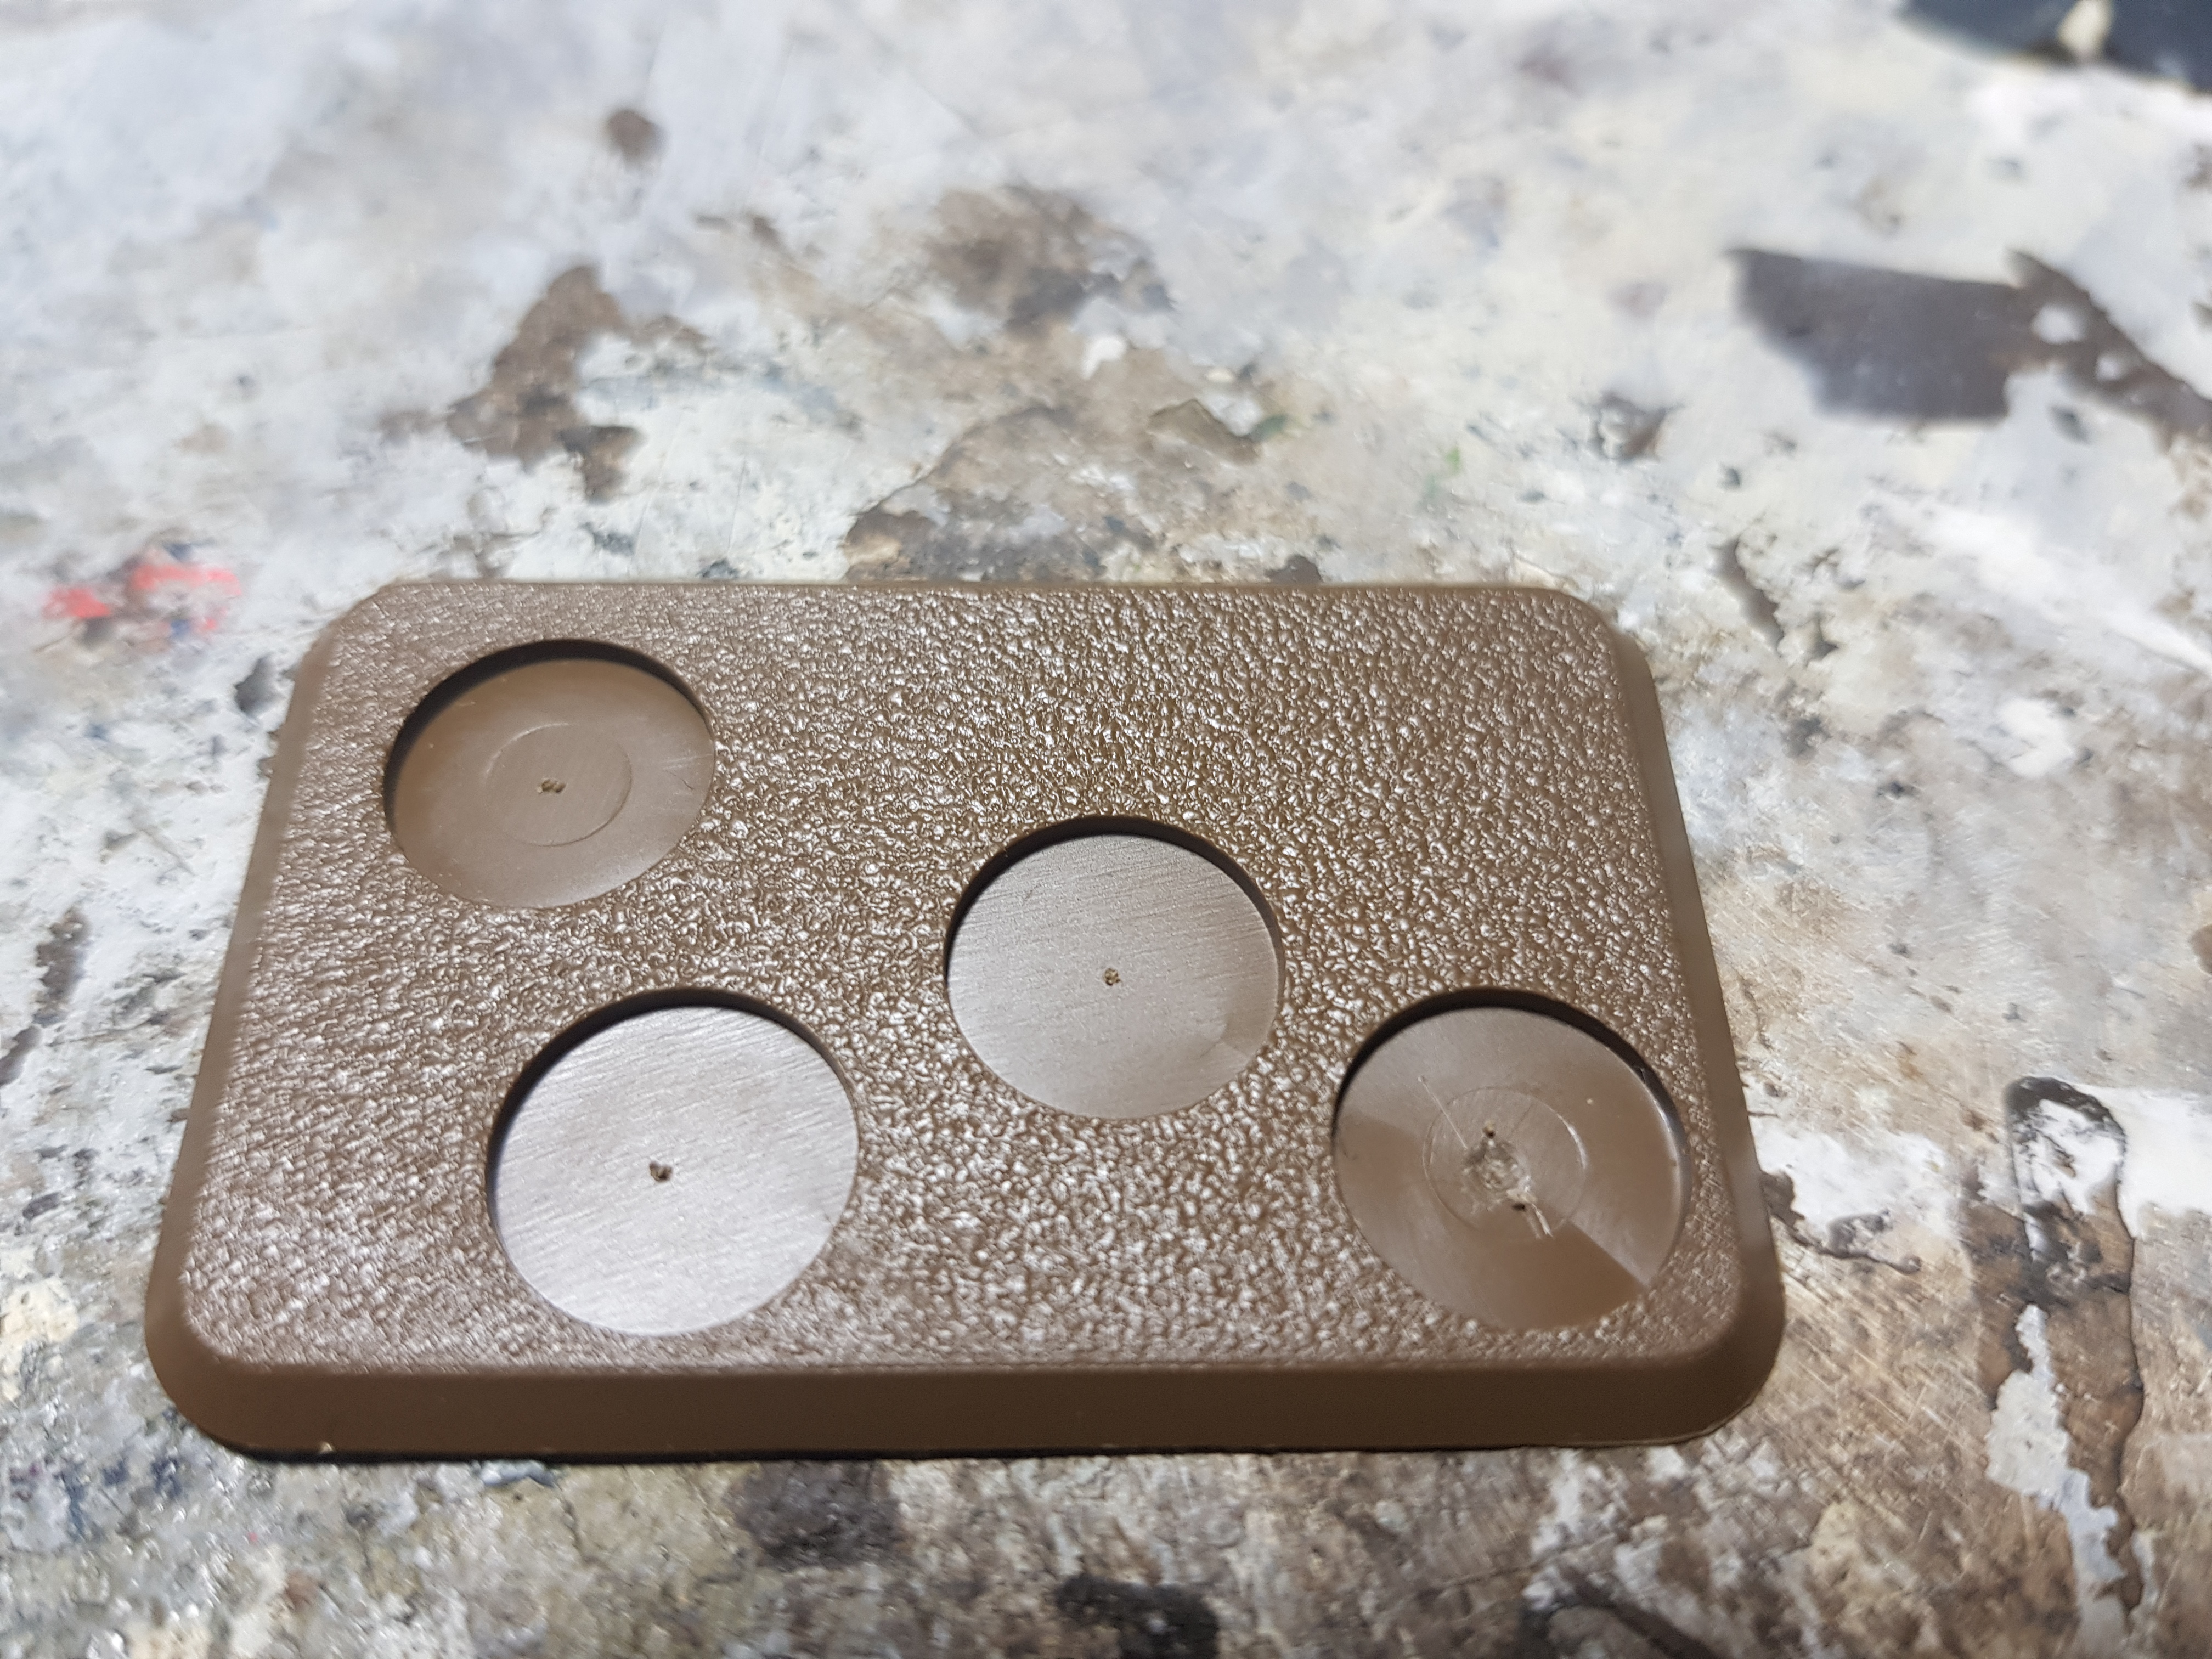
I then drilled a 3mm hole in them.
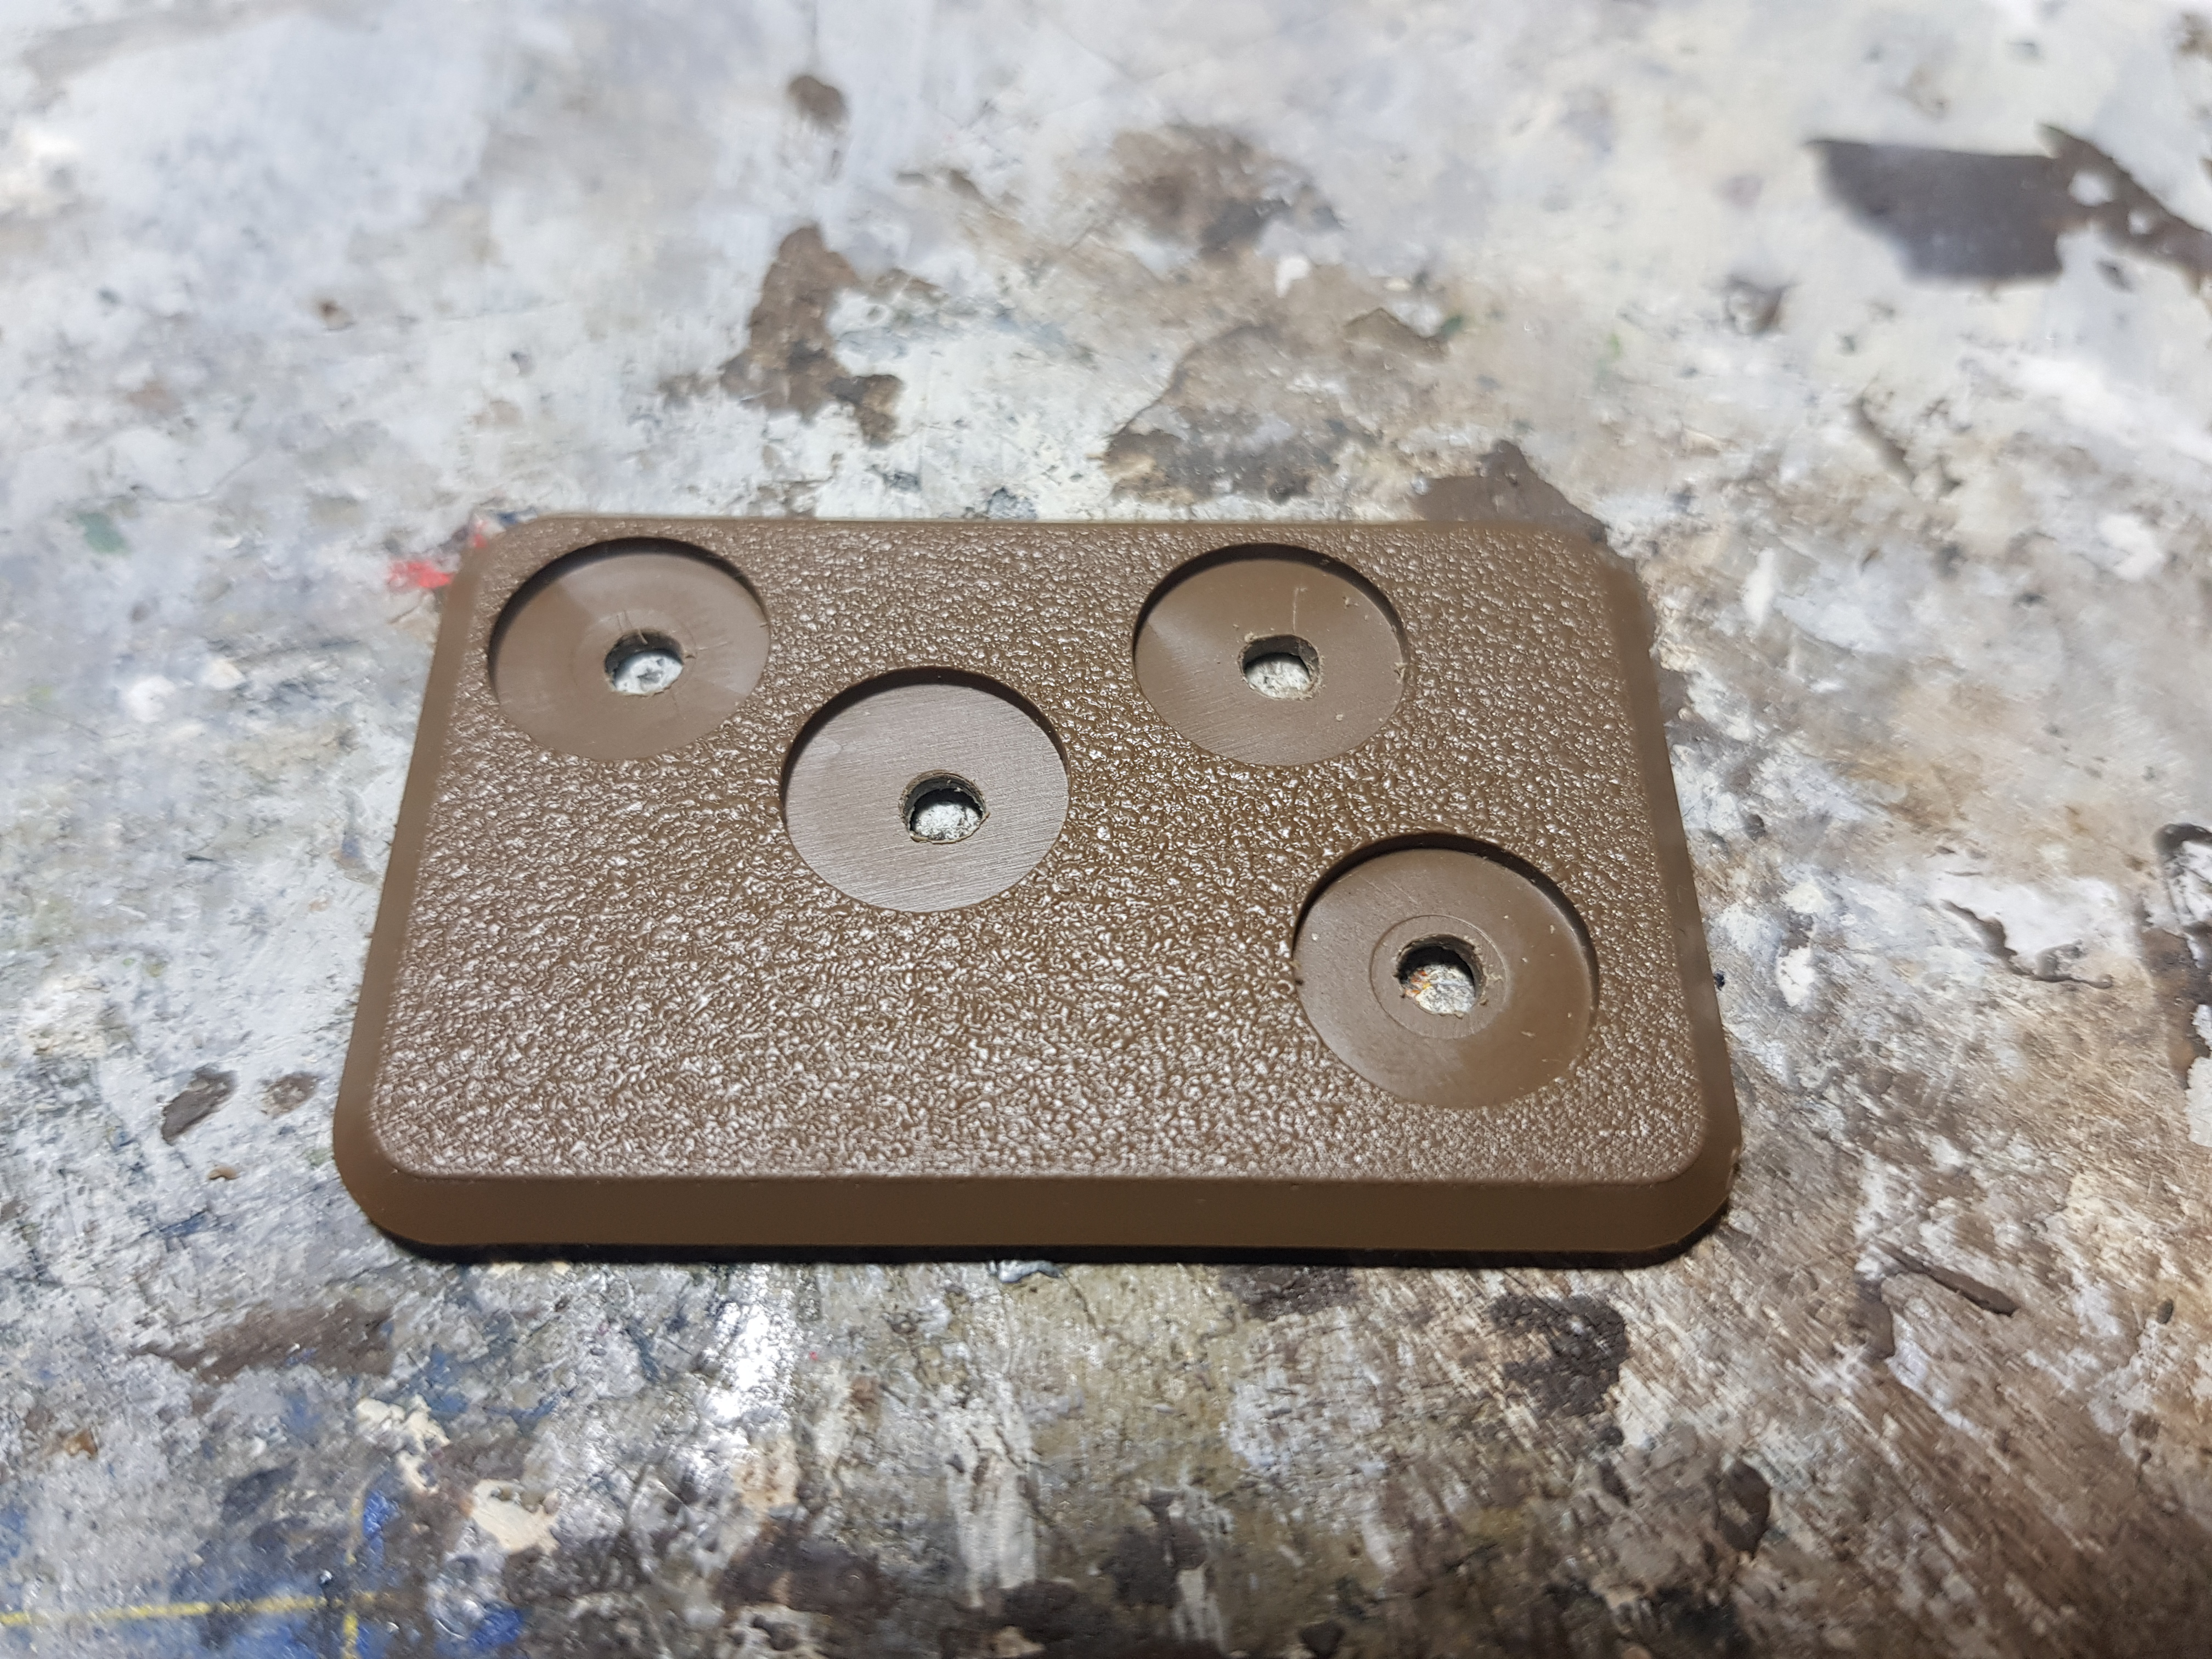
Put 3x1mm magnets inside.
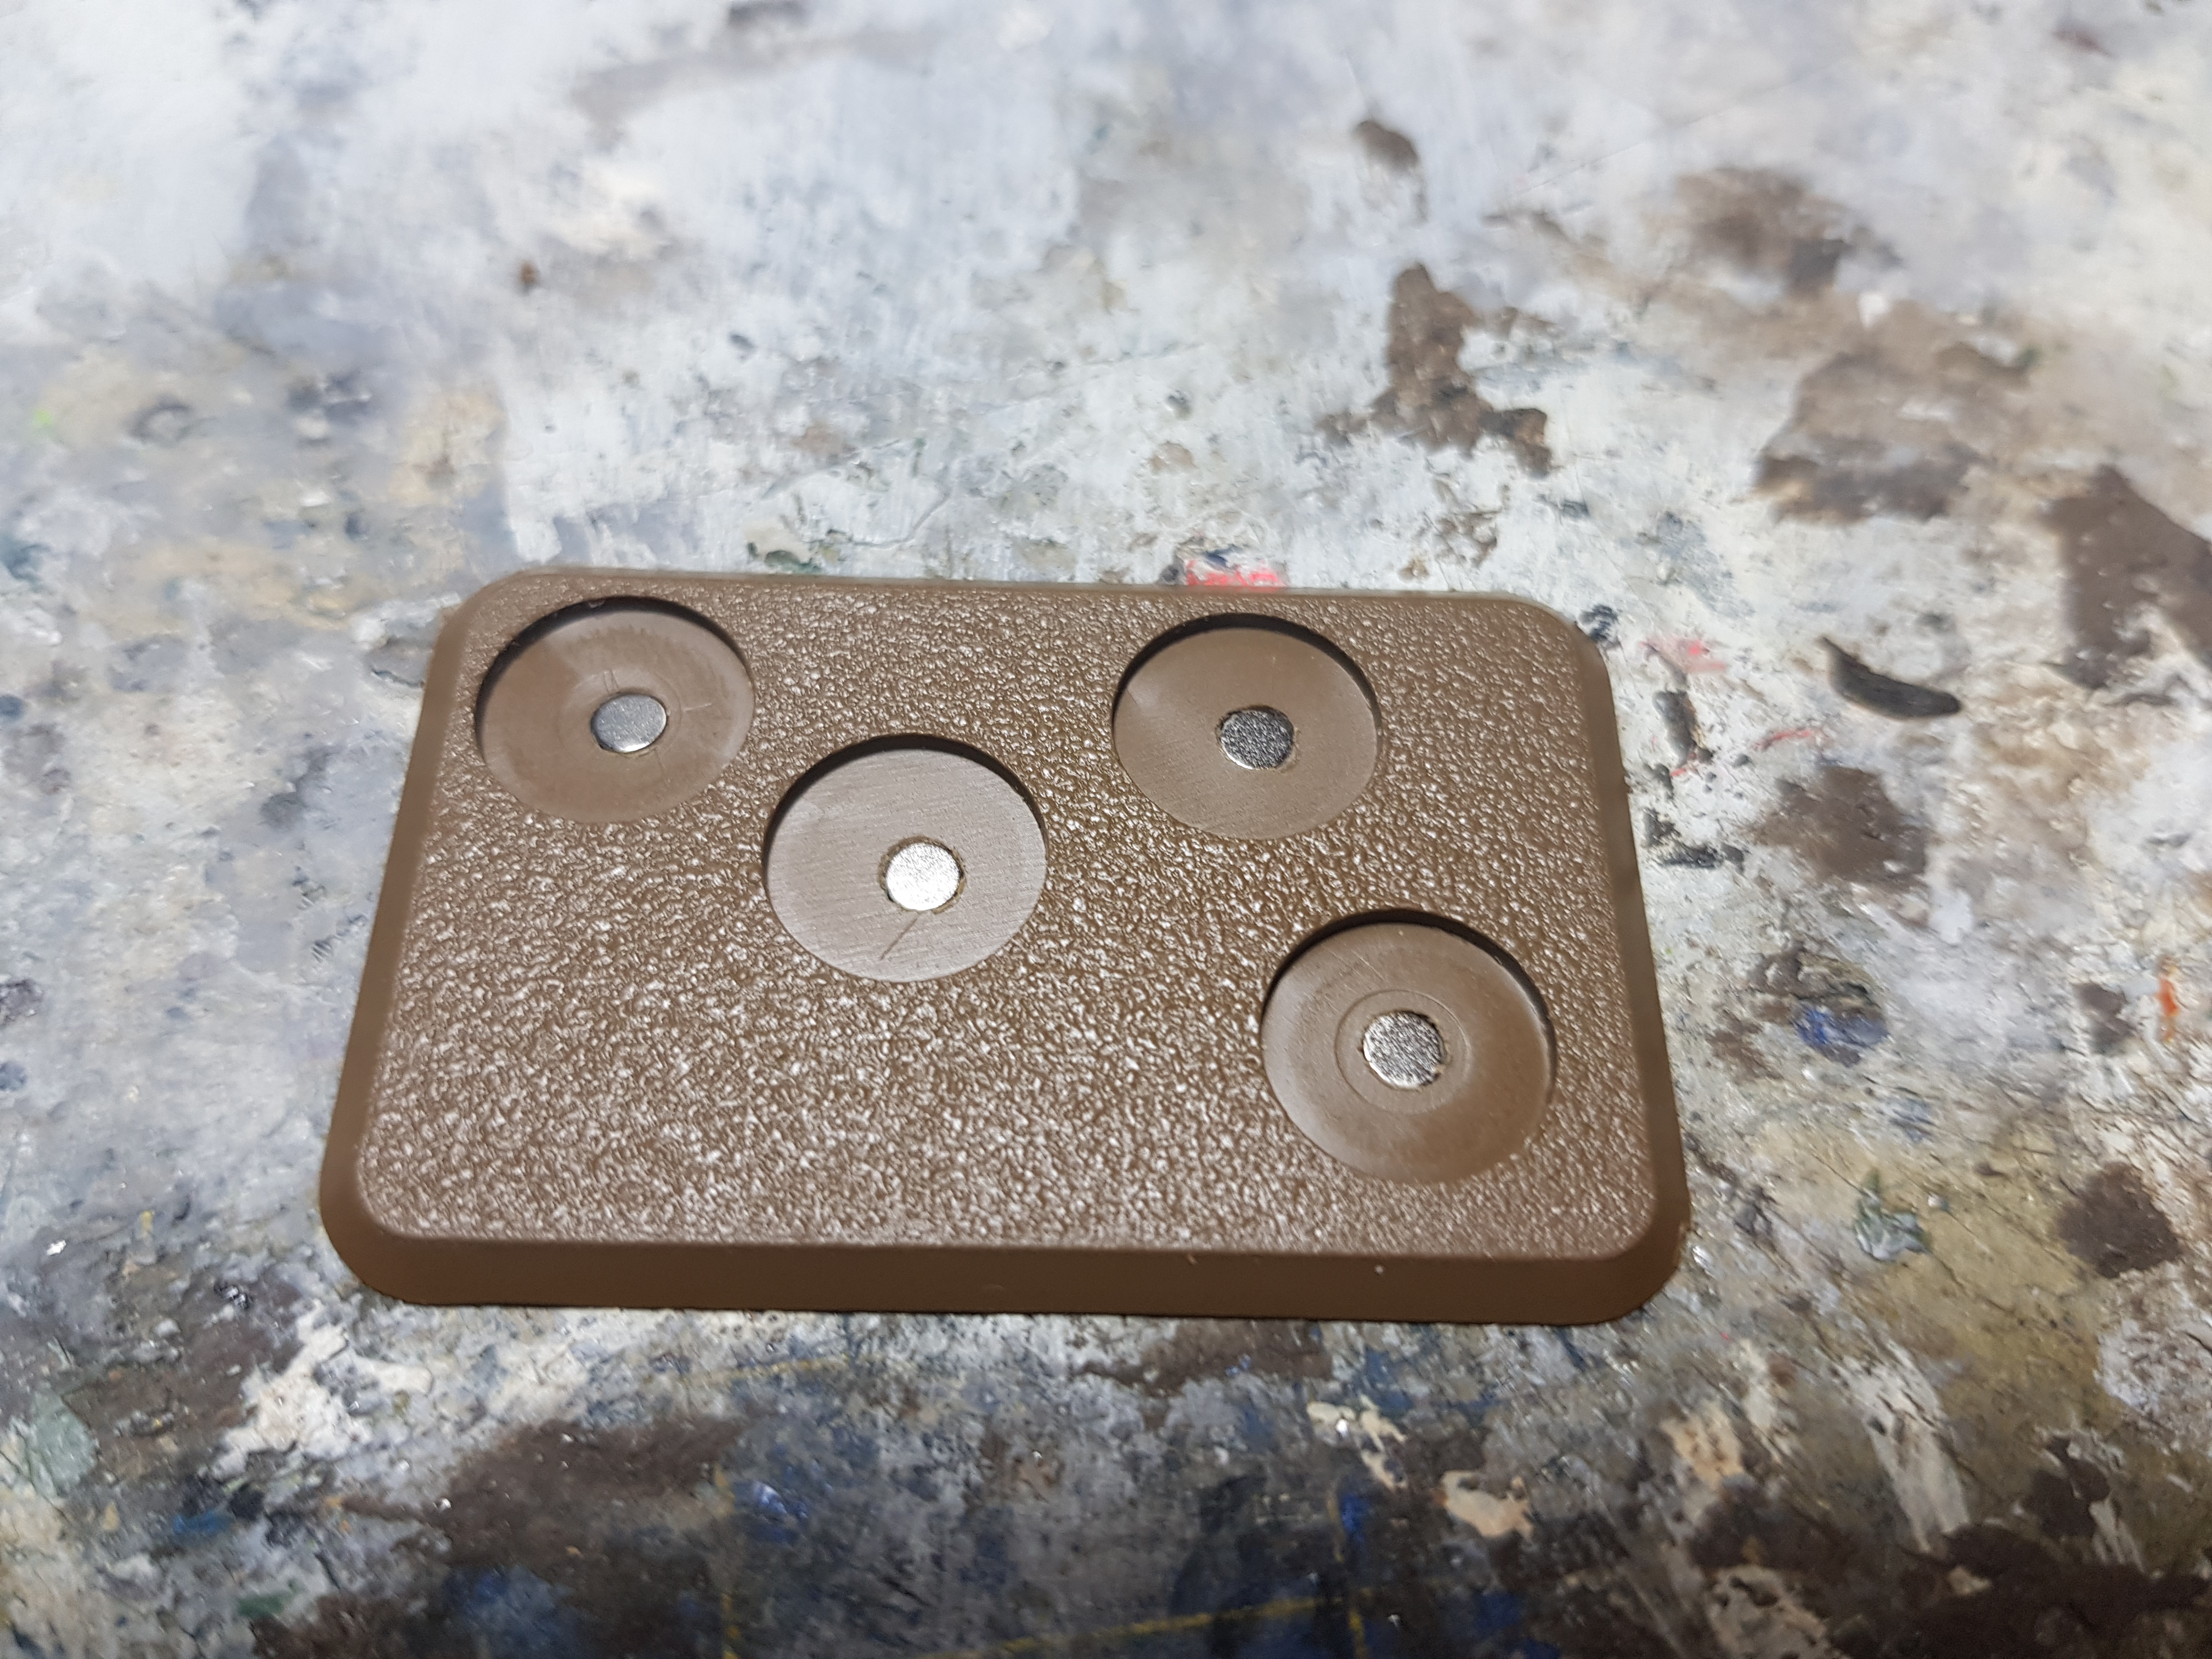
And put a bit of thin superglue at the bottom to help hold the magnets in place.
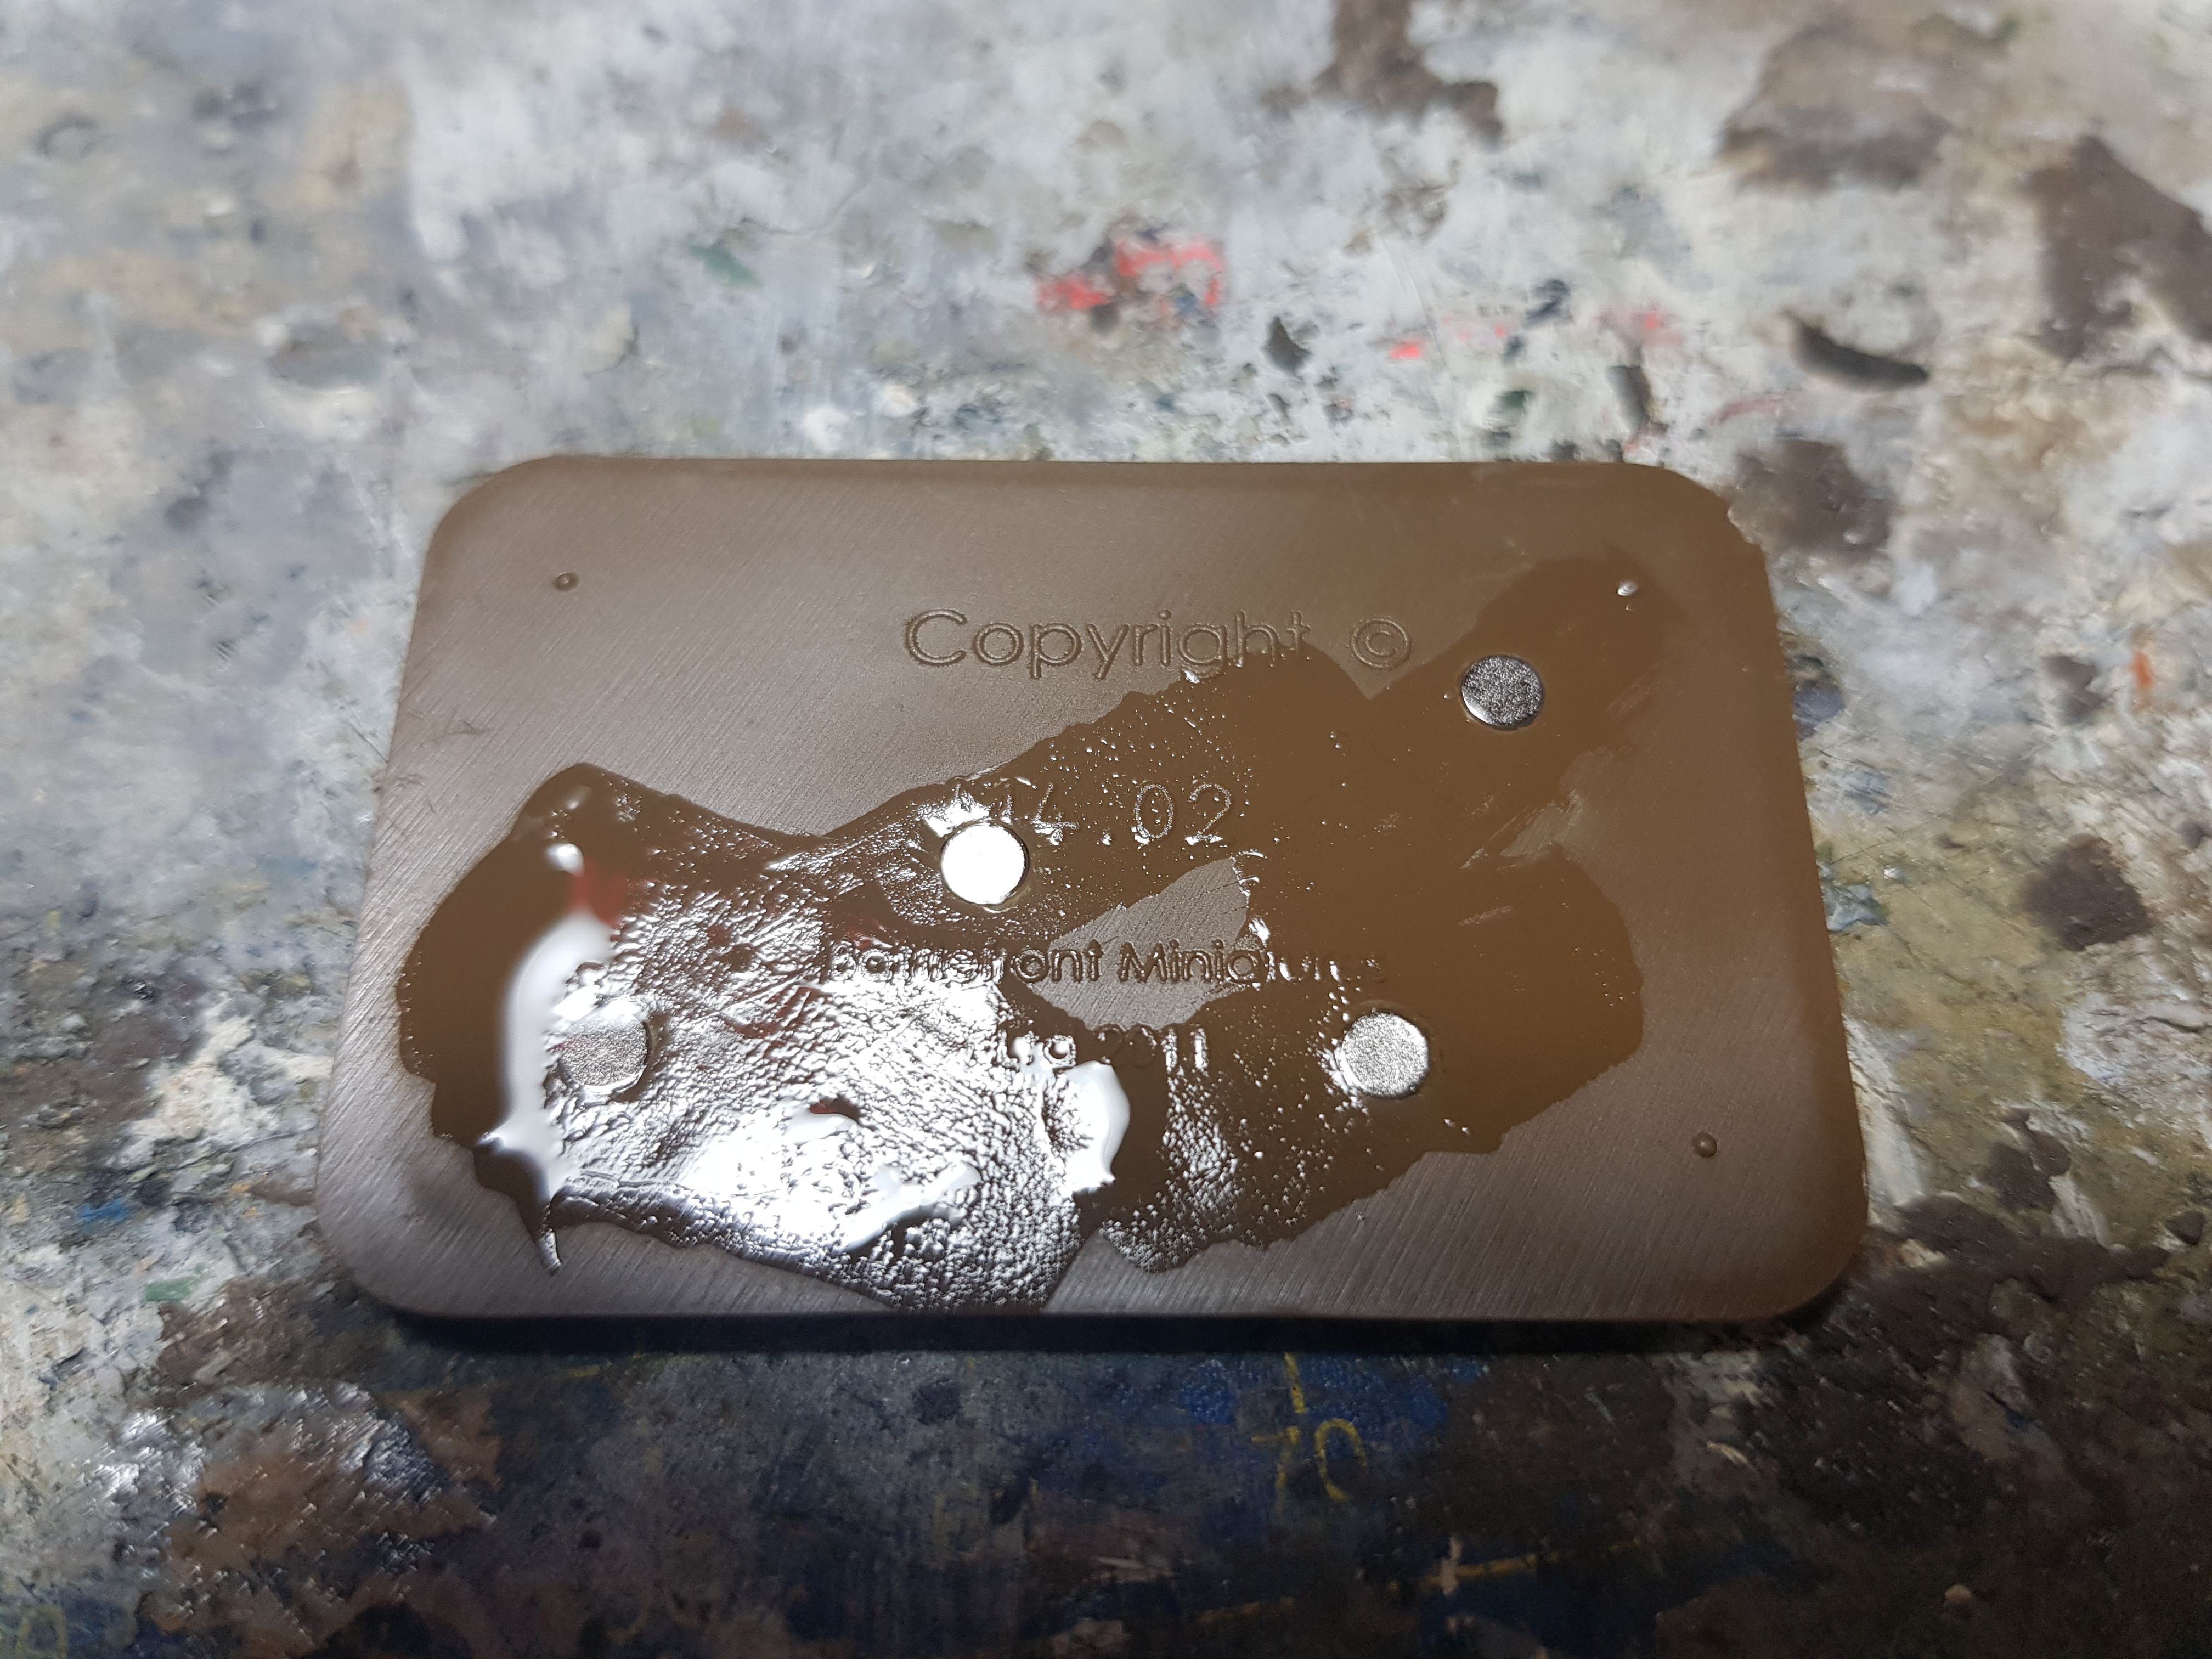
I then drilled a 2mm hole in the bottom of a handfull of models and just waiting until I can get some 2x1mm magnets to fit into them.

This will obviously work for my plans of magnetic carrying solutions for miniatures, I am just not sure yet how I am going to do that with vehicles. I am thinking of not basing the vehicles so I need to think of a solution. If you know one, let me know.
And that is how my Eastern Front project is going to develop from now on.
Taking a Break
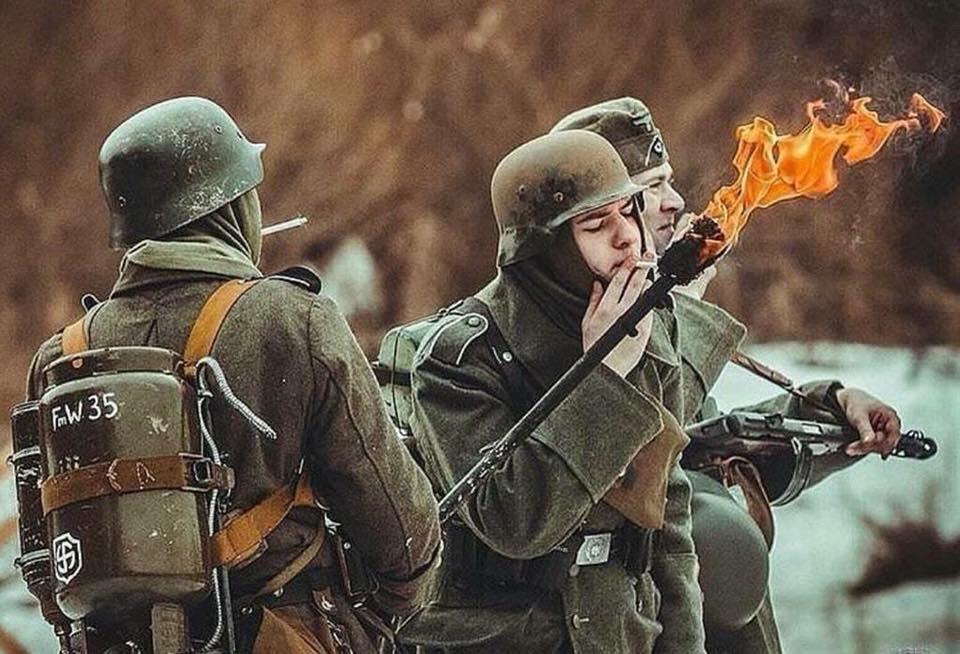 Hans, can I haz a light?
With my health getting worse and no idea if this or when this gets better, I have decided to take a break from doing any hobby for a while. While it boosts my mental health being able to do something every day, it is really detrimental to it when I try to do it and it is just getting more and more difficult to do any if I can do any at all. With everything currently going on with my health, I am not just struggling with my hobby, I struggle doing some of the basic things I need to do everyday. I am still awaiting the blood test results from my doctor which are taking longer as the sample had to be send to a different laboratory that could do the testing and even then that can only specify one thing that we hope is the issue, otherwise it’s on to a specialist to figure it out.
So when this gets better, or when I have good days, I might be able to do something and post something, but don’t expect regular updates for a while.
Alternatively, I could just post World War 2 related memes everyday…..
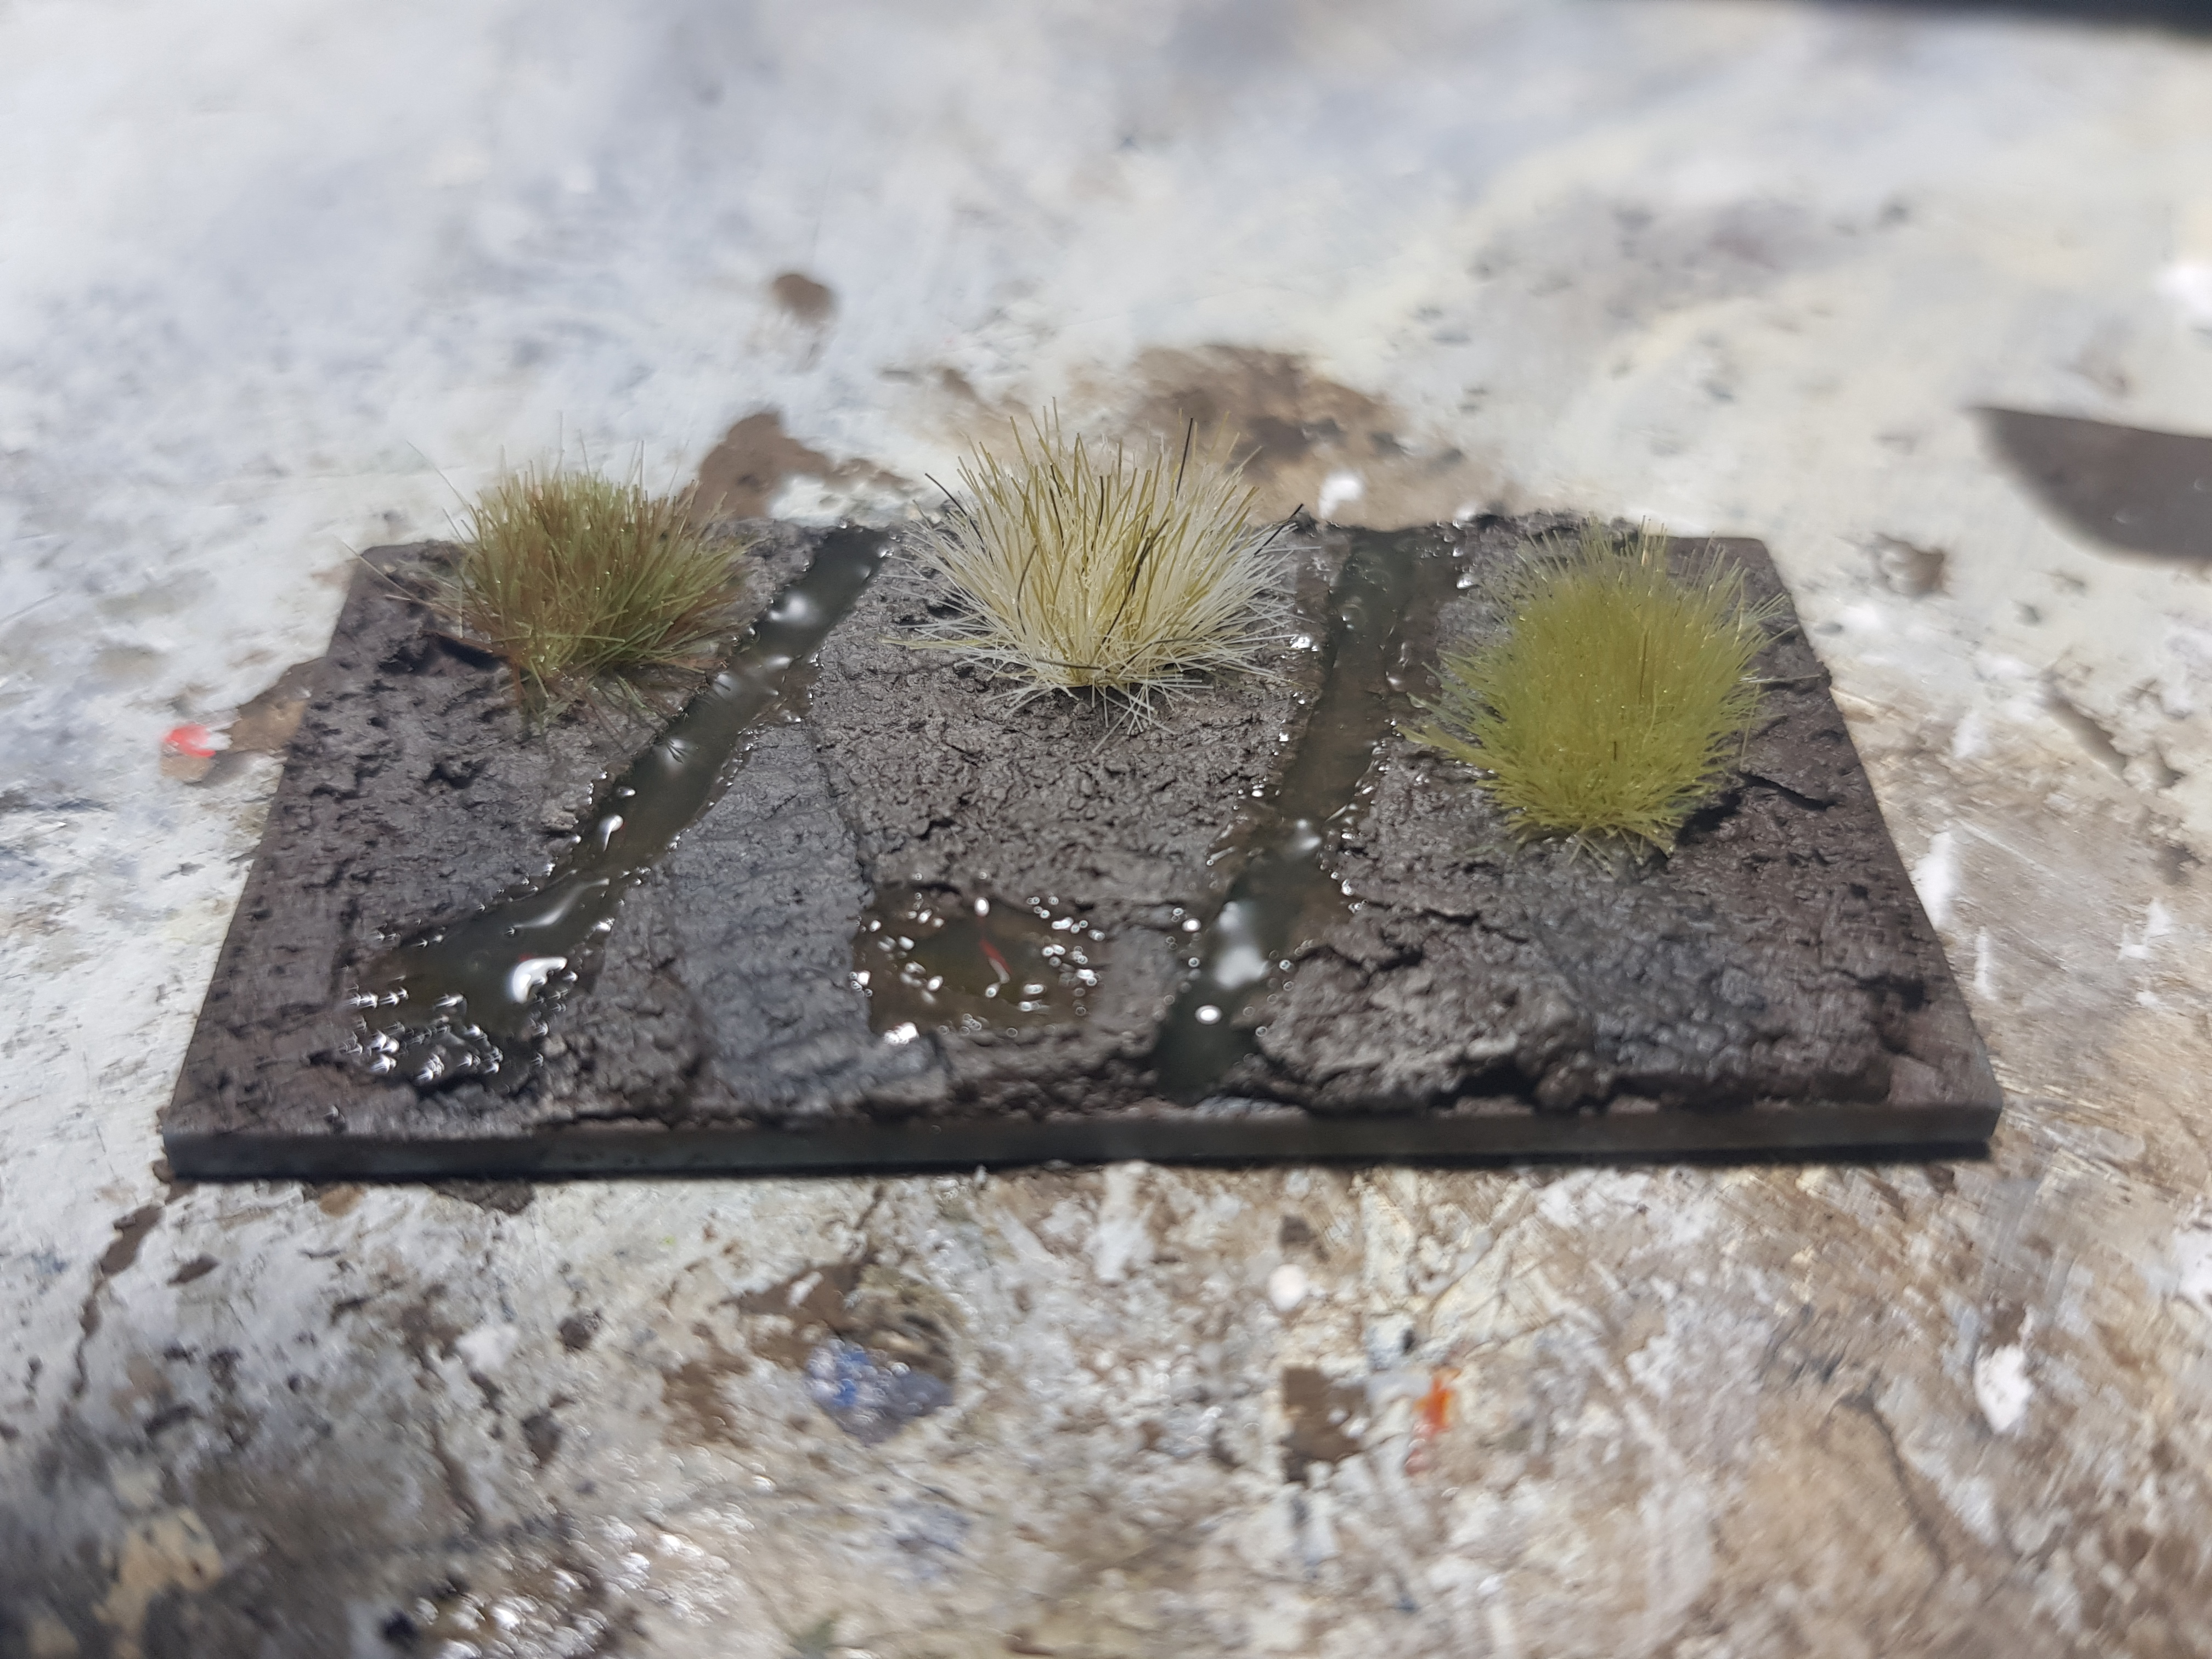
Milking the Puddles....

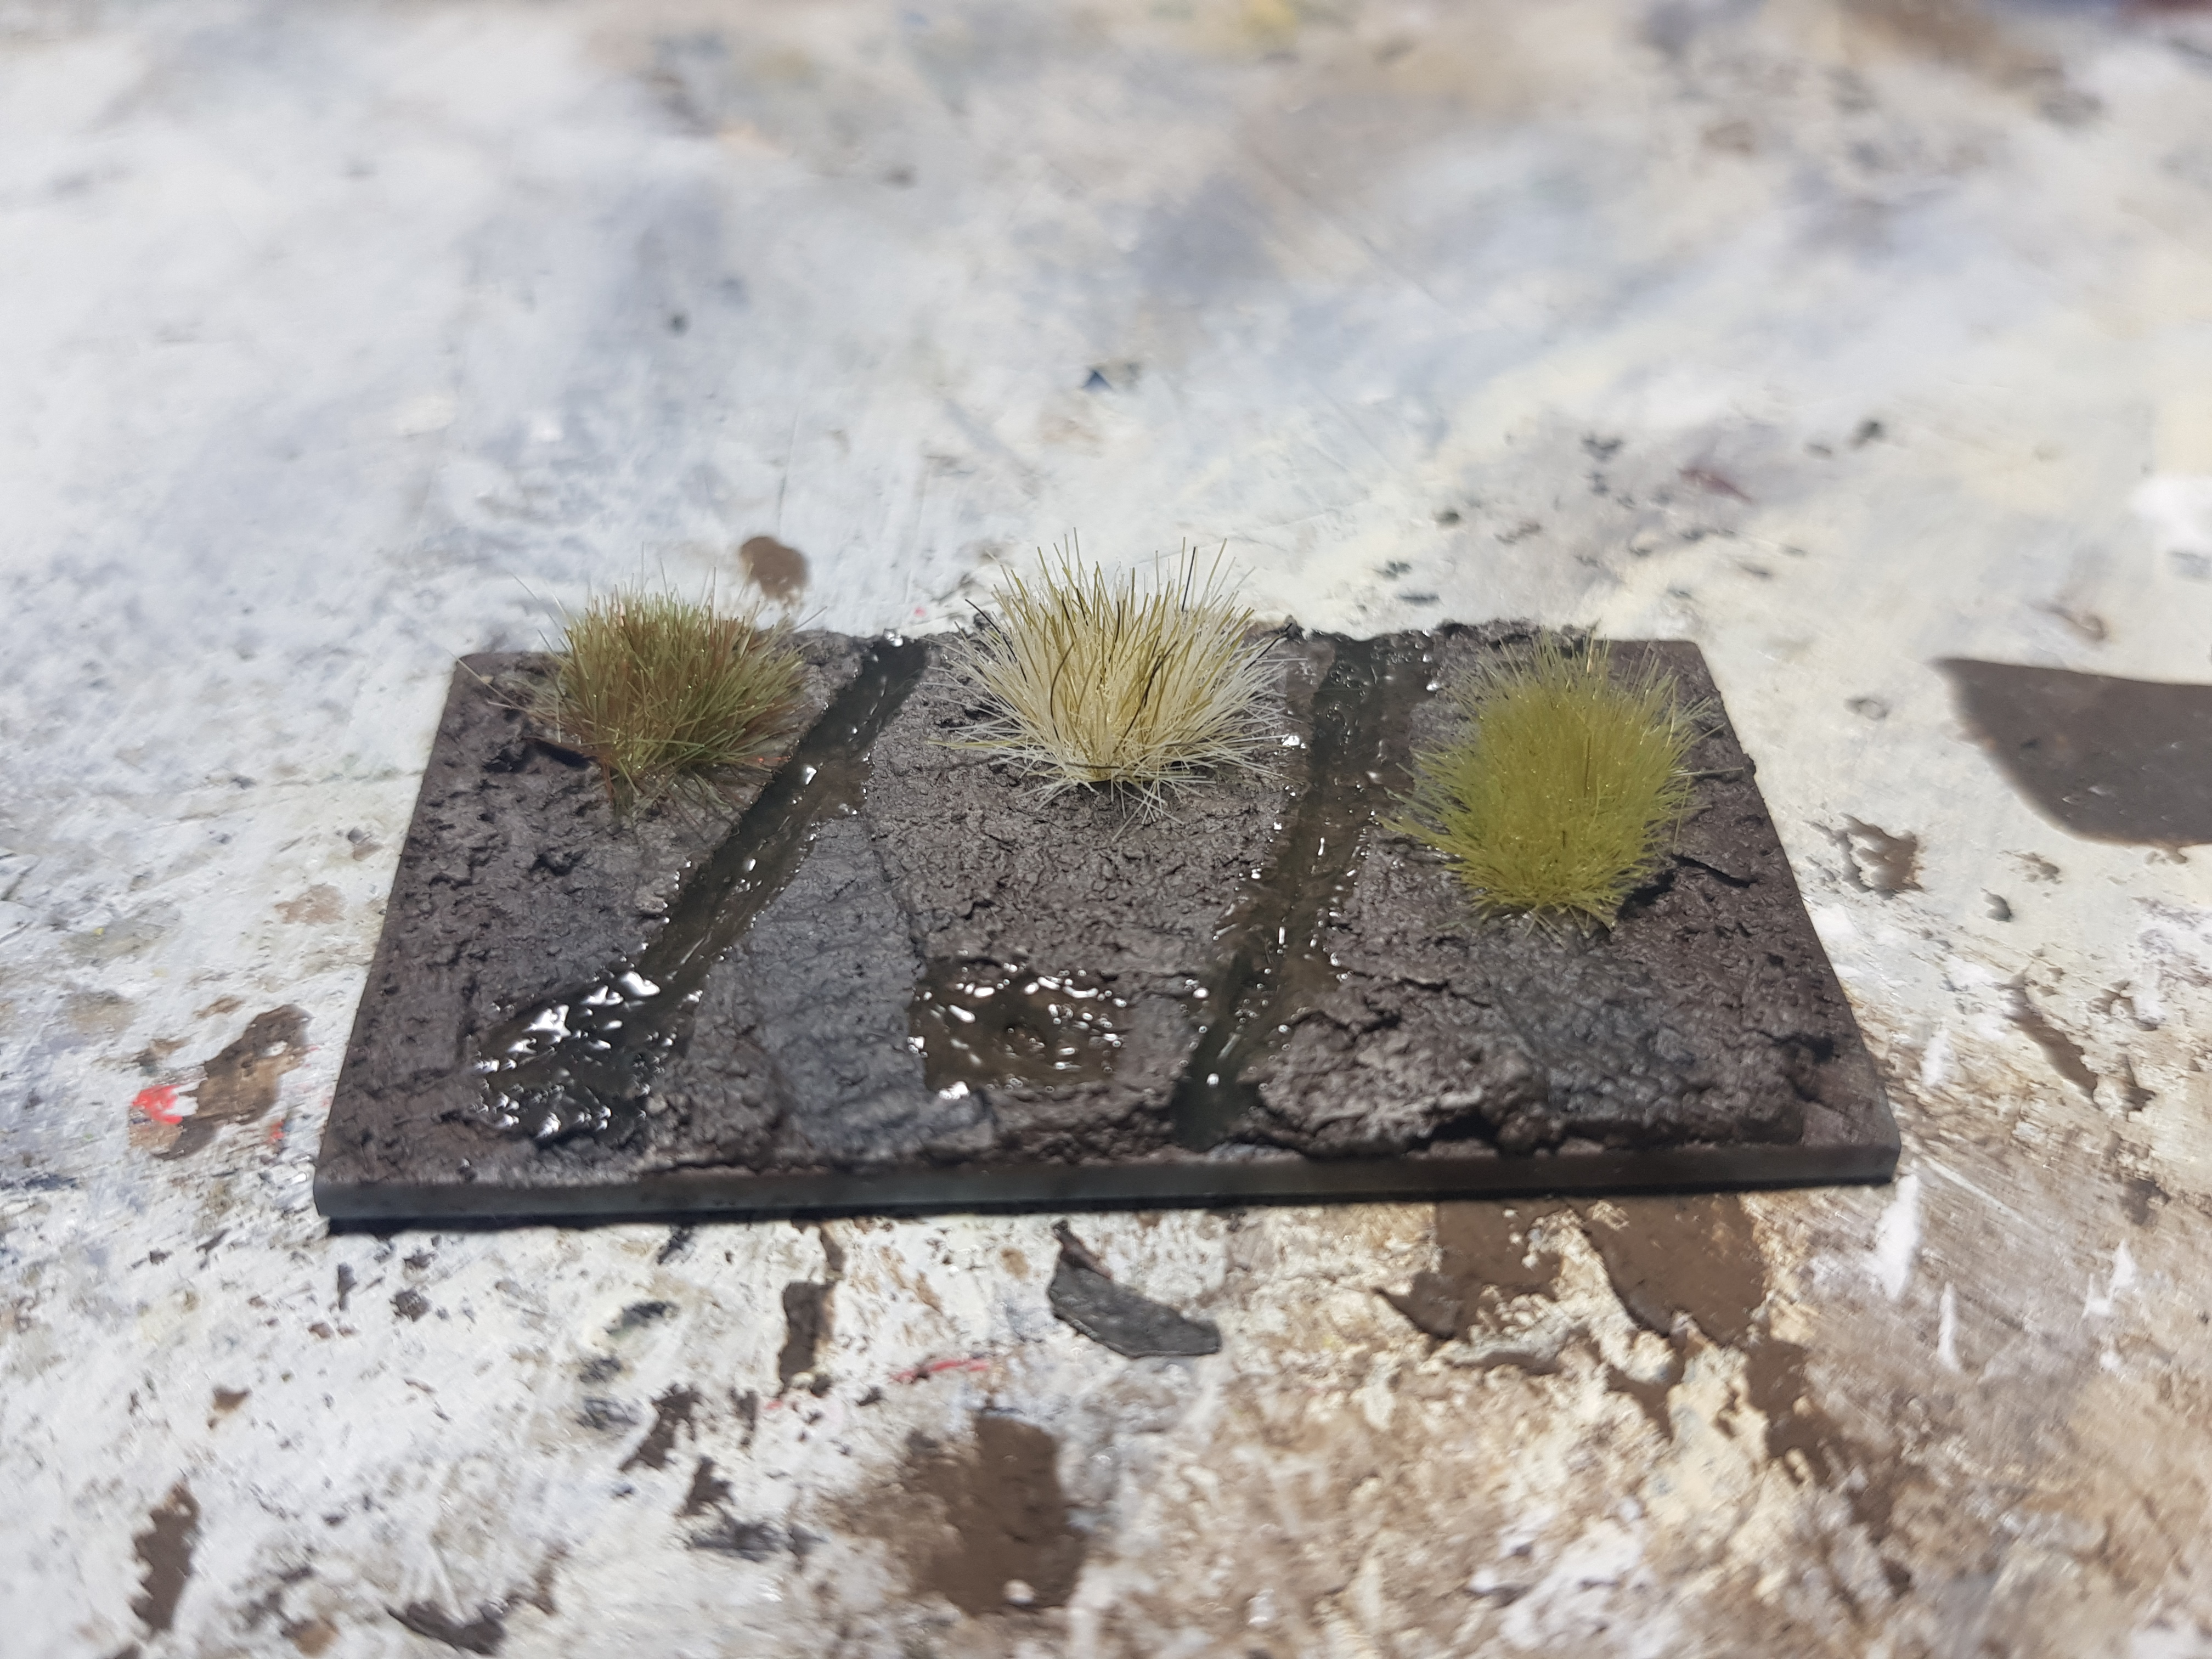
Dried result up top and then I added a bit more AK Interactive Diorama Puddles (AK8028) in as you can see in the bottom. It was surprisingly difficult to just do this today, I am really struggling with my motor skills toady.

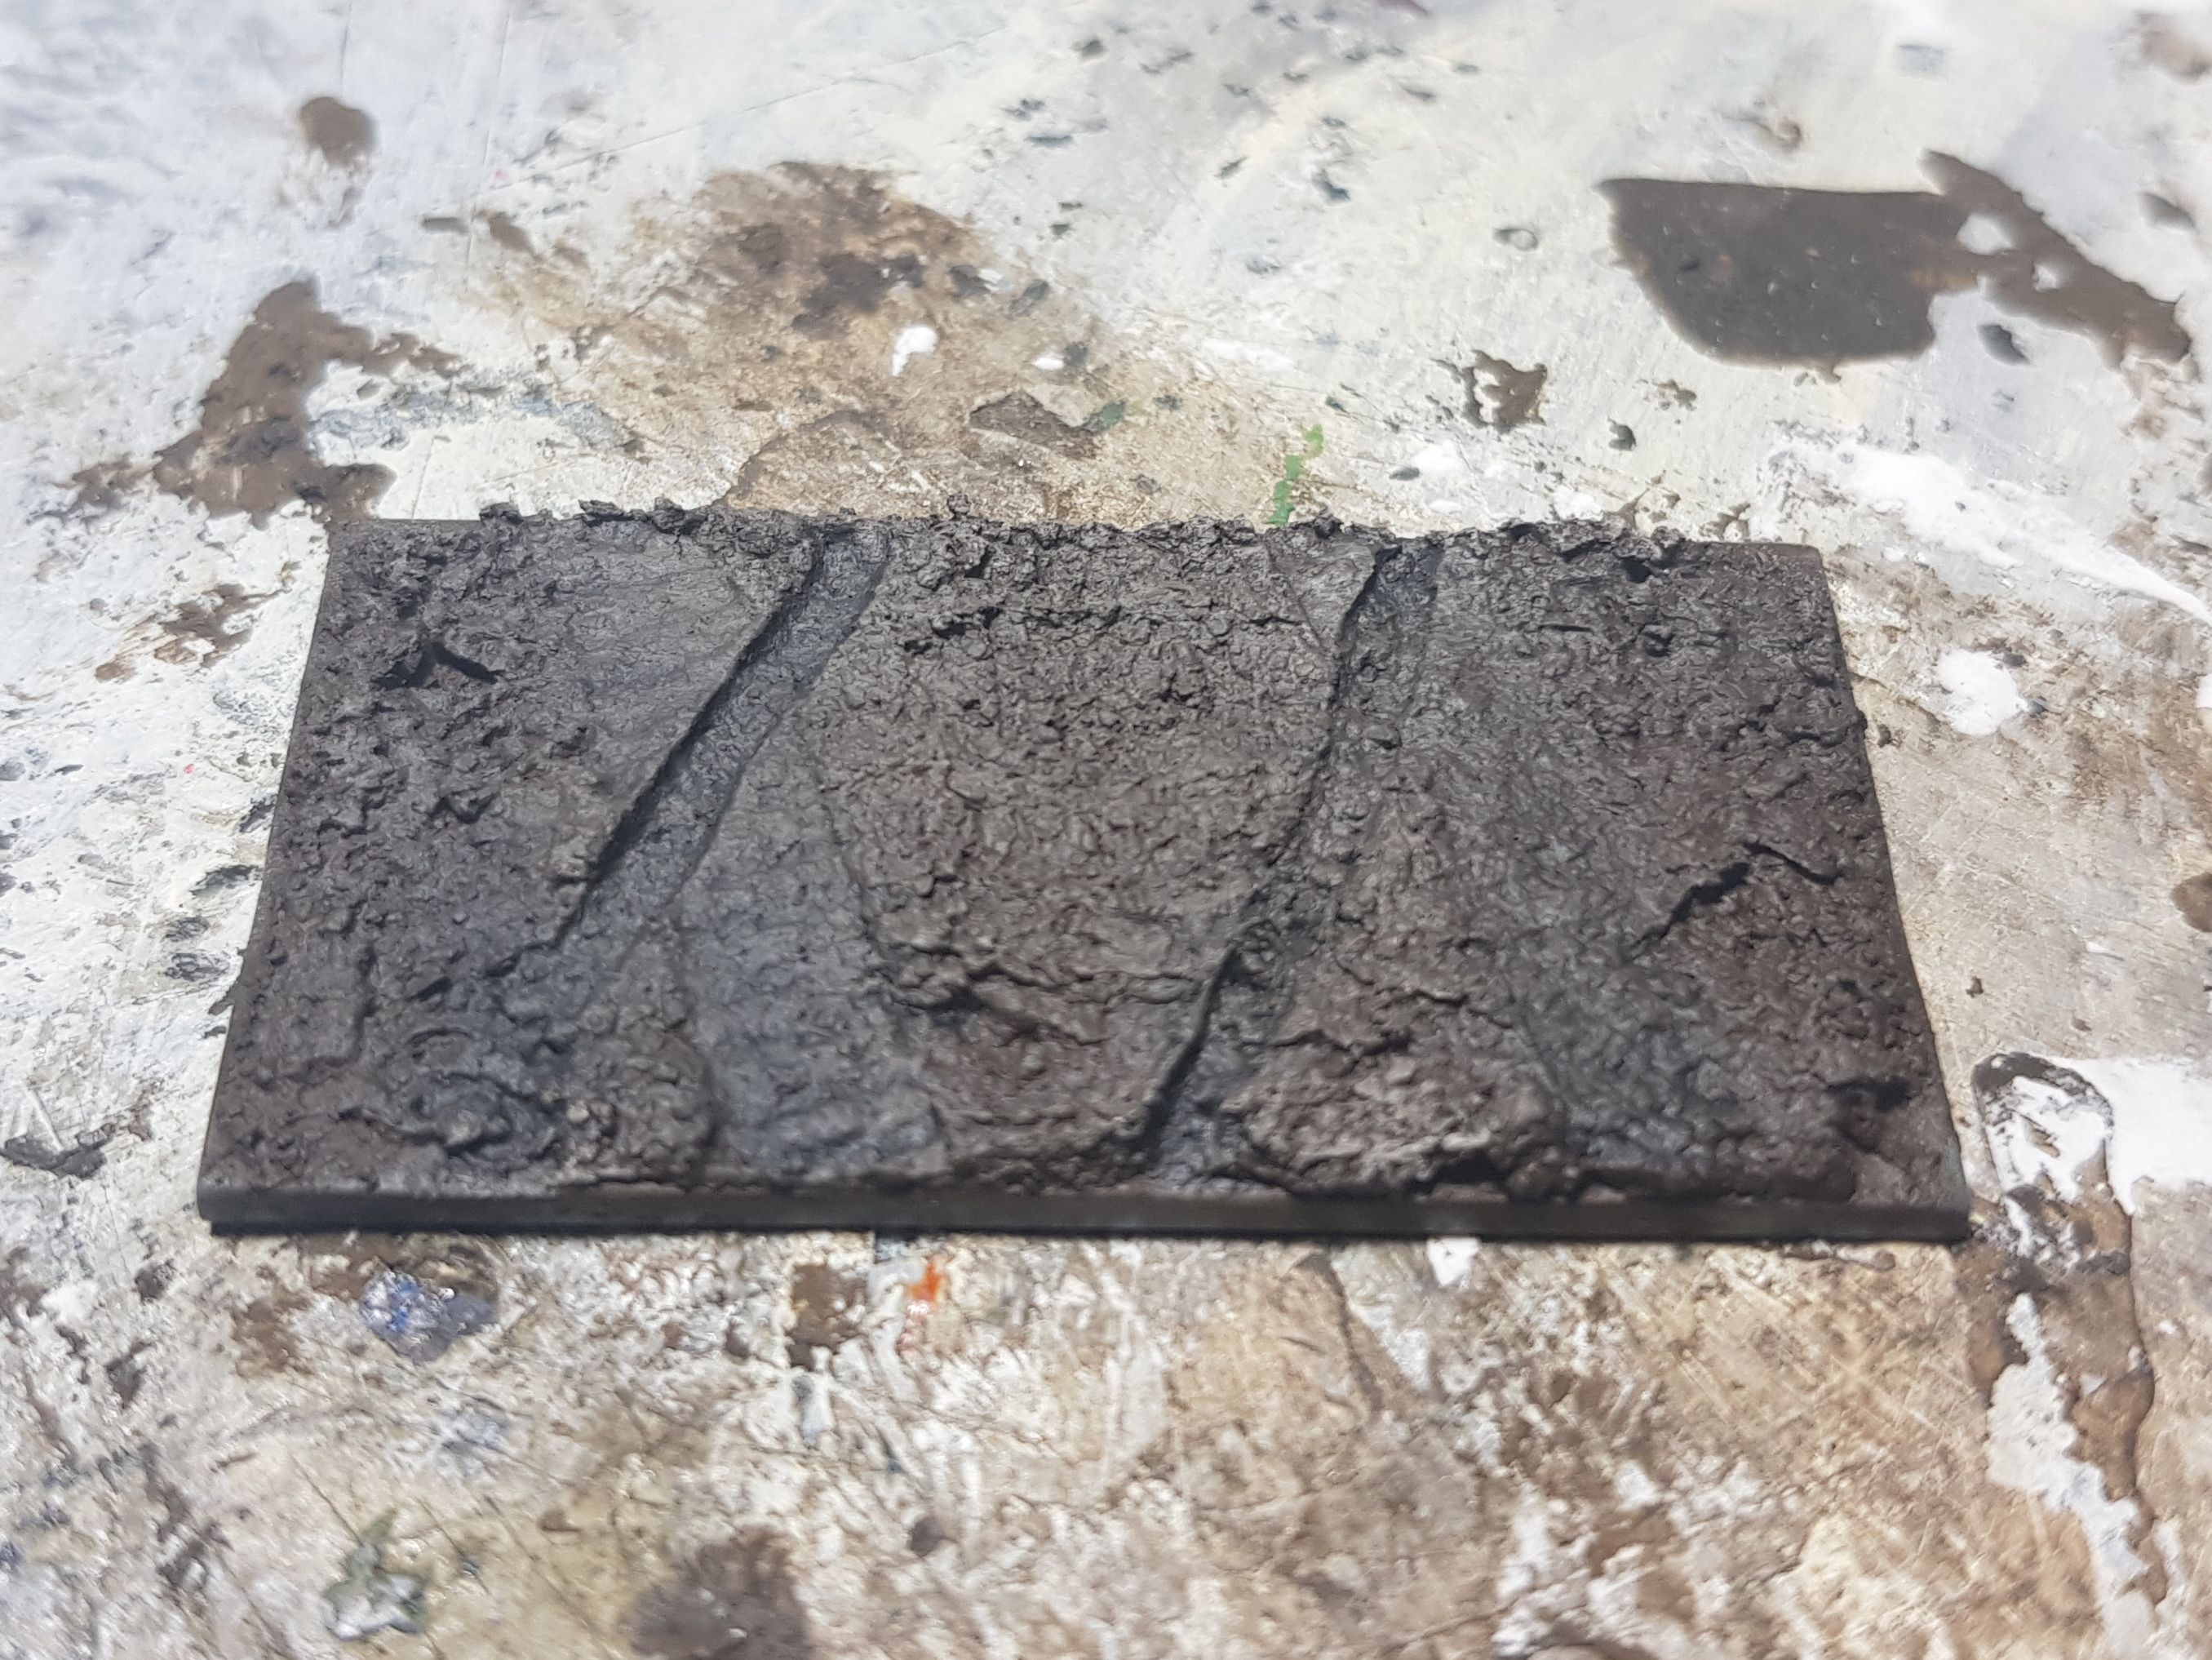
Muddlin' Puddlin' Some More
So, the AK Interactive Diorama Puddles (AK8028) dried and shrunk again, I filled it in a bit more. But I definitely feel that adding the puddles with a wooden toothpick is the way to go forward from the start.
I know I am just milking the puddles when my health is like this….
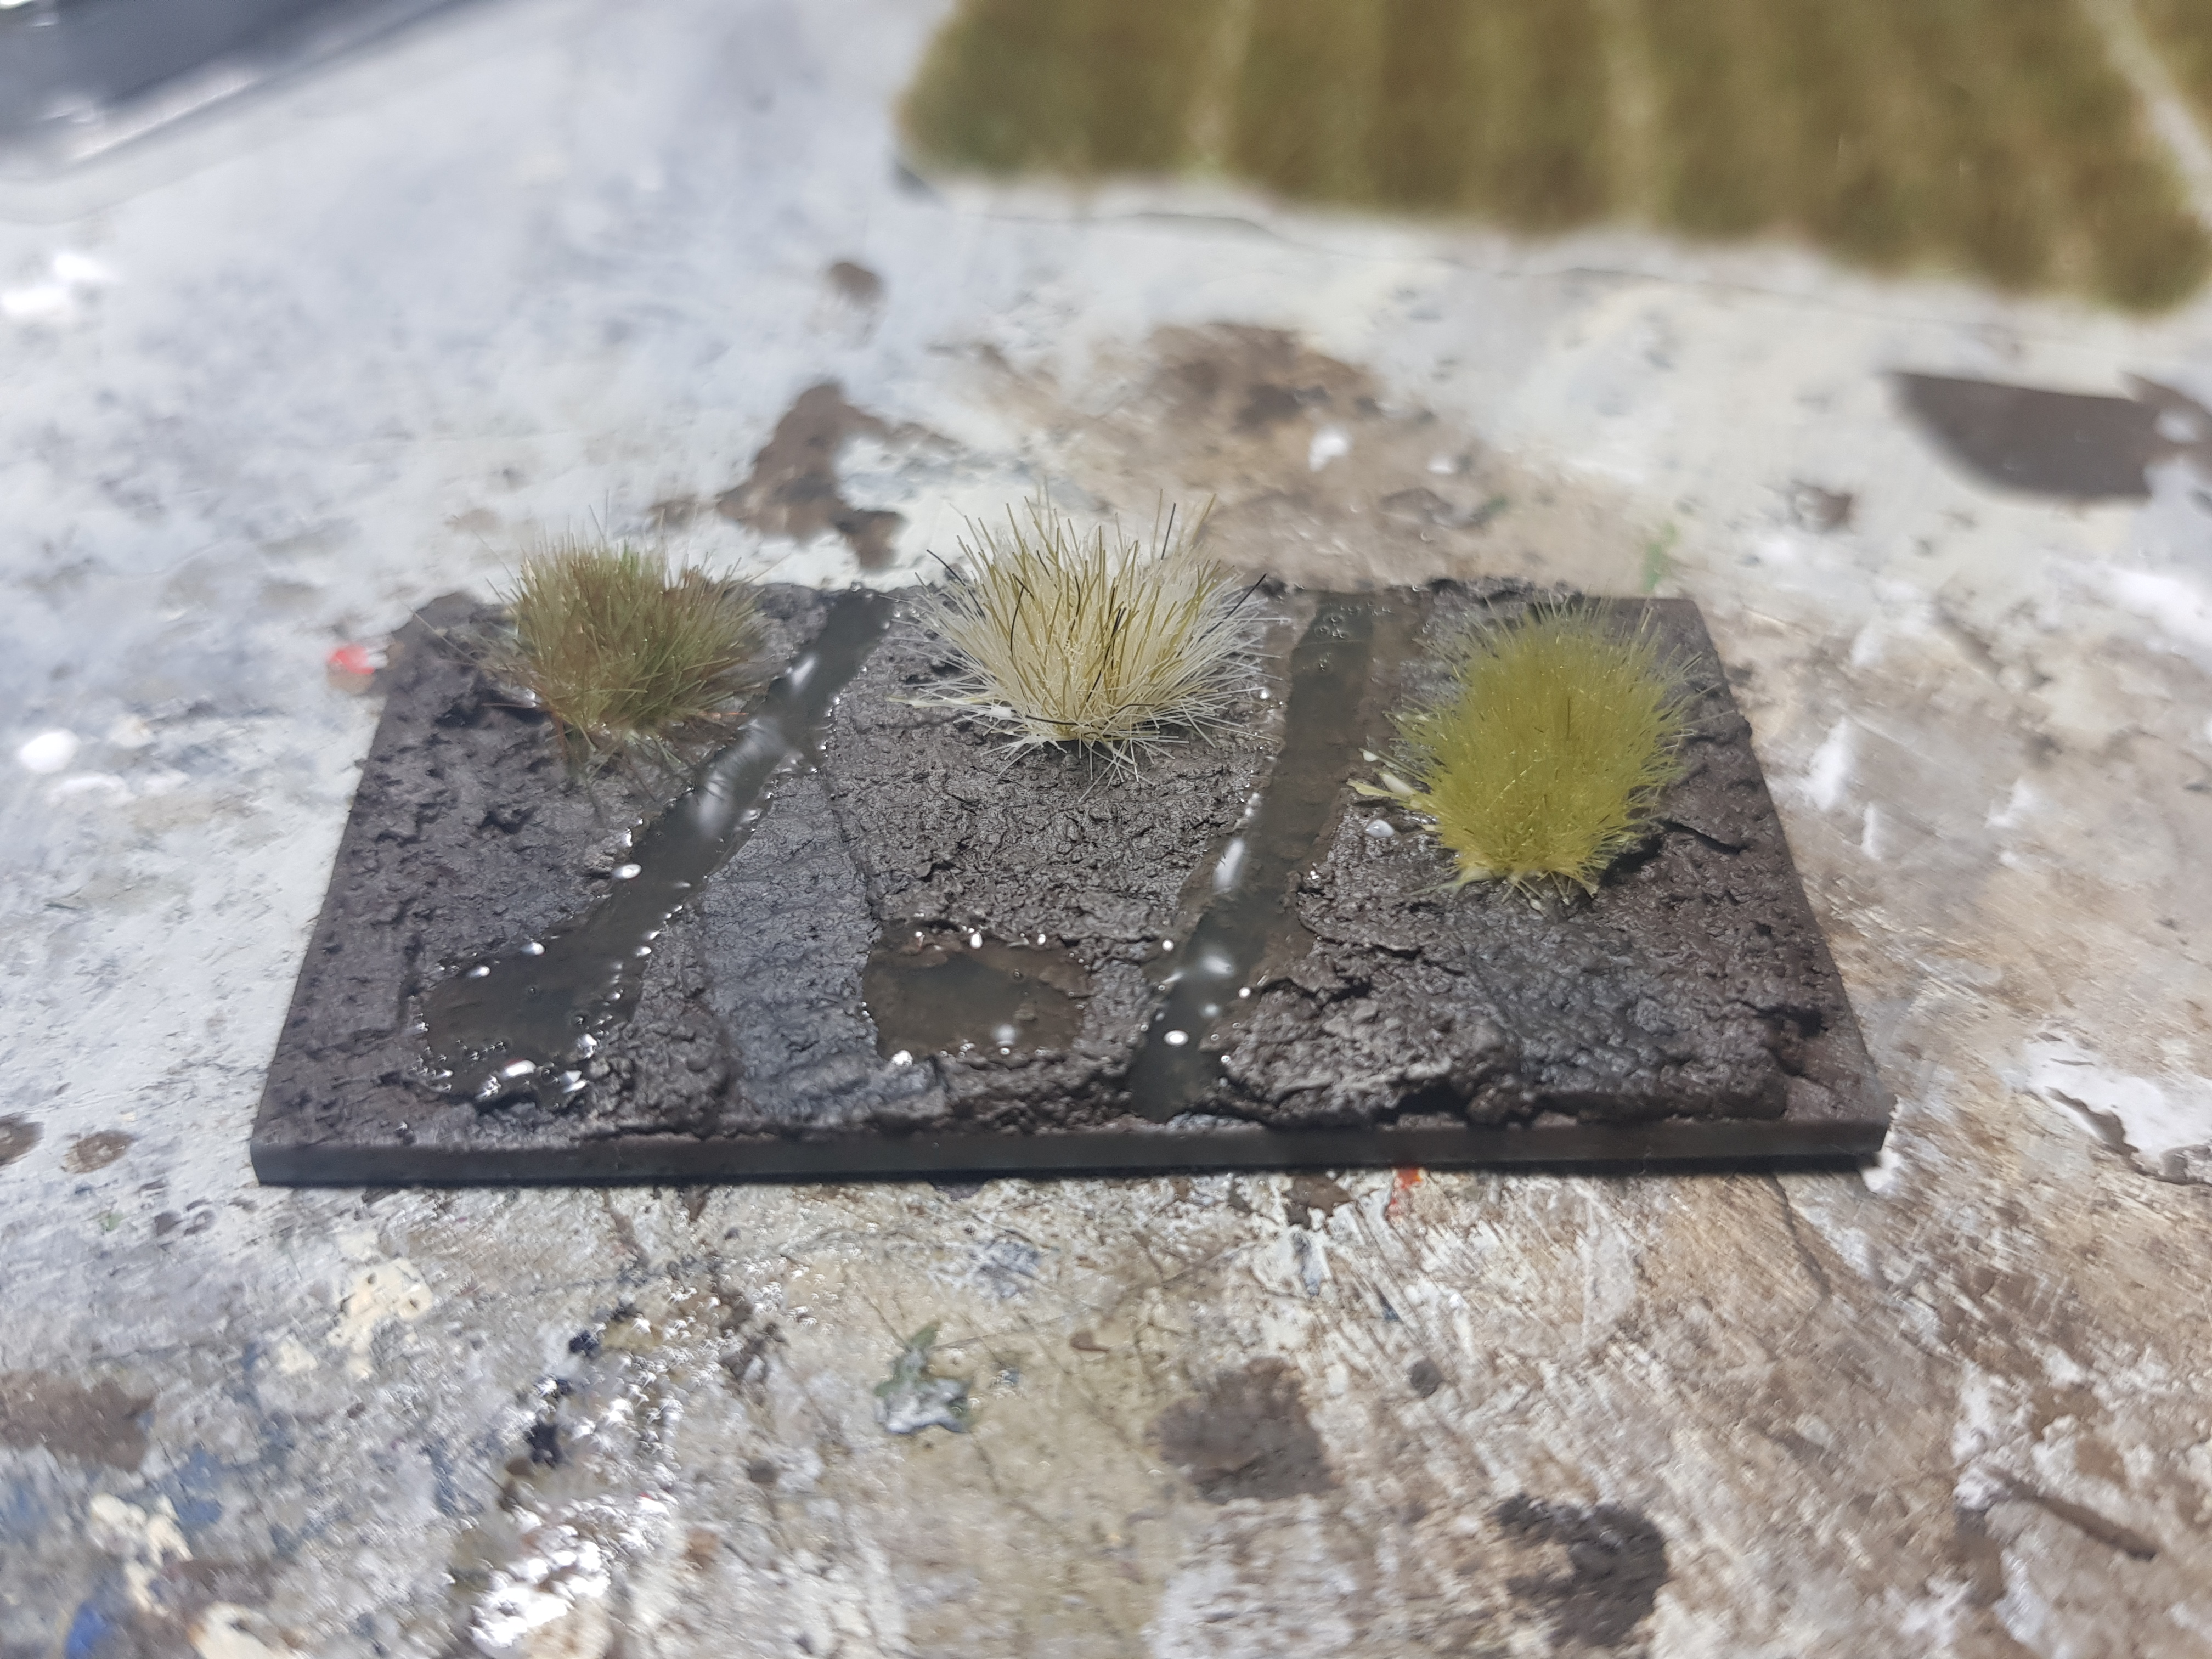
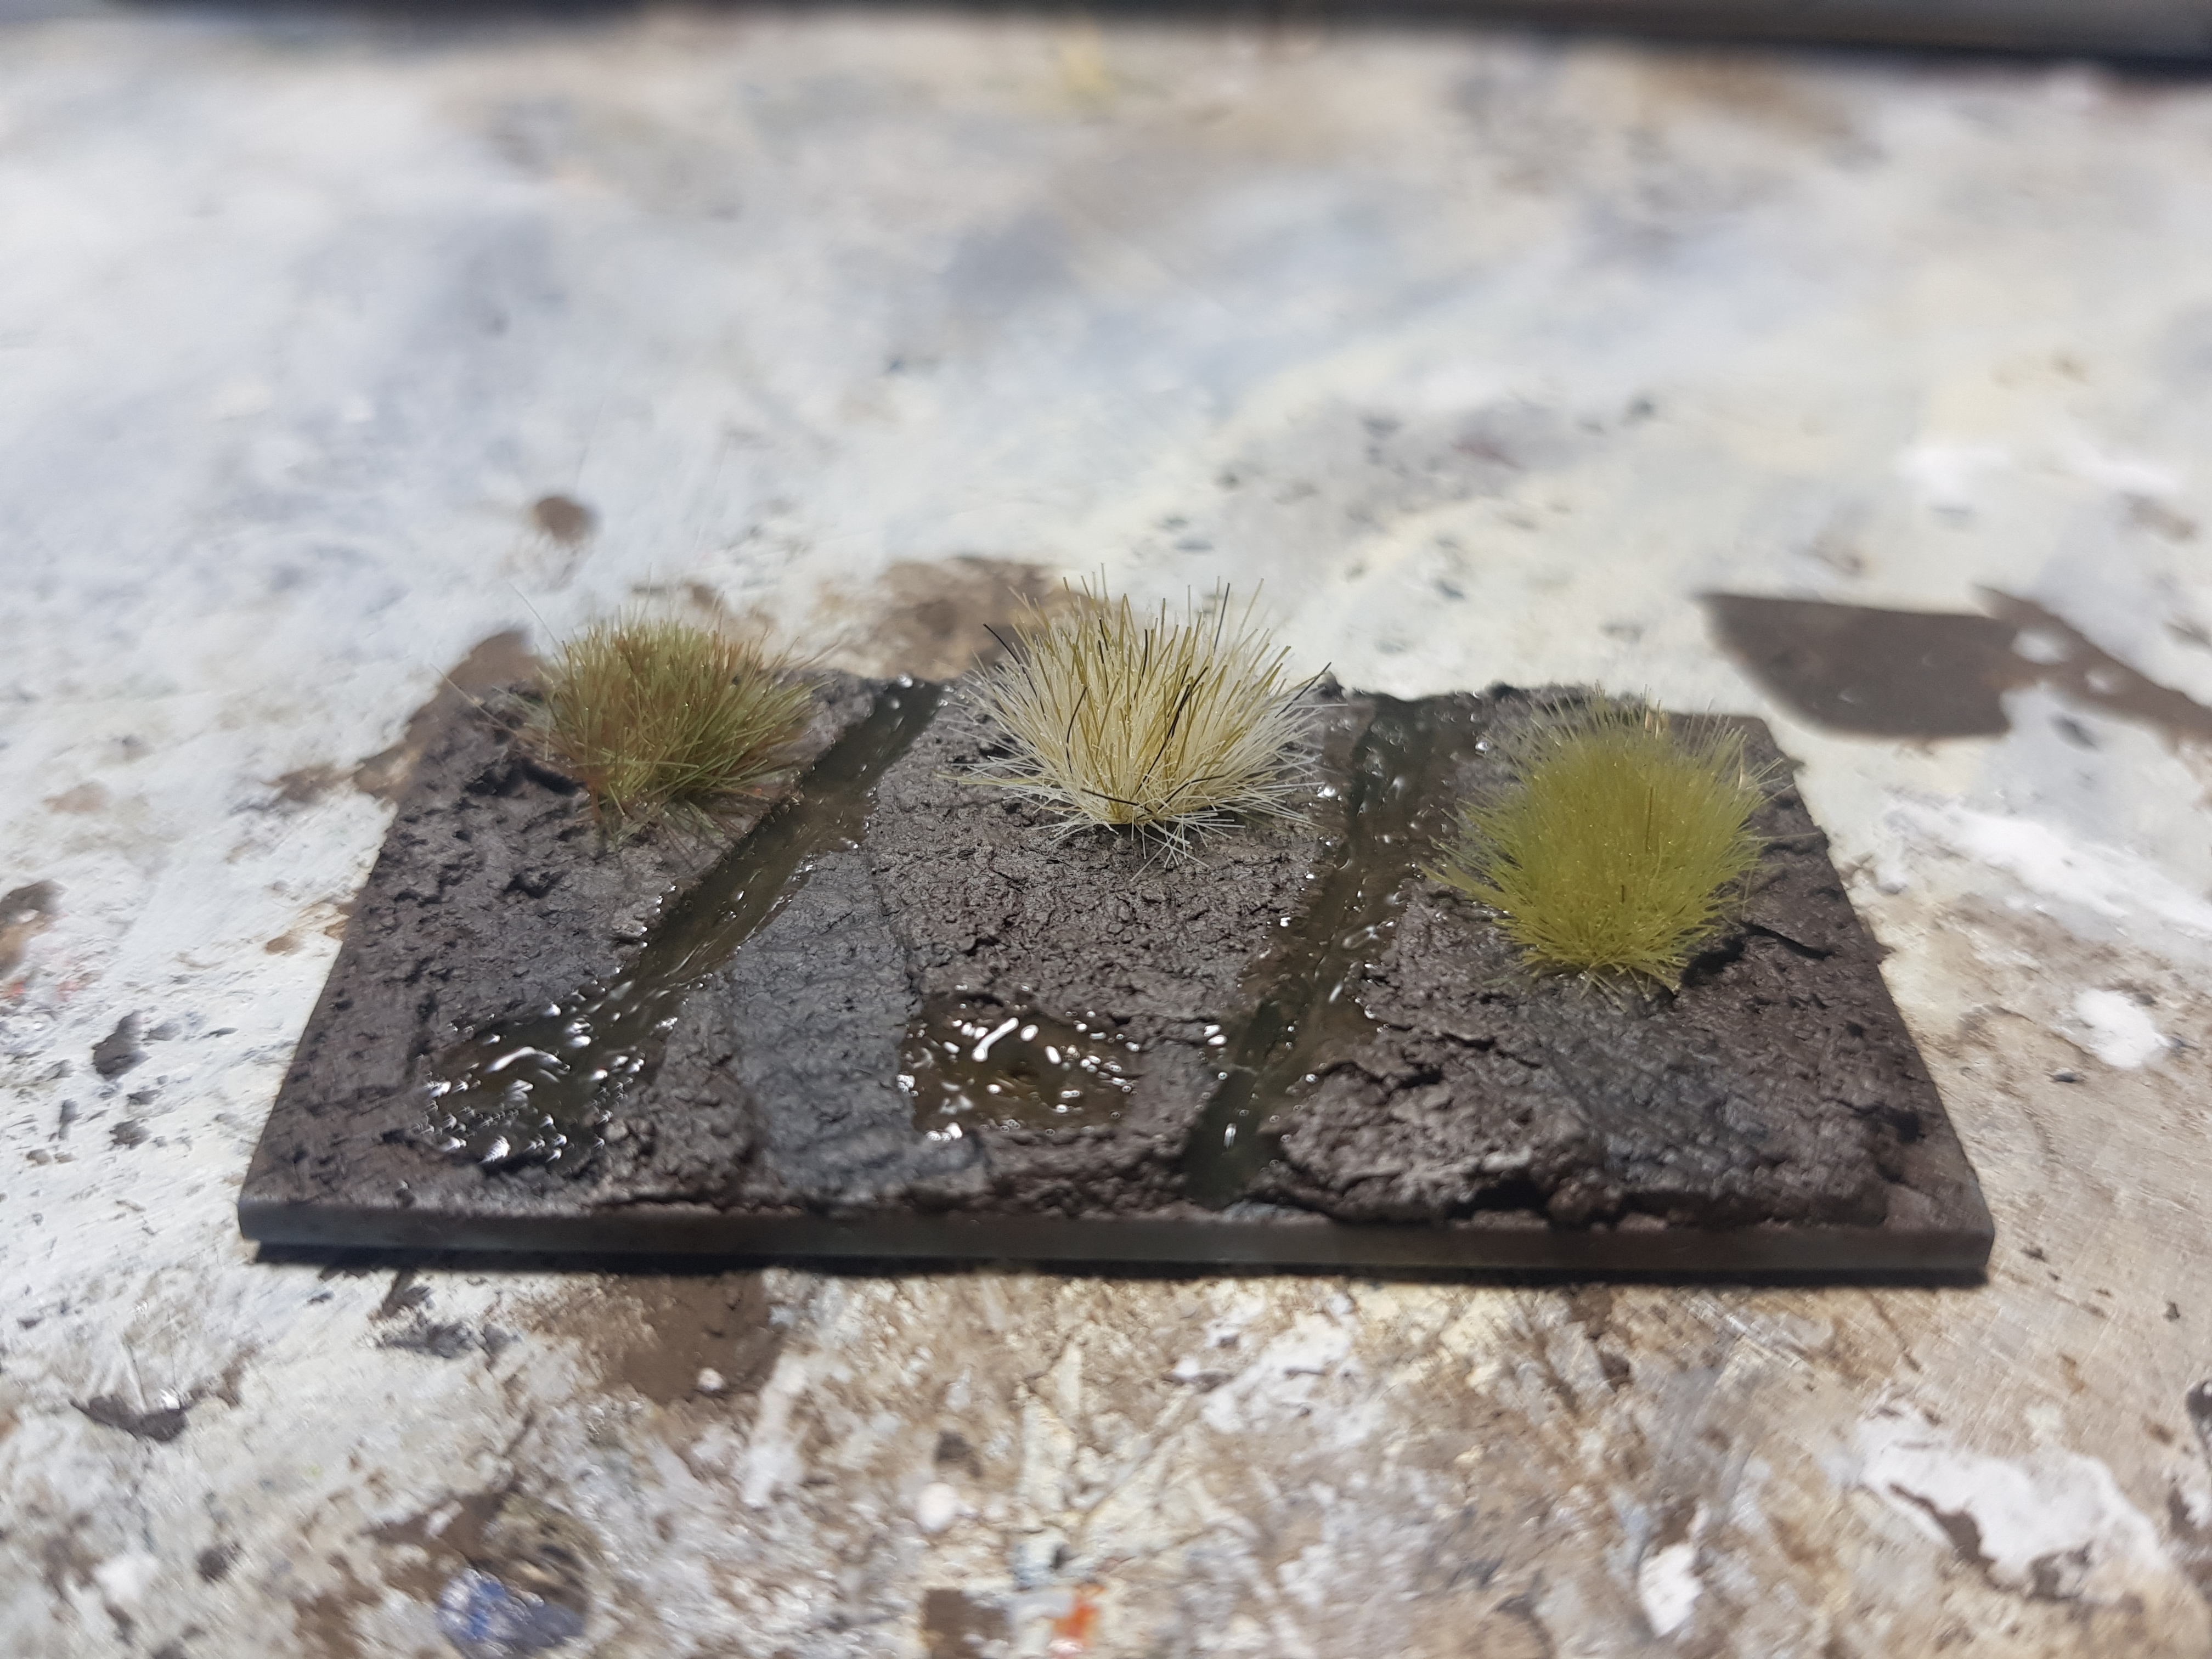
Muddlin' Puddlin'
So, here are the results of the last test. I was expecting the AK Interactive Diorama Puddles (AK8028) to shrink and it did a bit more than I was expecting, but that is fine. On the side of the tufts, I like the tuft on the left the most on this base, but when you look at my sources the grass should be a bit more dry. The summer in 1942 was really hot and dry causing issues to both forces.
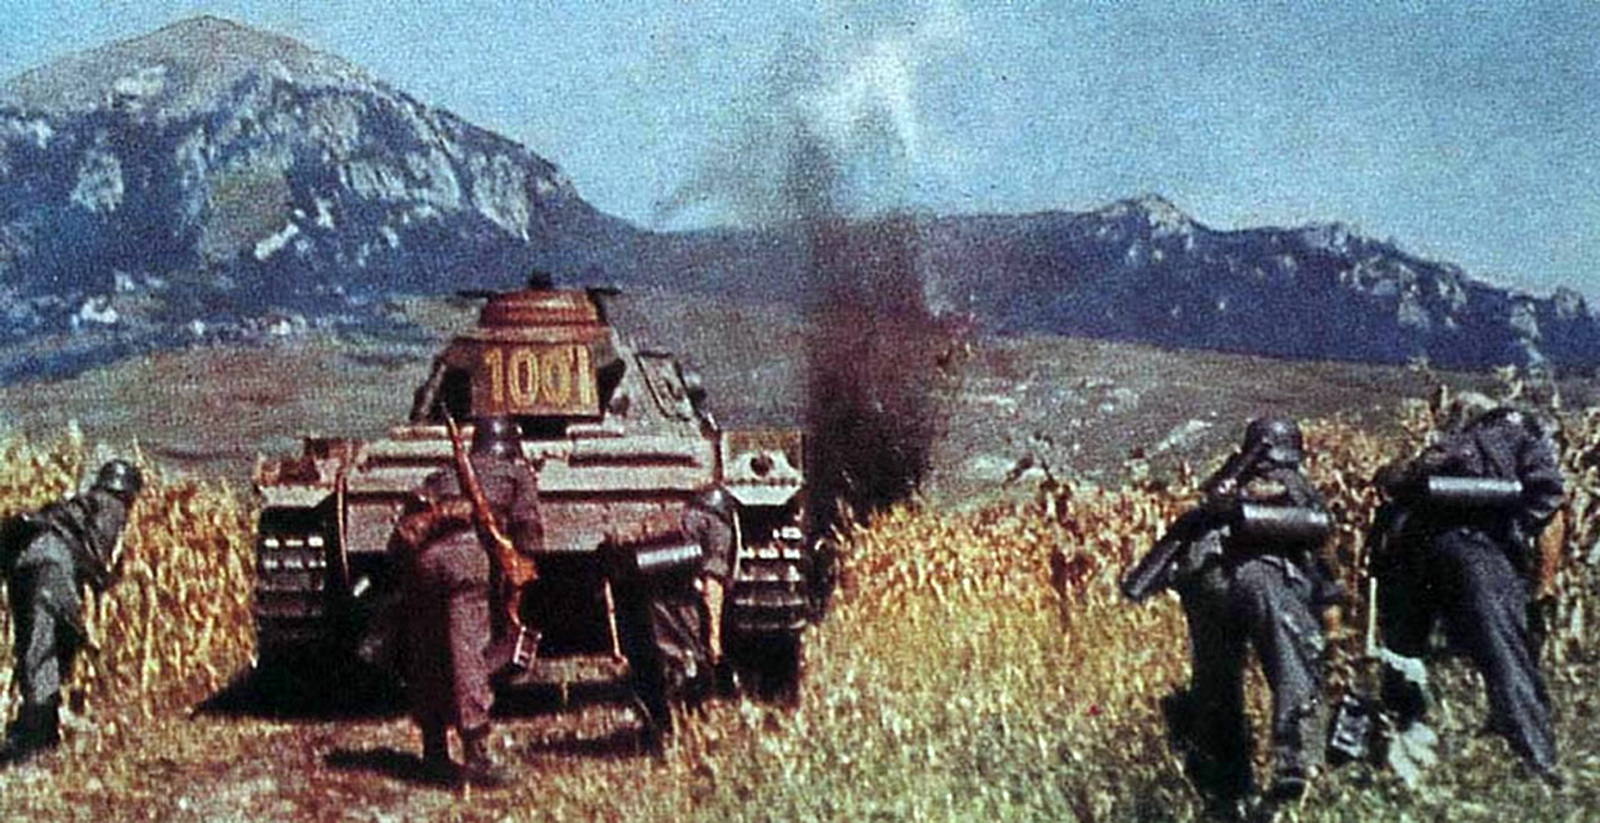
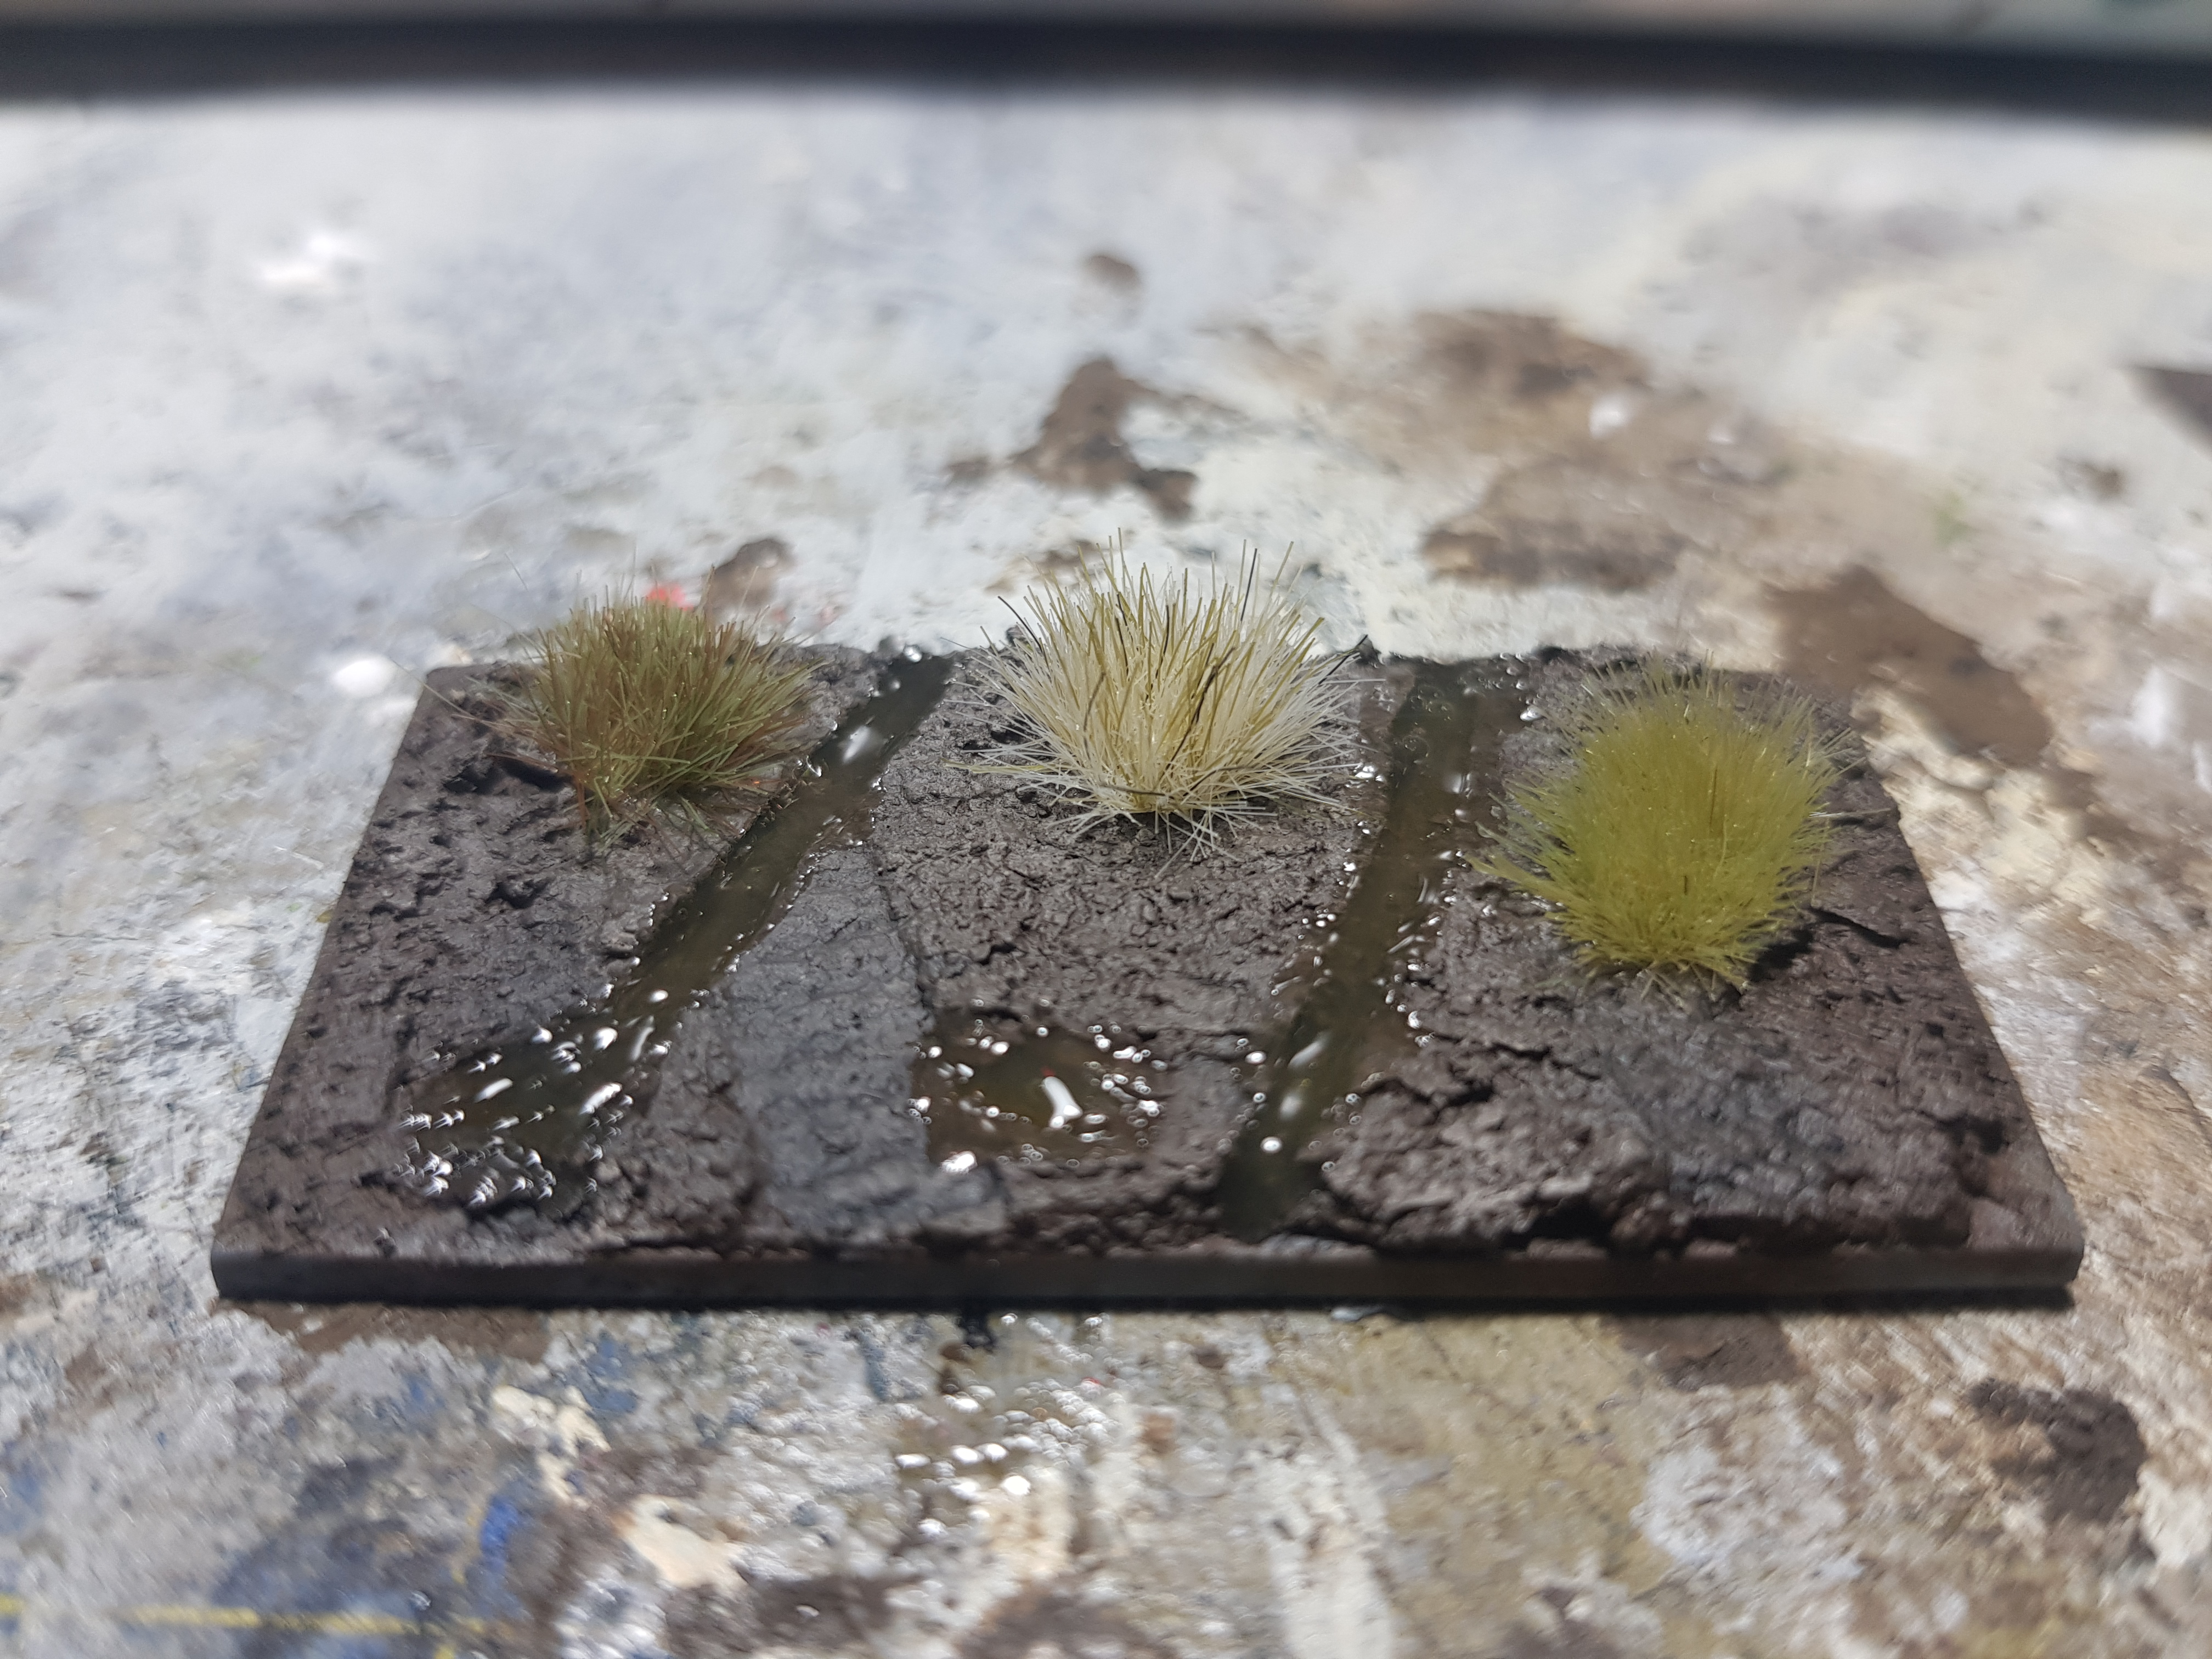
I grabbed a bit more AK Interactive Diorama Puddles (AK8028) and put it in the the sunken areas to fill it back up. I may have to do this several times.
On a side note, at the moment I really don’t trust myself with any fine detail work, especially not when it includes sharp objects like a hobby knife.
A little bit more basing.
Today was another challenging day, but I managed to get something done in the end…. So I grabbed base 12 as base 12 is best base.
I added a couple of drops of AK Interactive Diorama Puddles (AK8028) and spread them out using some little wooden pokey sticks, I can’t think of what they’re called. I know this will shrink a little so it doesn’t matter that they are a bit over the edges.

Then I grabbed a couple of different tufts, just to see what kind of colours work. I stuck those on using a bit of PVA as I usually do even though they are self-adhesive. We’ll see what I think when it has all dried.