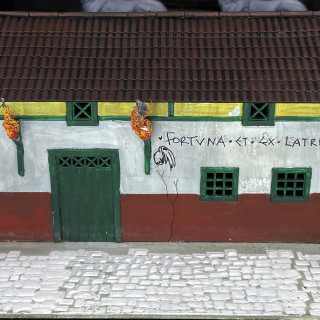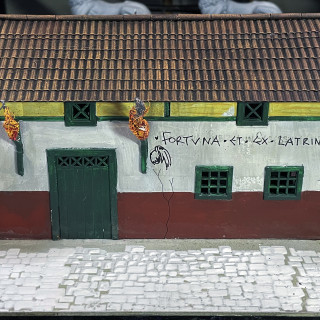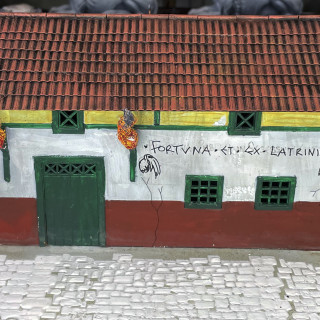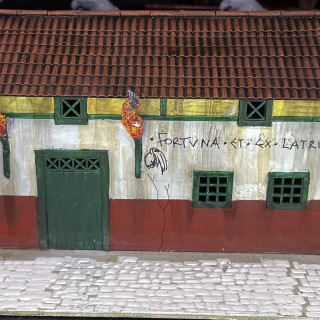
SanchoPanza Rides Again – ReVamping Gangs of Rome
Recommendations: 284
About the Project
Step into the streets and alleyways of the ancient Roman Empire. Those streets have become rife with carnage and unrest in these uncertain times. Gangs of brutal Fighters are used as weapons to exert the will of their paymasters. These paymasters, known as Domini, are ambitious heads of Roman households; as such a Dominus you begin your story in troubled times... Gangs of Rome is a skirmish game from Warhost/Footsore Miniatures and Games in which you will use unique fighters, pitting them against the gangs of rival Domini in both campaign and scenario play to earn influence enough to manipulate your way into the Senate. Then, as a Senator of Rome, you will be granted the power destroy your enemies with methods far greater than the sword. So hold on to your sandals and watch your back, Dominus! Things are about to get bloody… Now it is time for a ReVamp
Related Game: Gangs Of Rome
Related Company: Footsore Miniatures and Games
Related Genre: Historical
Related Contest: Spring Clean Hobby Challenge 2023
This Project is Active
The Idles of March
Quick Update on the Progress of Rome So Far
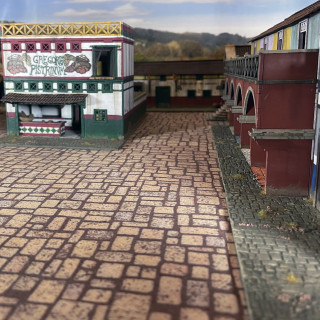
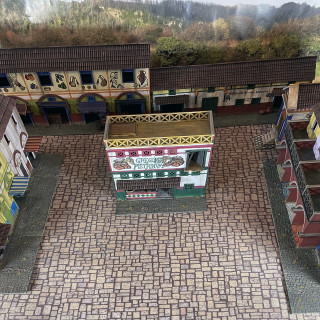
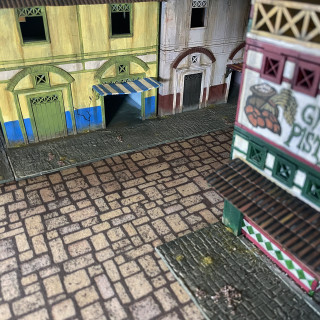
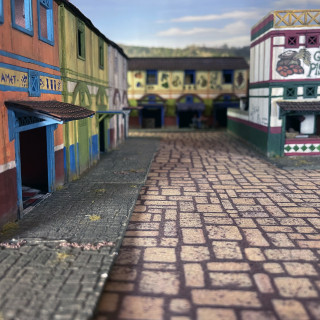
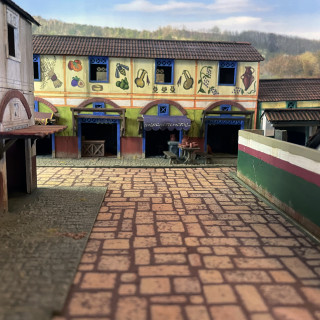
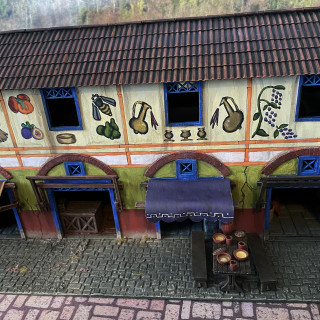
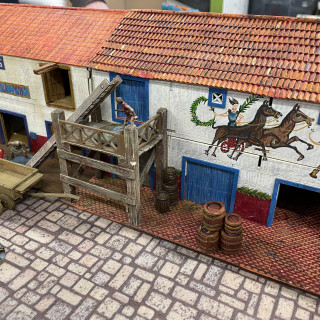
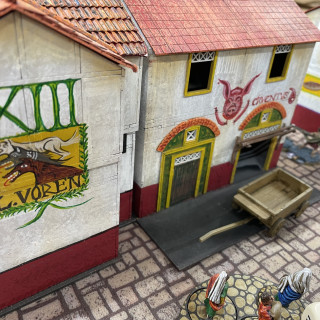
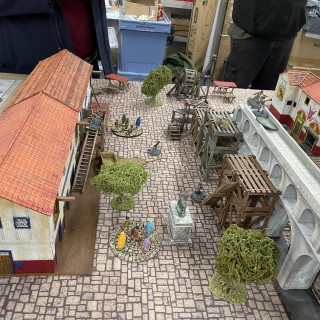
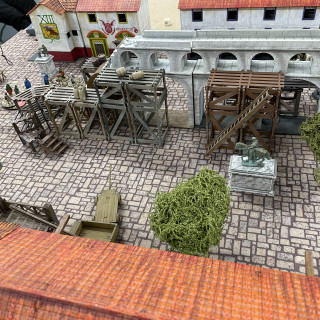
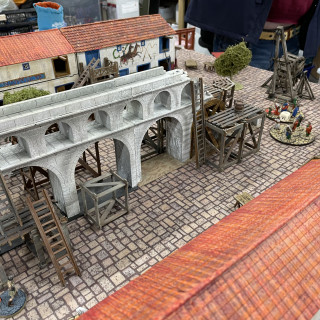
I am nearly the final stages of the first phase of my Gangs of Rome Project as I have complexed most of the buildings, just a Temple and two houses under construction to complete and a Aqueduct under construction to do. I am loving these Streets of Rome buildings from Sarissa Precisions as they are really helping in bring the city to life.
I know that some people say that the buildings can look a little flat, but remember that these are gaming pieces and you can add to the surfaces using texture and stencils, I think of them as starting blocks for you to bring to life. Personally I don’t have a problem with the flatness as it is the game that’s important.
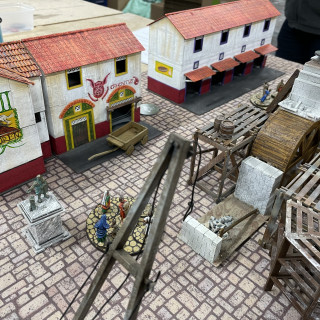
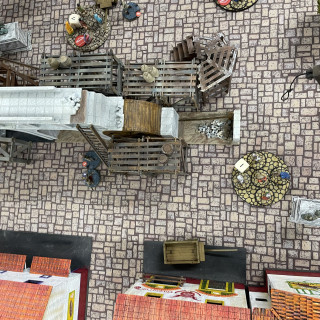
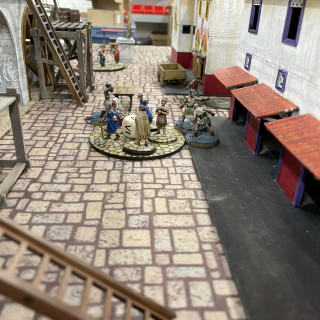
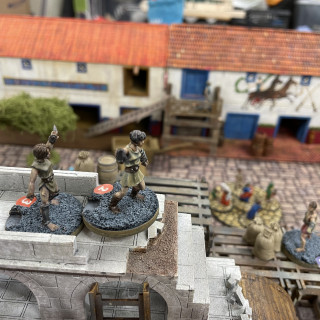
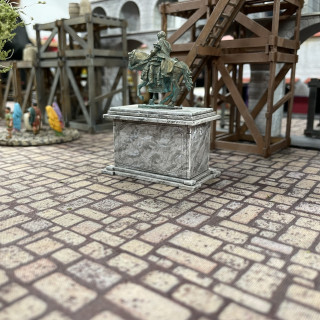
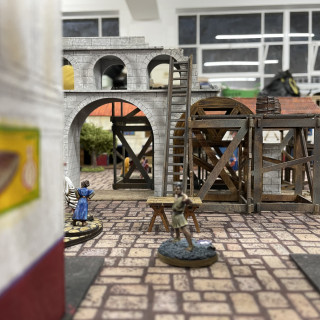
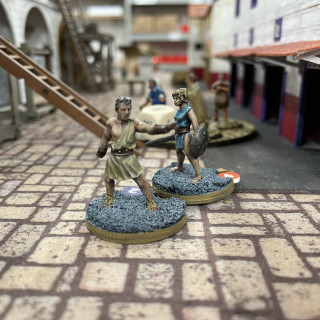
This is the first time I have seen all my buildings together and playing about with the board layout as is needs to be open enough for the game and especially the mobs to play in while still giving that feeling of Rome. What I like under the new version of Gangs of Rome is the fact that the playing table should be more open, you don’t need all your toys on the one table, and also the game doesn’t has to set in a urban environment, in fact the game is as happy do on Hostus Pompilius Torquatus’ rural villa or Cossus Atrius Galarius’ farm as much of Ratae’s Forum to the streets of the Avertine.
I am pleased, very much so, with the look and feel of the table so far and cannot wait to see it full assembled, with mobs and gangs running through the streets, demoing it for the general public.
What do you think?
Second Gangs of Rome Video Upload to YouTube
I have uploaded my second video on my Revamping and Upgrading my Gangs of Rome (Footsore Miniatures & Games) buildings by Sarissa Precision Limited to my YouTube channel PanzerKaput’s Painting School for Scoundrels.
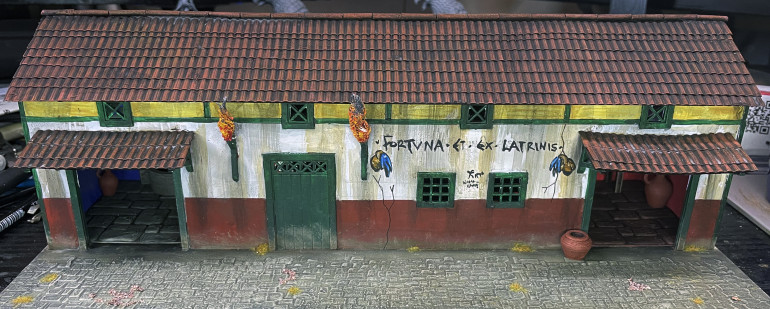
This time it is the turn of the Foricae, Roman public toilets.
I hope you like this video and if you do please like, share and subscript.
Cheers PK
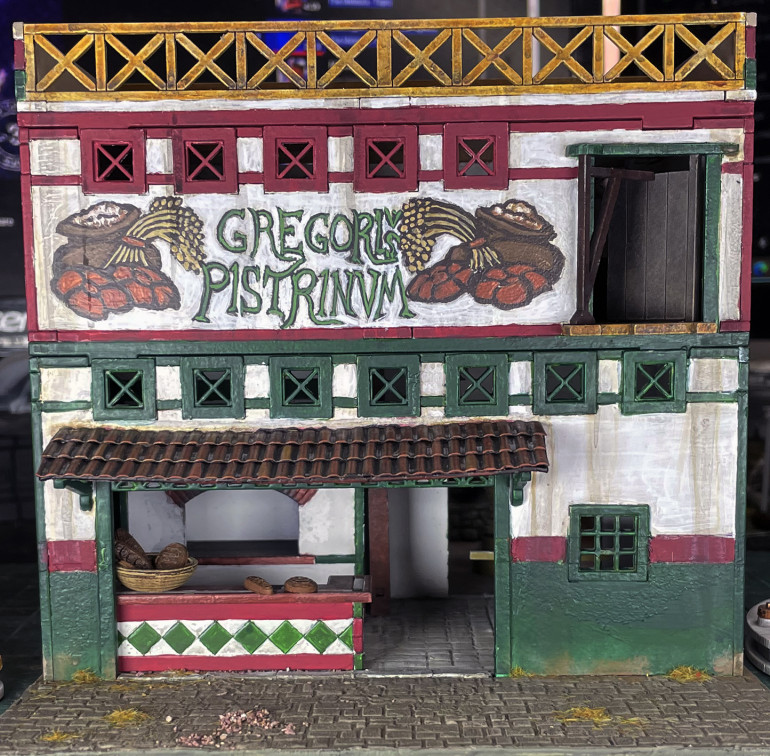
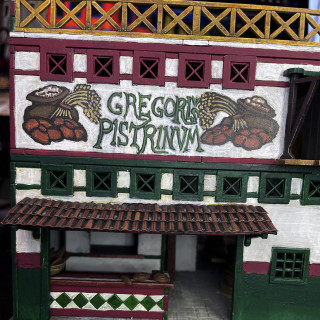
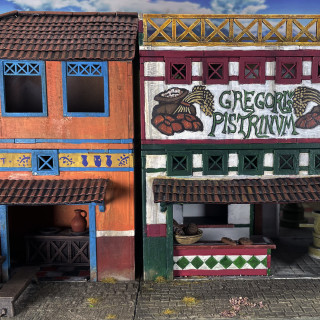
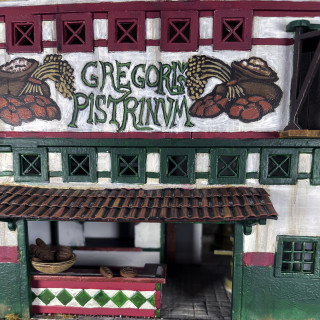
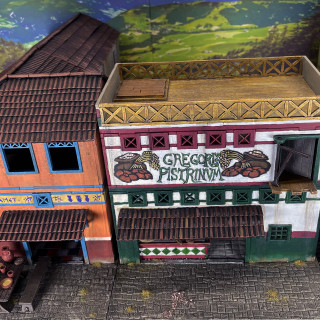
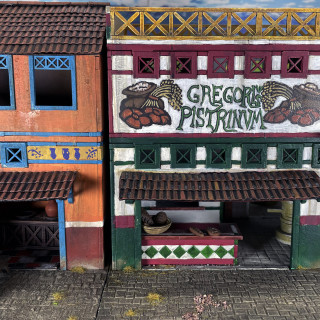
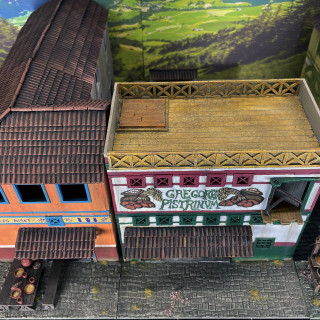
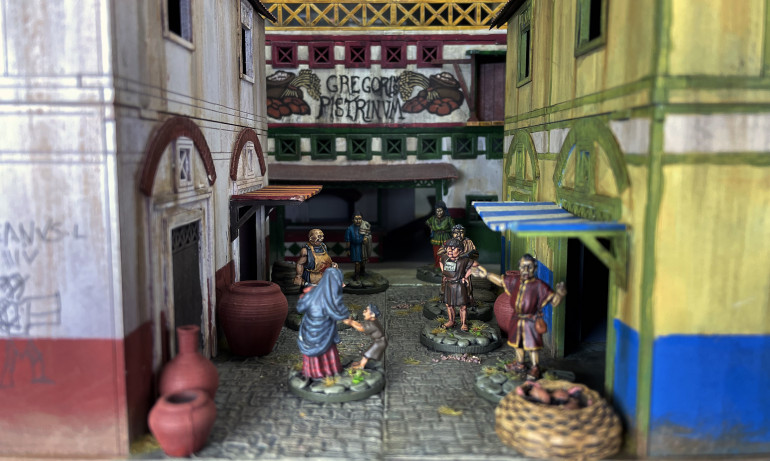
Gregorius Pistrinium, The Bakery
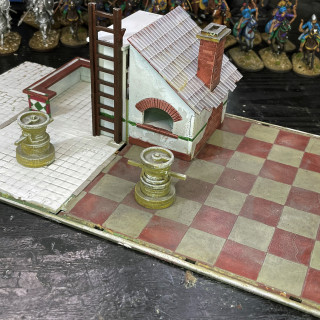
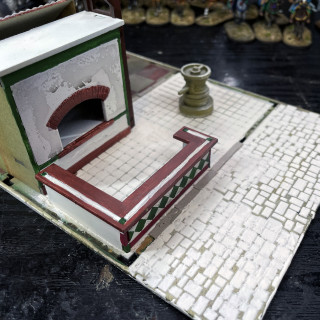
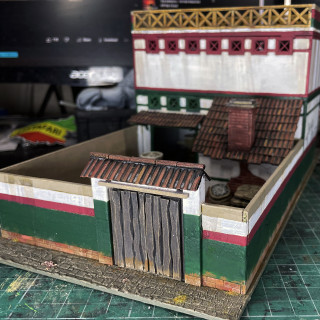
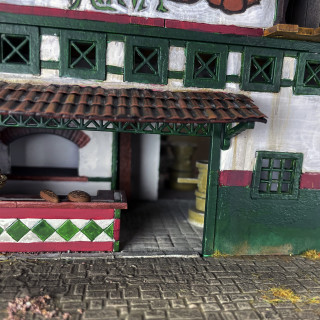
The next building on the on my Gangs of Rome revamp and upgrade is Gregorius Pistrinium, The Bakery. One of the most important buildings in ancient Rome the bakery, the Pistrinium, baking was a popular profession and source of food in ancient Rome. Many ancient Roman baking techniques were developed due to Greek bakers who travelled to Rome following the Third Macedonian War (171–168 BC). Ancient Roman bakers could make large quantities of money. This may have contributed to receiving a negative reputation. Bakers used tools such as the fornax, testum, thermospodium, and the clibanus to make bread. Most Roman breads were made using sourdough. The most common way to leaven bread was using flour mixed with grain.
The Romans had eaten porridge and baked bread for around six hundred years after the founding of Rome. In 171 BCE, during the Third Macedonian War, the arrival of Greek bakers established the first professional bakers, known as the pistores, in Rome. It was in ancient Rome where bread and pastries first began to be mass produced.
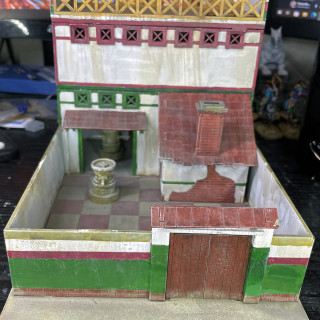
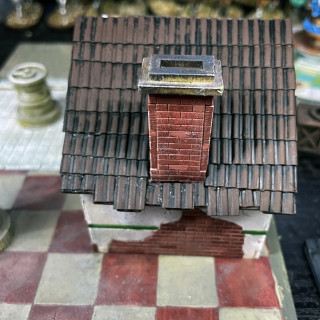
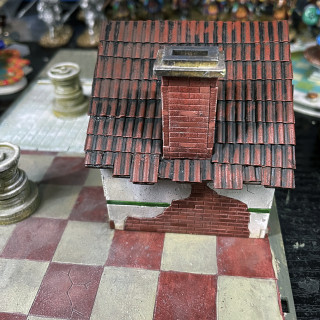
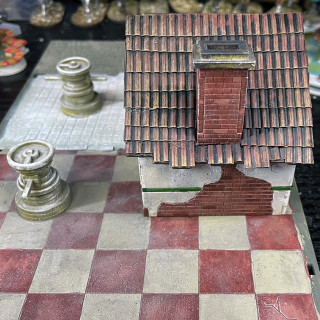
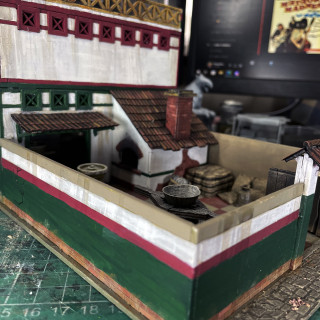
This is a lovely kit, again from Sarissa Precision, that has a full interior of the baking equipment, ovens and counter. Originally it was released as a part of the Bread and Circus’s starter box set for Gangs of Rome by Footsore Miniatures and Games, it was is need of some desperate TLC as needed the roof tiles upgraded to pantiles, the interior flooring added to, a pavement added and the doors updated.
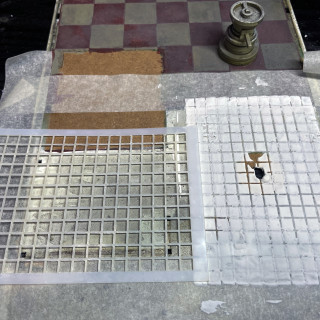
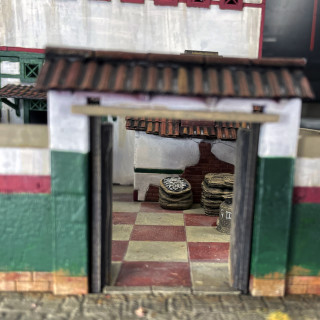
This was the starting building which was fine and serviceable but I now want to take it to the next level and make it looks the same as the other buildings I have done. So I gently removed the building from the base and started to work on the interior floor tiles using the Sarissa System Stencils and my General Purpose Filler and PVA mix. Basically masked the area off that I wanted to be tiled and then I place the stencil down other the area I wanted to texture and with a cake palette knife I smoothed the mix through the stencil and gently pulled up the stencil and little it dry before doing the area.
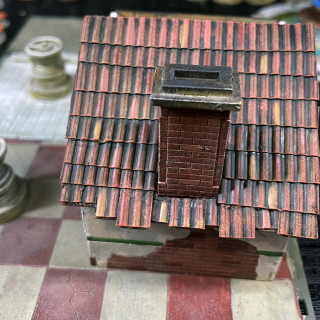
After finishing the floor tiles and pavement I started on the pantiles using the fridge liner sheets, cut into shape, glued down and overlapped to give the impression of roofing tiles. I primed the plastic sheets using Vallejo Black Polyurethane Primer as I wanted the paint to stick to it as these as waterproof and as I am using acrylic paint I wanted them to stick.
Then I drybushed the painted with Vallejo Game Colour Scorched Earth. Next I gave it a heavy drybush of VGC Terrcotta, followed by a lighter drybush of VGC Prague Brown and finally a drybush of VGC Tan.
I picked out some of the individual tiles using the same colours I had used for the drybrush to correct some interest and I applied a light wash of Vallejo Game Colour Black Wash, the Dipping Formula not the inks.
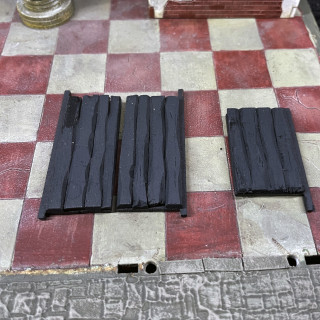
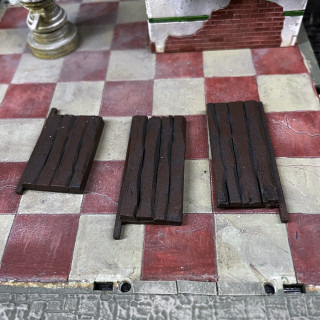
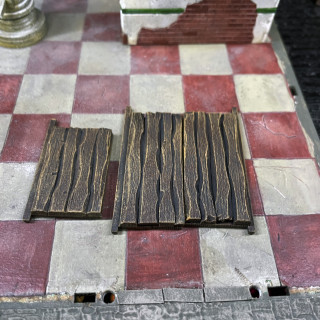
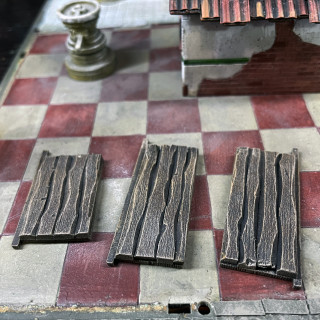
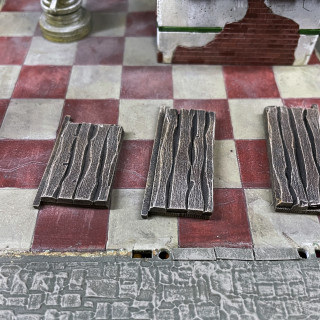
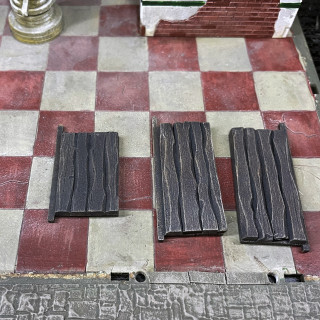
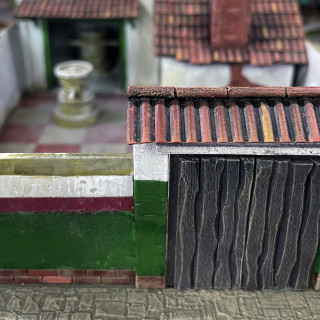
Next was the upgrade to the doors. Once side of the doors, the inside has not detail etched into them, makes sense as that is the side you dont see but I needed to add some texture and bulk to them so I cut some balsa wood in strips, shaped them and glued that down. Next I basecoated them with Vallejo Model Colour German Grey, but in hindsight I should of used VMC Black Grey.
Then I gave them a drybrush of Vallejo Game Colour Scorched Brown, next a drybush of VGC Plague Brown, then a drybush of VGC of Bronzed Flesh and a final light drybush of Vallejo Model Colour Pale Sand. Afterwards I applied a wash of Vallejo Model Colour German Grey and really should of used VMC Black Grey as it has a more greeny, softer tone to it.
PanzerKaput Rides Again, New GOR Video
New Video uploaded to my YouTube channel PanzerKaput’s Painting School for Scoundrels
This time is a departure from the Medieval and the Barons War and I go back further in time to the streets of Rome as i start a new project revamping and upgrading my buildings for Gangs of Rome (Footsore Miniatures & Games)
I have you like the video and if you do can you please click like and subscribe.
Thanks
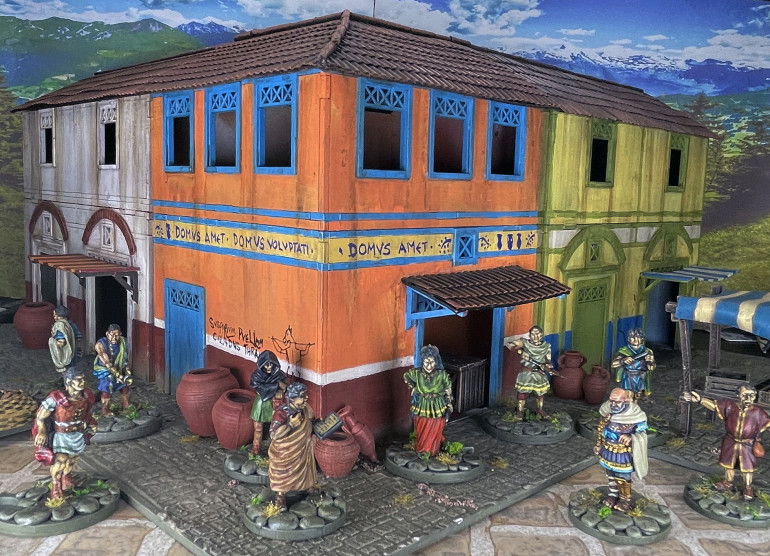
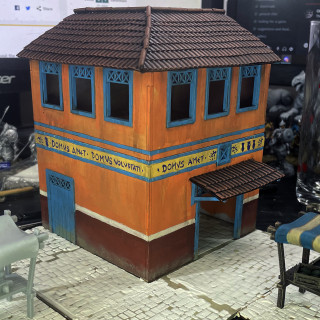
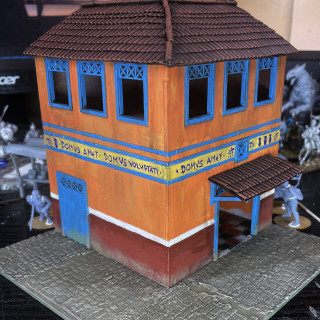
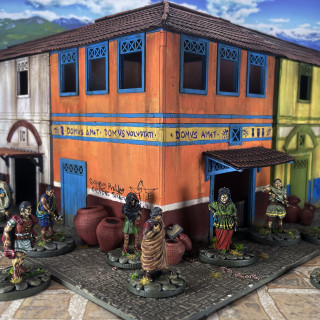
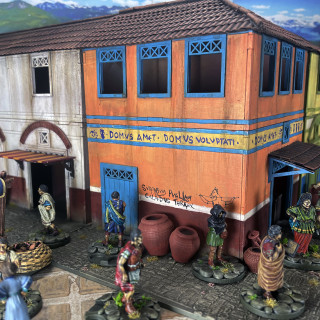
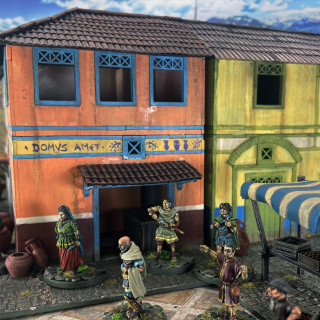
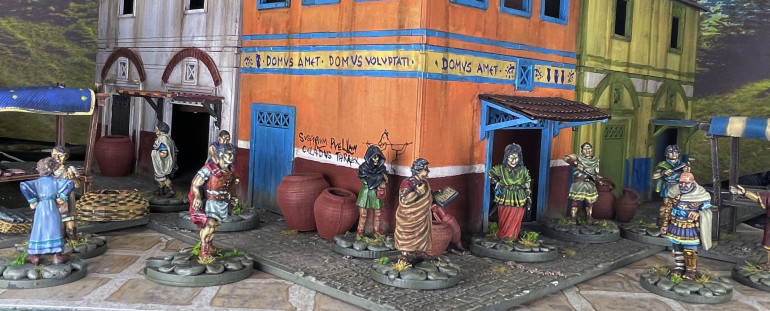
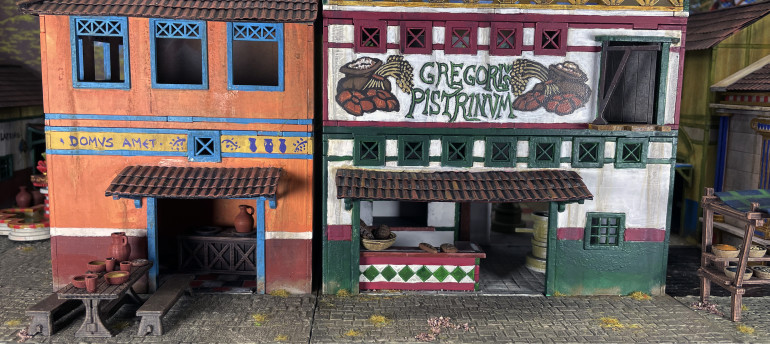
The Domus Amet, the Reading House
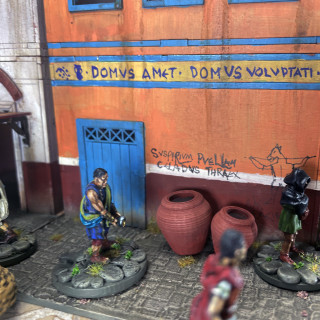
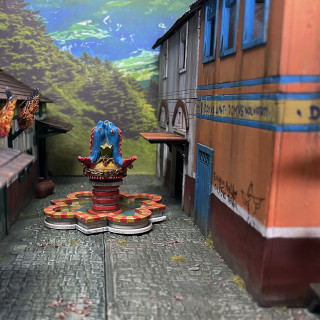
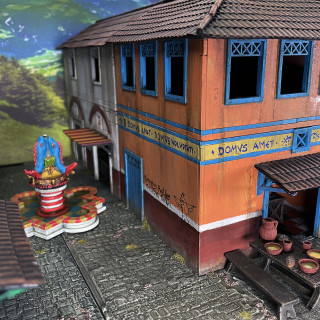
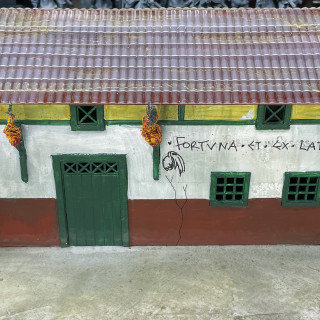
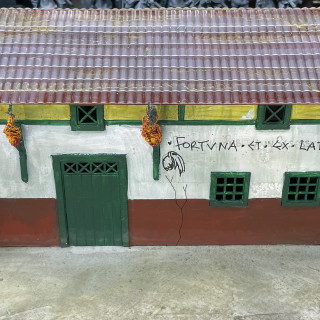
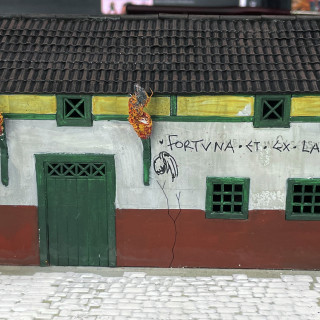
The Domus Amet, the Domus Voluptati, the House of Fun, a pleasure house where it is said that the ladies read to their clients upstairs, well thats the rumour, no hanky-panky in there, snigger, where the crowd taberna on the ground floor is full of men wait to be read at. The Domina of the house, The Lady Serena, keep the men in order and has been know to “help” with the readings too but is mainly found wondering around the taberna ensuring everyone is happy. The rumours as that she is a head of a crime gang but no one wants to ask her.
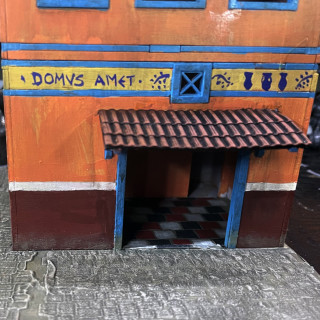
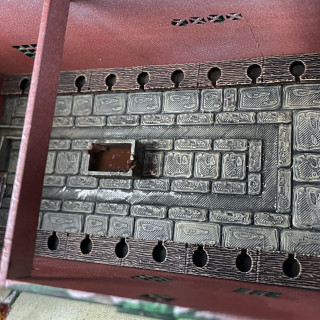
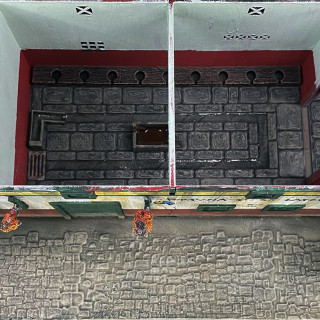
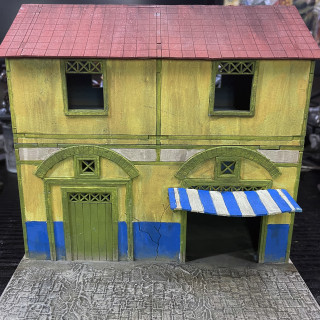
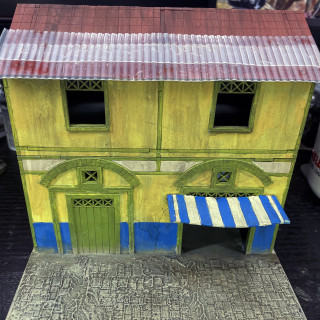
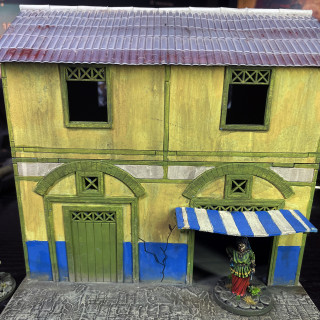
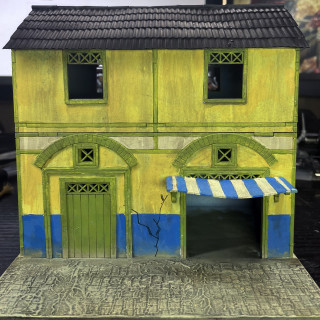
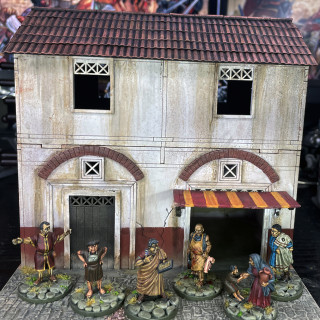
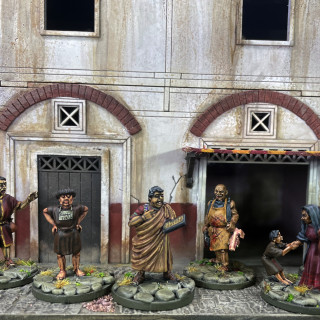
This is the fifth building that has been revamped and upgraded for my Gangs of Rome games and with an upgraded roof and pavement but also this time I have tiled the floor inside the taberna too. The building itself is from Sarissa Precision’s Streets of Rome range, and is called a Lower Rank Insula Corner and it is a lovely kit. Its goo to have these corner buildings as it means you can have these house blocks to add interest on the table.
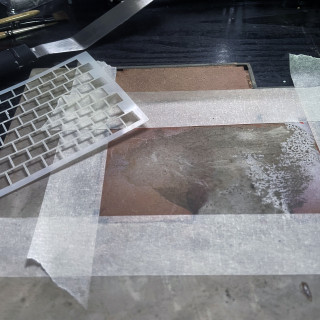
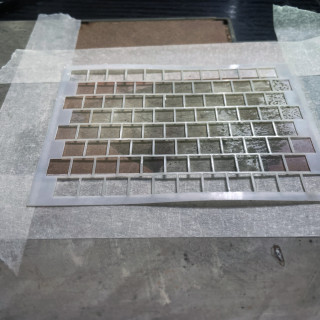
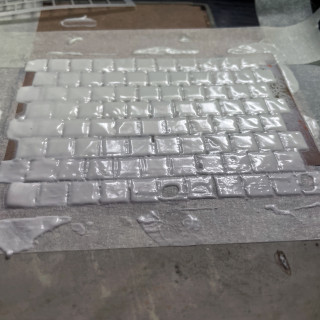
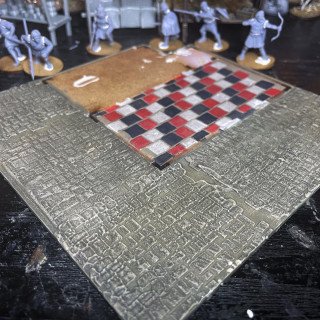
I have added the fridge liner pantiles to the floor and this time besides adding a pavement I also added a floor inside the building using the Sarissa stencils.
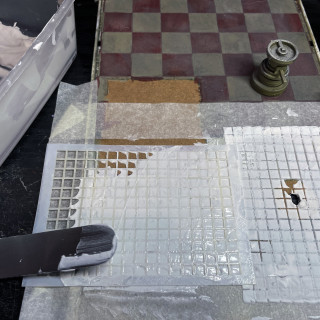
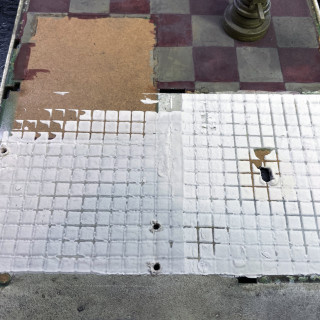
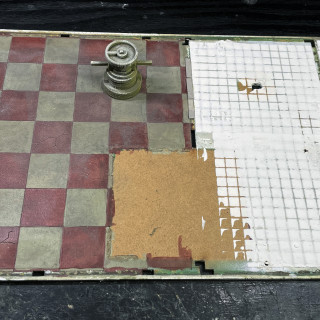
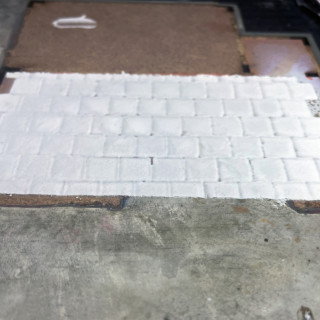
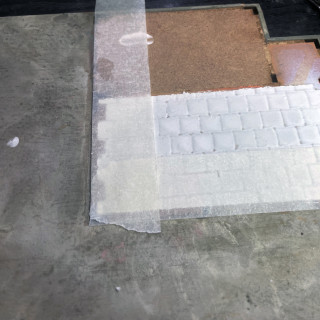
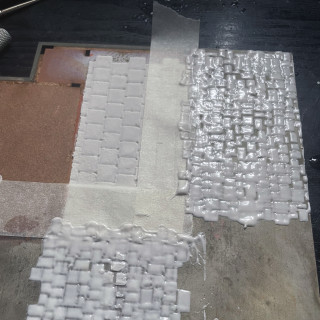
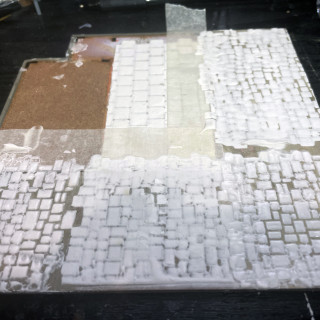
This series of pictures is showing the method used to create the tiling on the taberna floor. It is rather simple and the mixture I used was a woodfiller mixed as a bit of PVA to give it a little flexibility and strength. I masked off the area I wanted to be filled with the floor as there was a pavement to be added and you did not want it to go under the walls either, so left a gap there. I simply spread the woodfiller/PVA mixture, rather like spreading butter, ensuring the stencil is held down tightly, I actually use a cake palette knife, no hobby tax there, for this. Once spread I careful lift the stencil up and leave it to dry.
I did the same process for the cobbles/paving stones outside and then painted it to match my bases for my gangers for Gangs of Rome.
Test Sprues for the New Plastics for Gangs of Rome Kickstarter
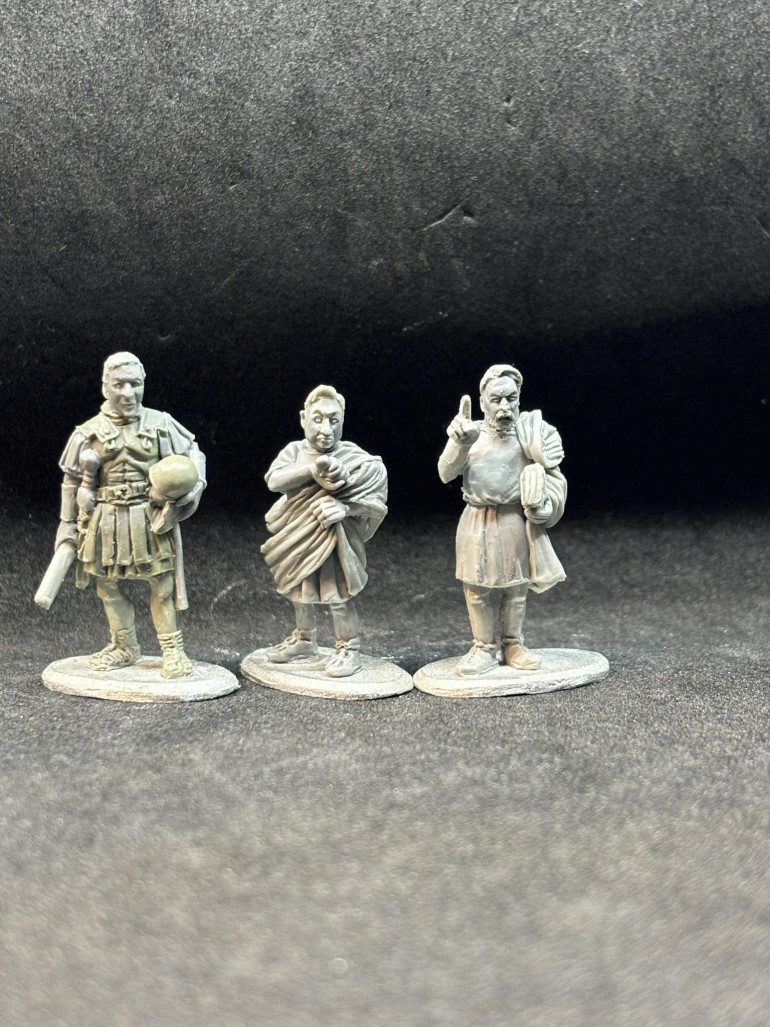
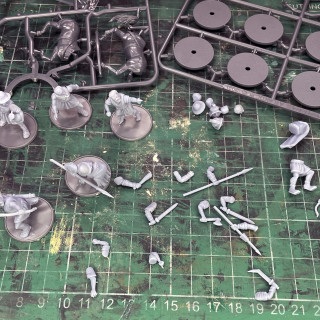
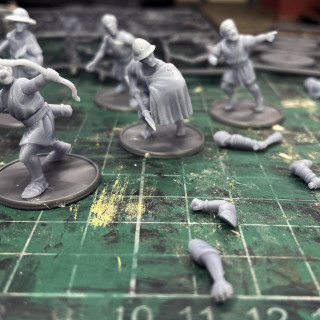
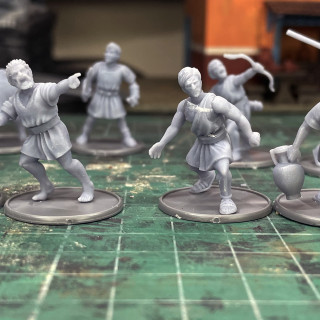
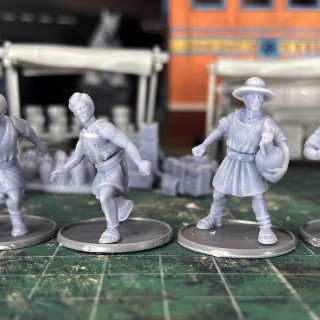
Well I’ve finished playing with the new test Sprue from Warhost’s and Footsore’s Gangs of Rome Kickstarter and they are great. Wargames Atlantic have really knocked it out of the park on these.
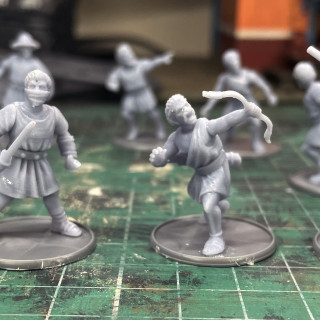
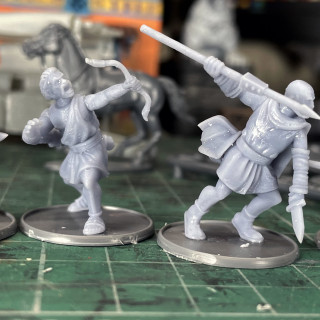
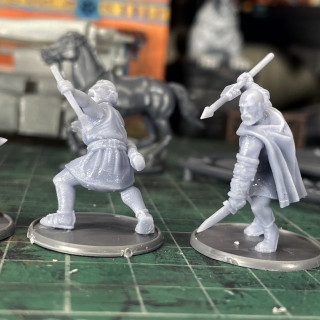
I love the choice of arms, legs, torsos and heads and the bewildering array of weapons and extras. I know that some will not make the Sprue but I hope the torso with the cloak moulded on and my favourite the cloak covering the left arm with a dagger in hand, you do rarely see that on plastics.
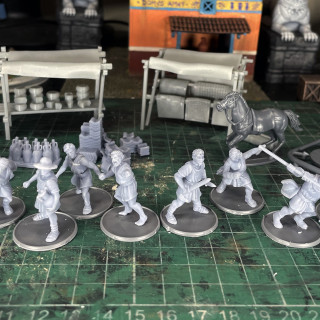
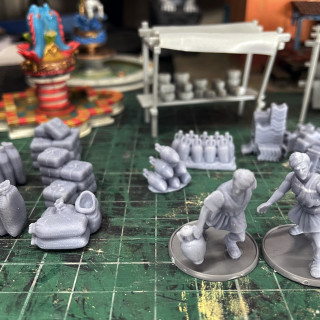
I have done eight guys, four as fighters and four as the mob/civilians and it is amazing just what you do with these and will be a great asset for the game. I hope the two amphorae arms make the final Sprue.
I really can wait for these to finally come to market and can see the possibilities of a Roman Slave army in the making for Clash of Spears as well of uses for fantasy games like the up coming Barons’ War: Goes Fantasy and Kings of War.
For the eagled eyed of you, there are some pantiles stacks, amphoras and bails markers that can be throw in the game of GoR.
Streets of Rome, (Completed So Far)
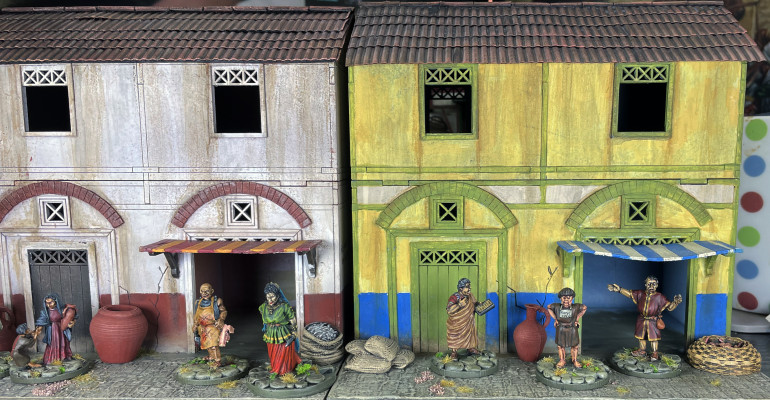
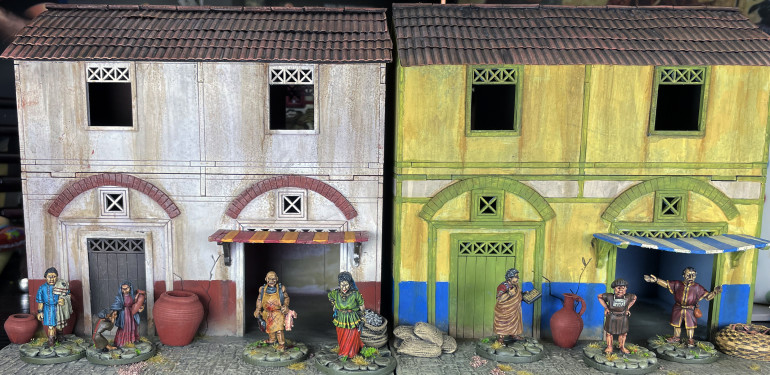
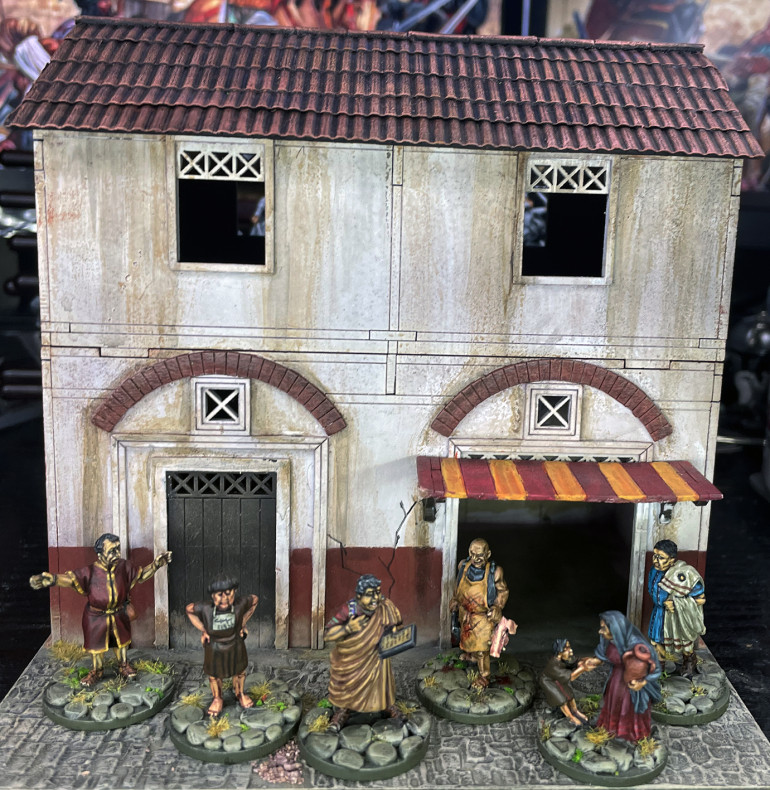
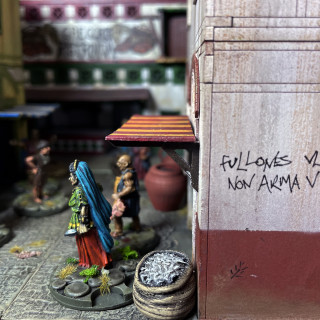
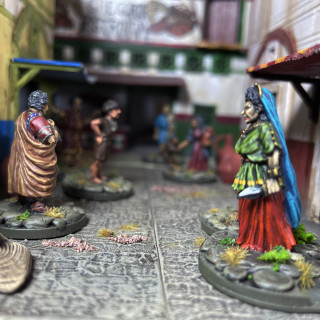
Here is a progress report on all the buildings I have revamped so far for my Gangs of Rome streets. For the eagle eyed amount you, you might noticed that there are actually six buildings showing in the pictures that have been revamped and upgraded but so far you have only shown 4 buildings so far. Well, I better sort out the other too revamps really quickly, lol.
What do you think of the progress so far?
We have so far revamped
Two Semi Detched buildings,
One Lower Ranked Insula Corner building (To be shown fully),
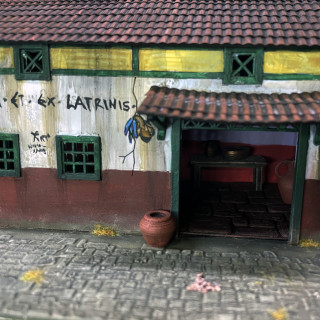
One set of Workshops, which have been converted in the foricae, public toilets and a toga shop,
One Roadside Shrine/Mausoleum/Temple,
One Bakery (To be shown fully).
This actually means I still have a number of buildings that still need upgrading and revamping.
One row of Lower Ranked Shops.
One row of Middle Ranked Traders.
One Large Temple/Civic building
Two maybe four Insulae Under Construction..
All buildings are from Sarissa Precision’s Street of Rome range and they are lovely kits.
I am really enjoying this project and creating a new improved table to demo, Gangs of Rome 2 on.
The Temple of Apollo, Revamped and Upgraded
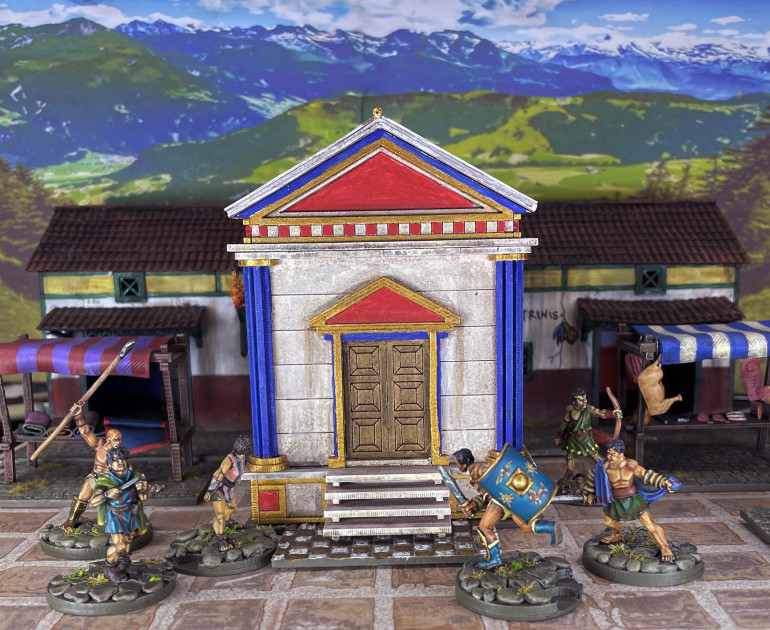
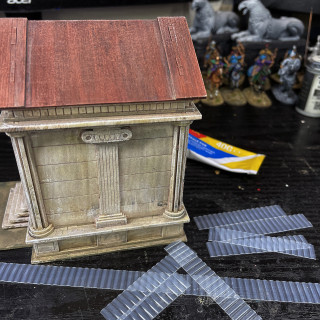
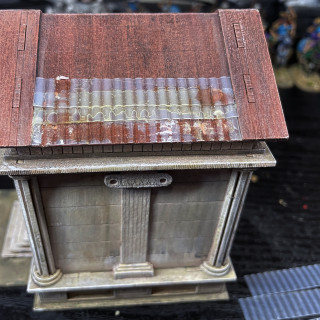
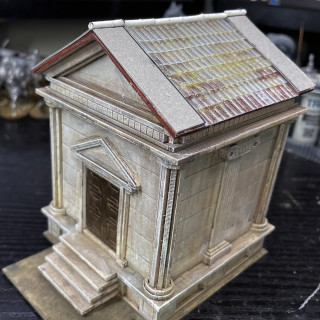
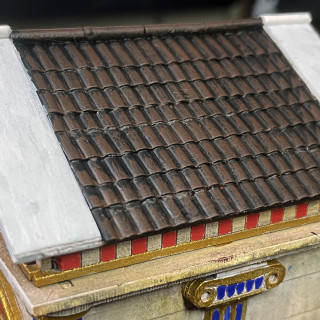
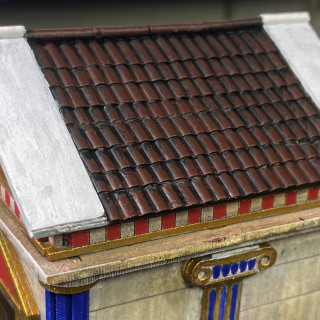
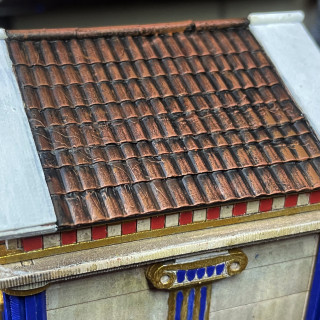
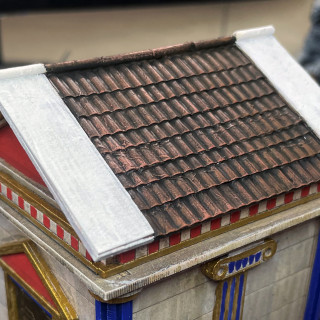
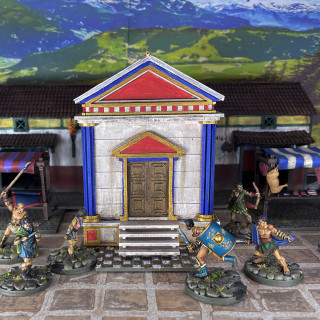
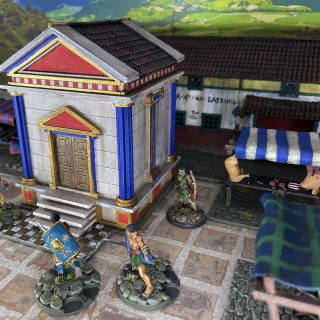
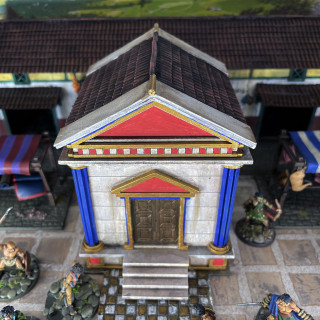
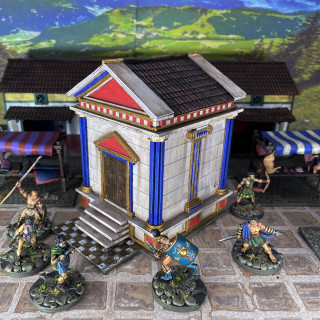
The next building on the list for upgrading and revamping is Sarissa’s Roadside Shrine/Mausoleum and I have created this and dedicated to Apollo, but really it could be any of the Gods. This is a lovely small building but a really fun build.
The first image is the starting block with it all painted but I need to revamp to roof.
The second image is the start of apply the fridge liners to the roof to for the pantiles.
The third image the roof is fully tiled and I have cut some card to raise the front and rear of the roof of the temple and cut some cotton buds poles to use as the ridge tiles.
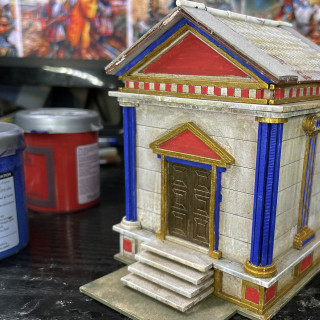
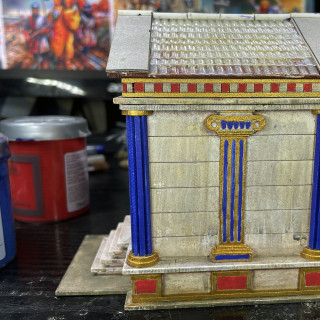
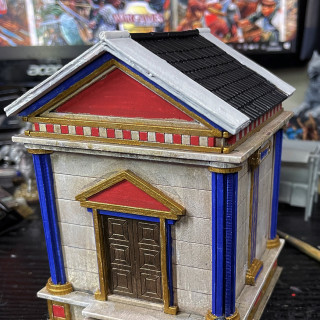
Next before painting the roof I revamped the temple wall to add some colour as Roman and even Greek temples used a lot of colour on them, so I went for red, blue and gold to bring out the details.
I started to paint the roof starting with the pantiles. So I primed the fridge liners with black primer.
In the first picture I drybrushed Vallejo Scorched Earth over it.
In the next image I drybrushed Vallejo Game Colour Terracotta to give it that rich red tile colour.
I then did a light drybrush of Vallejo Game Colour Tan to add the highlights.
I then I washed the tiles with Vallejo Game Colour Black wash and then their Sepia wash to add a rich reddy brown colour.
I then using the same washes for the tiles I gently weathered the temple and added some gold to the ridge tile to finish it.
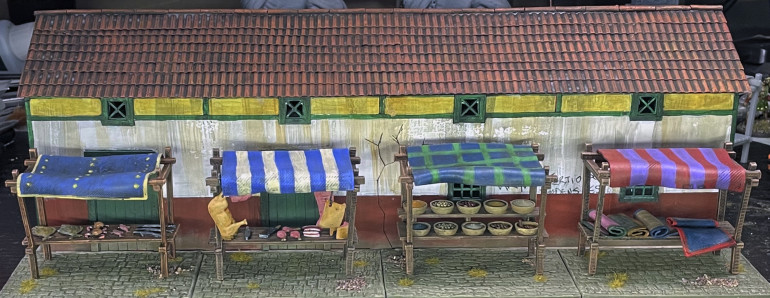
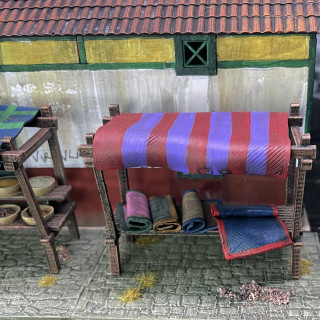
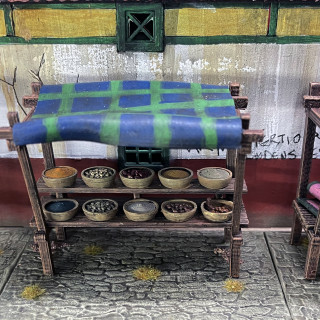
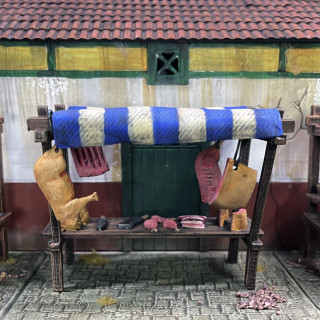
Upgrading Market Stalls
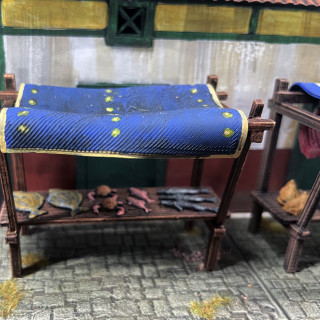
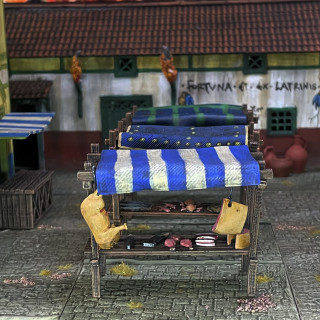
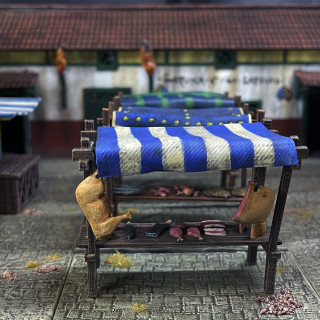
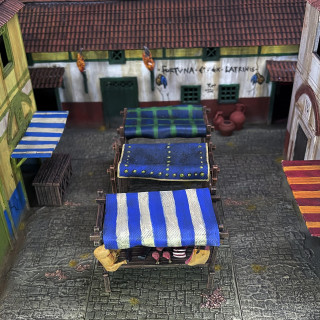
Not just buildings I am upgrading but actually its the whole of my Gangs of Rome collection, so I have decided to show some love to the Market Stalls. Original I decided that I was not going to have them on bases so they can match the mate they are on.
But now after revamping some of the buildings and adding a pavement to the front of the shops, instead of the plain painted front I did before I have opted for the same for these.
So I used the Sarissa Stencil System, smoothing a polyfiller/PVA mix through the stencils and painted them to match the pavements in front of the buildings. I have it was the right thing to do as it brings some stability to the stalls and also means I can now add some other boxes and stuff to the bases.
The Market Stalls are 3D prints from Iron Gate Scenery
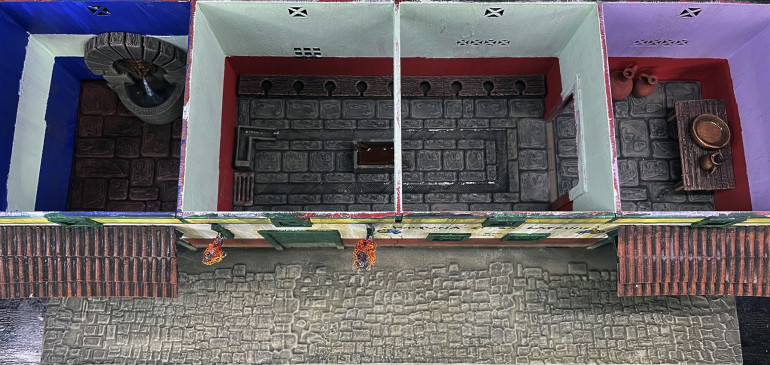
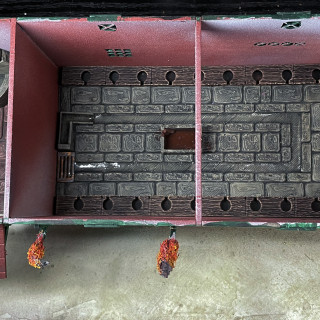
Upgrading and Revamping the inside of the The Foricae
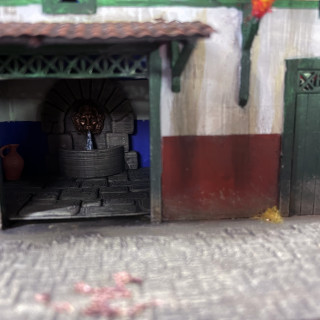
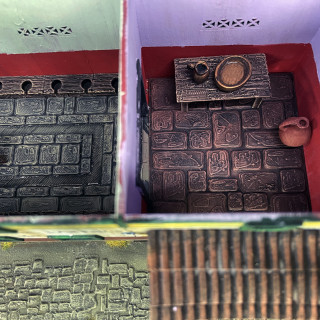
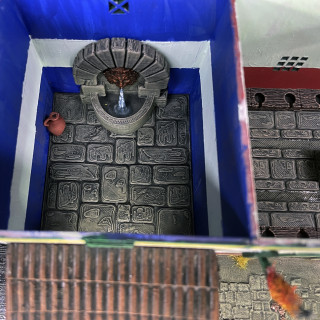
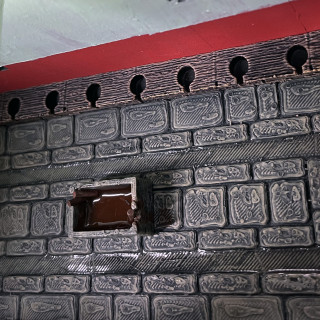
I have do all of the outside of the building and now to make it a little better I have decided that the insides need a facelift too. I have added some details to the inside and gave the walls a lick of paint.
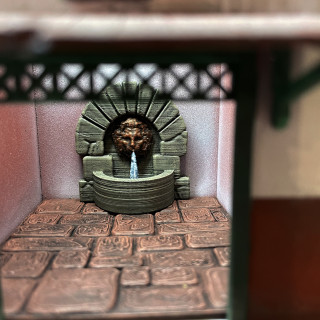
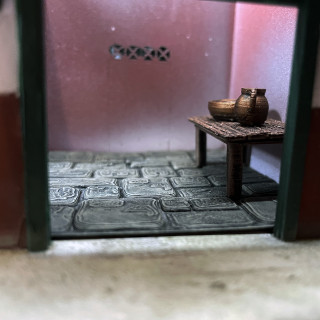
The room with the drinking fountain might change into a towel, cloth toga shop and the drinking fountain be moved to the toilets first room.
The first set of images are before the revamp
Next set of images are after the revamp
The Third Building Upgraded, The Foricae
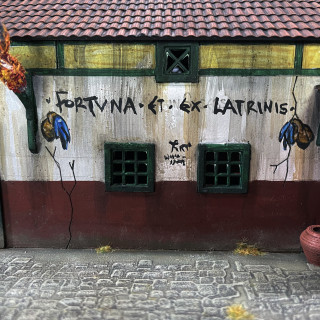
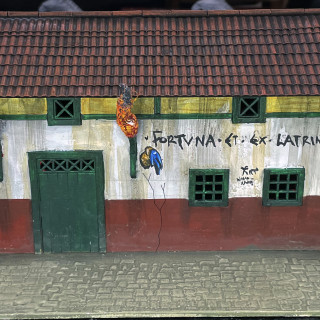
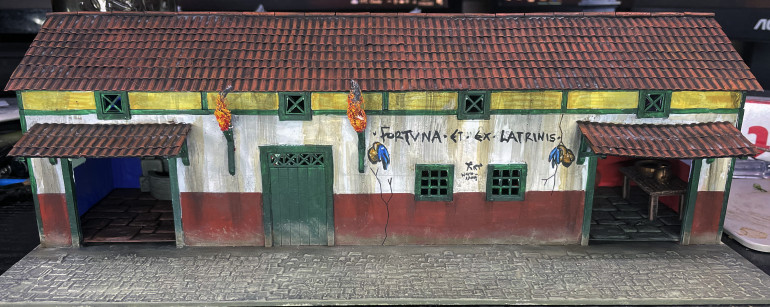
This is the third building in the series and many that I have upgraded and revamped to hopefully improve the look of it. Dating back to the 2nd century BC, Roman public toilets, often built with donations from charitable upper-class citizens, were called foricae. These toilets consisted of dark rooms lined with benches dotted with key-shaped holes placed rather closely together. Romans therefore got pretty close and personal while using the foricae.
They were also never far from a large number of vermin, including rats and snakes. As a result, these dark and dirty places were rarely visited by women and certainly never by rich women.
Elite Romans had little need for public foricae, unless they were desperate. Instead, private toilets were built in upper-class homes called latrines, built over cesspools. Private latrines probably also smelt awful and so many wealthy Romans may have just used chamber pots, emptied by slaves.
I have upgraded the roof to add the fridge liner ribbed sheets for the tiles and have added a pavement using the Sarrisa stencils and a Polyfiller and PVA mix, to give it that 3D feel.
The first picture is before the upgrade.
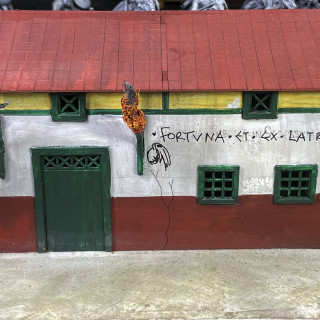
The next picture we are starting to glue and lay the fridge liner tiles to the roof.
The third picture is more tiles added.
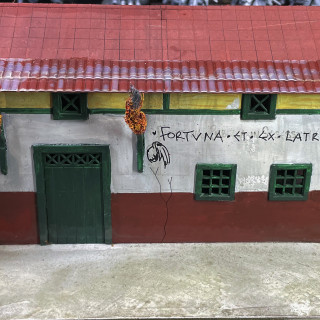
The fourth picture is the completed tiled roof.
The fifth picture has the ridge tiles being added.
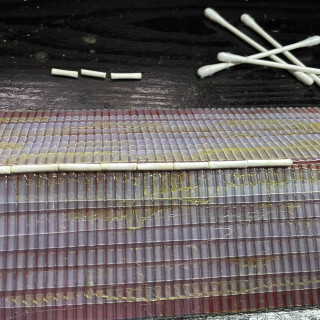
The sixth picture shows what is used for the ridge tiles, the tubes from cotton buds, cut in 2 cm or so lengths and glued along the top of the roof.
The next set of pictures is how I painted the roof, which is very simple.
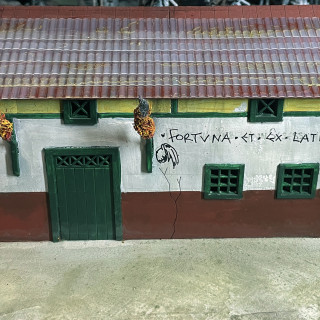
In the first image the tiles are primed black.
The second image I did a heavy drybrush of Vallejo Game Colour Scorched Earth
The third image I drybrushed Vallejo Game Colour Filthy Brown.
The fourth image I drybrushed Vallejo Game Colour Terracotta, to get it that red clay tile feel.
The fifth image I drybrushed Vallejo Game Colour Tan to highlight it.
The sixth image I put a wash of Vallejo Game Colour Wash first black and then sepia to make the colours richer.
Whats Different Between First and Second Edition
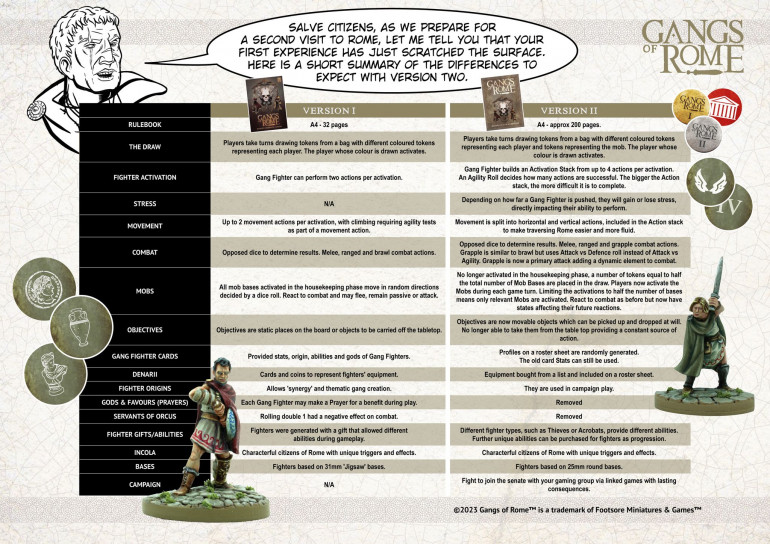
This simple diagram helps explain the main differences between the games
First Playtest Day of Gangs of Rome Two
Had a cracking day playtesting the new Gangs of Rome, second edition rules and I am loving them. It’s the same basic game but with a get new mechanic for doing activations. It totally changes the game with its risk/reward mechanic for the better.
Well, I played the new version, and wow, small changes but a significant impact on the game. This edition is a real improvement. I love the Action Stack system for activation, where the greater the risk, the greater the reward, but also the greater the failure. I believe the new stress mechanic simulates the stress for the ganger and the player, and the new movement actions make the game flow easier. In short, this wonderful game plays even better.
It was an honour to play with the great Dicky Boyds buildings and they are amazing.
I would love to say more but instead have are some pictures of the day.
Second Building and Guide to Roofing
I have finished the second revamped building using the EVA plastic fridge liners from Amazon and I think they can out much better than the corrugated cardboard as they are much strong and sturdier.
Here is a link to the ones I have used. Fridge Liners
I cut them into 1cm wide stripes and laid then down so the next layer overlaps the layer below. Now these are not the best representation of Roman Pantiles as there is a short flat part between each rib but they are much better than the plain MDF roof from before.
Below is a small guide showing just how easy it is. I use contact adhesive to glue them down but it is messy, as PVA takes a day to dry.
The first image is the building before the revamp and see the roof has squares etching into it. I used these are a guide to help with placing the new tiles.
The image shows the EVA tiles placed and overlapping each other. With these tiles I actually cut them to 2cm in width not 1cm.
The third image shows them fully tiled.
The fourth shows them primed ready for painting. I have cheap car primer so the paint to stick to the plastic and not tub off.
The First Building
This is the start of the revamp journey but I have stupidly forgot to record the progress, but it was a test, I have recorded the progress on the next buildings.
I was actually very pleased with the results and now have decided that all my buildings need the roofing and street pathing revamp at the very least and the grime and dirt added to try the buildings together.
The Start
I have build all of my buildings for Gangs of Rome and I have to say i was very please with them, but after 5 years and with fresh eyes, there are things that I was not totally happy with.
The first of these was the roofing. I have always wanted a better, nicer, a more realistic roof for the buildings rather than the plain MDF roof and I was never really happy with corrugated cardboard as it gets very easily damaged, so I put it on hold.
I few months ago I discovered on the Gangs of Rome Face Book Page a wonderful chap, Frank Sultana, who showed his method on this blog Adventures in Lead.
So armed with the information that frank had stated I went on the “ribbed” plastic kitchen drawer or fridge liner. You get some weird results when you do a google search but actually found is on Amazon, Drawer Liners, YBQZ 30cm×200cm Double Anti-Slip Shelf Liner, Non-Adhesive BPA Free Waterproof Kitchen Cupboard Cabinet Liner Refridge Fridge Mats Sink Protector Strong Durable for Home Office (Clear) : Amazon.co.uk: Home & Kitchen.
I am sure there are different sizes of the ribs out there but I am lazy.
Once I had done the roof then I thought that the rest of the building will need a revamp too, weathering, little extras, that lived in look and using Sarissa Stencils, to add a pathing effect to the plain street in front of the building, using a PVA/filler mix.
Well you will see the results as I am building a new table for Gangs of Rome 2, More information on this coming soon.
But please enjoy my journey into revamping Rome, By Jupiter!


