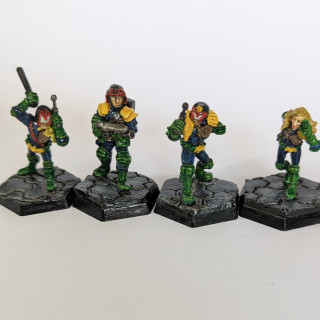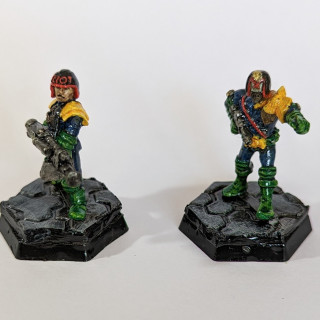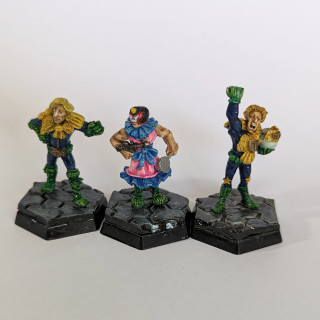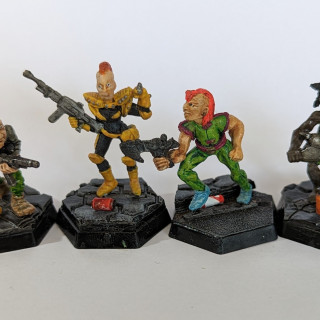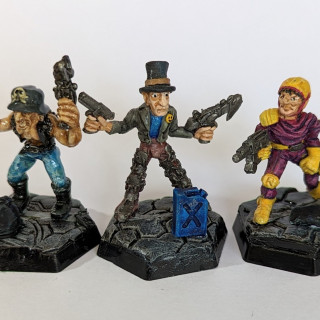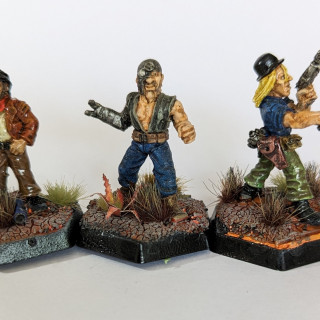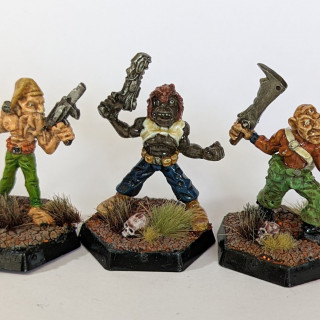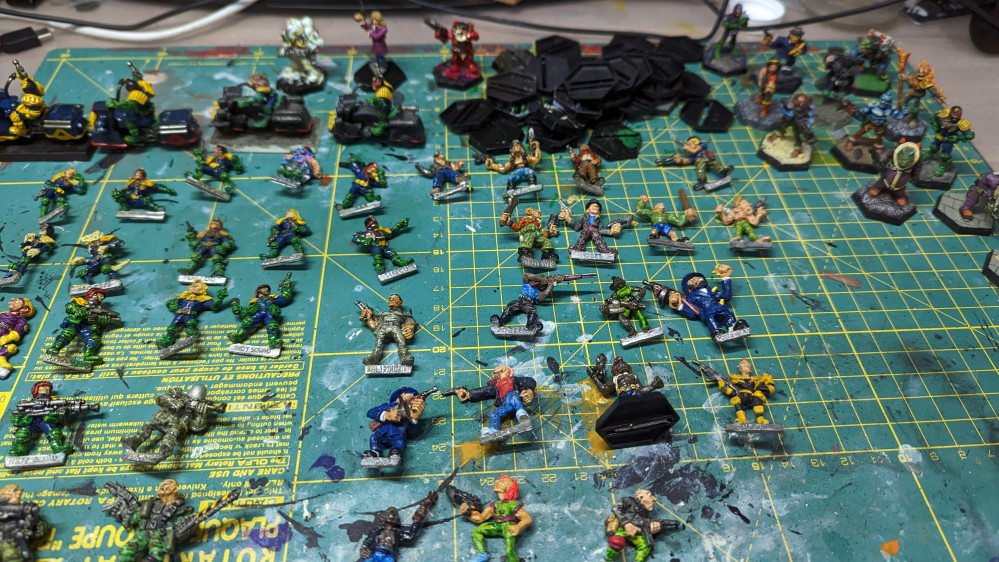
Basing project from 1980s me.
Recommendations: 15
About the Project
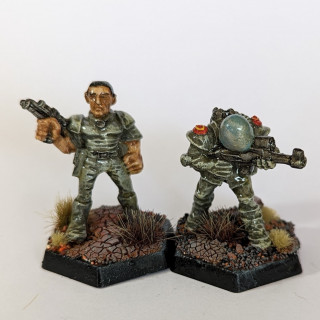
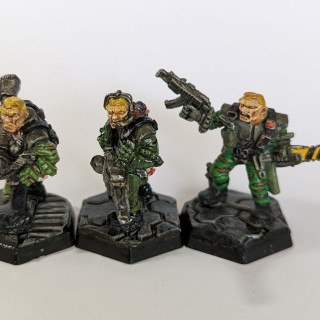
I have about 40 painted but un-based sci-fi miniatures from the mid to late 1980s. They're all Citadel, mainly from their Judge Dredd range, but there's a few limited editions too. At the time I didn't really have a clue how to base them: how to recreate near future city streets? I have a few ideas now so I'm giving it a try. I'm not going to make it easy on myself: I want to use their original hex bases and keep their slotta tags intact, so no glueing them onto 3D printed bases (no matter how tempting that is).
Related Game: Judge Dredd Miniatures Game
Related Genre: Cyberpunk
Related Contest: Spring Clean Hobby Challenge 2023
This Project is Completed
First steps.
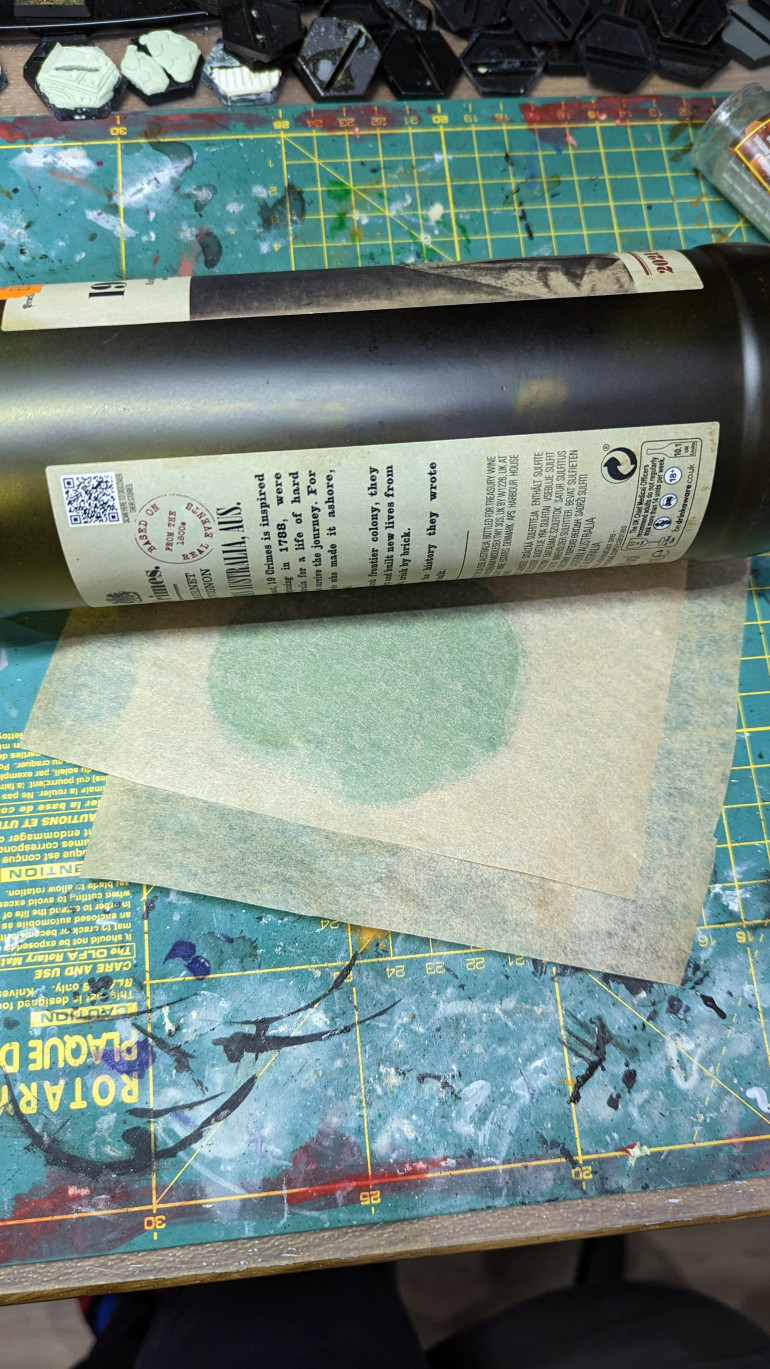
The green stuff that I had in the house was at least 18 months old, and had become rather difficult to mix. However I persevered and then attempted to get it as flat as possible by putting it between two sheets of baking paper and rolling it flat with an empty wine bottle. I suppose a full wine bottle might have done a better job, as it would be heavier, but then you run the risk of spilling wine. So I always like to decant my wine into a safe place first: my stomach.
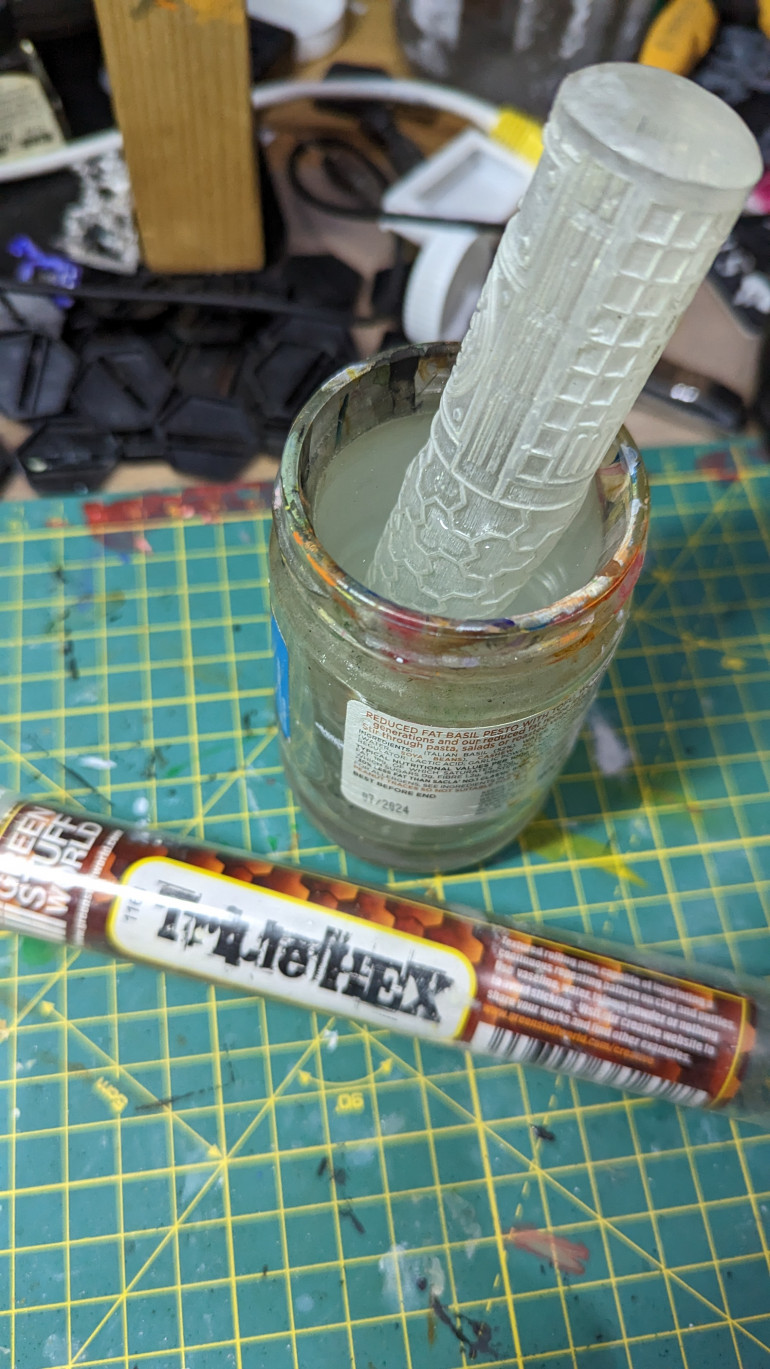
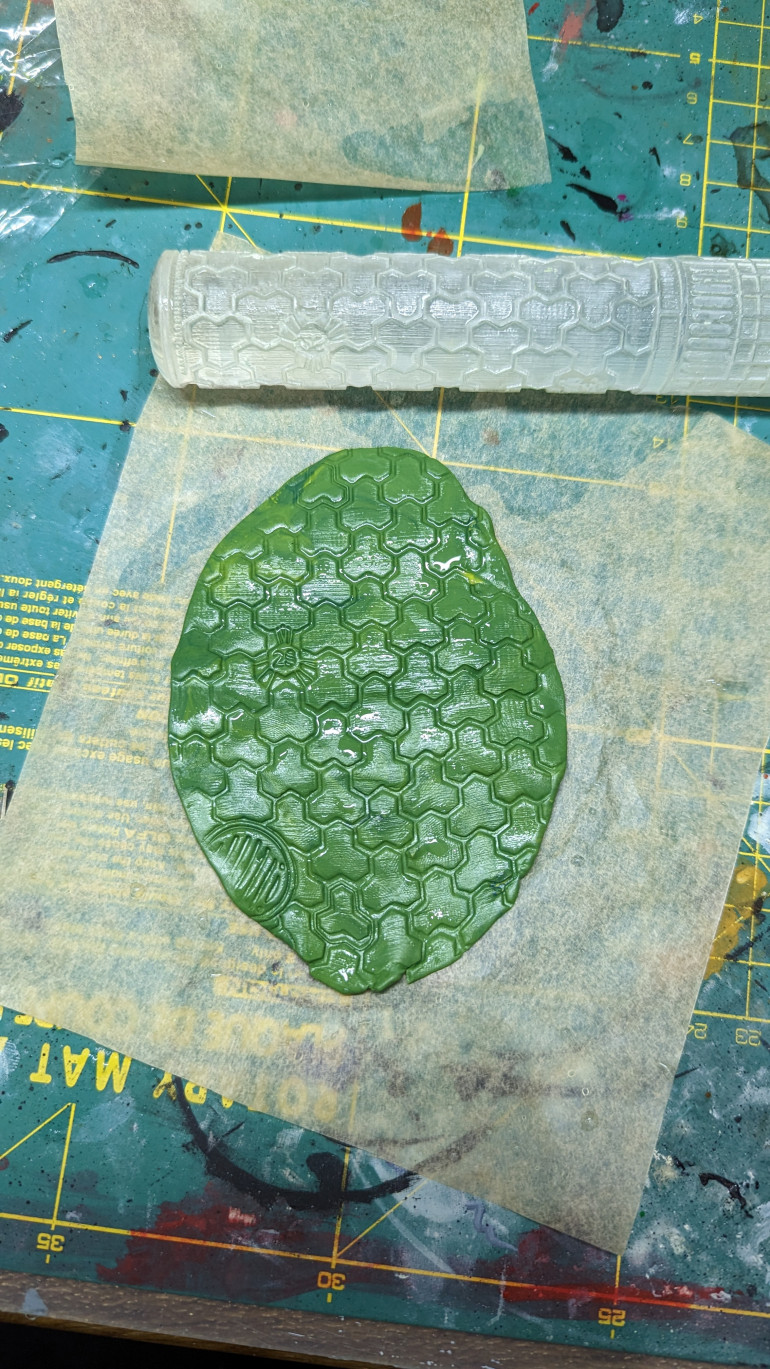
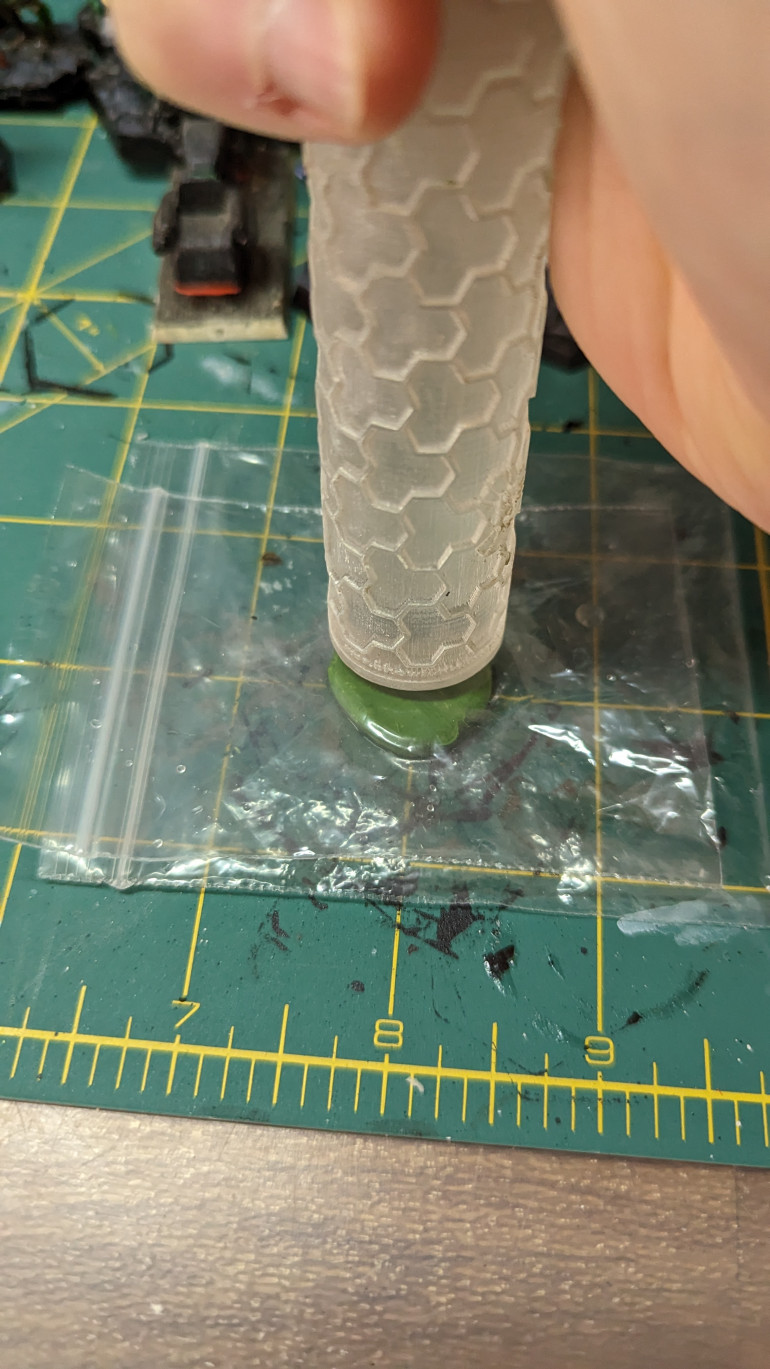
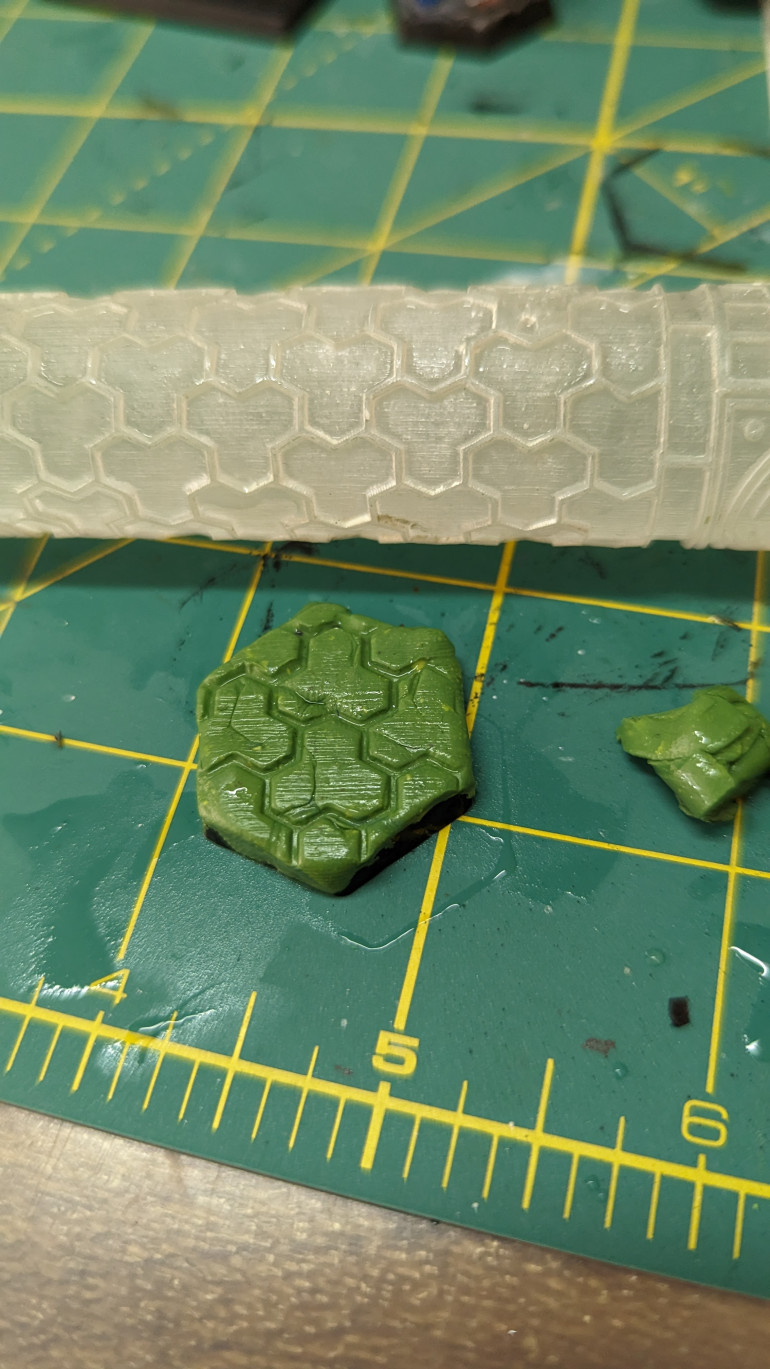
Next I used the ‘Triple Hex’ roller from GSW to add a texture that works, for me anyway, as the pavements of Mega City One. I find it useful to dip this roller in some water before you begin, as it stops any green stuff getting stuck in details of the roller.
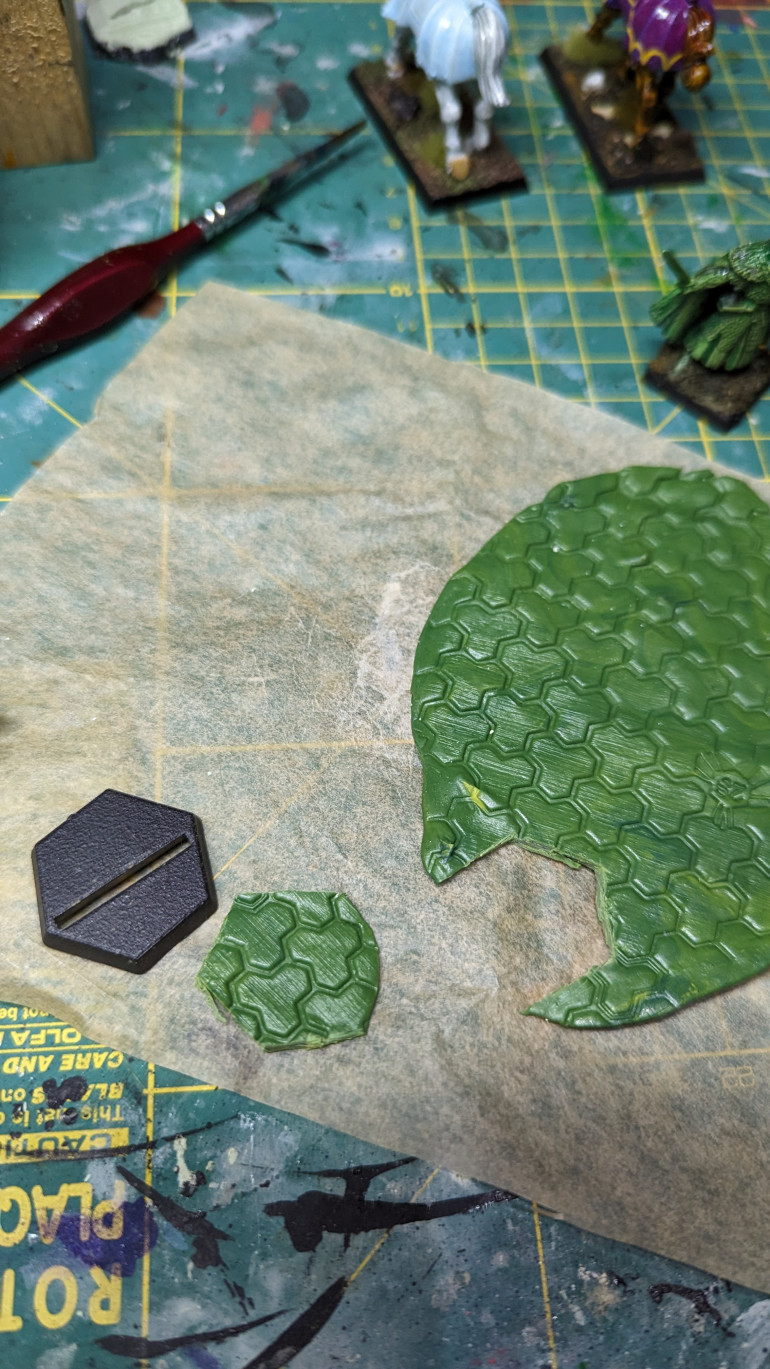
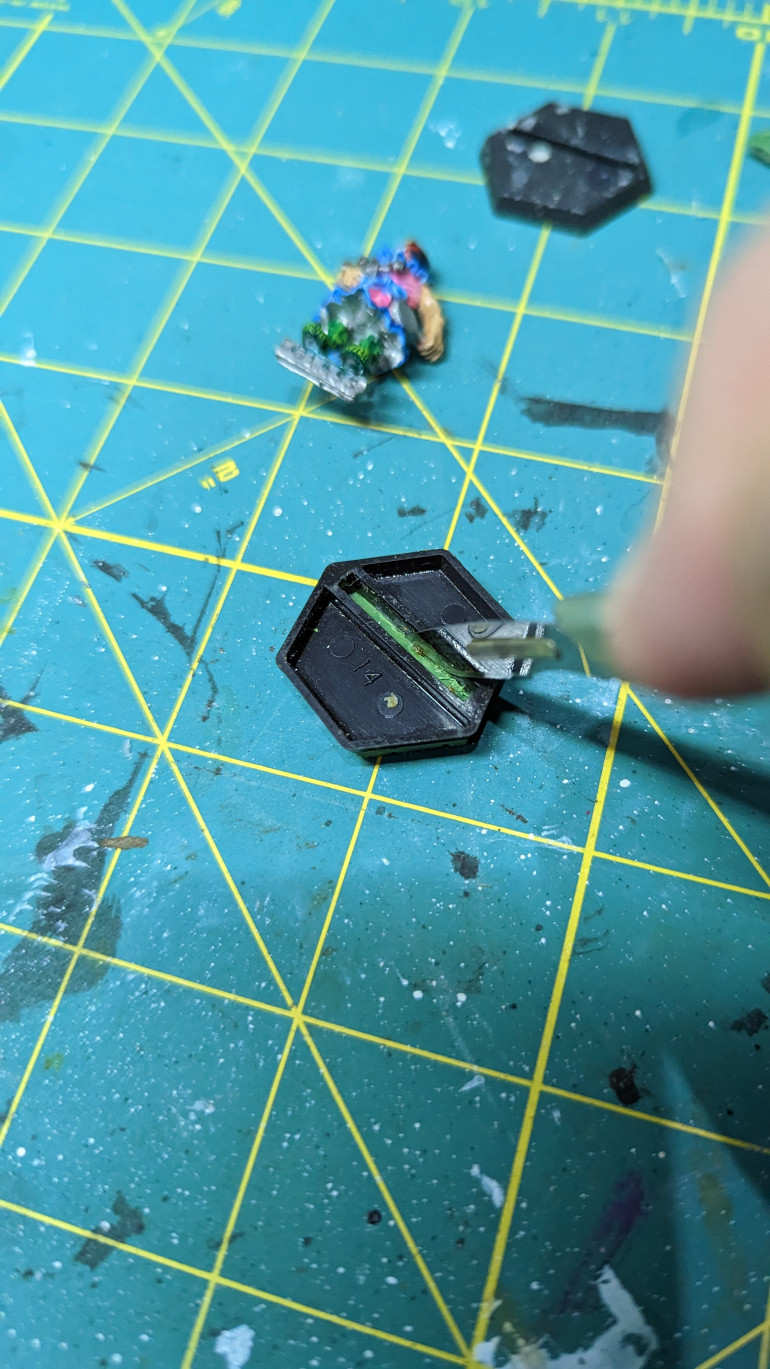
By the time my next hobby session rolled around the green stuff had fully cured, so it was time to cut out the base toppers. I put a hex base upside down on the green stuff and scored around its edges. After removing the base I made a few passes of the scores with my hobby knife until I had cut out the topper. My green stuff was a lot thicker than is ideal, so this took a longer than I hoped.
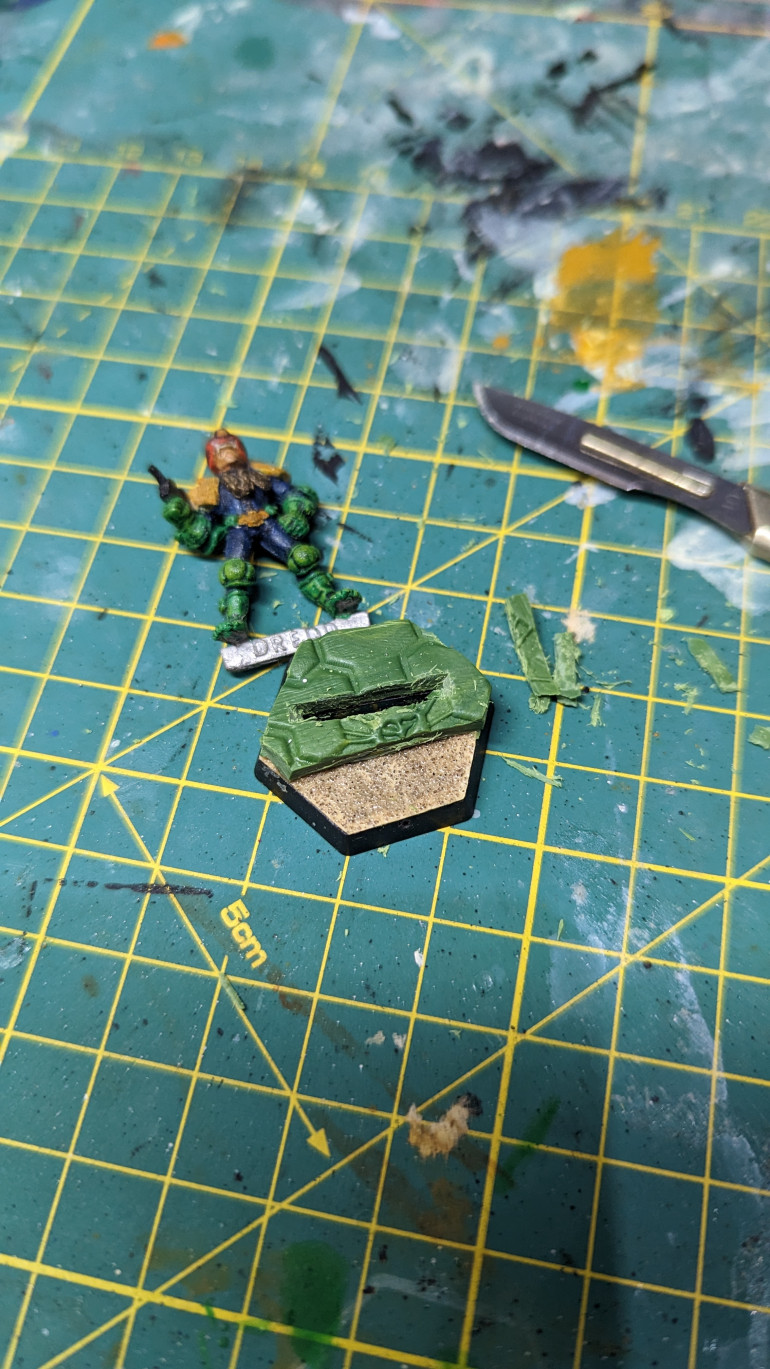
Next I super glued the green stuff topper to the base, flipped it upside down again and carefully cut out a slot for the chosen miniatures tab to fit into.
After a few of these I decided to make a curb and road. I glued a piece of sand paper to the base to give the road surface texture, and then added a carefully cut section of my textured green stuff, which was luckily so thick it makes an instant curb.
I’m not sure if I should now paint the bases that I’ve done, or continue basing until I’ve done them all, then move onto basing.
Topping one or two bases
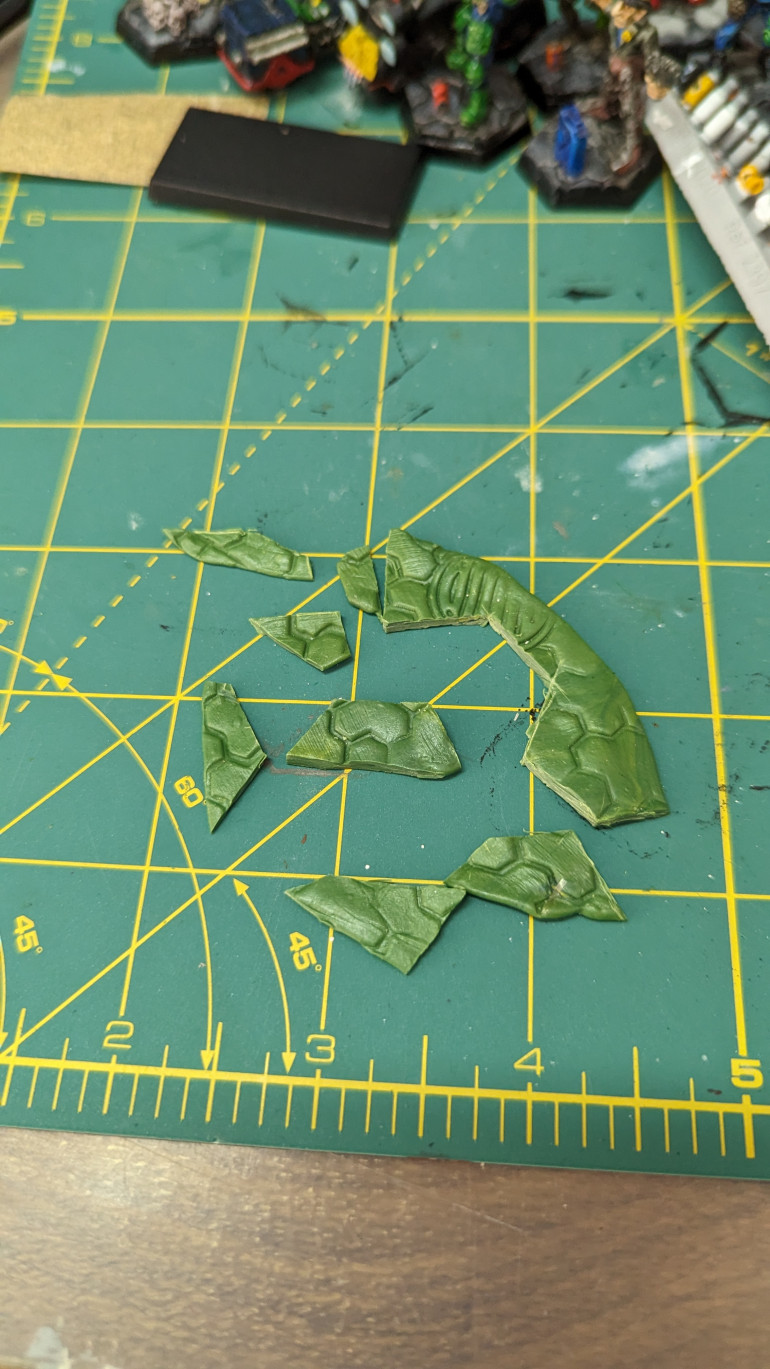
The problem with creating a big sheet of green stuff to use in future is that, inevitably, you WILL end up with odd and ends that aren’t a bases worth. If you’re lucky you can combine a couple of these to cobble together one whole base, but there’s always going to be waste.
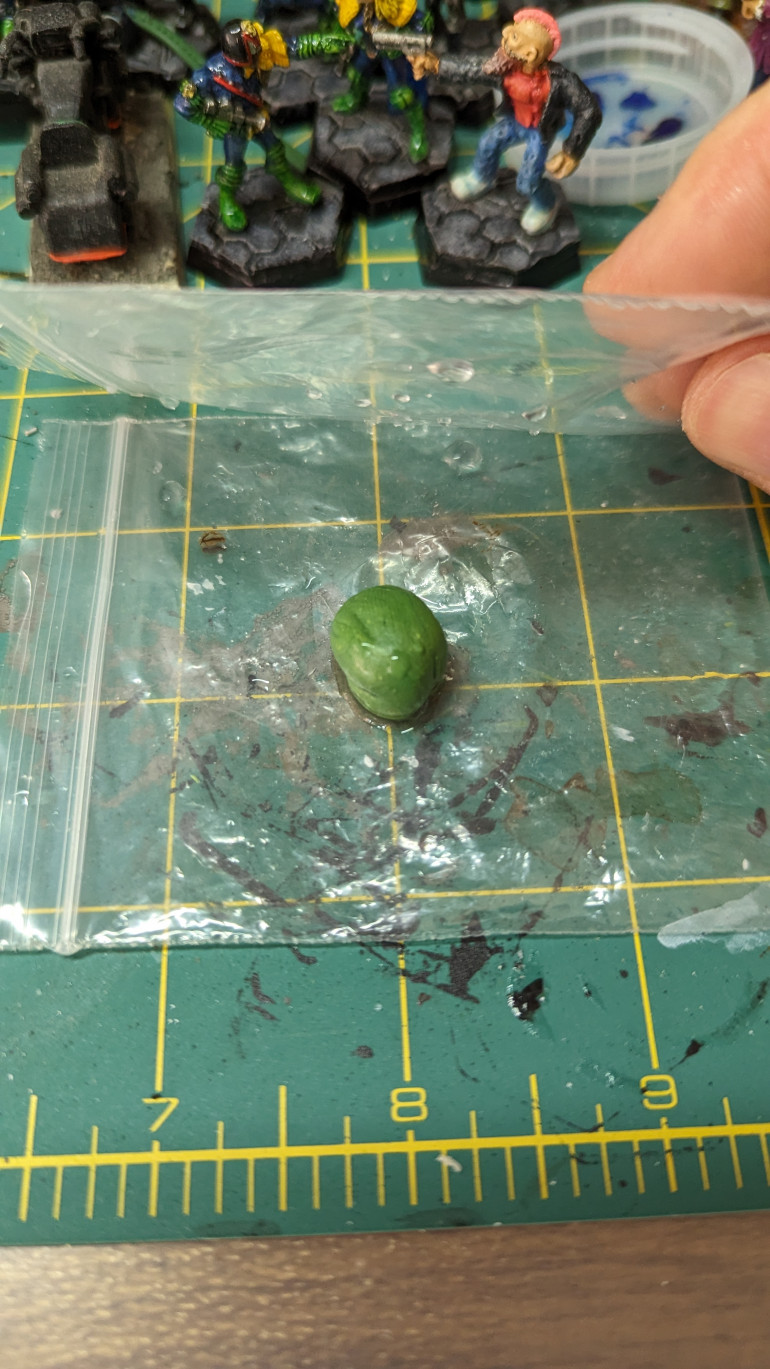
As I mentioned, my green stuff was on its last legs, so I didn’t mind that much. But once I had invested in a new packet, I wanted to use it a little more sparingly. Plus I only had a few bases left. So to top one or two bases at a time mix up a little green stuff, then take a couple sheets of polyethylene (I used a couple of plastic bags that some miniatures came in). Next put a couple of drops of water on the plastic to stop the green stuff from sticking. Then make a green stuff sandwich with the plastic as the bread, and flatten the green stuff until it’s the correct size to cover a base.
I put this on my base, used a damp texture roller to add the pattern and trimmed off the excess. If there’s enough you can use that excess to do top another base, or sculpt something useful like a cannon ball, mushroom or banana (more of that in an another post).
Lawmasters, details and comedy fruit.
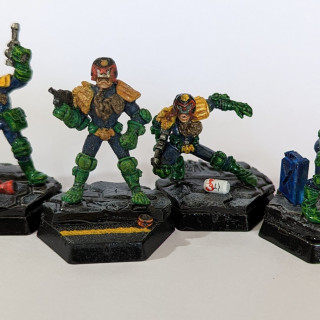
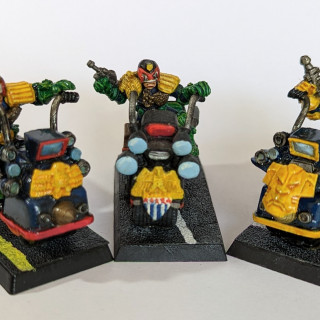
I had three Lawmasters, the motorbikes that the Judges use, which needed to have a base representing the tarmac roads of MegaCity One. I used painted sandpaper, to which I added some road markings using my 6 year olds acrylic pens.
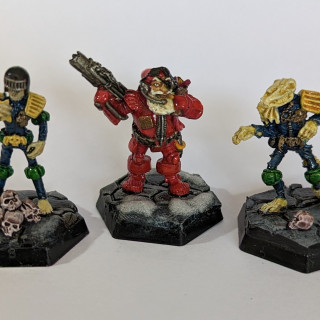
The other bases now needed to be painted and as they were city streets this was a straightforward grey base coat, black wash and then the original grey dry-brushed on top.
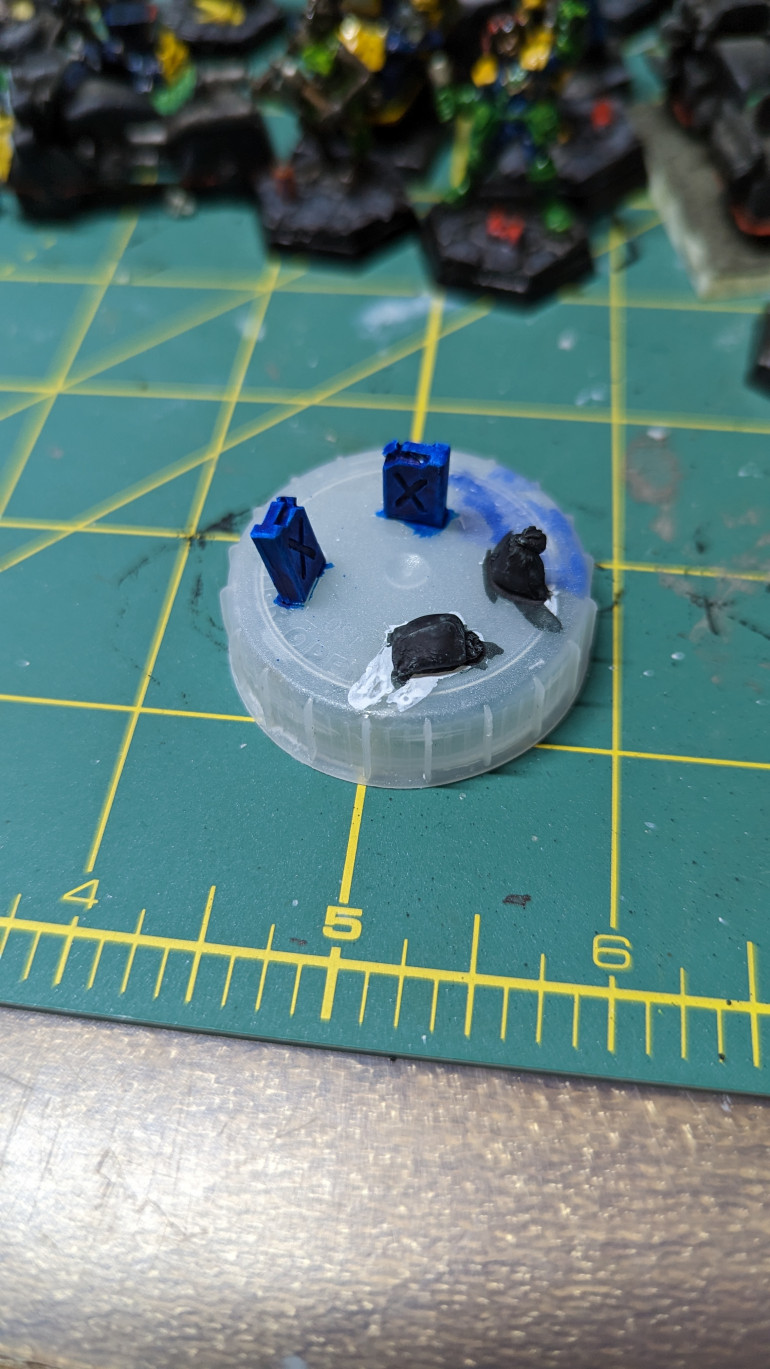
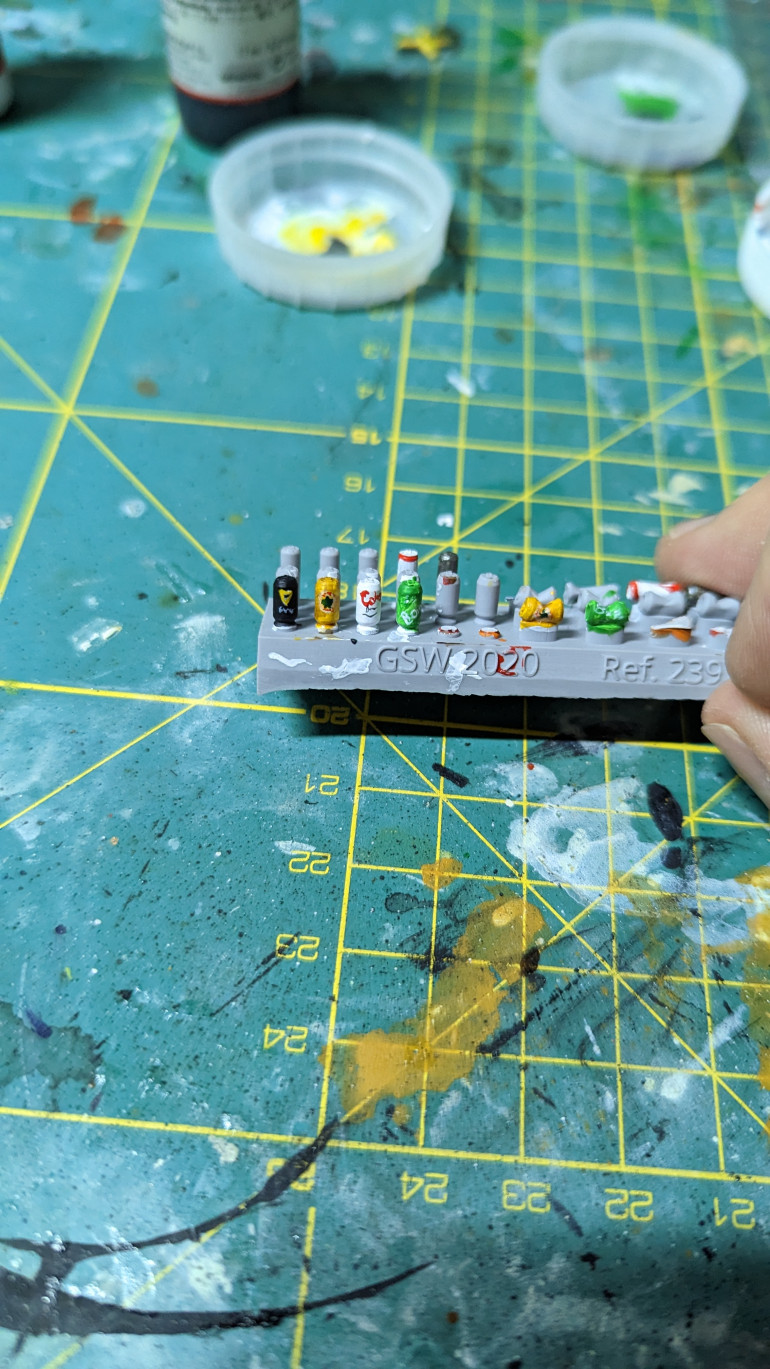
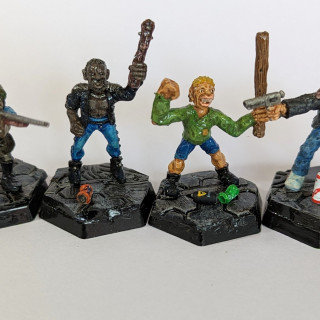
This looked “not just good, but good enough” (as Gerry’s Father would say) but I thought I’d add a few extra details for some interest. As these are streets, albeit a bit in the future, it’s your usual detritus of bin bags and rubbish. I bought some tiny resin fuel cans and bin bags from Crooked Dice, and some drinks cans from Green Stuff world. These were quickly painted up (I had great fun copying my favourites onto the drinks cans) and then super glued semi randomly to the bases.
The two Dark Judges that I hadn’t based back in the 1980s allowed me to go down the more traditional Grimdark route of adding skulls to the bases, while the Angel Gang and other inhabitants of The Cursed Earth got some tufts (there’s so many desert basing tutorials that I don’t need to add to them, but as you’re here it’s my own ‘base ready’ mix of sand and little stones, with a bit of crackle paint with a wash and a dry brush).
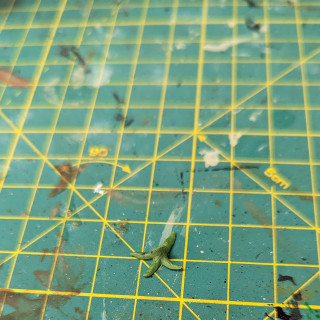
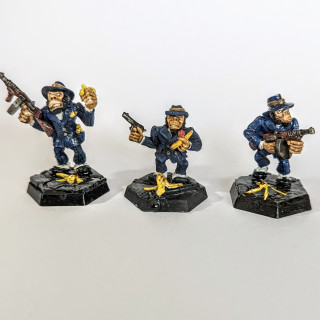
One set of miniatures provided even more fun and inspiration: Don Uggie’s Ape Gang, and in particular Joe Bananas whose pockets are stuffed to bursting with, you guessed it, bananas. It makes perfect sense that the Ape Gang would leave a trail of banana skins wherever they went. So, here’s something I never thought I’d write, here’s my method of sculpting banana skins to a 28mm scale.
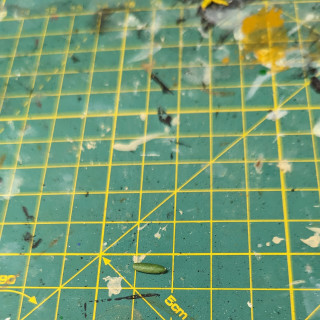
I started with a tiny piece of green stuff, left over from when I was basing an individual miniature. I rolled this into an elongated elipsoid, or into banana shape if you prefer.
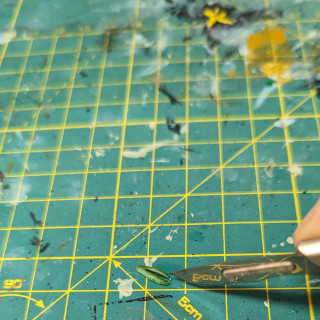
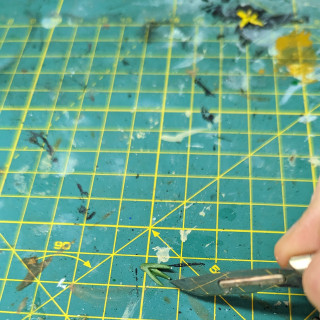
Then I carefully sliced about into this, cutting lengthways by about a third and leaving the slice attached at the top. I did this two more times, to give 4 ‘leaves’ to my banana skin. Finally, I added some curves to the leaves using a pair of tweezers and some very precise swearing. Let that harden, paint it yellow and it’s ready to go.
So, all that’s left to do is the glamour shots. Hopefully I’ll get that done this weekend and create the post in the coming week.


