Spring Clean Hobby Challenge 2022 – Assorted Projects
Recommendations: 179
About the Project
To try and make a dent in my pile of shame. Although the project mainly involves Historical miniatures it may also include some fantasy/sci fi figures. I've recently completed a Lost Kingdom miniatures Queen of the Lake and am working on ECW cavalry. Next I'm going to attempt to make inroads on French Heavy Cavalry Corps boxed set with the odd diversions elsewhere as pallet cleansers.
Related Genre: Historical
Related Contest: Spring Clean Hobby Challenge (Old)
This Project is Active
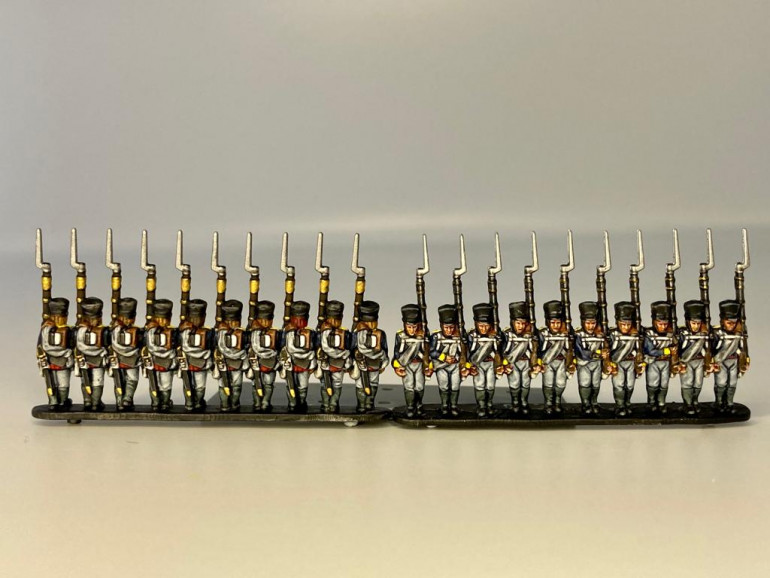
Warlord Epic Scale Prussian Line Infantry
The secret to painting these 14mm ish scale minis is good lighting and strong magnification goggles. I used the following paints and techniques. Sadly I was only able to get these two strips and not the whole battalion finished before the end of the 21st of June. However this will give you a good idea about how I tackle small scale minis.
The minis were undercoated with a white rattle can spray ( I used Halfords). I’d recommend washing the plastic first as Warlord plastic can react with the spray paint and blister. Areas that are then going to be metallic are painted black with a brush.
Boots, Sword scabbard, Shako: Any black base coat which I then highlighted with Army Painter Uniform Grey.
Gaiters: GW Contrast Black Templar, highlighted with the black mixed with white. This adds a bit of visual interest and contrast to other areas of the uniform that are black and also distinguishes the different material types.
Jackets: Foundry French Blue Shade as a base coat which is then washed with a diluted blue/black ink mix. Highlights are then added with the blue paint mixed with white.
Trousers and greatcoats: Several thin coats of GW Space Wolves Grey contrast. The recesses of the cloth re then painted with GW Basilicanum Grey . Highlights are then applied with the grey mixed with white.
Mournfang Brown (GW) is used for the backpacks and leather details on the greatcoat. This is then highlighted with GW Zandri Dust.
Flesh is painted with Army Painter Barbarian Flesh and was then washed with an old GW Flesh Wash. The Barbarian Flesh is the reapplied and final highlights are Vallejo Game Color Pale Flesh
The models are then handpainted with Vallejo Matt Varnish before the metallic ‘silver’and ‘gold’ areas are applied this is to maintain the metallic paints lustre.
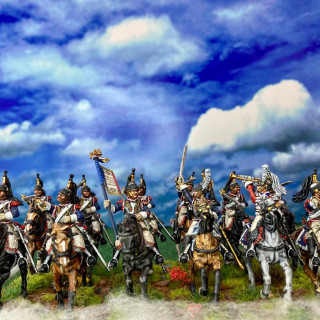
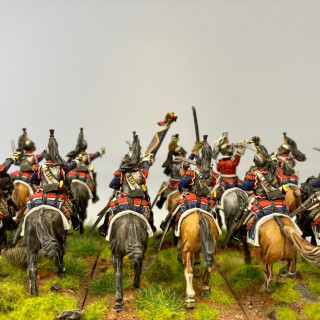
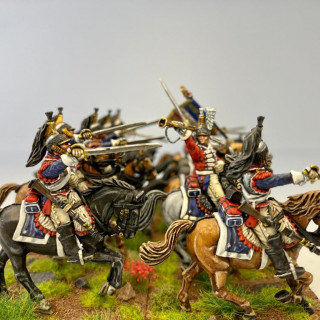
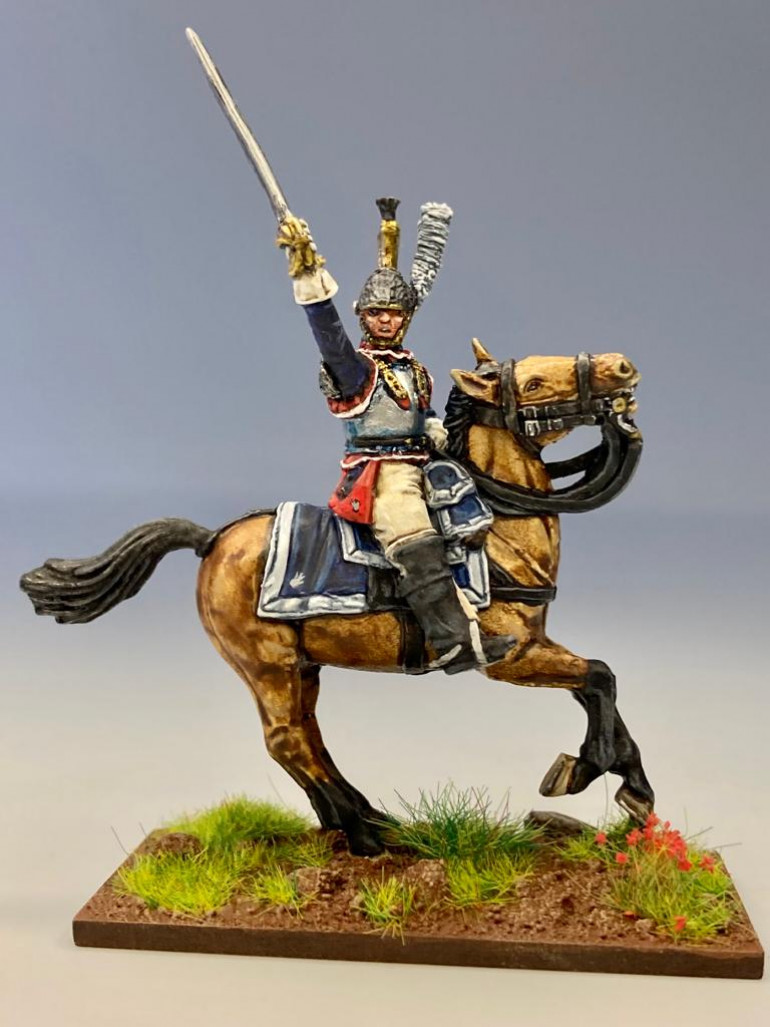
1st Regiment French Cuirassier
Cuirassier Painting Tutorial.
All starting from a white undercoat.
Jackets and saddle cloth: Foundry French Blue Triad. Final highlights French Blue Light mixed with any white.
Top part of gloves, belts, and saddle cloth trim: Vallejo Off White, washed with diluted GW Space Wolves Grey and then highlighted any white.
All black areas ie Boots , horsehair crests, fur trim on helmets: Any black highlighted with Army Painter Uniform Grey final highlights white grey mix.
Epaulletes, cloak on saddle, collar , and dogtooth on sheepskin on saddle: Scale 75 Antares Red highlighted with GW Evil Sunz Scarlet, final highlights Wild Rider Red
Sheepskin: Vallejo Off White washed with a diluted mix of GW Agrax Earthshade, final highlights any white.
Breeches and bottom part of gloves: Scale 75 Mojave White washed with Army painter Strongtone then Mojave White reapplied as a highlight.
White Metal Areas: From a black undercoat, basecoat Army Painter Plate Mail Metal. This is then washed with a diluted mix of black and blue inks ( I use Liquitex and Scale 75) . Shading is mainly in recessed areas and is heavily applied in areas where rivets willl be gold on the cuirass. The metallics in raised areas ( where they would catch the light in reality are then worked back up to pure silver.
‘Gold’ areas: Again working from a black undercoat. Basecoat Scale 75 Elven Gold washed with thinned Liquitex Transparent Raw Umber. The same method as above is used to work the ‘gold’ back up with a final highlight of silver.
Note: I paint all the non metallic areas first and then apply a Vallejo Matt varnish by brush. I then apply a black undercoat over all the metallic parts of the figures before applying metallic paint. This way the figures are protected and the shine of the metallics is not affected by any varnish finish. Paints and inks I thin with matt medium and water mix.
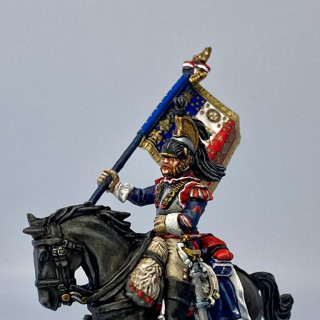
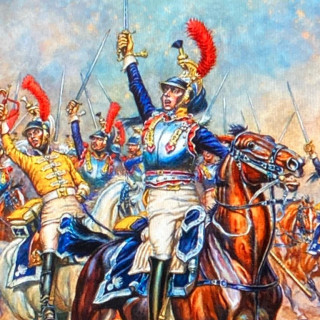
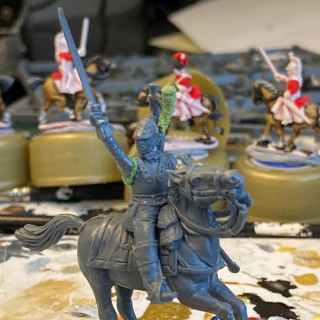
Perry French Napoleonic Cuirassier Officer Conversion based on a painting by Paul Benigni
This officer is a conversion from the Perry plastic heavy cavalry boxed set. I like to base many of my conversions on paintings in this case the inspiration was a piece by Paul Benigni. I used green stuff over a wire armature for the plume on the officer’s helmet. I also re-sculpted the details on the right arm, changed the hand and sculpted an epaulette on the right shoulder as the original sculpt is designed to be a junior, not a senior officer. The horse is painted mainly with a contrast paint I made from Liquitex Raw Umber ink, Matt medium and water. Further details and highlights are worked from there.
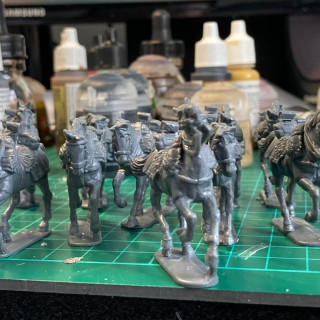
The horse halves are well-designed and any right section can match any left. They are built out of the box but are detailed by having their ears refined and all the reins are drilled out then carved with a scalpel and liquid plastic glue tidies up any irregularities in the clean up.
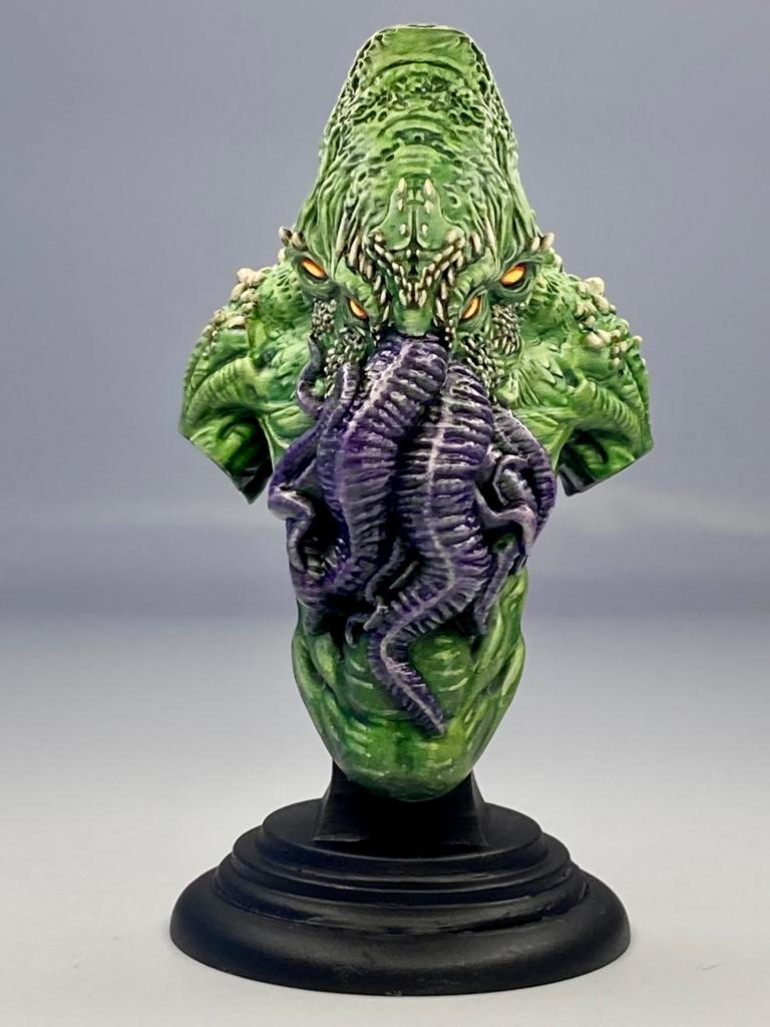
Call of Cthulu Bust
This is my first attempt at a bust. The model was undercoated with a Halfords Black spray can then a zenithal grey was sprayed and finally white. I again made my own contrast paint using Liquitex Sap Green, Matt medium and water. Several thin coats were applied. Further shading was added using the green mixed with Carbon Black ink. The model was then drybrushed with Zandri Dust and then Ushbati Bone. This provided a base coat from where more traditional layering techniques were then applied using the above colours. Bone areas of the model were painted with Ushbati Bone and washed with diluted Liquitex Raw Umber. Further highlights were then applied to the bone areas. The eyes were painted using Flash Gitz Yellow. The outsides of the eyes were then washed with Scale 75 Inktense Red before being outlined with blank paint. The eyes were then highlighted and then glazed with yellow ink. Unless specified above, all paints are Games Workshop.
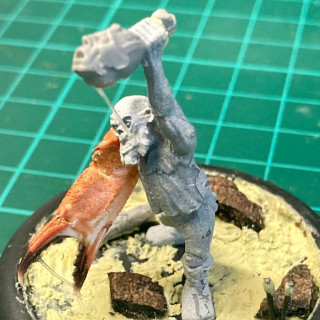
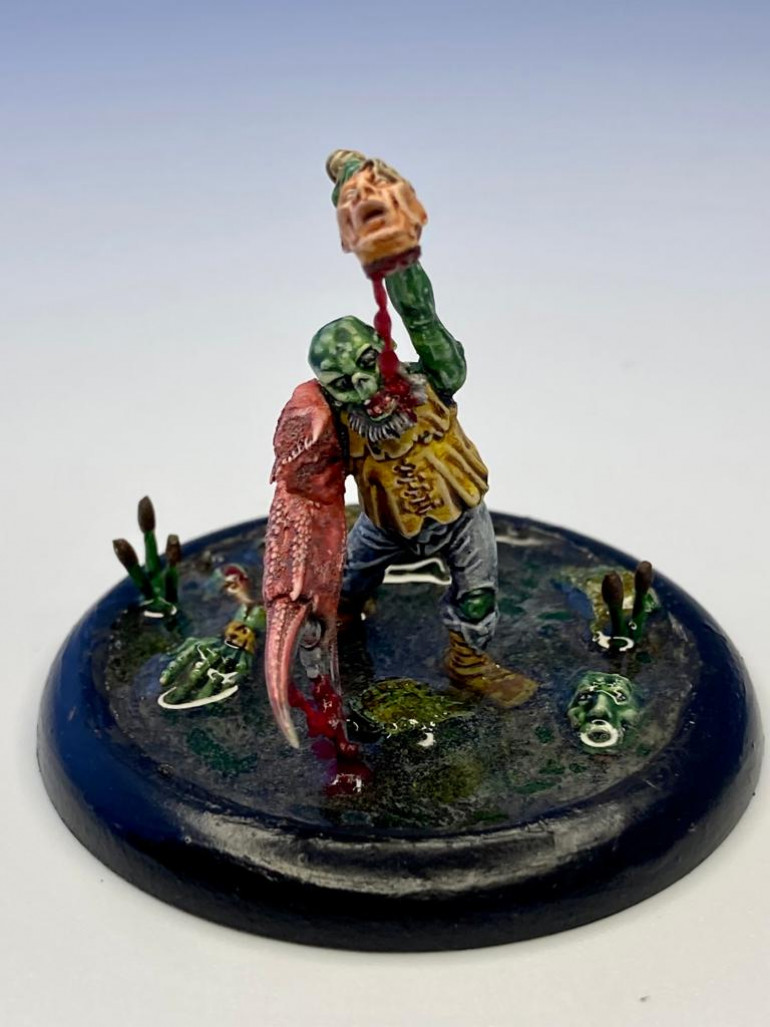
Zombie Chaos
The model was made with a variety of Games Workshop parts. Dripping blood effects are modelled with fishing wire and the droplets are simply made using two-part epoxy resin (the one I used came from B & M bargains and cost £1) thinned with acetone. The claw was found on a beach and the most challenging part of the project was painting it to look like a real crab claw. Ink glazes highlighting and shading were my friends here. Final highlights were made using Ushbati Bone. The black parts of the claw were glazed with thinned Black Templar contrast paint then highlighted. The same resin was used for the water effect on the base. The rotting wood in the water came from my garden which was then washed in several different ink colours and highlighted. The bull rushes are made with thin wire and milliput.
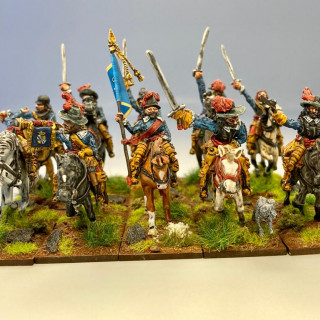
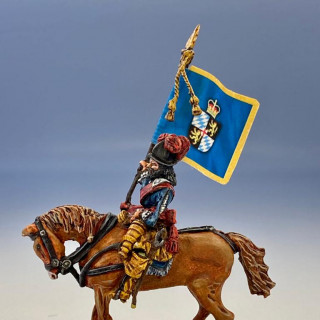
ECW Prince Rupert's Regiment of Horse
The miniatures are by Foremost now available from Lancashire Games. The only alterations I made to this regiment were I removed the cast on flag as seen in the main image and replaced it with a flag from Flags of War which represented Rupert’s Regiment of Horse. I also added new cords and a finial to the new wire flag pole. Painting the leather parts of the figure was aided by using either Nazdrag Yellow or Snakebite Leather contrast paints. Further detail was added by either using a pinwash or painting Liquitex Raw Umber ink into the recesses. Highlights were then applied. This method provides a quick and effective technique to use to represent period leather.
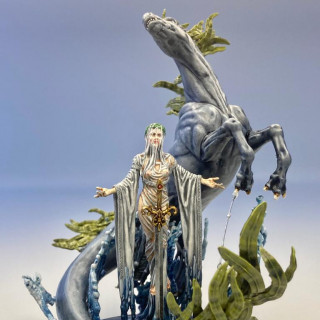
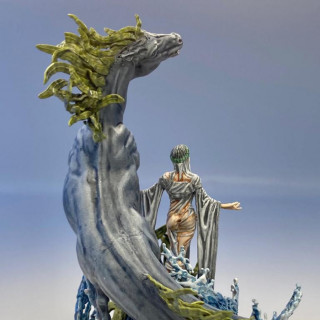
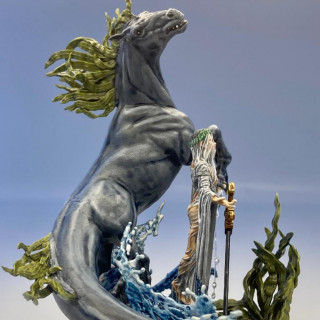
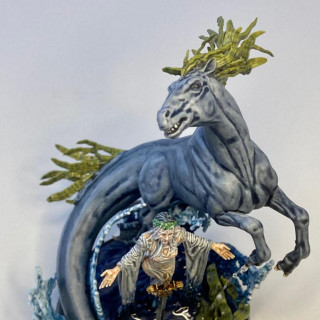
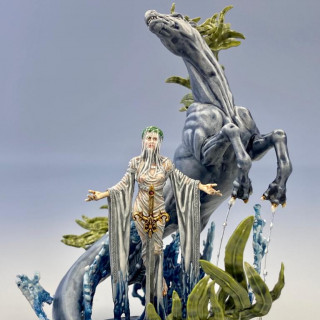
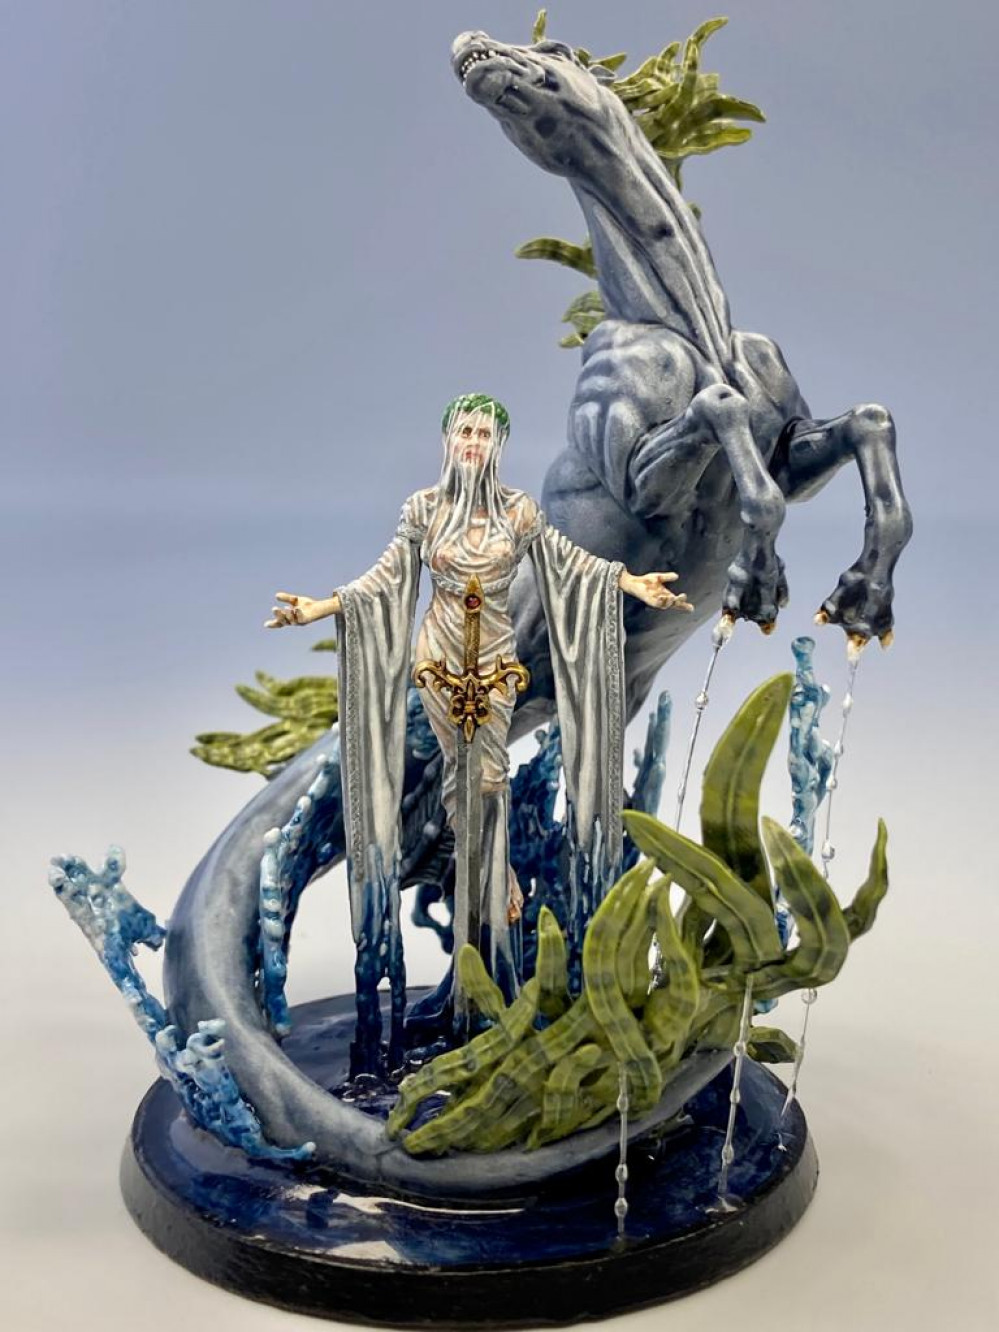
This was the first piece I started with the Lost Kingdom miniatures Queen of the Lake.
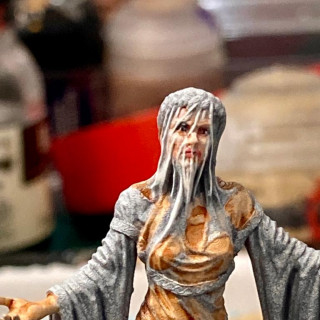
Image 5 shows flesh applied to the translucent areas of the cloth and the face is nearly finished at this stage. The rest of the cloth is currently no more than a sketch stage. Many different highlights were applied to the cloth and lace details were done using the side rather than the tip of the brush. Numerous white ink glazes were then used to blend the flesh and cloth together to get more of a seamless effect.
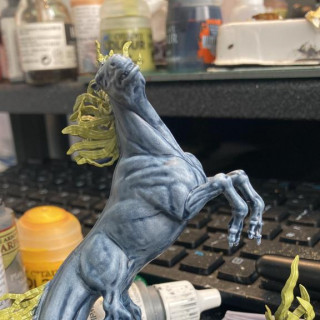
The ‘horse’ was painted using Space Wolves Grey contrast paint thinned with water and Matt medium as a base coat. Further highlights and shading were then applied. Elysian Green was used for the horse’s mane and tail. This was then washed again with Space Wolves Grey contrast before further highlights were applied.
The water was painted using Wargames Foundry French Blue Triad highlighted all the way up to white. The dripping water effects were created using fishing line and resin.
Juan Hidalgo offered detailed advice for me on my work. I added more glazes to the cloth, altered the light effect on the gem on the sword, accentuated the highlights of the musculature on the horse and added more resin dripping effects. This can be seen on the last photograph.


