Saga Normans speedpaint
Recommendations: 269
About the Project
Saga Normans will be featuring first on my return to in-person gaming. Just need to get them finished.
Related Game: SAGA
Related Company: Wargames Foundry
Related Genre: Historical
Related Contest: Spring Clean Hobby Challenge (Old)
This Project is Completed
Getting started
It all started with a trade with @warzan for my painted 15mm DBA Dark Ages collection. I got two packs of Wargames Foundry Normans.
7 points worth of Saga Normans. Don’t mind if I do. I had a great time playing Normans when we used to game regularly. I seem to recall giving my mate’s Anglo-Danes a very bad day getting some excellent combinations off from the expensive end of the battleboard. Fun times (for me, clearly he wasn’t having such a great time but he took it in good spirits).
Right, I want these on the table in time for the next time we can game. Time for speedpaint.
Infantry by way of Contrast
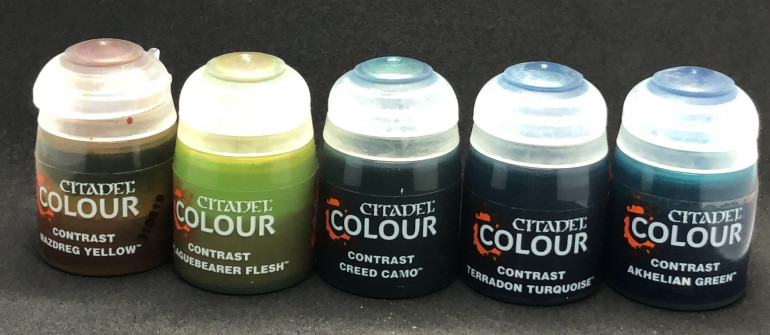
Speedpainting for me means maximum impact with minimum effort so I thought I’d try something new. I use a zenithal highlight undercoat on all of my models (Stynylrez Black followed by Stynylrez White from the top through my airbrush). I’ve not used Contrast paints before but have heard good things so spent a bit of time choosing a matching set. I went for green and green-blue shades from greenset to bluest they were: Plaguebearer Flesh, Creed Camo, Terradon Tuequoise and Akhelian Green. As those names given no clues as to what colours they actually are that is light grassy green, dark green, bluish-green and greenish-blue. I also used a bit of Nazdreg Yellow in some places which is a nice dirty mid-yellow tone.
First steps
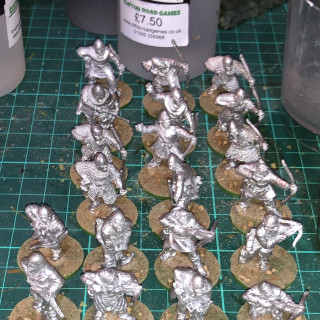
Started with cleanup. These models are nicely cast but there are still some mould lines that need filing off, nothing across any important details though which is testament to good design.
Next stage is basing. All of my models go onto their bases and get the ground material on the bases before they are undercoated. I use a simple mix of sand and small stones which are sprinkled over strong PVA.
Being metal castings I prefer plastic bases, these are Renedra 25mm rounds for the infantry and 25x50mm for the cavalry.
The only reaminig issue was the warlord. I started him off on a 25x50mm base but decided he wasn’t grand enough and I wanted to mark his possition with a banner. Having no suitable miniature in the set I would need to get one.
Horses first - they are easiest.
I started with the horses as I find these the easiest to do. Most gamers get horse colours wrong. The majority of modern European horses are of mixed warmblood stock and many have Thoroughbred in the mix somewhere along the line. This produces horses of mostly solid colours and with a bias toward chestnut coats so horses that are either full chestnuts or bay (chestnut/brown coat with black points i.e. lower legs, mane, tail and ears are black). Coloured horses are also common in European mixed breeding where warmblood and coldblood horses are combined however they tend to a smaller size than the sport horse breeds that are today’s version of the warhorses of yore. What horses aren’t is all a single colour. Even horses of a ‘solid’ colour are usually marked with white on their face and legs. A white star or blaze is most common but can extend to a fully white face. Likewise legs can feature from one to four with a white marking and marks can go from just a line around the lower foot (coronet) through socks that extend half way up the fetlock (lower leg) to stockings that get up to or above the knee/hock joint in the middle of the leg. The only colour that doesn’t usually have white leg marking is bay.
The start of a speedpaint horse is an ink colour over the zenith undercoat. I prefer the range of redish brown that are in my collection, chestnut ink, Flesh wash, Ogryn Flesh and Gryphone Sepia. Less common colours are black, grey and brown but they stand out nicely so I’ll have a few to break up the look of these units. They need to look distinctive as this is a skirmish game. Black will be one of the different black inks, grey can range from white to ‘iron grey’ which is a dark grey colour so will be either additional white drybrushed over the zenith or a grey ink wash to darken it down slightly. Brown is done with a brown ink.
One coat of ink usually does it. Nothing else needed. White is added at the end of the paint job.
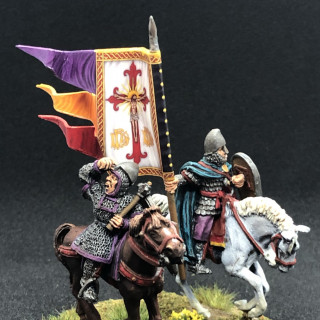
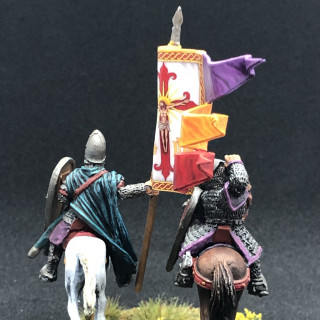
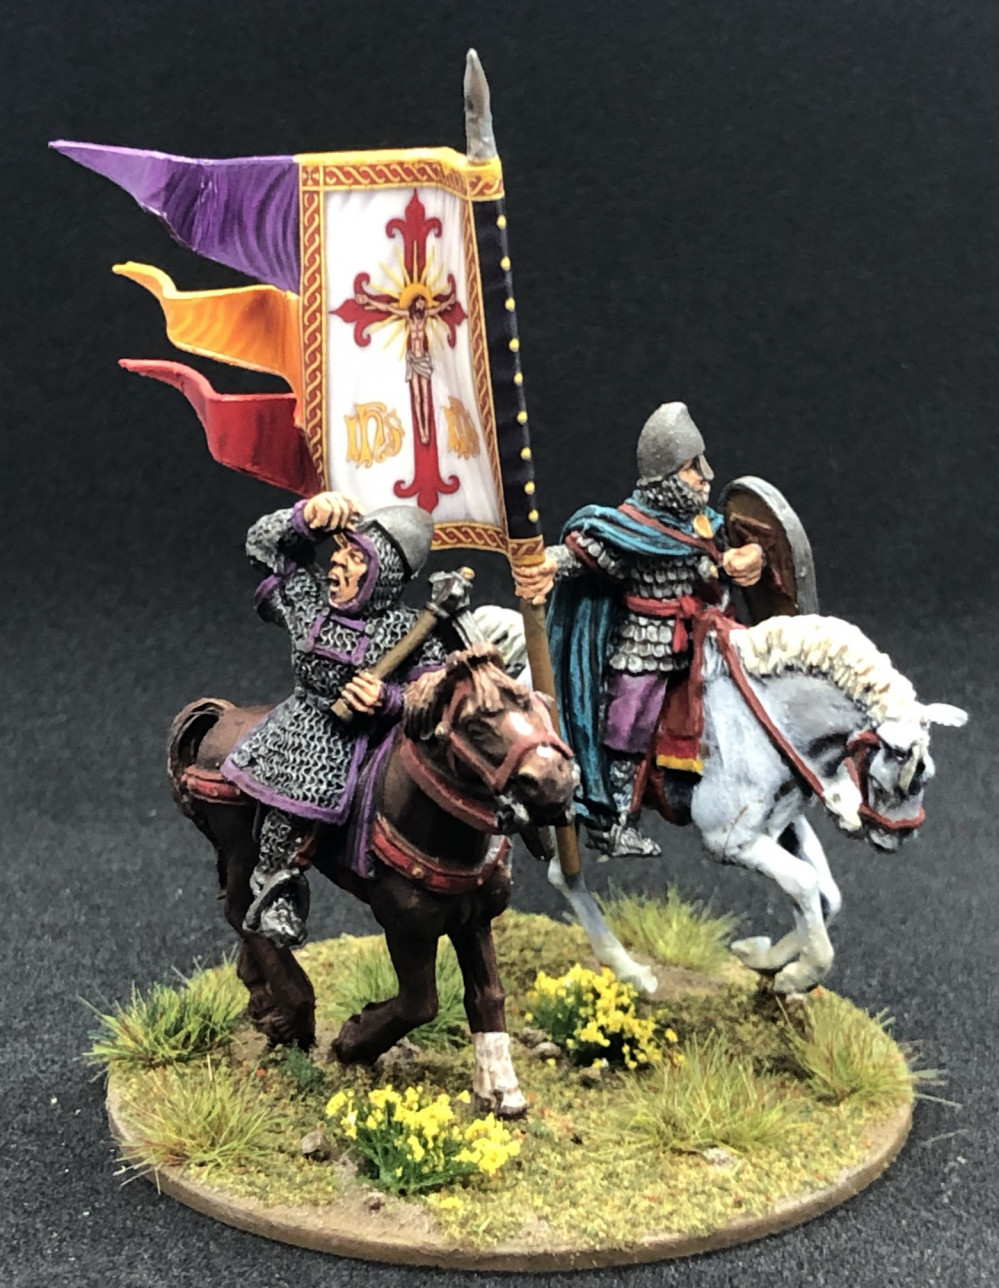
You can see I found a banner bearer for The Bastard. Tursin fitz Rolf by Footsore Miniatures. It goes against my nature to have any project use miniatures from a single manufacturer.
Infantry finished
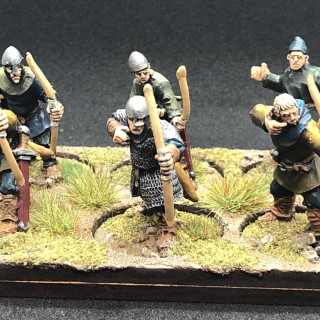
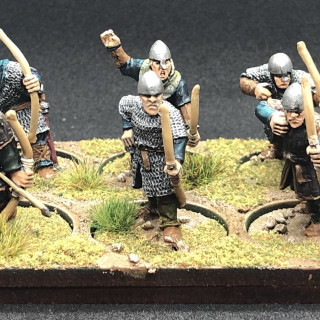
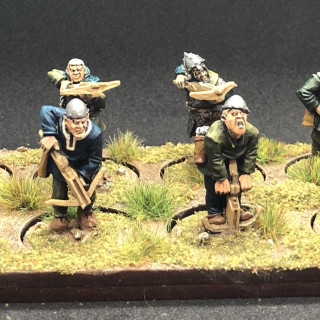
When I’m batch painting I tend to go in sets of 20. Luckily this army has just 20 infantry in it, 12 levy archers and 8 sergeants with crossbows. Contrast went on first, then simple block colours for the armour, skintone, leather and bows.
Final stage is Strongtone Dip that I brush on and get some good control of the wash effect to add some definition to the sculpted details on faces and creases. Also makes them look a bit dirty which suits this setting. After about 48 hours a layer of Dullcote spray to matt the excessive shine and done. I really like the effect from the contrast, it has worked very well and by not drawing any attention elsewhere on the models the effect comes through better imo.
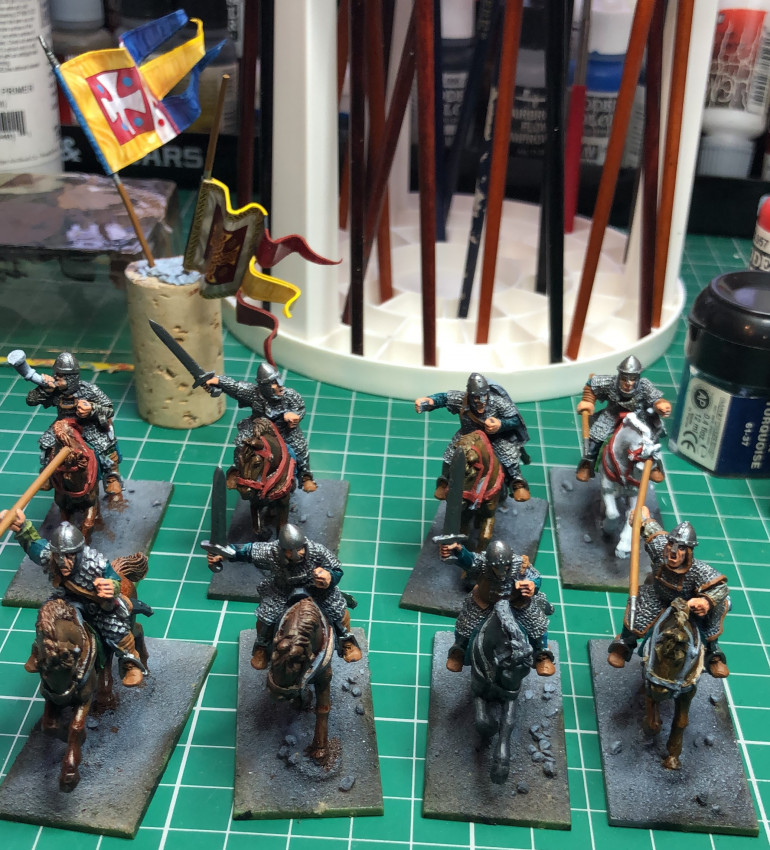
Meanwhile, here is a progress shot for the cav:
You can see in the background the banners. They are LBMS transfers that I put onto some thin card and then folded around the banner pole and stuck with slightly watery PVA that was allowed to soak into the card for a minute or two before sticking the sides together. This makes the banner very maliable and I concertina it into ripples, the trick is not to get any actual folds in it, sharp angles don’t look very naturalistic. They are then dried and hold their new shape quite well as you can see.
Cavalry done.
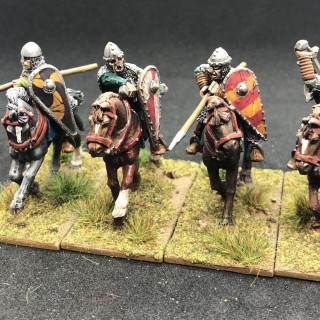
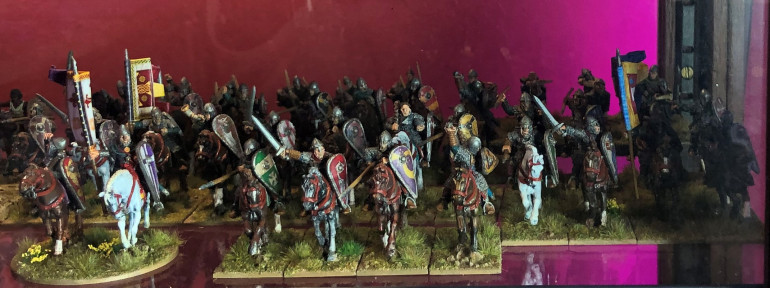
All of the cavalry are done. I worked in batches of 8 for the sergeants and 4 for the knights so did whole units together. Mostly chainmail which is just a heavy drybrush over the zenith undercoat. All else as per the infantry.
Shields are done separately. Whit undercoat, several layers to get it good and bright. LBMS transfers over the top. I used the two Foundry specific sheets and then filled in with extras from the Breton, Crusader and Norman SAGA sheets that I took the banners from. That allowed me to theme one unit of sergeants as Bretons with the brown shields with celtic crosses.
The saddles and harness are done in Vallejo Cavalry Brown in homage to the multi coloures ones on the Foundry box. White markings were added to the horses and they are done.
Warlord and done.
Finished off the Warlord. Same techniques as previously described. My basing technique is to paint the base last. An even coat of Vallejo Earth (Game Color and Game Air 50/50 but not mixed together to give slight tonal variations). This is drybrushed with Vallejo Game Color Bonewhite. Then I use a blend of Jarvis flock scatter sprinkled on patches of PVA to create grassy areas on 2/3 to 4/5 of the base. This is double dipped once the PVA has soaked into the first scatter coat. Then the model is varnished with the spray matt helping to fix the scatter flock. Finally I finish off with grass tufts. I’m using Tajima 1 Miniatures as he is relatively local. These bases feature a blend of green in different shades and shapes. Specifically: Grass Tufts; Moss, Wild Grass (2 styles), Battlefield Mix and Green.
Also decided to add some movement trays for the infantry. Decorated the top with the same basing method and materials.


