![Very Cool! Make Your Own Star Wars: Legion Imperial Agent & Officer | Review [7 Days Early Access]](https://images.beastsofwar.com/2025/12/Star-Wars-Imperial-Agent-_-Officer-coverimage-V3-225-127.jpg)


How to be an Armoured Farmer, building Hobart’s Funnies in Glorious 15mm (and maybe 28mm if they arrive in time!)


Recommendations: 2233
About the Project
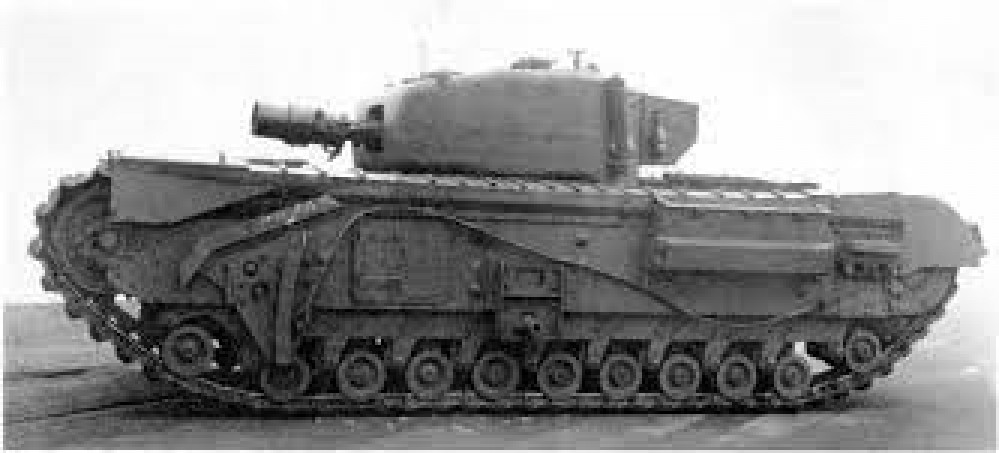
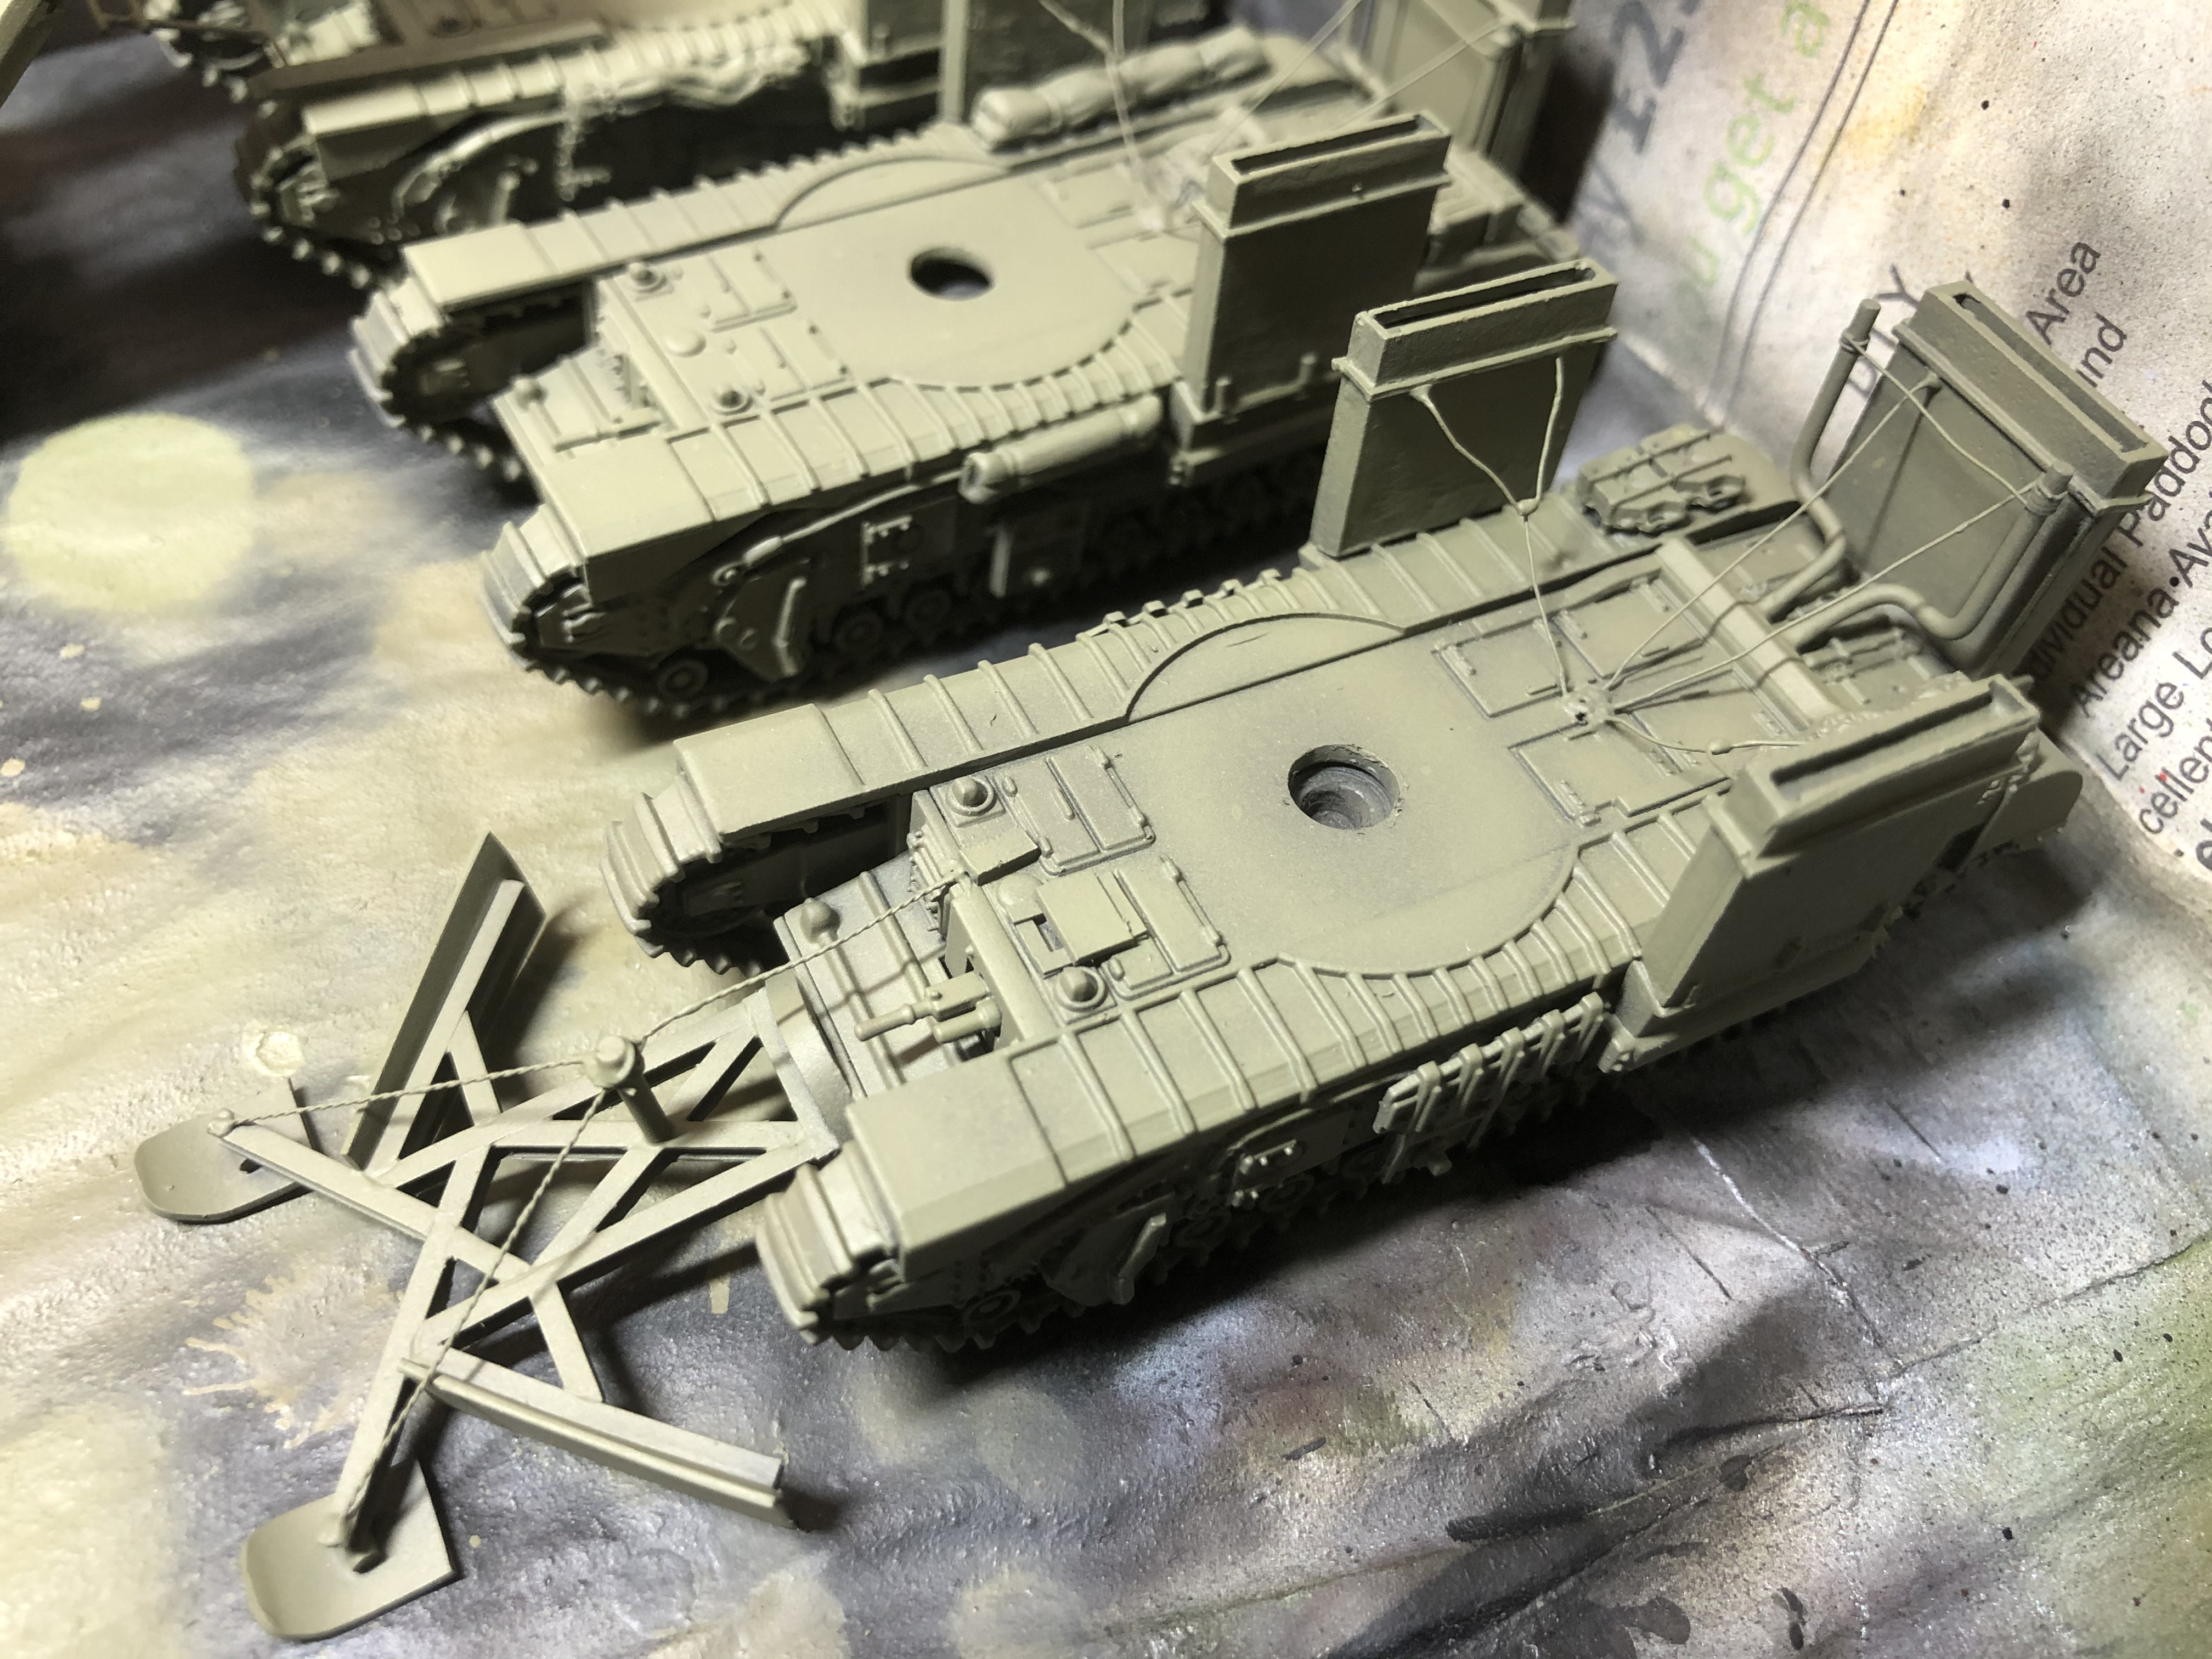
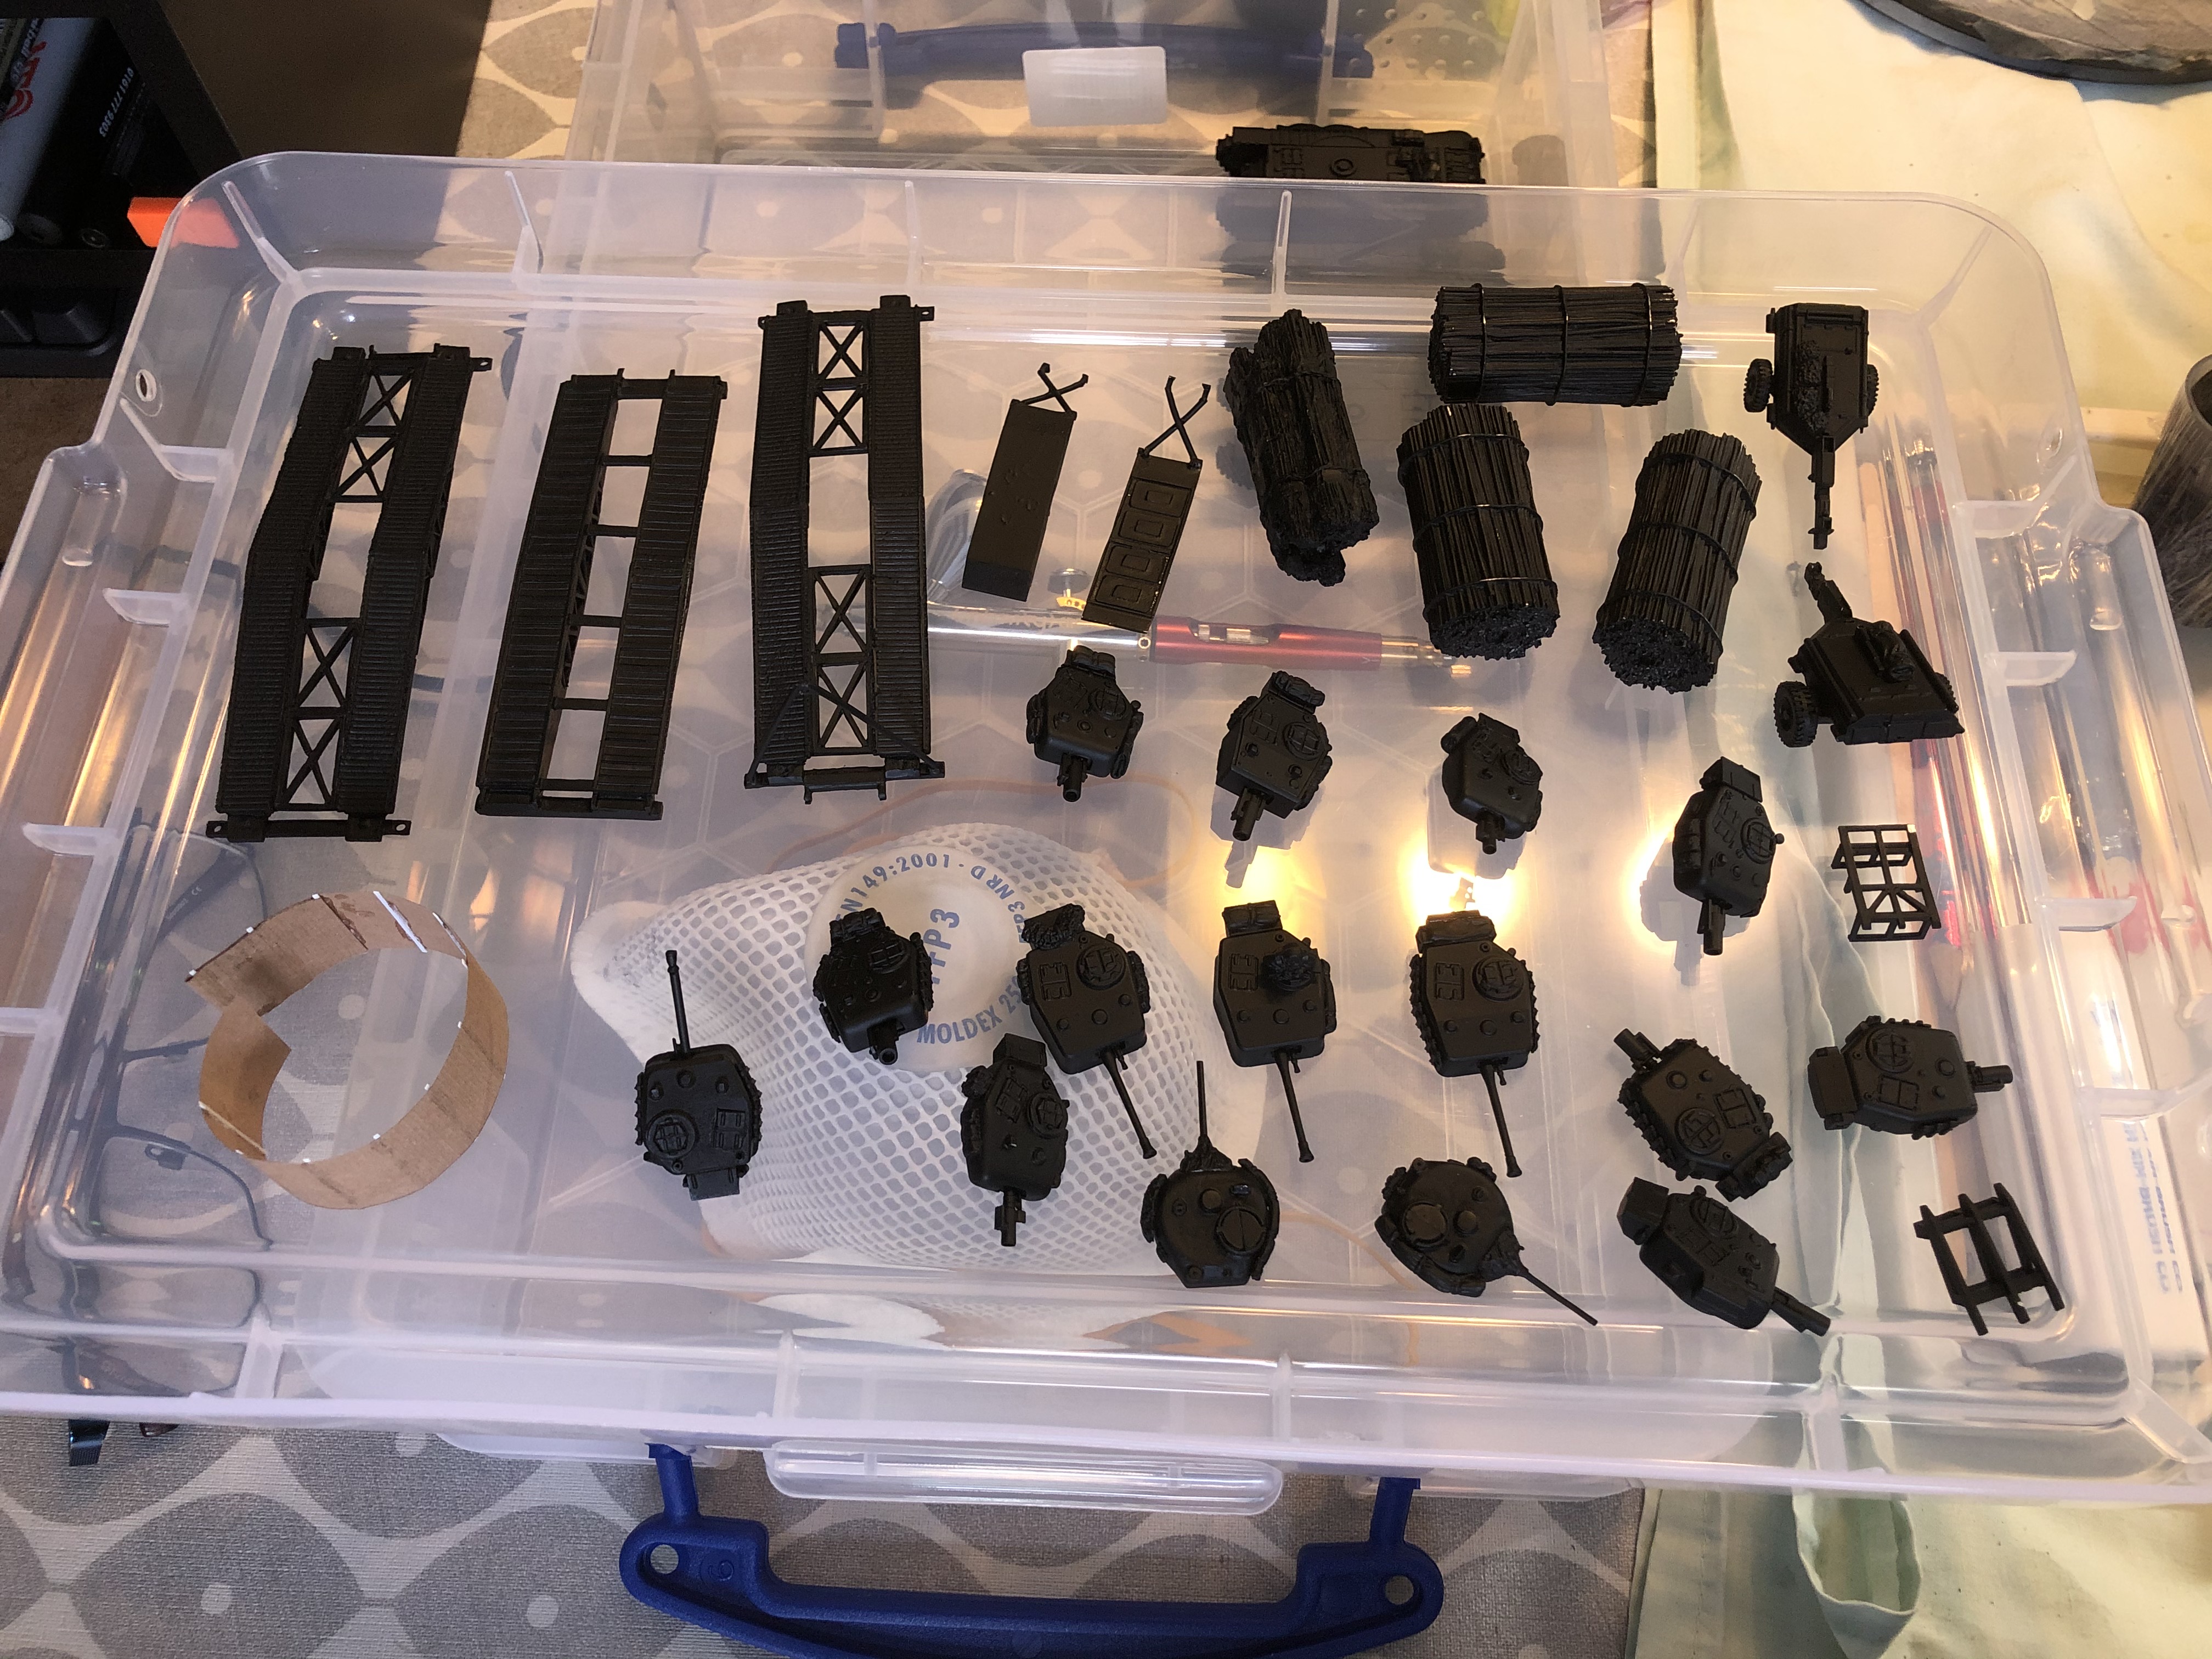
Right then, having avoided any sort of Spring cleaning challenge in the past, I have decided to use this year's one to get something done that I have been gathering bits for over the past few years and finally finish and assemble all of my Hobart's Funnies. To get technical these are Armoured Vehicle Royal Engineers (AVRE) tanks, using the Churchill chassis as a base. I will also throw in some Sherman Crabs (Flail tanks). I have gathered a few books for reference so that I can paint and mark them up for one of the Armoured Assault Squadrons Royal Engineer (either 77, or 79) that landed ashore at Sword Beach and were the very first to see action on that beach; Plus the Sherman Crabs of A Squadron 22nd Dragoons. Whilst I want to be able to use the finished tanks in games depicting the D Day Landings (in Flames of War and Chain of Command at 15mm) I also want then to be versatile enough to be able to be used in later engagements that the 79th Armoured Division took part in (which is pretty much everything!). I hope you will find this of interest if you ever want to branch out into what the modern day Royal Engineers affectionately call being an armoured farmer.
Related Game: Flames of War: The World War II Miniatures Game
Related Company: Battlefront Miniatures
Related Genre: Historical
Related Contest: Spring Clean Hobby Challenge (Old)
This Project is Active
It's been a while, but i have been doing stuff Honest!! ;-)
Base coating
Apologies for the delay in updating my project thread but life, as ever, gest in the way.
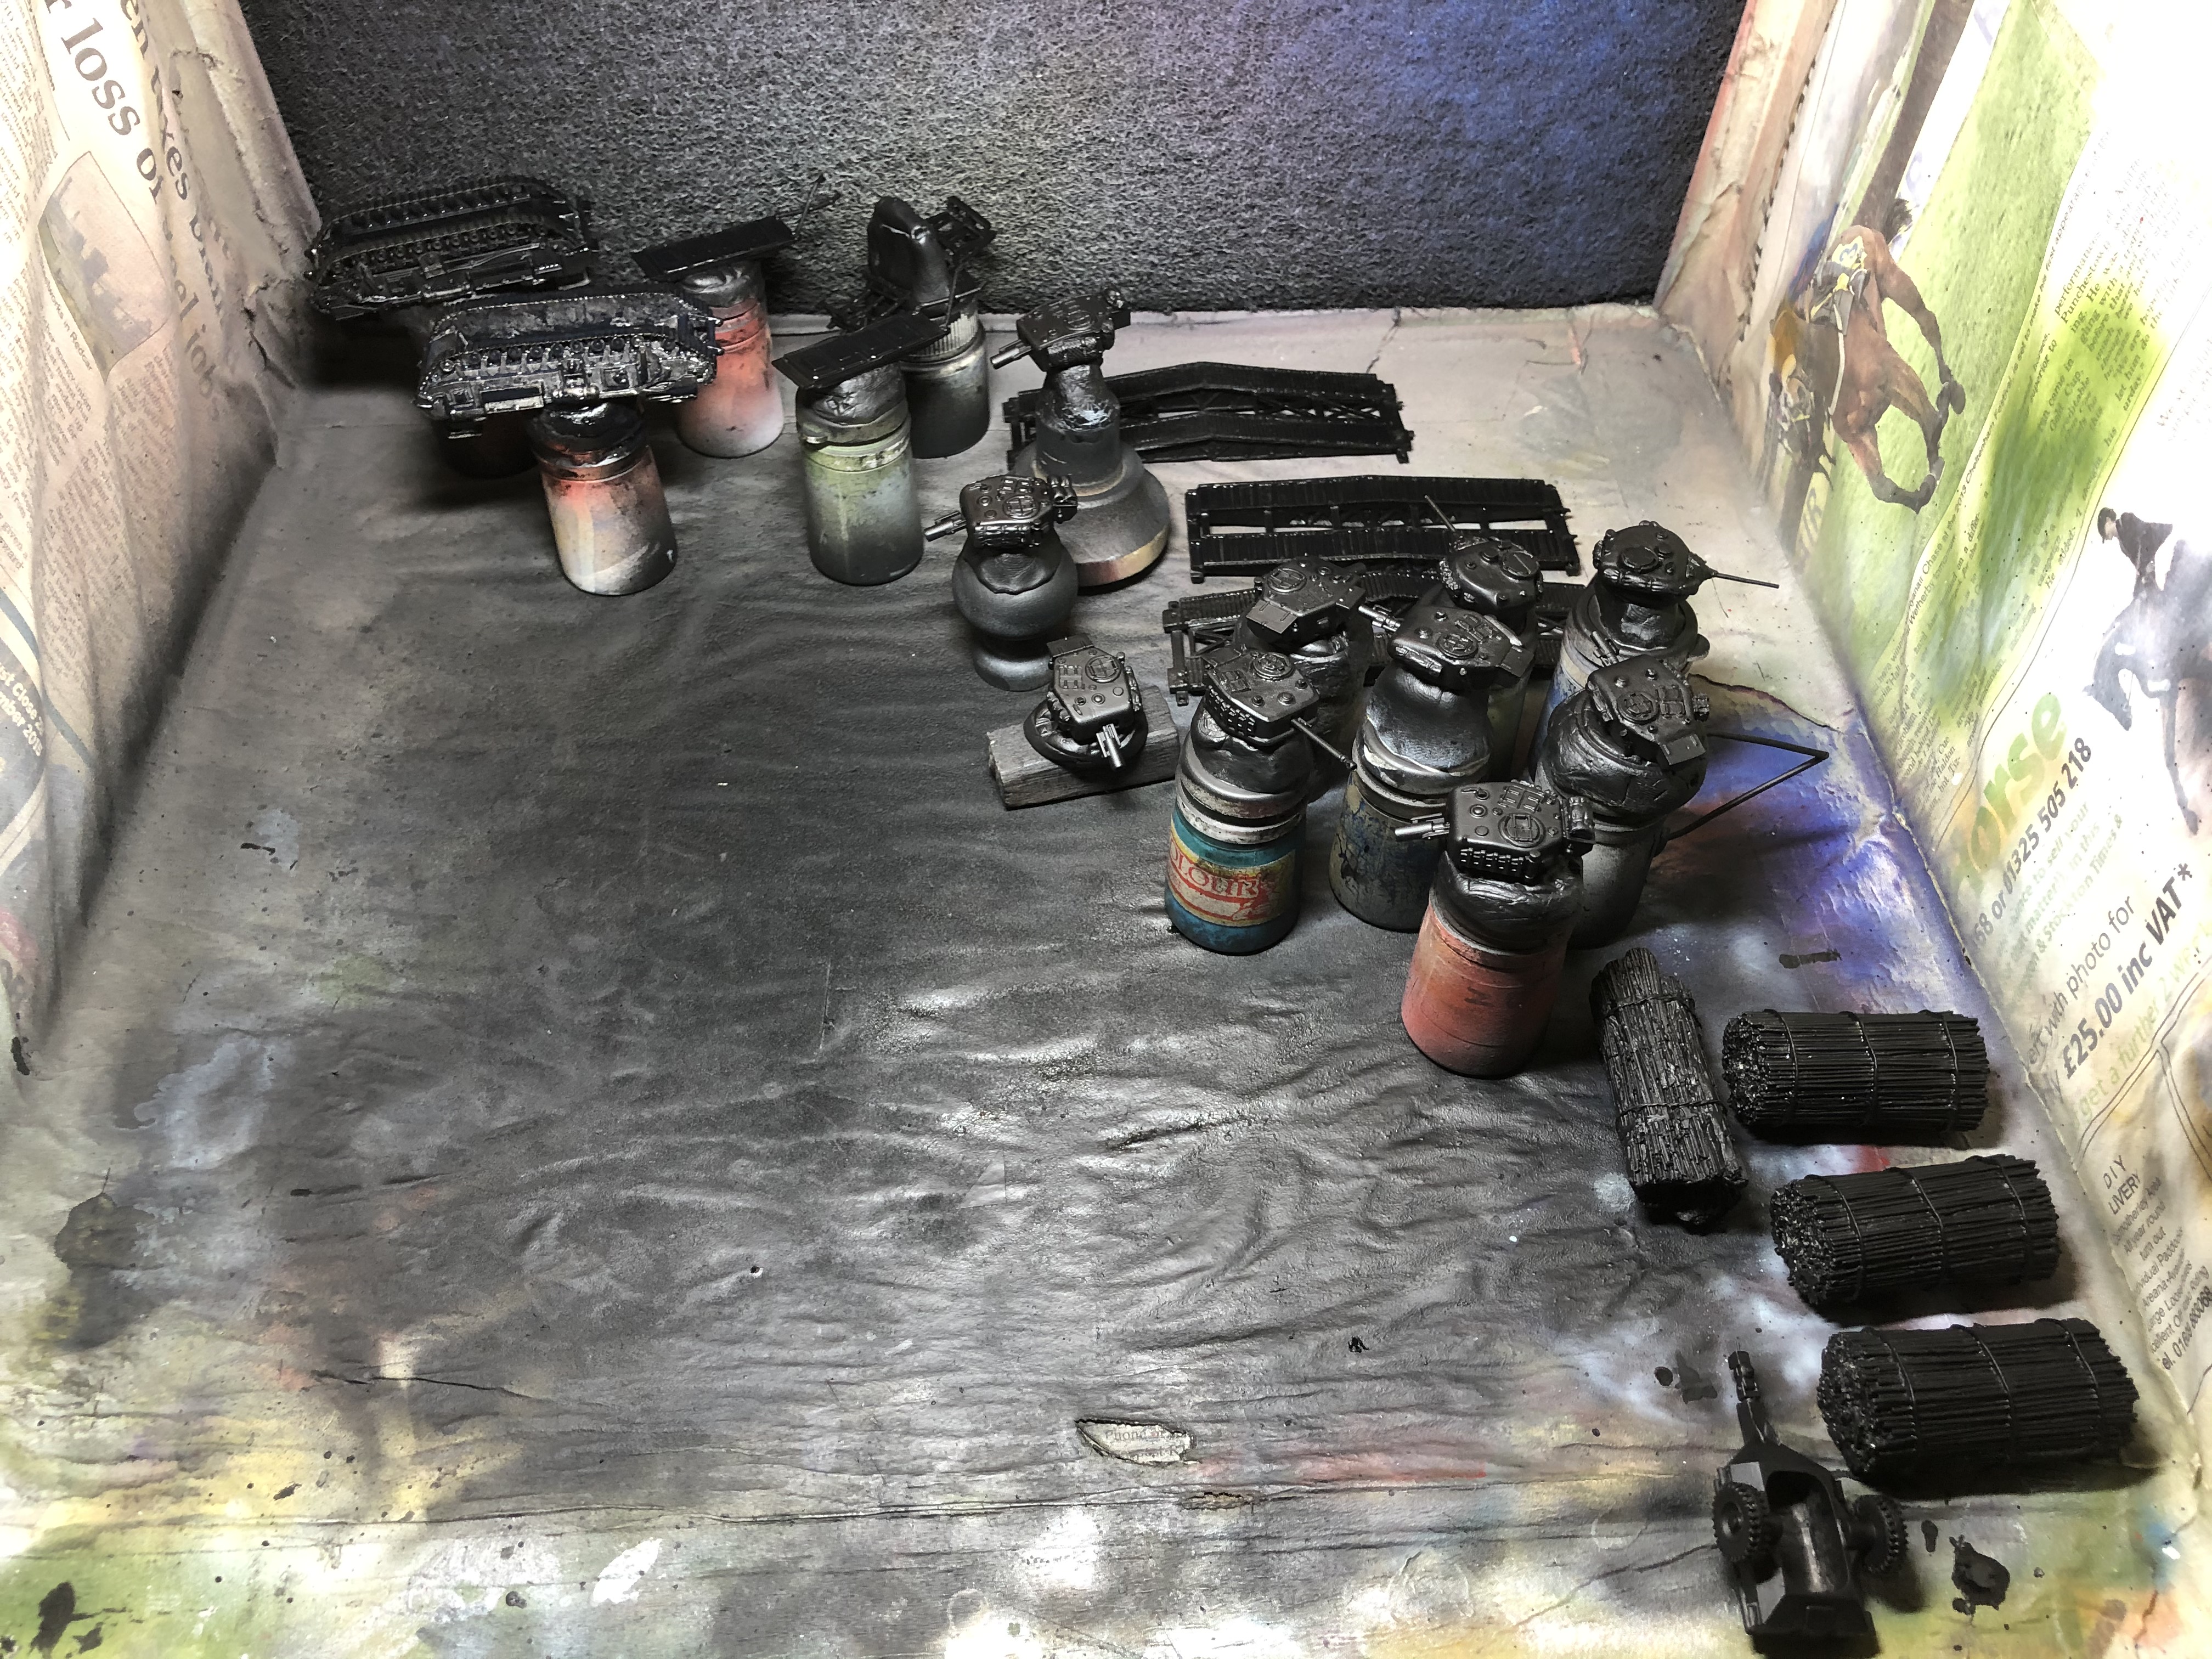
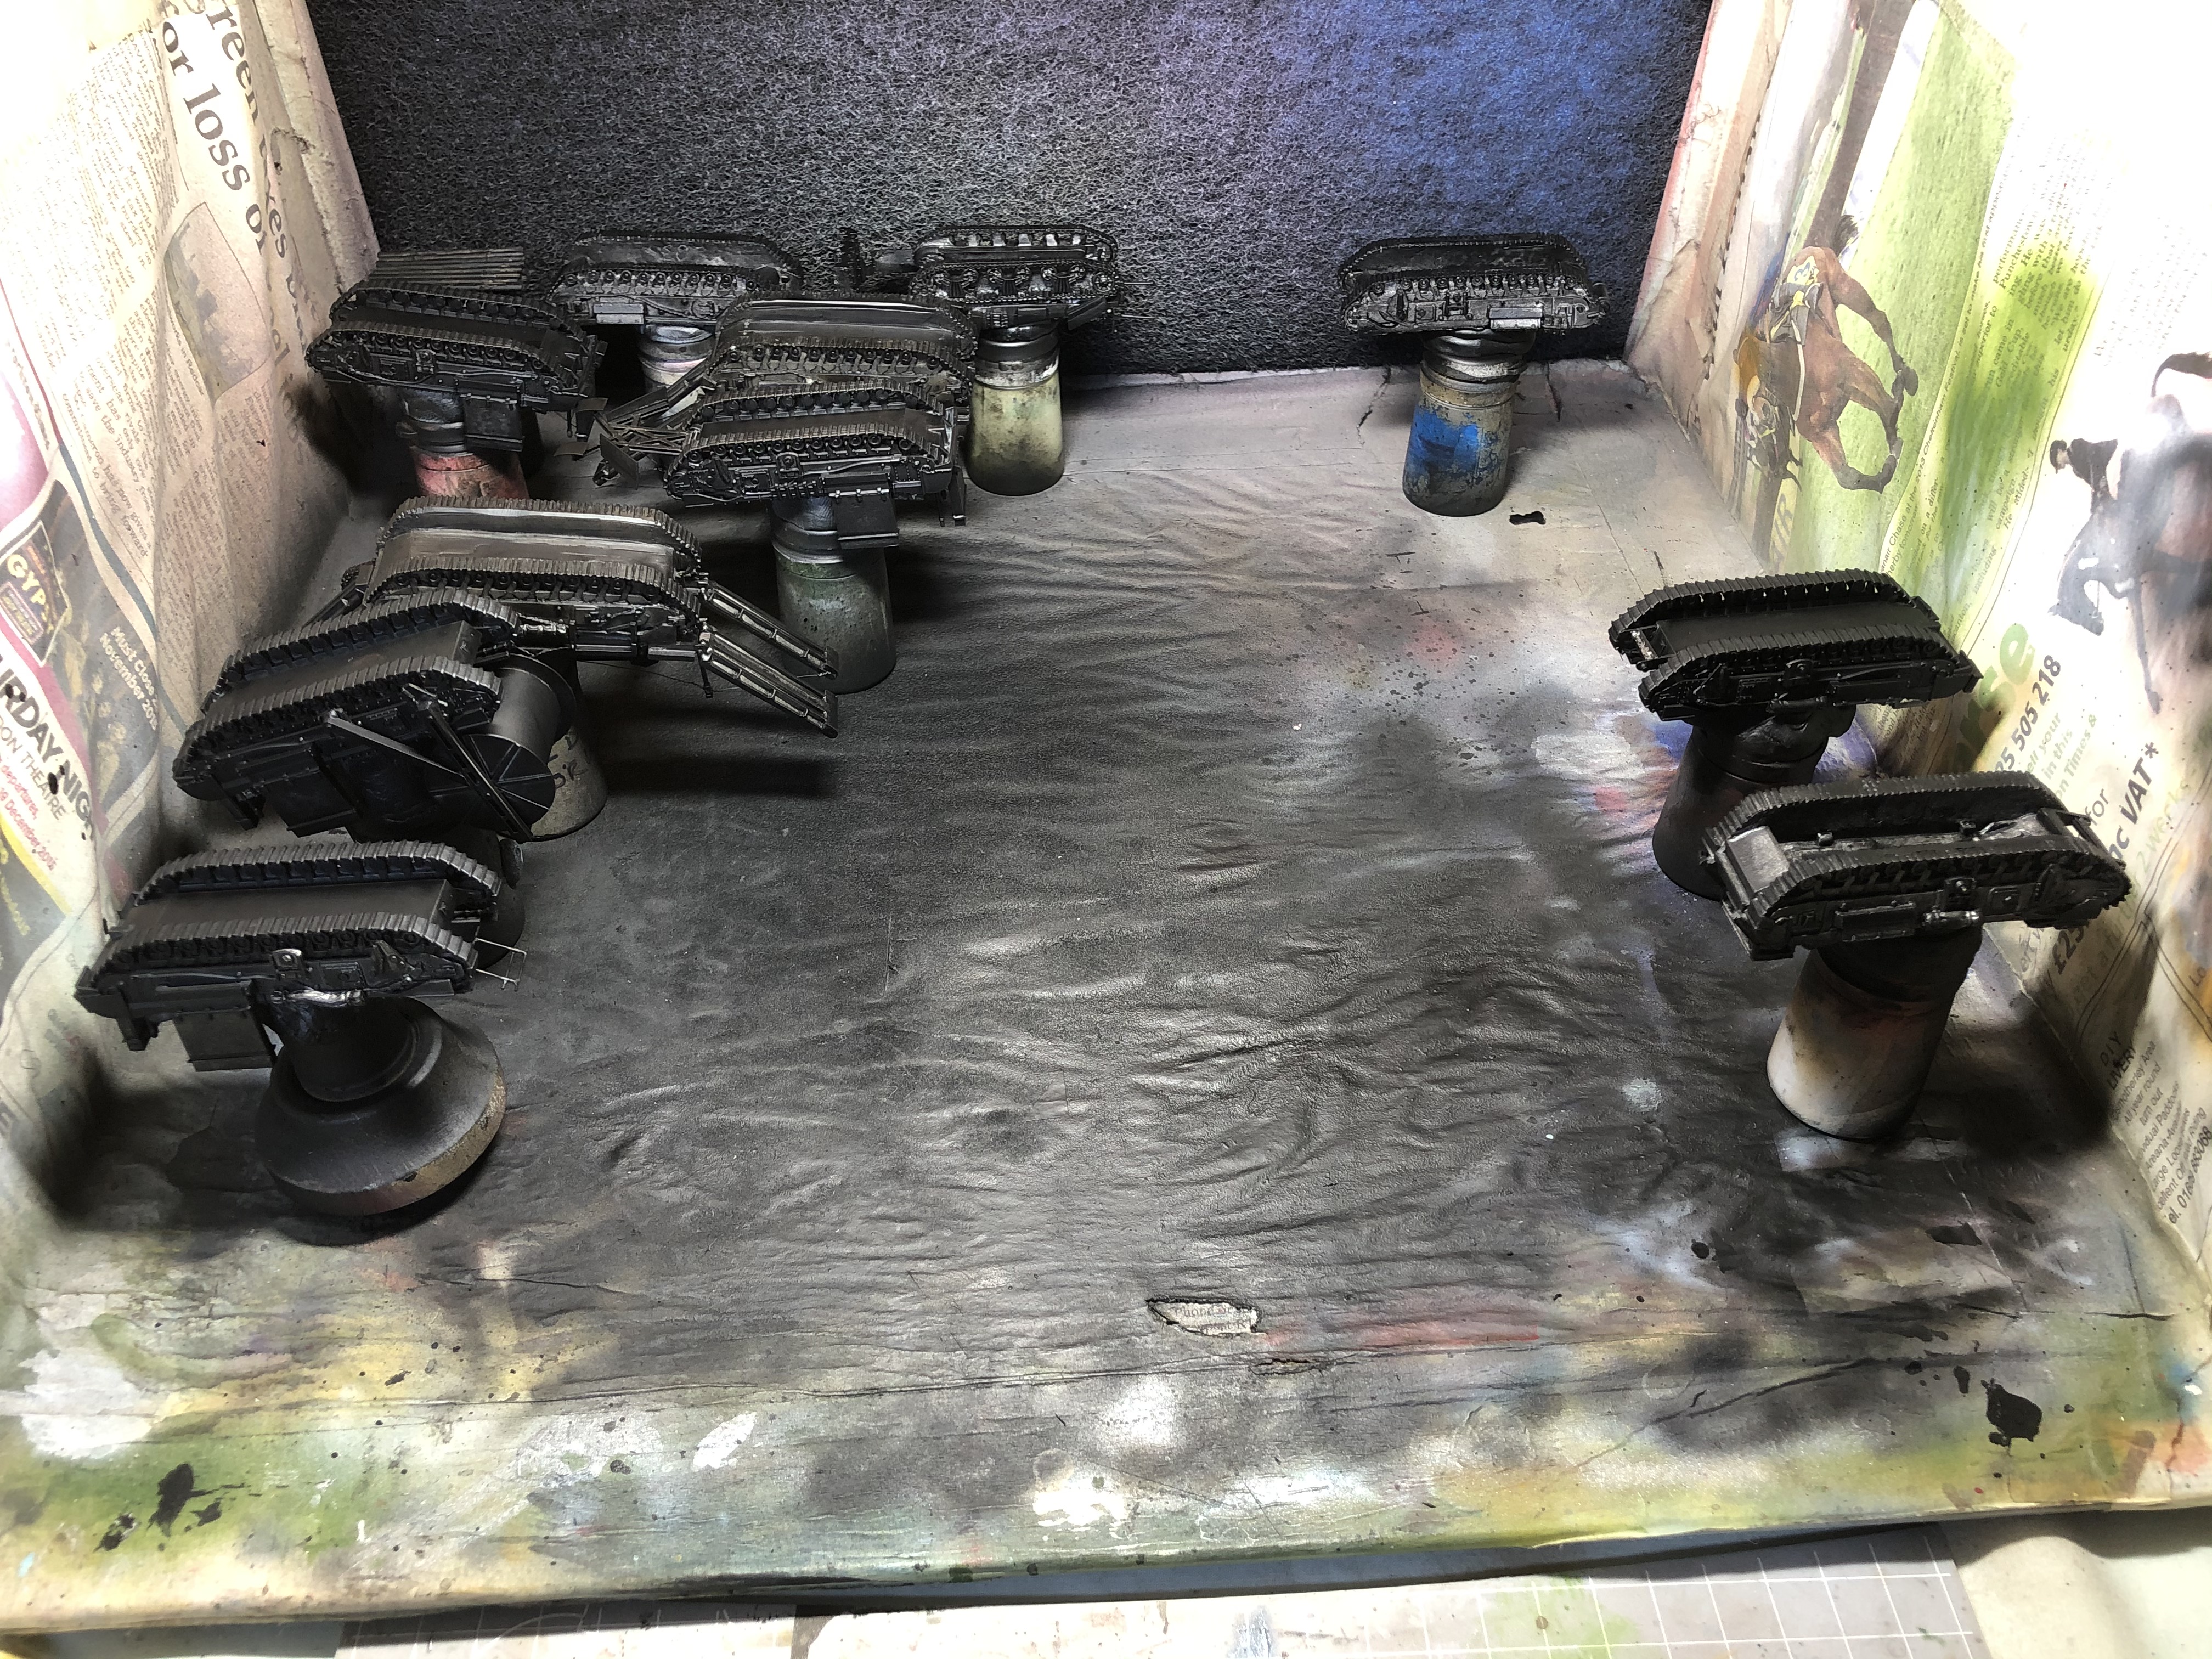
So after the the main base coat of green was down I started picking out the other base coats first of all I cleared up my first desk setup and got everything to hand to slog through this next bit.
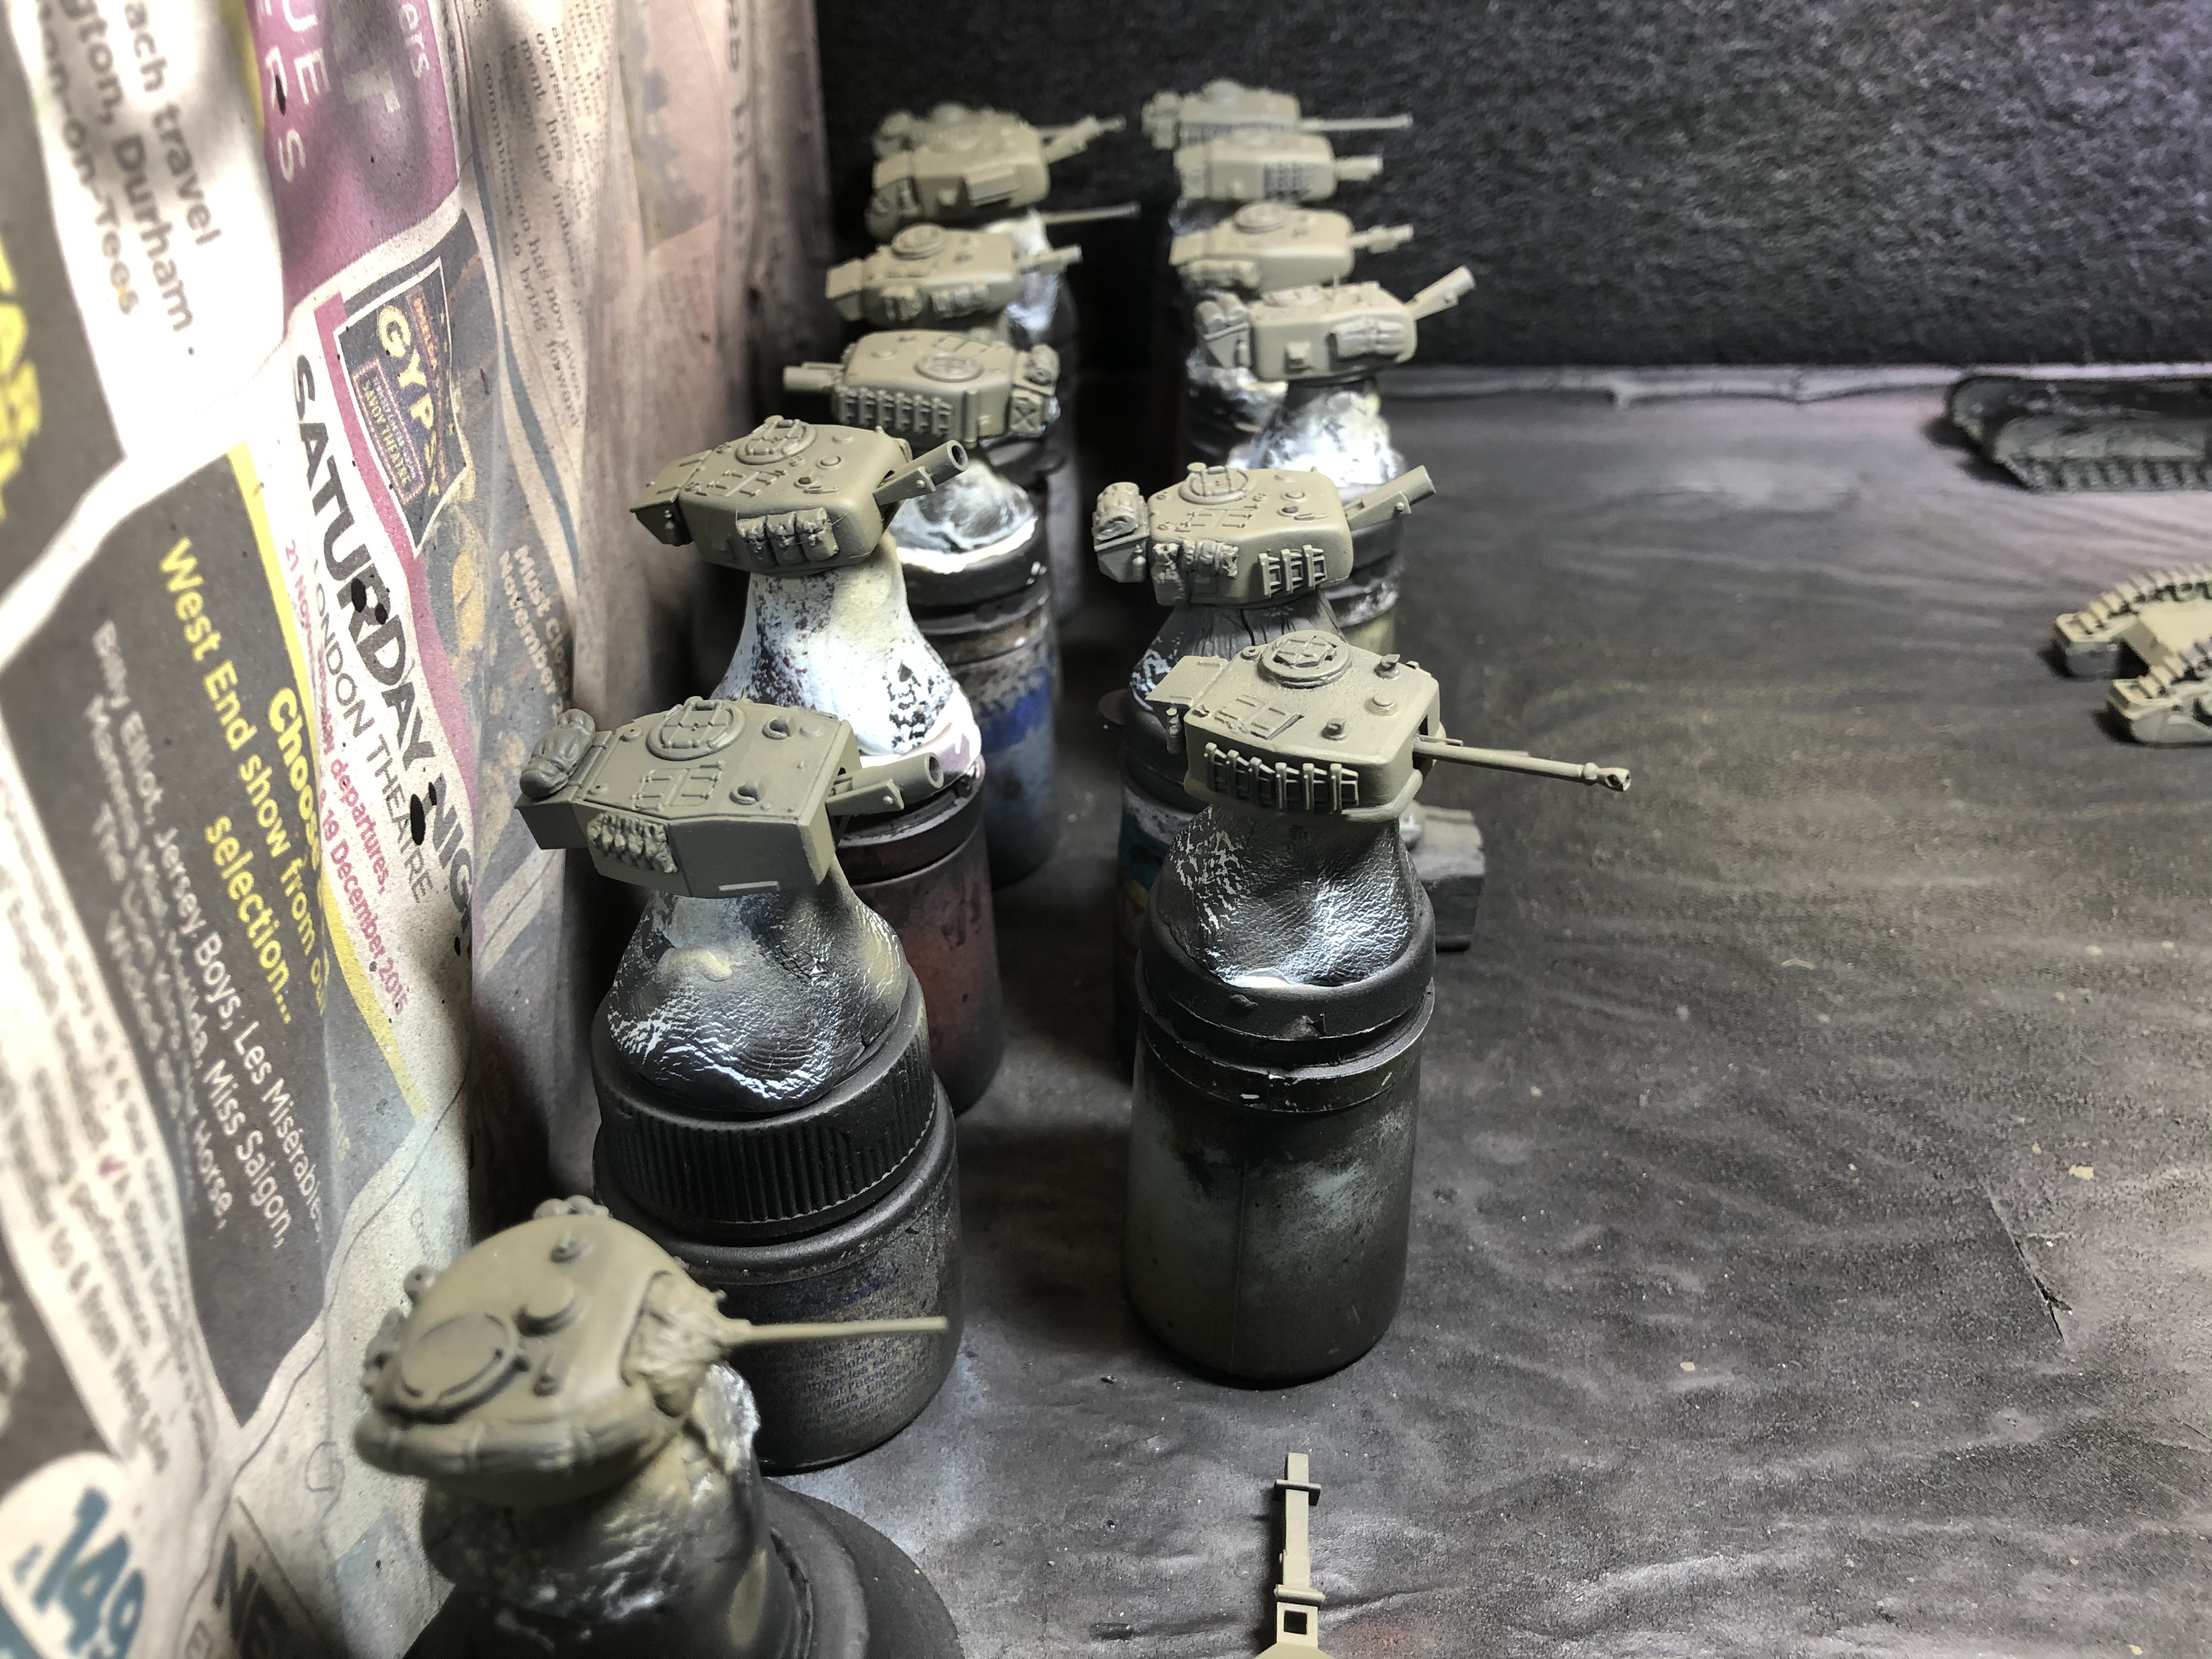
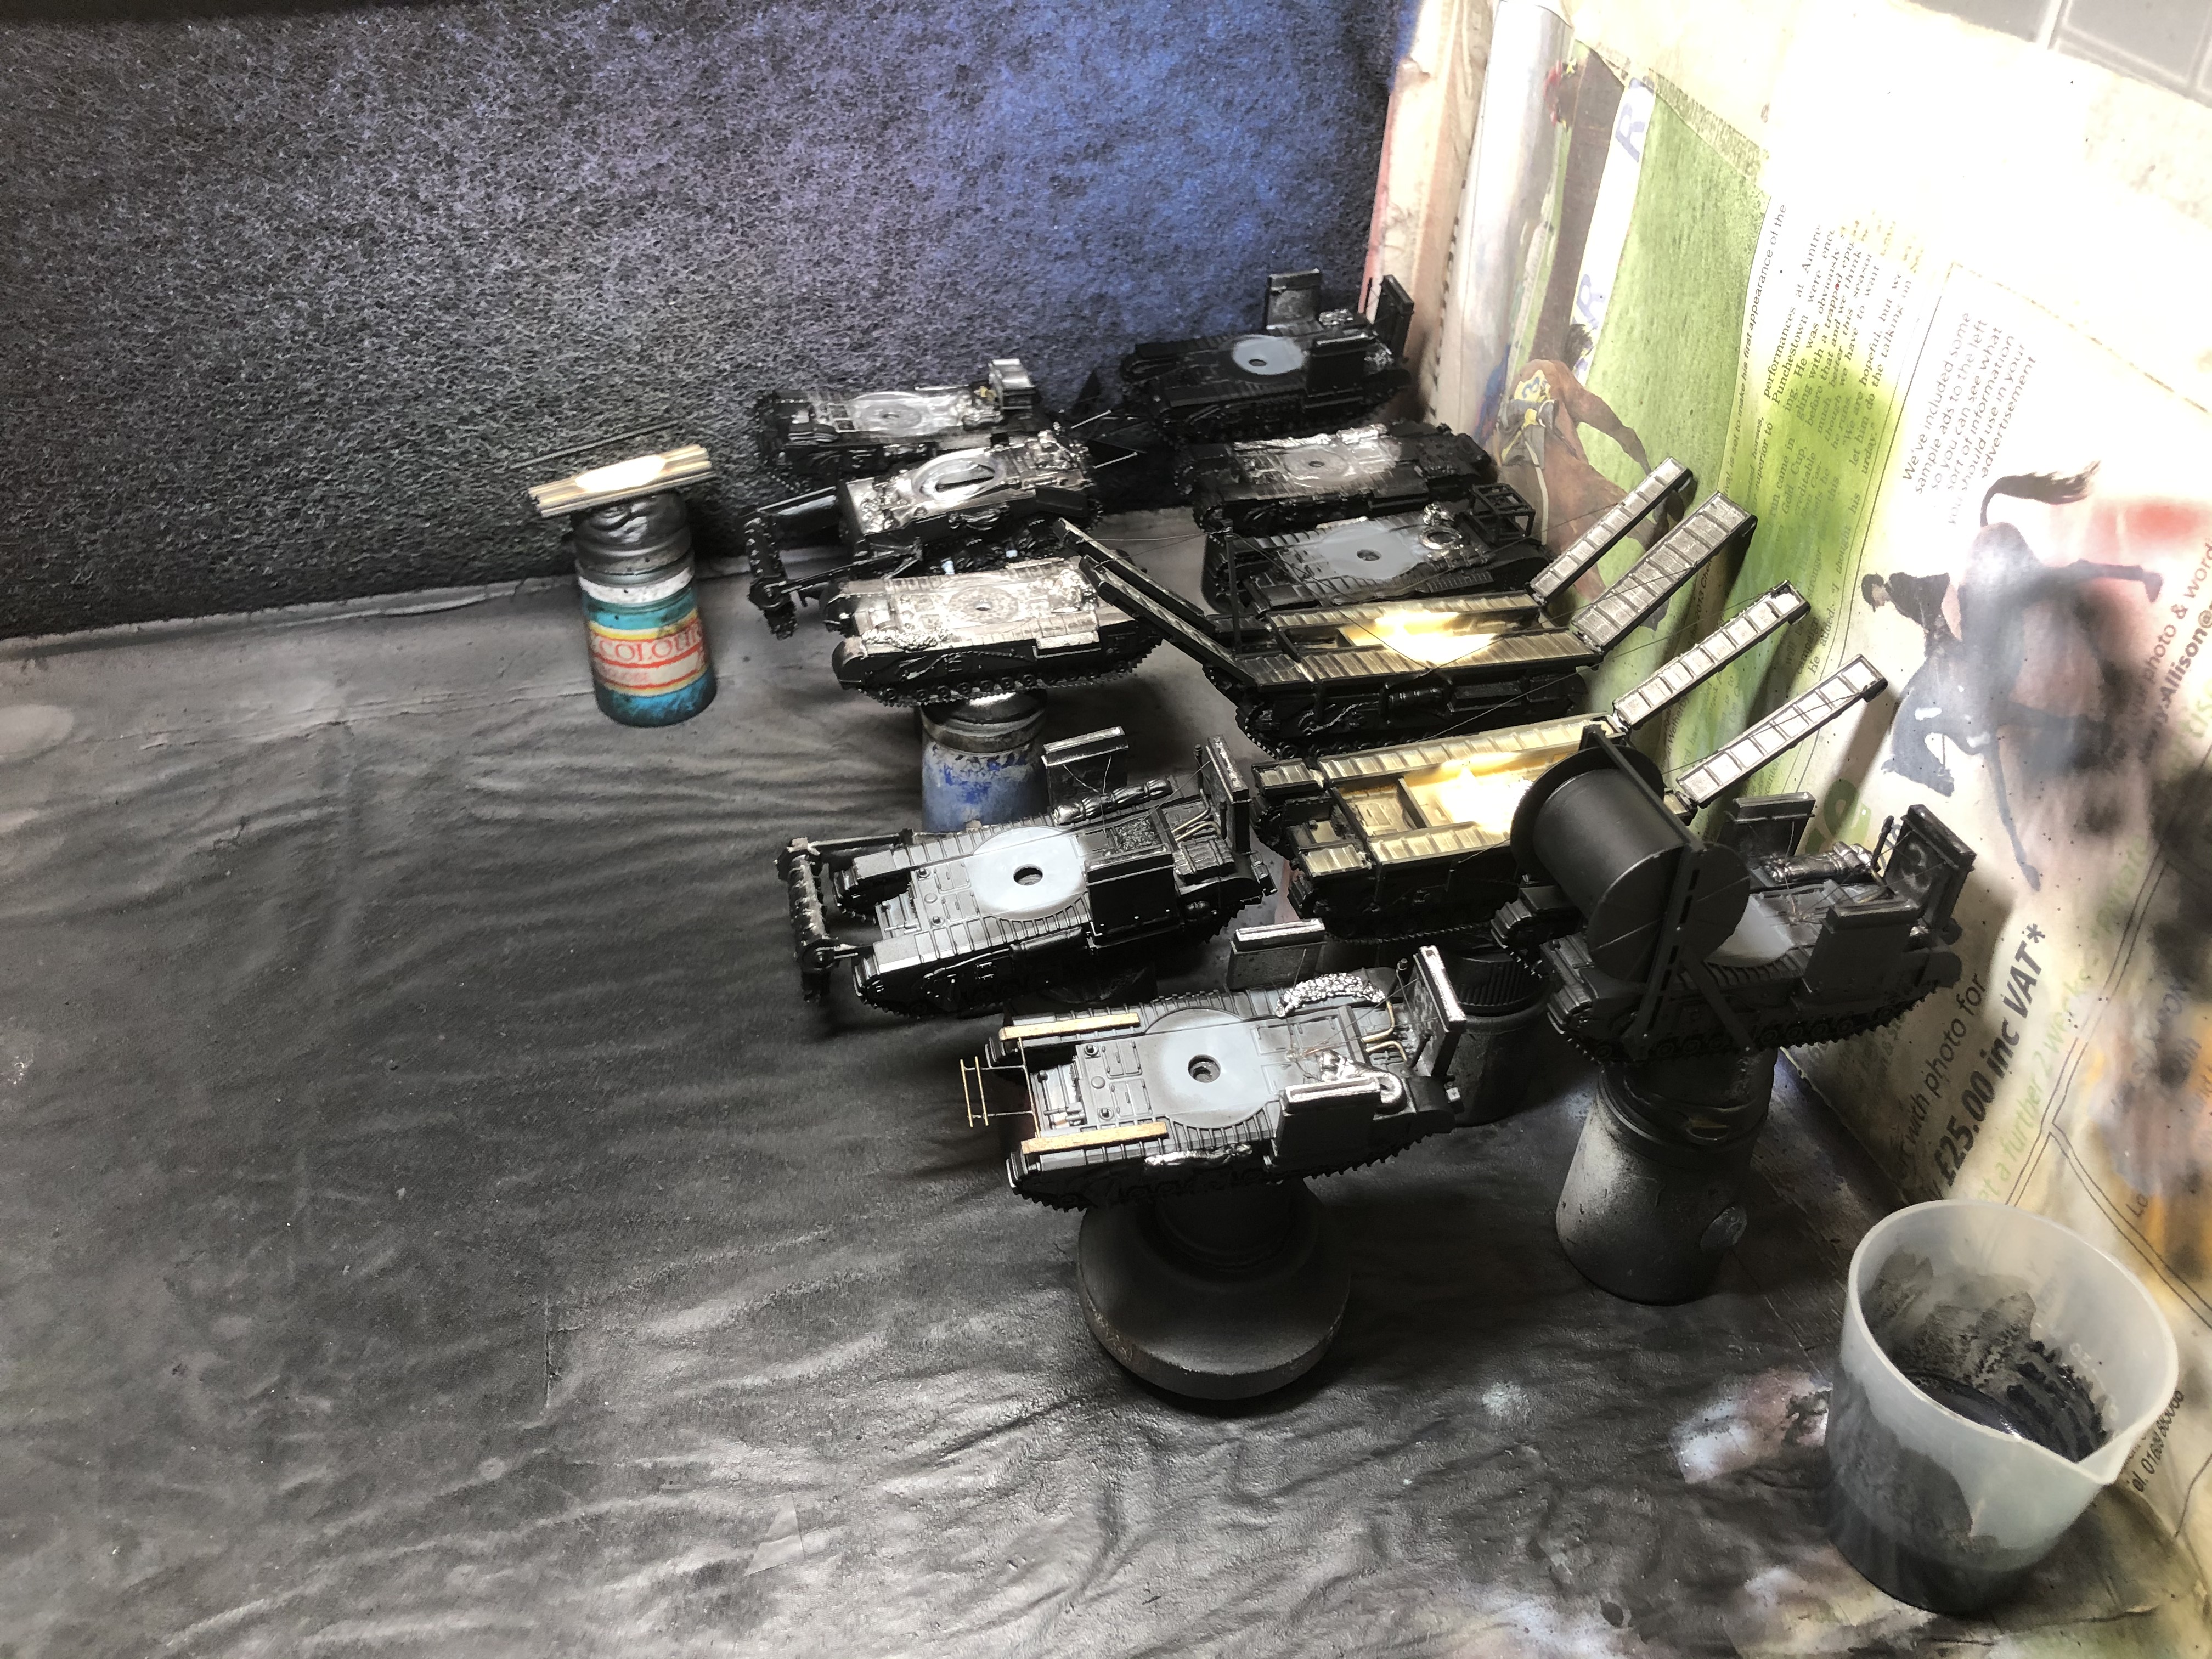
 with all the first phase done, it was time to set up for detailed base coating
And here are all the paints used. Select a photo and zoom in to get all the paint numbers.


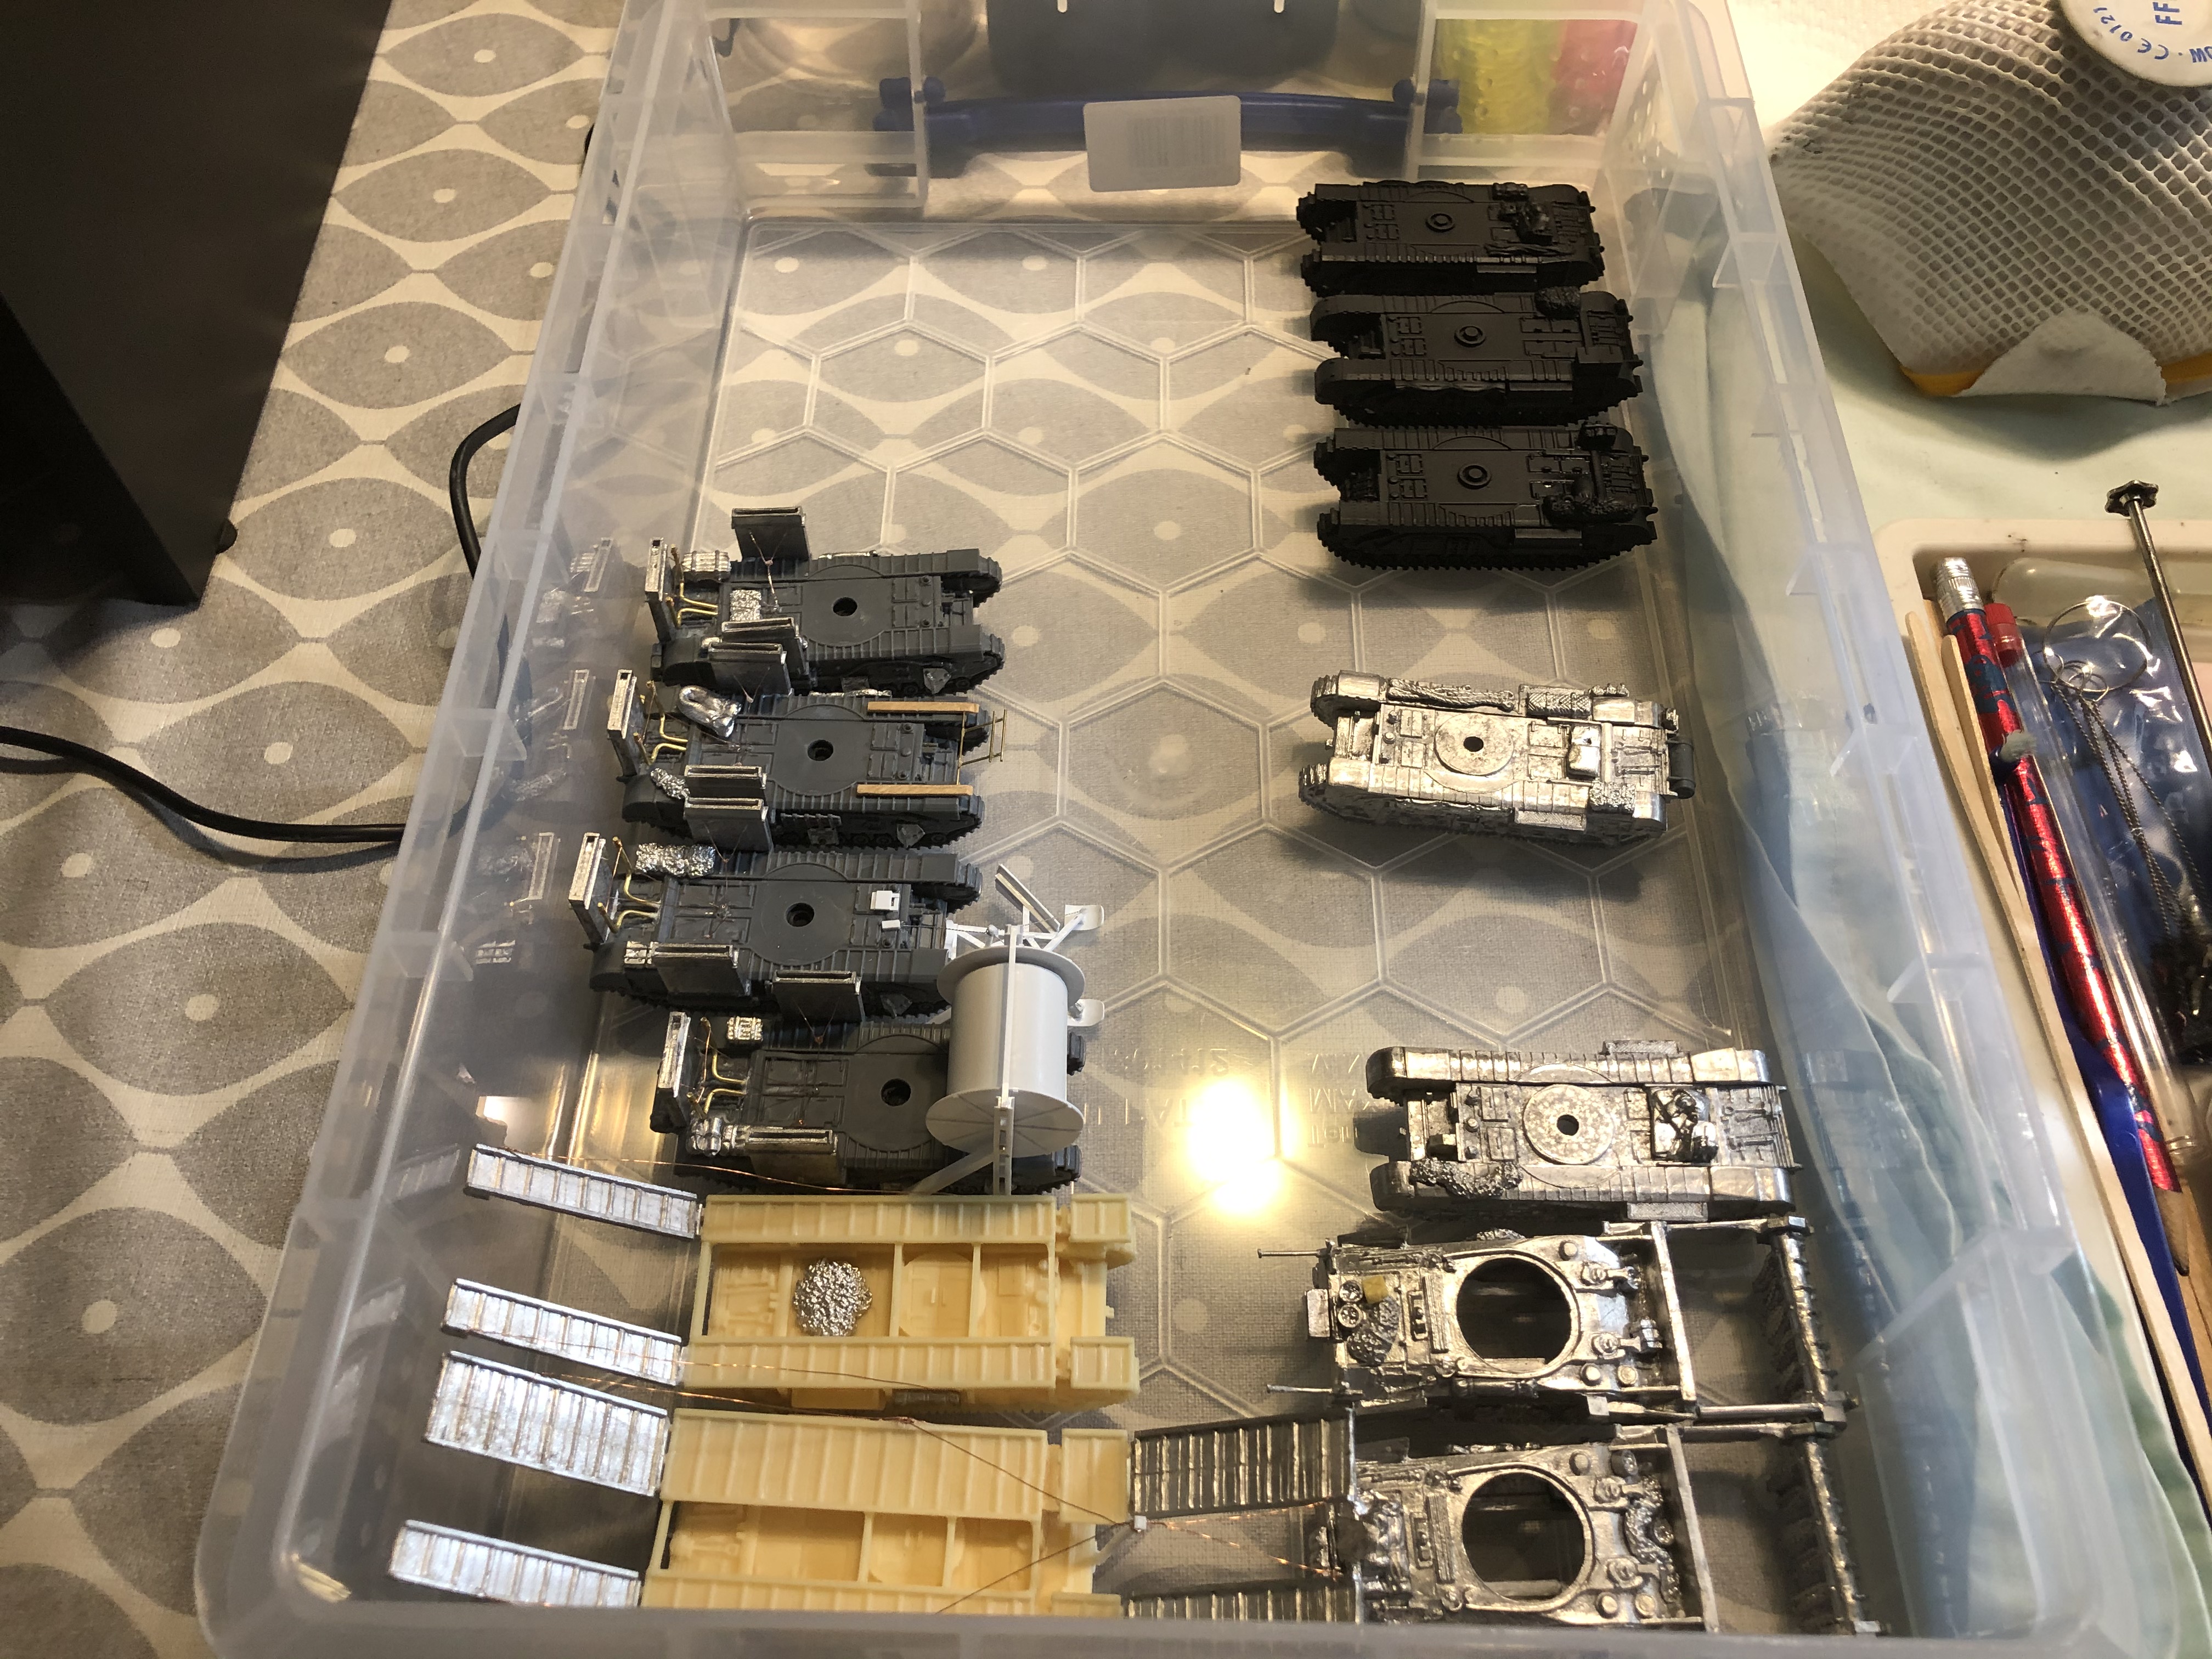
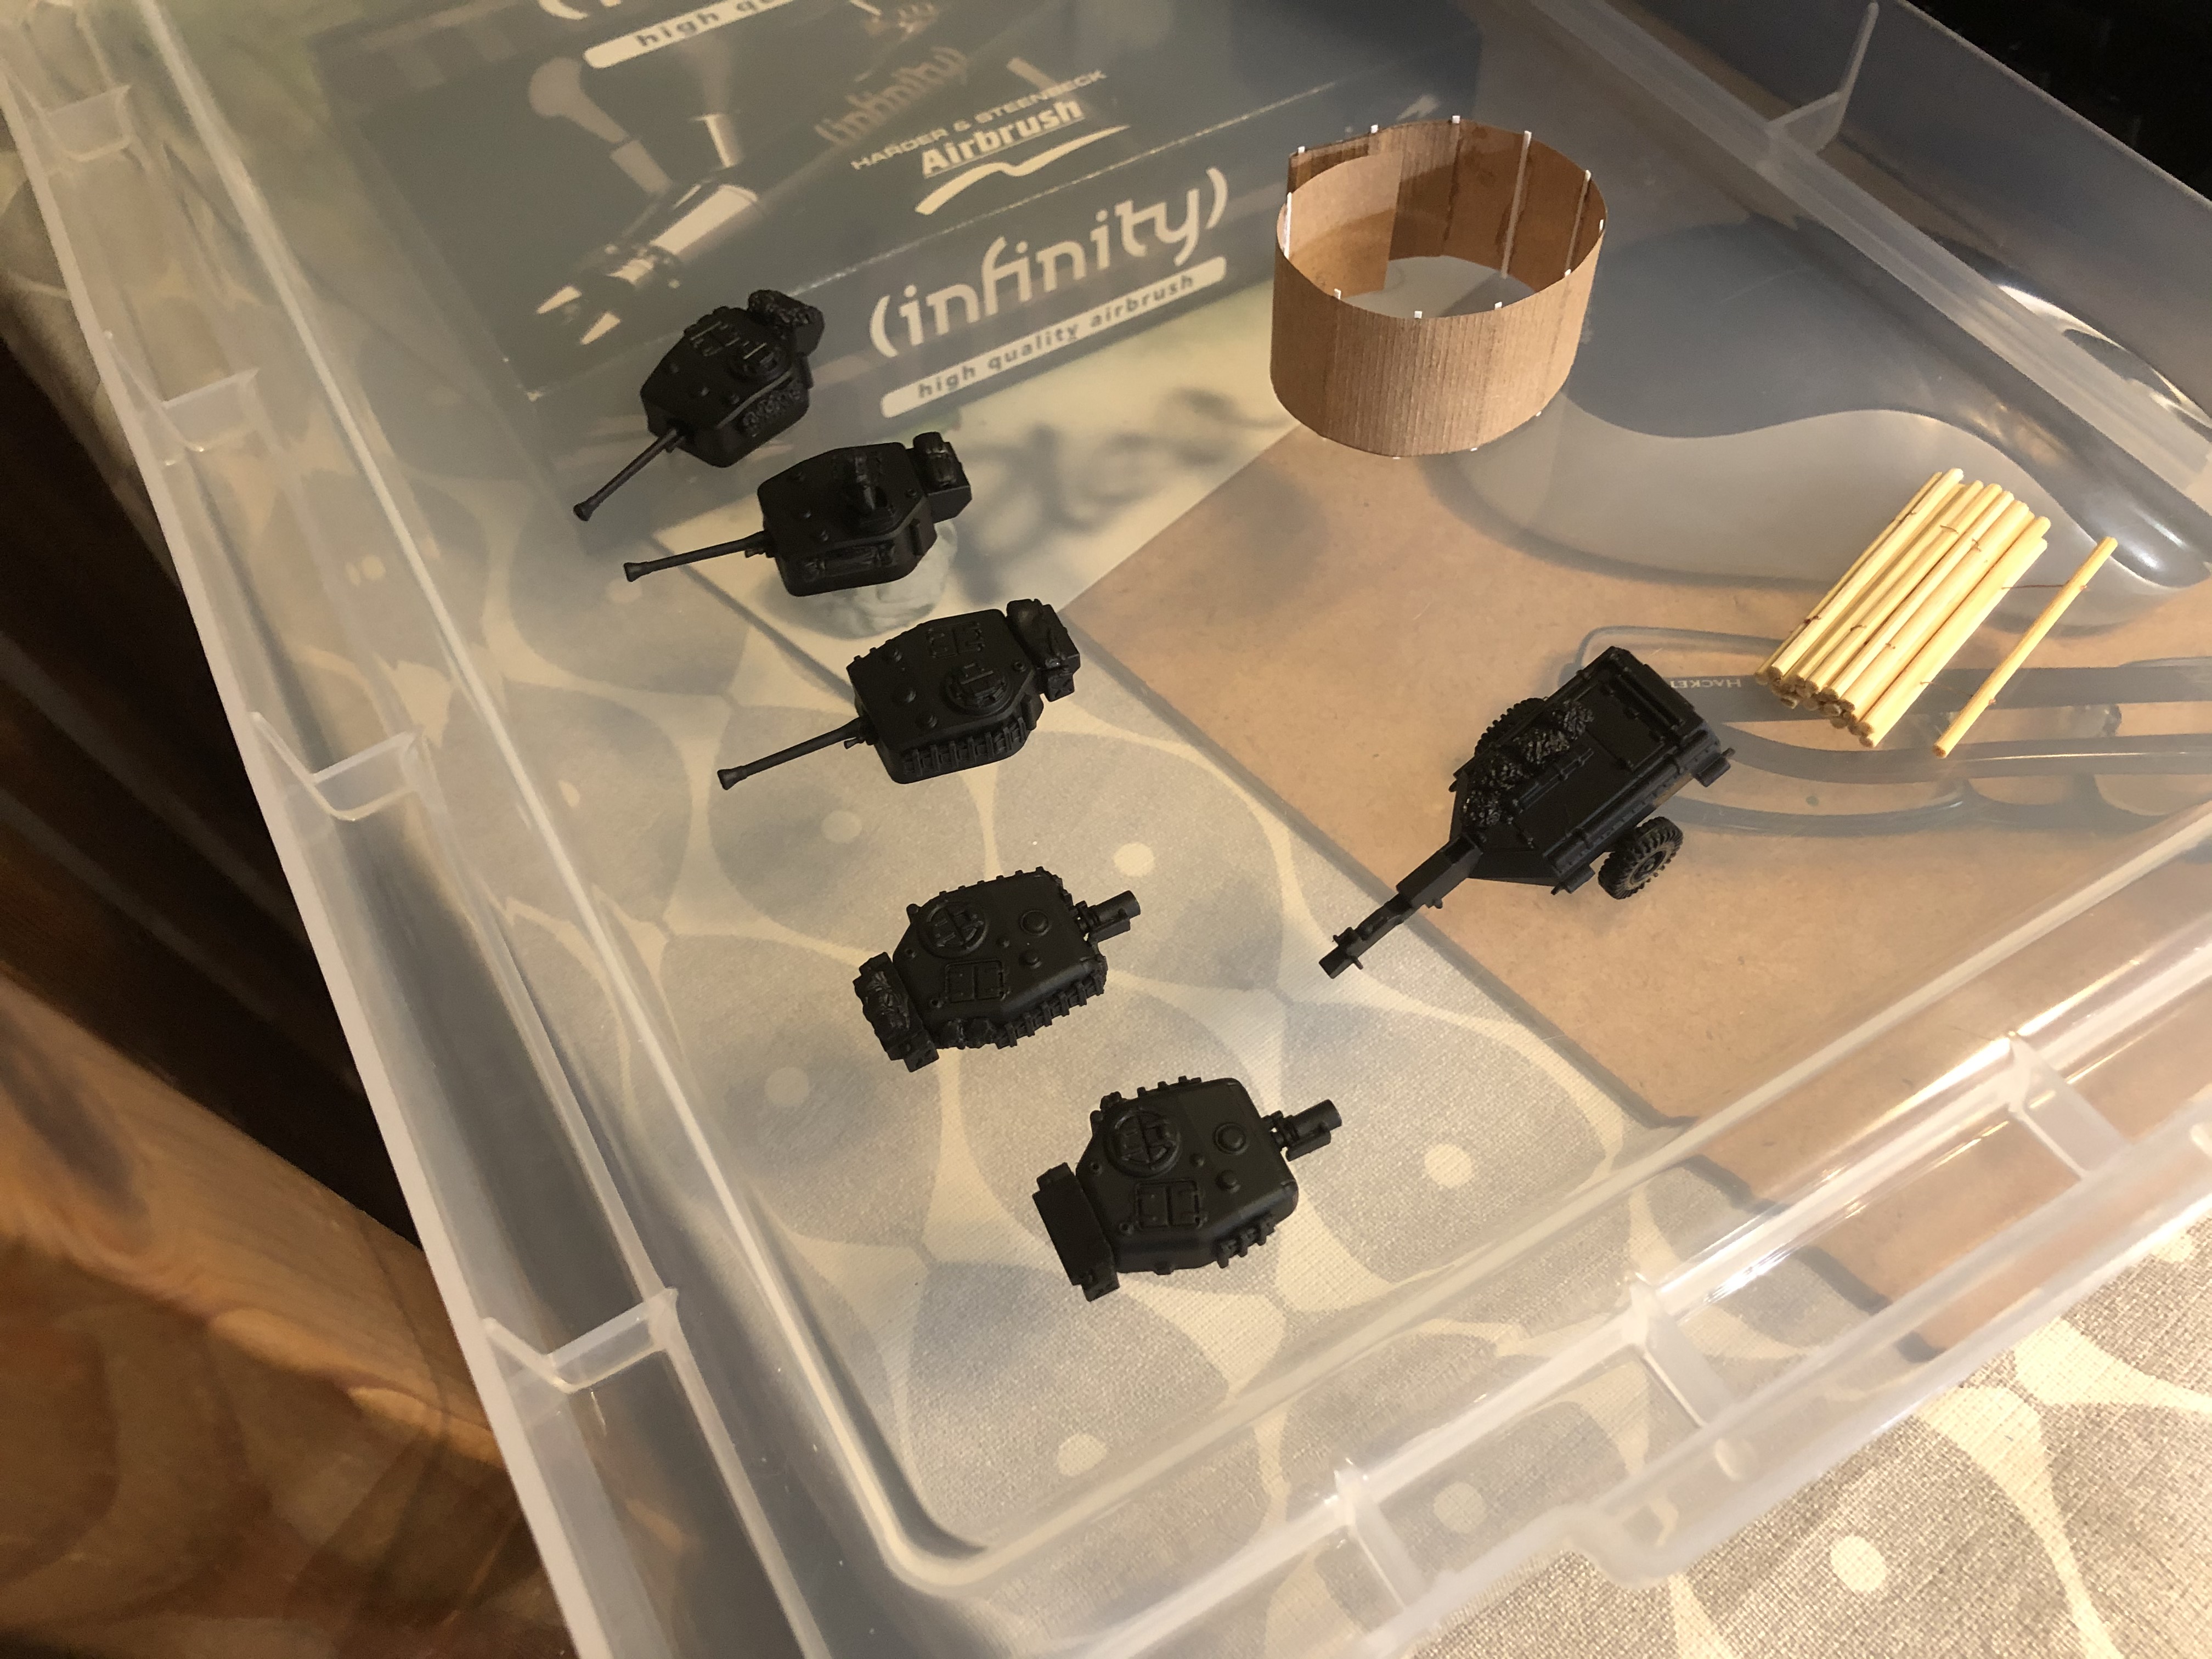
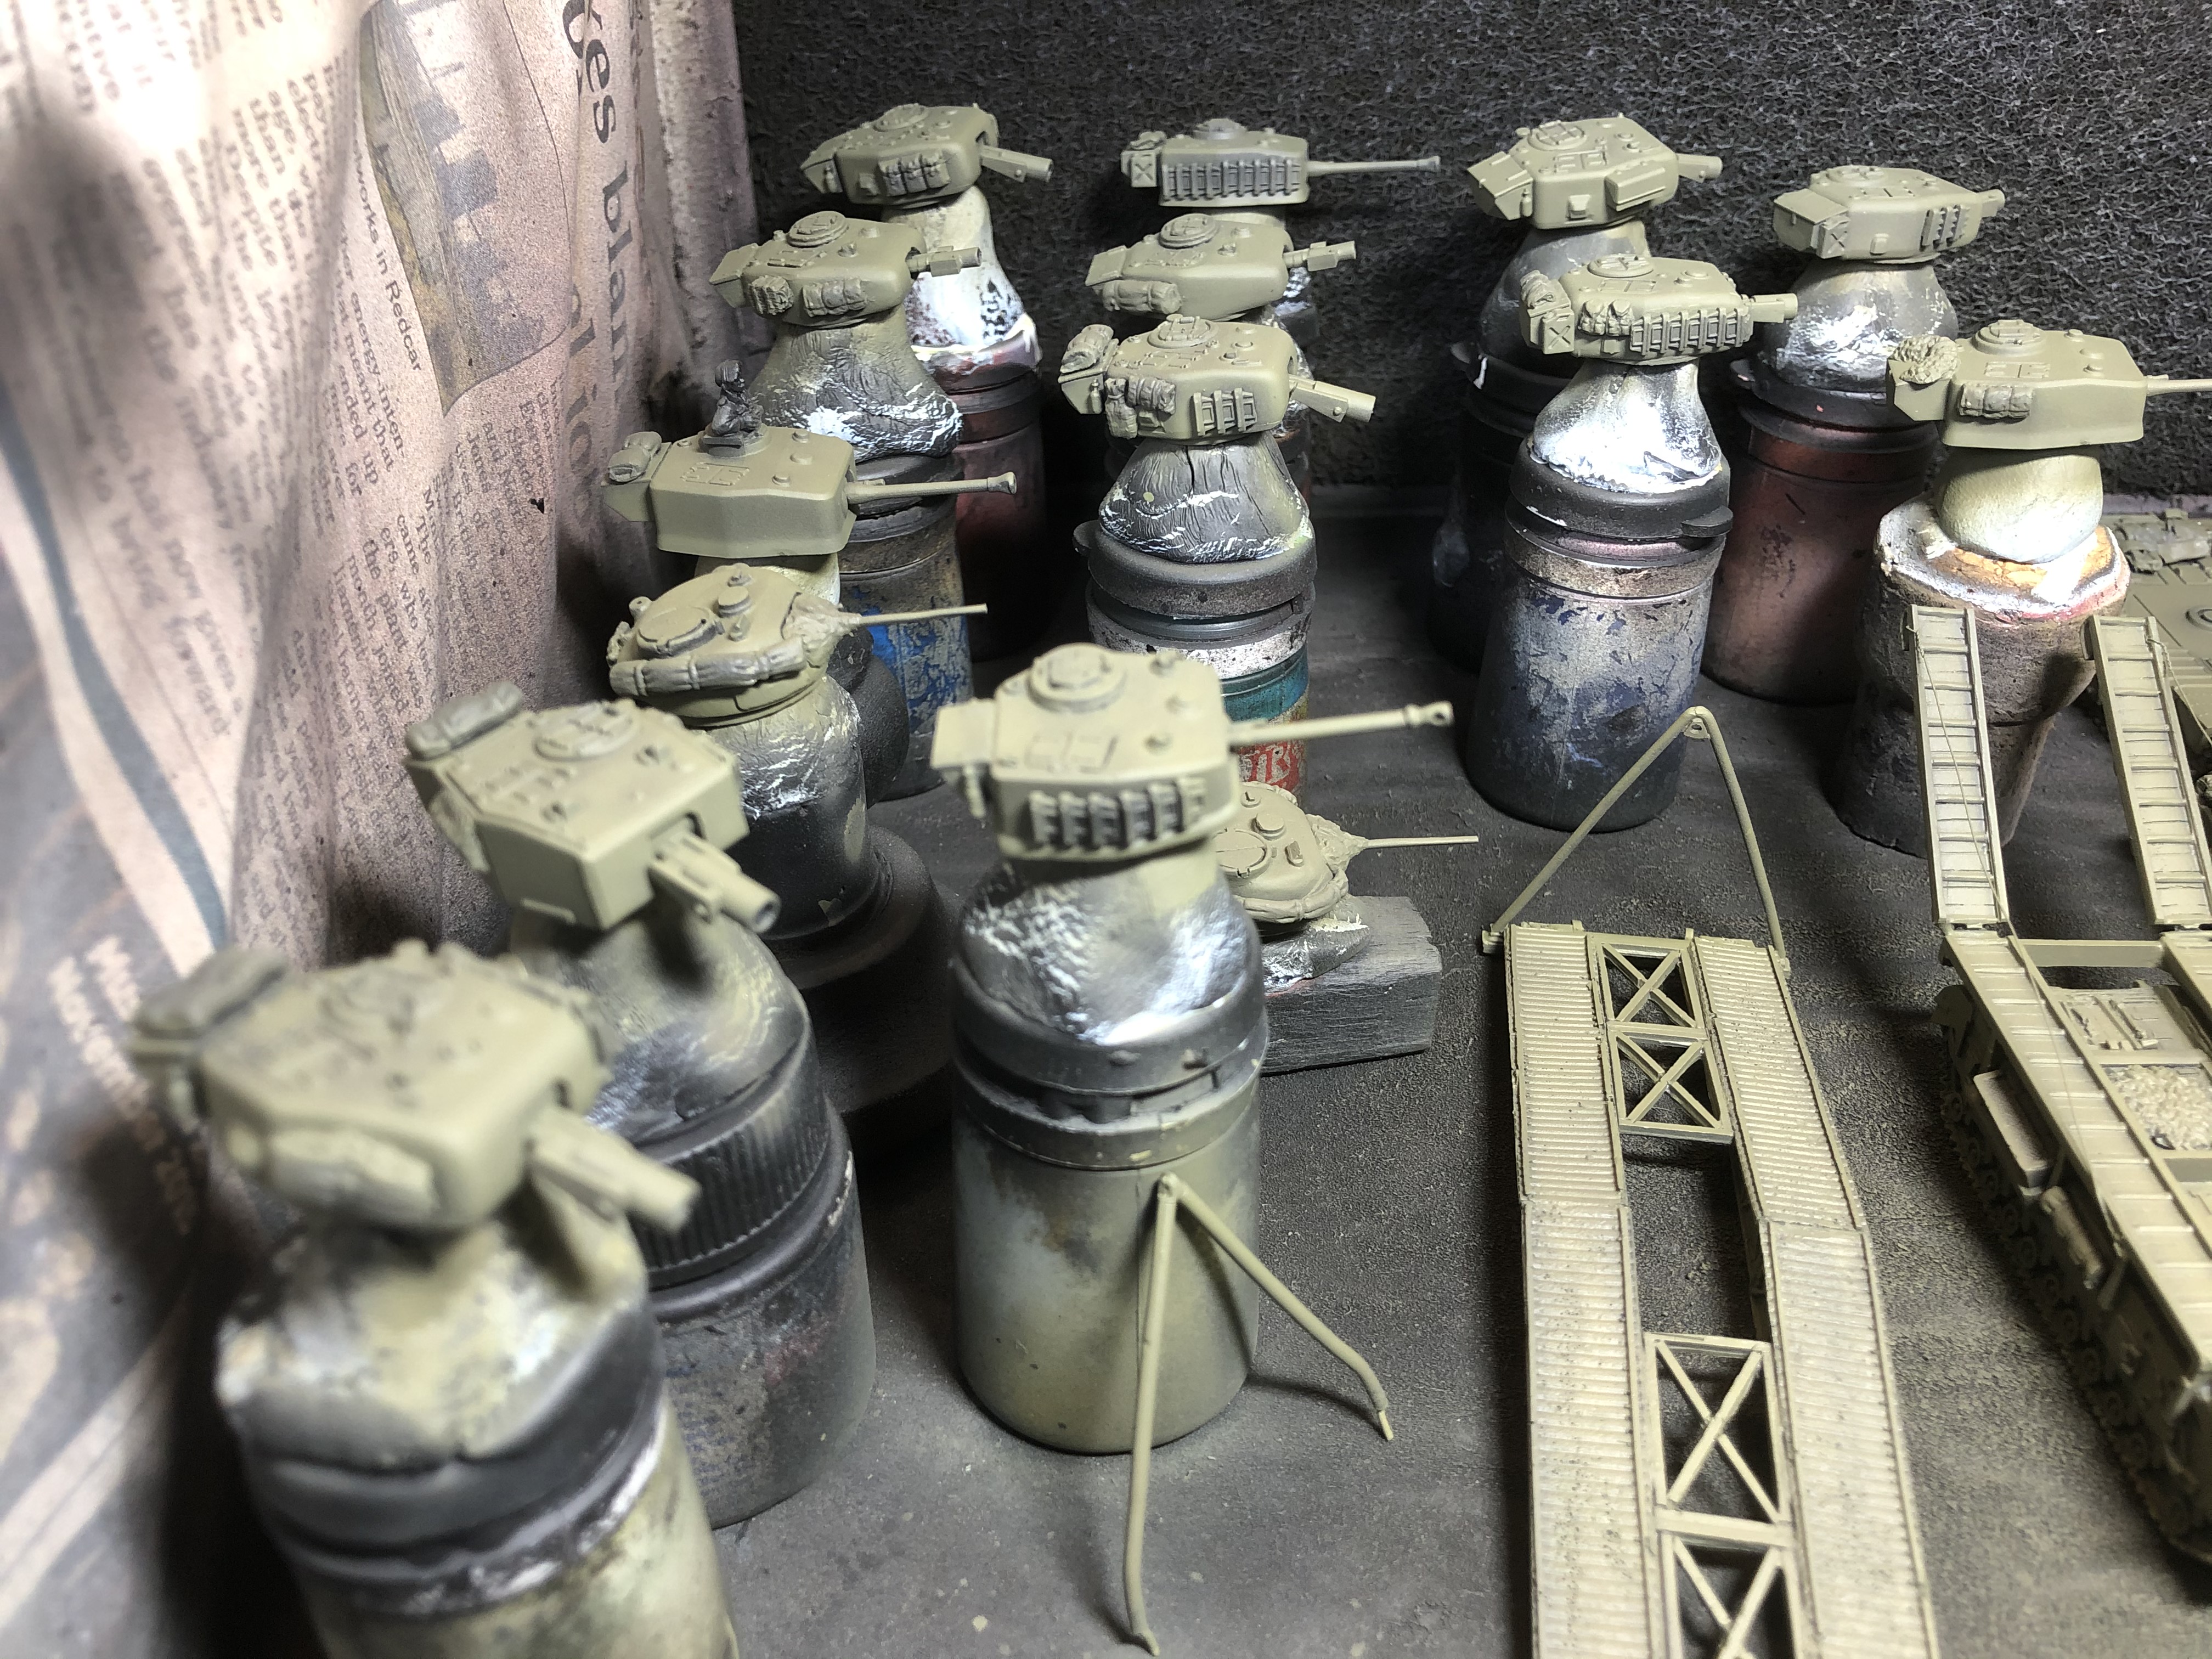
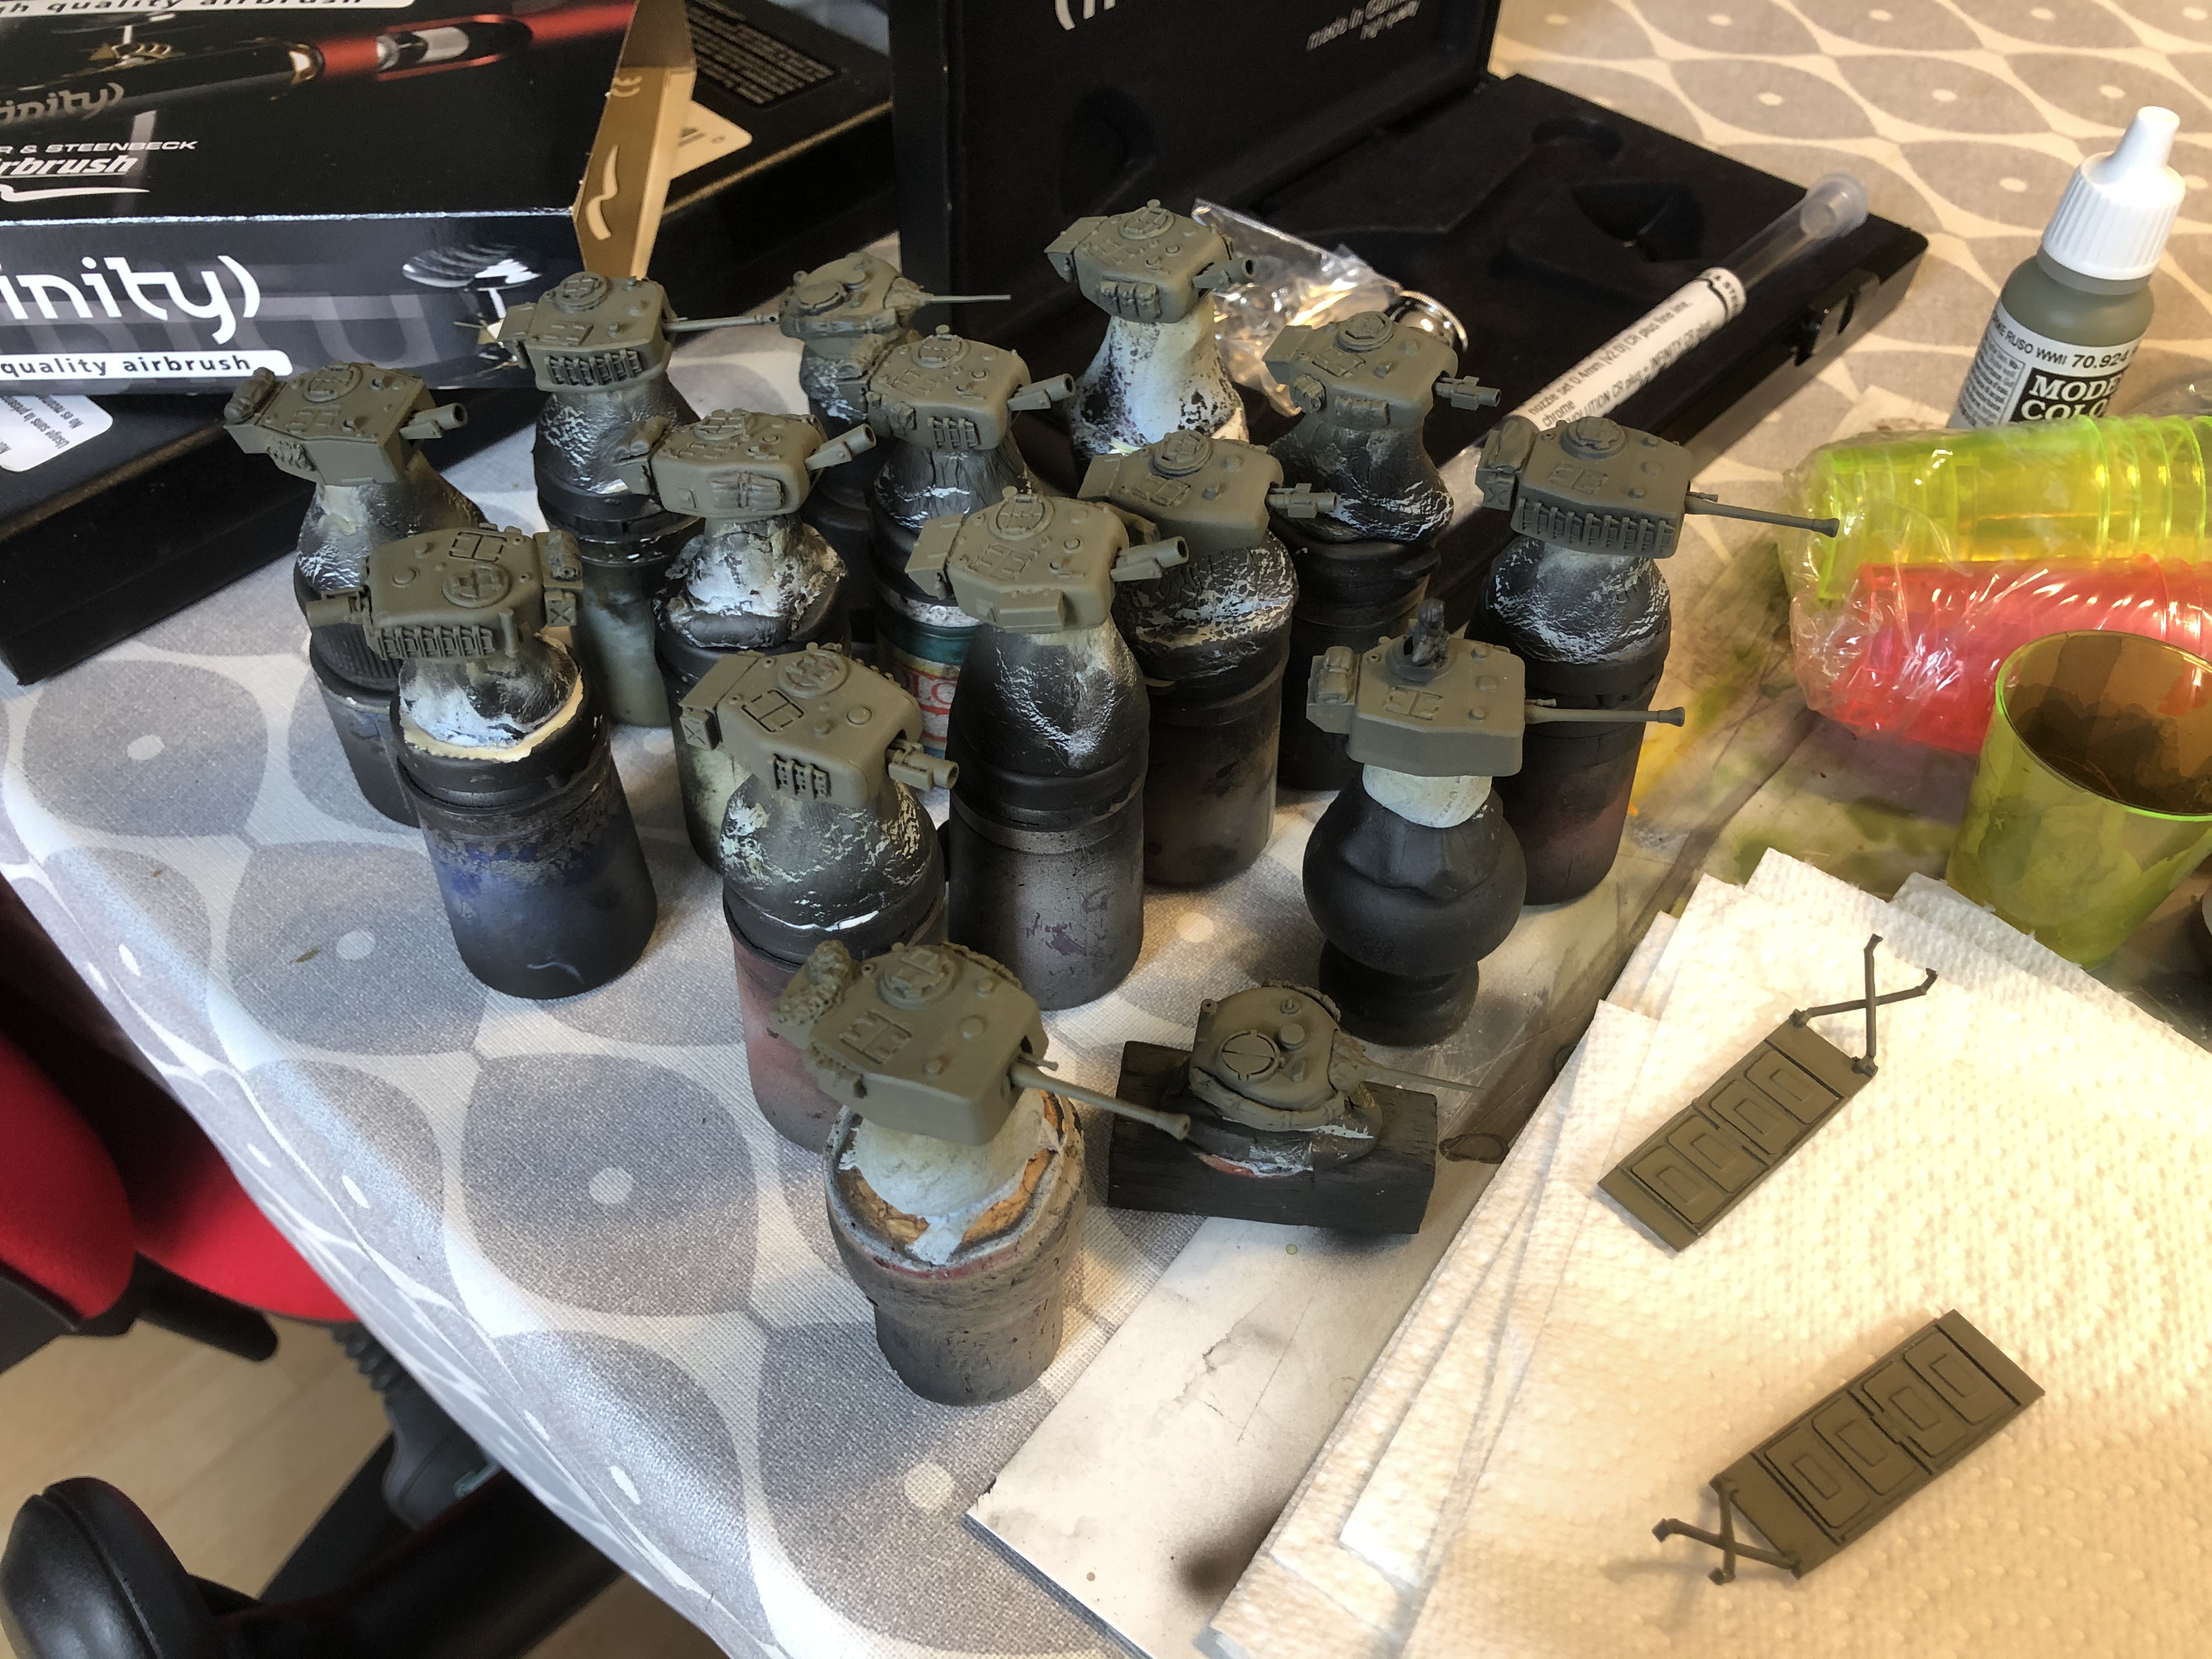
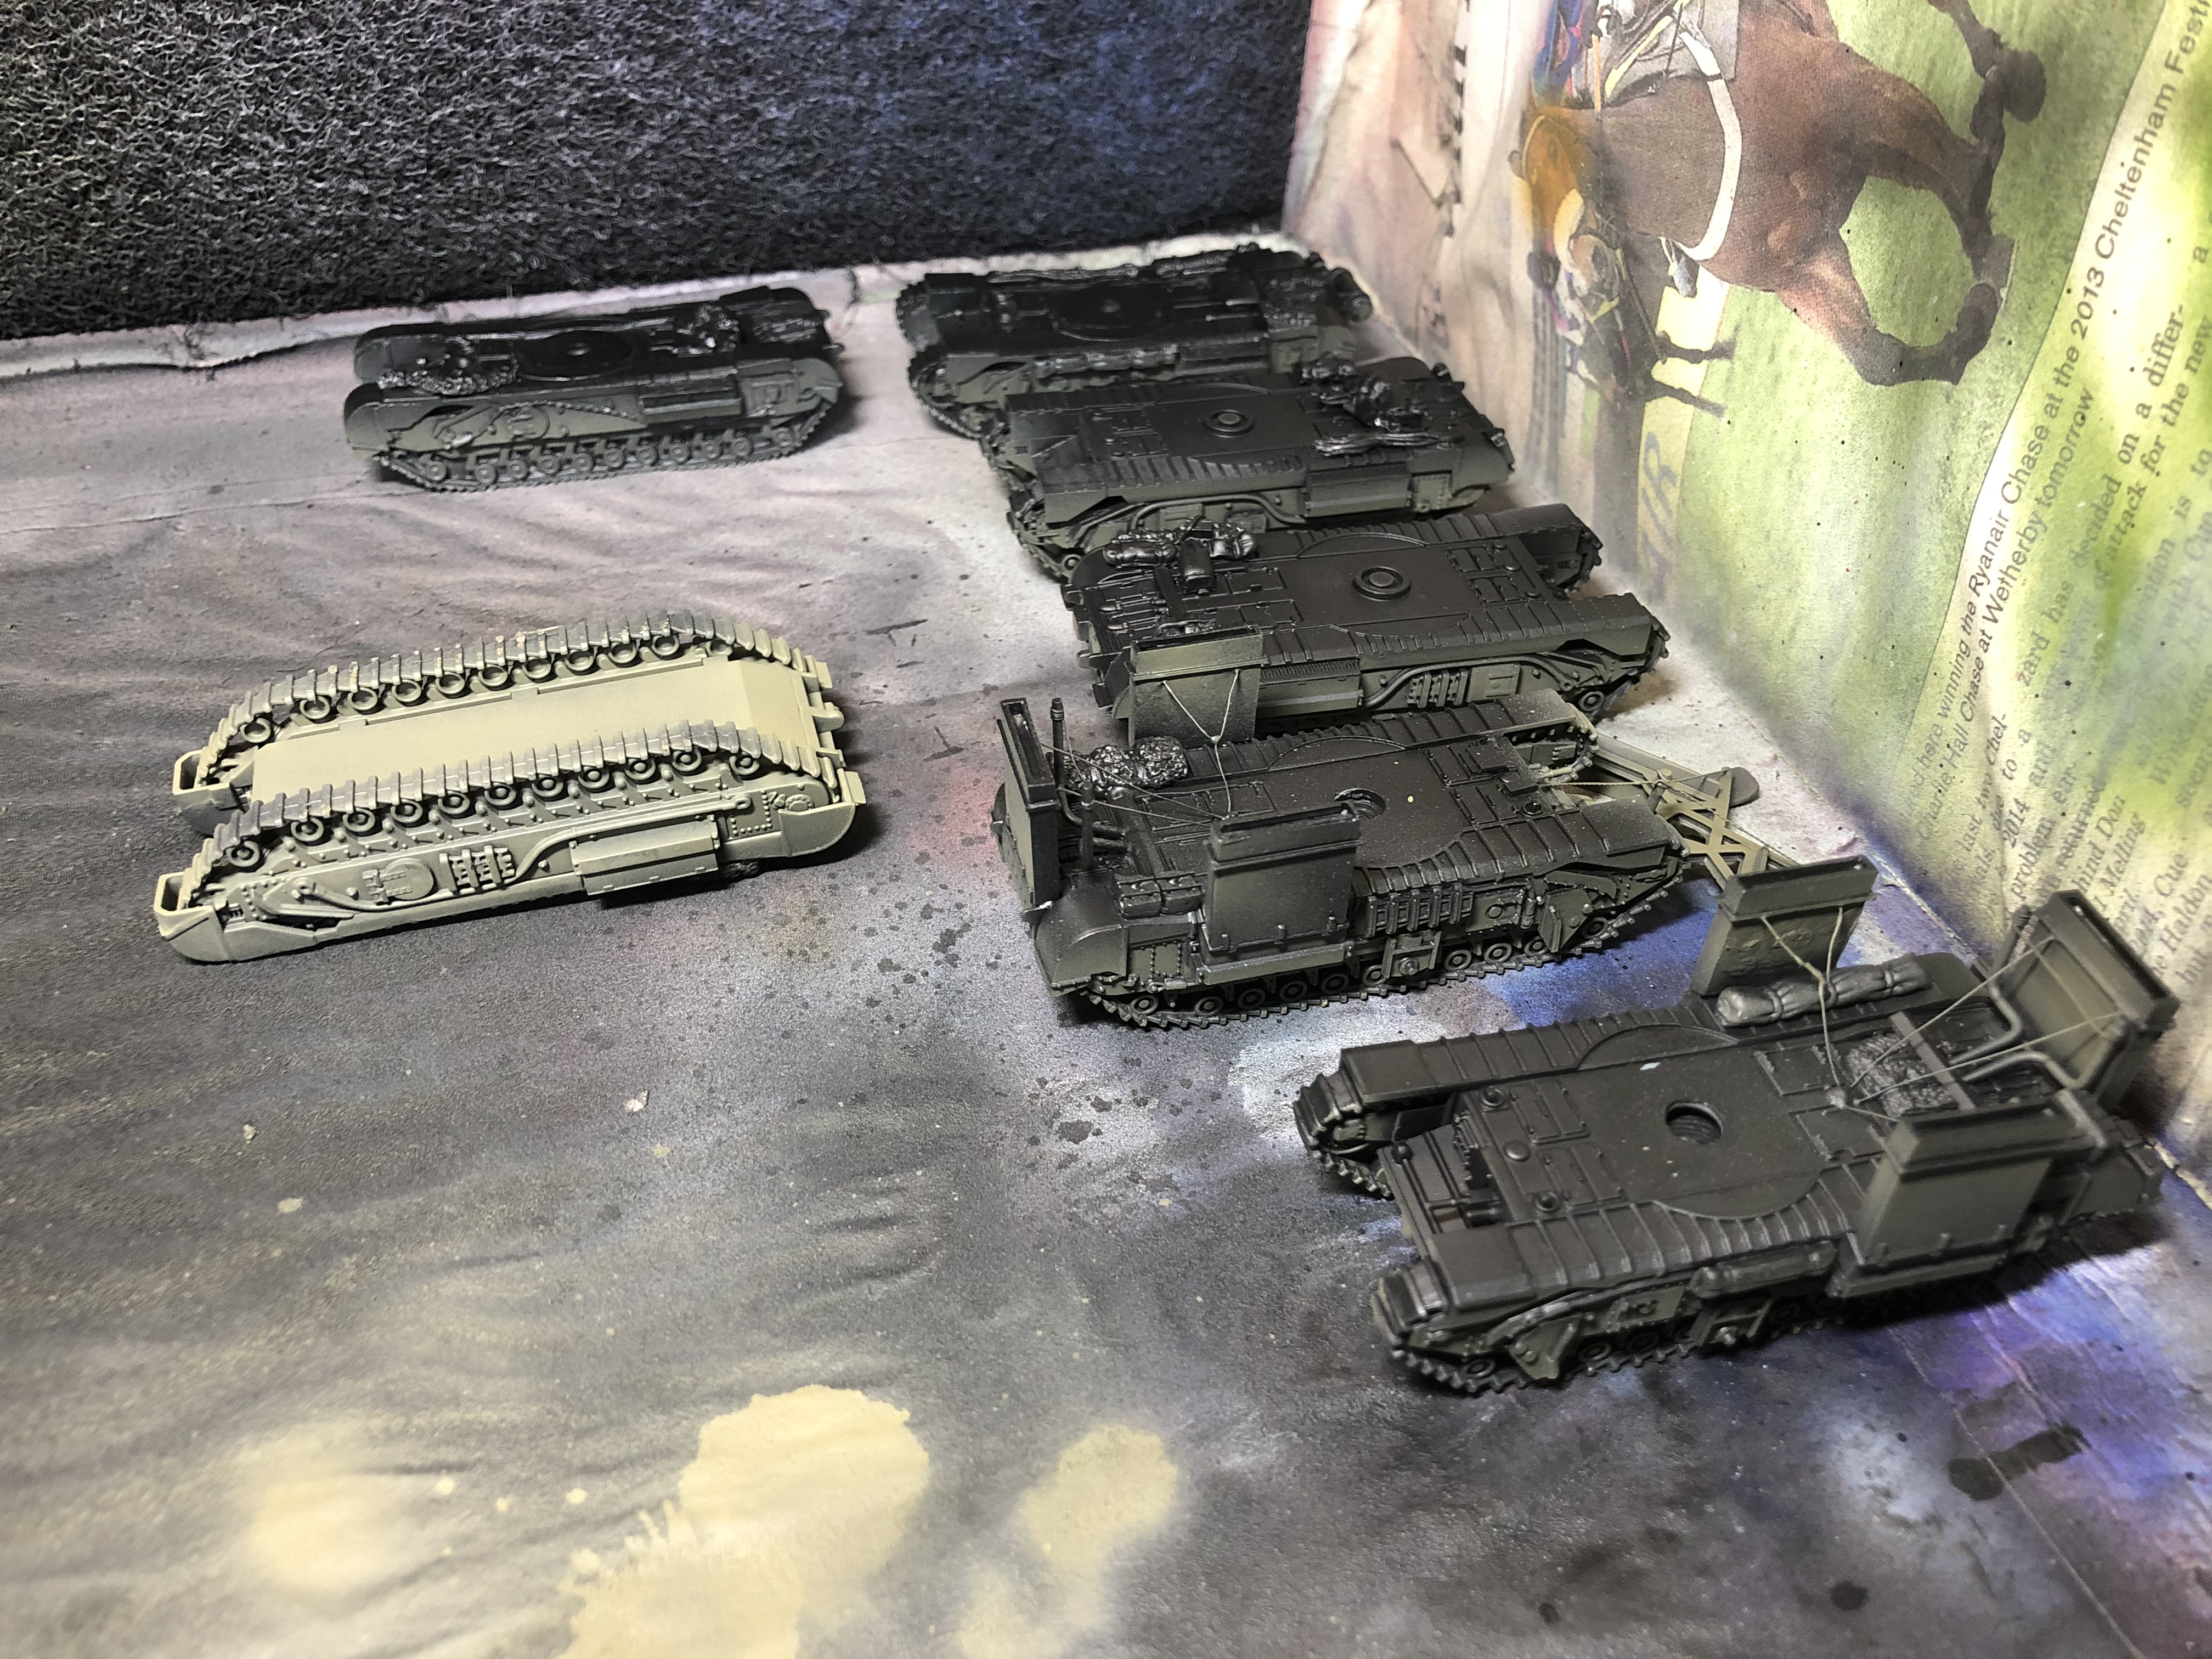
All sprayed up
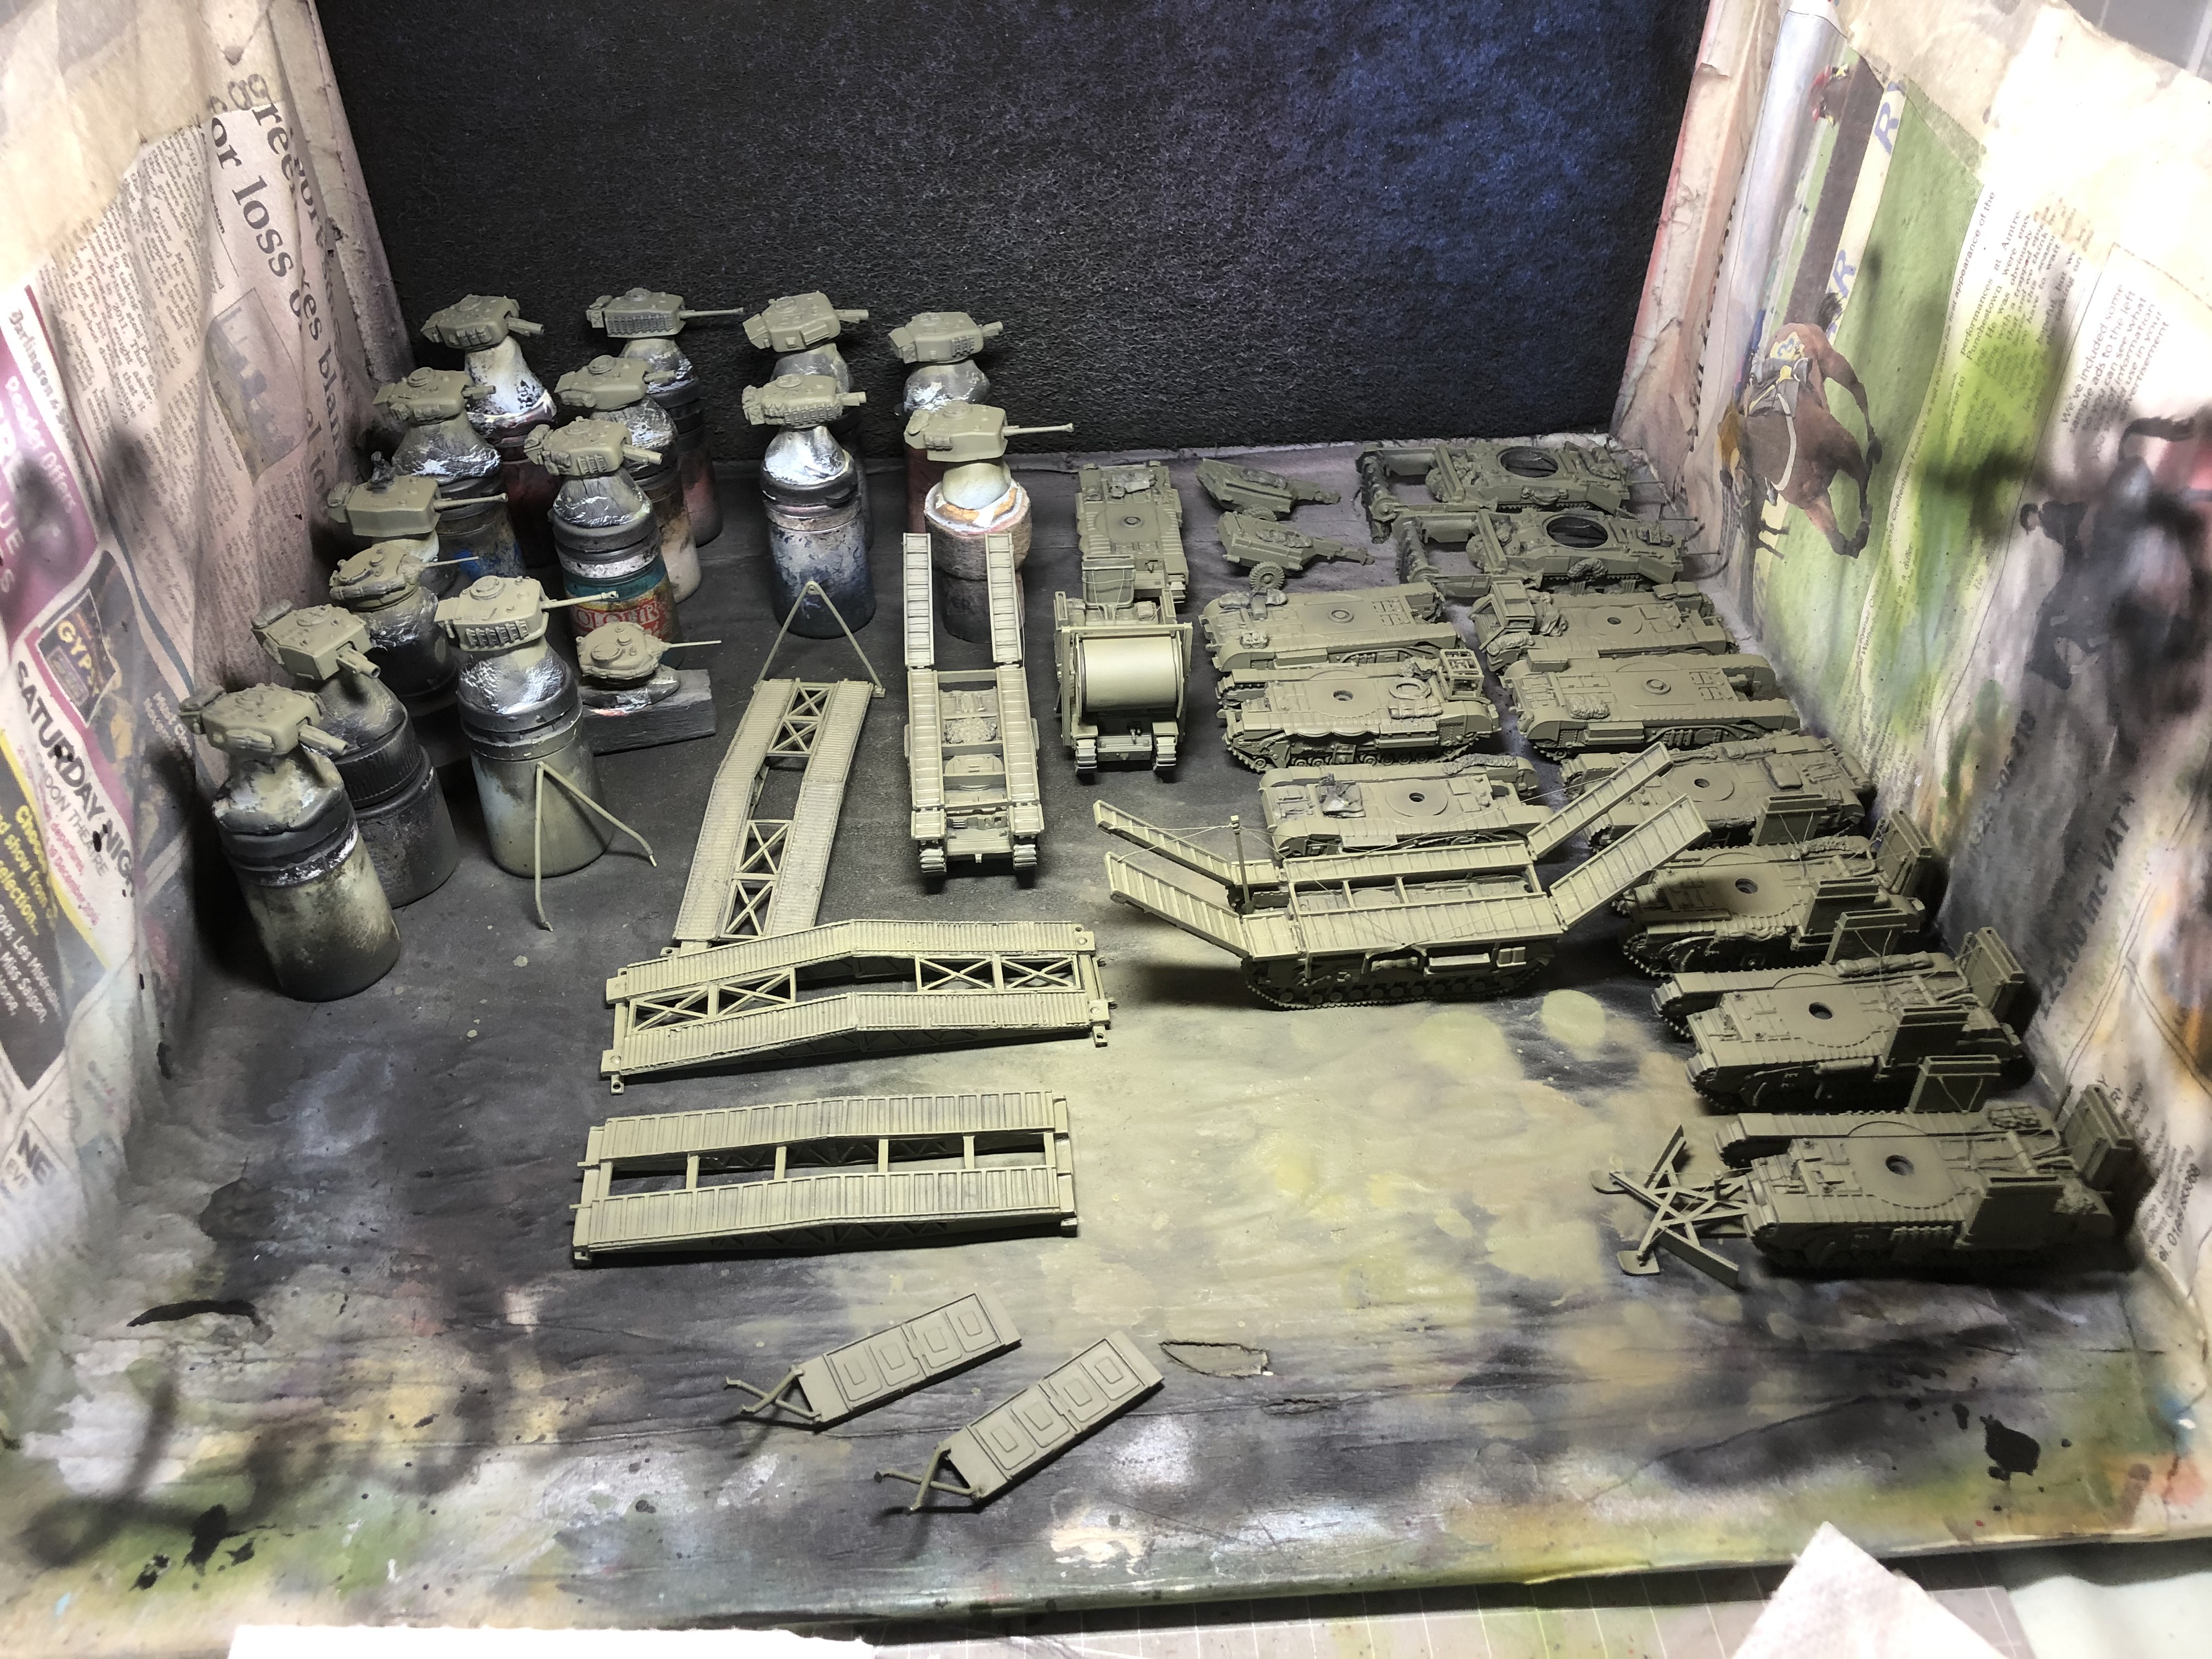
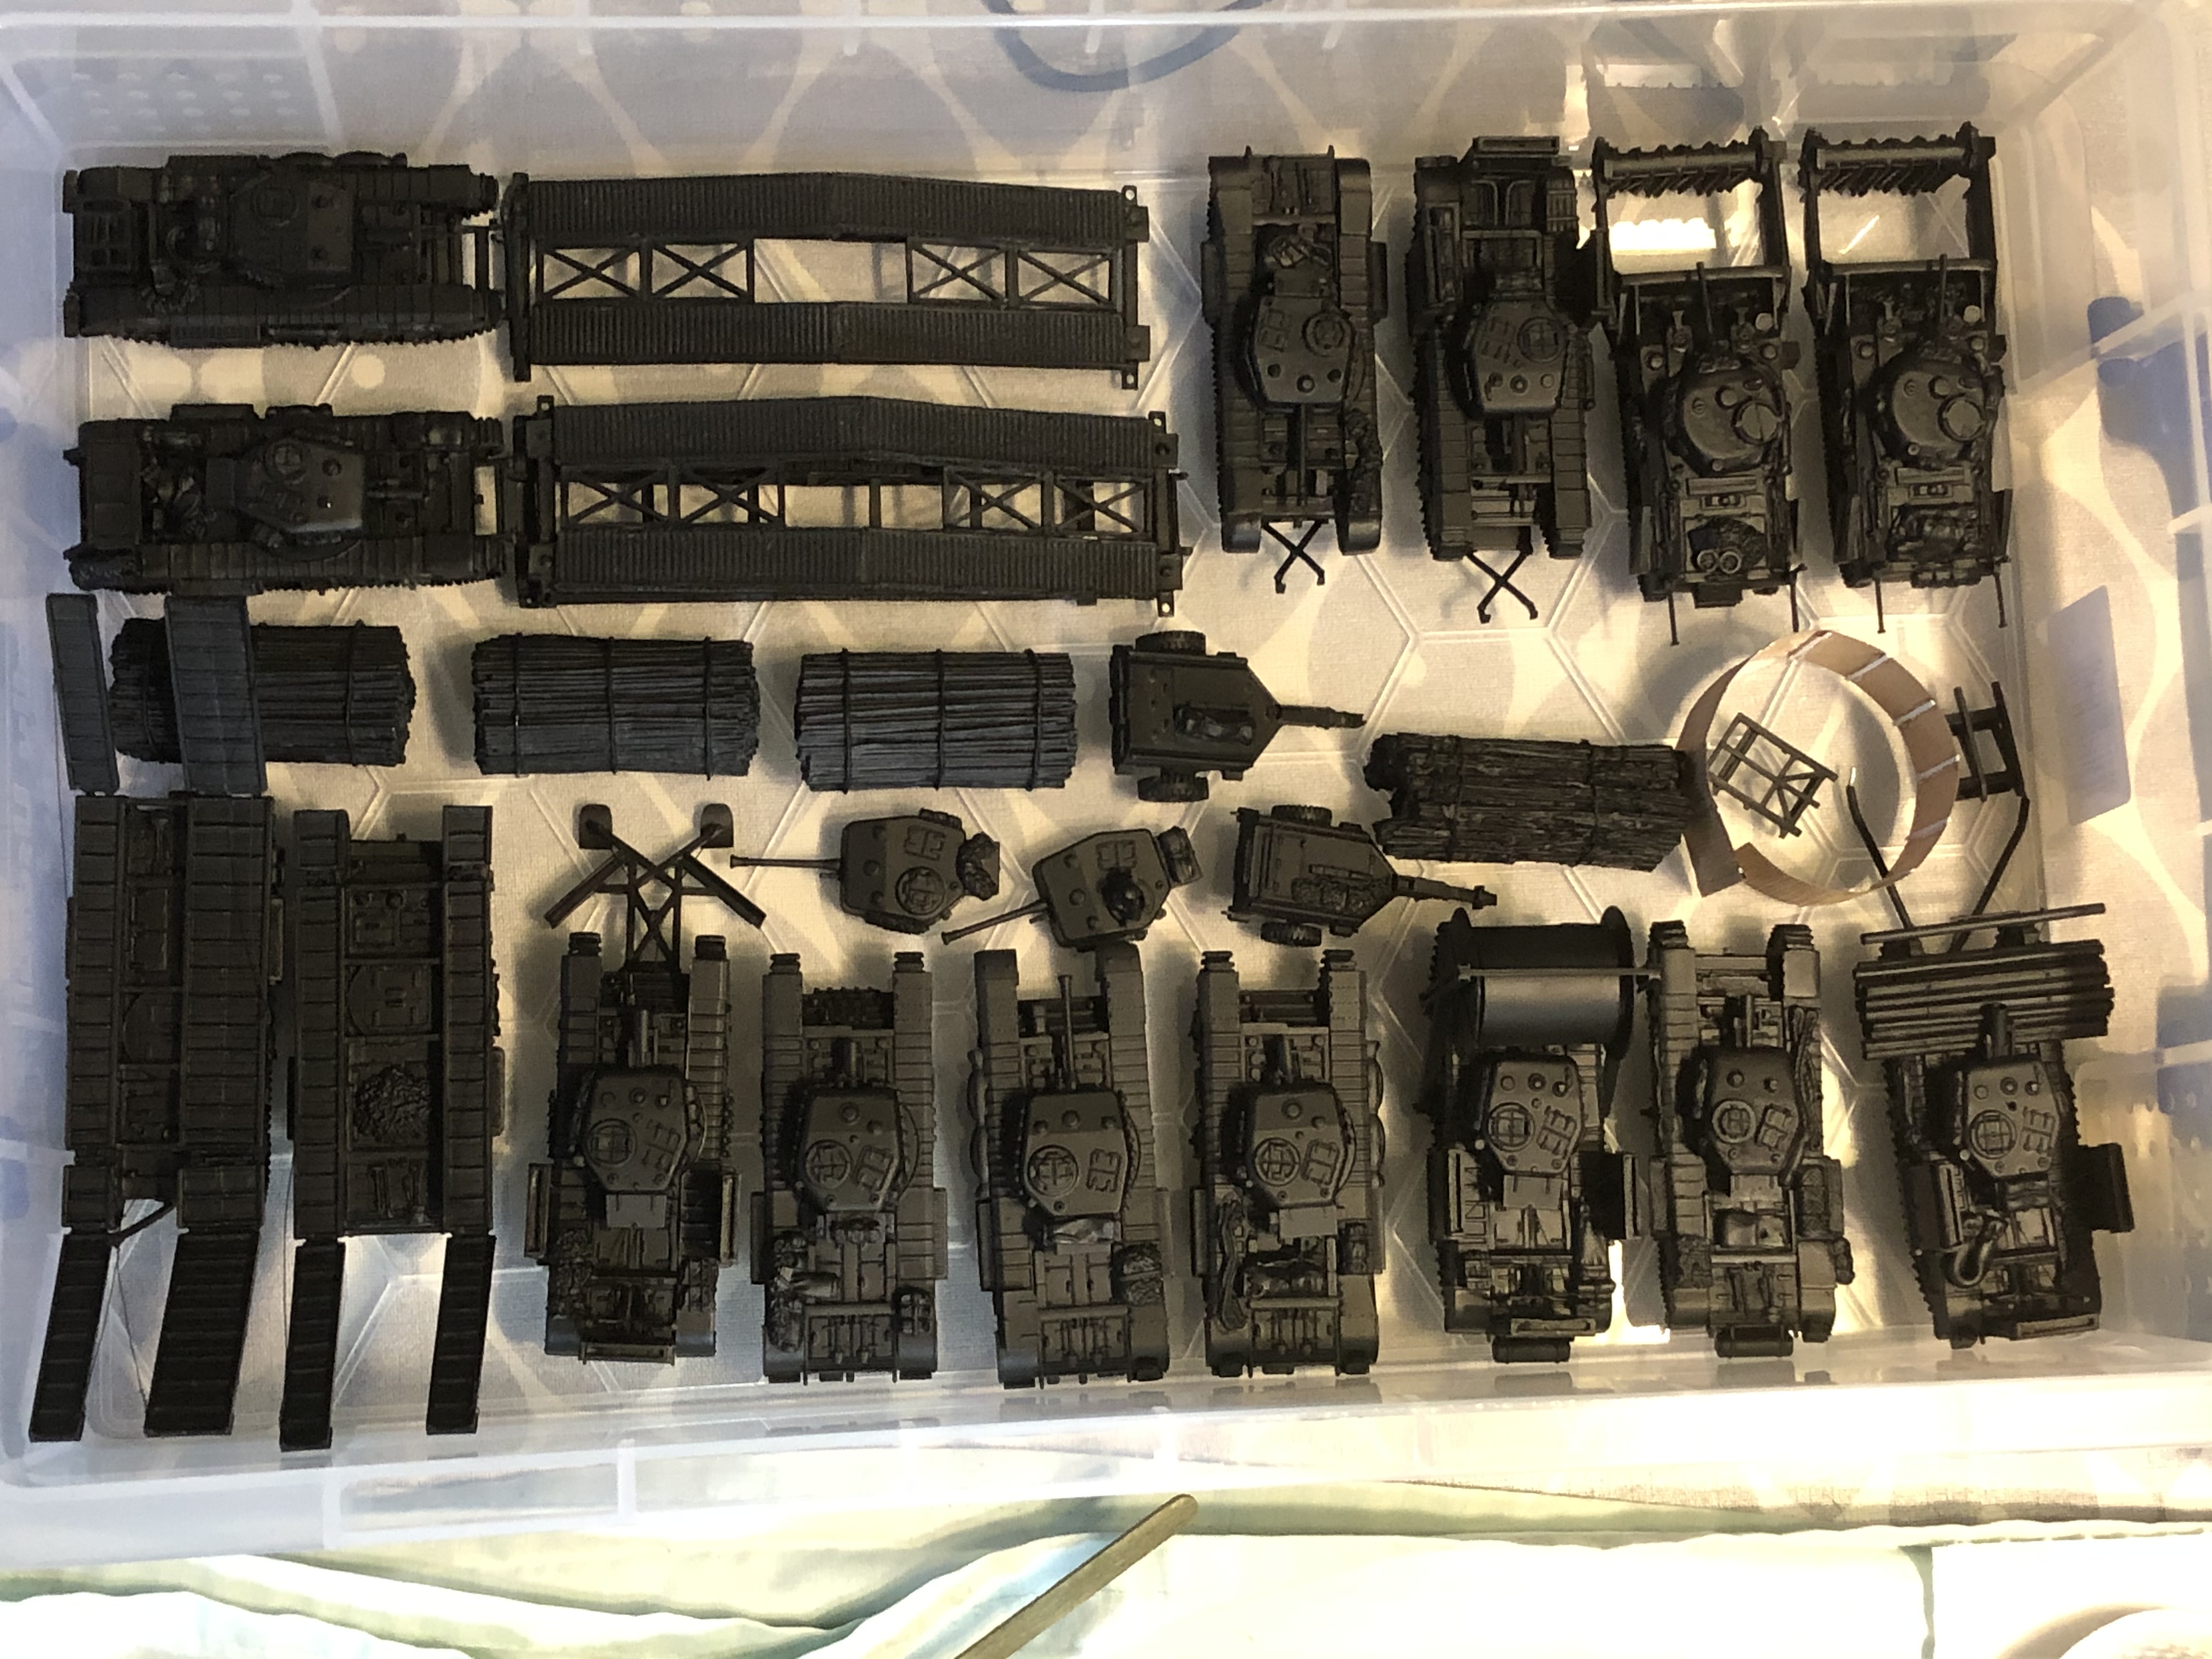
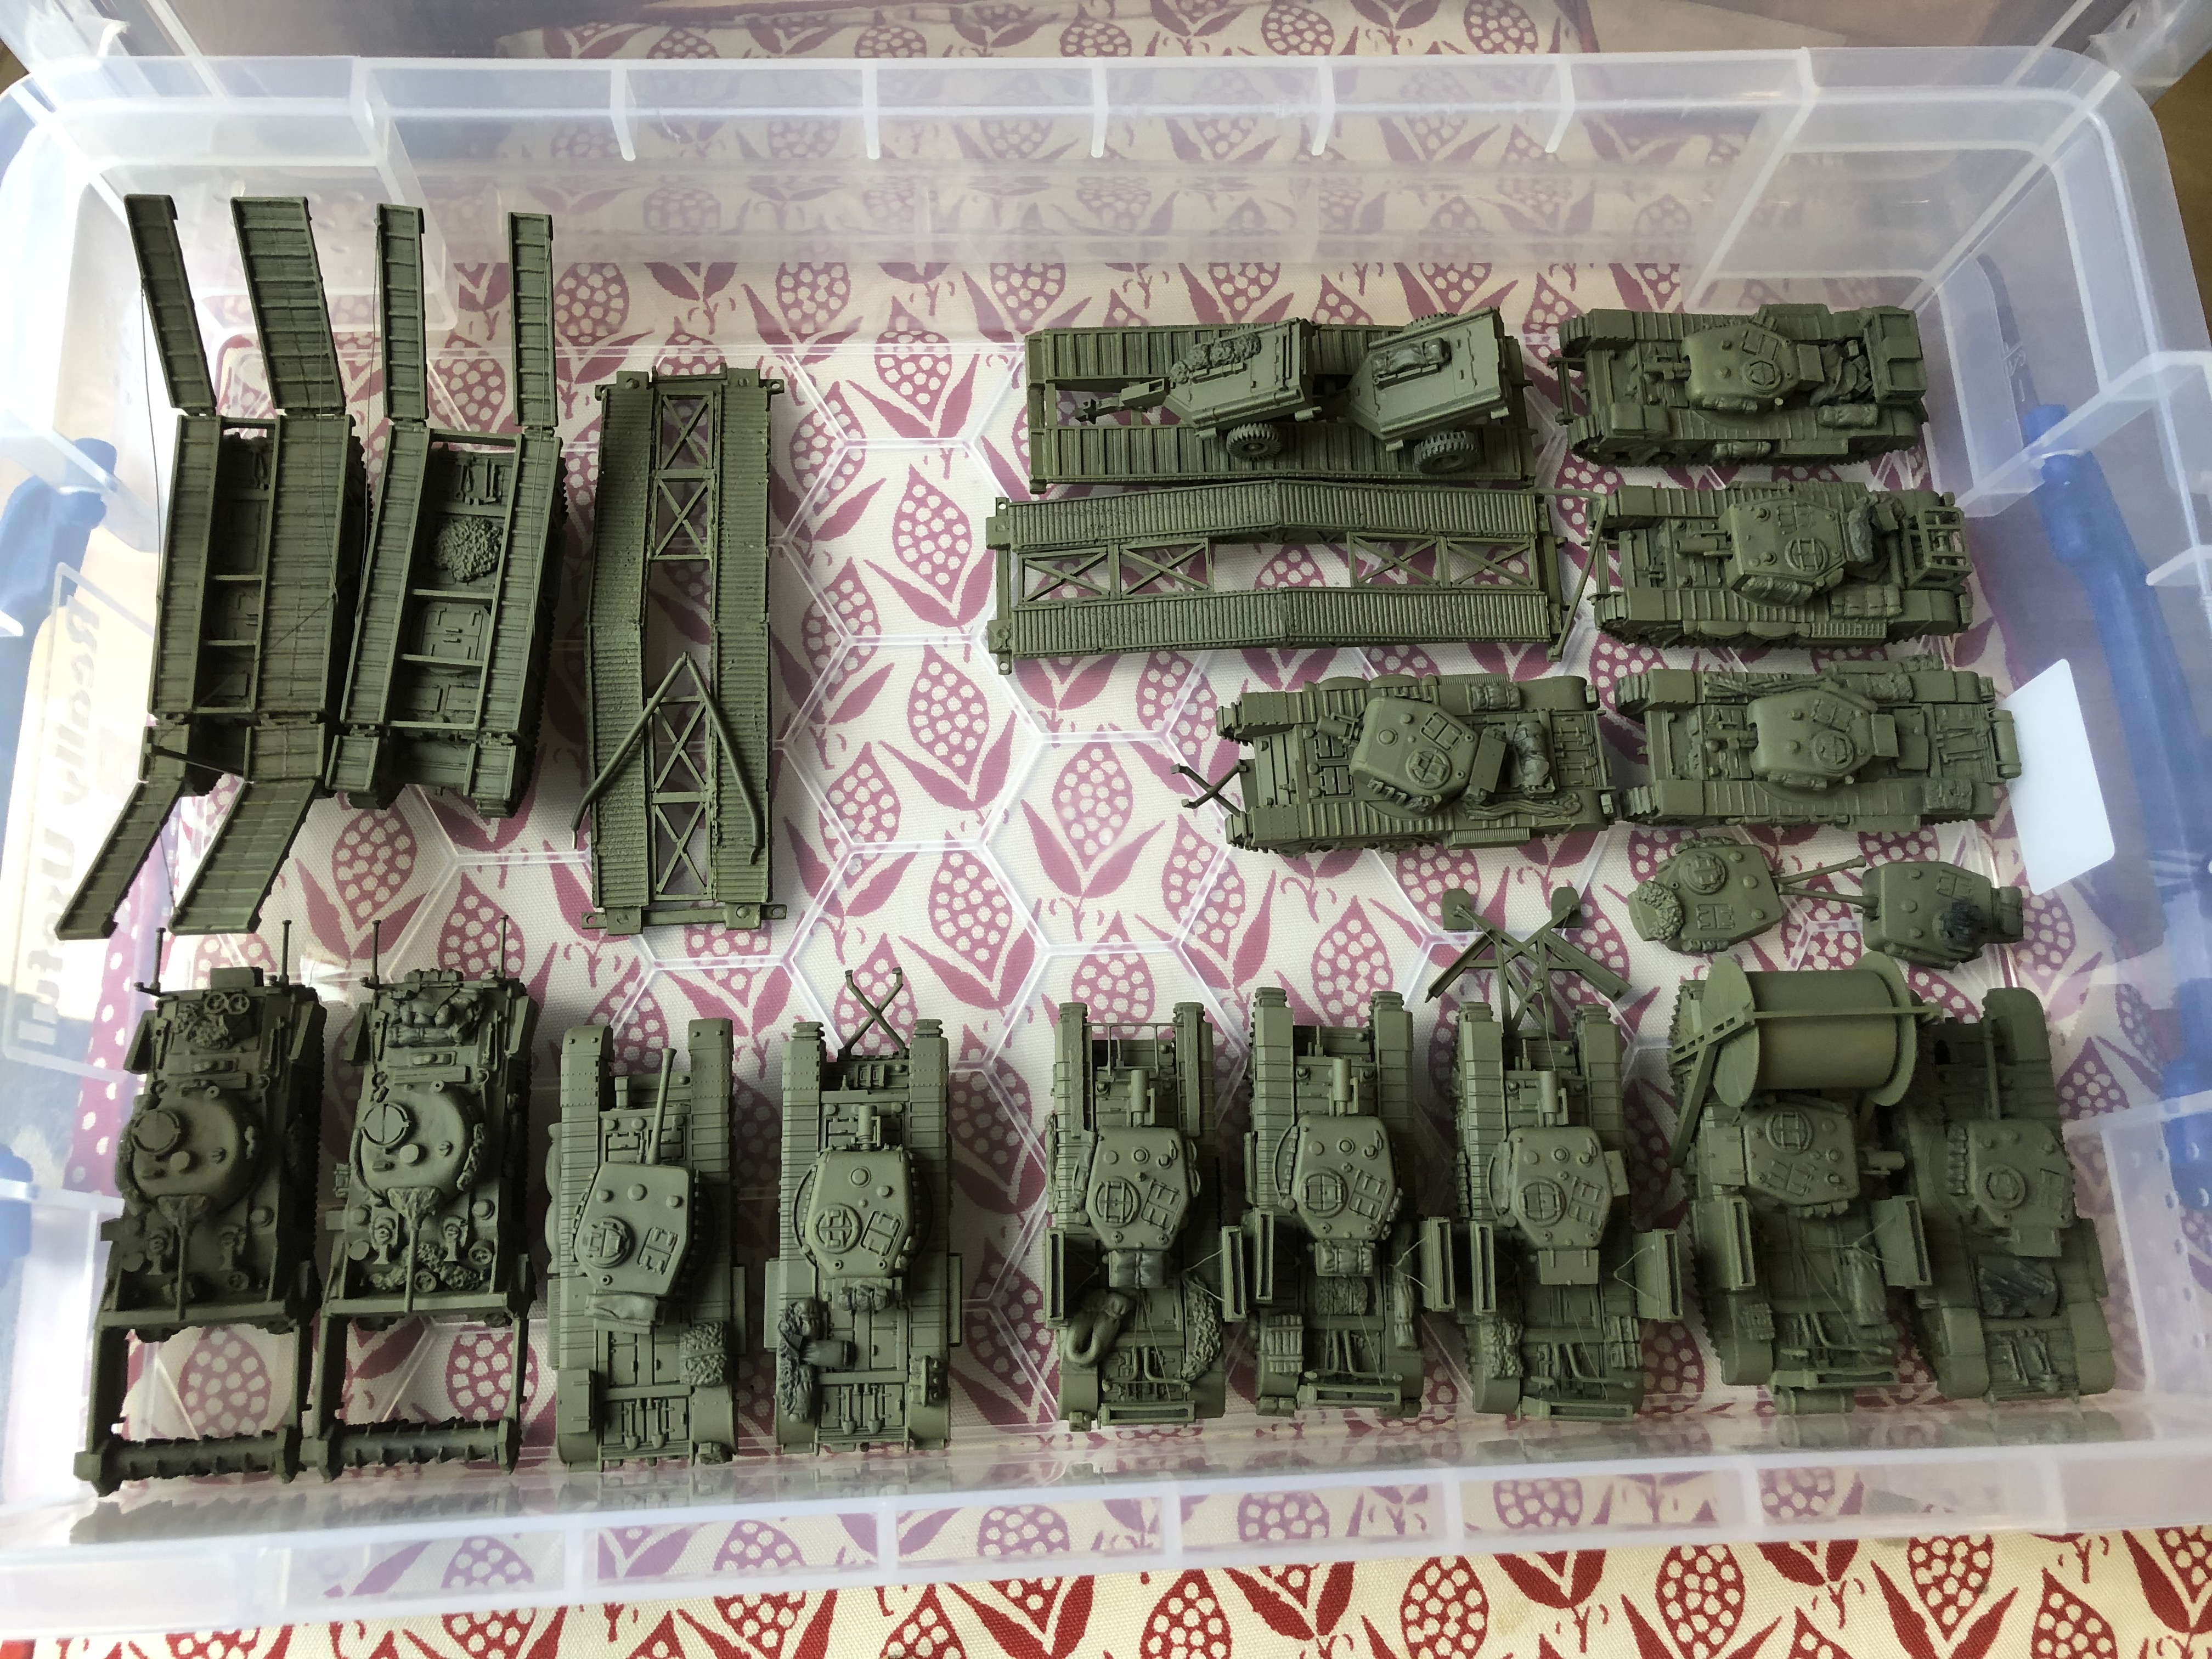 And here is everything back in it's storage box, until I can get some more hobby time over the late May Bank Holiday.
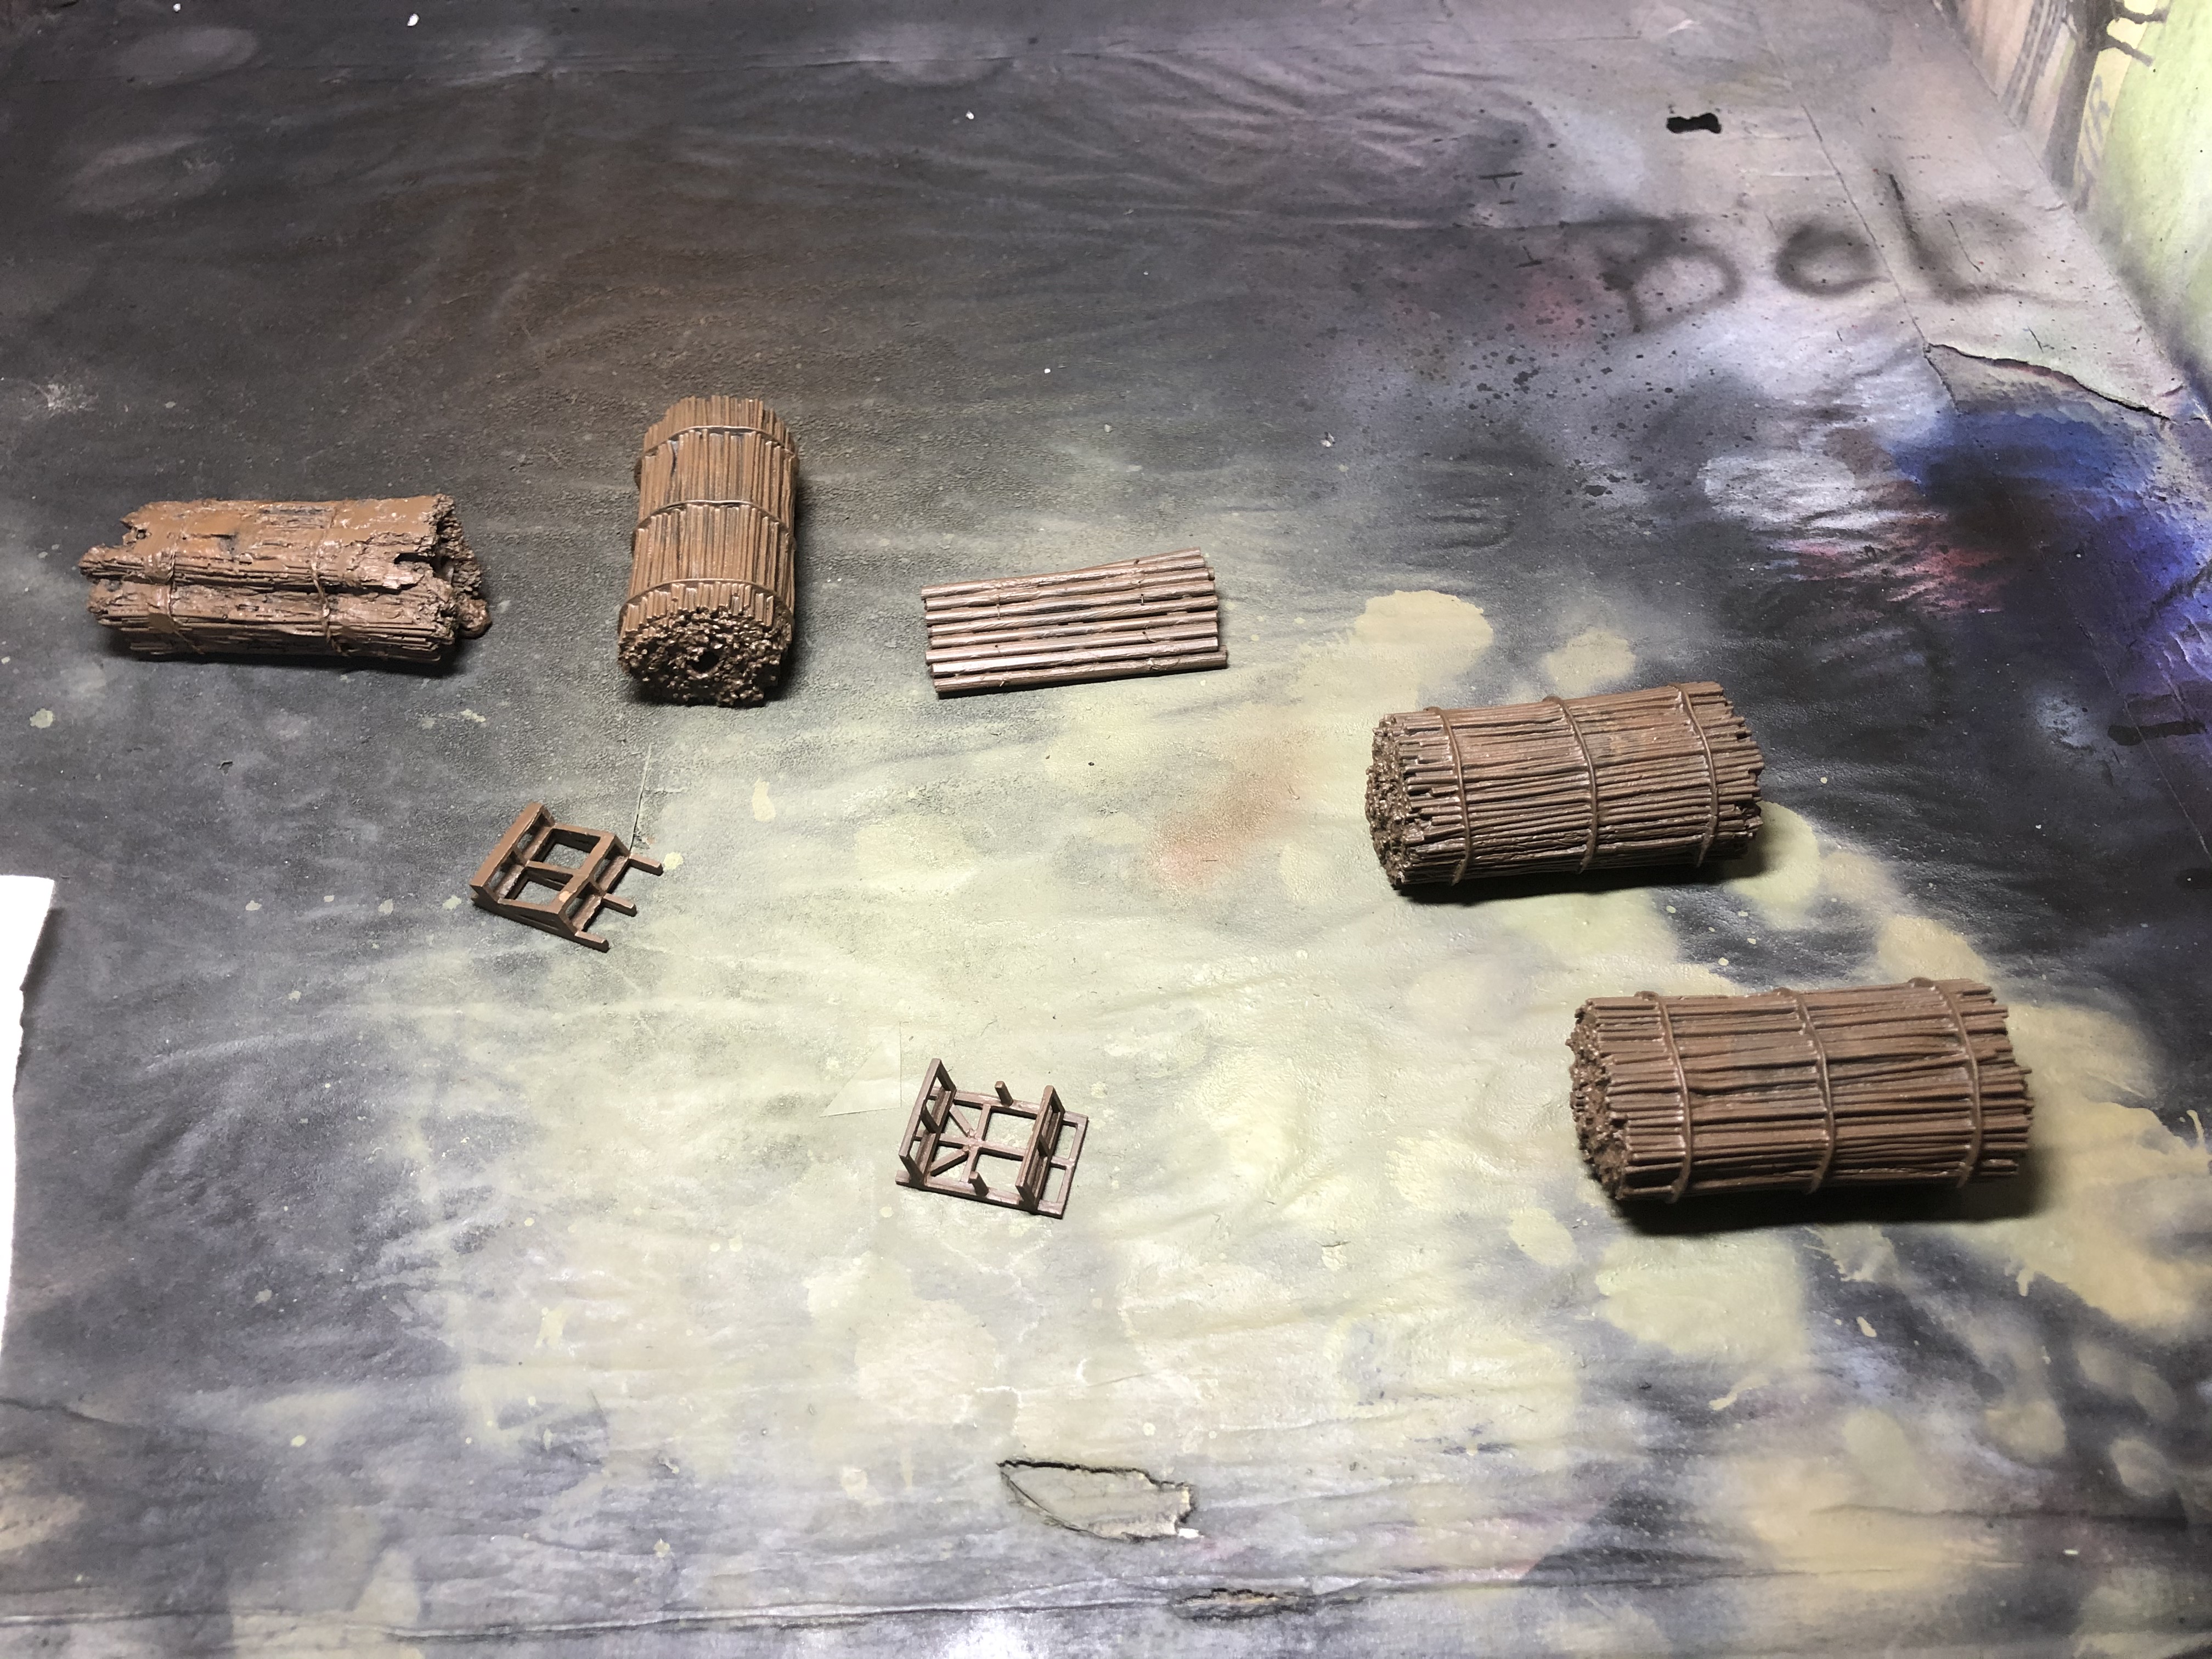
base coating the wooden bits
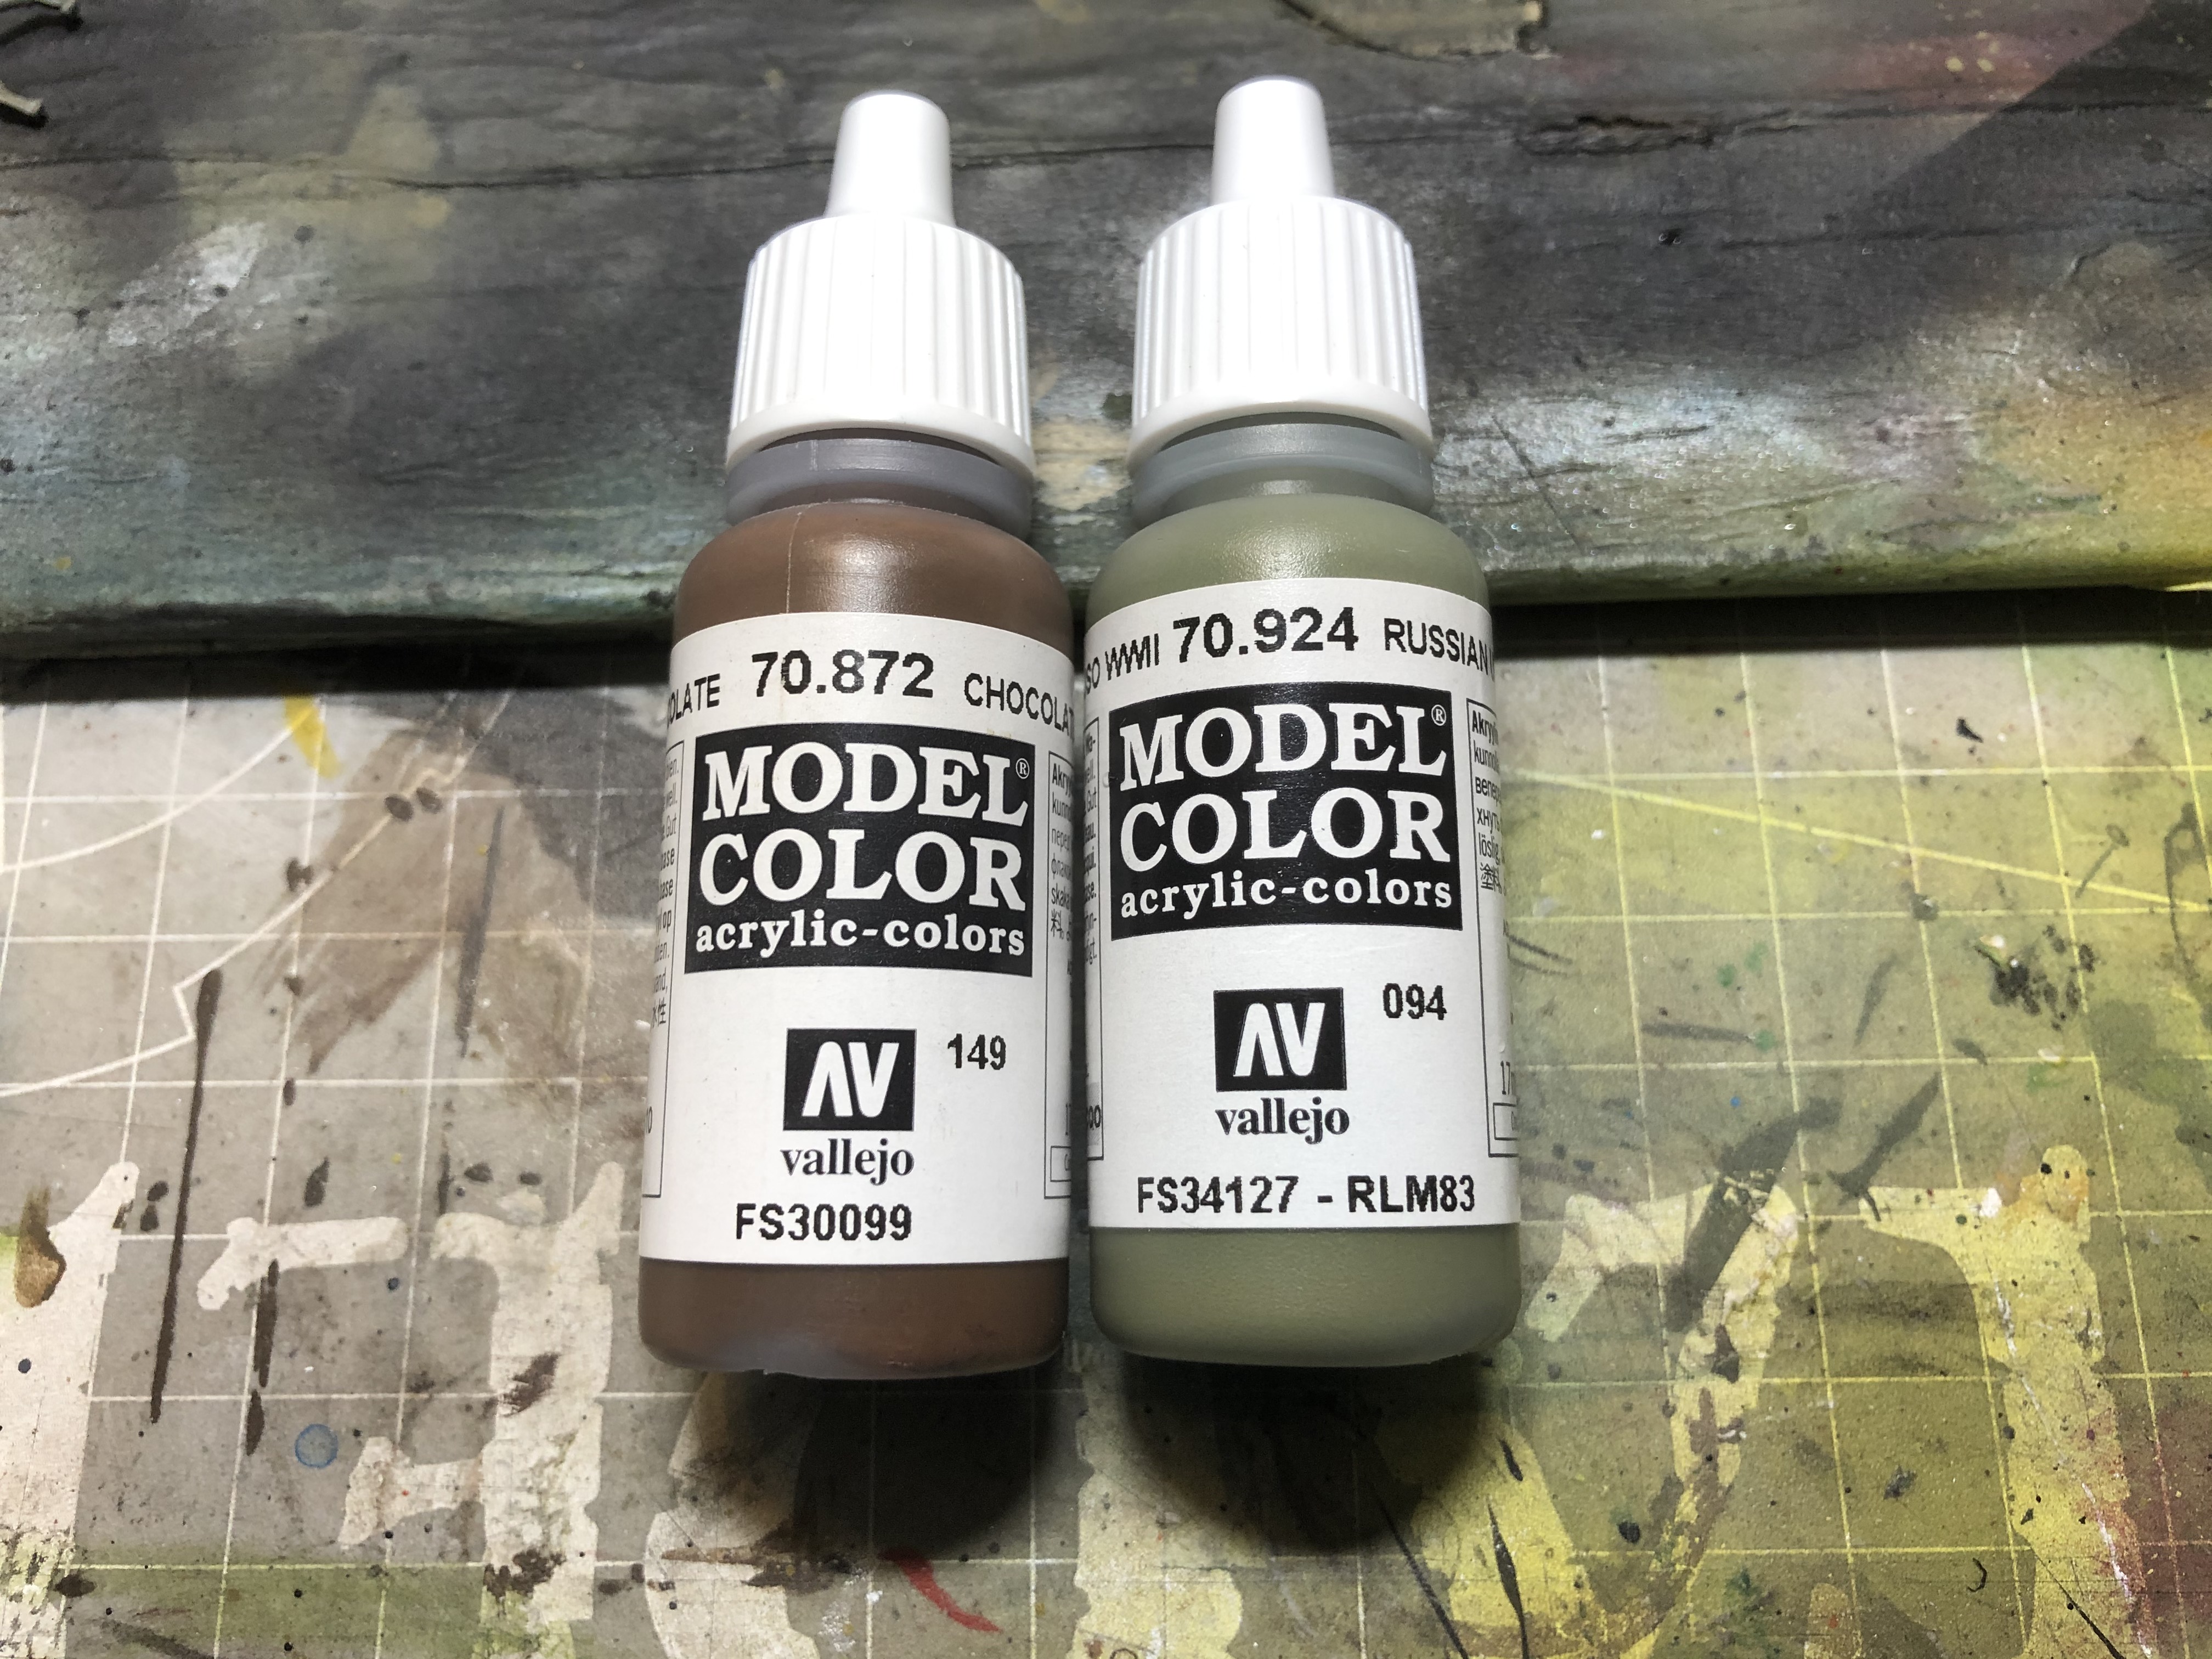
As the Fascines and the log carpet are made predominately from wood (Never, get away!) I base coasted them in Chocolate brown, it took three good coats to get the coverage I wanted. The thinning down ratio was the same as for the Russian Uniform colour.
Time to highlight
 Lowering the pressure to 20psi, I then applied just the Russian Uniform colour to the upper areas and centre of large panels.

Time to add some colour
With the base coat down I laid down a dark base colour. For this I selected Vallejo Russian Uniform 70.924 and chocolate Brown 70.872 this was a 5 to 1 mix and then 50/50 with Vallejo thinner and a drop, or two of flow enhancer. I mixed this in a disposable shot glass, so that any bits would settle to the bottom and could then watch it as it is poured into the brush.
As I wanted the black base coat to show through, I was very careful to do thin coats until I was happy I had the coverage I wanted but without obliterating to base coat. Normally I am terrible at judging this, but I recently decided that if my mind was telling me to do one more coat, that is the exact time to stop, as the highlight coat will do that and give better colour variation.
For the highlight coat I just applied straight Russian Uniform. Thinned exactly as before.
 The paints for this step.
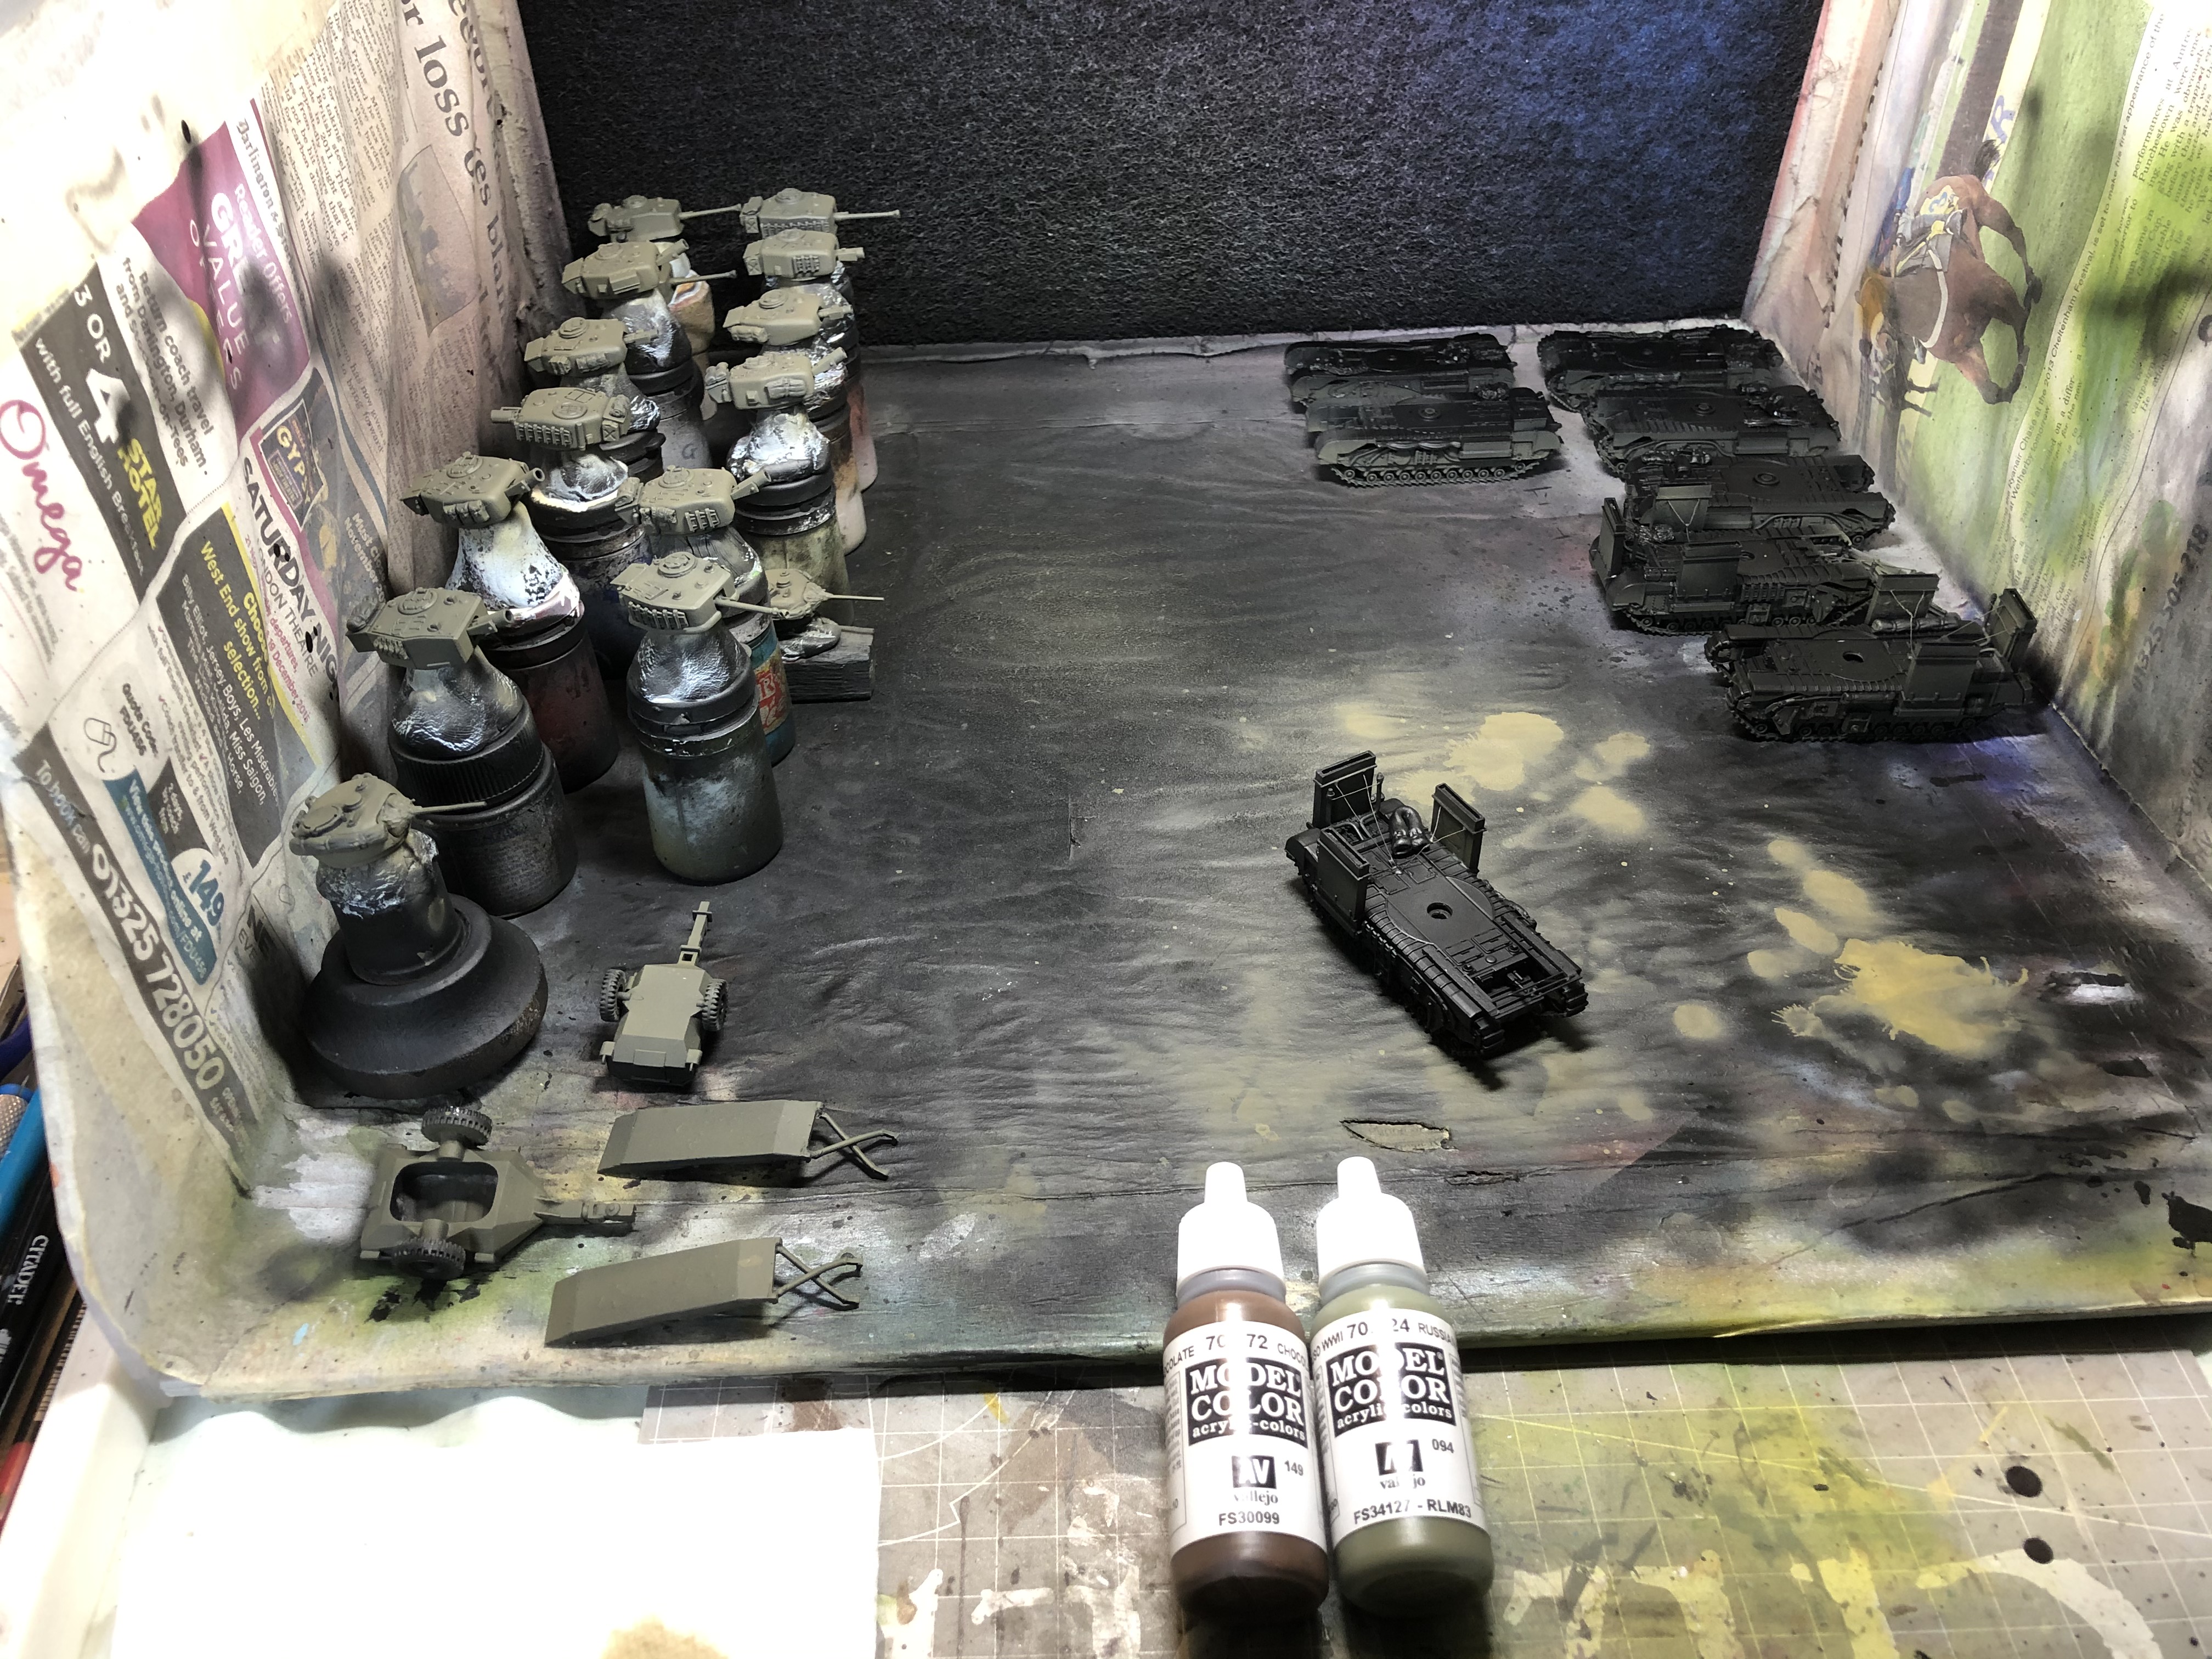
Base coats
My base coat mix was 50% Vallejo black primer and 50% Vallejo thinner I also added a couple of drops of D&R flow enhancer. The regulator on the compressor was set to 25psi. As I mentioned before, I set each part onto a handle so that i could avoid touching them. I started by spraying the bases and after they dried, flipped them over and then sprayed the tops. I did two coats of this so that I achieved an even coverage.