How to be an Armoured Farmer, building Hobart’s Funnies in Glorious 15mm (and maybe 28mm if they arrive in time!)
Recommendations: 2233
About the Project
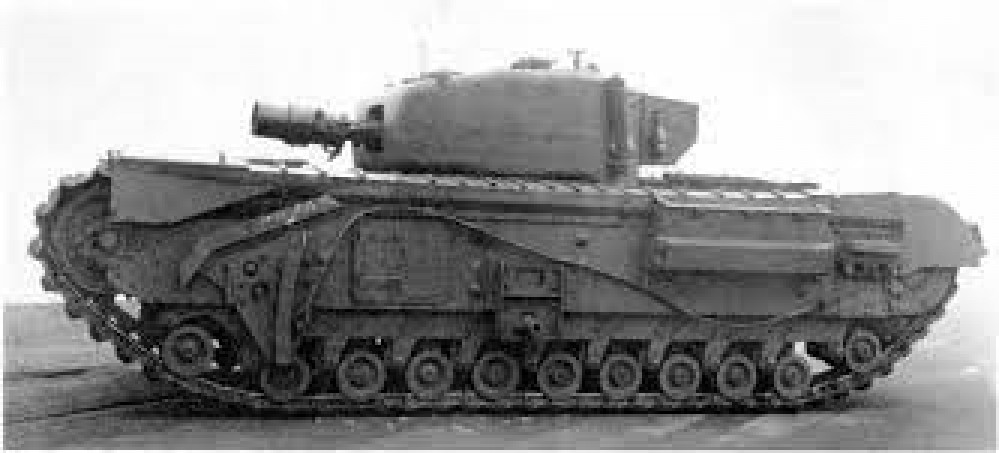
Right then, having avoided any sort of Spring cleaning challenge in the past, I have decided to use this year's one to get something done that I have been gathering bits for over the past few years and finally finish and assemble all of my Hobart's Funnies. To get technical these are Armoured Vehicle Royal Engineers (AVRE) tanks, using the Churchill chassis as a base. I will also throw in some Sherman Crabs (Flail tanks). I have gathered a few books for reference so that I can paint and mark them up for one of the Armoured Assault Squadrons Royal Engineer (either 77, or 79) that landed ashore at Sword Beach and were the very first to see action on that beach; Plus the Sherman Crabs of A Squadron 22nd Dragoons. Whilst I want to be able to use the finished tanks in games depicting the D Day Landings (in Flames of War and Chain of Command at 15mm) I also want then to be versatile enough to be able to be used in later engagements that the 79th Armoured Division took part in (which is pretty much everything!). I hope you will find this of interest if you ever want to branch out into what the modern day Royal Engineers affectionately call being an armoured farmer.
Related Game: Flames of War: The World War II Miniatures Game
Related Company: Battlefront Miniatures
Related Genre: Historical
Related Contest: Spring Clean Hobby Challenge (Old)
This Project is Active
Churchill Crocodile
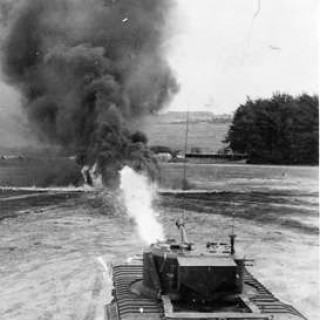
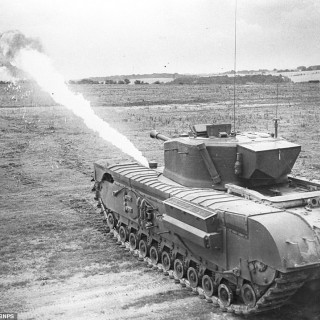
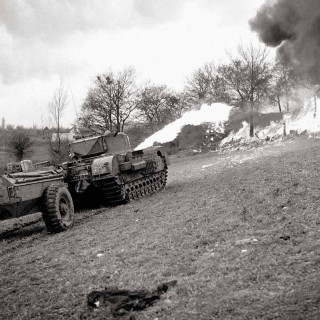
The Churchill Crocodile was perhaps the most feared vehicle the British had. It is rumoured that German soldiers would surrender as soon as a crocodile appeared on the scene. The system on the crocodile was based on the WASP the flame throwing device fitted to the universal carrier. So important were these vehicles that 79th Armd Div formed 3 Regiments of them and they would be detached as sub units with liaison officers as required to support a specific action. The liaison officer would then pull them out and back to 79th Armd as soon as that task was complete. The crocodile regiments were from reorganised armoured units, namely 141 RAC (The Buffs) who deployed on D Day; 1st Fife & Forfar Yeomanry; & 7th Royal Tank Regiment.
Each Crocodile would carry 400 Gallons of flame fuel and it could be fired in 1/2 second bursts and would normally last for between 12-15 bursts. The flame fuel was projected up to 100yds by pressurised Nitrogen cylinders inside the trailer. The system was also only good for @30mins before the Nitrogen pressure dropped to the point where it would not project the flame sufficiently.
AVRE Bobbin
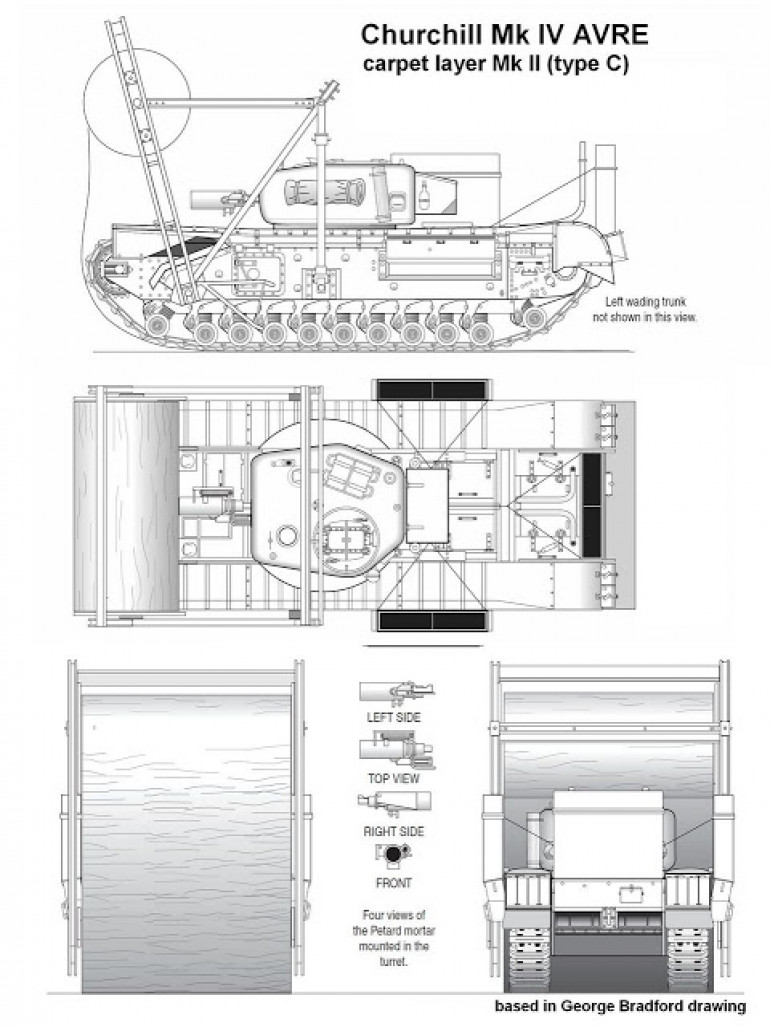
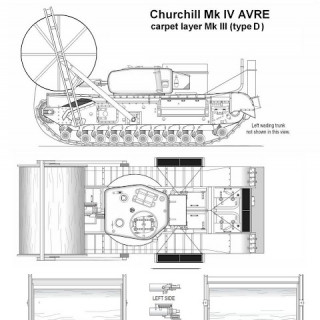
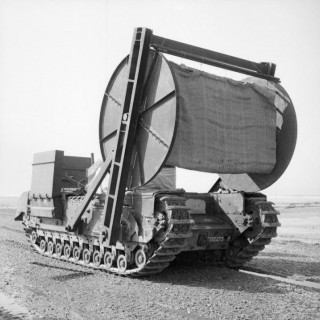
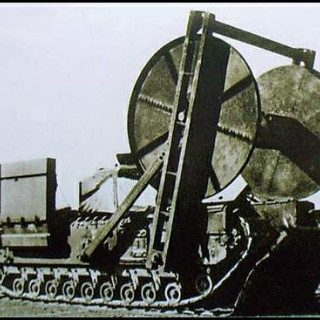
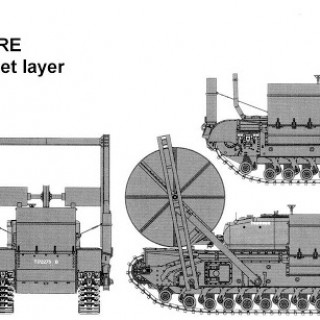
The bobbin AVRE was predominately for D Day only and came out of the lessons learnt during the ill-fated Dieppe raid. Tanks struggled on loose, or soft ground, so they came up with a way to lay a carpet that would span the soft ground and allow the vehicles exiting the beach a safe route. There were many different varieties of layer trialled and the full width version was selected. There were two types of this layer, the type C and type D. Both of these variants were used on D Day.
Type D variant.
AVRE Fascine
Having looked back through all my entries I noticed that some of the funnies I’ve done have not been accompanied by the historic reference photos/information, so I thought I’d make amends.
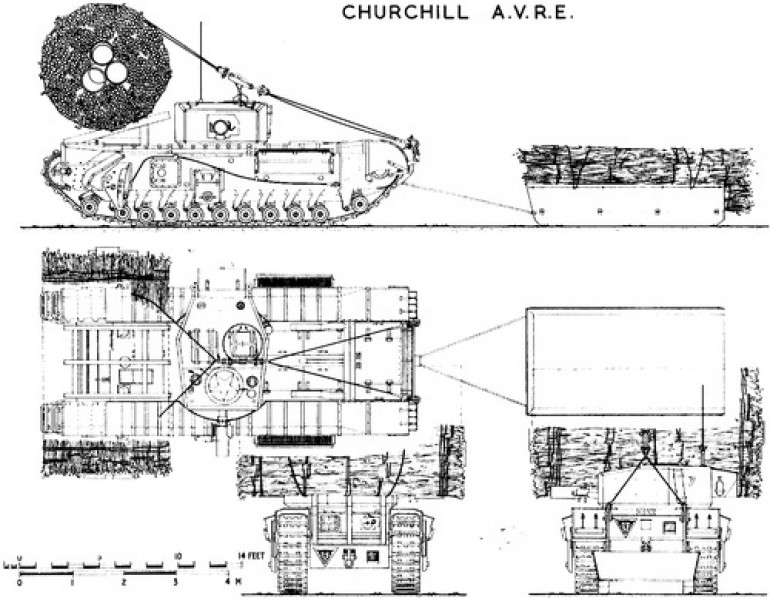
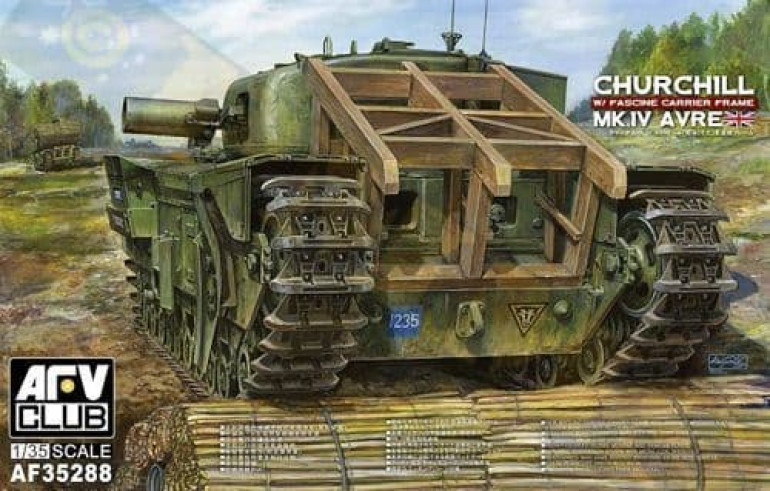
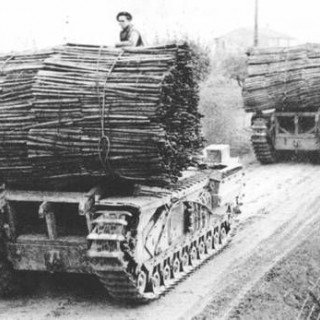
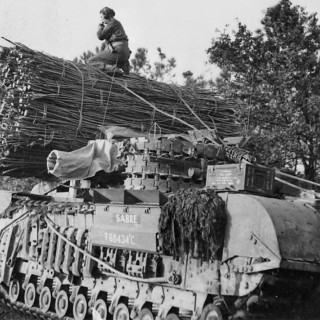
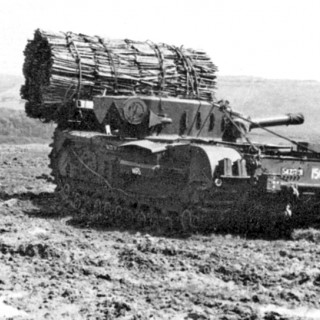
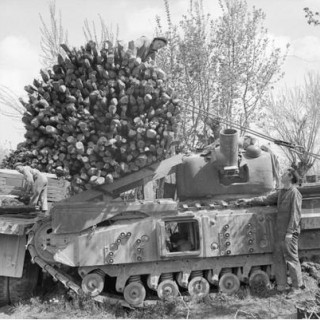
First up the AVRE Fascine, well to be correct it is just the fascine. These were bundles of branches gathered together into larger ones that were either collected into one large fascine wrapped in wire cables, or wrapped around pipes so that they could be laid in wet gaps and allow water to flow through them. They were used on the front of a general purpose AVRE sat on a disposable timber frame, sat on the front of Churchill Arks, or smaller versions mounted on Bridge laying AVREs so that they could be used to deal with any awkward differences in bank heights. Apart from the smaller ones (that would be manhandled in place) they would be dropped in place my firing small demolition charges to cut the retaining cables allowing gravity to drop it in place.
Churchill AVRE Onion and Double Onion
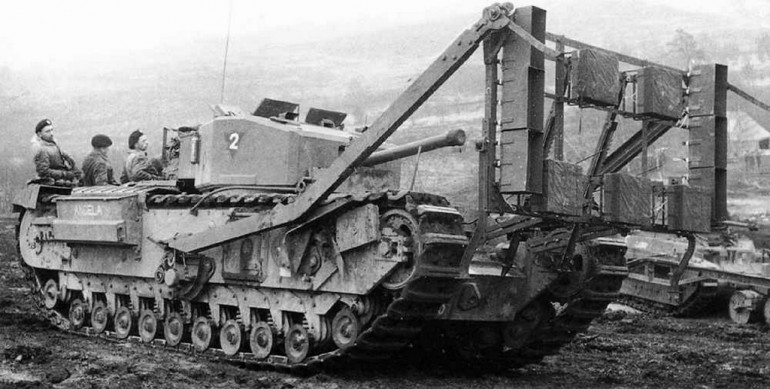
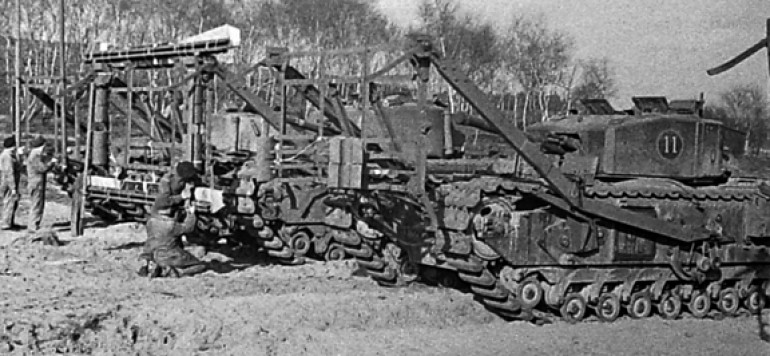
A bizarre name for a funny, although it is not 100% certain it is most likely named because the boxes of explosives looked like strings of onions and it would be just like sappers to pick a name that was amusing and had a slight dig at the French!
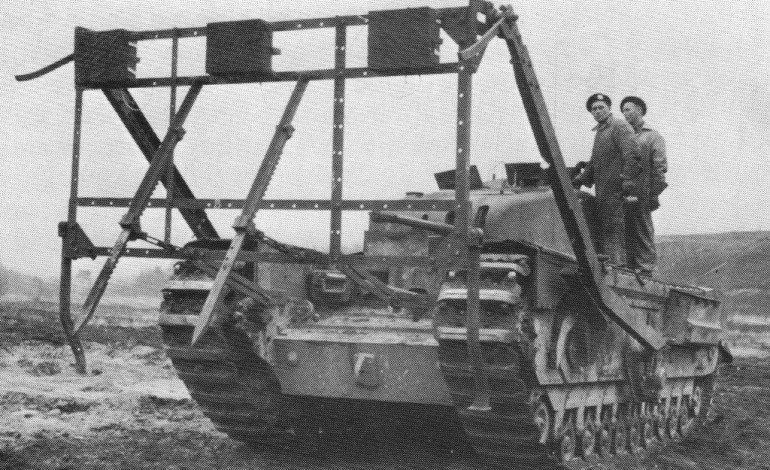
What it was, was a framework fixed to the front of the vehicle that had boxes of explosives secured to it. It travelled in a horizontal position, which swung down when it got close to its target. This would be either a concrete emplacement, obstacle, or on D Day and sea wall. Once at the target hooks on the top of the frame would hold the onion onto it, and the framework lowered so that the AVRE could retire to a safe distance before detonation. They trialled very well but were never deployed on D Day due to the concern that incoming rounds might set off the explosives prematurely and blow up the AVRE, which given that any direct artillery/tank hits on an AVRE normally denotated all of the explosives it carried within and obliterated it, meant crews weren’t particularly keen to use this Hobart funny.
The Churchill Conga
The Churchill conga was a system for clearing minefields. It used the chassis of a universal carrier to carry a hose that would be fired by a rocket into the minefield. It would then be pumped full of liquid Nitro Glycerine (LNG) and detonated, activating any nearby mines and creating a cleared path for vehicles and infantry. It was extremely dangerous to operate and after a horrendous accident during the Scheldt offensive its use was stopped altogether.
During that incident at Ijzendijke, sappers from 284 Armd Asslt Sqn RE were refilling their vehicle with LNG and having not received the correct training for the use of the equipment, or received the information that the practice they were told to follow had been classified as extremely dangerous and no longer to be followed (by trials back in the UK). An explosion occurred that resulted in the loss of 41 civilians, another 16 missing and many, many more injured. From the military, 284 Sqn lost 27 men; the Royal Canadian Army Service Corps 10; A Tp 85 Bty, 11th Essex Med Regt 3 and REME 1. a further 16 were missing. The local farmhouse and countless other vehicles were obliterated.
Click on images for more detail.
Back to a bit more history
To cover all of the Hobart funnies I thought I’d spend a little bit of time talking about those funnies that I won’t be doing, either because they never made it into production, or if they did they were extremely rare.
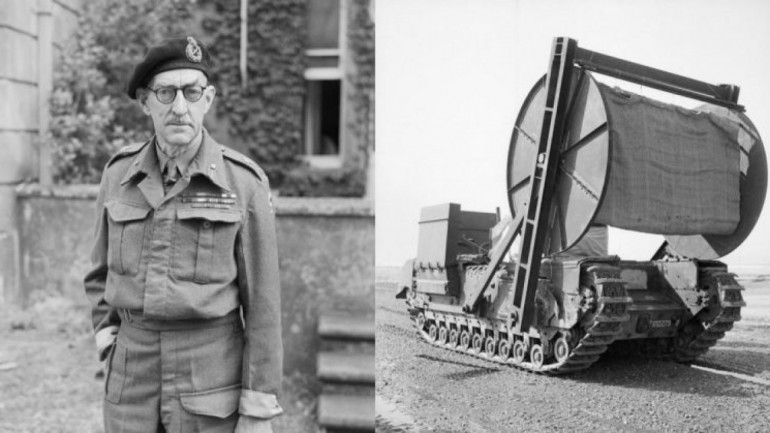 First up the great man himself. There has been much written by Percy Hobart, he was originally a Royal Engineer officer in WW1, with the intervention of tanks he was fascinated in the use of them on the battlefield and joined the Royal Tank Corps. He was brigadier of the first permanent armoured brigade and when posted to the Middle East he was responsible for training the Mobile Force (Egypt), later to be renamed 7th Armd Div (The Desert Rats). At the start of WW2 General Wavell dismissed him into retirement and he joined the Chipping Campden Home Guard. A newspaper article brought to the attention of Churchill was key to his recommissioning into the Army and he was responsible for the training of 11th Armd Div to a very high standard. Then followed his key move to form and train what was to become 79th Armd Div, he was uniquely qualified for this following all of the experience he had amassed during his career and his highly effective training methods. And the rest, as they say, is history!


