How to be an Armoured Farmer, building Hobart’s Funnies in Glorious 15mm (and maybe 28mm if they arrive in time!)
Recommendations: 2233
About the Project
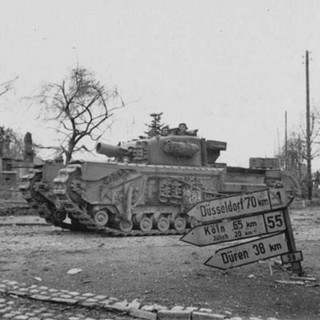
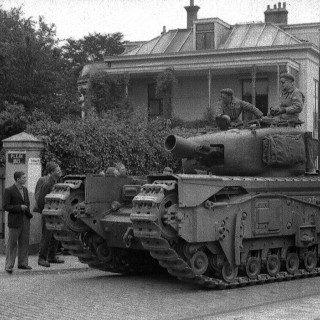
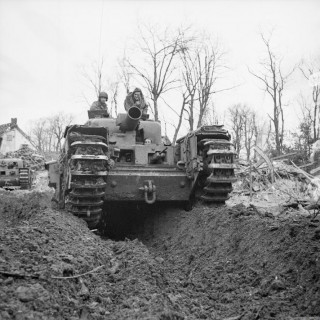
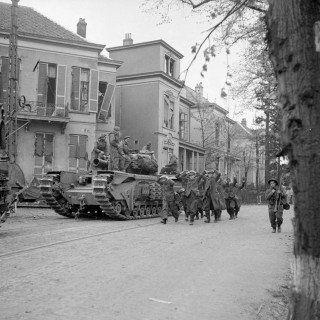
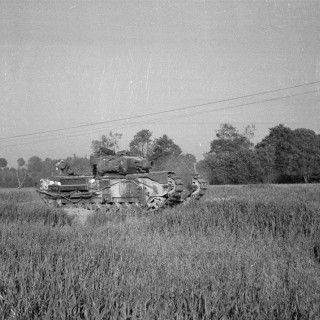
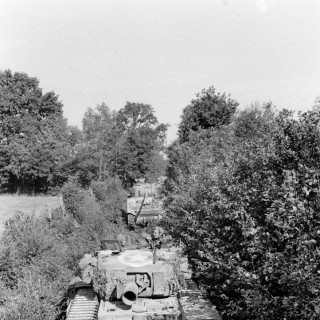
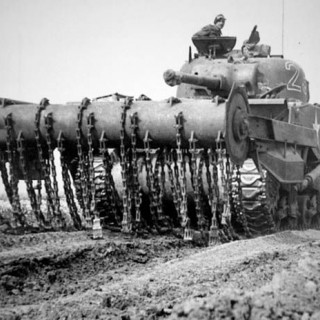
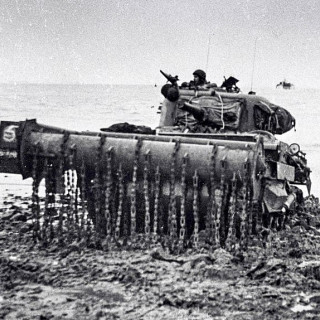
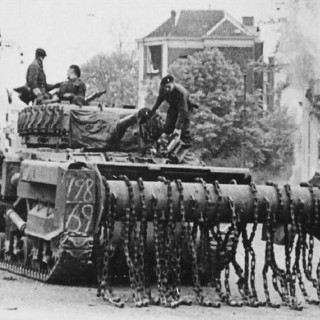
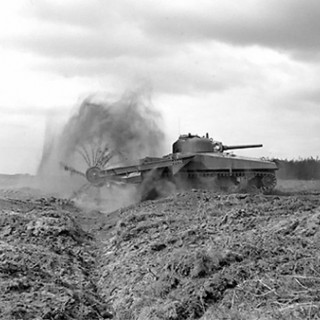
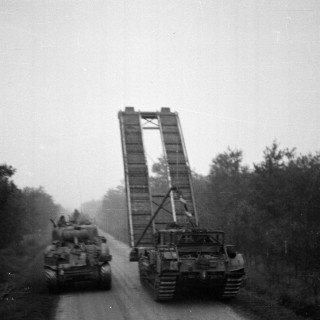
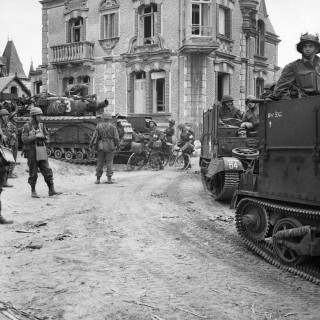
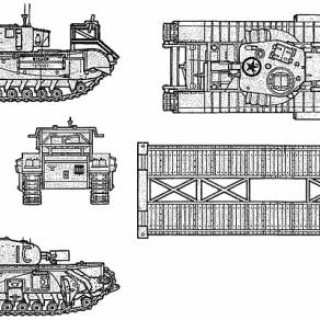
Right then, having avoided any sort of Spring cleaning challenge in the past, I have decided to use this year's one to get something done that I have been gathering bits for over the past few years and finally finish and assemble all of my Hobart's Funnies. To get technical these are Armoured Vehicle Royal Engineers (AVRE) tanks, using the Churchill chassis as a base. I will also throw in some Sherman Crabs (Flail tanks). I have gathered a few books for reference so that I can paint and mark them up for one of the Armoured Assault Squadrons Royal Engineer (either 77, or 79) that landed ashore at Sword Beach and were the very first to see action on that beach; Plus the Sherman Crabs of A Squadron 22nd Dragoons. Whilst I want to be able to use the finished tanks in games depicting the D Day Landings (in Flames of War and Chain of Command at 15mm) I also want then to be versatile enough to be able to be used in later engagements that the 79th Armoured Division took part in (which is pretty much everything!). I hope you will find this of interest if you ever want to branch out into what the modern day Royal Engineers affectionately call being an armoured farmer.
Related Game: Flames of War: The World War II Miniatures Game
Related Company: Battlefront Miniatures
Related Genre: Historical
Related Contest: Spring Clean Hobby Challenge (Old)
This Project is Active
AVRE Fascine
Having looked back through all my entries I noticed that some of the funnies I’ve done have not been accompanied by the historic reference photos/information, so I thought I’d make amends.

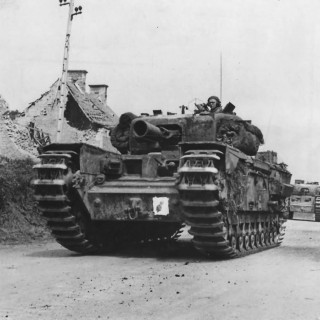
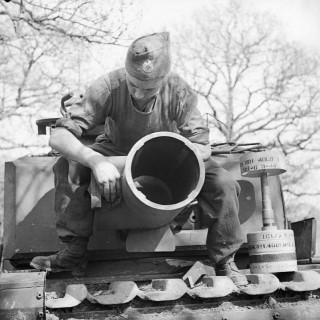
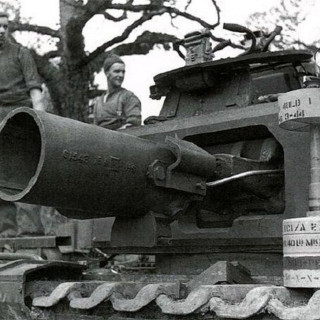
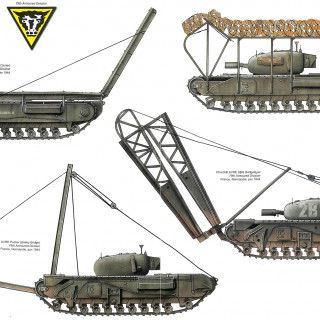
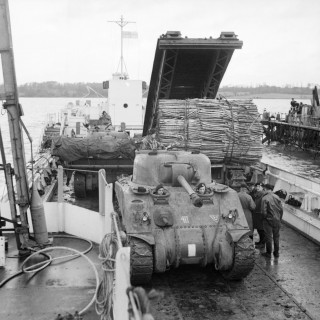
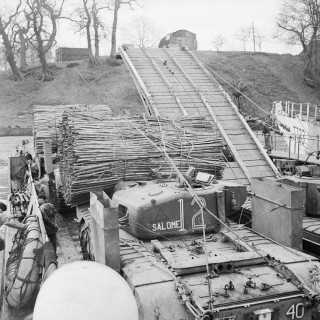
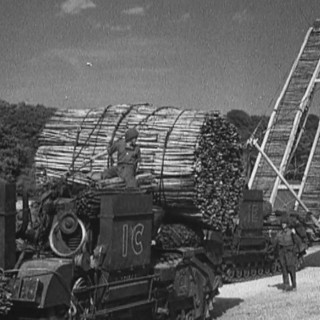
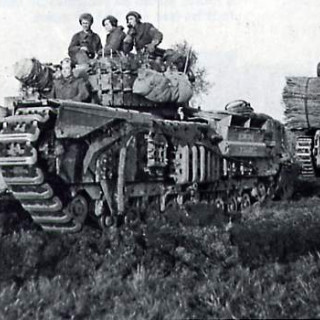
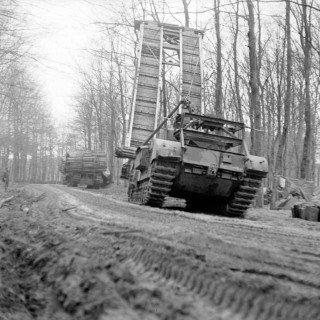
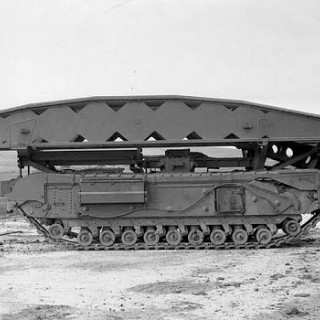
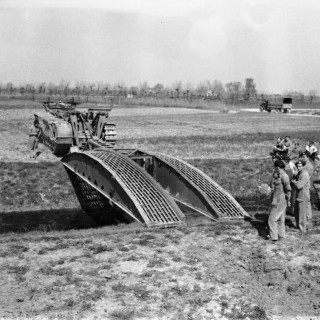
First up the AVRE Fascine, well to be correct it is just the fascine. These were bundles of branches gathered together into larger ones that were either collected into one large fascine wrapped in wire cables, or wrapped around pipes so that they could be laid in wet gaps and allow water to flow through them. They were used on the front of a general purpose AVRE sat on a disposable timber frame, sat on the front of Churchill Arks, or smaller versions mounted on Bridge laying AVREs so that they could be used to deal with any awkward differences in bank heights. Apart from the smaller ones (that would be manhandled in place) they would be dropped in place my firing small demolition charges to cut the retaining cables allowing gravity to drop it in place.
Churchill AVRE Onion and Double Onion
A bizarre name for a funny, although it is not 100% certain it is most likely named because the boxes of explosives looked like strings of onions and it would be just like sappers to pick a name that was amusing and had a slight dig at the French!
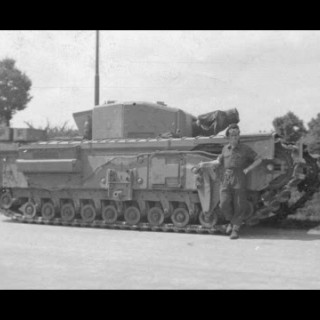
What it was, was a framework fixed to the front of the vehicle that had boxes of explosives secured to it. It travelled in a horizontal position, which swung down when it got close to its target. This would be either a concrete emplacement, obstacle, or on D Day and sea wall. Once at the target hooks on the top of the frame would hold the onion onto it, and the framework lowered so that the AVRE could retire to a safe distance before detonation. They trialled very well but were never deployed on D Day due to the concern that incoming rounds might set off the explosives prematurely and blow up the AVRE, which given that any direct artillery/tank hits on an AVRE normally denotated all of the explosives it carried within and obliterated it, meant crews weren’t particularly keen to use this Hobart funny.
The Churchill Conga
The Churchill conga was a system for clearing minefields. It used the chassis of a universal carrier to carry a hose that would be fired by a rocket into the minefield. It would then be pumped full of liquid Nitro Glycerine (LNG) and detonated, activating any nearby mines and creating a cleared path for vehicles and infantry. It was extremely dangerous to operate and after a horrendous accident during the Scheldt offensive its use was stopped altogether.
During that incident at Ijzendijke, sappers from 284 Armd Asslt Sqn RE were refilling their vehicle with LNG and having not received the correct training for the use of the equipment, or received the information that the practice they were told to follow had been classified as extremely dangerous and no longer to be followed (by trials back in the UK). An explosion occurred that resulted in the loss of 41 civilians, another 16 missing and many, many more injured. From the military, 284 Sqn lost 27 men; the Royal Canadian Army Service Corps 10; A Tp 85 Bty, 11th Essex Med Regt 3 and REME 1. a further 16 were missing. The local farmhouse and countless other vehicles were obliterated.
Click on images for more detail.
Back to a bit more history
To cover all of the Hobart funnies I thought I’d spend a little bit of time talking about those funnies that I won’t be doing, either because they never made it into production, or if they did they were extremely rare.
Base coats completed, some close ups
I like it when the base coats are done, as it is the first time you get to see what the finished vehicle will look like.
base coat colours cont'd
Also, on the metal tanks where there are voids, I chose to paint these in black grey, as straight matt black still looks too harsh.
Other base colours for CES tools and gribblies,
Base coat tracks
BUGGER!!
More Base Coating
It's been a while, but i have been doing stuff Honest!! ;-)
Base coating
Apologies for the delay in updating my project thread but life, as ever, gest in the way.
So after the the main base coat of green was down I started picking out the other base coats first of all I cleared up my first desk setup and got everything to hand to slog through this next bit.
And here are all the paints used. Select a photo and zoom in to get all the paint numbers.
base coating the wooden bits
As the Fascines and the log carpet are made predominately from wood (Never, get away!) I base coasted them in Chocolate brown, it took three good coats to get the coverage I wanted. The thinning down ratio was the same as for the Russian Uniform colour.
Time to highlight
Time to add some colour
With the base coat down I laid down a dark base colour. For this I selected Vallejo Russian Uniform 70.924 and chocolate Brown 70.872 this was a 5 to 1 mix and then 50/50 with Vallejo thinner and a drop, or two of flow enhancer. I mixed this in a disposable shot glass, so that any bits would settle to the bottom and could then watch it as it is poured into the brush.
As I wanted the black base coat to show through, I was very careful to do thin coats until I was happy I had the coverage I wanted but without obliterating to base coat. Normally I am terrible at judging this, but I recently decided that if my mind was telling me to do one more coat, that is the exact time to stop, as the highlight coat will do that and give better colour variation.
For the highlight coat I just applied straight Russian Uniform. Thinned exactly as before.
Base coats
My base coat mix was 50% Vallejo black primer and 50% Vallejo thinner I also added a couple of drops of D&R flow enhancer. The regulator on the compressor was set to 25psi. As I mentioned before, I set each part onto a handle so that i could avoid touching them. I started by spraying the bases and after they dried, flipped them over and then sprayed the tops. I did two coats of this so that I achieved an even coverage.