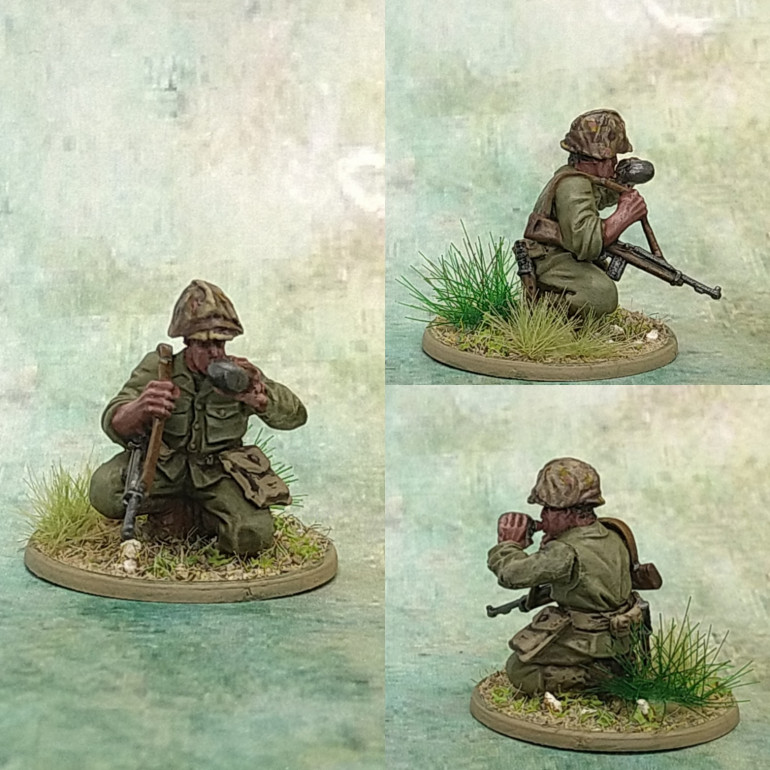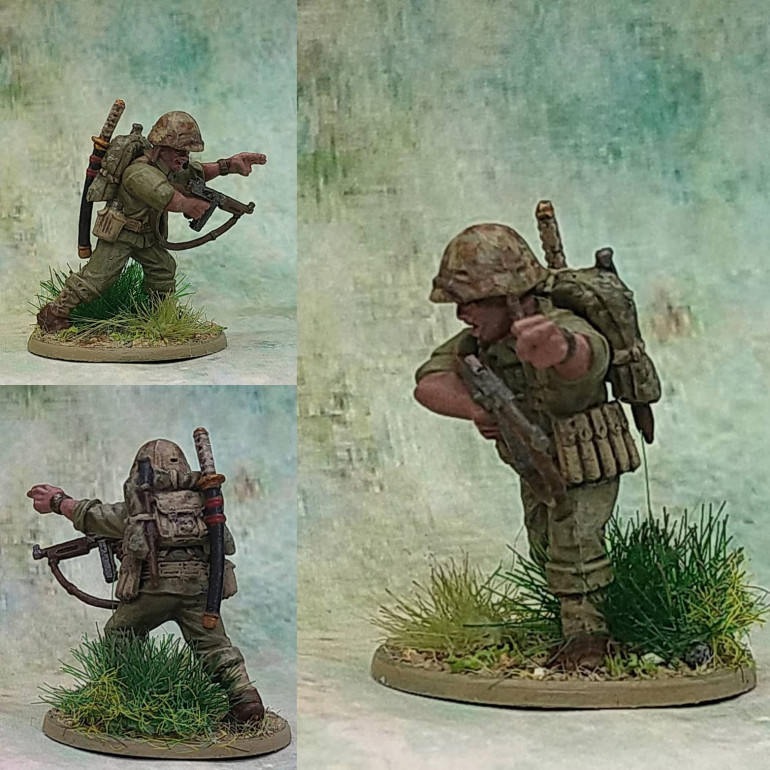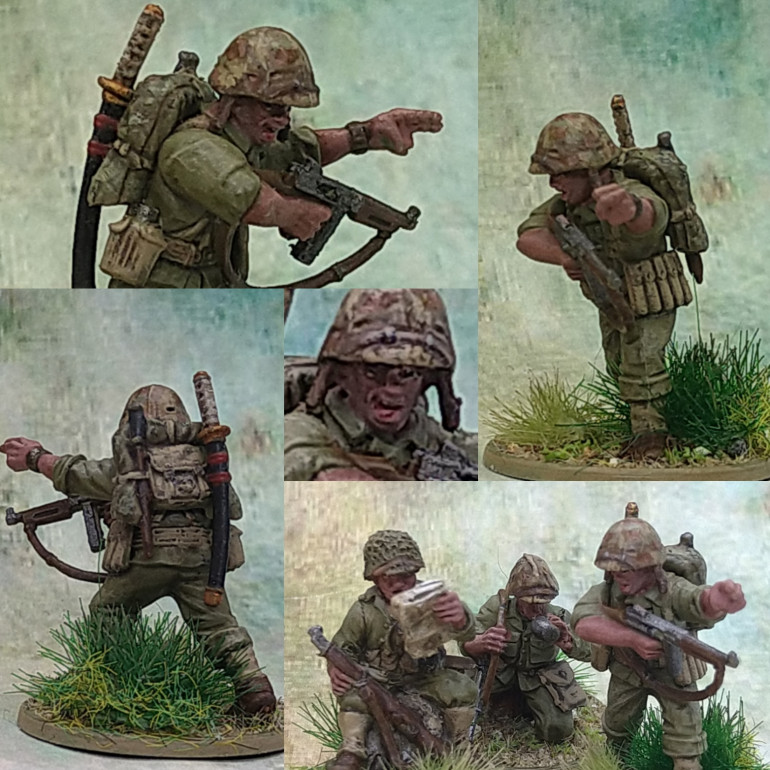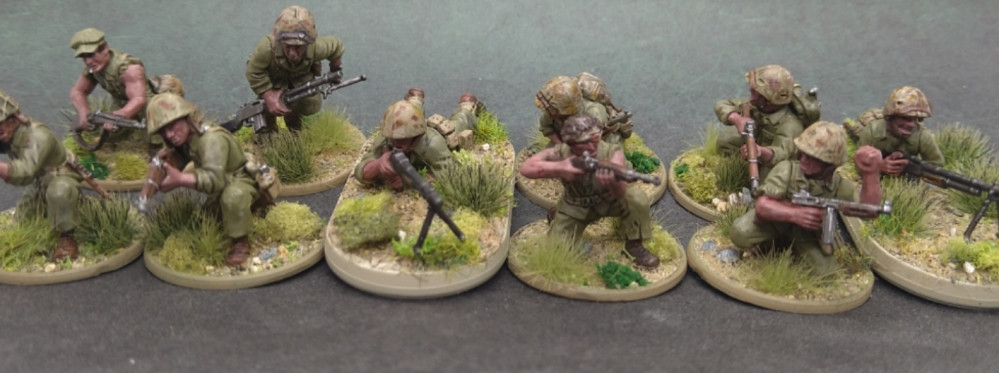
Bolt Action USMC 1000pts army
Recommendations: 833
About the Project
Finally getting around to painting the opponents for my Japanese army. I have the WG plastics box an additional sprue from a Warlord sprue sale a while back, an Amtrac Buffalo amphibious transport and a MMG weapons team. Inspired by others painting these I was sure I could do a passable job of my own, but found I immediately need to do more research and check my colours choices. I enjoyed The Pacific TV series and that seems a fitting backdrop for some painting.
Related Game: Bolt Action
Related Company: Warlord Games
Related Genre: Historical
This Project is Completed
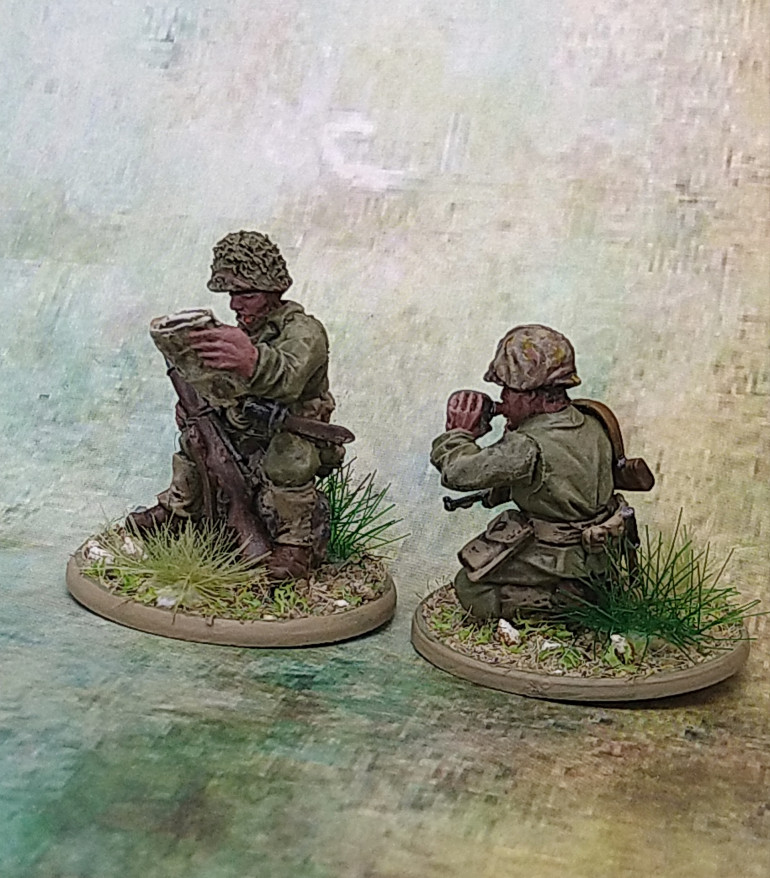
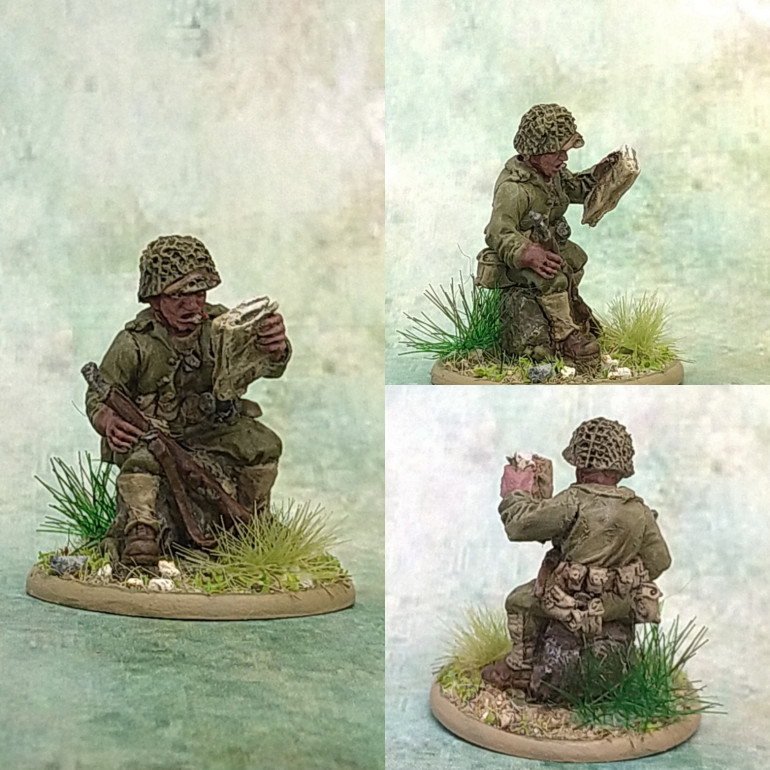
Officer team
I usually just use any riflemen to support my officer in other armies I have, but was happy to make these two as permanent support for him.
The guy with the map and sat on a stone is from the metal support minis I bought. He came with an option for the map arm or a water bottle arm and a head to match. So I used the water bottle arm and head on a crouching plastic mini and it looked really good. The sitting mini has an empty bottle pouch on his belt so it looks like he has given his bottle to his squad mate as he reads the map.
As I said during my list building entry I wanted my officer to have a war trophy. Obviously doesn’t effect the game stats but I like the narrative of a veteran lieutenant this adds.
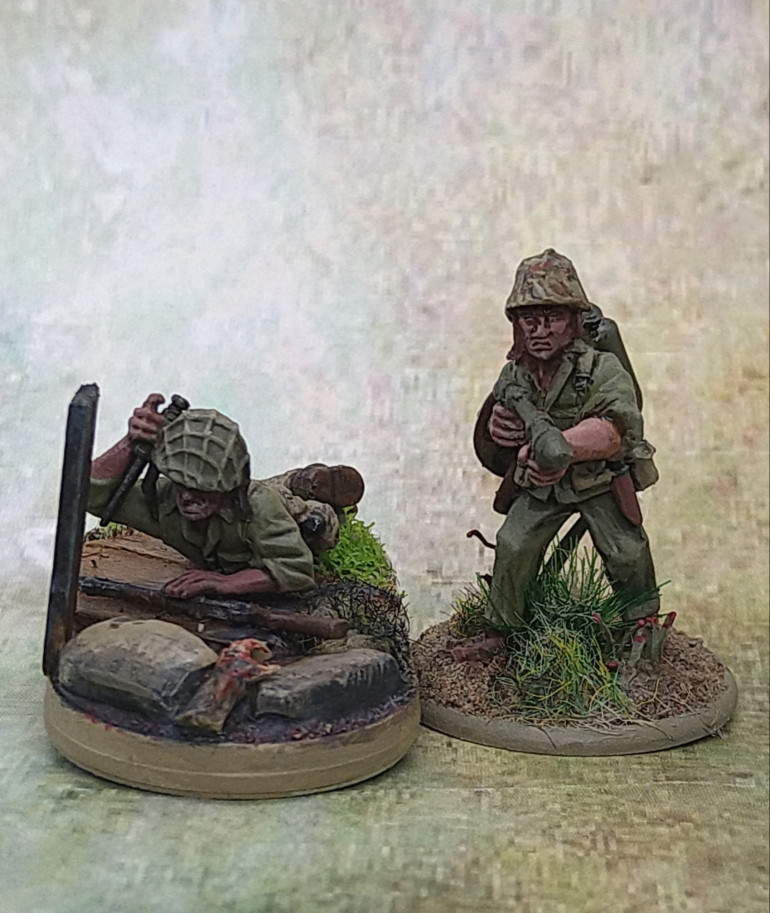
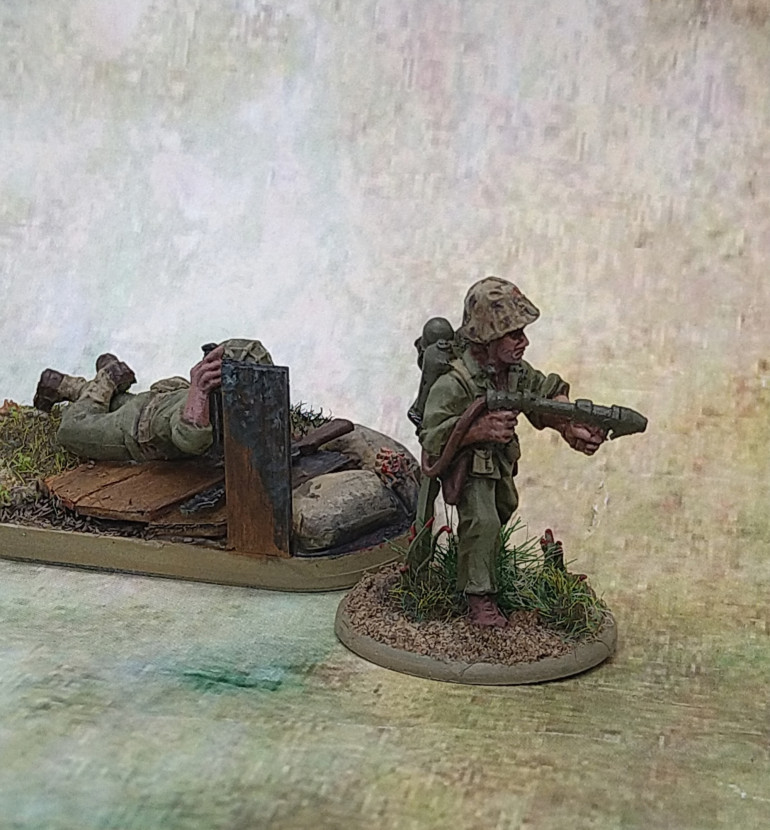
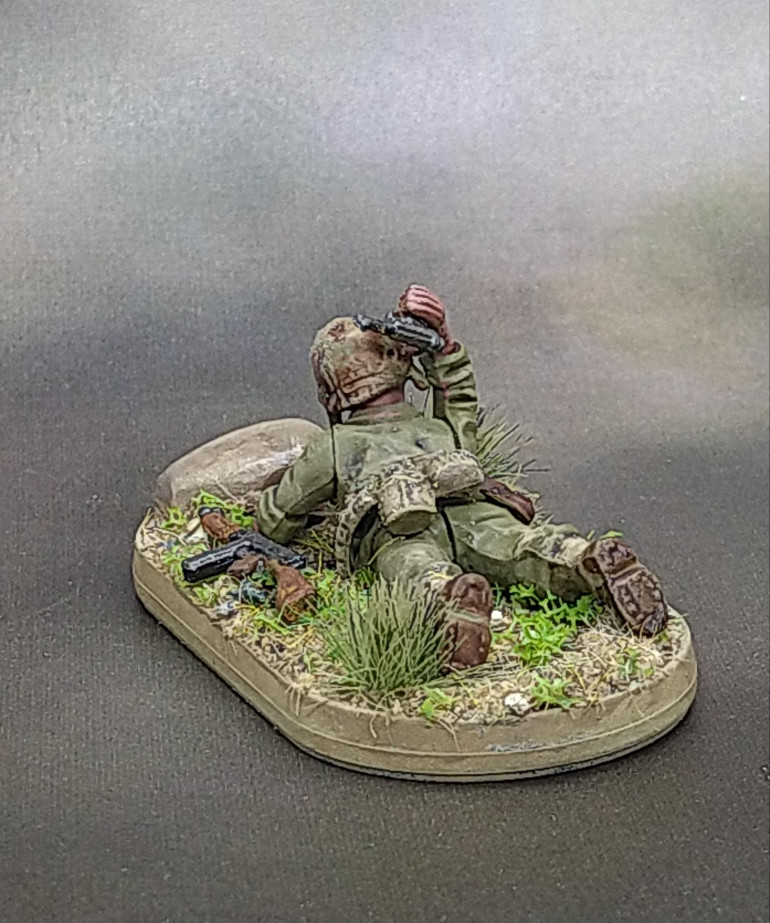
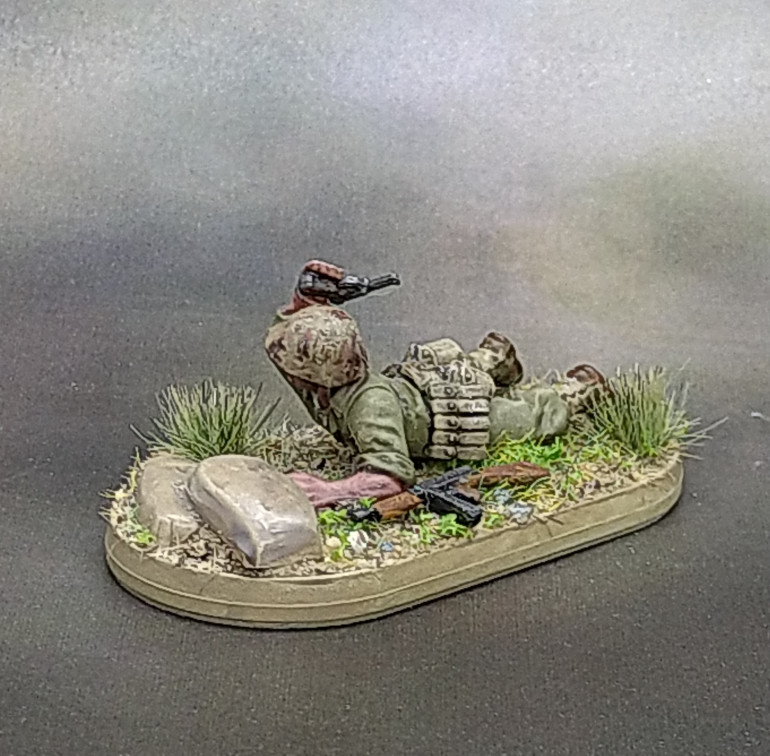
Flambé 2, This time it's gory
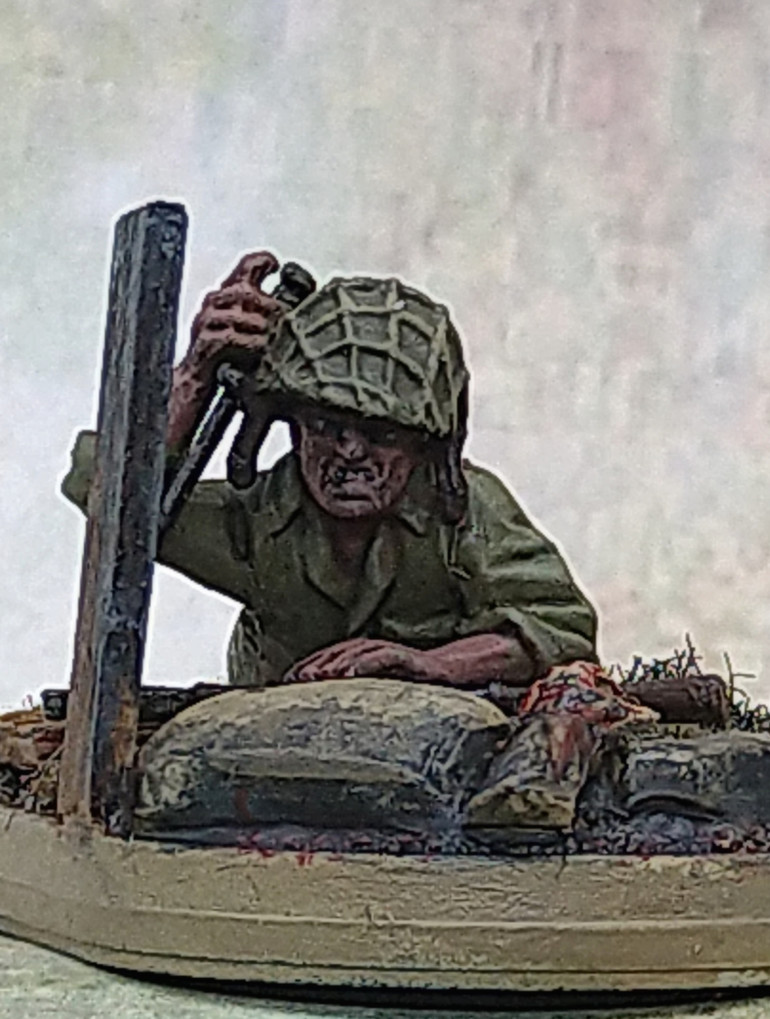
USMC flamethrower and now with his support. My prone guy following in the man with thrower’s gory chared path.
The basing is a bit grim, with the hand of a burnt Jap soldier reaching up between chared sandbags, but I think it paints a picture and establishes him as his support. I wanted a prone guy to go with the metal mini thrower mini. Partly to show that these teams were a bullet magnet on the approach to fixed defensive positions because of the fear that came with this ugly mode of death.
Painting the chared wood was fun. Just painting it black in places looked wrong, so I added dabs of grey. I hope it looks like when a plank cracks in the heat of a bonfire and creates almost a grid of ash grey bark-like squares with a pitch black between the segments.
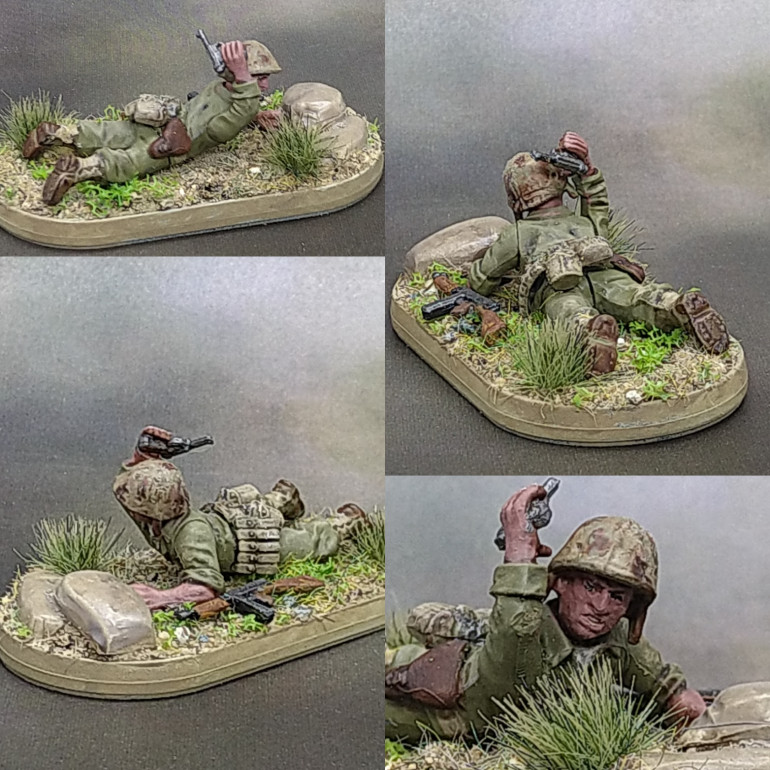
NCO - Squad 2.
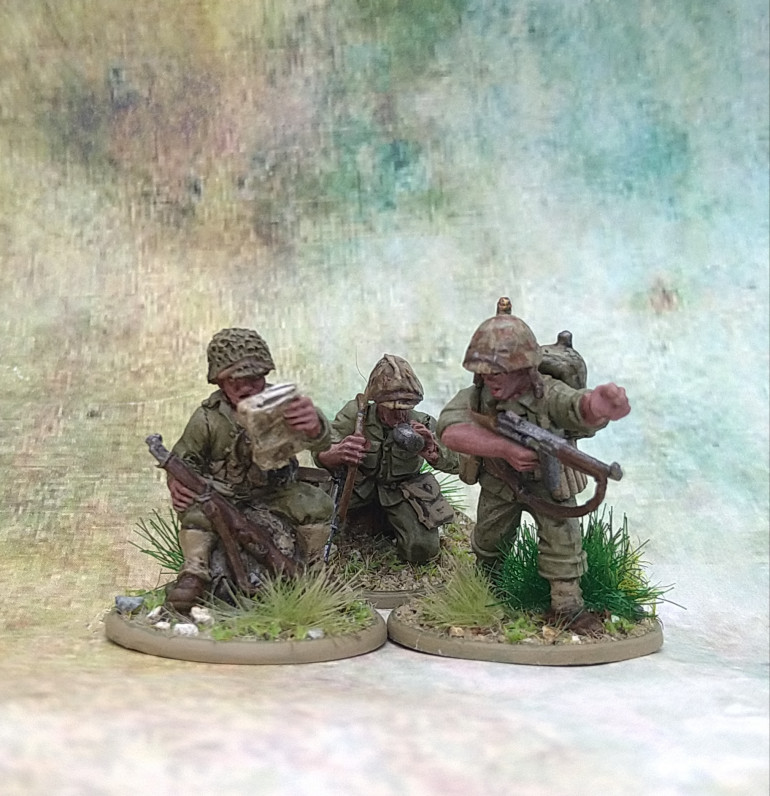
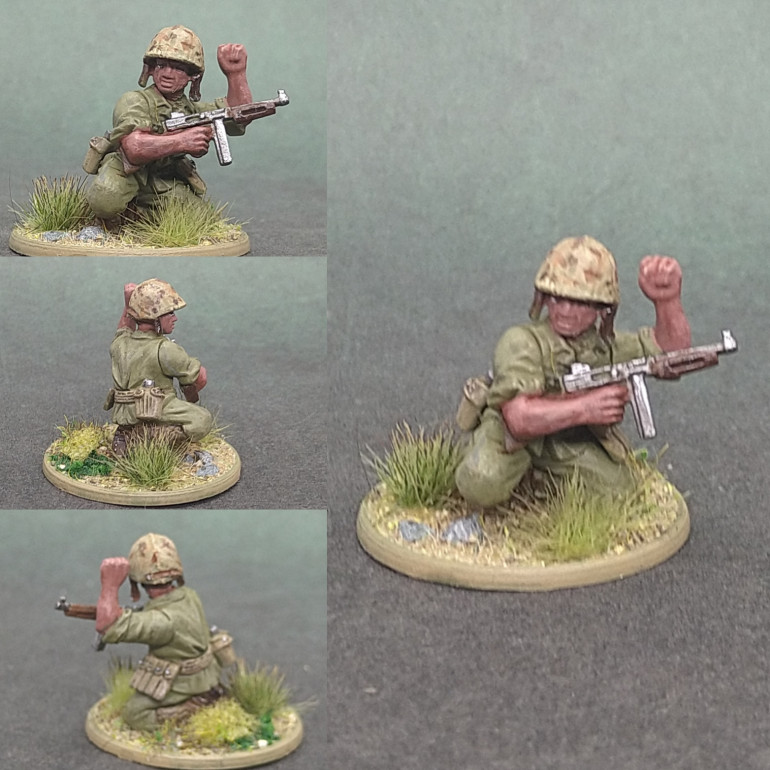
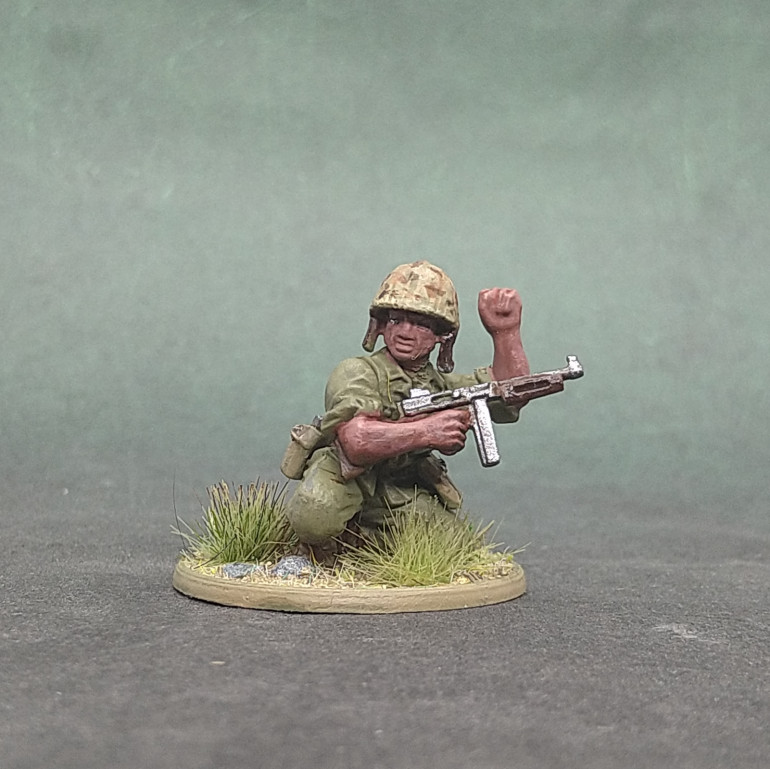
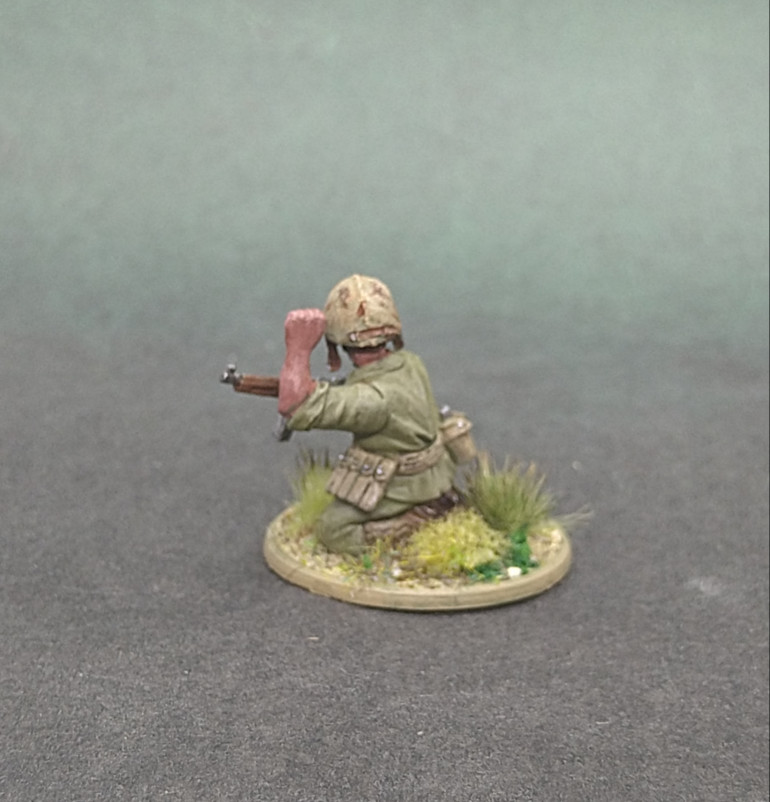
NCO waving his men forward with a liberated Japanese pistol. (Saw the darned silver paint on his palm after the photo shoot. Will rectify. lol.)
The pose is just about what I was looking for. I will use a couple of crouching minis in the squad so he is not the only mini low to the ground.
There’s been some fun comments on Facebook that it looks like he’s throwing the gun at someone or that he has panicked and thinks he’s throwing a grenade.
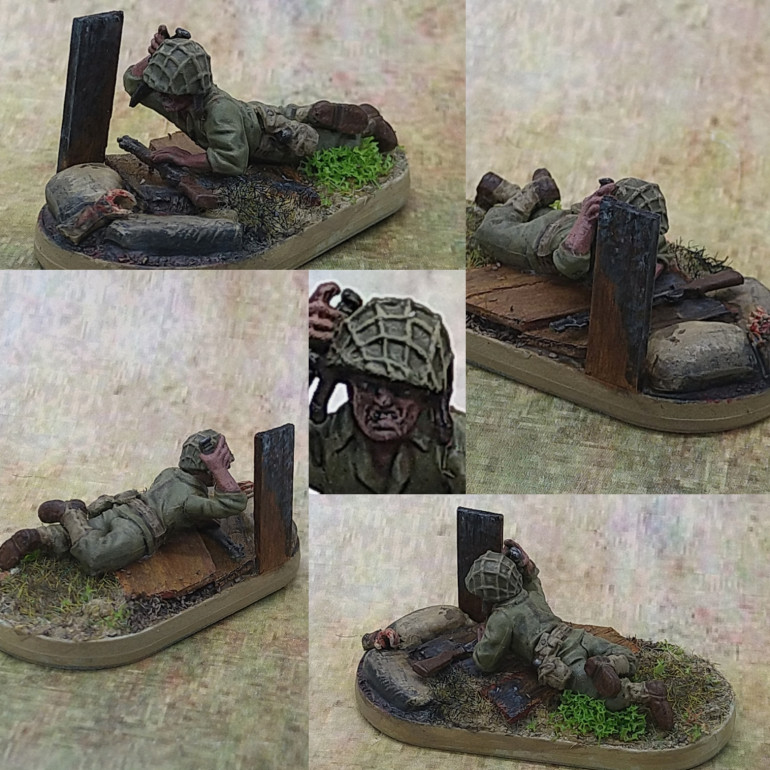
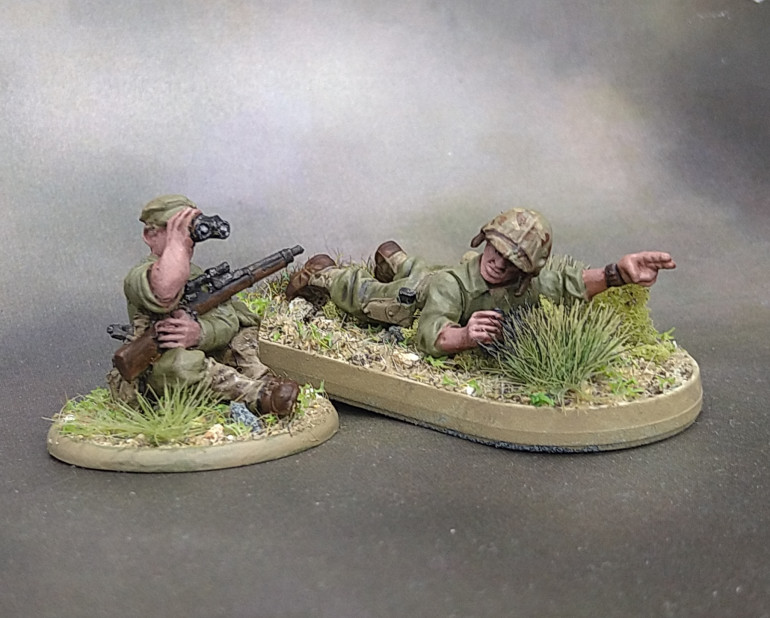
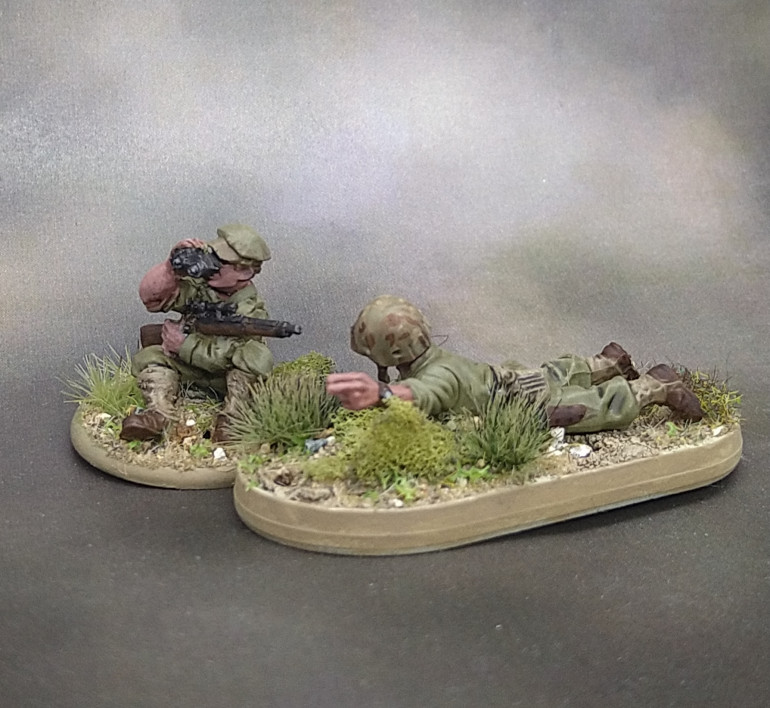
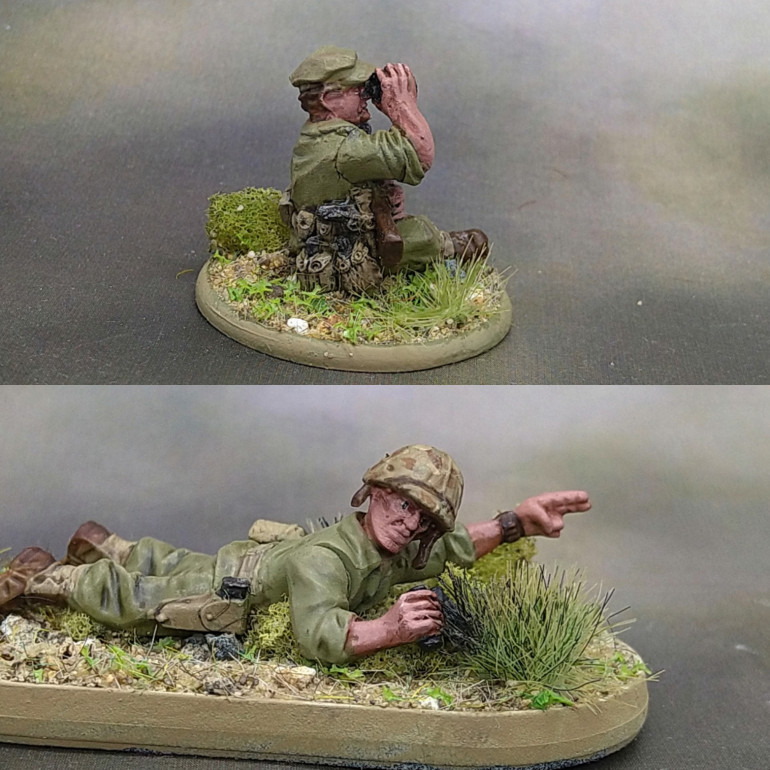
Sniper Team
Metal sniper from the support pack with a plastic sprue head. (The studio models from the website store had him wearing a forage cap, so it was surprising that a forage cap metal head wasn’t provided.)
The prone spotter has binoculars and a pistol and is pointing something out for the sniper to consider.
Not sure if the little bits of sponge foliage are a problem because they aren’t as life like as the Tufts.
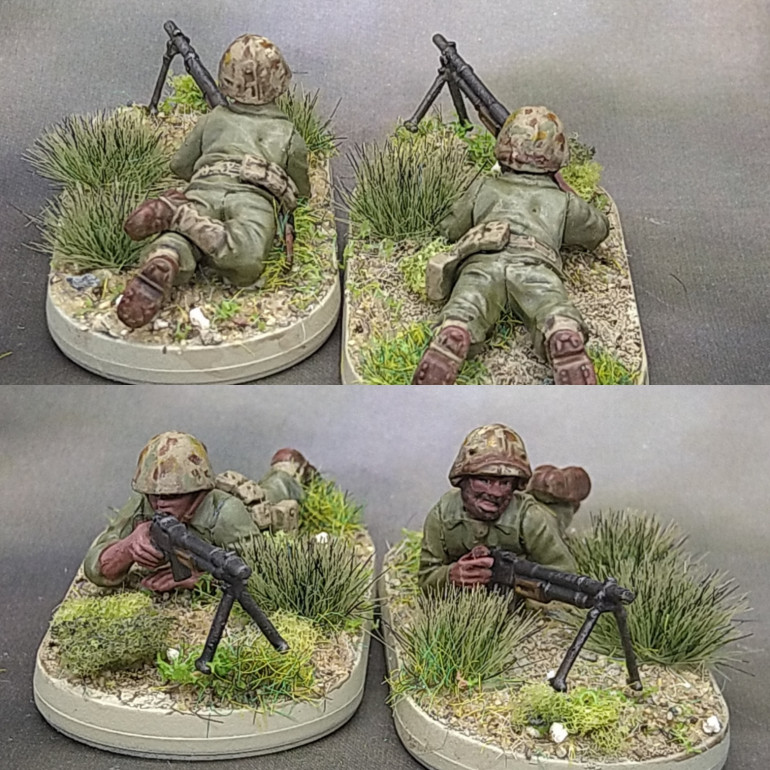
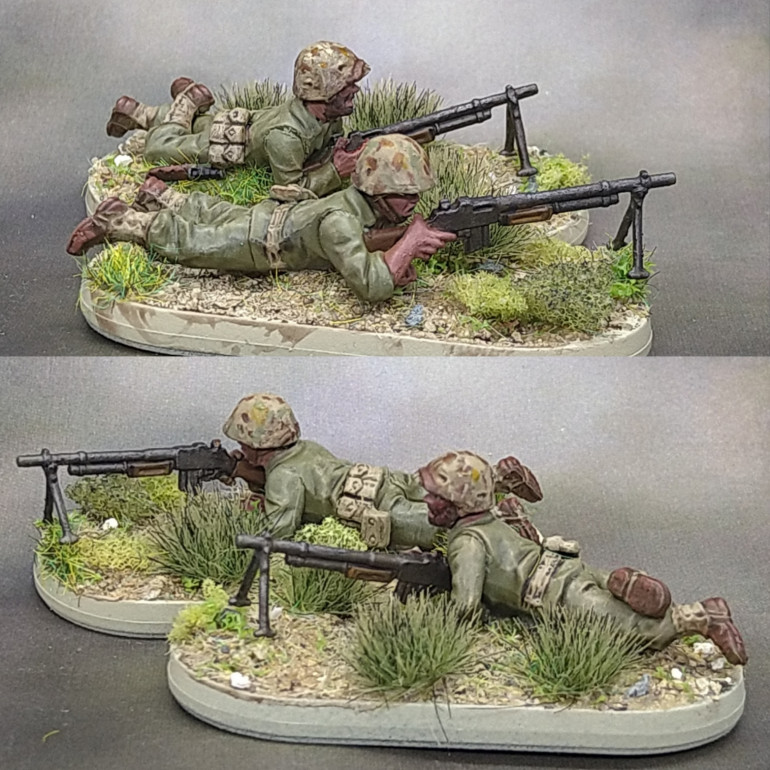
Prone BARs - Squad 1
USMC. Prone BAR fellas.
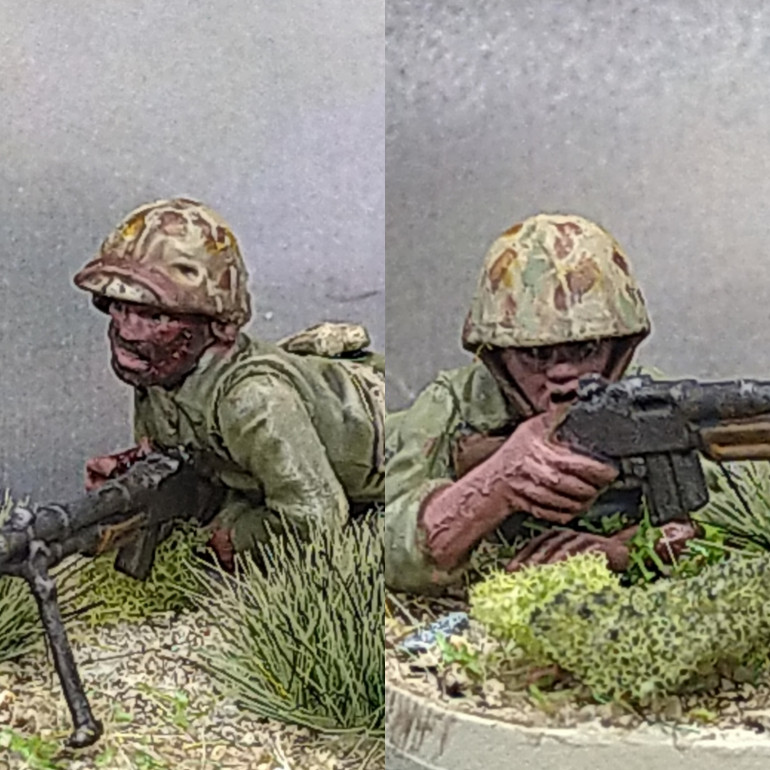
One has a nasty cut to his left cheek. Not sure why. Just felt after painting the beard that the damage would look good.
Using the Japanese prone arms on the wounded guy didn’t fit with the BAR but it did give me an interesting pose.
This squad will be mostly crouching guys to keep these guys from looking too out of place in the squad.
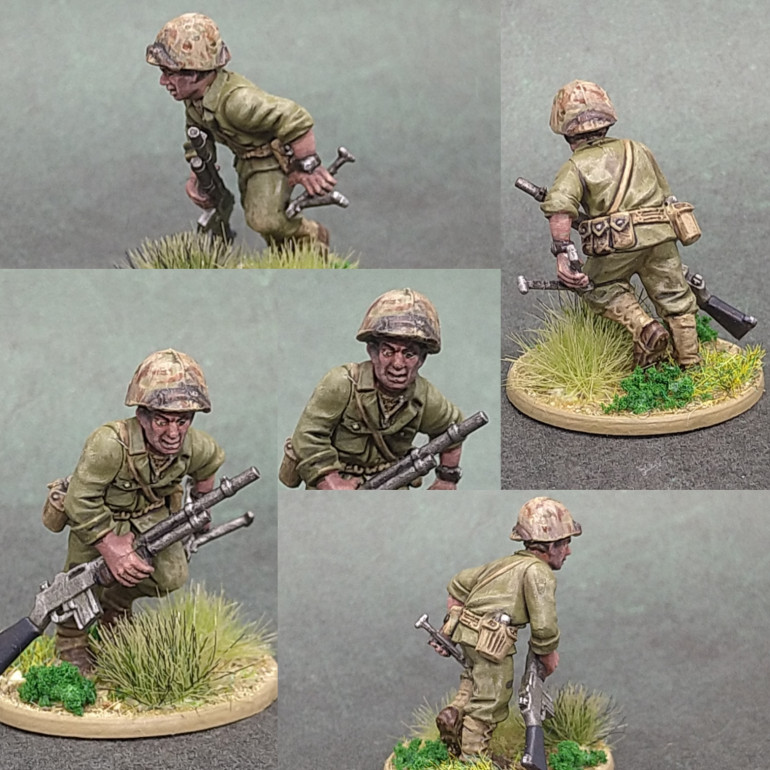
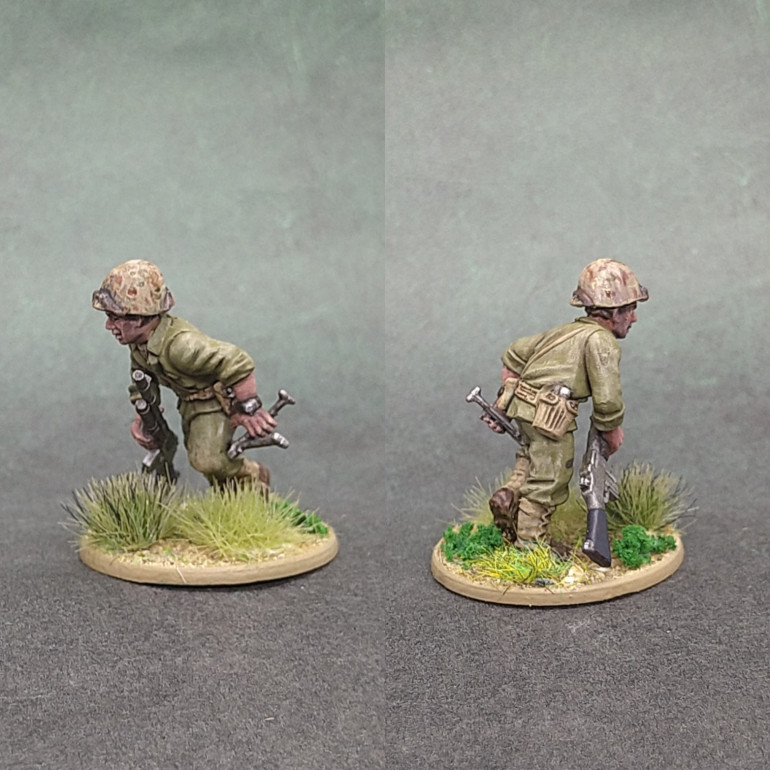
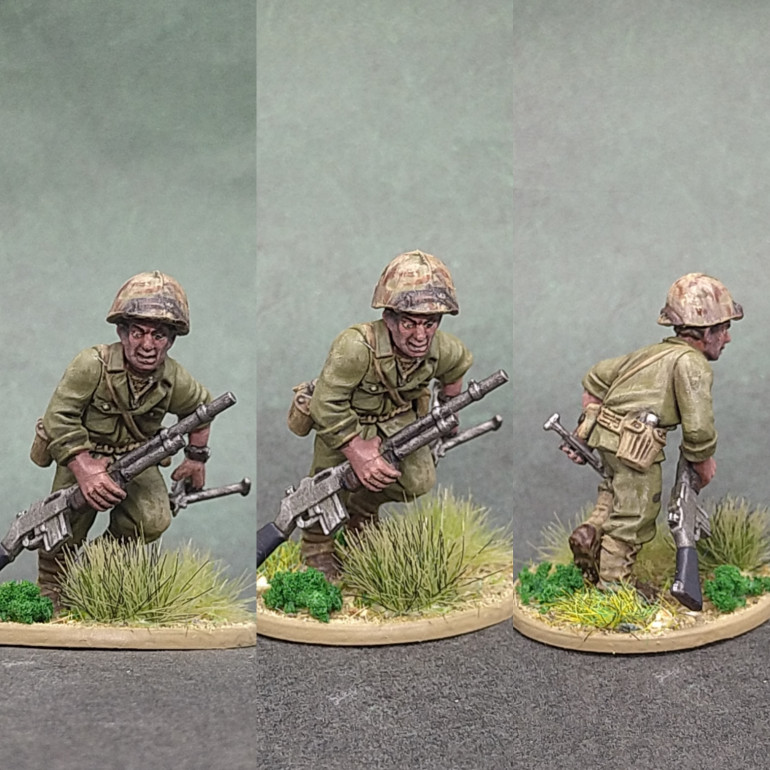
BAR #3 - Squad 1
I shared this online. Facebook. And got a historical point of view, along with a lot of very positive comments too. It turns out, that the bipods were not easy clip-on, clip-off in style. This is not something you would quickly assemble in the field. I appreciated the comments and try to err on the historical side rather than strictly rule of cool and Hollywood.
A mistake leading to narrative… I can work with that.
Have you seen the opening of Saving Private Ryan? The opening horror where a guy loses his arm, but picks it up and runs confused and shocked to find a medic to help him with the slight problem he has?
This is less graphic but comes from that shocked headspace.
American kit is reliable, but when thrown through the air in a mortar blast the only thing broken was his bipod. Probably a fault in the metal because it’s snapped at an odd point at the top of the loop. Now what?
“Will the sergeant kill me if I don’t come back with this?
Can I reattach it? (No, but he’s in a panic)
How damaged is this? Will it fire? How am I not injured?”
Then his training kicks in.
“Sergeant said get to that ridge. I’ll do that and worry about the rest when I get there.”
Semper Fi.
?
NCO - Squad 1.
My NCO calls a halt. (Technically this is a “freeze” signal I was told after posting on Facepage).
I liked this pose. The sprues have been great for the type of variety I like for my bolt action armies.
The amount of riflemen in these armies is always daunting from a quest for variety point of view, but I think it will all look OK in the end
Lucky and Chmielowski - Squad 1
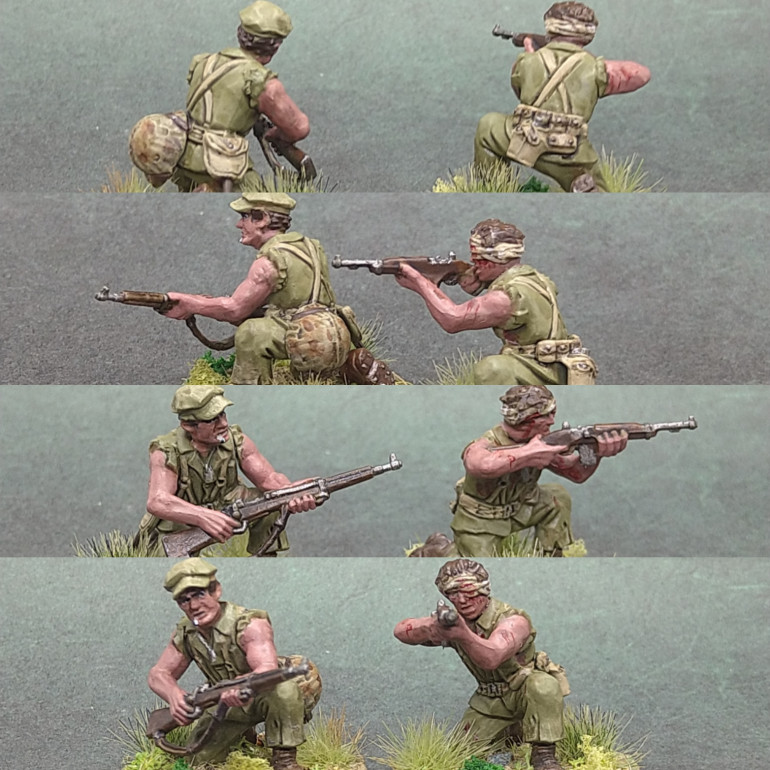
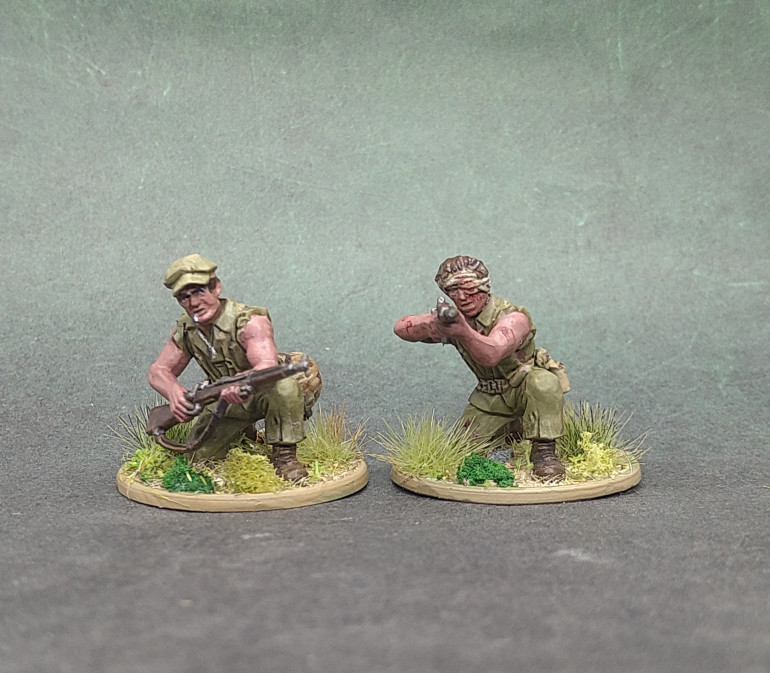
Built all my crouching riflemen. Will try to get through them a couple of models a day.
Had to look at a M1 Garand and a US carbine again to remember which parts are wood and which are metal.
Happy with the paint jobs, basing on theme, on to the next 4.



![Very Cool! Make Your Own Star Wars: Legion Imperial Agent & Officer | Review [7 Days Early Access]](https://images.beastsofwar.com/2025/12/Star-Wars-Imperial-Agent-_-Officer-coverimage-V3-225-127.jpg)
