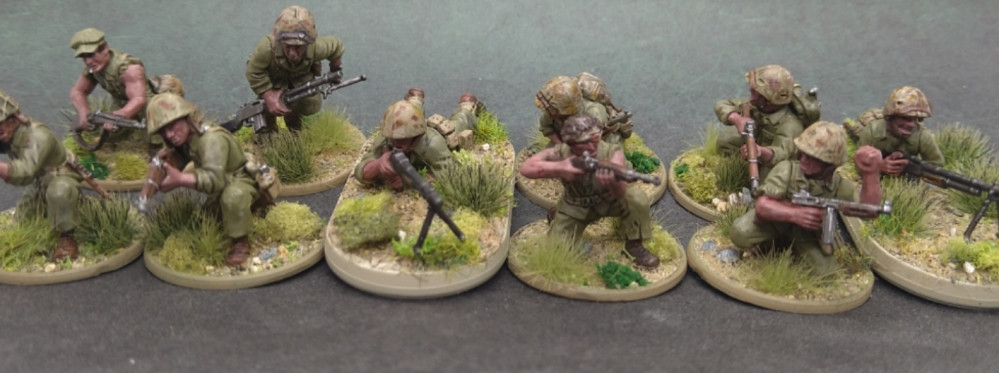
Bolt Action USMC 1000pts army
Recommendations: 833
About the Project
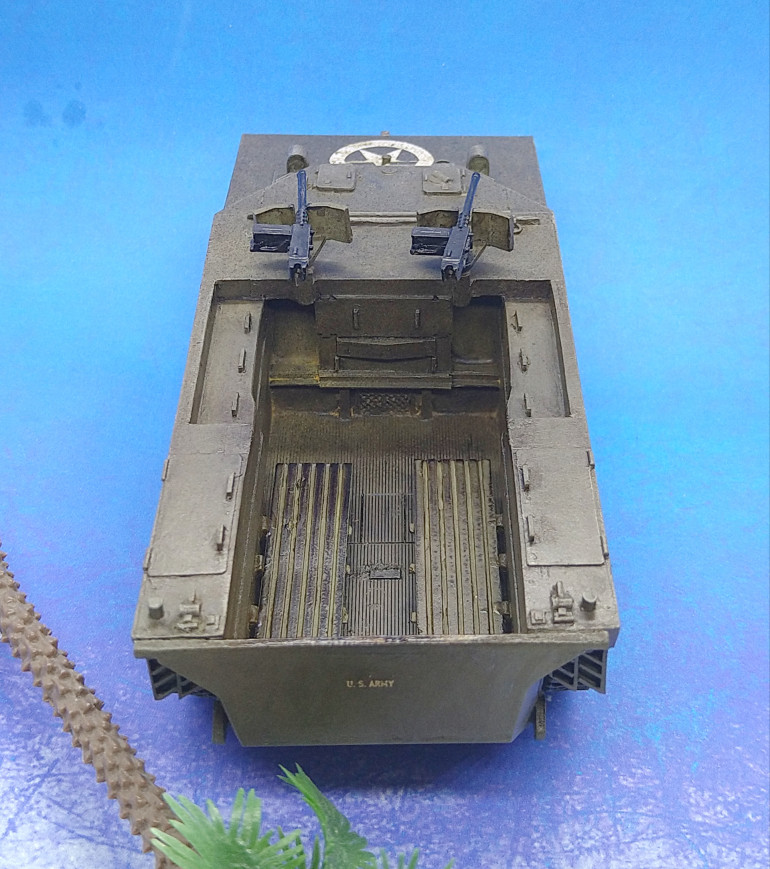
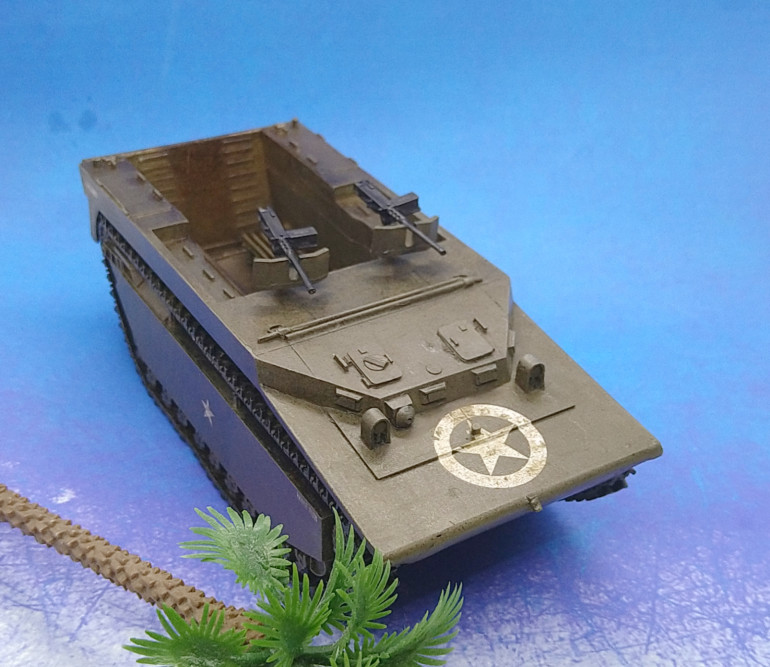
Finally getting around to painting the opponents for my Japanese army. I have the WG plastics box an additional sprue from a Warlord sprue sale a while back, an Amtrac Buffalo amphibious transport and a MMG weapons team. Inspired by others painting these I was sure I could do a passable job of my own, but found I immediately need to do more research and check my colours choices. I enjoyed The Pacific TV series and that seems a fitting backdrop for some painting.
Related Game: Bolt Action
Related Company: Warlord Games
Related Genre: Historical
This Project is Completed
No list but let's paint
I don’t have a list in mind yet, but I knew that I would want a Buffalo because they are an iconic vehicle of that theatre of war. I remember seeing them in movies and my dad telling me what it was called. I remember seeing one at Bovington Tank Museum and being impressed by it. The Warlord Games store has been out of stock on this resin kit for months, but thankfully Entoyment in Poole still had one. FLGS to the rescue online. I could have picked up a Rubicon version from various sellers, but I have never made one of their kits and didn’t want any scale issues with my exclusively Warlord Games collection of vehicles so far.
I used the Colours of War guide on American vehicles for my colour choice. Will fill in exactly what those were in an update later.
MMG - pallette cleanser
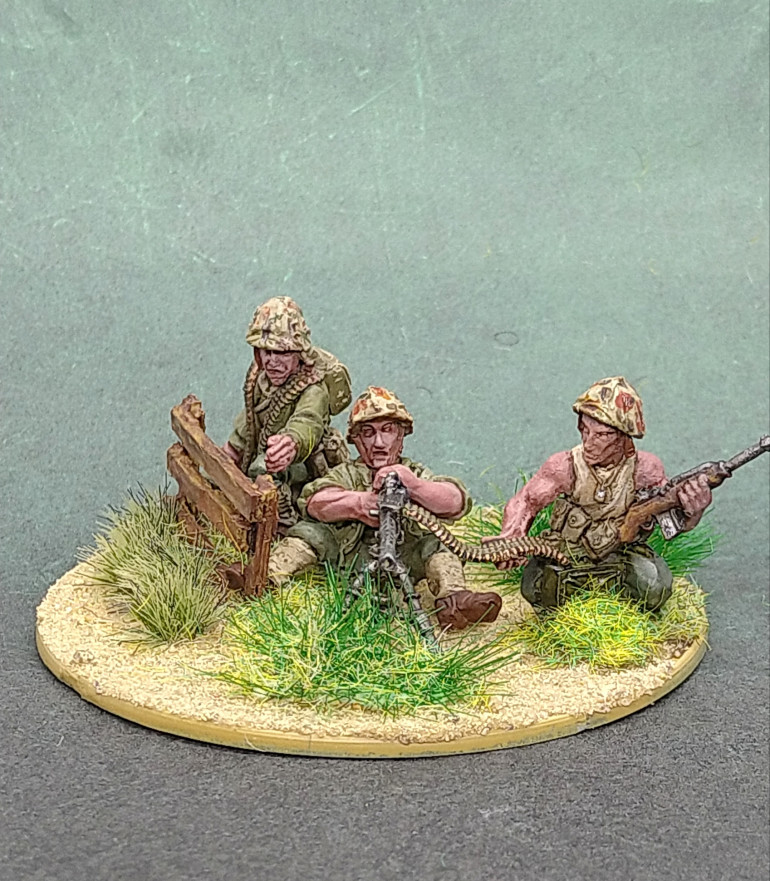
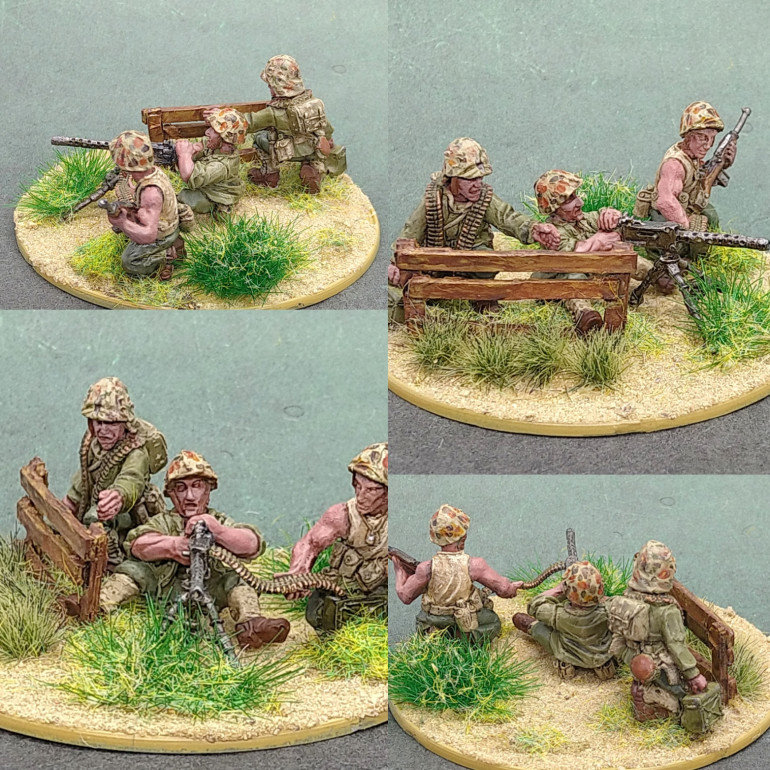
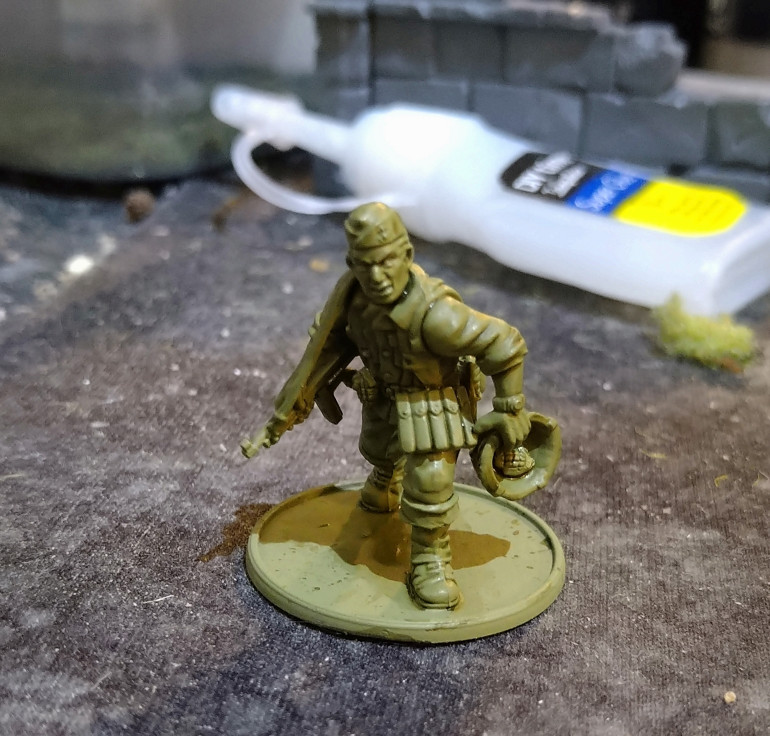
I wanted to try out a paint scheme so I started with this metal .30 Cal team.
Deathguard green primer with Athonian Camoshade wash was the idea. I think it looks fine.
I searched back through an old messenger conversation with a sadly departed friend and they said they had used a Vallejo Green Grey for their USMC or occasionally a Vallejo Russian Uniform green. I didn’t mix the paint well enough, or it’s just old and split in some way, because when I used my Green Grey as a trial on the trousers it came out glossy. I mixed it with some Deathguard green and that blended it and took the worst of the gloss away.
Used Iraqi Sand for the vest of the loader, but think the shirt should be more white.
I used Cryptek Armourshade Gloss on the gun over the Deathguard green and think it looked good, but I used a Leadbelcher Armourshade mix as as a highlight because when ai have seen these guns their either black or shiny metal coloured and wouldn’t be much rust on them even in the tropical humidity.
I think I will return to this later. Add some stubble. Add a tattoo maybe. Add some eyes. The pics make them look fairly sunburnt as a happy accident but will check them again and see if a Barbarian Flesh highlight is in order.
List Building
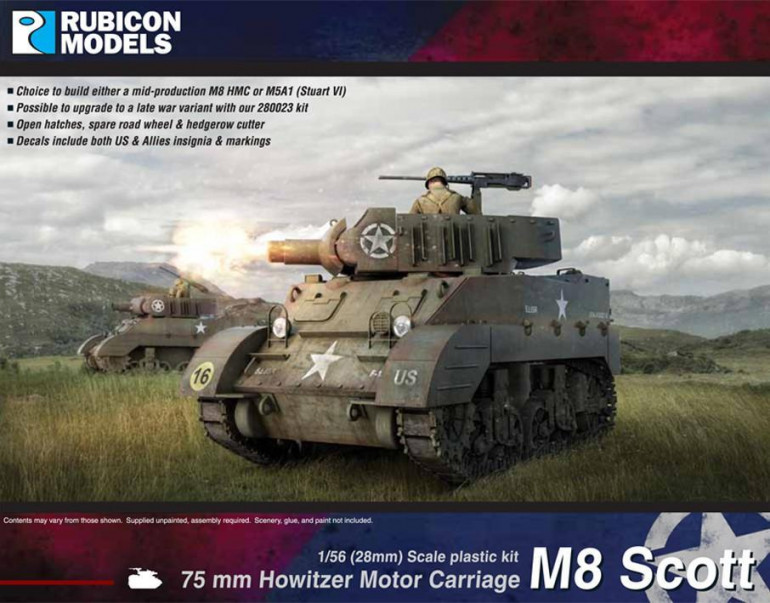 Wanted an M8 just because it's a cool looking adaptation, a brief spell of being useful again to fill a roll as other tanks began to surpass and replace it. I don't need much punch to take on Chi-Ha tanks, but some howitzer delivered HE into big Japanese units will be a good counter.
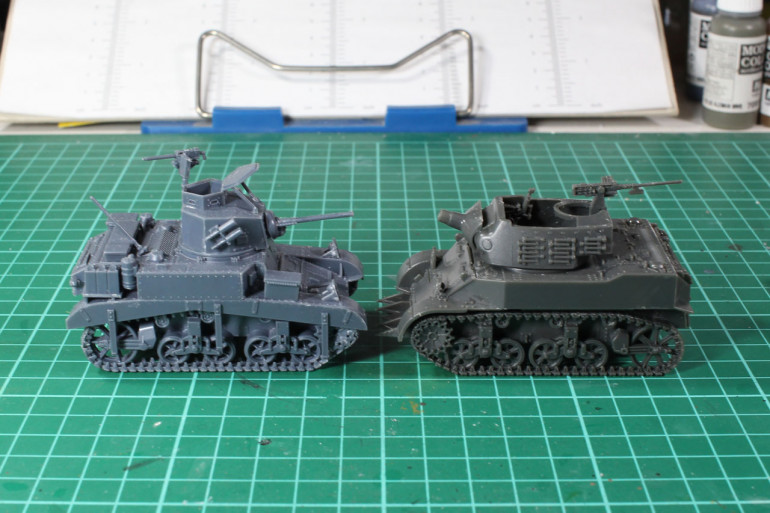 I didn't want Rubicon to cause a scale issue in my collection. Then I found that some Sir Galahad hobby hero did a scale shot with a Bolt Action Honey. I am happy with the scaling.
I have the rough plan on what to build and the points cost involved with my own spreadsheet.
I even started to get thinking about specific poses I was interested in.
The assembly guide in the box has some great looking poses that I think I will be following in some cases. I have plenty of leftover Japanese sprues with the all important rolled up sleeves that hopefully will give me some variety of posing is required.
91 Points VET – 2nd Lieutenant with 2 men (one will be a metal mini looking at a map from the support set) – Wanted this officer to be a veteran because I wanted to give him an acquired Japanese sword attached to his pack and his pose will have a pointing arm, hopefully in the great suggested officer pose on the assembly guide.
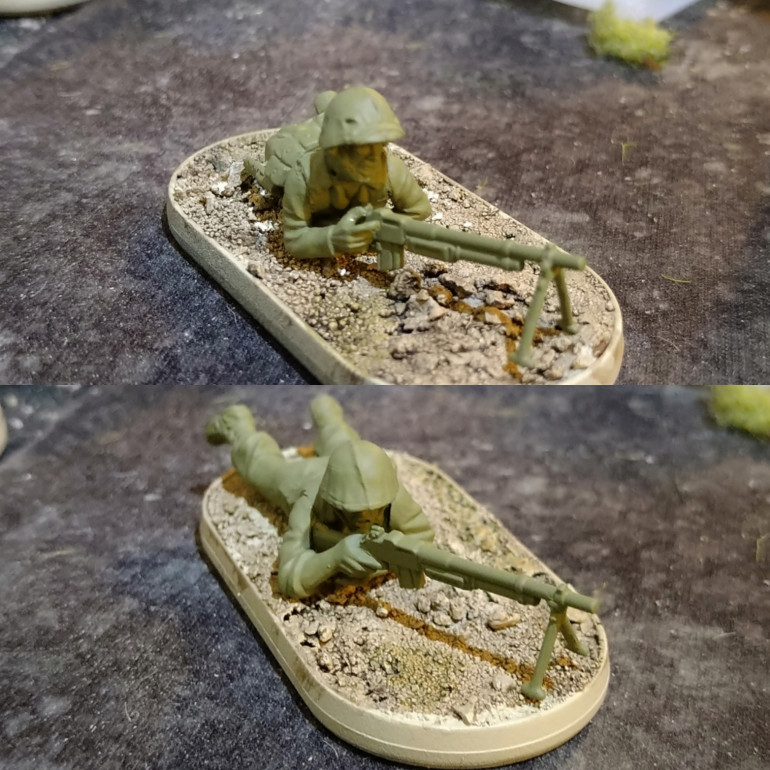
118 Points REG – Squad 1 – 10 man unit (all poses are crouching apart from 2 of the 3 BARs in this squad being prone) – Wanted this unit to have the max of 3 BARs and wanted the unit to be set in low poses so that the prone BARs don’t look out of place.
1x SMG, 3x BAR, 6x Rifles
163 Points VET – Squad 2 – 12 man unit (will all have two water bottles, rifles will have bayonetes where possible and a machete or two at their hips.) Wanted this team to have the max of 3 shotguns just because they’re cool and don’t get into many other Bolt Action forces (1 will be a metal guy from the support team above). I wanted this team to be pretty physical to potentially stand up to a hand to hand fight with the Japanese if required. I have an idea that I want the NCO to be a prone model, waving men forward with a liberated Japanese pistol in hand and his other hand with a Tommy gun. I hope I can make it look like he’s getting out of his low sand rise of poor cover and taking his men forward.
2x SMG, 3x Shotguns, 7 Rifles (2 pistols)
111 Points REG – Squad 3 – 10 man squad (all have a grenade on them somewhere, I have spare grenades on other kits I can call upon, one or two will be throwing grenades.) – Wanted this team to have the anti-tank grenade option so it gives me another chance to take armour on incase of calamity and my bazooka and tank don’t live up to their billing.
2x SMG, 1x BAR, 7 rifles (anti tank grenades)
60 Points REG – MMG team – painted up already.
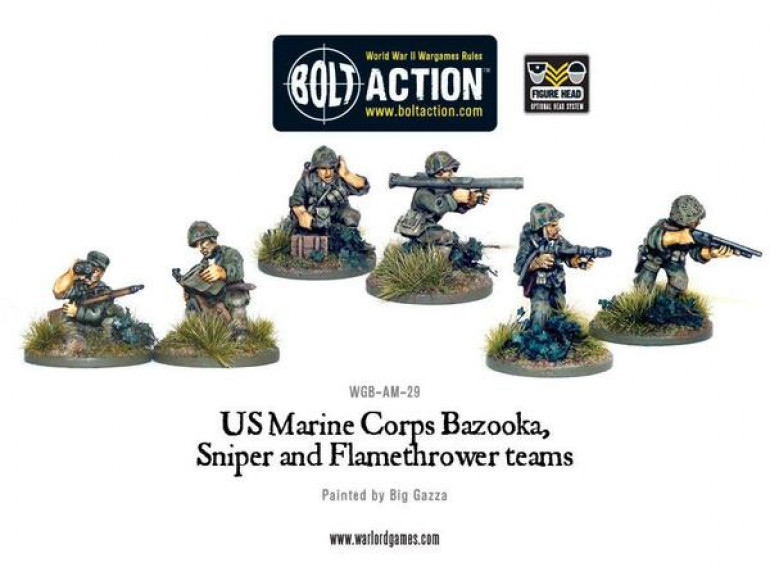
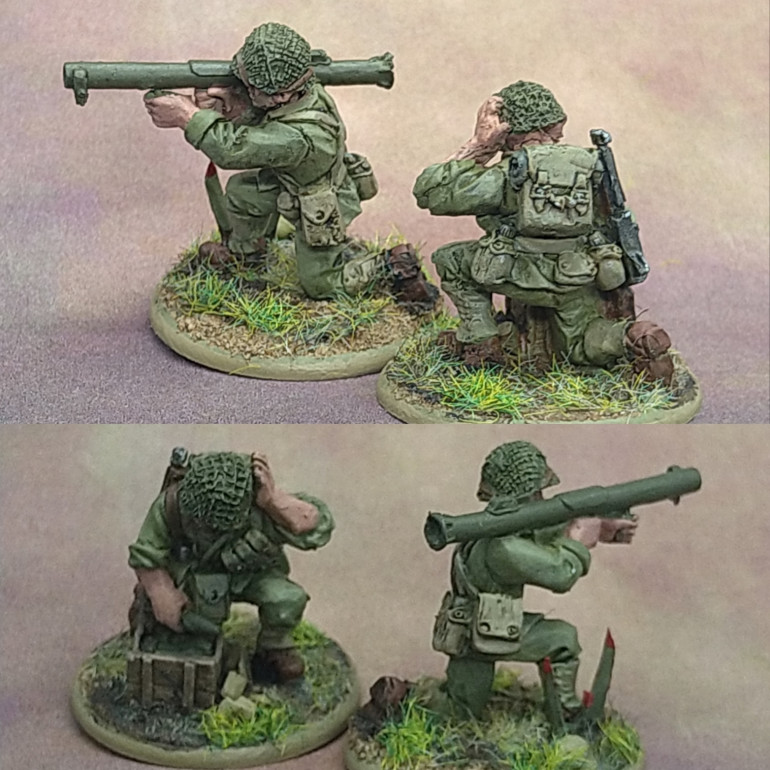
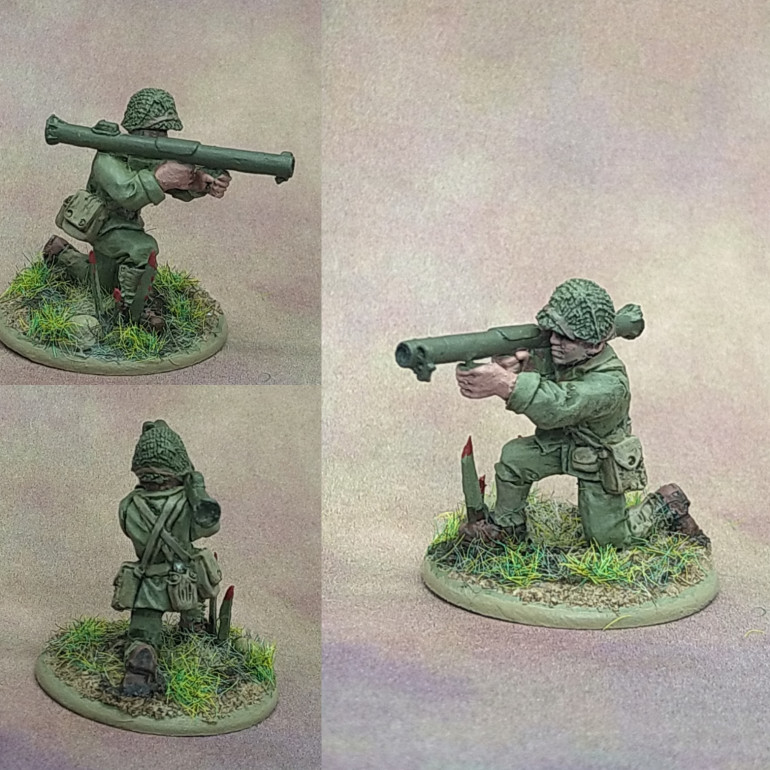
60 Points REG – Bazooka team – 2x metal minis from the support pack.
67 Points VET – Sniper team – 1x metal mini from the support pack and 1x prone plastic guy pointing.
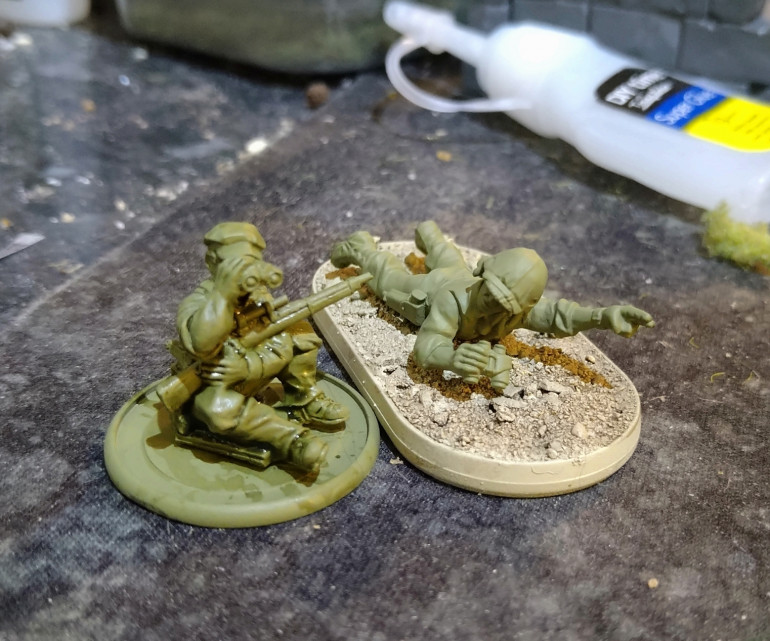
50 Points REG – Flamethrower team – 1x metal mini from the support pack and 1x prone plastic mini. I will be hopefully pose him with a hand on his helmet and holding a shotgun close.
140 Points REG – LVT4 Amtrac Buffalo – Transport Slot – 2 MMGs (full arch) – Open Top
140 Points REG – M8 Scott GMC – Tank Slot – 1x HMG in the turret, 1x Light Howitzer
10 Bolt Action dice in the bag
1000 pts total.
Flambé
Happy with these metal minis. Just need to keep motivated and get back to painting these.
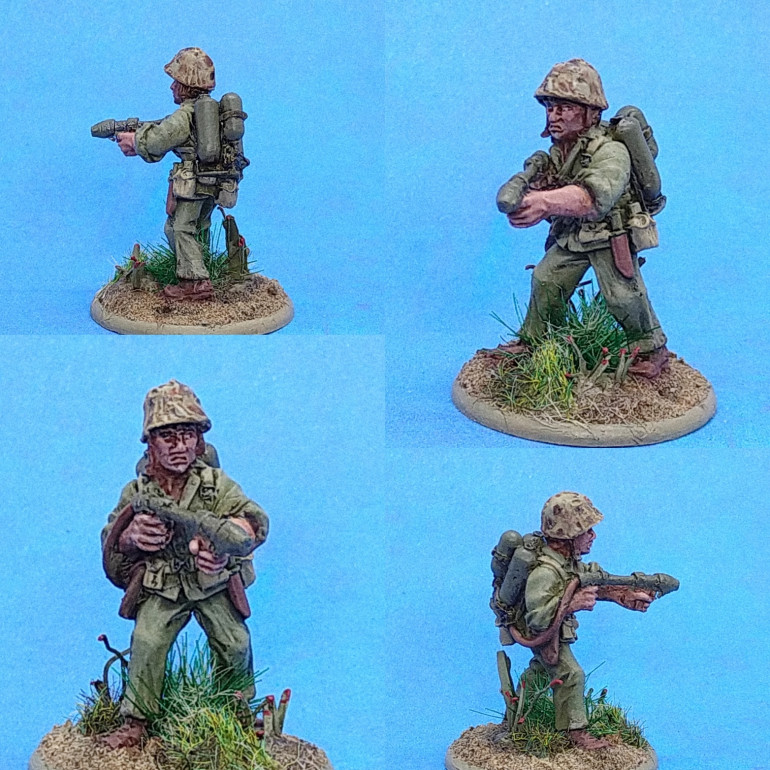
I looked at the Vallejo USMC paint set on the Warlord Games website. In the description they outline what colours should be used where on the model. They suggested Brown Violet on the uncovered helmets, bazookas and webbing?? I used that colour on the tank and the thrower, but had reservations about using it on the webbing.
In most people’s paint jobs online and even the box art etc the Brown Violet is way too green for the webbing in my opinion, but I didn’t want it to be just a Zandri Dust colour either. I mixed a little Brown Violet with some Zandri Dust (about 1 to 4 mix) and used just Zandri Dust on it’s own as a highlight after.
I used Vallejo Mahogany Brown for the shoes and the knife sleeve and pistol holster, but realised this was a bit bright, washed it down with Agrax Earthshade and added some Vallejo Flat Brown to dull some bits down.
I used a touch of Zandri Dust in with a Deathguard Green for the highlight on the uniform high points and layed on a touch heavy on ankles of the trousers and on the knees.
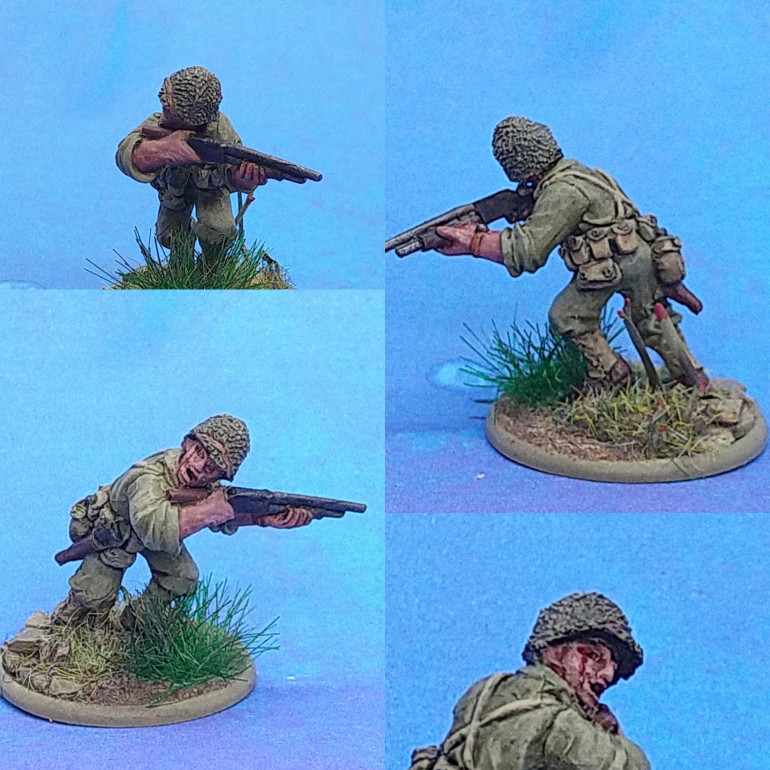
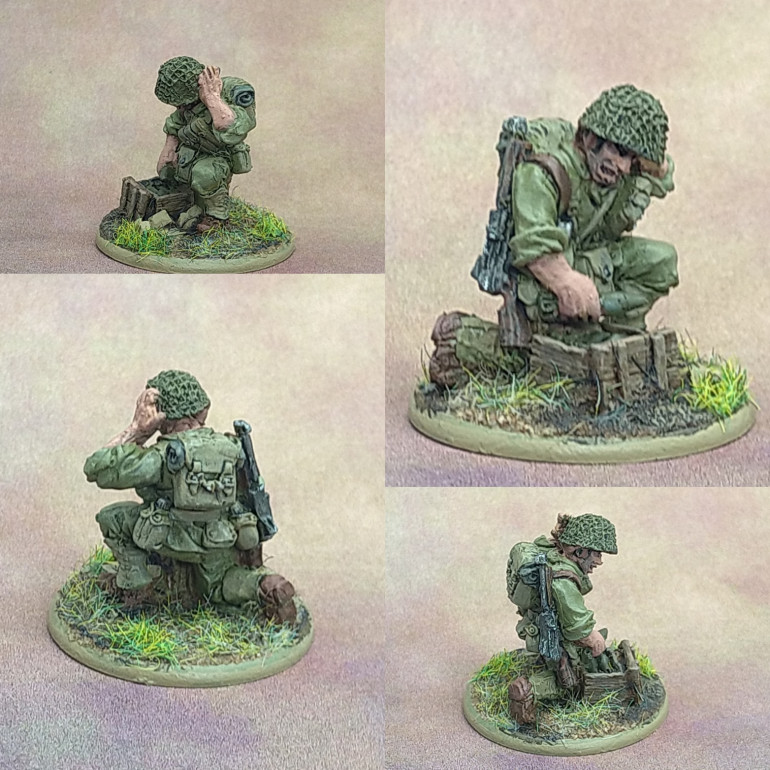
Alan E. Pazsitzky (Shotgun Alley to his pals)
Deathguard Green primer undercoat again. Athonian Camoshade wash, aiming at uniform but not being careful early on. Highlight of Zandri Dust and Deathguard Greenmix (about 1 to 4, ZD to DG). Touches of drybrushed on Zandri Dust as dust and dirt.
I loaded a lot of the back of the base with off cuts of metal puddle basing from the models to give it a bit of balance, with the pose being a low run forward. The suggestion on the website is the head facing forward aiming the shotgun, but I kinda accidently slipped it into the pose, as though shouting something back to friends, appealed to me and seems to work.
I overdid the skin, not waiting for a coat to dry before trying a highlight, and it dried with a kind of a crack down his cheek from near his right eye. So… battle damage. Used some Blood for the Blood God citadel paint to cover that up and give him some grit and grimdark character in the bargain.
I chose the Vallejo Flat Brown again for much of the brown and I’m happy with that, but might flip back to the Mahogany Brown occasionally for a highlight during the project.
Building - prone to failure
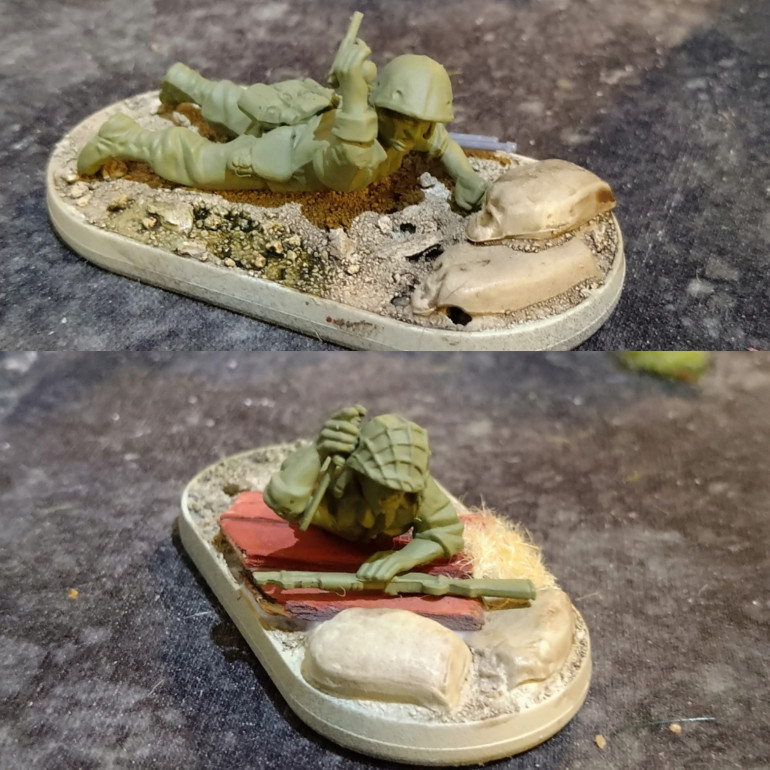 One guy supporting the flamethrower with knife and shotgun and one NCO waving his men forward with a Japanese pistol he liberated.
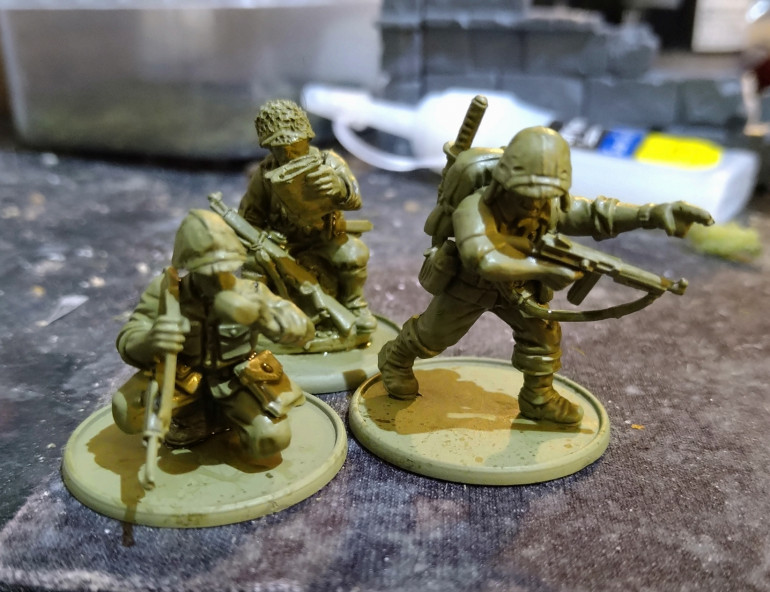 My lieutenant team. Officer with katana, metal guy checking a map and last guy with cool spare metal head and bottle arm to show him drinking.
I get mixed feelings with prone minis. I decided to make most of them first to get these out of the way. Prone minis can look odd in a standard unit but they can be fun to base and work well in some support teams.
I’m planning to have one infantry unit with plenty of kneeling and prone minis together and using other prone minis in support teams etc.
Even with the assembly guide / instructions i still seem to struggle to make good choices or fit things well on prone minis, but I will try to disguise any problems with some interesting basing.
Wish me luck.
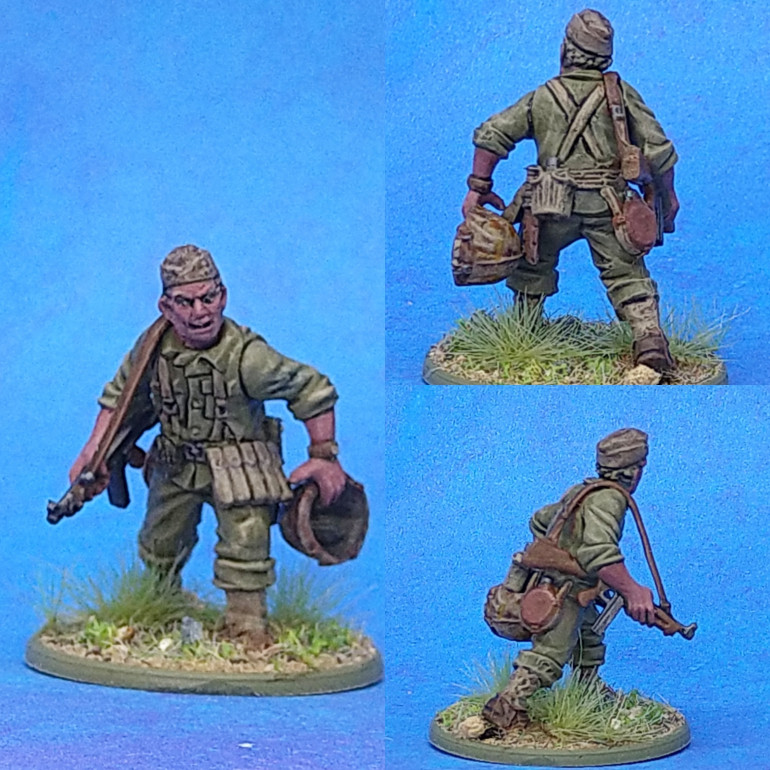
NCO - Squad 3.
When you struggle to get motivation to paint… Paint what you enjoyed building.
This guy makes use of a spare helmet on the sprue, a Japanese water bottle he has acquired on his travels and a head I probably won’t be using on many of my other minis. Mainly because the helmets with the covers look the best. I thought carrying a spare grenade in his helmet gives this mini something out of the ordinary and marks the unit out as the ones with the anti-tank grenade option.
The cap is painted with steel legion drab and highlighted with Zandri Dust and a touch of Morghast Bone.





![Very Cool! Make Your Own Star Wars: Legion Imperial Agent & Officer | Review [7 Days Early Access]](https://images.beastsofwar.com/2025/12/Star-Wars-Imperial-Agent-_-Officer-coverimage-V3-225-127.jpg)


