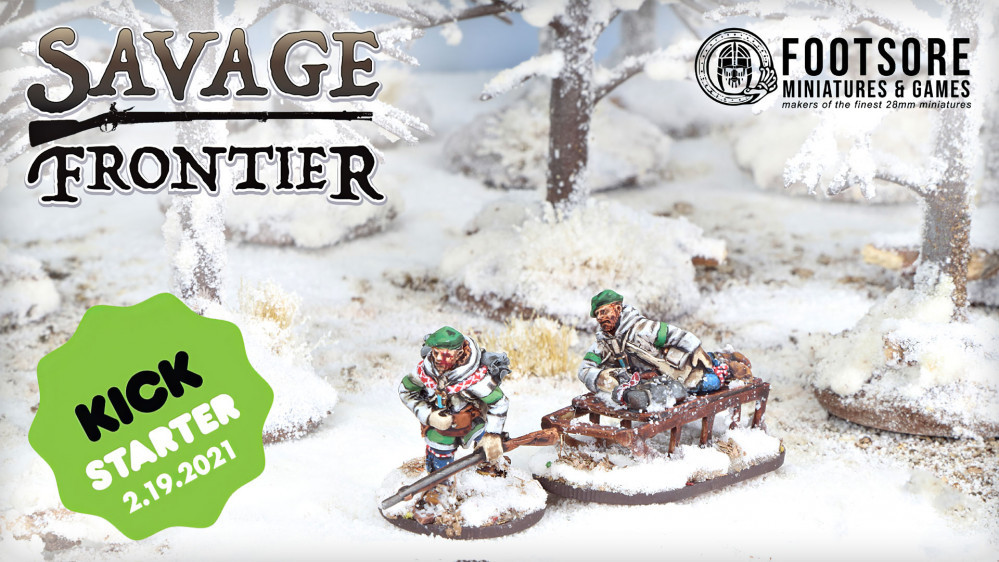
Collins Doesn’t do Savage Frontier
Recommendations: 1009
About the Project
The Kickstarter isn't even over but my mind has been getting super excited over it and wants to build a table ahead of time!
Related Genre: Historical
This Project is Active
Lessons Learned
And this is where it all went a bit awry…
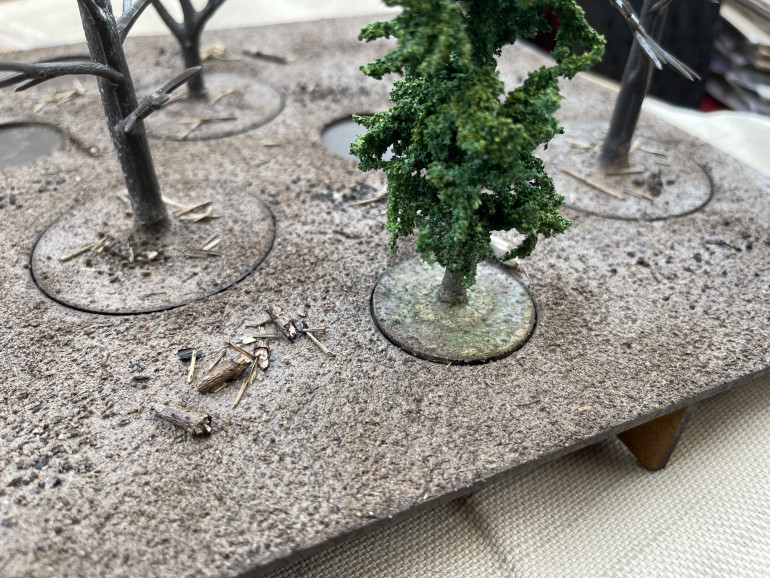
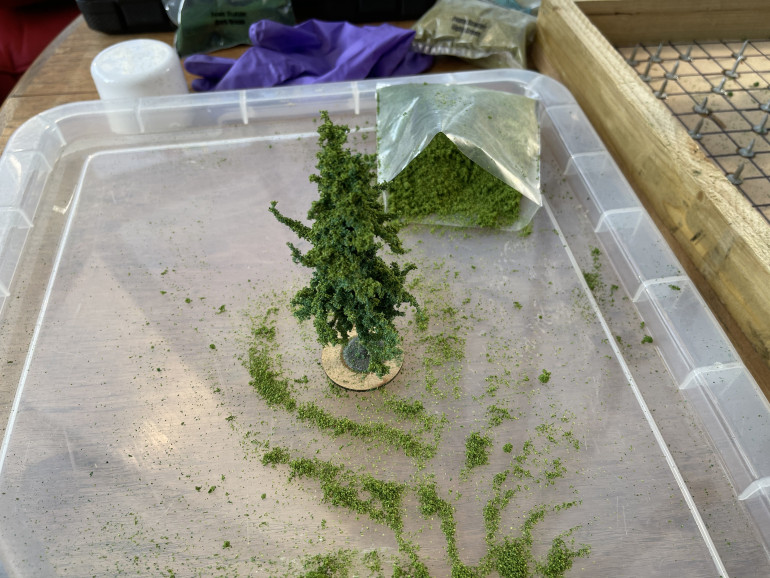
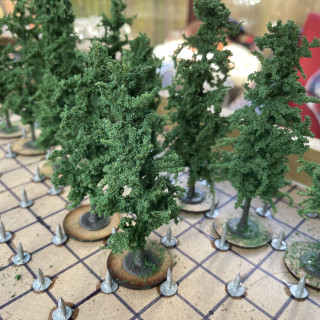
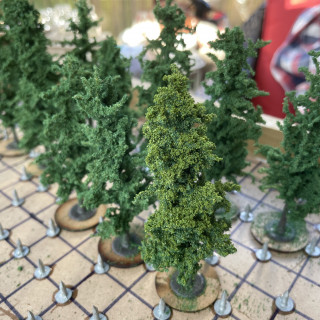
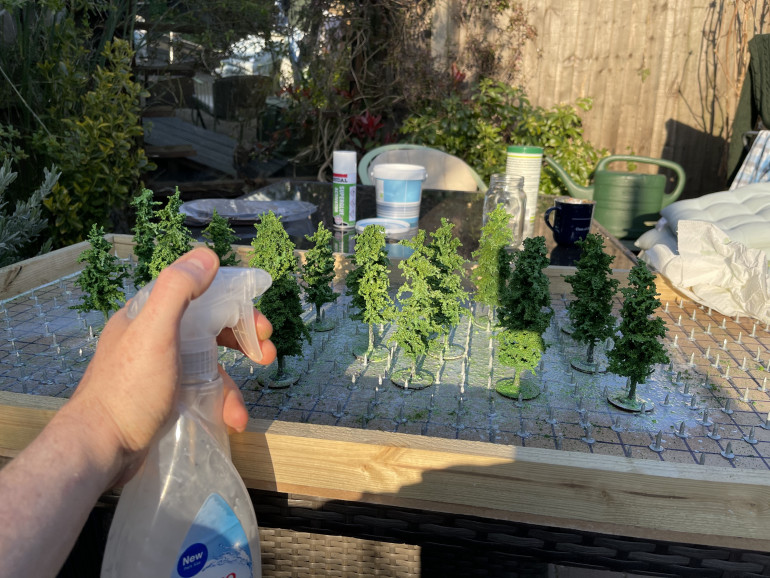
I used a different technique to seal the bottom of the green fir trees (because the foliage is not colour set!) from the tiles.
the tiles and barren trees were spray bottle sealed where as the fir trees were pipetted and effectively flooded.
this lead to green ink soaking up, through, round and about.
It doesn’t mix in with the rest of the tiles so I have had to try and go back and rectify it using the normal PVA, Soil/Grout, spray seal. but this time being super careful on the overspray so not to reactivate the foliage.
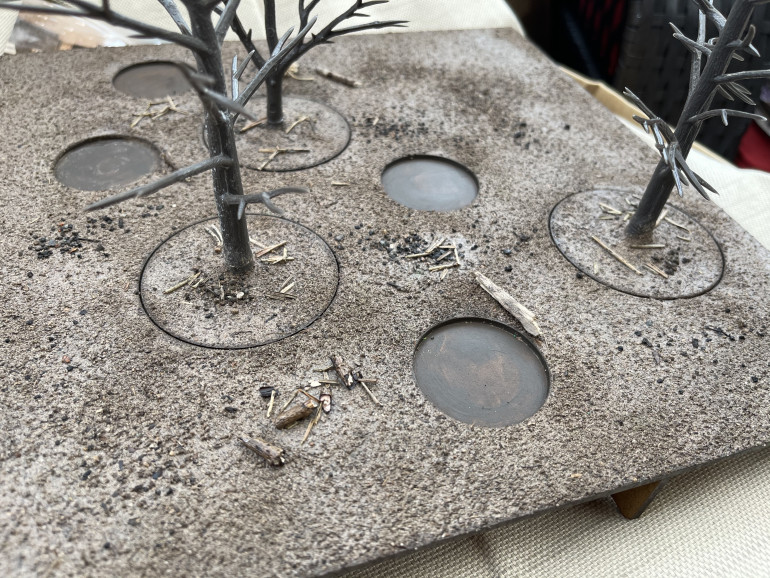
The forest litter on the floor of the tile is sticks cut up and broken into tiny chunks but also really long dead pine needles that have been crunched up and sprinkled about to look like fallen branches. Looks really effective as a middle ground between trunks and branches I feel.
Rainy Afternoon
I elected to redo the one river bottom, simple enough, sprinkle more small rocks and add more sealing varnish/glue mix
Then moved onto the hills and village tile.
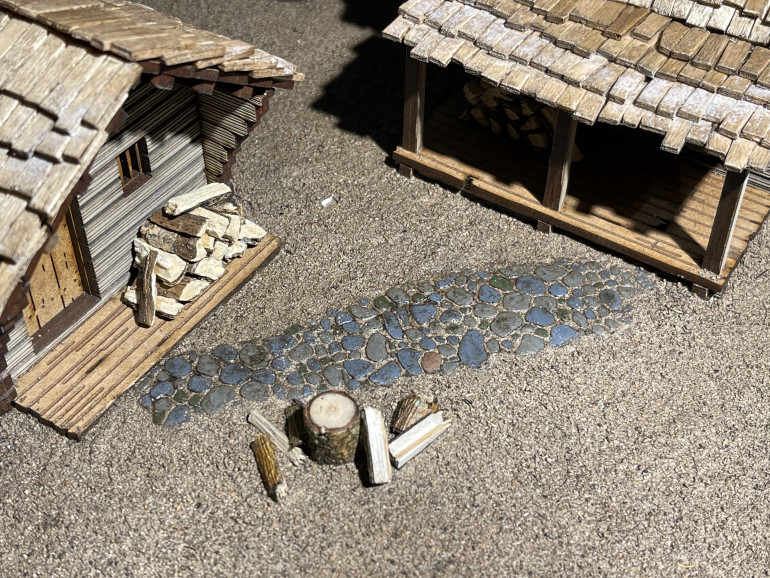
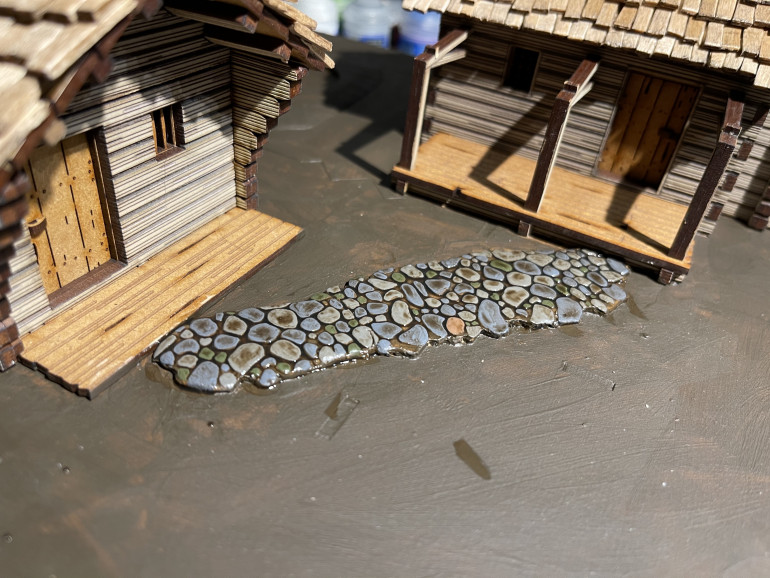
So long as the 4ground building doesn’t get too tainted by the glue and varnish mix (am concerned about the shingles but they have been spray varnished to be fair) I am going to be really happy with the little scene I’ve got going on there and how I’ve managed to blend in the footpath.
spot the deliberate mistake
Did you spot it?
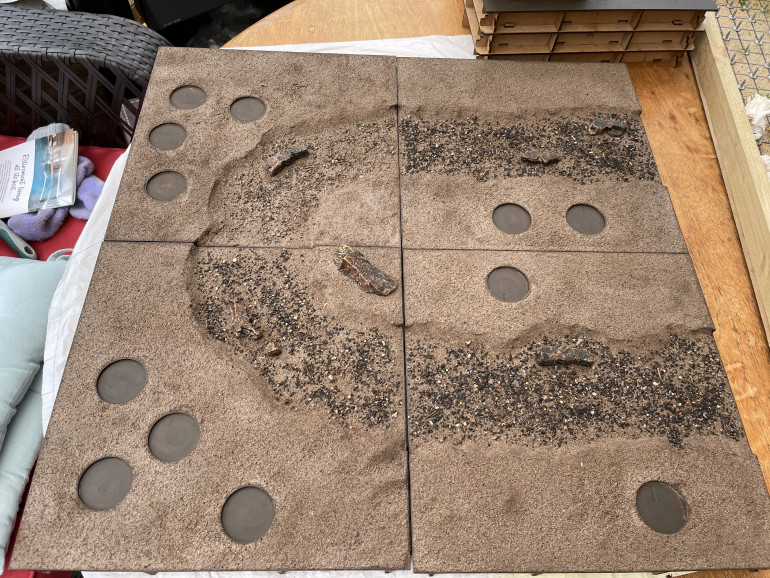
Top left… the river bed looks different doesn’t it.
What did I do differently without thinking?
I laid down the river bed rocks/pebbles before sieving the grout on where as the other 3 the river bed was all added afterwards. this means that the 3 river beds are crisp and highly coloured but the top left one is muted and dusty, which it wouldn’t look under the water… the dust settles or gets washed away.
I shall mull over whether I want to fix it now or not.
all in an evenings work
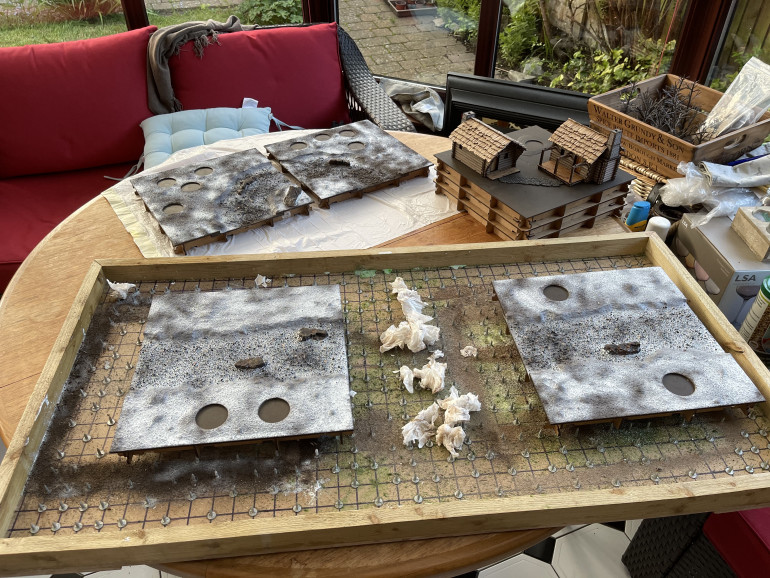
Tonight I elected to just go for it with 4 of the tiles.
As there doesn’t seem to be an issue with laying down the soil and tile grout layer separate from the greenery layer I just went with it.
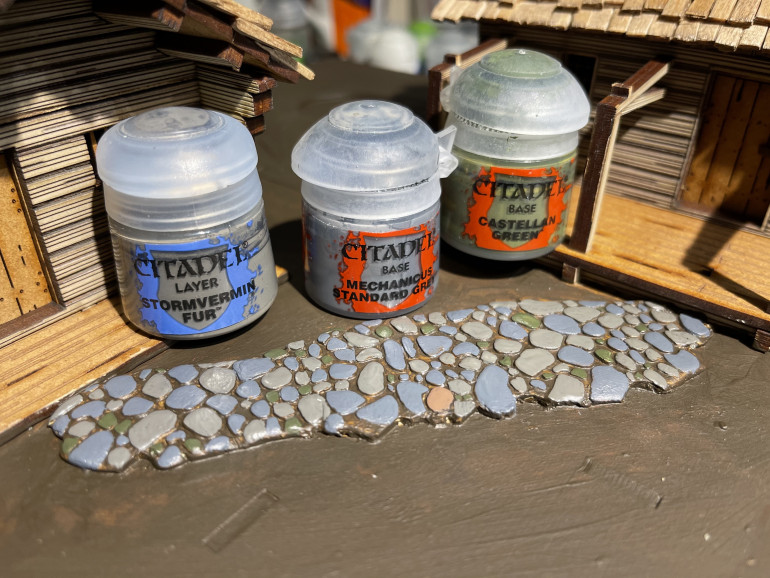
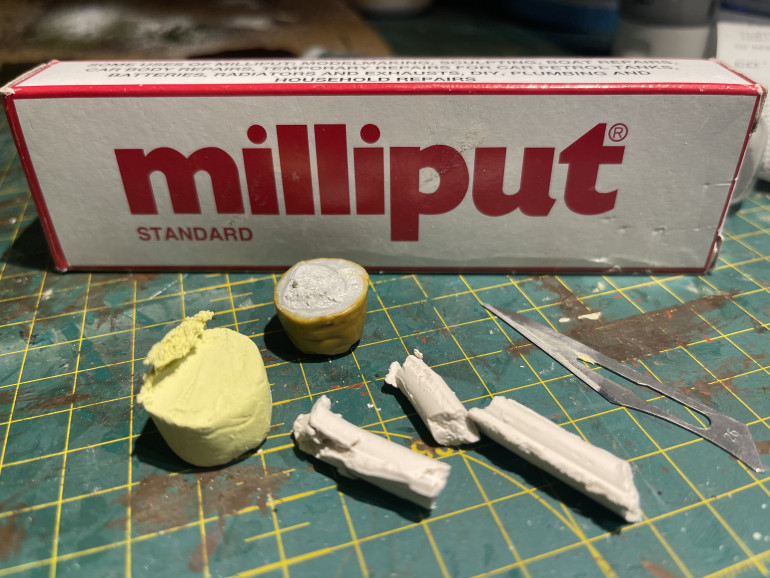
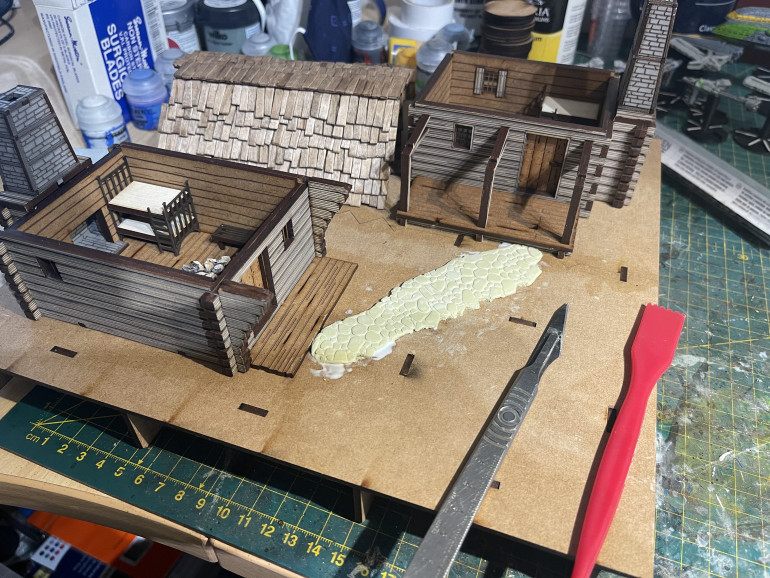
I also finished working on the cobblestone path between the two houses and came to the realisation that mechanicus standard grey is basically a blue grey…. who knew!
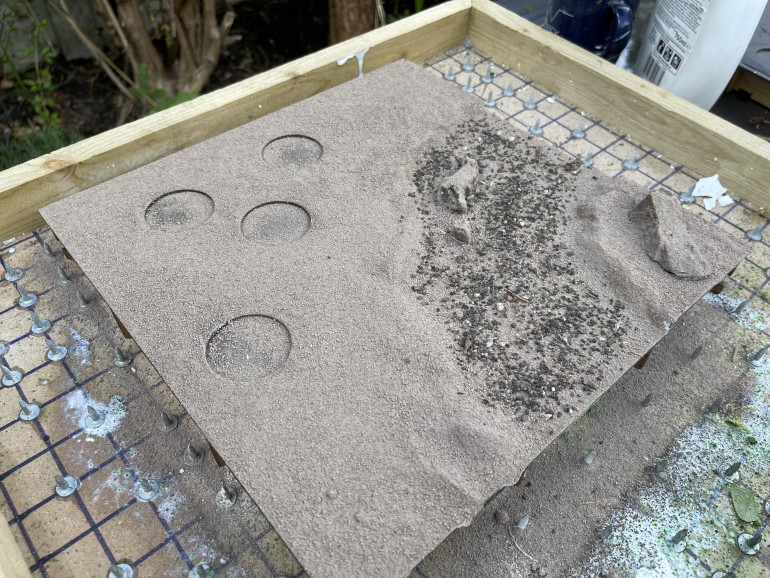
I PVA’d the base boards and then sieved and sprinkled the 2 types of ground material on the piece. First was soil and tile grout mix (2:1 ratio) and then mildly larger pebbles were scattered in the river bed to try and bring additional realism to it when I break out the epoxy resin.
I cleaned out all the ‘tree holes’ with a dry brush so they still fit in there well.
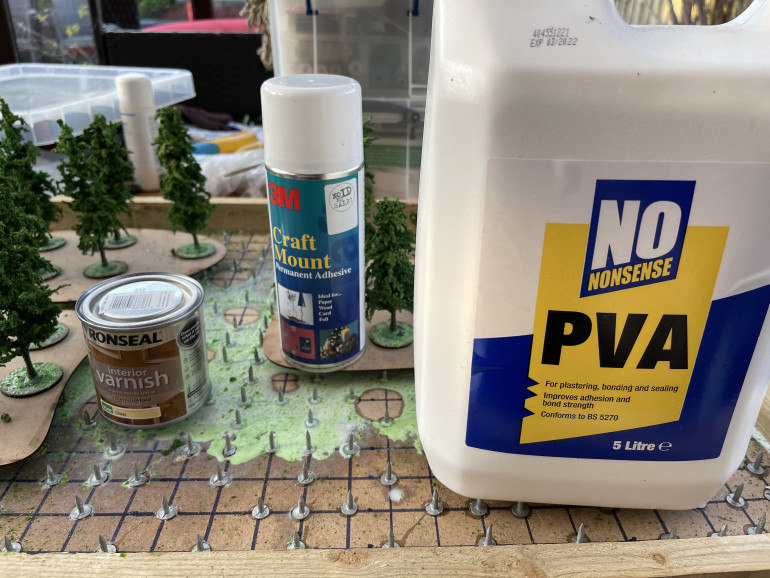
when it was all laid out I then sprayed with 99.9% ISO as a flow aid and then with a 50:50 mix of matt varnish and PVA watered down so it would spray through an old anti bacterial atomiser/spray bottle.
I used kitchen roll to clean out the excess from the tree holes and off the areas I didn’t want it sitting on (tops of rocks).
I will leave it overnight to dry. Hope it doesn’t warp!
Base Colour and river prep done
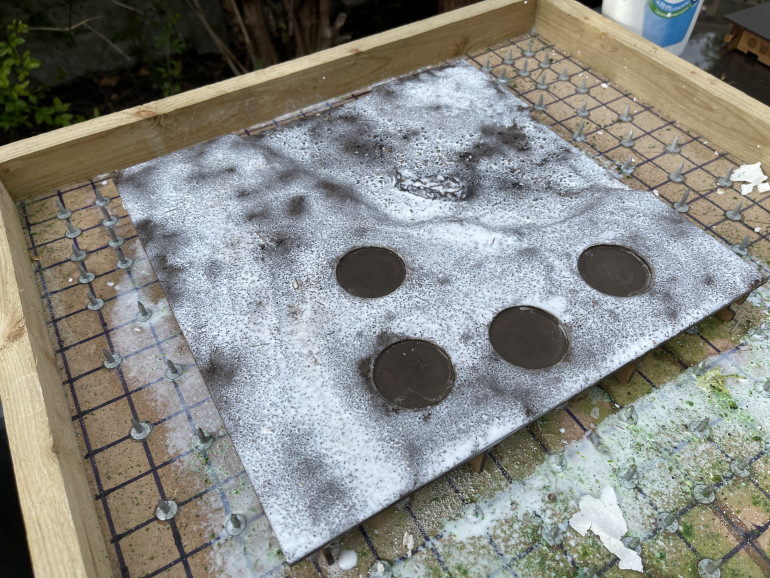
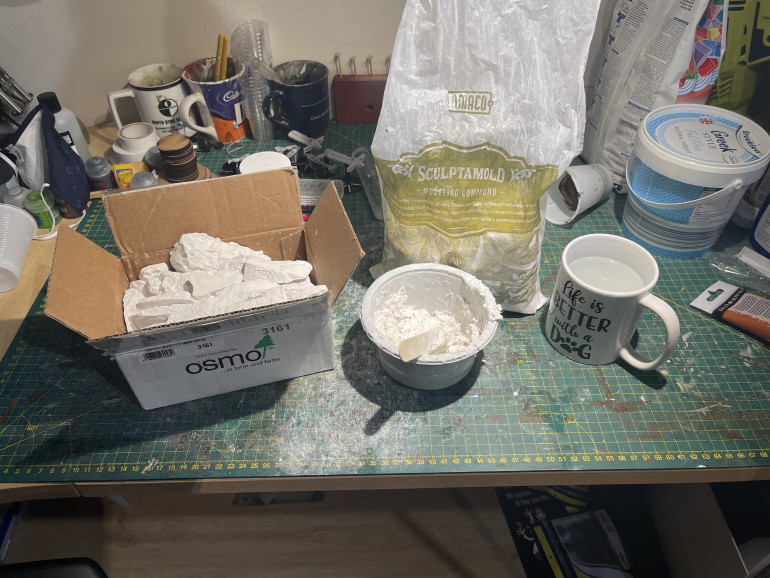
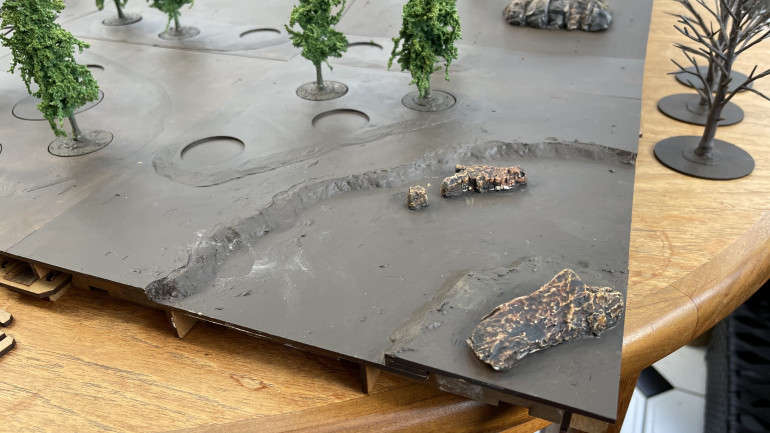
Using scupltamold and woodland scenics rock molds I went to work making a more natural bank on the river tiles.
This took ages to dry. I don’t know what’s in scupltamold but it isn’t fast drying that’s for sure.
I then went to town on the painting of the rocks trying my hand at the leopard spot technique… I went far too heavy with the black wash. the only way to rectify it is to remove them and start again. I can’t be bothered and ill simply put snow on them later anyway so im just going to chalk it up to a learning experience.
IKEA Trip!
In this time of pandemic you have to queue up outside shops before being let in. I decided as an experiment to see how much time it would take me to get in and get out.
42 minutes. most of that was stood outside.
I found the back way to skip the show room, I knew I wanted the cheapest 80cm wide billy and extra shelves. Sadly they only had 3 extra shelves so I will have to brave it again another time to get more.
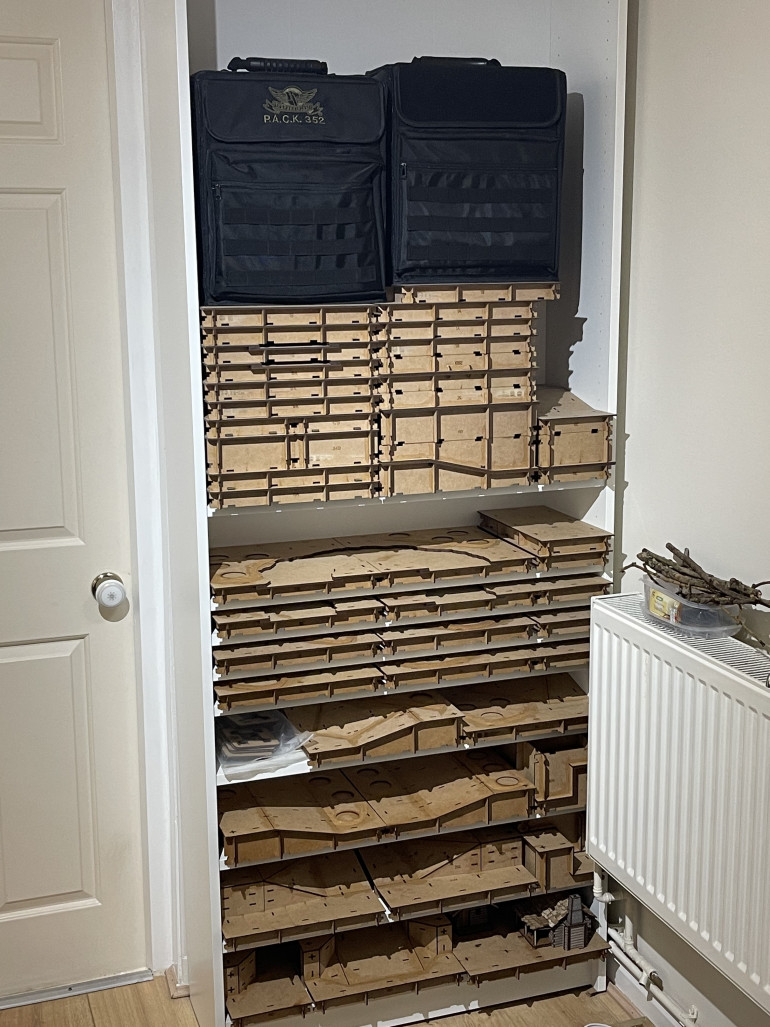
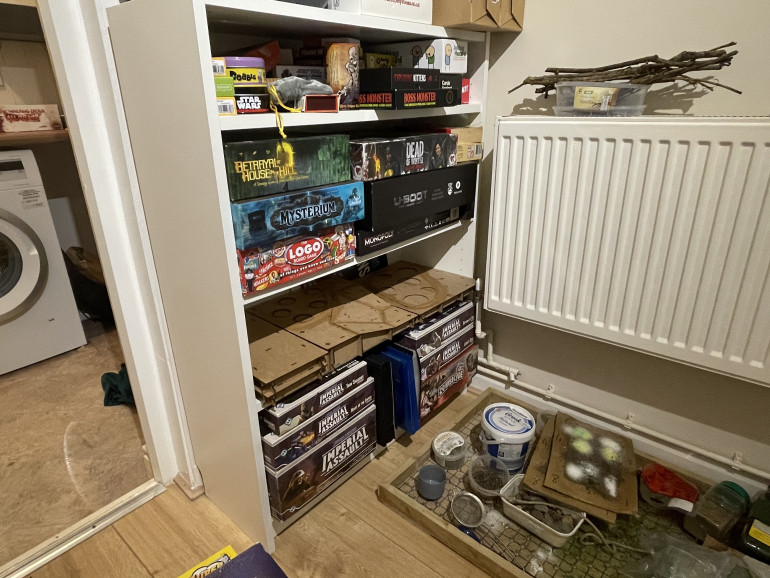
Lets talk storage
As with everything in this glorious hobby of ours you need a way to make it disappear!
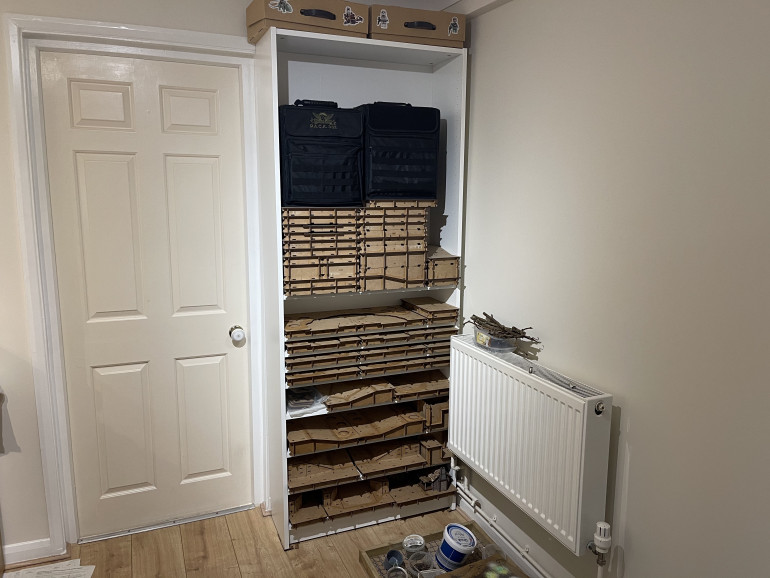
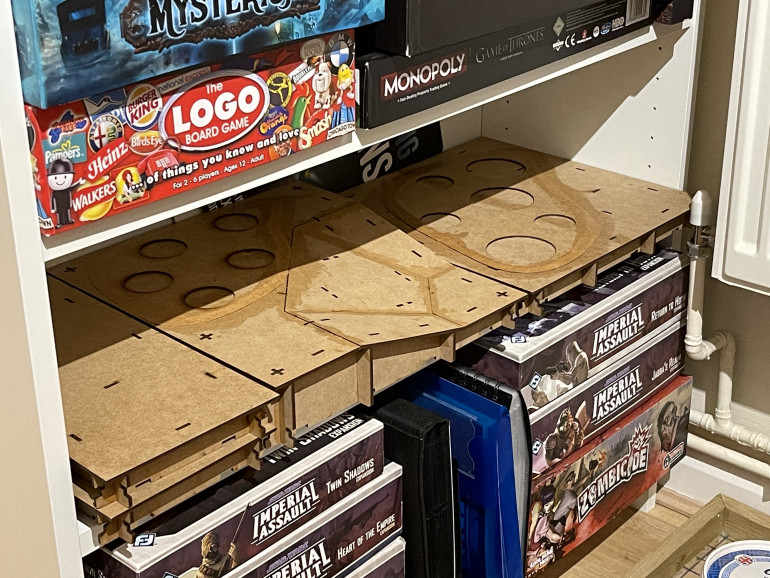
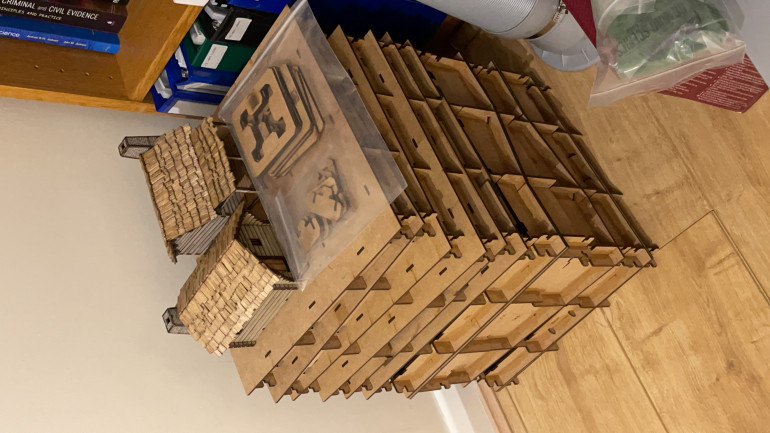
Most people who buy anomalia tiles apparently store them in Ikea kalax bins stacked one on top of the other. If it works, great. I think however I can do one better.
Billy bookcases with many additional shelves. I have one for half my boardgame collection (the other half being hidden in the living room in a kalax).
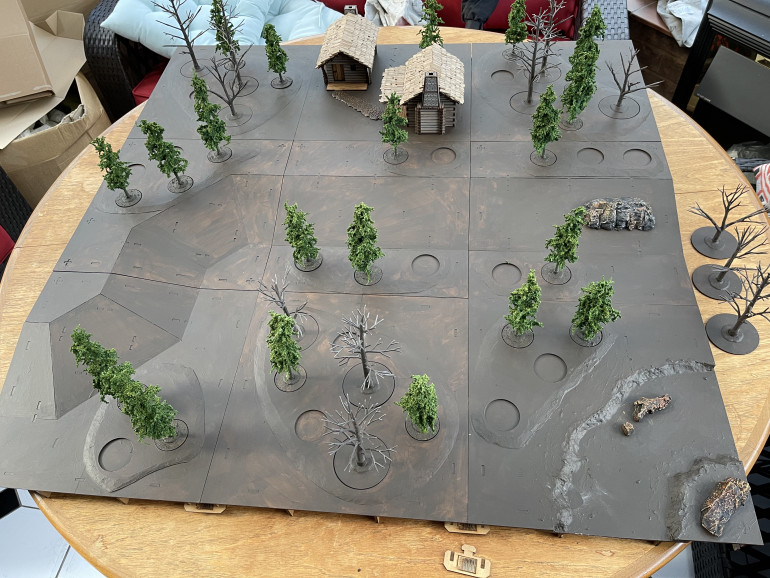
3x4 table done (with one spare)
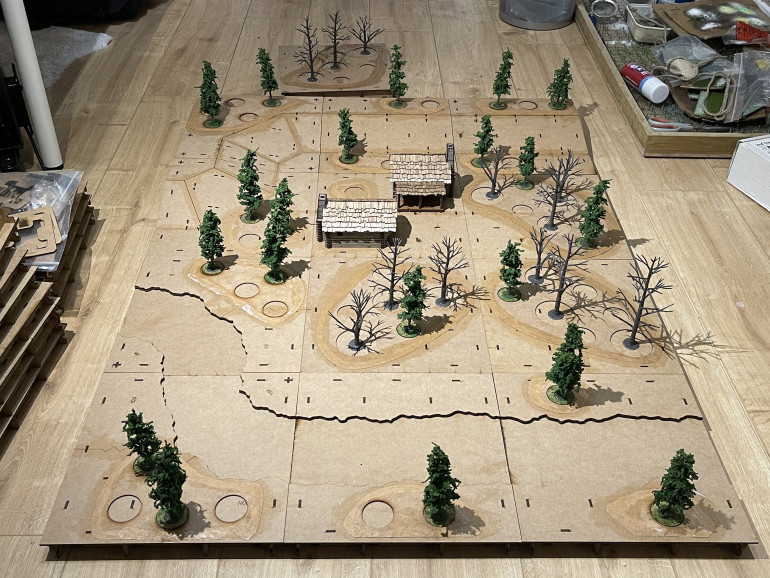
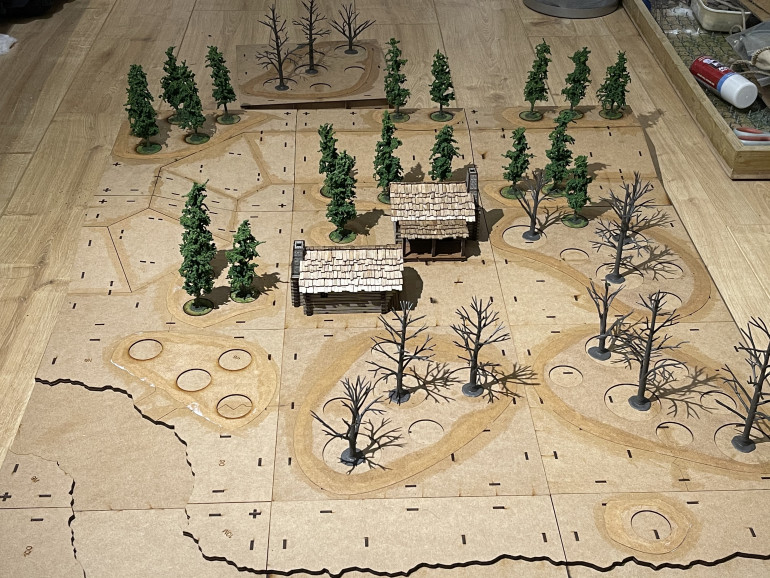
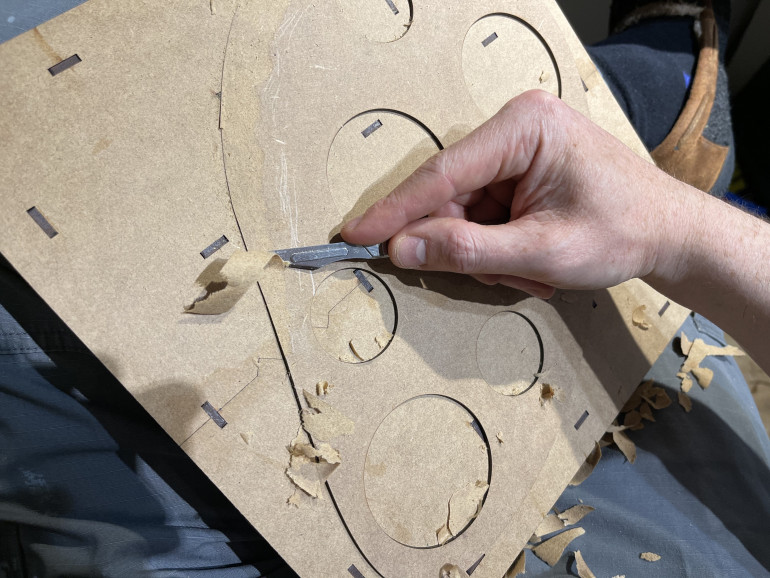
After two nights of carving and self harming (right thumb and left index have ouchies on them) I have a good sized skirmish table (3×4) with many features.
I have a small hill (or incline). a tiny fur trappers outpost (ready for raiding) and the all important highway to get the furs in and out (the river).
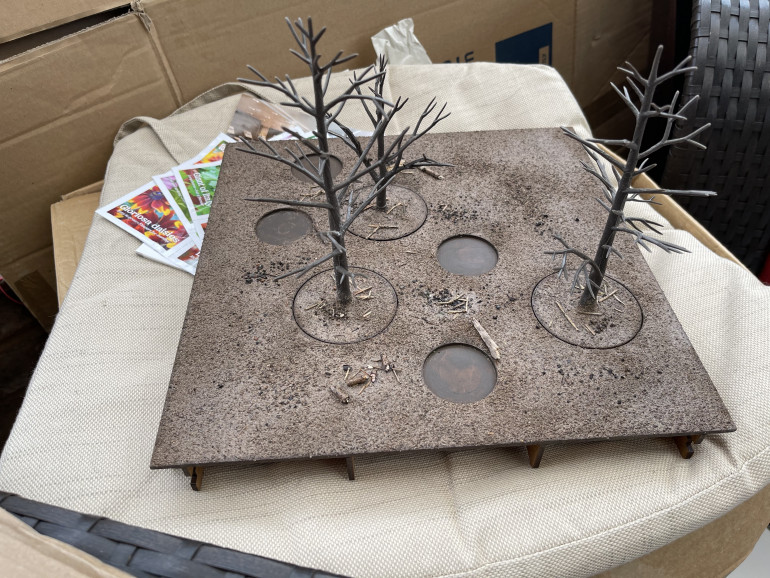
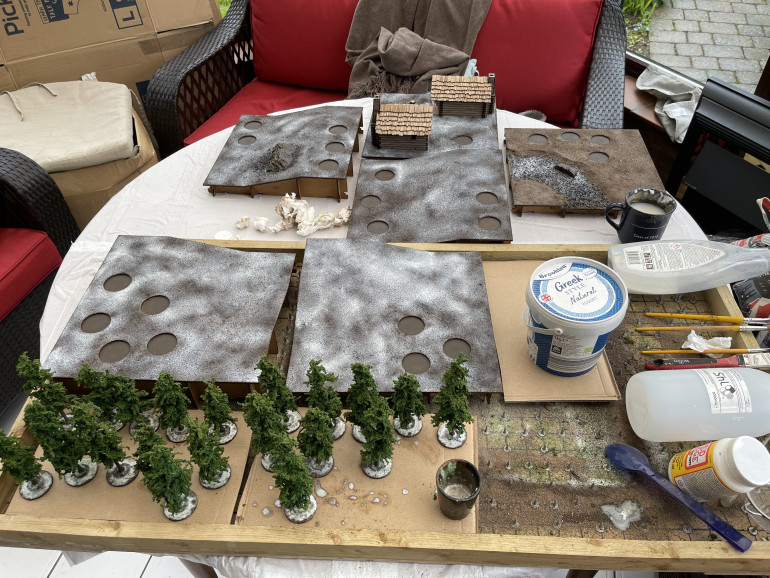
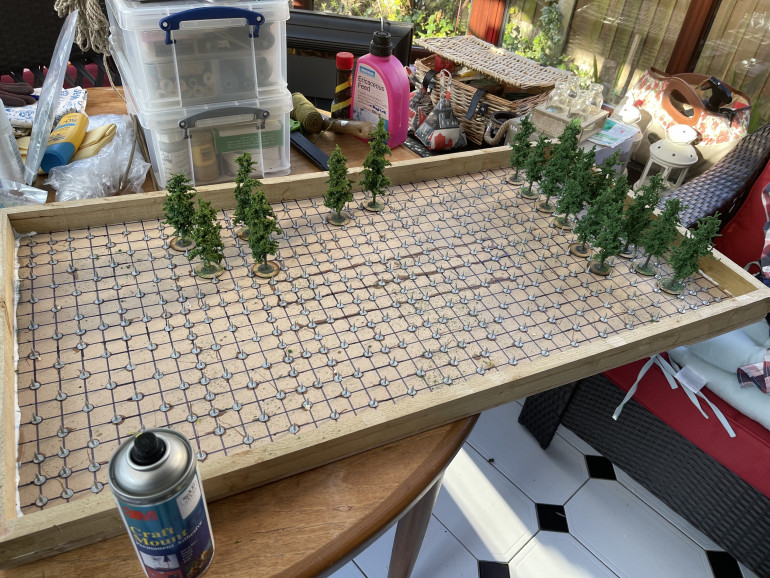
I’ve spread the trees out here so we can try and get an idea of how wooded the table will look and its safe to say, very.
I do need to make another…. 25 trees… and I only have 23 pine tree armatures left … ratbag!
It’s ok though as I plan to make some plugs with rocks and objectives (fur bundles) on them so that I can change the woods up a bit otherwise they can be a bit dense all the time.
Starting the board... needing more trees!
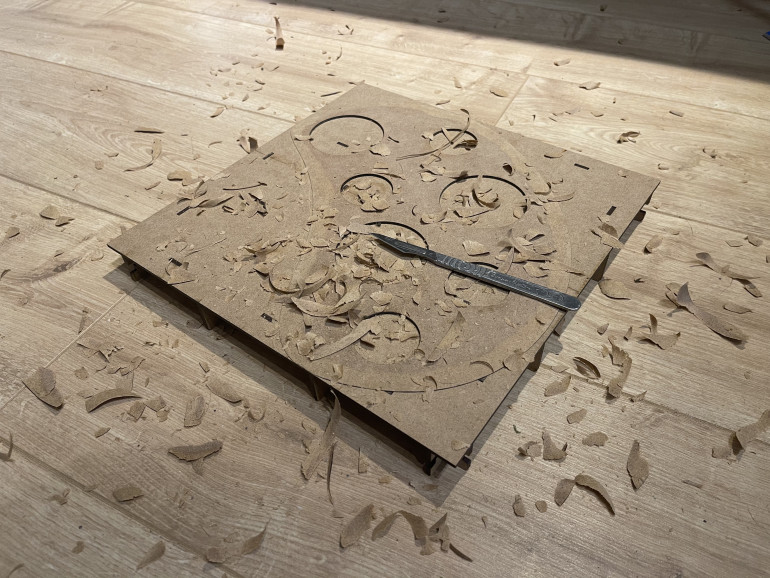
In one night I managed to carve, prep and PVA glue 7 of the board pieces.
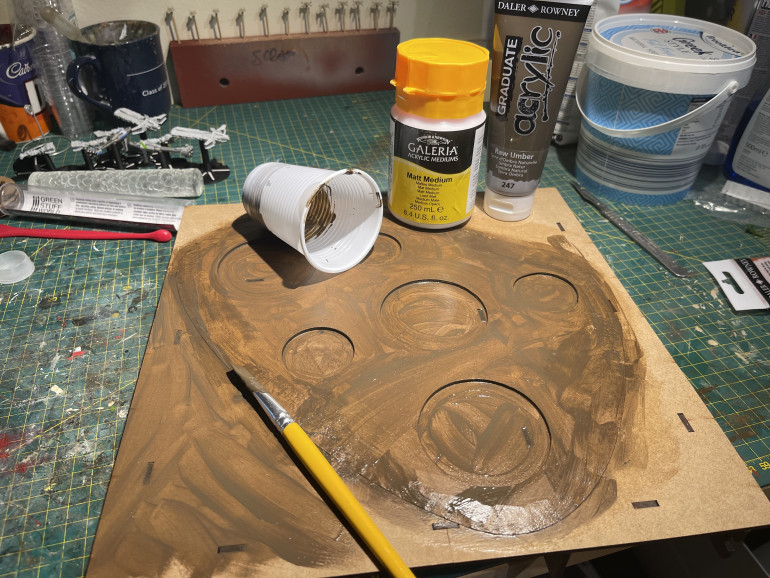
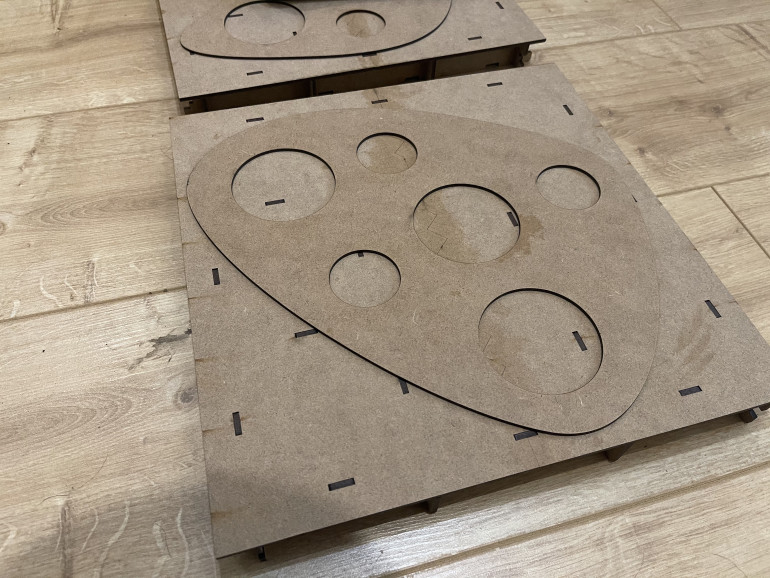
Ive taken the woodland tiles from Wargames tournaments and bevelled the edges to remove the 2mm step that would be unsightly on the board when done.
this was messy and time consuming but I think worth it for the aesthetic. I have elected to go for these removable trees so that I can store them a lot more easily. the trees can be thrown in a box and the boards will remain stackable.
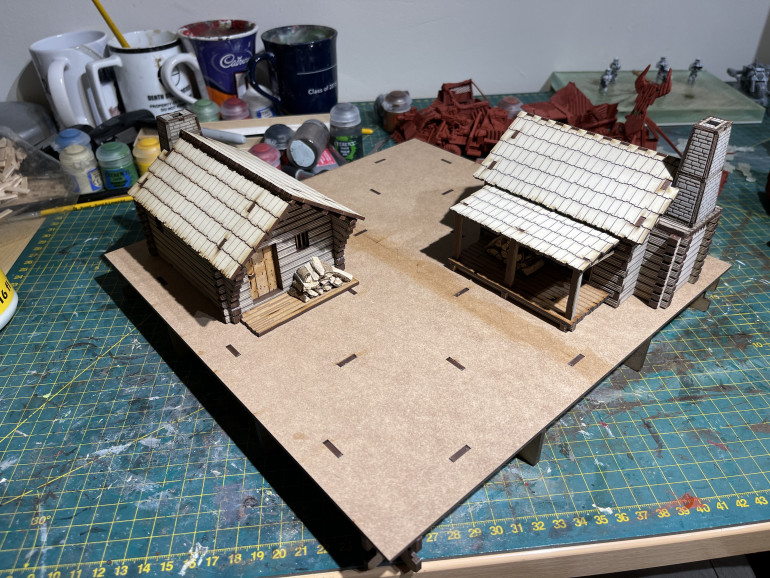
The 4ground houses were glued down, took the storage space hit on them so that I can properly embed them in the scene rather than have the floating on top.
I thought that prepping 20 pine trees would be enough but clearly I was mistaken! I see more tree prep in my future. but having said that, it currently really does give the impression of a North American Forest for me right now so i’m happy its looking like its going in the right direction.
Testing - part 6 - the night after
No… no it didn’t pass the abuse test…
it definitely needs sealing down. that means I am left with using flocks that don’t leach dye.
well conveniently I now have a few so I think we can move on with the project to the next stage. choosing base paints… and maybe playing with static grass properly.
Testing - part 5 - the lunch time run to the shop
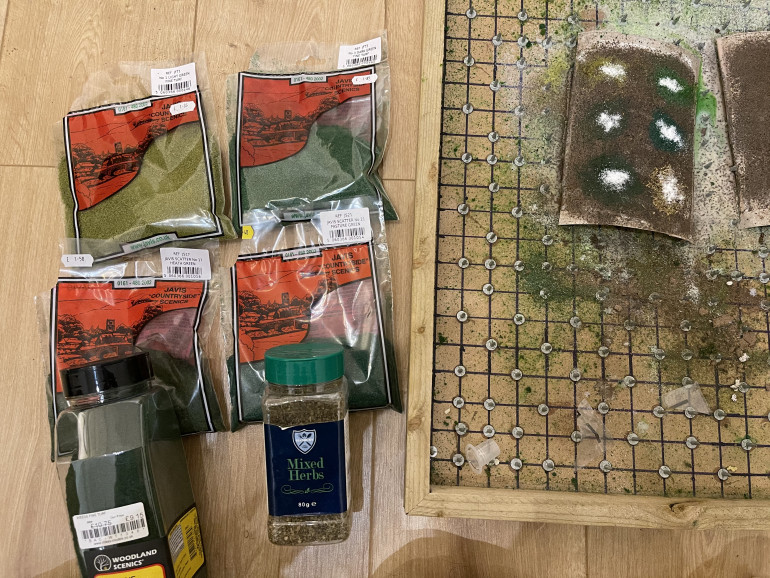
I ran to the shop at lunch and picked up 5 more flocks and realised that I also had a big tub of mixed herbs too.
picked up a mixture of everything they had available.
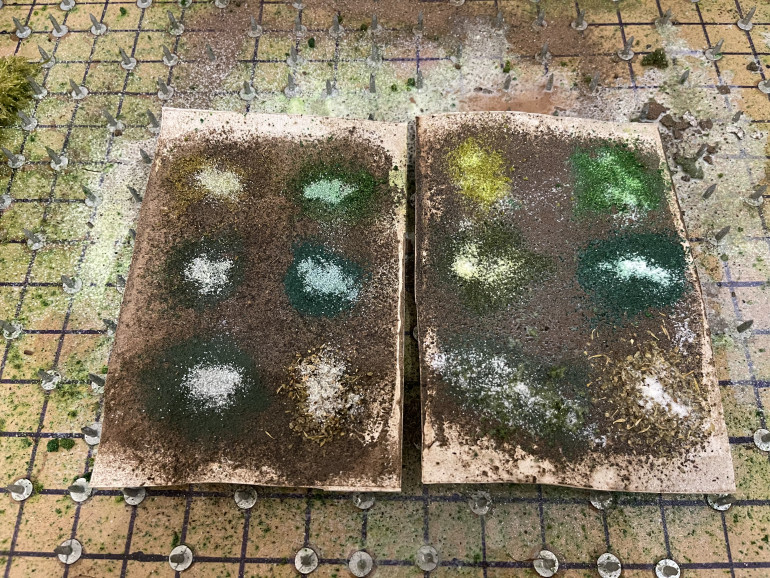
top left = javis no1 light fine turf (foam)
top right = javis no3 dark green fine turf (foam)
middle left = javis scatter no17 heath green (sawdust)
middle right = javis scatter no21 pasture green (sawdust)
bottom left = woodland scenics weeds fine turf (sponge foam)
bottom right = mixed herbs
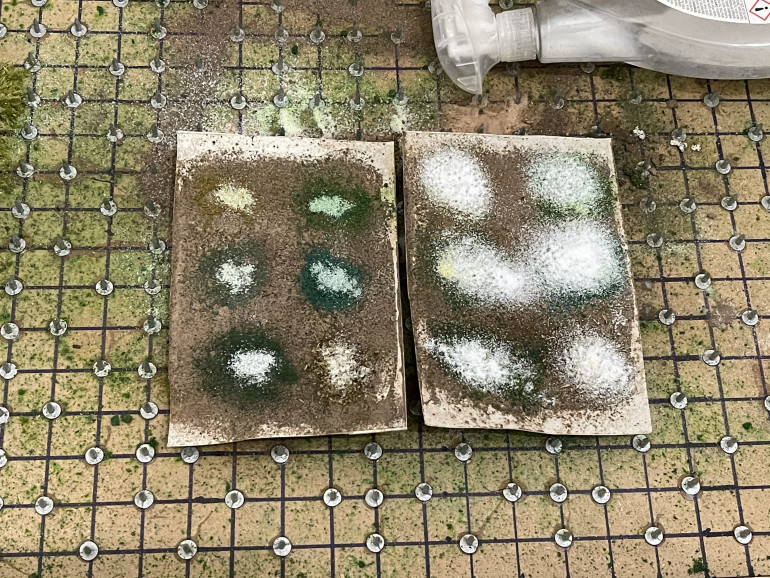
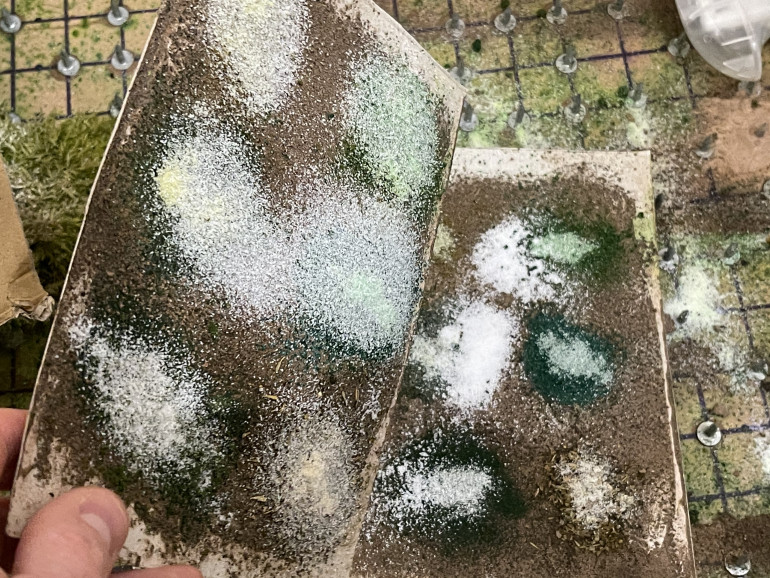
As you can see, originally before final sealing the snow looked alright! it was sprinkled on when wet so was kinda stuck down but not really…. not enough for gaming on or safe storage anyway.
the left side was done as
- pva
- soil
- flocks
- seal with pva
- sprinkle snow and allow to dry
- seal with pva
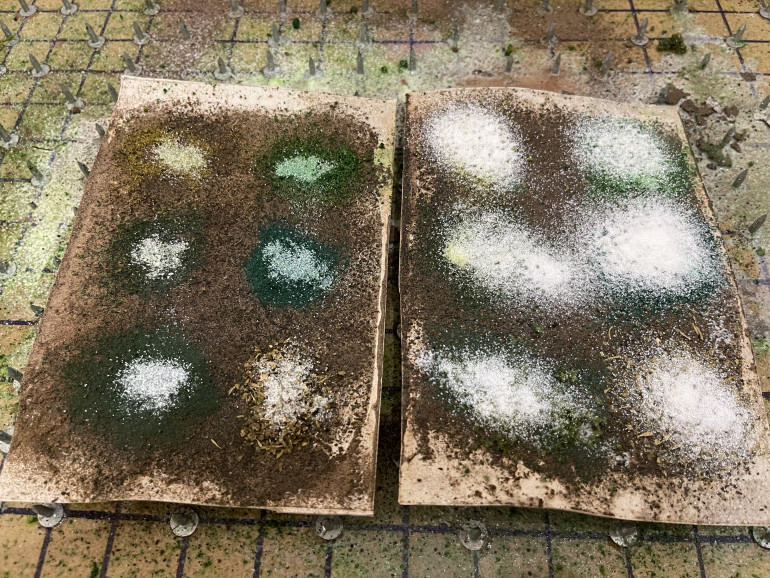
it went well until I sealed it with pva. some snow flock came away before I sealed it though. not great for a table that will end up being stored.
the right side was done
- pva
- soil
- seal with pva
- flocks and snow
- seal with pva
immediately the colour started to leach from the foam flocks. I am also wondering whether geek gaming and javis foam scatter flocks are actually the same product. they look the same, act the same, taste the same (I expect they do anyway) so they could well be the same.
as the right hand side became apparent immediately I then decided to dump a load of snow flock on top of the watered down pva sealing layer just to see what happens… will update tomorrow!
place your bets… I bet it doesn’t all stick
Testing - part 4 The Christmas snow cans
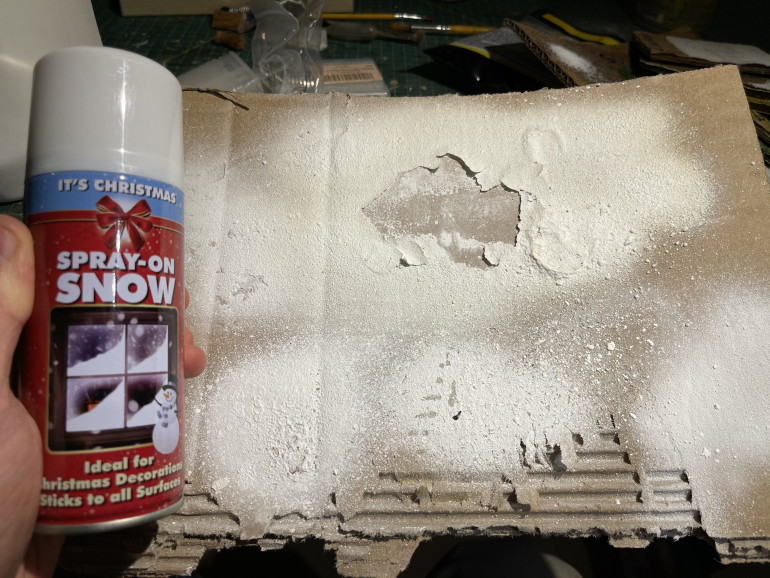
Another product i’ve been trying is this spray snow.
IT comes out the can quite nicely but I am not sold on it to be honest. it doesn’t hold its shape and is very very fragile. I haven’t tried sealing it down yet though so i’m not sure if its a total fail but I am leaning towards snow flock more than this stuff to be honest.
will still give it a fair crack though
Update!
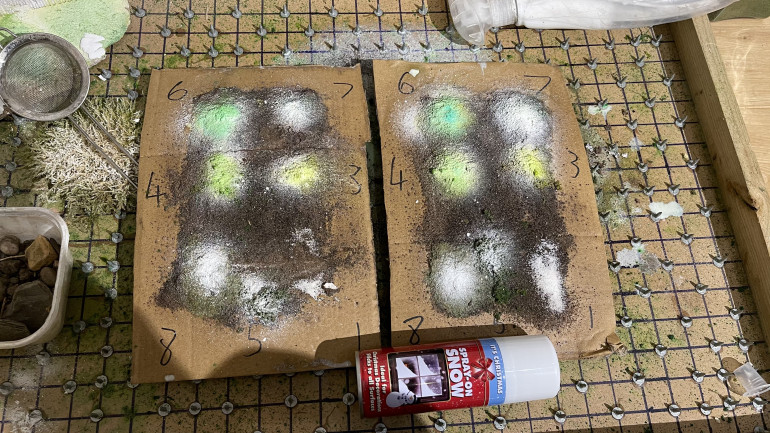
I’ve now done two tests using the spray can snow.
One was to spray it and then seal it with watered PVA. The other was to spray seal it with watered PVA and then spray the snow on top.
Both times the snow took on the green dye from the flocks beneath.
I really need to find another flock to work with, this geek gaming foam flock is not the one for this project.
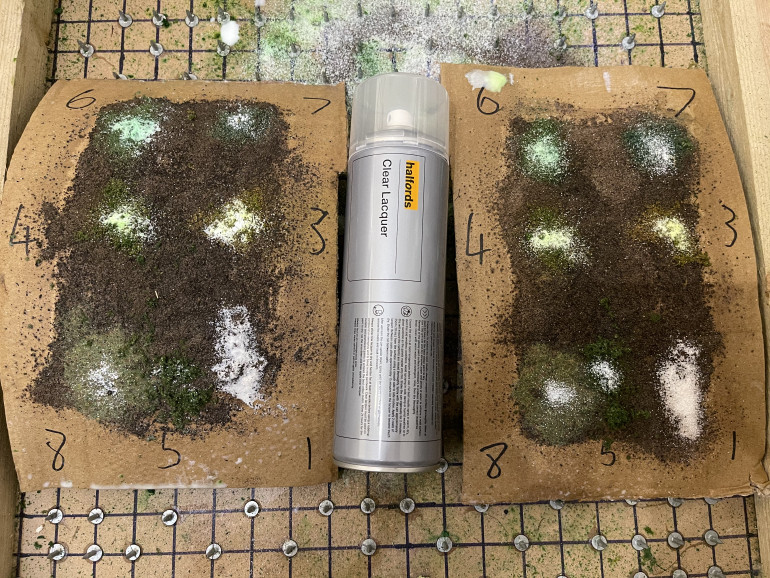
Testing - part 3... the varnished phase
So Facebook suggested adding in a layer of polyeutherane varnish to put a waterproof layer between the dyed flock and the snow flock.
I have no idea what is in this can of varnish but its what I had on hand and is easily available for me so I used that.
I did two tests here. one where I sprayed varnish and immediately sprinkled snow and sealed with PVA (Right hand side) and one where I had a time delay of 2 hours between spraying varnish and adding snow and sealing it (left hand side)
As you can see, the left hand side is still wet ion this image and the dye is still leaching out into the snow for the 3 geek gaming scenics foam flocks.
My next step is to change the material I am working with. Will likely pick up some more woodland scenics foam flocks and see how they work out.
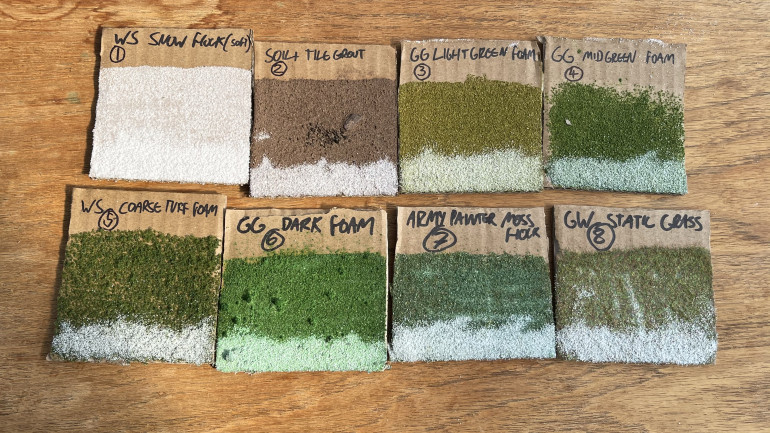
Further Testing - Flocking
- Woodland Scenics Soft Flake Snow Flock
- Soil & Brown Tile Grout in a 2:1 ratio.
- Geek Gaming Scenics Light Green Foam Flock
- Geek Gaming Scenics Mid Green Foam Flock
- Woodland Scenics Coarse Turf Foam Scatter
- Geek Gaming Scenics Dark Green Foam Scatter
- Army Painter Moss Green (sawdust) Flock
- Games Workshop Scorched Earth Static Grass
As this is going to be a snow board I tried adding some snow flock to each card to see what would happen. I cannot remember how I affixed it, before, during or after sealing with watered down PVA
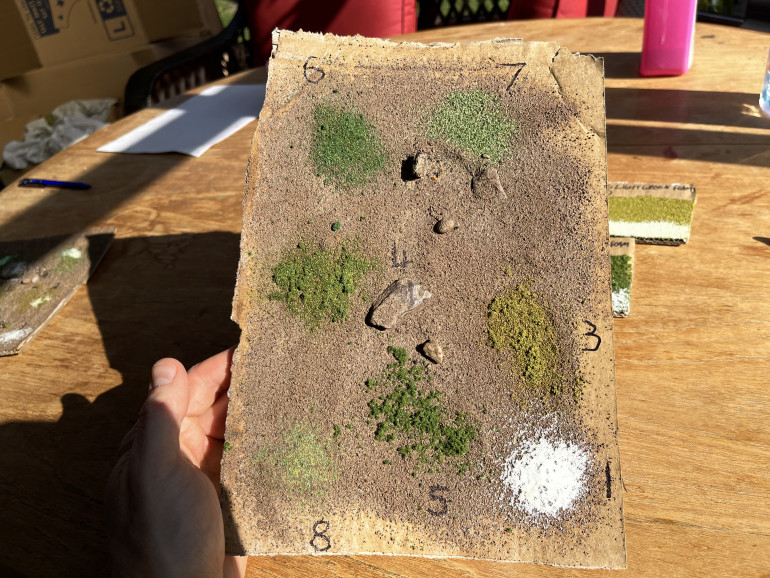
Here what I did was take the previous test (soil and tile grout) and sprinkle on the various flocks.
They were then sealed with watered done PVA. note, I did not added PVA layer beneath them. It worked very well although I got some squirt marks (see the snow flock) where big drops of water moved the flock on impact
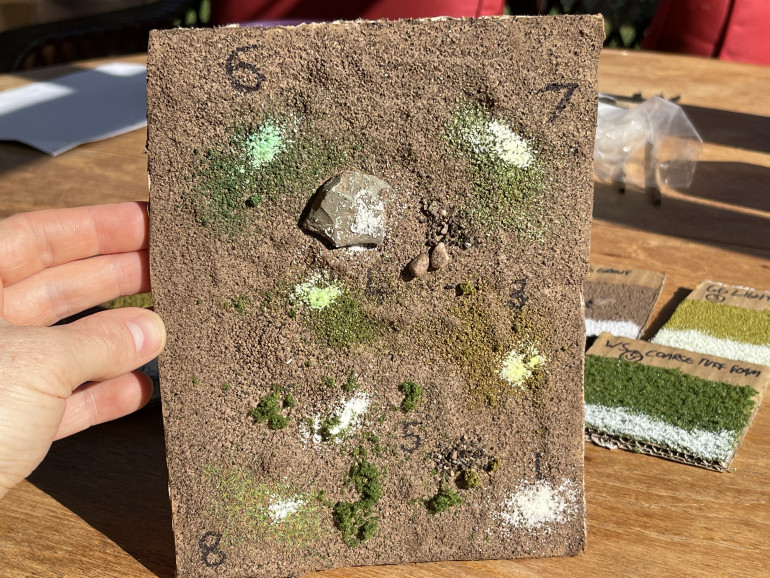
As I am an impatient soul I knocked up a second test piece. This time it was all done and sealed in one go. So it went a bit like this:
- PVA
- Soil & Grout mix
- Flock
- Snow
- Spray seal with watered down PVA
As you can see the flock dye leached into the snow. Now I have seen yellow snow (never eaten it mind you!) but I’ve not seen green snow.
This is a good lesson in what not to do, or as you can see from 5 & 8 choose your flock material very carefully.
I then went back and added snow flock to the original layering test and sealed with watered PVA.
Because PVA reactivates when wet the dye from the previous layer was drawn up into the snow flock… FAIL!
Will need to come up with a new way to add and seal snow flock onto the ground covers. Facebook suggests polyeutherane varnish.
So this layer test went:
- PVA
- Soil & Grout Mix
- Seal with watered down PVA
- Flock
- Seal with watered down PVA
- Snow
- Seal with watered down PVA
More steps and still didn’t stop the dye leaching.
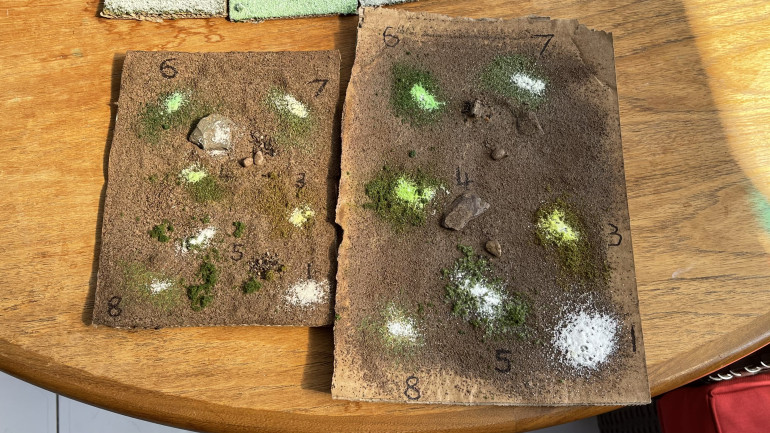
Testing the groundwork
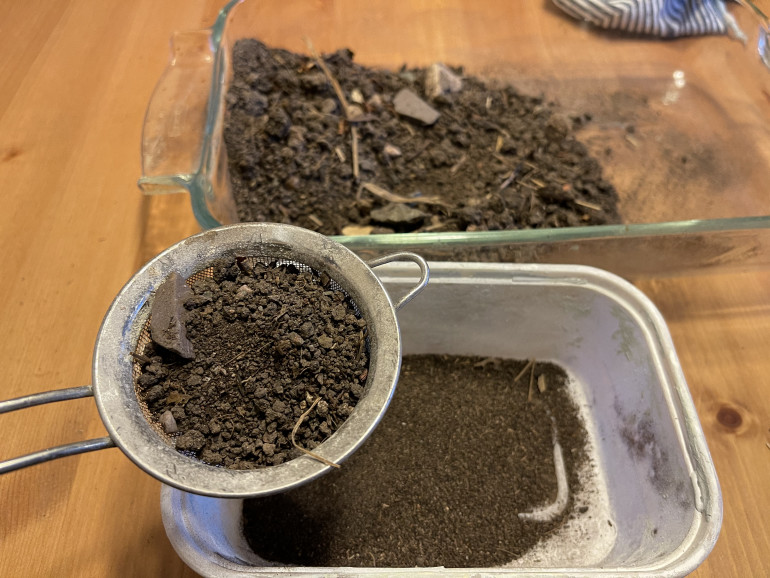
So to get the soil sorted I went into the garden and dug a hole…
I baked a pot full of it in the oven at 200 degrees centigrade… Fan adjusted of course.
To separate out the different grades I used 3 different sieves, but my wife thinks I only used one ‘hobby sieve’ so lets just keep schtum about that shall we.
I added tile grout to the mixture in a 1:2 grout:soil ratio.
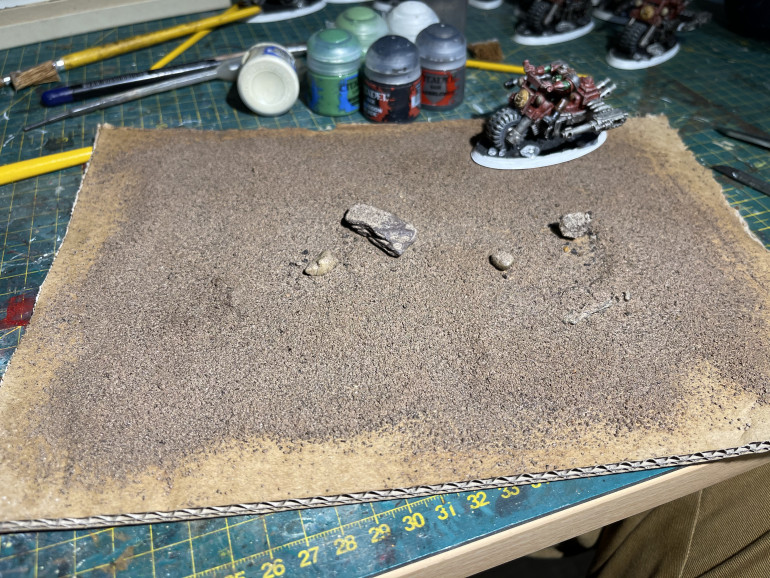
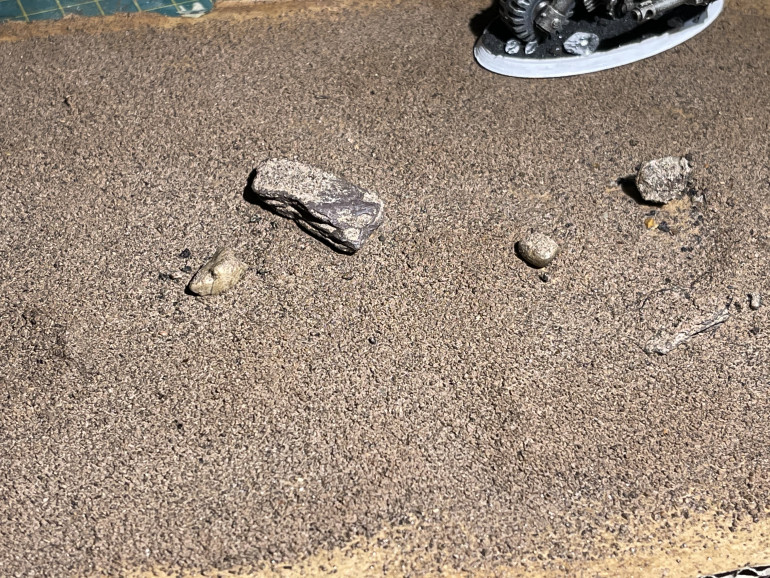
Neat PVA on the base board (cardboard for the test), place stones and bigger gravel then a sprinkle of the soil/grout mix everywhere else. once done it is sprayed with watered down PVA.
It dried rock hard in the airing cupboard but warped. not worried about that, it was expected as cardboard isn’t a good basing material. I’m more interested in the colour it came out.
Pining for some trees
I have take the moss covered trees and sprayed them with 3M glue. Then sprinkled dark green foam flock from geek gaming scenics both from below and above to cover all sides of the moss. A second light spray with glue and the mid colour flock.
Finally a 50:50 mix of matt varnish and PVA glue in a spray bottle that is watered down enough to be able to be sprayed.
Worked out quite well when dried.
farting about
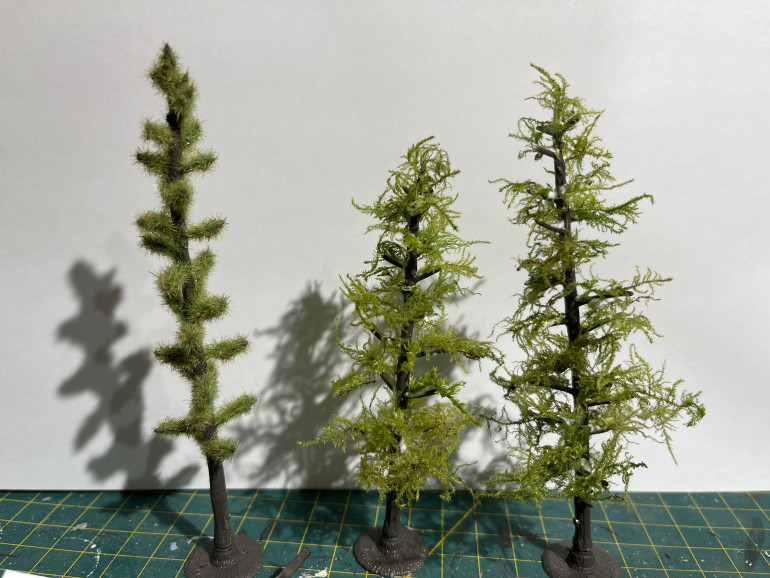
I have done some substructure tests for the fir trees.
after seeing a few people play with static grass I thought I would give it a go. admittedly I don’t have 10mm to start it off, just the normal 3mm from GW and its reasonable for me to say it failed and looks pants.
so I can either go and spend some money on the right static grass or I can default to my previous successes.
Moss from the garden. firstly, its free so bonus! and secondly I don’t need to worry about wastage. some bits of it are better than others but if I don’t use it I can either bin it or put it aside for making ground scatter.
I will end up spraying it with 3m contact glue, sprinkle with foam flock and then seal with watered down PVA and varnish. worked a treat for my afghan deciduous trees.
test of layout
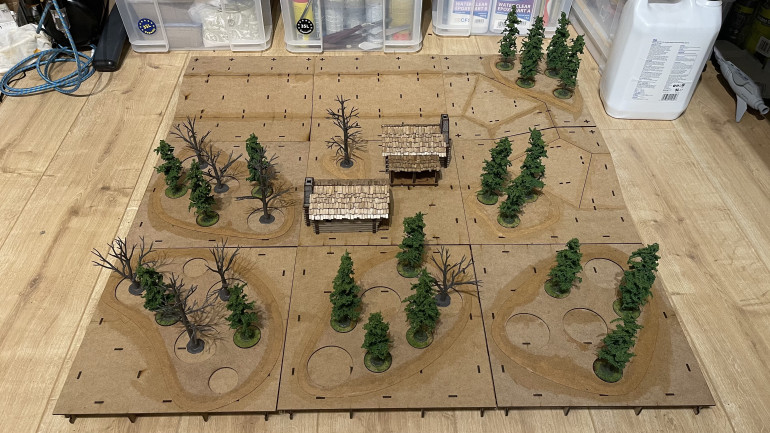
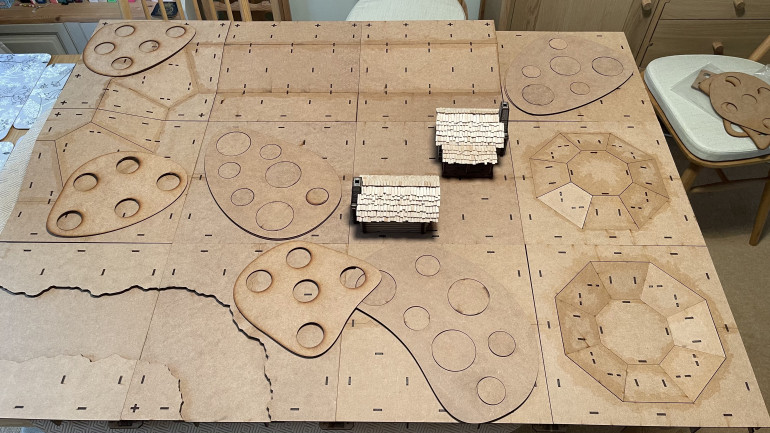
For me to make this a nicely modular board I am going to have to get a few more of the hills, corners and flats etc. the river won’t be going anywhere at this rate either. that’s not something I had considered when buying it.
I am really impressed by the sturdiness of the tiles though.
I have plans to redo my afghan terrain using these tiles now too as it would be so much easier to use going forwards.
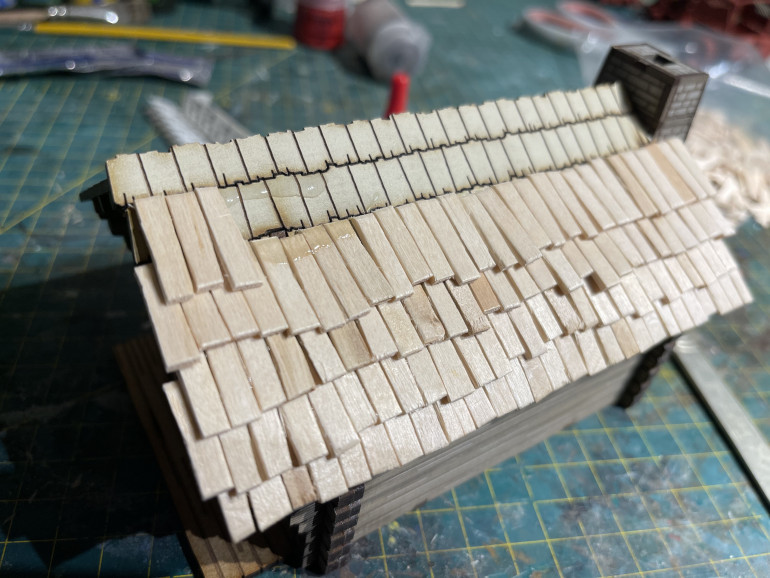
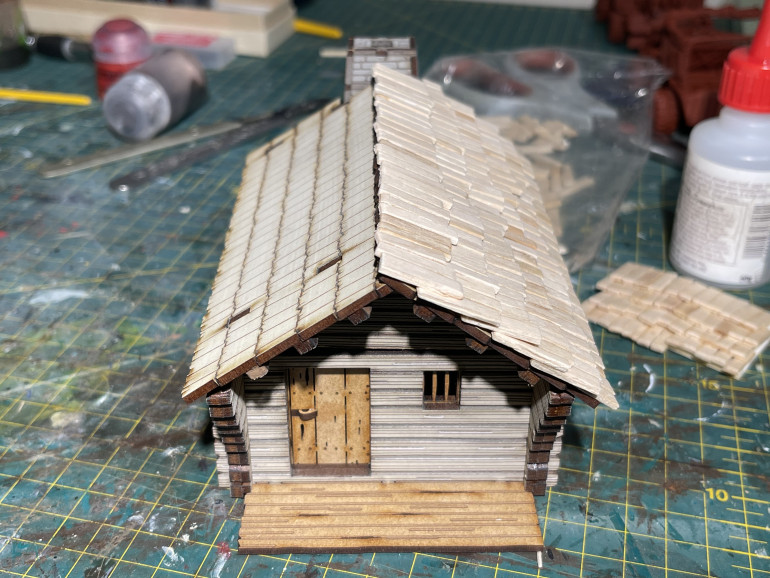
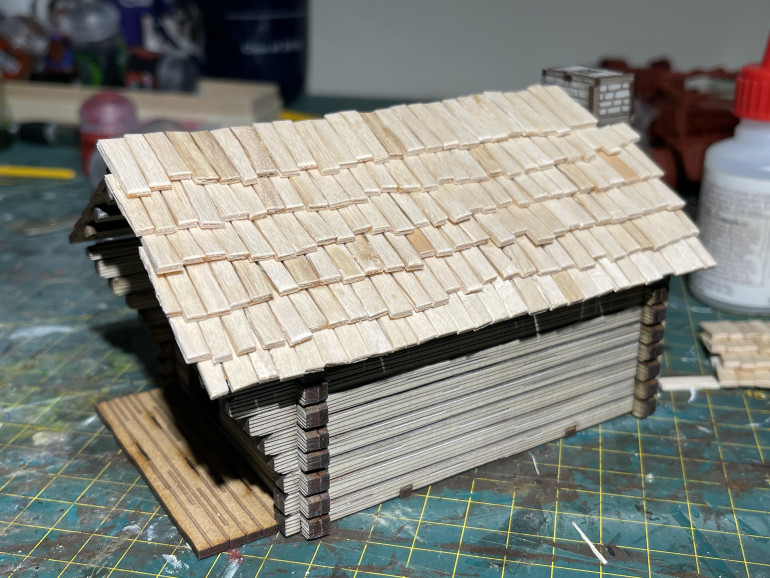
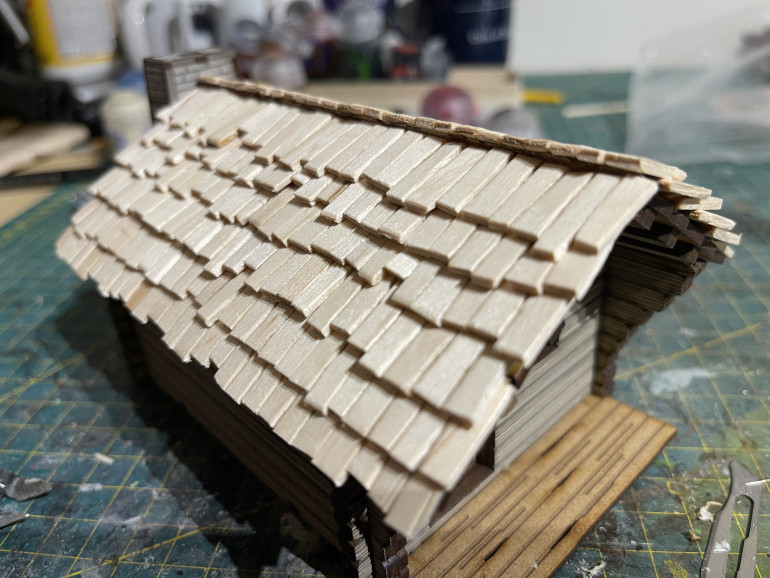
Anomalia tiles arrived and doing the roofing
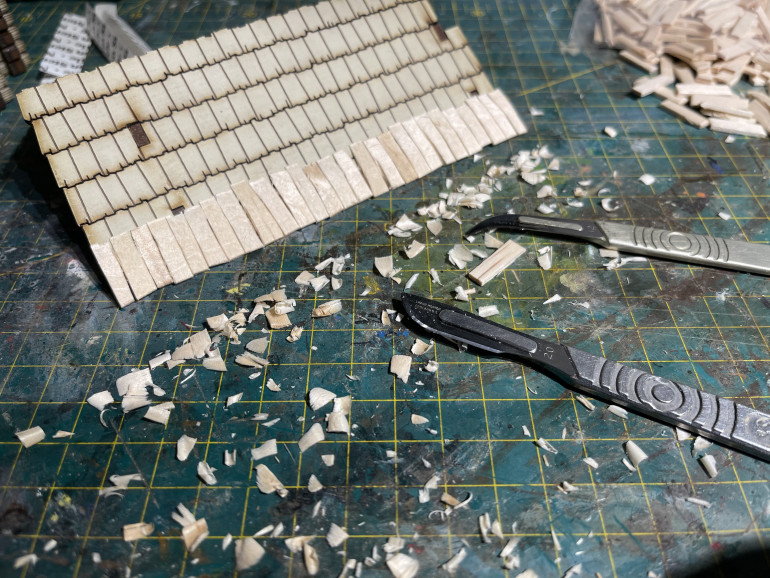
so I committed to redoing the roof on both the huts now. I still need to find a way to dull it down (army painter dip perhaps).
I discovered that what I thought I would need to do both of the roofs was only just enough to do one! there is more popsicle stick chopping coming up in my future.
I kept the overlap at the top as that is how they did it. the top boards from the prevailing weather side extend above the Ridgeline to stop water entering the house at that point. This did also dictate the layout on the tile somewhat as both roofs need to be orientated the same direction for it to make sense.
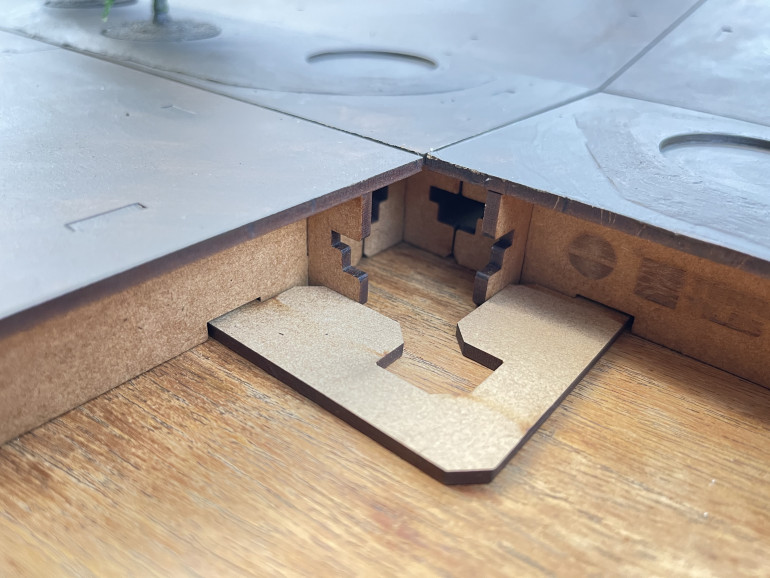
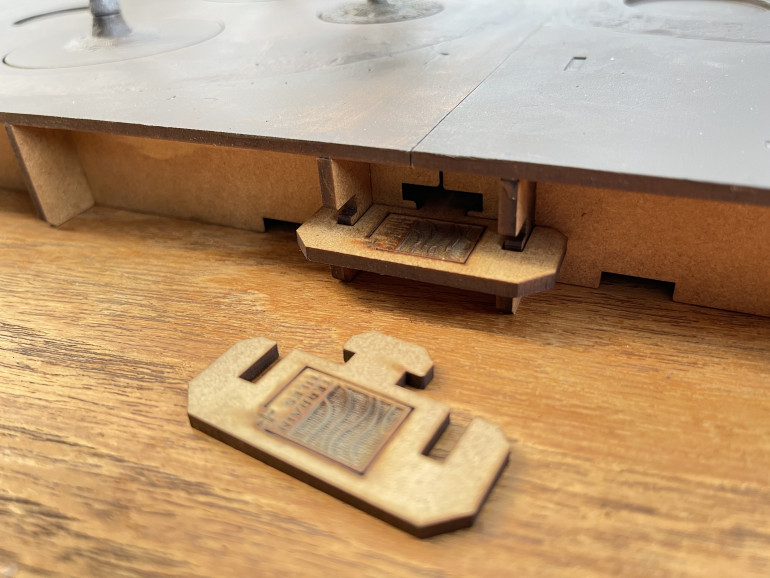
The Anomalia tiles were not hard to build, just time consuming. I used PVA (Mod Podge as that’s what I had) to glue them and now they strike me as being pretty study to be honest. whether I love them when done remains to be seen but so far I am happy with them.


