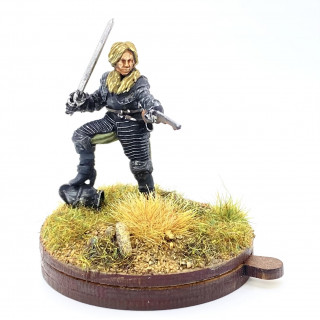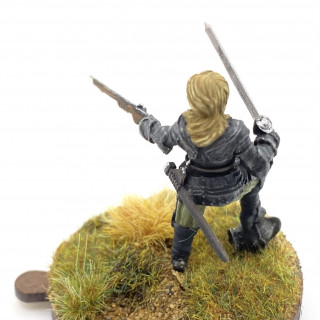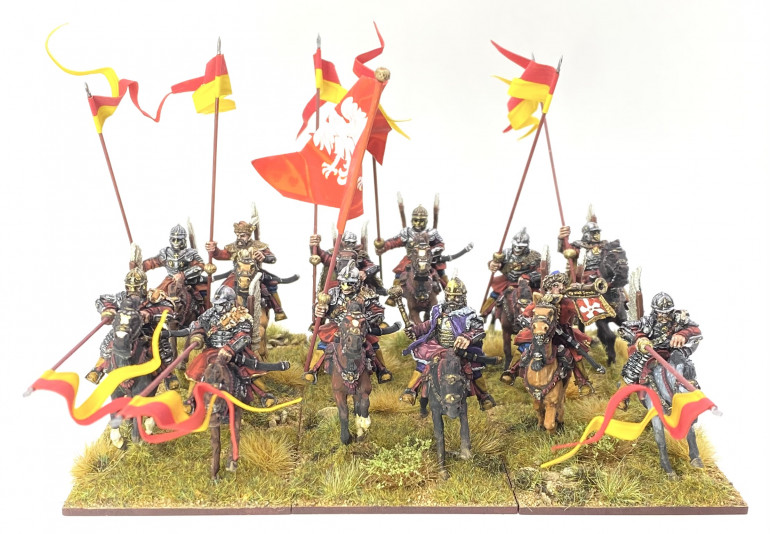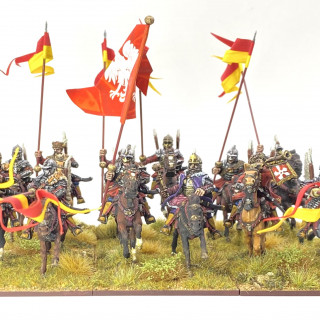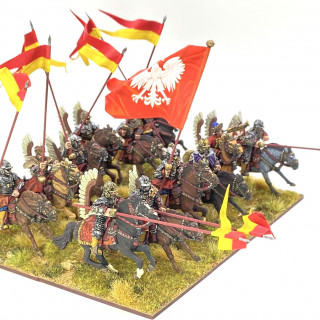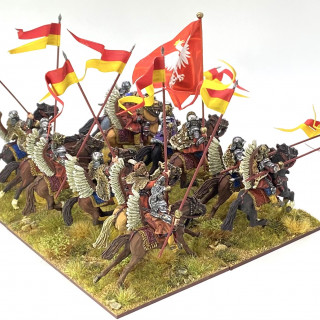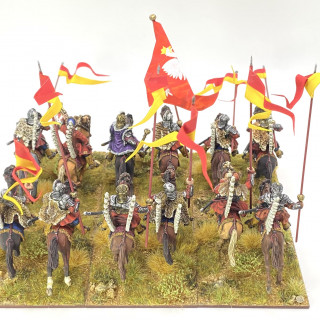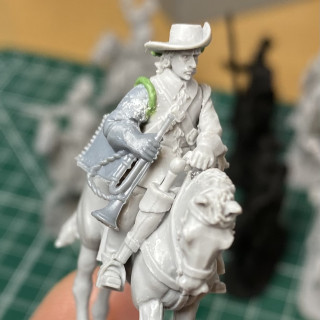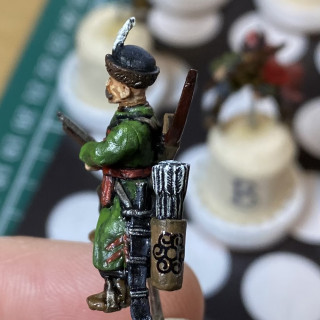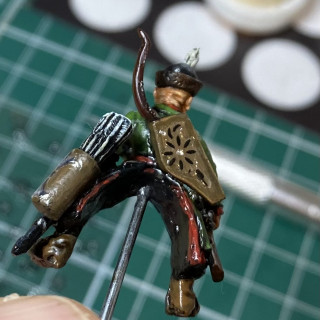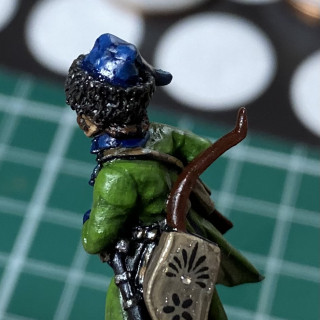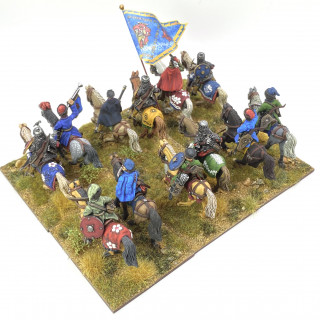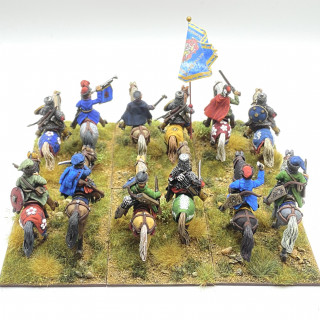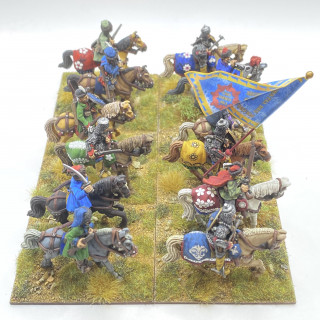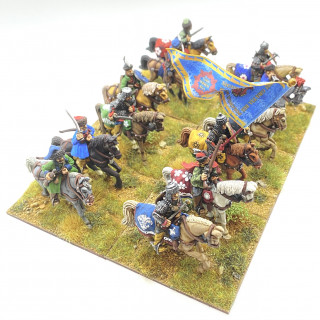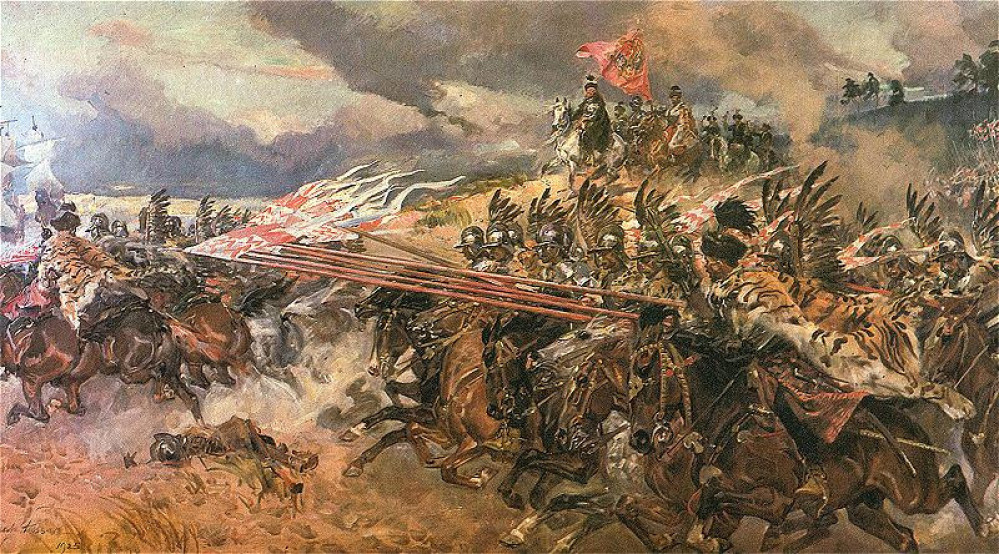
Husaria – Building a Polish army for the 1620s
Recommendations: 2003
About the Project
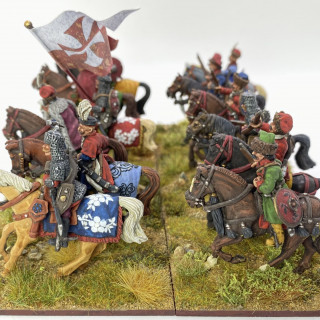
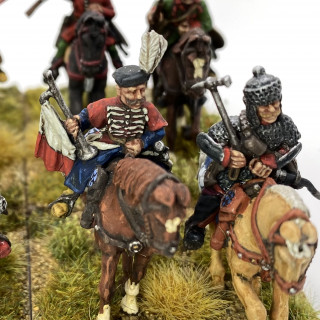
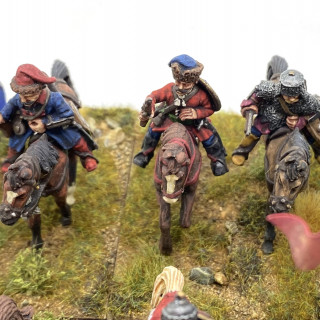
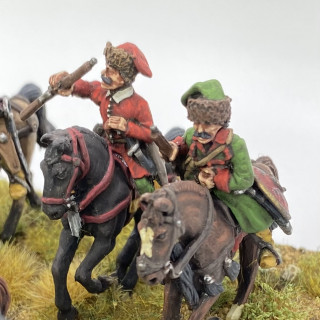
This project describes my efforts to build a 1620s Polish and Lithuanian Commonwealth army, including the famous Polish ‘Winged’ Hussars. I will cover the historical research, choosing the miniatures, build and painting the miniatures, and finally hopefully playing with the army. (N.B. Since starting this project I have added a couple of further projects to the system. One contains opponents for the Poles, the Swedish army. I had been adding entries about these here but it was a perhaps bit confusing. See here for the Swedish project: https://www.beastsofwar.com/project/1798825/ . I also started a project for the set up a of demo game planned for Salute 50, using the Poles and Swedes, here: https://www.beastsofwar.com/project/1798842/ .)
Related Game: Pike & Shotte
Related Company: Warlord Games
Related Genre: Historical
This Project is Active
Haiduks and Housing
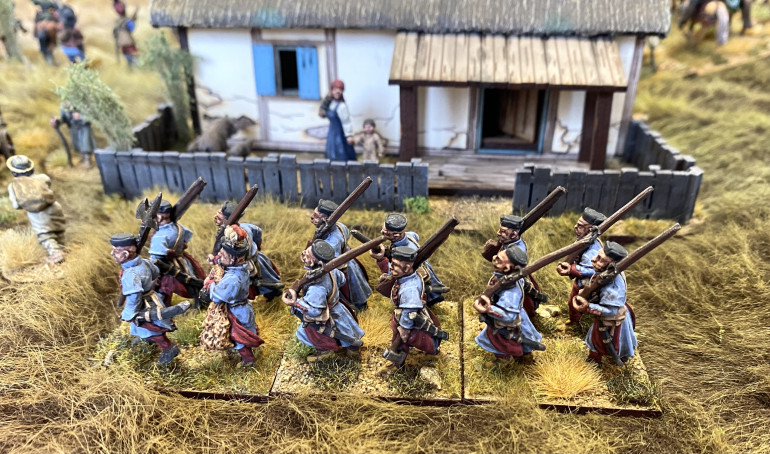
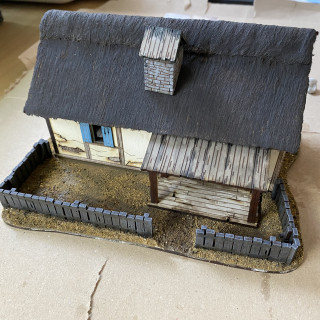
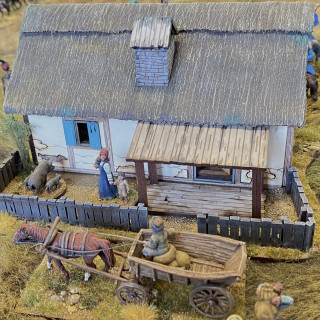
Slow progress over the last few months, but I have completed another unit of Haiduks, and I’ve also built a MDF cottage (from 4Ground) for use in my Polish v. Swedes games set in Prussia.
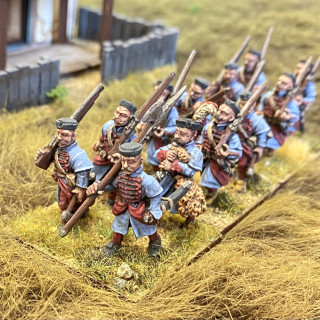
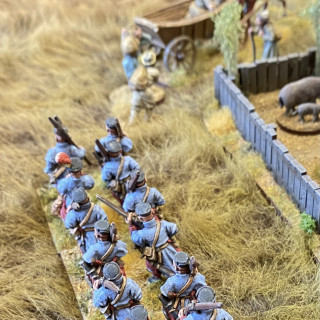
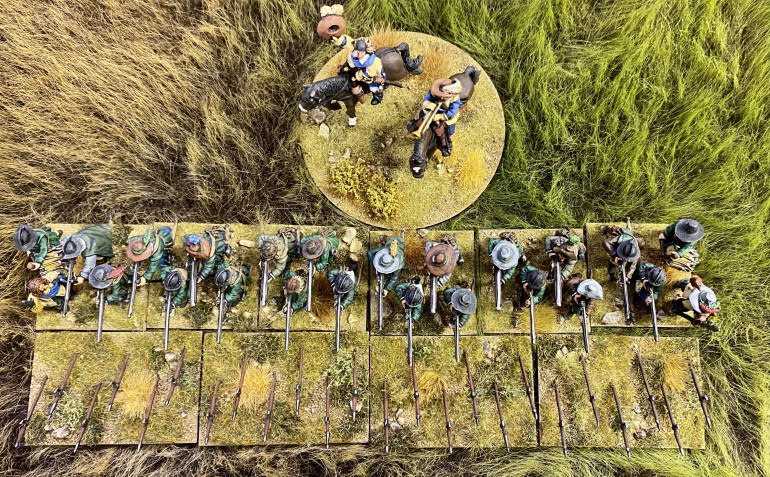
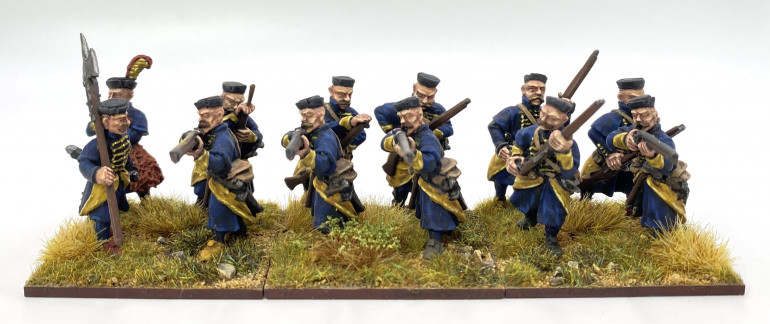
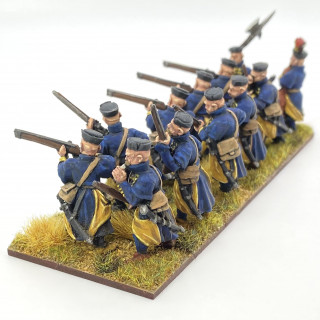
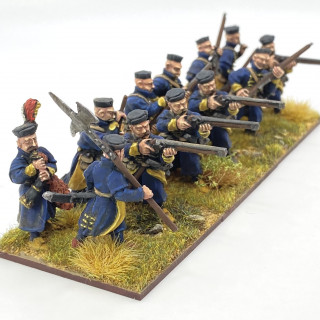
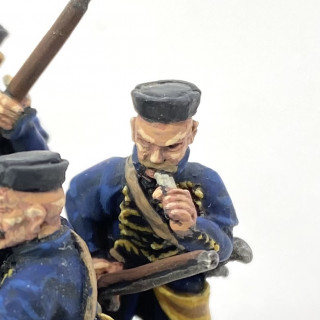
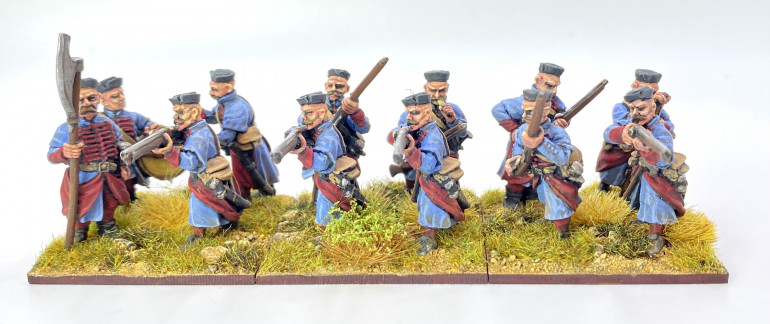
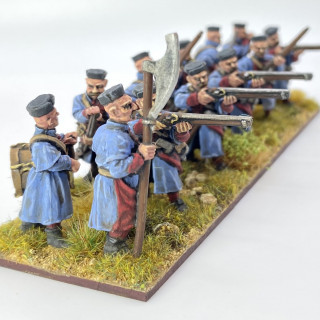
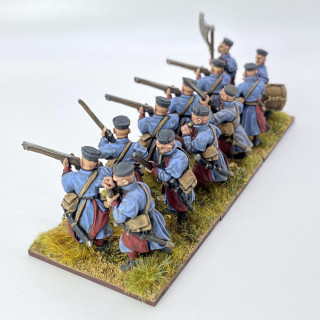
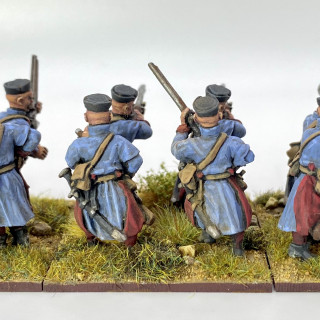
This is my third unit of Haiduks, and I have returned to the ‘classic blue plus red lining’ colour scheme for this unit. The figures remain a mixture of The Assault Group (TAG) and Foundry. This units uses marching poses from both manufacturers.
When I was thinking of taking a few pictures of this latest unit of Haiduks I thought that it would be nice to have a rural looking house. I have had this 4Ground MDF building in my stash for some time, and while intended for WW2 Eastern Front games, I thought it would also suit me for the 17th century.
It is a very detailed kit as you’d expect from (the now sadly defunct) 4Ground, and was easy to build despite the detail. One of the things that drew me to this model was the teddy-bear fur thatched roof, with the fur provided. Once the material was stuck on to the roof, I brushed in a lot of PVA to the fur, and then painted it. (I followed the Gerry-Can article on thatching.)
I have left the cottage pretty much as it comes out of the box for the remainder of the kit, just splashing about some weathering. I built a base for the building using a Warbases 3mm scenery base, and the fencing was also supplied by 4Ground (from Things From The Basement).
Next on the list for the Poles is more Winged Hussars (you just never seem to have enough!?).
Stakes, and all of the trimmings
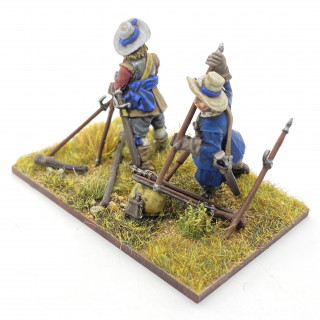
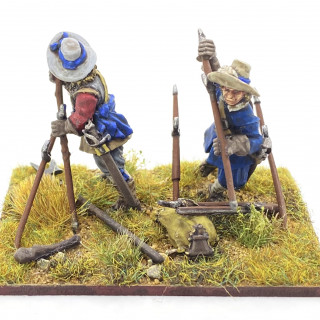
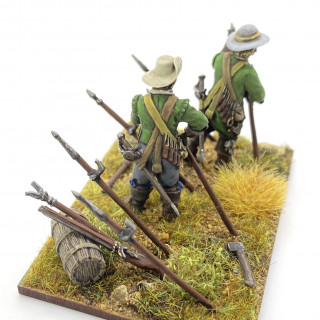
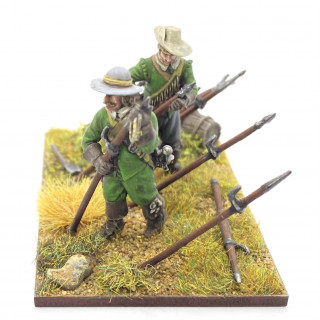
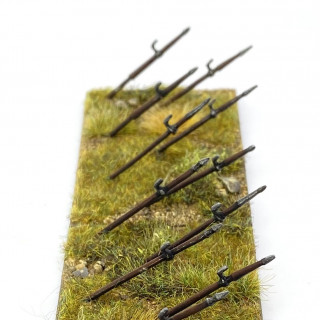
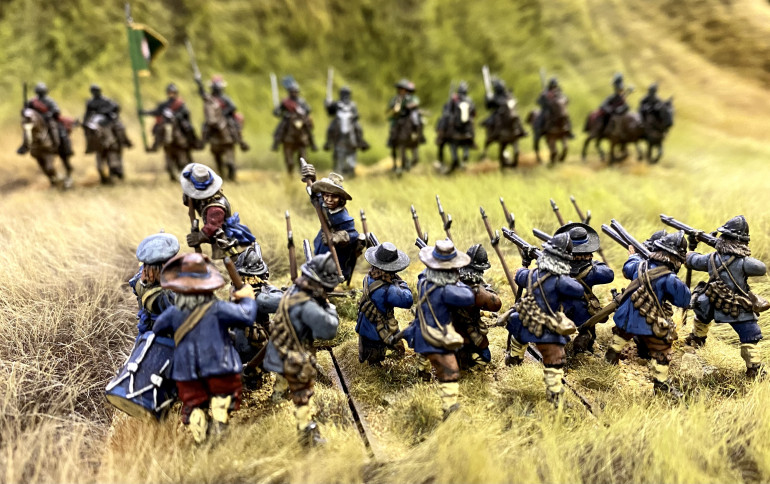 “Hurry up Sven; those horsemen are closer than you think!”. Warlord, Foundry and Perry 28mm musketeers preparing to give fire, while Bloody Miniatures are setting up the Swinefeathers.
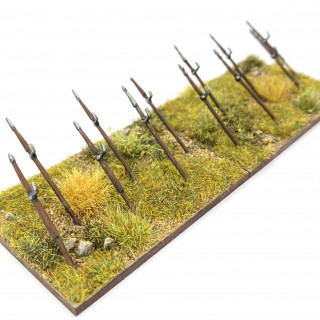
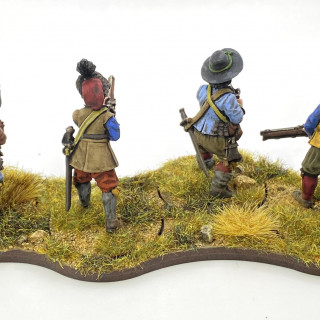
In this entry I liven up some bases of stakes, or Swinefeathers, that I made in my last post with some simple vignettes to add to my 17th century Swedish army.
In the previous project entry I described how I used the Warlord Games’ Swinefeathers to create bases of temporary defences for my Swedish musketeers. These looked fine but were perhaps just a little bit bland. Over recent months I’ve been inspired by seeing some great vignettes on different social media and so I’d thought I’d have a go at something similar for my Swinefeather bases.
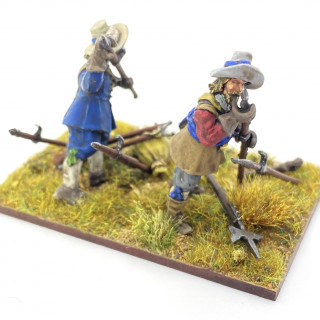
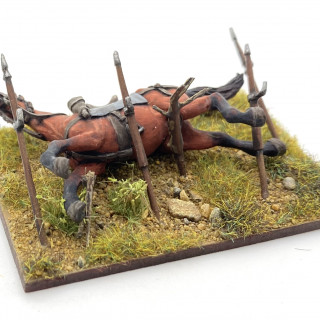
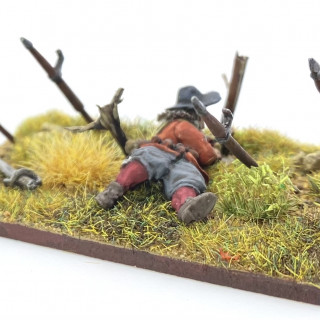
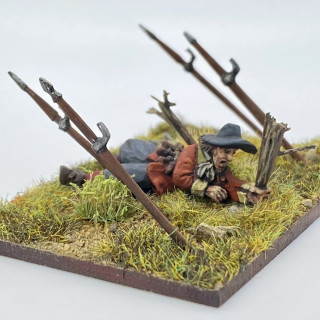
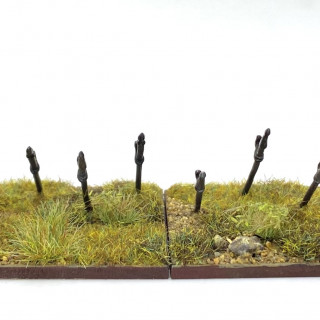
I started by thinking about what sort of vignettes would make sense on a base of Swinefeathers. These vignettes would be used in games like the other Swinefeather bases and so they needed to fit on the same 60 mm x 40 mm bases. I came up with broadly two categories. The first was to show musketeers in the process of a deploying the swine feathers, and the second was to show the Swinefeathers after being damaged during the battle.
I searched through my “pile of opportunity“ for likely candidate figures and other bits of battlefield detritus to sprinkle about. I came up with the following four sets of figures.
1. I’m a big fan of the Bloody Miniatures range (https://www.bloodyminiatures.co.uk) and I have a nice stash from the recent releases. I selected a couple of figures that suggested themselves for a base showing men setting up Swinefeathers. One figure was originally thrusting a pole alarm, but with a little bit of conversion, I felt that I had made him look as if he was driving a Swinefeather into the ground. There was also a figure who I thought would make a fine sergeant of Musketeers who would be helping out, setting up a Swinefeather. As well as the two figures I found some suitable pieces of equipment to add to the base; a musket, rest, powder bottle, halberd, and a club to be used to bang in the stakes. With the figures ready, and all the pieces of equipment to hand, I experimented with different positions so I could fit everything on the 60 mm x 40 mm base. This experimentation also showed where I could add Swinefeathers, already set-up, to the base.
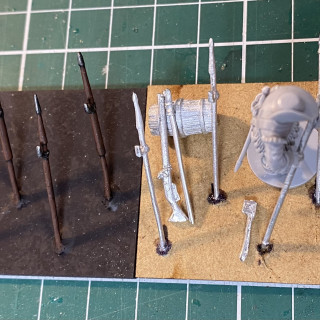
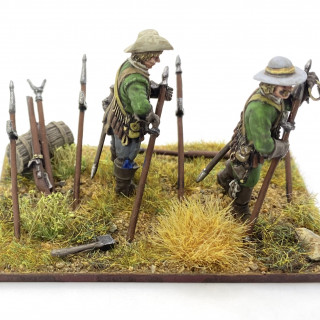
2. Next, I had some Avanpost musketeer figures that were in the process of loading their muskets, but with a small bit of conversion to remove the muskets, I could make them look like they were planting swine feathers into the ground. As with the previous base, I added some pieces of equipment around the two figures to give the impression of a working party.
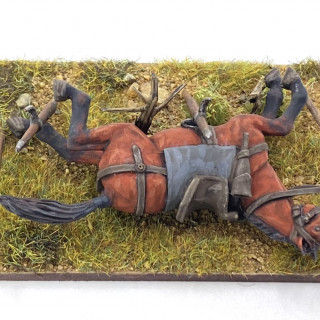
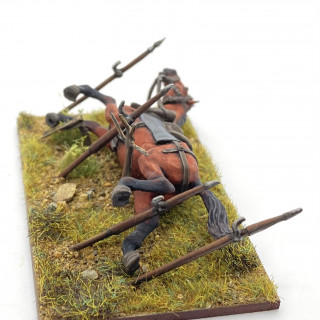
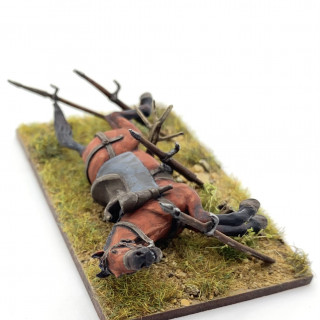
3. For the bases showing battle damaged Swinefeathers I was at first just going to model a base with couple of the stakes broken. Then I wondered about adding some wounded figures to the base as well. On finding a downed horse (also from Avanpost) in my ‘pile’ I thought this would be ideal to add to a base of Swinefeathers. The horse fitted neatly on to one of the 60mm x 40mm bases and I could add damaged and regular Swinefeathers around it.
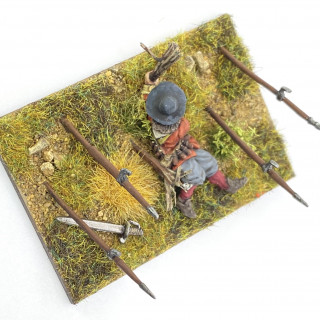
4. Finally, and in a similar way to the previous base, a Warlord wounded musketeer could be added to a base with some damaged swinefeathers. I imagined cannon shot blasting through the stakes just before Imperial musketeers tried to assault the Swedes behind the stakes.
I had fun painting up the few figures and pieces of equipment for the vignette bases. A nice palette cleanser between regular units of figures!
If Swedes And Pigs Could Fly
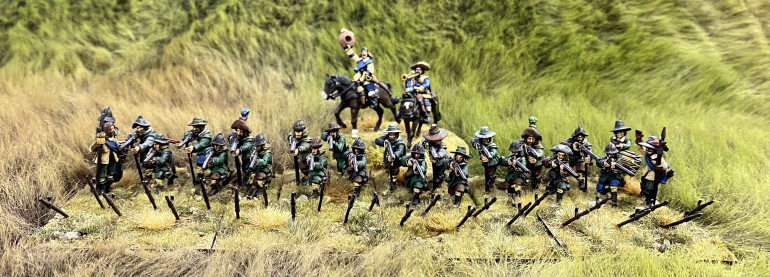 28mm Swedish musketeers protected by Swinefeathers from Warlord. Figures from Warlord, Foundry, Perry & TAG.
“By the one end it is made fast in the ground in such a manner that the other may lay out so it may meet the breast of a horse where by a body of musketeers is defended as with a palisade against the rude charge of a squadron of horse…” from James Turner’s 1683 book ‘Pallas Armata, Military Essayes of the Ancient Grecian, Roman and Modern Art of War’.
Background
Swinefeathers, or Swedish Feathers, were portable stakes used by shot armed foot in the 17th century to create temporary defences against mounted troops. The idea of missile armed foot troops using some form of defences against charging cavalry was not a new idea in the 17th century. I’m sure that many of you will immediately think of Henry V’s army at Agincourt with the English and Welsh bowmen using stakes to help defend themselves against the French mounted knights.
By the 17th century musket armed infantry were of course still vulnerable to enemy cavalry. Although their pike armed colleagues where intended to be one form of defence against cavalry, the idea of these pre-prepared stakes was re-introduced during Prince Maurice’s military reforms at the turn of the 16th and17th century. Each stake was made of a stout, thick pole, between 4 and 6 feet long, with a metal point at one end to aid planting it in to the ground, and a metal spear-point at the other with which to fend off the enemy. It may have got the name ‘Swinefeather’ because of it’s similarity to a boar-spear; a very stout spear used in the hunting of wild boar.
The Swedes, who were fighting the fearsome cavalry of the Polish-Lithuanian Commonwealth in the early 1600s, needed ways to defend their musketeers. They appear to have been early adopters of Swinefeathers, and Gustav Adolf ordered enough Swinefeathers to equip 8 regiments of infantry in the early 1620s. It was probably because of this adoption that Swinefeathers also became know as ‘Swedish Feathers’.
Technical Details
Although Swedish/Swine Feathers are mentioned in a number of military treaties of the time we know frustrating little about the details of their construction and use. From the descriptions of them in the treatises, and from some tantalising 1/6 scale contemporary models that have survived, we have some idea of how they may have looked. One interesting feature is the possibility that in some form the stakes incorportated a feature that allowed them to be used in the dual role as either a musket rest, or as a stake. While this makes sense in reducing the number of things a musketeer was expected to carry, it does rather limit functionality as while placed in the ground as a stake, it couldn’t be used as a rest to allow the musketeer to continue firing, and vice versa.
Use In Action
There use in actual engagements is quite difficult to come across. Charles Singleton has written a very interesting piece (https://www.academia.edu/22167284/Of_Swedish_Feathers) that describes their use in the British Civil Wars. The Kadrinazi blog, by Michal Paradwoski, also has some excellent references for the use of Swinefeathers (https://kadrinazi.blogspot.com/2010/06/swinia-kon-i-kozio.html )
[NOTE – The Kadrinazi blog is in Polish. I have to use the Translate function in the Chrome browser to read this, but it is worth it!].
It was following reading about their use at the battle of Mewe / Gniew in 1626 between The Swedes and Poles that I started to think about how I might represent them on the miniature battlefield. In this battle Gustav Adolf needed to operate his musketeers without their protective pikemen because of difficult ground. To provide the musketeers with some defence, it appears that this was an occasion when the Swedes issued their musketeers with Swinefeathers. Although there are no details of their use or impact in the battle, it is interesting to note (from the Kadrinazi blog) that an Engineer in the Polish army, Wendelin Schildknecht, who served in this war against the Swedes writes about the use of Swinefeathers. He comments on the effectiveness of the Swinefeathers against the Polish cavalry and goes on to say that he was surprised the Swinefeathers were only used for a couple of years by the Swedes. He’s not sure why their use stopped, other than perhaps the inconvenience of expecting the musketeers to carry the extra encumbrance.
Modelling Feathers
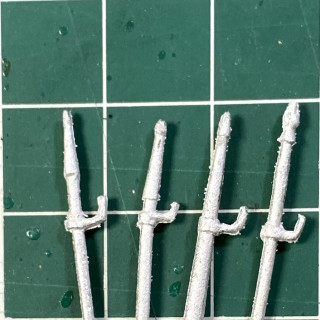
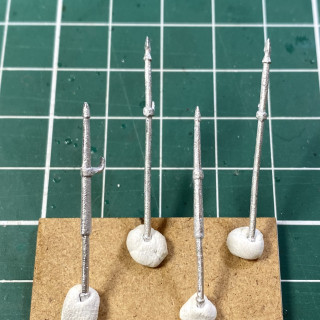
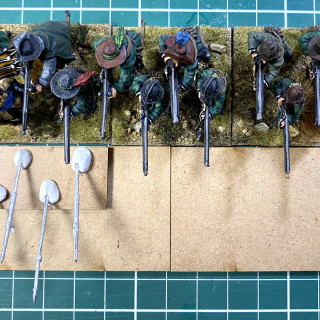
I suppose the easiest solution would have been to grab some wooden cocktail sticks and to have used these to represent Swedish Feathers. However, I remembered that Warlord Games have some rather lovely looking Swedish Feathers available in their 28mm Pike & Shotte range ( https://store.warlordgames.com/products/swine-feather-musket-rests?variant=31468976078928). These look to be based on the 1/6 scale surviving models, and include the ‘musket rest’ feature. Even though I’m not convinced that they were used in a dual role, these white metal models were too nice not to use! An order to Warlord HQ was swiftly followed by the delivery of a good supply of Swedish Feathers.
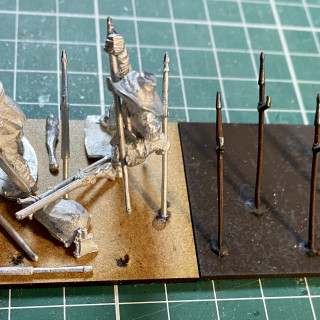
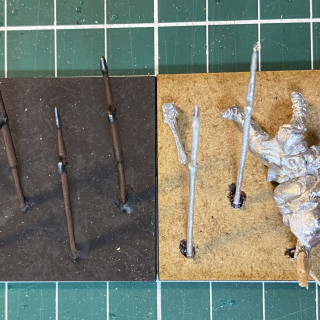
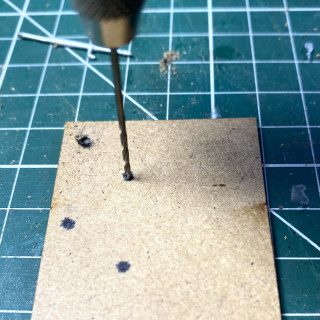
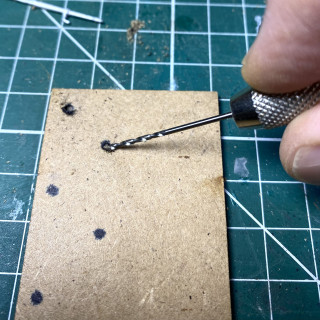
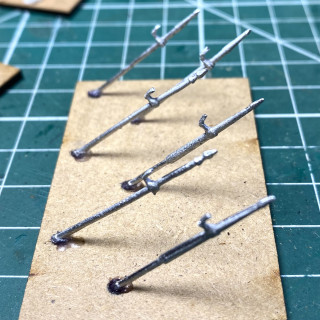
To make a hole on the base for a Swinefeather I used a pin vice with a 0.5mm drill bit. The stakes need to be at an angle, but I found it impossible to drill at an angle in to the MDF, and so I started a perpendicular hole first, and then drilled at an angle once the hole was started. Each small hole in the MDF base was then enlarged slightly with a round needle file, and each feather was glued in place with super glue and spray activator.
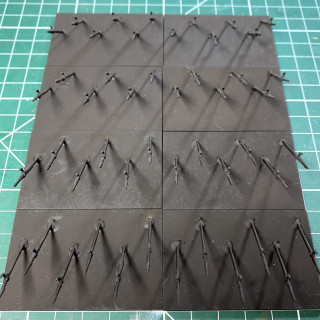
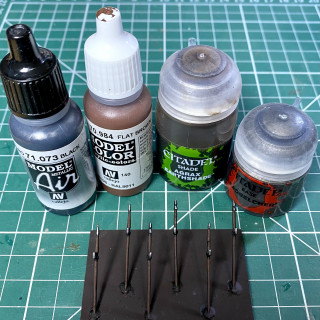
I primed the based Swinefeathers with Halfords rattle-can Camouflage Dark Brown (I don’t often use spray, but it was a nice day outside and I thought any risk to the simple stakes was minimal). This gave a nice prime and dark base coat. I paint the pikes for my Swedish army black, based on the protective paint that is believed to have been used on them (see Lion from the North, Volume 1 by Michael Fredholm Von Essen). It would seem logical for the Feathers to be treated in the same way, but I was worried that they might not show up very well on the table if their were black or dark grey. I therefore opted for a reddy-brown colour for the wood, and dark-metal for the metal parts.
Once my regular basing was added I then had sets of Swinfeathers to deploy with my Swedish units of shot. In the next post I will look at their use under the Pike & Shotte rules, and also how I decided to try and ‘jazz up’ some bases.
More Polish-Lithuanian cossack cavalry
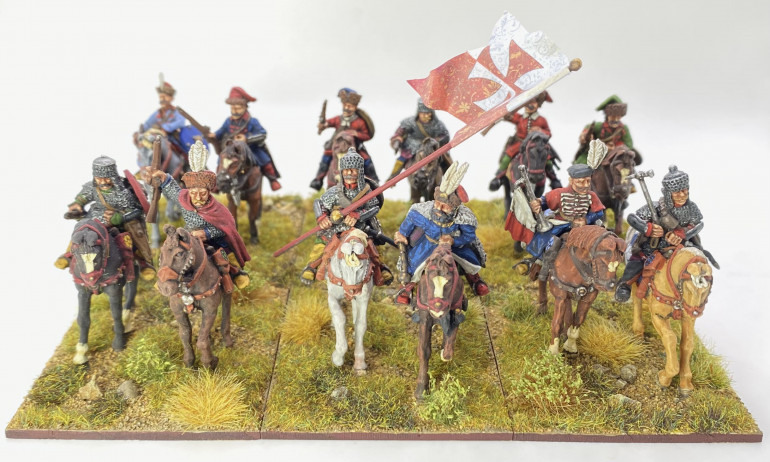
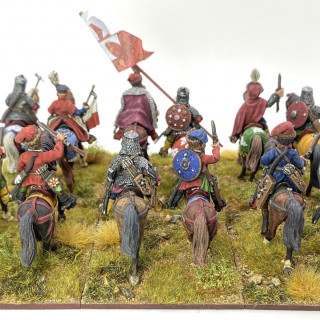
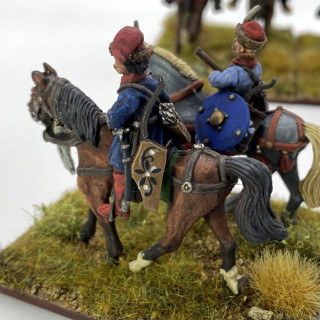
This entry sees a new unit of cossack cavalry joining my Polish-Lithuanian Commonwealth army.
“Gustavus then prizes one cossack banner that having had been assaulted and circled completely by the 4 Swedish cornets, yet despite having been in a tight corner, with such a valour in their midst was explaining itself with cold steel …” A comment on the Swedish King’s view following the Battle of Honingfelde/Trzciano 1629.
These 28mm figures are from a mixture of manufacturers. The riders are from TAG, Warlord and Foundry, with the horses all coming from TAG. The figures have had some minor conversions, to add carbines, and other equipment, mostly from TAG with some bits from the Warlord plastic cavalry set.
In a previous post, where I covered the previous unit of cossacks that I completed, I gave a description of this type of cavalry, along with the figures, conversions and the nail art stickers used in constructing them.
I have now used these cossack cavalry in a few games. Here are the factors that I have been using for games using Warlord’s ‘Pike & Shotte’ rules.
For those not familiar with ‘Pike & Shotte’ these factors translate as follows (all comparisons are with the typical ‘harquebusier’ cavalry of the period, that makes up the majority of Swedish cavalry in the tabletop battles I have fought):
As Light Cavalry they move slightly faster. They are also able go in to a ‘skirmish’ or open order formation that makes them a more difficult target for shooting, and allows them to evade from formed troops.
- They are slightly less hard hitting, and slightly more vulnerable, in melee. (I may look to vary this in future and have some units more comparable with the Swedish harquebusiers.)
- The ‘Marauder’ special rules means there is a no negative modifier for the distance from the general when orders are issued. This allows them to operate in a more dispersed manner, that seems appropriate for these light troops.
This combination of factors has seen the cossacks being most successful when either supporting the heavier Hussars, or operating on the flanks of the enemy formations. They have been less successful when expected to take on frontally the Swedish cavalry.
I’d be interested to hear about how other think the cossack cavalry should perform on the tabletop.
In the next entry I will be looking at some temporary defences supposedly used by the Swedish troops in the 1626-9 campaign against the Poles.
Until next time!
Andy @ The Friends of General Haig.
A second Button of Gold!
Supper chuffed to have a second Golden Button for Husaria! Thank you.
I understand this means that I only need another 48 until I can cash them all in for a meal at Pizza Hut with one of the OTT crew; who to pick?! ?
The Peasants Are Not Revolting
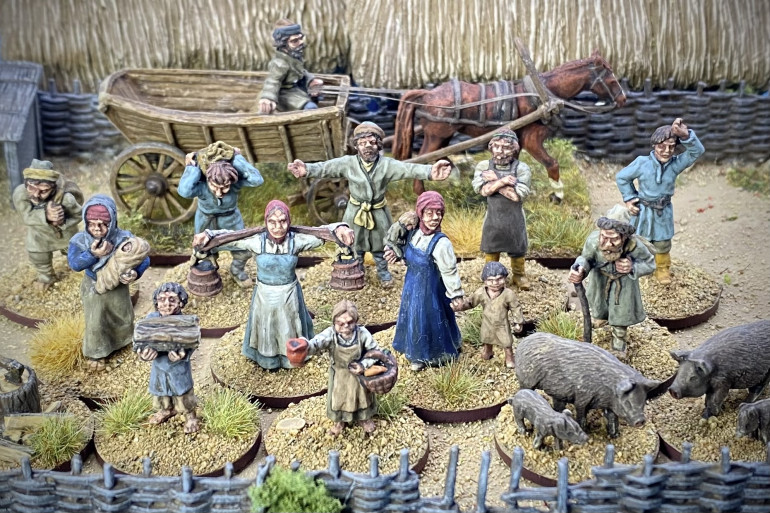
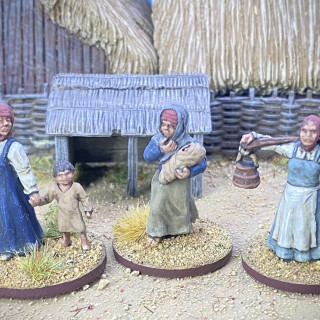
In this project post I add some inhabitants for a typical 17th century Polish village that may appear on my miniature battlefields.
As well as churning through units for the 17th century Polish and Swedish armies that I’m trying to recreate, I am in parallel thinking about the miniature battlefields that they will inhabit. I think that some form of human habitation on the miniature battlefield does a lot to set the context of time and place for the overall scene. As well as any buildings, adding some civilian inhabitants then helps to add further ‘colour’.
There is quite a good selection of 17th century civilians available for Western European theatres. For example Warlord Games do a great selection of 17th century civilians, as well as armed ‘clubmen’. Many other ranges have at least one or two figures available and, with civilian dress giving a bit more historical leeway than uniforms, it is also possible to add in civilian figures from some late 16th century, late 17th century, and even early 18th century ranges, with perhaps just a few tiny conversion. It is even possible to plunder some manufacturers’ ‘fantasy’ ranges; a tip that I picked from the Too Fat Lardies – thanks Rich and Sidney!).
Although parts of Prussian Poland were quite ‘German’ in this period, especially in the larger towns, I wanted some of my civilians to give a more East European feel. We’re not so lucky at the moment when it comes to Eastern Europe civilians in the catalogues of 28mm manufacturers. I was therefore very happy to come across this small set of Eastern European civilians produced by an independent sculptor, Leon, advertised on The Lead Adventure Forum.
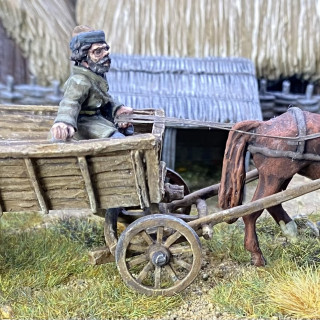
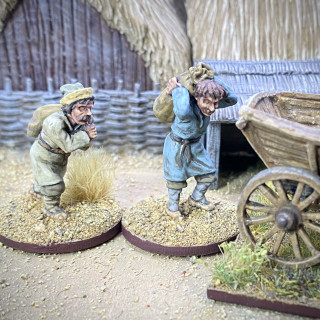
The set includes women, men and children going about everyday tasks, a cart with horse and driver, and some pigs with piglets. I thought that these figures would fit in really well to a rural farm or hamlet in the 17th century Polish Lithuanian Commonwealth.
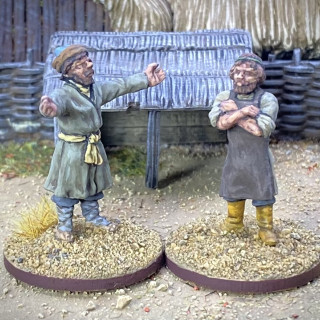
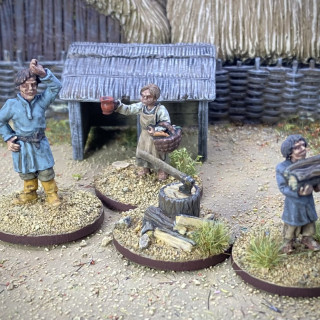
I painted the figures mostly in suitably drab colours to represent typical peasants living in the rural Polish-Lithuanian Commonwealth. The women folk got slightly ‘nicer’ colours, and red head scarves. I based most of the figures on MDF round bases (from Warbases) sized to match the UK 2 pence piece. (Lockdowns etc. have seriously depleted by collection of 2ps!). Warbases do these bases with handy round holes, perfect for tiny magnets, so the resulting figures will sit safely in a Really Useful Box with an A4 magnetic sheet in the bottom.
I kept the basing of the figures mainly muddy earth, with the odd tuft, on the basis that they will usually be shown around the buildings and roads on the miniature battlefield.
This set of figures made an interesting change from the martial units of figures I’m normally working on. I’m sure they will look great as the inhabitants of any hamlets in my miniature 17th century Polish-Lithuanian Commonwealth.
The cart is a metal model which went together fairly easily with superglue. The cart has lots of detail on it so it was very easy to paint with washes and dry brushing.
Next up on the painting table I’m back to more regular fayre with some Polish cavalry.
[Note. At the time of publishing, April 2022, this range of civilian figures may not be available due to them coming from the Russian Federation. ]
Commander Mikołaj Abrahamowicz
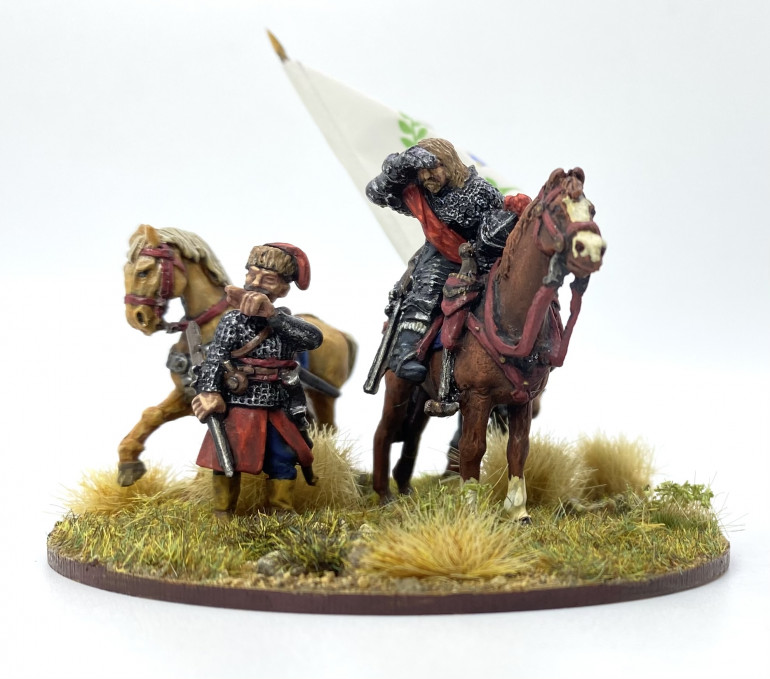
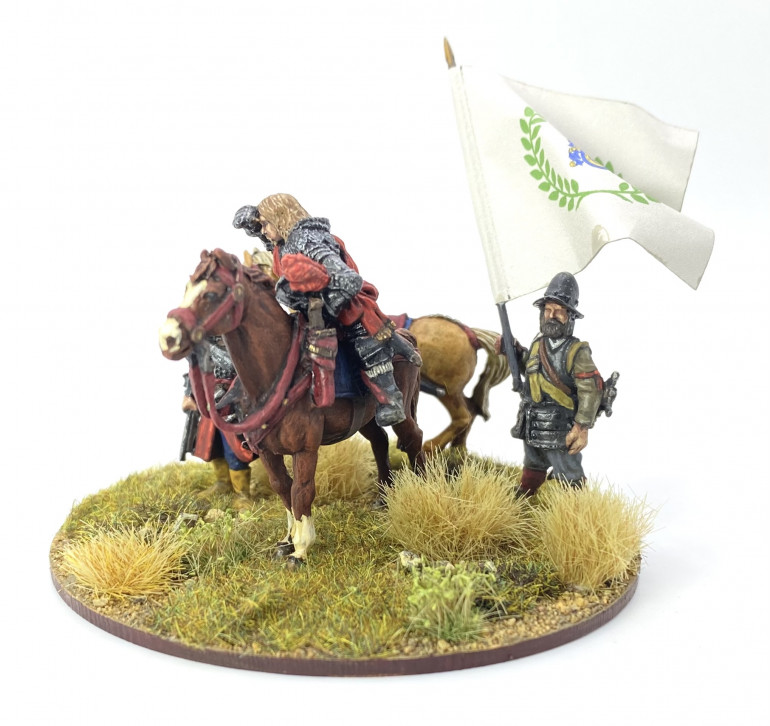
This project entry covers the third command stand for my Polish-Lithuanian Commonwealth force from the 1620s; this commander representing Mikołaj Abrahamowicz (or Abramowicz ).
Abrahamowicz was one the Polish-Lithuanian ruling noble class, who’s family came from Smolensk in the Grand Duchy of Lithuania. He was unusual in being a Protestant and yet well connected and influential in Royal circles in this predominantly Roman Catholic country.
By the later 1620s he was already a veteran military leader of some years experience. He had been in charge of the Commonwealth’s artillery and was also associated with leading the ‘Foreign Infantry’ in the Army.
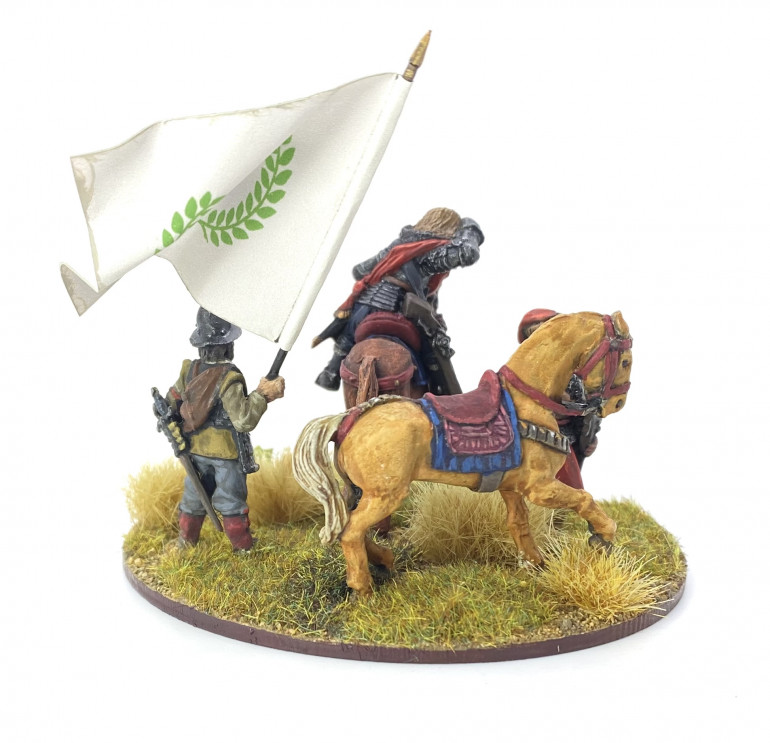
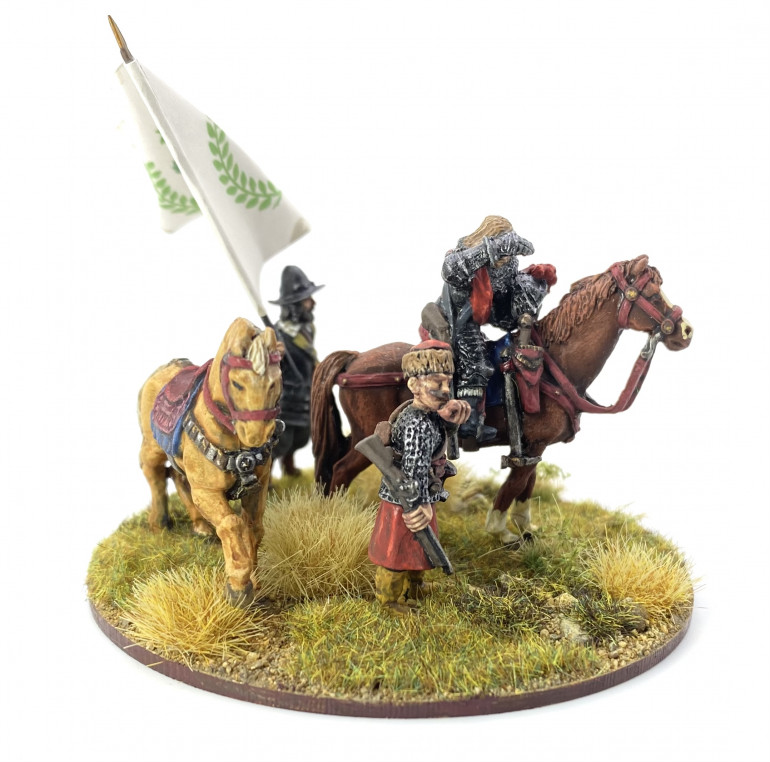
He is often listed as one of the commanders at The Battle of Dirschau / Tzcew in 1627, and so he seemed an interesting candidate as my third command base. With his Protestant background and close association with the western style, Foreign Infantry, I thought it would be interesting to have Abrahamowicz represented with a figure in western style dress and equipment. I picked Warlord Games’ ‘Sir Arthur Haselrig’ figure from my ‘pile of opportunity’, to use as the man himself. This figure, sculpted wearing cuirassier armour, looks every bit the part of a well armoured general of the 1620s or 30s. He looks as if he is shielding his eyes from the bright sunlight, and staring in to the distance to study some detail of the battle. This pose looked like it would go well with a TAG dismounted Polish cavalryman that I had, who was posed pointing out some important detail. The two figures together had a nice narrative to their poses, and would also provide both a western and a Polish touch to the base.
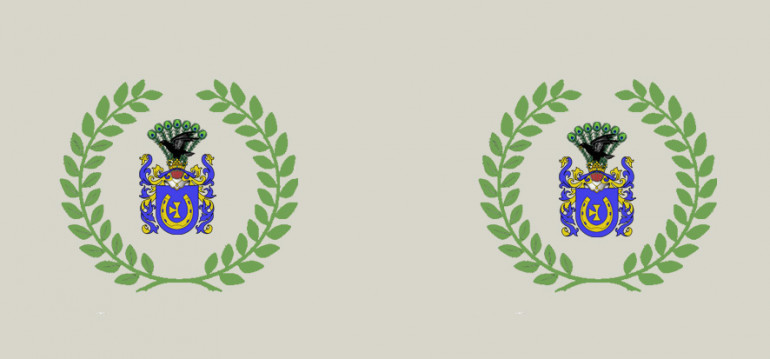
To finish off the base I used a spare Foundry horse to be the dismounted Polish cavalryman’s mount. I also added an 1898 TYW pikemen as an ensign to carry a personal standard for Abrahamowicz. The standard is conjectural and another ‘nod’ to Abrahamowicz’s western influence. The device on the flag is Abrahamowicz’s family crest, the white background representing a colonel’s colour, matching Abrahamowicz’s rank.
The figures were all really nice to paint; and it was great being able to lavish a bit of extra time on a command base like this one. Although the figures are all metal there was very little work required to get them ready for painting. The one bit of ‘fiddling about’ was the reigns on the Warlord horse. The reigns are cast as a single piece under the horse’s head. I could have probably left this, but ended up drilling this single piece of metal to form the two separate reigns.
The resulting base makes a distinct commander for my Polish-Lithuanian forces, and I look forward to getting him on to the miniature field of battle soon.
Note. The idea for Abrahamowicz’s style of dress, and his coat of arms, result from an email conversation with Michal Paradowski of the Kadrinazi blog, and author of two wonderful Helion books on the Polish armies from this period. Thanks to Michal for the great thoughts and ideas, and any mistakes in the resulting base are purely my own!
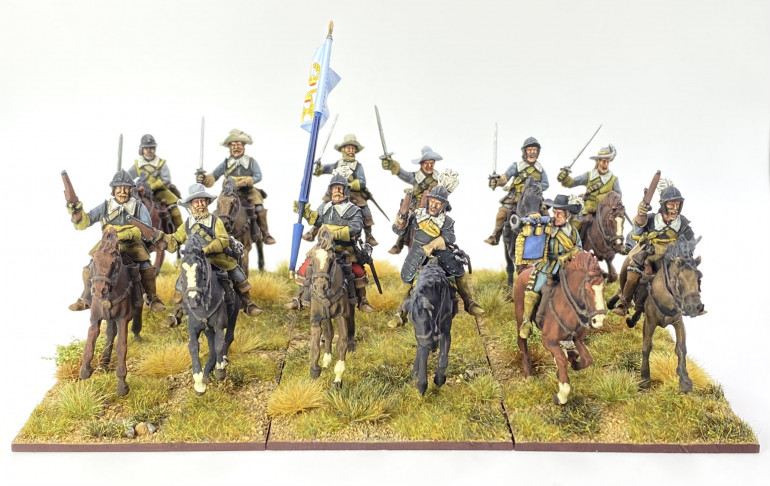
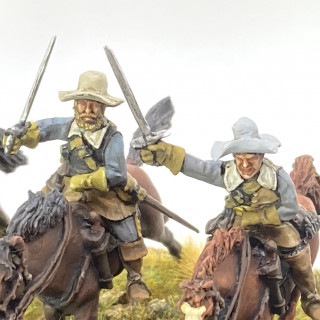
Thirty Years War cavalry from 1898 Miniatures
In this project post I look at the latest Thirty Years War (TYW) release from 1898 Miniatures; the Cavalry.
The post is broadly split in to three parts: a description of the figures, how I found preparing and painting them, and finally the first unit that I have built using the figures. (Eagle eyed observers will notice that this unit is actually part of the enemy army for my Poles, but I’m looking on the project as Poles, and their enemies, rather than just the Poles. ?)
The Figures.
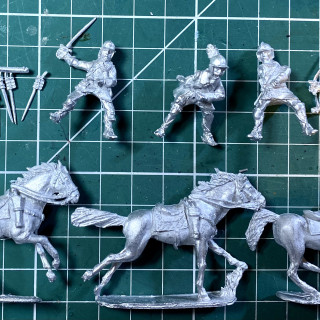
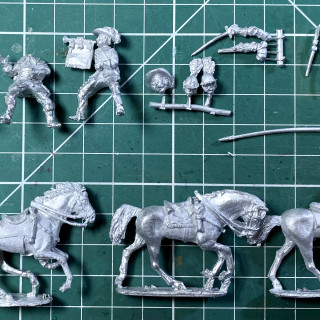
1898 released these cavalry at the end of 2021, adding to their existing range of infantry and generals for the period. There are nine packs in this release that include armoured and un-armoured riders, wearing helmets or broad brimmed, soft hats, holding pistols or swords, as well as a command pack. Each pack contains three different rider figures which means that you have a lot of variety available. There are three different horse sculpts across the rank and file packs, and the horses in the packs with pistol armed riders have one pistol missing from the saddle holsters which is a really nice touch.
The command pack contains an officer, a trumpeter and a cornet / standard bearer. There are head options for the officer and cornet, and arm options for the officer as well.
Each pack includes separate scabbards and carbines to be glued on to the figures. For figures holding their sword the scabbards are empty, and for figures holding a pistol the scabbards have the sword sheathed. Another nice touch.
The riders fit on to the horses very easily with the saddle sculpted on to the horse rather than the rider. The horses themselves are well proportioned with the bridle and other tack nicely detailed on the models. The horses are in active poses either cantering or galloping. In addition to the riders’ animation, this will give a great impression of attacking cavalry.
The resulting figures represent the classic early to mid 17th century harquebusier type cavalry. The rider’s armour is mainly limited to back and breast plates, with the occasional figure having some arm protection as well. Helmets are either of the burgonet or single-barred Dutch pot variety although the helmeted packs include a tiny three-barred face plate that you could add to one of the figures to turn the helmet into a three-barred English pot.
They are modelled wearing a buff-coat although this could sleeved or sleeveless depending on how you paint them. You could of course paint them as wearing riding coats and not buff coats if you choose. Many, but not all, have a scarf/sash, so necessary in a period when cavalrymen of this type looked very similar in all armies.
Figures wear leather gauntlets and have their swords suspended either from a cross belt or waist belt. All of the figures have a cross belt on their right to which you attach the carbines. The figures have powder flasks hanging from this cross belt as well.
The figures retain the sculpting style of the infantry. Nicely sculpted, with lots of detail, and every figure has bags of character. I think they really look the part of figures for this period, and with the variety of different rider figures available, you can make a very varied looking mounted force.
Building and Painting
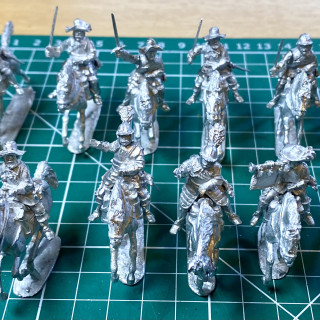
The figures come with minimal chipping and filing required. There are some tiny burrs from the casting process, and minor mould lines to be filed. The metal is the softer style of white metal rather than the stiffer more brittle style of some manufacturers. Some of the horses have only two contact points with the base and so are at risk of bending at the ankles if roughly handled. I haven’t had any accidents with horses actually breaking off the base, which I think is thanks to the more forgiving, bendy metal. Where riders’ right arms were not positioned quite to my liking I was able to gently bend the arms in to slightly different poses.
With at the very least a separate scabbard required to be added to every figure, there is some assembly required. The scabbards can be a little fiddly and so super glue with a spay can activator is definitely your friend at this point. Some figures have a separate right arm that helps add further variety to units and these glue on quite easily.
Once primed the figures are a joy to paint. The detail is perhaps not as prominent as say a Bircorne or Bloody Miniature figure, but I didn’t have any trouble using my normal methods including washing and dry brushing.
My First Unit
With the style of the figures being quite animated and, to me aggressive looking, I thought they would work really well as Gustav Adolph’s Swedish Cavalry. From the late 1620s the Swedish cavalry were adopting a doctrine of being more aggressive and saving firepower to use in close quarter fighting. Gustav Adolph issued orders that the first rank of cavalry should attack with pistols, that were to be fired just before impact, and the second and subsequent ranks were to attack with swords drawn.
With the variety of pistol and sword armed figures available, I decided to have a front rank with pistols and a rear rank with swords. Swedish cavalry were often short of armour and so I had the front rank all armoured, and the rear rank mostly unarmoured.
As part of reducing his horseman’s reliance on firepower, Gustav Adolph also took carbines away from his cavalry units. This would mean I didn’t get to use the nice separate carbines provided for the figures, and also means that the right hand cross belts on the figures are unnecessary. However I can live with this slight oddity that I suspect the majority of people will never notice!
The cornet / standard bearer is provided with a white metal ‘fluted lance’ to carry a flag. I can never get on with white metal pole arms as I find them difficult to keep straight. I therefore replaced this with a Warlord plastic fluted lance. (There is one on every Warlord cavalry plastic sprue and so I have lots of spares!)
I painted the horsemen mostly in sleeveless buff coats and gave them varieties of grey for coats and breeches. Sashes / scarves were painted yellow. There doesn’t seem to be a clear sash colour for the Swedes at this time and so the choice was as much aesthetic as historical. Armour was painted black, and broad brimmed hats were mainly lighter greys that seem to have been favoured by the Swedes.
The unit was finished with a cornet / flag from Mikhail Betski at MB Creation, a supplier I’ve only recently come across, who provides some really nice flags for this period. I used the colour of the flag to influence the colours for the trumpeter’s clothing as unit’s musicians were often expensively dressed by the unit’s officer as part of the military fashion of the time.
In conclusion, I think the new 1898 TYW cavalry figures are a great addition to their range, and a great resource for all those collecting 28mm armies in this period. All of the 1898 figures have a particular style, but will still work well with other manufacturers. I’m really pleased with the unit I’ve built with them and I will be adding a few more in due course.
Whoops - accidental extra entry
Sorry – erroneous entry ?.
Polish Haiduk Command
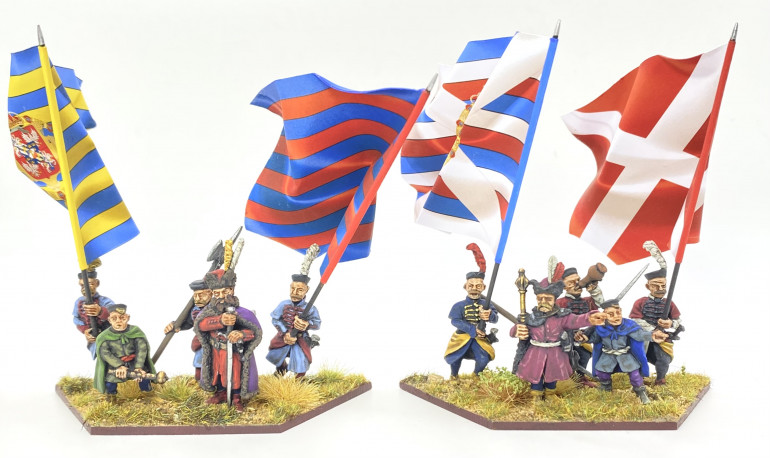
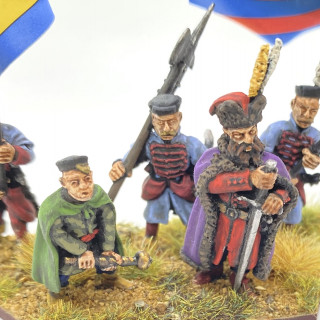
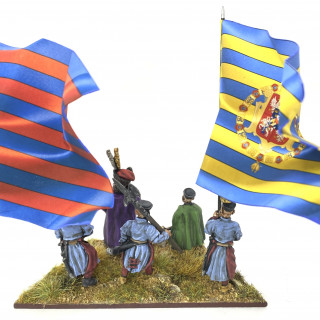
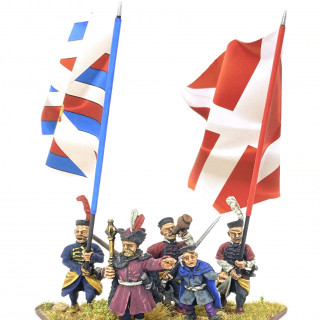
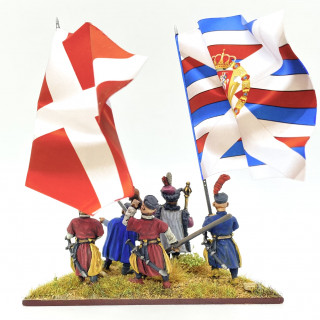
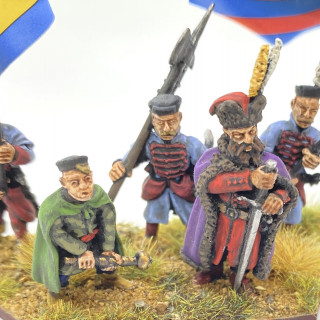
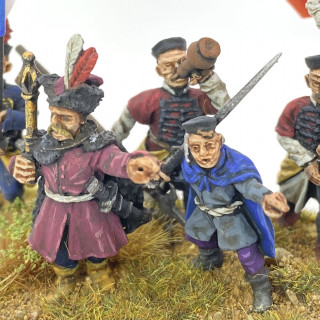
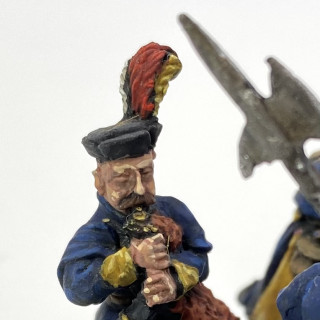
In this latest blog post I tackle some command bases for my Polish early 17th century Haiduks. Units of Haiduks, known as ‘Banners’ were led by a Rotmistrz and included ensigns, musicians and NCOs known as tenth men. I thought that representing these on a base would add some colour to my Polish infantry.
Both Foundry and The Assault Group (TAG) have Haiduk command figures and I’ve mixed these two manufacturers to form two bases.
The Rotmistrz was allowed a servant ‘boy’ on the Banner payroll as an assistant, and servants are frequently shown carrying weapons for officers. Both Foundry and TAG have a boy carrying weapons in their command packs, following the illustration in the Osprey Men-at-Arms on the Poles. The Rotmistrz and his boy were dressed and equipped at the Rotmistrz’s whim and expensive. As a noble we can expect rich clothing, featuring furs for the Rotmistrz himself. The ceremonial mace or Bulawa was a symbol of rank, and a large two handed sword seems to have also been a popular weapon. In one of my command groups the Rotmistrz has the sword and his boy is carrying the his Bulawa. This is reversed in the other group.
As discussed in my blog post on the rank and file Haiduks they were, unusually for the time, uniformed. The ensigns and tenth-men may have had a fancier version of the uniform but I’ve decided to keep with the same colours as the rank and file.
For the flags I have used those distributed for free on a blog here: https://www.anotherminiaturespainter.com/wargames/28mm-polish-renaissance-cossack-flags/ . The blog includes a set that work well for Haiduk units and are inspired by the Stockholm Roll (https://commons.wikimedia.org/wiki/Category:Stockholm_Roll). These are large flags, but match the size of those shown on the Stockholm Roll. The Poles did use flags larger than used in Western Europe, but even if these may be oversized, they will certainly look spectacular on the table!
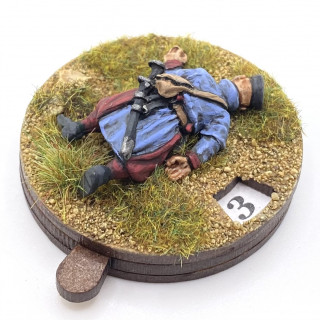
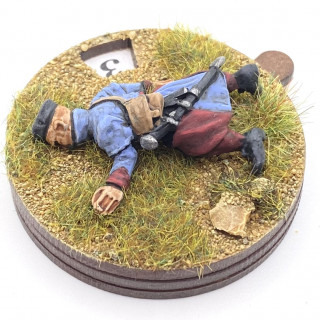
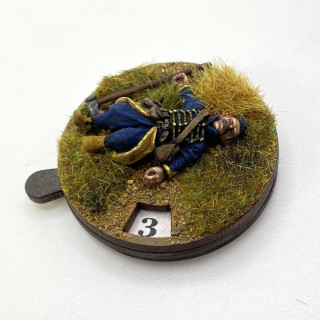
To go with the command bases I also painted a couple of figures to go on Warbases casualty counter bases. The first is an out of action Haiduk, and the second is a slight whim of fancy. I saw this figure for the 1666 game from Wargamer (https://www.wargameruk.com/shop/anno-domini-1666/2) and thought it would be fun to paint. I’m also short of casualty makers for my cavalry units and so an unhorsed cuirassier figure should be just the thing.
More Haiduks!
This project entry looks at the latest unit for my Polish Lithuanian Commonwealth army; another unit of Polish Haiduks.
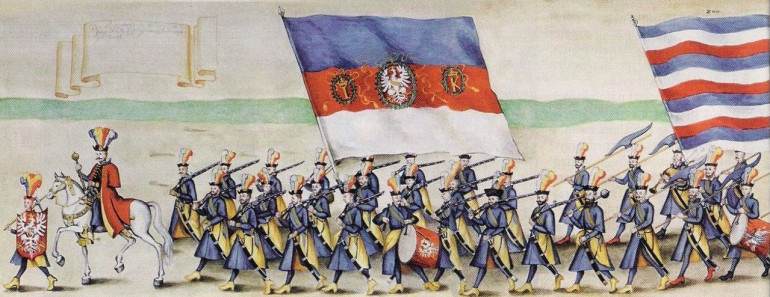
This time I chose a different paint scheme, with this unit being based on a unit of Haiduks in the Stockholm Scroll. This amazing 15m long work of art depicts the ceremonial entry of the wedding procession of King Sigismund III and Archduchess Constance of Austria into Kraków on 4th December 1605. The picture includes many military units, including Haiduks. This needs to be used with caution of course as this is a ceremonial procession and not a battlefield. It is nevertheless very useful. There is a great Wikimedia page with details of many parts of the scroll here: https://commons.m.wikimedia.org/wiki/Category:Stockholm_Roll
This unit of Haiduks on the scroll have a nice dark blue uniform with a yellow lining on the outer coat. The figures in the scroll don’t seem to have braiding on their coats but as my model soldiers do, I have given them braiding in the same contrasting yellow.
I think they’ve come out alright. I’ve added a casualty marker for the unit as well, using one of the handy counter bases from Warbases.
Even More Husaria!
Can you get bored of Polish Winged Hussars? It would appear that I can’t ?.
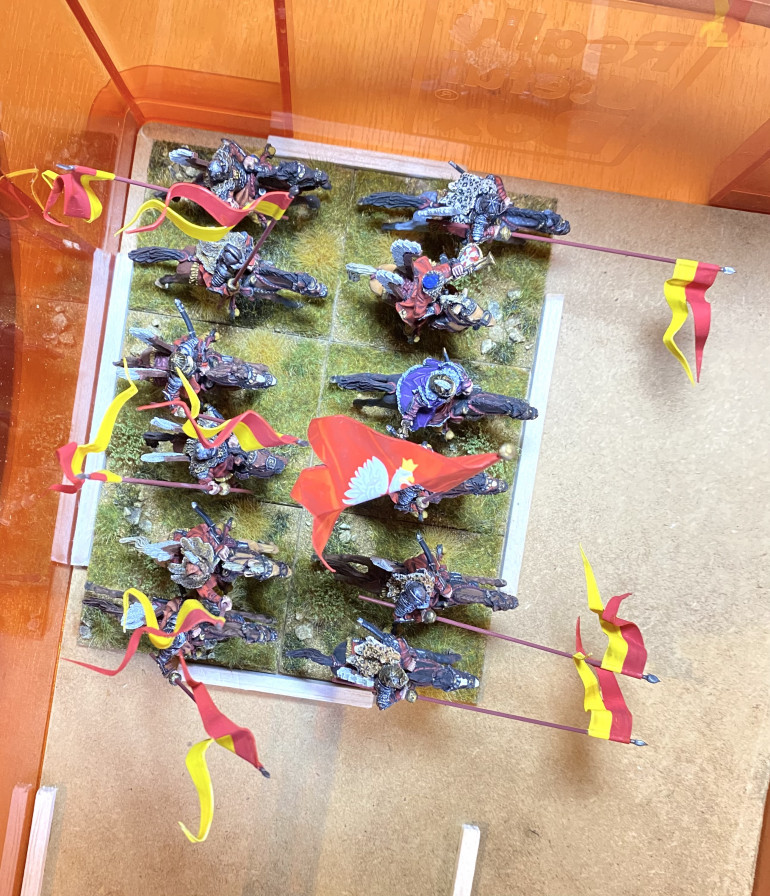
Here is my latest unit. Long term readers of the project may remember that when I started the Hussars for my Polish-Lithuanian Commonwealth army I looked at three different manufacturers: Foundry, TAG and Warlord. I decided at this point that the Warlord figures looked a bit later than 1620s period that I was aiming for, and were perhaps more suitable for the 1670s onwards. The units I’ve used so far have been from Foundry and TAG. Well, the thought of that box of Warlord Hussars sitting in my lead mountain had been a niggle in the back of my mind. Then the box was inexplicably joined by another! (Thanks, Phil!) This was too much to bear, and so I decided that I had to paint up a unit with the Warlord figures.
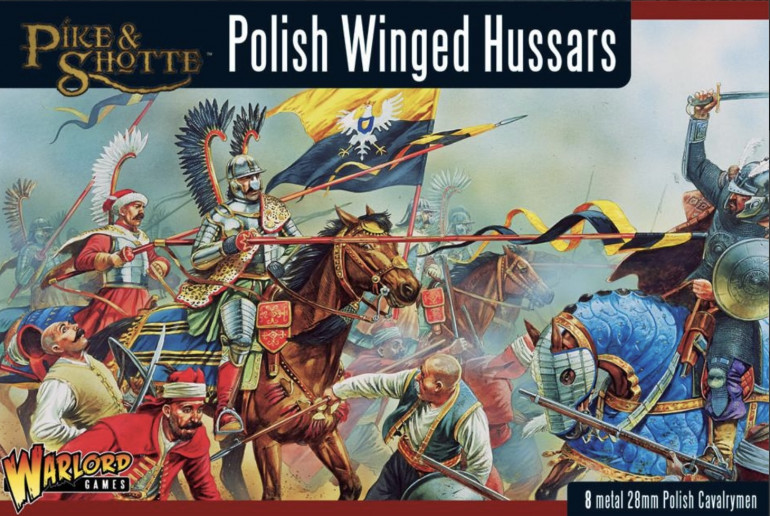
So here is a quick run down of the Warlord Games, Polish Winged Hussars box set. You get eight metal riders and eight metal horse figures in a box. As I form my cavalry in units of 12 figures I needed two boxes to make a unit, and of course three boxes will allow me to make two units!
As I noted before, the Warlord figures are in very dynamic poses. There are four different horses, all in different states of galloping forward. One of the horse poses looks a little odd to me, but once ranked up with the others it is fine. The horses all have nice ‘fancy’ horse furniture, befitting these noble units, and have pistol holsters and the long koncerz type sword on the left side of the saddle.
There are six poses of hussars with lance, two at the charge, and the rest in various more ‘lance upright’ poses. There is also an officer figure, with two options for his right hand; either a sabre or a bulawa (a ceremonial mace). Finally there is a trumpeter. One of the lancer models can be used a standard bearer.
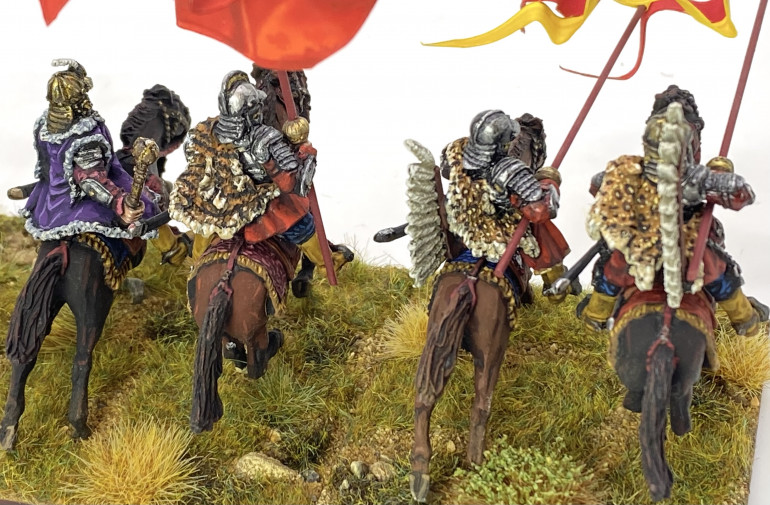
The figures come with a nice selection of separate wings, also in metal. There are three different designs, all of which are probably of the later types of design in which they curve forward. The hussar figures have been sculpted to allow one or two wings to be added either to the riders back, or to rear of the saddle. Wings attached to the rider’s back seem to be later and final design for carrying wings. I chose to use the wings mounted to the rear of the saddles, that are moulded as part of the riders. I avoided using the most curved wings, and also used some shorter, straighter wings that I had in my stash for a bit of variety. By using the less curved wings, and by saddle mounting them, I was in my mind at least, giving the hussars an earlier look. The hussars armour still gives them a look that suggests to me, later than the 1620s.
Warlord provided nice brass 80mm long spears for the lances. Hussar lances included a ball shaped hand guard. To represent this Warlord provide some small metal ball shaped hand grips in the set. These come with holes drilled through them which allow them to be mounted on the brass spears. This is a lovely touch and I have used this approach for all of my previous units of hussars.
With the variety of horses and riders, all in dynamic poses, fitting everything together took a bit of time. This allowed for some experimentation and a small bit of filing and filling to get riders and mounts to fit neatly, with wings added to the saddles. As I wasn’t using the back mounting points for the wings these needed to be filled with some green stuff. I also made sure that the riders who would be carrying lances had their right hands drilled out, although I would fit the lances later after painting.
Despite having the riders and mounts matched, I painted them separately. This requires a numbering system on the paint ‘handles’ to help match the correct riders to the correct mounts after painting. The figures were really nice to paint with lots of crisp detail. The horse tack is suitably fancy, and the hussars’ armour is also covered in a lot of detail. My humble skills could only go so far with this, but there is plenty of detail there to satisfy a really keen painter.
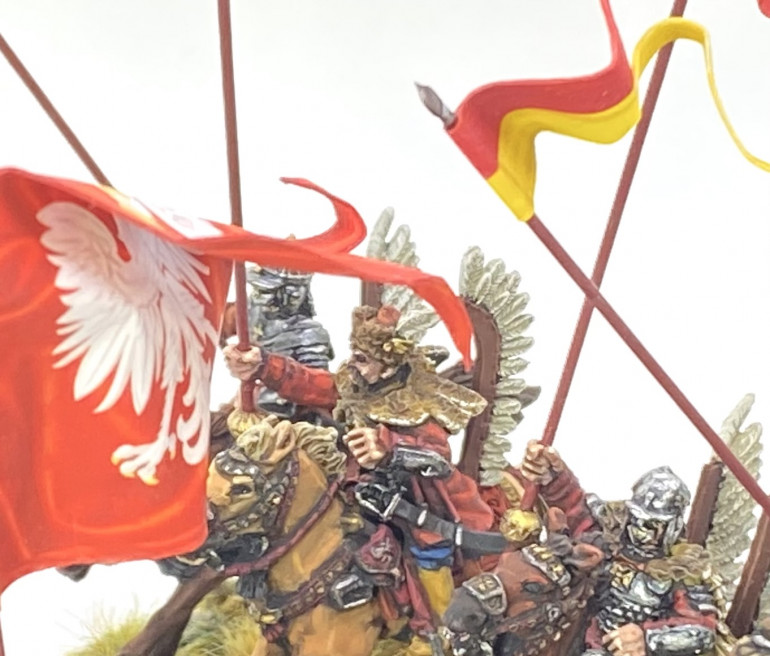
I glued the riders to the horses after they were painted. Before adding the lances I painted the lances and added the lance pennants. These are from Flags of War and the cavalry standard is from a set of free downloads on Jose Manuel Chasco’s site (see here https://www.anotherminiaturespainter.com/wargames/28mm-polish-renaissance-cossack-flags/). Warlord provide pennants and a flag as part of the information leaflet in the box, but I had already used the design they provide on a previous unit and I wanted these to look different. With the lances on the figures it was time for my regular basing.
I am really pleased with the finished unit. Despite the button-counter part of me knowing these look a little late for my 1620s army, they may sneak on to the tabletop to join their earlier comrades; they’re just too nice not to use!
“Bring on the Empty Horses!”
This project entry looks at providing riderless horses for the dismounted dragoons that I covered in my previous post.
[Note. The title of this blog post is taken from David Niven’s autobiography. During the filming of the 1936 version of The Charge of the Light Brigade, starring Errol Flynn and David Niven, the director shouted this memorable phrase when he wanted the riderless horses brought in to the scene of the charge itself. Ever since learning about this, our club has always referred to the riderless horses, used to represent dismounted dragoons and cavalry, in this way. ]
My previous project entry covered James Butler’s dragoons, a unit in my Polish Lithuanian Commonwealth army for the 1620s. These were foot figures and I needed something to help represent them as dragoons. While dragoons typically fought on foot, I think it looks better to have something on the table top to show that they have mounts as well.
The most fool proof approach would be to have a mounted version of the unit, a dismounted version, and set of riderless horses. I have done this for previous units of dragoons but I have found that swapping the mounted unit off and back on to the table, as the dragoons dismount and remount, is a complete faff. Typically, after doing this for the first time in a game, the mounted unit gets left off the table and some other convention is used to indicate if the unit is mounted or dismounted. Adding to this, I struggle to think of a game in which my dragoons have remounted during the action.
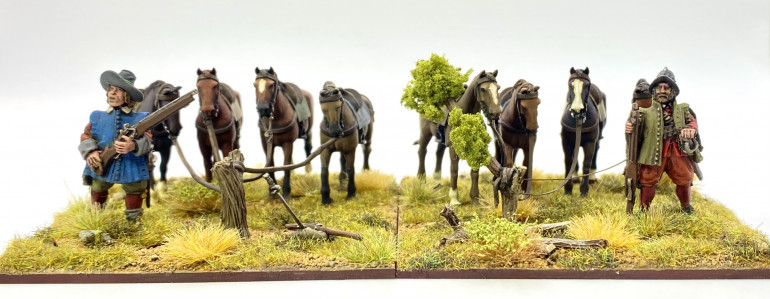
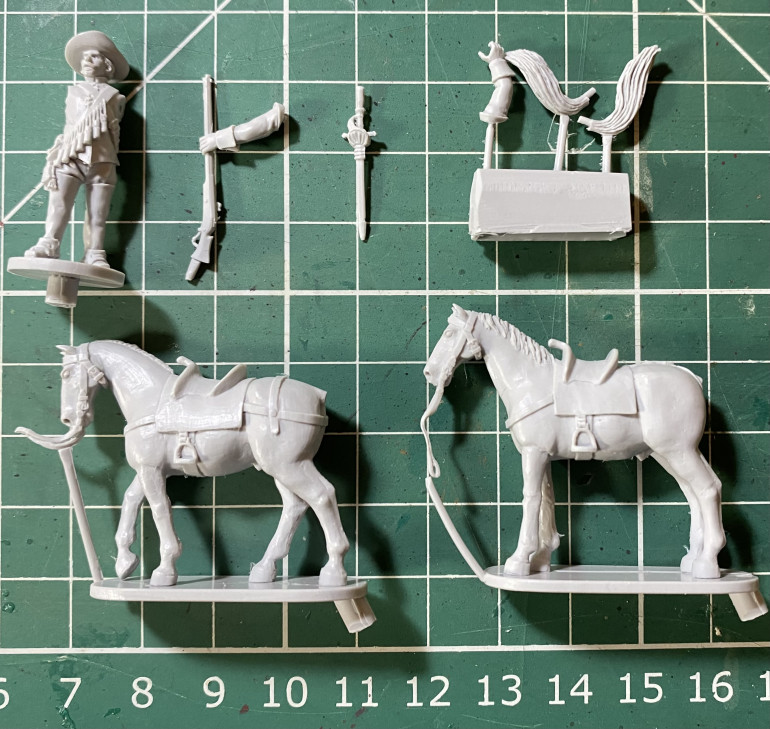
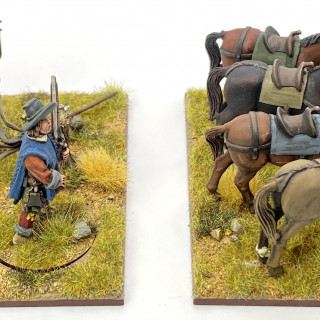
On this basis, for Butler’s dragoons, I have decided to just provide riderless horses to indicate the unit of dragoons. These riderless horses are from Avanpost (https://www.mezzersminis.co.uk/product-page/21-081-dismounted-dragoon-horse-holder). They are sold in packs of two horses with a dismounted horse holder.
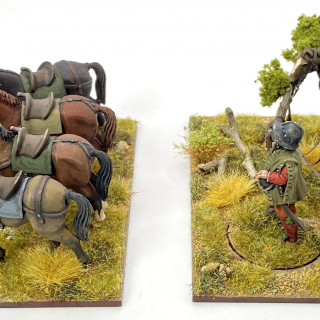
I have chosen not to use the Avanpost horse holder minis, but instead used figures from the Bloody Miniatures range; the same used for the rest of the dismounted dragoon unit. For my riderless horses I have decided to use 8 horses and 2 horse holders. This is enough to give the impression of a set of riderless horses, held ready for the dragoons to remount at a moment’s notice.
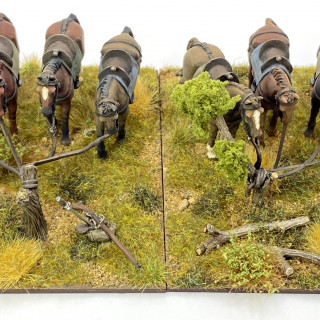
I gave myself two additional challenges. First, I wanted to be able to swap out the horse holder minis, and so be able to use the riderless horses in other situations. Secondly, I wanted to model how the horses were tethered.
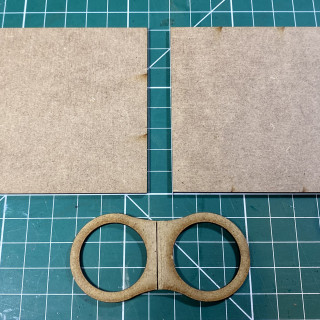
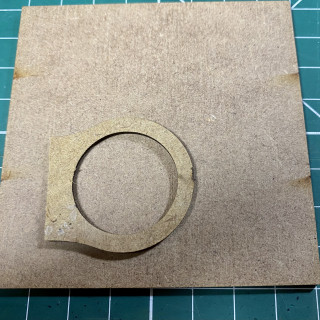
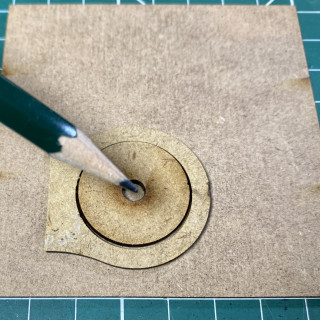
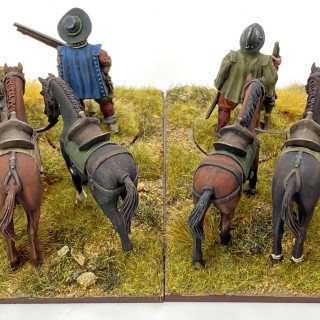
I used two 8cm square bases (2mm MDF from Warbases) for the horses, with 4 on each. On each base I added part of a top piece from a Warbases basing tray, the same dimensions as my dismounted dragoon figures’ bases (UK 2 pence piece / 2p). Using one of the Warbases’ 2p sized MDF bases with magnet holes I marked where a matching magnet hold would need to be in the 8cm square base and drilled a 5mm hole there. I then added a magnet (checking that the polarity would match the figures’ bases, of course!) to the square base. This provides a single figure base tray / sabot for a suitable horse holder figure that is also magnetised to stop the figure accidentally falling off the base.
I realise that this is an entirely unnecessary step as I could have just permanently stuck a generic horse holder figure to each base, but is was relatively straightforward to do, and it satisfied my desire to get the most use out of painted figures.
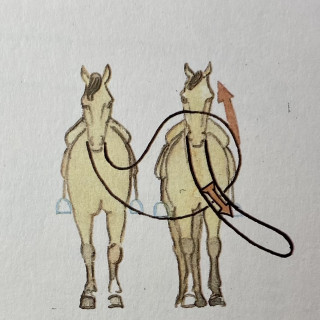
For the tethers I had two solutions. When 17th century dragoons dismounted the horses’ reins would be passed to the men designated to stay with the horses, and so the horses in all likelihood would be tethered using their reins. The Avanpost figures are modelled with their reins loose, in front of them, but these were too short for my purposes and, being very thin resin, incredibly delicate. I therefore removed them and replaced them in two ways.
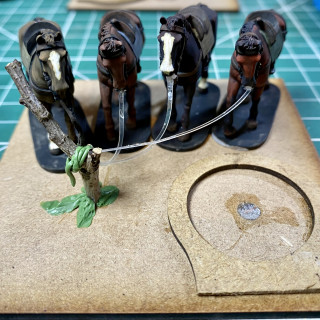
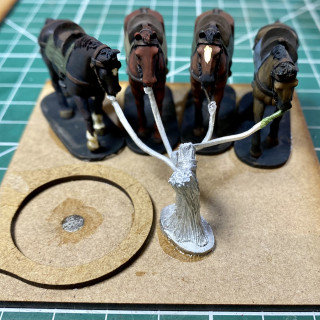
The first was to use a white metal piece that comes with the Warlord Dragoon set. This has four sets of reins, all tied to a tree stump. I only had one of these in my spare parts box, and so for the other four horses I made the stump from a garden twig, and the reins from thin pieces of plastic packaging. Once the stumps, with reins attached, were glued to the bases the other ends of the reins were glued to each horse’s bridle.
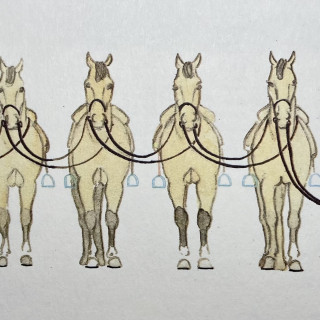
Historical note. Looking at Wagner’s European Weapons & Warfare 1618-1648, it’s possible that the loose horses’ reins were looped through the next horses reins in a daisy chain effect with the last set being held by the dismounted horse holder. Wagner notes that this made separating the horses a laborious process as each horse could only be separated one at a time. I decided this would be tricky to model and so I have used an approach with each horse’s reins tied to a handily placed tree stump.
The final bases are now ready to follow Bulter’s dragoons on the battlefield. I shall use them facing forward to represent the dragoons mounted, and facing to the rear to represent the dragoons dismounted. I am sure the bases will also come in handy for other occasions when the cry of “Bring on the empty horses!” is heard across the miniature battlefield.
What the Butler Recruited
This project entry looks at another new unit for my 1620s Polish Lithuanian Commonwealth army, a unit of dragoons.
Background
European armies in the early 17th century began to experiment with mounting units of infantry to improve their mobility and therefore their ability to support their army’s cavalry. The experiments were successful, where the mounted infantry were equipped with muskets, and the dragoon as a troop type was born. They were able to dismount and provide fire support to the real cavalry and, off the battlefield, they were well suited to the typical activities of the ‘small war’; raiding, scouting and garrisoning outposts.
Polish armies were no exception and in the 1620s they were starting to form units of dragoons, typically recruited from foreign troops, and sometimes converted from existing infantry units into dragoons. Dragoons use on and off the battlefield required smaller, flexible sizes of units, and so just a few companies of infantry may be converted to dragoons rather than larger formations.
James Butler
The unit of dragoons I decided to collect was that belonging to James Butler, as it is likely that they were at Dirschau/Tczew in 1627. James Butler was an Irish noble who had been fighting in Polish service since at least 1617. He seems a fascinating character. (Short bio here: https://www.st-andrews.ac.uk/history/ssne/item.php?id=6450 .) He was an experienced, and successful, officer who was well connected in England and Ireland, as well as in the Commonwealth, and it appears he recruited at least some of his men from England and Ireland. His dragoons were formed from some of his existing ‘foreign’ infantry companies.
Dragoons seem to have had a reputation, at least among the more puritanical in England, as being too often tempted in to ‘plundering and ungodliness’. I suspect this reputation may be a result of dragoons often being quartered away from the main army with its commanders, and also due to their function often being the disruption of the enemies supplies.
Based on this I wanted my unit of Butler’s dragoons to look like they have been living off the land and what ever they can ‘acquire’. Also to look like they are following their own whims of personal comfort, rather than being uniformed. As they are treated as skirmishers in the Pike & Shotte rules, a good variety of poses would also be required to represent the dragoons defending some outpost or attacking the enemy rear areas.
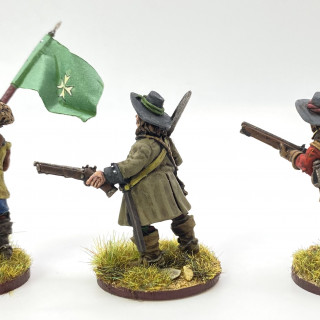
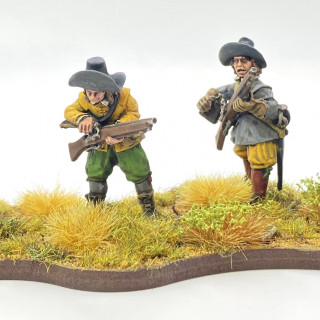
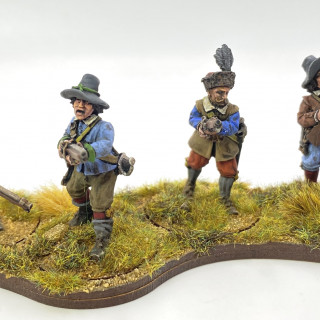
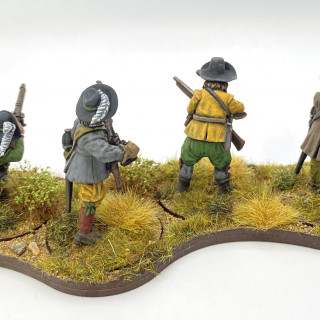
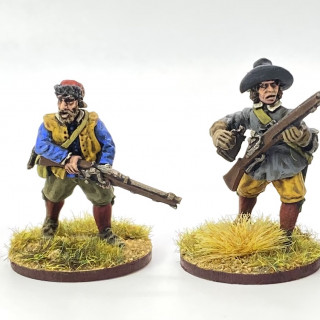
All of these requirements fitted neatly with the latest release of figures from Bloody Miniatures. This second release includes a couple of sets with muskets (Game Keepers and Sentinels) and also a set of desperate and dangerous looking Mossers (Moss Troopers). With the addition of a few figures from the original release, I had my 12 figures, including command, as well as a couple of horse holders (more of them in the future).
I also decided to do some head swaps to add a Polish feel to the unit. Although these men would have been recruited from foreigners I rationalised that a few items of Polish headgear could have made their way in to use in a unit that sometimes had to operate, and fend for themselves, away from the main army.
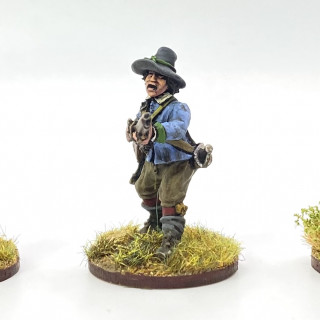
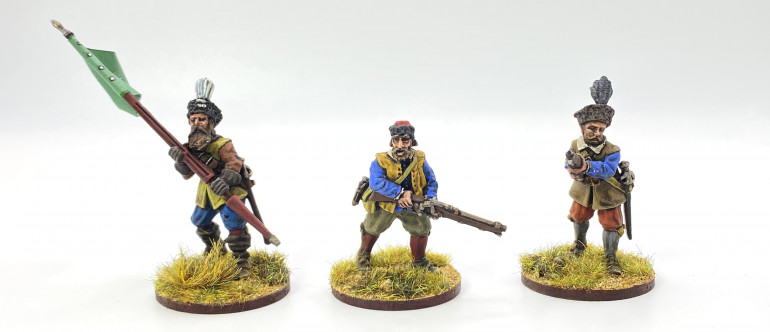 Three figures with head swaps to give a flavour of troops fighting in Poland. (Any likeness between the Cornet and a certain bearded member of the OTT crew are purely coincidence!)
As desperado dragoons were certainly not going to be uniformed and so
I was able to fully explore my paint racks in deciding on colours in which to clothe each figure. They’ve also been given a fairly grubby appearance to suggest they’ve been on campaign for a while.
The command figures for the unit include a Cornet (flag bearer) carrying a dragoon guidon. Sadly Butler’s foot and dragoons don’t have any known flag designs. I’ve used an example that is possibly from an unknown Polish dragoon unit (see https://www.helion.co.uk/military-history-books/despite-destruction-misery-and-privations-the-polish-army-in-prussia-during-the-war-against-sweden-1626-1629.php?sid=d20622fac8e2f6ae07608fbfa93e14e3 ). I’ve also included a drummer, with a handily slung drum, that will help him get about when mounted.
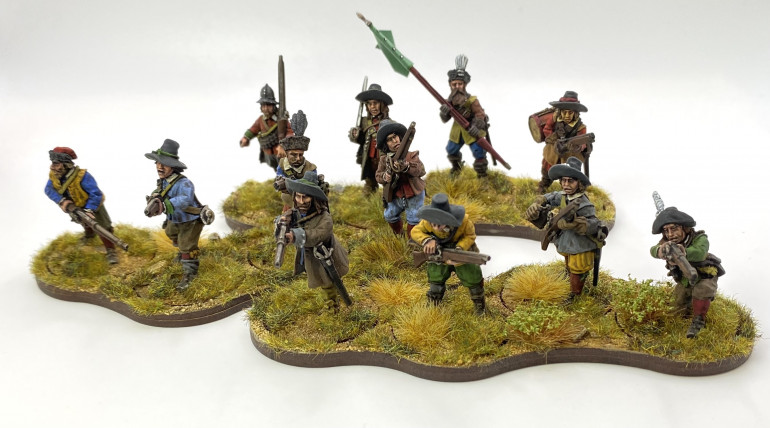
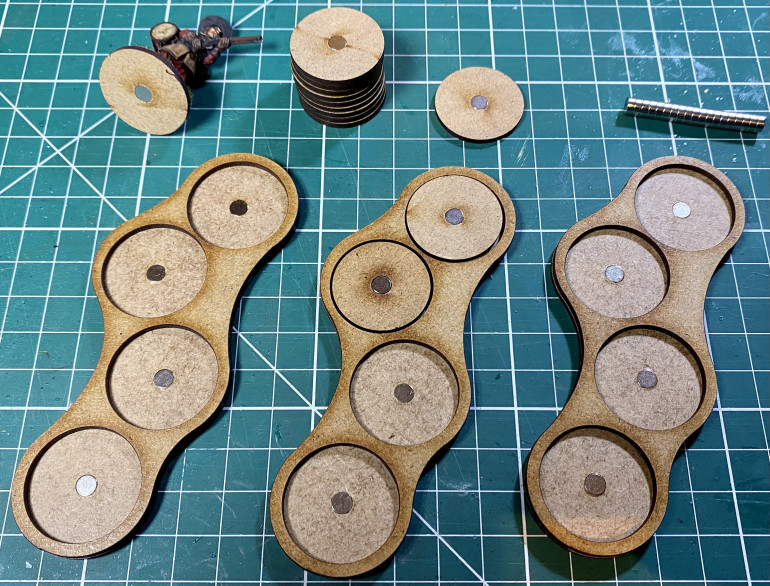
They are based individually so that they can act as skirmishers in Pike & Shotte and this will also give me the opportunity to use them in skirmish games like En Garde or Pikeman’s Lament (both by Osprey Games). I used to use 2 pence pieces for individual bases, but I don’t seem to get much loose change anymore, and so I’m switching to 2 pence size bases in MDF, produced by Warbases, which have a hole in them for a magnet that will help with storage. I’ve also bought some movement trays from Warbases to make it easier to move the Dragoons around the battlefield. These also include magnet holes which should help keep the figures on the trays.
At this point I suspect some people might be saying “This is just a unit of infantry, where are the horses?”. Good point. You’ll have to wait to next time for my cunning plan to be revealed!
Until next time,
Andy @ The Friends of General Haig
A golden but-but-ding!
Absolutely wonderful to have received this Golden Button for the project! Many, many thanks to the OTT and COG crew ?. There is still a lot more to come, with this project, and the button will definitely help to keep me motivated.
Still going - Polish Haiduks
In this project entry I cover a new addition to my Polish-Lithuanian Commonwealth army, a unit of Polish Haiduks.
My painting progress over the summer and autumn has been almost nonexistent and so I am really pleased to be back in the saddle, so to speak! Hope to be getting some oomph back in to this project.
Haiduk (or Hajduk) was a term used in this period for native Polish and Hungarian infantry. They were armed with muskets and provided fire support to the cavalry arm in open battles, as well as providing the ability to hold fortifications, or indeed assault enemy fortifications. Along with their firearms they were equipped with sabres and hand axes, which they used when involved in hand to hand melee. They were typically uniformed, and their coats (called a zupan) were usually lined in contrasting colours. The Haiduks therefore provide a distinctive and iconic part of any Polish force, and I have been looking forward to getting some of these on the painting table since I started my Polish army.
The Polish infantry were recruited, like the cavalry, through the issuing of a commission to a Rotmistrz. The Rotmistrz had to recruit the required number of men as instructed in their commission, and they typically did this in their own home region, looking for volunteers amongst the townsfolk and peasants. The infantry were formed in to banners (companies) with a set of officers, and each tenth man was armed with a long axe or halberd. These tenth men acted as NCOs, directing the rank and file, and were also meant to act as a defence against cavalry with their pole-arms.
My 28mm miniature Haiduks have been recruited from Wargames Foundry and The Assault Group (TAG). Like their Hussars, the Foundry Haiduks are a very old range, and so a little on the short side being closer to 25mm than 28mm, but they fit in ok with TAG to my eye. The details on the Foundry figures hold up well; all part of the Perry sculpting genius!
As well as a tenth-man with his halberd, I have also added a drummer to the unit. Various types of musicians are shown in Haiduk units including fifers, pipers and drummers.
This first unit is painted up in one of the most common colour combinations shown for Haiduks in this period; a lightish blue coat with deep red lining. I want to acknowledge the fabulous painting tutorial by Sonic Sledgehammer that I used as inspiration for this unit, after I saw Troy painting a TYW Bavarian musketeer in just the shade of blue I wanted to use (see the tutorial here: https://youtu.be/ZqpHAV_A1U0).
I plan to add a few more units like this to the army, and also some separate command bases. The Stockholm Scroll (https://commons.wikimedia.org/wiki/Category:Stockholm_Roll) shows a number of Haiduk units, with a variety of uniform colours and I hope to represent these with the future units.
Until next time!
Andy @ The Friends of General Haig
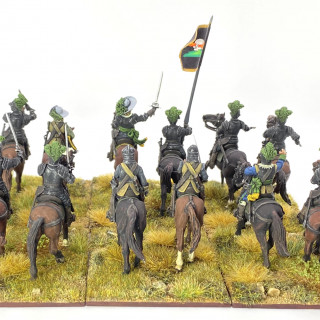
Åke Tott’s Cuirassiers - Part 2
In this entry I get on to painting the Avanpost Cuirassiers.
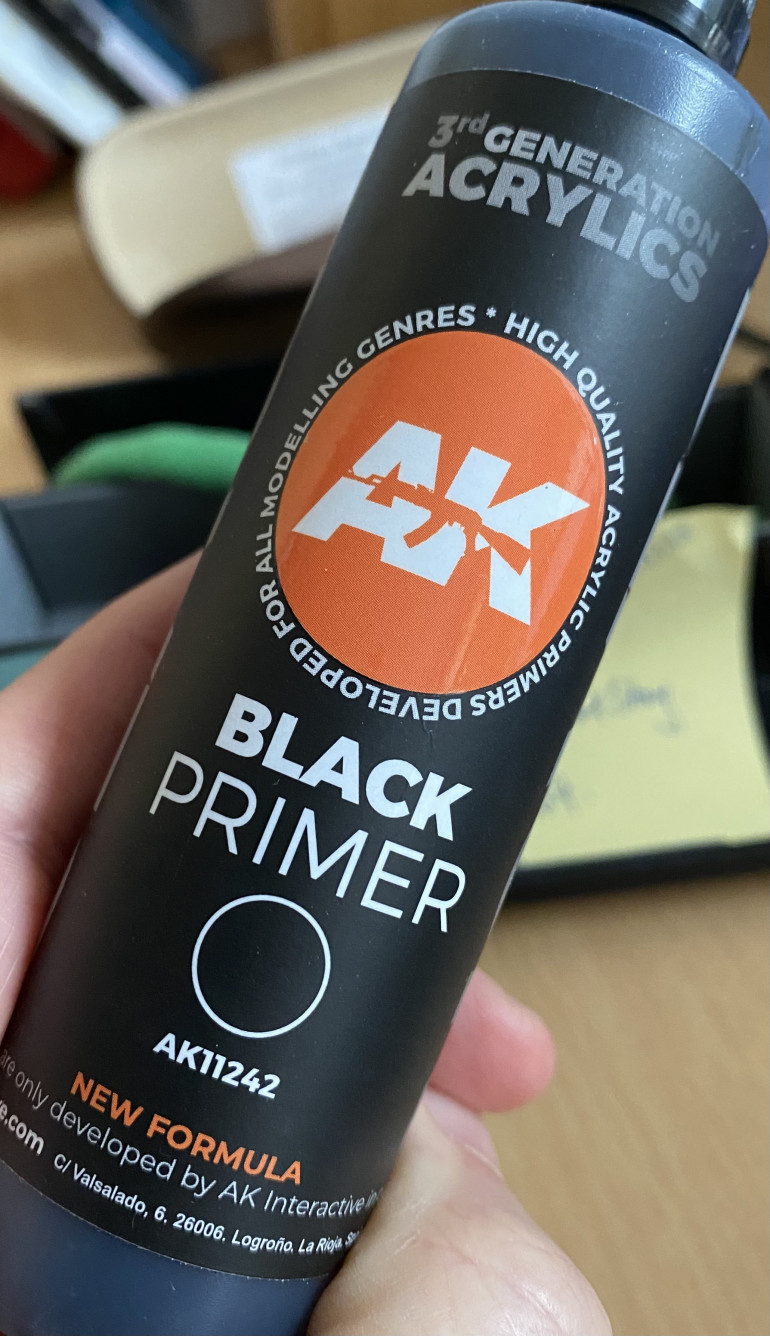
As the weather was wet I couldn’t spray prime the figures outside, as I normally would, and so I primed the figures by brush. I typically use Humbrol Enamel paint for brush priming as it gives a really good base to paint on top of. In an attempt to have an easier to use product (i.e. you don’t need to clean the brushes in white spirit!) I have been using this product from AK Interactive and it works really well – very matt and good adhesion to the figure; metal, plastic and metal.
Åke Tott
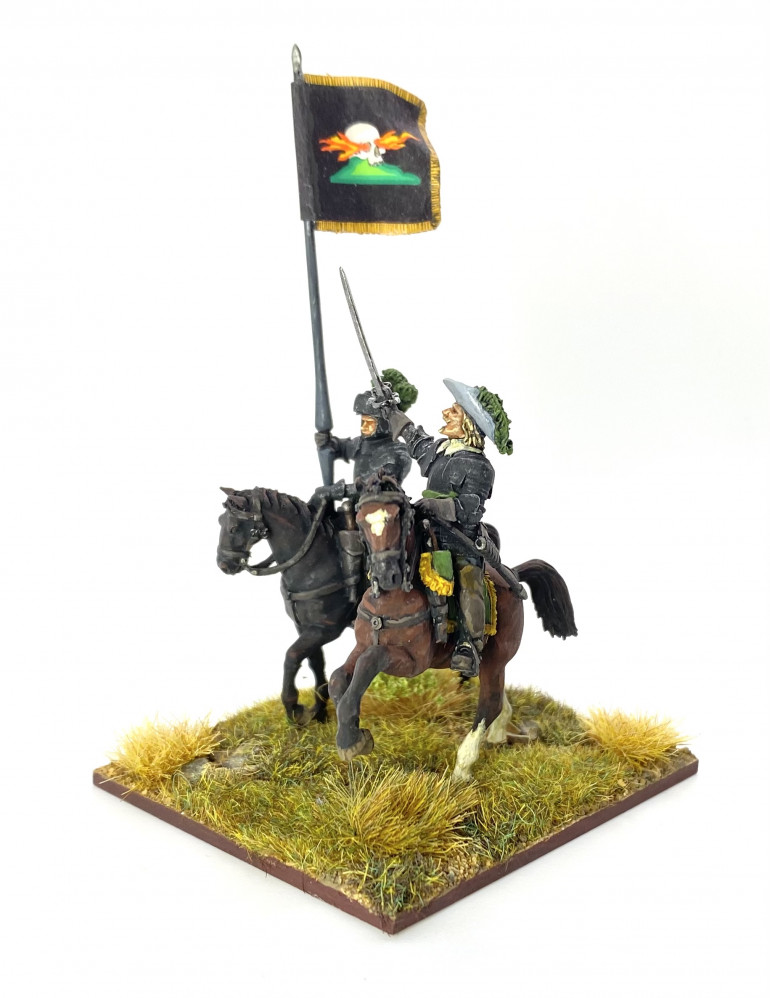
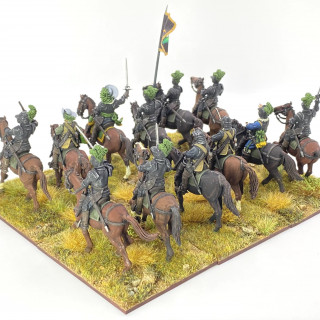
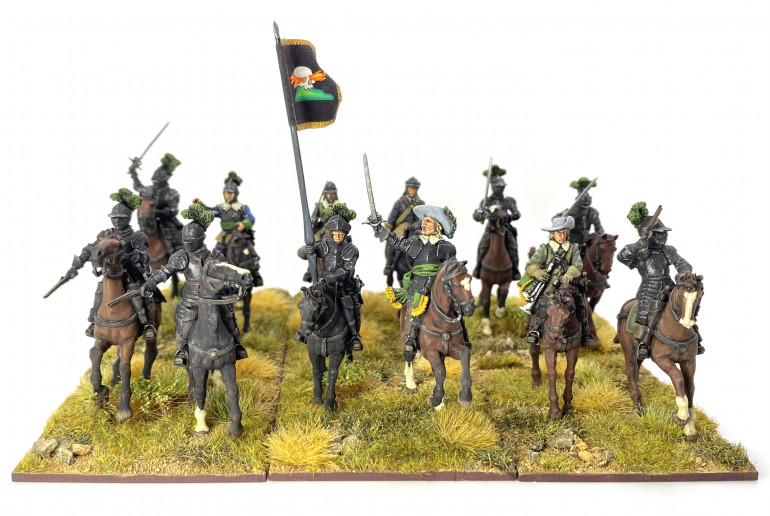
After painting a few brightly coloured units I decided to paint this unit as a complete contrast. Swedish (and German) troops’ armour was typically blackened in this period, to protect the metal. I therefore kept everything else on the figure also in very dark tones. I think this gives the unit an ominous look. For a cavalry standard I chose to use one that is attributed to Ake Tott’s regiment.
As his name could be interpreted as ‘death’ in German, Ake Tott played on this theme with his regiment’s standards, using a black field and a skull motif. Who doesn’t want a flag with flames bursting from a skull’s eye sockets?! The flag is from Flags of War.
Here is the completed unit:
Conclusion
These Avanpost figures were an absolute joy to paint; such crisp detail and beautifully sculpted figures. I’m not sure that I would mix the horse figures with other manufacturers in the same unit, but I have used the riders in the same unit with Warlord, Perry and TAG. I enjoyed this unit so much that I have ordered another unit’s worth from Mezzer’s Minis.
Some more close-ups.
Next time will be back to the Poles!
Åke Tott’s Cuirassiers - Part 1
A slight detour for my project this time. Rather than the Poles themselves this entry focuses on a unit of the Pole’s adversaries in my Swedish army; Åke Tott’s cuirassiers.
I was inspired to create this unit after seeing the new cuirassier figures from Avanpost Miniatures (available from Mezzer’s Minis in the UK link). I’ve written before about the superb detail on the Avanpost figures and these cuirassiers are no exception.
History
Cuirassiers were the supreme shock troops in many armies in this period. Encased in three-quarter armour, riding large horses, and armed with swords and pistols, they were fearsome opponents on the battlefield. As the Swedish king, Gustav Adolph, built up his army in the 1620s he decided he needed more of these heavy cavalry in his forces, particularly when he had to face the dreaded Polish Hussars. By the battle of Dirschau in 1627 there were several companies of cuirassiers in the Swedish army, although how complete their armour was is not clear. It is not uncommon in this period for a unit of cavalry to be raised as cuirassiers, but for them to be missing parts of the armour expected for cuirassiers. This may be because the armour wasn’t available, or because the troops ‘lost’ those elements that were uncomfortable to wear over a campaign.
I’ve chosen to represent this unit with a fair proportion of figures in the classic cuirassier three-quarter armour, but one or two figures, relegated the the rear rank, are less armoured perhaps representing newer recruits.
Avanpost Miniatures
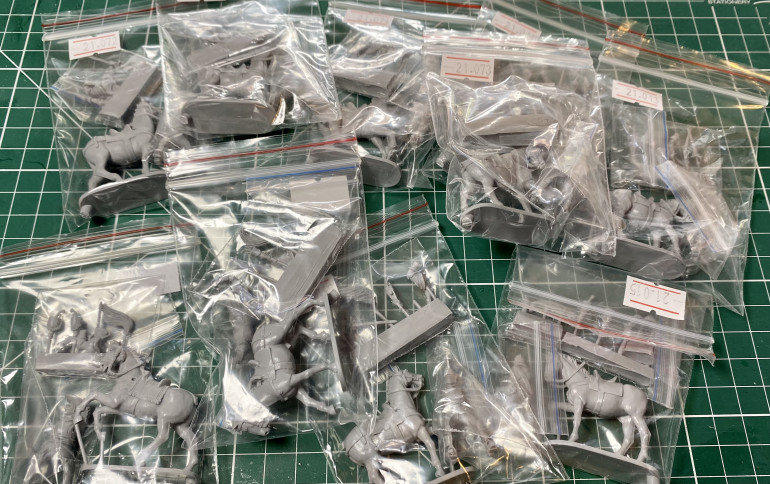
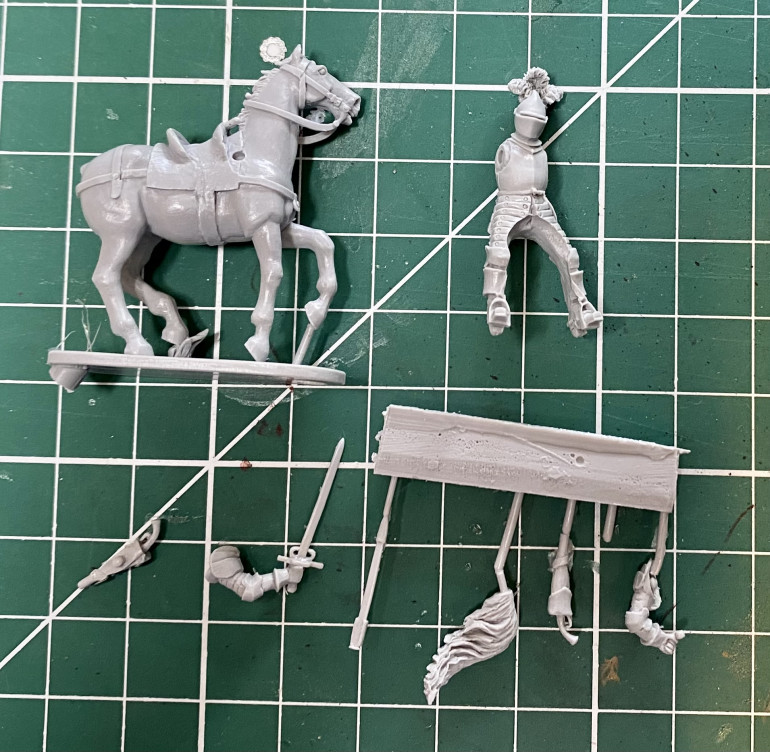
The Avanpost figures are bought individually and each comes in a small zip lock bag. Most require some assembly; typically arms and scabbards. You can see in the picture the typical contents for a bag.
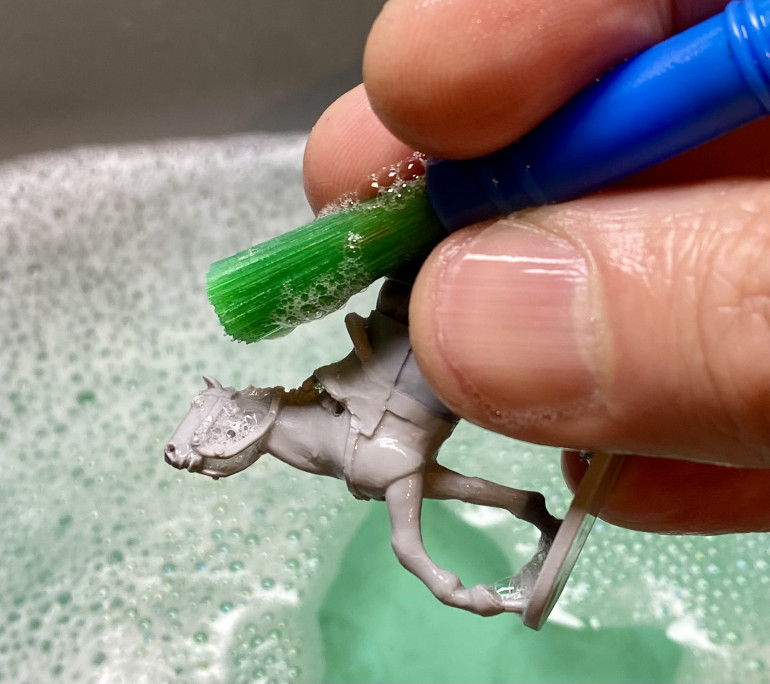
I would recommend giving the resin figures a wash in warm soapy water to get rid any residue from the production process. I used a large, child’s paint brush to make sure I could get in to all of the nooks and crannies as well as being gentle with with the thin resin pieces. You need to be gentle with the swords and scabbards in particular.
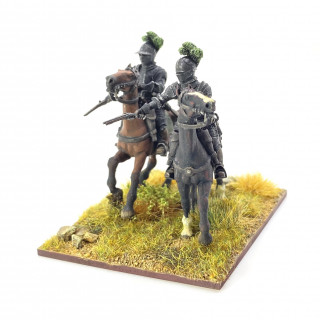
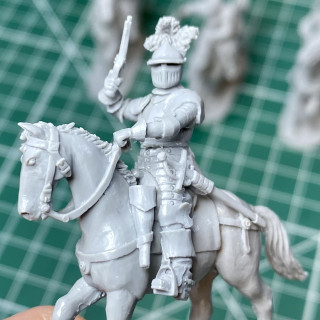
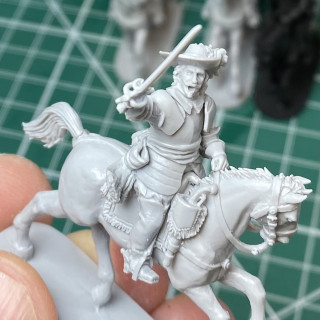
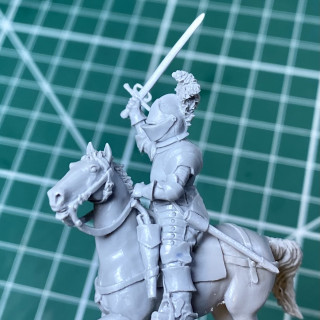
Once washed, and dried on paper towels, the figures are very easy to assemble using small amounts of super-glue. There are not many options for varying pose without resorting to scalpel and putty, but as there is a good selection of different figures available, this isn’t a problem. Here are a few of the figures made up.
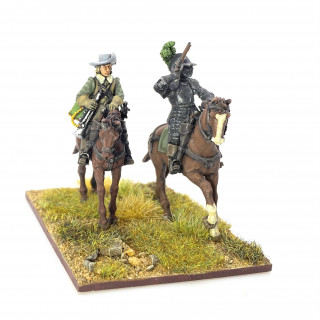
Avanpost don’t currently offer a trumpeter figure so I added an arm from the Warlord plastic Pike and Shotte cavalry sprue that is holding a trumpet, with a smidge of green stuff to match the figure.
In Part 2 I will cover finishing off with some paint.
Polish cossack cavalry - part 2
This entry concludes my building and painting the first unit of Polish cossack cavalry for my 1620s Polish Lithuanian Commonwealth army.
As well as the horse trappings (see last entry) I also use the nail art stickers on some of the figure’s bow and quiver cases. These were also typically ornately decorated, so the added stickers helped to jazz them up a bit.
The downside with the the nail art stickers is that they are relatively thick glossy plastic. Too tough for Micro Sol etc. to break down. I applied them after gloss varnishing the figures to provide a flatter surface for the stickers to adhere to. I gloss varnished again to seal them, and then a matt varnish as a final finish to the figure. Some have worked better than others. Overall I like the effect, and will be trying it again. These may also work as a guide to help painting the design on to the figure, and I will be trying this next time. They’re relatively inexpensive so if you need to add some fancy designs, and don’t feel your free-hand paint skills are up to it, then I suggest you give them a try.
Here is the finished unit. The flag is from from the Battle Flag Polish cavalry sheet.
Next on the painting desk is a unit for the opposing army, Swedish cuirassiers.
Polish cossack cavalry - part 1
This entry covers a new light cavalry unit for my Polish-Lithuanian Commonwealth army of the 1620s; Polish cossack cavalry.
The stunning ‘Winged’ Hussars did not make up all of the army’s cavalry. They were supported by lighter equipped cavalry referred to as cossack cavalry, as well as by cavalry equipped in a Western style. In this post I will cover a little bit of historical background, the figures I used for the unit, and a technique for adding fancy patterns to the figures.
Note. To hopefully clear up the use of the word “cossack”. Here (with a small ‘c’) I am referring to the term used to describe the lighter class of cavalry, fighting in native Polish style, and not the ethnic Cossacks (with a capital ‘C’) who were a semi-autonomous people living in what is now the Ukraine.
Historical Background
The Polish cossack cavalry were recruited in the same manner as the Hussars; a commission was issued to a ‘rotmistrz’ (captain/colonel) to raise a ‘banner’ (company) of cossack cavalry and he in turn recruited Polish nobles to the unit. Each noble would bring one or more retainers that together with the nobles made up the banner of cavalry.
They acted as both medium cavalry on the battlefield, providing fire support to the heavier hussars, and as light cavalry during campaigns, performing the classic scouting role. Their primary armament in this period were firearms, typically a carbine. This allowed the cossack cavalry to provide mobile firepower on the battlefield, and was also useful in their light cavalry duties, fighting in the typical smaller actions and skirmishes of any campaign. As well as their carbines they also carried the ubiquitous sabre, a required item for all nobles and soldiers in this period. The horseman’s pick was also a popular weapon among nobles in this period as were bows. Bows may appear an unnecessary item for cavalry equipped with firearms, but many period illustrations show cavalry equipped with both firearms and bows. It seems that bows were as much a fashion item as a functional weapon, and something seen to emphasise the bearer’s martial nature.
The cossack cavalry had been typically unarmoured, but in this period armour was beginning to be used by some individuals. It is difficult to say how widespread the practice was, but Polish commanders were starting to call for the cossack cavalry to be armoured, especially where they were expected to face Western style cavalry in hand to hand combat. Armour would normally be in the form of a short chainmail shirt, often with plate metal vambraces to protect the lower arms. Helmets would also be rare, and were used, typically of the ‘misiurka’ form, a plate metal skull cap with chainmail suspended from it that protected the back and side of the head, as well as the neck. Small round shields of the ‘kalkan’ type were also carried by some cossack cavalry to provide protection.
The Wargaming Unit
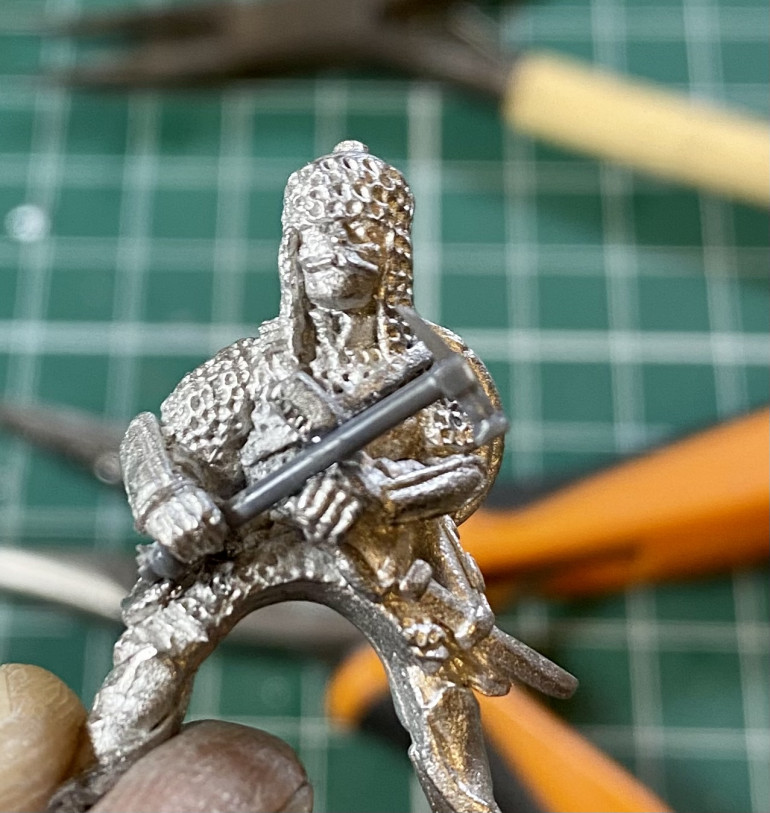
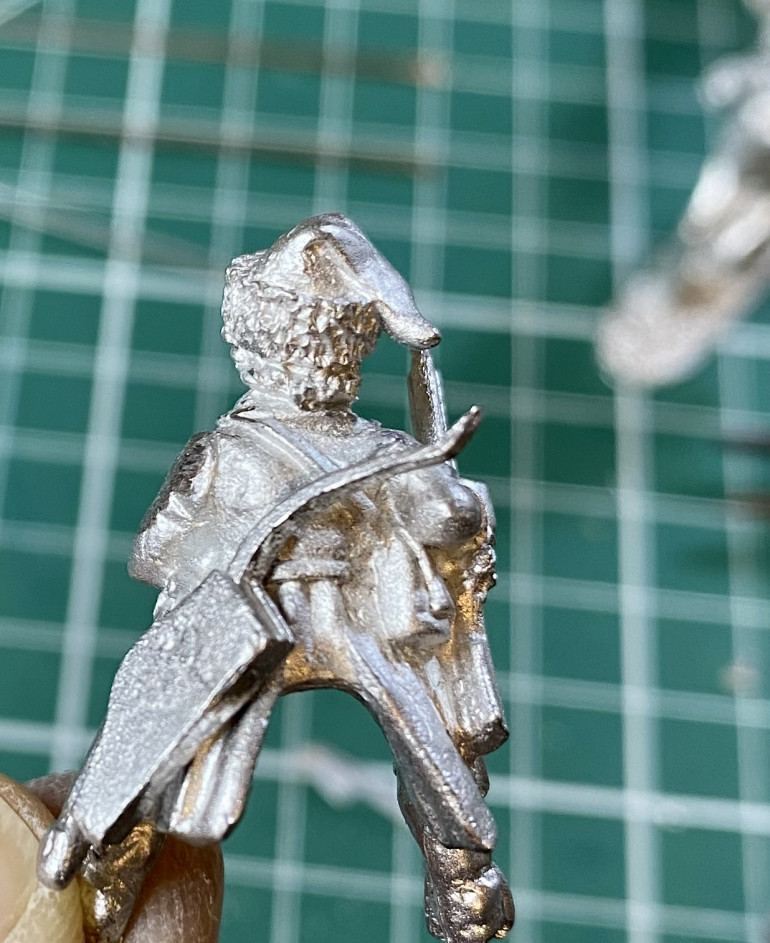
Most of my figures for this unit come from The Assault Group (TAG) who have a fairly extensive range of Polish troops for the period, including cossack cavalry. I have also used a couple of rider figures from the Foundry range. Finally I have a couple of riders from the Warlord Games Croat set. To include a few riders in armour I have used ‘Pancerni’ figures from the TAG and Foundry ranges. Pancerni as a separate class of cavalry within Polish armies comes slightly later in the 17th century, but the figures are just right to represent the richer/better equipped cossacks in my earlier army.
I have noticed while looking at period pictures of Polish nobles and cavalry that they are always very well armed. This might be a horseman’s pick as well as their sabre, a bow as well as a carbine, the addition of pistols, or any combination of these weapons. I therefore wanted to try and give the impression of the cossack cavalry being ‘tooled up’ so to speak! I found some suitable extra carbines, and bows in eastern-style cases, in the accessories part of the TAG online catalogue. TAG also make extra kalkan type shields that were another item that the best dressed cossack cavalry shouldn’t be without. These bows, carbines and shields were added to a few figures to give them the ‘well armed’ look that I was after.
Adding Some Colour
There were no uniforms issued to the cossack cavalry and so I was free to paint up the unit in a variety of colours. Red was a popular colour for Polish nobles, and often used for the finest and therefore most expensive clothes, so my most armoured and wealthiest nobles have red clothing. For the remainder I used shades of blue and green that were also popular, but perhaps cheaper.
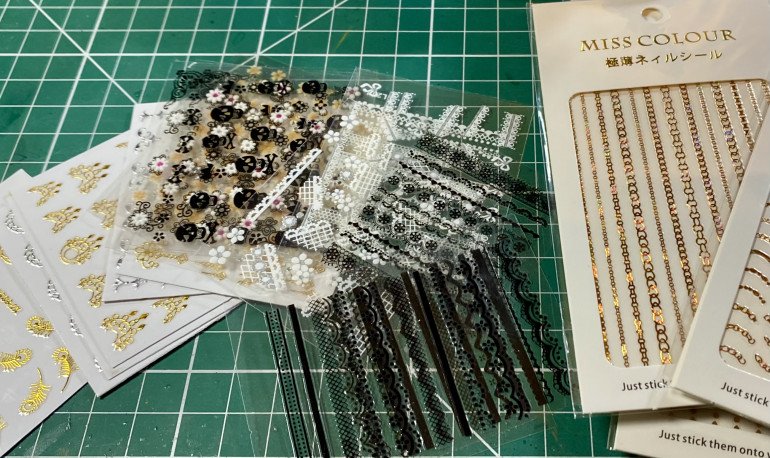
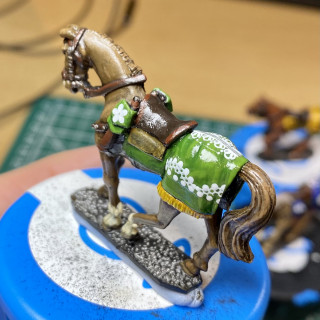
As well as the riders clothing, there were often ornate decorative horse coverings used by the Polish nobles. I used fairly bright colours but I also needed some way to add patterns to them to represent the decoration seen in illustrations. I remembered seeing someone using nail transfers to jazz up their Polish cavalry (and they did a much better job than me!). I searched on Amazon for nail stickers and transfers and came up with many results. There is a bewildering array of designs available, many probably not very useful for wargames figures. I found you have to buy a selection and be prepared to sideline some of the designs, or perhaps pass them on to the people in your life that love nail art! The ones I bought are plastic stickers that need to be carefully peeled off the backing and then applied. Tweezers are a massive help for this.
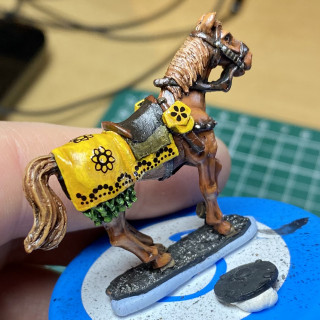
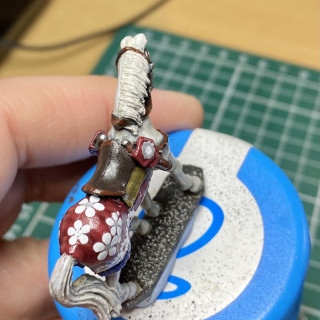
Here are some of the horse trappings with added nail art. (Note that the pictures were taken before the final matt varnish so everything is still shiny from the gloss varnish stage.)
Next time, some more stickers, and more on the final unit.


