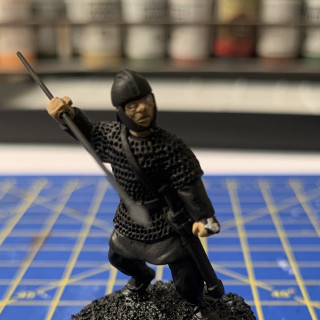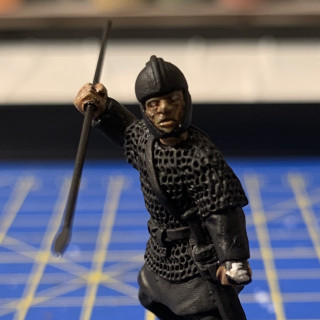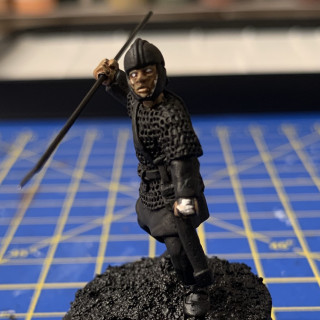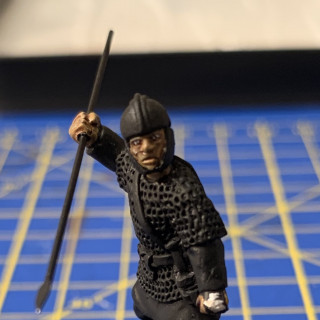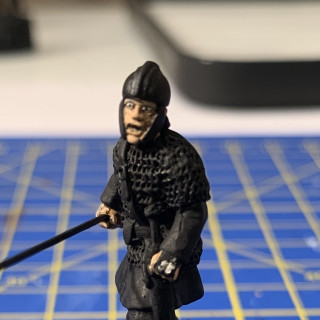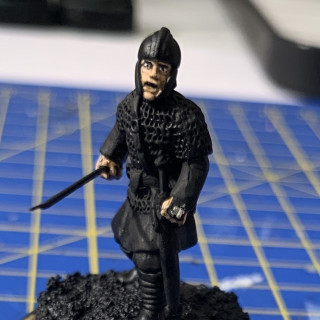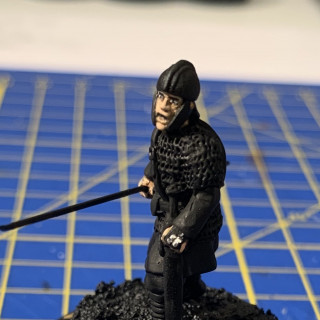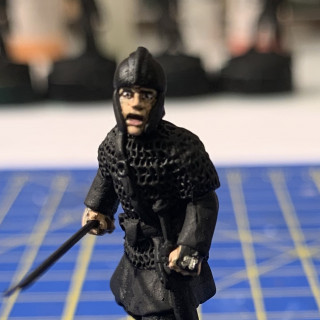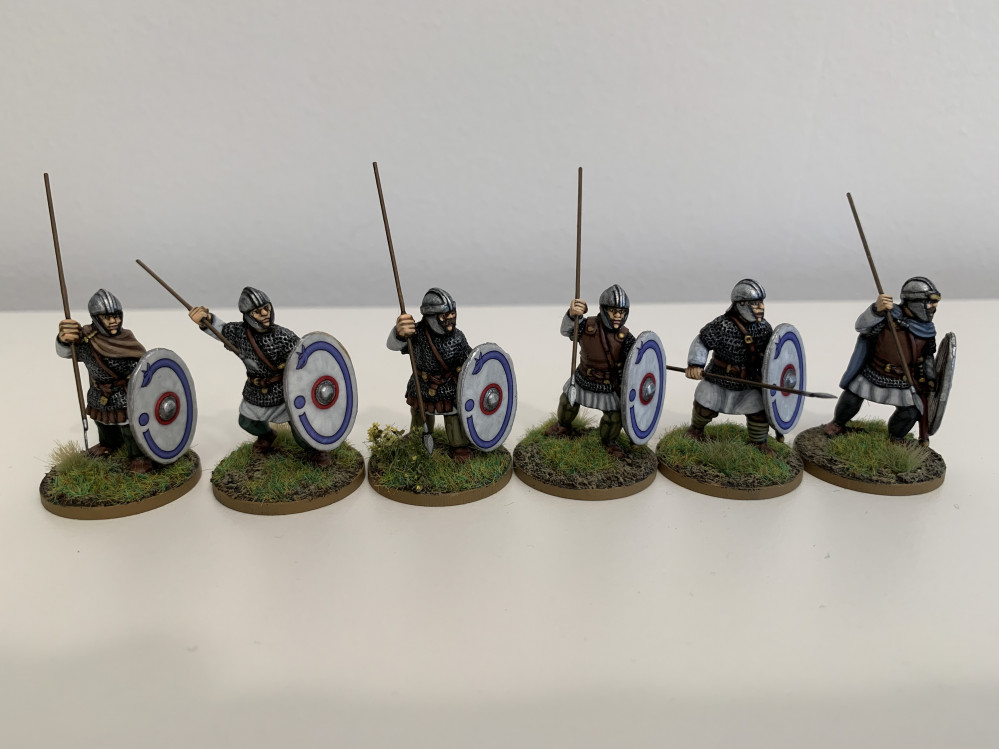
Romano-British for Dux Britanniarum
Recommendations: 1546
About the Project
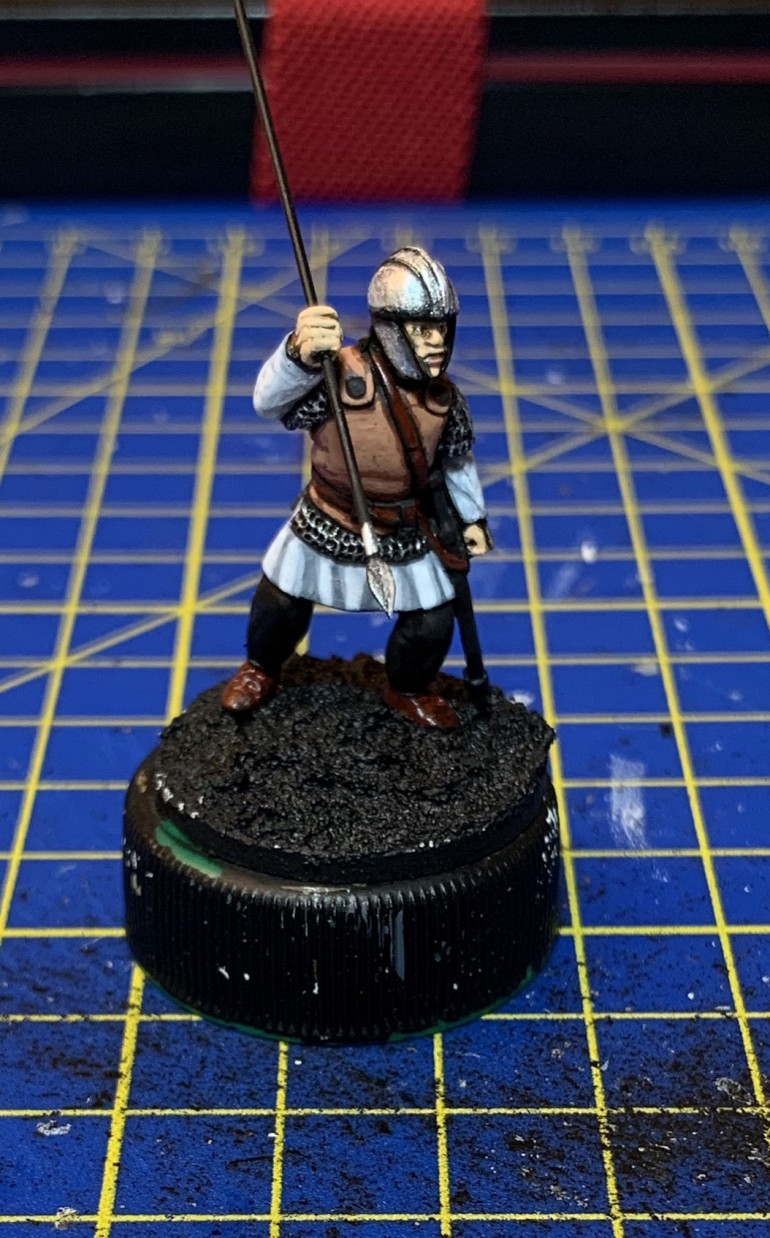
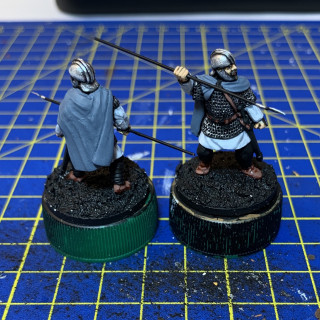
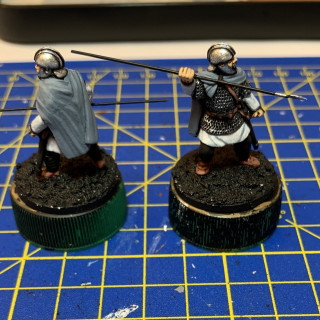
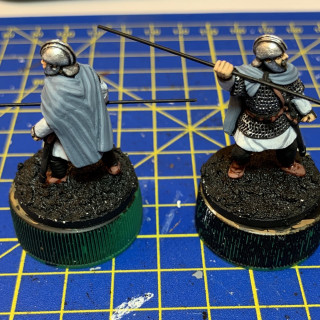
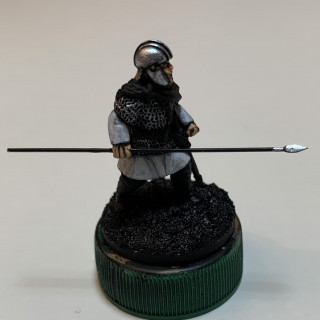
This was a project started during lockdown to build a Romano-British war band for Dux Britanniarum by Too Fat Lardies. It's stalled of late, so my hope is that by documenting progress on this project I'll be incentivised to finish it.
Related Company: Too Fat Lardies
Related Genre: Historical
This Project is Active
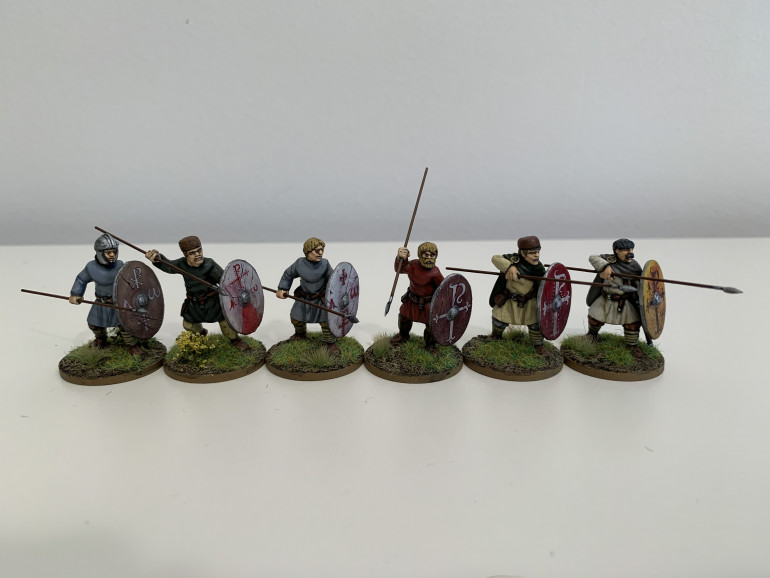
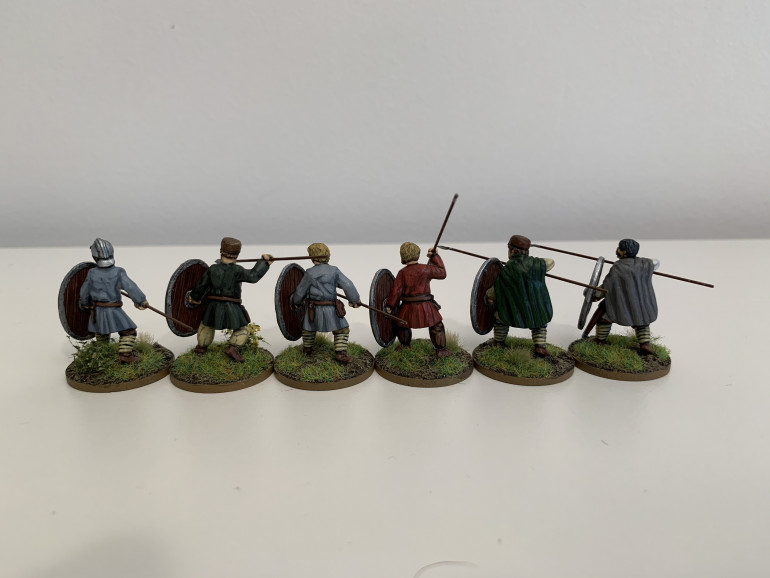
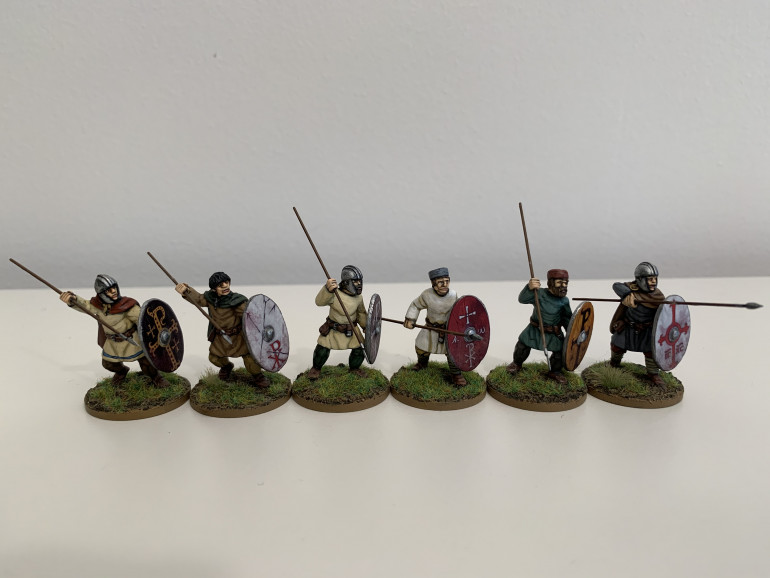
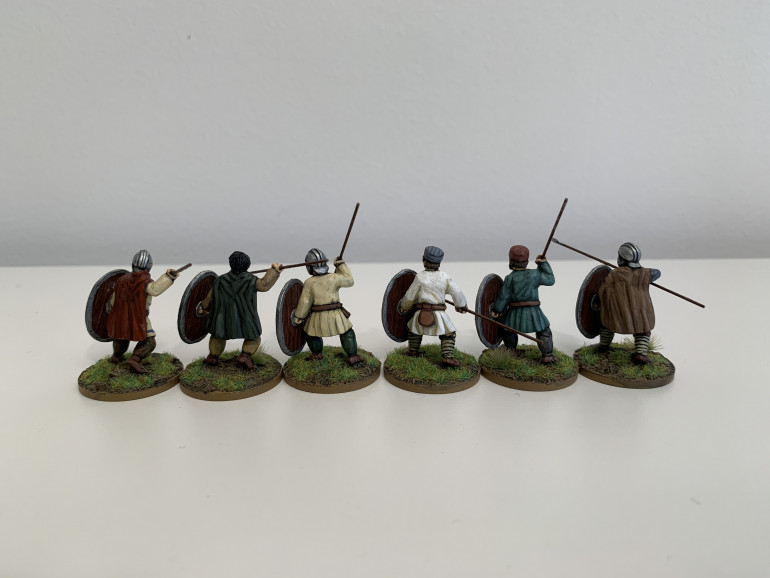
Numeri Group three - complete
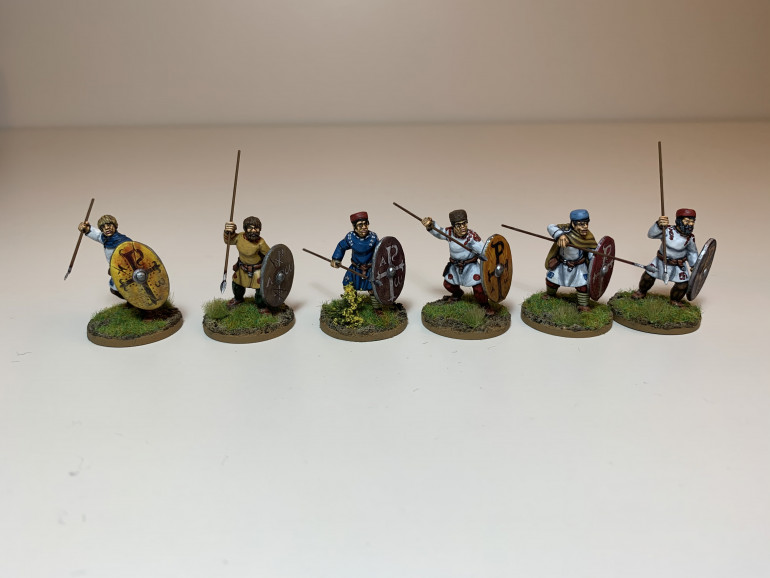
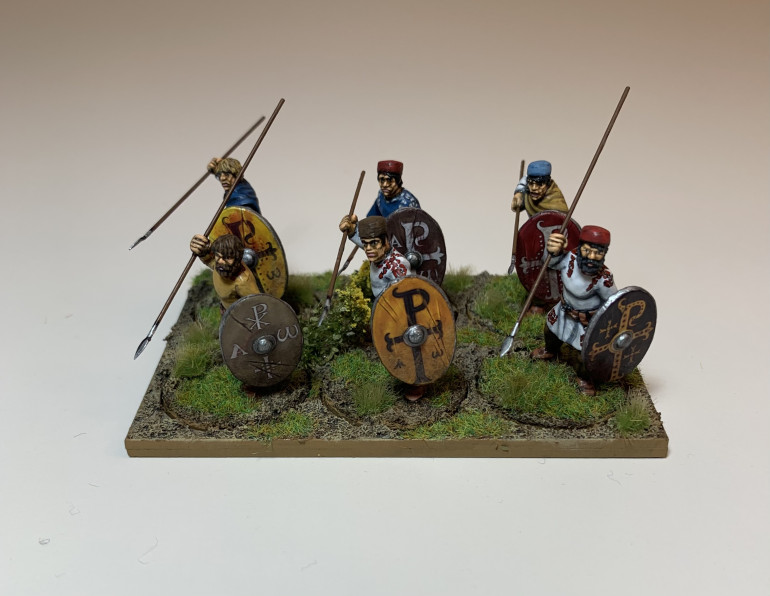
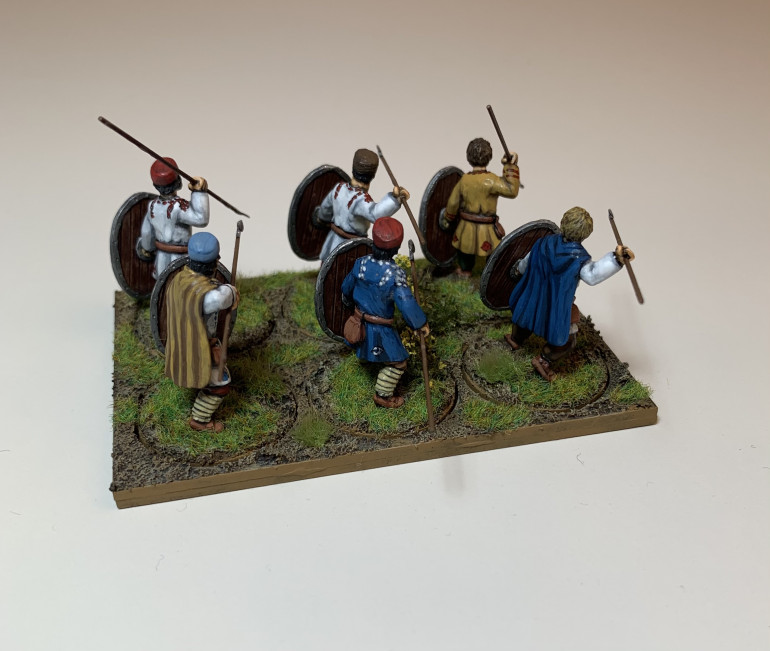
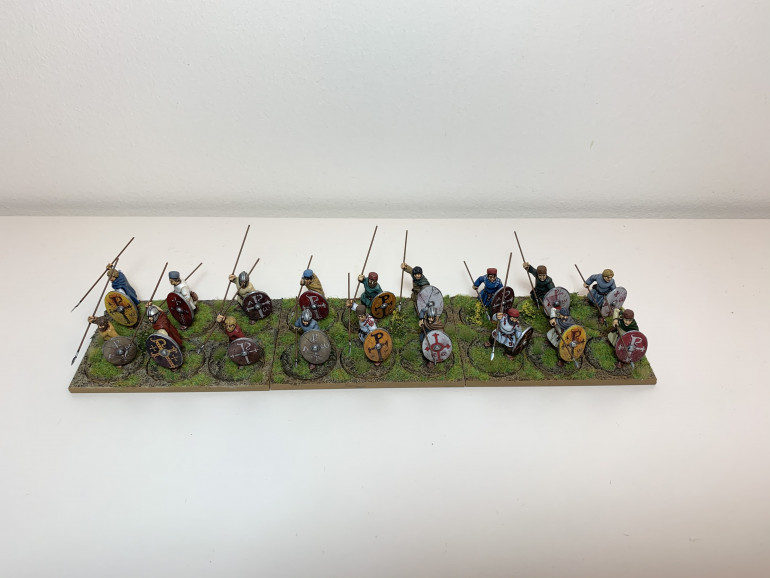
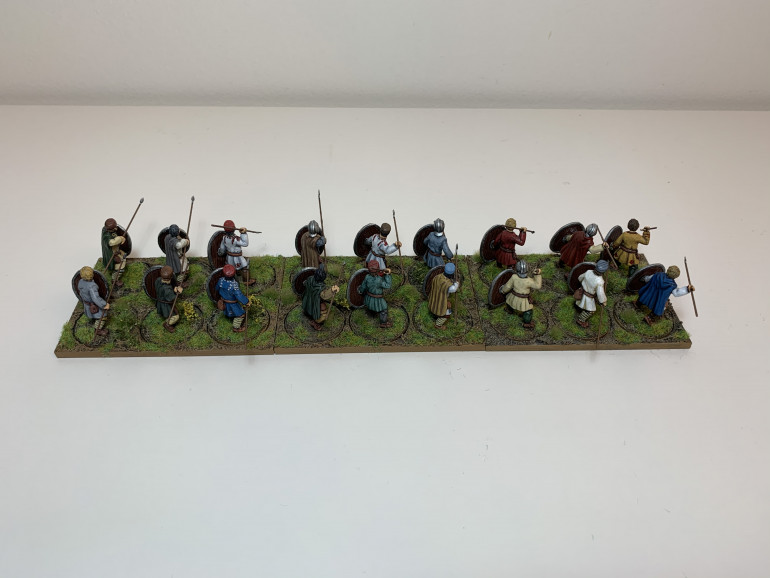
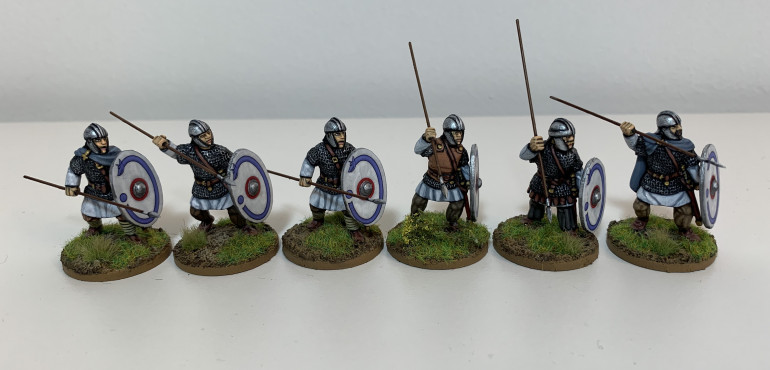
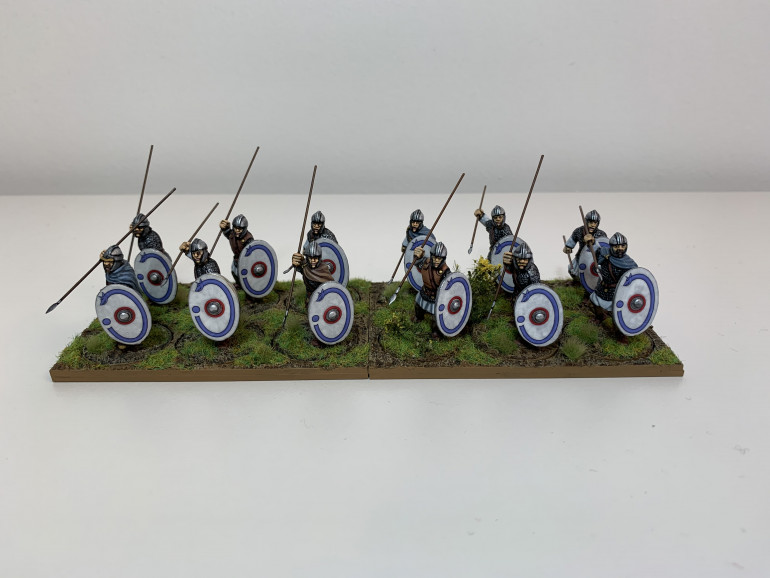
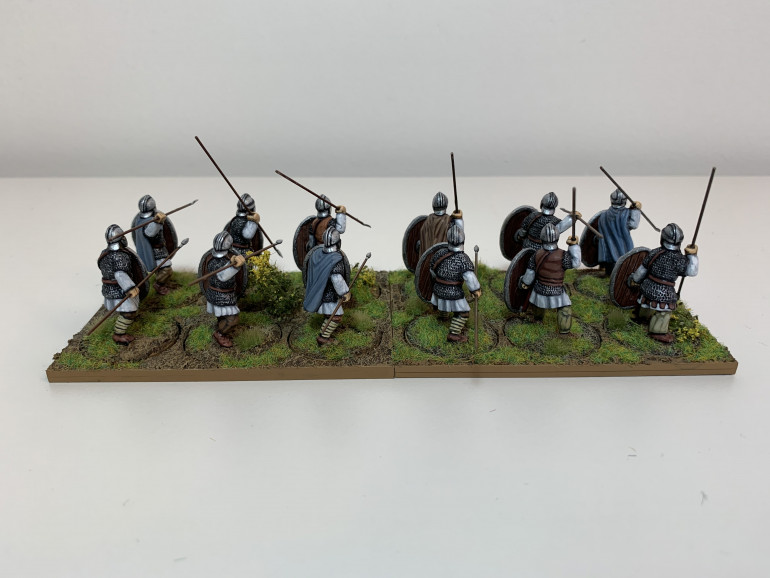
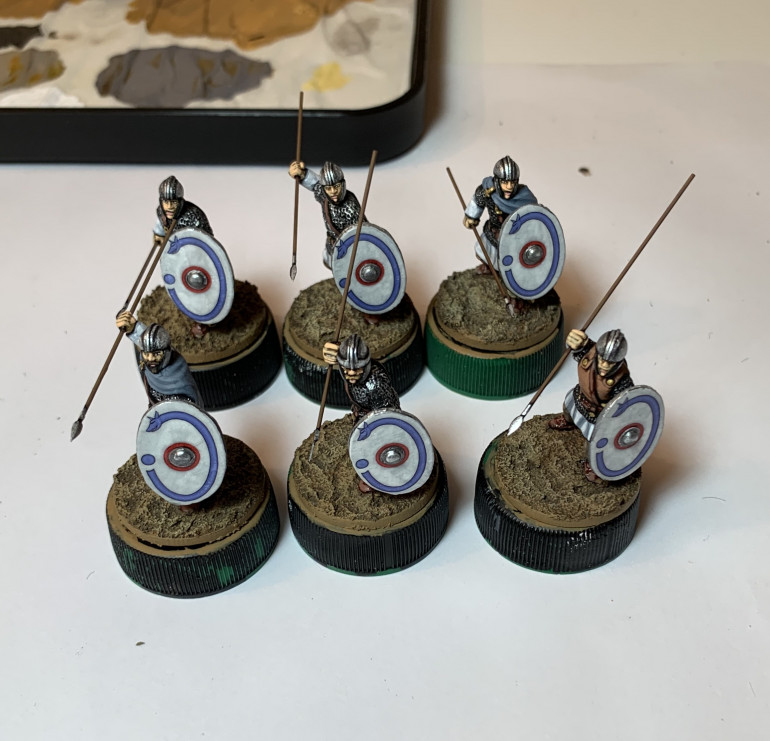
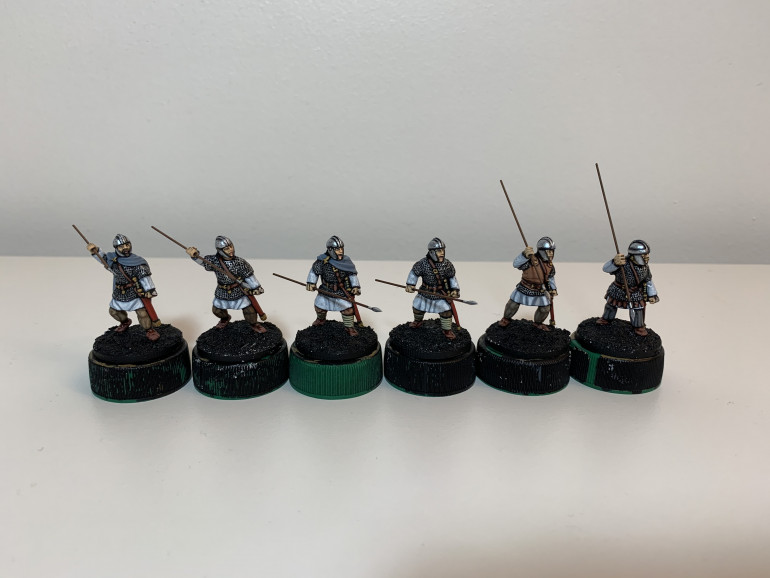
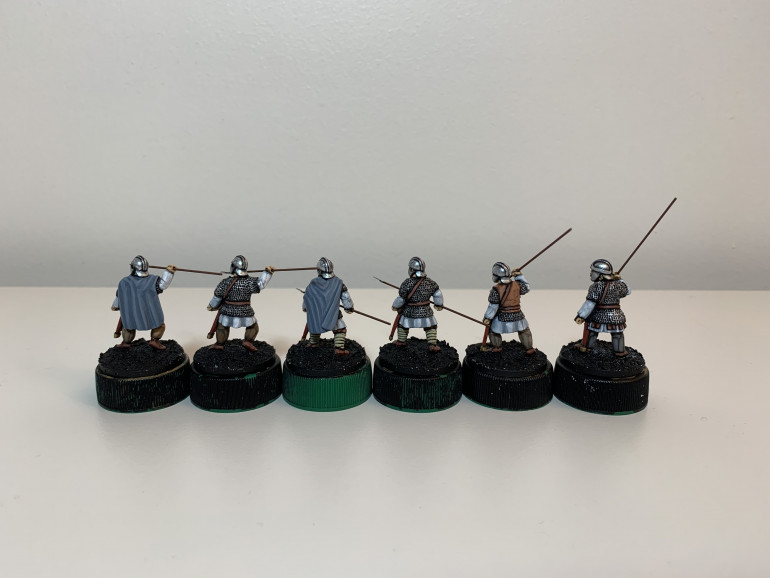
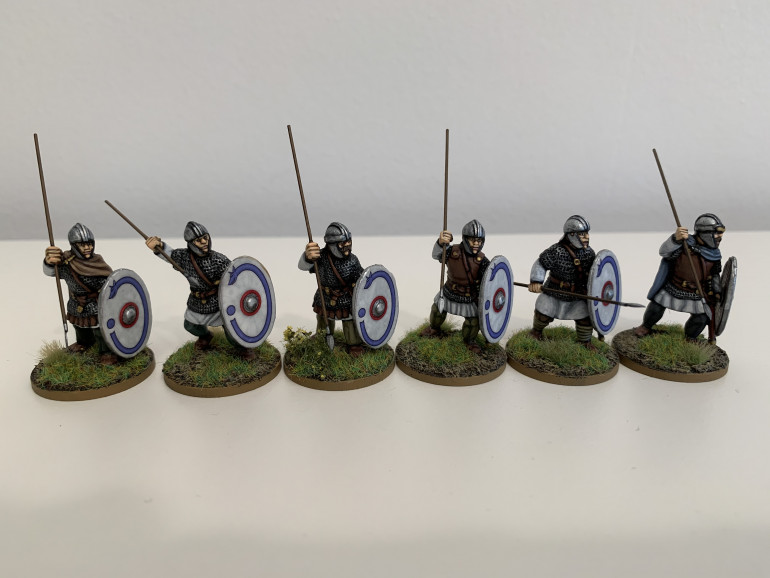
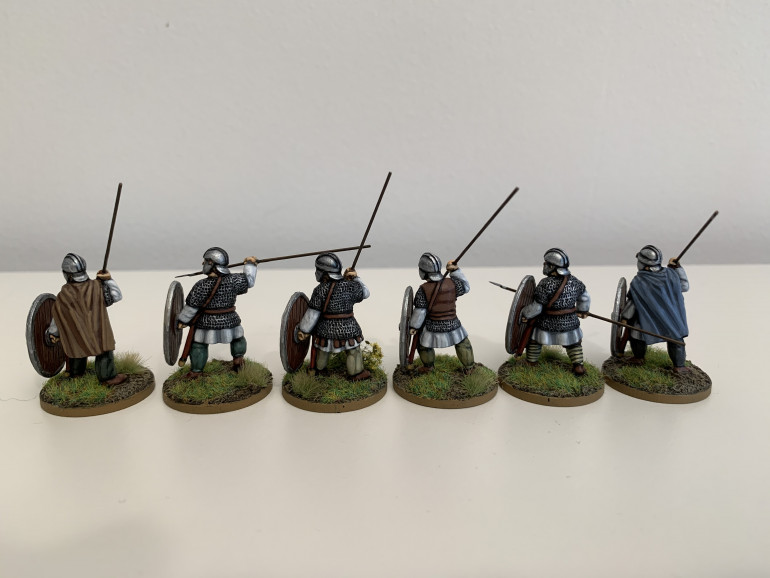
Here is the completed third Group of Numeri, based and varnished with shields attached. Little Big Men Studios shield transfers with MiniNatur tufts and foliage on the bases.
However, I wanted to mix these townsfolk in with the farmers from Groups one and two so as to break up any uniformity and emphasise that these are not professional fighters. The images below show all three Groups of Numeri mixed in together, ready to defend their homes and livelihoods against the Saxon invader!
Next up is the final Group. The elite Comanipulares, the companion bodyguard troops of the Warlord, before finishing with the four character figures.
Numeri Group Three - clothing decorations
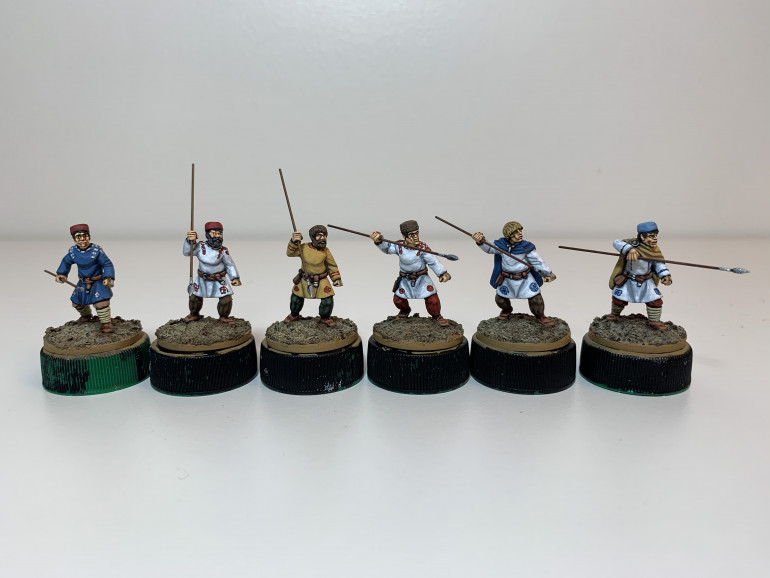
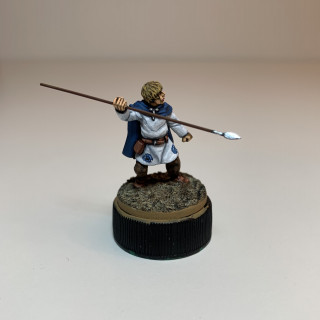
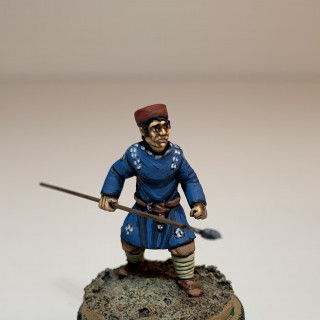
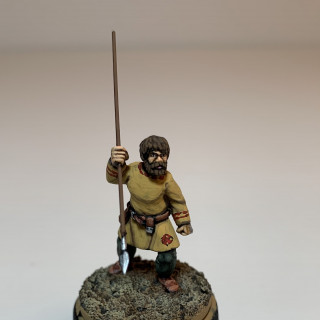
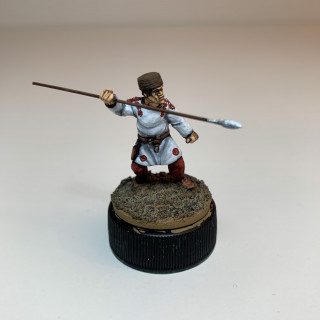
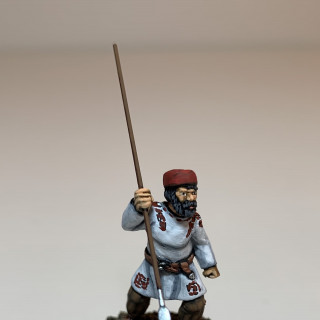
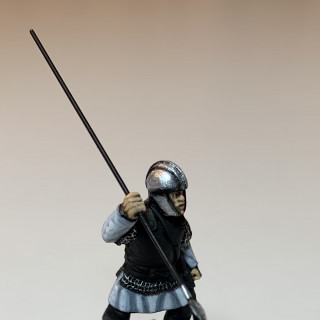
The third Group of Numeri is close to completion, just awaiting its shields. I mentioned in an earlier post that I wanted to try out some decorative elements on the clothing for these miniatures, to make it look like thy might be more well-to-do townsfolk or traders. A lot of the sources I’ve looked at depict embroidered rondels on the lower halves of tunics, combined with coloured strips running across the shoulders and down the front and back, so I thought I would give that a go. They are easier to see before the shields are attached, hence discussing them before they are finished.
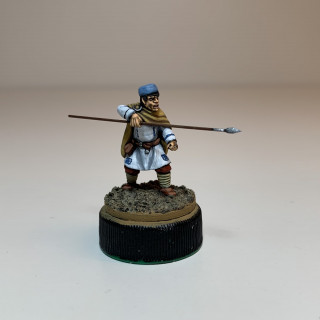
The first mini has light blue decorations against a white background. They tend to fade away on him, probably because the blue isn’t strong enough to compete against the yellow ochre cloak and the light blue Pannonian cap.
Interestingly, the same colour seems to stand out more when applied to his companion in a blue cloak, possible because they complement each other.
With both these figures I built up the colour in three layers, which in hindsight was completely unnecessary and didn’t improve the effect. As you’ll see later in this post, I think I got a better effect by applying a colour straight over a black outline.
At first, I wasn’t sure about the figure in blue with white decorations. I originally thought I would do the decorations in Grey and leave it, but the effect was too subtle. The addition of White with a tiny hint of Grey brought it out a bit more.
The figure in the Yellow Ochre tunic is quite pleasing, but I think the decorations would look better with a more obvious black undercoat to define them.
The final two figures are, I think, the most successful. I think it’s no coincidence that aside from the White tunic, the only other colours on these models are browns or reds, which either complement the decorations or at least do not actively compete with them for the eye’s attention.
In terms of technique, in the case of every figure, I outlined the pattern in Black very crudely. However, for these last two figures I only added either one or two layers of colour over the top, taking care not to completely obscure the black. This gives an impression of depth to the pattern.
I’m being hyper critical in this post and the reality is that I’m very happy with how they’ve turned out and will happily be fielding them as they are. However, one of the great benefits of the OTT project system is that you can record your thoughts immediately and revisit them to remind yourself of what worked well and what not so well.
A Scenic Interlude
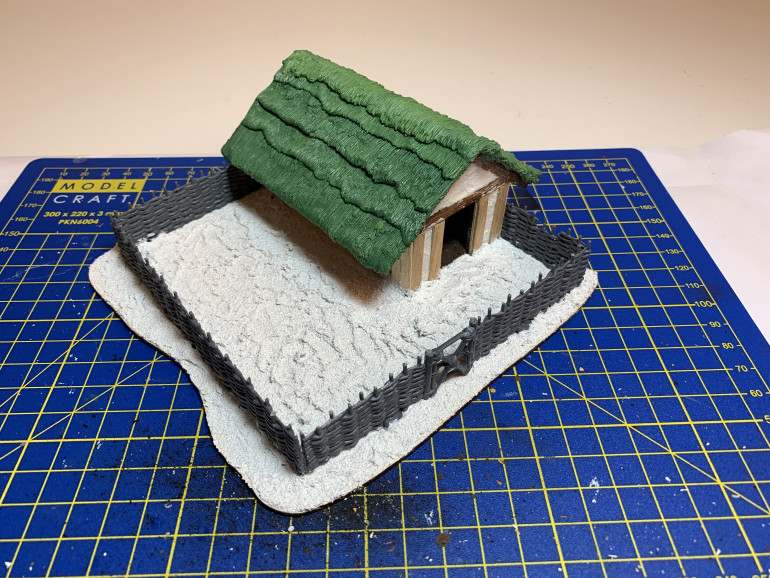
Whilst working on the third Group of Numeri, I found time to build a pig sty.
This is made from a 15cm x 15cm terrain base and a Dark Ages timber barn from Warbases. I coated the walls with polyfilla and built up the timbers with coffee stirrers.
The wattle fencing is from Renedra’s Generics range. Curiously, it’s not available on their website but can still be picked up at Perry Miniatures. The ground texture is Vallejo Rough White Pumice.
The thatch was made using a rather large amount of green stuff. It was rolled out in strips and then tapped with the blade of a modelling scalpel to simulate the straw.
Milites Group Two - completed
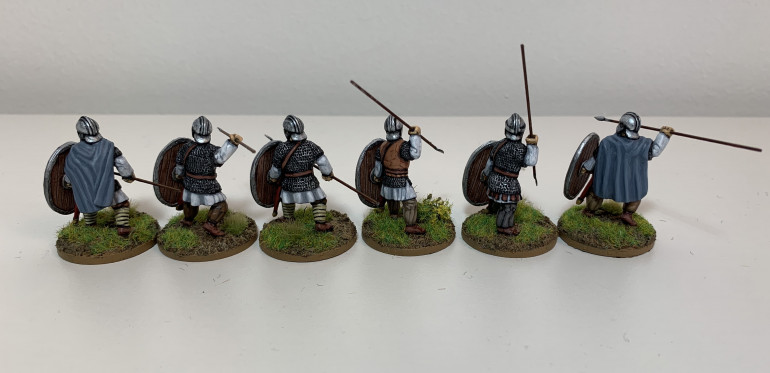
The addition of some static grass and some MiniNatur tufts and flowers completes this Group. Here are some pictures of the finished article. Next up for this project is the third Group of Numeri.
Milites Group Two - Shields
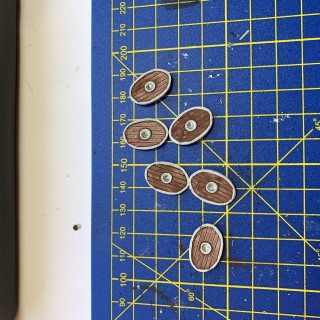
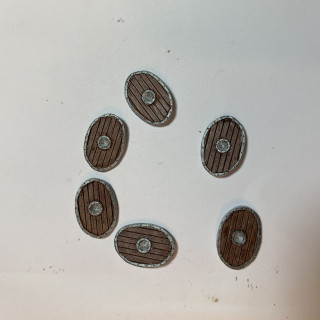
I prime the shields white and then paint the rear with Flat Brown (VMC 70. 984). This is then covered with a wash of Army Painter Strong Tone Ink. The detail of the wooden boards is moulded into the shields, and the ink brings this out nicely (although I suspect very few people outside the XLBS will be actually be looking at the backs of the shields!).
The front of the shield is painted in White (VMC 70.951) and the boss and shield rim in Gunmetal Grey (70.863).
Once the paint is dry I apply the shield transfers from Little Big Men Studios (LBMS) according to the manufacturer’s instructions. I then did a quick highlight on the metal parts with Silver (VMC 70.997) before supergluing the shields on to the models. These were then left to dry for 24 hours.
Once the transfer was dry, I brushed on a coat of Vallejo Polyurethane Gloss Varnish. Once this was dry, I brushed on a second coat of Matt Acylic Varnish. I suspect this will strike many laborious and as probably not giving the best possible level of protection, but: i) I’ve never had any luck with spray-on varnish, always getting repeated frosting, so am reluctant to apply it to completed figures; and ii) use of oil based varnishes and the associated smell of white spirit in the house would most likely result in a rapid breakdown of domestic harmony!
Incidentally, I’m not entirely sure if the shields of the period had metal rims. The only source I could find was somewhat ambiguous, mentioning metal bosses with leather stretched over boards and pinned in place. It didn’t mention metal rims, but neither did it rule them out. The detail on the model showed something that could be a metal rim, but which could equally be where the aforementioned leather has been pinned in place. In any event, I decided to go with metal rims because I liked the look of them and it avoids the need to find a perfect match between the paint on the rim and the colour of the transfer. I promised myself when starting this project that I would not get hung up on the historical accuracy of details such as this!
Milites Group Two - painting the bases
I paint the bases before attaching the shields mainly to avoid getting any stray streaks of paint on to the transfers and making a mess of the design. My basing is very basic, consisting of the following steps:
- A base coat of 50% Beige Brown (VMC 70.875) and 50% Yellow Ochre (VMC 70.913).
- A mix of 90% Chocolate Brown (VMC70.872) mixed with 10% Black (VMC 70.950) that is then thinned to a wash of an almost water-like consistency. This is spread all over the base so that the dark wash melts into the crevices of the Vallejo Ground Texture. This will dry in a few hours, but I find it best left overnight.
- When the wash has dried, highlight with a dry brush of the same Beige Brown and Yellow Ochre mix used in step one.
- Finally, a very light dry brush of Buff (VMC 70.976)
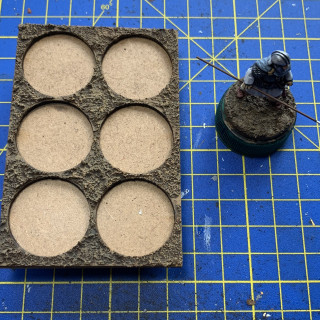
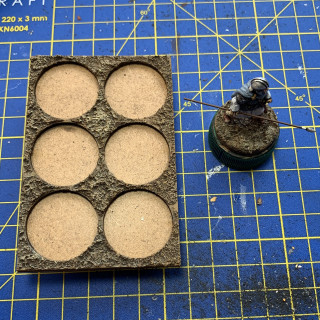
I’ve set out each of these steps in the image gallery below. The pictures show the basing on one of the models and on the sabot base on which they’ll stand. I’ll attach the shields next before completing the models with a vanish and then the addition of vegetation to the bases.
Milites Group Two - push for the finish
I completed the paint job on the models this week, covering all those fiddly extra bits that you’ll never really look at in detail, but which you’ll notice if you haven’t done it. This broadly consisted of:
Spear haft – base of Flat Brown (VMC 70.984) highlighted with Beige Brown (VMC 70.875).
Sword scabbard – base of Cavalry Brown (VMC 70.982) with a first highlight of 50% Cavalry Brown and 50% Dark Vermillion (VMC 70.947) followed by a second highlight of Dark Vermillion.
Belt buckles, brooches, sword hilts – base of Beige Brown, followed by a highlight of 50% Beige Brown and 50% Yellow Ochre (VMC 70.913), followed by a second highlight of Yellow Ochre and a final highlight of Old Gold (VMC 70.878)
The trousers were various combinations of brown and where models were wearing strapping round their legs, I used a base of Khaki (VMC 70.988), a highlight of 50% Khaki and 50% Beige (VMC 70.917) and a final highlight of Beige. This is the same combination with which I painted my Archers which are mentioned in an earlier post.
That completes the models themselves. The next step is to paint the bases and shields.
Milites Group Two - leather and cloaks
Worked on leather equipment and cloaks this weekend.
For the leather straps and shoes I did the following:
Base – Hull Red (VMC 70.985)
First highlight – Saddle Brown (VMC 70.940)
Second highlight – 70% Saddle Brown and 30% Tan Yellow (VMC 70.912)
I also did the leather cuirass that one of the Milites in this Group wears. This was done as a much warmer brown so stood out from the darker straps.
Base – 80% Hull Red (VMC 70.985) and 20% Red Leather (VMC 70.818)
First highlight – 50% Base and 50% Red Leather
Second highlight – 80% First highlight and 20% Tan Yellow (VMC 70.912)
Two of the Milites are wearing cloaks in this Group. I tried to replicate the colours I used for one of the figures wearing cloaks in Group One, but the effect this time is less intense. I think I may have added to little black to the base coat and so the later highlight mixes were more pale. Still, it’s highly unlikely that the natural dyes used in the period would have remained uniform, so I’m quite happy for these cloaks to be different from the others on the basis that they have seen more wear.
Base – 90% Grey Blue (VMC 70.943) and 10% Black (VMC 90.950)
First highlight- 80% Base and 20% White (VMC 70.951)
Second highlight – 80% First highlight and 20% White
Milites Group Two - tunics
I worked on the tunics this week, sticking with the same white theme that I used for Milites Group One.
The base coat is Light Grey (VMC 70.990). This was followed by a first highlight of 50% Light Grey and 50% White (VMC 70.951). Finally, I applied a second highlight of 90% White and 10% first highlight mix.
I was so engrossed in the podcast I was listening to that I forgot to take pictures of the stages, so I’ve posted two examples of the finished product below instead.
Thank you for the Golden Button!
Many thanks to Avernos and the rest of the OTT crew for the award of a golden button on this Sunday’s XLBS. I certainly didn’t expect that, but am definitely inspired to continue!
Many thanks also to all those members of the OTT community who have been clicking the recommendation buttons. It’s been great to receive such encouragement on my first project.
Milites Group Two - armour
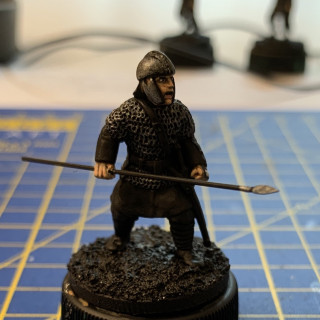
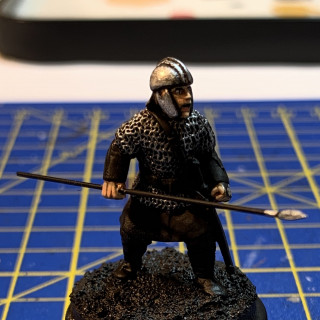
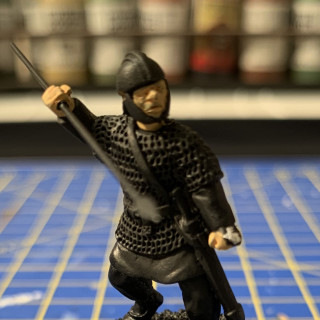
A very straightforward approach to armour, which consists of helmets and mail on these figures. I also use the same combination for the spear tips and haft. A base coat of Gunmetal Grey (VMC 70.863) with a single highlight of Silver (VMC 70.997).
Milites Group Two - faces and hands
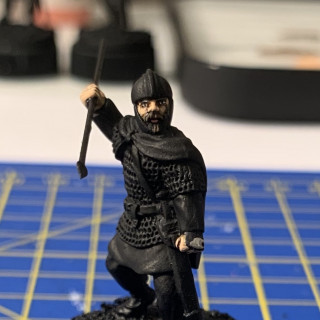
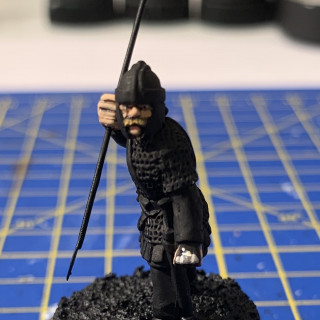
I made some progress on the second Group of Milites this week, focusing on faces, hands and visible parts of the neck, which are the only areas of exposed flesh on these figures.
Everyone on OTT will know that camera phones do miniatures few favours; making them look much less than they appear in real life. This seems to be a particular problem when documenting the steps for painting faces. However, despite the dodgy photos I’m really very pleased with the final effect, which looks much better in person.
The first step was to prime the figures in black and then cover any bits missed by the spray in a thinned coat of Black (VMC 70.950, although any black will do!).
I then scraped away the primer from the top of the left hand. This allows for a metal-to-metal bond when the shields are attached. Attaching the shields later in the process makes painting the figure easier, but it also allows me to prime the shields in white, which the instructions for the Little Big Men Studios shield transfers say is necessary for the colours to shine through.
Next, I painted the face, neck and hands (including the areas of the left hand where primer remained) in a base coat of Light Brown (VMC 70.929).
I then painted in the whites of the eyes with, obviously, White (VMC 70.951).
Once the whites of the eyes were completed, I gave the hands, neck and face a wash with Army Painter Strong Tone ink.
The images below document these first three steps of: i) base coat of Light Brown; ii) painting in the whites of the eyes; and iii) the wash with Army Painter Strong Tone ink.
Once the ink was dry, I felt that it had dulled the whites of the eyes somewhat. This was the first time that I’ve painted in the whites before applying the ink wash. I therefore painted over the whites of the eyes again. Surprisingly, I found this order of doing things quite helpful. First, the ink covered up areas where the whites of the eyes were too large; and second enough of the original whites showed through to provide a guide for the repainting. I’ll therefore probably follow the same process again.
The next step was to draw in the pupils of the eyes with a vertical line of black.
The images below document these next two steps: iv) repainting the whites; and v) painting in the pupils.
I then did a first highlight on the face, neck and hands with Sunny Skintone (VMC 70.845). At this point, one of my warriors looked like a startled rabbit, so I tried to achieve a slightly more martial look by painting in eyebrows with a couple of thin strokes of black above the eyes.
Next was a final flesh highlight on the highpoints (nose, chin, cheekbones, fingers) consisting of a mix of approximately 70% Sunny Skintone (VMC 70.845) and 30% White (VMC 70.951). The final touch was a line of Old Rose (VMC 70.944) on the lower lip only.
I’m not sure all these steps are readily apparent from the images below, but for what it’s worth they are: vi) first highlight (startled rabbit); vii) eyebrows; viii) second highlight; and ix) lower lip.
For those Milites with facial hair, I did one with a base coat of Chocolate Brown (VMC 70.872) with highlights of Beige Brown (VMC 70.873), and another with a base coat of Beige Brown with highlights of Yellow Ochre (VMC 70.913). I also used these combinations for the small areas of hair visible under the helmet, but these could equally have been left black.
Archers
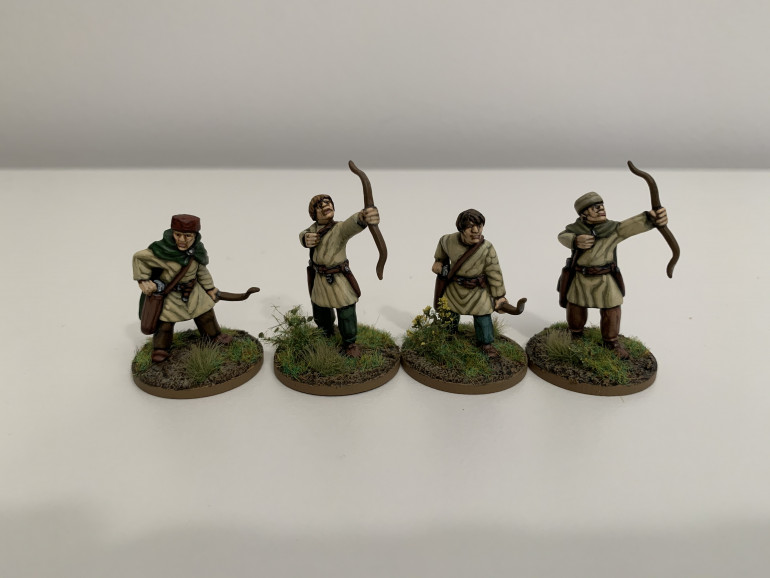
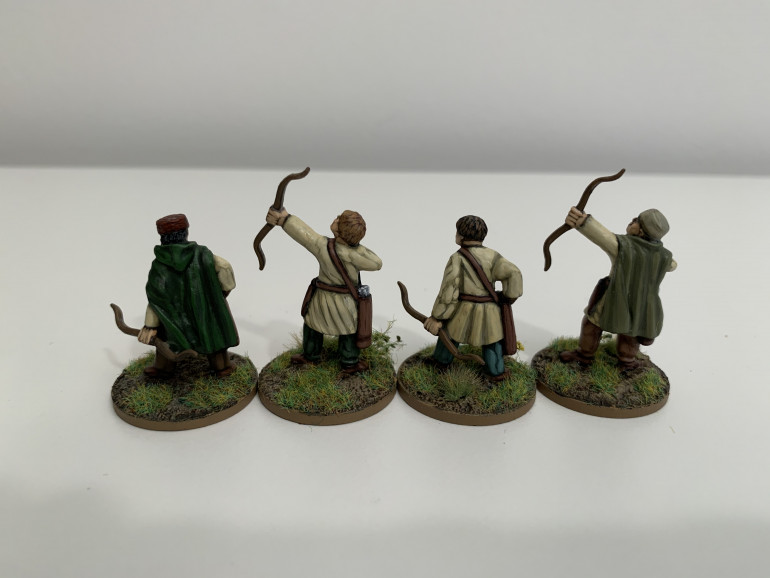
This four-man Group of Archers is the last of the Groups that I’ve completed to date. I decided to do a fairly uniform colour scheme for them as I speculated that these might be semi-regular troops in the service of the Lord, rather than the militia of the Numeri.
The figures come with the bow hand and bow as a separate casting from the rest of the model. The socket on the left arm is not quite large enough for the cast pin at the end of the bow hand, so I drilled it out a little further using a pin-vice. Where necessary, a tiny bit of blu-tack was used to hold the bow hand in place in the socket whilst the superglue dried around it. This was required for the two figures holding their bows aloft about to fire. For the two holding them down, it was possible to just hold the bow in place whilst the superglue dried.
Most clothing of the time would have been wool and I wanted to find a colour mix that could represent the raw, undyed variety that would have been common at the time. I eventually settled on the following combination entitled “Raw Fabric” that I found in Issue 9 of the Painting War series of occasional magazines, entitled “Holy War”. I generally use Vallejo Model Colour paints, denoted “VMC”.
Base Coat – Khaki (VMC 70.988)
1st Highlight – 50% Khaki (VMC 70.988) plus 50% Beige (VMC 70.917)
2nd Highlight – Beige (VMC 70.917)
Numeri Group Two
This is the second Group of Numeri I’ve completed. When I come to the third Group I want to try and put more decorative elements on their clothing. Clothing worn in the the Roman empire of the Late Imperial period was very different to that worn in earlier centuries, looking more like the type of clothing we tend to associate with the early Medieval period. Tunics often featured official badges of office and patterned fringes and detailing. I’m sure not everybody wore such clothing, but I don’t see why some officials and bureaucrats shouldn’t be drafted into the Numeri, so will try and feature them in a way that doesn’t make them look at odds with their fellows.
For those wondering, the little caps that some of them are wearing are known as “Pannonian caps” and were adopted around the Fourth Century, when officers from the Danubian provinces began to occupy positions of influence in the Imperial army.
Numeri Group One
This was the first Group I completed about one month into lockdown. I wanted to go for reasonably muted shades that would fit with the natural dyes used at the time. The Numeri were the local militia, summoned at the behest of a Warlord to defend their homes, but by no means professional troops. As such, I wanted to avoid any suggestion of uniformity, so as to give the impression that these are a collection of farmers and tradesmen ordered to the battlefield at short notice.
Milites Group One
This is the most recent Group I’ve completed. Preparation was identical to that set out for Milites Group Two and I’ll explain how I went about painting them as I document progress on that second Group. The shield transfers were from Little Big Men Studios. I liked the pale blue wolf-serpent design on the white background and tried to find a combination of colours that would complement it.
About this Project
I had written this introduction as the first entry on this Project, but for some reason it didn’t load, so apologies if the first entry appeared to be a little lacking in context. Anyway, this Project is about putting together a Roman-British war band for Dux Britanniarum (or “DB” for short). DB is one of the older games published by Too Fat Ladies, released in 2012. It is set in the Fifth and Sixth Centuries AD and models the struggle of the Romano-British to defend their homeland from the Saxon invaders after the Roman Legions had left Britain in 410 AD.
The basic unit in DB is a “Group” of six models. A starting force for a Romano-British warband consists of:
- Three Groups of Levy or “Numeri”;
- Two Groups of Warriors or “Milites” and
- One Group of Elites or “Comanipulares”.
In addition, you also receive:
- A Group of four missile troops (archers or slingers);
- A Lord;
- A Lord’s Champion; and
- Two Nobles.
To date, I’ve completed two Groups of Numeri, one Group of Milites and one Group of Archers. That leaves me with one Group each of Numeri, Milites and Comanipulares, plus the Leaders to go. As seen in the prior entry, I’ve prepped and based the second Group of Milites, but I’ll also post some entries on what I’ve done so far.
Milites Group Two - preparation
There are a lot of very good manufacturers that produce miniatures for the Fifth and Sixth Centuries AD, but for this project I decided that the Late Roman range from Footsore Miniatures was what I wanted. They are probably a little bit better equipped than the unfortunate Romano-British actually were, but I’m prepared to sacrifice an element of realism to obtain some figures that I think will look suitably heroic on the tabletop.
The last Group that I completed was the first Group of Milites, so I’ve decided to start the second.
The miniatures are good quality and don’t require much in the way of clean up. Flash and mould lines appear in obvious places and are easy to remove.
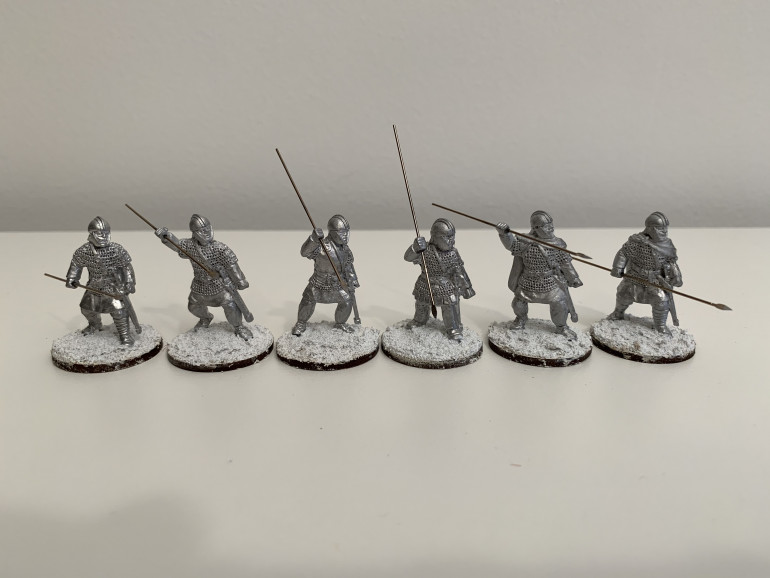
One point of note is that Footsore don’t cast their figures with spears, so it’s necessary to use a pin-vice to drill a hole in the weapon hand. This is fairly straightforward once you get the hang of it. There is an obvious point where you start drilling into the fist. I found it easiest to go about three-quarters of the way on one side, and then swap and complete it from the other. I then inserted spears made of steel wire and secured them in place with superglue. Be sure to match the diameter of your drill closely with the diameter of your spears, otherwise the fit will be too loose. The steel spears are available from Footsore. There was a period over lockdown when they were out of stock, but they now seem to be available again.
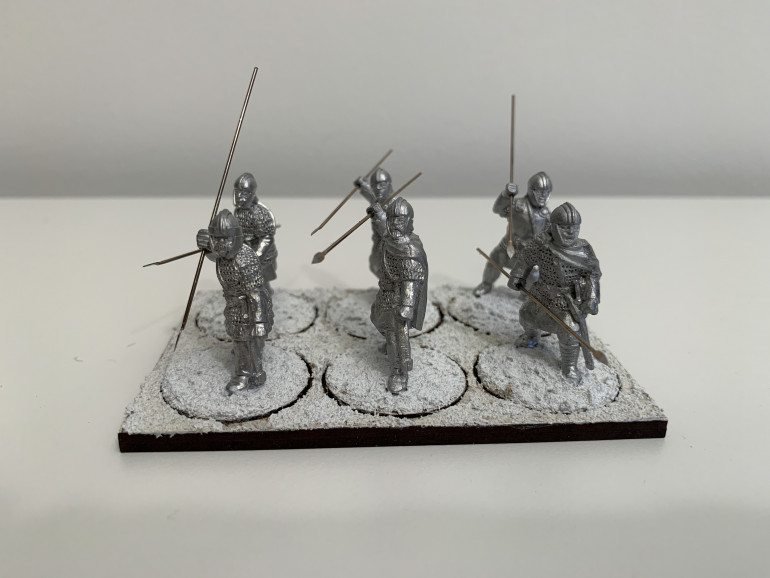
I decided for this project to attach the figures to their bases before priming and painting. This probably wouldn’t work for a game involving element basing, but for something like Dux Britanniarum which focuses on individual figures, it works well. I’m using 2p-sized bases, with the figures superglued and then secured in place using Vallejo Acrylic Ground Texture, specifically the Rough White Pumice variety. I’ve not seen many other people do this, but for me the main advantage is that is secures the miniature to the base and, in my opinion, paints up very well. It can be a bit fiddly and messy to apply, but I’ve found that the same applies to PVA and sand.
I’ve also covered a sabot base in the same Ground Texture and will be painting that at the same time that I paint the bases on the miniatures.


