


Maxkee’s Project Log _ Longest Day


Recommendations: 175
About the Project
In this Project Log I'll show and share my hobby adventures.
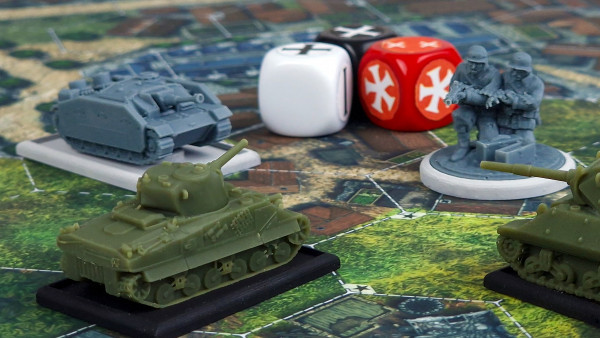
Related Game: Bolt Action
Related Company: Warlord Games
Related Genre: Historical
This Project is Active
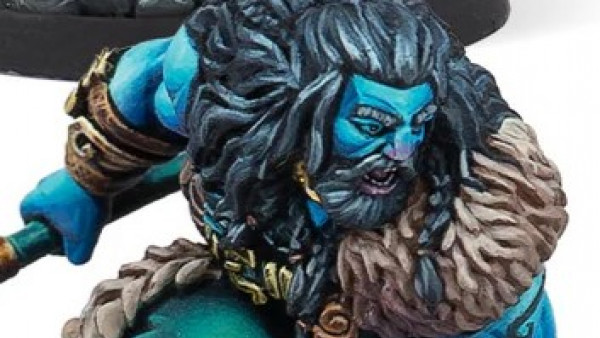
Block painting of first batch almost done
So I have most of the Paint on the miniaturen. Only eyes and mouth remain to be done. This will be next week and then one more time going over them to correct any mistakes and it’s time for the wash!
Looking forward to that stage next week.
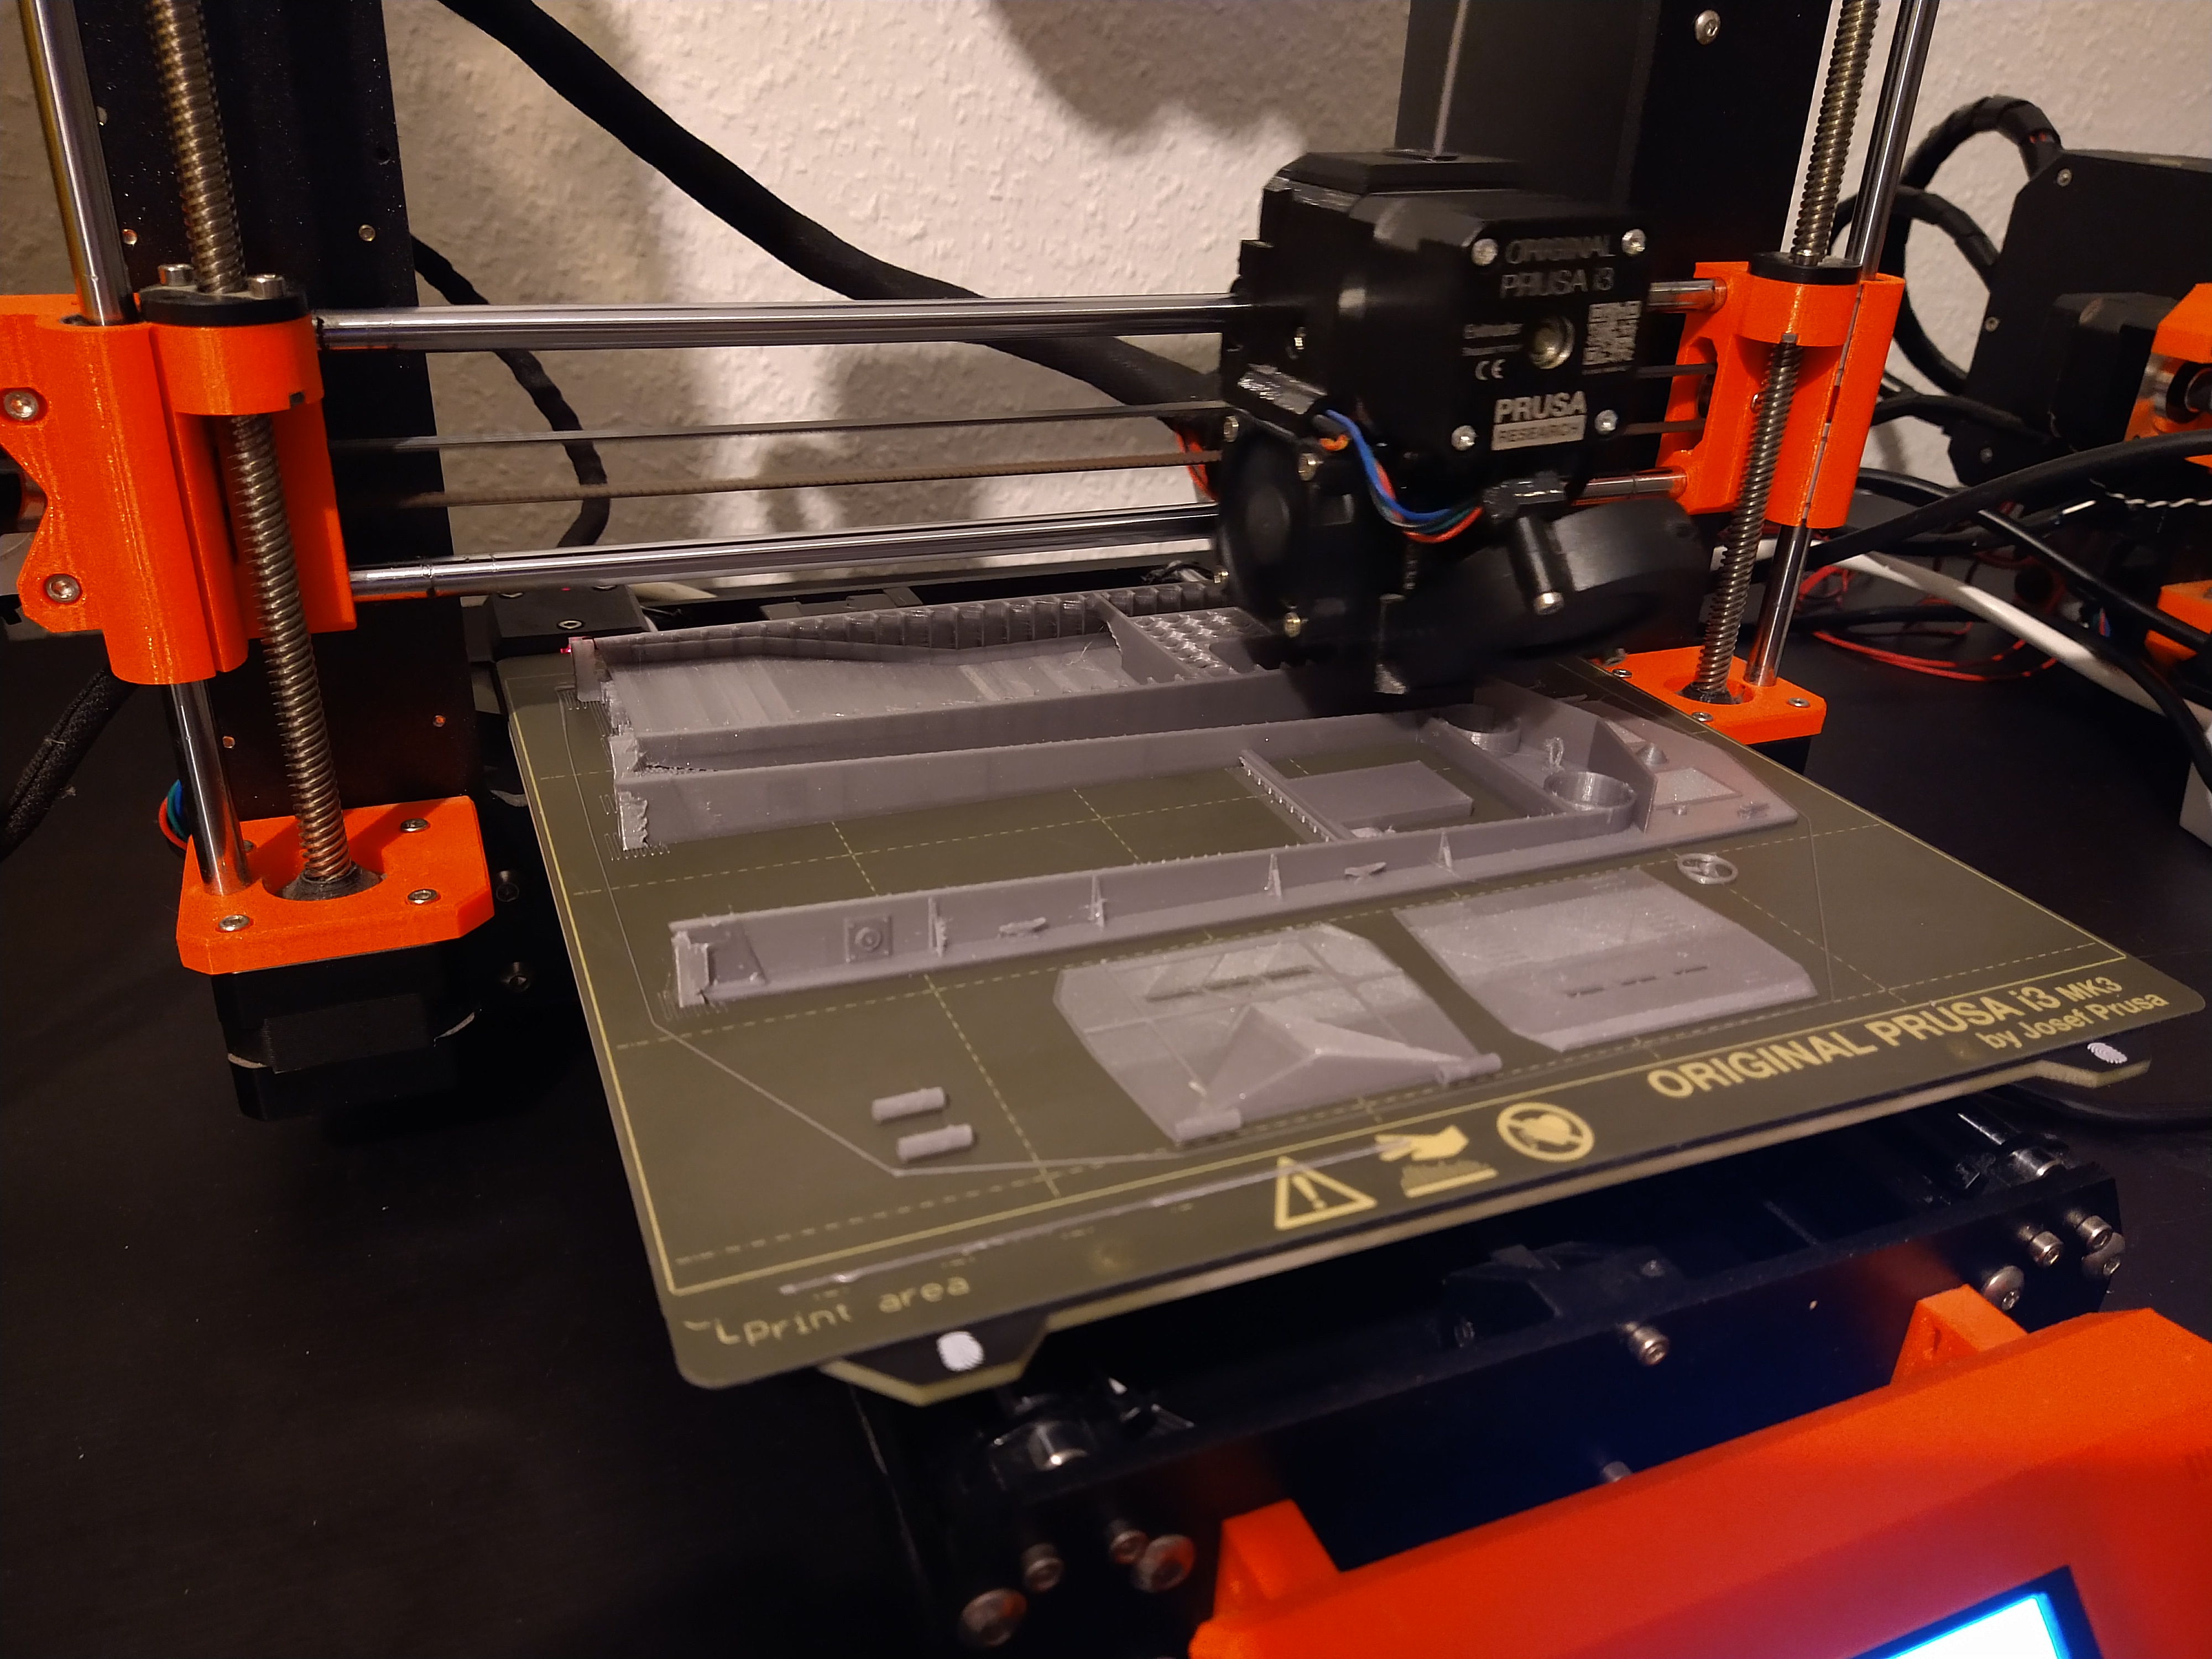
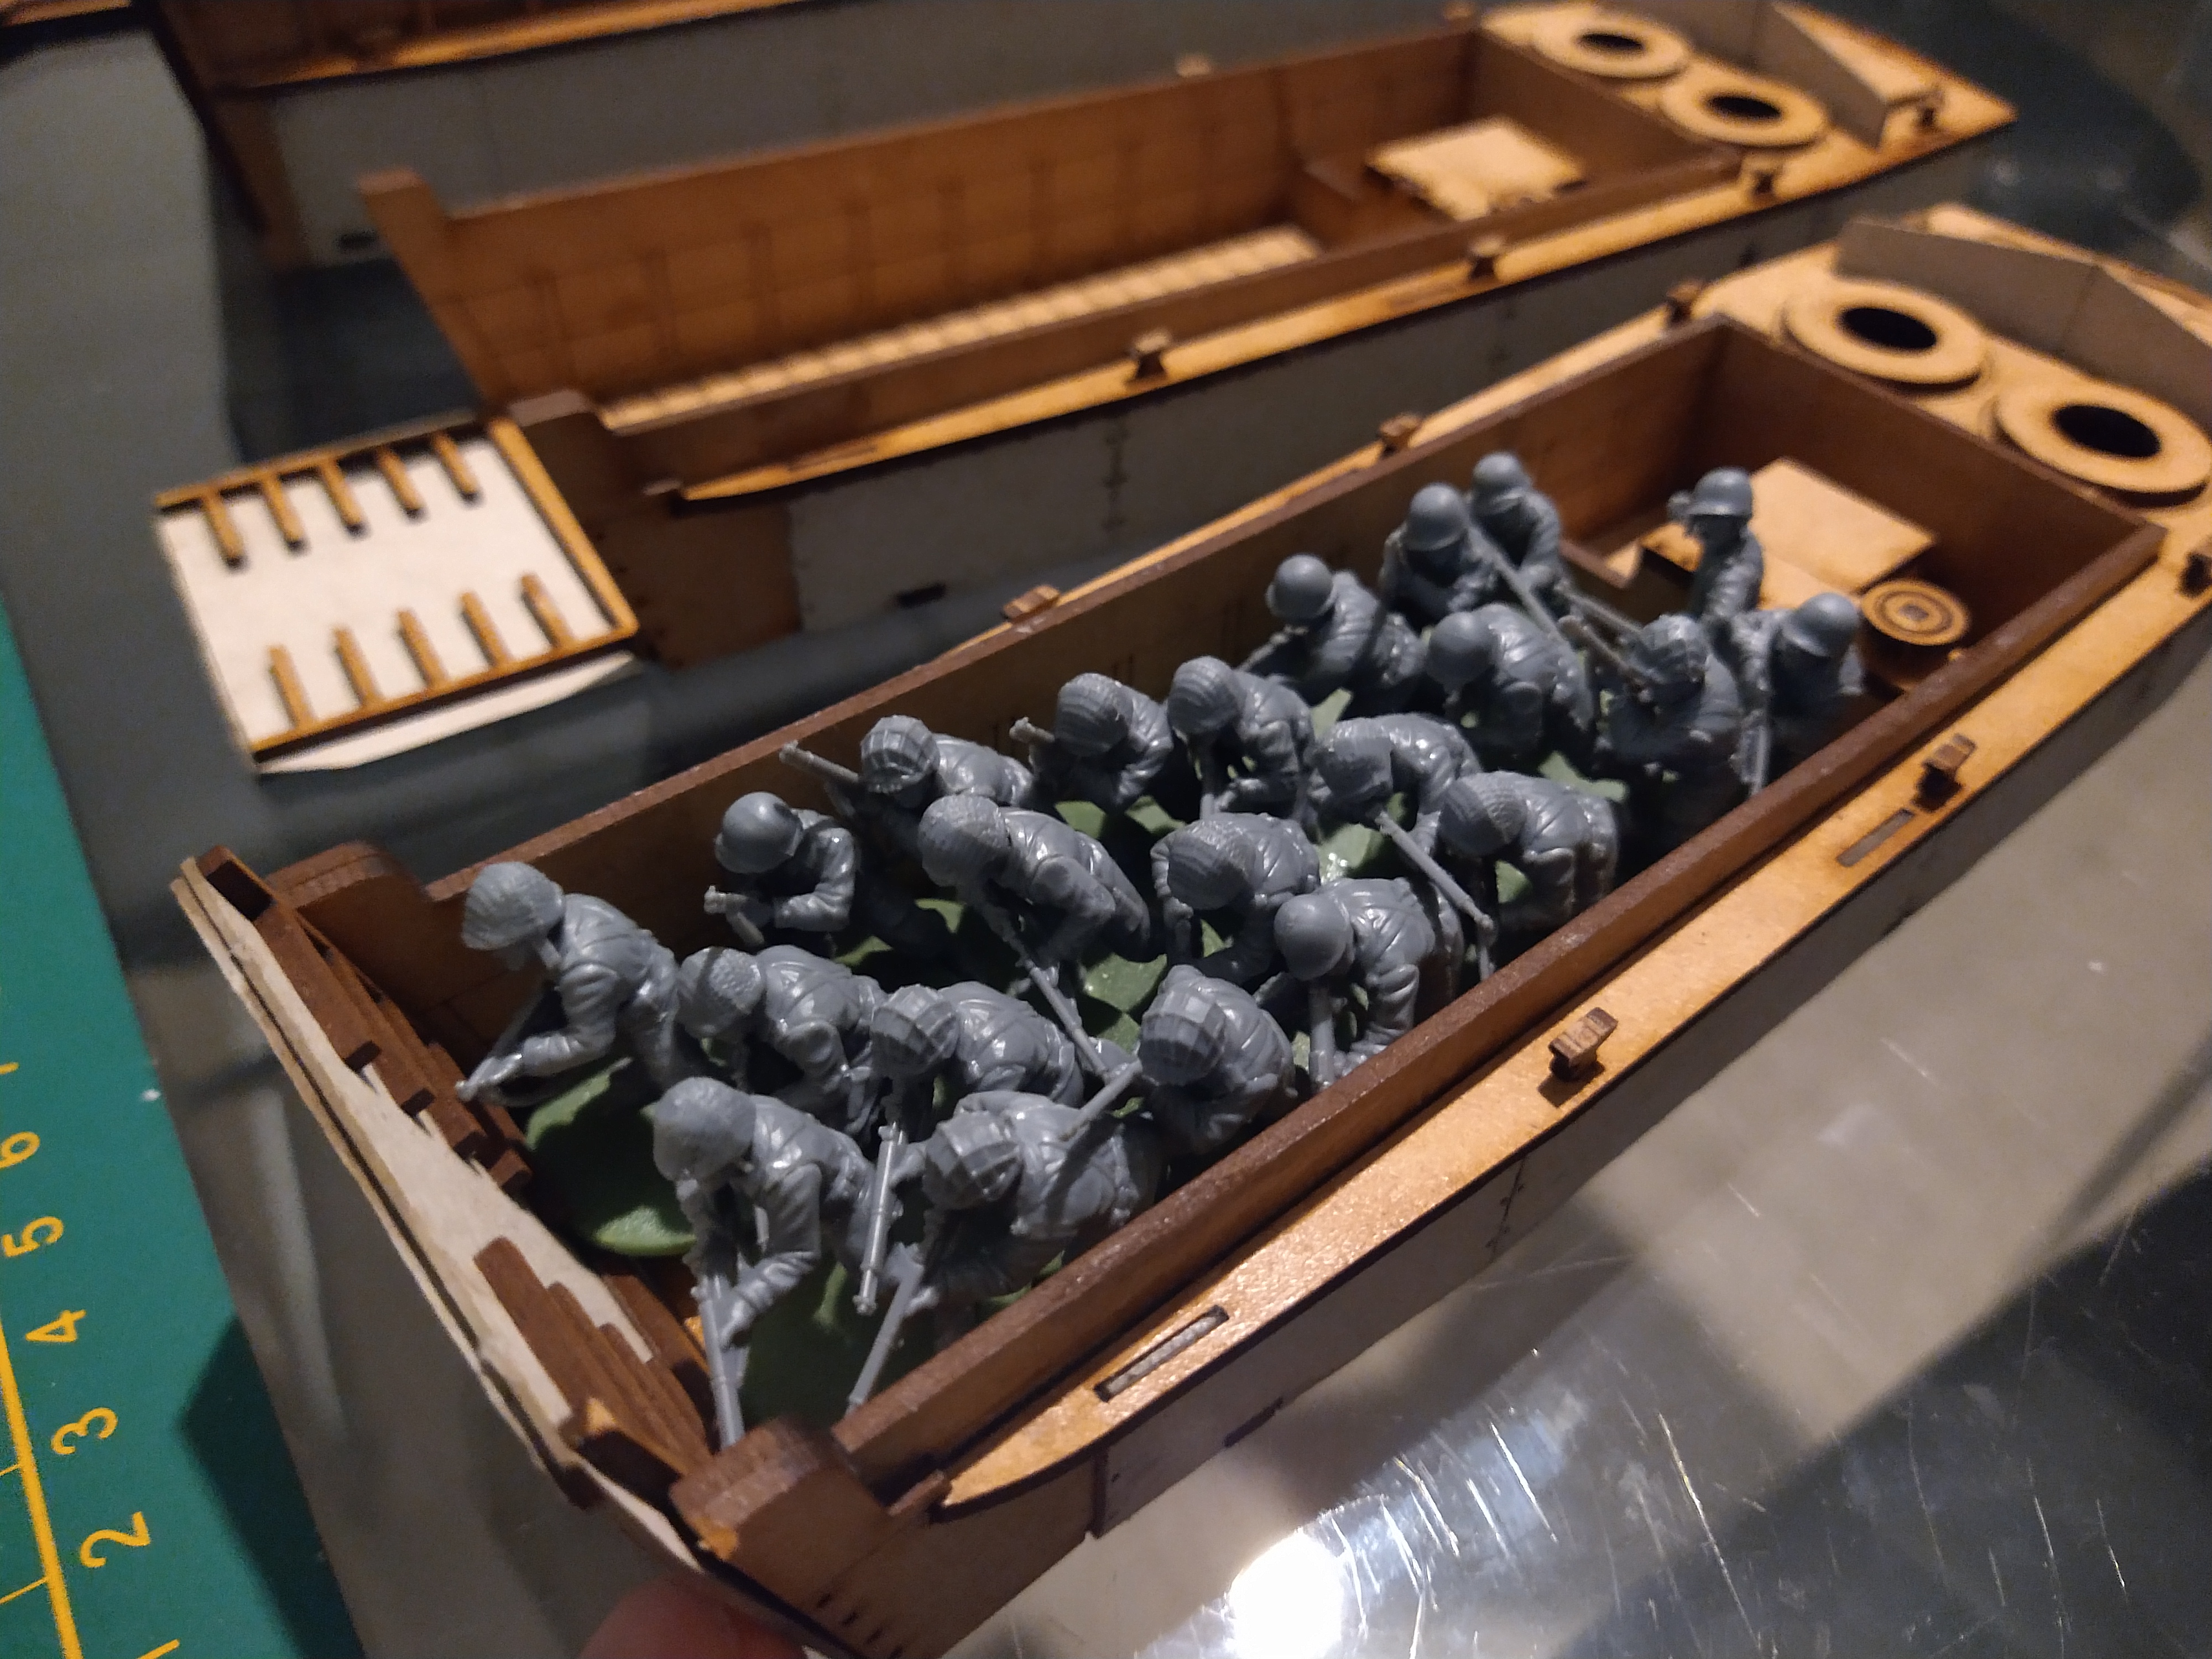
Landing craft
 printing in progress
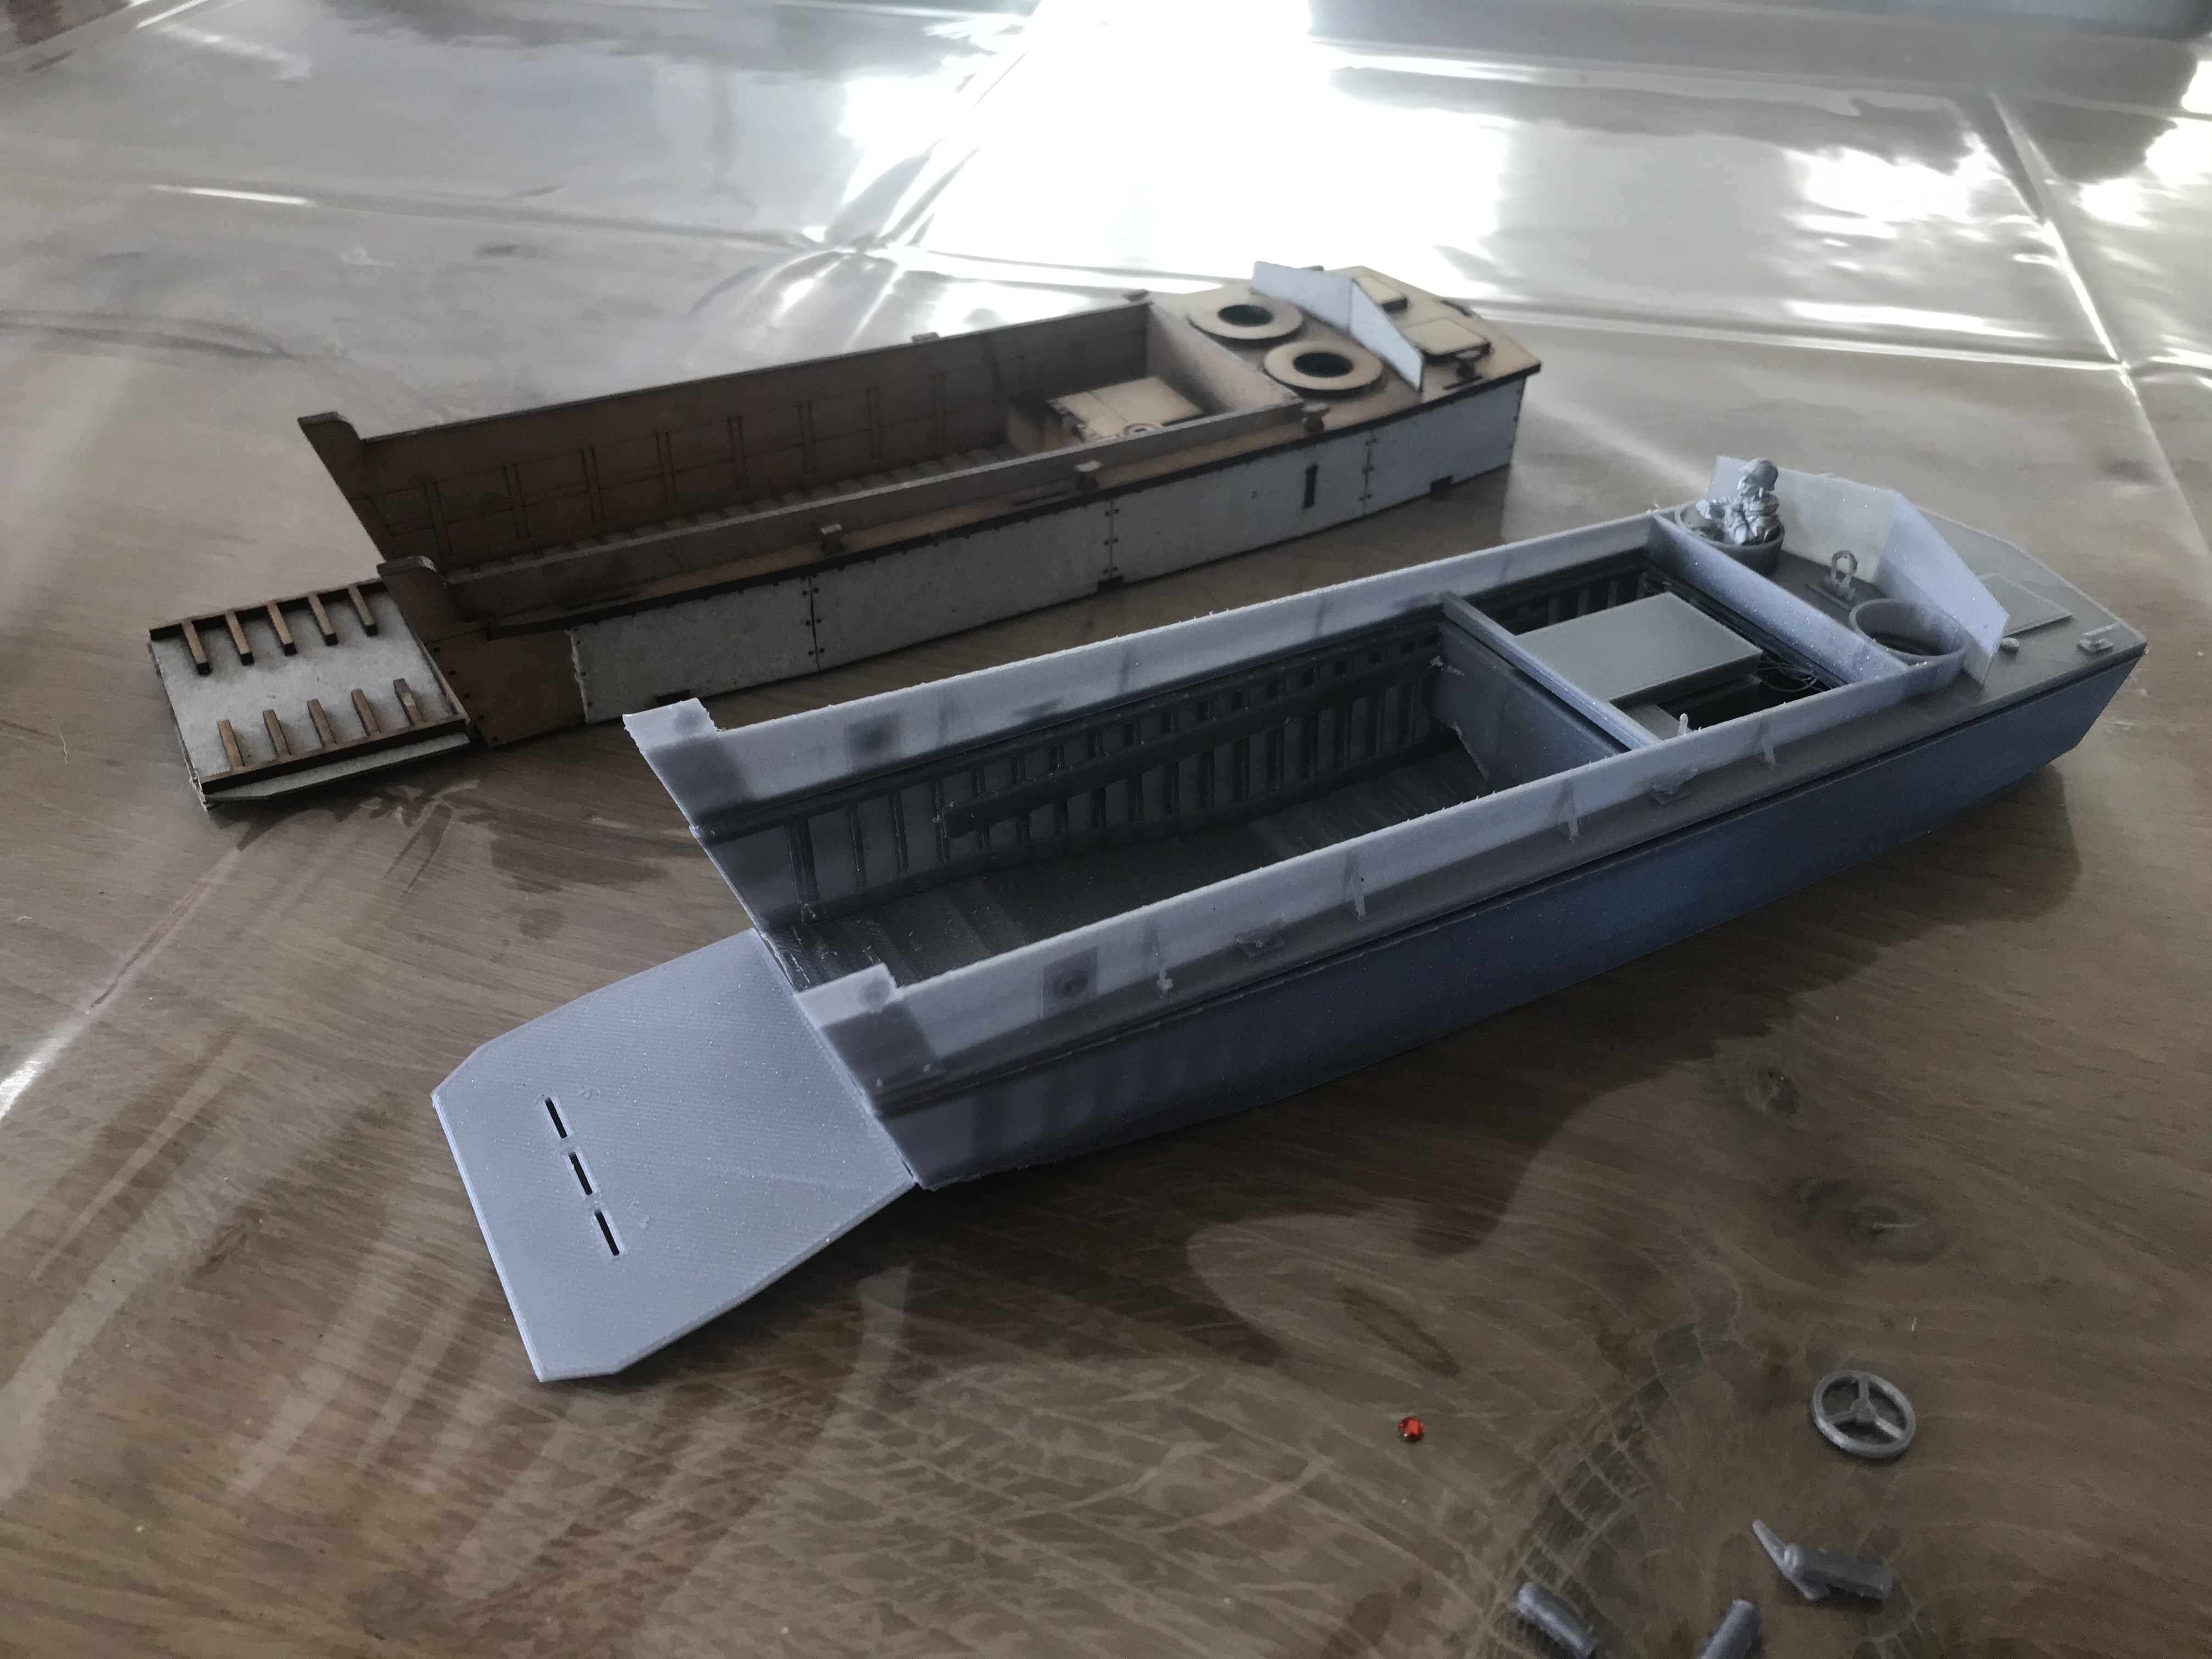 comparison with the Sarissa landing craft
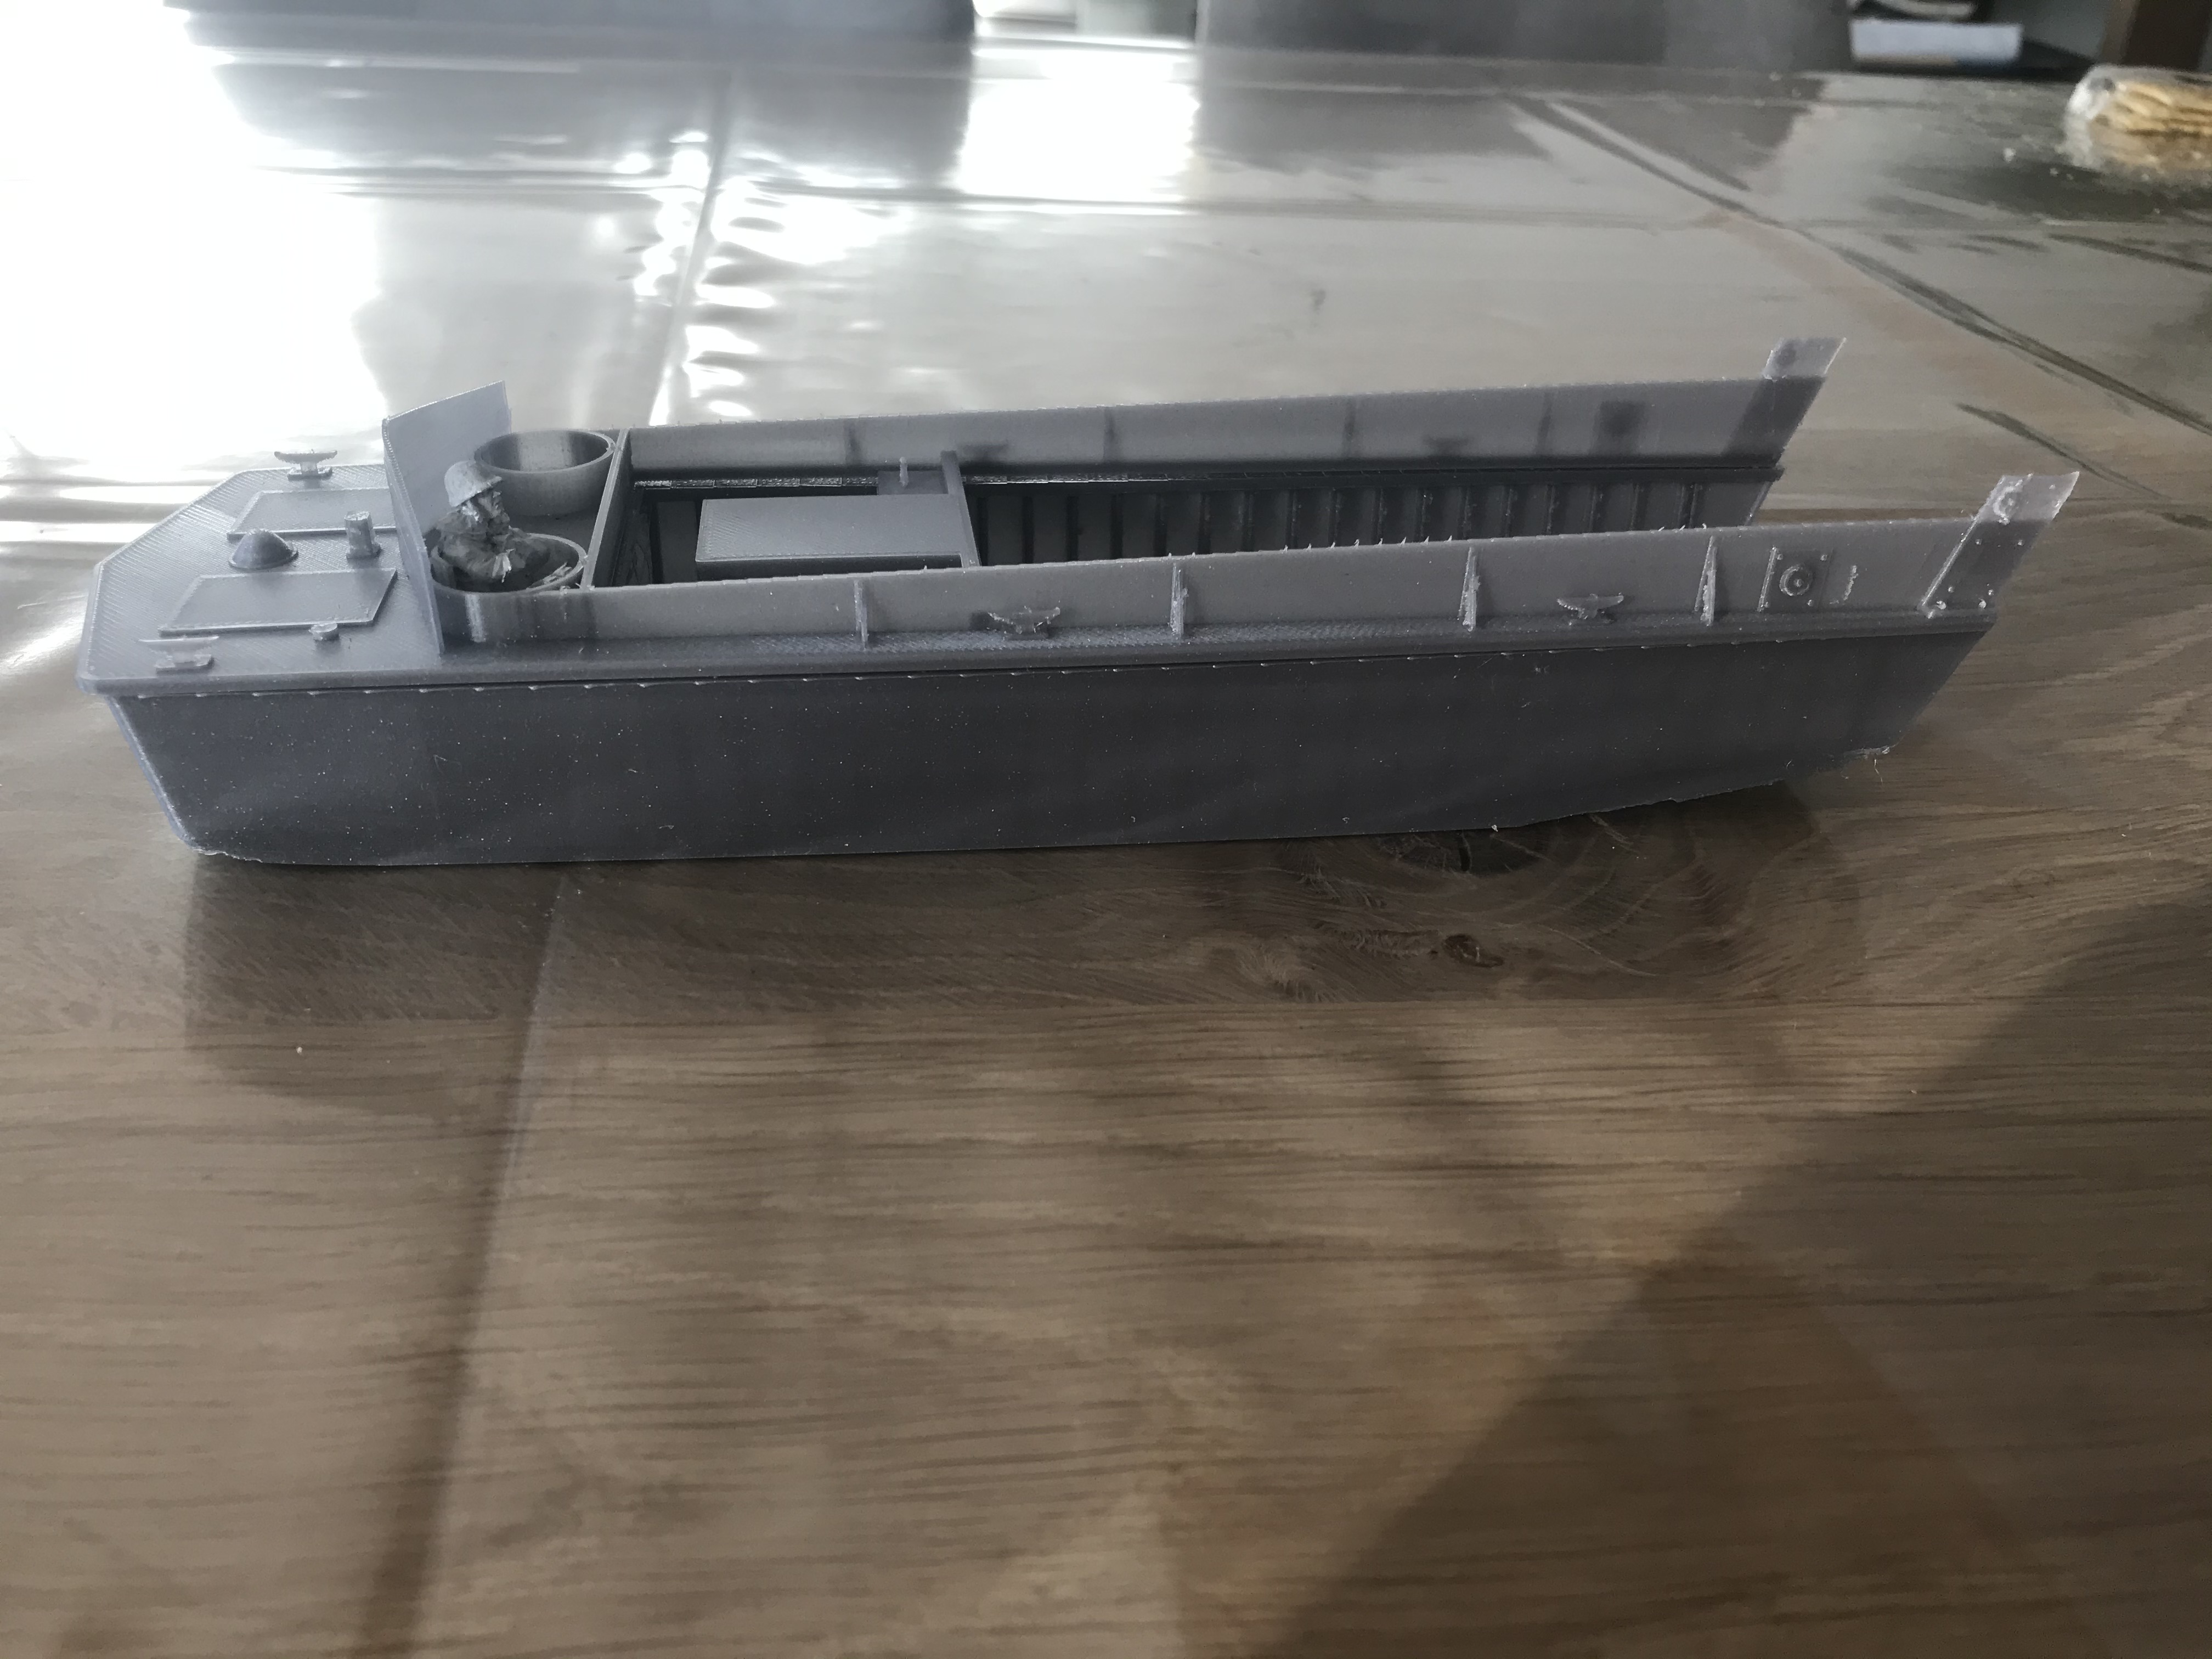
So I worked a bit on the landing craft and I am quite content with the result. It requires a bit of clean up but nothing too bad.
Will make some final changes to the 3d print file, will create supports under the craft from the build-plate. Increase the thickness of the steering rod and do the landing craft ramp in one piece incl. the hinges.
Really like the result, and that for only 2,80 euro a piece
Tanks!
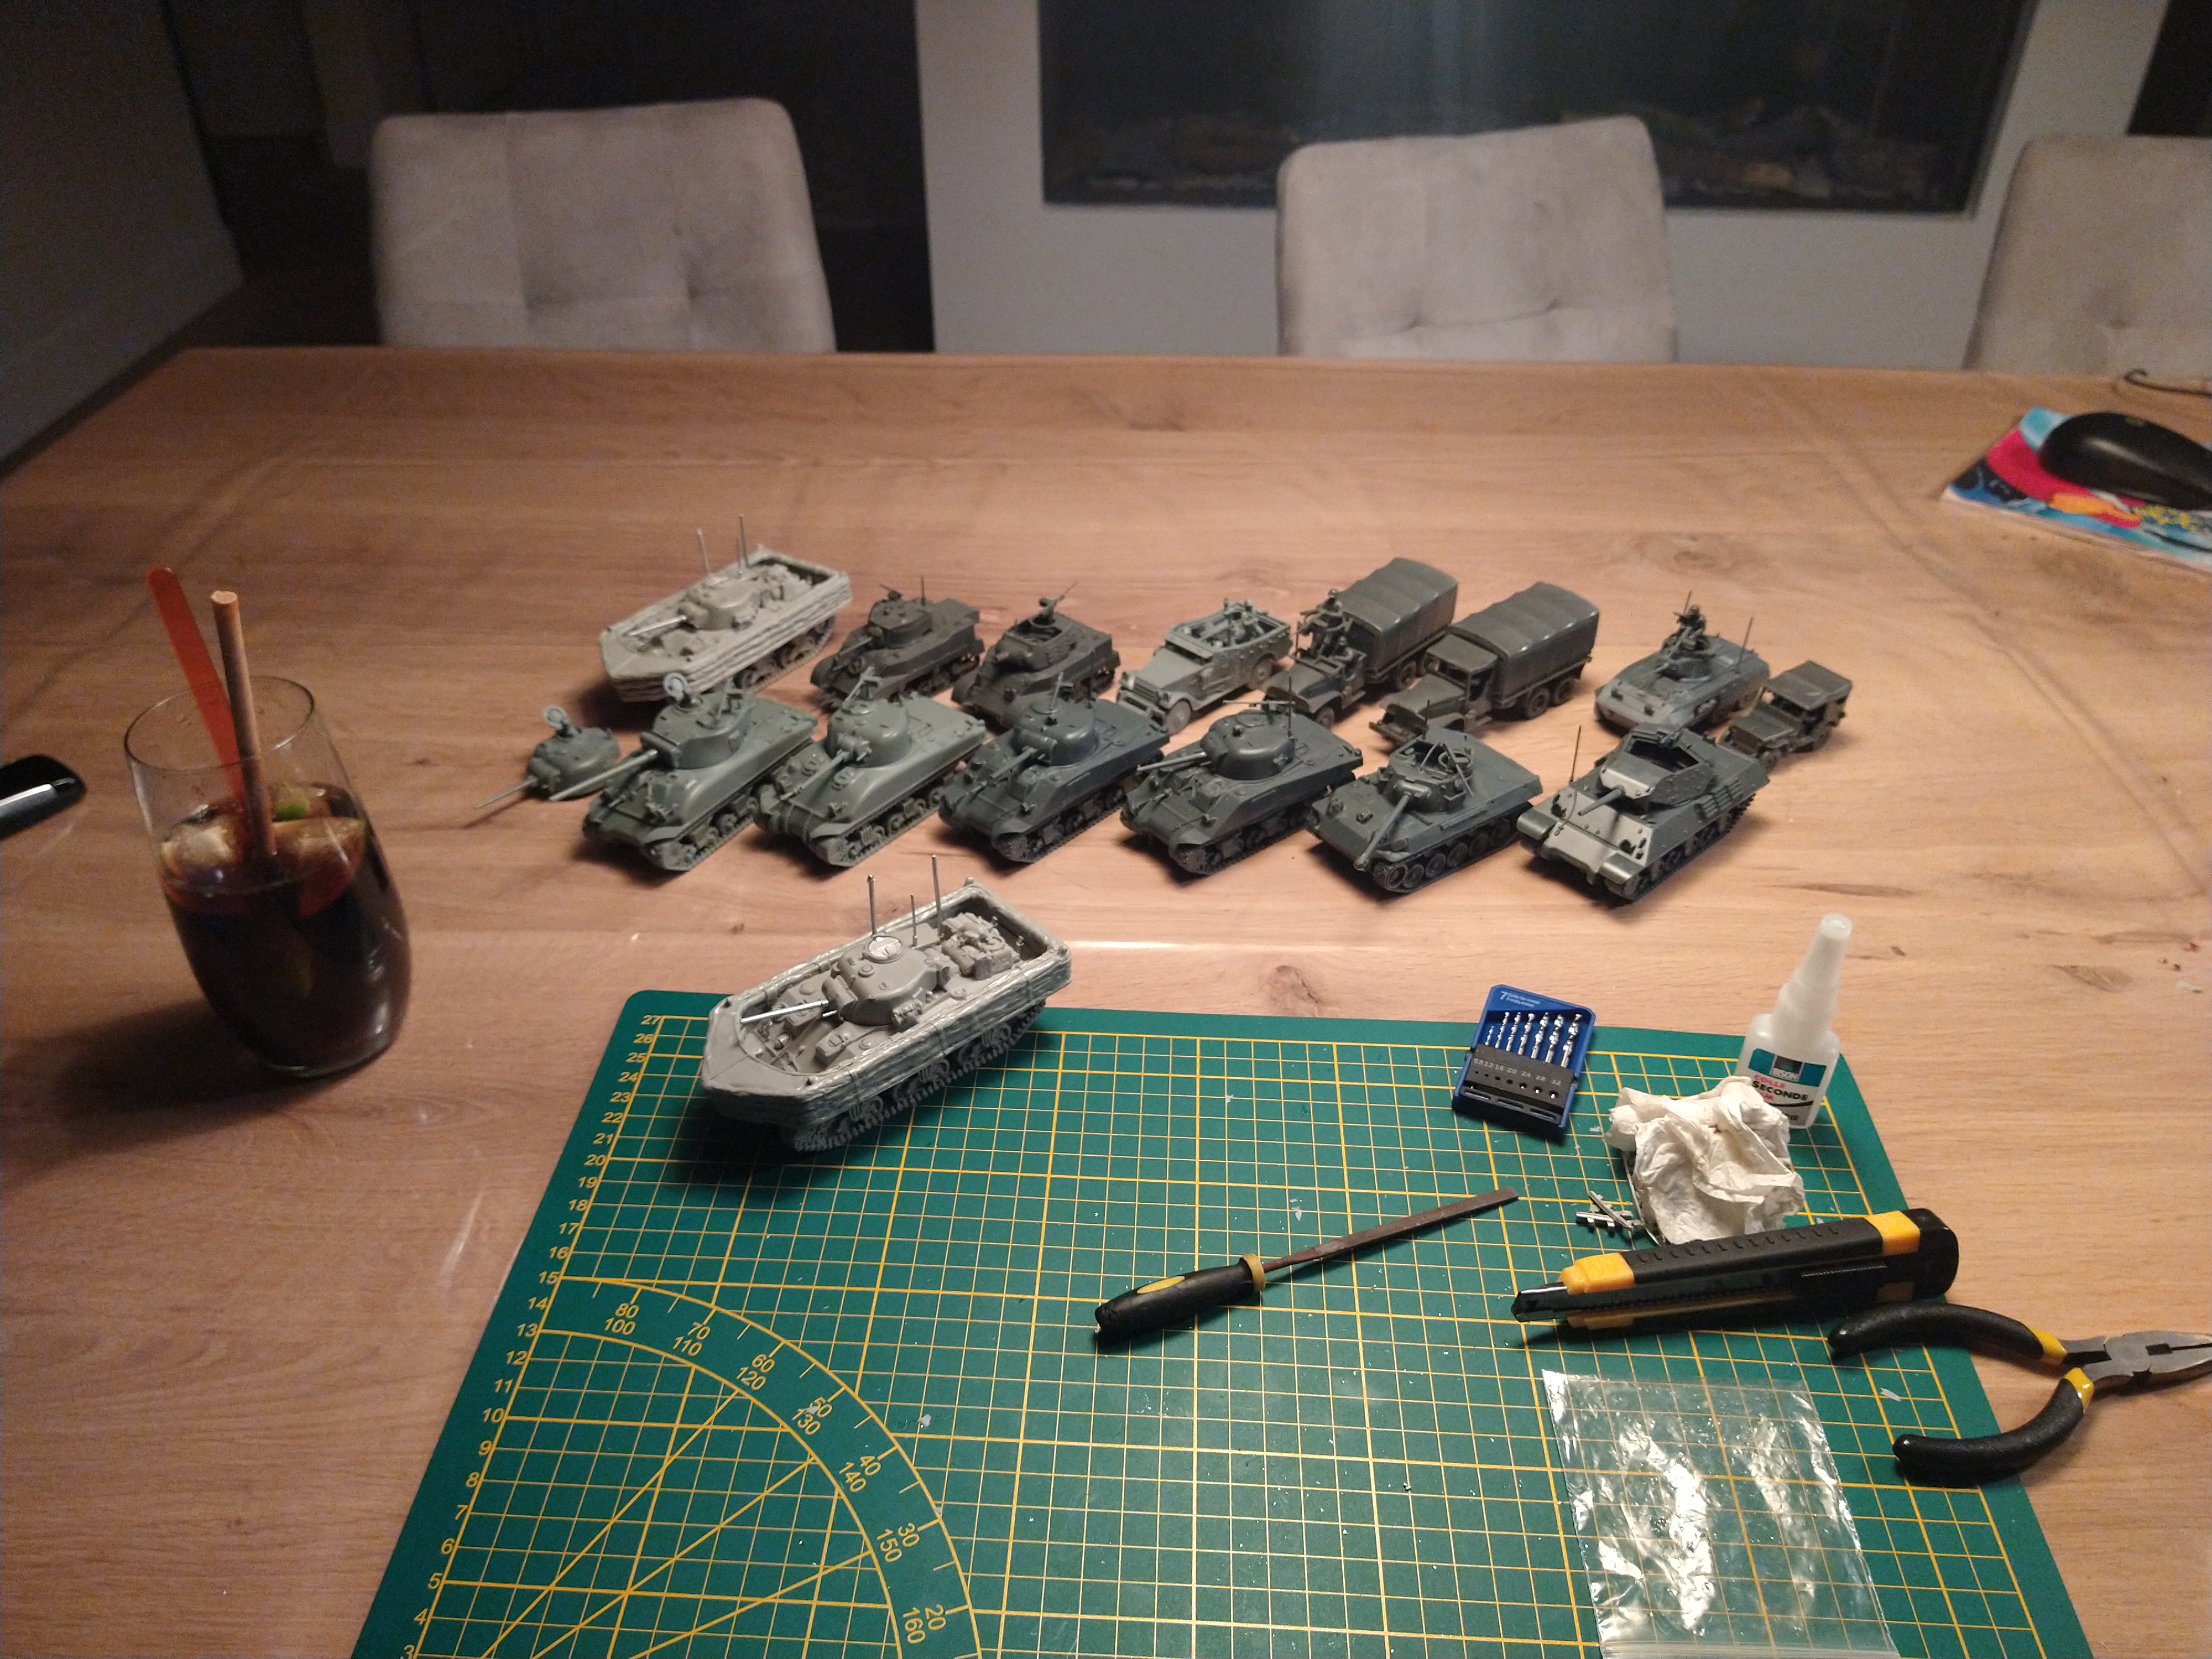 Reinforcements!
So with the lockdown in the Netherlands and Germany increasing I have spend more time at home. Which meant my painting time when I am at my appartement in Germany is greatly reduced.
But luckily I had my D-day shermans, and a few other vehicles to build. I think this would do nicely to reinforce my Infantry?.
Painting continued

So started again after the christmas break. Painted the bases and the metal parts black. This was a bit labour intensive. Hope to finish next week the metal and wood parts.
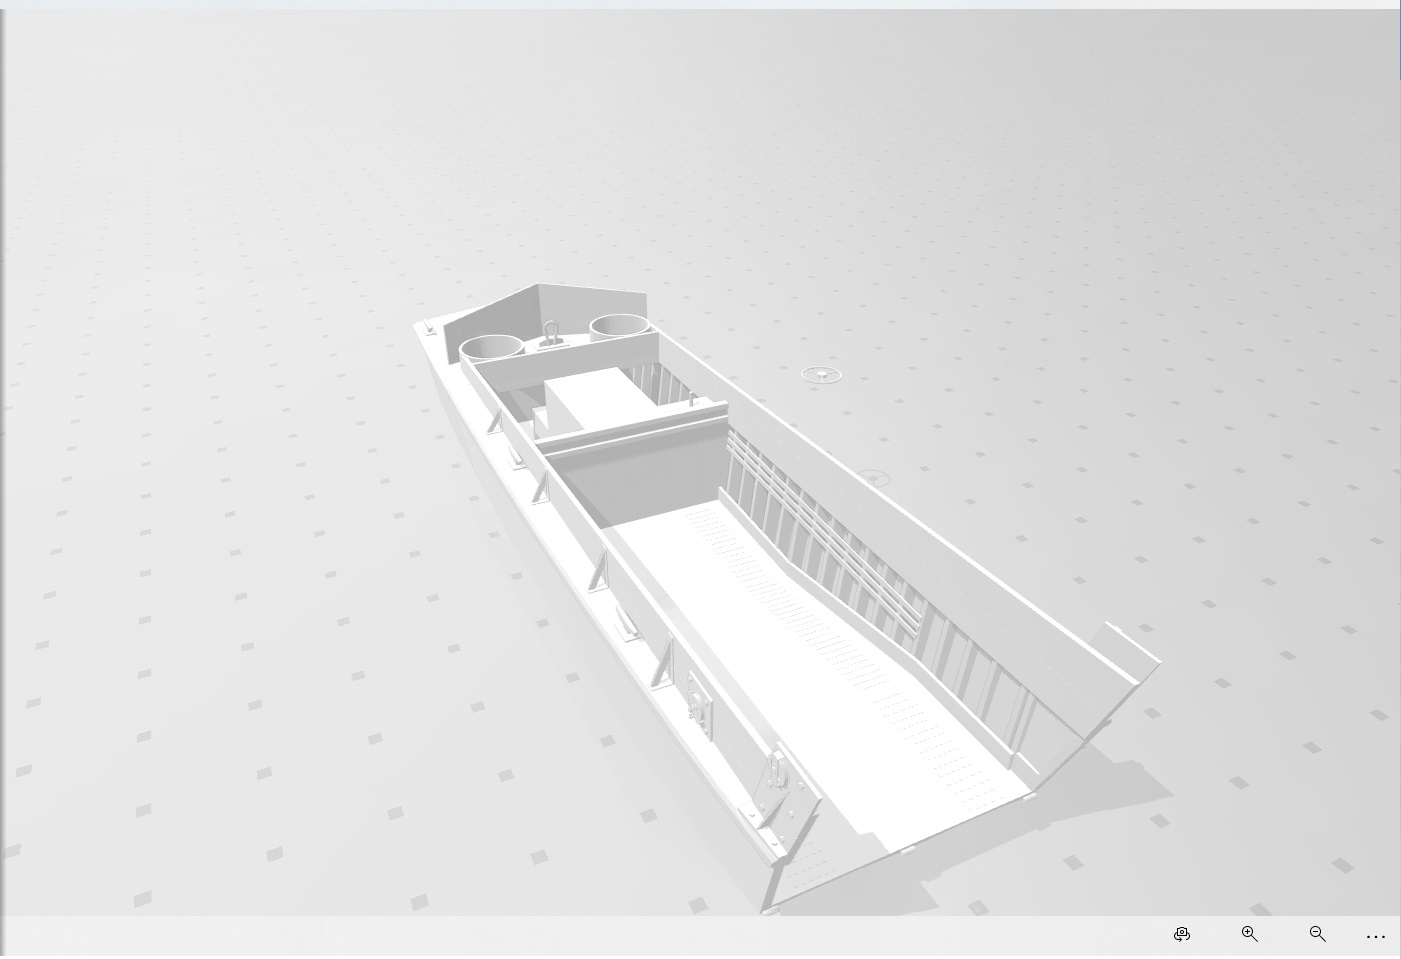
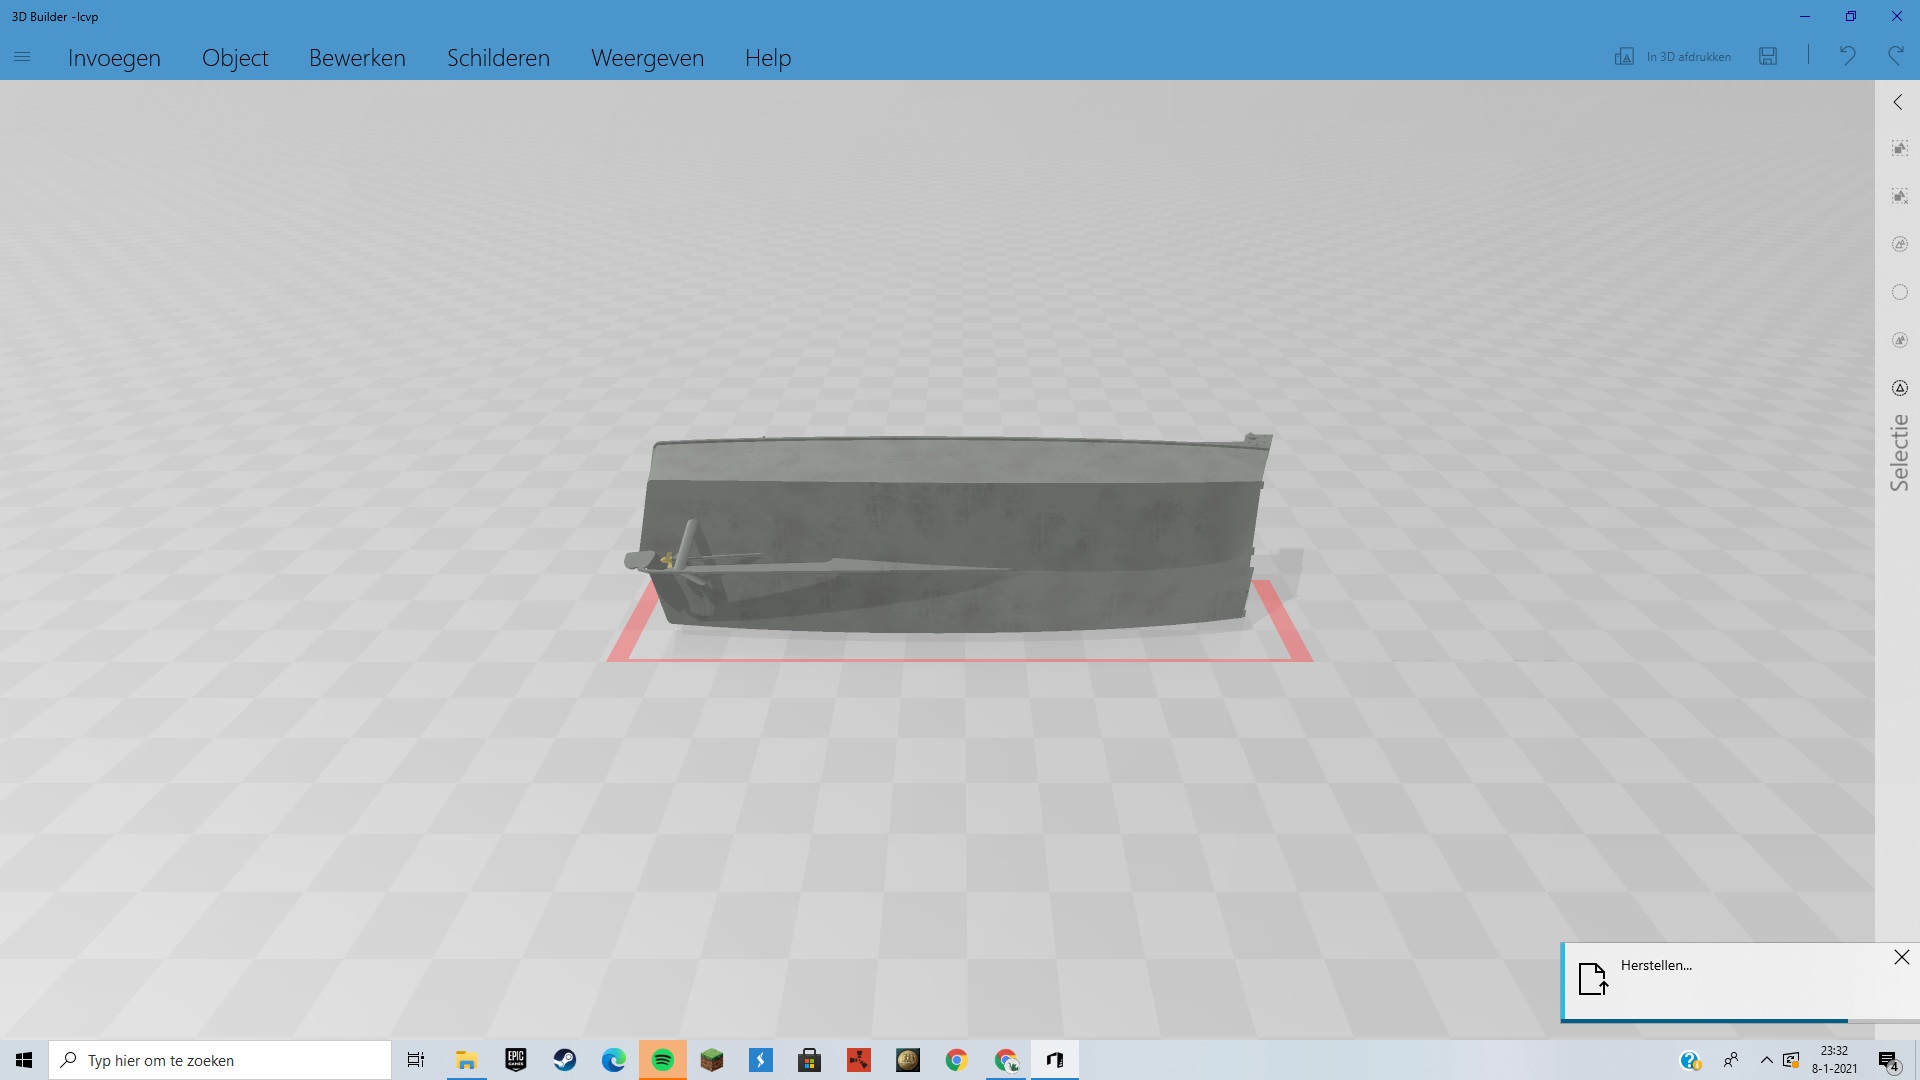
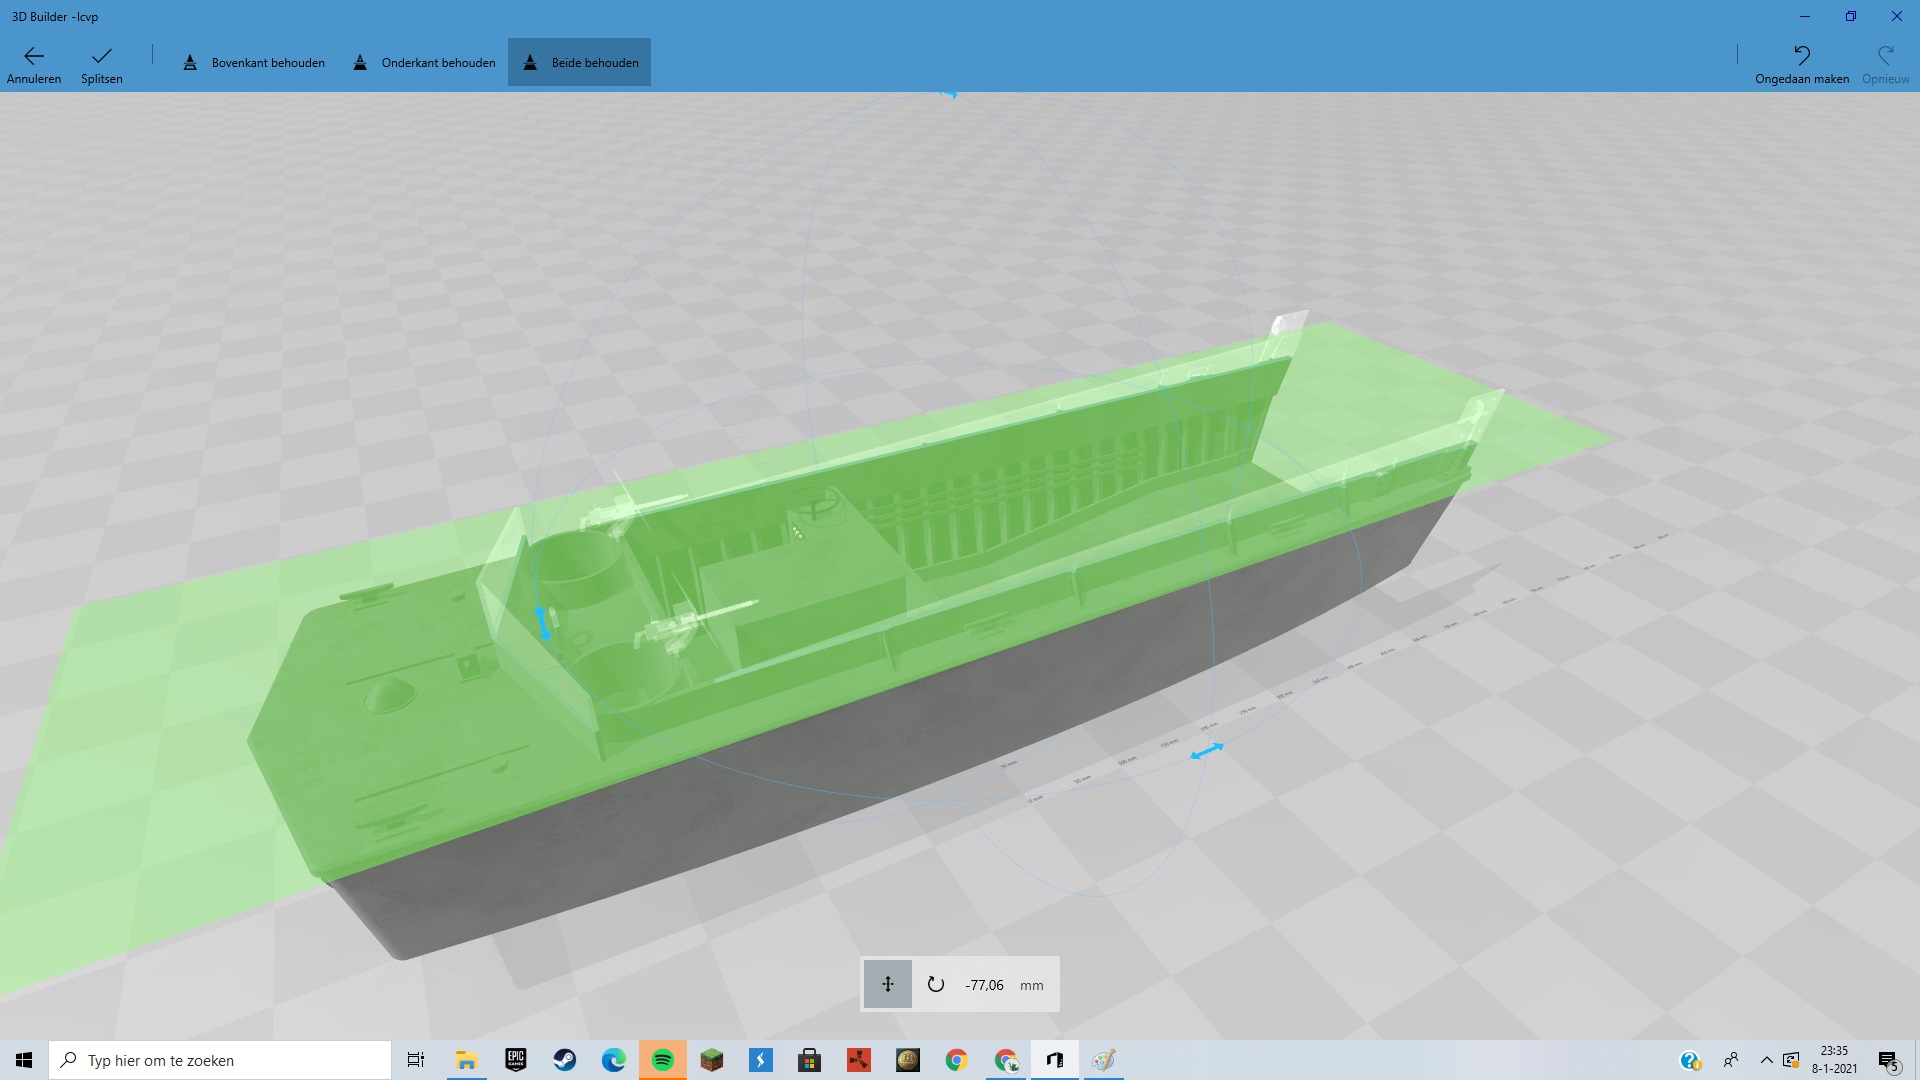
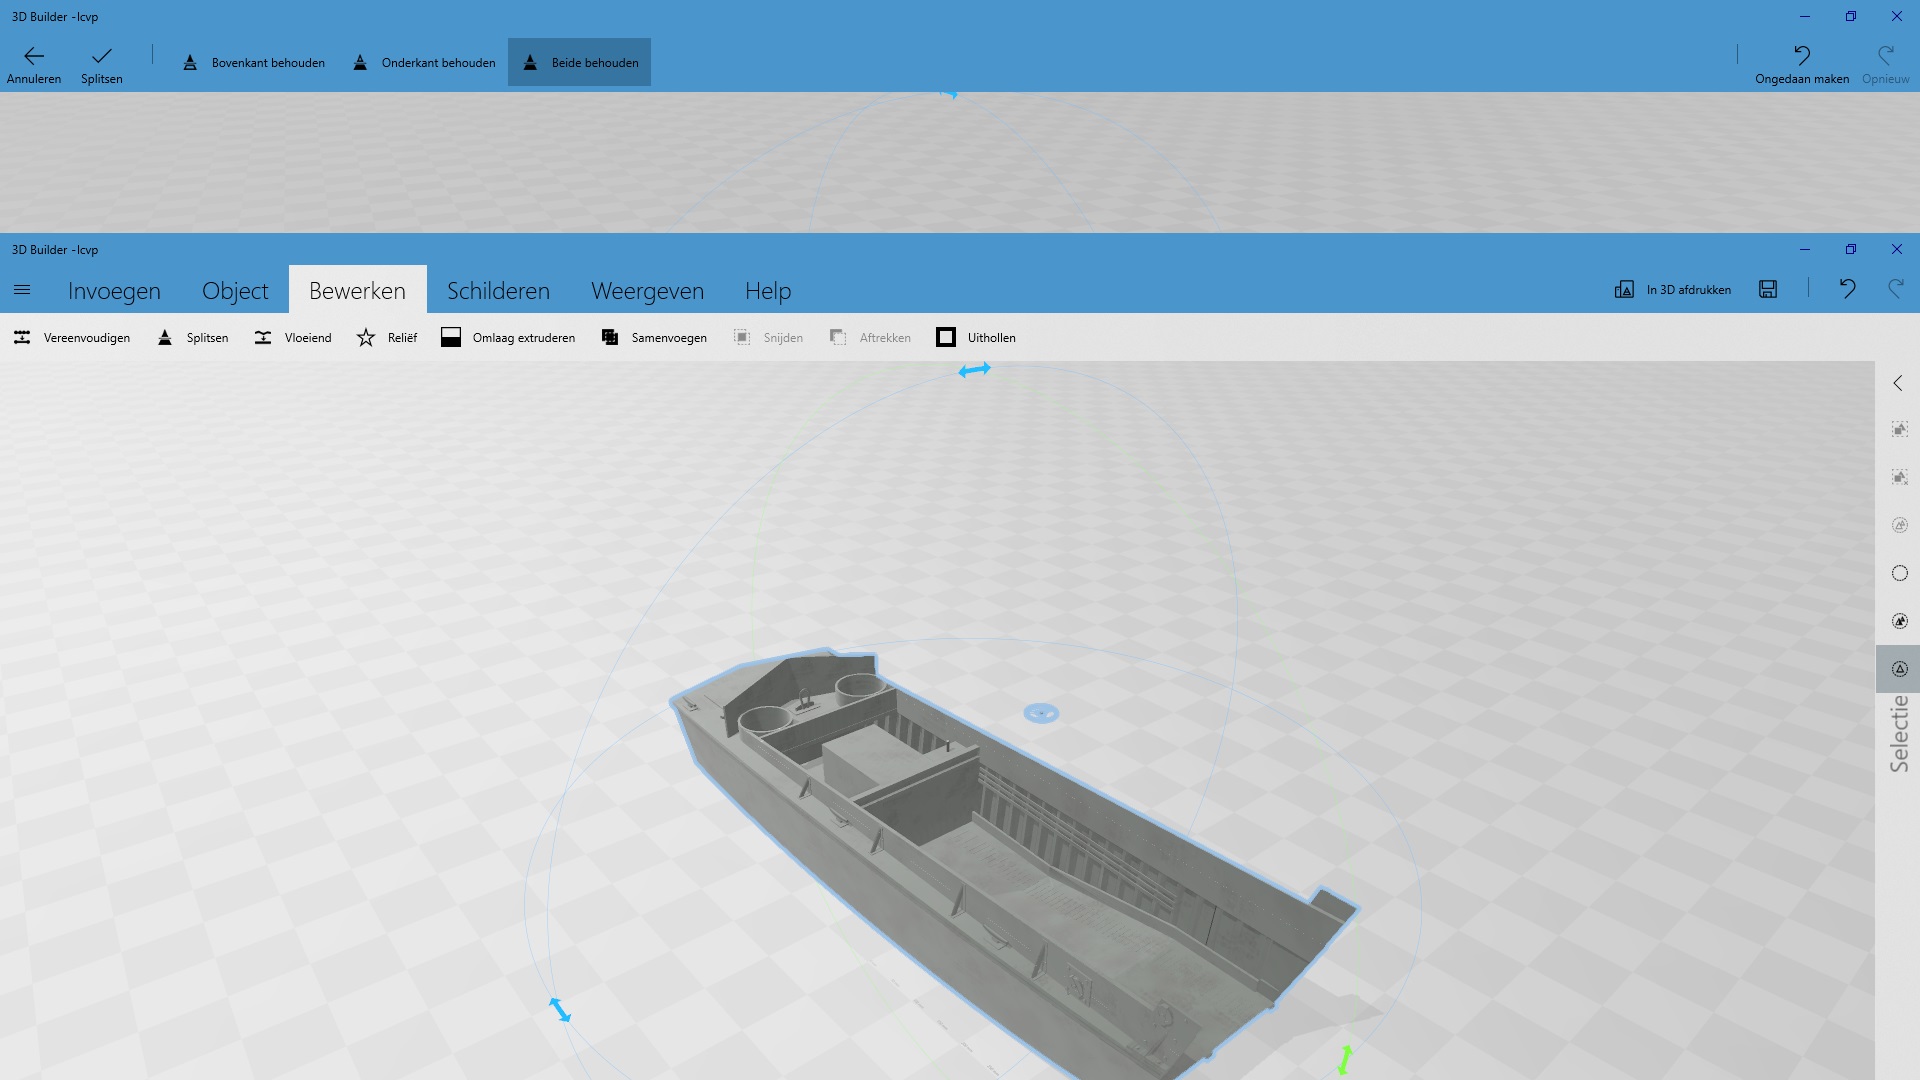
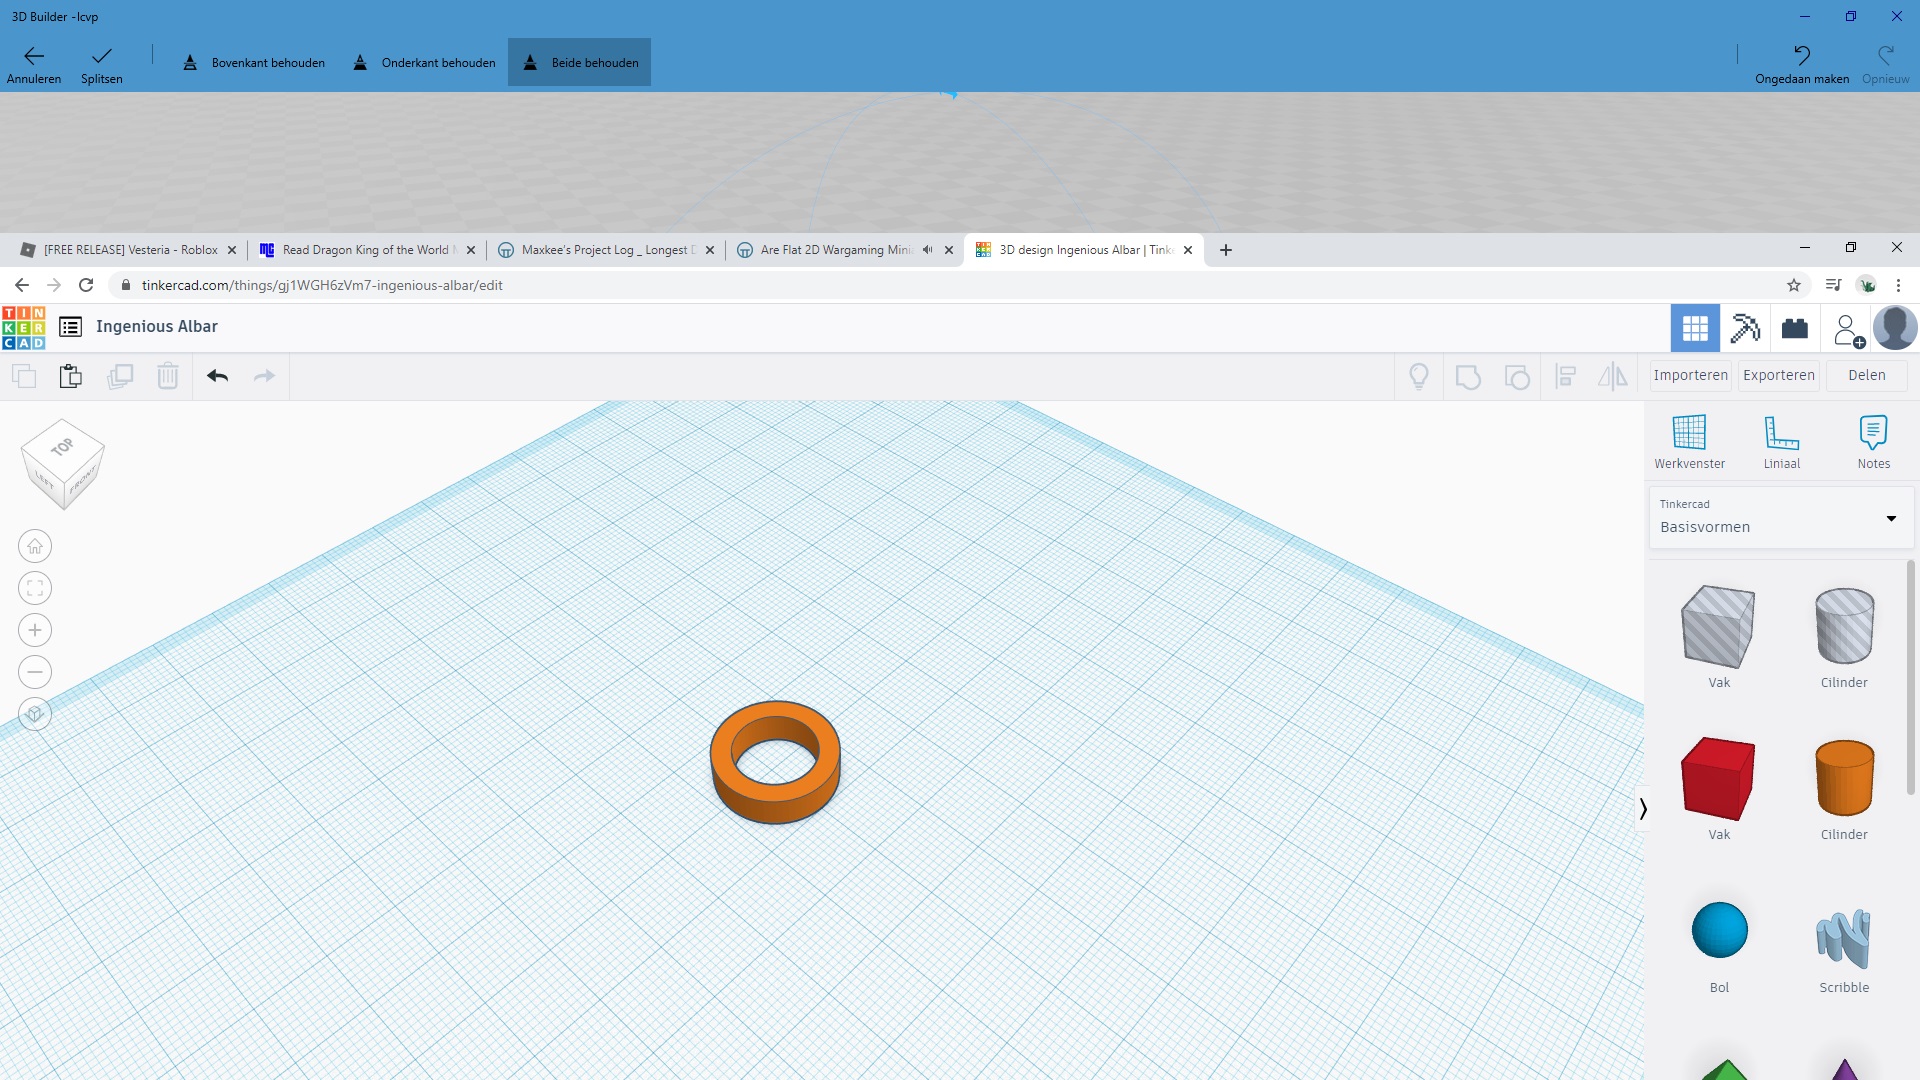
I started playing around with a 3d model I have of a lcvp. So first I imported it in 3d Builder to fix any issues with the model. Subsequently I made cuts in 3d builder to isolate both the steering wheel as the machine guns. These are too fragile as-is for FDM printing.
I removed the machine guns, I’ll insert Warlord LCVP crews later on, and created some insert to support the warlord crews.
The problem with the model is that the boat is quite deep which means it stand out of the water a bit more than I would like. Also I would like to angle the LCVP a bit so that the front comes up more from the waterline. This will mean that I will get a lot of print layers on the top deck. Therefore I have decided to do some more modelling over the weekend. I’ll cut and decrease the depth of the deck and cut the top in half so that the top can print flat and the bottom slightly angled.
Will be continued 🙂
Painting started
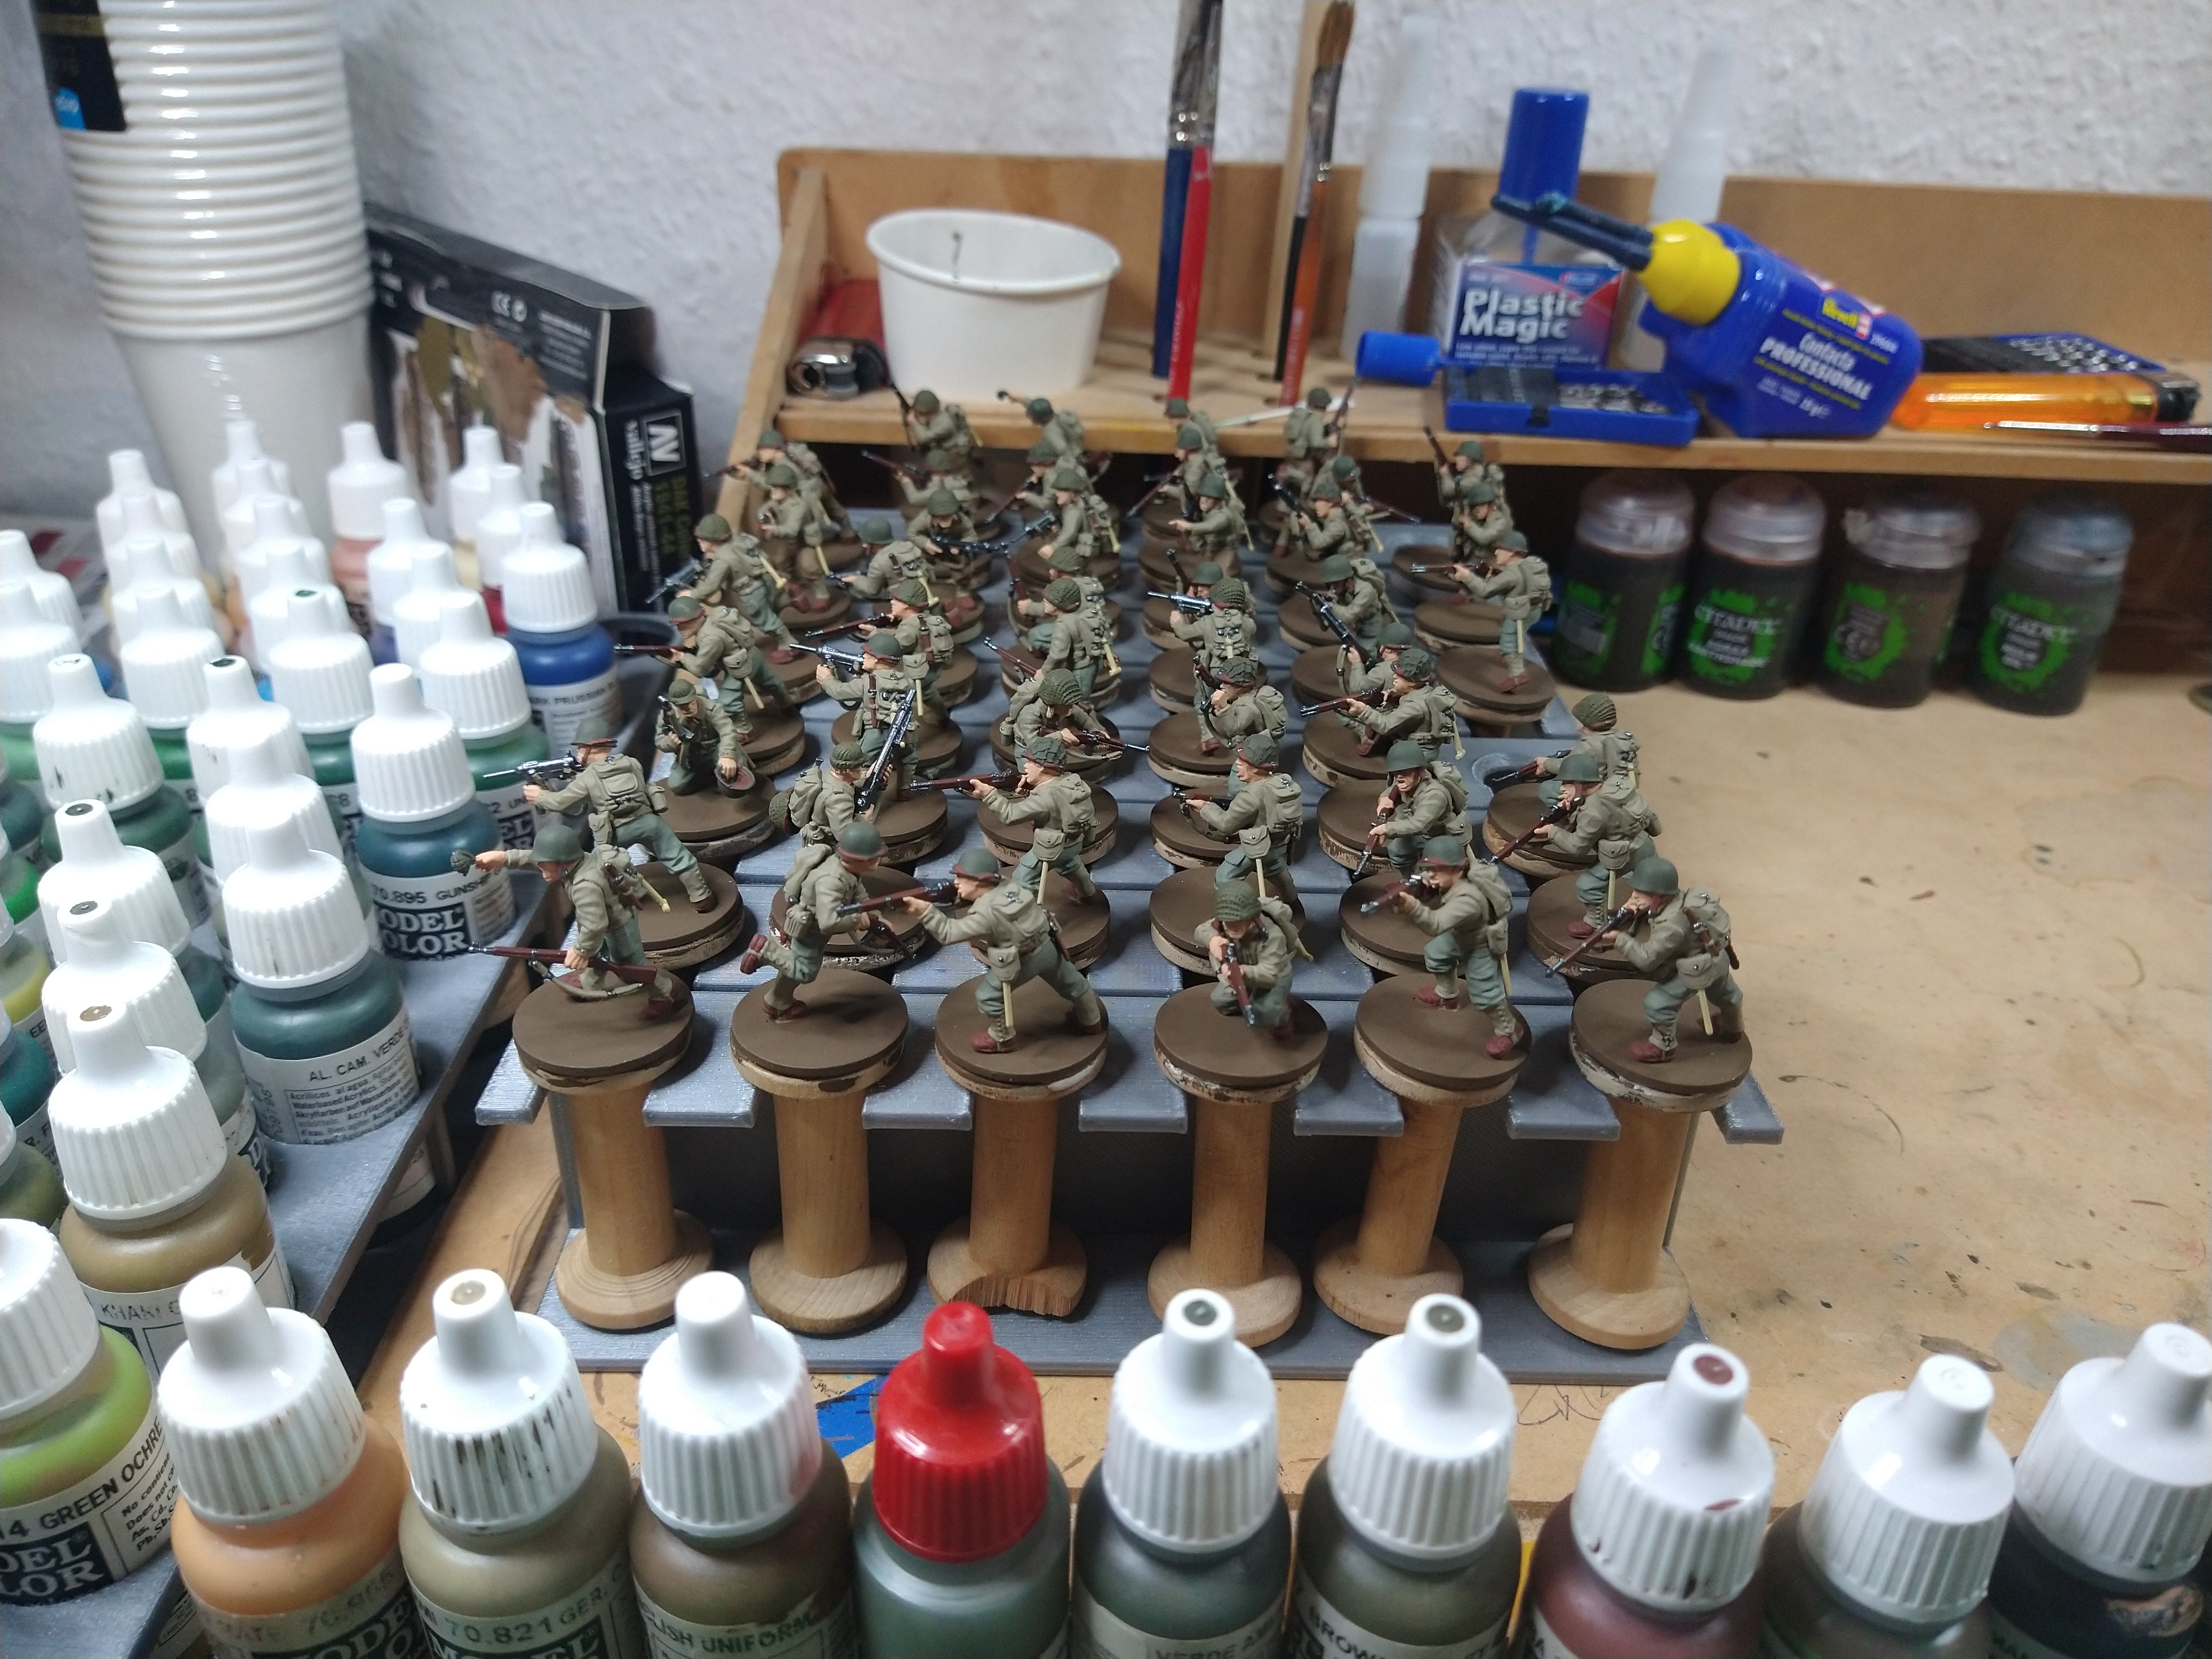
 Workplace organized
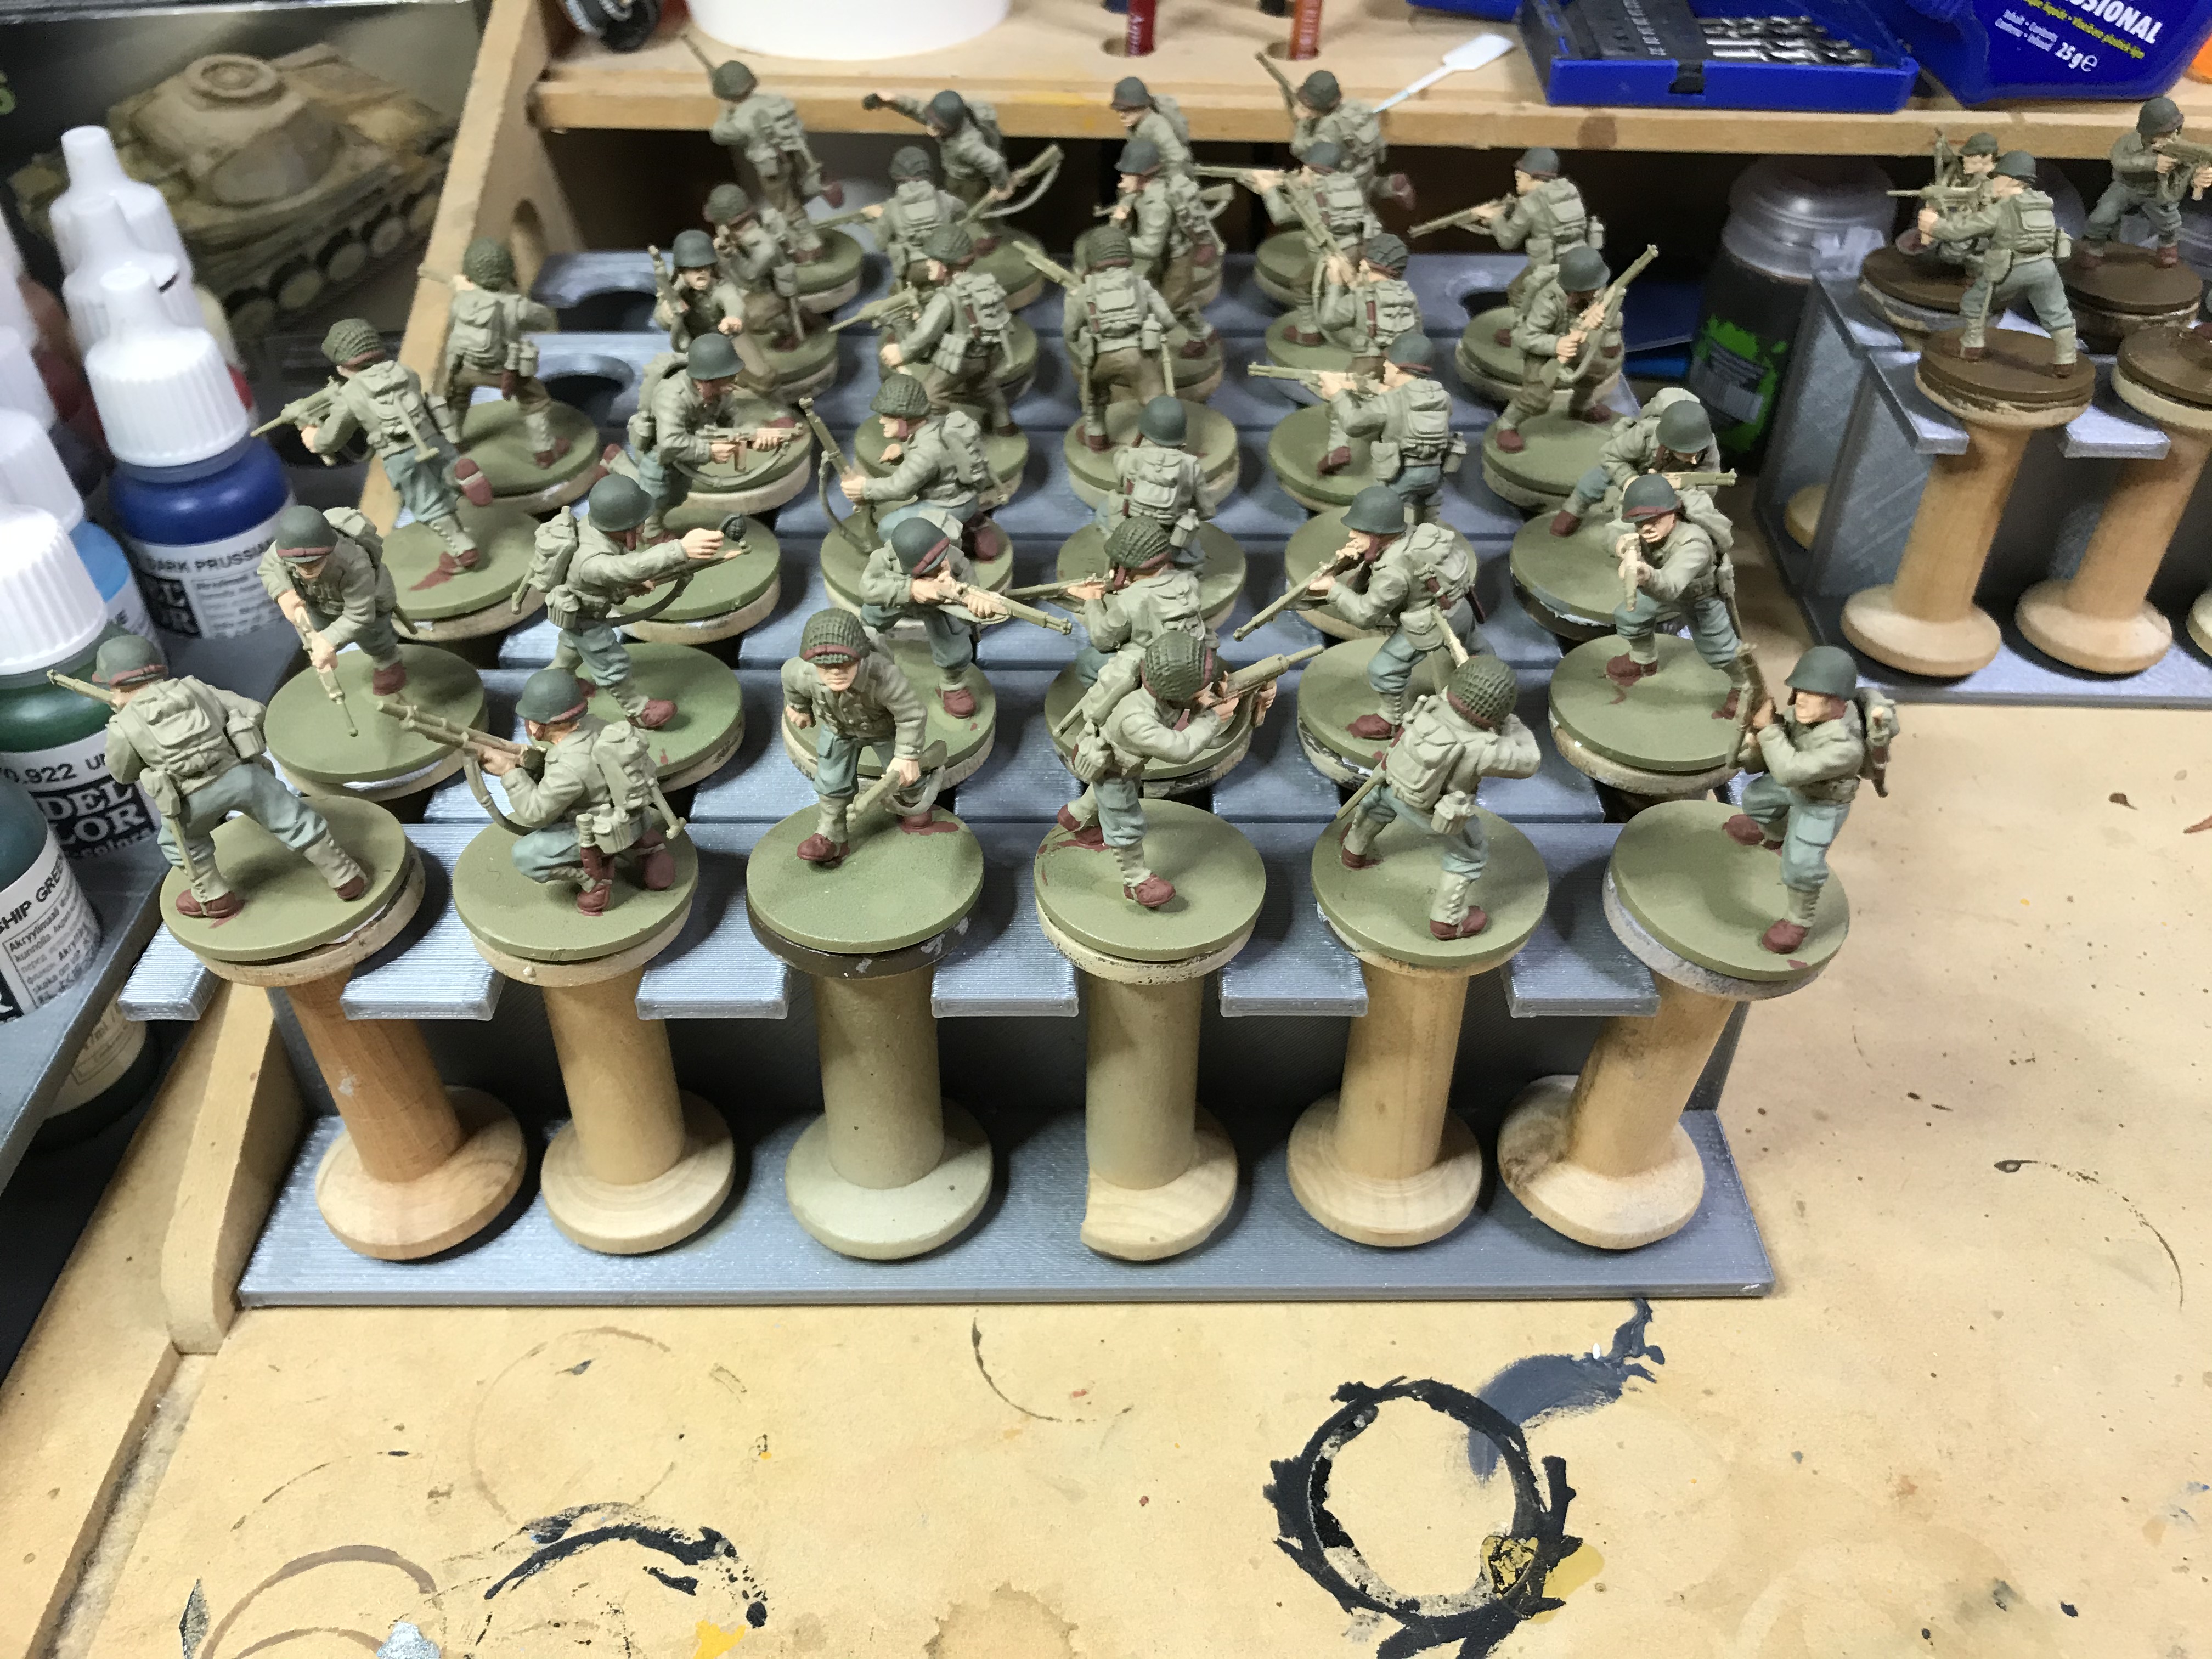
So after a bit of a hiatus, because of a new job, I have started organising the workplace after the move last year and got busy with painting.
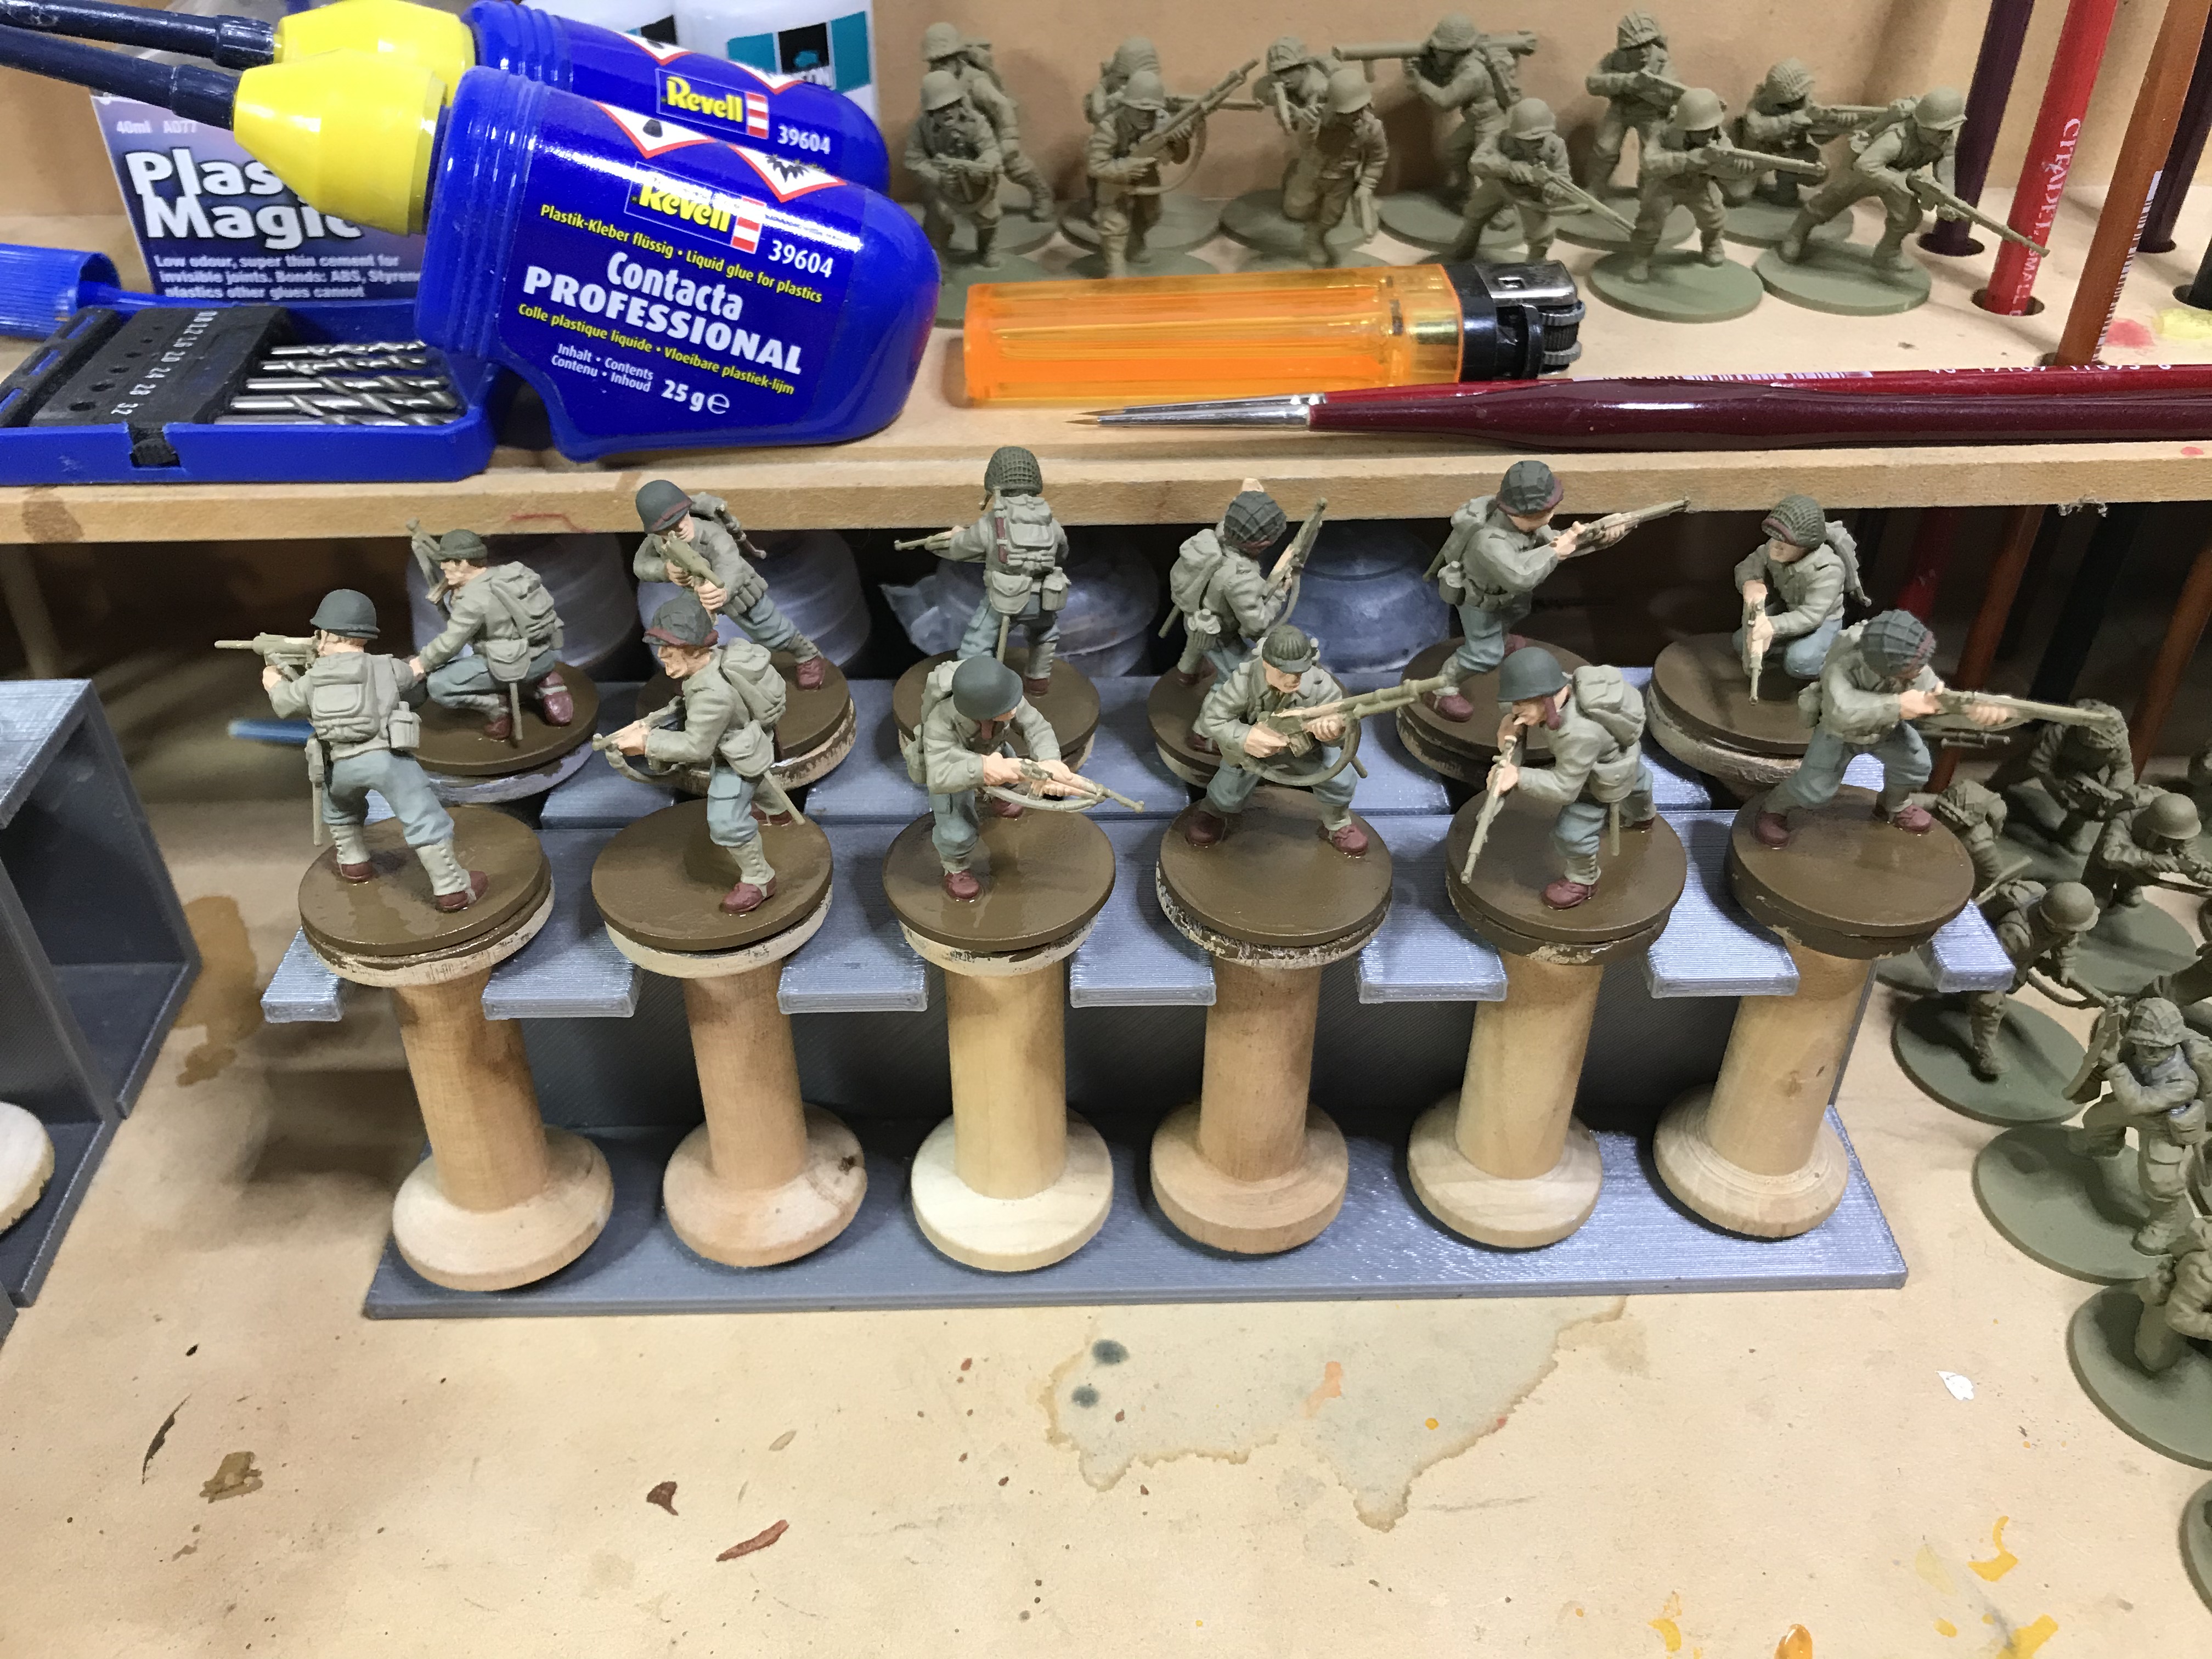
I like batch painting as much as possible and to facilitate it I have printed some holders for the wooden bobbins I use as a holder for my miniatures. I then do a certain color for all the miniatures, moving the holders across when I have finished. I have holders and bobbins to do a 100 miniatures in this manner. However for this project I settled on 45 ish per batch. That would mean roughly 4 batches till I have the infantry done. I think it is a nice balance between productivity and getting results.
I like batch painting because it really speeds up painting through a combination of
- repetition (you know all the bots which need to be painted so don’t have to look for them) and,
- focus (because with so many to do at once, I don’t spend too much time on a single figure)
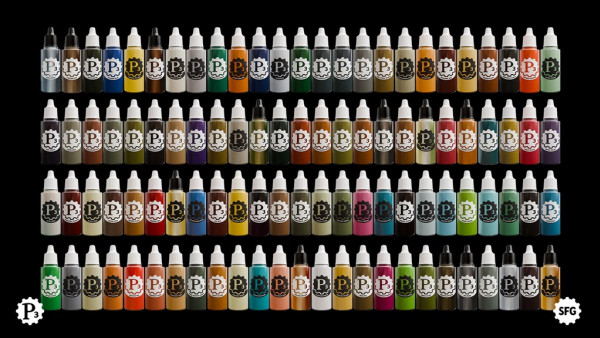
The Vallejo model colors and sequence I paint these in is as follows,
- Flat Flesh for hands and face
- German Camo Beige for the jacket, webbing, backpack and gaiters
- English Uniform for the woolen pants (without side pockets)
- 1/1 mix of US Dark Green and Green Grey for the HBT pants
- US Dark Green for Helmets
- Brown Violet for the webbing on the helmets
- Mahogany for the shoes, straps and bajonet sheath
- German camo medium brown for the ground
- German Grey for the steel on the gun and buckles etc.
- Flat brown for the wood on the gun and bajonet
- Beige for the shovel handles
- White for the eyes and teeth
- Black for the pupils
- Flat red for open mouths
After painting everything I do a quick check with all the colors to correct any mistake/mishap. After which I do:
- A wash of Agrax earthshade
- re-highlight flat flash
- re-highlight German Camo Beige
- re-highlight English Uniform
- re-highlight 1/1 mix of US Dark Green and Green Grey
- Matt varnish
- re-paint and flock the base
Currently I am at step 8 and you start to see a difference versus the unpainted figures.
Finished assembly unto Primer!
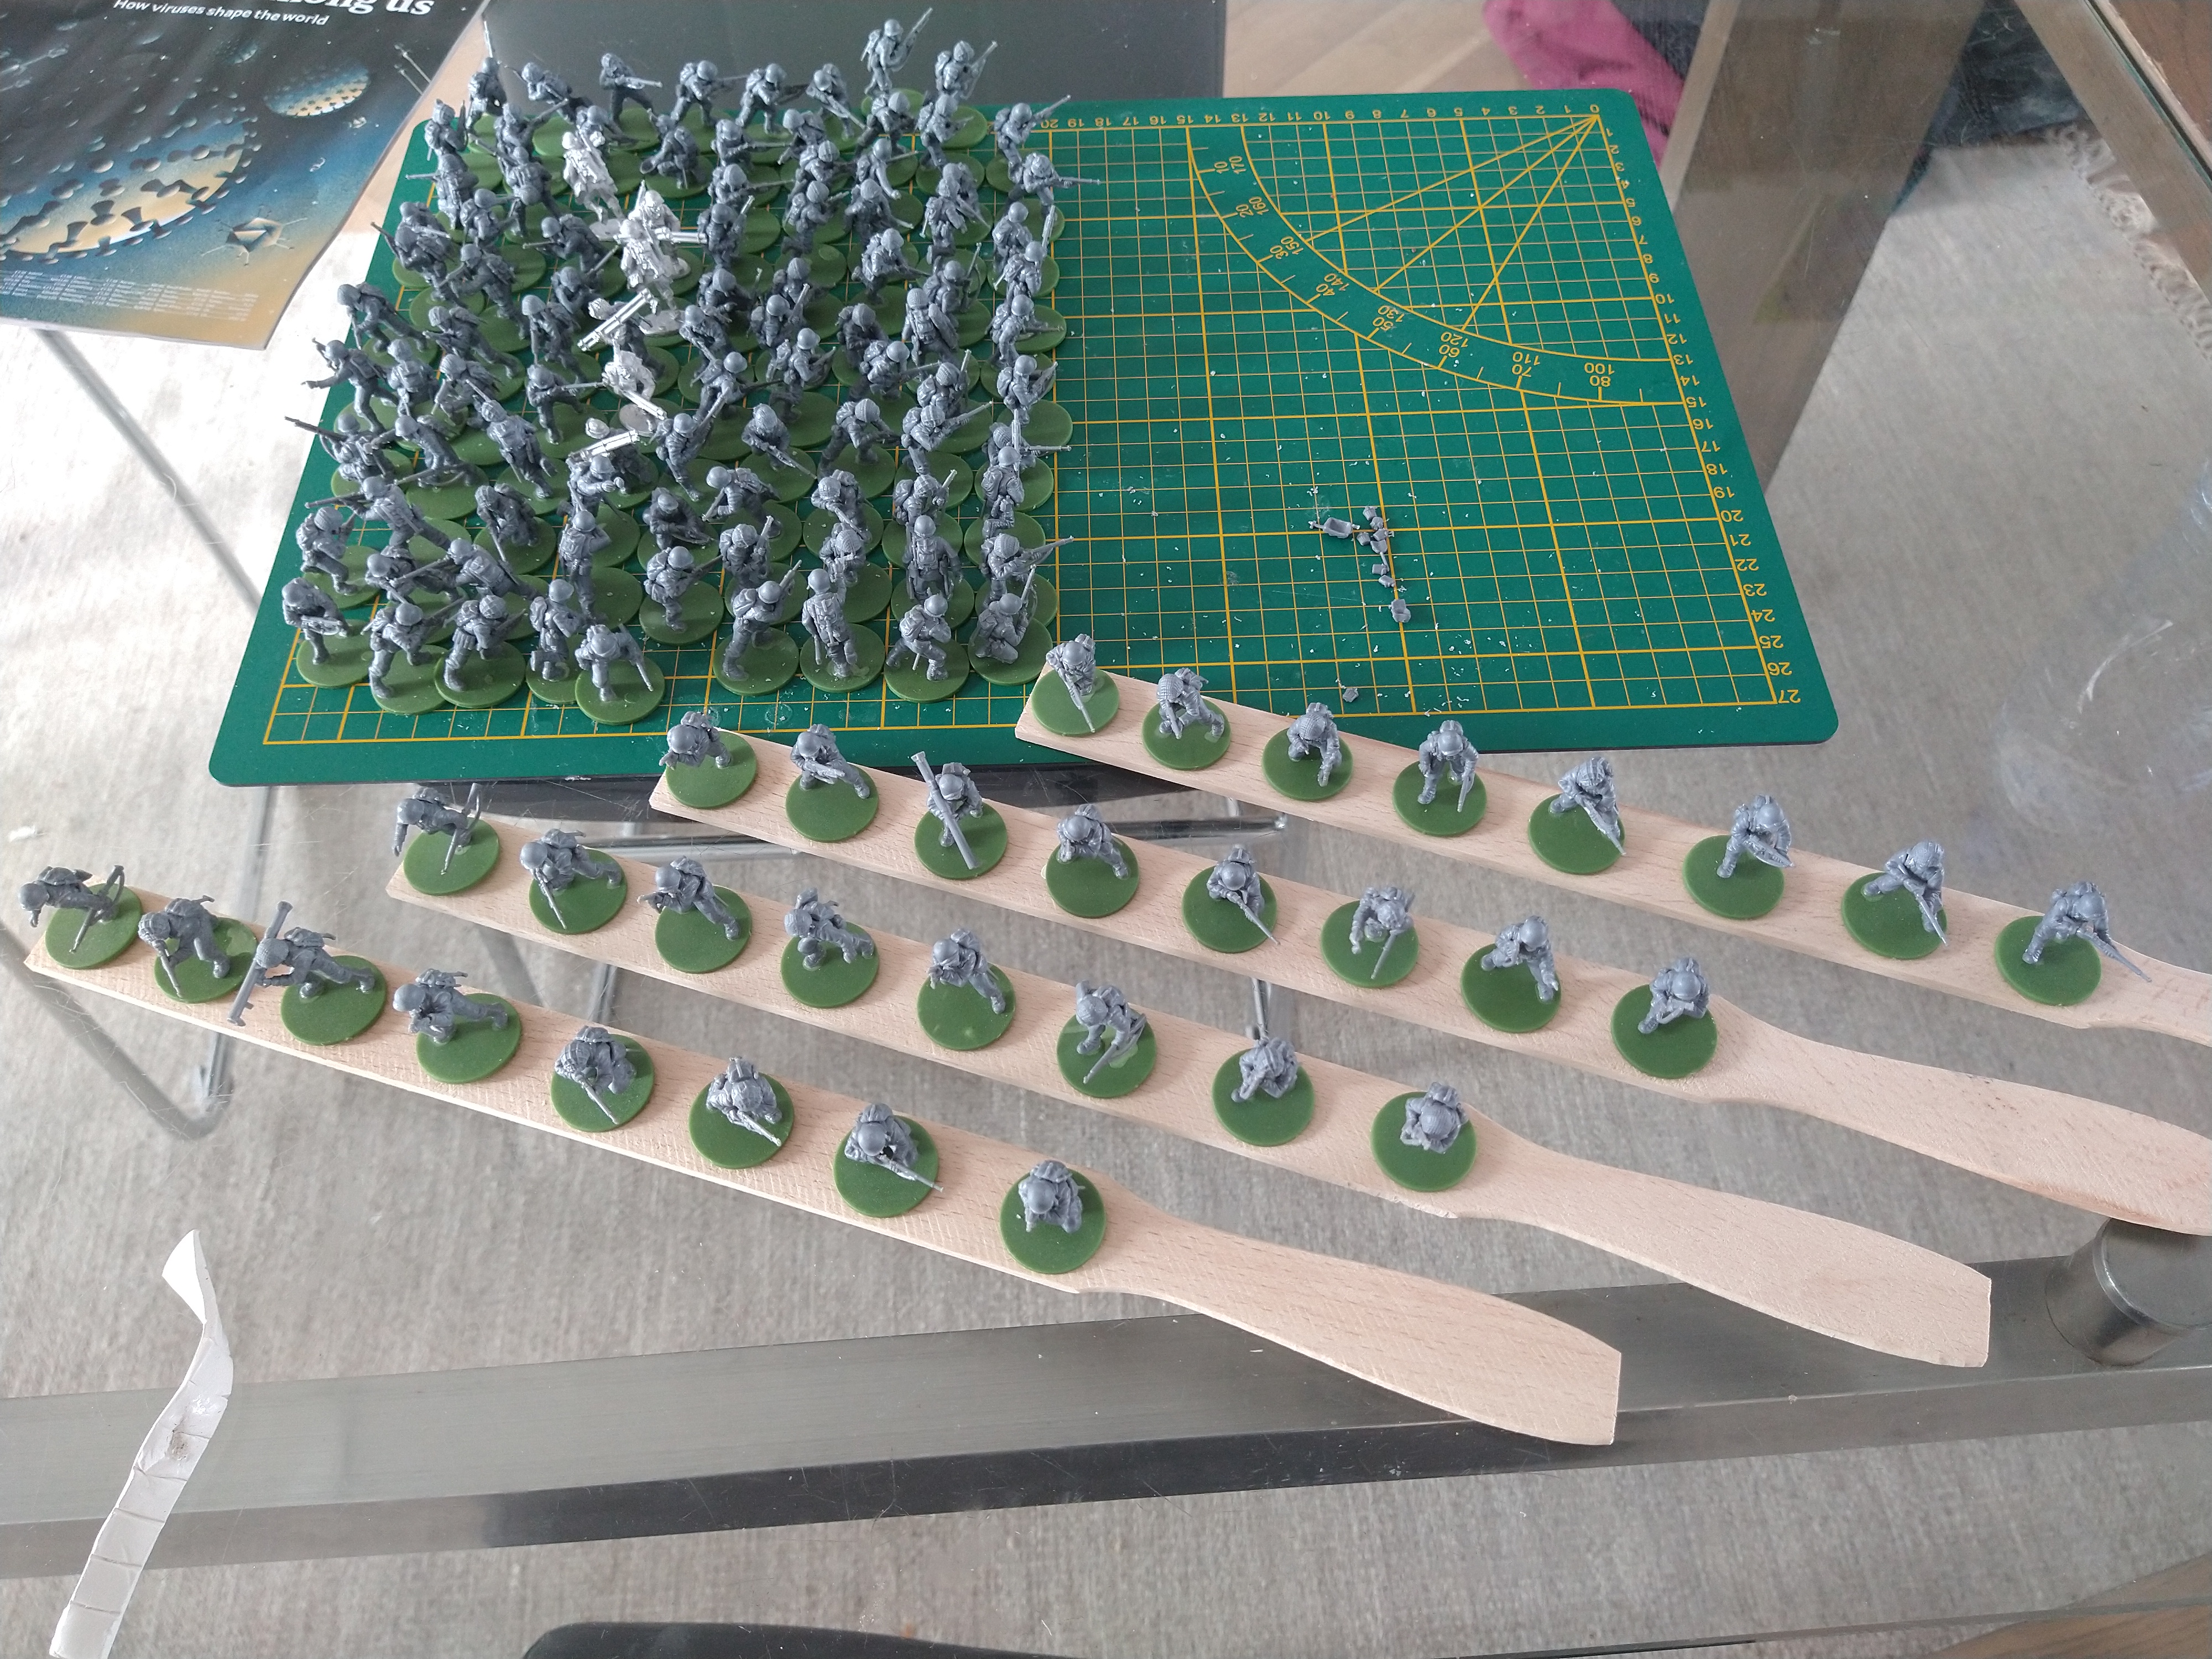 I like to use paint stir sticks and some blue tack to be able to prime from every angle
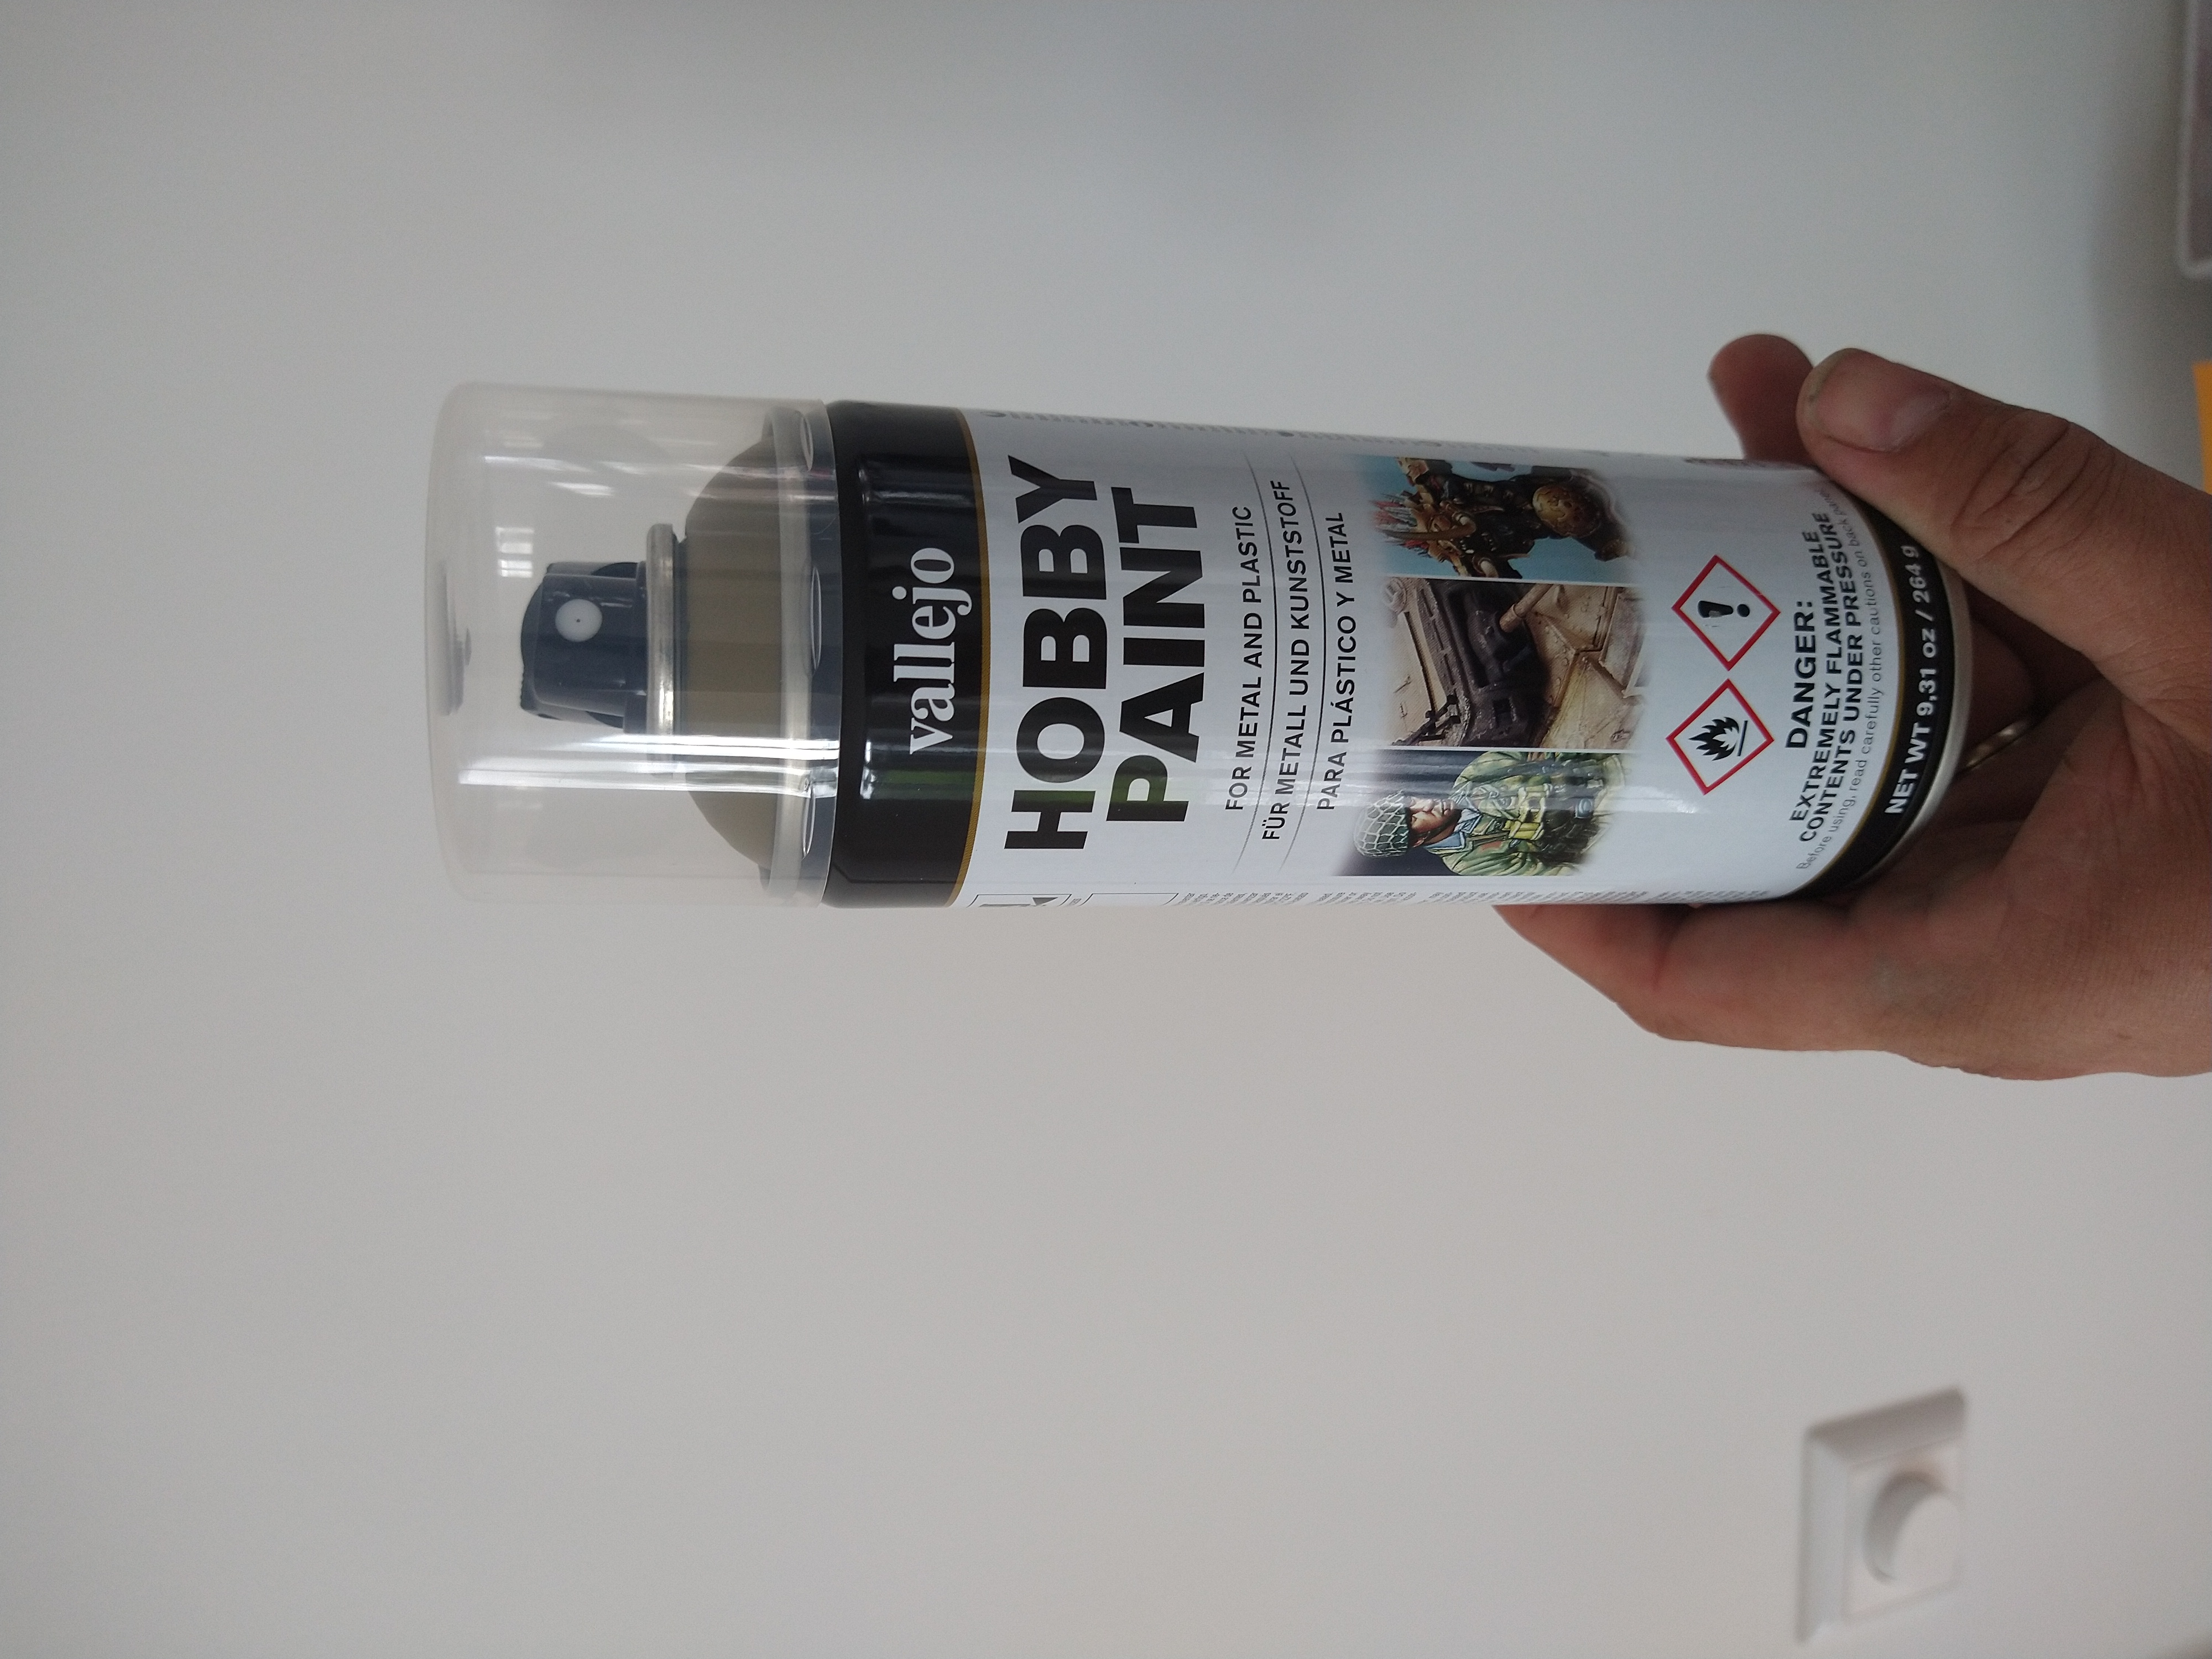 Vallejo primer, thin and good grip
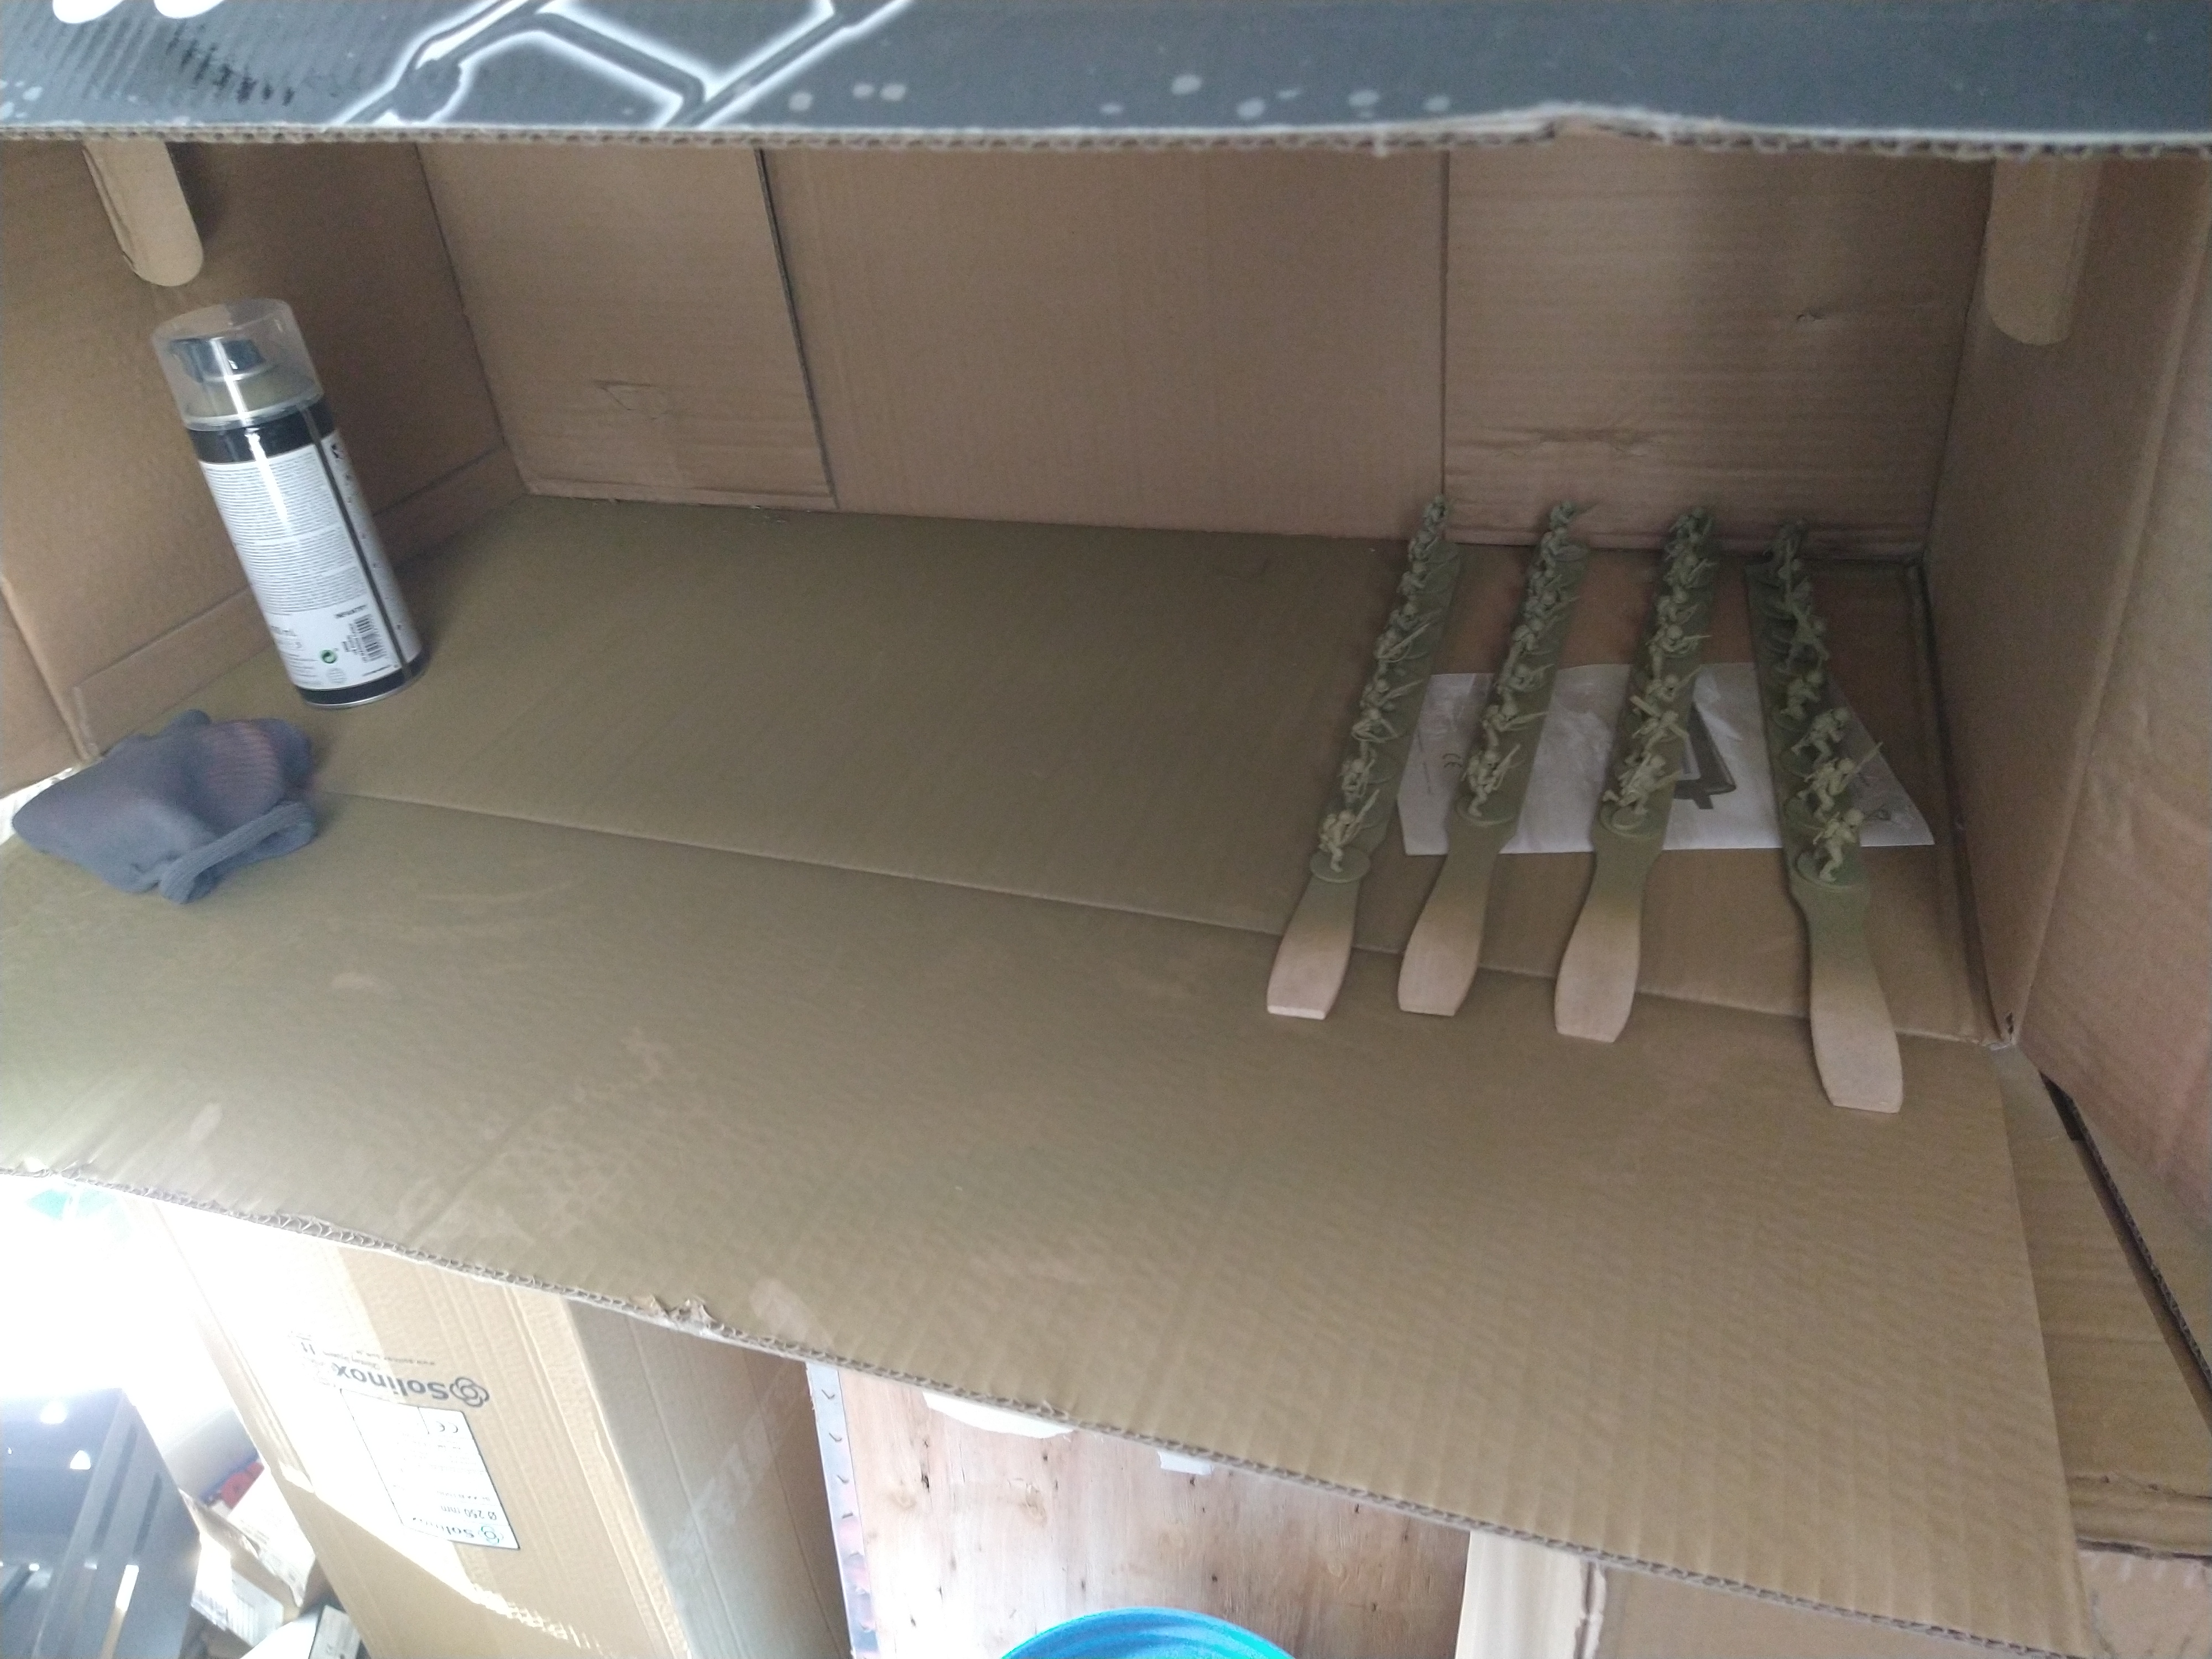 Done
DoneAfter the assemble stage I primed the models using vallejo US khaki. They say that their primers have a equivalent in model color, but unfortunatly that is not the case for this color. However it is a very nice base which is close to my intended base colors.
I used a couple paint stirrers and blue tack to spray the models from every angle.
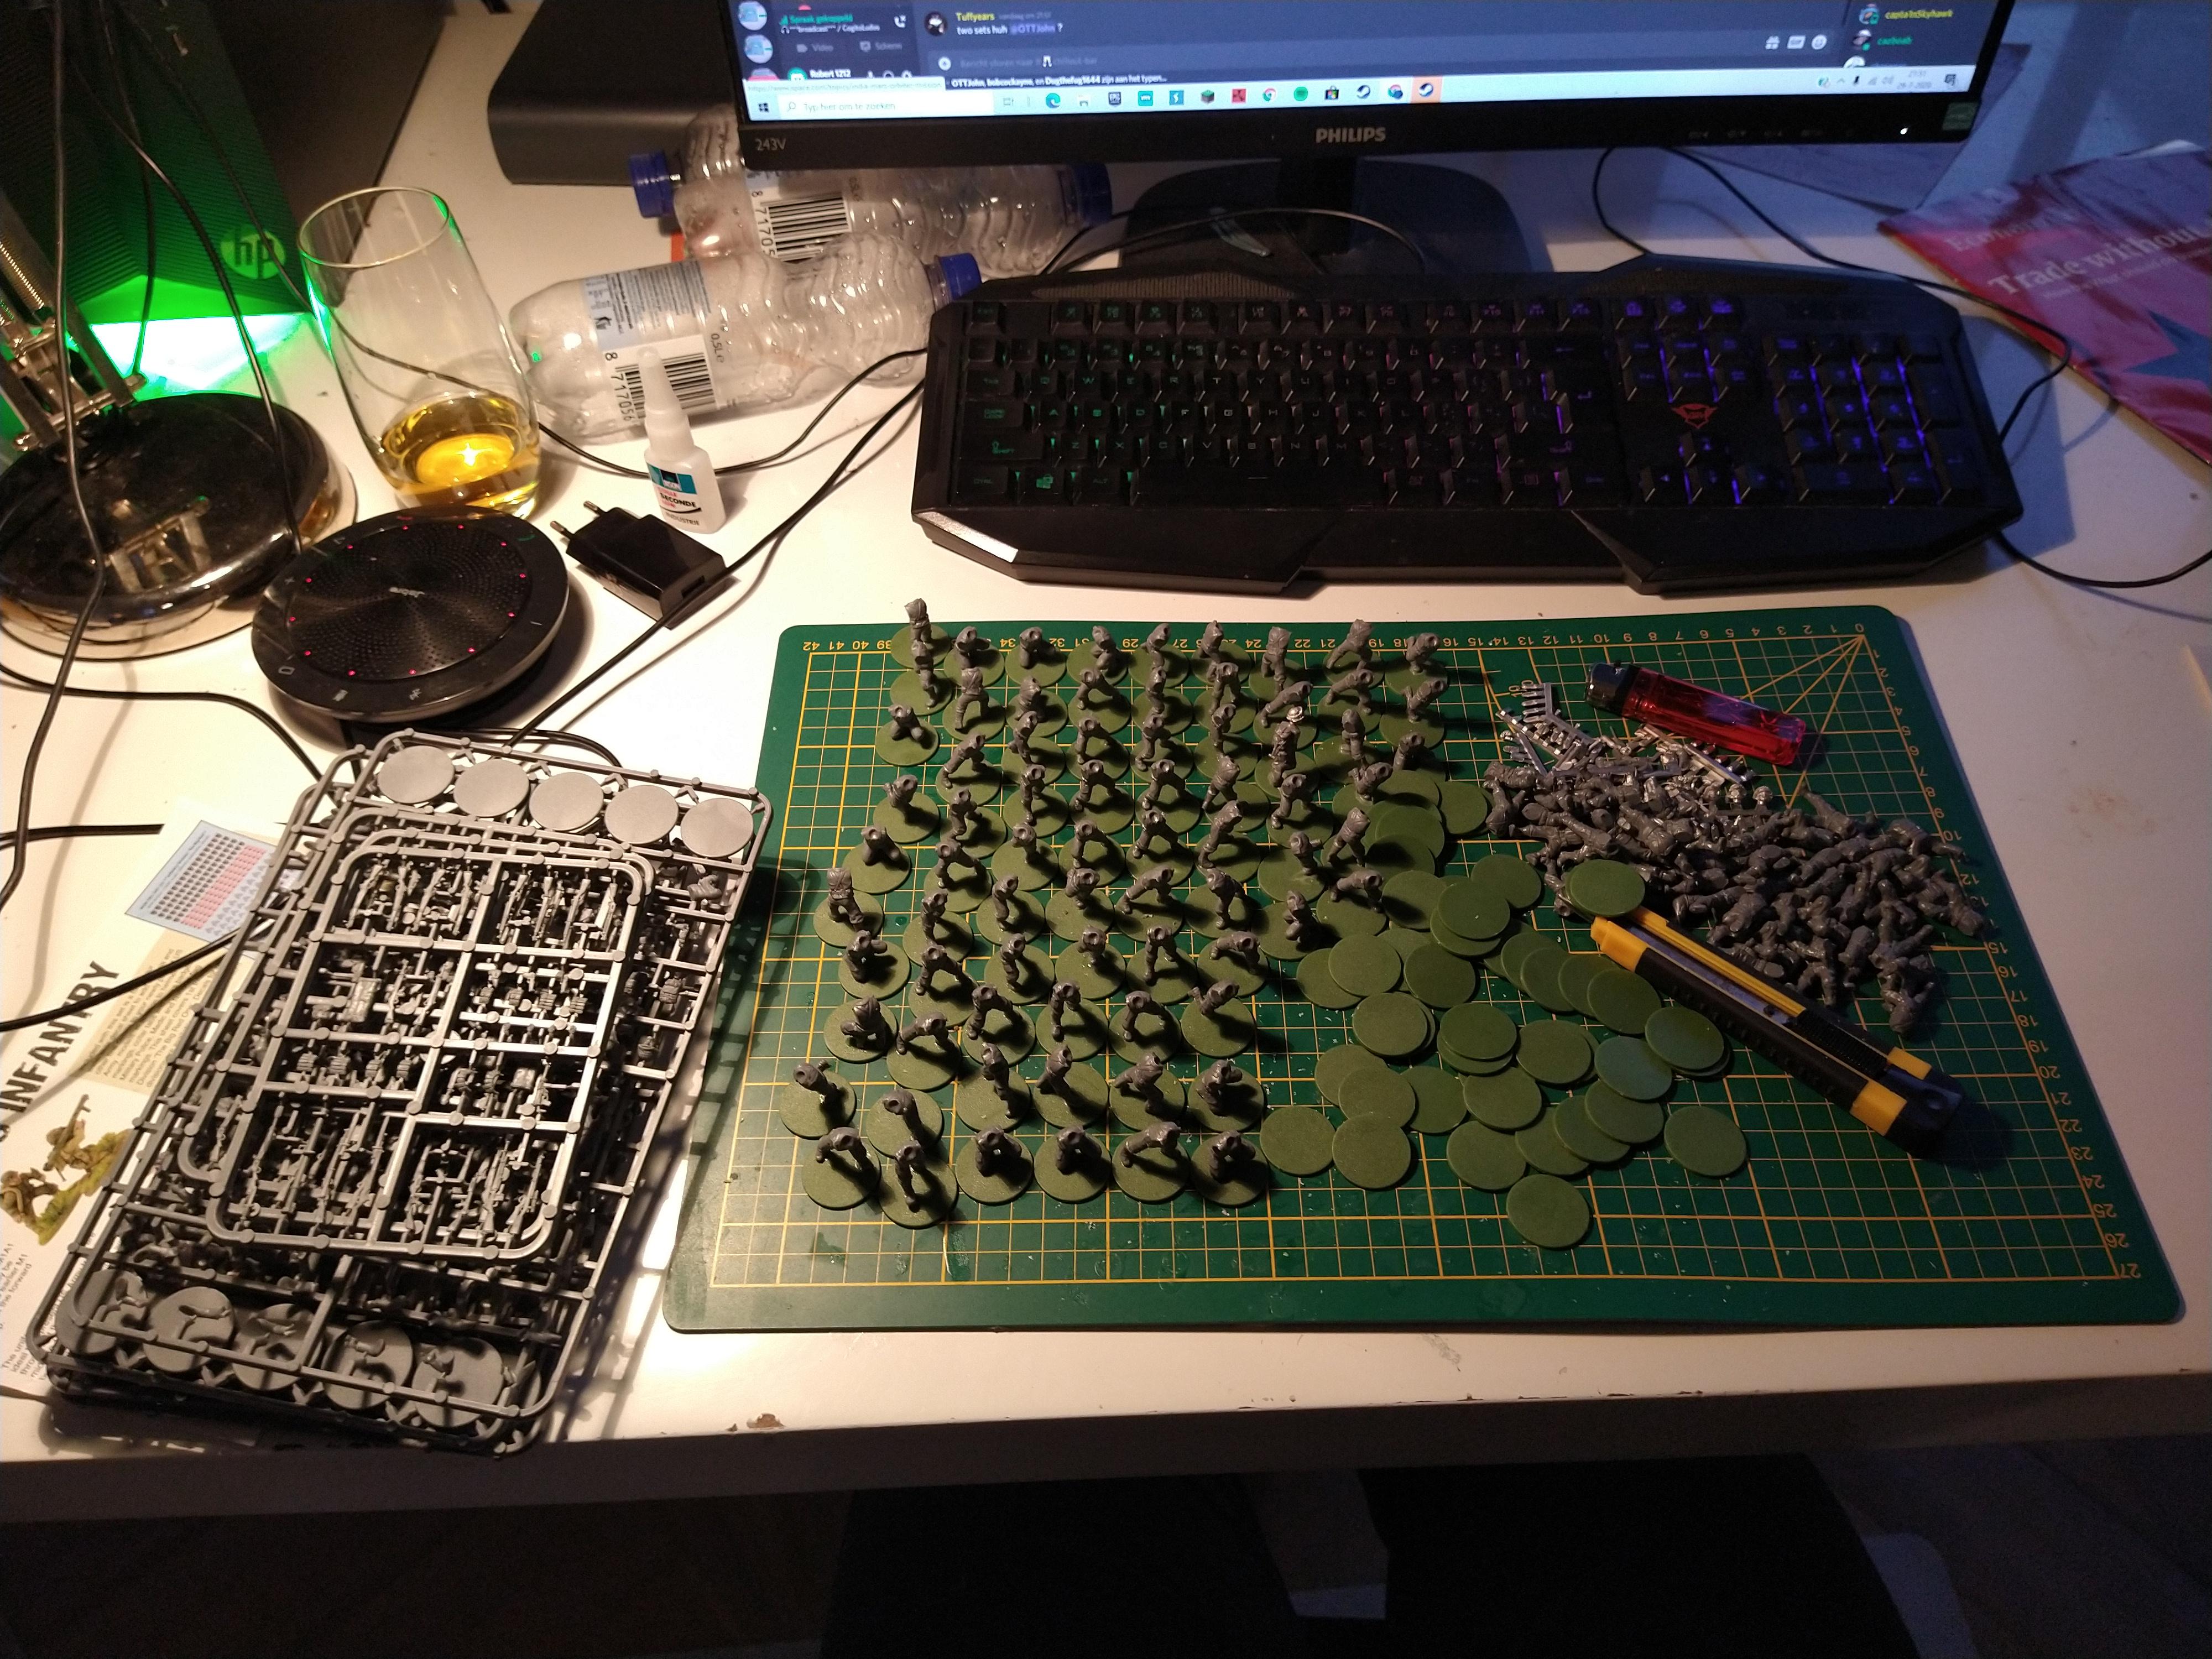
Plowing on
So After the initial prepping of the torso, and figuring out the company composition I started gluing on the weapons and heads. This was quite bit of (boooring) work so got sidetracked and assembled the bunkers and landing craft.
Unfortunately the kit doesn’t really have enough M1 garand for a proper squad composition. This is because there are only 4 garands per 5 figures, and 1 of those is a carrying hand. This is quite specific and especially if you have a lot of figures this becomes repetitive. I mean, having 2 guys in a squad throwing grenades or taking a smoke in a engagement gets silly. Would really have preferred 4 taking aim, carrying abreast or firing arms for the m1 garands. For me it’s a real let down of the new US infantry kit. Similarly the new Winter German Infantry sprue has, in my view, too many assault rifles and too few regular rifles.
In the end I had to have 3 squads with 2 BAR rifles and went for the carbines to fill out the squads.
Now to move on to the backpacks, canteen and shovel. If I get bored I have 2 DD shermans which need to be glued together 🙂
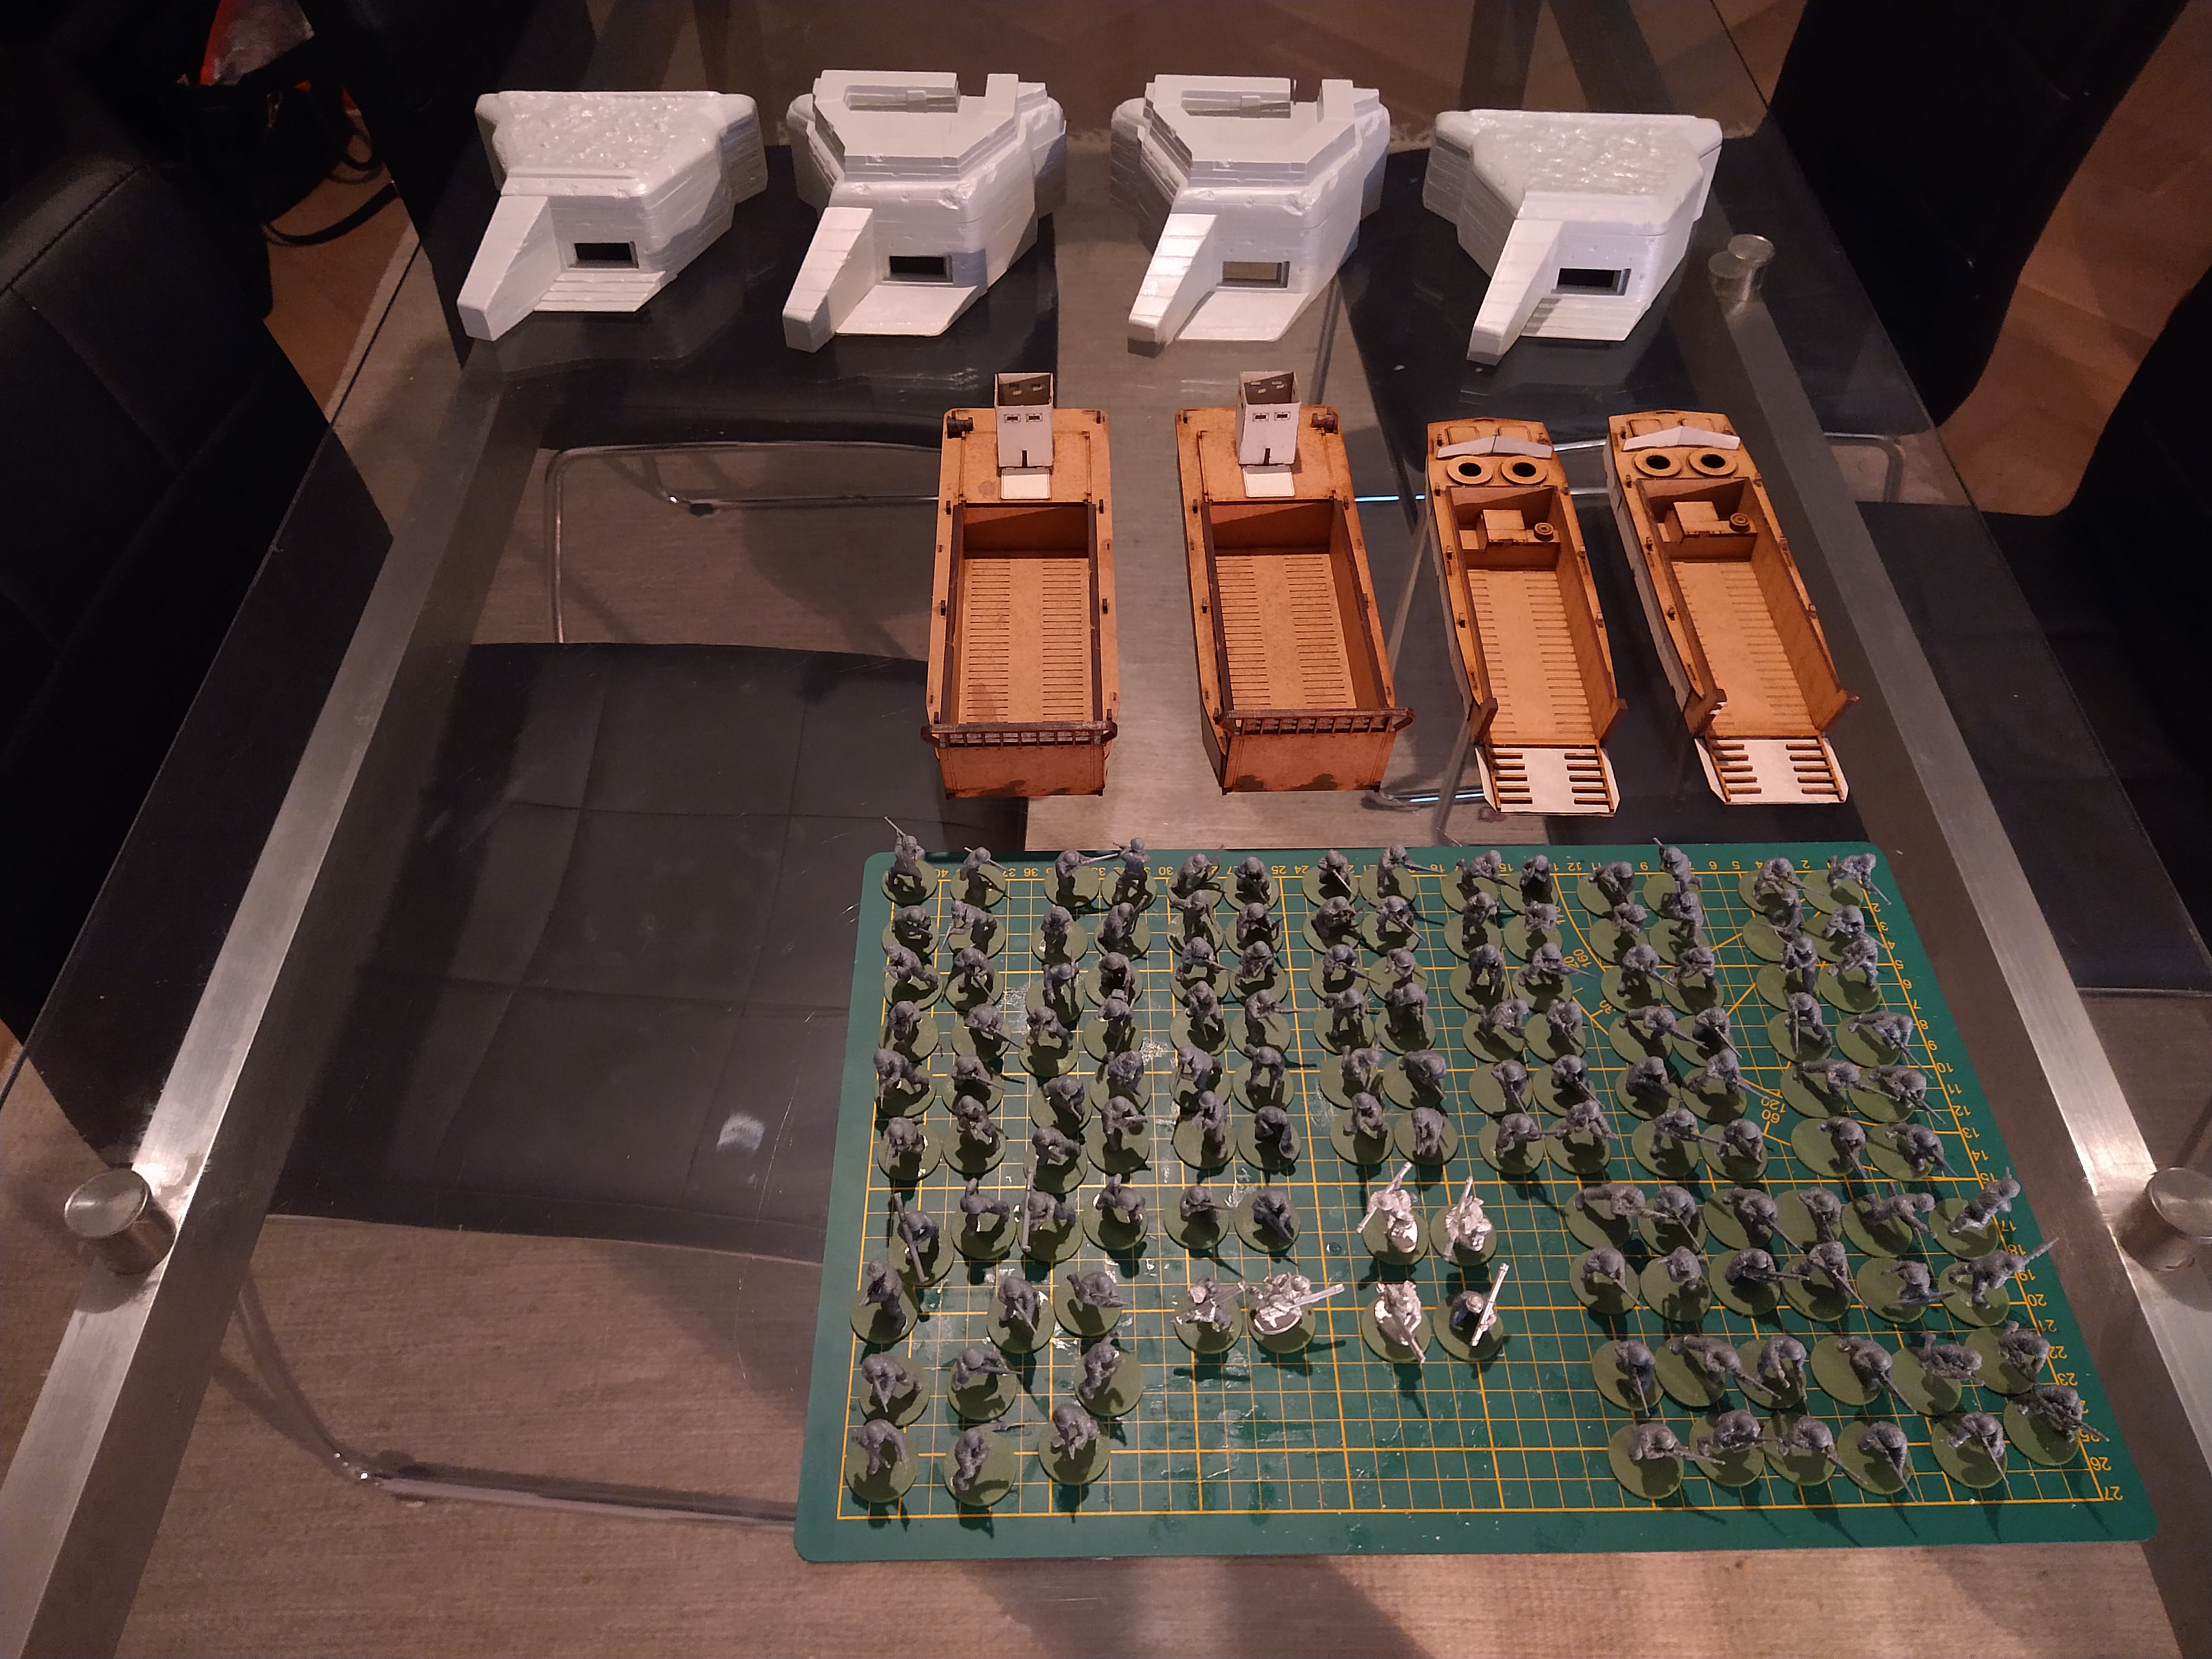
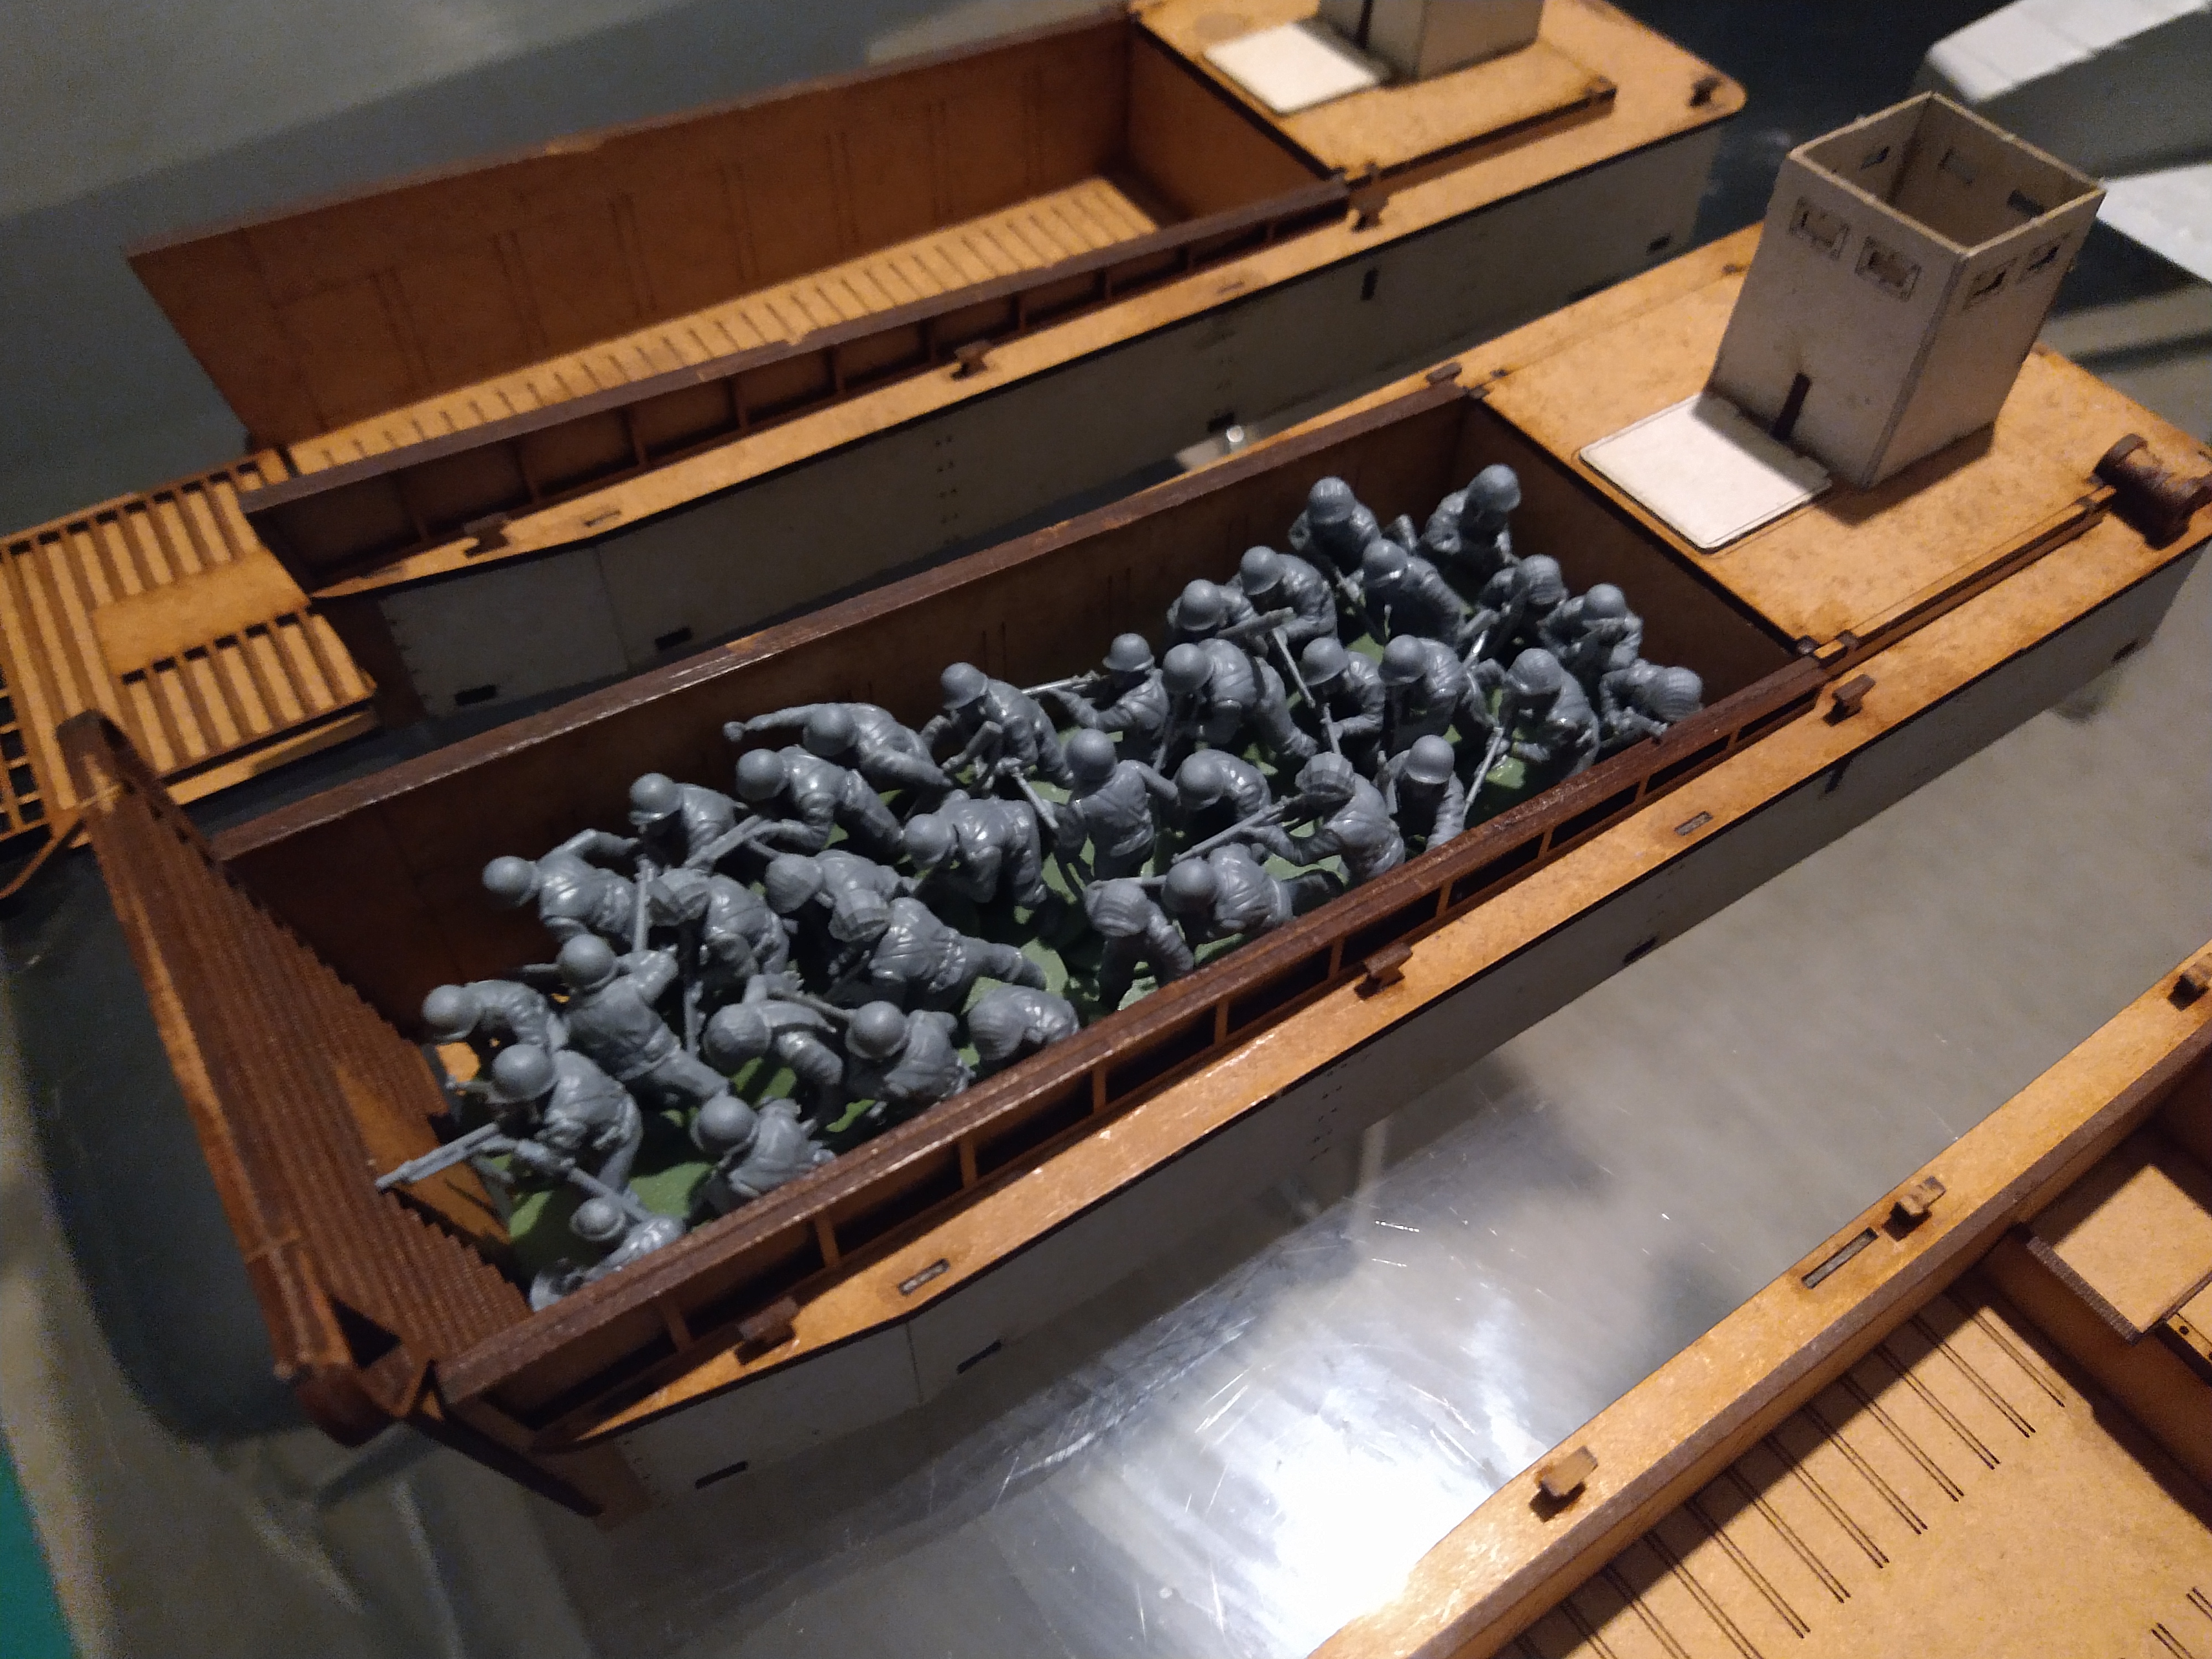
The smaller landing craft fit circa 22 models and the larger circa 36 models. The rules state that they can transport 36. Independent of model of landing craft. I think I’ll play them by the number of models they can carry. So probably I’ll get 2 extra of the smaller landing craft in the future.
The build continues
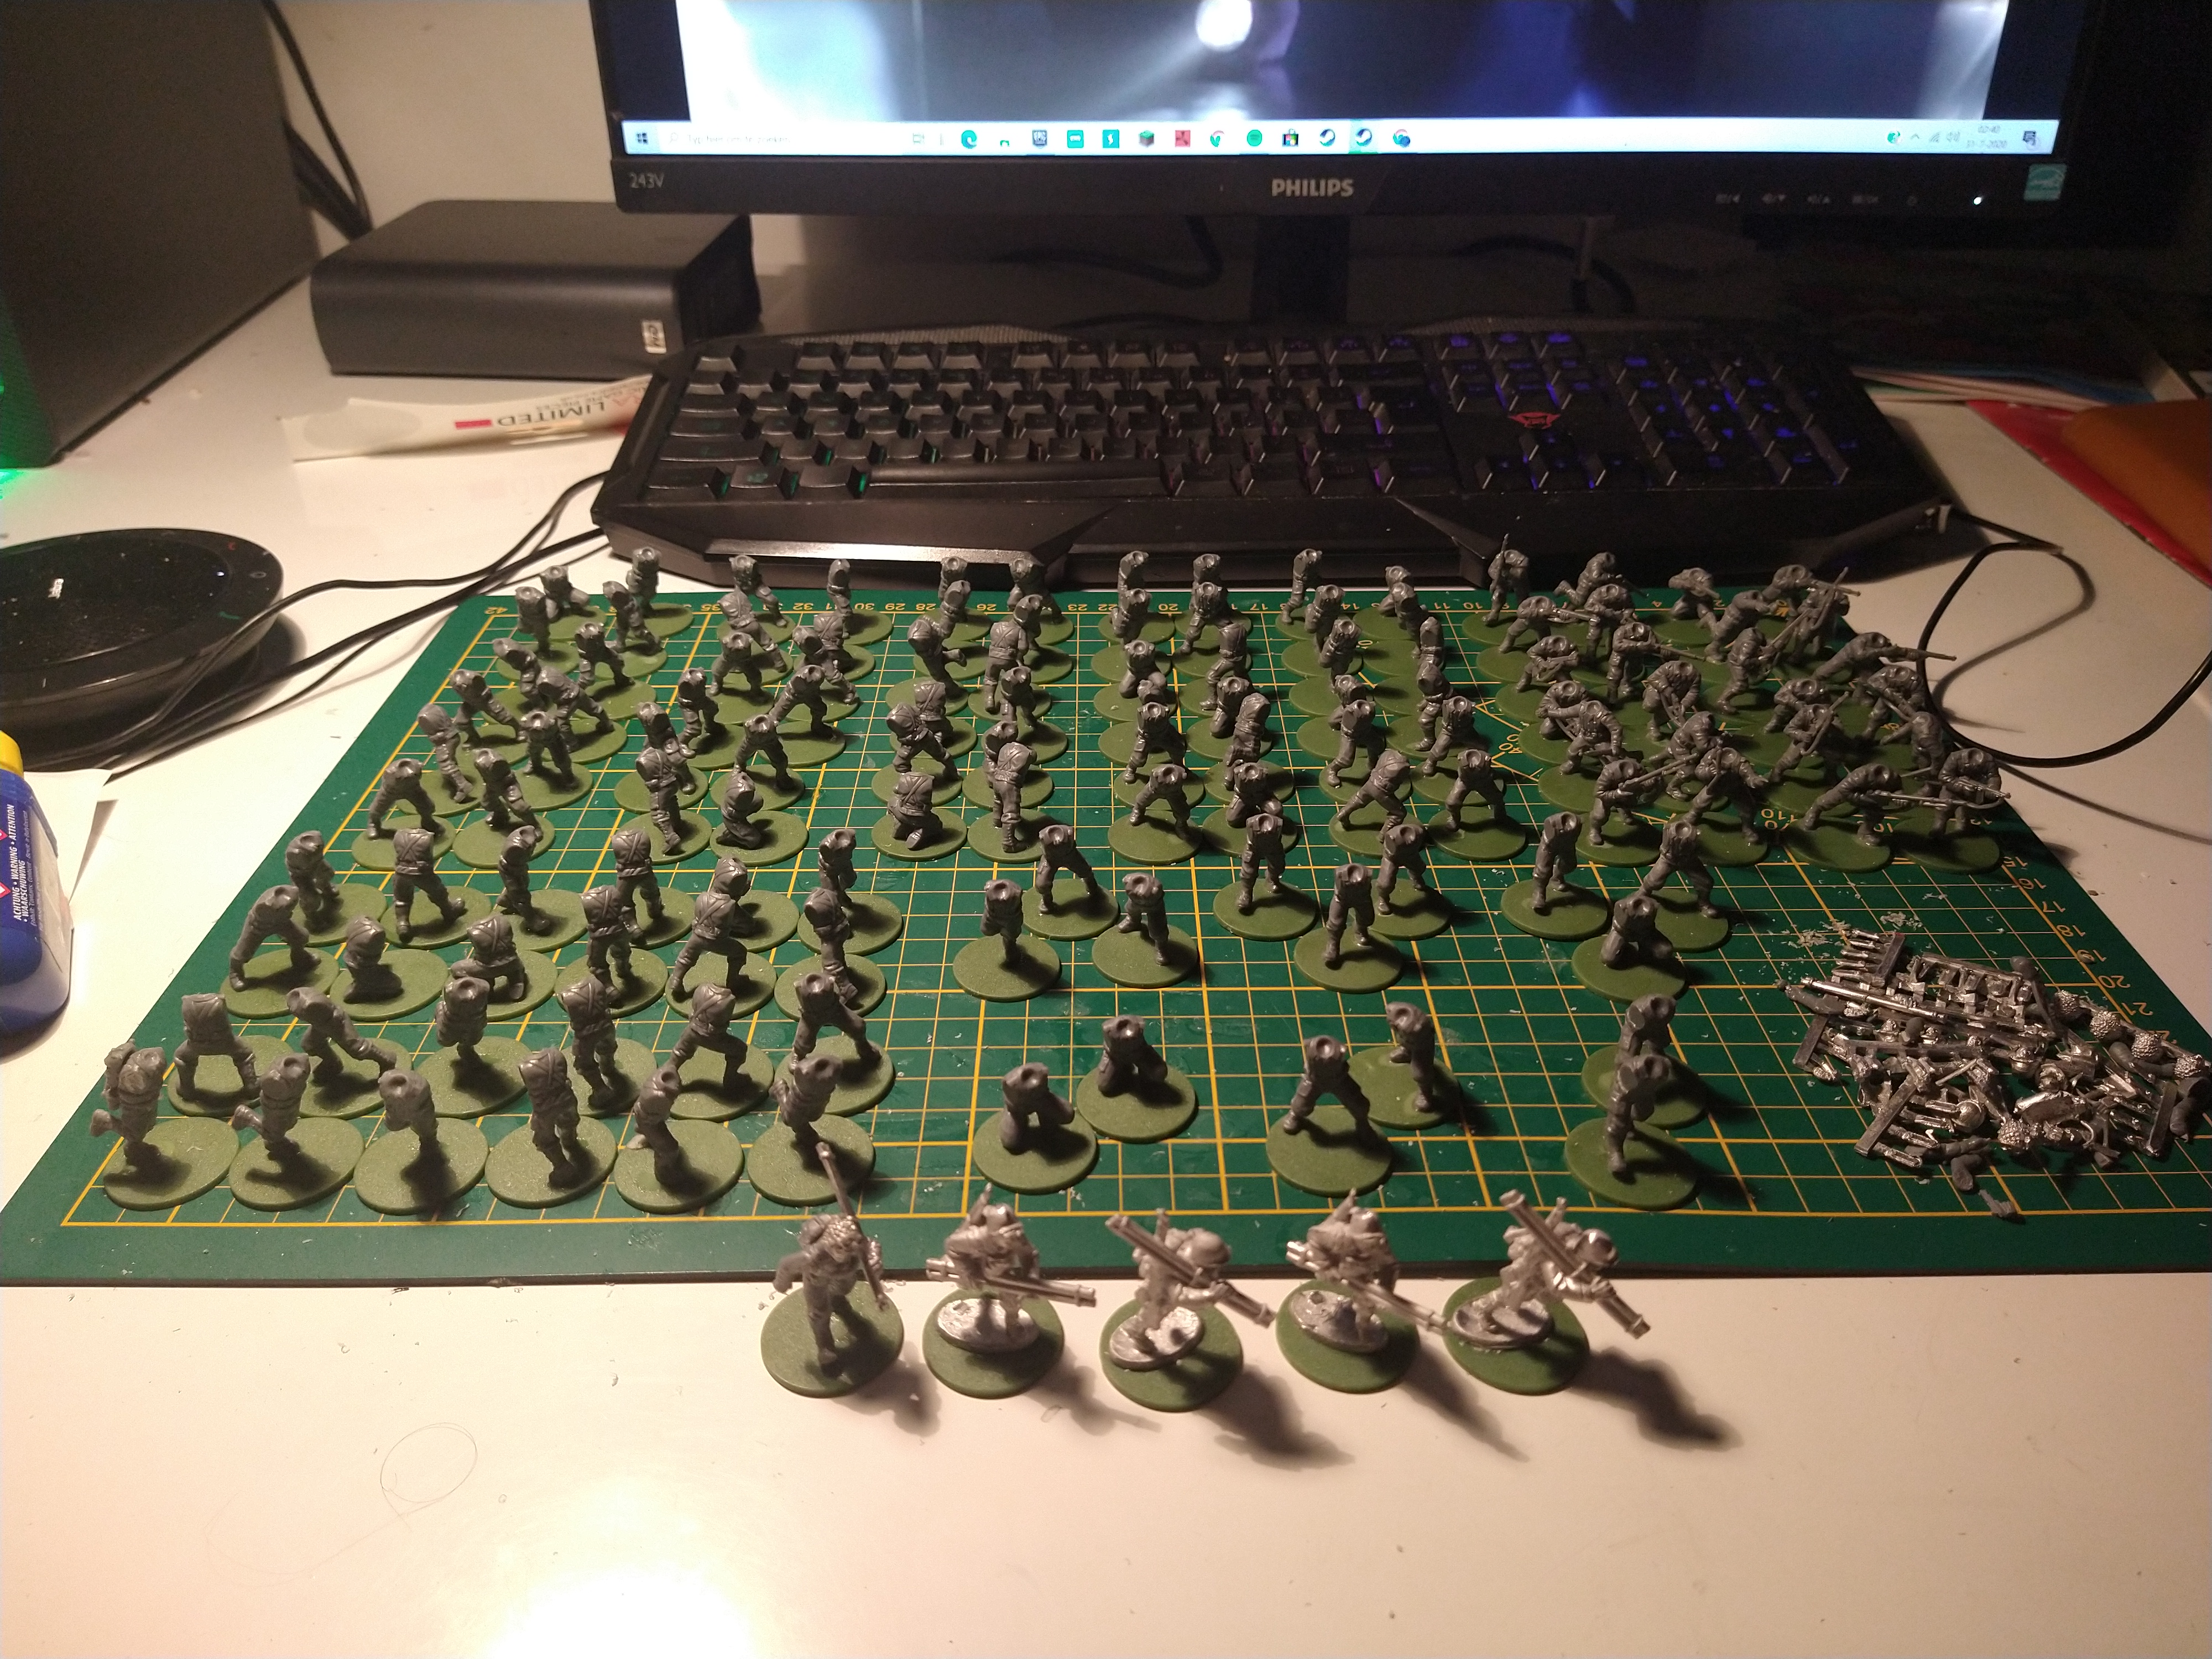 company assembled
So the torso’s are cleaned up and glued on the bases and first 24 pairs of arms attached.
I looked into the unit composition around normandy and it seems fairly straightforward. So I sorted what I got and went with 3 platoons of 3 squads each. The squads are 12 people with 1 SMG, 1 Bar and 10 M1 rifles. Some information indicates that units regularly had 2 bars. So might mix it up as I go. Then I have 3 Platoon HQ sections of 5.
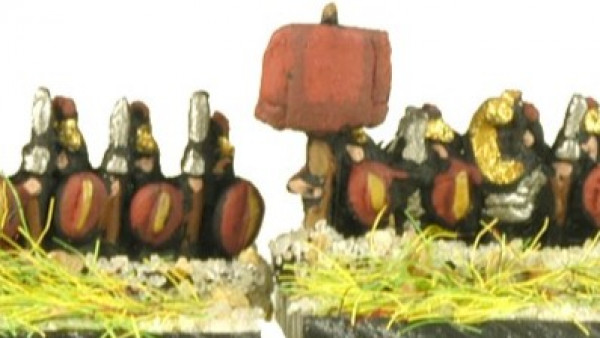
The bangalore miniatures will be kept seperate. Because they are so specific to the landing I won’t make it a integral part of the platoons.
Start
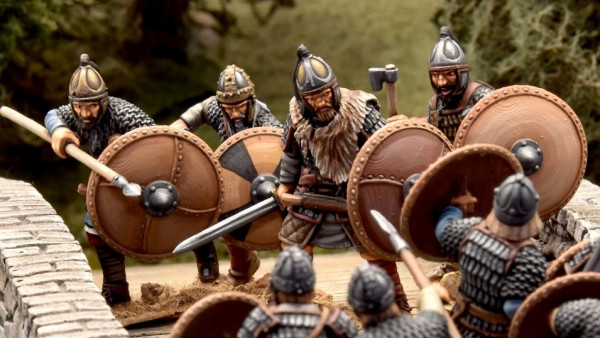
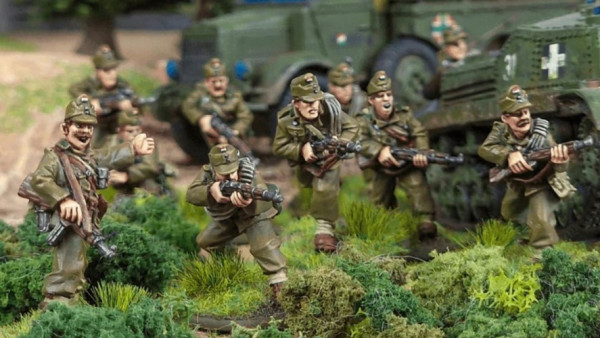
 Start of the US Infantry
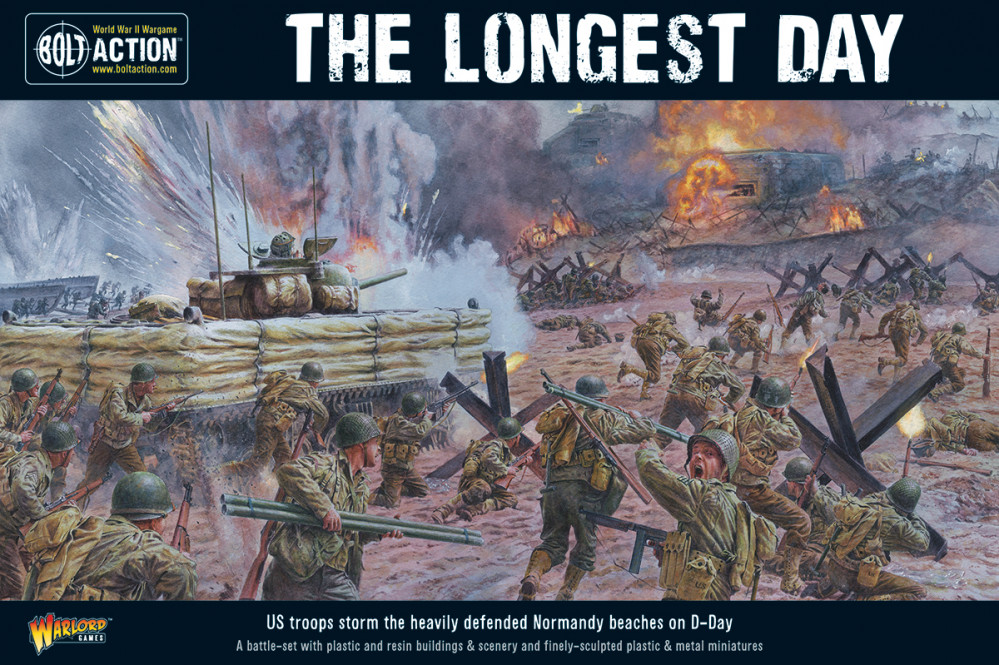
So I got two boxes of warlords ‘The Longest Day’ during their christmas period sale and am now embarking on building and painting it. Update might be a bit irregular but looking forward to sharing the journey with you guys.
So the new US infantry come with the HBT pants with the pockets on the side. To have some variation I trimmed these of roughly half the miniatures to create the brown woolen trousers their wore underneath the HBT trousers.
I also added a box of Rangers. These are the older sculpts so plan on mixing the bits from the sprues up a bit to even the looks out. Mostly I plan on using the heads and arms of the new set on the old bodies.