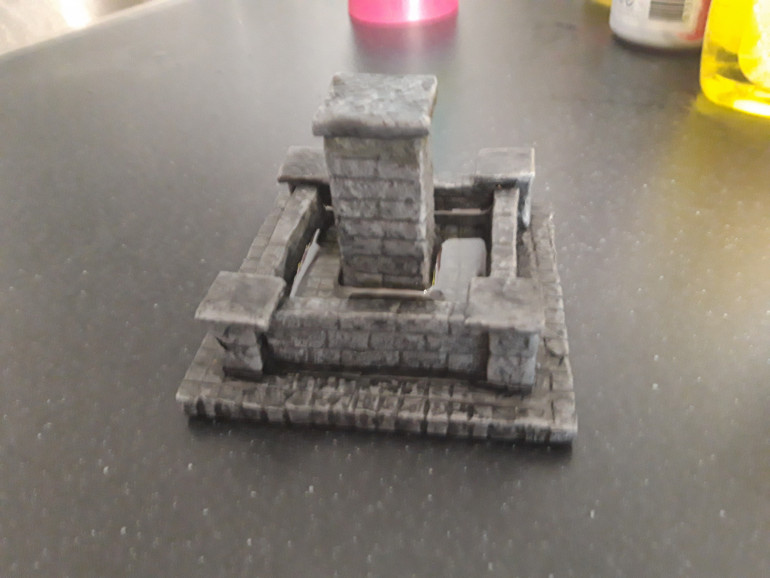
Water effect experiment side project
Recommendations: 50
About the Project
As I am working on by bushido table, I am planning on working with water effects for the first time ever. Not wanting to ruin my hard work, I decided to make a little experiment piece first. As long as I'm building something, I might as well build something nice and not wast any water effect. I will keep it simple. If I do screw it up, it needs to be no big deal. So maybe you can learn something from this experiment either way.
Related Genre: Historical
This Project is Active
And the rest
Since this is a rather simple project I did a lot of the stages on the same day. When the weather was reasonable cool (still bloody hot) I poured some of the resin water.
For painting I made a base coat of cheap acrylic black primer, pva and water in about 1:1:2
I painted the whole model with this in several thin layers. Since I also painted the underside, this meant painting one side, letting it dry and the painting the other, until it was completely covered.
This layer serves as primer, base layer and the pva seals the foam to make it more sturdy and able to not be eaten by spray varnish.
I then drybrushed the whole with grey and then a lighter gray. This didn’t look right at all……
So I made a wash of watered down black (again, the cheap stuff, always use the cheap stuff on big projects if you can. Don’t waste GW or Vallejo on this).
This looked about right. I put some blodges of camo green wash to weather at several places and make the inside look like there’s some algae growth.
Finish with some matt varnish…
I then took the resin water. I used AK resin water, a 2 component epoxy resin.
Following the instructions I used the syringes to mix 1 hardener to 2 resin and mixed this in a paper cup. For mixing I used a wood tongue suppressor thingy I got from a craft store. Good wood material for other projects.
I then poured the mix in place and let set over night.
This taught me 2 things: this stuff is relatively easy to use and I don’t have enough.
So I ordered a new badge. The next day I poured a second layer giving the effect you see below.
It’s pretty good. At this point I’m wondering what to do. I could stick a model on top of this and call it a day.
But, since it’s an experiment….
I have some woodland scenic”s surface water effect lying around and this isn’t actually a fountain yet, is it? I ordered the wrong stuff and this would be the time to try it.
I might add some spouts with “actual”water coming out of it and experiment with some ripple effects…..
Basic build
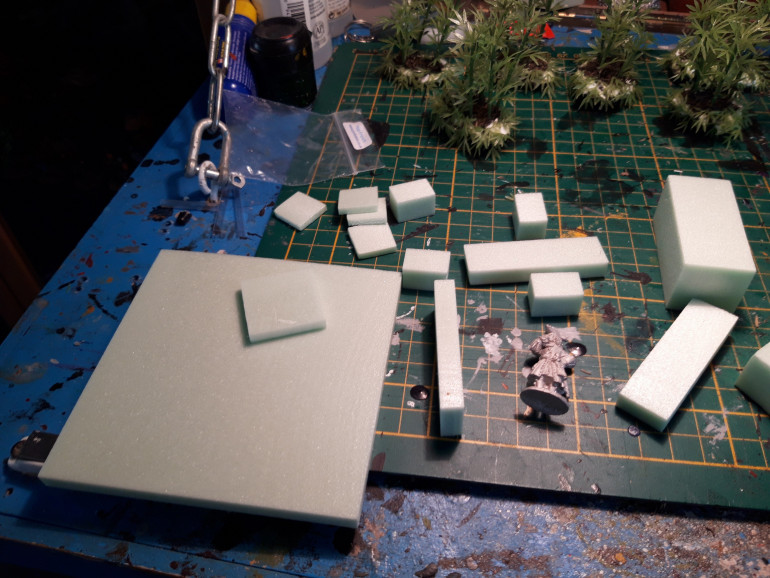
I started with some scraps on my proxxon. Getting an approximate size and started cutting all the pieces I needed.
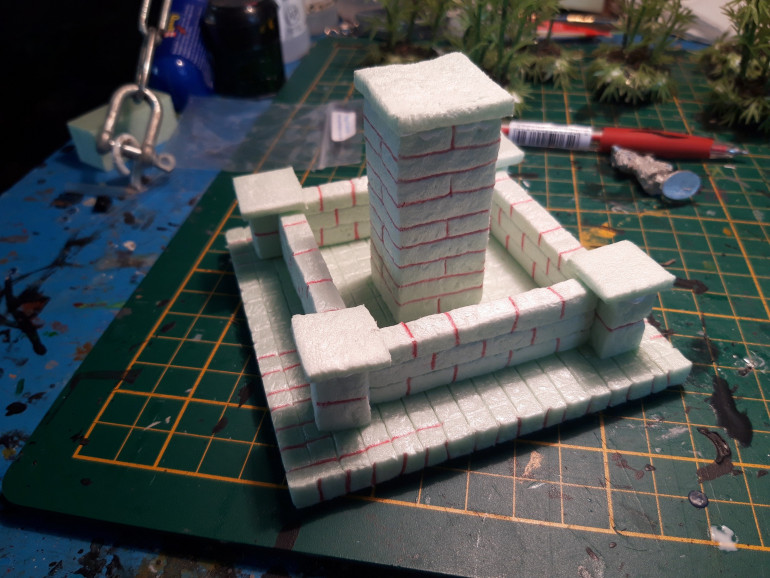
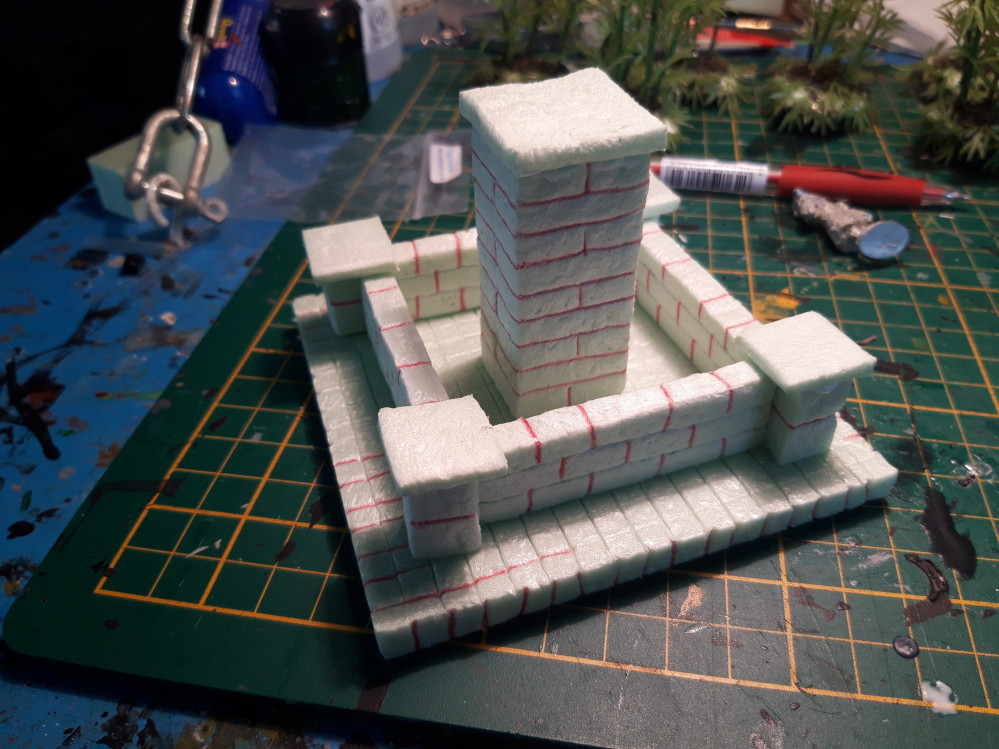
It would be a basic square, hiding the corners is easiest by placing some wider columns there. To add some interest these will have a cap stone, just for some extra relief. In the middle of the foutain I’ll place a collumn and add a spare mini from a goody bag, if the project succeeds.
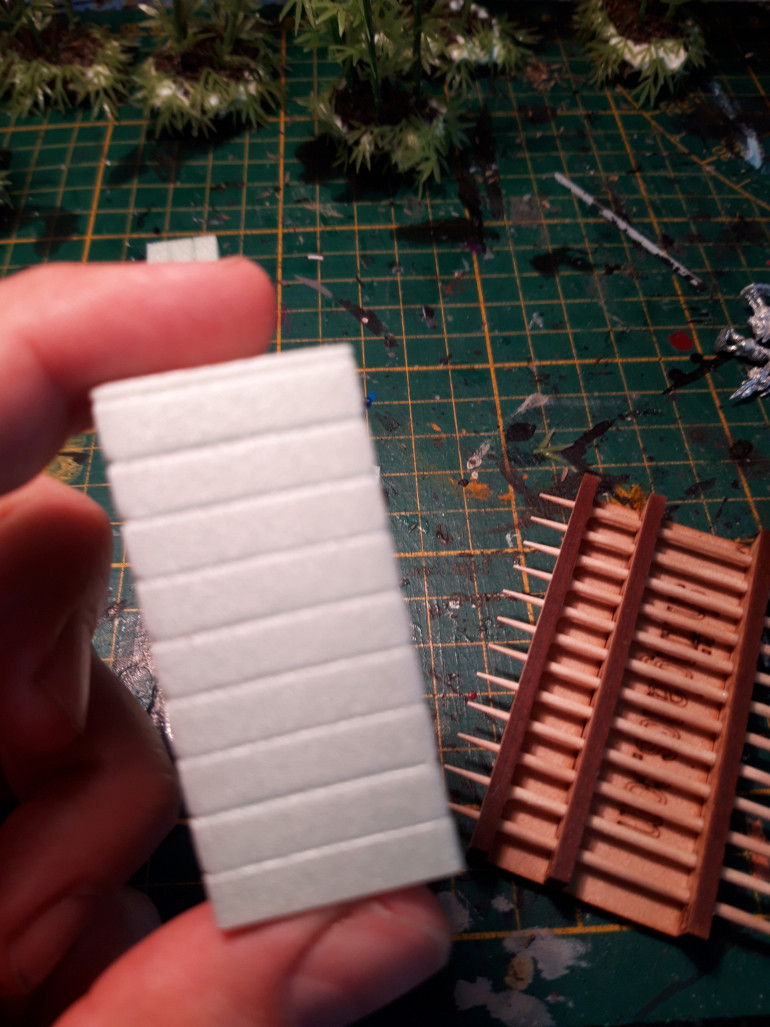
Next, the brickwork. For the longer lines I used this little tool from shifting lands, a dutch company (well, one man as far as I know). It’s pretty well known for producing plenty of really good add-ones for the proxxon hot wire cutter and if you’re looking into working with this material I really suggest you check out his site. It has plenty of good stuff and tutorials. He’s also working on a book on creating scenery this way, which successfully kickstarted and should be available later this year.
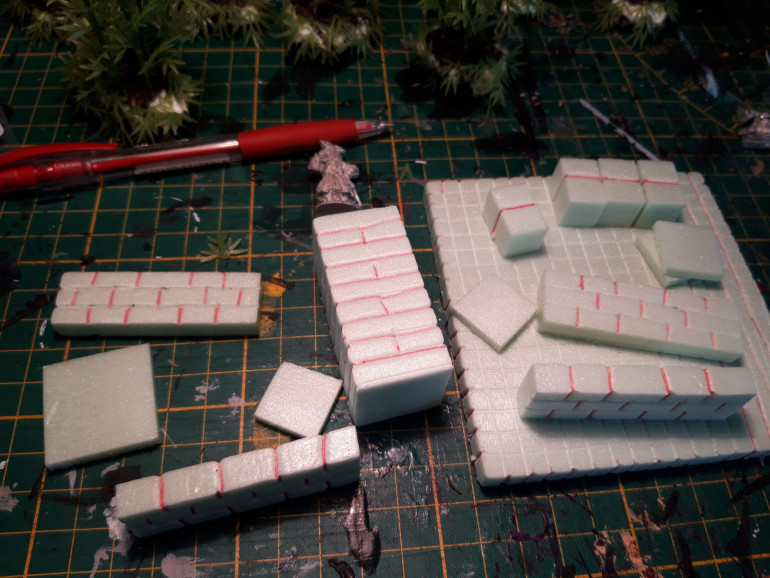
Then the rest of the structure. Drawing in the rest of the line with a ball point.
I then rounded out each corner that would be visible with the side of a pencil, for a more natural look. Finally some balled up aluminum foil dabbed and rolled to create a stone structure.
And glue it together with PVA.
When this is dry tomorrow, I’ll start painting it up, time permitting.


