


![Very Cool! Make Your Own Star Wars: Legion Imperial Agent & Officer | Review [7 Days Early Access]](https://images.beastsofwar.com/2025/12/Star-Wars-Imperial-Agent-_-Officer-coverimage-V3-225-127.jpg)


Delving into the English Civil War


Recommendations: 202
About the Project
For many years I've been toying with the idea of starting an English Civil War campaign and project. This year whilst on furlough I started watching several documentaries on the subject and this prompted me to start this project.
Related Genre: Historical
This Project is Active
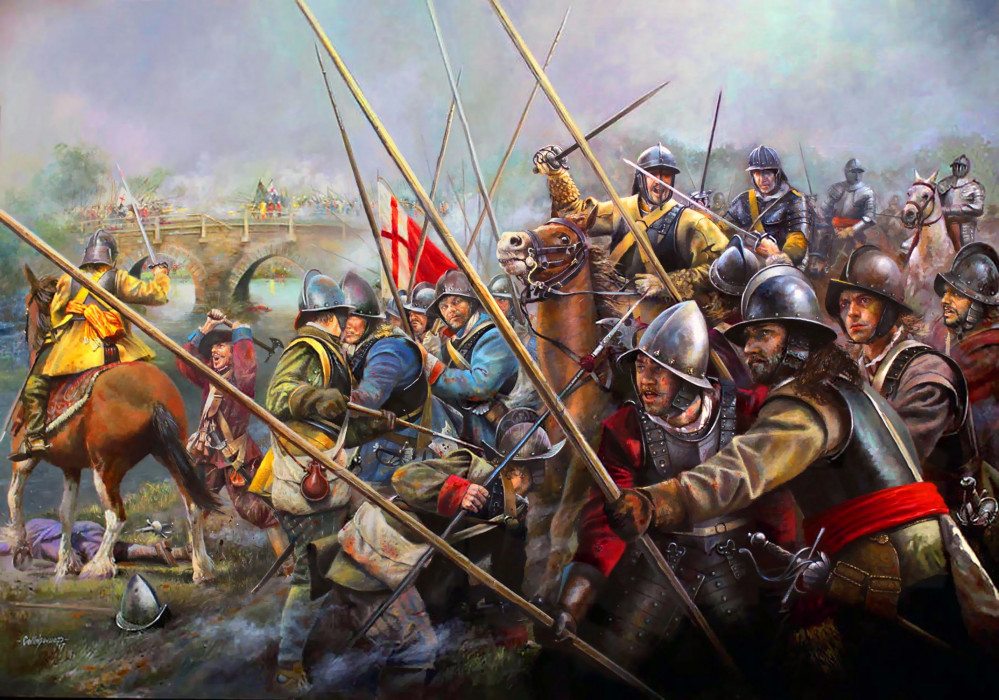
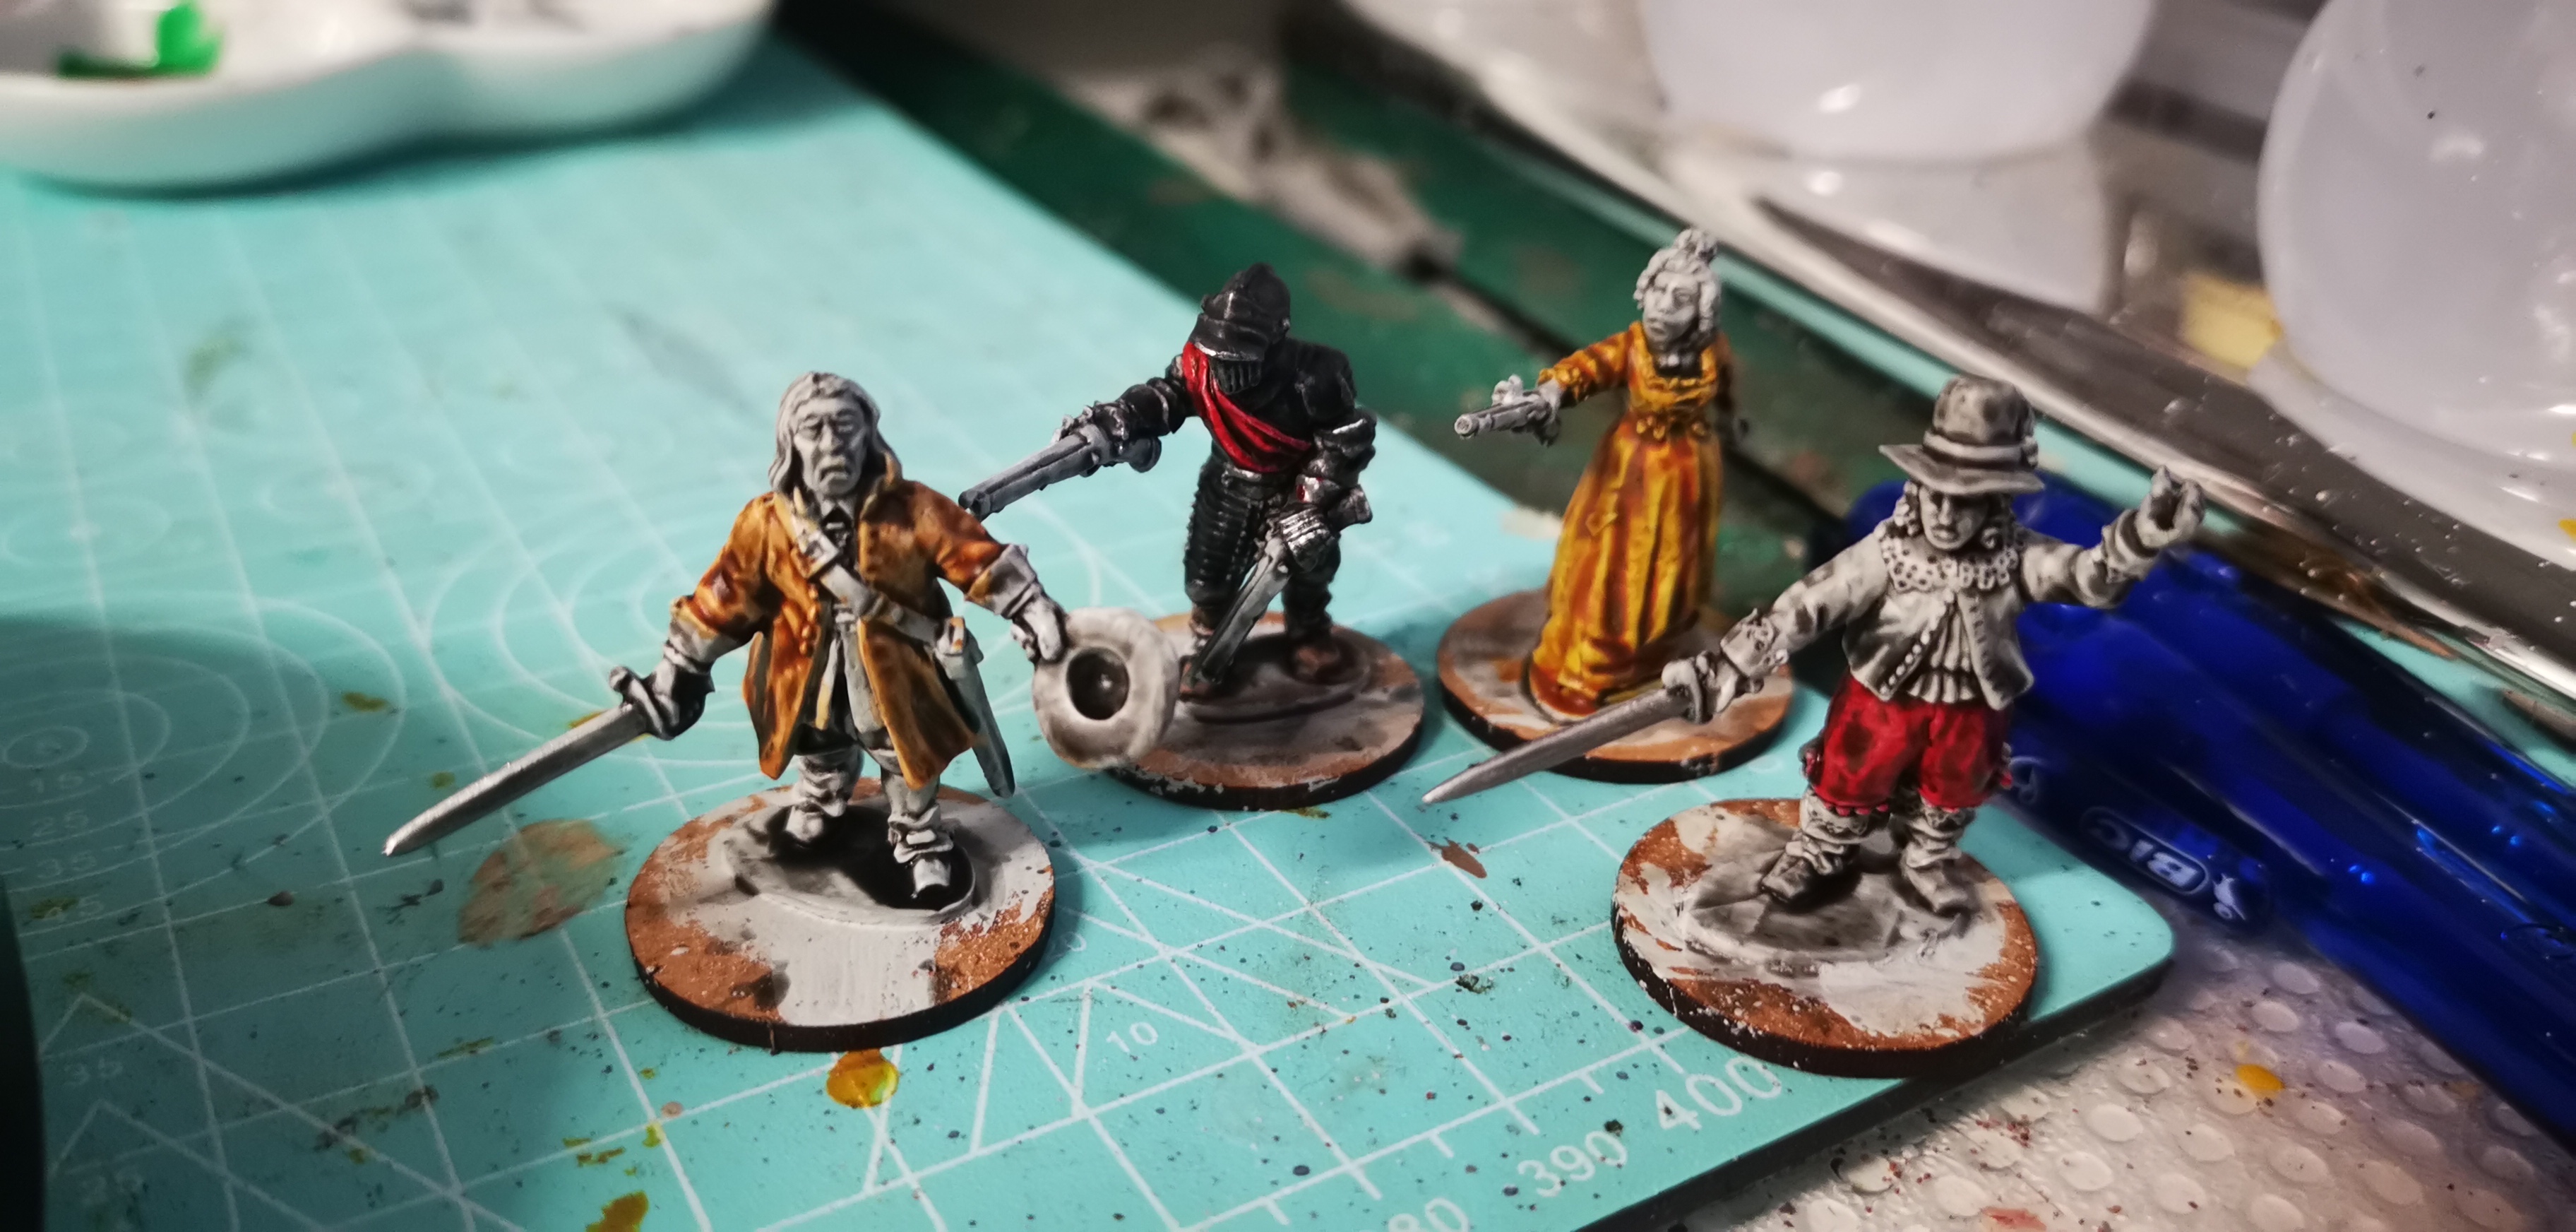
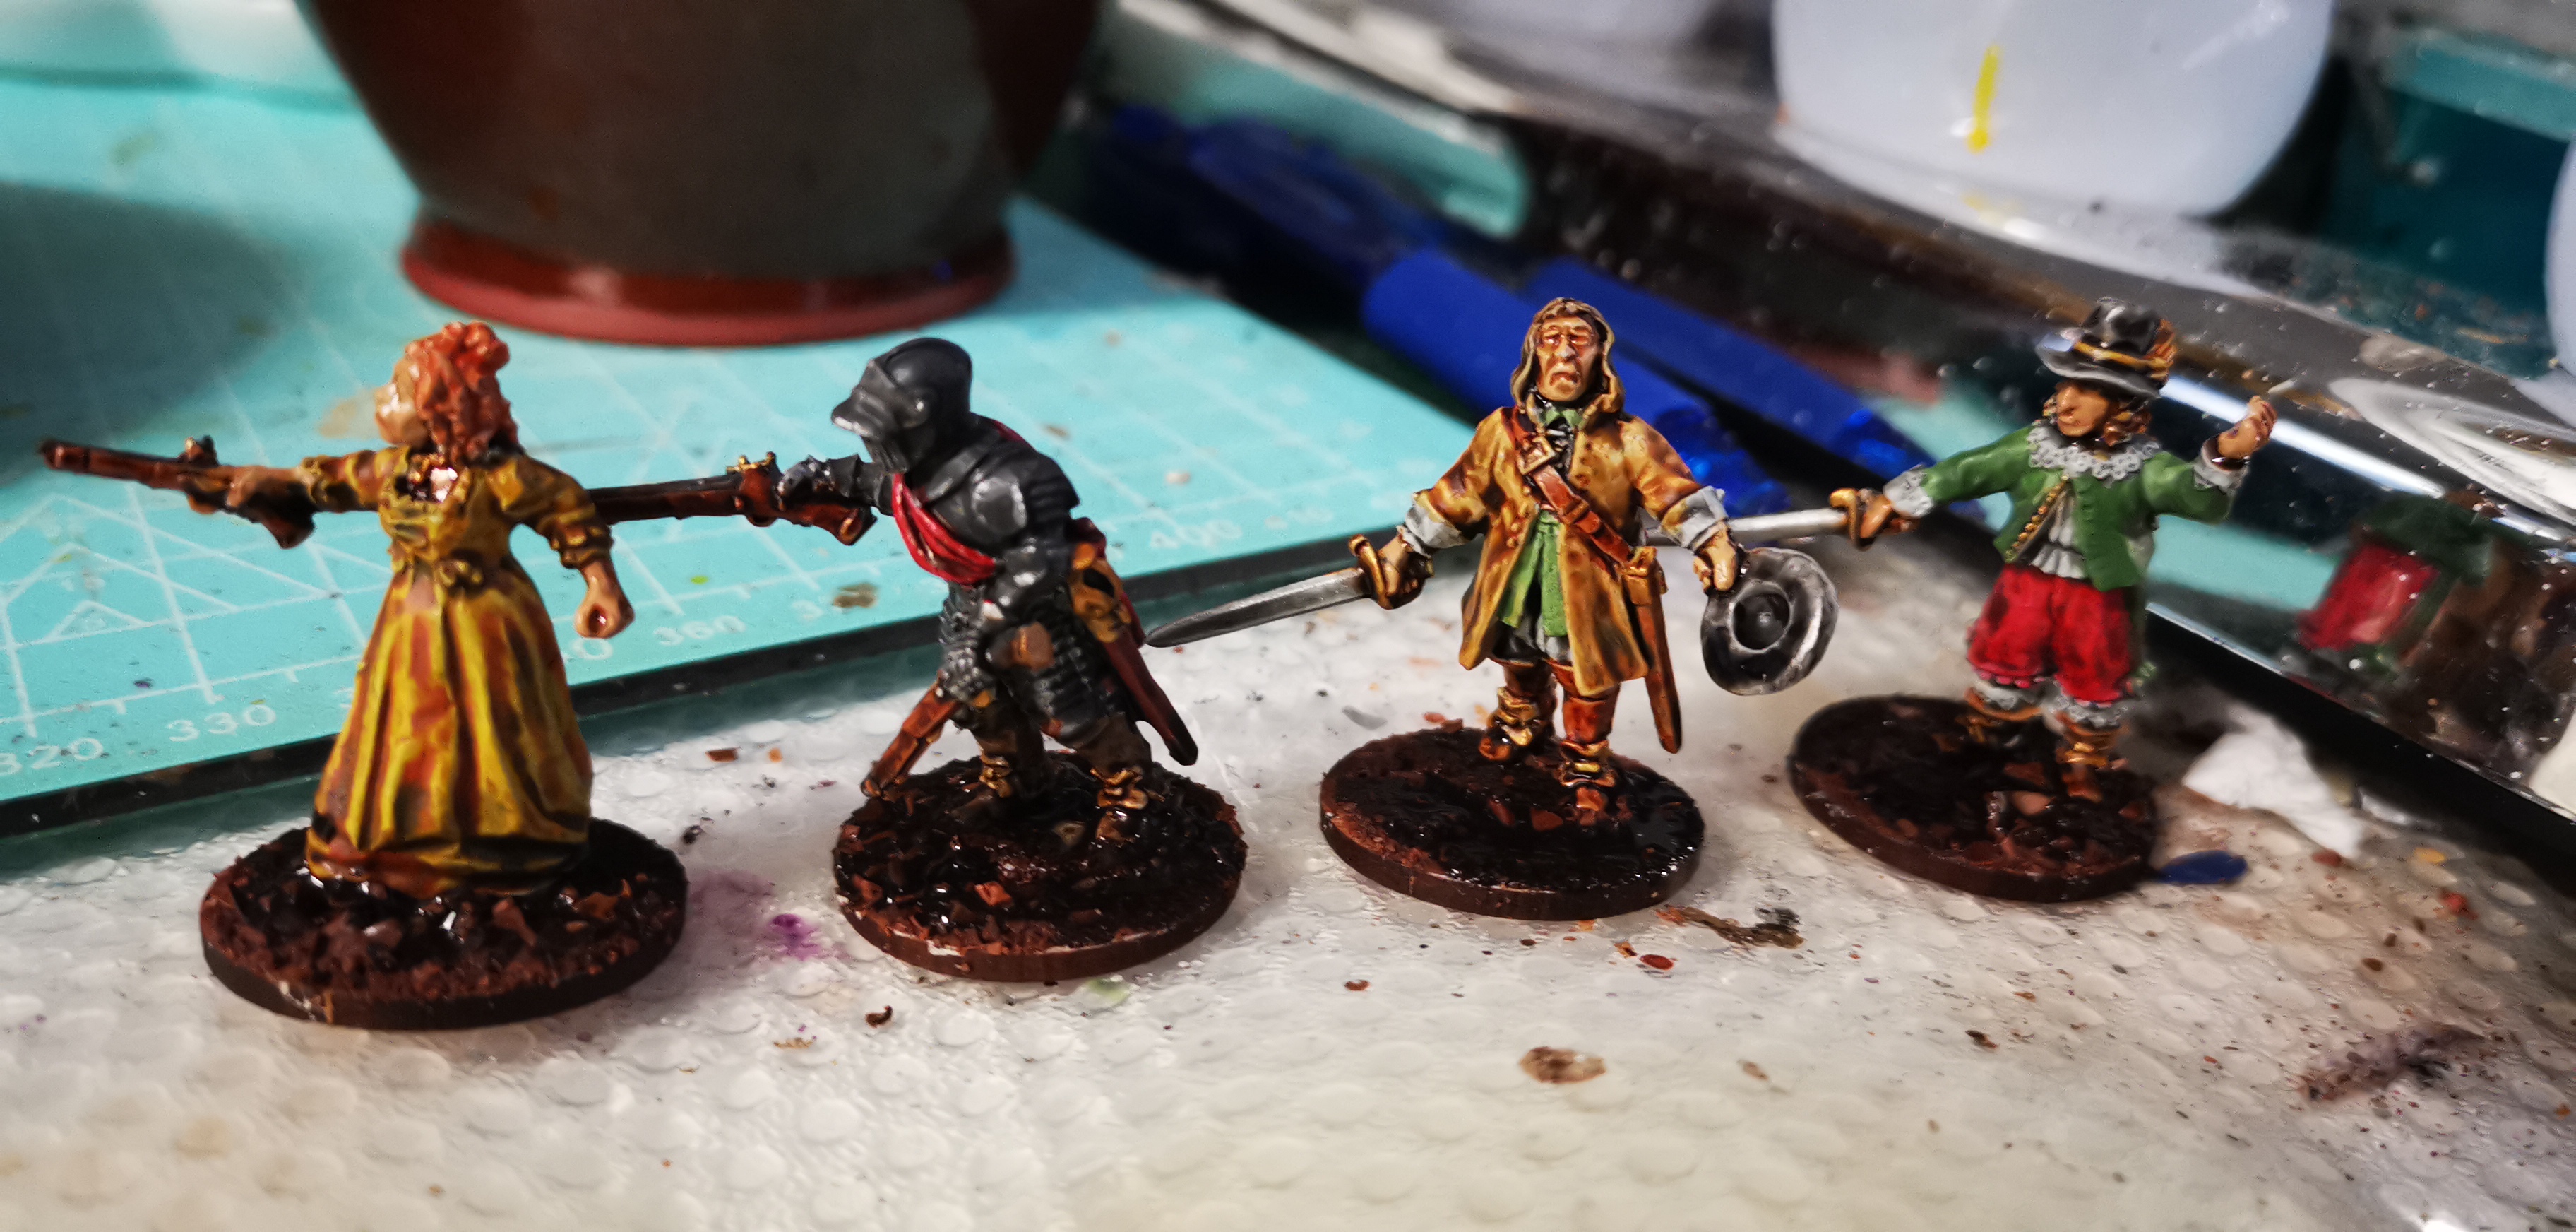
Devilry A Foot
So when Devilry A Foot came out I decided to grab a copy as this would allow me to jump into horror gaming set in the Civil War. I had some minis from Bloody Miniatures which would be perfect for this and a good start at 28mm horror skirmish.
Sheffield during the Civil War
Sheffield Castle
At the start of the English Civil War in 1642, the castle was seized by the Parliamentarian commander Sir John Gell; all spare arms had been collected by Royalist forces, so the castle had weakened defences.
In 1643, the castle changed hands after Royalist forces entered Yorkshire, led by the Earl of Newcastle.
The Parliamentarian defenders fled into Derbyshire allowing the Royalists to take the castle without a fight. Although a national conflict, the English Civil War left a significant mark in Sheffield. The town fluctuated between Parliamentarian and Royalist control, culminating in a 10-day siege of Sheffield Castle by Parliamentarian forces in August 1644
In August 1644, a force of 1200 soldiers, led by Major-General Crawford and Colonel Pickering, besieged the castle. At first their artillery was insufficient to breach the castle wall, but additional cannon was brought to Sheffield. On 11 August 1644, Sheffield Castle surrendered under this increased firepower.
Three years later, a resolution was passed for the castle to be slighted and demolished. This was carried out in 1648. The stones and other items were sold for building material to the people of Sheffield.
Tickhill Castle
Tickhill Castle is near Doncaster, it functioned as a key administrative centre on the Nottingham/Yorkshire border for hundreds of years and witnessed multiple sieges including action during Prince John’s failed attempts to displace his brother, King Richard.
By the time the civil war came around it had lost a lot of its importance, and after the War of the Roses had allowed to fall into a state of neglect. The castle was given a new lease of life due to the Hansby family, who by the early part of the 17th century had risen in prominence, and in 1614 started rebuilding some of the castle’s structures, and constructed a house over the site of the former hall.
Being Catholics, the Hansby family declared for the king at the start of the civil war. Sir Ralph Hansby re-fortified some of the castles defences and formed a garrison which secured control of the area for the Royalists. When Sir Ralph died in December of 1643, Major Monckton took over the garrison. With the defeat at Marston Moor, the Royalist forces lost control of the north.
Parliamentary forces under the command of Edward Montagu, Earl of Manchester sent Colonel John Lilburn with a troop of 200 Dragoons, to take the castle. Due to the strategic situation that had developed in the aftermath of Marston Moor, the Royalist garrison surrendered Lilburn and his Dragoons on July 28th, 1644.
On the orders of Parliament in 1647, the castle’s defences were damaged to prevent the castle from being used a strategic location. Parts of the curtain wall were pulled down, and the eleven-sided keep was destroyed. The house remained in house as this didn’t have a defensive capability.
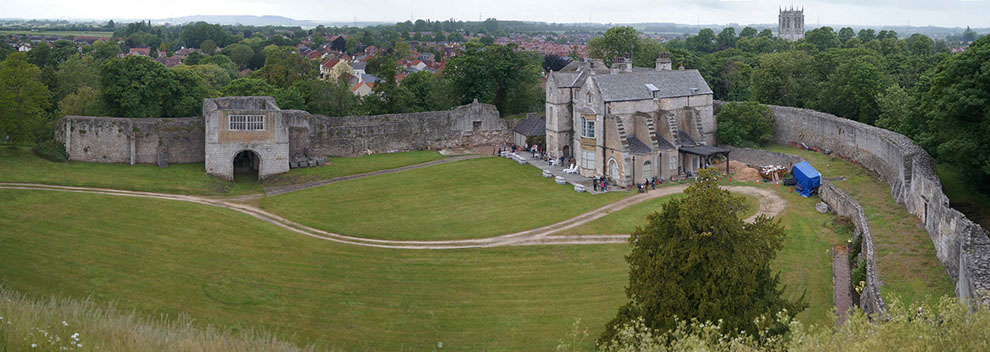 Tickhill Castle as it looks today
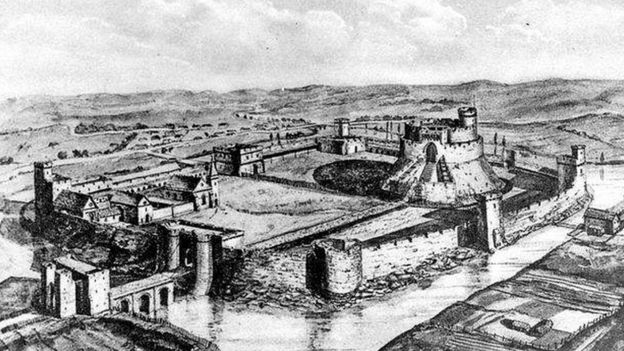 Sheffield Castle
  Reconstruction of Sheffield Castle, which was completely demolished in 1648.
Unboxing Call to Arms Parliament Infantry
The miniatures in question are 1/72 scale English Civil War Parliament infantry from A Call to Arms (www.acalltoarms.co.uk).
The Civil Wars of the mid seventeenth century were probably the most dramatic encounters in early modern British history. They were a great and bloody affair that left the nation stunned and horrified.
The front of the box has a nice piece of art work featuring the front rank of a pike block, which really put you in the thick of the action. On the rear of the box is an illustration of a musketeer and a introduction to the Civil War period.

Inside are 32 miniatures on sprues, there are four sprues in total with eight figures and four pikes on each of them. The figures are the same on each sprue, 4 pikeman and 4 muskets giving you a total of 16 of each type in four different poses.

The box says Parliament infantry but I suspect you could mix and match this set with the Royalist infantry set, due to there not really being much difference between the two forces of this period.

There is a little flash on some of the figures but overall they’re very clean and won’t need much work before painting them. These are exceptionally good sculpts with a lot of fine detail for this scale. They’re in a hard plastic though the weapons are a little thin which is to be expected at this scale and material.

I would have preferred some of the musketeers to be firing their weapons but we can’t have everything. The pike-men are nicely posed, I especially like the chap drinking from his water bottle. The pikes provided are rather bendy and I will look at replacing these with metal versions.

Overall I’m impressed with the quality of the figures at this scale and material. 1/72 can be a bit of a hit and miss affair when it comes to plastic miniatures, but Call to Arms have done an exceptional job with these. I look forward to getting some paint on them.

Painting 1/72 Tutorial
I thought I’d write a short article on how I paint 1/72 plastic miniatures – you probably played with this scale as a kid, especially Airfix kits. If you’ve ever painted them, then the main drawback can be the paint chips off them really easily, especially the rubbery plastic ones. I have a technique or two – well, one, in fact – that will prevent that from happening.
For starters, the only additional item you’ll need from your usual painting kit is either a tin of Army Painter Dip or gloss varnish. It doesn’t matter if it’s a tin of dip or varnish, as either will work.

The first thing you’ll need to do is give them a quick wash, then on to undercoating them – once this has dried, you will need to apply a thin coat of varnish or dip, which ever one you’ve decided to use. Note – when using dip I would recommend using a brush on technique, as it is quite gloopy and if you get too much dip on this scale of miniature, you’ll end up losing a lot of the detail. You will also need to give the tin a good shake before using.

I have found it’s better to use the dip which has collected on the lid, rather than dipping the brush straight into the pot, as it is a lot less messy this way.

The next stage once the dip or varnish has dried is to base paint the miniatures, remember to use a thin coat of paint. as detail is easy to lose with a thick coat.

Once this has been completed then I would apply another thin coat of varnish/dip to the figures. This will seal the base-coat – and, for those of you who have applied dip, it will at the same time shade the models. It isn’t really necessary to paint several layers of shade on figures of this scale or smaller.
Now you have a base coated figure, and those who have used dip will also have a shaded figure. This is the reason I use dip on 1/72 scale plastic miniatures, as I get a shade and varnish in one go. It saves time, especially if you’ve got a large army to paint.

Next we will paint in the highlights – you don’t need to go overboard at this stage, in the same way you would with a 28mm figure. Once this is done, you can add a further coat of gloss or dip. I personally go straight to a coat of matt varnish.

And that, folks, is a quick and simple guide to painting 1/72 scale miniatures, and thanks to the multiple layers of dip or varnish you shouldn’t get any paint chips. In addition, the extra coats of dip/varnish give strength to those 1/72 figures which are made from a rubbery plastic, making them less bendy when touched.


