My First Serious Attempt at Weathering a WWII Tank
Recommendations: 211
About the Project
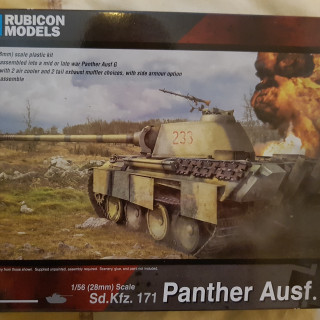
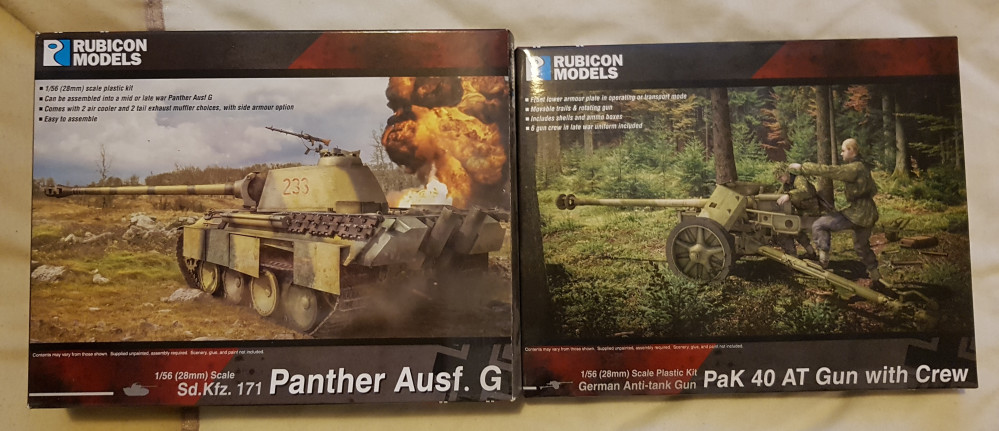
I won a tank and Pak 40 from BoW/Rubicon a year or so back and it's been sat on my shelf waiting for an opportunity and courage for me to sit down and go all in on the hobby with it. I've painted tanks before, but I've always done so with a "get it done" mindset. I want to spend the time to try and take this one to the next level. I want to try my hand at the kind of weathering and detail I see from the more dedicated WWII painters. This is my chance to learn something new that intimidates me so why not share the experience with you and perhaps others can learn with me, and offer help and advice as I go.
Related Game: Bolt Action
Related Company: Rubicon Models
Related Genre: Historical
This Project is Completed
Mission Statement & Starting Point
As I’ve said in the “About the Project” section, I have painted tanks before but never to any level of detail or effort. This is my chance to learn to do the weathering and open a window in to WWII hobbying. I’ve seen many awesome vehicles go by in WAYPN and I’ve been inspired to see if I can try and achieve results like that, ideally without going too deep and going crazy. I’ve not done much in the way of weathering and all I know about tanks is that you point the barrel towards the enemy.
I’m looking to share my learning experience so other can learn with me and from my mistakes and frustrations, and so others can chip in and offer help and advice. Please speak up. I’ve no idea what I’m doing yet. I’m still in the planning stages. Nothing is built and I’ve a model or two to paint first. By sharing this I hope to guilt/pressure myself in to actually starting work on this soon.
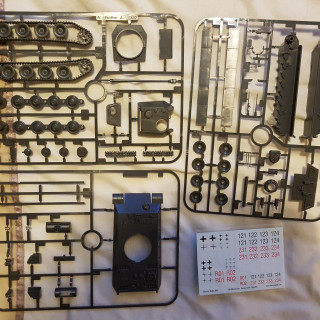
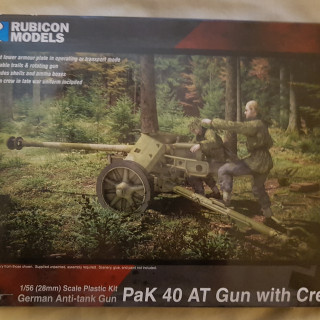
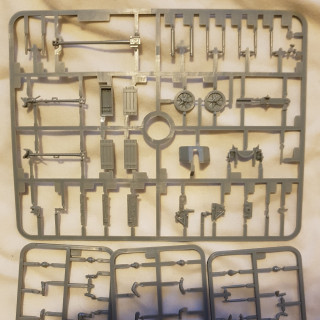
So what do I have to paint?
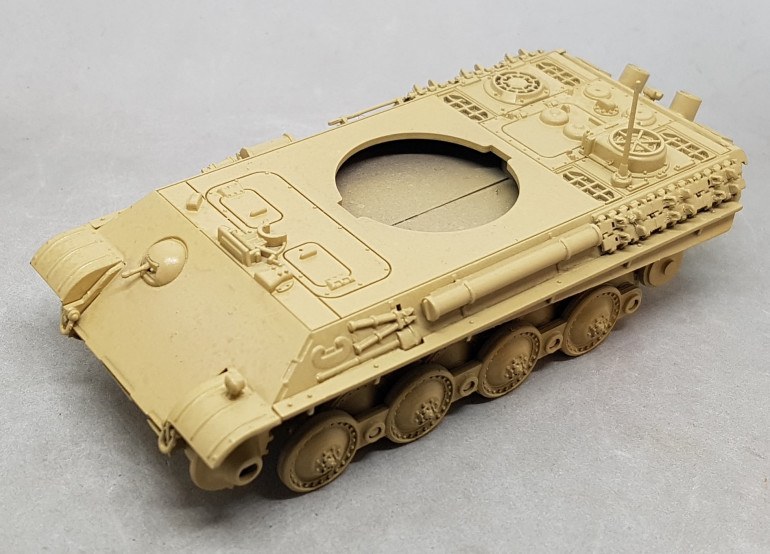
I’m not yet sure what they will look like assembled. I’ve a good idea. A tank is a tank. I’m not quite sure how the men connect with the PAK 40. Will I want separate bases for some of them? Should I be seeking out a square of MDF to sit the whole thing on? Has anyone reading this built this particular kit and got any opinions or advice?
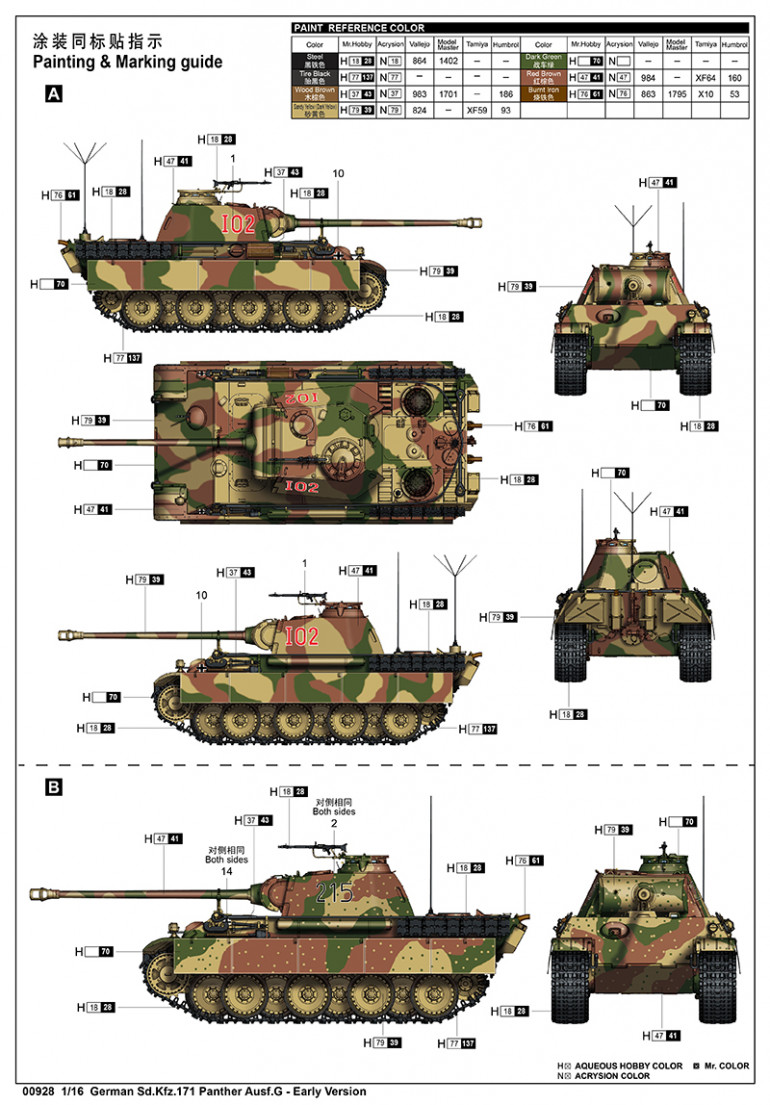
As for camo scheme, I know very little about this sort of thing. Googling has led me to currently aim for something this. Does this scheme have a name, so I can google that to see if there are rules/guidelines for how it is applied? I’ve also found this video I’m currently thinking of roughly following, although I’ll be using what paints I have to hand. If anyone has any guides or tutorials they think I’d find useful please share some links with me.
The tank says it has the options to build either mid war or late war variants. Whats the difference (I’m yet to study the instructions) and if I want to approach realism would this affect my choice of camo, IE I’m looking at a mid war scheme and that wouldn’t be on a late war variant?
I’m assuming whatever I choose to paint the tank would also be on a PAK 40 in the same army? What uniform would I be looking at for the crew? I don’t yet know enough to figure out what I’d be typing in to google for this sort of stuff.
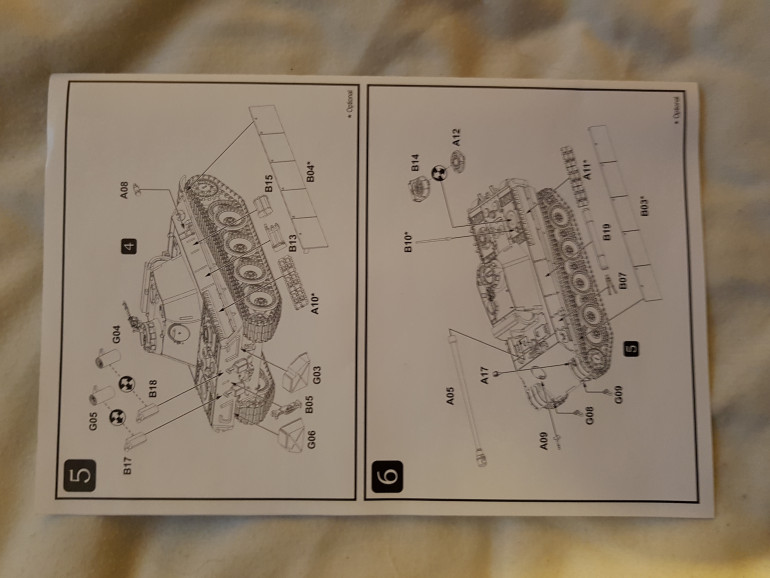
So looking at the instructions I can see what appear to be the only variant parts, denoted by the black and white circle with arrows inside them. It does not make it clear why they are optional and what those options mean. Can anyone explain which is mid and which is late war, and if that has any kind of meaning? I always like building with playing in mind and if I field this I expect it’ll be under Bolt Action and I’ve no idea if they have different stats for the different periods, benefiting from correct representation in the sculpt.
Following the chipping video during a heatwave
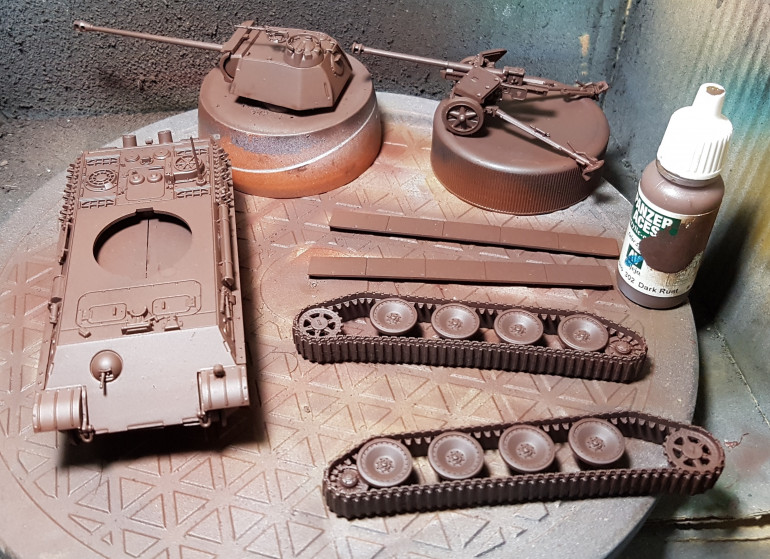 I don't have the paints used in the video so I am approximating from my collection. First up, a base undercoat of VMC Dark Rust over primer. This was then sealed with Matt Varnish.
I’m in England and we are in the middle of a heatwave right now. I don’t travel but I’m told that heat in England might not be as high as elsewhere but it feels worse. One thing I am noticing is that the paint I am airbrushing is taking forever to dry. Normally a coat of paint takes a few minutes to 30 minutes depending on how heavy I’ve laid it down and what opportunities it has to pool (I’m not the best). This week a layer is taking a few hours to dry, and even then has areas that look wet and are tacky. It’s making it very hard and slow to get anything done.
Next stage I took a pot of AK chipping medium and sprayed it along any edges and bumps where paint may chip. This was allowed to dry.
I then sprayed an even coat of VMC Hull Red over that through multiple slow layers. Once this was dry I took a damp drybrush and worked at the chip areas.
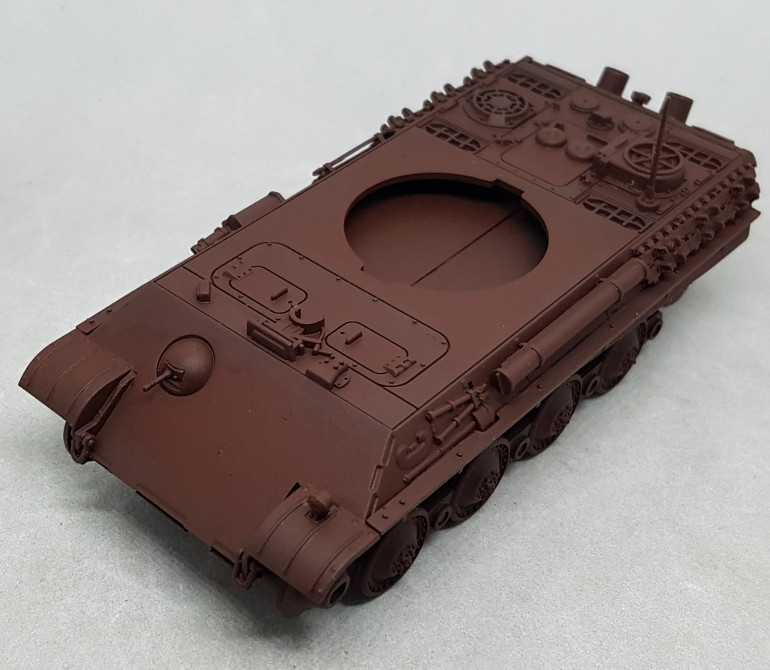 My red and brown aren't as different as those in the videos but you can still see where the paint wore off. I feel I eroded a much larger area than in the video. Not sure how he got such precision.
This was then sealed with matt varnish and left for a couple of days in hopes the weather relaxed. Three evenings later it had rained and I was no longer a sweat golem although it was still hot, so I thought I’d try the next stage. It ended up taking over 4 hours to brush apply the chipping medium (In hopes of coating a smaller area) and airbrush the next layer due to the thinness of the yellow over the strong red and it being slow to dry. I used VMC Iraqi Sand.
They were left to dry for more time that it takes to watch an episode of Doom Patrol S2 (Its still good and still super weird but casual about it). I then dampened my brush and tried to chip one of the smaller parts first.
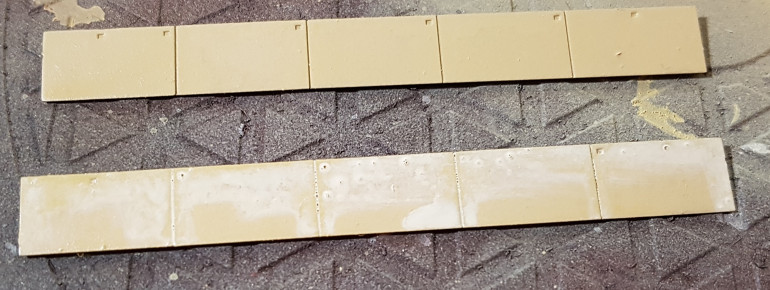
As you can see, paint is being liberated, but its just being pushed around. No chipping is occurring. No undercoats are showing through. Its just becoming a mess. I wet my brush and tried again the next morning and the same thing happened again.
This is not working for me and I don’t know why. Maybe its the weather? Maybe I applied too many layers of Iraqi Sand but anything less was still red. Maybe it took too long between applying the chipping medium and me trying to remove it?
Any thoughts?
I’m currently thinking of abandoning this method of weathering and going for more of a John approach of sponge chipping. Paint it all up, apply transfers (and varnish seal them at this point?), wash the whole thing, drybrush the edges and then sponge chip and rub in pigments.
Got any better ideas? I’m up for trying new things if I don’t have to buy new stuff (Kinda on a budget right now. I’m half way through buying a house and I’ve no idea what’ll be left afterwards). That’s what I was saving this thing for.
Painting the Camo
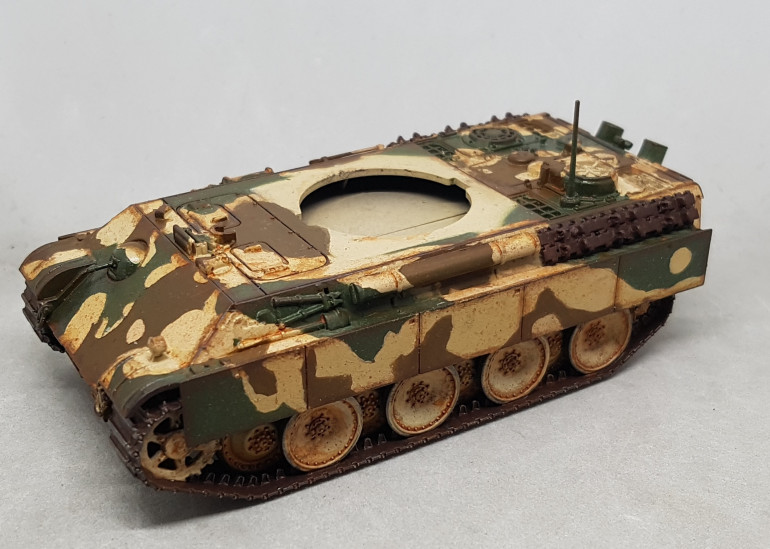
I repainted the weathered panel and then blue tacked the two side skirts in place. I then mixed a little Ivory with Iraqi Sand and zenithally highlighted the tank. Once dry I matt varnished the whole thing to protect it from the upcoming masking.
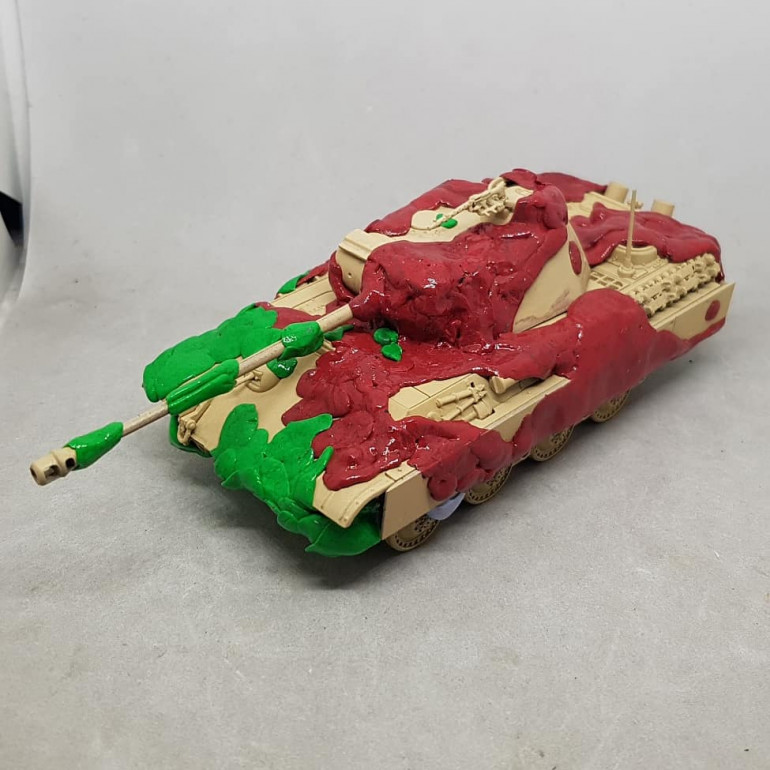
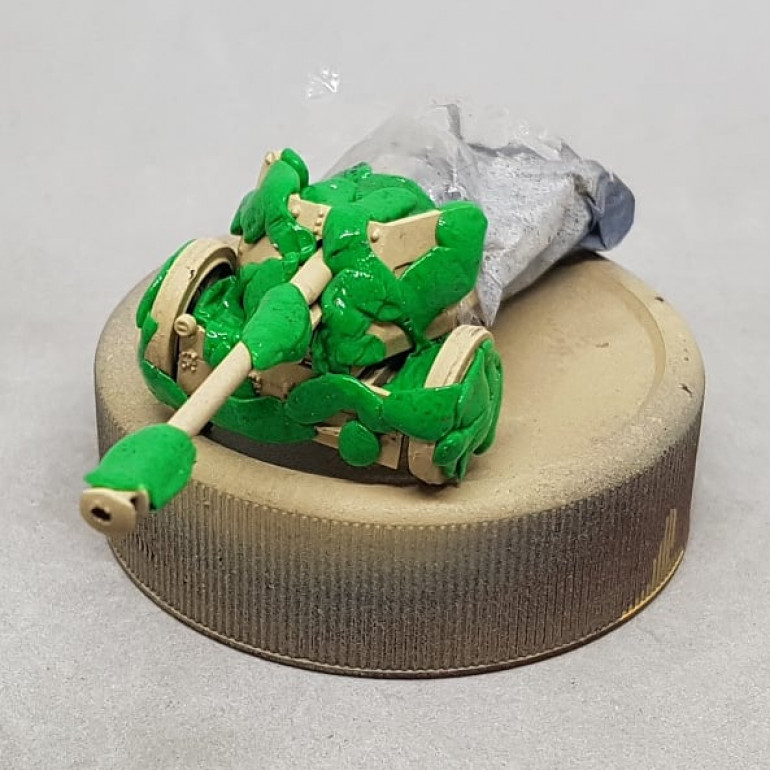
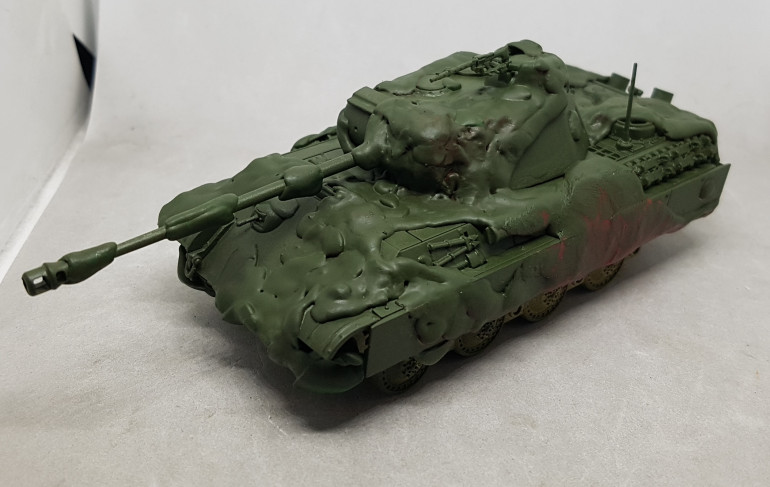
The tank and Pak 40 were then masked with a mix of Silly Putty and Cling Film.
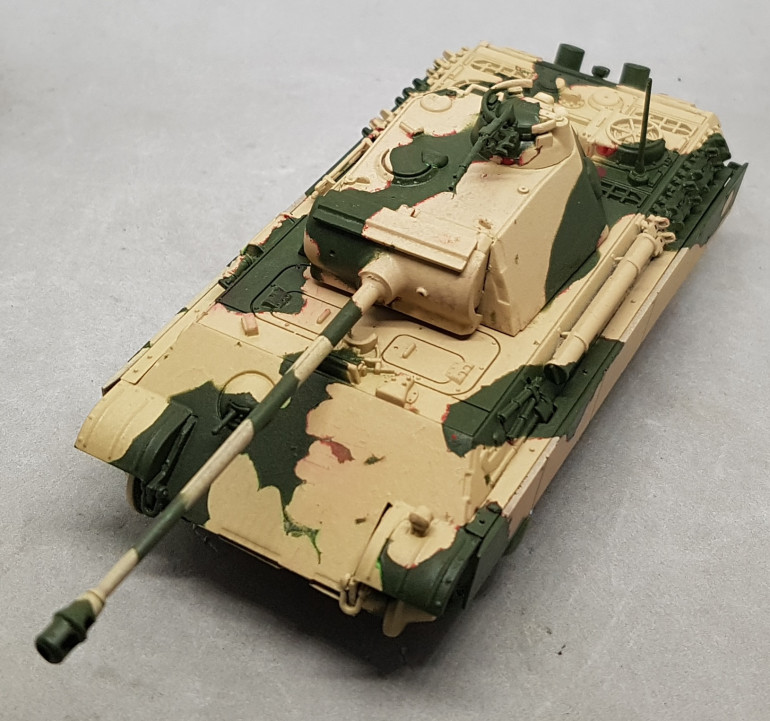 Once dry, the mask was removed. As you can see the mask has left a residue and a stain behind that I cannot remove. I've used this putty many times before and it has not done this previously. No idea why its done that. Does Silly Putty go off over time? Is this a consequence of too much paint being mixed in to it? Is this a result of heat, humidity and layers perhaps not being as dry as I would think?
I decided to try protecting it with gloss varnish this time in the hopes the putty would peel off cleaner, however at this point my airbrush refused to spray anything. It was blowing but not even water would pass through it. It took me 7 hours to get it to work again and I was ready for bed by this stage so I applied the gloss quickly, cleaned up and went to bed and finished off Agents of Shield (I enjoyed the show once it got going, but the final season definitely had its problems. Its a shame they couldn’t find a way to definitely tie it back in to the main MCU events).
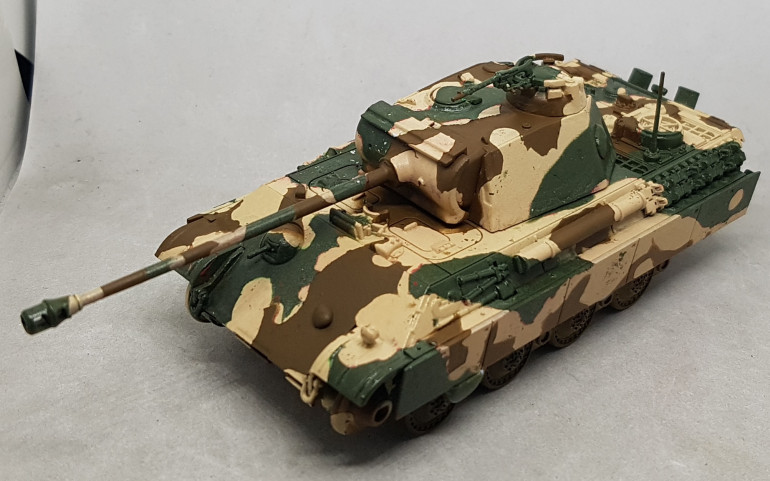
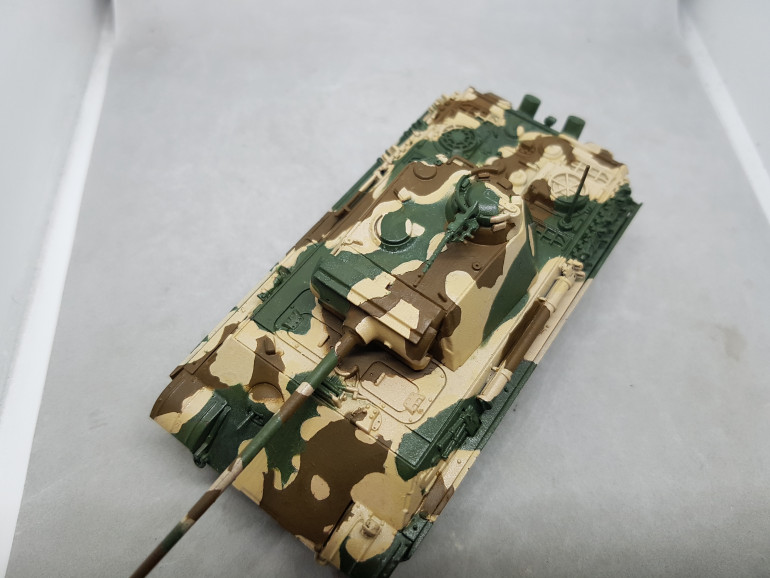
Next day I masked up and applied VMC 70.826 German Cam. Med, Brown. The putty seemed to leave less of a residue this time, but that might be chance.
Constant Issues
This project has been one of those times when everything that can go wrong has gone wrong. Its wearing on me now and I kinda want it behind me now. I need something to go right soon. Here’s a list of issues so far:
1: A part was missing and took a week or two to turn up (Thanks Rubicon for sending it out without quibble
2: Due to the heat wave airbrush paints were taking 5 times as long to dry, making it VERY slow going to achieve anything
3: While trying to follow the video building up the layers to all be seen through the chips I accidentally started with the wrong layer colour, wasting a whole evenings work
4: The chipping medium worked to show the brown rust through the red primer, but did nothing to show either through the yellow base colour meaning the three evenings I’d spent getting to that stage were a huge waste of my life
5: The putty that I have used without issue many times has left a residue all over my paint work
6: I have bent the machine gun during handling required to paint the camo
7: My ultrasonic cleaner broke when trying to clean my airbrush after one of the early layers
8: The airbush died on me and took 7 hours to fix, all because of a hidden piece of dirt that once I shifted it decided to move and wedge itself somewhere else I couldn’t see.
9: I typed up a lovely long post detailing all my camo work and then the project system decided to make it vanish
I am taking a short break now to paint something lighter and more fun to help my sanity.
Chipping & Weathering
Unhappy with the results of following previous videos, I went away and watched a few more for inspiration
Previous video I’m still taking some inspiration from this
Chipping Do’s and Dont’s My main inspiration going forwards, although Johns regular sponge video sessions gave me the confidence to try the sponge stuff in the first place. Contains the flicky spray thing I’ll mention later
Stug Video I think I follow this one less, but it was still helpful
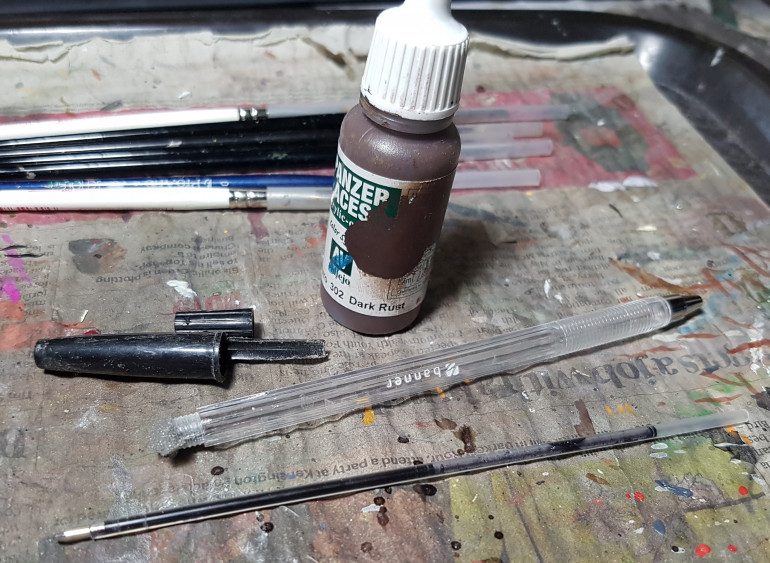 I've heard JanuineVision recommend this tool for sponge chipping many times so I thought I'd give it a go. It's a little chunk of packing foam wedges in the end of a biro.
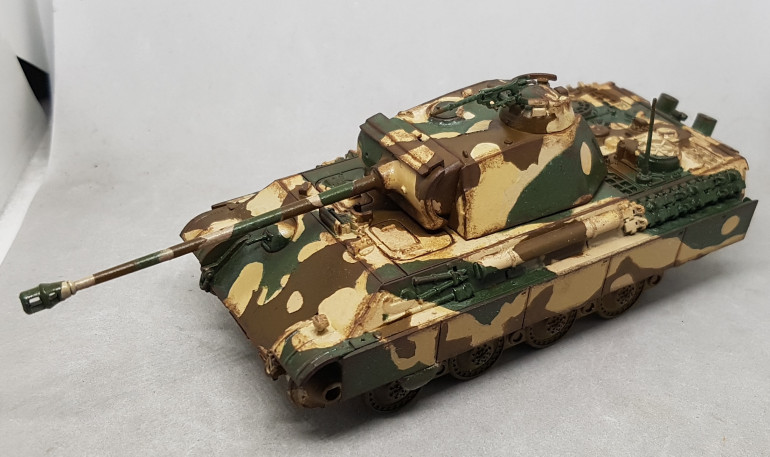 VMC Dart Rust was applied as chipping along every edge or area that might receive chips. The chips were then joined up by edging along the edges with more VMC dark rust
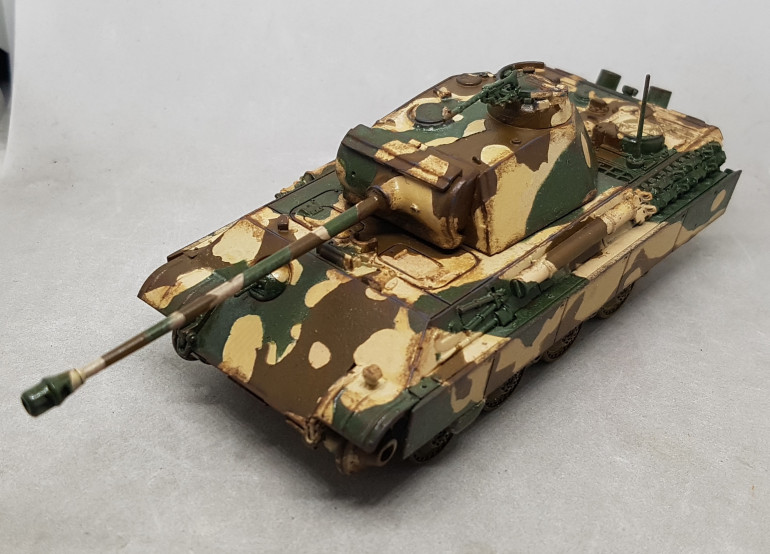 A little white as added to some VMC German Grey and the edging was repeated, but this time it was patchier. I tried to keep the Dark Rust visible and use this as more of a harsher weathering, as in the rust had worn through and actual metal was showing
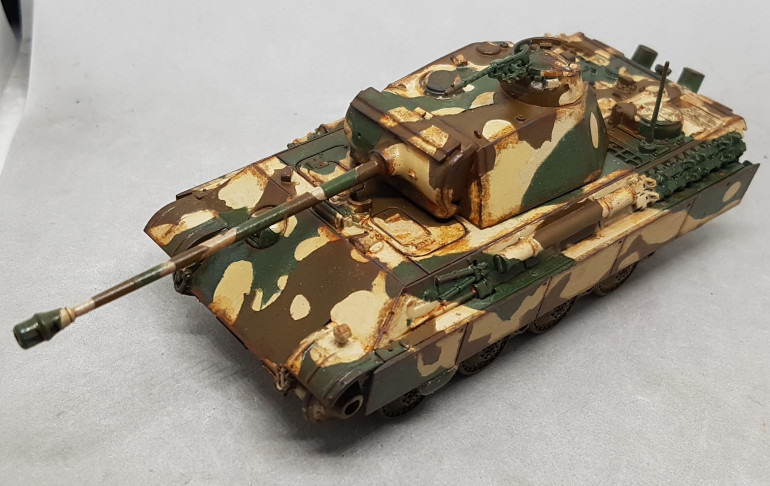 I mixed up a very thin rust solution and applied it somewhere between a glaze and a wash. I used a mix of Mission Models Transparent Light Rust and Vallejo Pigments Brown Iron Oxide with some water and GW Lahmium Medium. This was then brushed over any area with chips and the bolts and crevices of the wheels.
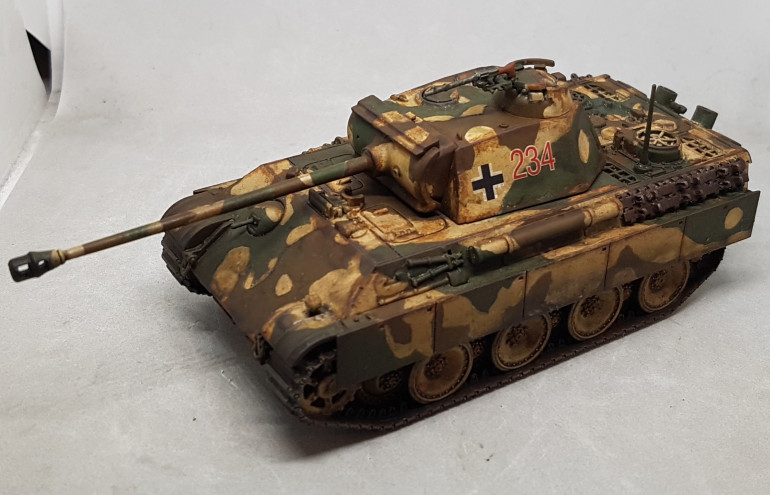
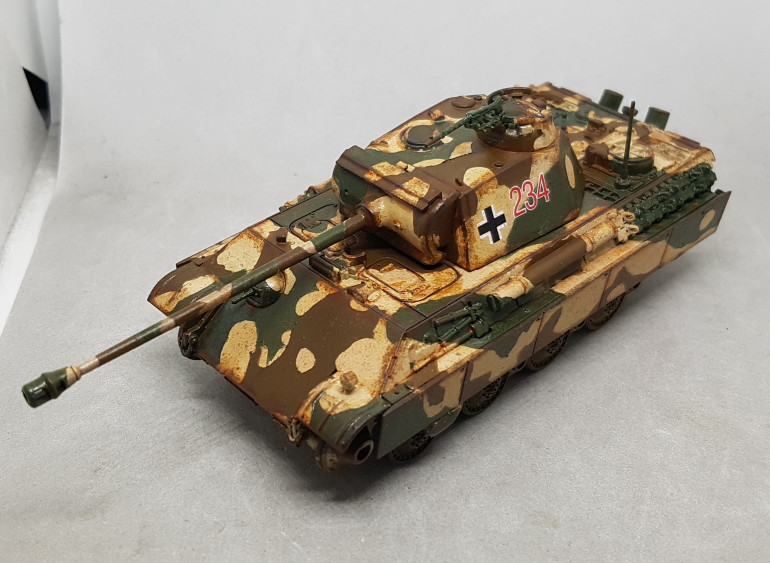 It was at this point that I remembered the transfers, which should have gone down before any weathering was started. I gloss varnished the areas I wanted them to go and let that dry. I then applied the transfers, let them dry, and then gloss varnished over the top. Once dry I used some of the rust mix to apply a little weathering over the top where relevant. Some if this rust was also flicky sprayed over the tank using an old GW Stippling brush and the arm from the lid of that biro, as per the video
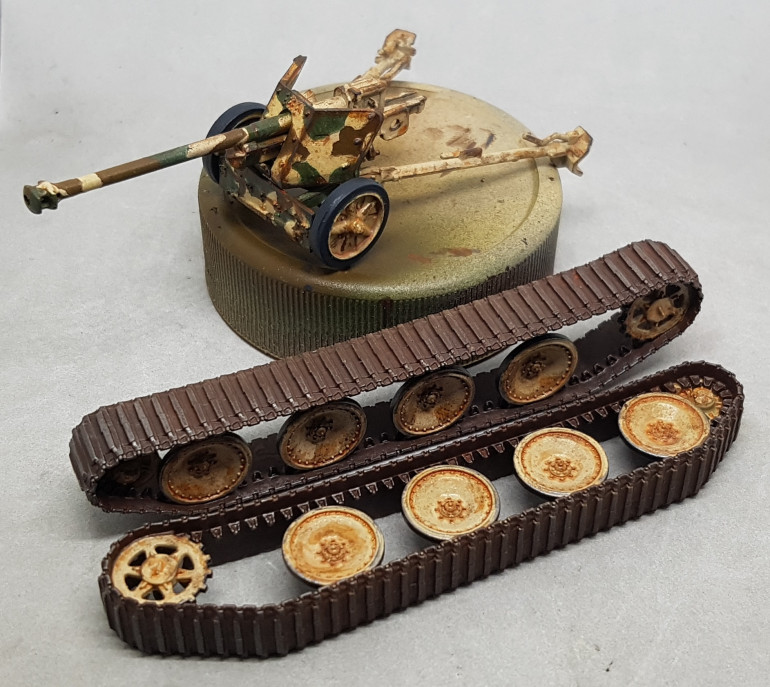
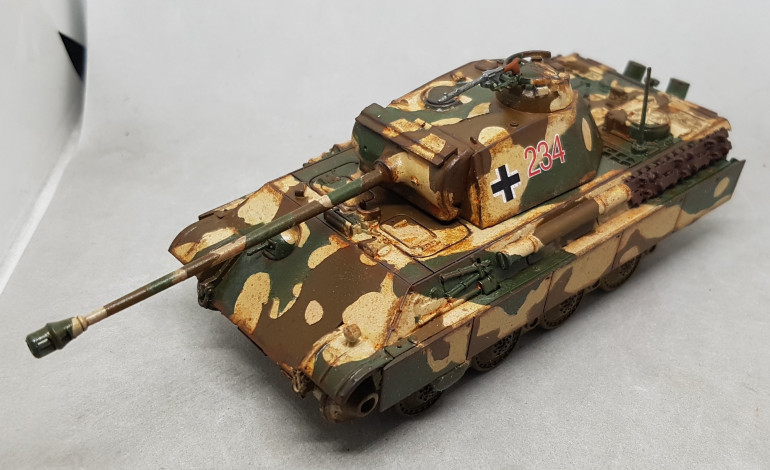 The gun was painted in P3 Pig iron and the stock was painted in P3 Bloodstone. The track sections were painted in VMC Dark Rust and then lightly drybrushed with Pig Iron
Finishing the Weathering and the Tank
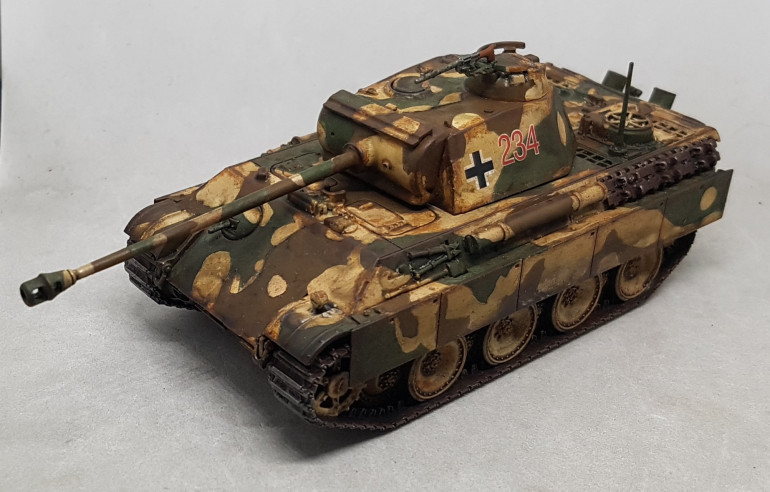 JanuineVision has what he calls his Magimix. Its roughly 6 parts Nuln Oil, 6 parts Agrax Earthshade, 2 parts Athonian Camoshade and 6-8 parts Lahmium Medium and no water. Water and GW washes apparently don't mix too well and results in tide marks. YMMV. He uses this as his dirty shadowy weathered mix for surfaces left out in the elements. I mixed up 3-4 times that with maximum medium and coated every part of the tank and the PAK 40.
This was then left overnight to dry thoroughly. Next morning everything got gloss varnished to give it a nice hard seal as its going to take abuse during the next stage. I went off and painted something else for a while to ensure this was fully dry too.
There are no WIP shots from here on out as when I’m working with loose pigments I wear a dust musk and it does not come off for anything until varnish has been applied. I do not want a stray breath cough or sneeze blowing pigments everywhere so no breaks or pauses were taken and my coffee unfortunately was allowed to cool.
When working with dry pigments I clean my tray off and put down a clean piece of paper with a crisp clean fold in the middle. That way I can make all the mess I like and recover the stray pigments. I tap off the loose pigments on the page after application and then fold the paper up and funnel it straight back in to the pot for use later.
Using an old soft word drybrush Vallejo Pigments Green Earth was rubbed into the main body of the tank and the PAK 40 until it almost looked like I’d tipped my hoover bag over it. The tracks and anything mud would hit were treated the same, but with VMC Natural Umber. Black Pigments were applied to the end of both barrels.
Everything was sealed with Gloss Varnish to both protect the model and seal in the pigments, and then finally dulled down with matt varnish.
Most of the pigment appears to have dissolved in the process, which is a shame. If anyone has any advice on how to preserve a dusty finish using pigments this was I’d love to hear about it. I’m going to have to do some research.
PAK 40 Crew, Base and Assembly
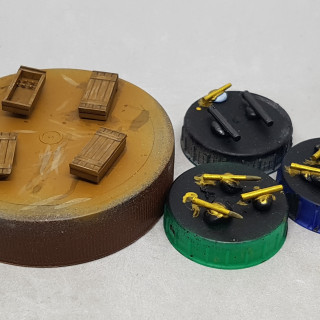
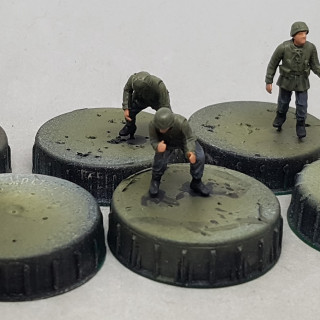
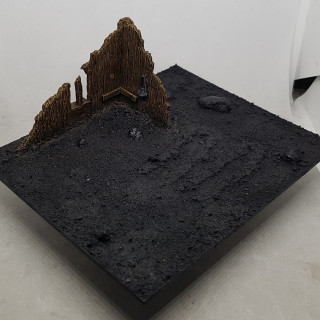
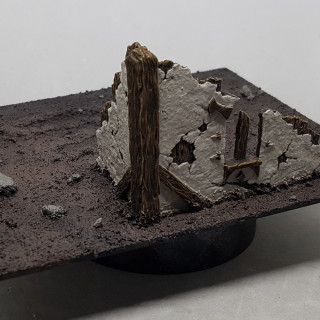
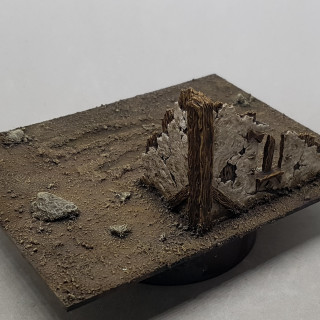
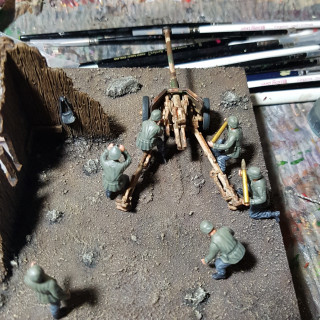
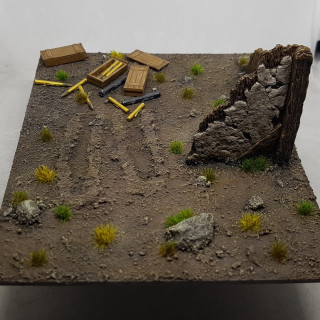
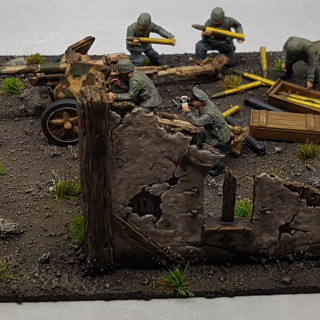
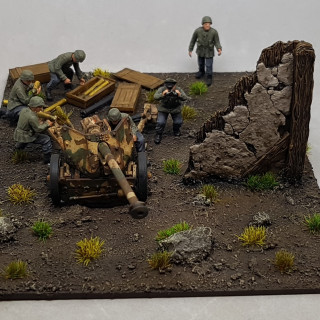
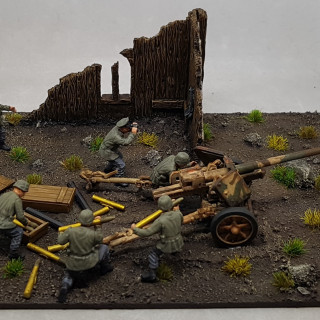
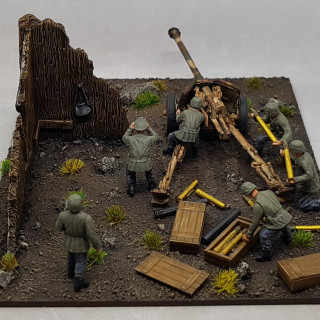
Along the way while painting the tank I also started work on the crew and extras for the PAK 40. The kit came with everything you see here except the base and the building, which I had left over from another project. After finishing the tank I came back to the building and painted the plaster and the ground. I dry fit the PAK and the men and placed everything around them in a way that was narratively pleasing. I then glued the men in afterwards once they were’t in the way of my fat fingers. Tufts were then applied,and so was varnish.
While the tank and the PAK 40 appear to be fine models I would have to say that the humans were not as good sculpts. They do the job but they feel like after thoughts. Like base decorations, rather than part of the main focus. Collectively it all looks cool though.
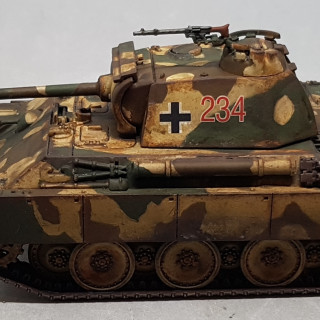
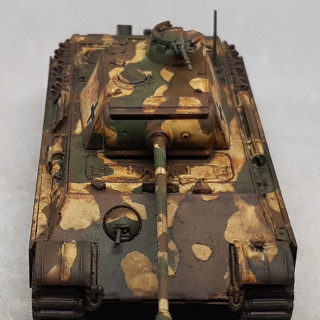
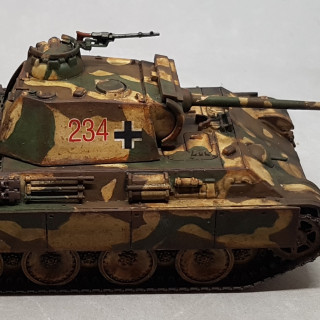
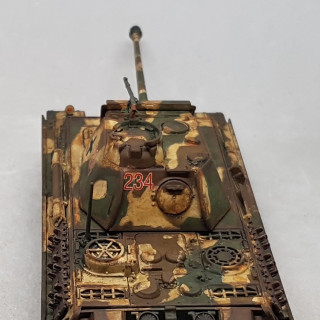
The final result
Golden Button! (Great for ego, not so great for camouflage)
This won me a Golden Button!
https://www.beastsofwar.com/featured/community-spotlight-weathering-tanks-heroquest-romano-british/
XLBS chat at 35:45: https://www.beastsofwar.com/featured/xlbs-environmental-effects/
My Feedback from the video:
The putty residue is both red and light green, the same colours as the putty. It is definitely not just the undercoat showing through. I know its not too clean in the pics. I did varnish both times before applying the putty. Before the first application I uses matt varnish. which apparently does nothing to protect anything. I used gloss for the second layer and this worked much better. lesson learned. Matt is purely for looks and is useless otherwise.
The chipping guide I was following was going to have me chip the base coat and each camo layer separately so you could see the layers through the chips of different depths.
I know I should have applied the decals sooner. That was my plan. They just slipped my mind when the moment came and I’ve been kicking myself ever since. I think its because I kept them out of sight to protect them. I’ve also painted up around 2500 minis and perhaps 40 of them have decals? It’s not part of my usual process.
My chipping medium was AK Interactive Chipping medium. I’d assume that’s a good reliable brand.
Thanks for the CommSpot!


