Cohors Cthulhu
Recommendations: 235
About the Project
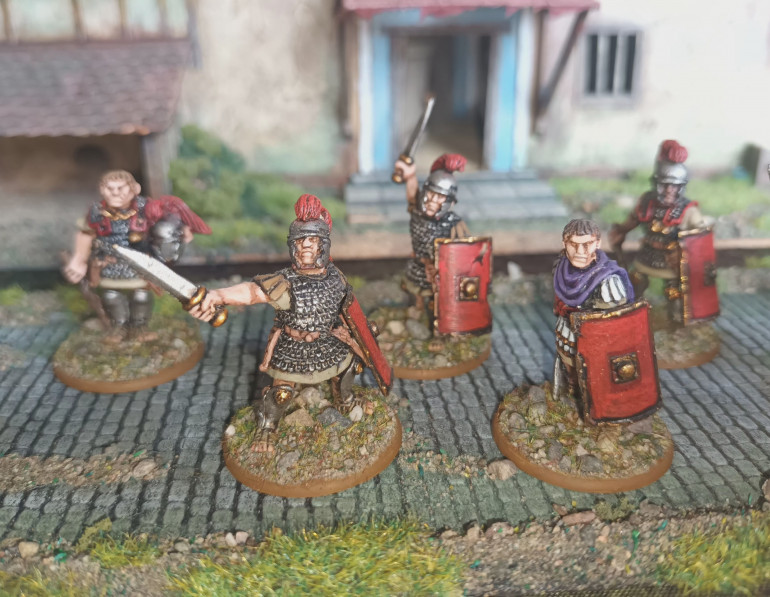
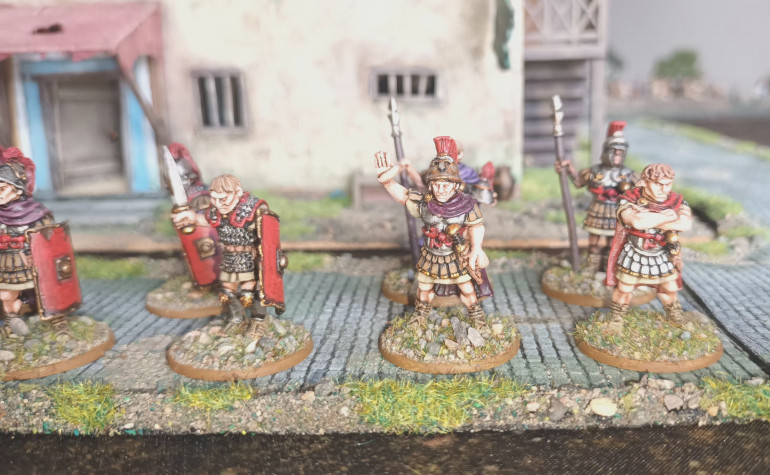
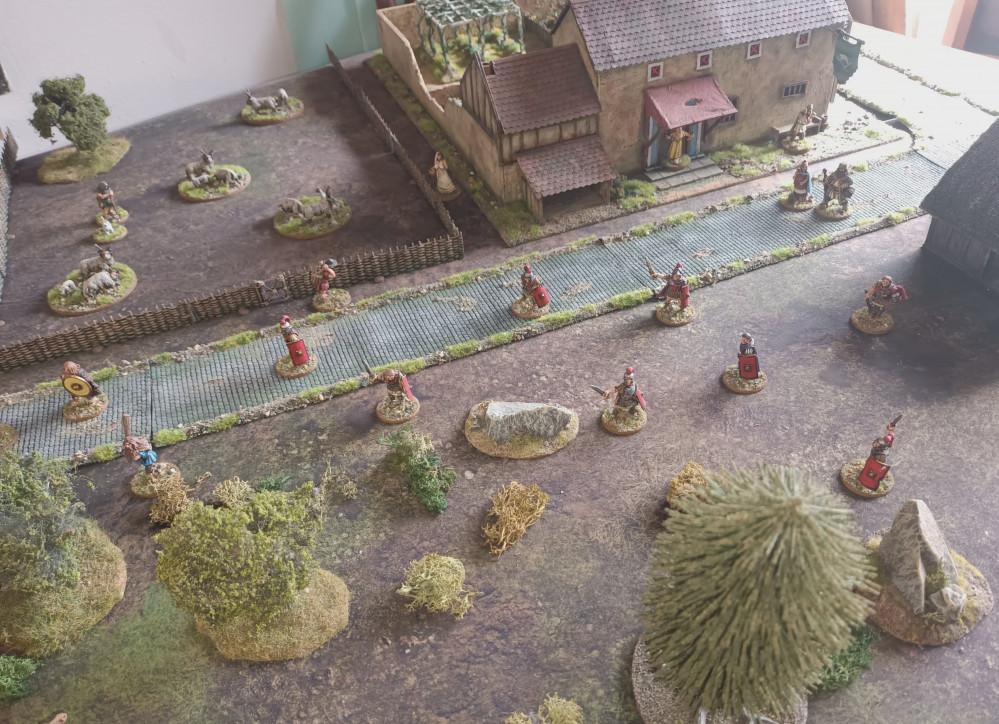
This used to be my Dark Age/Fantasy Building post, but having recently been inspired by Modiphius's Cohors Cthulhu rpg Kickstarter, I dug out my unnfinished Sarissa Precision Roman Villa inn, originally bought for Runequest, for which it will still be used) and have finished it recording most of the steps so I can give a bit of a tutorial. I also bought some Roman and Germanic Warriors by Mark Copplestone ( my favourite sculptor) from Wargames Foundry. I have more figures to get, and have plans to adapt some other rules to use for small skirmishes and to playtest the Modiphius minature rules, this will also be added to this project.
Related Game: SAGA
Related Company: Sarissa Precision
Related Genre: Historical
This Project is Active
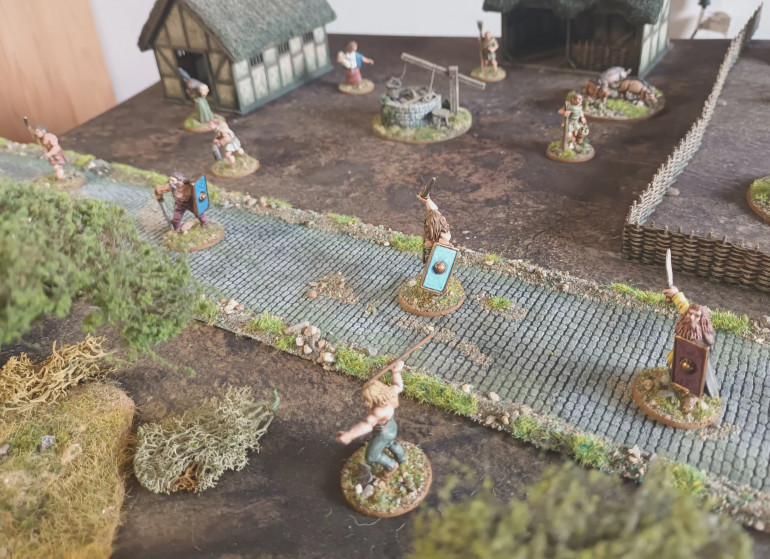
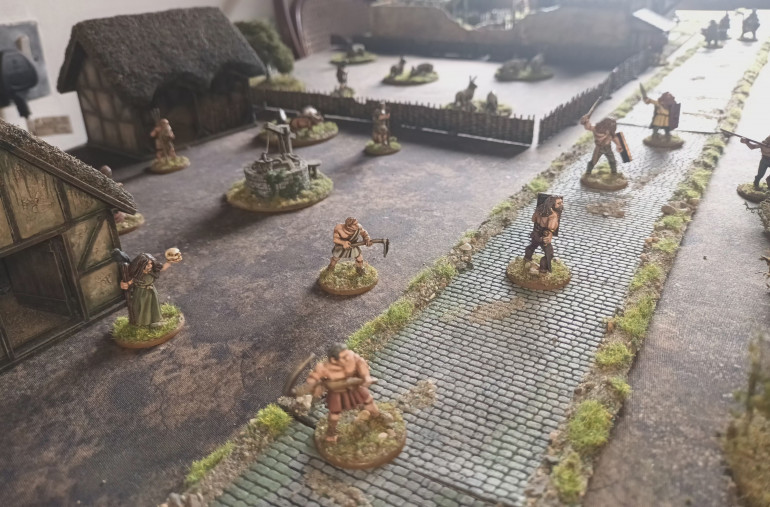
Some scenic views
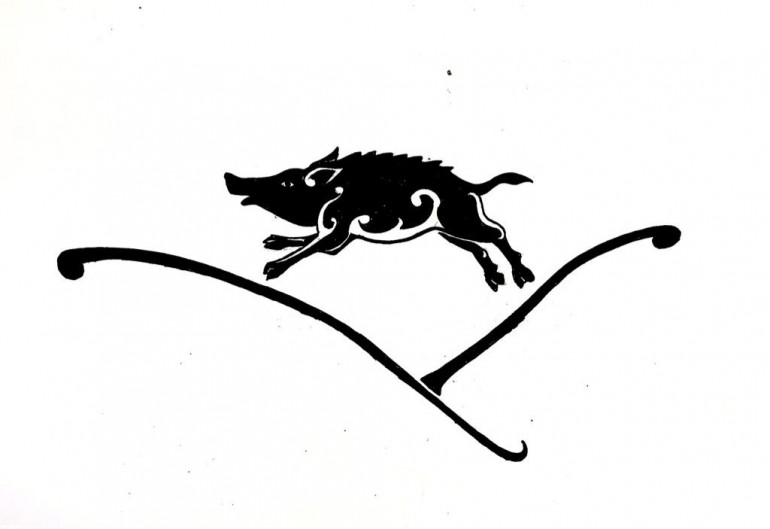 The original design. My brother wanted a pagan design to represent his village "Swyncombe" = Swine Valley
That is all for now.
Next month I will purchase a pack each of revolting peasants, Chatti Warriors, cavalry command and two packs of naked savage germans, this will finish the factions, I will also add some heroes From other nations a Gaul who may bear a passing resemblance to Asterix, wizards, Egyptians and I already have a couple of Thracian heroes to paint.
But I need to take a small break to paint up the Cyberpunk Red: Combat Zone starter set do I can have a few games, thst will be a new project coming soon.
I also am building my brother a 1/32nd scale Shepherds Hut from scratch for his 50th Birthday present he is a shepherd and has a collection of 1/32md scale Britains Farm models from his childhood. So I will probably return to this project in May, hopefully with a first draft of the rules.
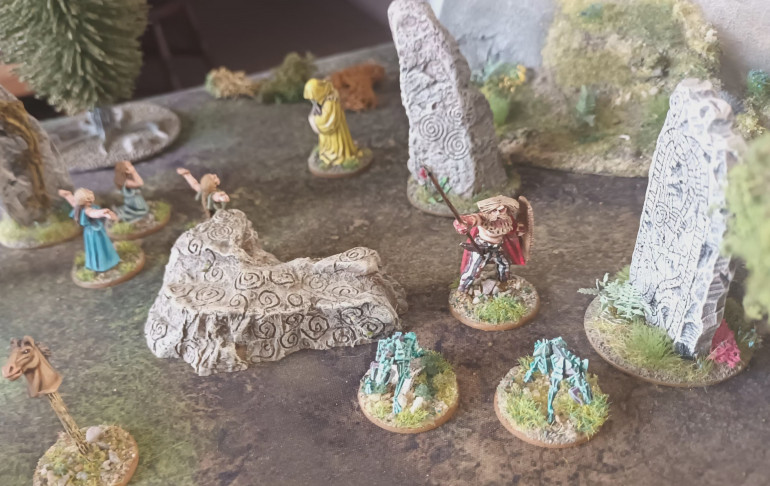
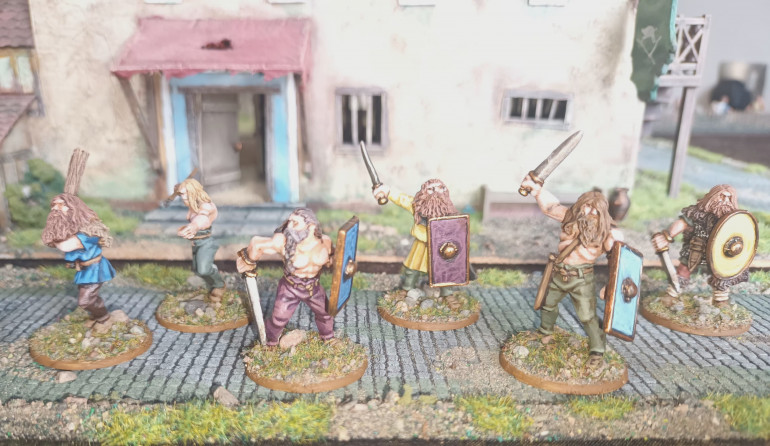
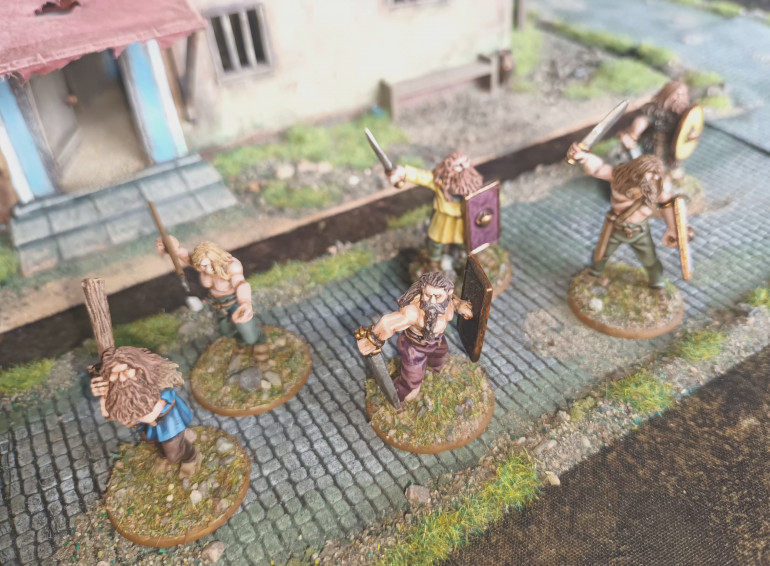
Our antagonists
As I said earlier the inspiration for finishing the building was my backing Modiphius’s Cohors Cthulhu.
The game takes place in the same world as Achtung Cthulhu but has a more mythical feel.
Frpm the quick start rules:
Amid a war-torn and fractious world in which Roman legionaries bent on conquest face off against barbarian warriors protecting their tribes, players take on the roles of diverse heroes from regions across the empire: Germania, Gaul, Britannia, Aegyptus, Assyria, Greece, Hispania, and even eternal Rome itself. Arising from a wide array of backgrounds, they battle baleful horrors facing all of humanity. Whether the fight was forced on them or they chose this path, it requires putting aside allegiances and prejudices, and making friends of former enemies. This fight also requires confronting peril to gather remnants of forgotten magic, most often preserved by priests of jealous and competing gods. But fickle as humanity’s gods may be, they are sometimes the only recourse against those from beyond the stars. Nyarlathotep, the God of a Thousand Forms, has unleashed myriad schemes to subvert oncesacred cults across Rome, Germania, and beyond. In the shadows lurk powerful, corrupted survivors of Atlantis, their minds twisted by Sarthothus, the Shattered God, whose alien intellect has infected the Atlantean relics upon which the Atlanteans’ power relies.
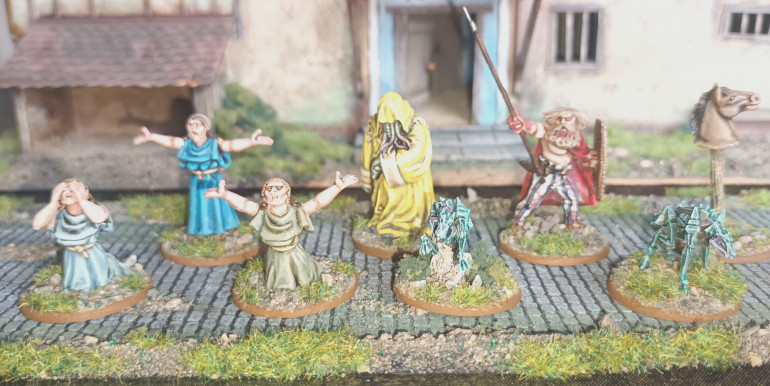
This gives me the opportunity to build a diverse collection with heroes from across the Roman Empire.
I am starting off with a core of Romans and two Germanic Tribes.
I will use these models to playtest the miniatures rules when they are sent out. I am also adapting a skirmish rule set based on the CS1 rules that came out for SLA Industries, there are some mechanics that will synch really well into the back ground.
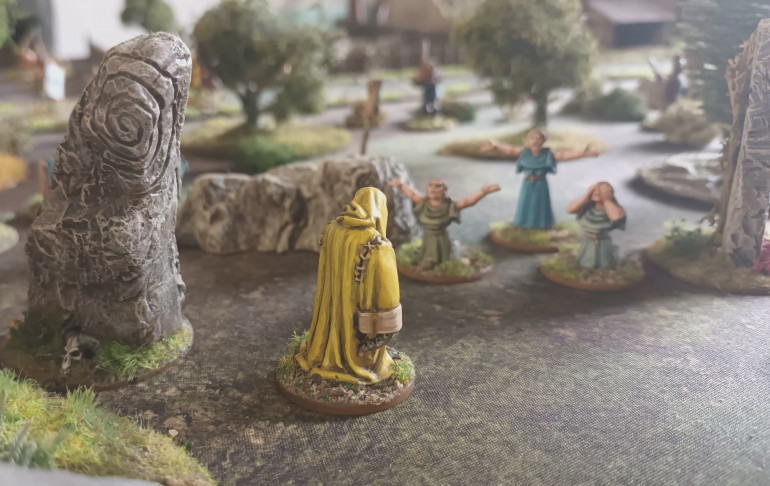
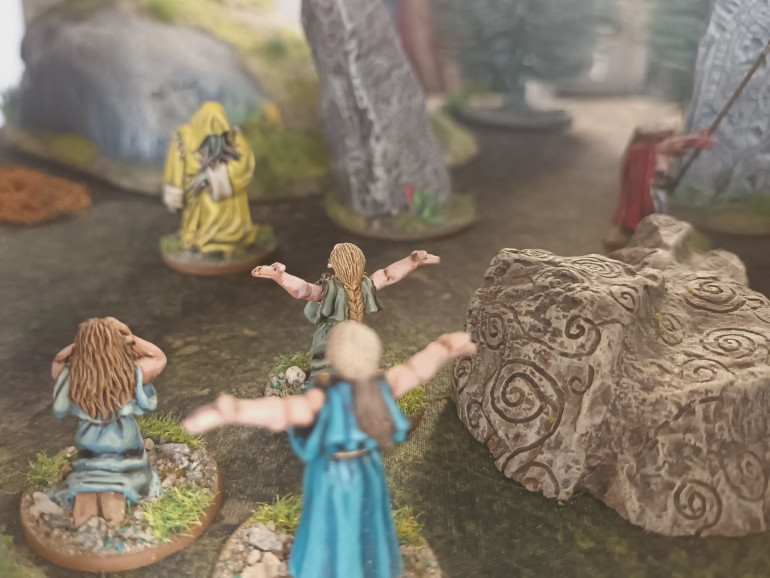
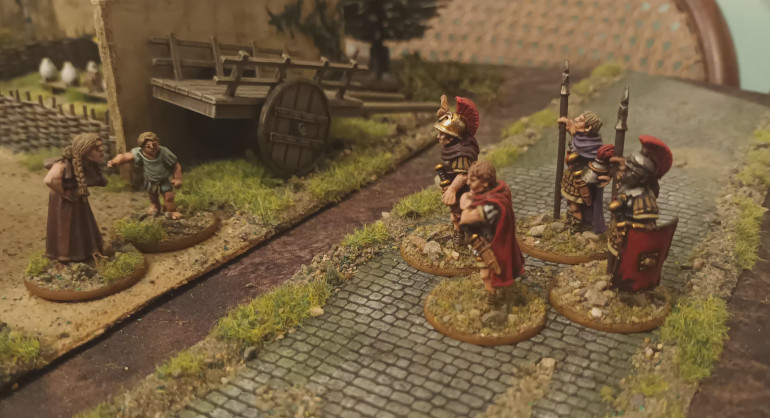
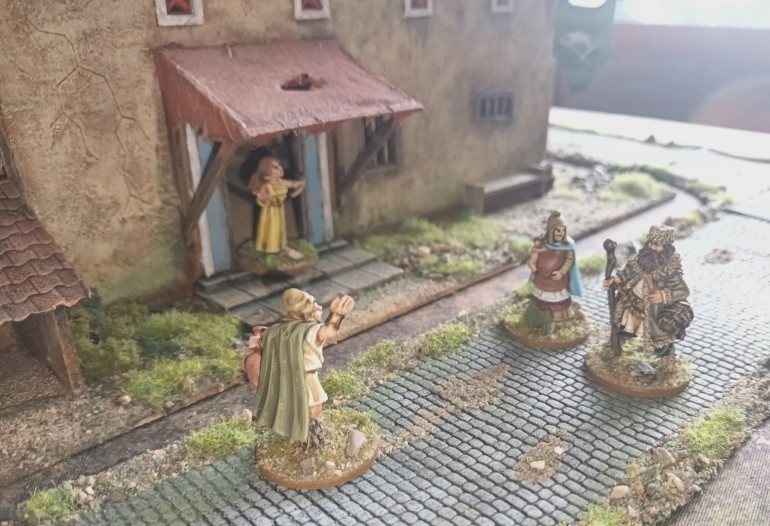
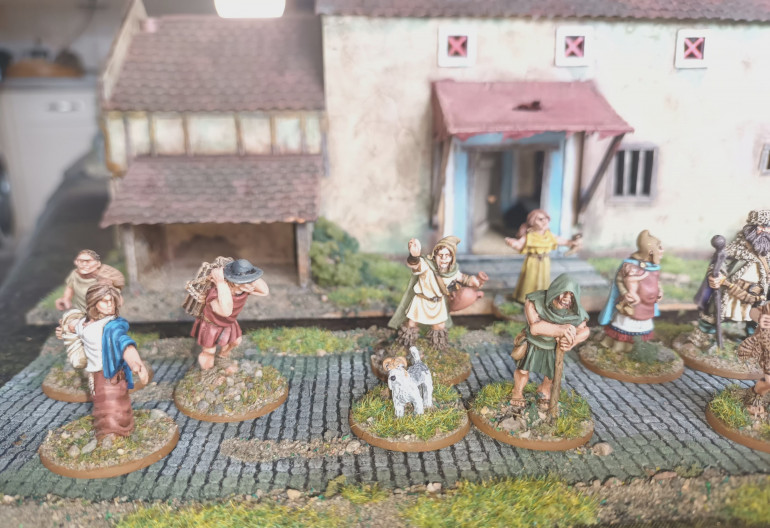
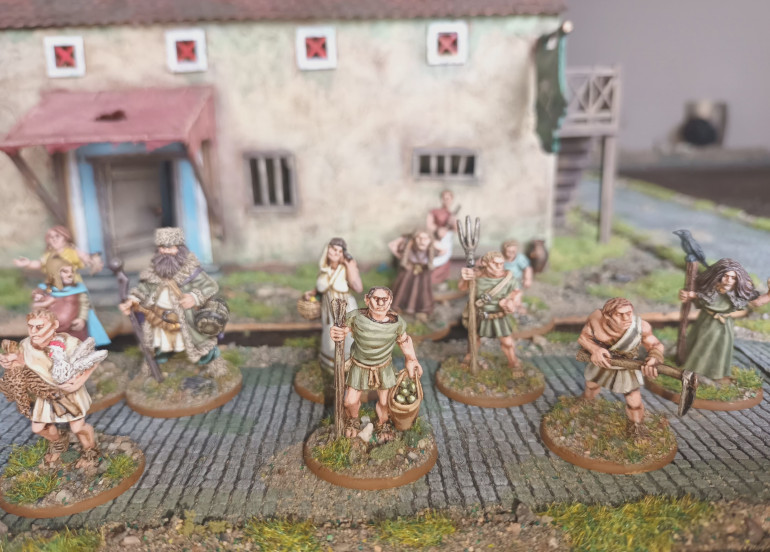
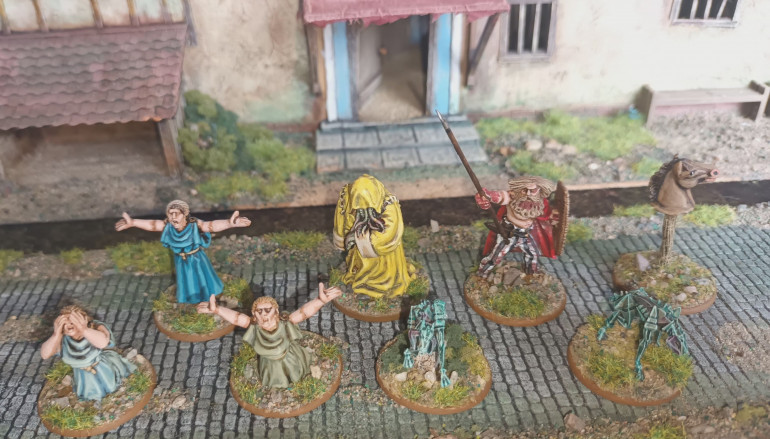
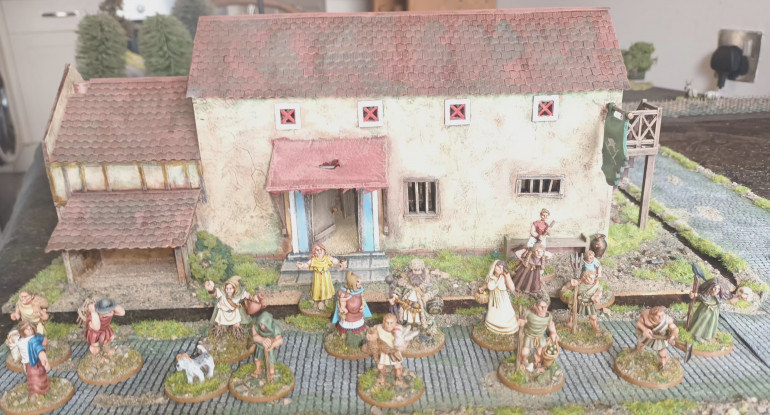 The civillians and possibly adventurers. I have a mix of Wargames Foundry Germanic, Roman and Thracian civillians ( I will add a couple of Thracian heroes soon) and a Red Box Games model ( the big guy with the barrel and furs).
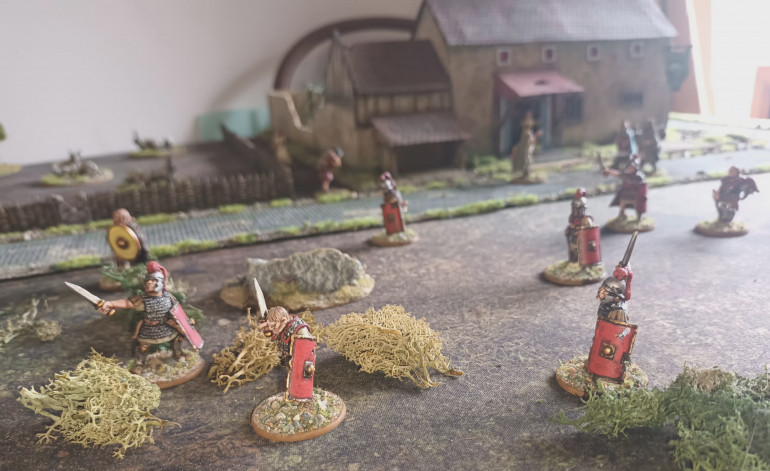
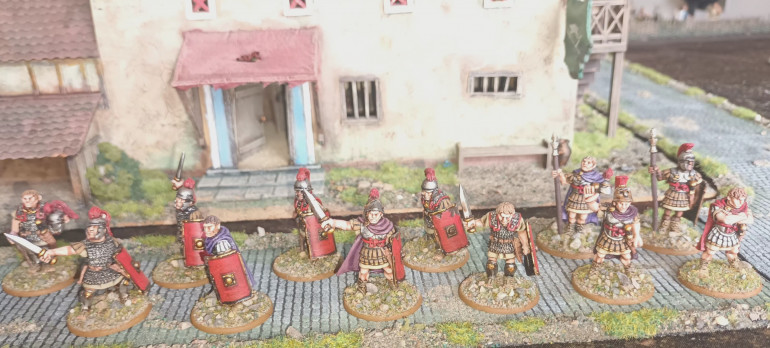 The Romans, I still need to find some decals, I am looking for the classic X shaped laurel design in gold but with no background. I saw these somewhere but cannot seem to find them now.
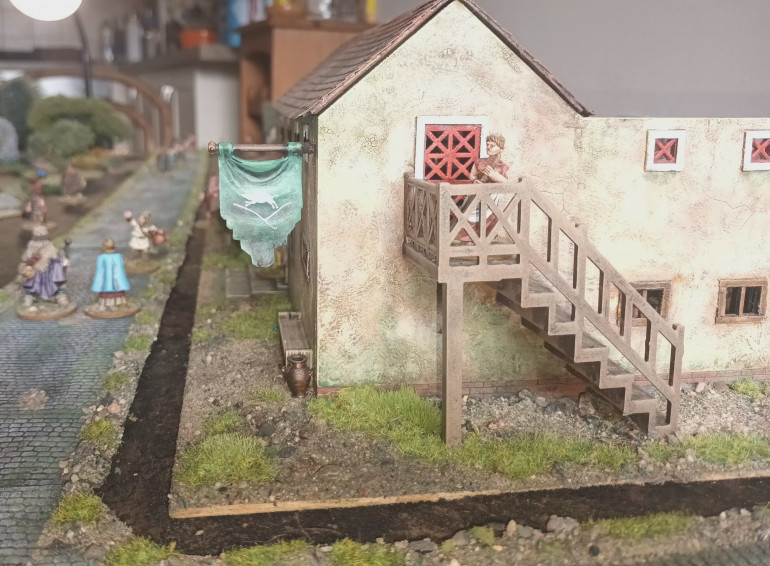
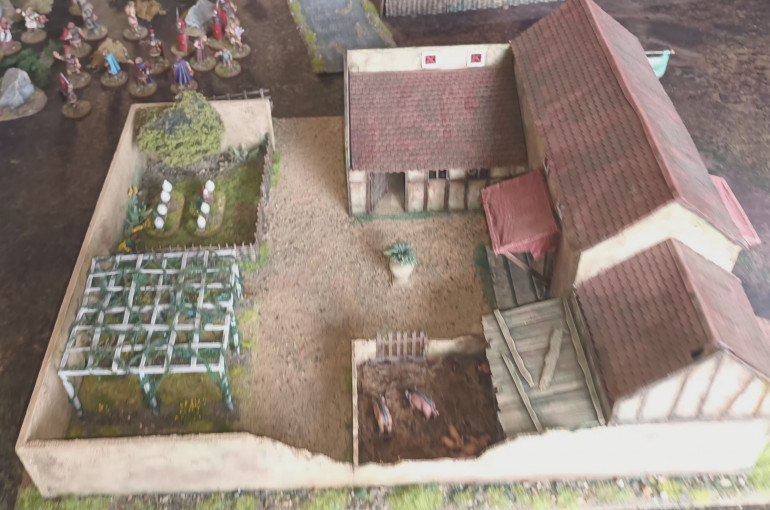
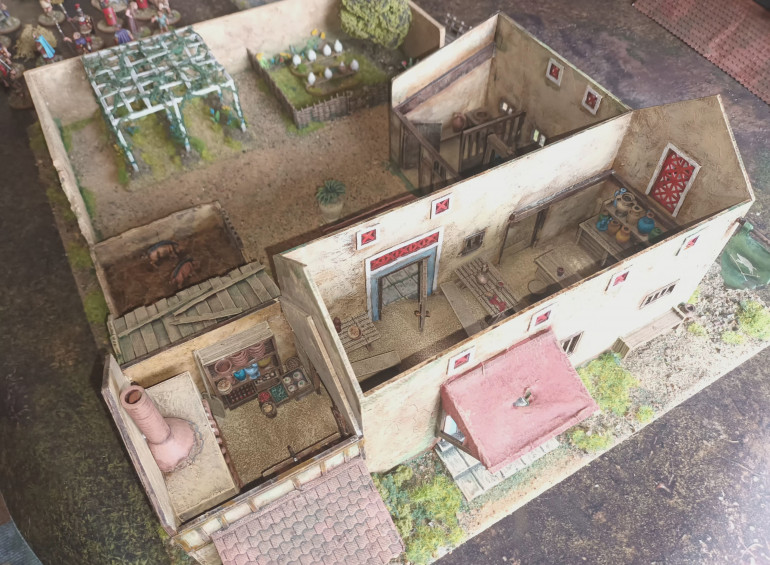
The Finished Inn
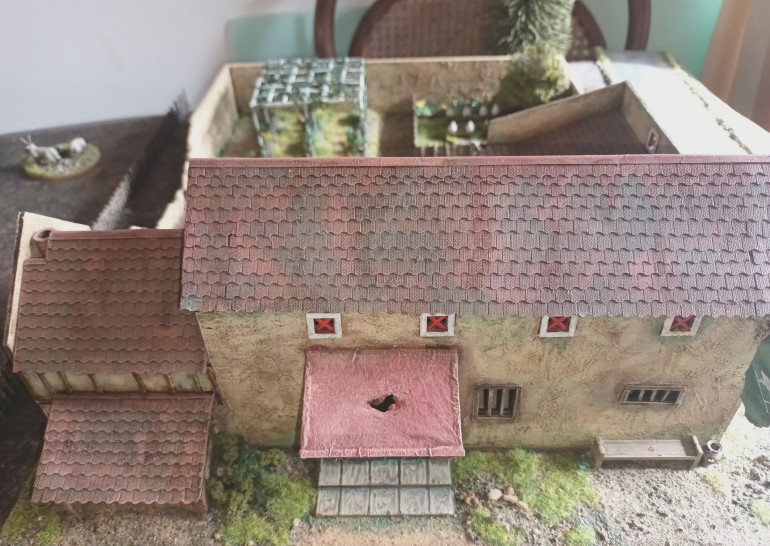 The roofs were drybrushed in various shades of terracotta with a final highlight of tanned flesh. After this I added various washes, homemade Dark Angel Green and Rhinox Hide washes and Agrax Earthshade were applied selectively over the roof and walls, to emulate the damp conditions.
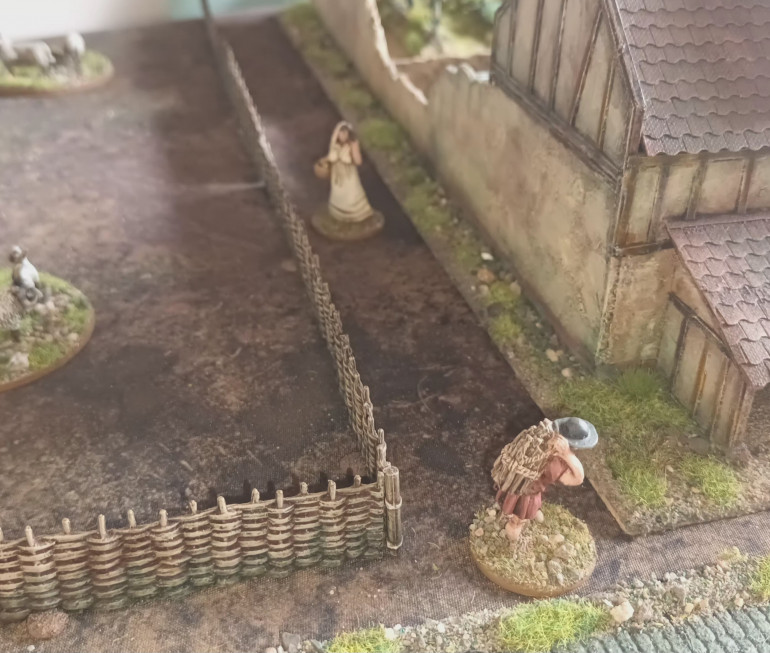
 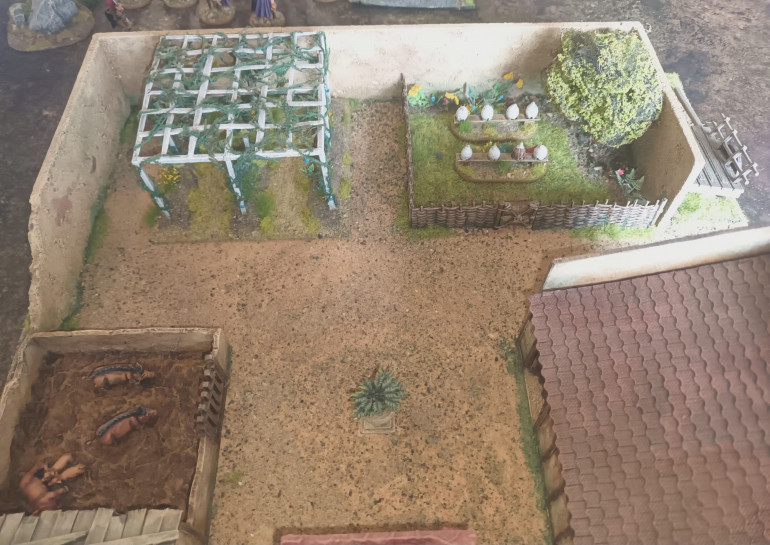 The Garden with previously built Vineyard and Beehives. The court yard has covered in fine sand and some green wash was used to blend into bottom of building.
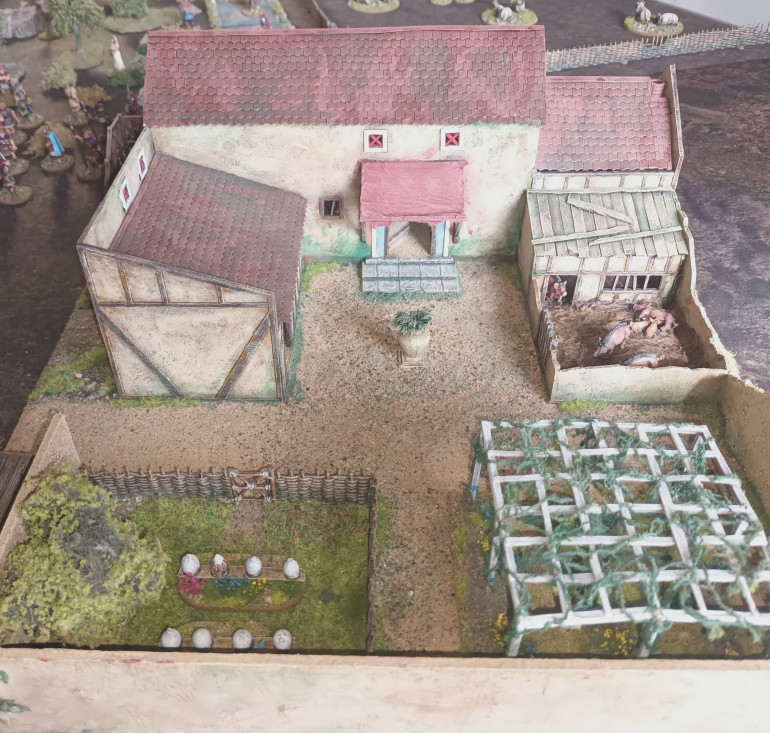 Showing the pigsty with some Wargames Foundry wild boars. The boar feeding ger young was created by removing one of the Wargames Foundry Wild Boars from its base, I then cut under two of the legs on one side of its body with a razor saw, allowing me to bend the legs down into a more natural keying position. The two piglets are from the Warlord Games plastic farm animal sprue, I cut all if their legs off so they could be positioned suckling, there missing kegs where hidden by the basing.
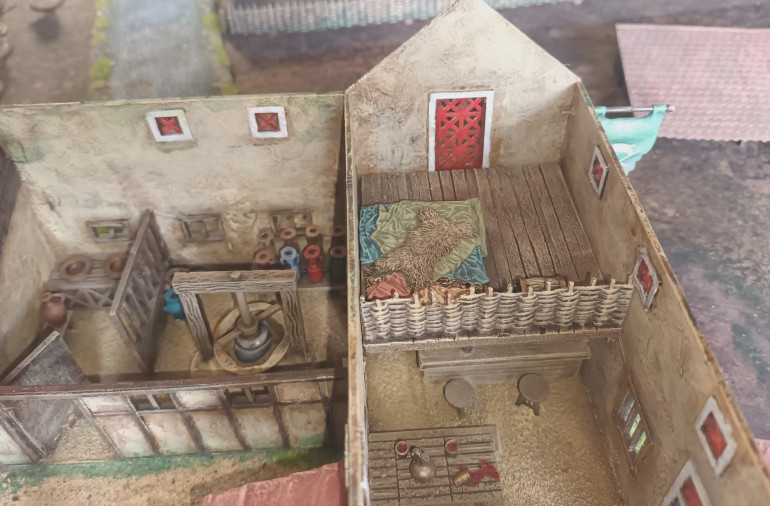
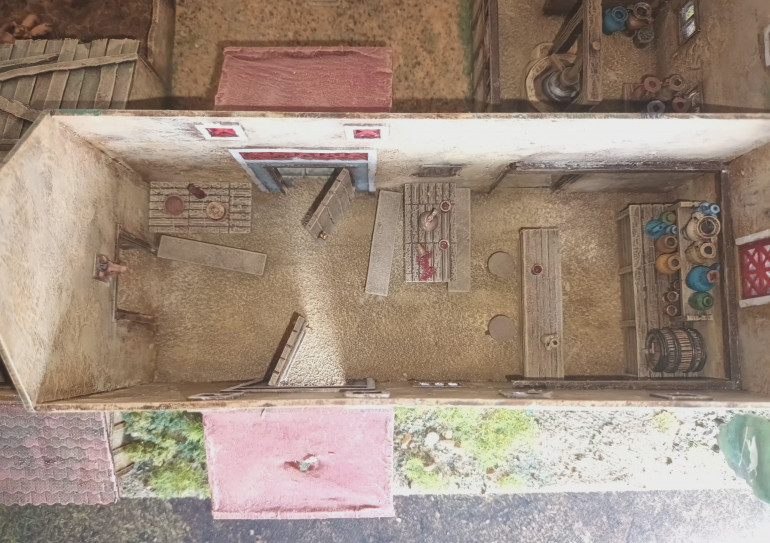 The main bar room. The canopies over the two doors are napkins soaked in a mix of pva, brown paint and water. DON'T PANIC when I put the wet tissue to on to the roof struts if sags terribly, I tried to stretch it out, but this did not work, so I gave up. When I returned to the model they had dried and shrunken back tightening them up.
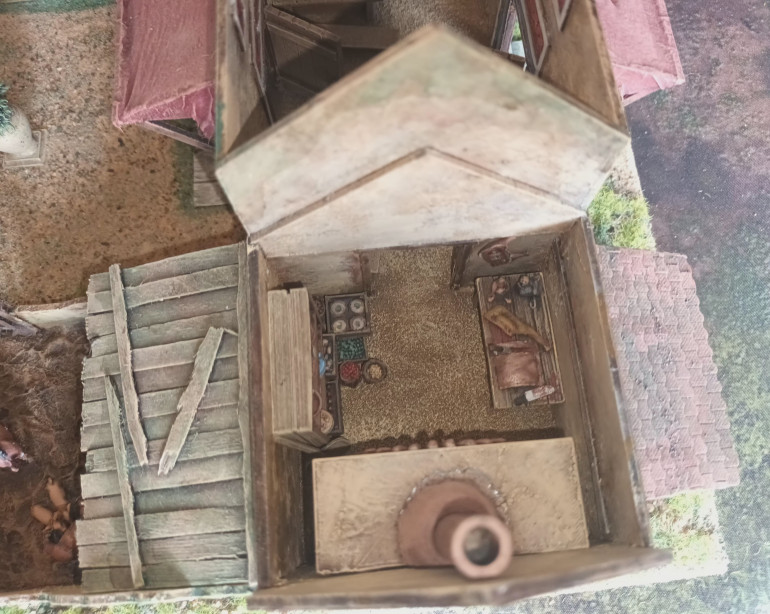
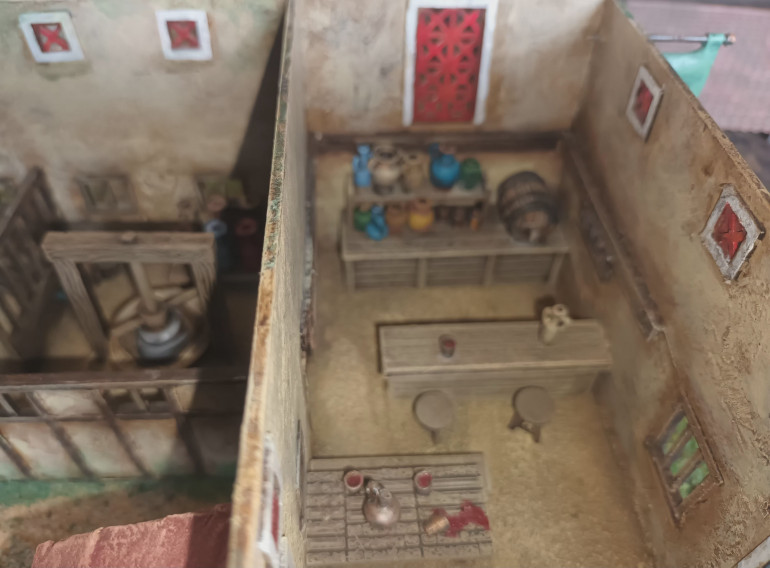 The Bar. I built the tap on the barrel from scrap plastic and sculpted on the barrel rack gor it to sit on.
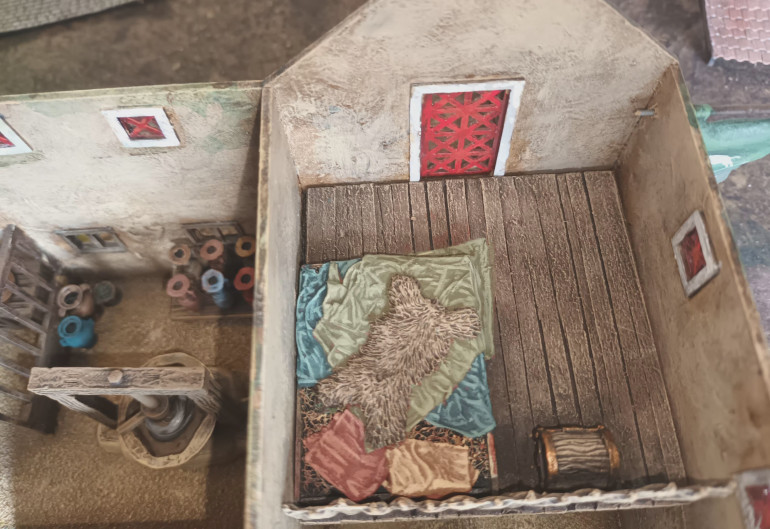 The bed was made from a base of a Briĺo pad cut down and surrounded with wooden coffee stirrers, the vrillo pad makes a good approximation of a stray bed. I then used more of the napkins soaked in the PVA/paint mix. The cushions were created by folding the glue soaked napkins again and again until I built enough bulk. The bearskin was then sculpted using Greenstuff.
Painting and detailing the Inn
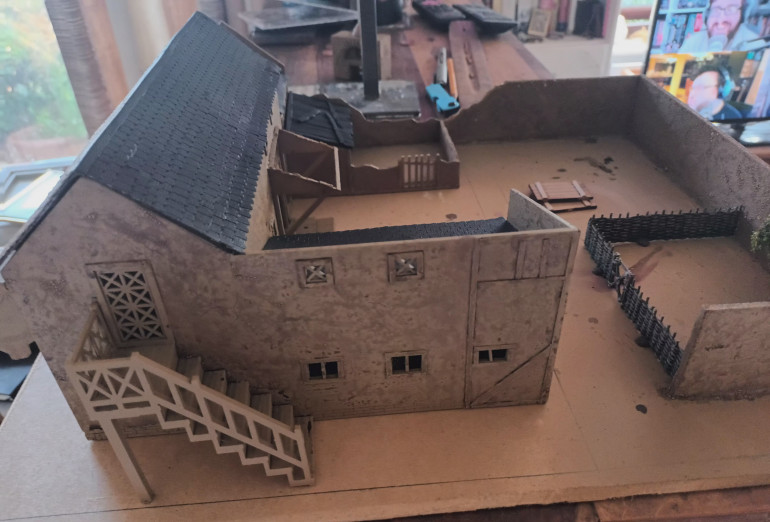 I start to dry brush the building using various khakis and creams, I then painted the beams in a thinned down GW Rhinox Hide. This was dry brushed AP Flat Earth, and the whole building was then drybrushed with Brainmater Beige.
 Unfortunately at this point I took no more photos of the painting process.
The next post will show the finished model, and I will share some of the techniques used.
Returning to the Project
Having backed the Cohors Cthulhu Kickstarter from Modiphius I bought some figures and dug out my unfinished Roman Inn from Aarrissa Precision and decided to finish it providing as much as a tutorial as possible.
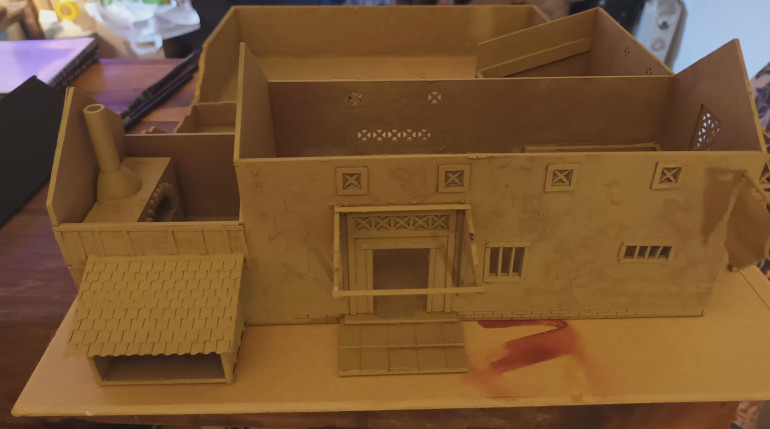
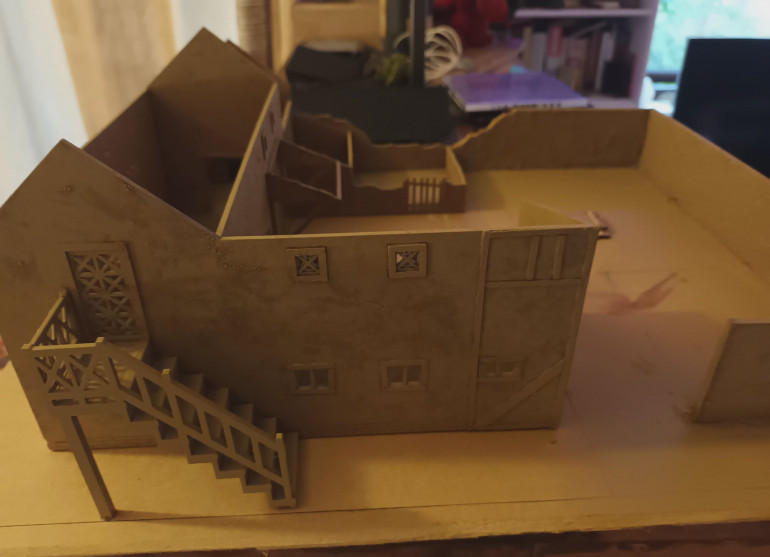
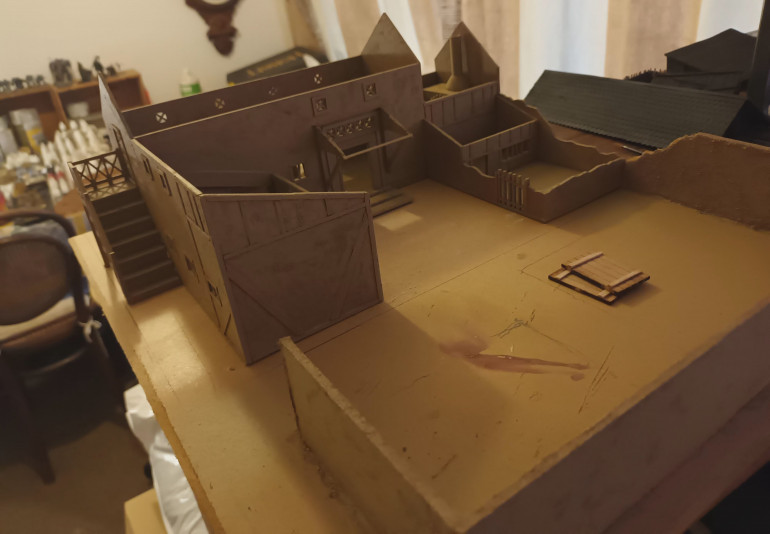
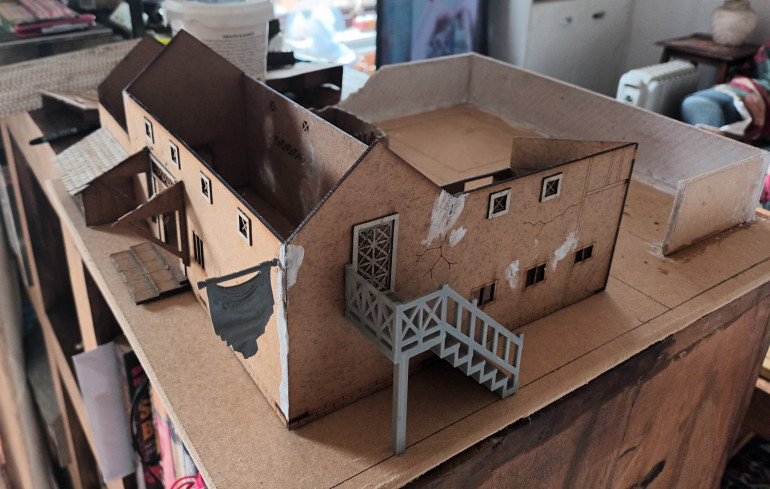
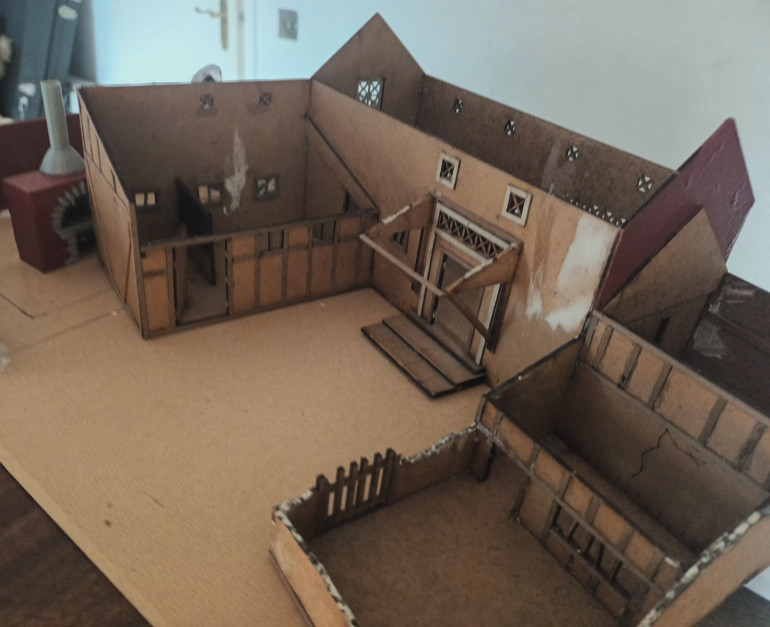
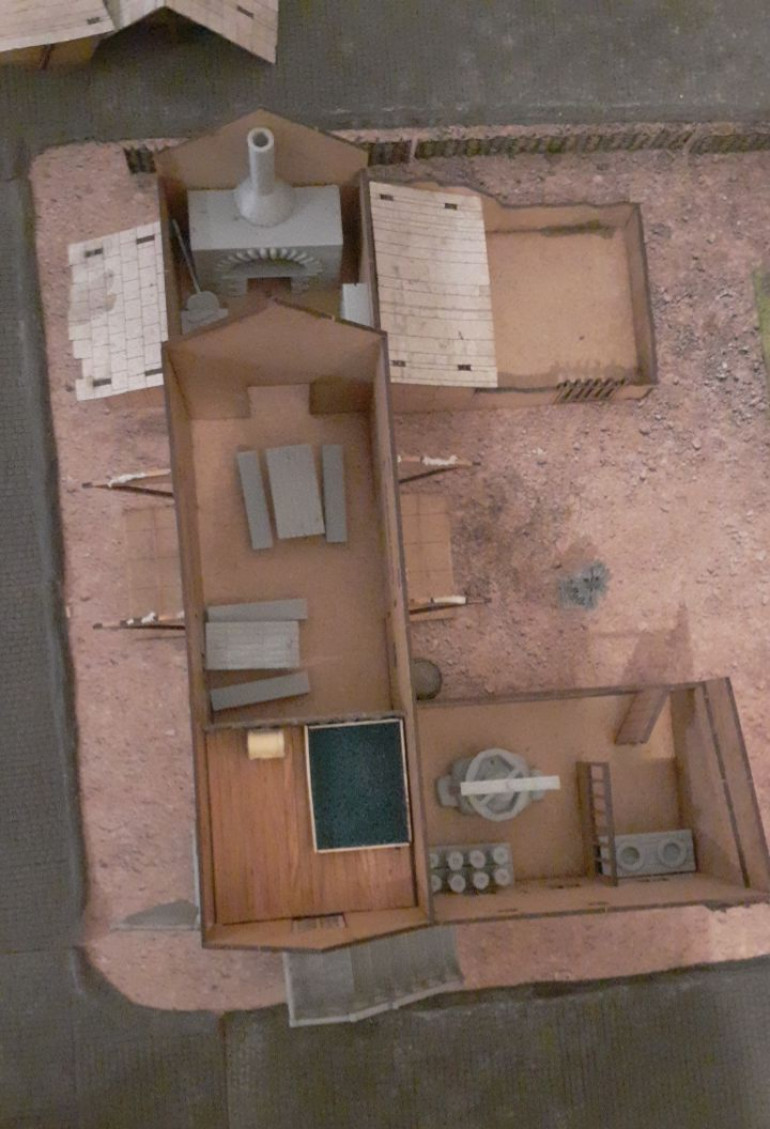 The Inn as it is before restarting. I have cut a baseboard from hardboard, chamfering the edges with a Stanley knife and sanding block.
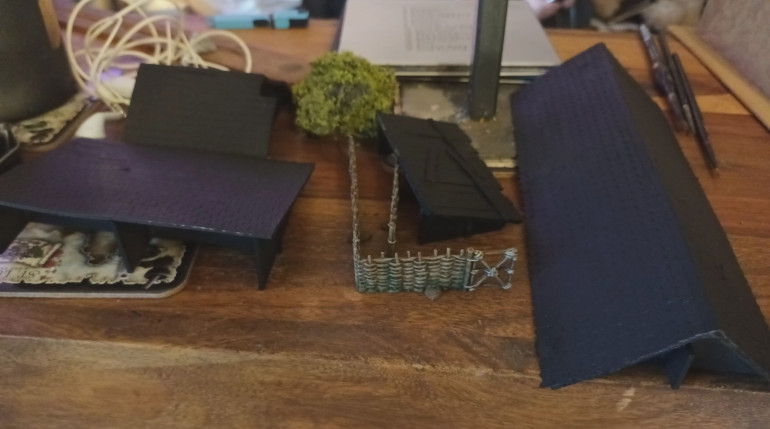
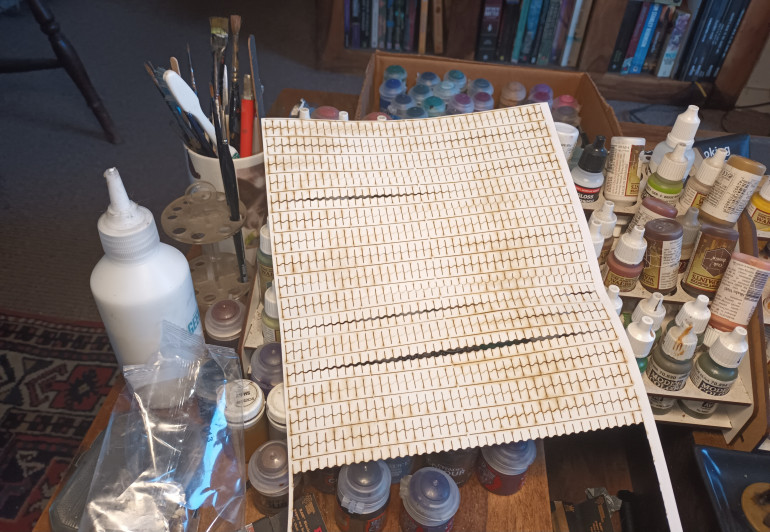
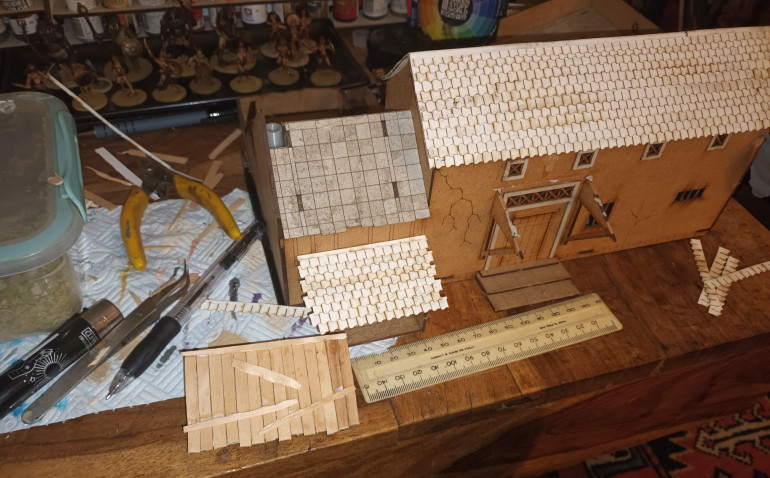 Glueing the tiles, I found it best to overcurrent the strips, and then trim once the glue had dried.
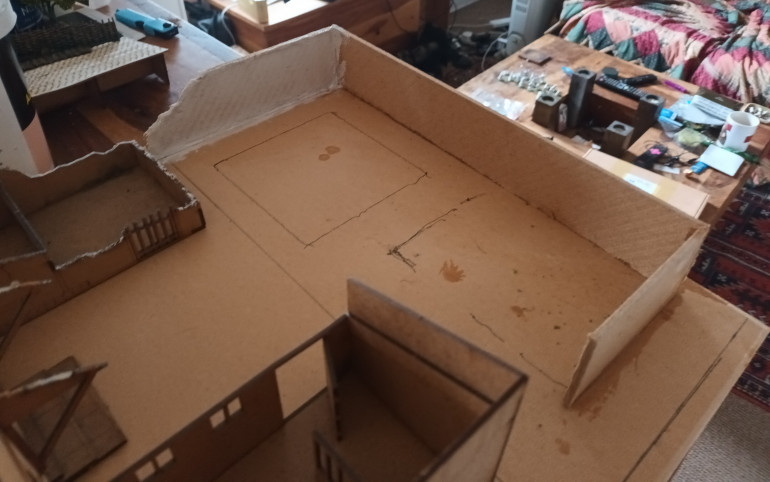 I made the walls of the garden from offcuts from the baseboard, I had to plaster the textured side of the board.
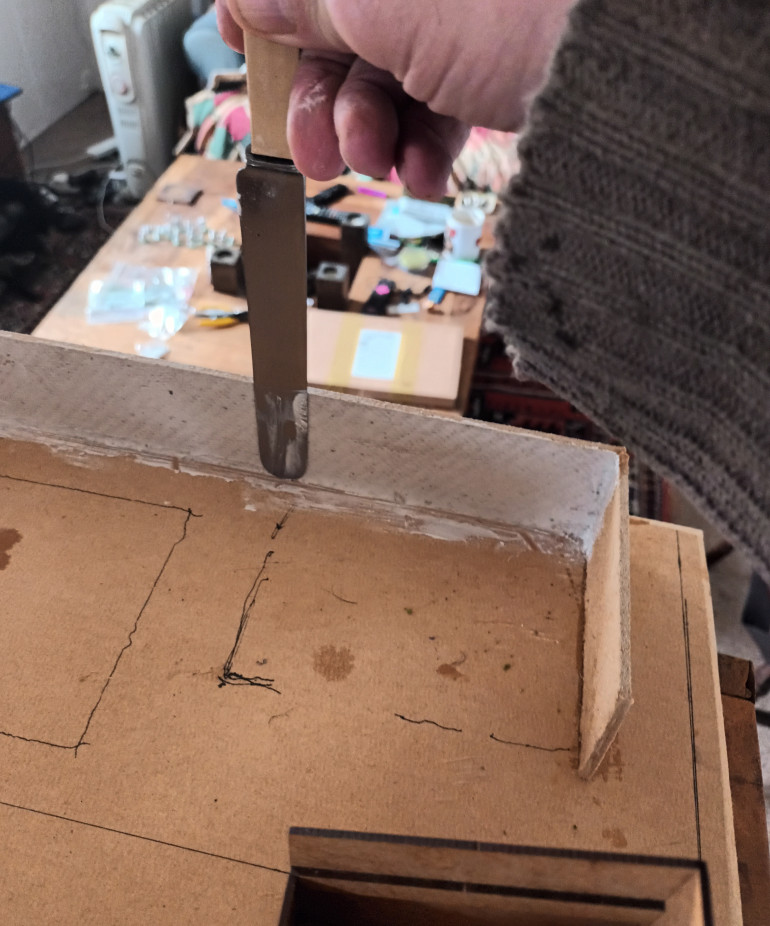 I found a large fat dinner knife perfect for plastering the walls. I also plastered all the corners and join marks on the building and walls. Once dry i sandpapered all the polyfilla.
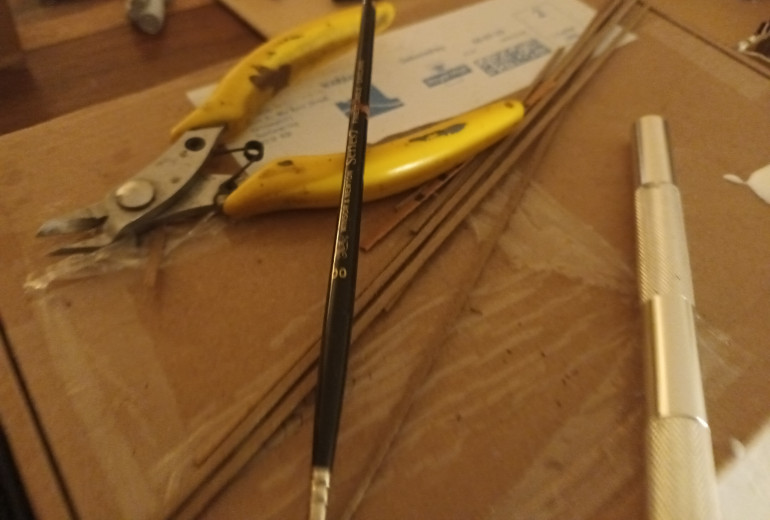 The raw materials for adding the wooden beams to the building. I used a mixture of 4mm planks from Cornwall Model Boats Company and the thin veneer you can find in cigar boxes for the thicker beams.
A couple of other bits
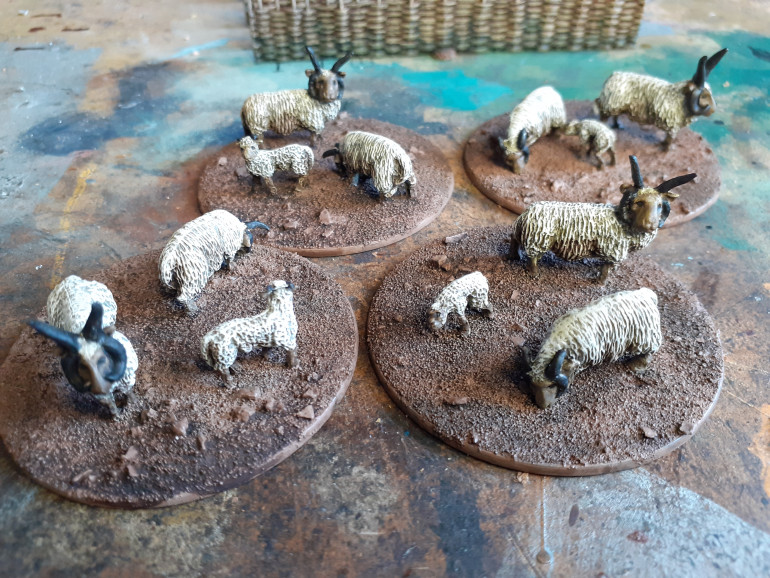 Some Gripping Beast sheep, still need to highlight faces, legs and horns. Once the wool was painted I added a wash of GW Agrax Earthshade on the undersides to replicate dirt
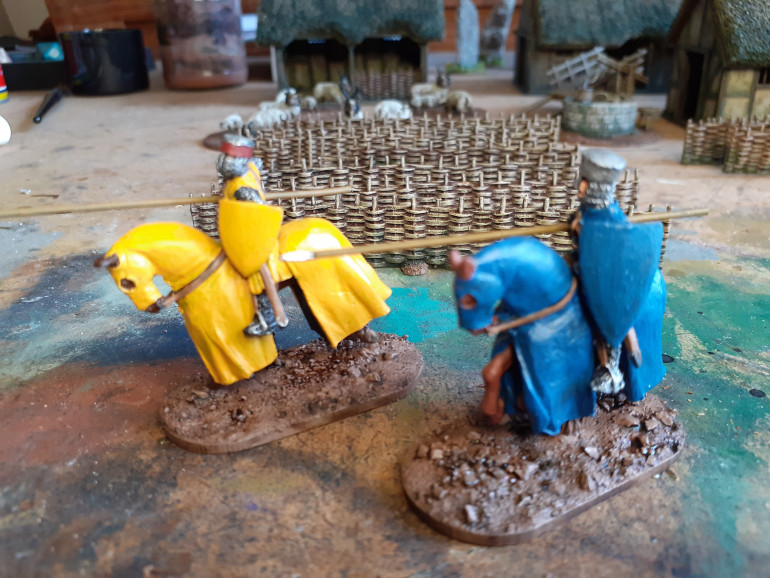 Arrived this week a couple of Barons War knights from Footsore with base colours on. I bought these as I would like to late pledge for their Kickstarter but wanted to make sure I could do the heraldry justice.
I hope to get the buildings and scenery items finished this week, then I will do a complete step by step for the larger farmhouse/inn.
I will then base all the buildings on thin mdf creating gardens etc, I will also be.purchasing bits to make the buildings look lived in.
The scenery will initially be used for Barons War (if I am happy with the two sample knights) and then for generic fantasy and Runequest.
Once the buildings are finished I may rename this thread to Barons War and continue to document my progress here. While I am waiting for the Kickstarter to deliver I will probably get some Dark Age/Medieval civillians from Foundry and Perry Miniatures to populate my village (and possibly a couple more buildings to expand the village).
The village progresses
I have forgotten to take pictures and have progressed with the smaller buildings. So once these are finished I will ensure that I do a step by step of the larger farmhouse/inn as this model will cover all the various methods used.
All the small buildings are now finished to a useable stage, I will be adding larger scenic bases later and adding a few more details to give them that lived in look.
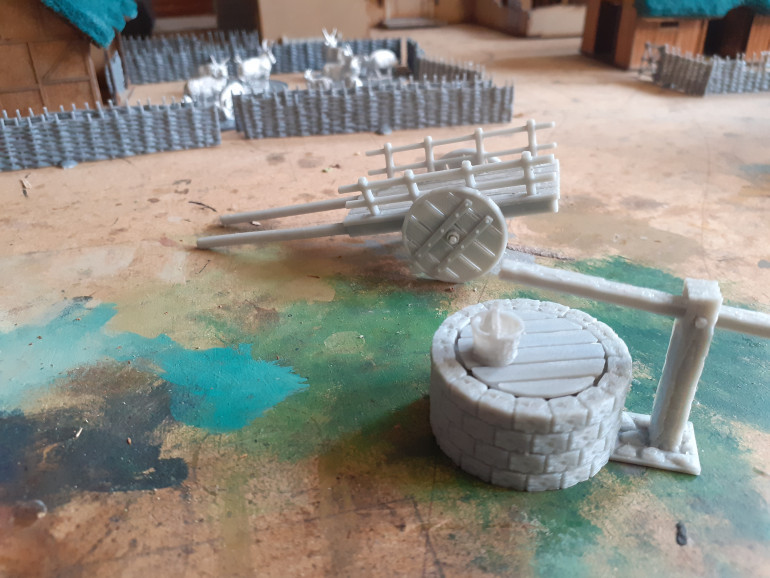
I have also worked on all the fences, the well, the haycart and the sheep.
With the buildings I have finished adding all the wooden beams and planking as detailed earlier, filled in the cob panel areas with Games Workshop Martian Earth texture paint, I then added Brillo Pad roofs. All the floors were covered in PVA glue and fine sand.
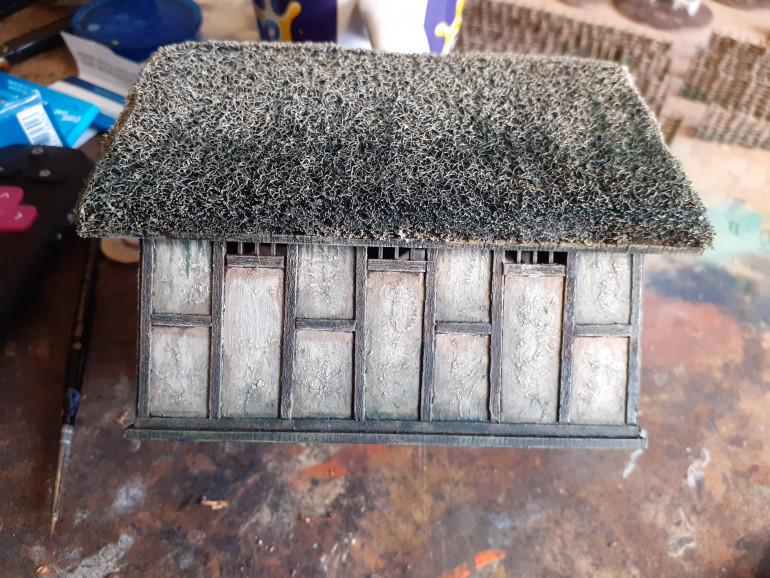 The buildings were then undercoated in Citadel black spray paint. All the wood was painted in Army Painter (AP) oak brown, the wall panels were painted in AP khaki and the floors in AP khaki grey. The buildings were then covered in GW Agrax Earthshade. Once dry the buildings were dry brushed in AP khaki followed by AP Skeleton Bone, the panels had an additional dry brush of white. The floors were drybrushed in AP khaki grey followed by AP skeleton bone. The final stage was to make a wash from AP angel green and AP black, this was initially applied to the lower parts of panels and walls blending out towards the upper edges with water. Finally I added some of the green wash at top of outside walls to replicate staining from water running down.
Inside the Inn
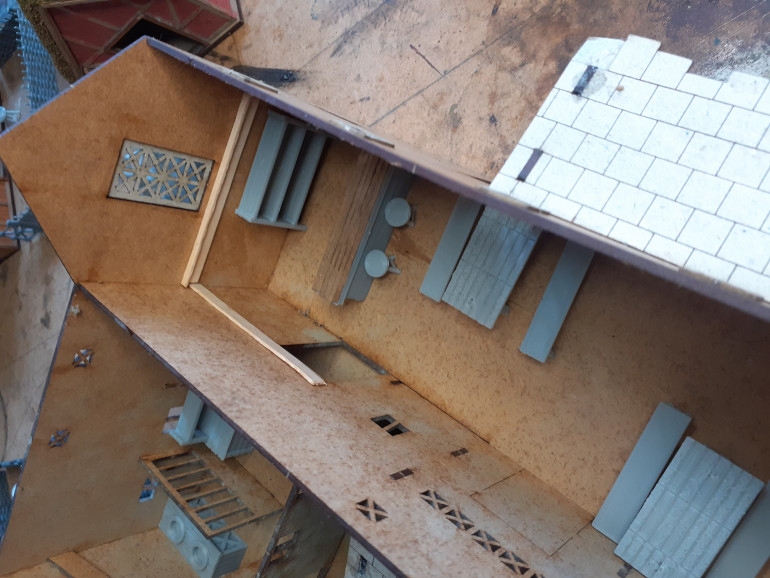
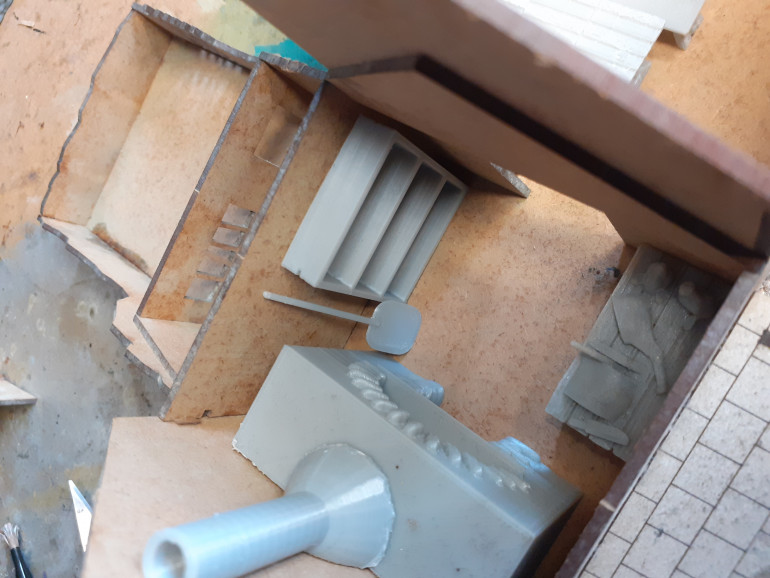
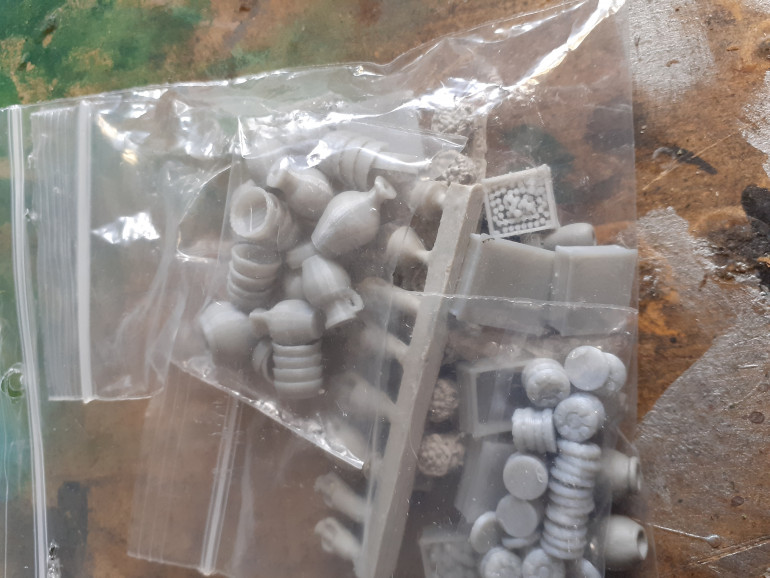
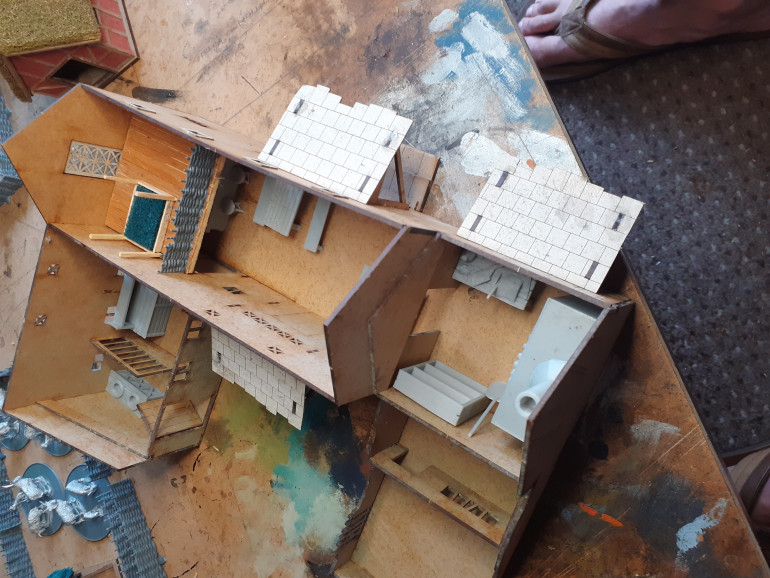 Each room is being furnished, I am imagining an Inn on a crossroads which a small community has grown around. All the scenery elements are Irongate scenery.
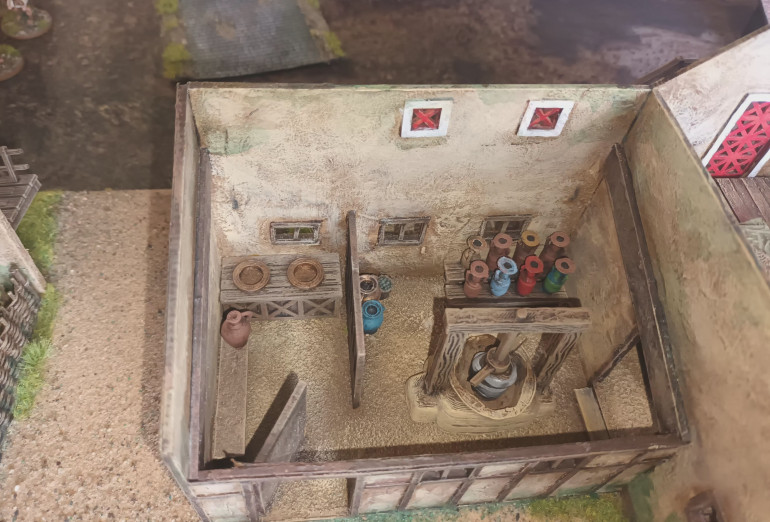
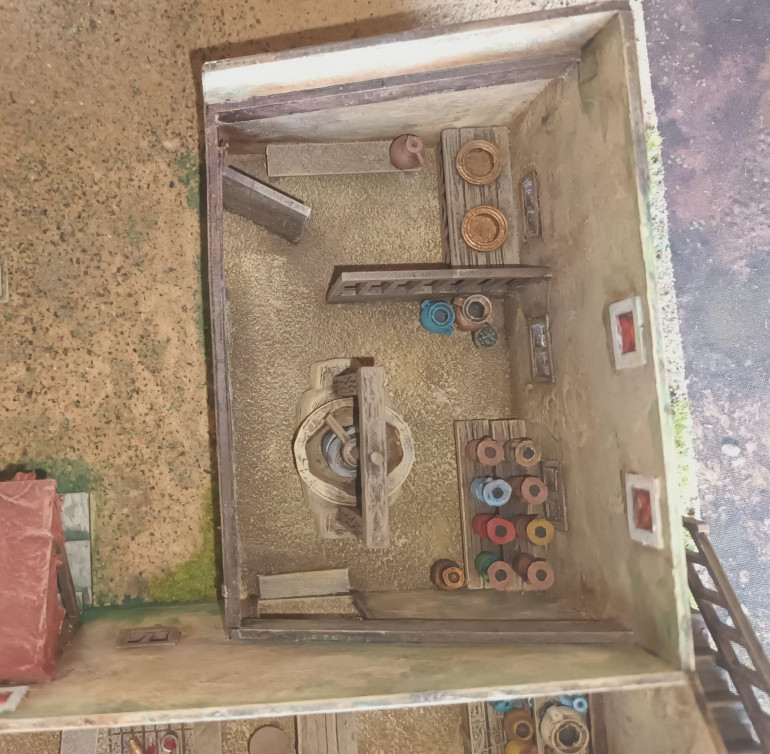
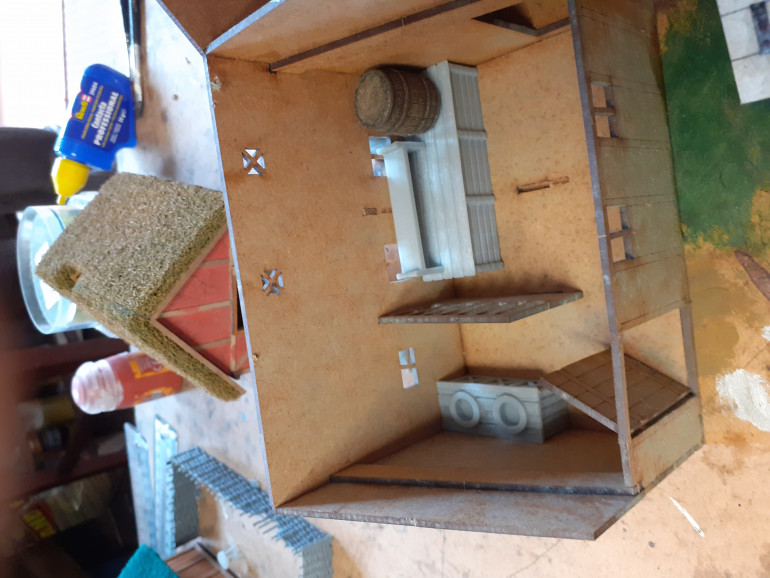 The cellar. I will leave the bar and barrel removable as I also have a nice wine press model for my Runequest Inn.
That is where I am at. This evening I am going to attempt finish off the wooden beams inside and out on the barn. Then I either going to texture wall panels and add ground work to the three smaller buildings followed by detailing and painting.
Or
I am will start on exterior detailing of the Inn, I think I am going to work towards completing the three smaller buildings not inc. the scenic bases.
Farmhouse/Inn
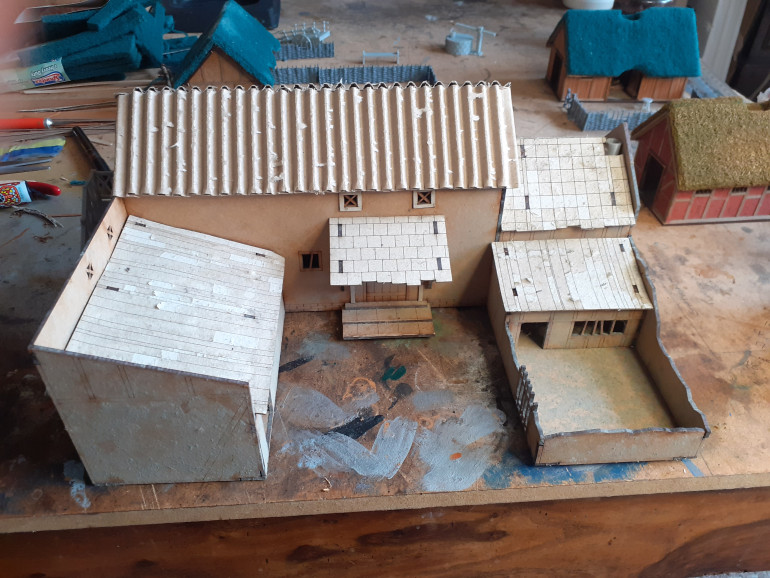 My favourite building, designed as a manor house but I am doing up the interior as a tavern. When the building is all closed up it will work for any of my settings, with Inn will work for Runequest and for Hollywood Dark Ages/Medieval
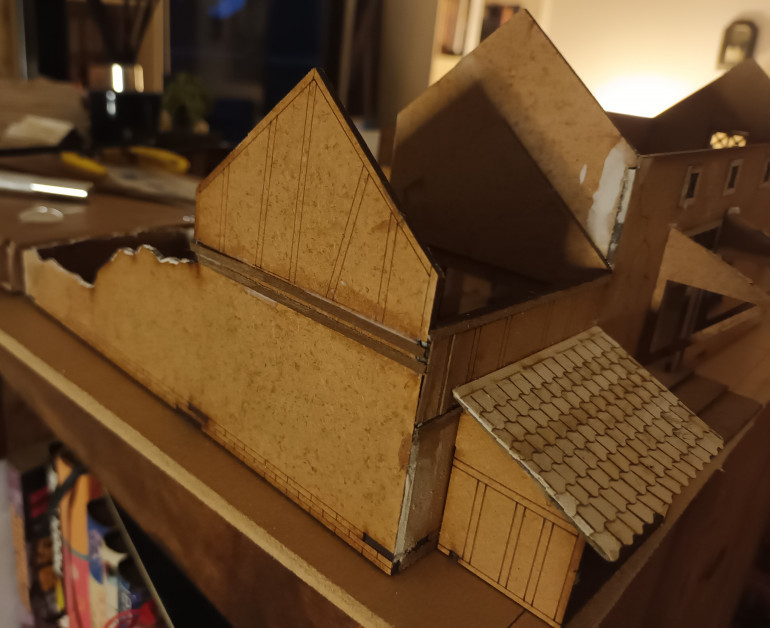
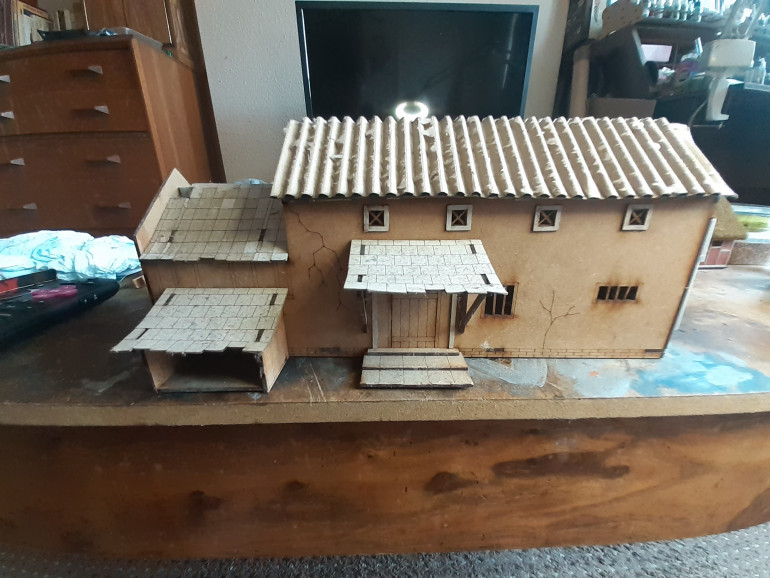
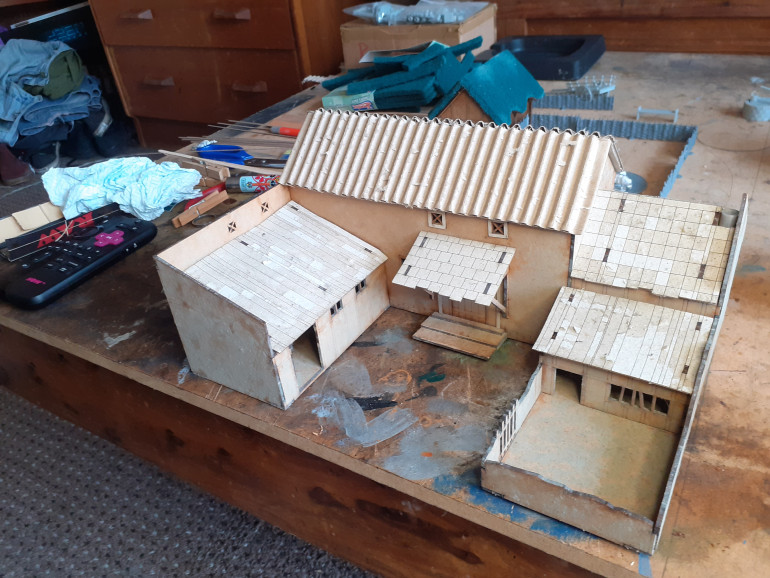 The roof is from a piece of corrugated cardboard with one smooth side removed, I am not fussed about the card chaff still on the roof as I am going to be coating roof in a pva/water mix and this will then just add interesting texture to the roof. I am next going to add barge boards to ends of roof, this will hide a new sins as well as strengthening edges
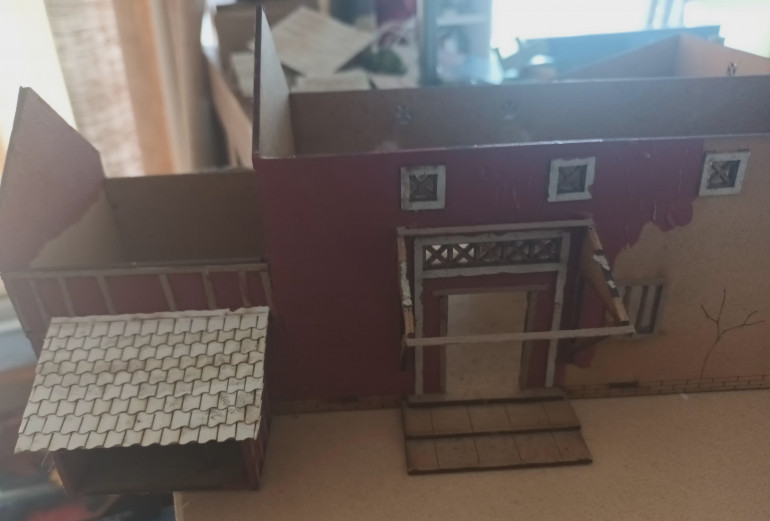
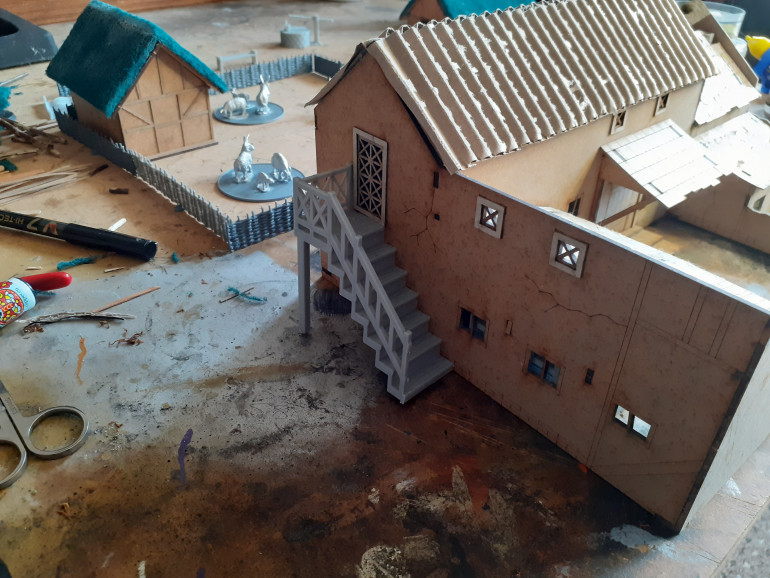 I added a stairway to the side as we had a door size aperture available and I had plans. The model is from Irongate Scenery
The MDF is starting to look better
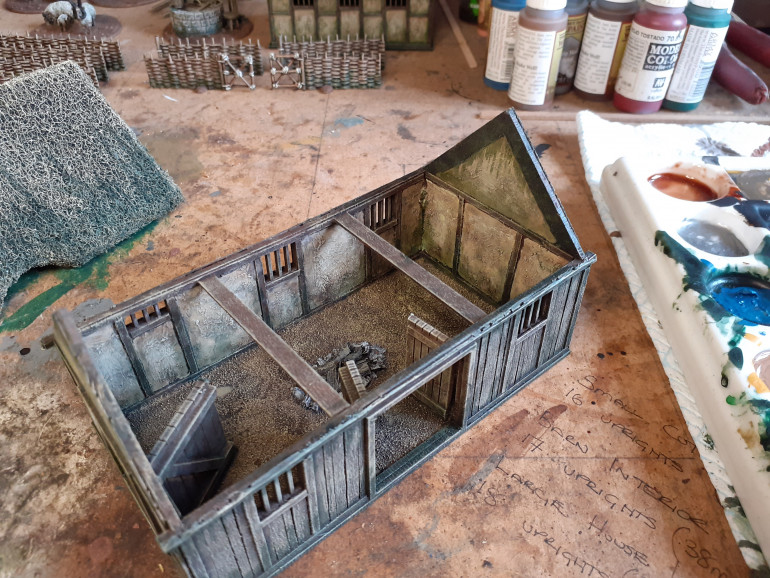
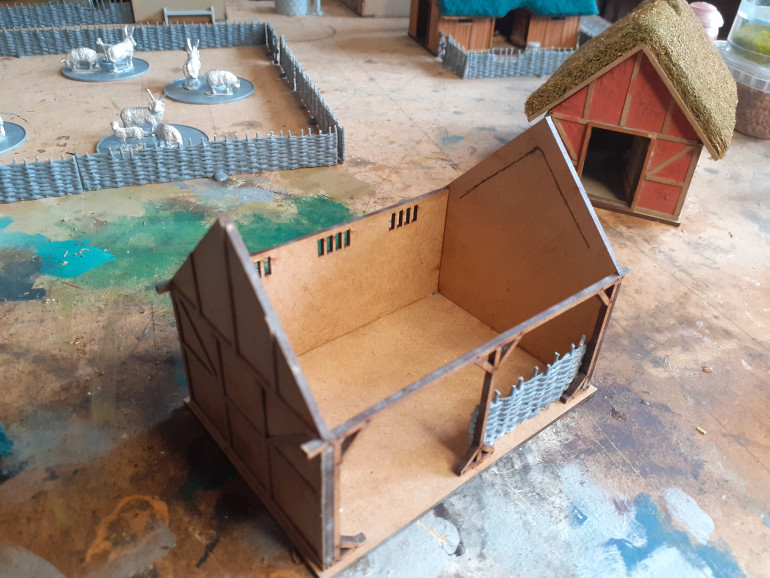
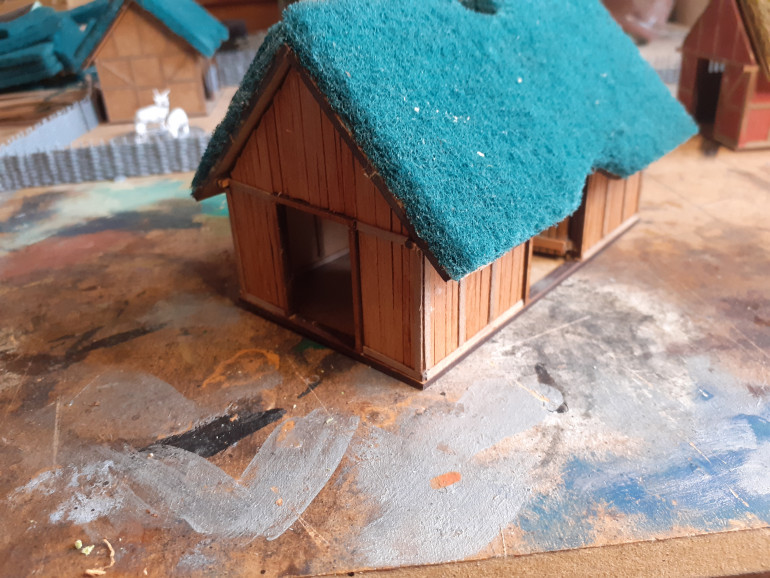 This is the large house, this was laser cut to represent wooden boards so I decided to replicate these using the thin wooden sheets you get in cigar boxes, Planking the walls first and then adding the beams.
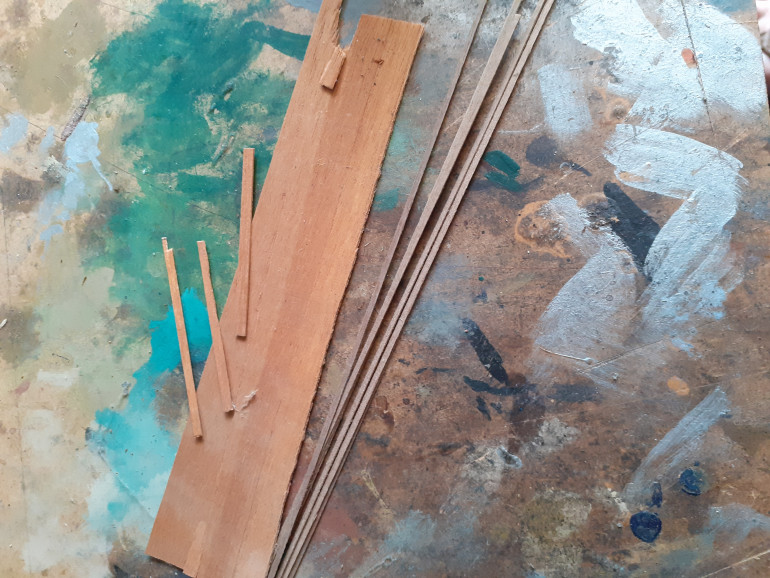 The wooden planking I use. The thin strips I purchase from Cornwall Model Boats, these are the teak planks 2mm wide, they are not expensive and can save alot of time. The other planks I used this thin wooden sheets from a cigar box, this I cut in various widths to provide interest to the planned areas.
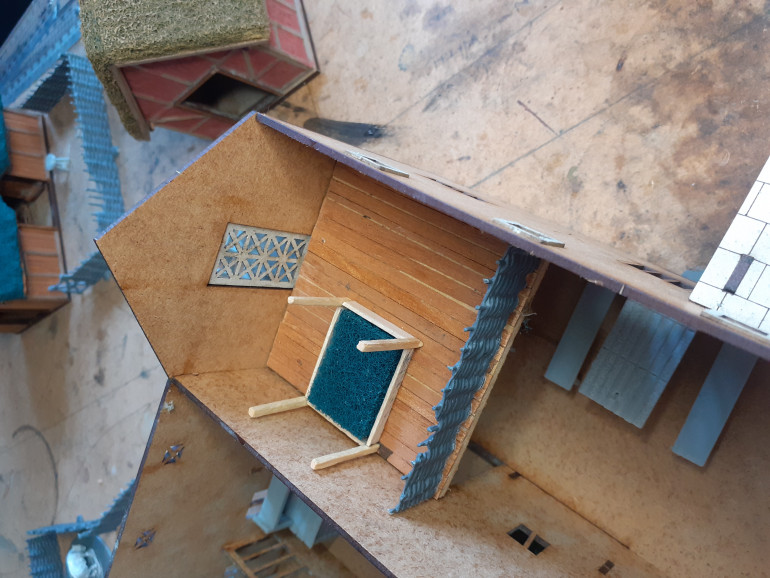
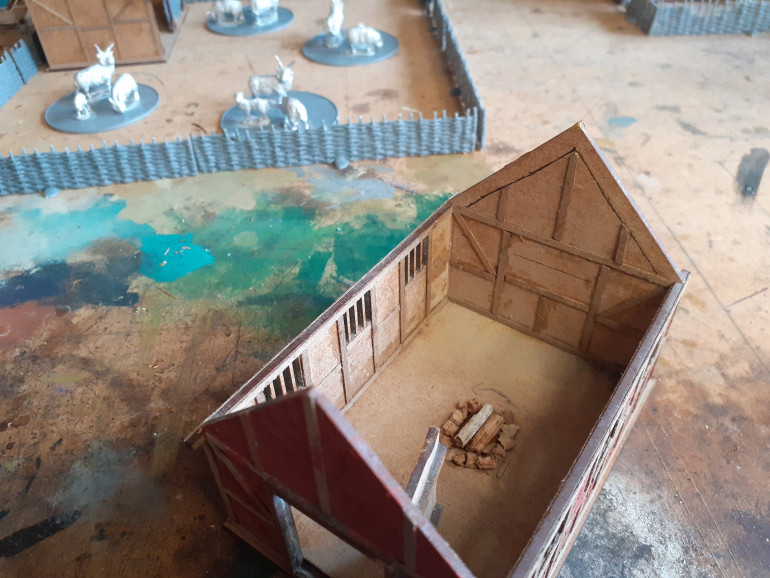
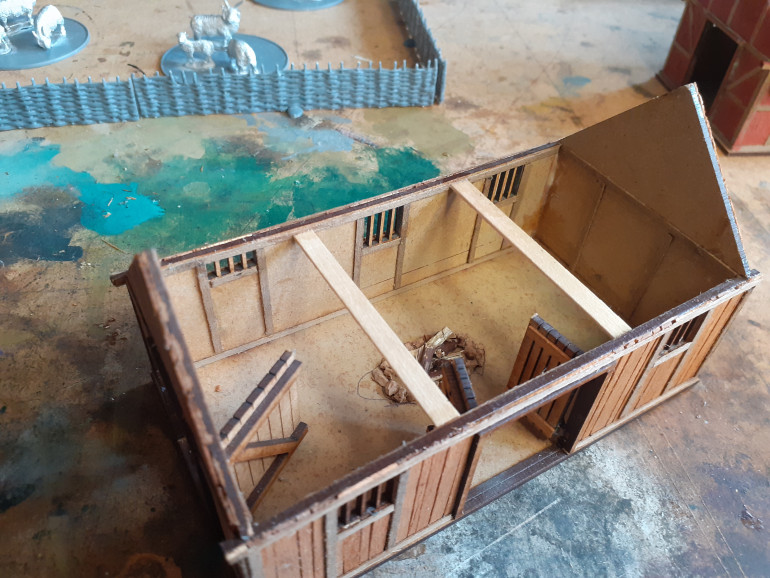 I have detailed the interior as previously. The two coffee stirred beams are there initially because I had to straighten out the warped walls, now they are there I am going to make the most of them adding either cat,chicken or rat perched on one of the beams. All of my buildings will be receiving interesting details such as hanging herbs,pots and containers etc. I plan to base these on MDF boards and have gardens with veg etc growing.
 I don't like MDF kits
I am not usually a fan off MDF kits as even with a great paint job they still look like MDF kits.
Seeing these ut UKGE just one year ago I thought these would look great for my Runequest/historical saga games as well as RQ roleplaying.
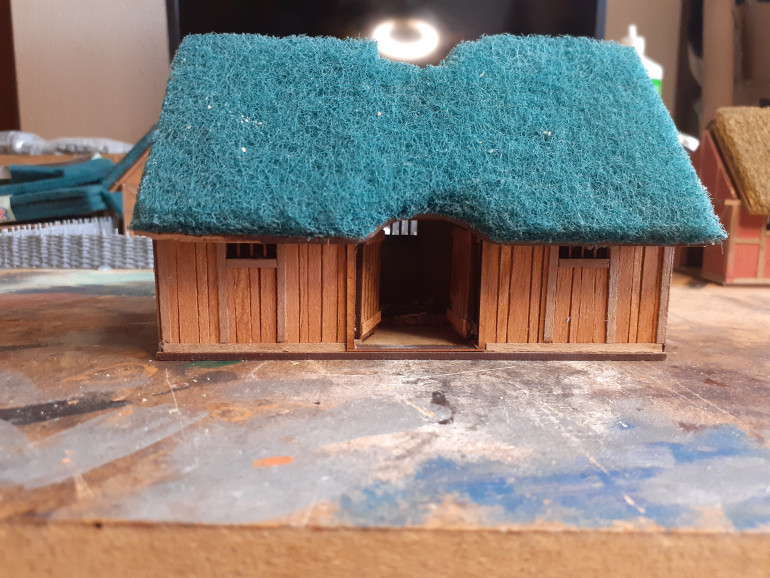
I built all the buildings, initially covered roofs with teddy fur but have since changed my mind on this.
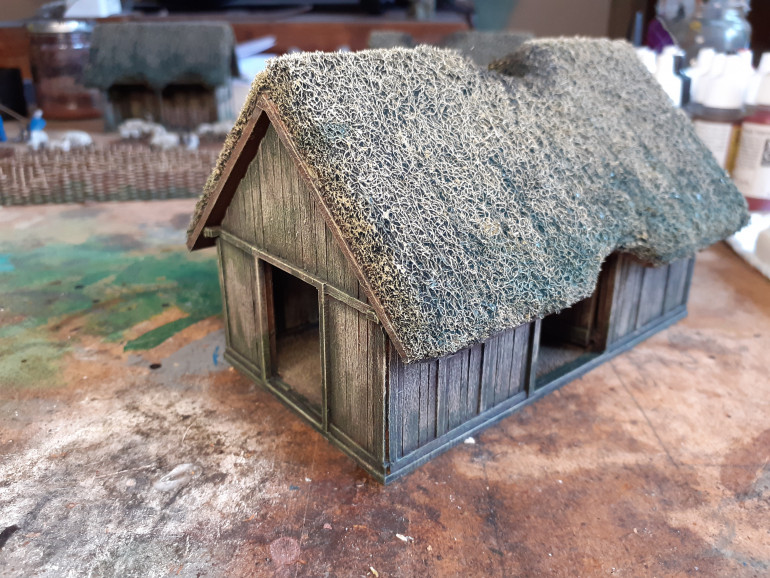
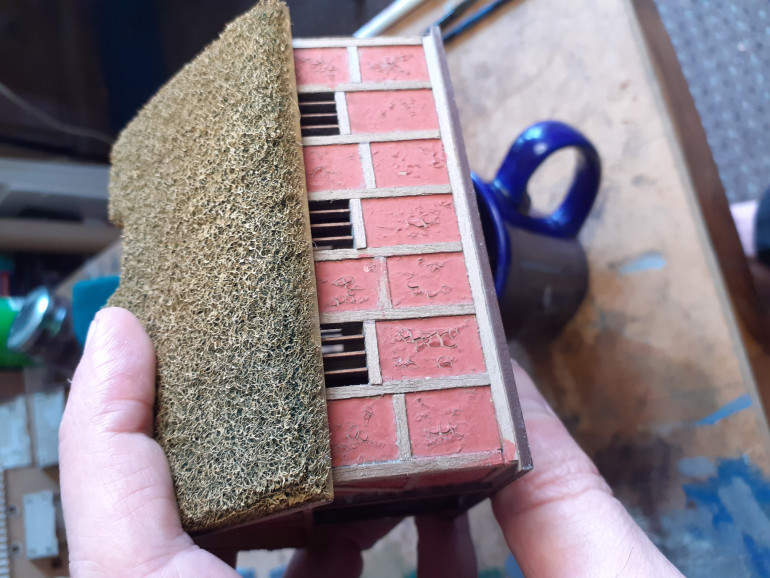
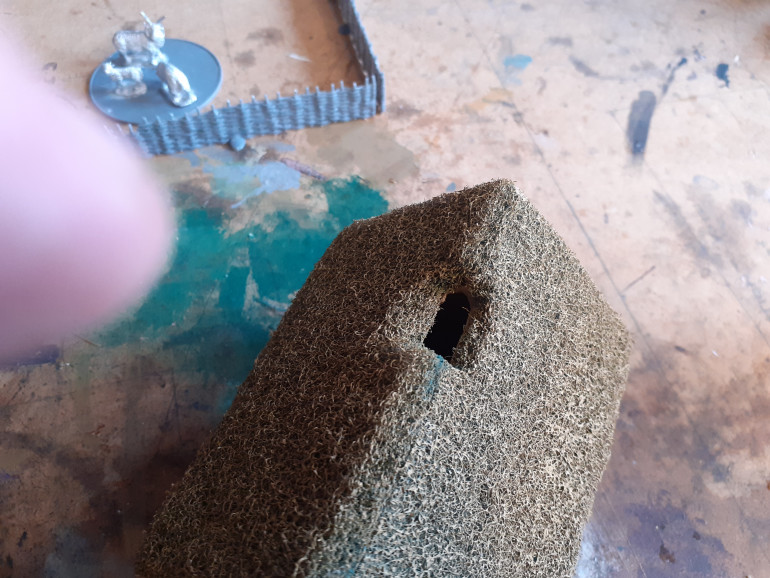
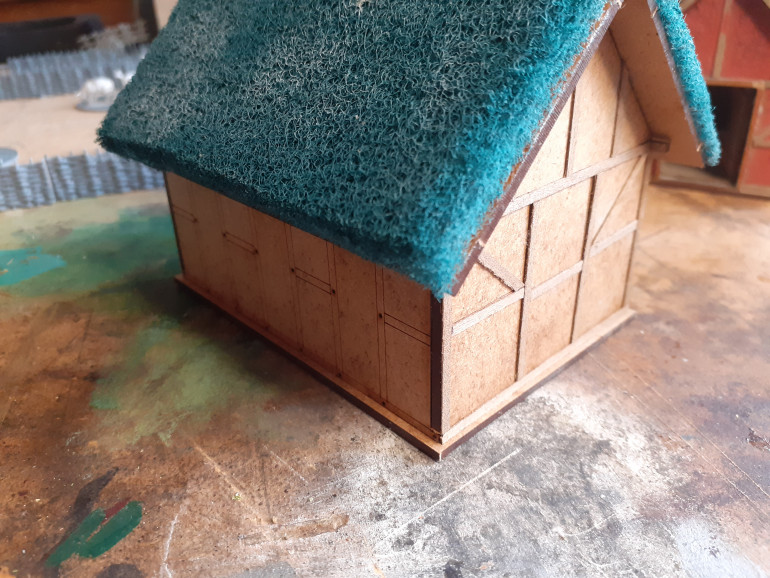 This is the barn, here you can see I have started to add the wooden beams. The new roof coverings are brillo pads, as seen at the Sarissa stand, easy to attach (super glue) and then trim down sharp corners and edges with nail scissors.
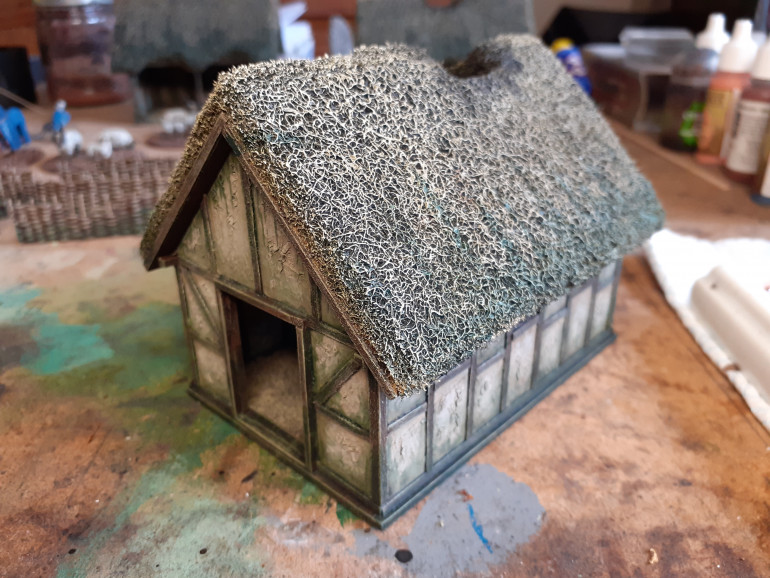
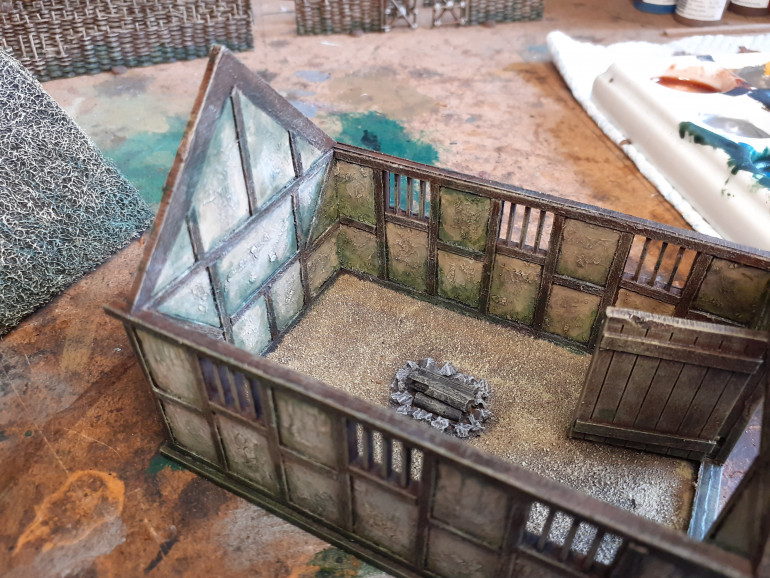
 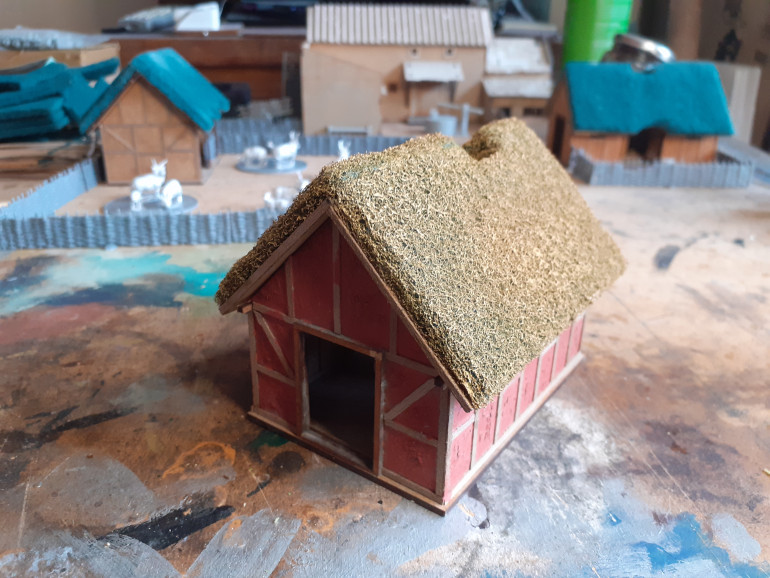 This is the Cottage. Here I have completed all the beams and then to naturalise the look of the plaster areas I have carefully applied Games Workshop Martian Earth which provides a nice texture which will hopefully take dry brushing really well. You can also see that I have capped the edges of the roof beneath the thatch with my wooden beam material.


