1/200 Scale Japanese Destroyer 3D Print Project
Recommendations: 29
About the Project
I decided that in this time of being stuck at home, it is time to use my 3D printers to create a more suitable target for Wings of Glory WW2. A ship would make a lovely target! Well, Wings of Glory WW2 minis are 1/200 scale... So an Aircraft carrier is probably too large to be practical to print... And I want a really good, high quality, print... So I really want to use the resin printer. I own an Elegoo Mars. So, I need a ship that will fit the width of my printer... After some research, I determined that a typical Destroyer in 1/200th scale would be about 5cm wide... That should work!
Related Game: Wings of Glory
Related Genre: Historical
This Project is Active
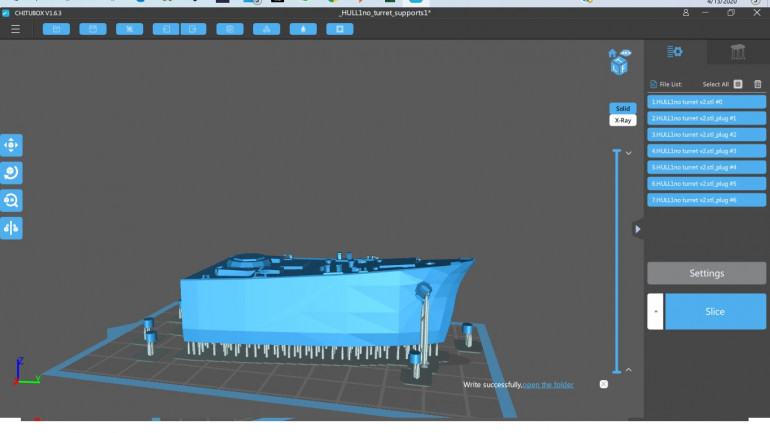
Supports version... Just in case...
I decided to go ahead and prep a version that has supports…. Just in case.
Ready to print the bow section again!
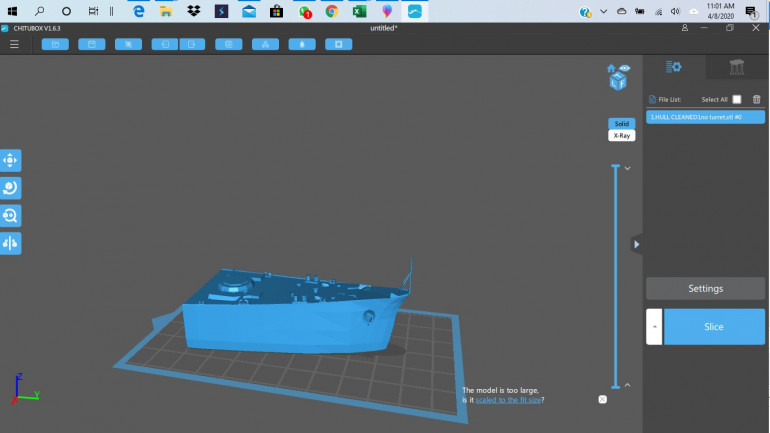
The STL has been dropped into Chi Tu Box and readied for printing.
You’ll notice that I used the “Dig Hole” tool to punch some holes in the model for the excess resin to drain out. This is necessary because I hollowed the model so as to use less material.
A side note… Removing the antenna structure from the nose also had the added benefit of reducing the print time by almost 2 hours.
New print is underway!
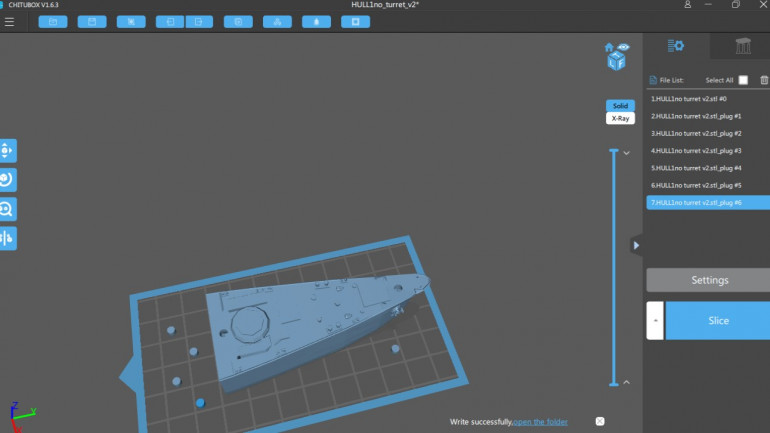 Holes dug into the top of the deck to allow excess resin to drain. The software automatically creates matching plugs for closing the holes later.
You’ll also notice that I placed the model on the print bed a little differently than with the first print. I did this in case I should happen to get the same odd defect in the deck. Placing the model a little differently will cause the defect to be in a different location if the LED screen is going bad.
I chose to try without supports again, even though the last print should have had supports for the anchors. But since I greatly thickened the anchor shafts, I’m hoping that supports will not be necessary this time.
Back to the bow section...
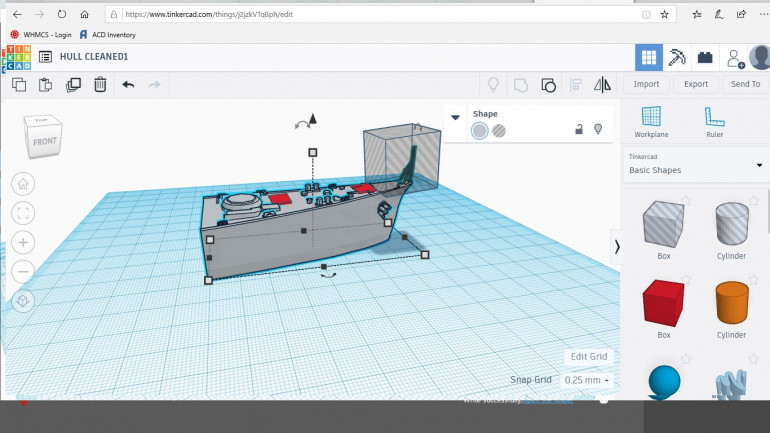
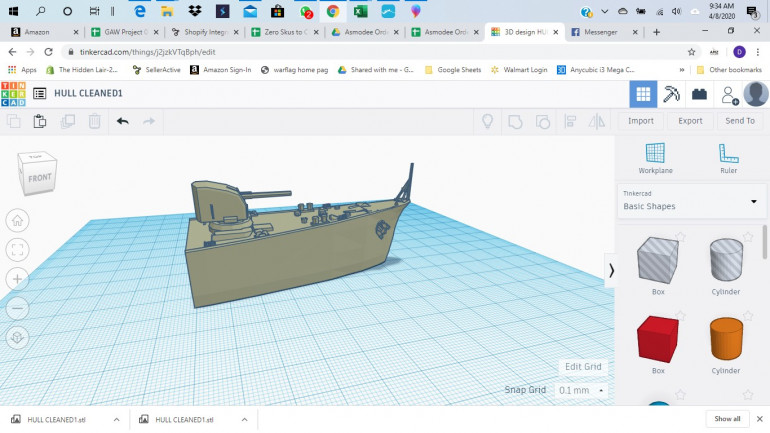
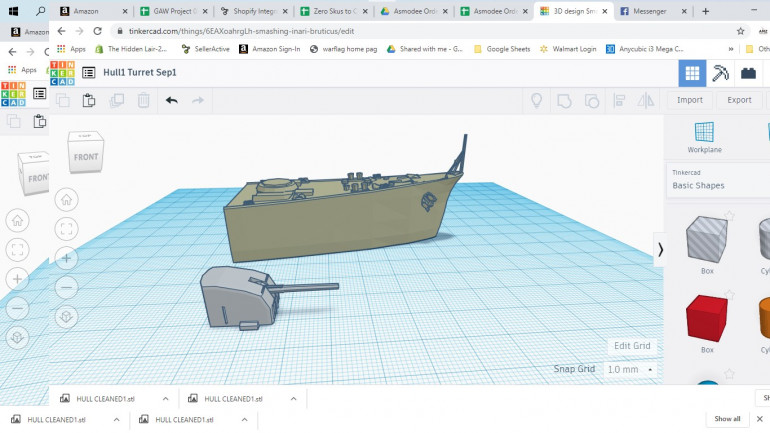
Alright… So upon further inspection, I decided to revisit the bow section in TinkerCad.
I went ahead and removed the antenna(?) structure at the very nose… It didn’t print well anyway. Then I thickened up the shafts of the anchors that go into the ship. They were quite thin in the first print and just bound to break off. Also, I believe that the anchors will print a little better now.
Next, I added some rectangular structures to the deck to camouflage some weirdness in the file.
I will export the updated version to my computer as an STL file and then pop it into Chi Tu Box to get it ready to print.
Next... moving along with the file prep
With the proof of concept test print of the bow section now done, I am ready to start moving forward with the file prep and clean up before printing the rest of the destroyer.
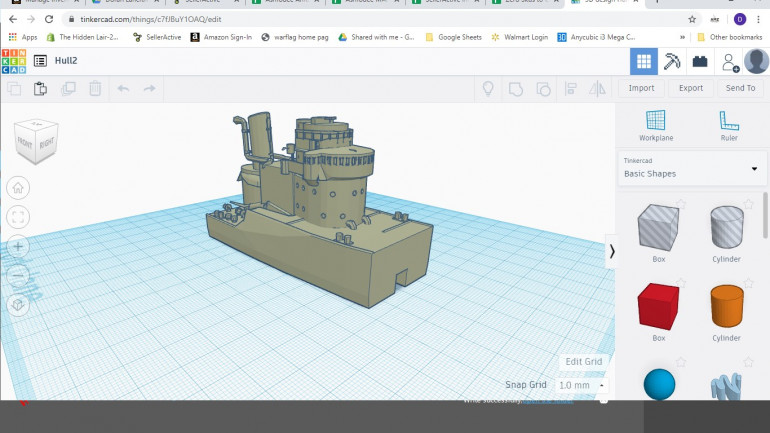
The next section is the bridge.
First Test Print
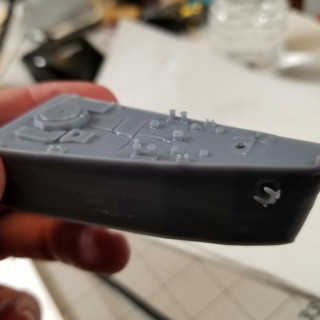
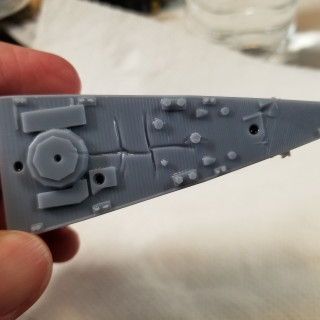
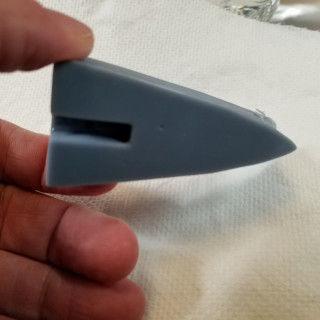
Ok, after a failed print due to a power outage at the worst possible time, I have the first test print of the bow section.
Overall, I am fairly satisfied with the print. I printed this with no supports, it looks like the anchors warped a bit and probably should have been supported.
I also got some odd flaws on the deck. I will be taking a closer look at the print file to make sure there isn’t any gapping that I didn’t notice. I suspect that the LED screen in my printer may be failing. They do wear out and mine has had quite a lot of prints run through it. Fortunately, I have planned ahead and have a spare screen on the shelf ready to go if needed.
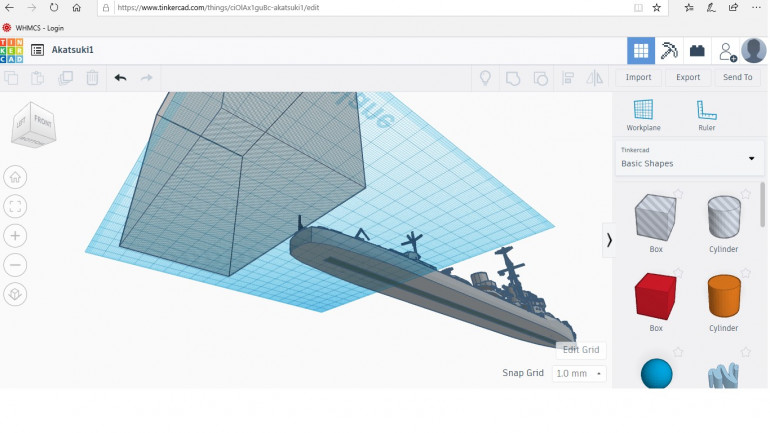
A look at the bottom of the hull
Just to clarify what I meant about cutting a slot in the bottom of the ship that will accept a 1/4in rod… Well, here’s a screen grab from underneath in TinkerCad.
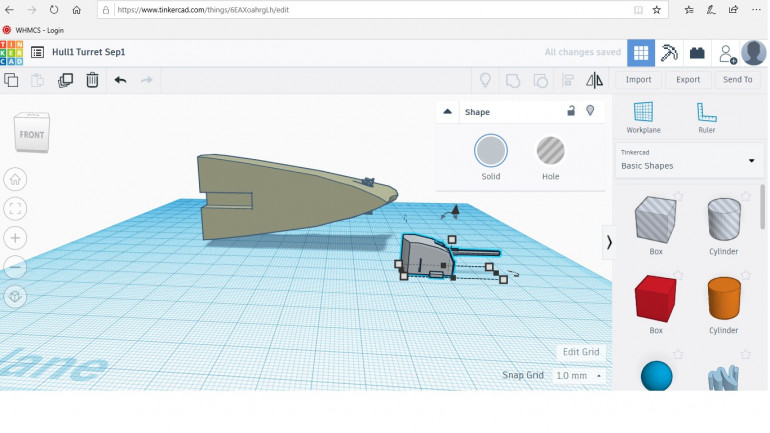
If you were so inclined and knew what size your magnets were going to be for the turret, you could also cut out a spot for them to inset on the bottom of the turret and the mounting point on the hull. I haven’t selected magnets yet, so I have not done that. I might circle back around to it at a later point.
Almost ready for a Test print of the First Section
I think a test print of the bow is probably in order at this point. If everything works out, then I can move to the second section with confidence!
Next... To TinkerCad!!!!!
Ok… Found and downloaded the STL of the IJN Ataksuki…
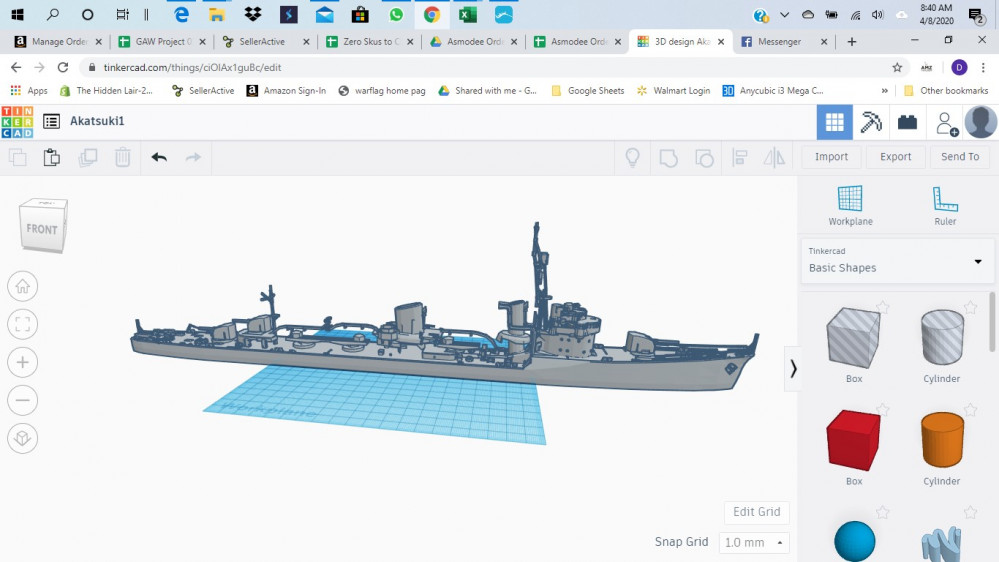
Next, I imported the STL into TinkerCad… because it’s free, and that’s how I roll…
Resized the file…. The ship is huge! LoL
Nosing around the ship, I am seeing some spots where enlarging the file has caused gaps, and some spots where fine things like railings have failed.
So, a few things will have to happen… I will clean up the fiddly parts that aren’t likely to print well… I will fill gaps where the enlarging broke the file…. And I will sub-divide it into nice small bite sized pieces that my printer can handle.
First thing I did, was I trimmed off the bottom of the hull so it woud be a waterline model, and then created a slot all along the bottom of the ship… It should be perfectly sized to take a 1/4 inch square rod. This will help to line the Hull pieces back up after printing them.
Then I painstakingly subdivided the ship into 6 pieces of between 8 and 10cm in length, choosing the division points carefully to make printing easier where possible.
Then starting on the bow end of the ship…. Clean up….
I have removed the bits of railing that still existed and plug some gaps with basic shapes. Then merge and continue.
At this point, I decided that if I am going to all this trouble, I definitely want to be able to turn the turrets! So, those have to come off, to be printed separately! Will probably install some magnets to make them easily rotatable.
Step 1 Find an STL
Step 1 – Find a suitable STL file.
I don’t have the skills to create my own STL files from scratch, so I went in search of something I could use.
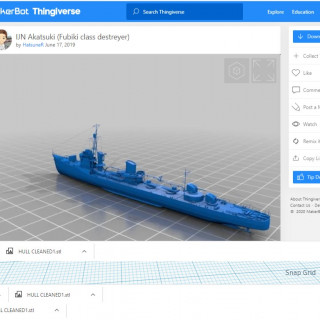
A quick jaunt around Thingiverse.com produced an STL file created by a creator called HatsuneR.
IJN Akatsuki
At 1/200th scale it will be close to a whopping 50cm long model!


![TerrainFest 2024 Begins! Build Terrain With OnTableTop & Win A £300 Prize! [Extended!]](https://images.beastsofwar.com/2024/10/TerrainFEST-2024-Social-Media-Post-Square-225-127.jpg)


