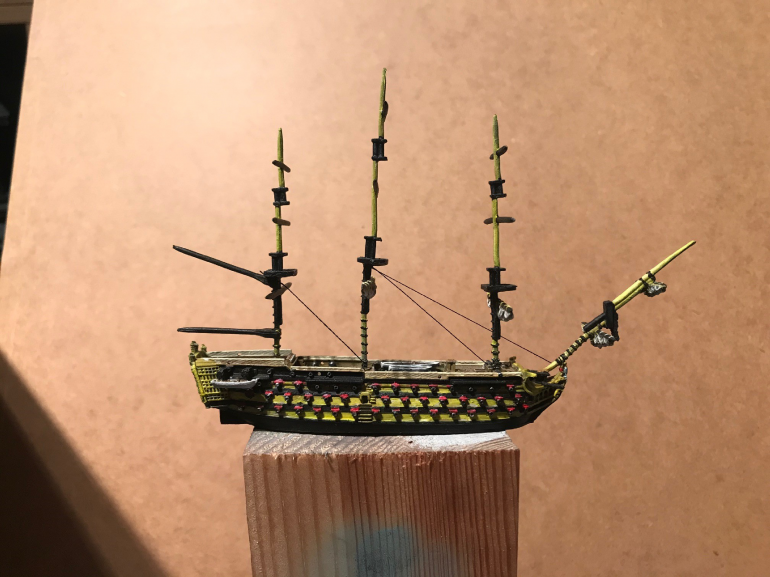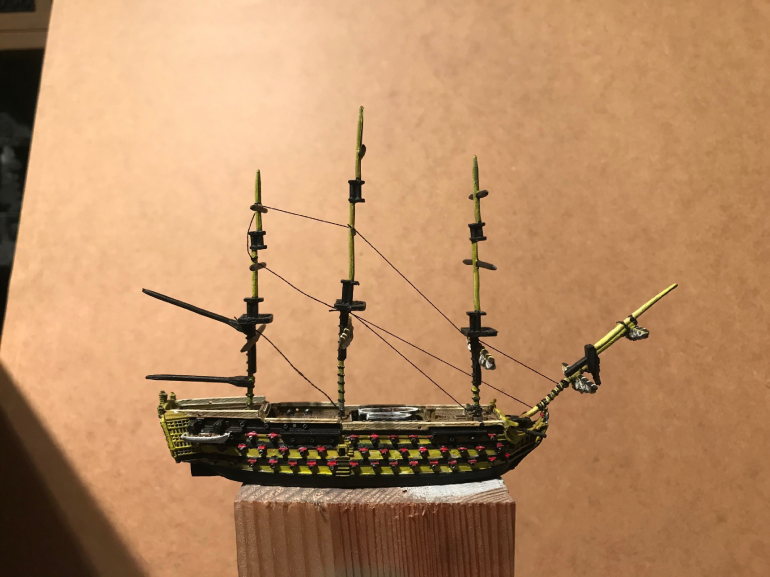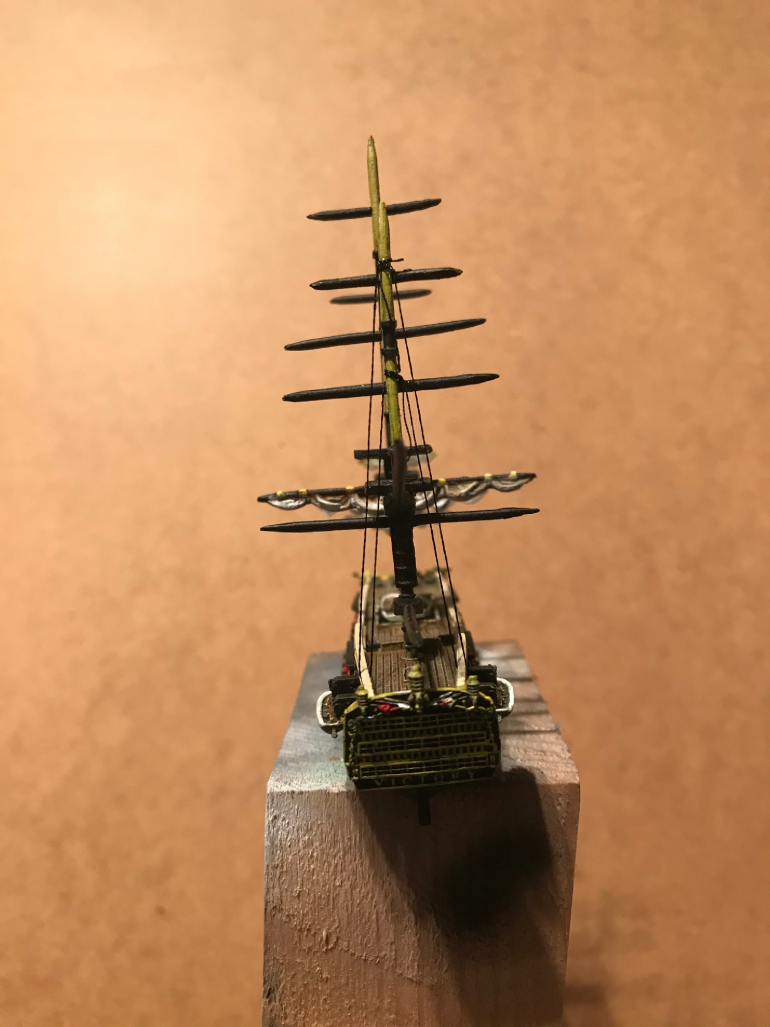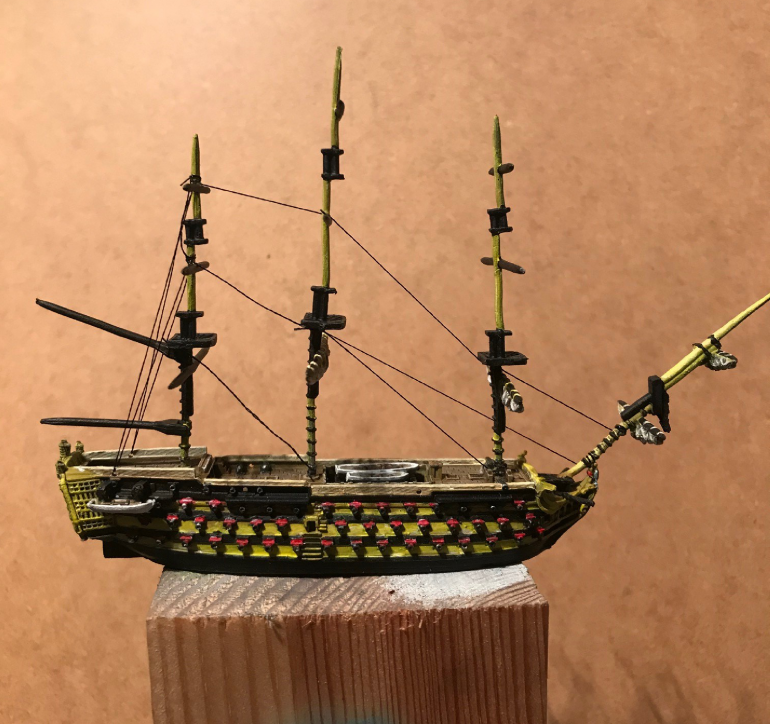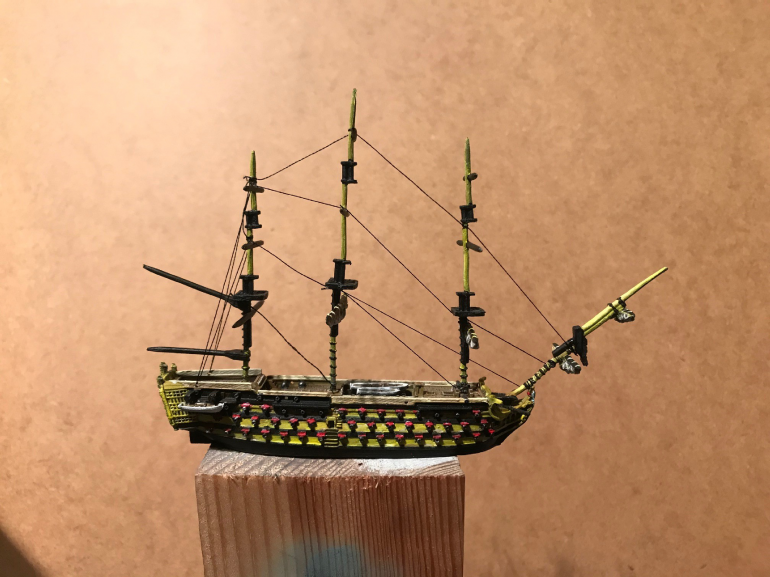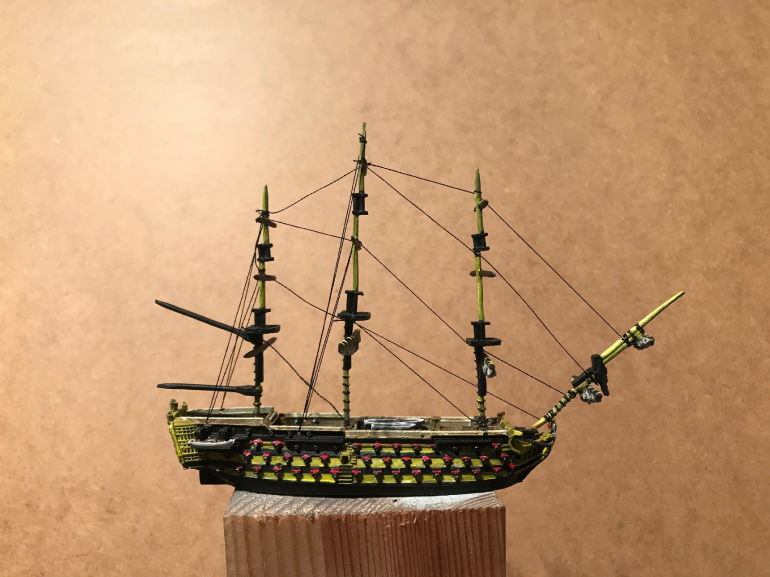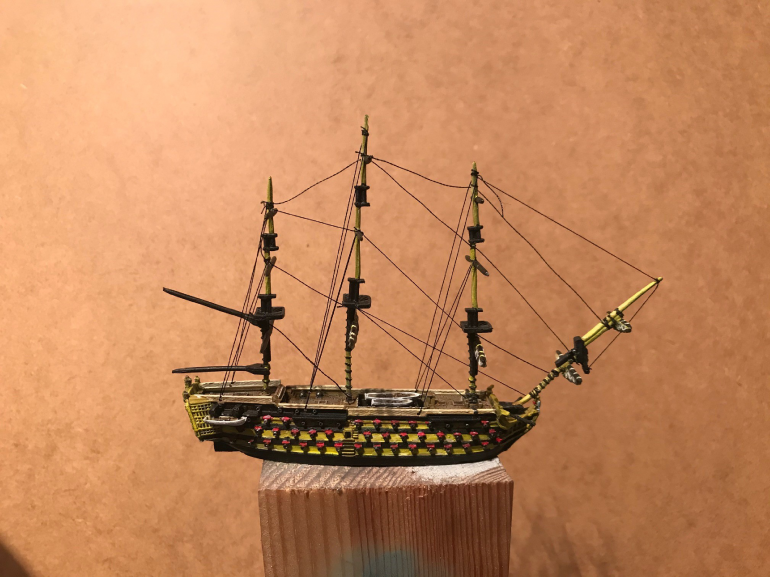
Wilco’s Trafalgar’s Ships of the Line
Recommendations: 119
About the Project
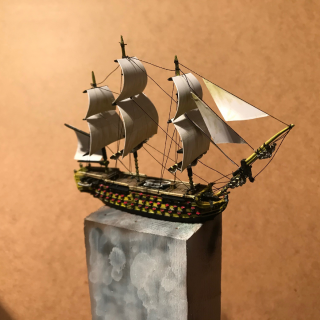
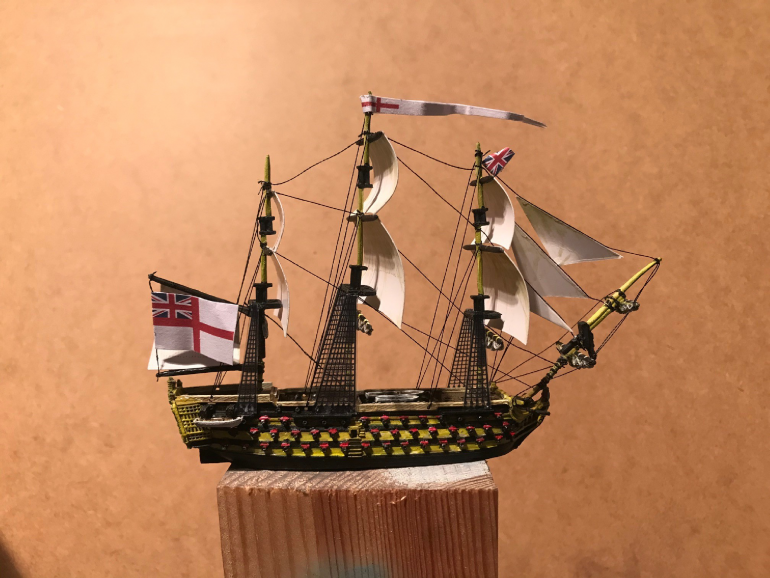
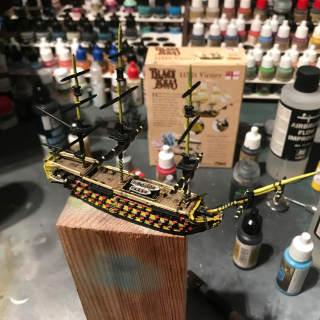
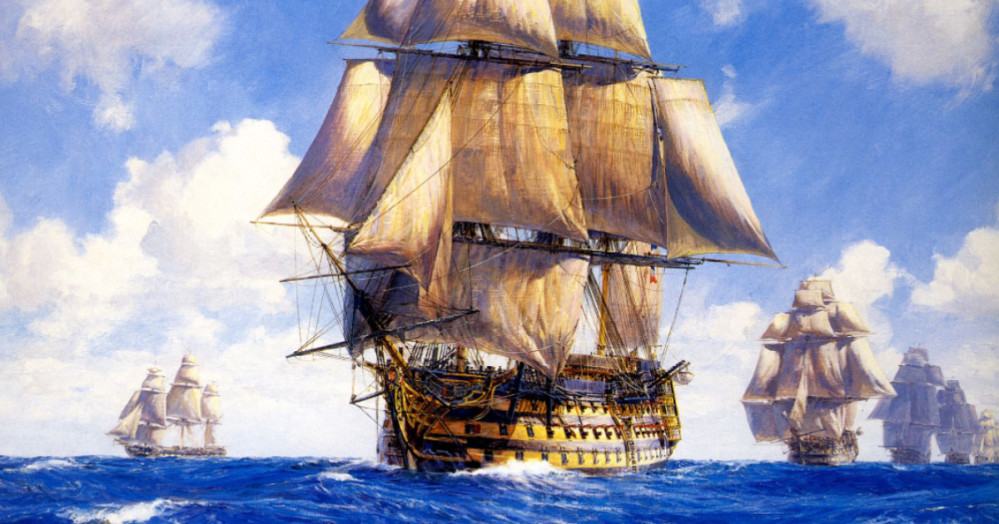
When Warlord Games realised Black Seas at first I had no interest in it, once I saw the amazing sculps and detail it cached my attention a bit more then I saw the detail put in with the rigging and it took me back to my child hood when my grandfather took me on the replacer of the Endearer and that he himself did scale miniatures and rigging on ships of the line. I decided to get myself the HMS Victory to see how I like the challenge of painting and rigging and if I get the buzz I would like to aspire to see if I can build both fleets of the Battle of Trafalgar. lets see how it goes.
Related Game: Black Seas
Related Company: Warlord Games
Related Genre: Historical
This Project is Active
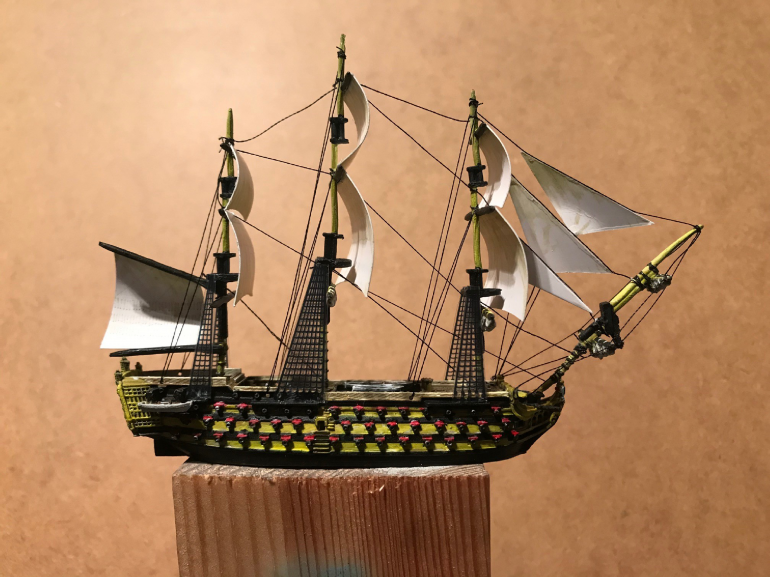
Battle Sails
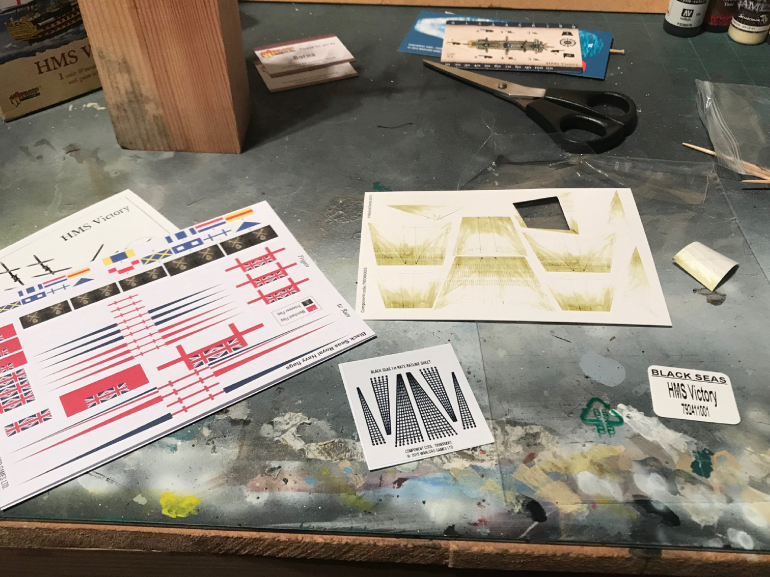
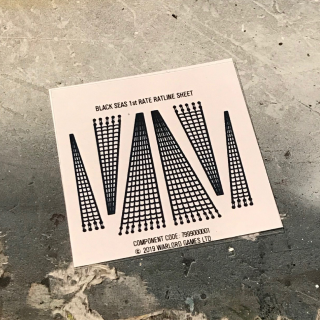
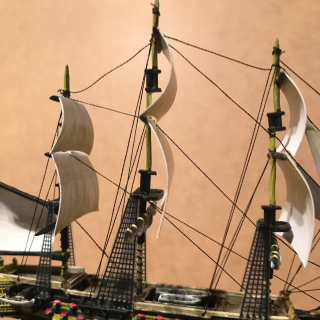
Next is to add the acetate rat-lines. easy to cut out and apply, normally I would use PVA to prevent clouding but due to the positioning and the minimum glue needed, I sticker with the liquid super glue.
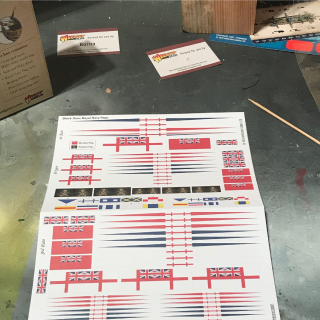
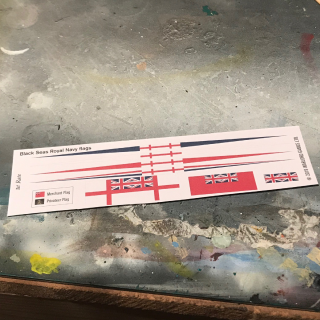
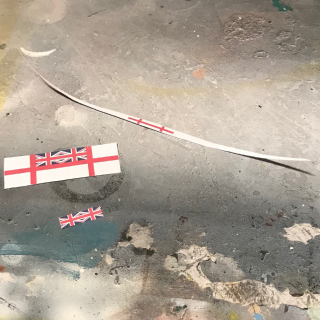
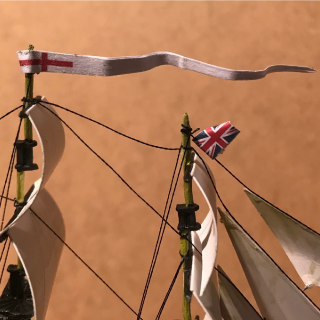
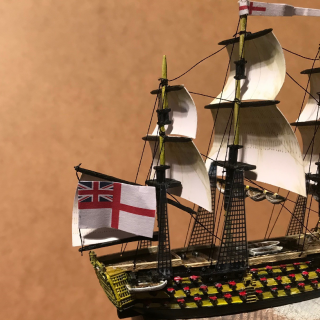
Time to add Flags and Banners, the final details that pull it all together.
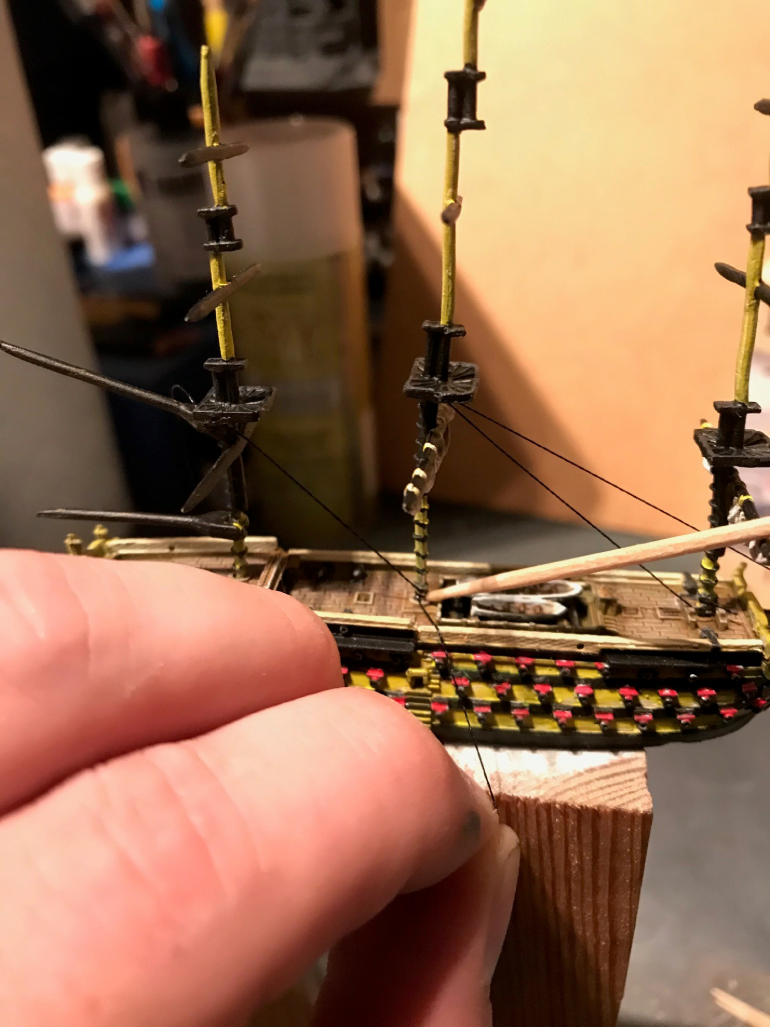
Rigging
going to take this step by step.
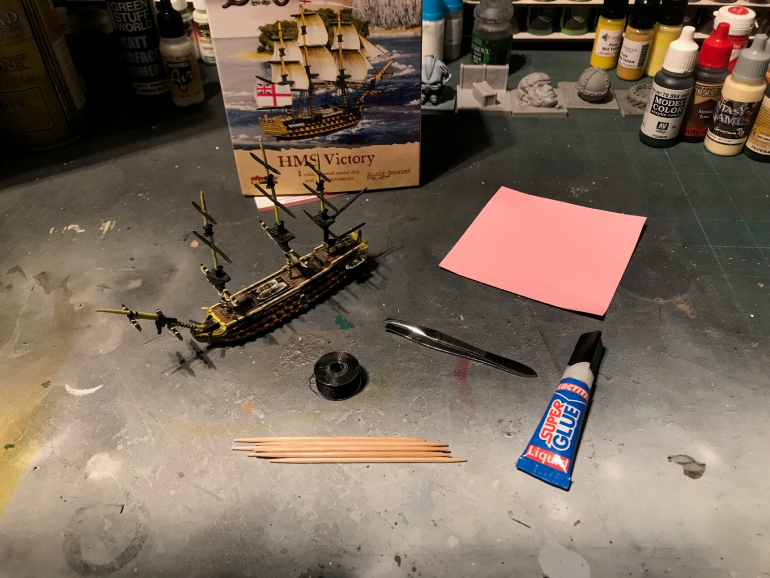
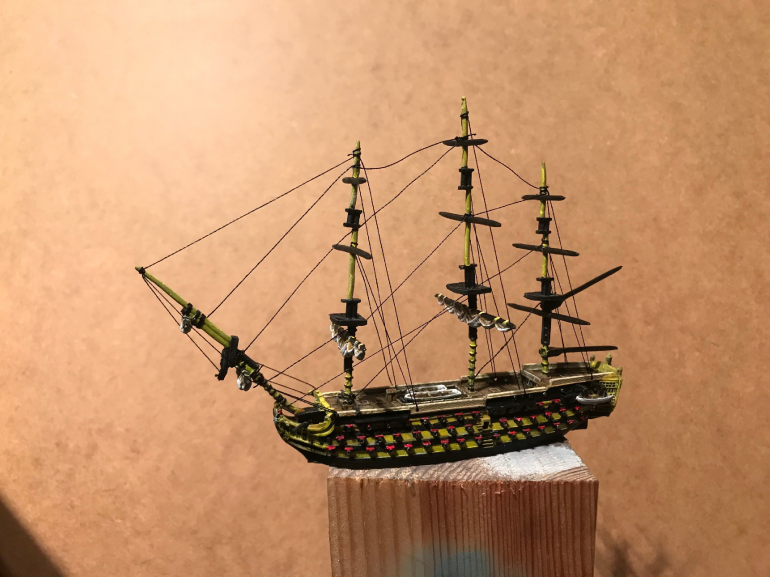
using the Warlord Games online rigging guide and you tube video I will rig HMS Victory.
https://www.youtube.com/watch?v=WEH_u7-ku5o
The Detailing
The Detailing includes:
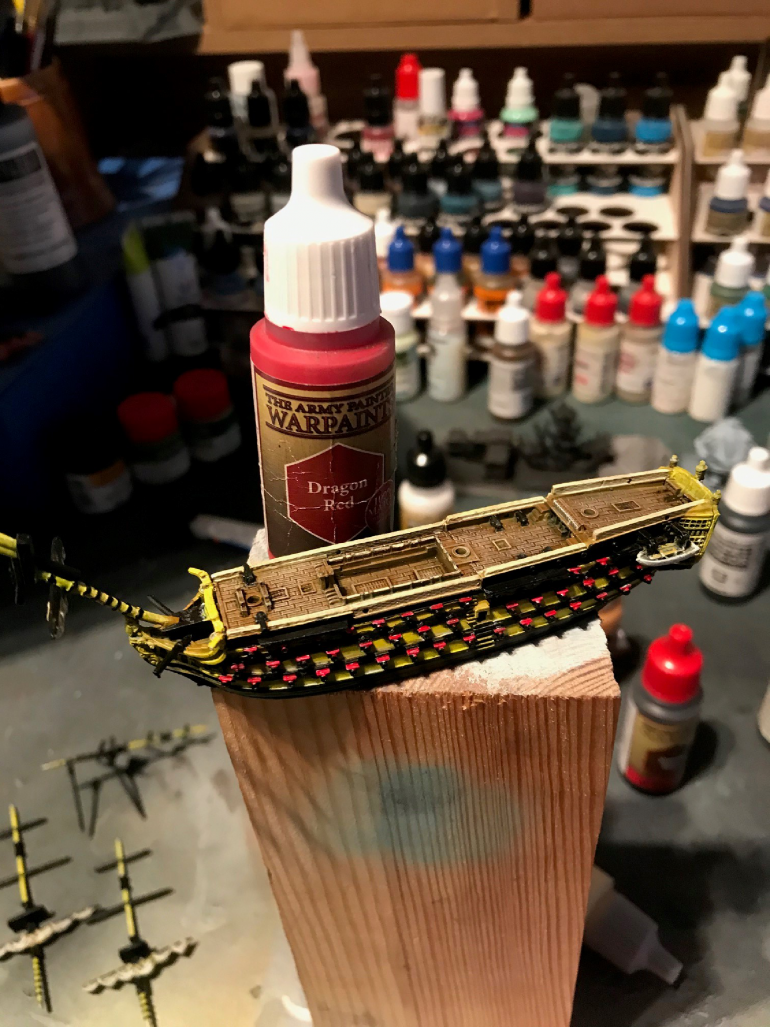
-Cleaning up all the fun decks.
-Painting all Gun Ports Red.
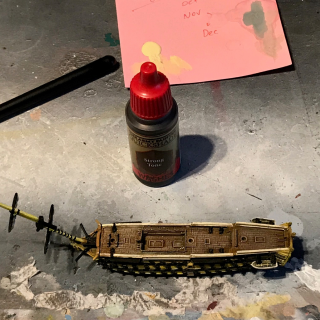
-Washing the Deck.
-All final detail colours.
Now she is all assemble it is time to do the rigging and sails.
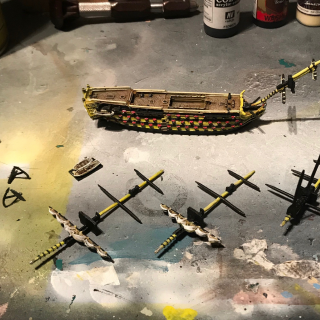
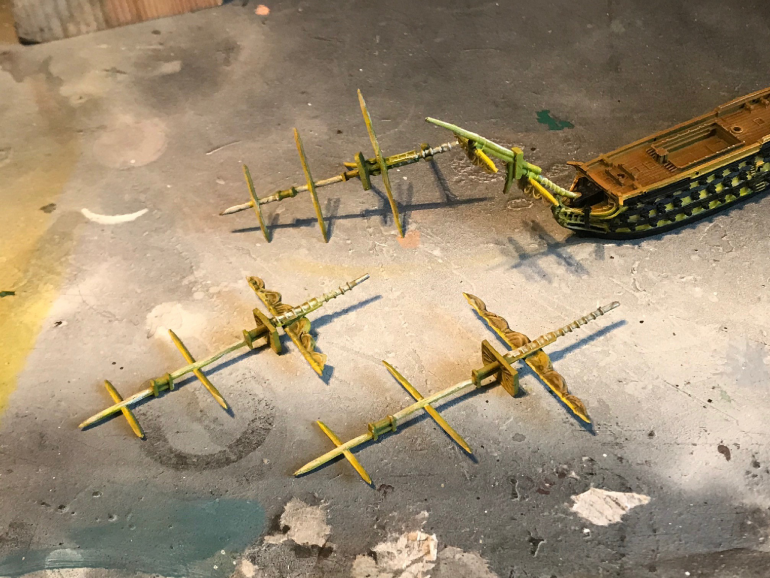
Paintingthe Masts
Painting the Masts
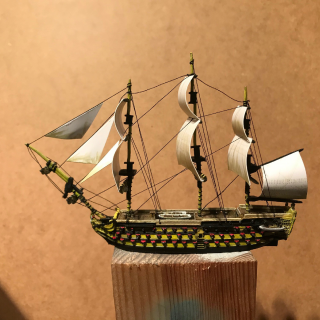
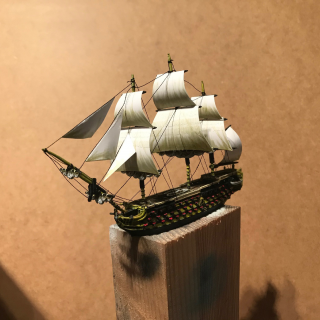
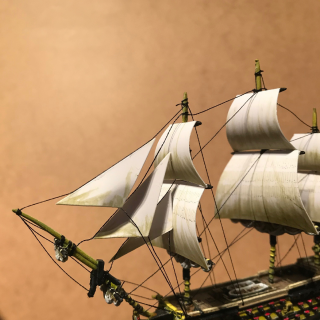
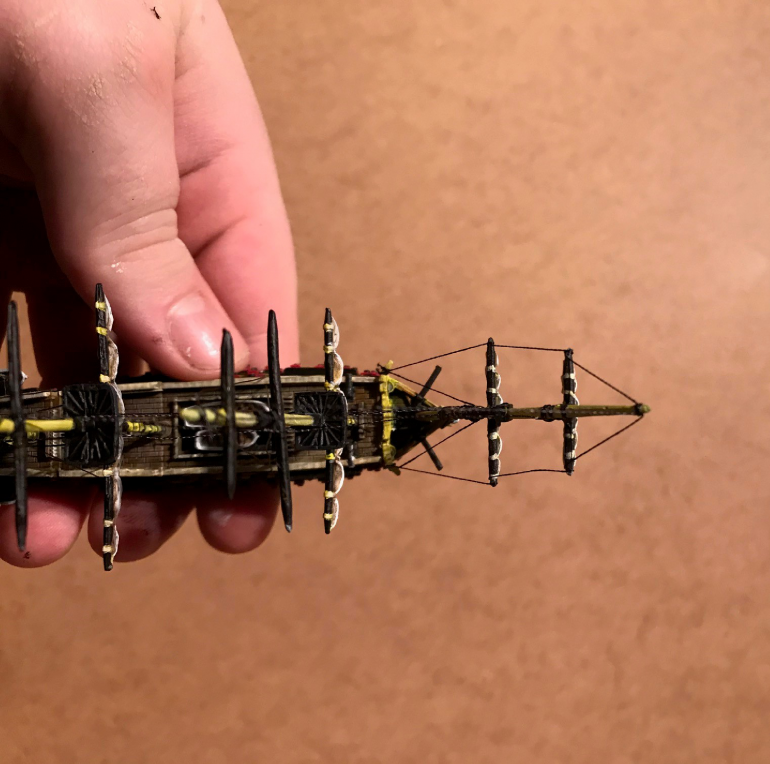
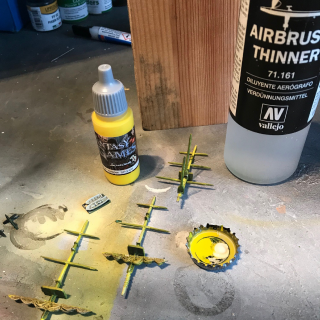
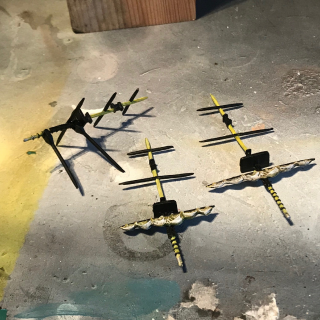
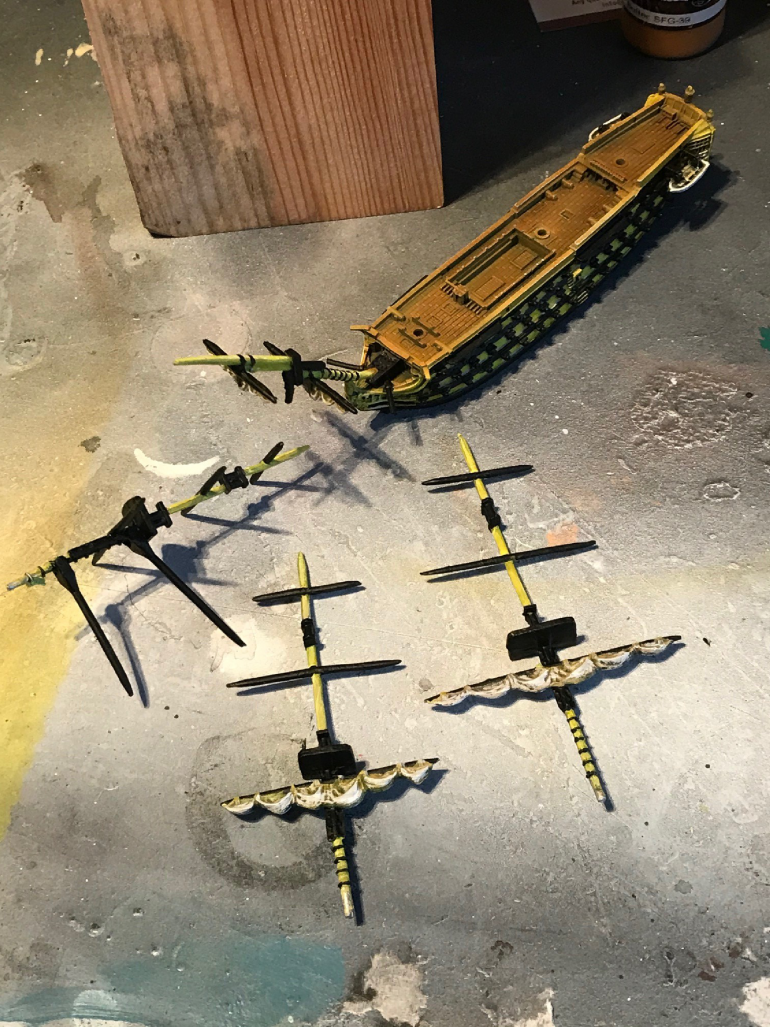
need to paint the masts yellow, the yards in black, crows nests in black and sales in white shades to a cream/beige.
Adding Detail Part 1
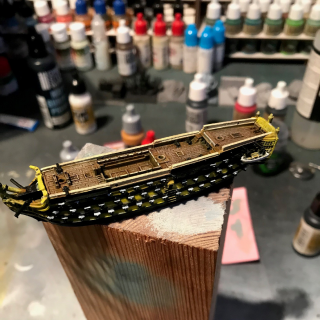
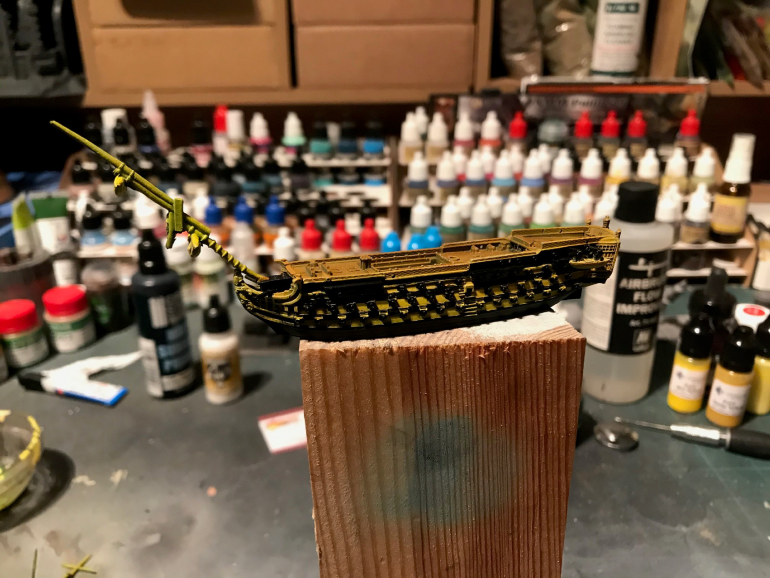
Adding the Black lines around the hull dos need a steady had but also painting the cannons without missing bits can be fun to.
Base Coating
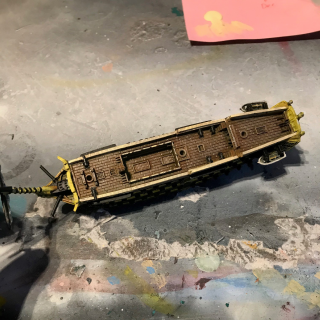
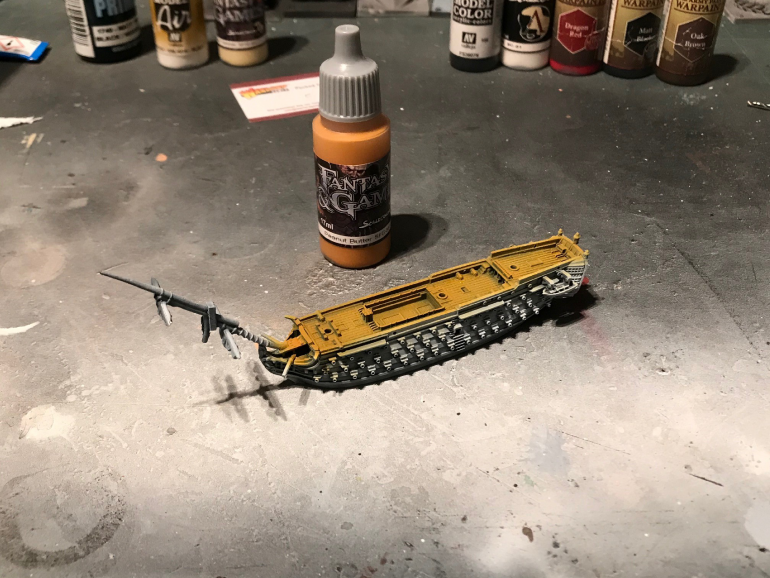
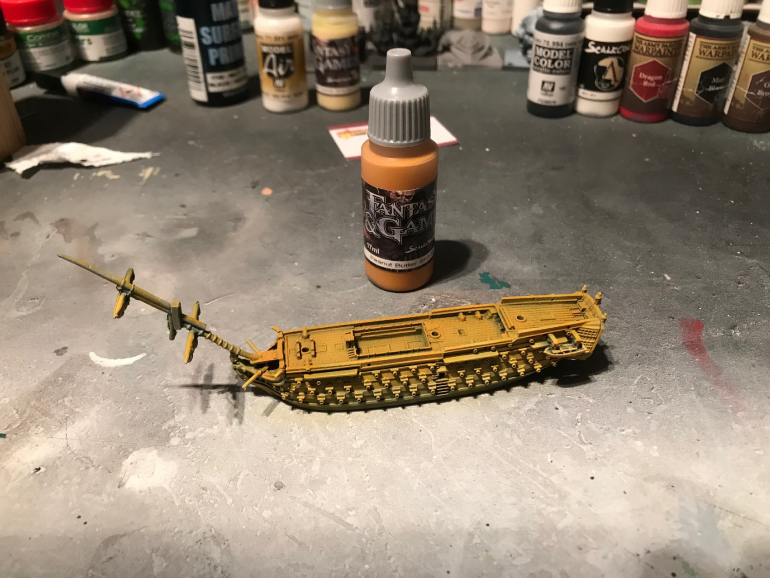
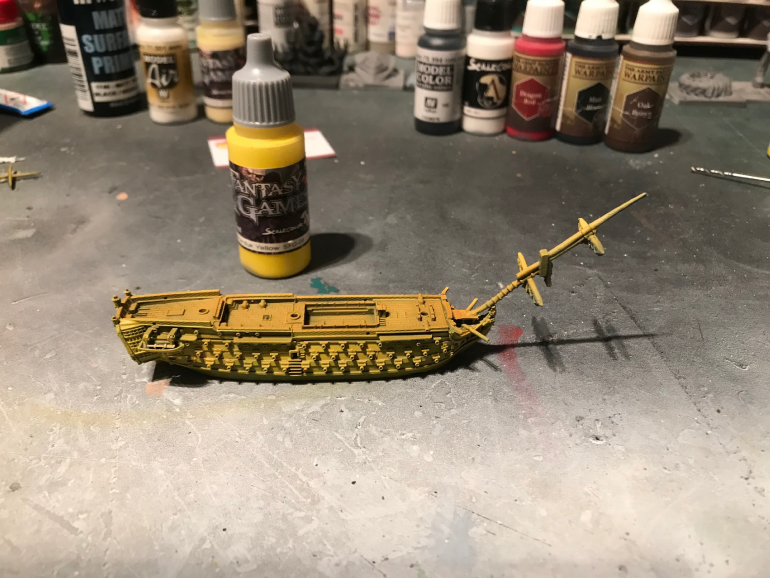
After the zenith I needed to as the yellow to the hull and a light brown to the decks before moving on to detailing and other colours.
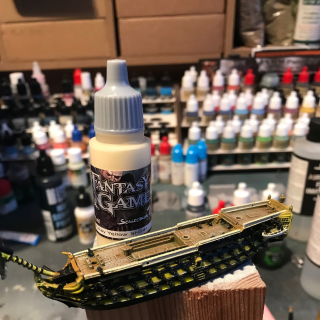
Decks airbrushed with Scale 75, Fantasy range Peanut Butter
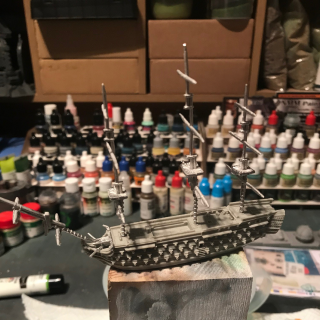
Part Assembled, Prime and Zenith
Part Assembled, Prime and Zenith
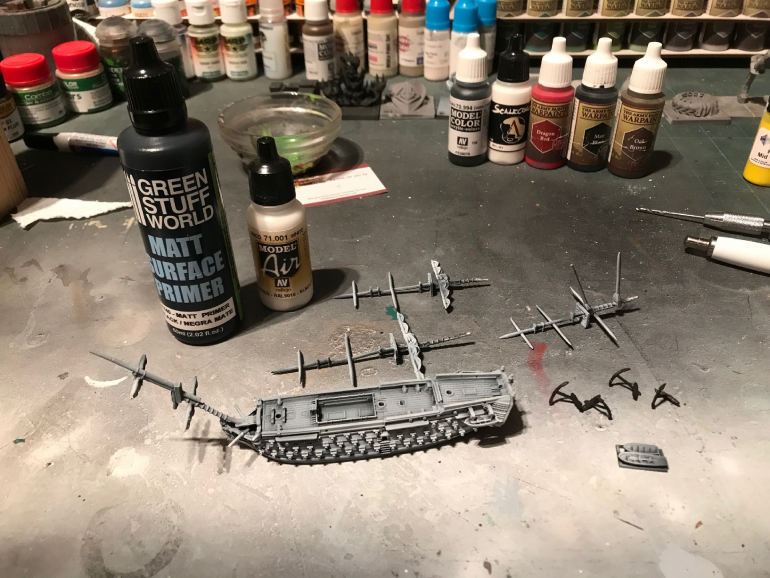
Once the clean up is done I assemble all the parts that wouldn’t impede the painting proses such as the rear windows to the hull, life boats, and front mast.
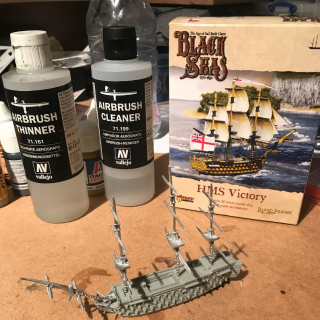
Normally I would use Badger airbrush primer but I wanted to see what other options there are so I have go for Green Stuff Worlds: Black Matt Surface Primer.
the primer went down a treat, defiantly recommend it, remember when applying with an airbrush to thin 2-1 primer to thinner and always apply in multiple thin coats.
once primed I used a Vallejo Air White to Zenith the mini. As one of the main colours of the Victory is a yellow I want a lot stronger with the white so the yellow can chow up better.
Pre-Assemble and Cleaning
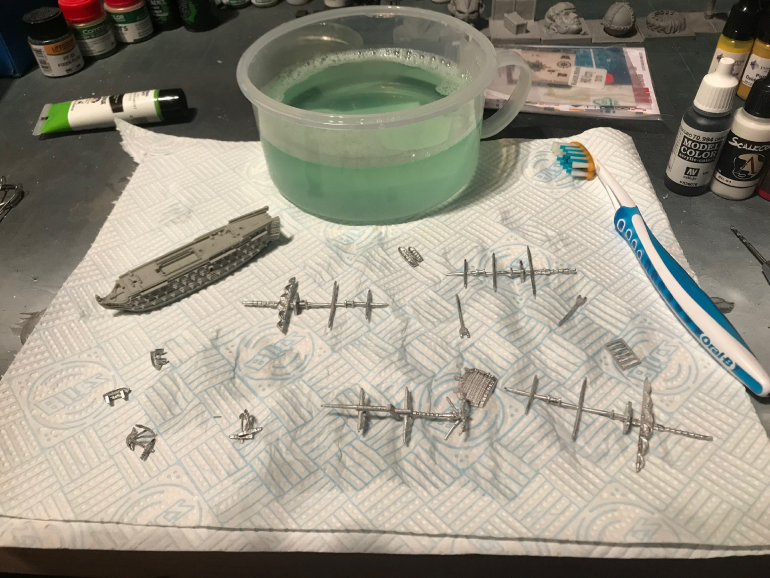
Pre-Assemble and Cleaning
Before cleaning the resin and metal parts I did a bit of pre building of the parts to see if there are anything I need to fix or adapt to the parts before painting.
I found the masts where a bit loos in the pre-set holes in the hull so I pin drilled a snugger hole for them to sit In to. I also drilled some additional holes for the rigging so they are set before painting even though I expect to re-dill them once it has a layer of pain on them.
Cleaning all parts in a bowl of warm water with a bit of fairy liquid, leave to soke but if need be I used a tooth brush to clean between some of the details to make shore there was not mould release hiding.


![Make Your Own Star Wars: Legion Heroes! Rebel Agent & Officer Set Review [7 Days Early Access]](https://images.beastsofwar.com/2025/12/unboxing-atomic-mass-games-star-wars-legion-rebel-alliance-agent-_-officer-coverimage-225-127.jpg)


