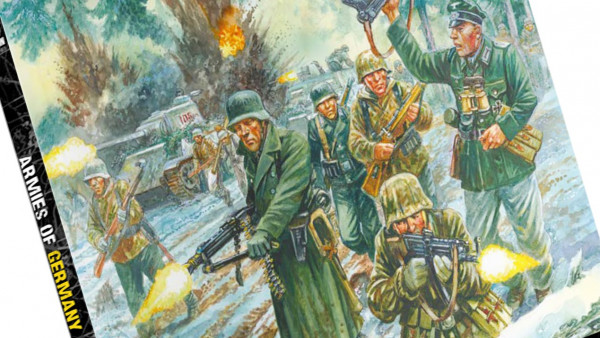


Pafetikbazerkas foray into 15mm Flames of War


Recommendations: 700
About the Project
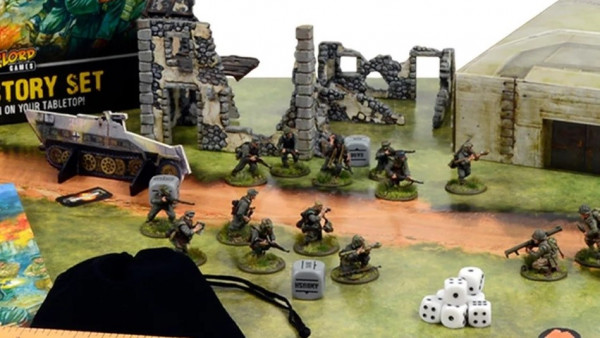
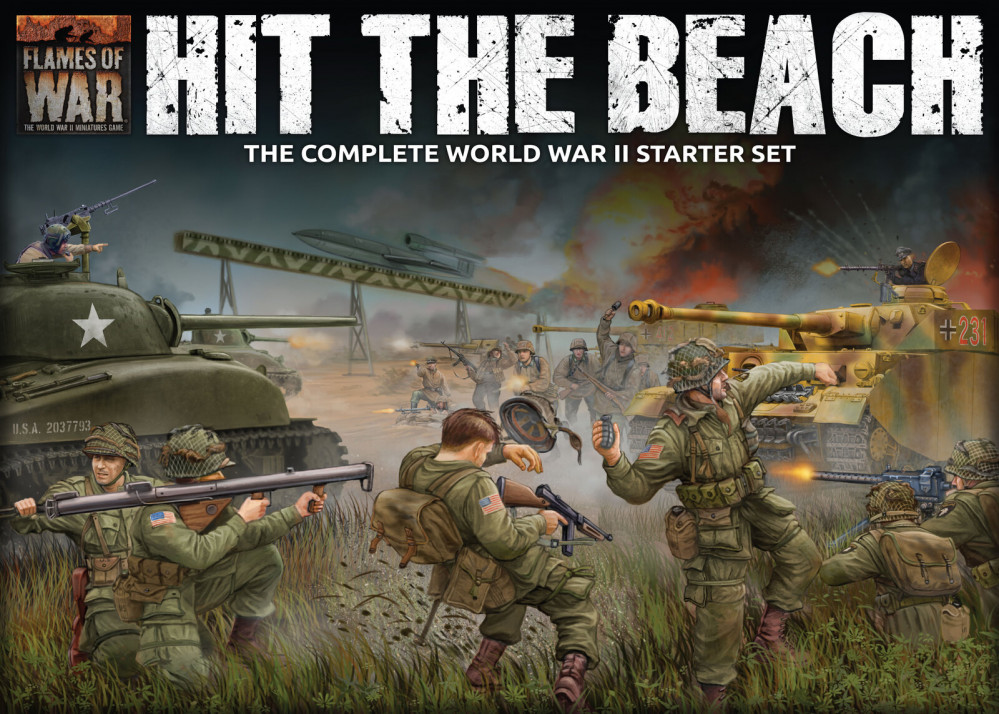
So a couple of my long term gaming crew have been getting into 'Tanks' with thier kids and flirting with 'Flames or War' so after watching a bit of the recent FOW bootcamp I checked out pricing with my local supplier and thought lets do this. I've also been keen to get into some 15mm wargaming. Though the minis are often awsome at larger scales playing on a typical size table with a game like Dust feels difficult to get to grips with when I think of the scaled ranges 28-32mm guys are firing at.
Related Game: Flames of War: The World War II Miniatures Game
Related Company: Battlefront Miniatures
Related Genre: Historical
Related Contest: Flames of War Hobby League 2019
This Project is Active
Onward with the tanks
Tanks weren’t forgotten over the holidays either but still need a lot of work
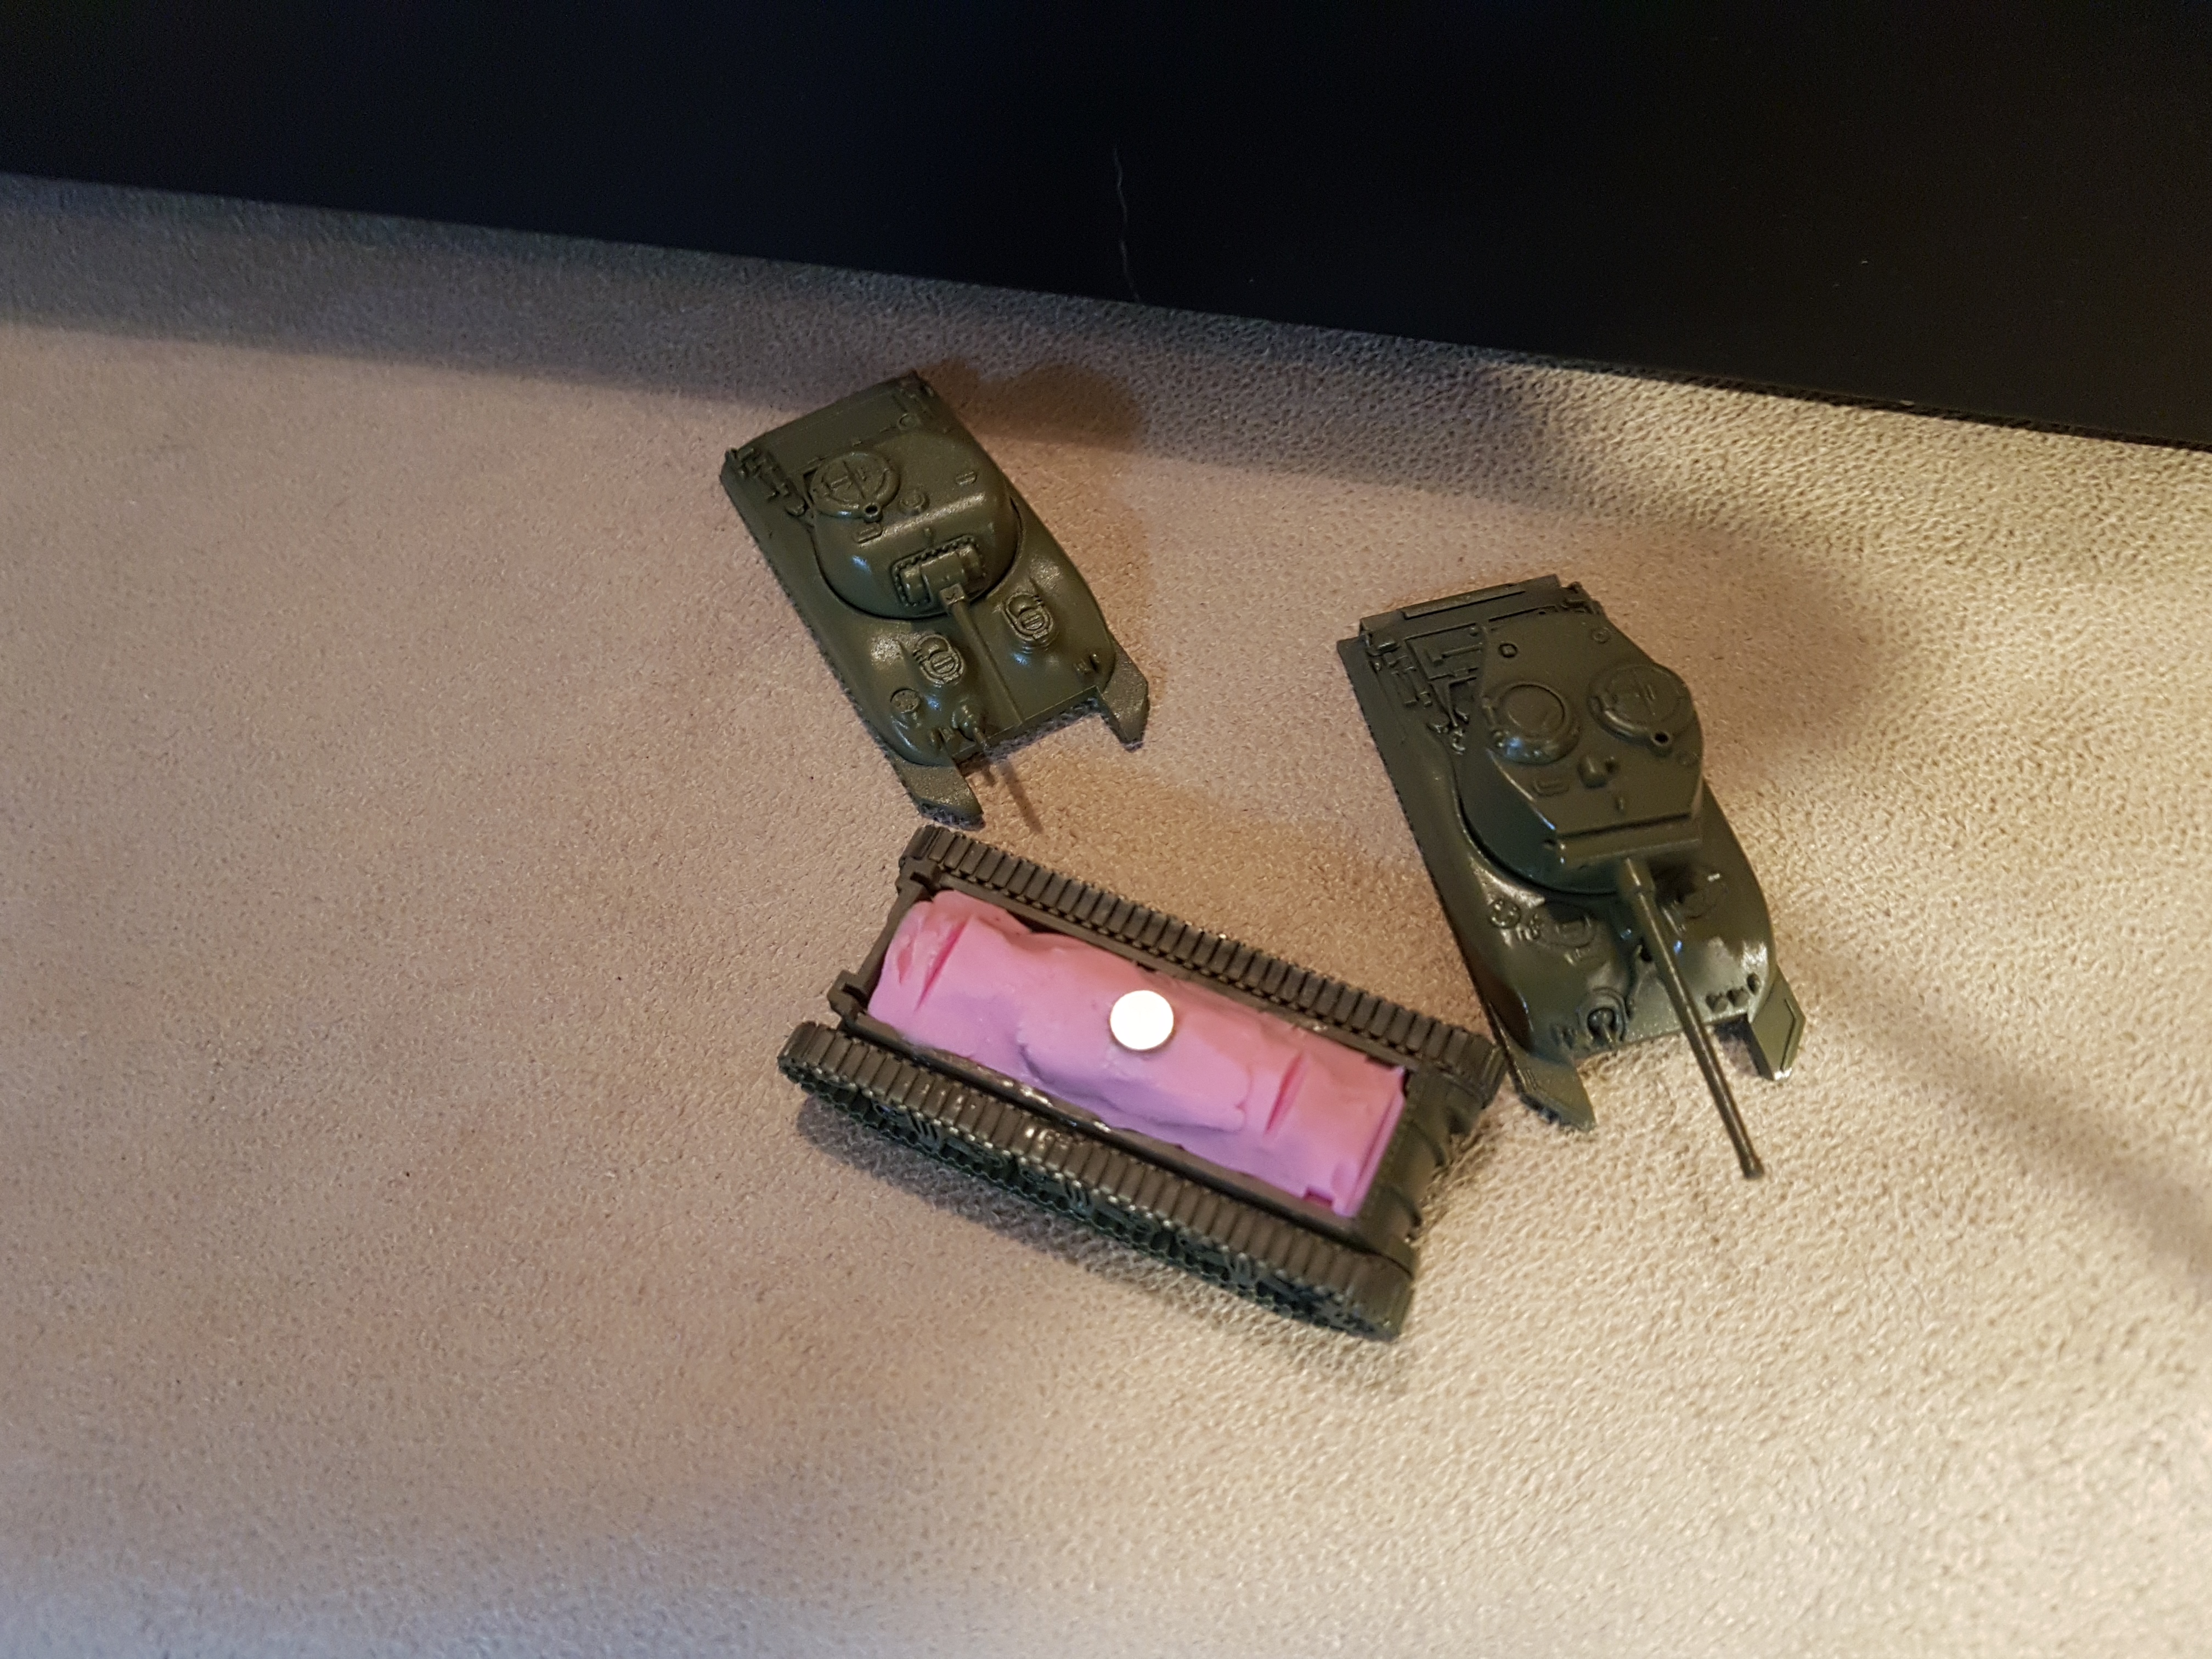
I decide to make the most of optional Sherman types and magnetize the base to interact with the turret magnets so now I have early and late in one!
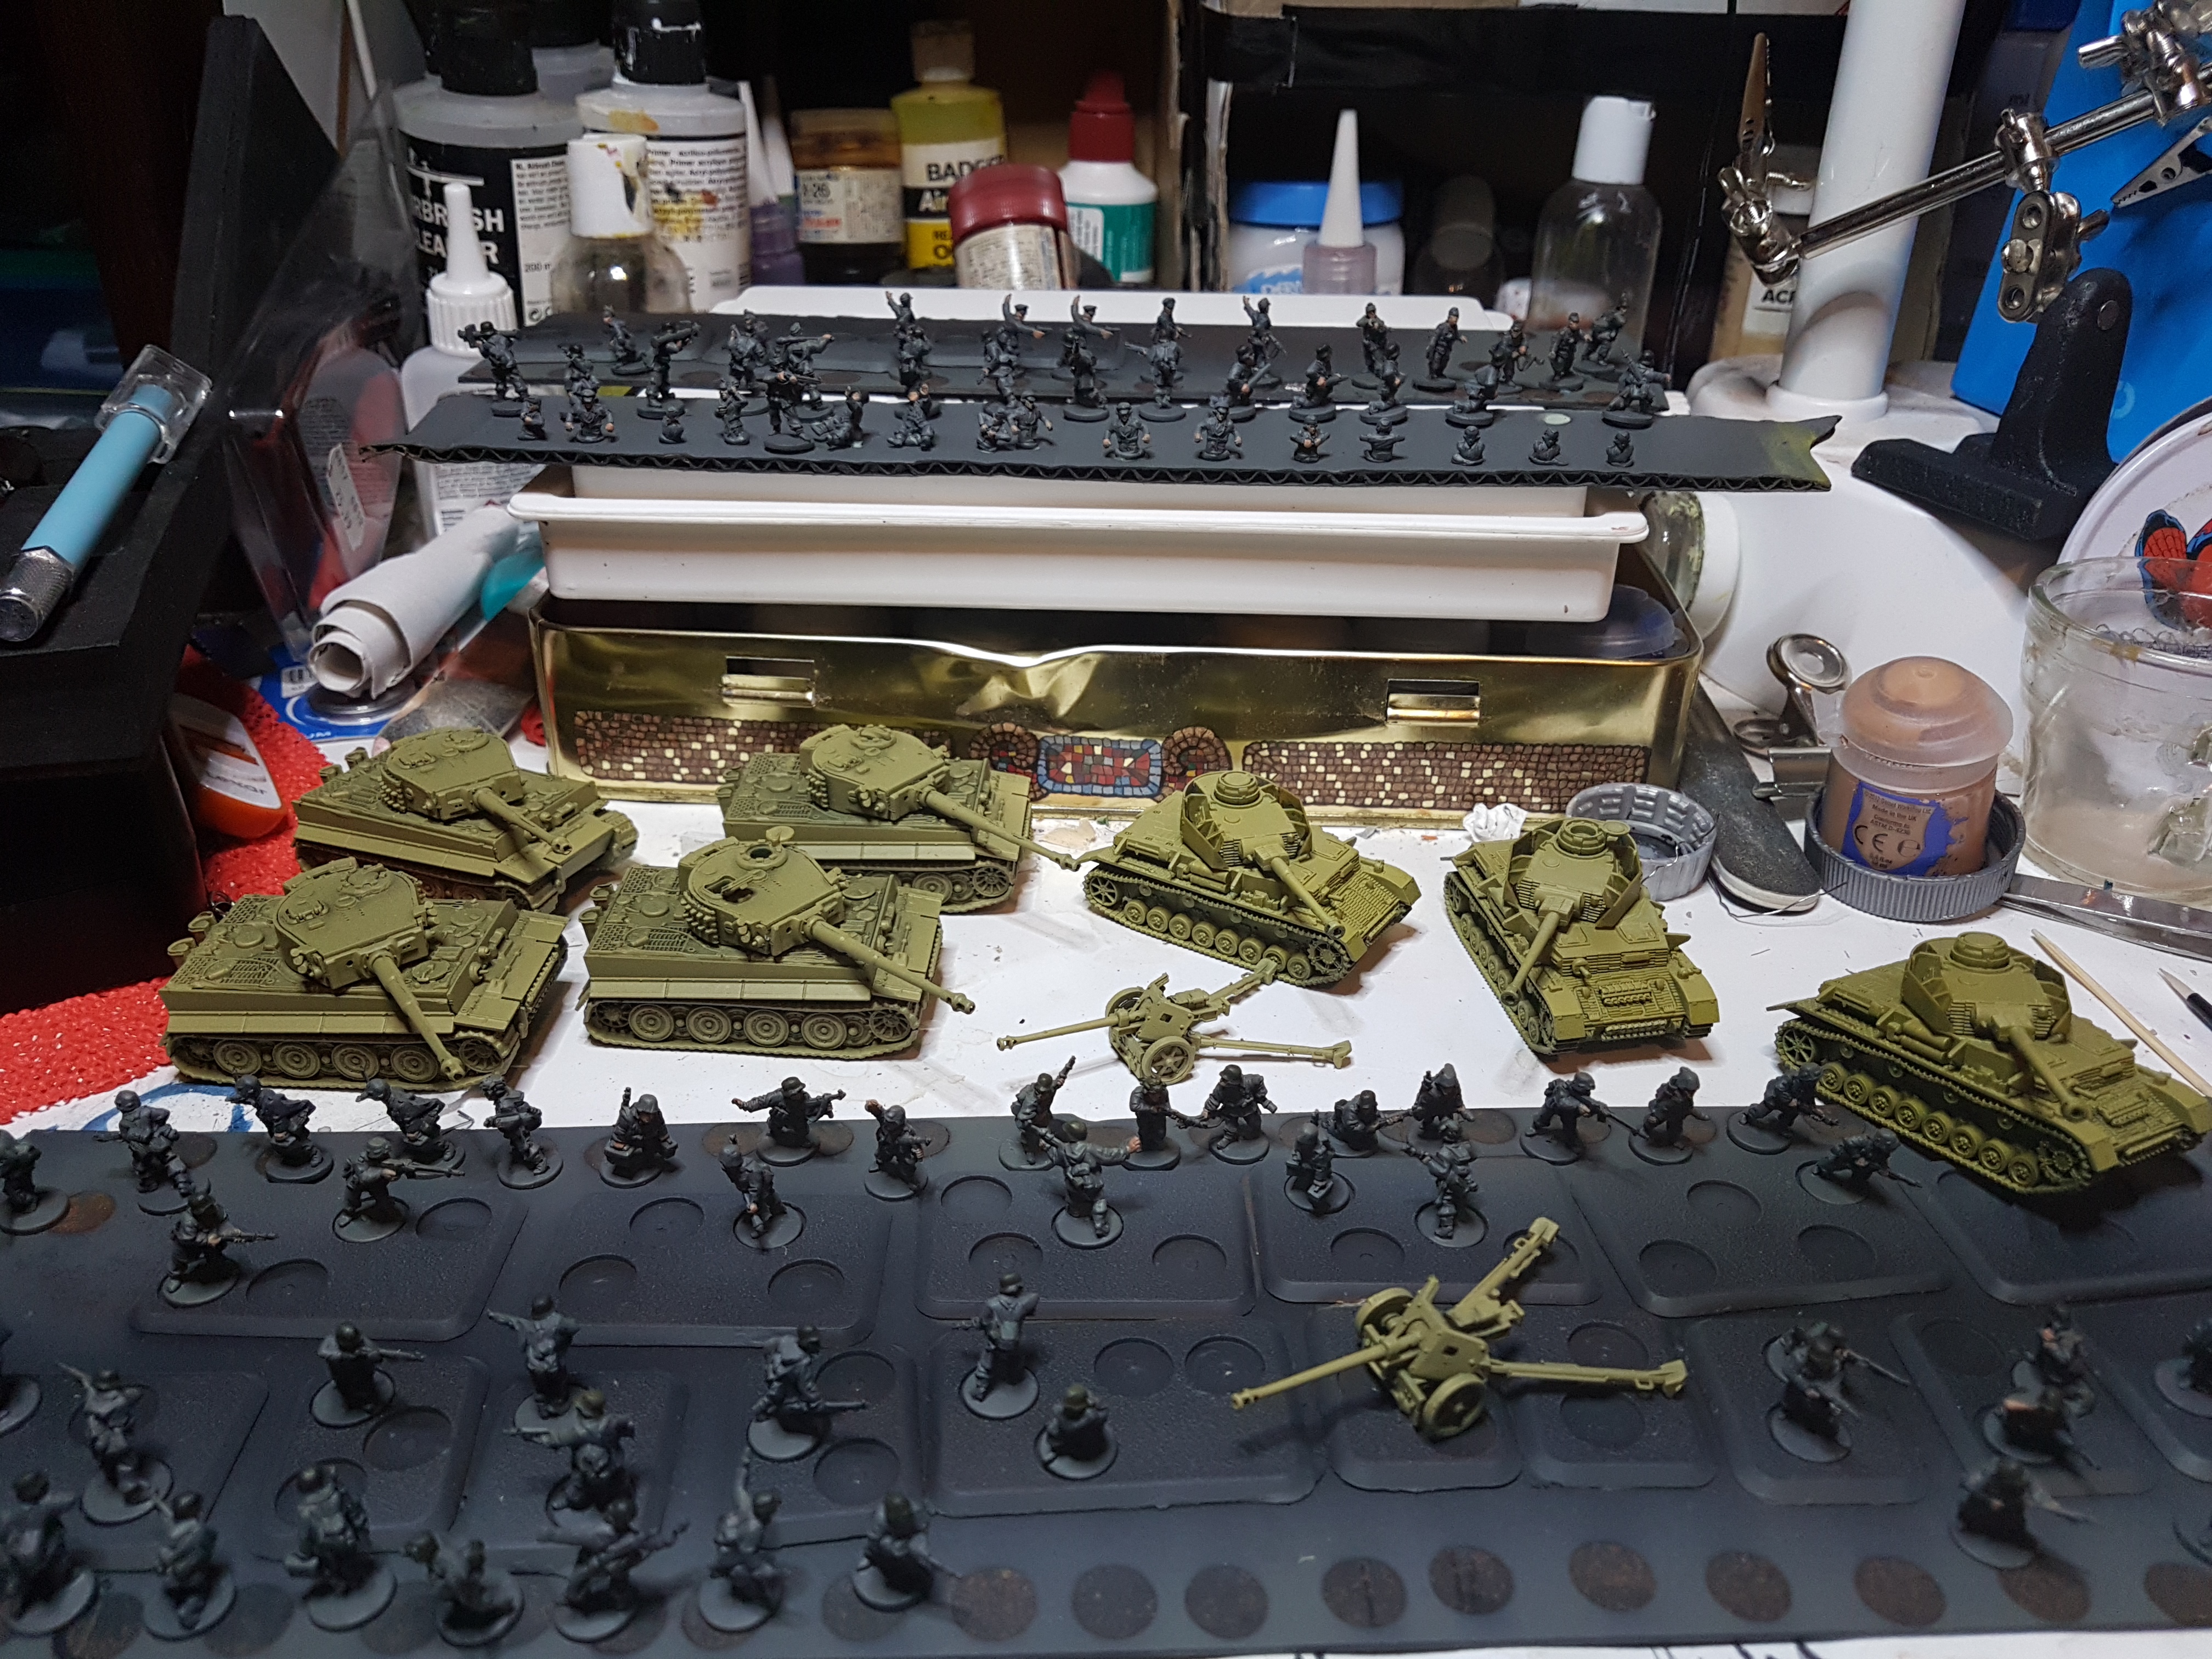
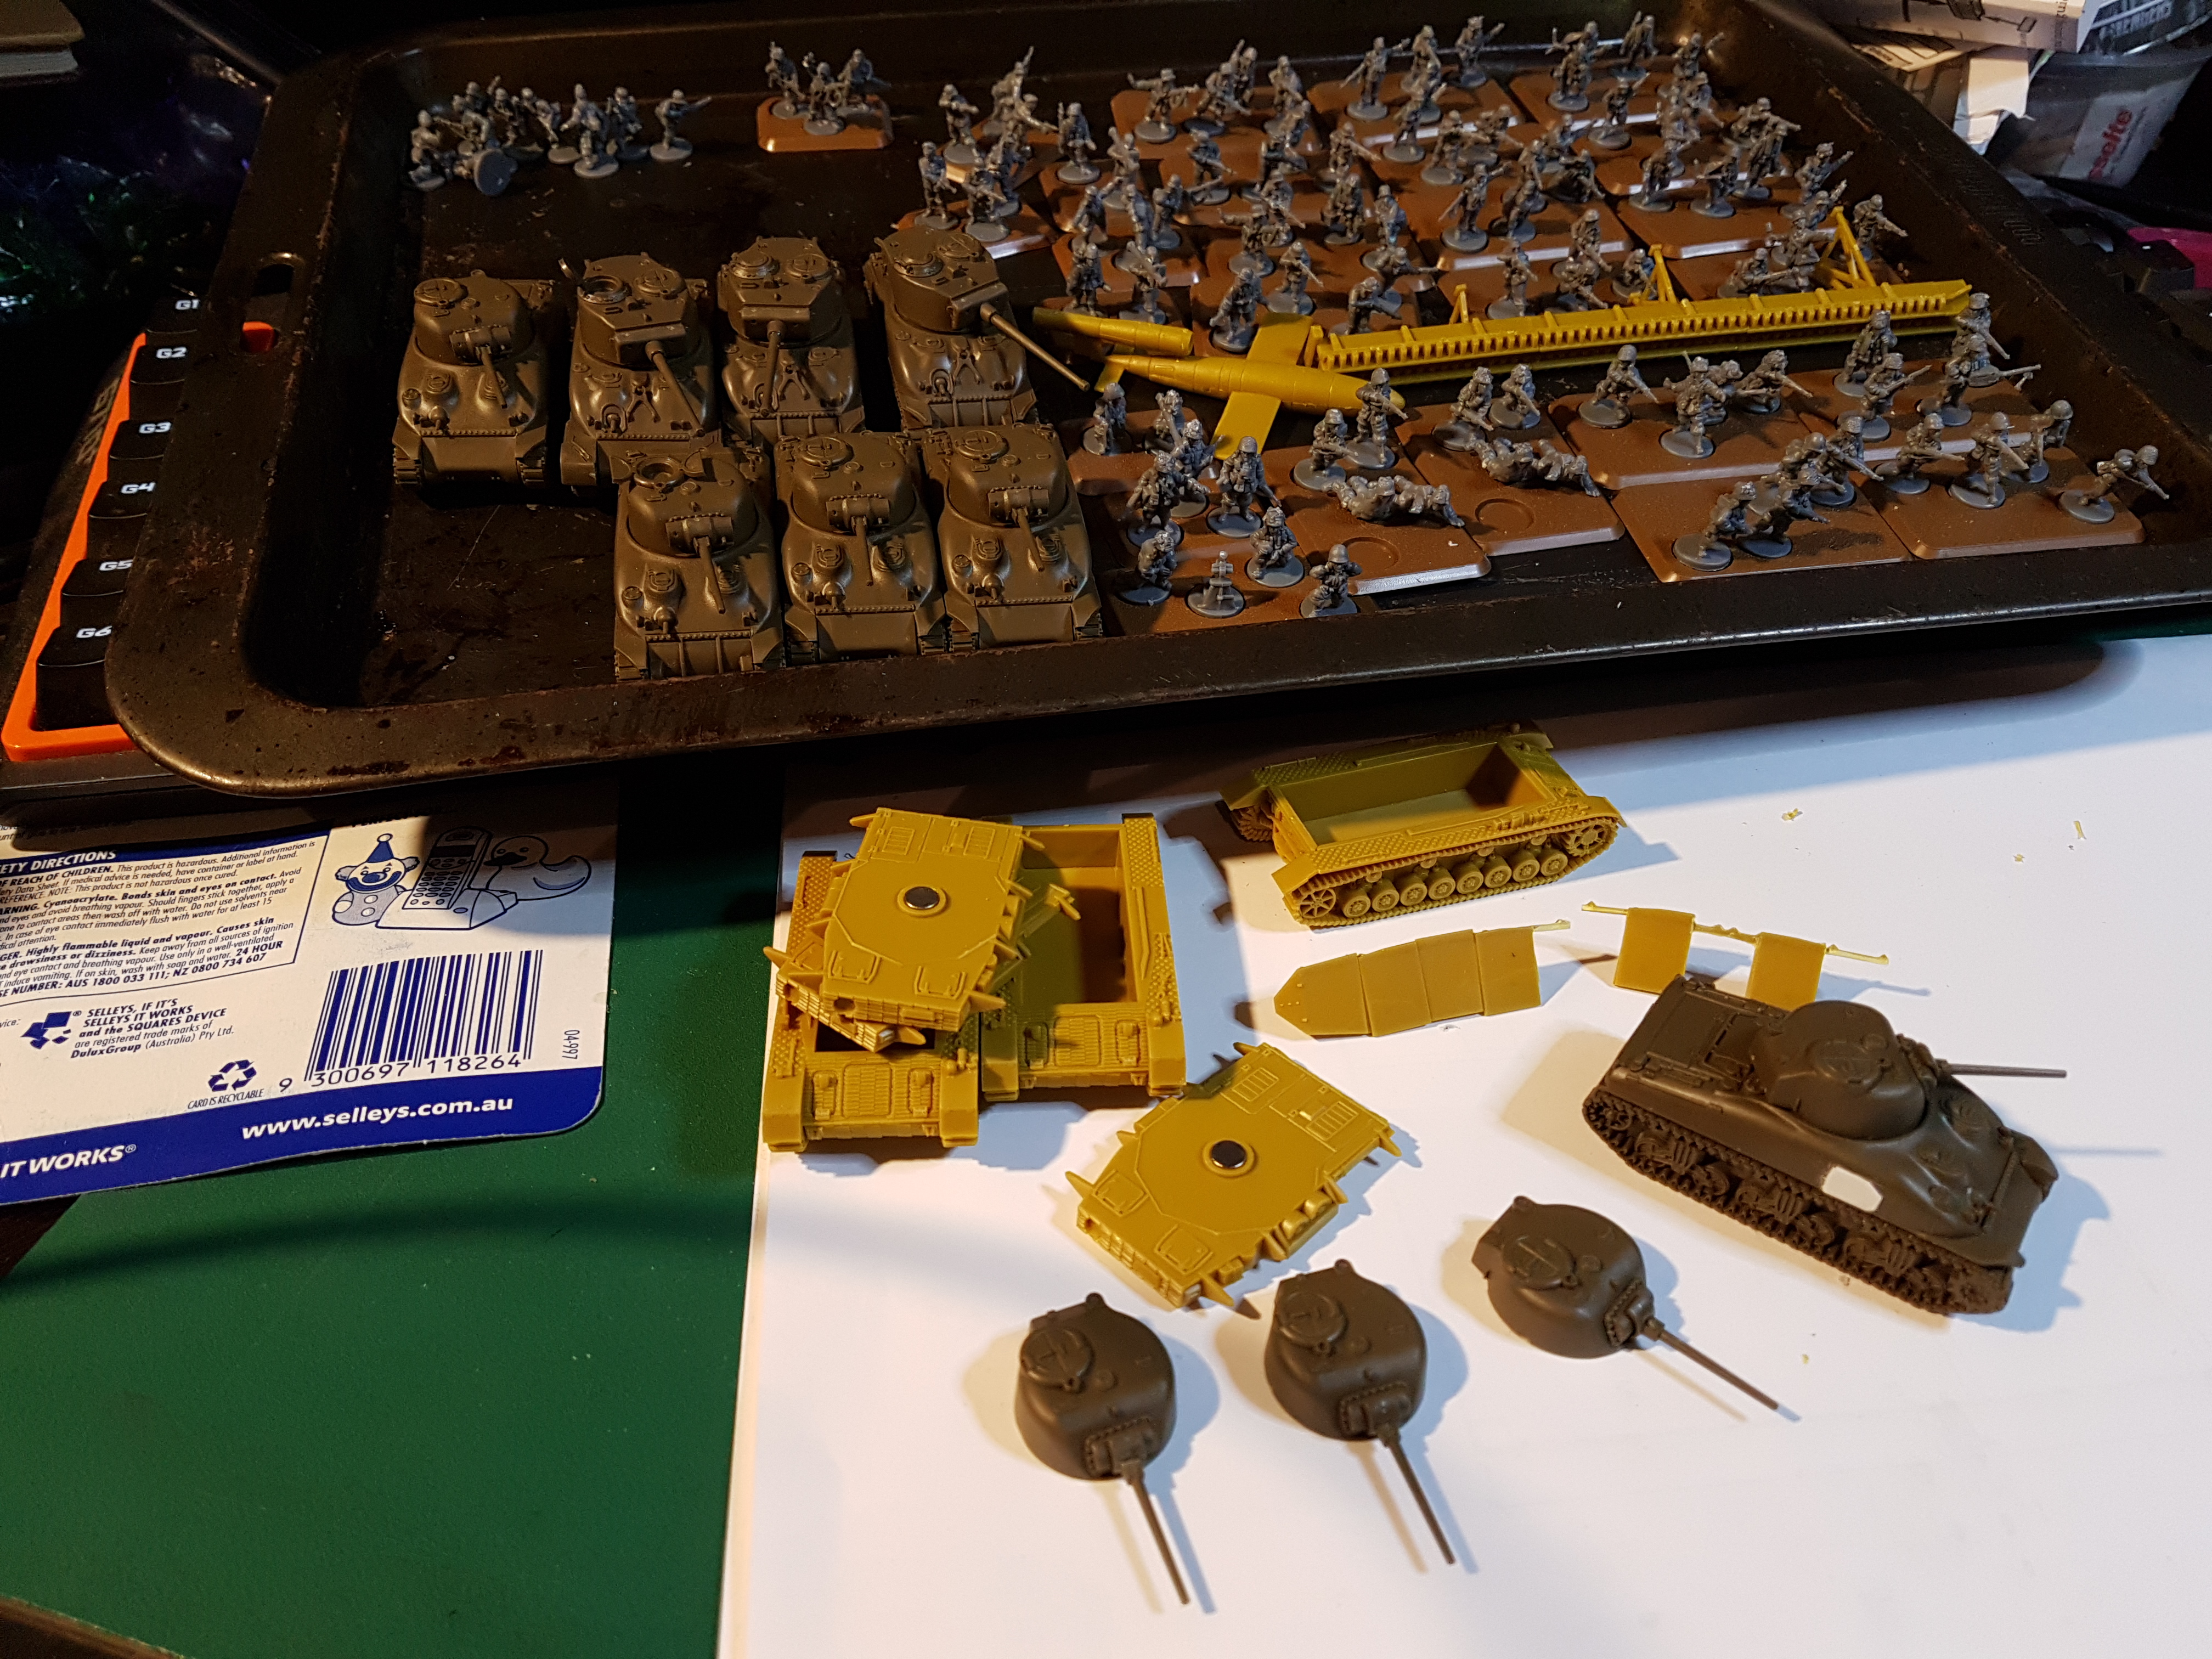
Current status of 2 boxes of Hit the beach plus 4 tigers. Still plenty to do with American infantry and all the tanks still requiring a lot of detail work , and bases still need to be flocked but the at this point I felt the need for a change, realized I was going to soon need a bit of 1/100 scale terrain so pulled out the Joan of Arc – Time of Legends Boxes

the base line
What’s going on with the bases you may ask.
A bit of madness and experimentation.
For the ultimate in flexibility and to assist with storage I’ve magnetized all the bases.
 3mm magnets in the bases allow for some wiggle room from above
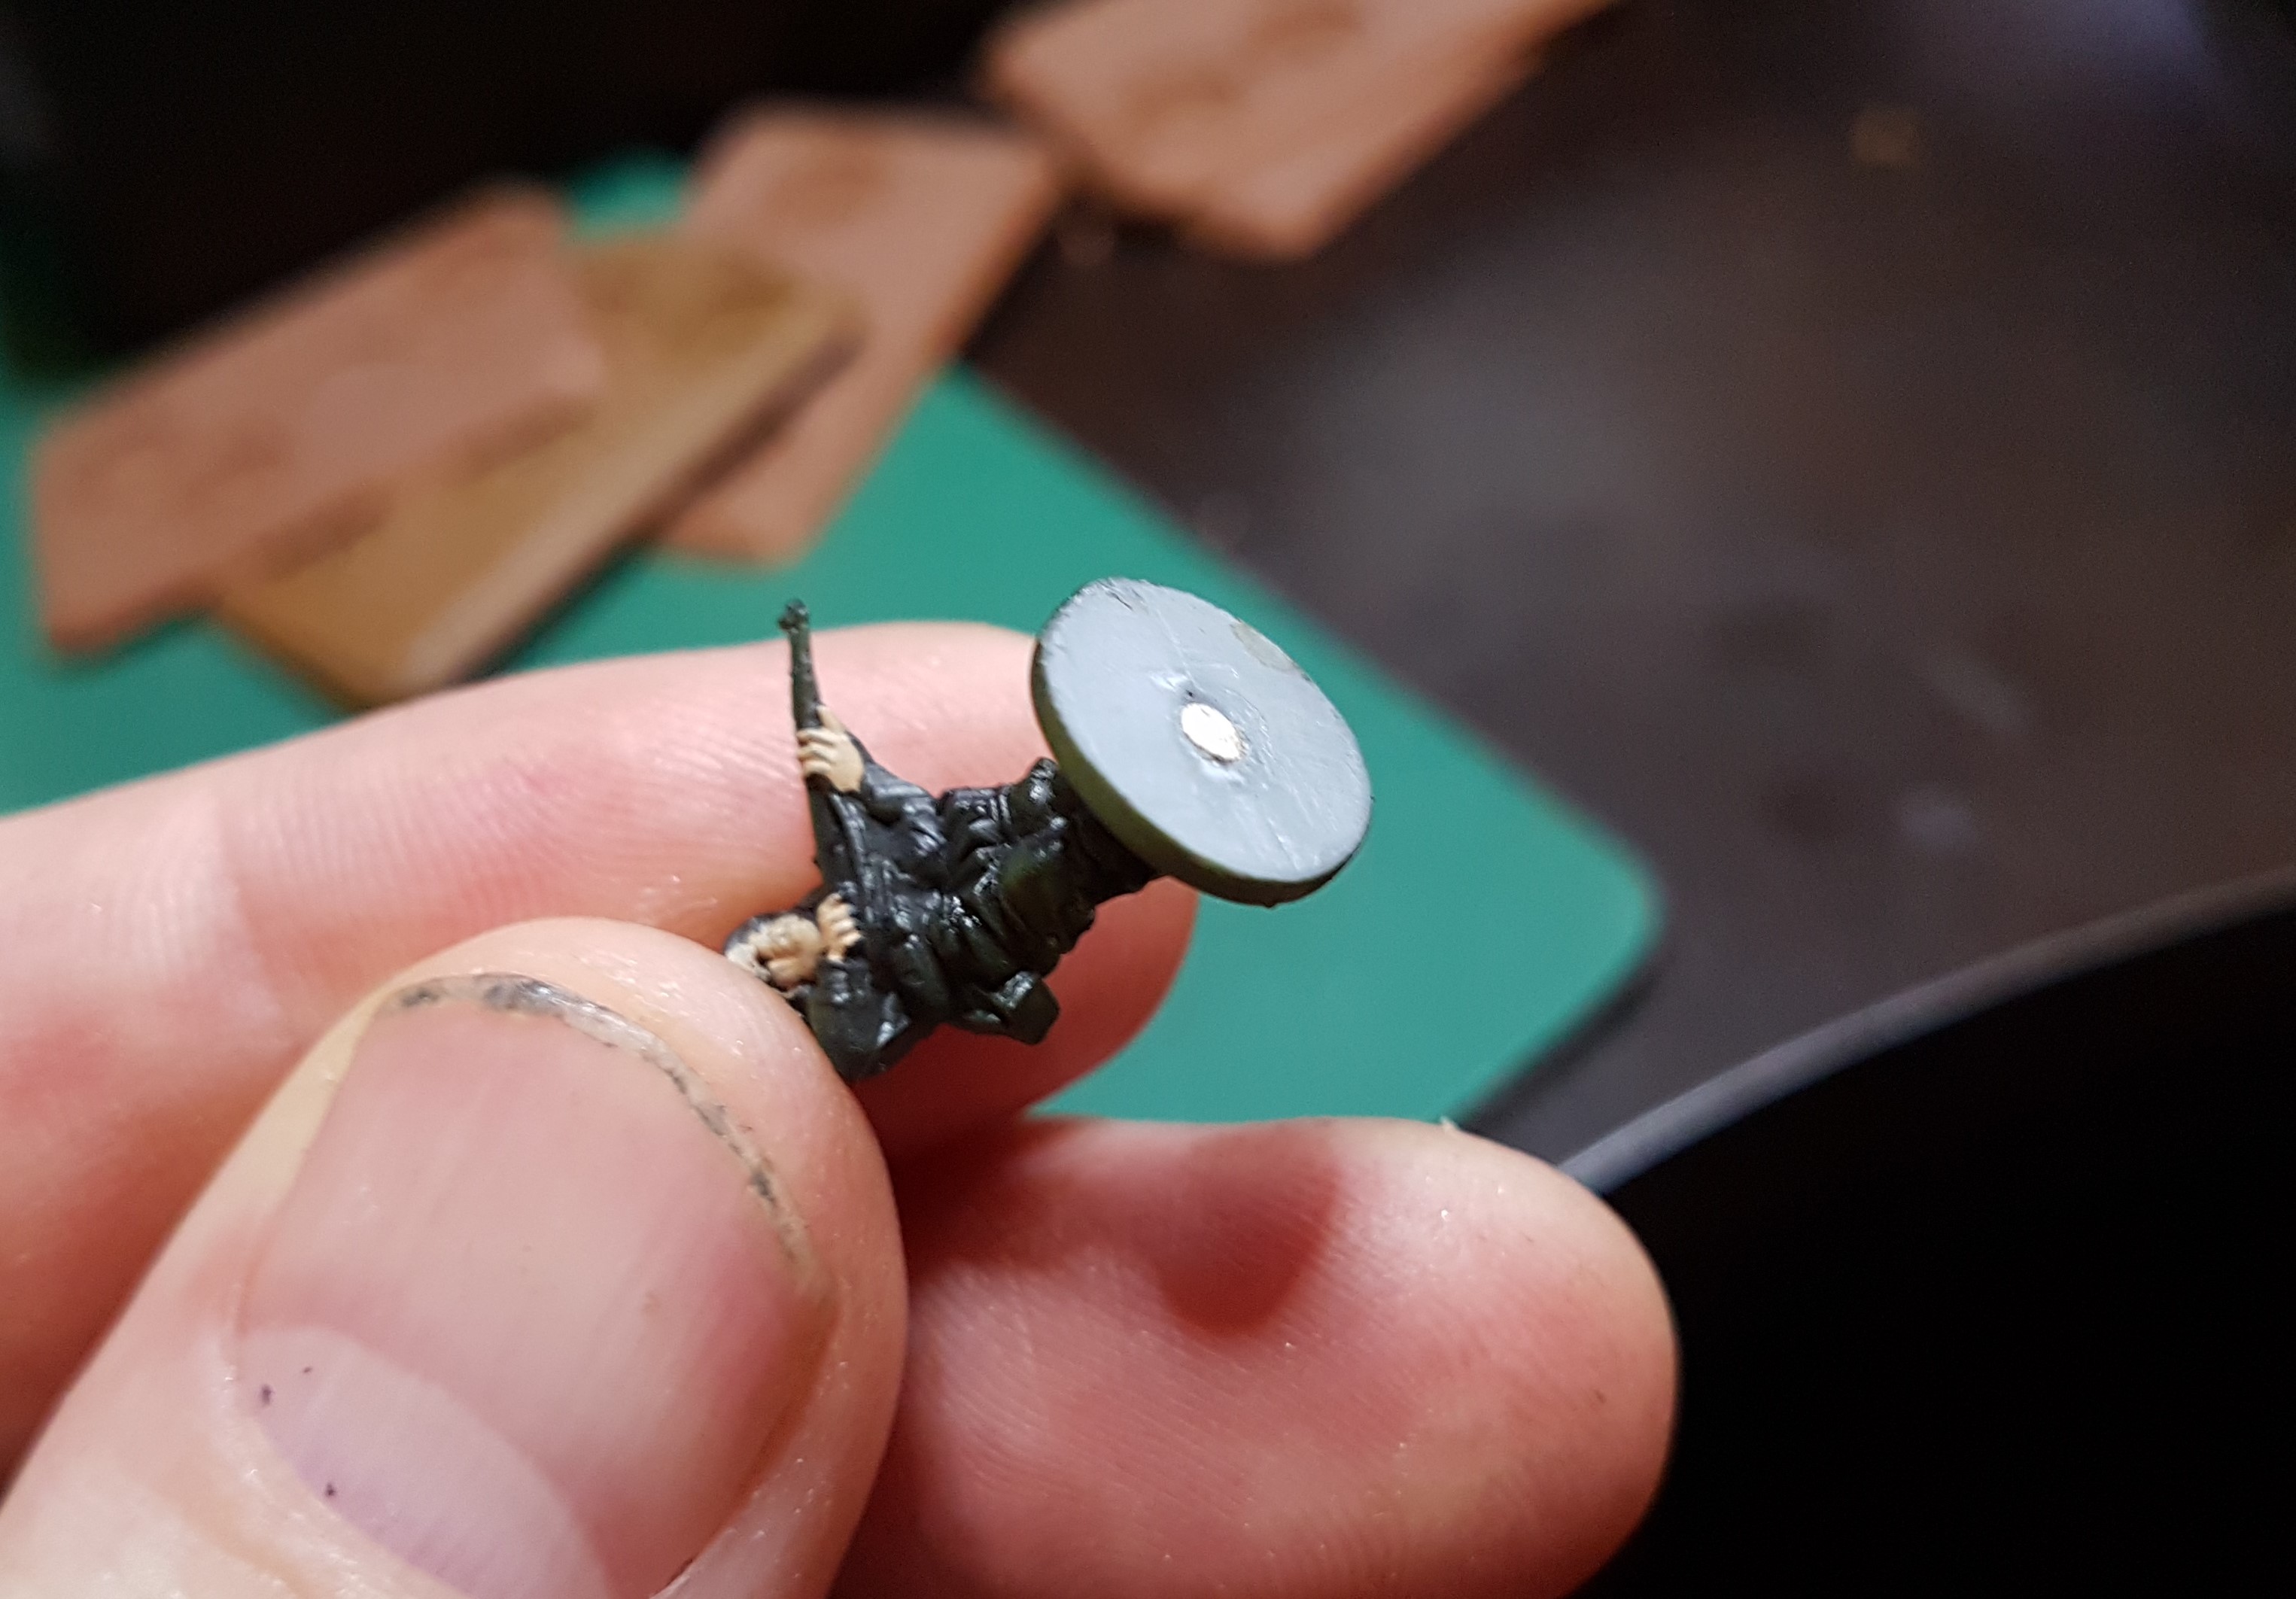 1mm is all that will fit in the bottom of soldier
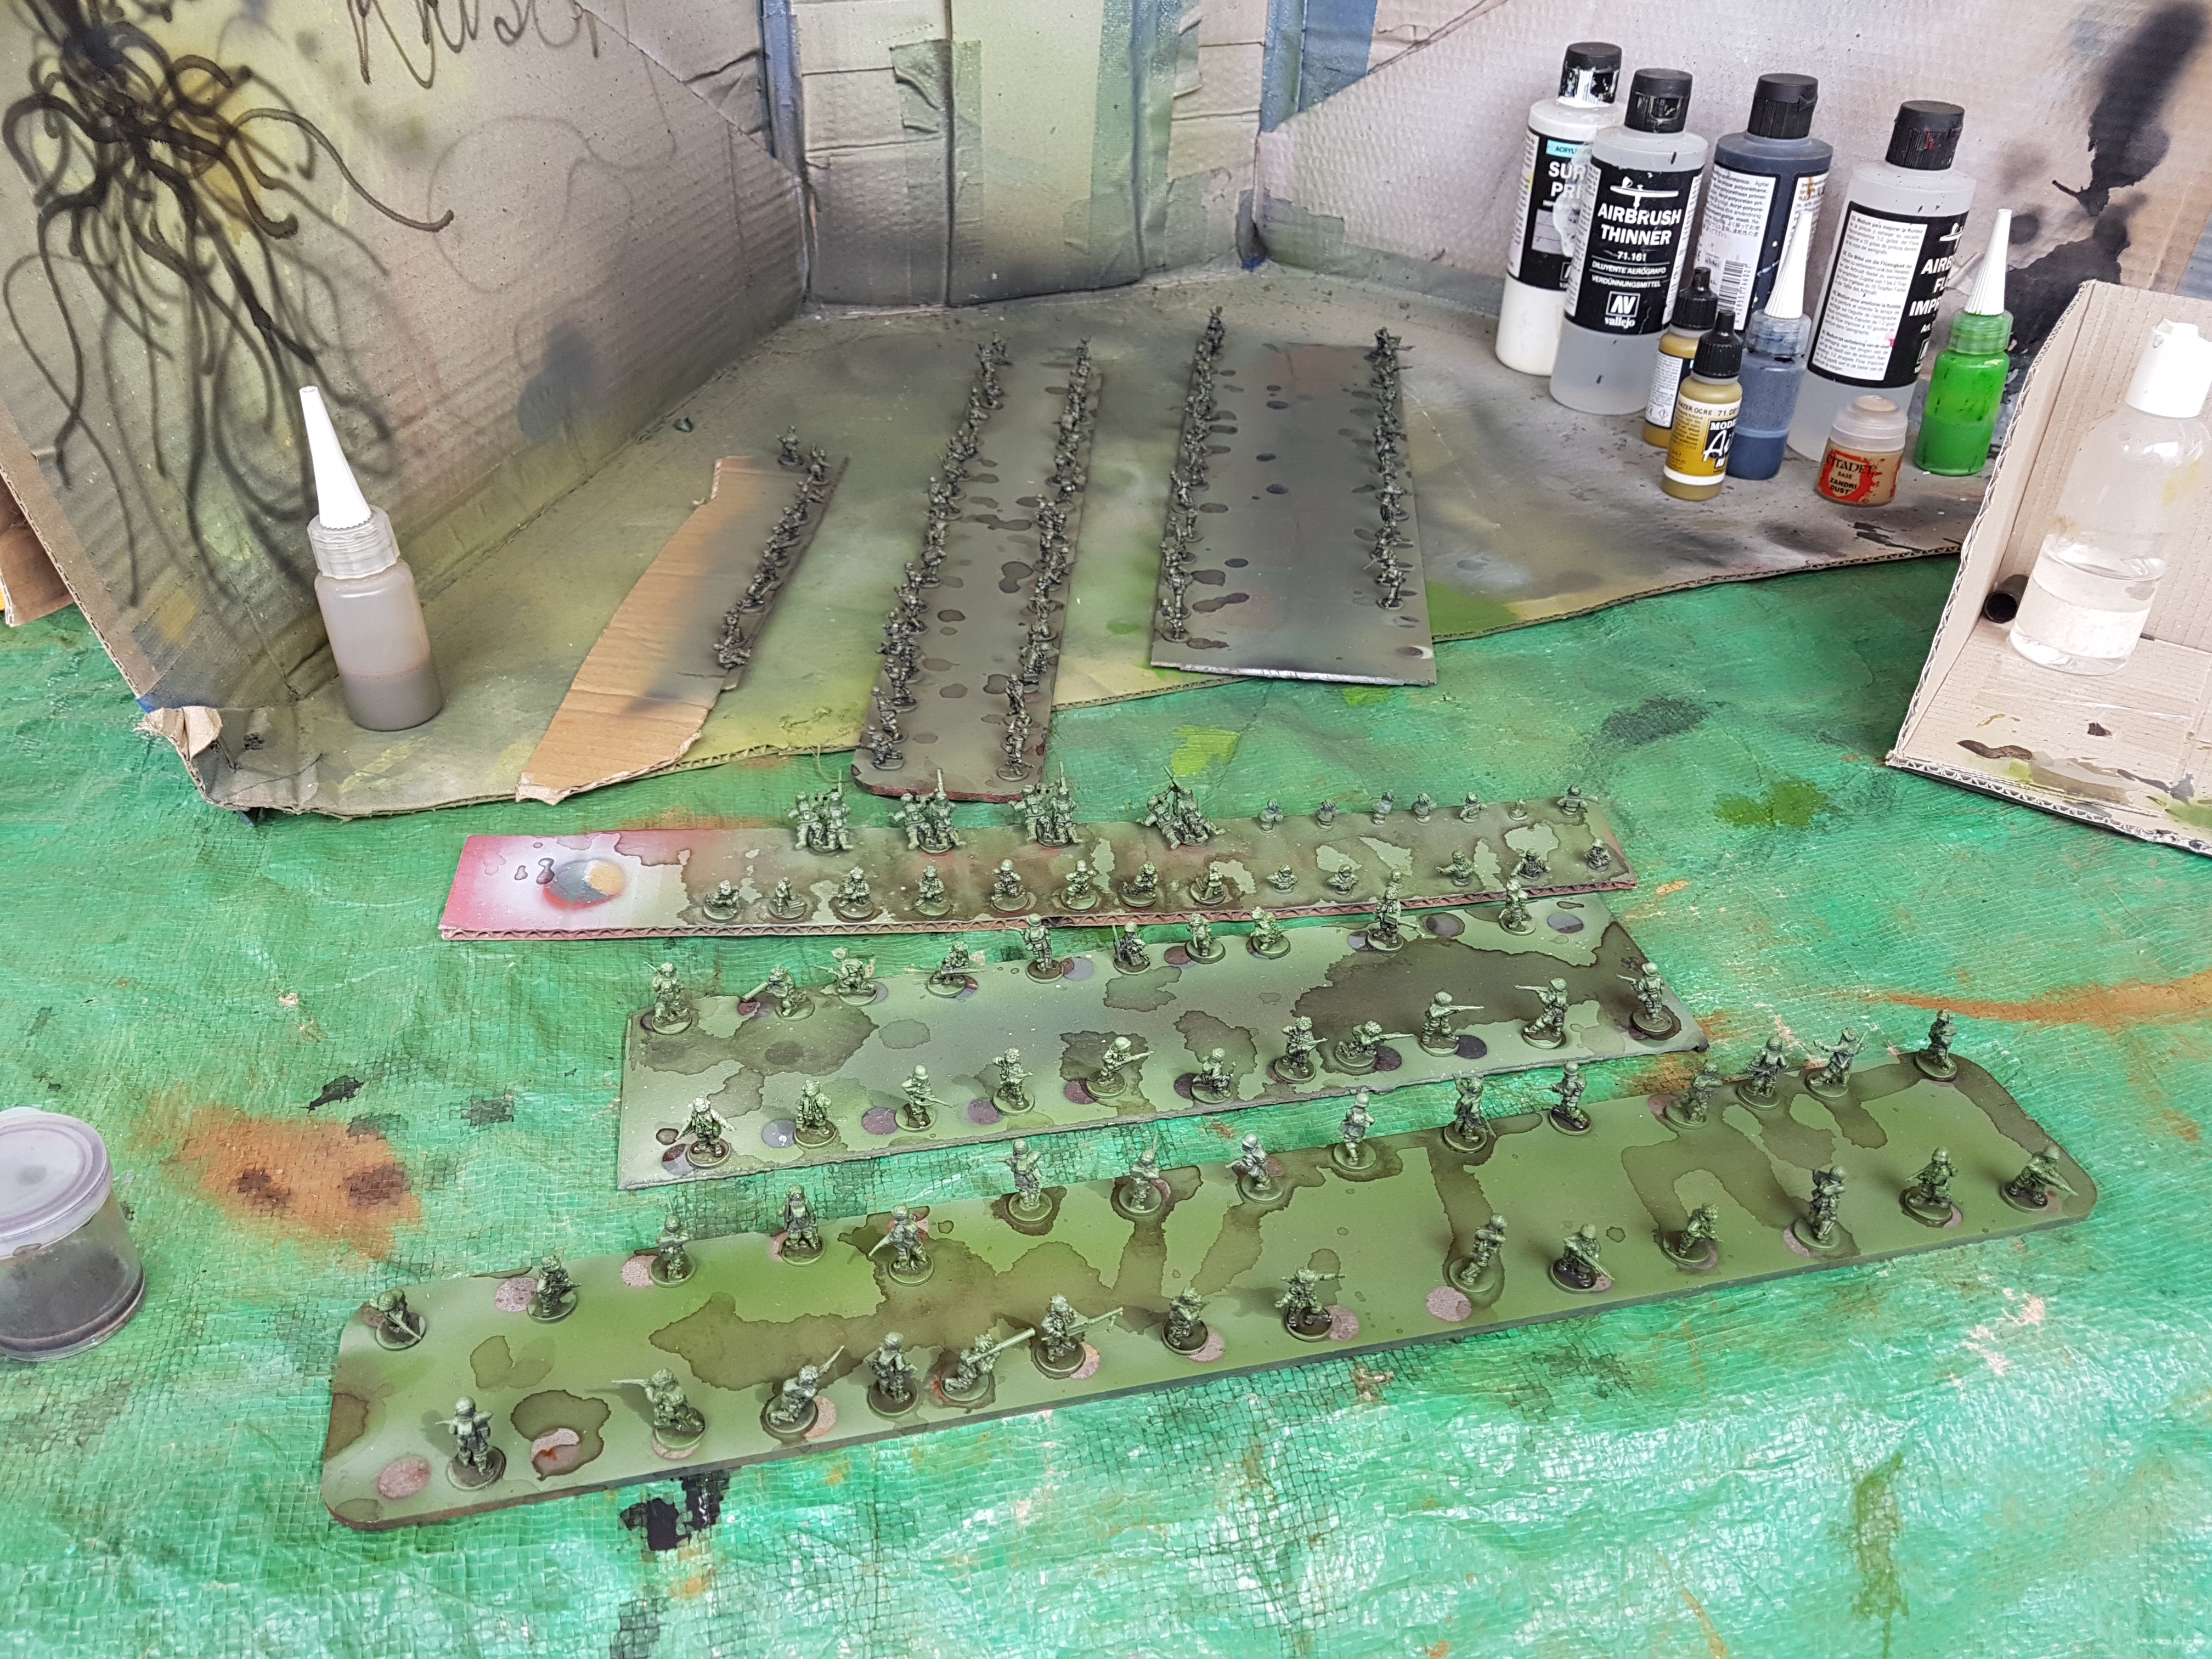
The magnetic bases also make storage and processing much easier as I could line up the units and shuffle each unit forward as a paint pass was complete. If I had to put the job down for any reason then order was kept and there was no issue with picking it up again.
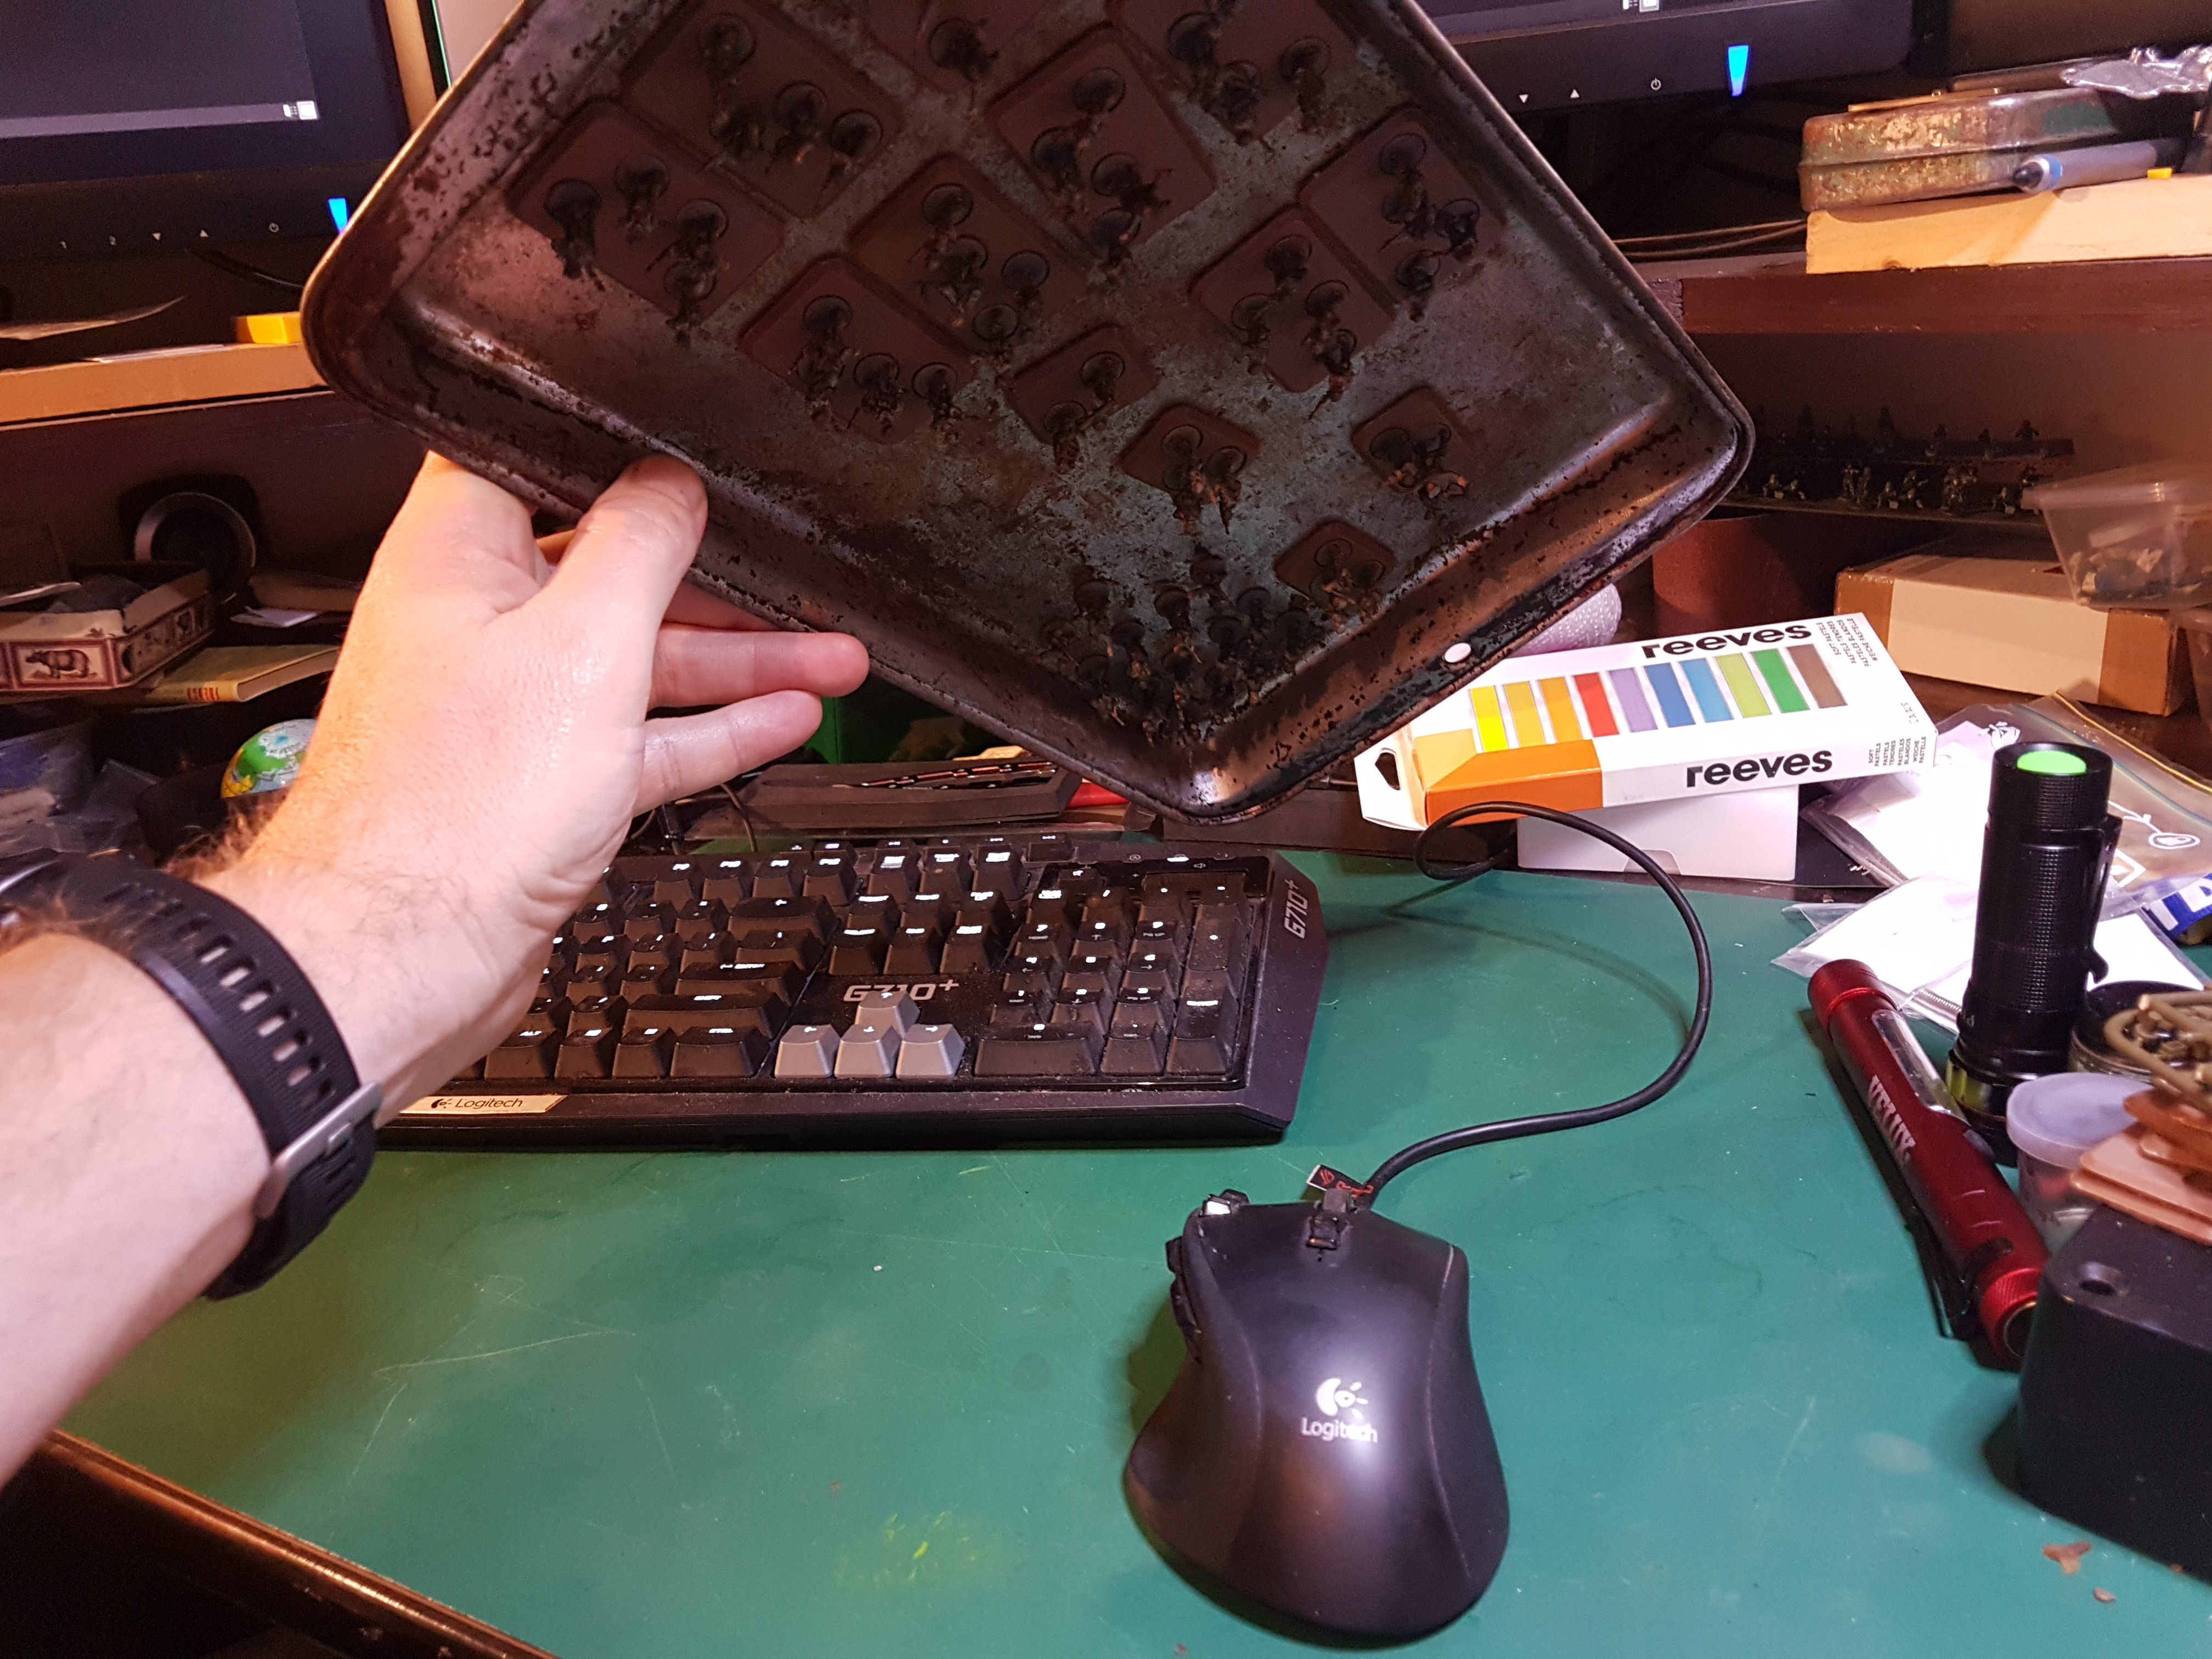
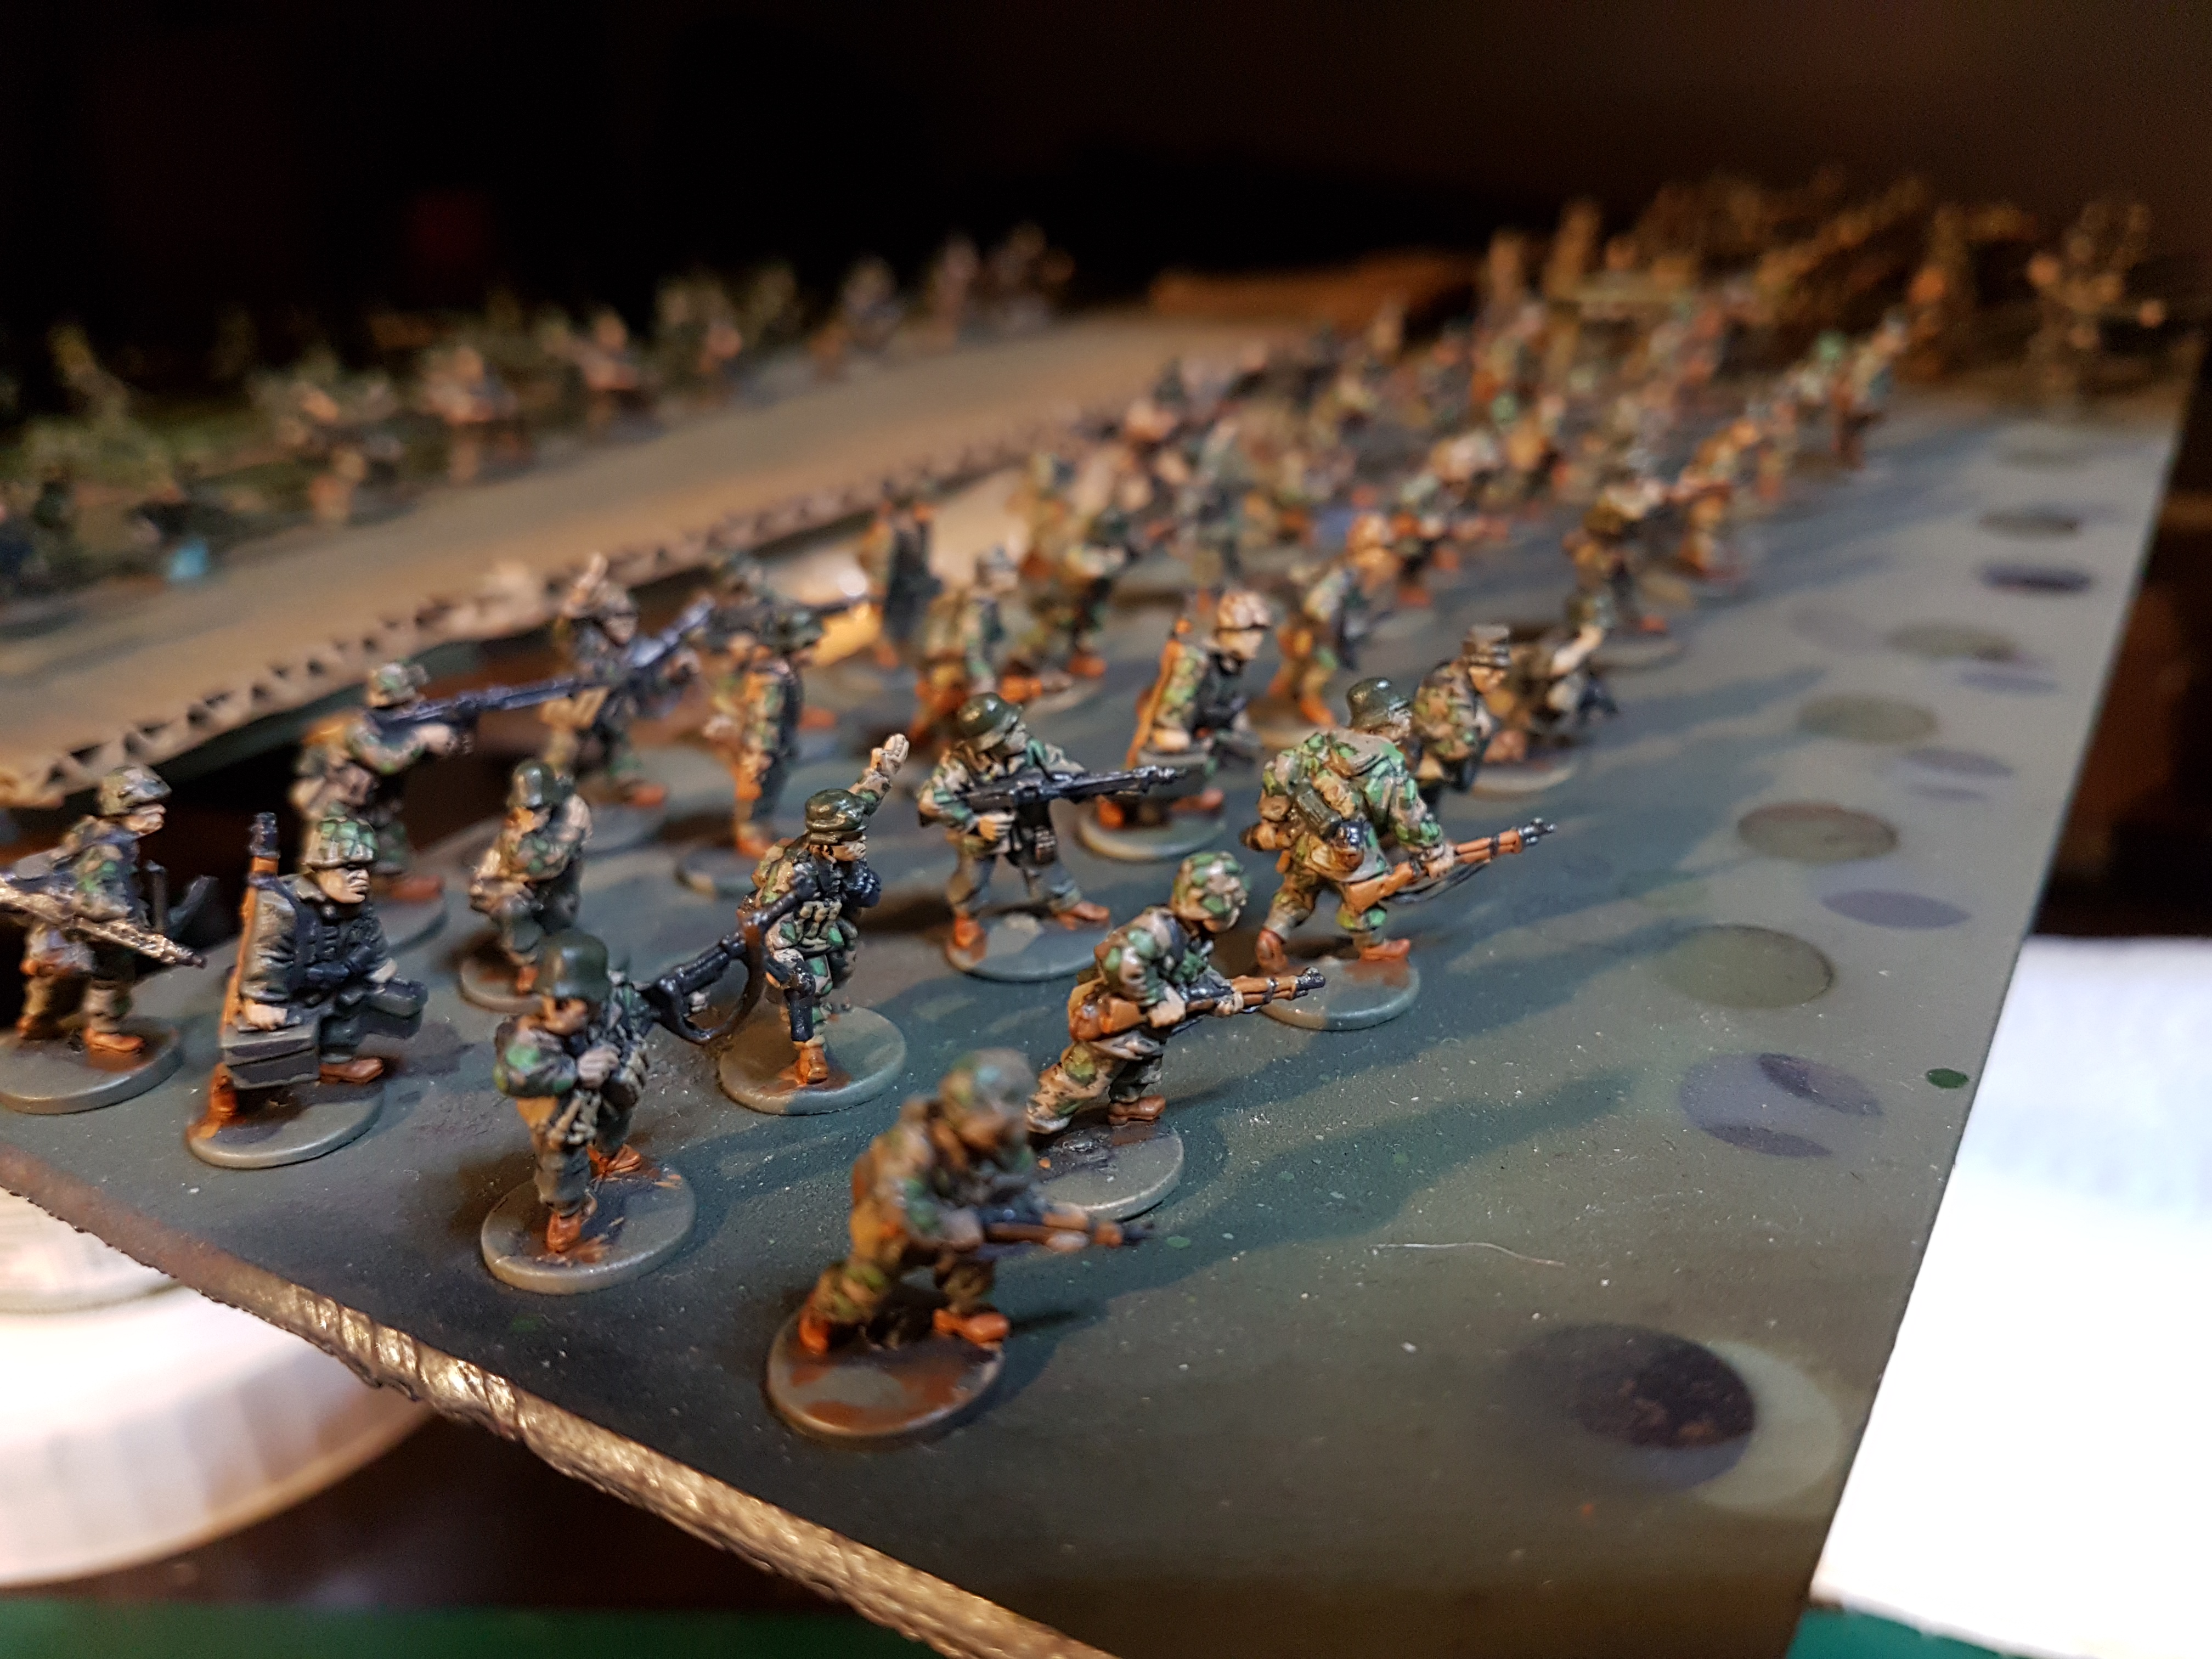 During the painting process I had all the soldiers lined up on a steel plate
However I still had an issue of how to handle the units generaly. On a typical table top the magnets are strong enough to lift a unit of men via any one soldier but I still don’t like the idea. And if I was to use steel plates to help store them then the bases become too difficult to move. The solution was to pad the bases with afelt like material with the backing down so as not to pick up too much debris
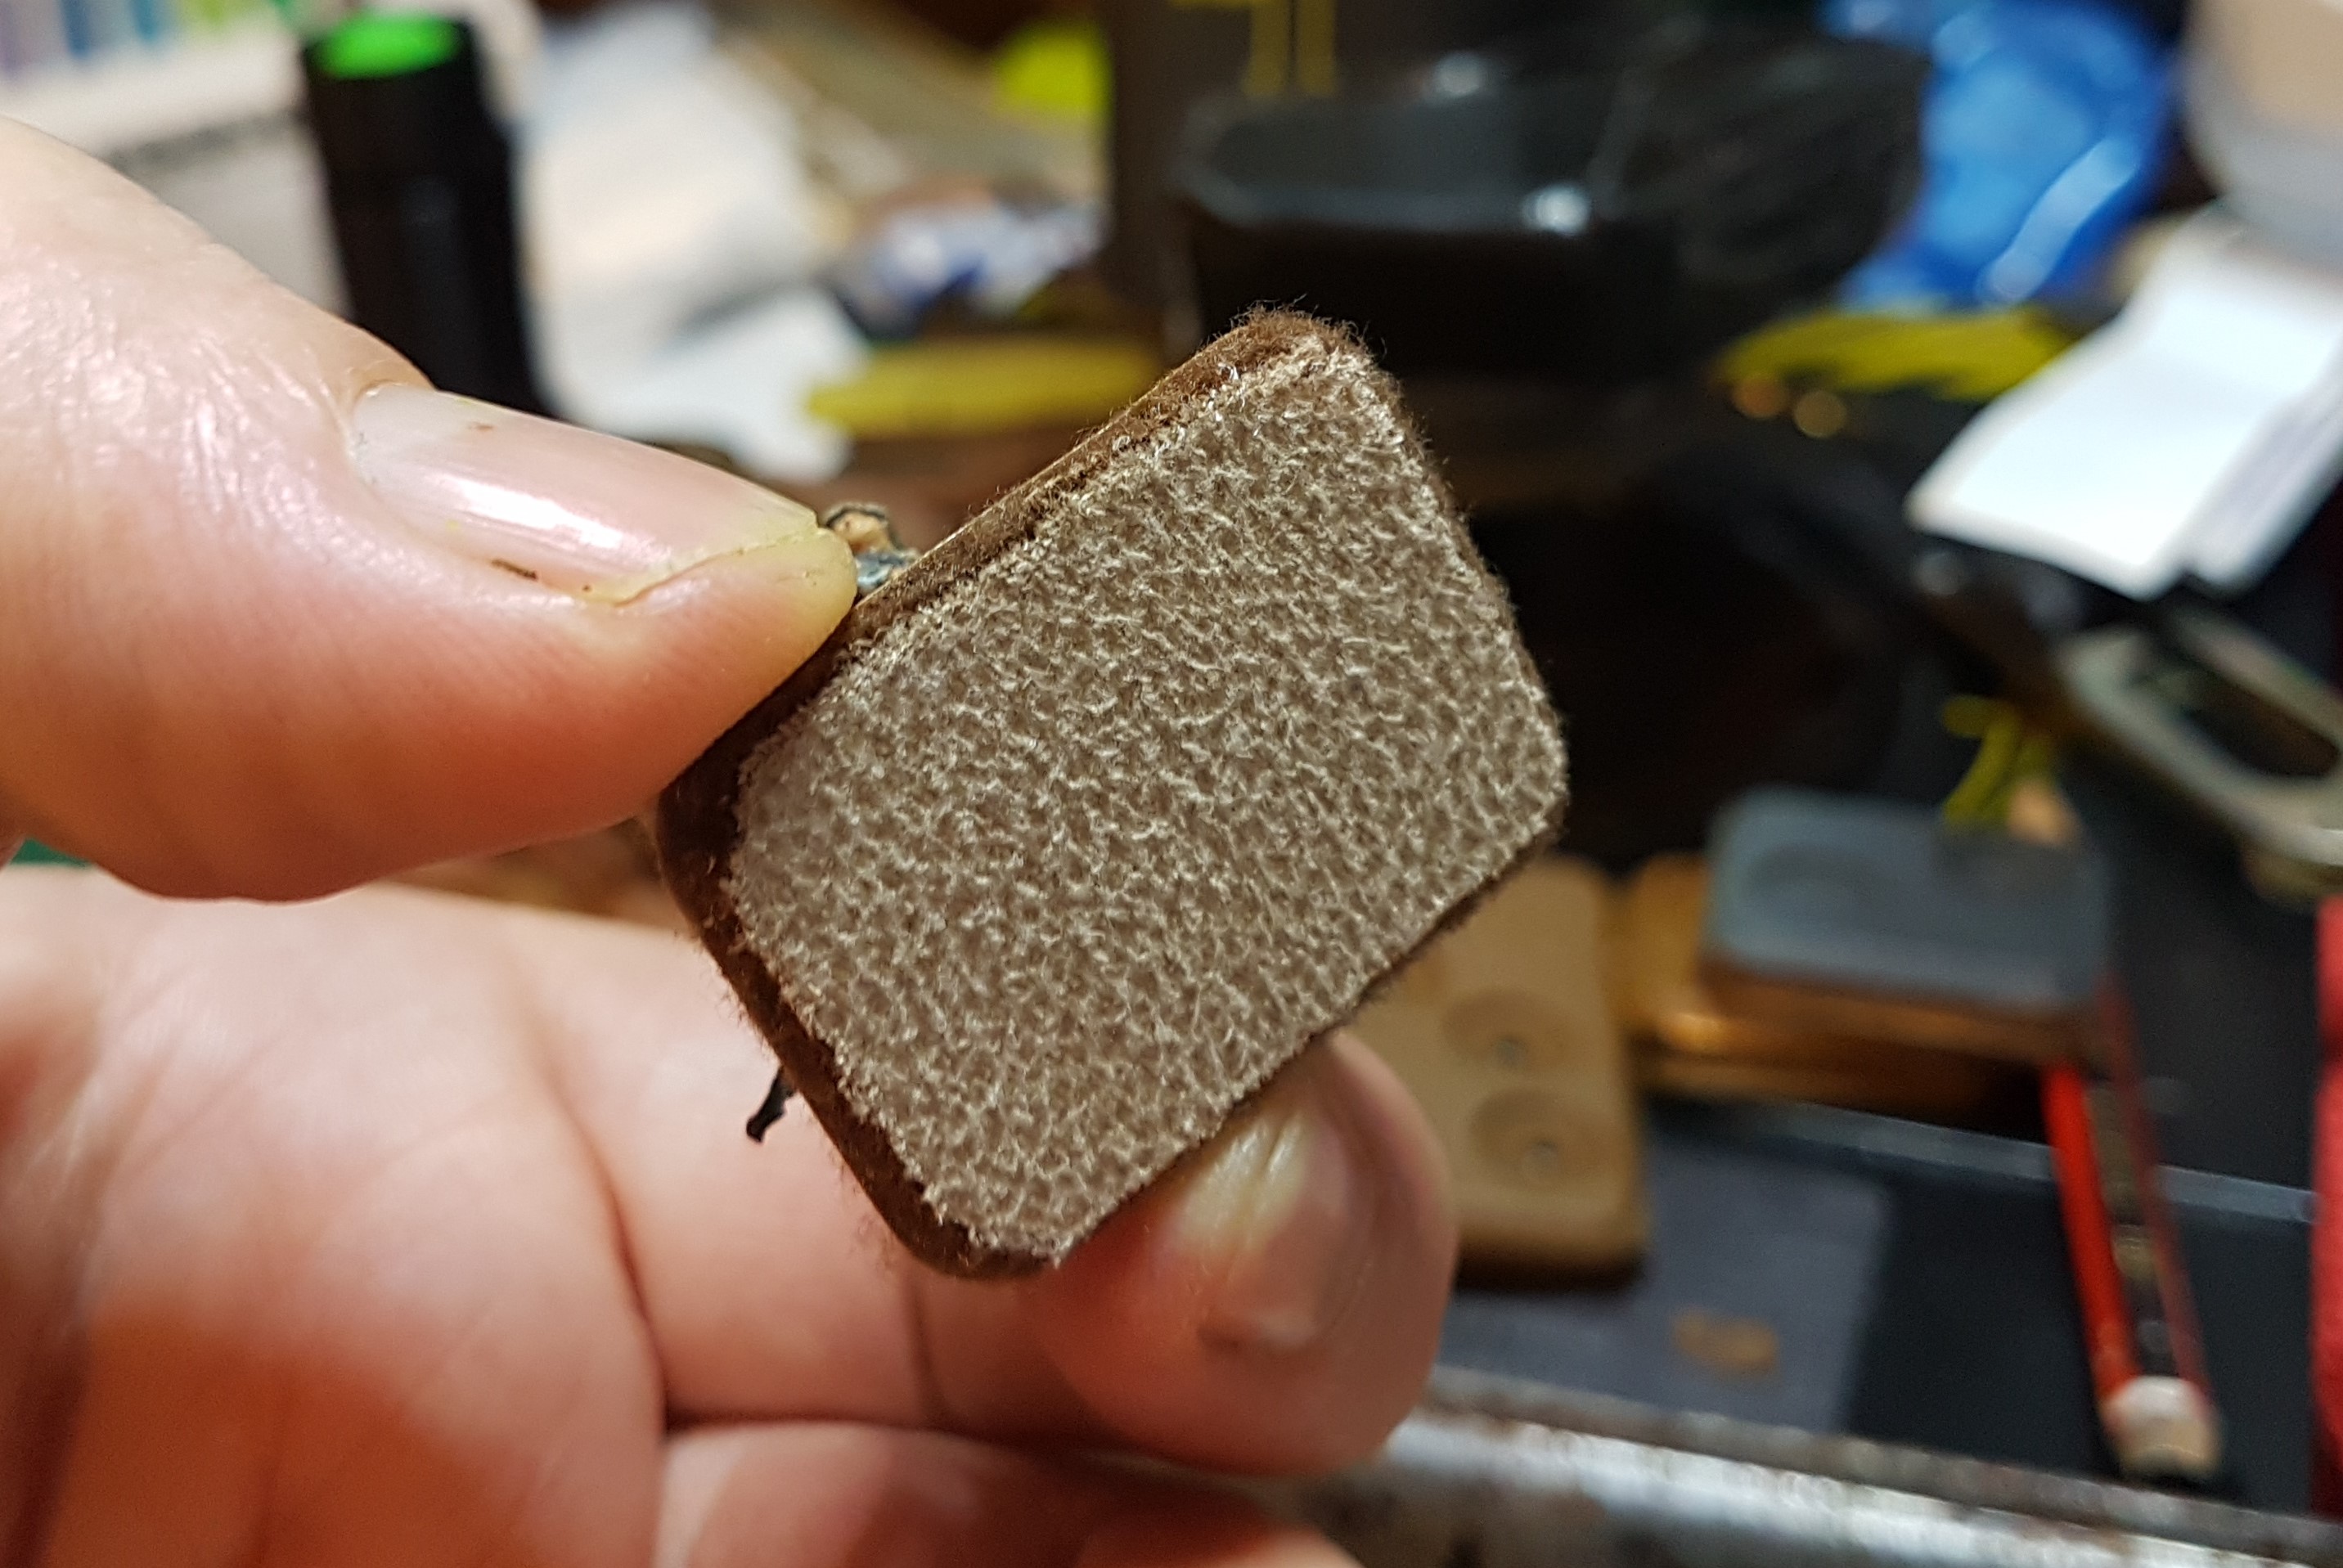
The end result is I now have plenty of lip underneath to get my clumsy fingers around the chamfered bases, or the sponge effect allows me to press down a corner to get under so no more lifting buy the little men heads, and the magnetic grip is still plenty to hold the units in place for storage
A few more wee men
No time for posting in the mad lead up to Christmas or the weeks of laying about in holiday bliss afterwards but that’s not to say I haven’t been hard it.
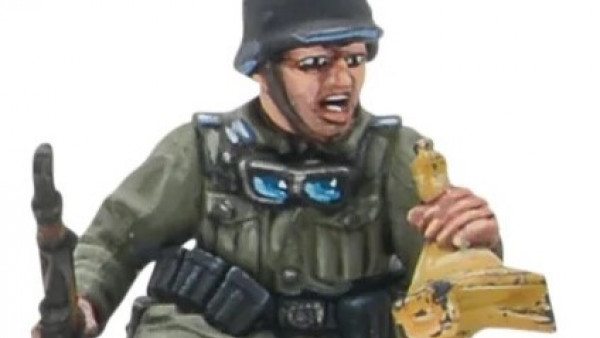
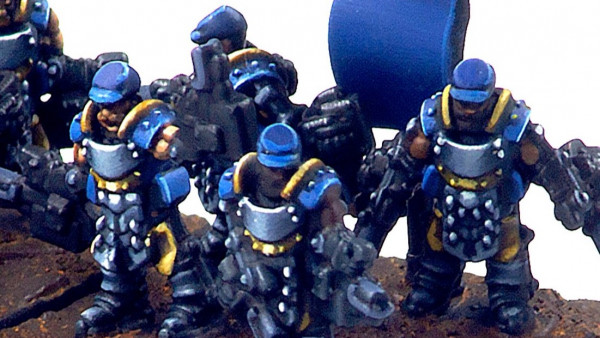
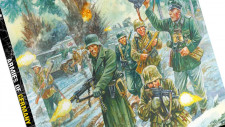
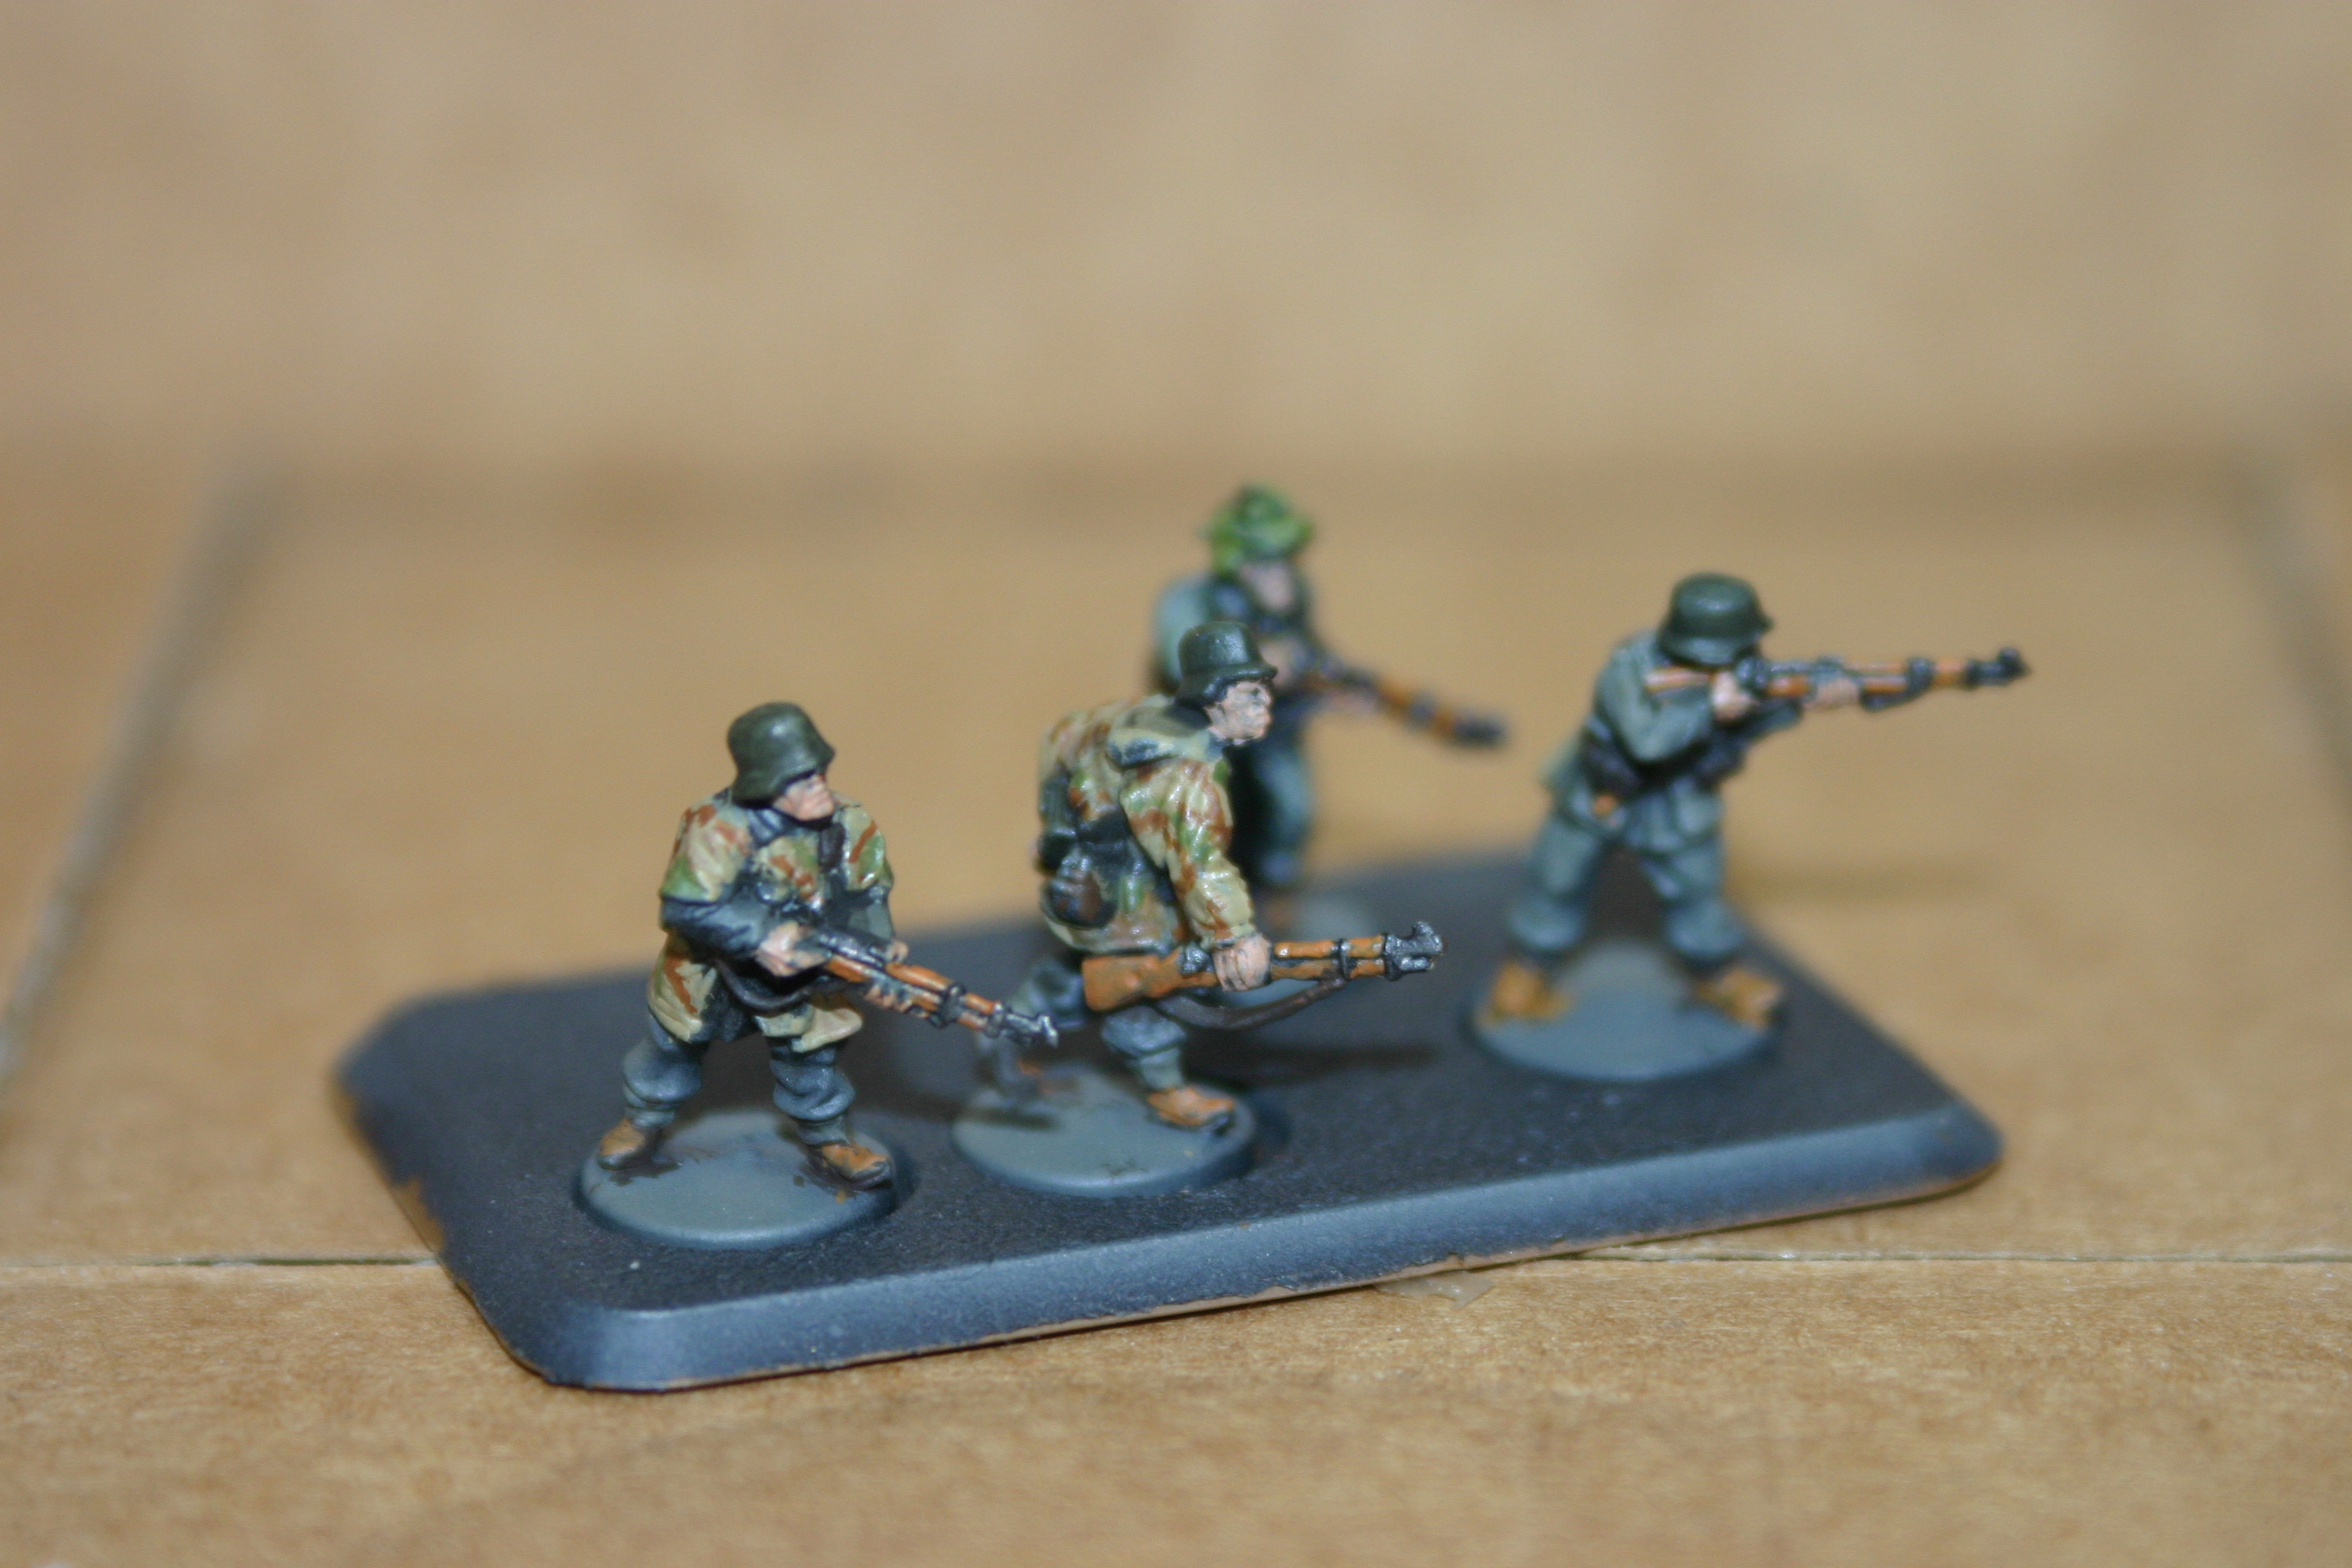
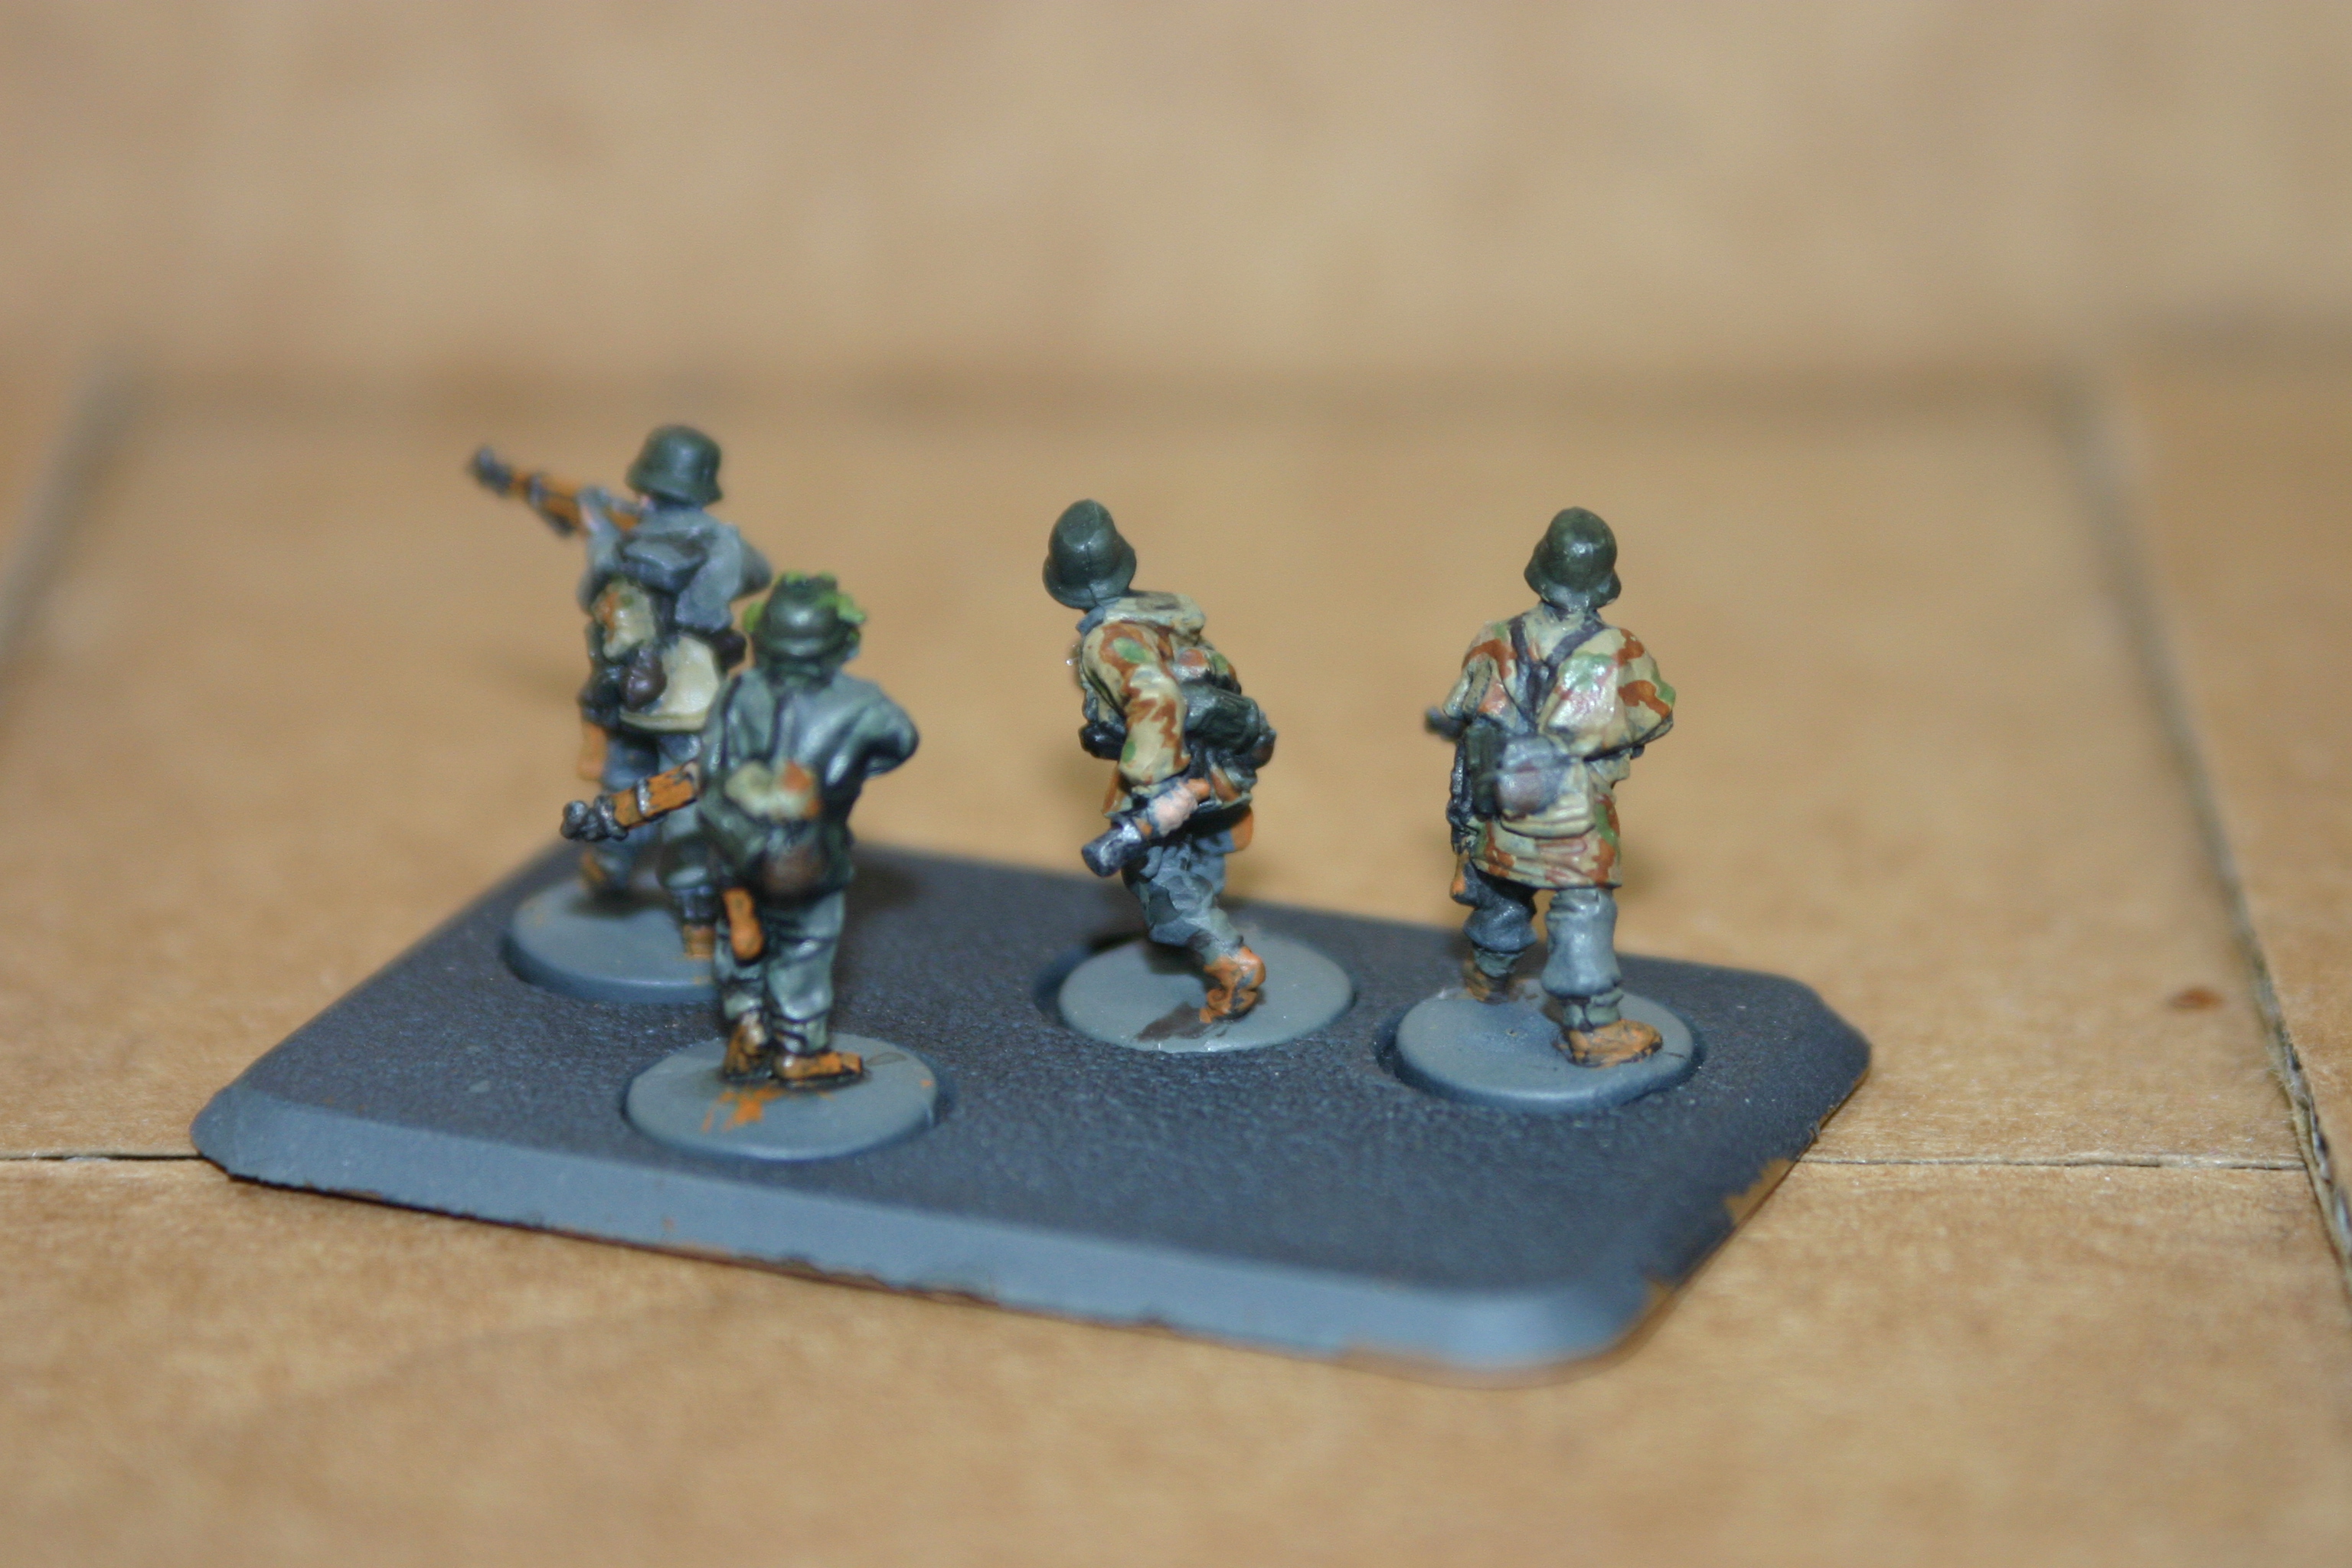
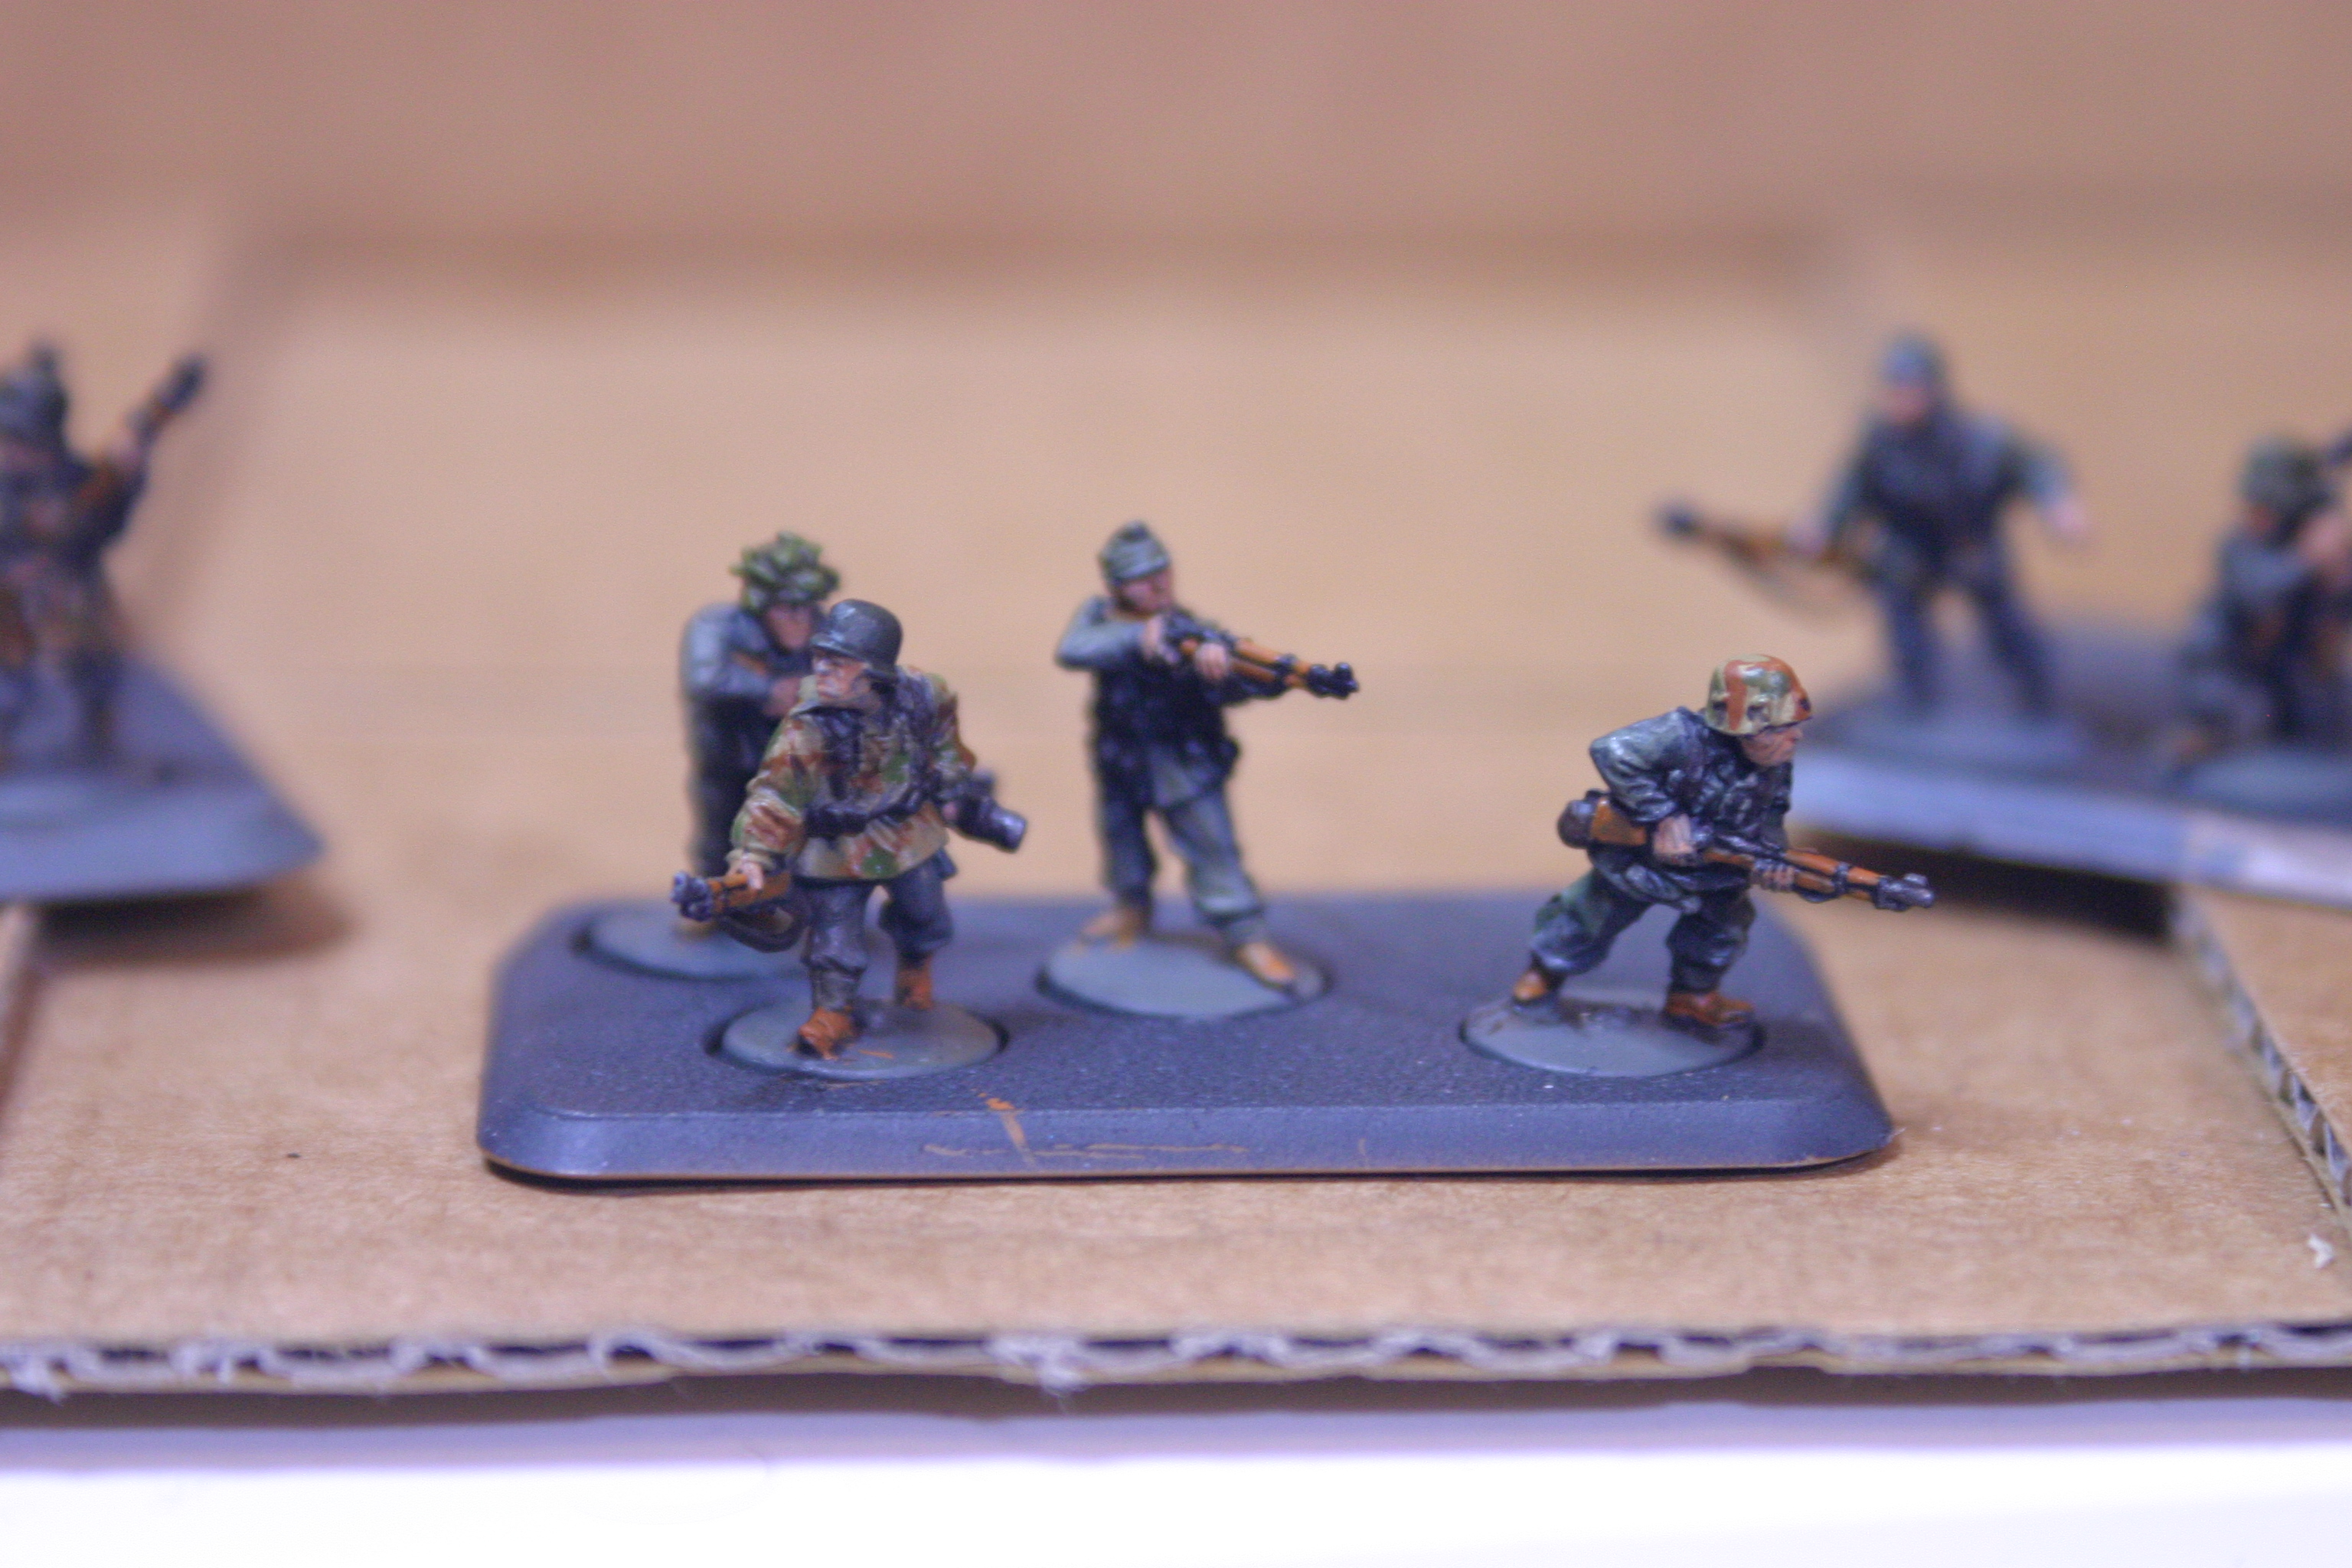
All Germans from the second box of Hit the beach are now complete bar basing and to mix it up I’ve painted a bunch of them with an abstraction of oak leaf so I could not only pass them off as SS, but also distinguish various platoons on the table.
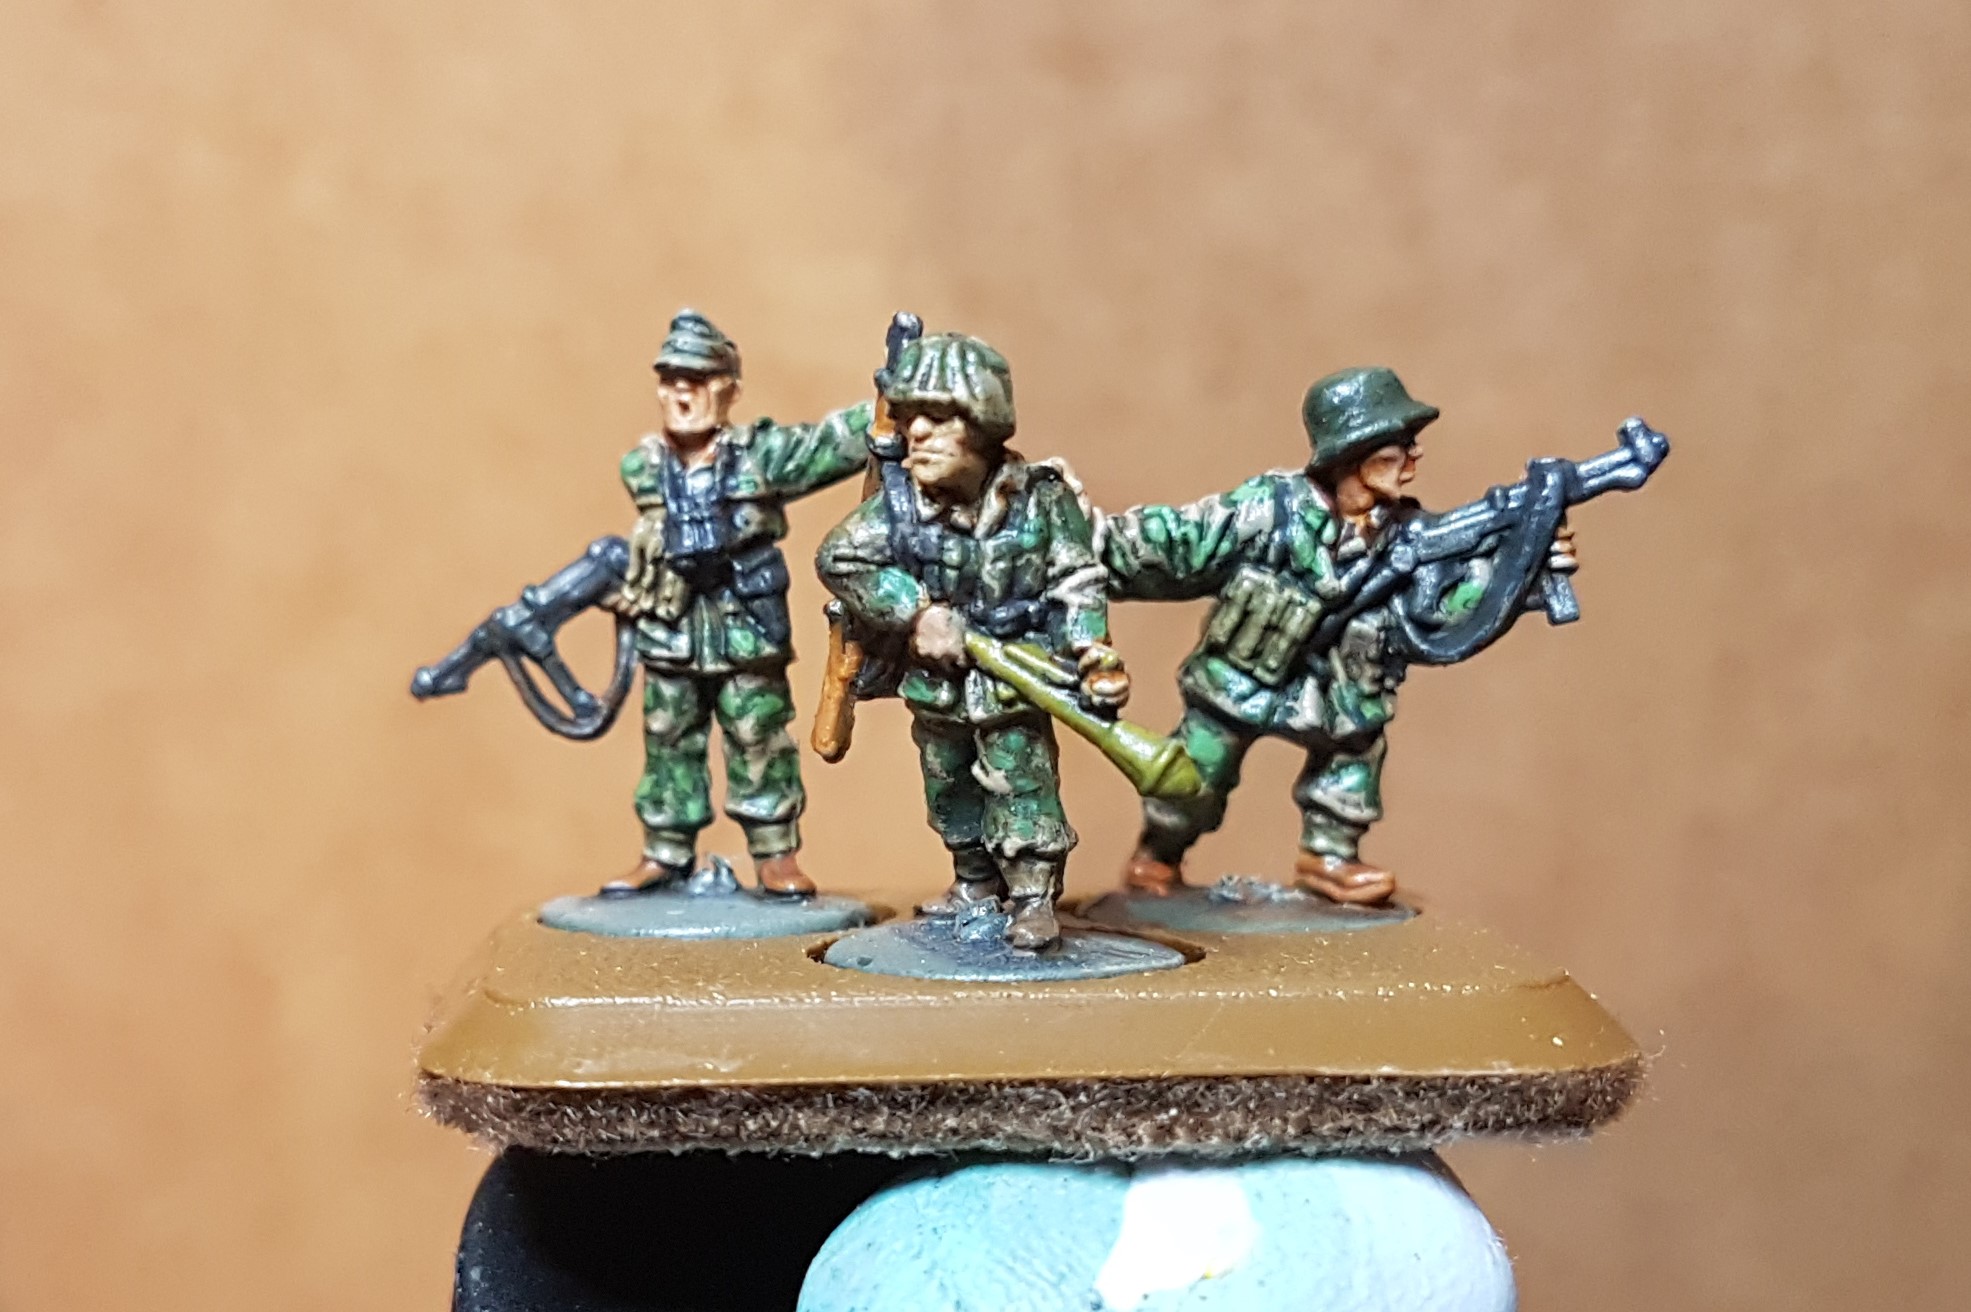
One thing I do note generally, though I actually have many of actual colours specified in the Colours of War book which I used as guide, I did find I had to punch up the lighter colours a little to achieve a visible contrast at gaming distance ie. I mixed a little pale green into the Luftwaffe green to make it visible. I also mixed a few grey pants and tunics as well as the occasional autumn oak leaf pattern to provide a little variety over the group
A few wee men
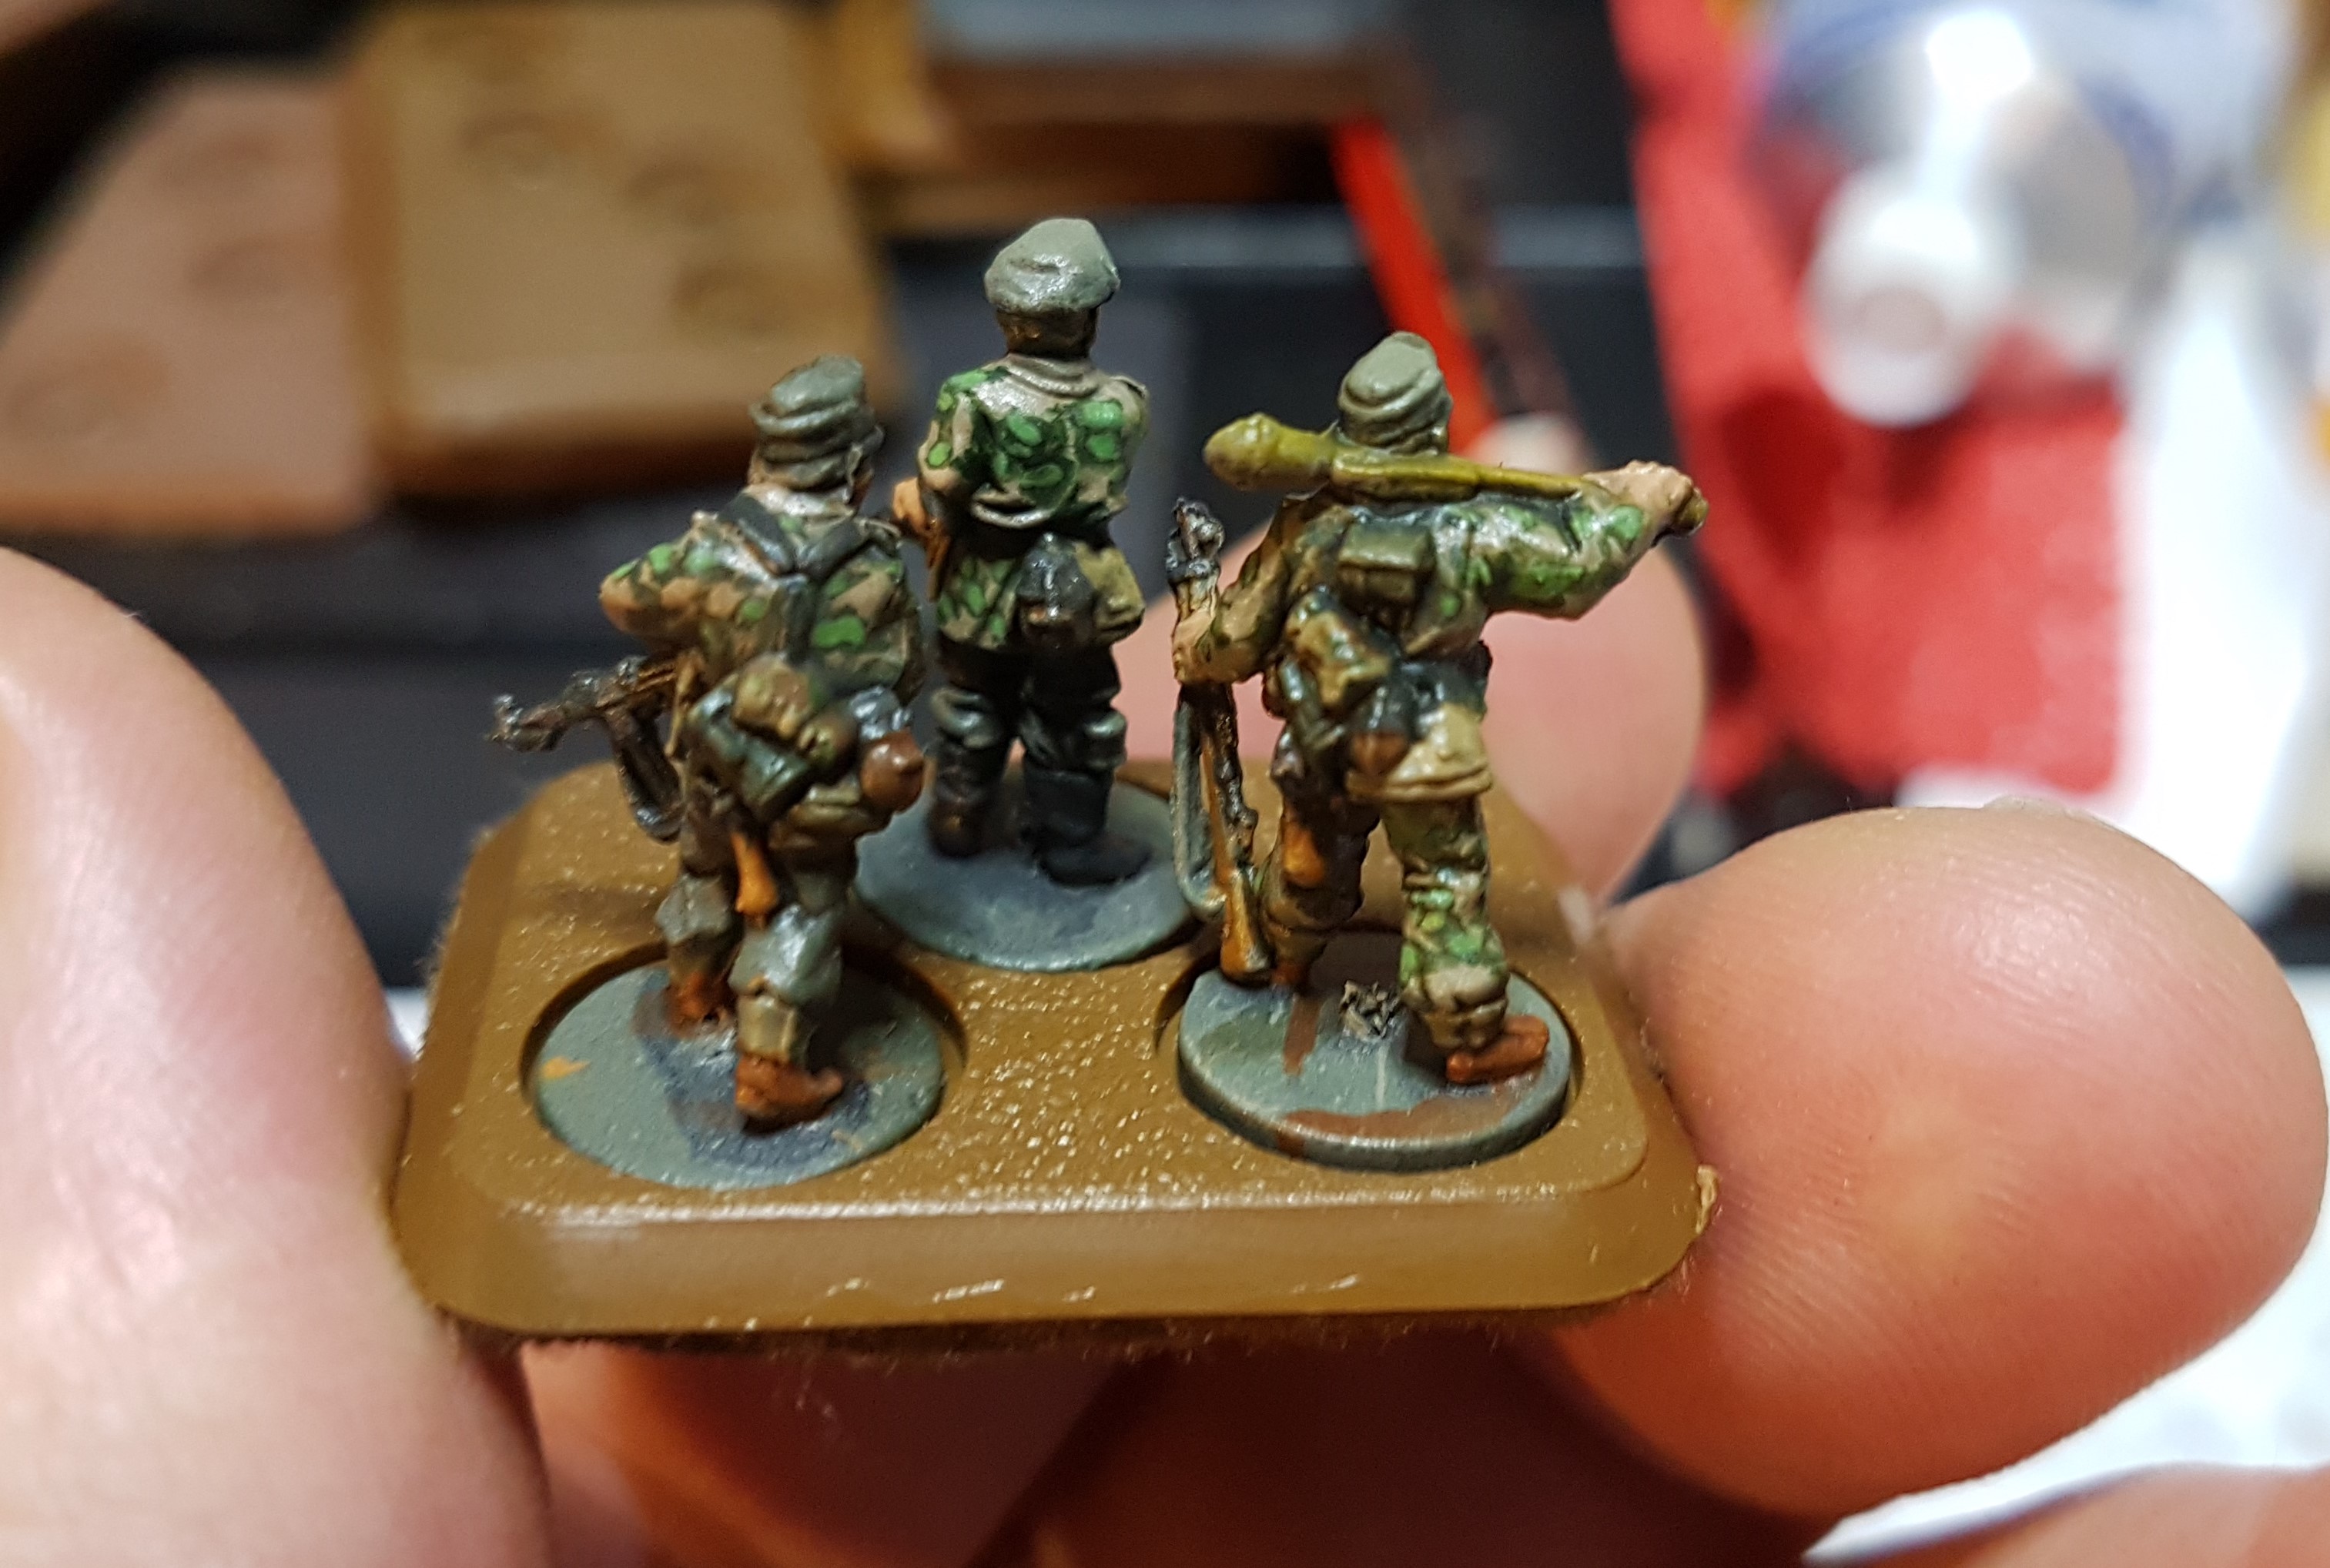
A Saturday with nothing on the calander, my favorite type. I thought to get proactive and see how far I could progress the remainder of my infantry and see if there were any processes I could improve on with teh next batch. This time while doiing a quick scrape of mould lines I thought to also sculpt in a few shadow lines where I felt the shpes had become overly simplified. The image below shows an example where the rocket round has become indistingushable from the helment so a quick wedge cut to create a shadow and its much improved but I only did this to the extreme cases. I think a simple black line would be passable but painting in shadows is still work.

During the afternoon I pulled out the airbruch and gave all my Americans (2 x Hit the Beach)a bit of green zenith on black and germans (remaining Hit the Beach) a field grey zenith on black then black washed them to bring up any lost detail.
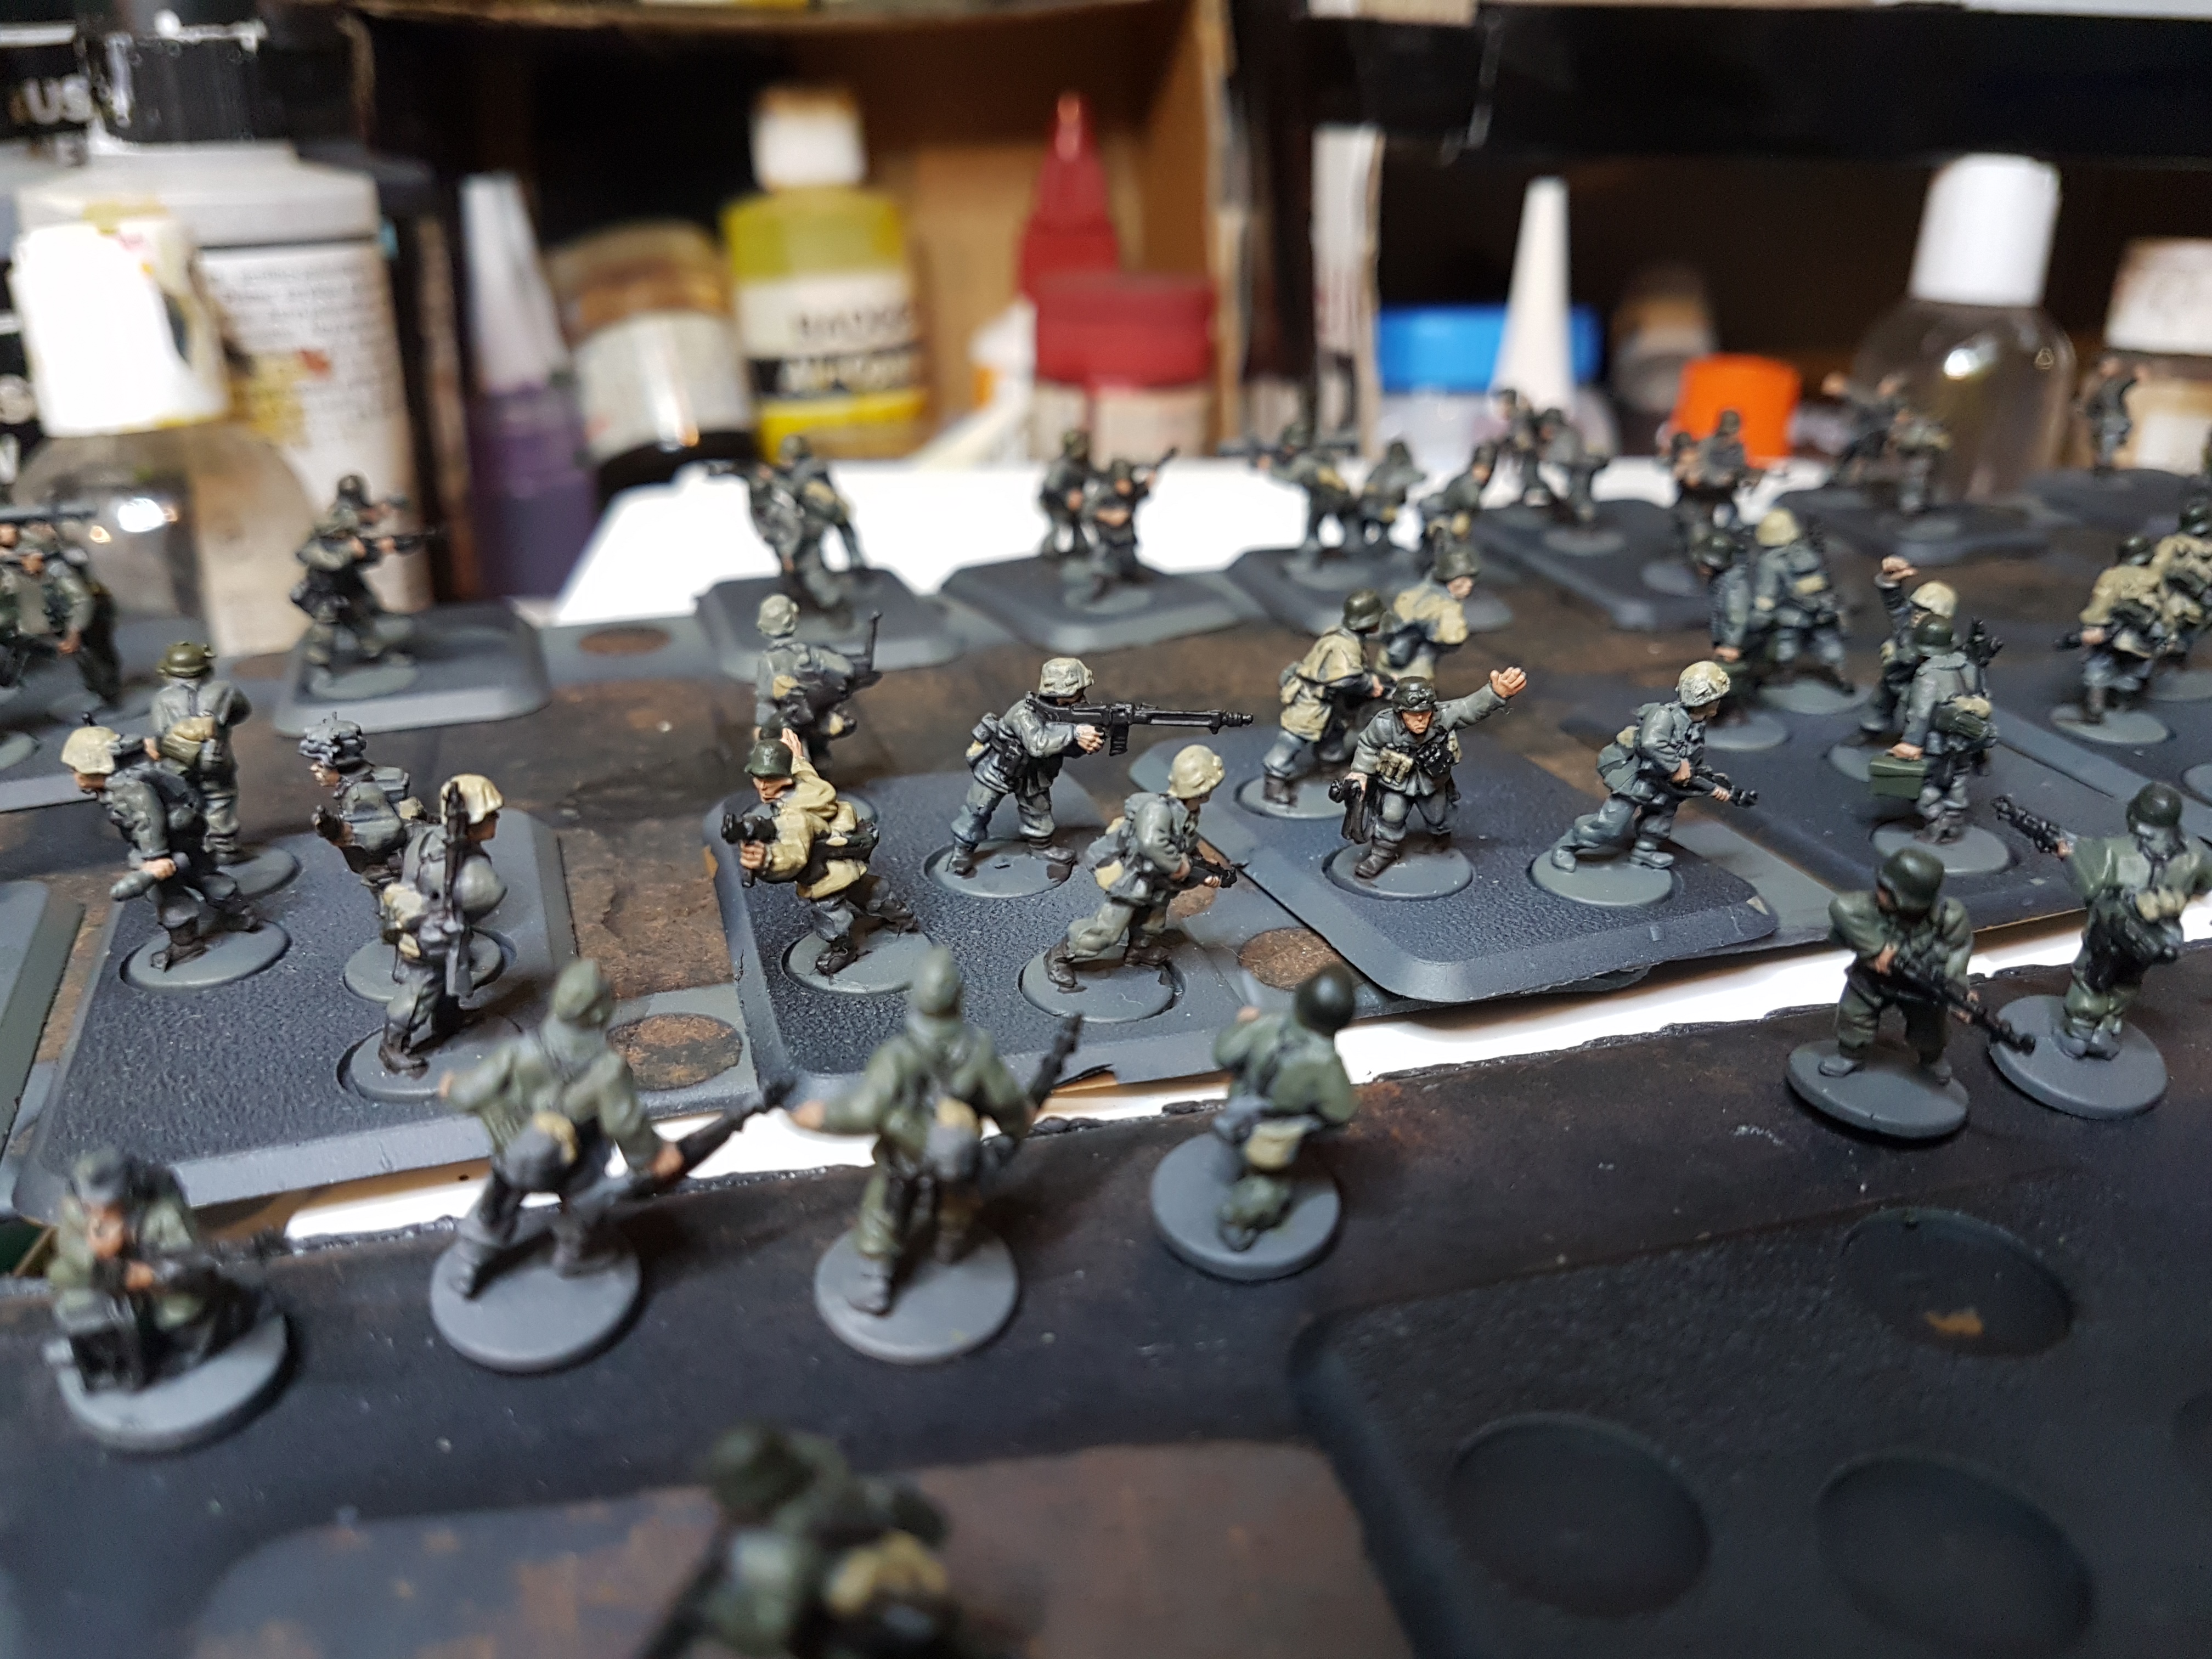
German infantry down and counting towards basing
German infantry from Hit the Beach all done except basing. I’m holding off basing till all my units, German and American, are done so I can set up a bit of production line and ensure consistancy
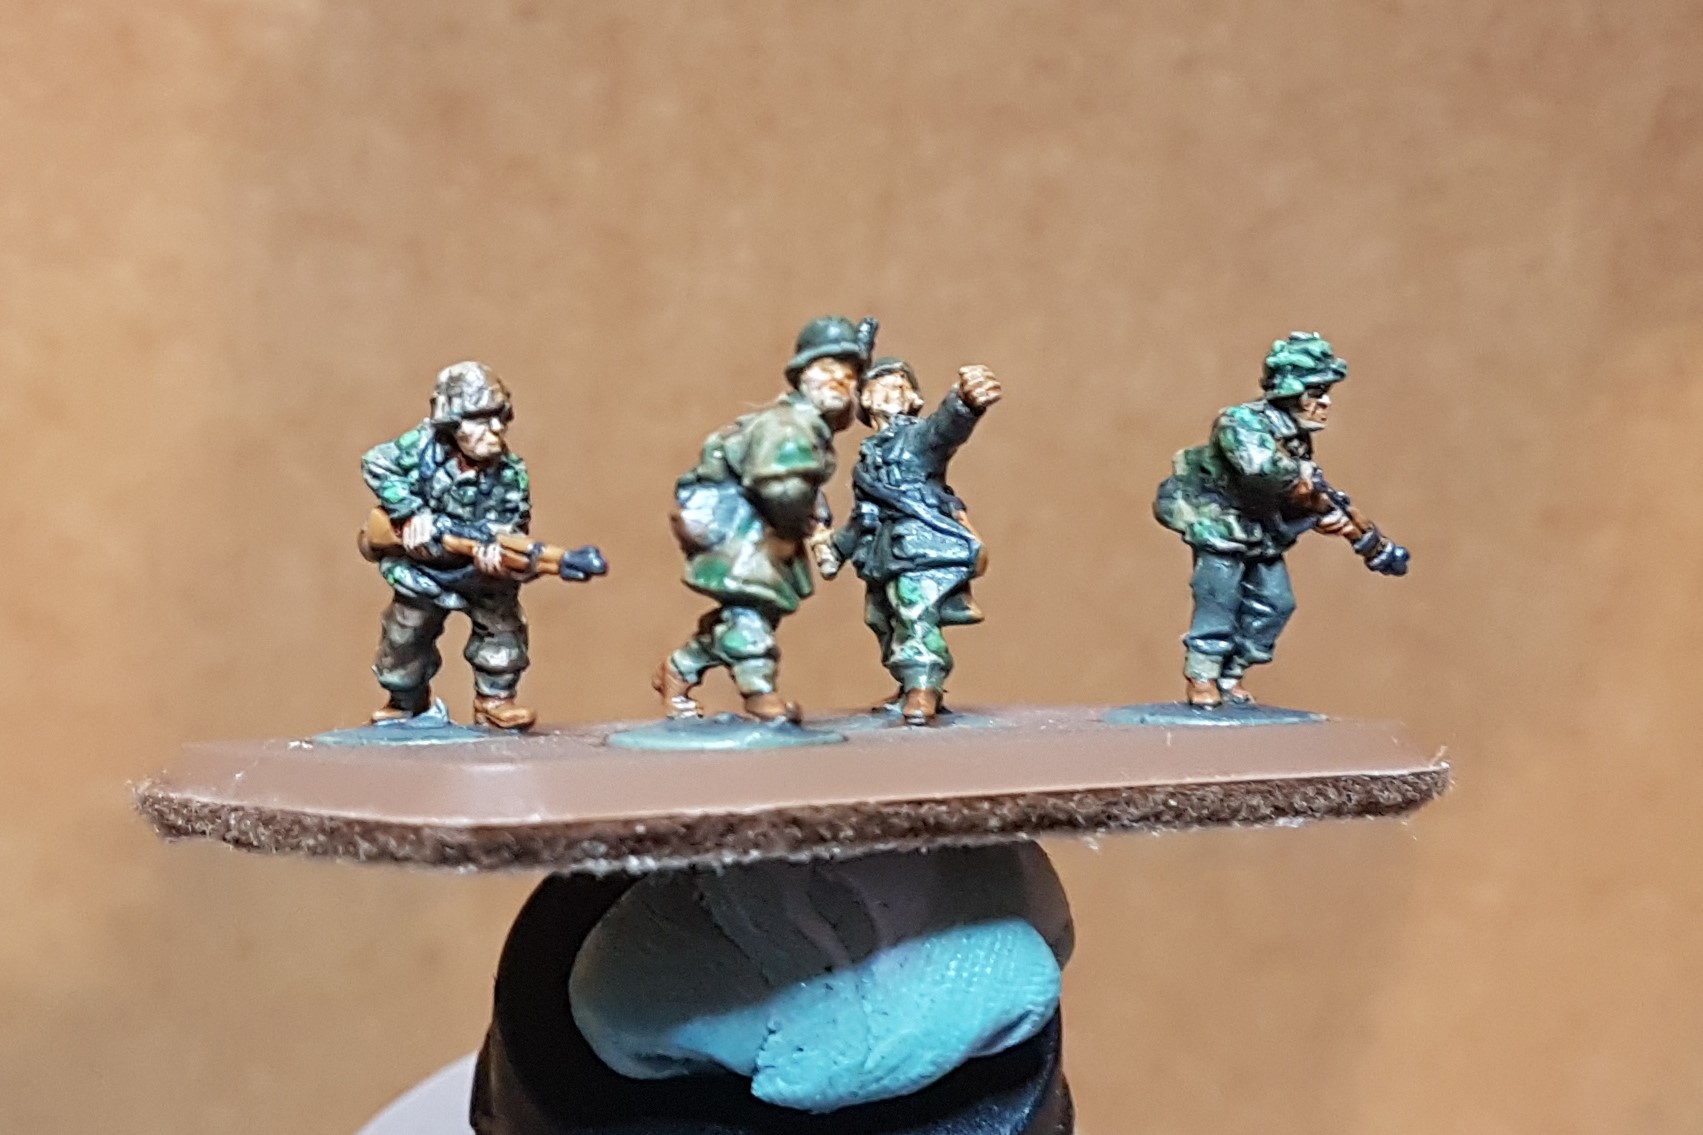
Also interesting how you can hit a wall with these projects and think think your done only to look at them a few days or weeks later and see more to do. Especialy through the eyes of a camera lens.
The camera shows these figures could be better, but they are 15mm, and thats what I have to remember to tell myself. Maybe if get around to it I will give them a good gloss and a bit of a pinwash to up the shadows a bit and maybe I’ll touch up the faces, but honestly, standing at gaming distance, most of the detail just blends away so I’m calling them done, feeling free to change my mind at any time.
Did I mention I could see more to do. Another Hit the beach box! That basing sesion may be few weeks off.
50 shades of grey...or is it green.....Ah! My eyes!
Researching german field grey almost sent me grey – green colour blind.
When I primed these guys I used black with a grey over the top to give a lose zenith. Upon digging a little afterwards I learnt a couple of things.
1. German field grey is a bit green. In fact some sources will appear more green than grey whilst many other sources will show almost no discernable green at all.
2. Finding images of actual near mint uniforms is only slightly more helpfull. But sometimes lead to GFG looking almost black geen in some lighting conditions. Whilst images of uniforms in natural out door settings looking much lighter.
3. My only local source of vallego paints had no german field grey in stock but was clearing out all his paint and modeling stock wich meant some awsome deals and gathering up plenty of other greens and greys. I hear it said that vallego GFG is a 1-1 match for the real deal but at this scale I need to mix to lighten off anyway.
4. Some veterans might still be wearing cooler grey pants in late war
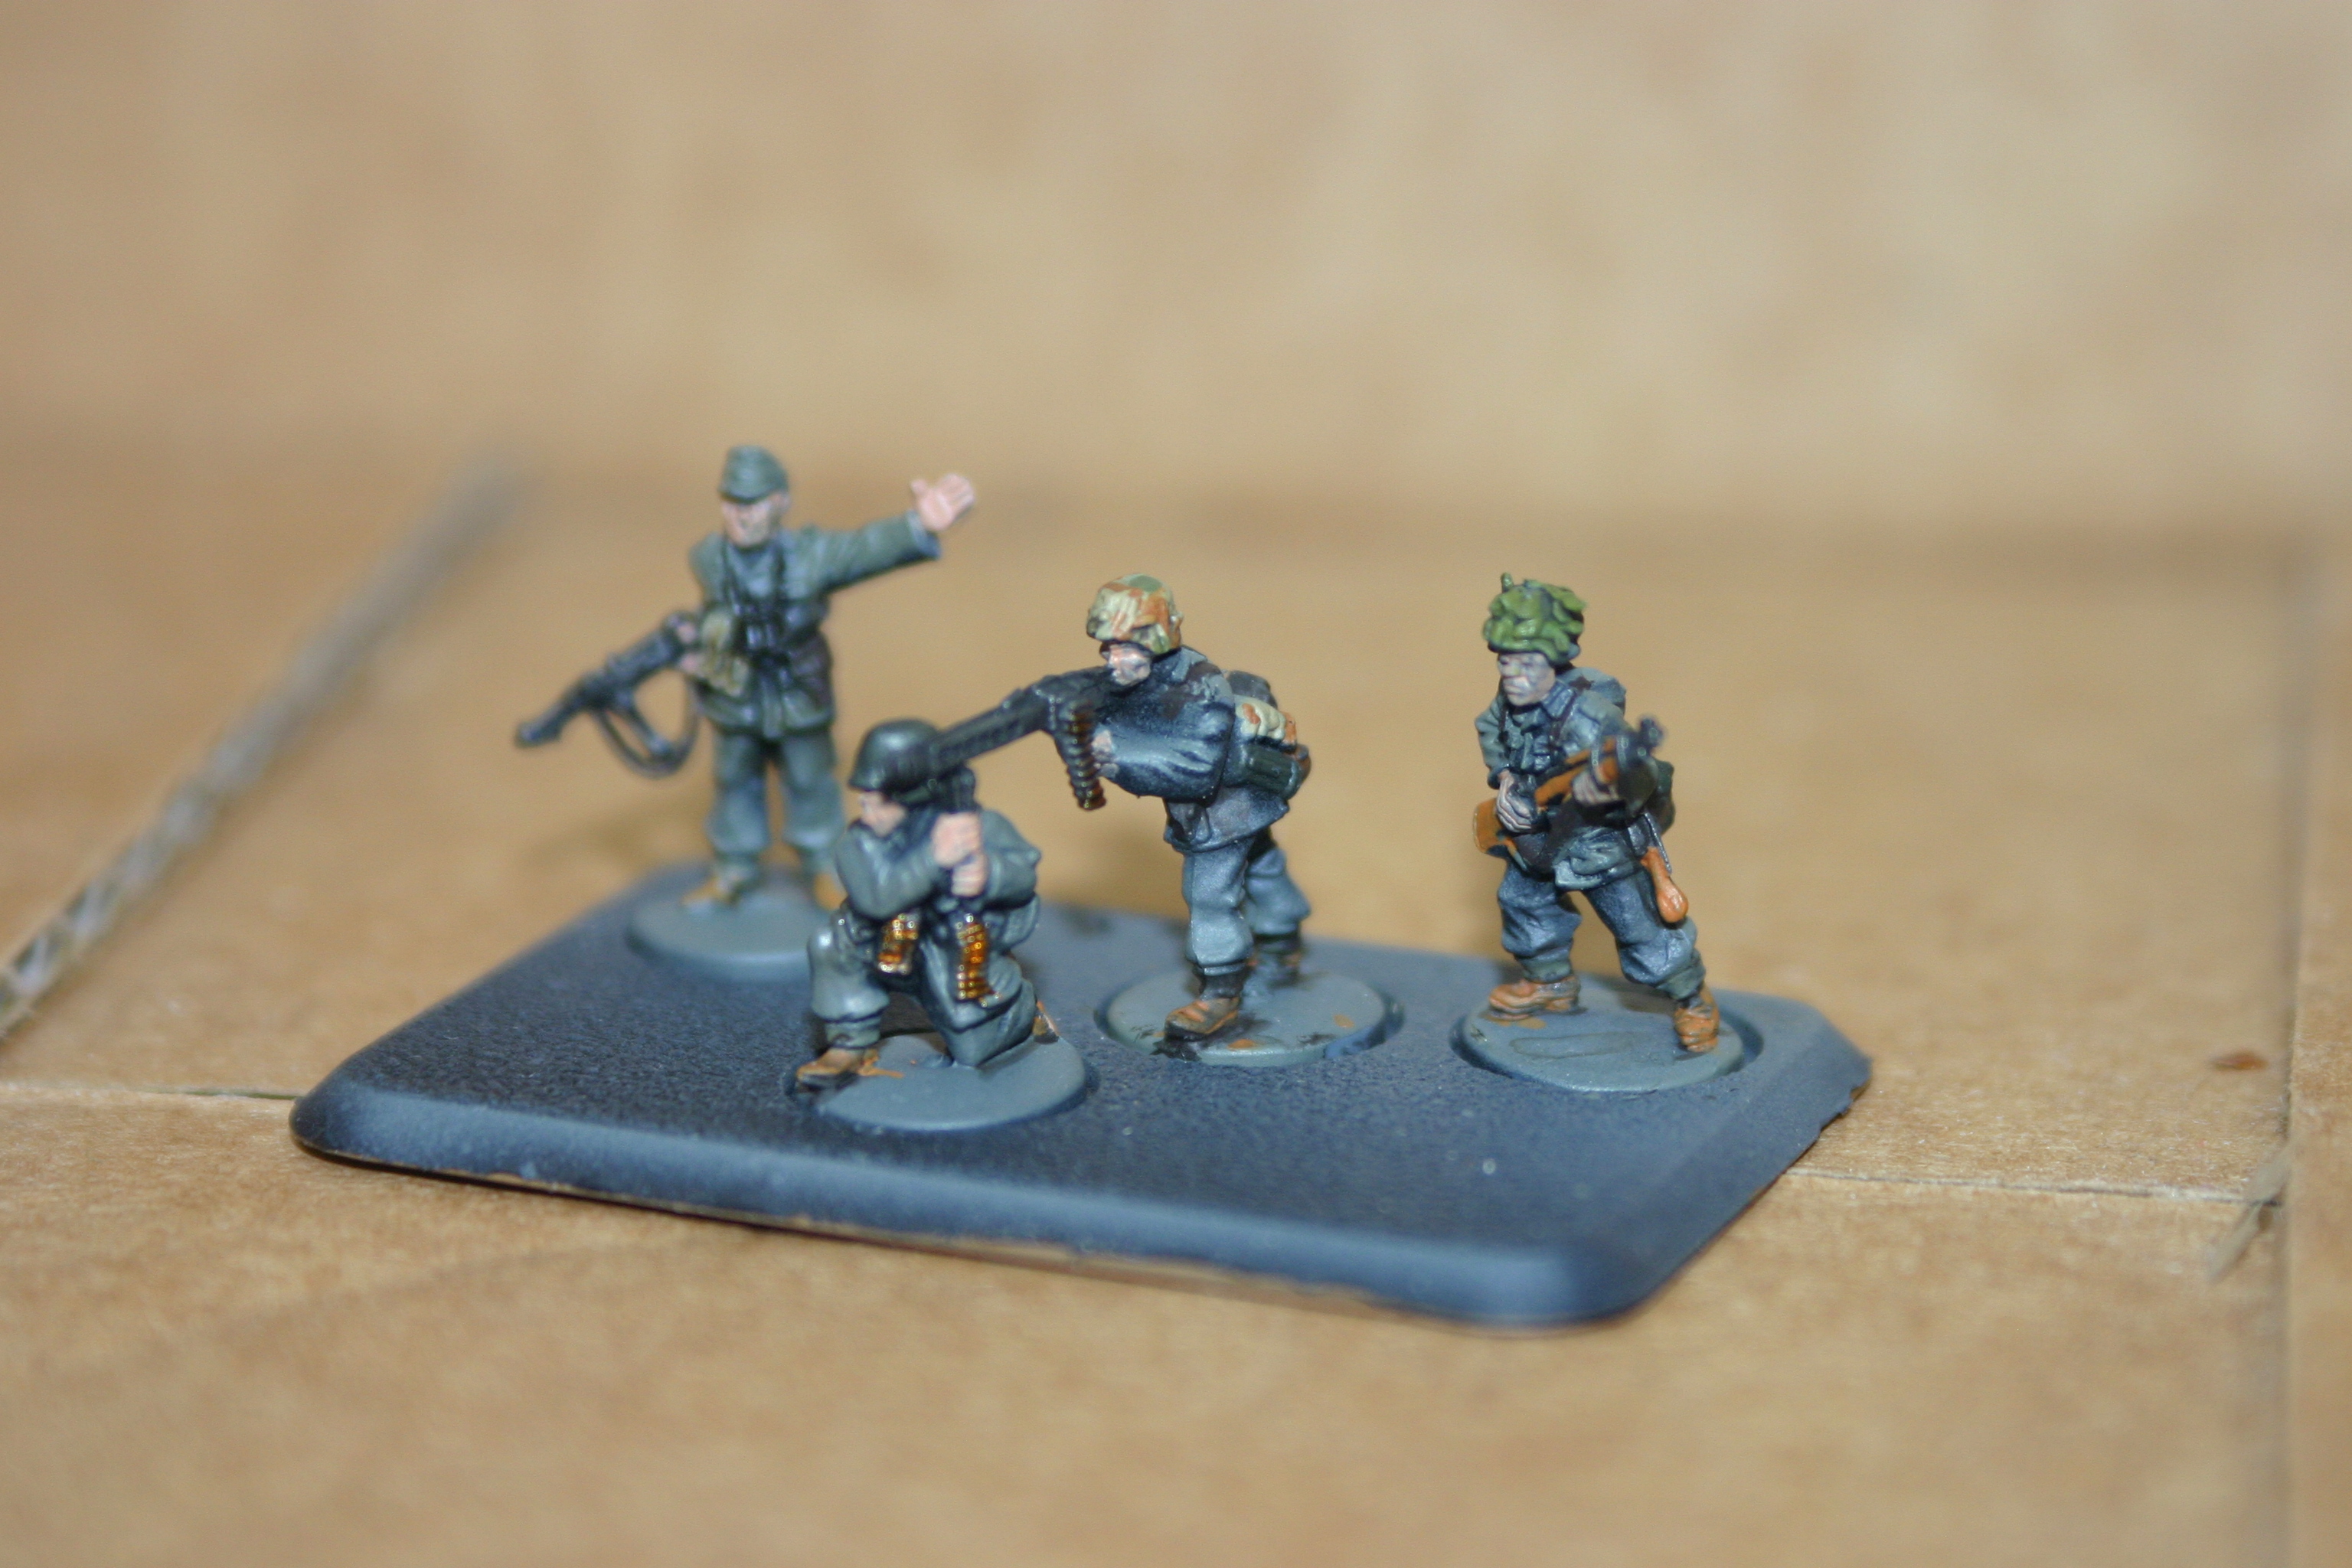
So if I had to start again I would have worked a bit harder on getting the grey right and done 90% of work through the airbrush but what I’ve done is too dark and too cold and I have to fix it with what I’ve got.
In the end I mixed 50-50 german panzer grey with greman green then added a dab of zandri dust to lighten. A thin layer on the exposed areas seemed to correct the colour and acentuated the contrast a bit. I left a few pants grey to represent vetrans and lighten the load on my eyes. (15mm is a bit of work). Some of the men do sway a little to green or grey but when mixed into squads its difficult to tell.
 compare below the difference.
Partyzeit
 A pass with dunklegrun for the helmets and gas mask canisters. About 80% of the fleshy bits based
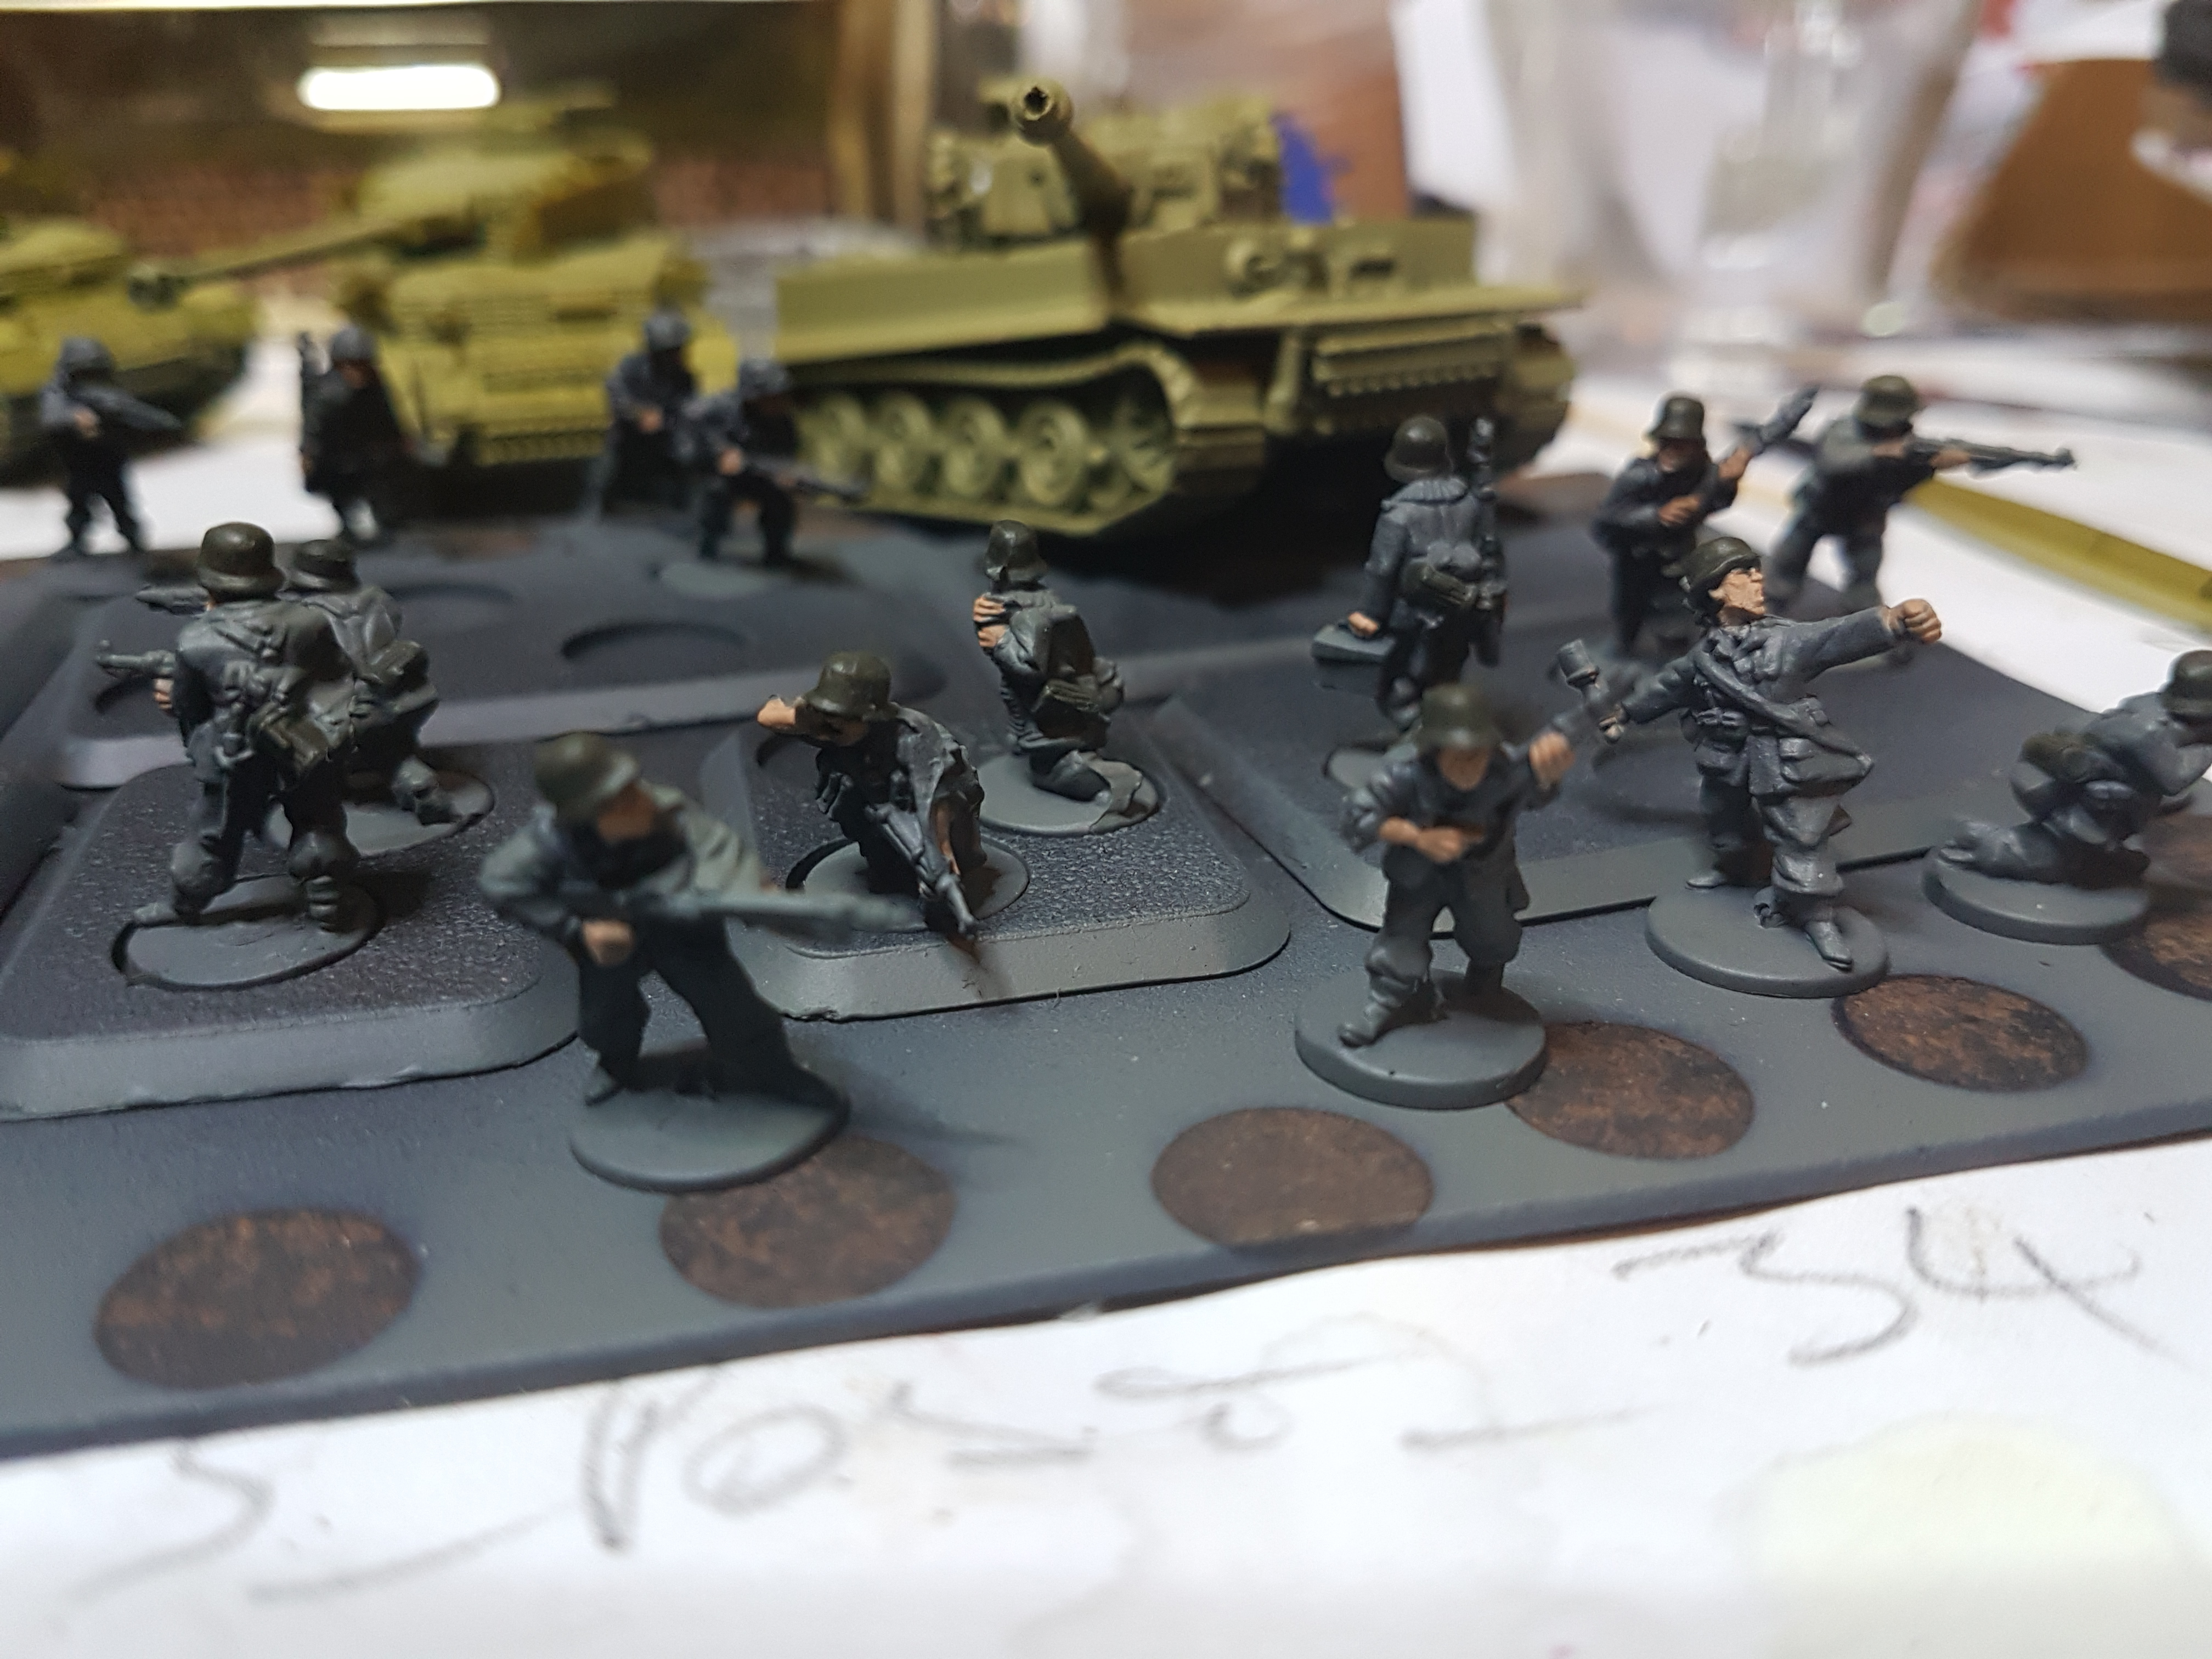 drilled out barrels on my tiger filth., Pak 40s got shallow divits, enough to create a bit of shadow.
Doing a little boogie after winning a £20 gift voucher. Flippin awsome!
I consulted with my boys and we are taking advantage of the awsome Hit the Beach bundle, the Hobby League pack will maybe help us get some regular games up and running at our local club or maybe we’ll just have an excuse to play against ourselves. To counter the tigers we will probably put the voucher towards with an American starter box, though I would love to get some British there doesn’t seem to be all that many joint Armerican-British operations.
In for penny, in for a pound
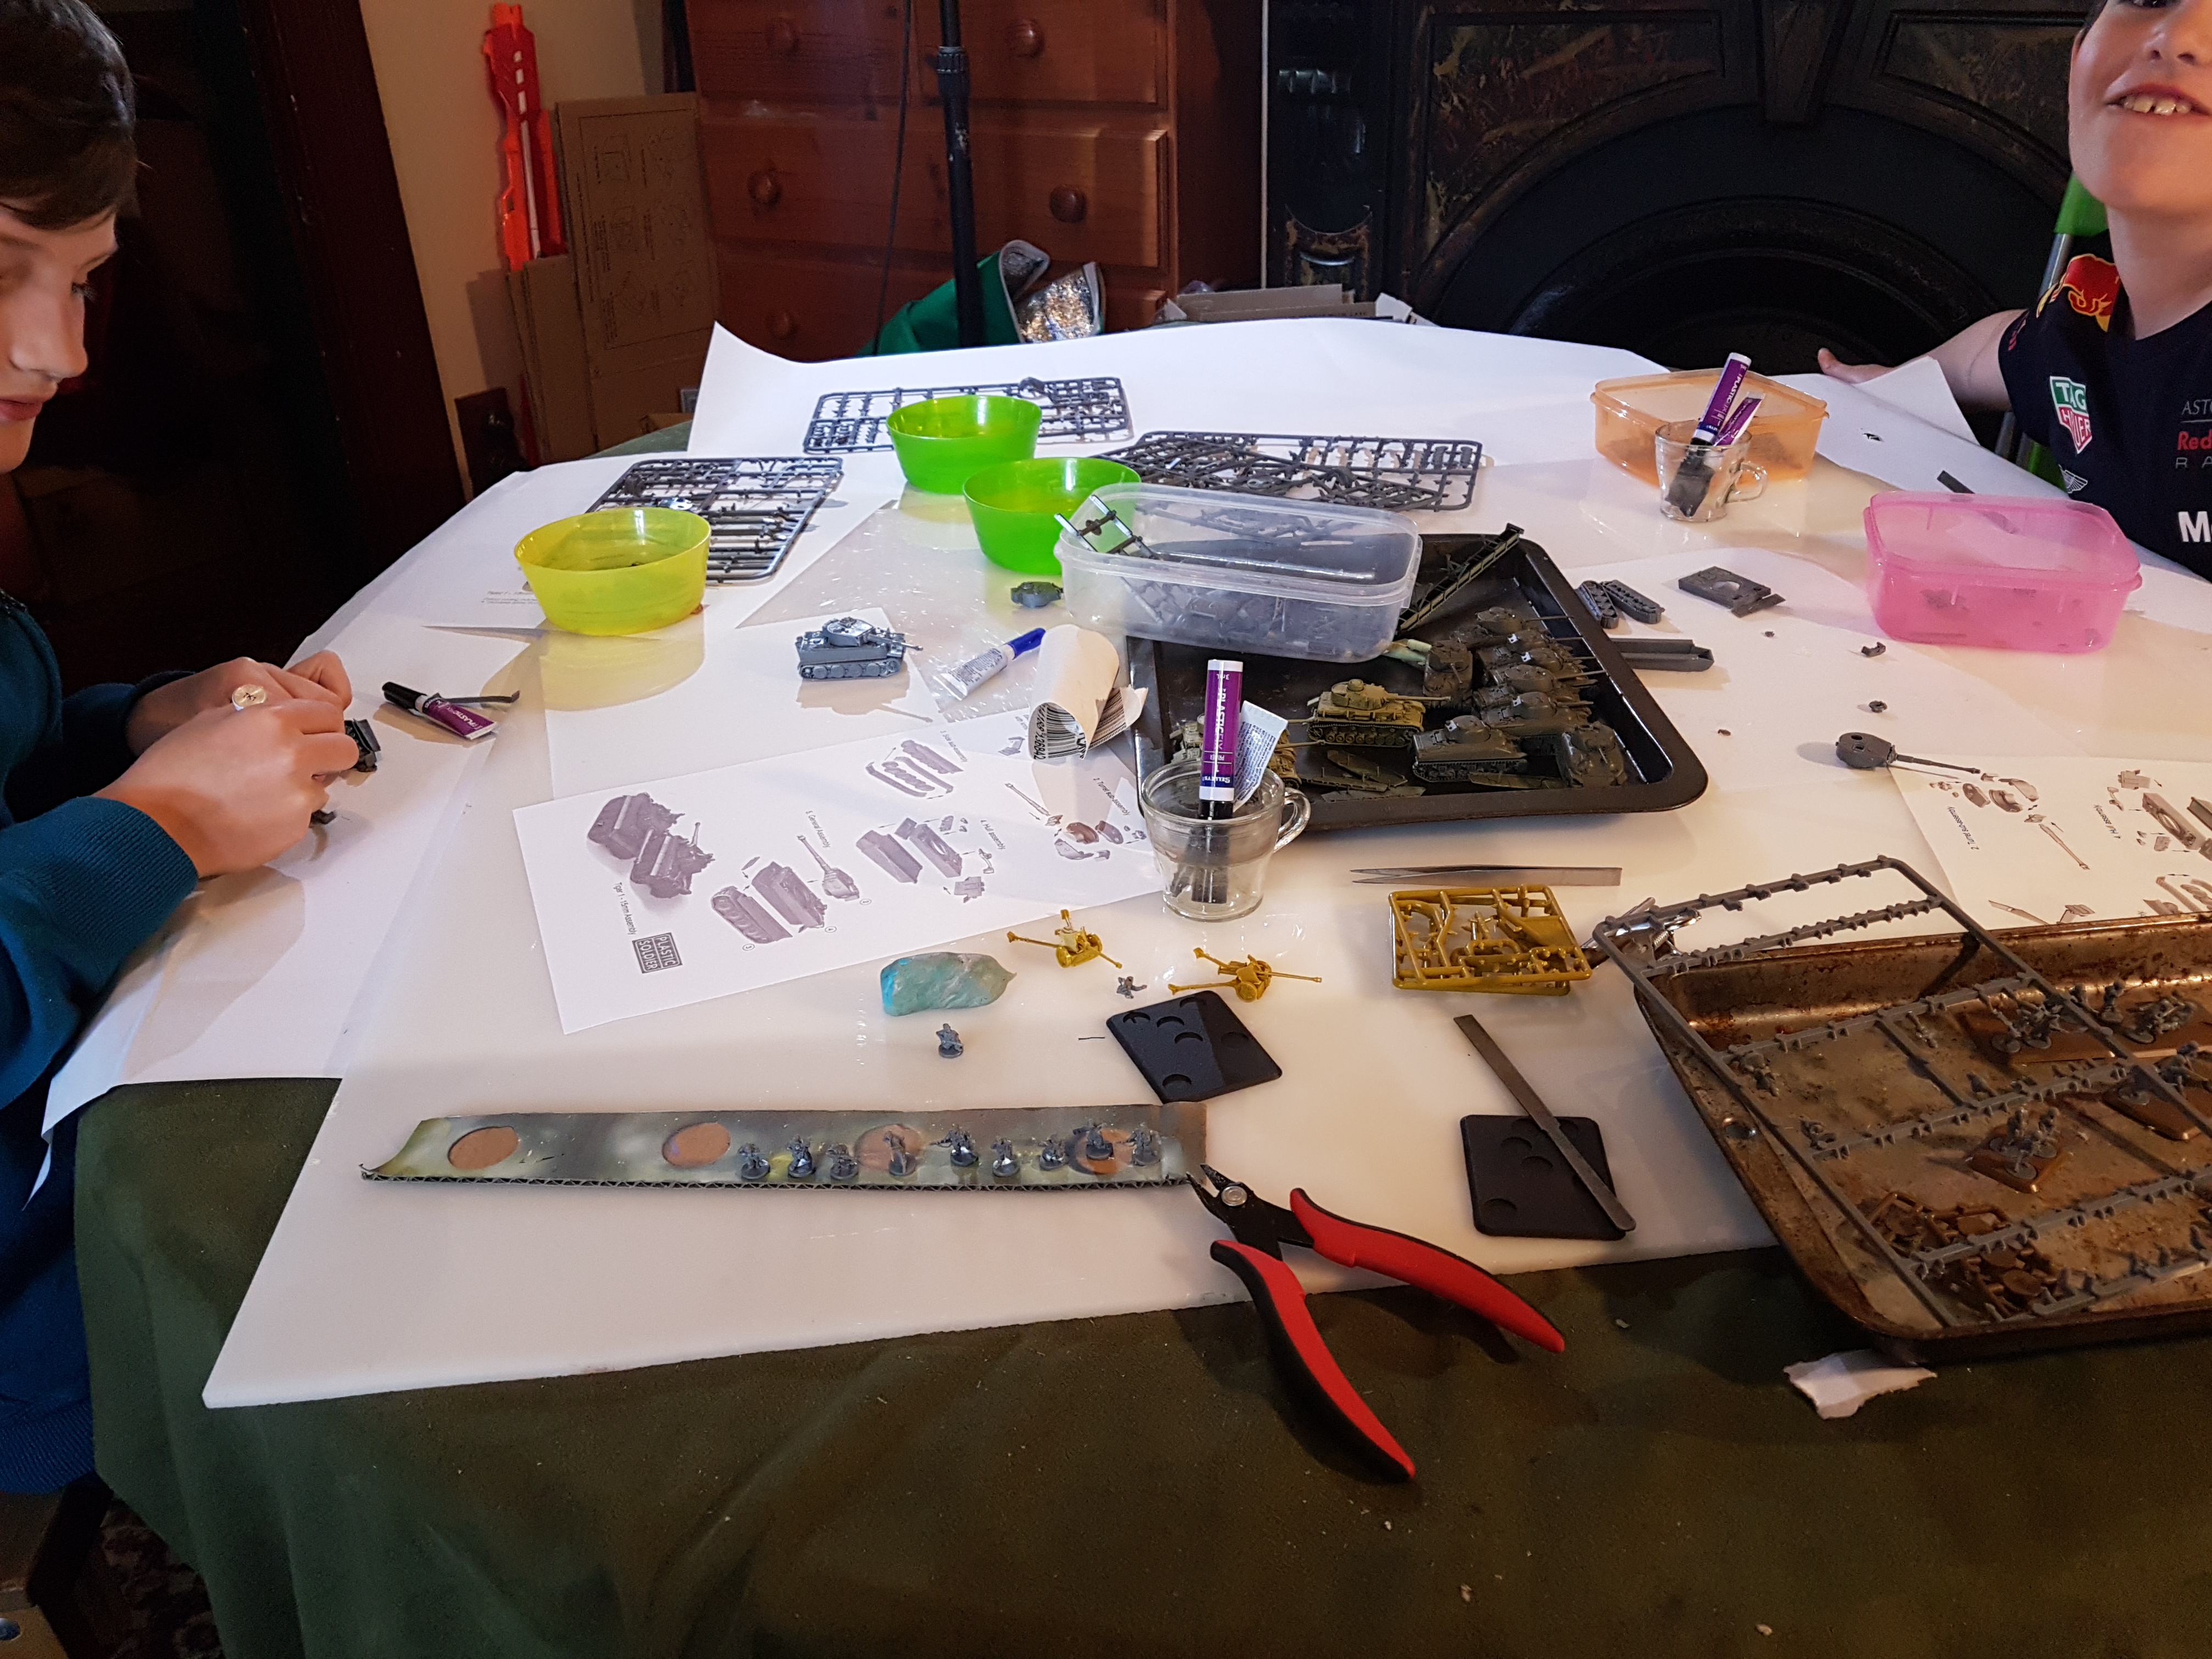
With so many other commitments this last 6 weeks my FOW project has suffered greatly. Thankfully my 2 boys came to the rescue on weekend putting together 4 Tigers for me while I set up my temp spray both and assembled my Pak 40’s. Only 1 Tiger is technicaly 100% correctly assembled but I think with some creative paint and camo placment the father can cover the sins of his sons. All told it was a very productive day
4 Tigers & 2 Pak40’s assembled, primed black and based dark yellow.
8 Shermans glossed in preparation of decals
All the German infantry from the Hit The Beach box primed black and based grey.
Doubtfull, nigh, impossible, that I will be done in time for the campaign next week but the project must go on!
Base coating tanks
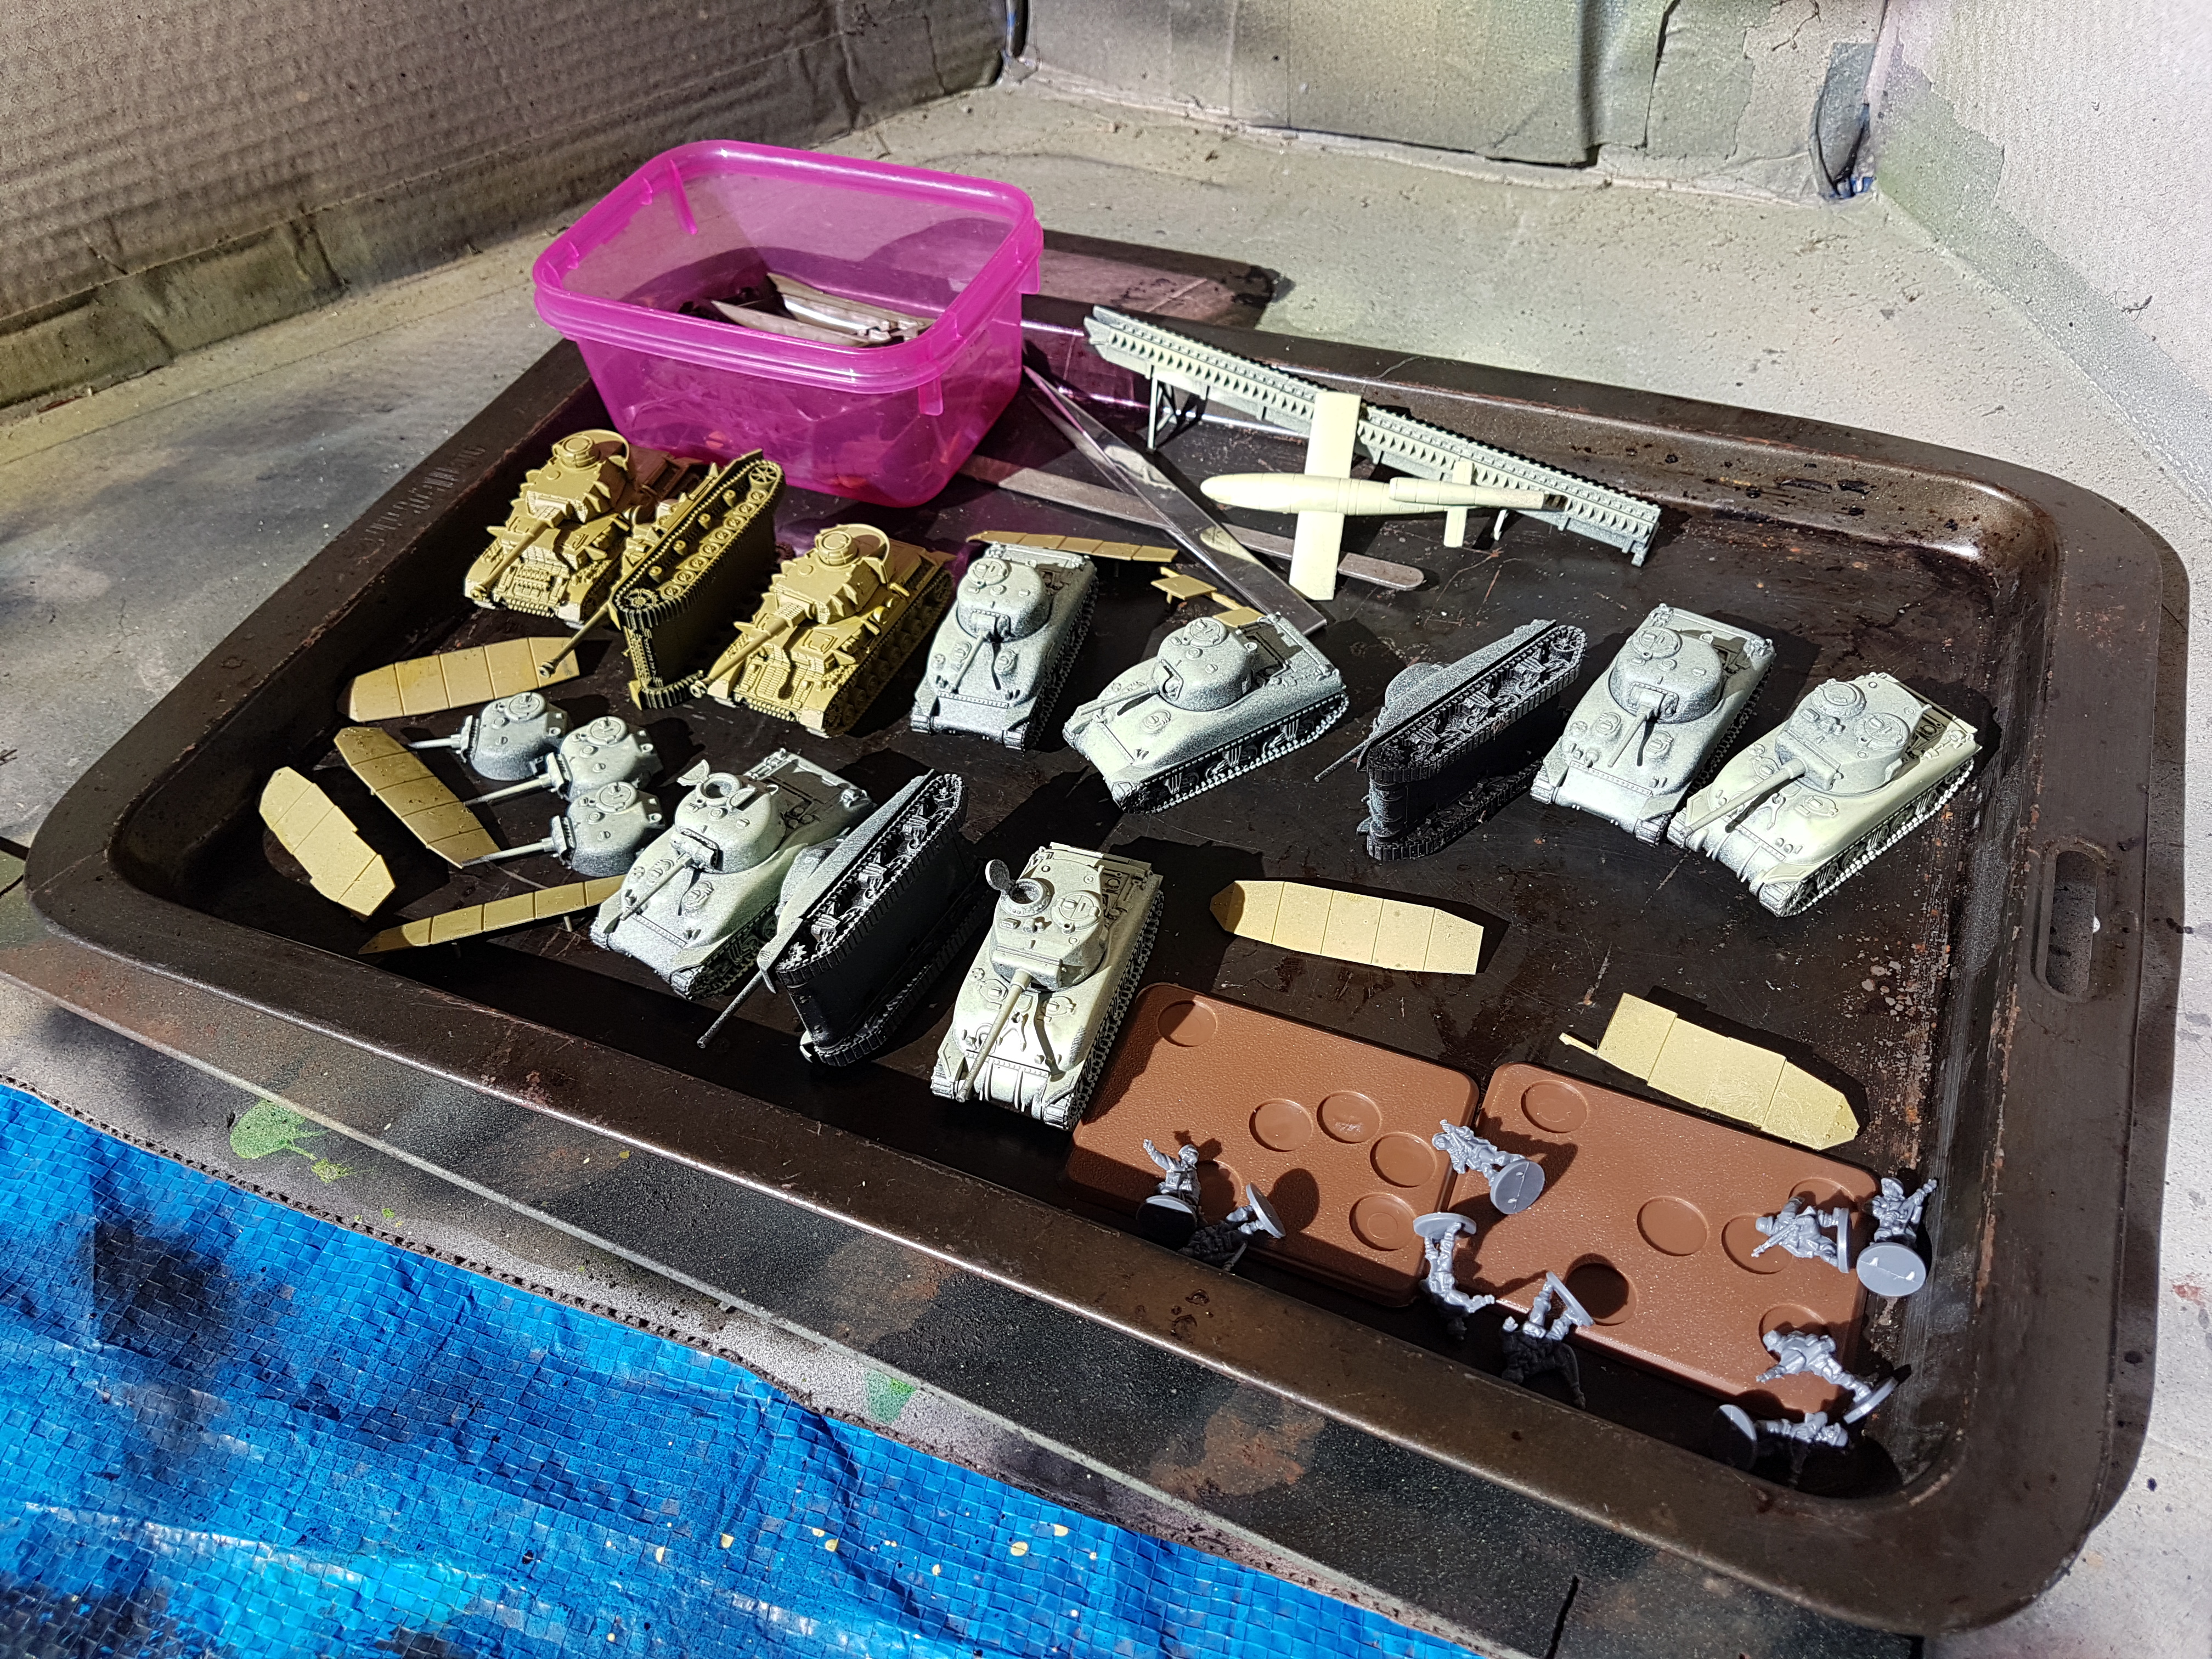 Panzer IV's with base coat and dark yellow base colour. Shermans black base with a pale green zenith as was dome to the Panzer IVs
 Shermas now with thier base coat of olive drab
Opps sorry for the mislead, not 10mm
10,15,10,15 dont what Im thinking.
I have fixed my title but realy hope all the complementry comments weren’t based on me breaking some sort of 10mm ground. My career is scale drawings so maybe the idea of 1:100 vs 1:150 transposed itself somewhere. Oh well onward and upward as the scale just went!
Details so small I wonder if anyone will notice.
 Felt the base mantlet supplied was a bit simplistic so rounded its flanks and added the MG
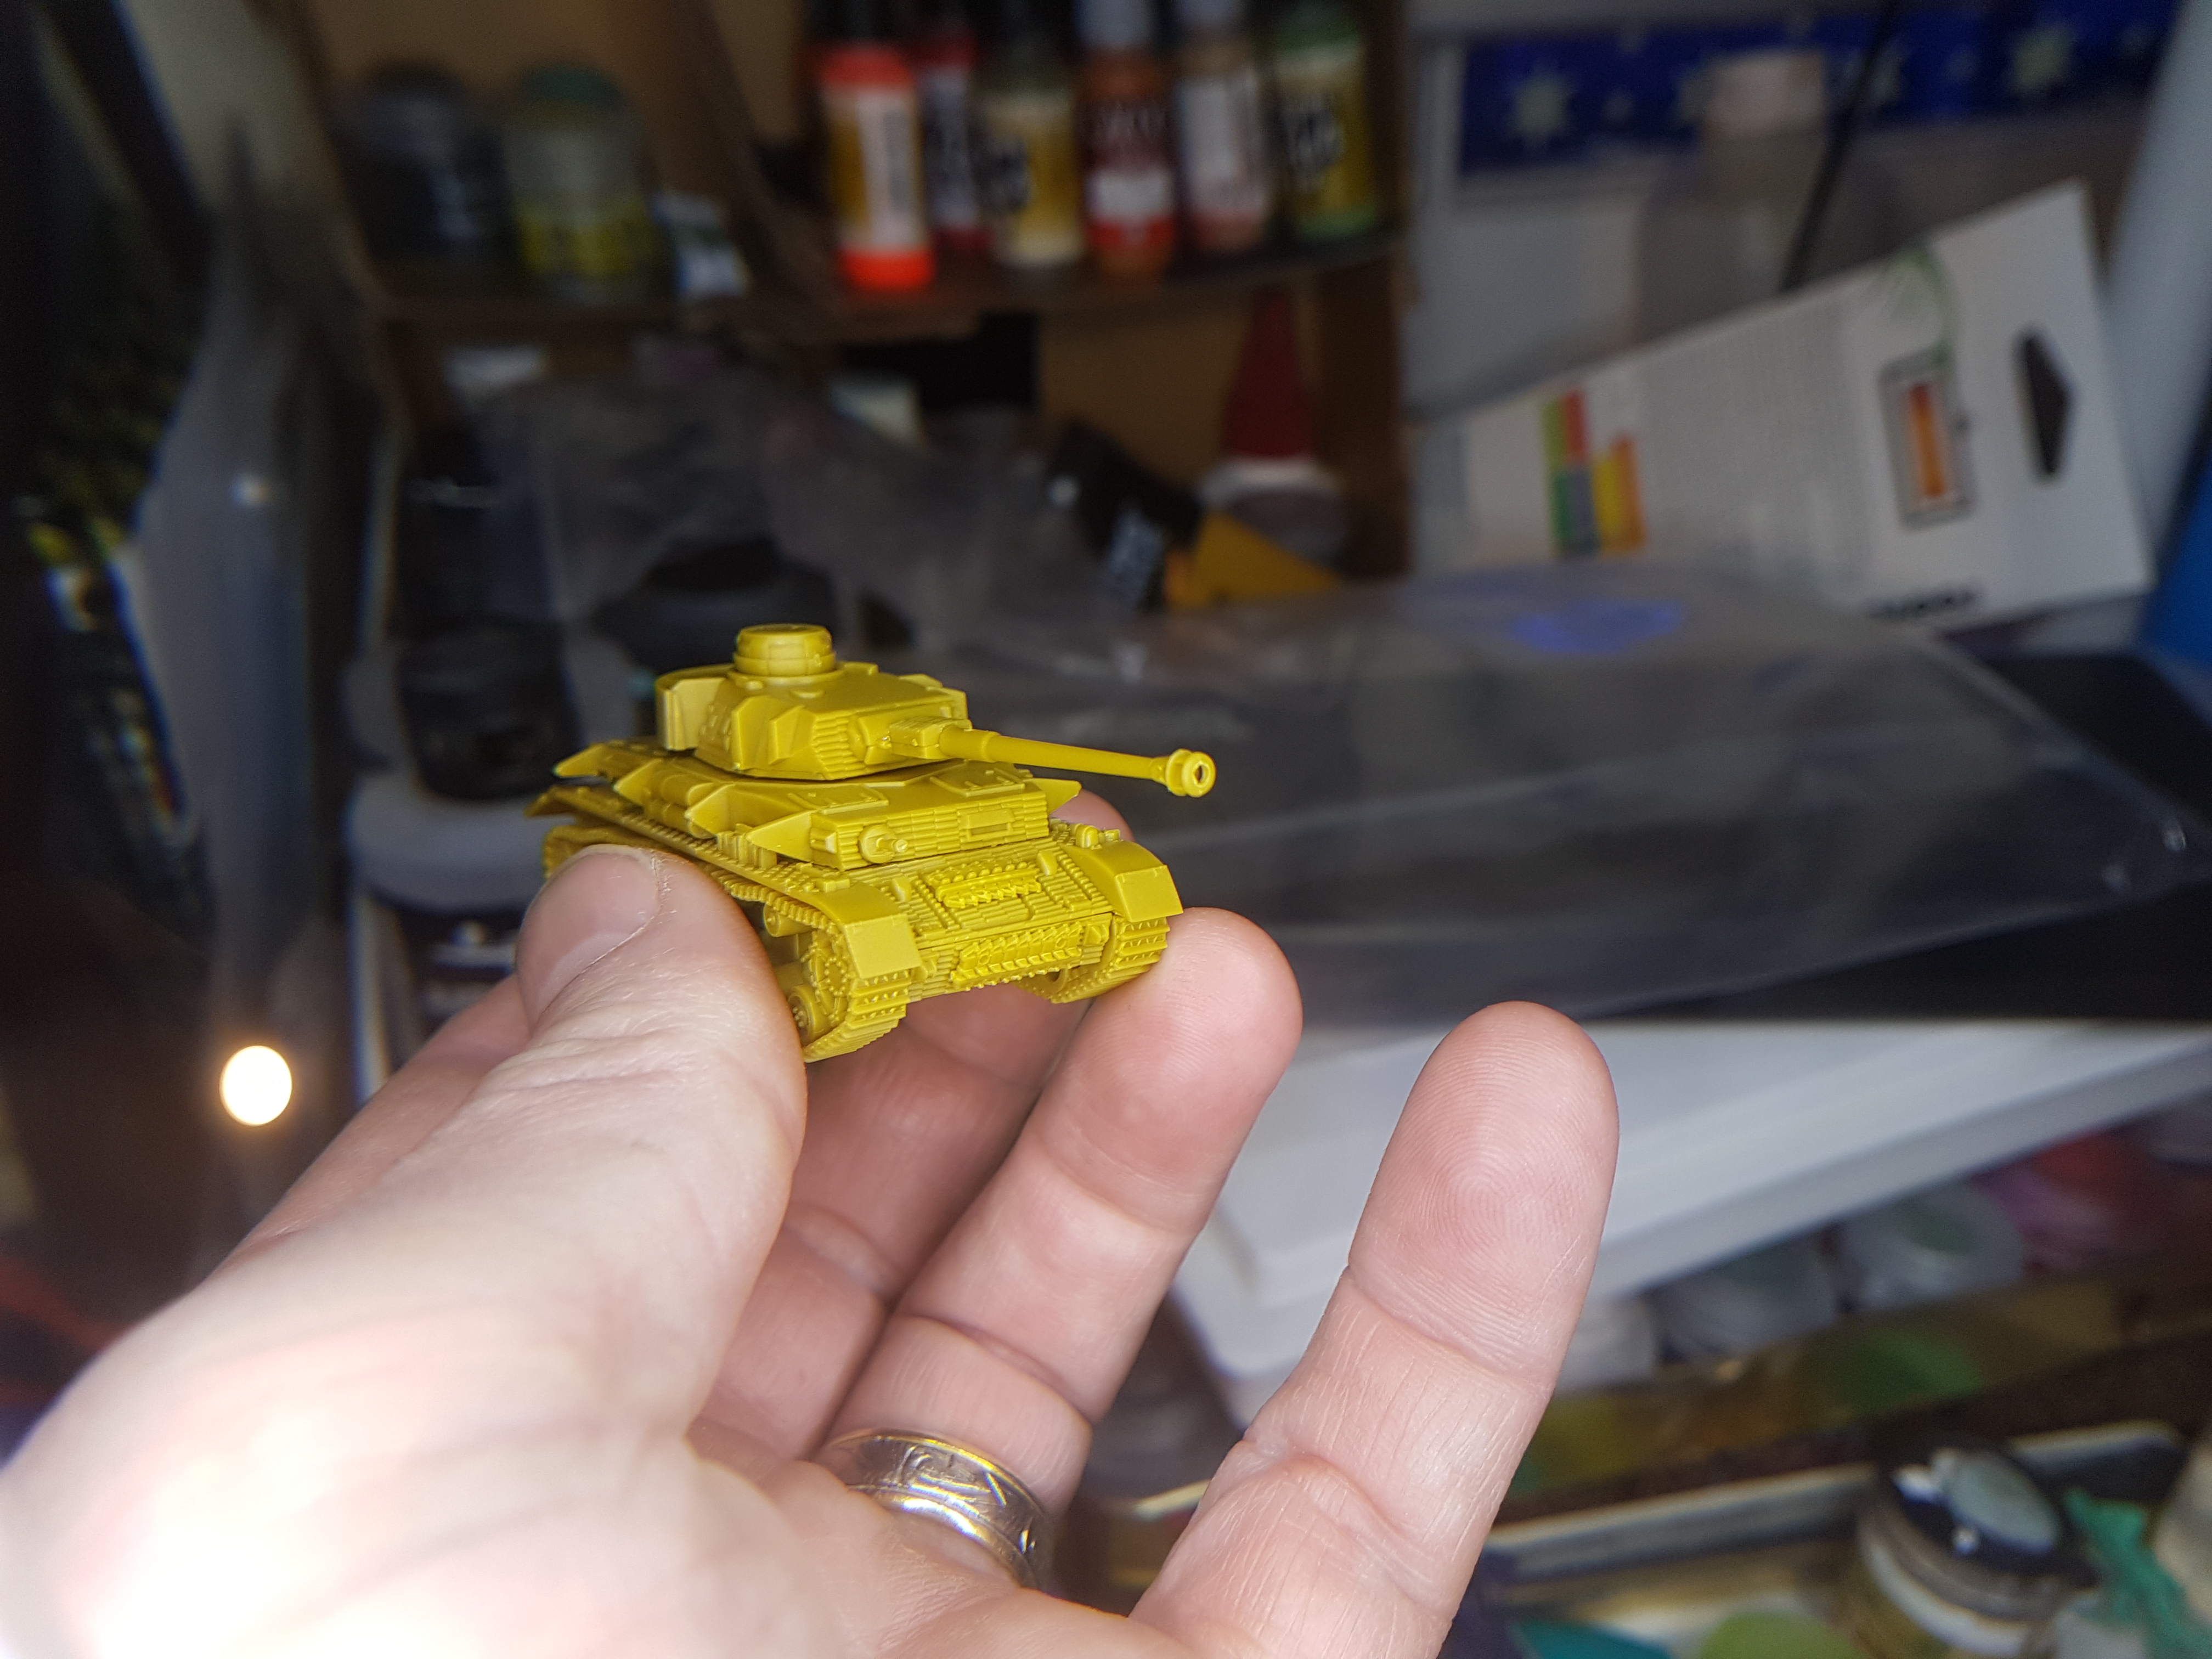 Drilling a hole in the end of muzle break makes it it look so much more functional.
Lets get it together
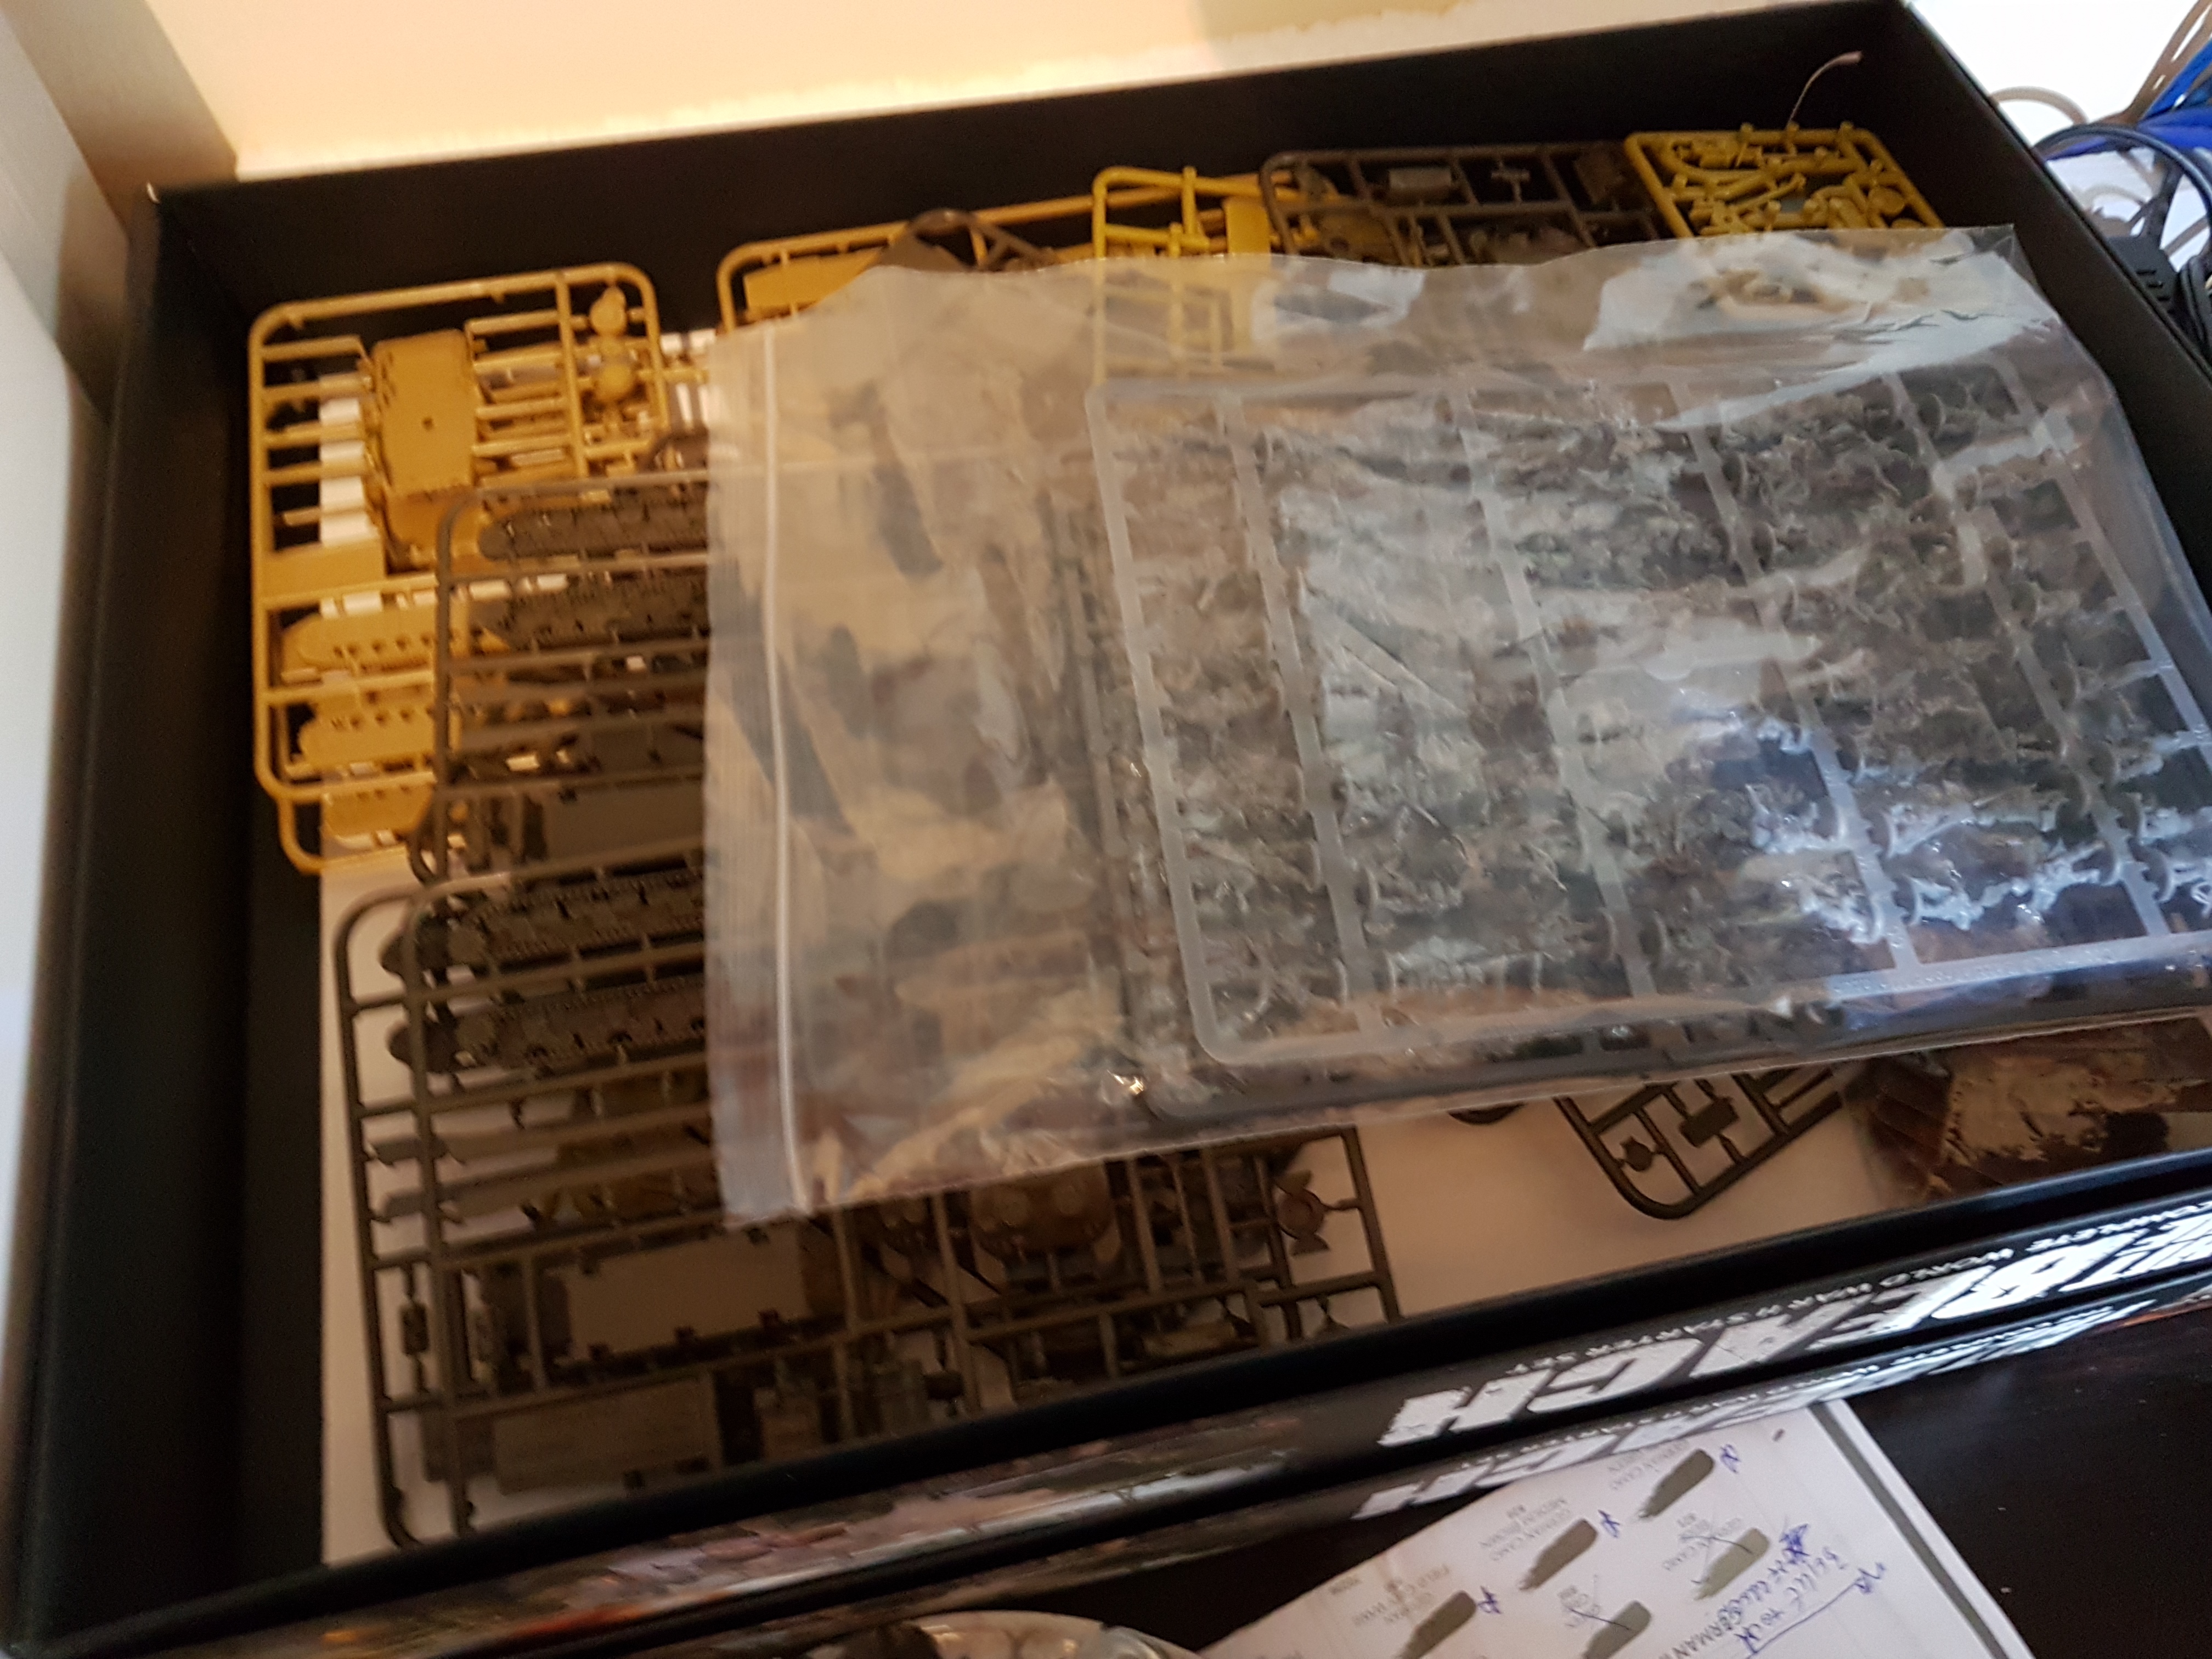
So I find part of the appeal of FoW is getting back to putting together plastic kits. Something I hadnt done for many years. I soon found that with the fine detailed parts of FoW it was apparent I needed to get a proper pair of sprue cutters. So not being patient enough to wait for a mail order I skipped down to my local Games Workshop store to get some Citadel fine detail cutters and man they are awsome.
As for adhesives I’ve started out a new system for me which uses a pen primer and standard glue tube. I dont thinmk I’ll be turning back. The primer means I can use the glue very sparingly, it sets very quickly, and it seems incredibly secure. I do have to ensure my pieces are going to have a good clean fit before touching the glue though as I dont think theres much chance of separation after.
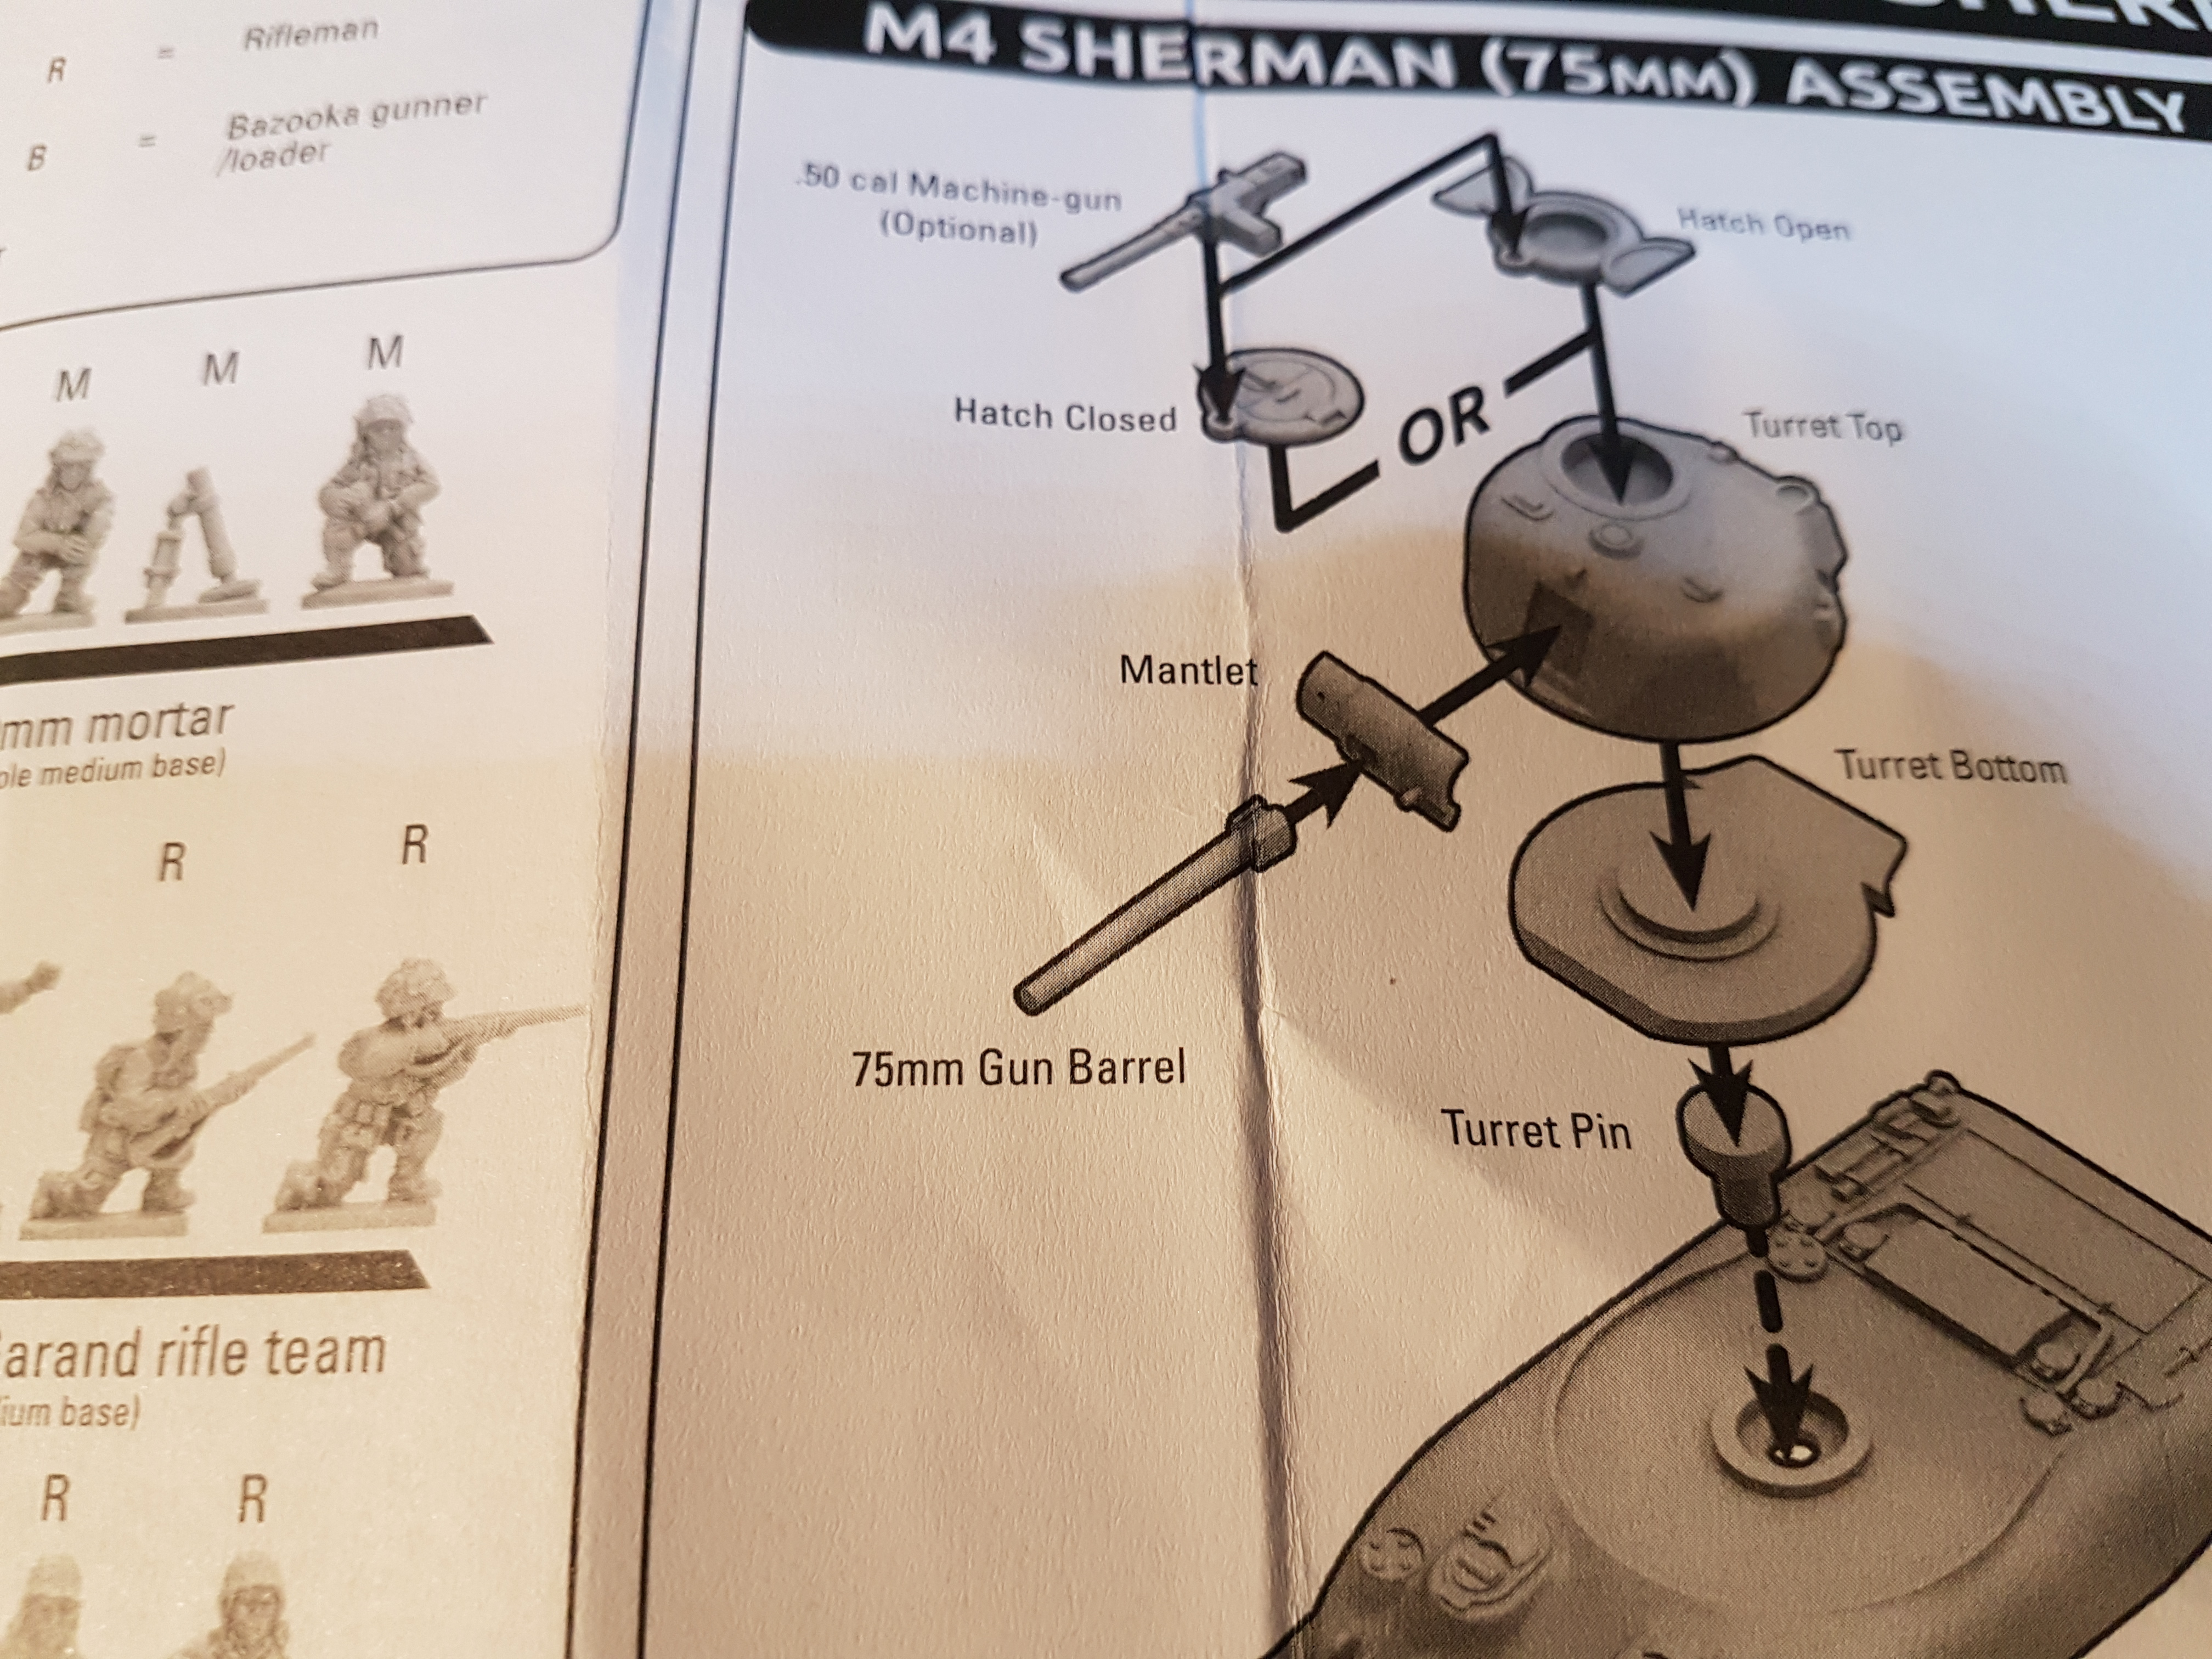 H'mm, I think this mantlet is missing something
 I’m sure many experienced WW2 Sherman lovers would have picked this up if they still needed the instructions. Thankfully my hours of reaserch trawling over pics and entrys about late war Shermans and what seperates them from early war Shermans help me pick this error up before I applied glue. Having instructions only showing the late war mantlet ears and missing the actual matlet base deserves a little editorial slap on wrist.
One of the more interesting things I discovered about the Sherman was that such a huge numbers were made and in a variety of ways. Molded, welded plate, combo of molded and welded plate , small hatch, large hatch, 75mm or 76mm , advances and changes being incorporated into processes on the factory floor and retro fitted in the field simltaneously. It all means that you could fit the options available together in almost any combination and be right for some point in the war.
I decided to go with the theme of late war a make 3 76mm versions but the remaining 3 standard turrets I have configred with earlier style mantlets and left the ears off. So that is 3x76mm , 3x 75s with ears and 4x 75s naked. I have also welded plates to the side of a small hatch body as a start to giving the models character and considering stowage etc.
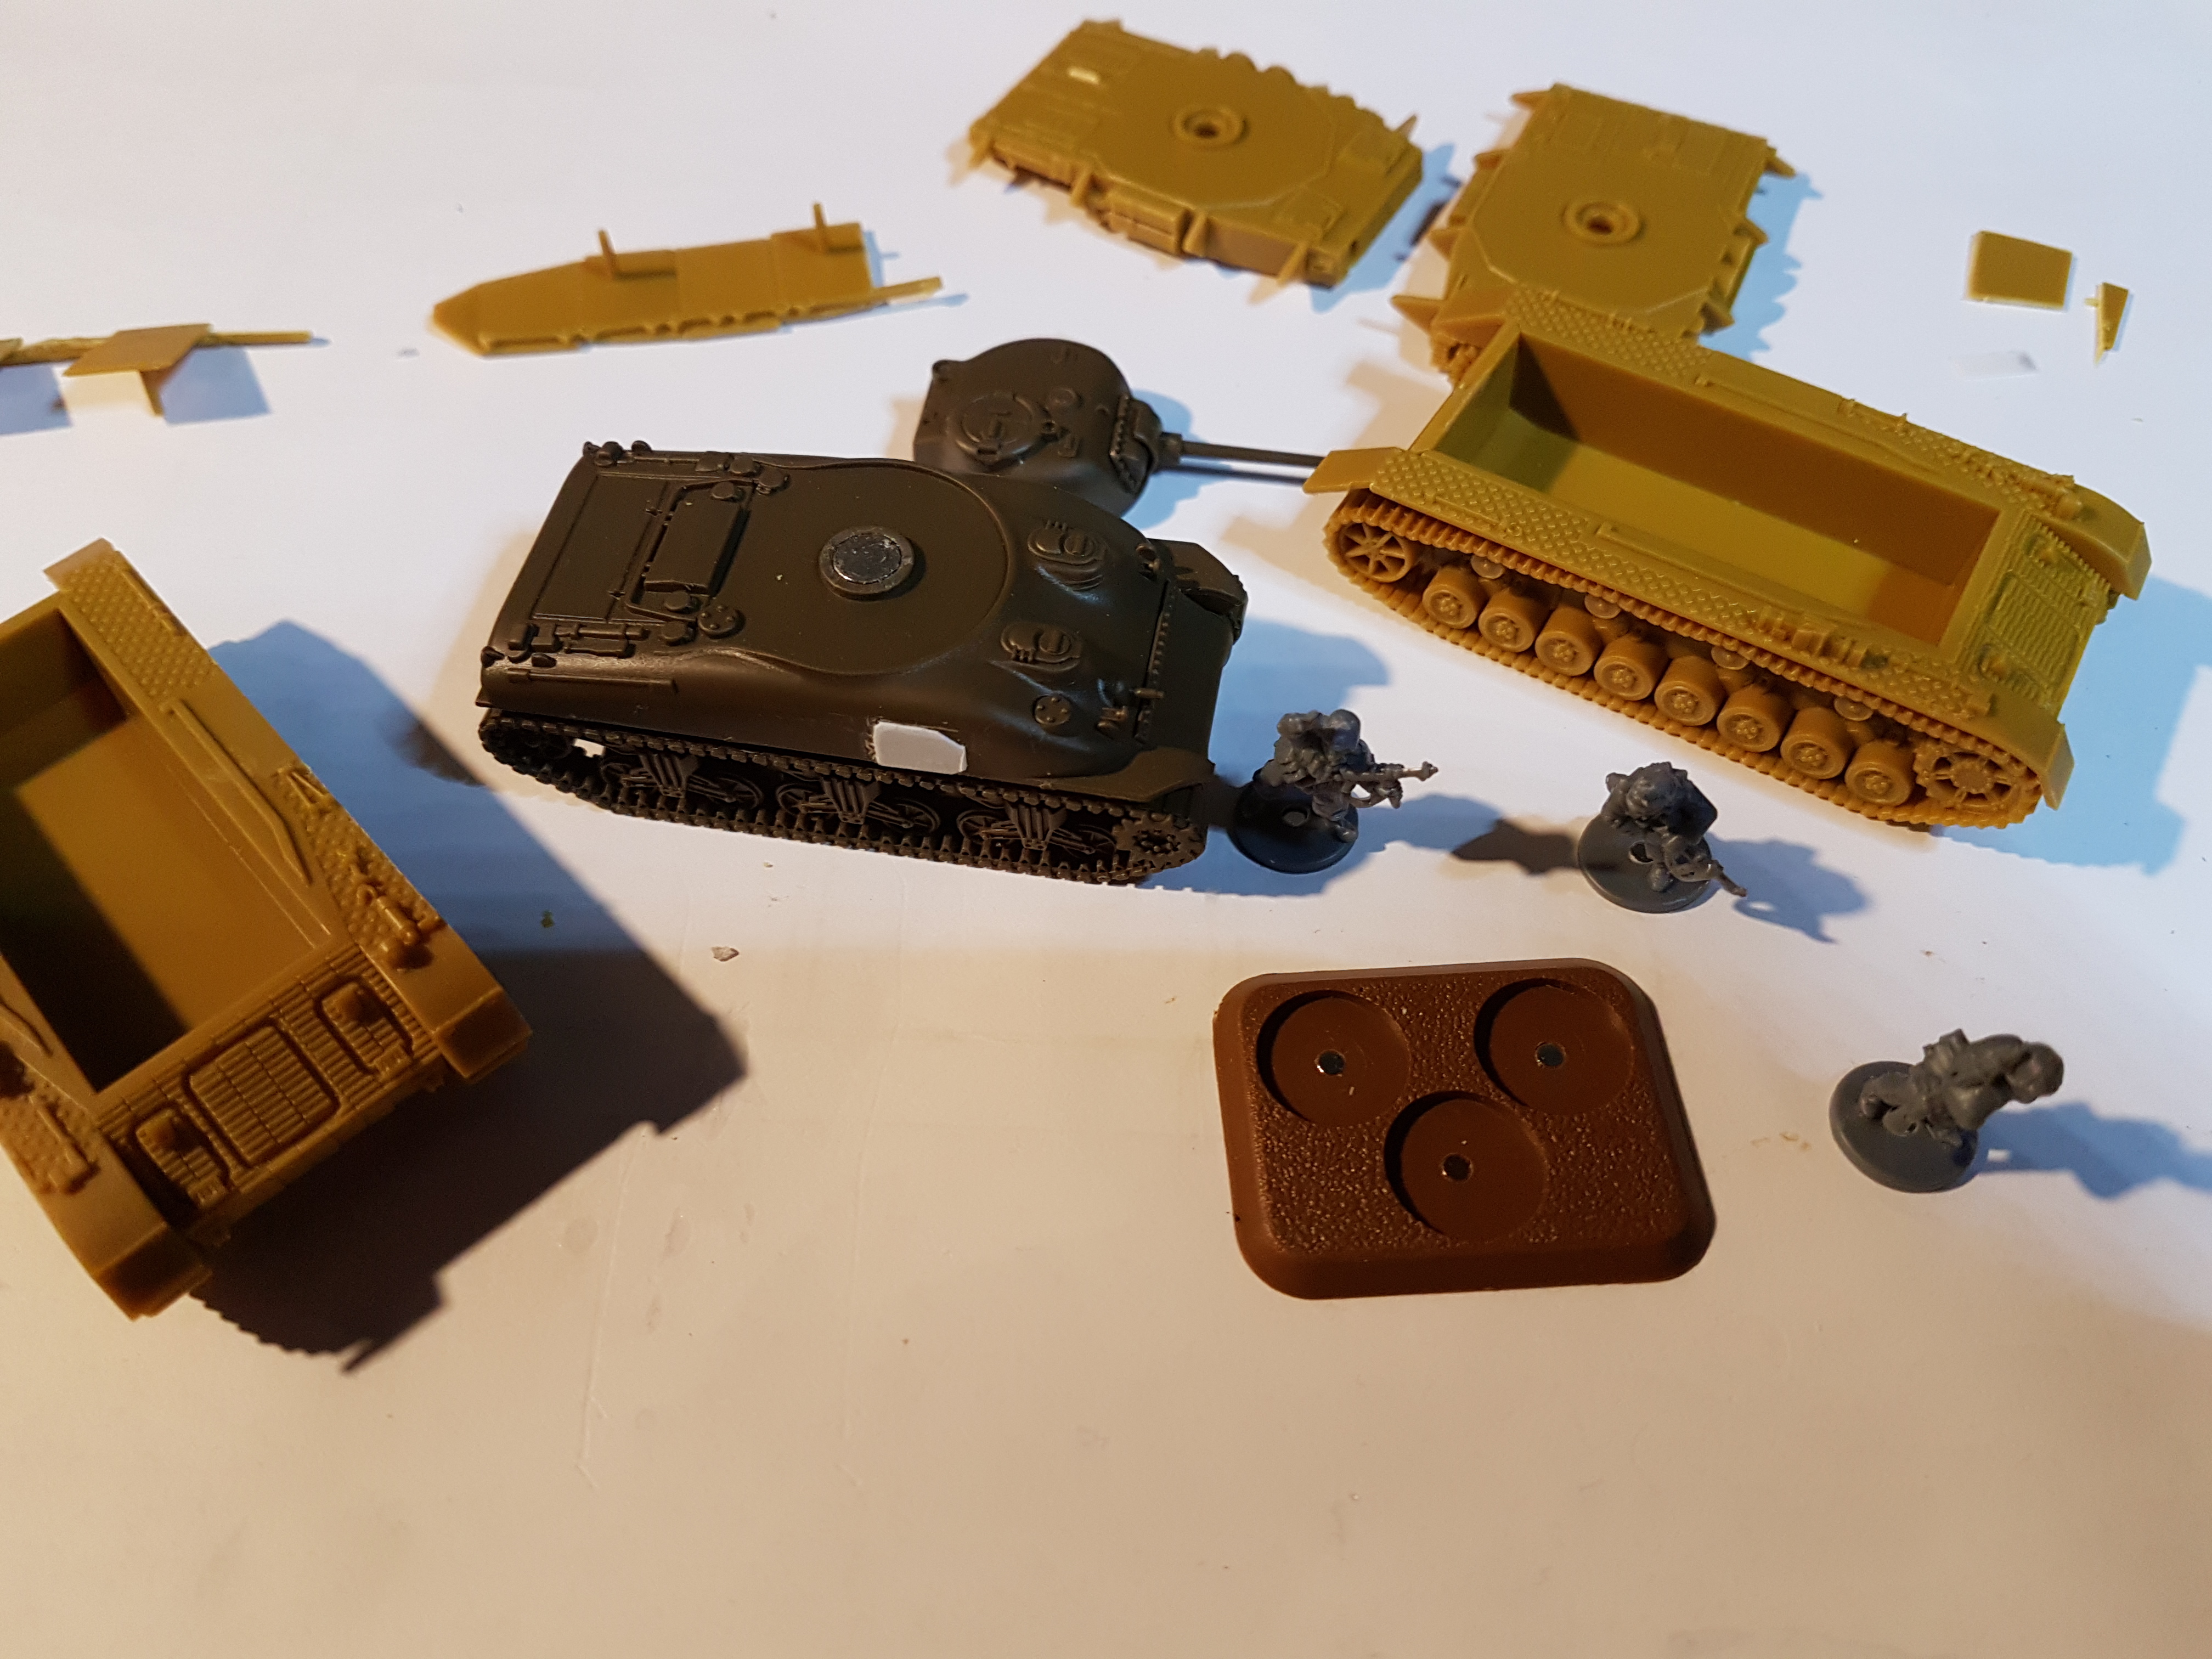
Oh and I love the fact that I found a use for the magnets I impulsively bought at a gaming con a few weeks ago and Battlfront make it so easy, the 1x 5mm disks slot straight in with no further work.
I know magnets in the infantry bases is a bit nuts but it will alow me to easily reconfige and replace any that break a barrel etc. Also I’m hoping one day they maybe used as individual figures for roleplaying purposes. But thats another project.