20mm modern wargaming
Recommendations: 82
About the Project
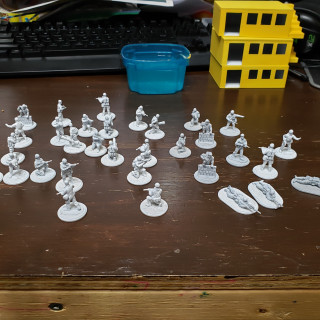
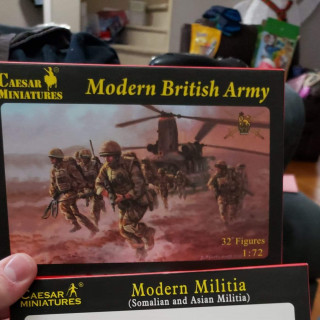
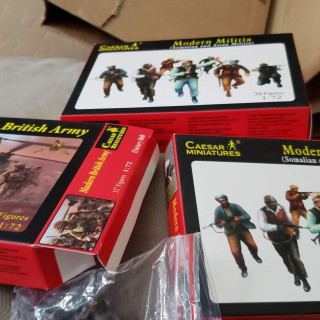
I wanted to get into some modern warfare gaming so i decided to order in some Caesar modern British and some modern militia minis.
Related Genre: Historical
This Project is Active
Stalled
So I have tried a couple ways to create the camo pattern and have not been happy with any of them. Part of the issue is I’m not managing to make the right colour tones and part due to my painting skill.
I think 20mm is just to small for me to try to recreate a camo pattern on. So I am just going to try to come up with something that looks deserty.
Base coat round 2
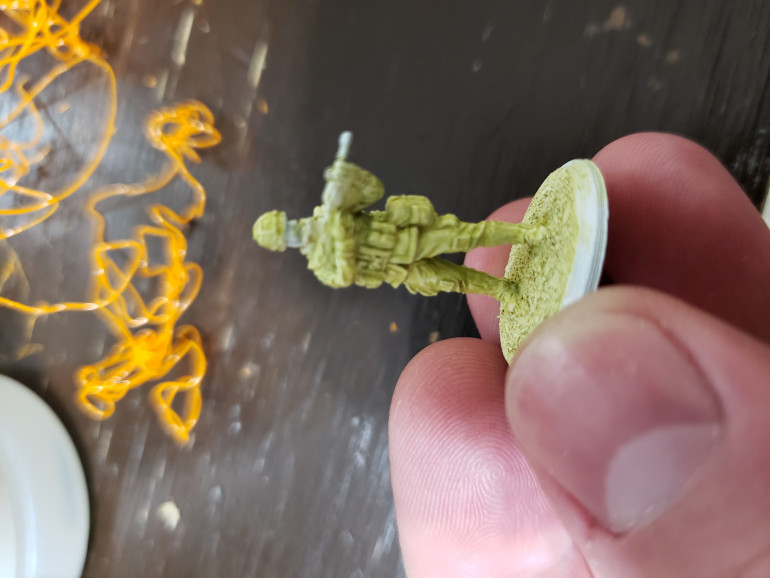
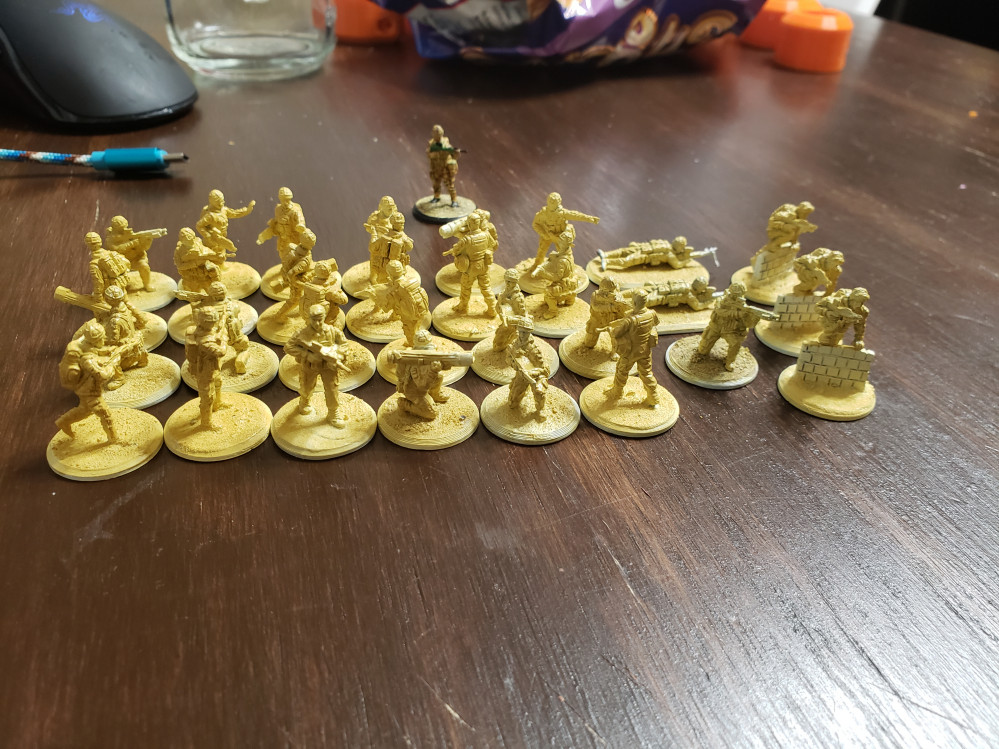
I finally got a base coat on the British troops. I mixed up some of the badger minitaire pants to make the base.
The colour is made using:
8 parts Snow White
4 parts Irradiated Yellow
6 parts Bark
1 part Fresh Green
I think the colour came out ok. Will see how it goes once I try to make a camo pattern on it.
First attempt at any sort of camo
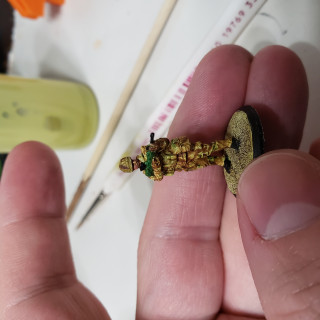
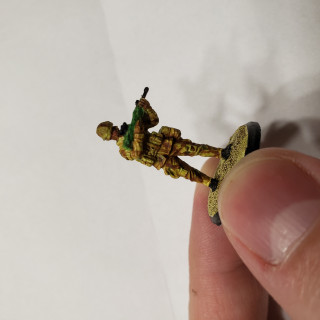
Well it ain’t pretty but figured I would show my first attempt at doing some sort of camo. I will never manage to paint anything like the MTP currently worn buy I want to try to get some of those colours in. I would rather it come out more on the sandy side then brown or green but my colours still aren’t right.
It’s already 10 here so I will prob wait to do anymore colour mixing. I might end up giving in and ordering some paint that is closer to the colours I need I have a very limited selection at the moment.
Base coat
I’m trying to mix up a colour to use as the base for the British soldiers. I am using my badger minitair airbrush paints. This is what I have so far what do you guys think for a base colour?
This is 8 parts white, 4parts yellow, 2 parts brown, 1 part green
Basing continued
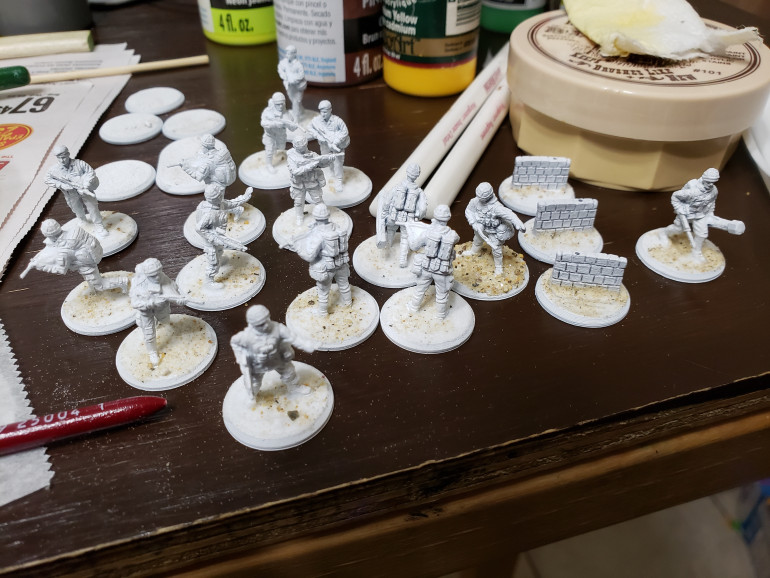
I got the basing material added to the standing minis the primer really helped with the adhesion so I’m hopeful the paint job will work out and not end up cracking.
Once the glue is dried I will prime over the basing material and can start the base coating when I have time to do some airbrushing.
Terrain - buildings
I quickly modeled up a very simple building to try to get some terrain for this project. I have only ever games at 28mm so I had nothing appropriately sized.
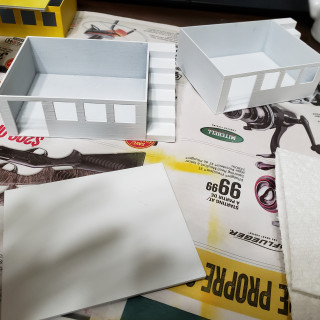
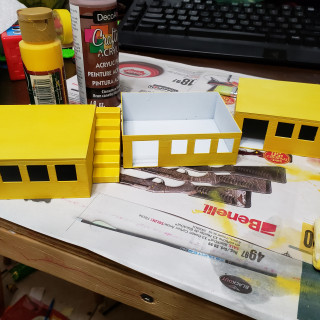
These are simple little buildings with a stair case on the side. The current version has it so the stairs have tabs that slot into the wall of the building to help with aligning and securing it. I also made it so the stairs can be printed in vase mode so use very little filament. I have also made a second story I just ran out of filament to print it.
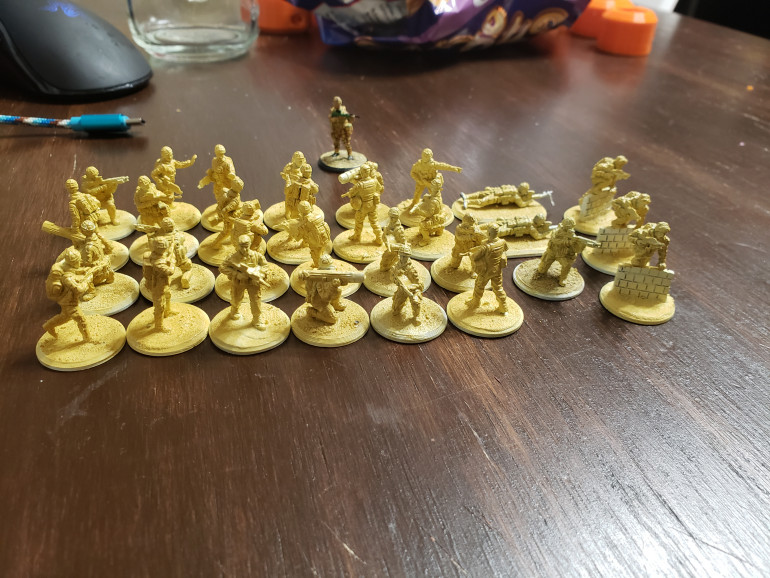
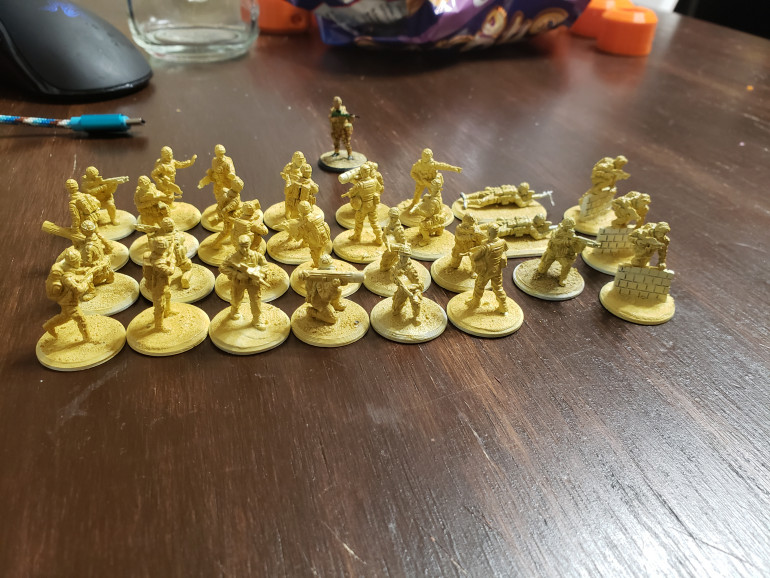
The buildings were printed with grey place then primed with the white airbrush primer. Since I didn’t have any appropriate colour craft paint and couldn’t find my white the buildings are currently yellow. I will tone them done when I can get some more paints but the yellow is more interesting then the plane white was.
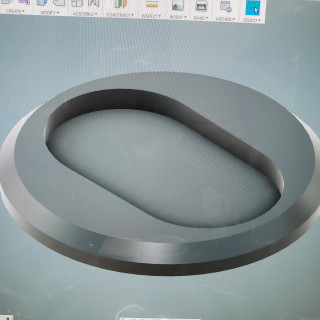
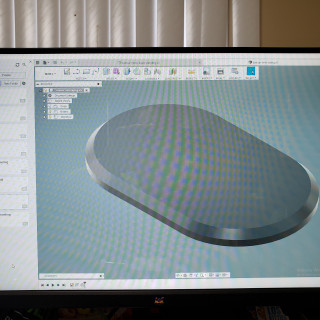
I will grab pictures of the CAD model when I go on the computer later.
Priming
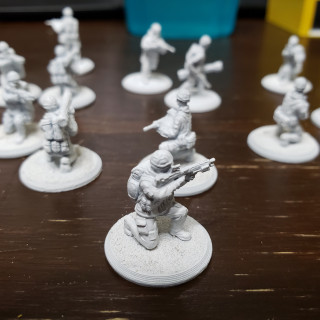
I primed all the models using badger stynylrez white primer. It seems to be sticking pretty well to the flexible plastic. I flexed one model to make sure it wouldn’t crack and come off and it held up great. Hopefully using thin coats of acrylic over top will help keep the final paint job from cracking.
Next is to add the basing material to the standing figures since the glue will stick better to the primer then it did the raw plastic. A quick prime of the base then it will be onto painting.
I will mix up a sandy colour for the base coat. I will airbrush the whole models with it as the base can be altered with washes to give contrast after and all the other colours will be darker then this base so will be able to cover it easily.
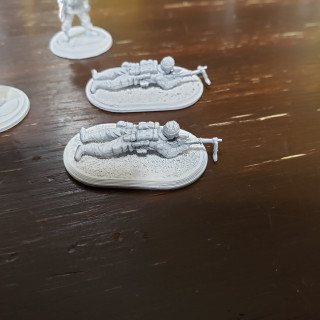
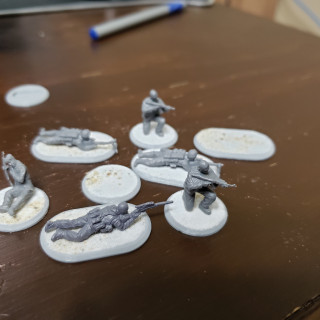
Question: should I make a longer base for the snipers and the lmgs? The sniper looks ok but the gun is not protected by the base and the lmgs doesn’t have the bipod touching the base which looks a bit off. Thoughts?
Basing
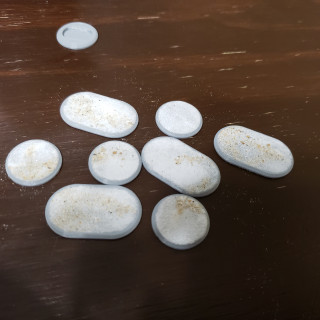
- I decided to do the bases quickly by just adding some sand and baking soda to give a look of rocks or debris over Sand. I did the flat top bases first which worked out well but the glue didn’t want to stick to the Caesar plastic so only the first of the standing fugures got any basing prior to priming. I will have to add the basing material and then reprime the rest of the standing figures after initial priming.
Bases
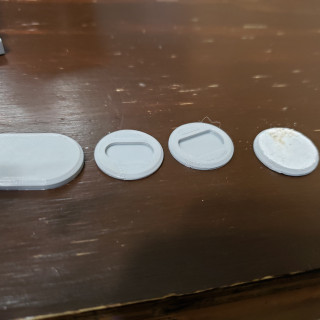
The Caesar minis don’t come with any bases (Audrey from small ones on the standing tops) so I quickly designed and 3d printed some 20mm bases.
For the standing figure I made it so the models slot into the base with the existing base, for the kneeling figures I just did a standard flat top, for the wall climbing models I had to change the depth and size of the cutout from the standing model, and for the laying figures I made some 32.5x20mm oval bases.
Images coming shortly.
Minis
I was searching for away to get some modern military miniatures and being in Canada the cost of shipping was making it hard to justify the cost of ordering from overseas when i still haven’t decided on a ruleset i want to use yet. I then found some Caesar Miniatures on Amazon.ca. I ordered some British and some militia minis as they had that was an ok price ($17 for the brits, US troops were $44!)
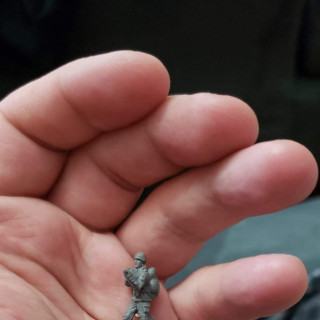
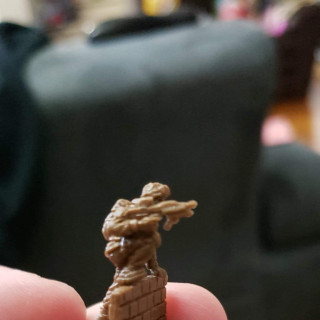
20mm is small. I am so use to 28mm minis that these seem so tiny. I do like the cool dudes climbing over a half wall though.


