Gaius Papirius Tenebris Builds a Gang – A Gangs of Rome Project
Recommendations: 60
About the Project
I'm building all of my GoR stuff at once. I'm not a great painter, nor a great modeller, nor, well, anything. I'm doing this here to a) entice myself to keep doing it, b) get feedback on what I'm doing and how I could do it better in the future, and c) maybe share some things I've learned. 11 fighters 4 mobs Sons of Orcus Some special characters
Related Game: Gangs Of Rome
Related Company: Dark Peak Games
Related Genre: Historical
This Project is On Hold
Finishing Step 1
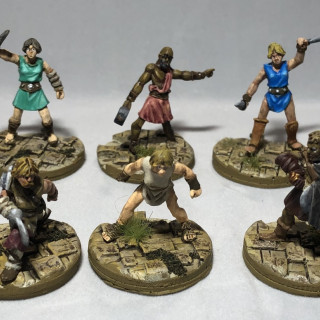
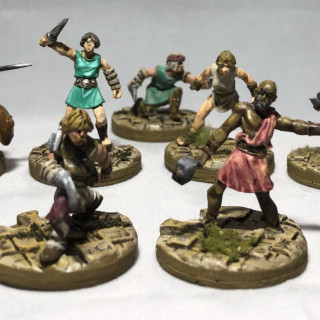
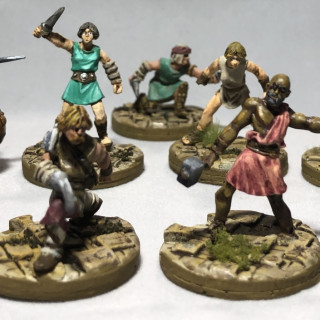
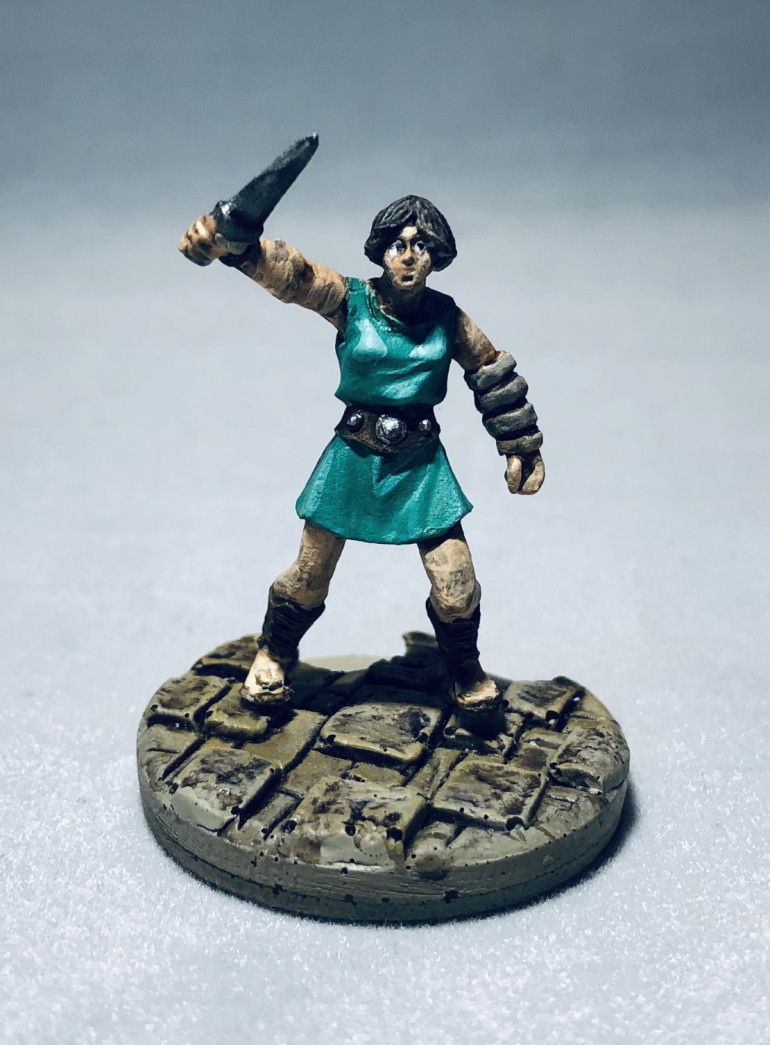
Welp, I’ve gone cross-eyed from painting Romans. (I can’t paint the same types of models over and over without losing my mind.) So, while I’m taking a break with some Kill Team models, here’s what I’ve got finished so far. Hope you like it!
Step 1C - Painting/Basing
Yeah, so I don’t have enough skills to teach anybody anything about painting, so here’s where I just post random pictures on the progress of the gang members.
I’d love to hear any feedback or tips about what I’m doing and how I could do it better.
Thanks!
Aaaannd, I’m back.
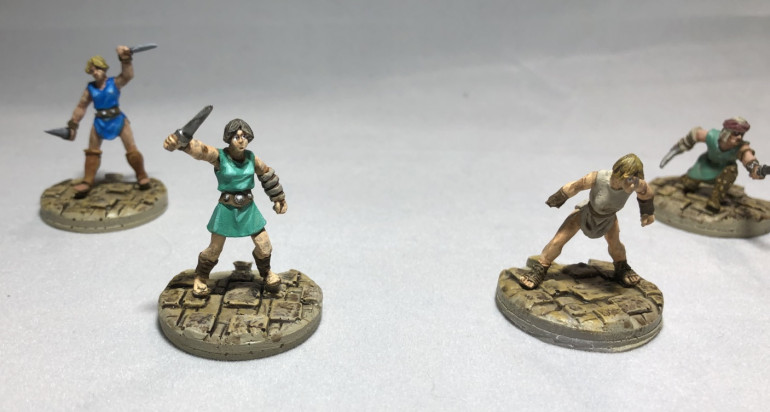
I took some pictures of the first four models I did up, and wow, I’m really bad at this 🙂 BUT! They look OK from 3 feet away, and I actually did eyes!
One of the main issues I’ve been having with these models is that, like the painter, they don’t have a lot of muscle definition. Normally I can make the model look better by washing into the muscle lines and cleaning up, but with no lines, I’m kinda lost.
Oh, and I’m not real good with pictures either.
First decision
I’ve now reached a decision point. A lot of people, myself included, generally don’t paint minis while they’re on the base. Too easy to screw up and get paint where you don’t want it. But, I want to be able to play with the models, even if they’re not fully painted yet (gasp, horrible I know).
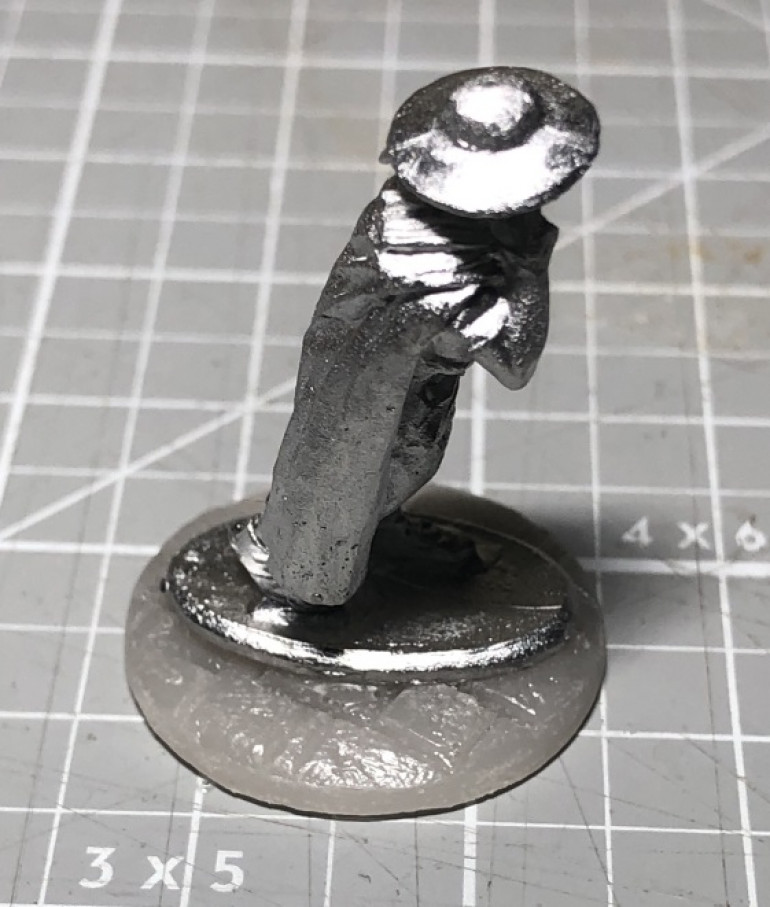
I’m going to go ahead and paint my bases and put the unpainted (but primed) models on. That enables me to play with them and, oddly enough, it bothers me more to have partially painted models than it does to have unstarted models.
Step 1B - Pinning and assembly
I seem to have an issue with glue; it tends to go “bad” fairly quickly. Well, actually, I don’t build a lot, so it’s likely that once it’s opened it just sits around for too long. So I try to do assembly in big batches.
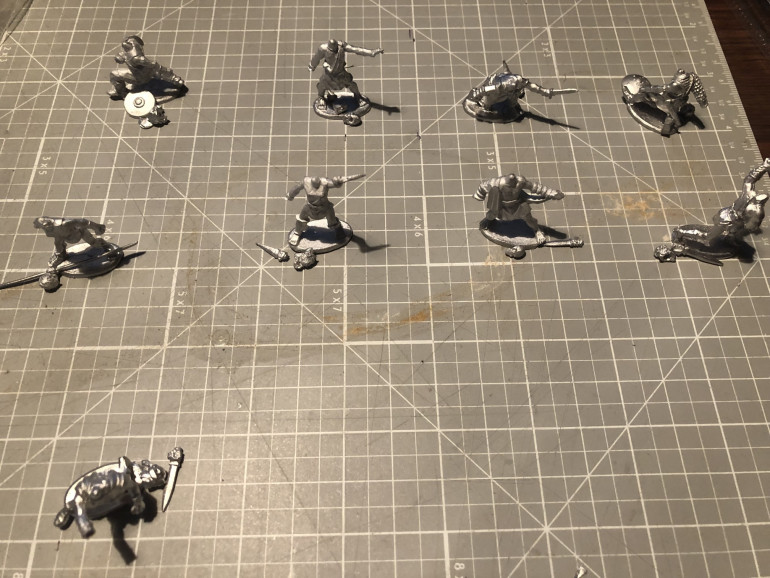
The only models in Gangs of Rome that need assembled are the fighters, and they typically come with 5 heads to choose from and a weapon sprue. I pick what weapons and heads I want and lay them out with each model. That way I can cut the tip off a fresh bottle of glue and do everything at once.
If you’re going to cut the bases off the models, I don’t recommend you assemble or prime first. The pressure you will apply will often cause the glued parts to pop off or the primer to rub away.
The GoR models are cast with “built in” pins. The neck sits into a cavity in the head and there will be a small divot in the hands that matches a “nubbin” on the weapon. A lot of people will go ahead and pin these pieces anyway, but I’ve found that it holds pretty well as long as you don’t use too much glue. Plus, let’s be honest, these are really small parts and pinning it is a pain in the butt.
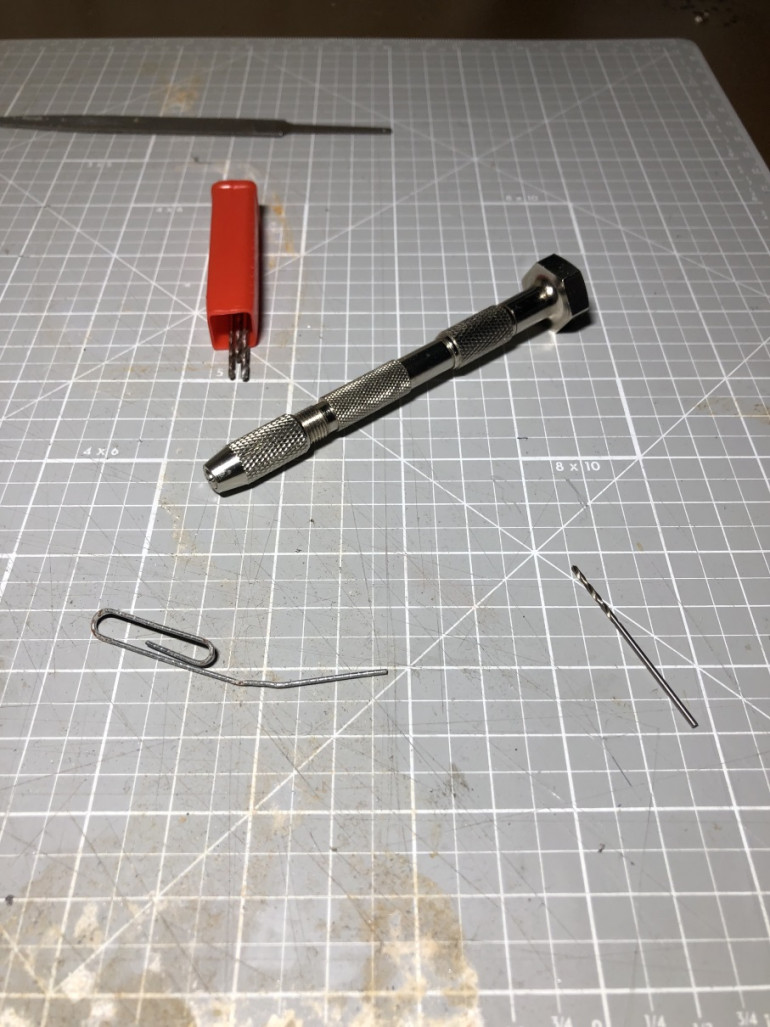
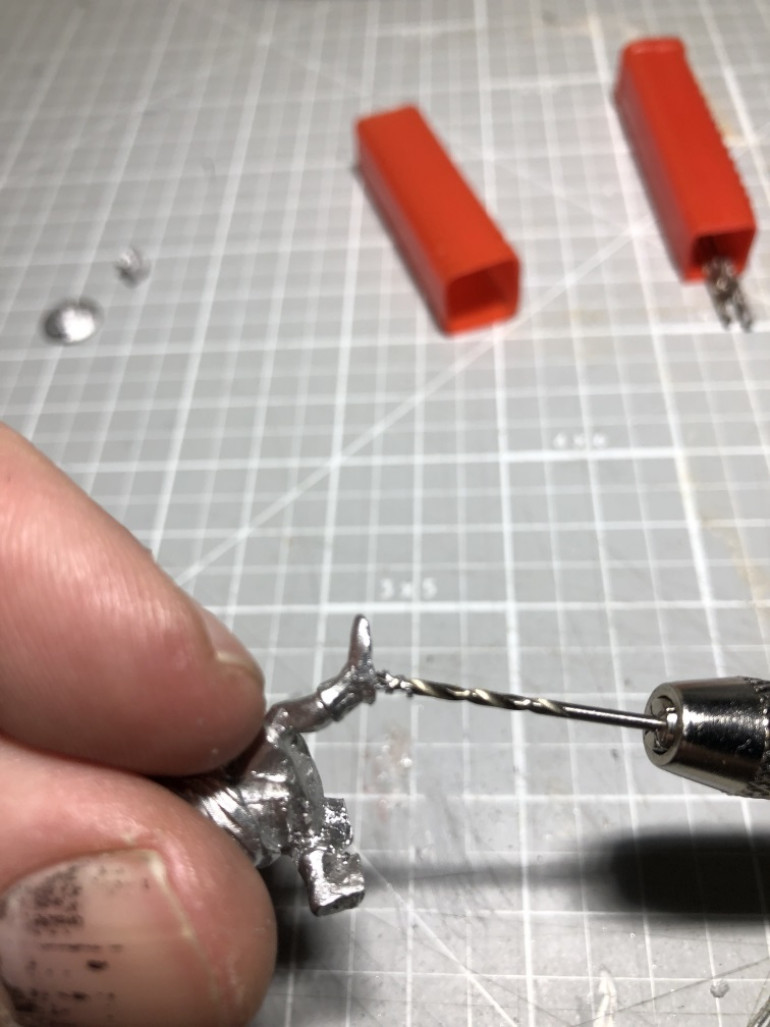
Once the models are assembled, I put pins in the feet for anchoring to the bases. My usual tool is a pin drill. I assume you could use a rotary tool, but neither of mine have small enough adapters to hold the tiny bits for pinning a model.
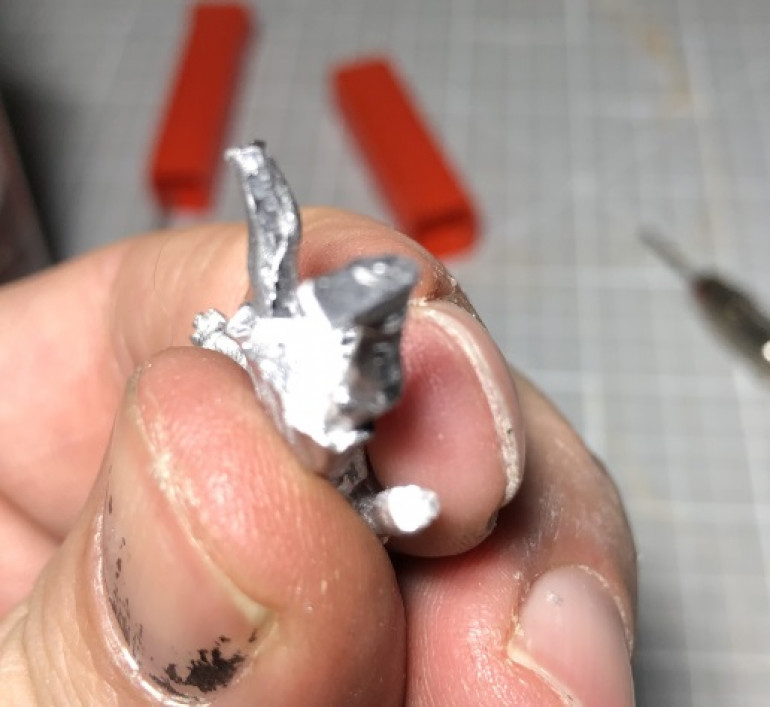
Gently put the bit against the part you want to pin (in this case, the foot). Don’t use a lot of pressure as it will just cause the bit to skitter off the surface. If you keep having issues with that, you can try to “drill” with the tip of a hobby knife, just enough to put a small divot in the surface for the bit to start in. Be very careful if you do this.
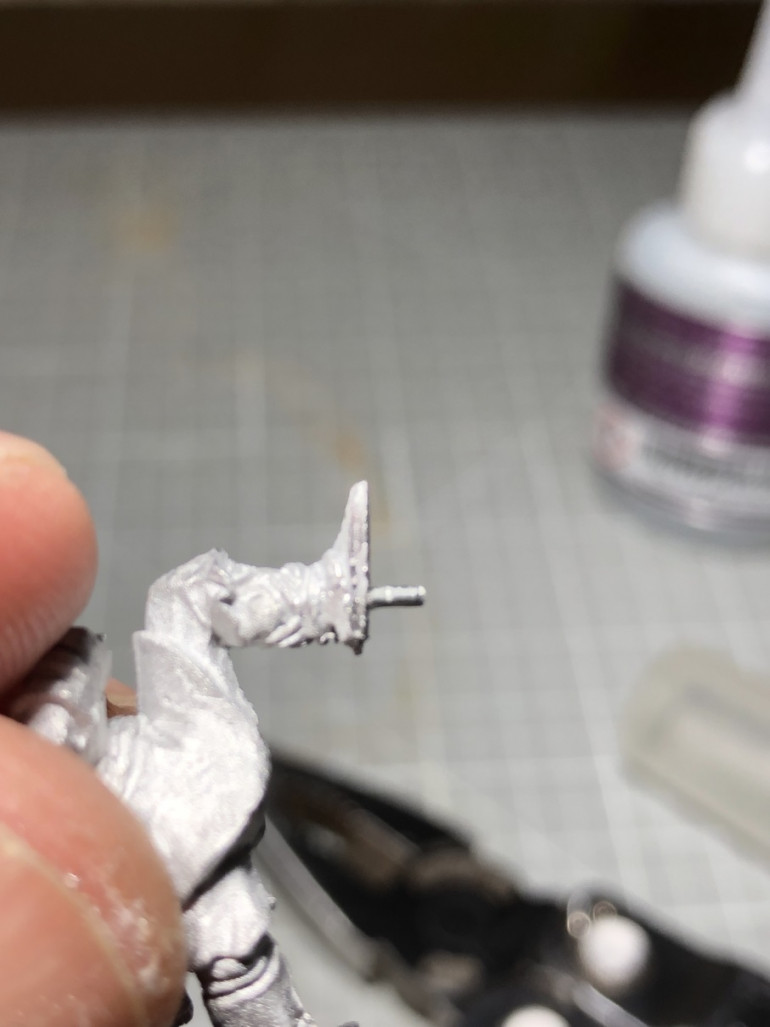
Once you’ve got a nice hole, maybe an 1/8″ deep (or 2mm), insert your pin rod (I use paperclips) and put a drop of glue around it. Once it dries, you can carefully trim off any extra glue and, viola, pinned model!
Step 1A - Cutting the models off the bases (without losing flesh)
Any time you use the word cut you should make sure you’re using the right tool for the job. Period. Do not skimp on this. Using the wrong tool may just ruin your cut, but it also may ruin your hand. Or eye. Or other gibbets.
When cutting miniatures, people tend to think of three tools: an hobby (x-acto) knife, a hobby (or razor) saw, or a powered rotary saw.
Hobby Knife – Let’s get this out of the way. A hobby knife is. Not. The. Right. Tool. Hobby knives are great for taking small pieces off at a time, trimming, or slicing thin things. The amount of pressure that you would have to use to cut through white metal with that small blade puts you an great risk for a cut. Even worse, it IS possible for that blade to snap and go flying. Generally into soft, fleshy bits.
Rotary Saw – These things are great, but I don’t recommend using them for this for two reasons:
- The rotary action of the tool can make it difficult to control. They do make vices specifically to hold the tool, but it still puts my sausage fingers waaayyyy too close for comfort.
- The cutting wheels on them can snap. See fleshy bits comment above.
If you do want to use one, use a vise to hold the tool and wear protective glasses. (I literally had a chunk of cutting wheel bounce off my forehead 3 days before typing this up).
That leaves the hobby saw.
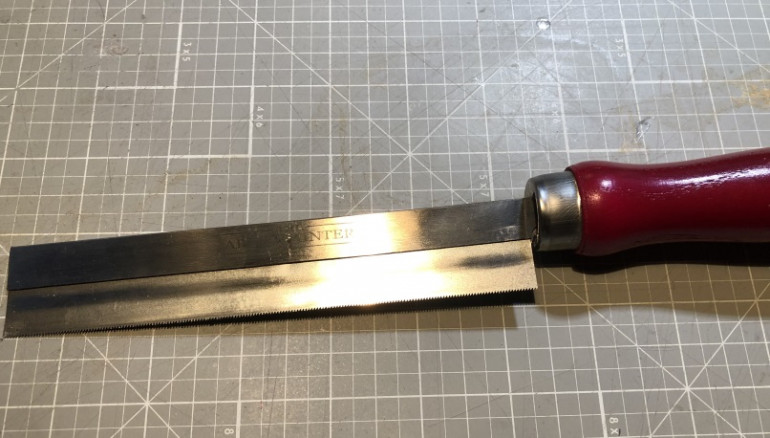
First off, a hobby saw (more accurately called a razor saw I guess) is not the same as a hack saw. They tend to be thinner, making a tighter cut (see: kerf). A lot of hand hack saws have around 14 – 30 Teeth per Inch (TPI) while a lot of hobby/razor saws will have in excess of 50. More teeth = finer cut (generally, there’s a lot of factors).
Second, a cut from a hobby saw hurts. A lot. So let’s try to avoid that, hmmm?
There are 4 main rules to being safe with a hobby saw:
- Light pressure – You have to do this anyway as heavy pressure just binds the saw.
- Go slow – It takes about 5 minutes to cut one of these models off its base. It takes about 5 days for a cut from a hobby saw to heal. Do the math.
- Move the miniature along the blade, not the blade along the miniature. (OK, you don’t want to do this all the time, but when you can…)
- Never, ever, put your finger (or any other part) over the cutting edge of the blade.
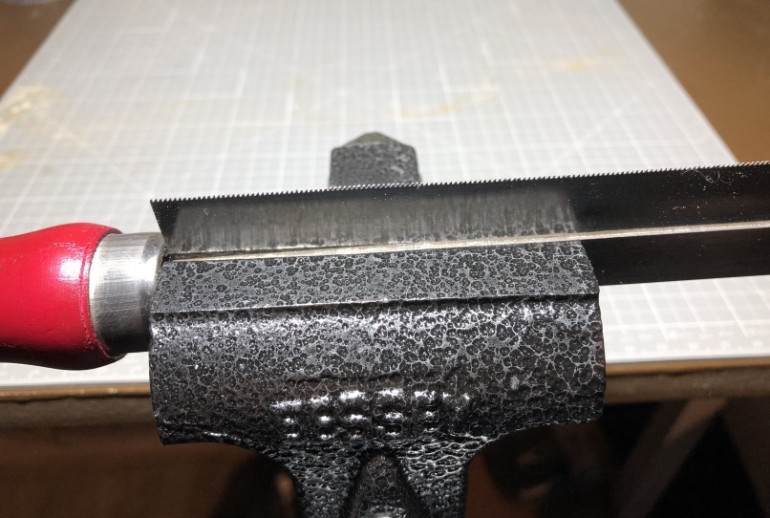
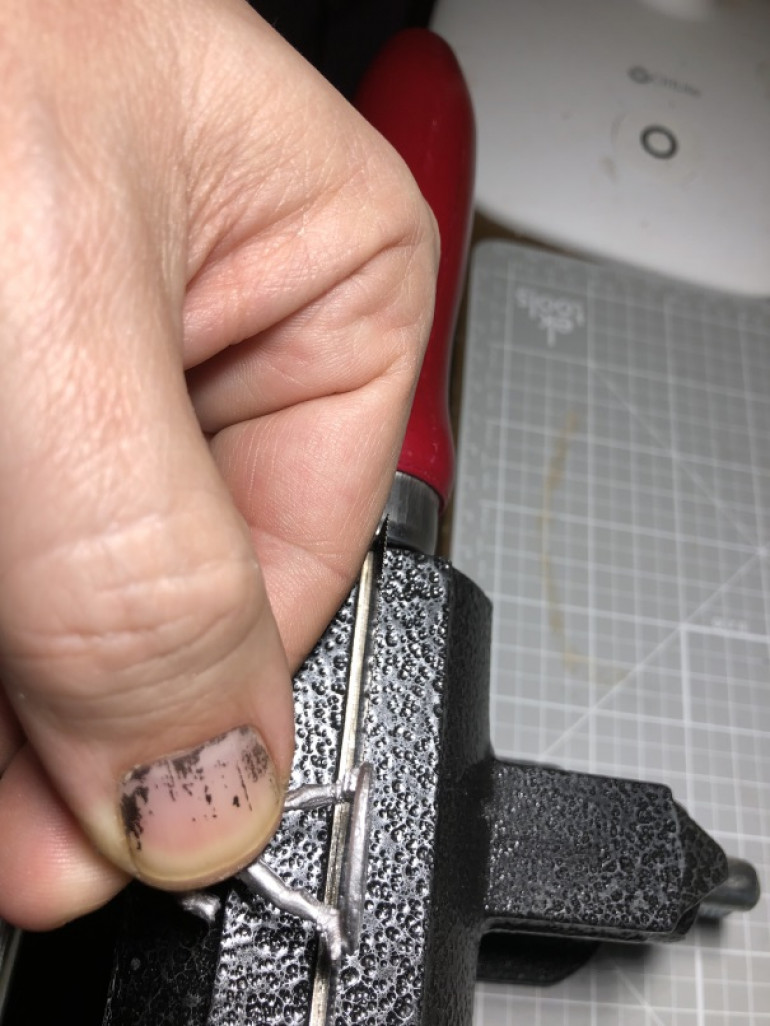
Personally, I use a vice to hold the saw.
Place the base against the blade and gently run to the end. Keep your fingers well back from the blade. Rinse and repeat.
I personally try to do this so that I’m cutting through both points at the same time. That way you’re not putting too much pressure on one point once the other is cut.
When you near the end, you may find it easier to finish with the saw free from the vice (in your hand). Again, slow and steady.
Finally, a little bit of polishing up with a file and you’re done!
Only 40 more models to go!
An aside - Why I'm cutting the models off the bases
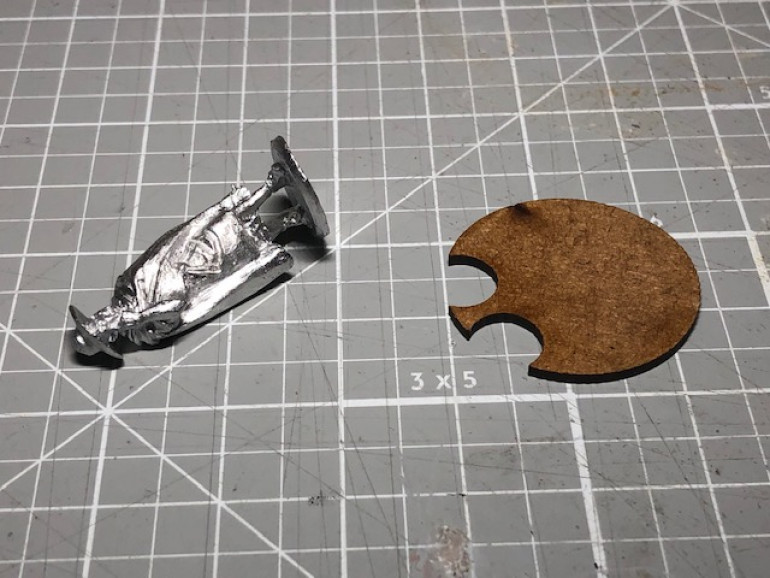
Gangs of Rome minis come precast onto an oval base, to be glued onto their “jigsaw” base. However, I want to use their resin cobblestone bases and that oval base just didn’t work for me.
So this means I need to cut off the base. Yay.
Getting Started - The Plan
I’m a software developer by training, and a software architect by accident. As such, I plan. A lot. When trying to build and paint 40+ models as a single project, I have to plan or I won’t get it done. So, here’s what I did….
First, what are my requirements?
- As much as possible I want to be able to play with the models during the process.
- I want to use the resin cobbled bases from War Banner, but I don’t want to just glue the model to that base as they generally have a metal oval(ish) base.
- I want to get them done.
Generally, when I paint large groups I identify 3 main groups: models I want to be painted as well as I can (think heroes or commanders), models that I want painted well, but not spend that much time (think lieutenants), and models that I just want to look decent (think fodder). Gangs of Rome, however, only has 2 levels – the fighters and special characters to be the best I can do, and the mobs who are the fodder. That gives me the plan.
Step 1 – Do the Fighters: These models are kind of required to play the game, so I want to get them moving first.
- Cut the models off the base
- Pin and Assemble the models
- Paint/base?
Step 2 – Do 1/2 the Mobs: Not specifically required (you can just use a disk to represent the mob), but they add a nice visual element to the game. Switching to do a couple of mobs provides a nice break from the fighters.
Step 3 – Do the Special Characters (and Sons of Orcus): Back into the more detailed painting.
Step 4 – Finish the Mobs
Let’s see how this goes….


![TerrainFest 2024 Begins! Build Terrain With OnTableTop & Win A £300 Prize! [Extended!]](https://images.beastsofwar.com/2024/10/TerrainFEST-2024-Social-Media-Post-Square-225-127.jpg)


