Trewets journey into Bolt Action German Panzer Grenadier 901st
Recommendations: 178
About the Project
Hi boys and girls. I am starting an escalation league in Bolt Action starting in the new year with a few friends. This project is to chronicle my journey from 500pts of infantry upward through the points,250pts increase every month. We are the build,paint and base new units and play at least one game with the new units every month,with a new opponent each time. As most of us are new to the game,me included it will help to learn the capabilities ,nuances and set backs if any of our forces. Points in the campaign will be awarded as follows 3 points for a win 1 point for a draw 0 points for a loss 1 point each for painting,building and basing your new troops every month. The scenerios will be draw randomly so as not to give any given army an advantage.
Related Game: Bolt Action
Related Company: Warlord Games
Related Genre: Historical
Related Contest: Bolt Action: Western Desert Boot Camp
This Project is Active
Special effects!
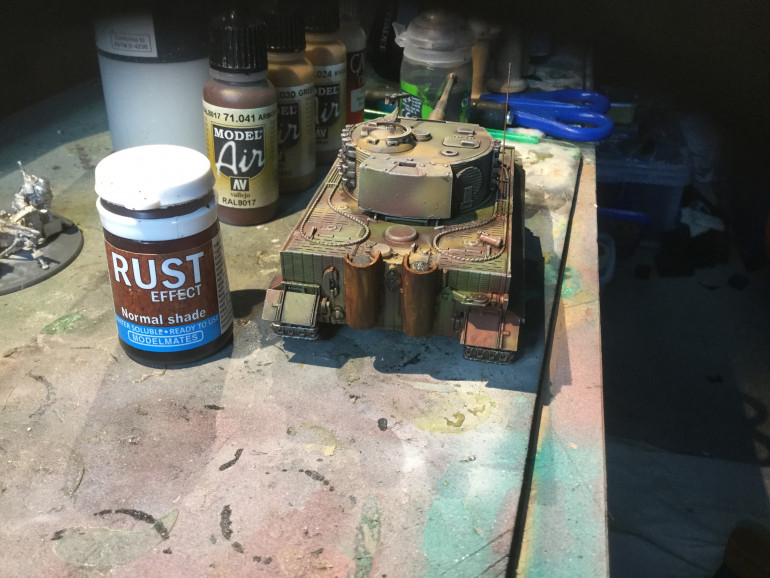
Have had a pot of Model Mates rust effect hanging around my work bench since last years Salute,and have been itching for a project to use it on.
The thicker you apply this stuff the darker the rust it can be re activated using water and moved around the model to stain areas around the rusted metal object to have painted to give a somewhat oily stain.If you do this you can then build up thin layers of the effect to give a light rust effect where you want it.
Really like this stuff but my pot has thickened with time/age so got a dark rust straight out the pot.When I first used this stuff as a trial after first getting it on a piece of terrain it had a much lighter orange rust finish.
Reinforcements
A few new additions to my 901st grenadiers and maybe ,just maybe some SS help.
The 901st. We’re part of a very mixed bag when it came to the Panzer Lehr division they were part of. It had elements of Wehrmacht,armour and SS all attached together.
It makes for an easy army list build,take what you want if a little daunting when it comes to choices.
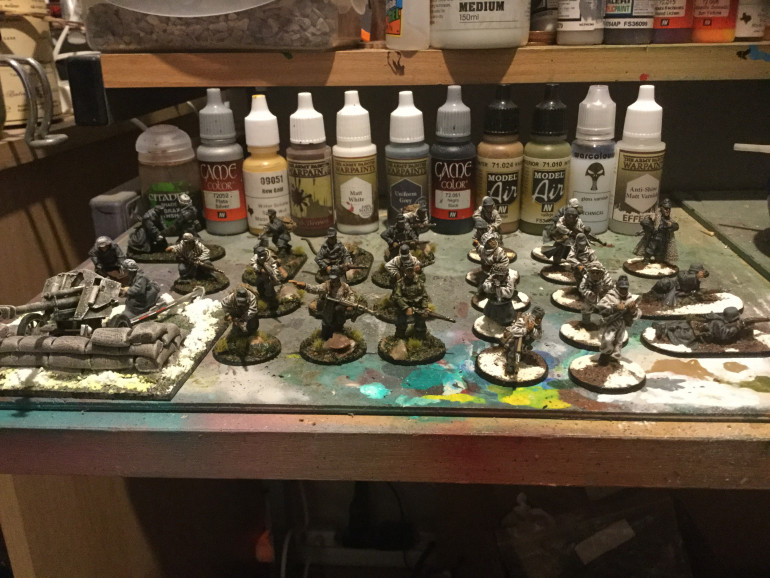
That said here are my reinforcements,some painted some not.
The Tiger and Hanomag were primed using my air brush with Vallejo grey surface primer and then a base colour of armour brown(71.041) freehand air brushing of two other colours, green brown(71.039)and cam green(71.022) in opposing stripes to give a general cameo pattern. Both were shaded using diluted nuln oil and dry brushed lightly with bone white(72.034) to bring out the edges of the vehicles.
I am not too sure if this pattern is authentic but it looks good to me and is as close as I could guess from pics and other data I can get hold of to date.
Th groups in the background are a mortar crew,a machine gun crew and a motorcycle with sidecar(don’t know yet if or how to add this to any list but I like the idea of a mobile machine gun platform.
Crew in the Hanomag are from the Opel blitz truck box that I got at the Western desert Bootcamp
I have more of these that will be painted in a more fitting grenadier uniform than the desert colours,but wanted to see what it looked like loaded.The Jerry cans on the outside will also get a different colour but have not decided what would be best.Green,brown,sand,or grey?
Muzzle soot
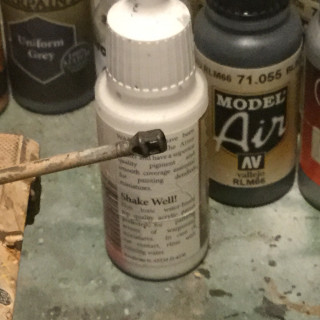
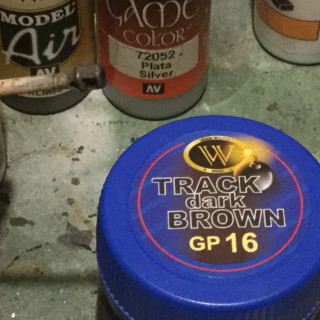
The very end of the Stug main gun has been weathered with track dark brownweathering powders(almost black).
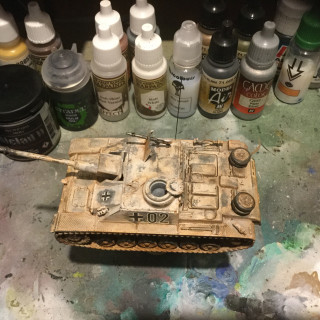
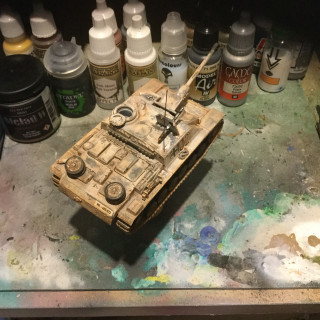
Dirty Stug
First up apologies for minimal photos as I forgot to photograph the progress as I was concentrating really hard on the new technique.
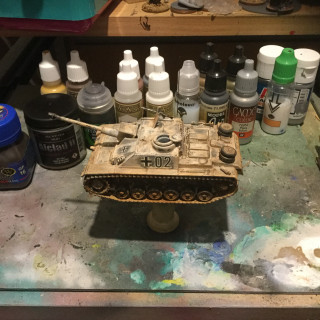
The final result of undercoating the model with panzer grey, waiting for that to dry, then varnishing with gloss varnish and letting that dry. Next step is spraying the model with hairspray and topping that with a flat white acrylic paint. This is then followed by a very careful nervous rubbing of the white with a damp brush.
I found that soaking a section of white paint to reactivite the acrylic paint then gently rubbing with the brush gave a better result then rubbing a wet brush, as you need to brush harder and then when it reaches a saturation point for the paint to move you inadvertently take more paint off than you want to. The reactivated paint then moves over the model like a fresh white paint glaze.
The model was then weathered using powdered pigments, a red brown and darker black brown.
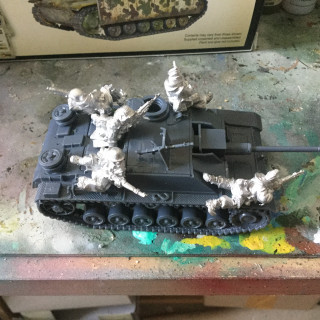
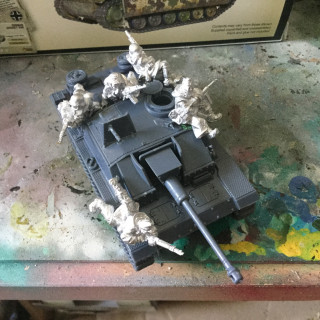
Stug riders
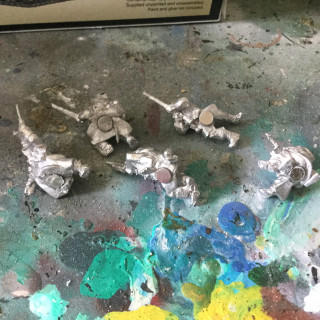
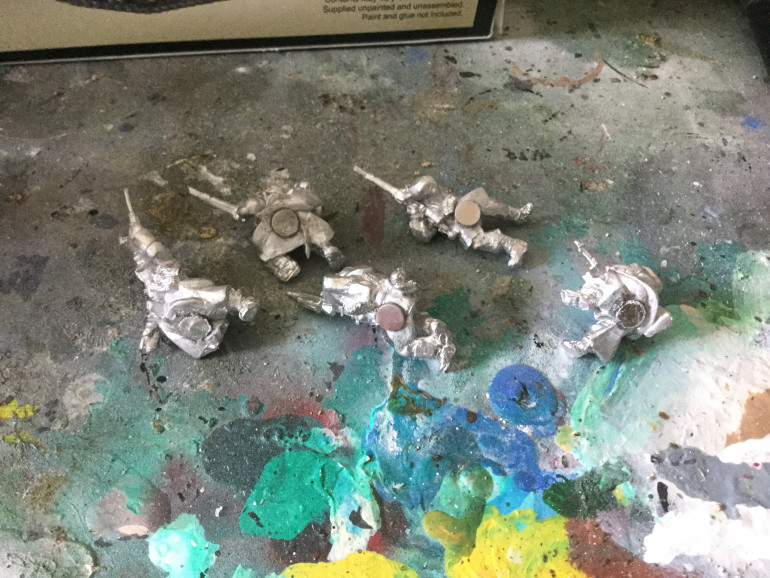
Some lazy hangers on have managed to blag a lift from the commander.
All have had magnets super glued to the bottom of the figure.
This allows me to remove them when they are shot at in game or I could add magnetised baggage/ stowage.
Pushing my skill limits
Now I have owed and used a cheap air brush and compressor set up for a number of years…….I am by no means an expert or amazing airbrush officionardo, I get by.
Air brushes make it mush easier to paint larger models like vehicles to a higher standard than I personally am able to achieve with a brush.
I want to push my skills further in this project so have set myself the target of learning how to use the hair spray technique to weather the white wash winter camouflage pattern I have decided use.
In my family the use of hair spray is not a high priority due to the lack of long luscious locks as some of you might have noticed from my log in picture lol.
So that said a visit to the shops to buy a can of strong hold hair spray is on the cards…
Stug progress
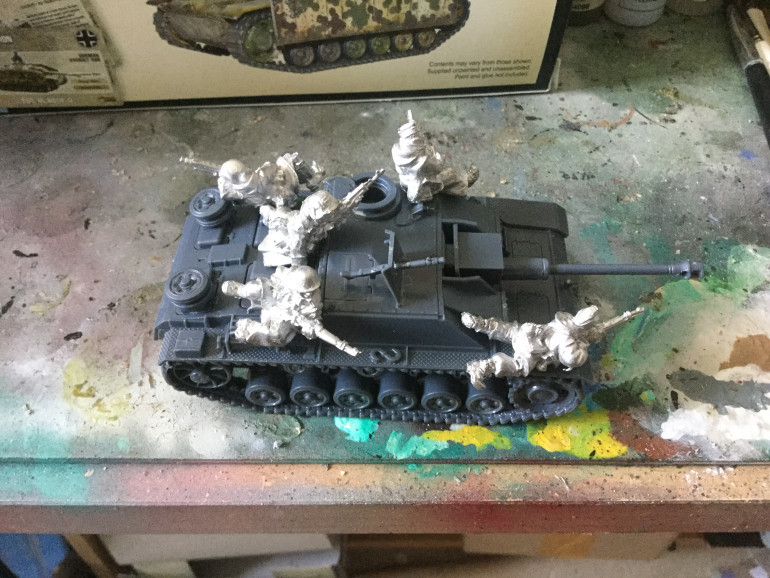
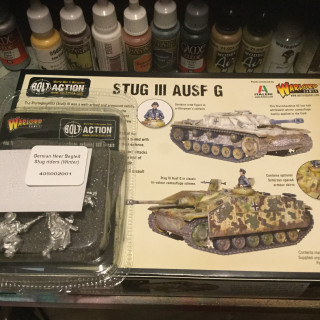
The stug is going to be the next upgrade to my German forces in our on going escalation league,BUT I want to use the Stug later as a transport for a squad of Begleit(Stug riders)
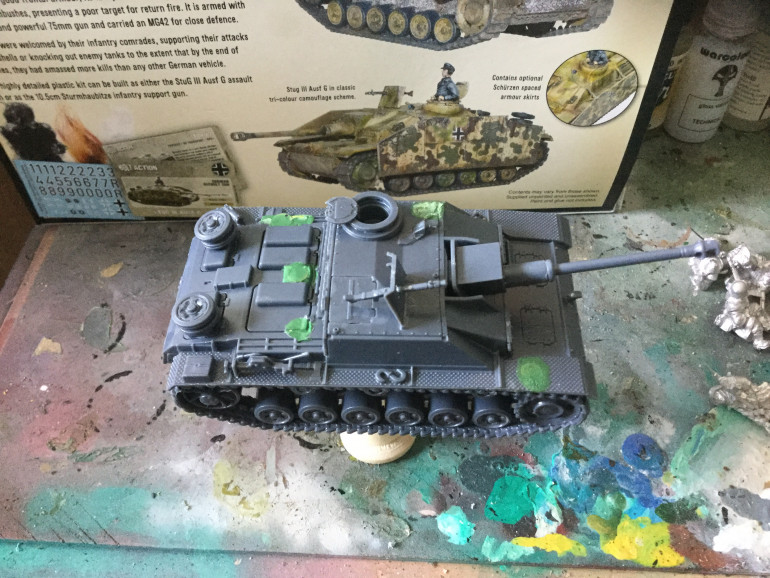
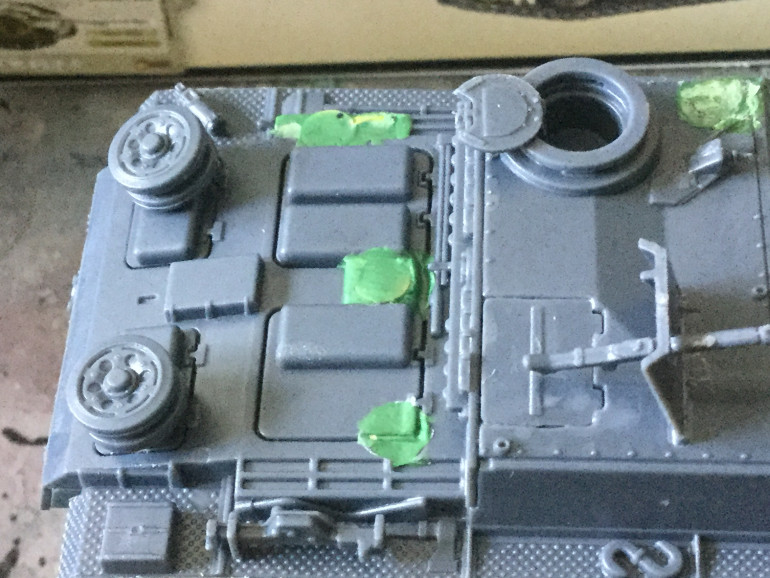
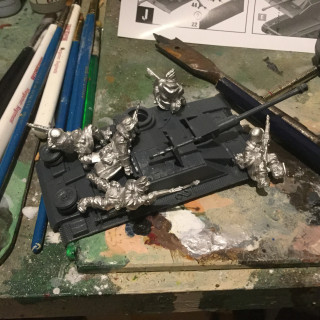
This means some forward planning on the build front,so I have drilled some holes in the Stug model and installed magnets at key points to take the metal warlord Begleit squad which I have also magnetised.
The holes in the Stug are roughly filled and sculpted with green stuff to help make the magnets less obvious when the squad of riders are not used,I am toying with the idea of magnetising some storage to help with this as well but have not got that far YET!
Another 250 pts
So for February I have decided to support the infantry squads of the 901st grenadiers with some armour…..probably from the 243rd armoured divison
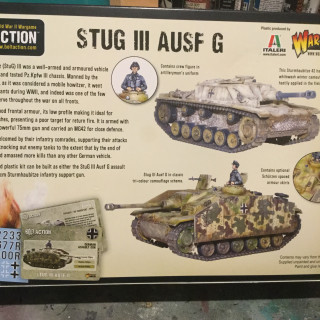
I have decided to field a STUG III,depending on the level I take this I could also have a few tank riders
Spotter based and ready for action
Here is a highlight for the forgotten spotter attached to the howitzer.
Obberfurher Fitz
Officer highlight as he didn’t get much attention during the recent posts
Just about finished painting
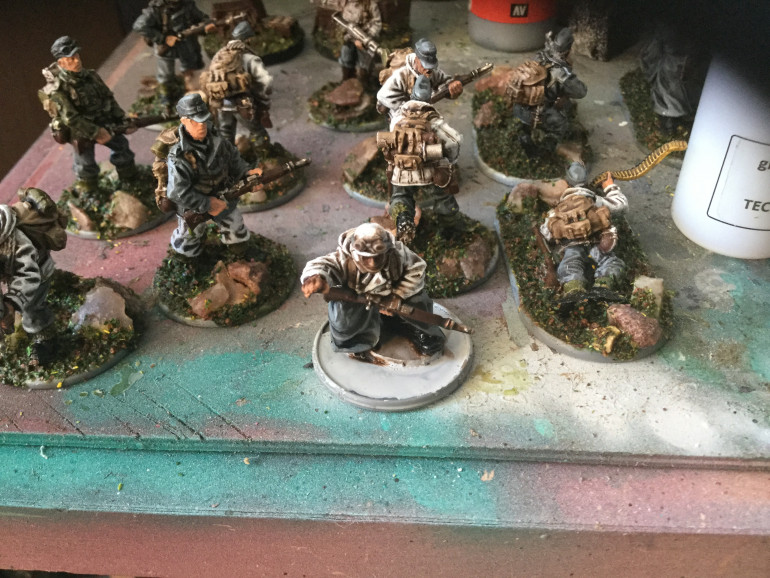
I have finished painting both my winter squads to a table top standard and based both squads differently,to help differentiate them on the table when setting up and packing away.
New recruit
Gone through my army list again to make sure everything was spot on and have found out that I could giggle the points around so that the howitzer can have a spotter.
The lieutenant has contacted HQ and they have sent an urgent new addition to the platoon.You May have noticed him front and centre on one of the other photos,he still needs basing.
Small hiccup
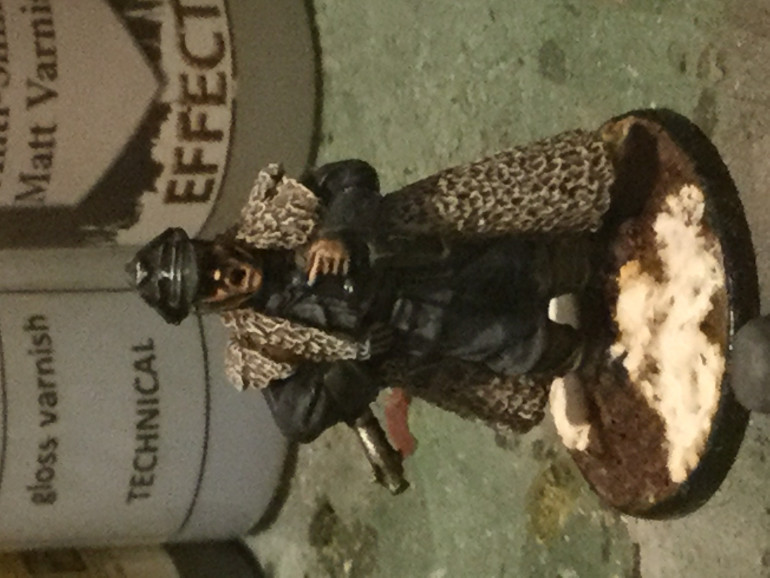
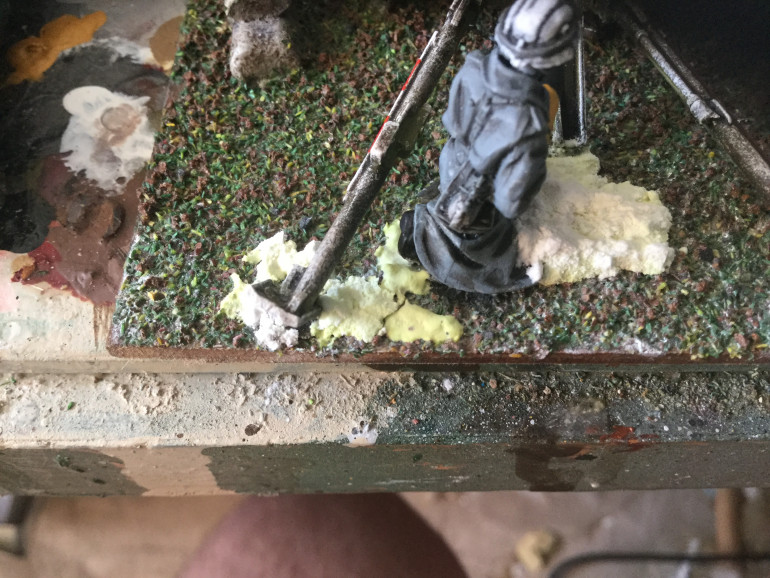
Based the units heavy howitzer and decided to add a snow effect that I got in one of the Assetdrop subscription boxes a few months ago.
The flock on the base is held down with PVA, the snow effect comes in two parts a liquid element and a “fixed” fine white powder.
All went down great to start with, or so I thought.Some hours later the snow flock started to bleed the colour from the flock and to crack.
I have decided to seal the flock with a layer of varnish then to try the snow effect on top.
Glossary well sort of
Have carried on with my winter army
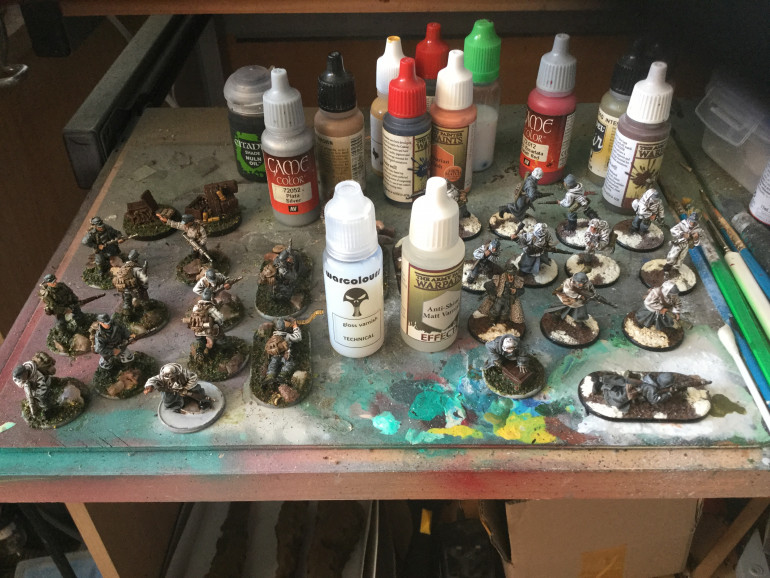
The troops have been given two coats of varnish,one of gloss first as this tends to be tougher physically and gives a protection layer, then a Matt varnish to give a flat realistic finish.
Update 13/10/19
Not much progress on the project over the last couple of days.
I have been busy continuing the squad paint jobs and brain storming how to base the mountain troops, whether to add rocks and green grass to the base and how many of each and do I then put snow effect on top or just leave it be?
I do want them different to the standard grenadier squad for contrast and so I can see the different squads in the transport box for ease of use.
I will add photos of the bases when I have made a final decision.
next thing to think about is the basing of the artillery piece I want to use in the army.
I have gone to a green grass scatter to begin with but I am not totally sold on this…..more head scratching in my future lol.
Platoon attention
Have decided to field the Bolt Action squad as a reinforced Grenadier squad as follows
second lieutenant 50pts
schutzen squad ten men. 127pts
veteren grenadier squad ten men. 173pts
Sniper team. 65pts
medium artillery. 85pts
Total. 500pts
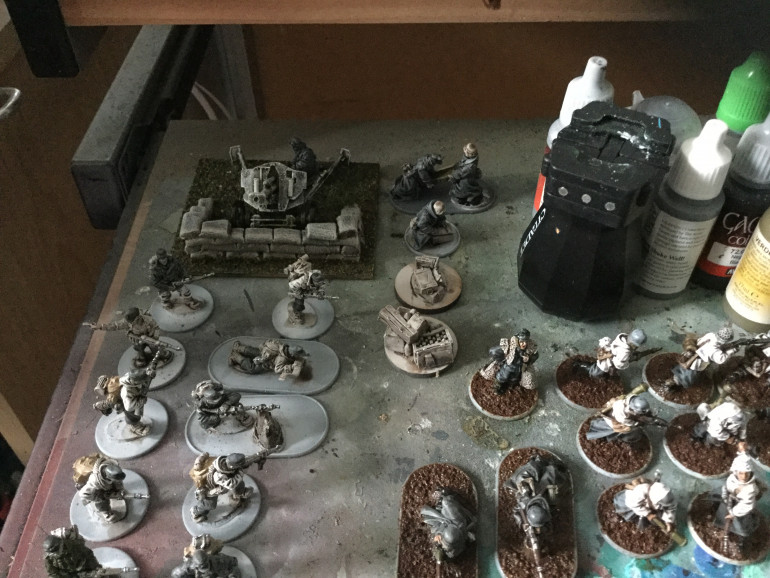 As you might be able to see the howitzer does not fit on the round base supplied in the model pack so I have made a hard point for it.
The ammo boxes that come with the howitzer looked like they would make great objective markers so have based them separately.
The extra crew are also base separately so that casualties can be removed during the game if needed.
How to “muddy hell “the bases
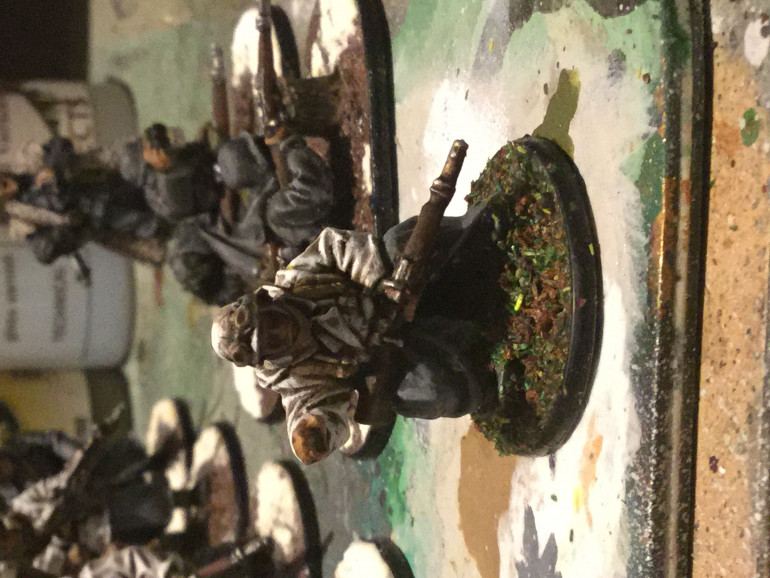
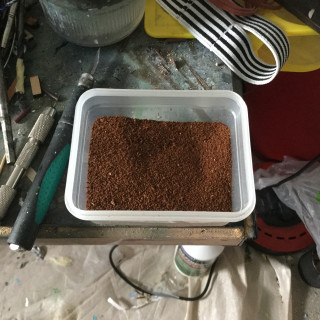
Take your desired brown base material,here I am using dried used coffee grounds as I find it gives a rich brown colour when finished.It also smells great.
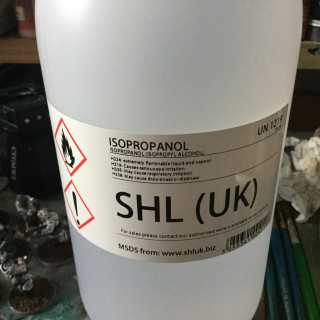
Mix a 10% concentration of isopropanol in water( 1 part iso to 9 parts water,roughly)
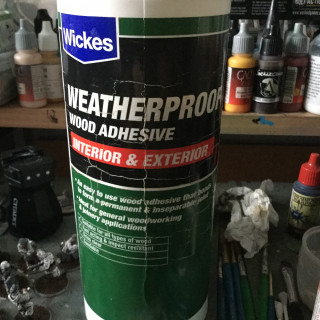
Then take equal parts of wood glue(PVA) and the isopropanol and mix together into a thin consistency.
If you dont have isopropanol it is fine to use just plain water but the coffee grounds can stick to your brush through the base process due to the surface tension of the mix.
Apply the mix to your base, making sure to get in all the hard to reach areas using an old brush.Add more PVA till the base is covered with the glue mix in an even coat.
Dip or sprinkle the base material until the base is covered( I dip my base into a small container and leave for a few seconds till the glue has had time to pick up and soak into the desired amount of material) this is hit and miss and down to personal preference.
Let this dry….it can take a reasonable time ,quicker when warmer.
The base material may look stuck down but not quite yet,another soaking on the glue mix is required over the top to seal it to the base.Again this may take some time to dry.
The final result will give you a mixed muddy base.Depending on the glue you use it may come out with a satin finish which can be knocked back with a Matt varnish later.Or disguised with other effects like I am going to do(snow).
Muddy Hell
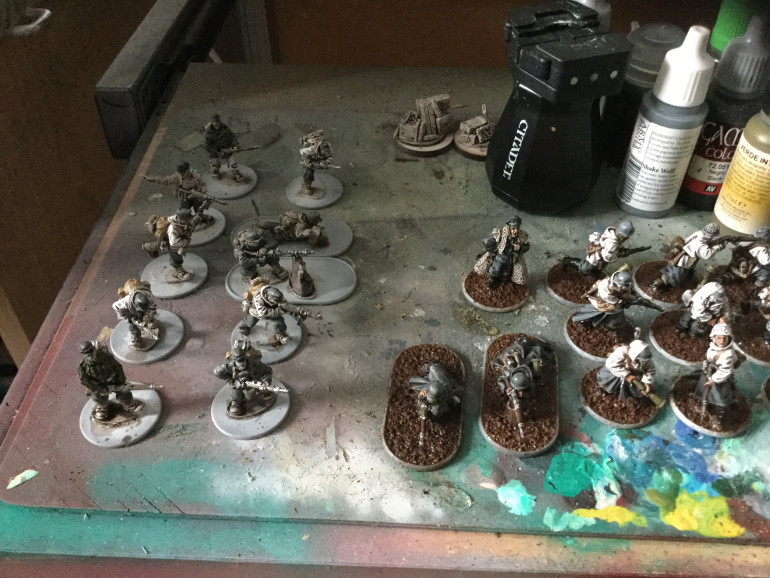
Have had a few more days holiday this week and have progressed the painting and basing of the squads. The first squad is almost finished and have added a brown base material( info on that in next instalment) the second squad has some base colours blocked in but have to finish all the little bits and bobs before giving the a wash and highlight.
Some basic colours down
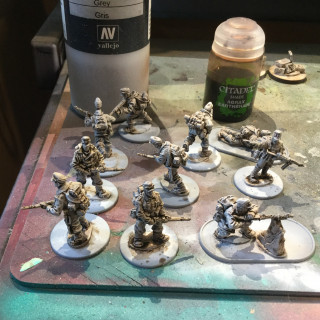
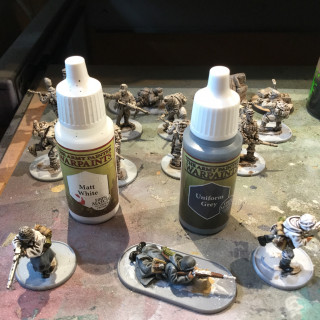
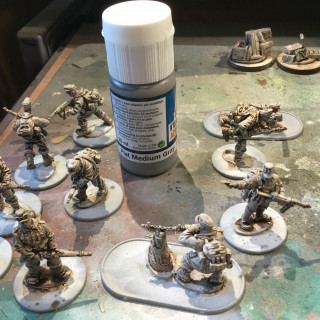
Here I have put a base grey primer down on the figures and then a wash over that to give a low light.
The figure with white smocks are given a dry brush with warm grey colour just above the washed grey…this gives an area to highlight with the pure white that looks more natural than just going in free hand.
The darker grey uniform is based using the army painter uniform grey,washed with a dark wash then highlighted with the uniform grey.
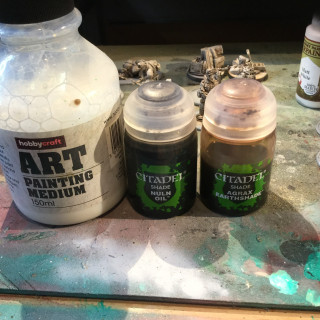
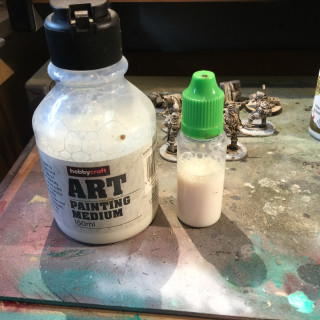
further washes could be used with thinned out washes using Matt medium,as this gives the washes a better “flow” on the model and a thinner transition from dark to light.
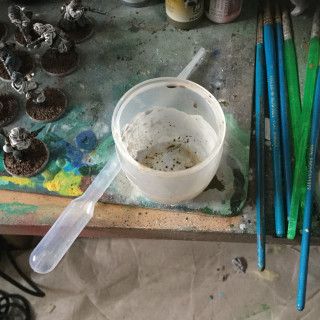
As you can see in the last photo I have put a small amount of the medium into a dropper bottle for better control over the larger container.
Next step is to colour the weapons and other bits of kit.
Products being used Warlords who else
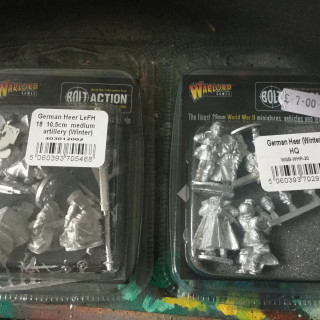
Two grenadier squads
one howitzer
one sniper team and an officer that should come to about 500 pts


