8th Army Indian Infantry
Recommendations: 550
About the Project
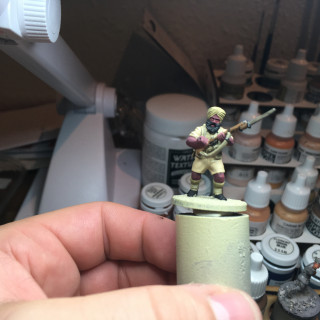
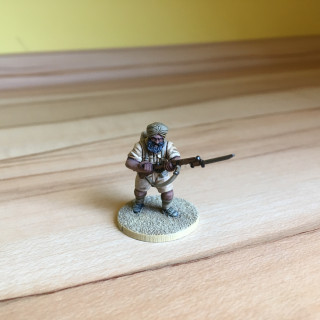
So...the new Western Desert Campaign book and plastic box sets of figures by Warlord Games got a mate of mine and me to go and build an according force. Me, being "the Brit" with late war Red Devils and an early war Army Commando force (No.2 Commando) already in use of course opted for the "Tommy". And with the Empire being home to so many brave men, I chose to go all "Sikh". Now this is my first project "broadcasted" here and it might have its flaws. Critism and comments very welcome..."Huzzah!"
Related Game: Bolt Action
Related Company: Warlord Games
Related Genre: Historical
This Project is Completed
...in the beginning
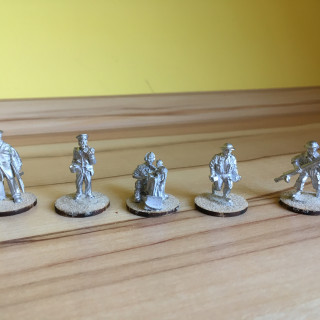
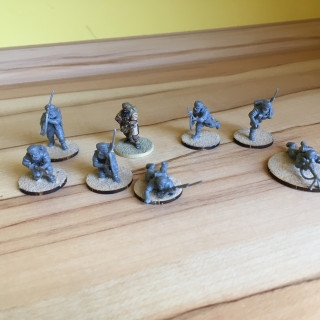
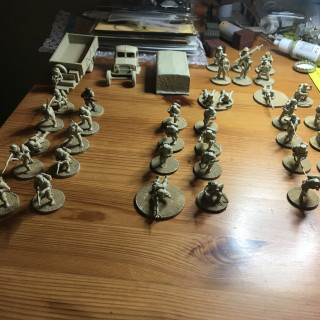
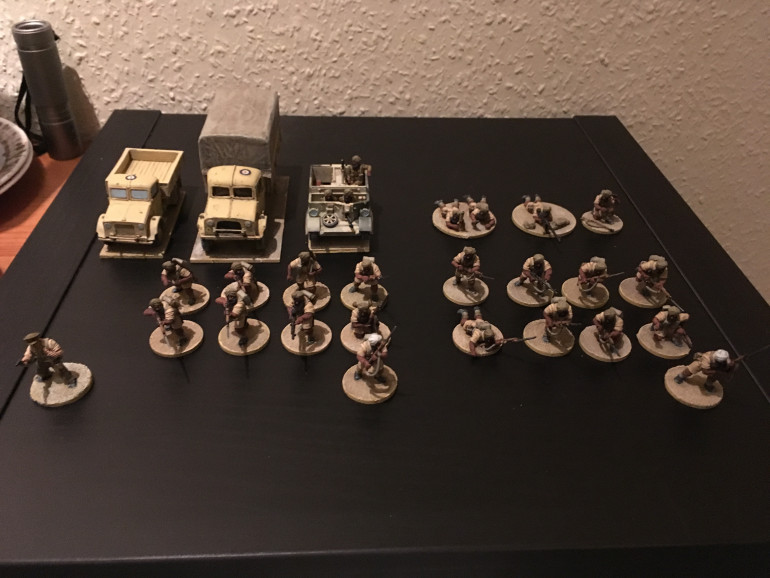
Gonna give you a brief outlook on what is coming in the course of this project. I am starting with just the core plastic box of 8th Army infantry by Warlord Games with little addition of figures by Blacktree (a Medic) and Stoessie’s Heroes (Laird Stirling) and a Bedford 3 ton truck, also by WG. So my starting army is made up out of these units:
HQ:
Lord Stirling (as himself)
Lt. + Radio Operator
Medic Team
Support:
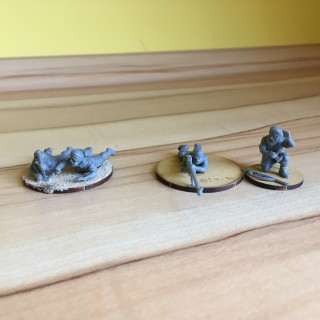
2″ Mortar Team
Boys AT Rifle Team
Transport:
Bedford 3 ton truck
Infantry:
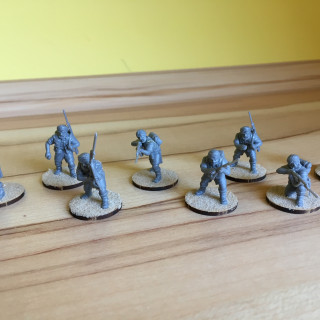
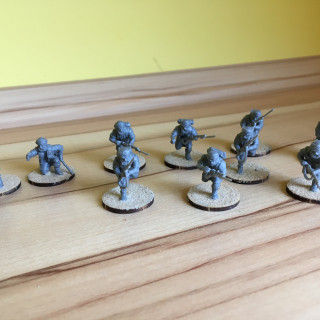
10 men w rifles incl LMG
8 men w rifles incl LMG
8 men w rifles incl LMG
For the future I am planning on adding another 15cwt truck, a Matilda II tank, a Bren carrier and an armoured car of some sort. Plus one squad of Royal Engineers…
...trooping the colors..errr coloring the troops
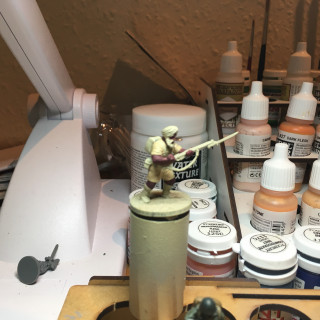
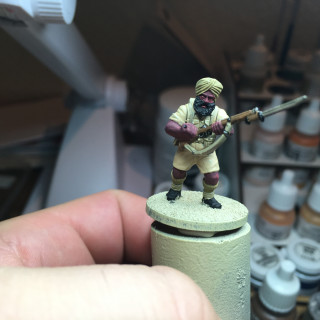
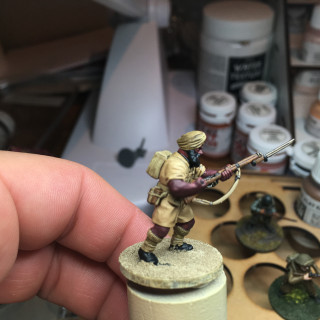
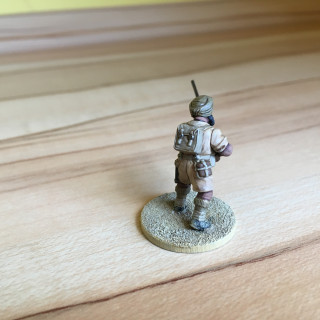
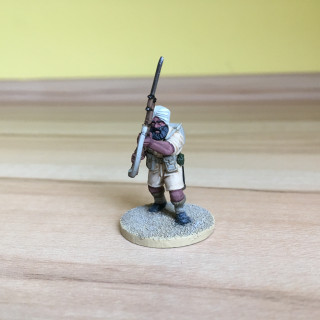
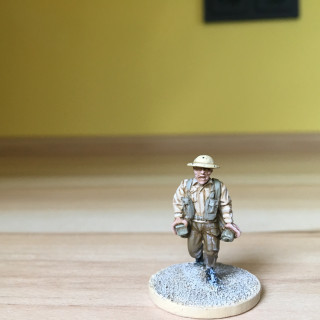
Now time to put some paint down onto the toy soldiers. Here’s the list of paints and their purposes in making the little men look the business…or at least I hope so. For the basics: I primed with Army Painter Skeleton Bone spraypaint and after applying all colors I use Army Painter Soft Tone and then brush up and highlight all over again. A little time consuming, but I’m used to that process of painting and it gives me the opportunity to redo the flaws and correct the mistakes.
Skintone:
Indian Shadow (Scale 75)- Base
Arabic Shadow (Scale75) – mix in for 1st highlight
Golden Skin (Scale 75) – addition to the former mix for 2nd highlight
Uniform:
Iraqi Sand (Vallejo Model Color (VMC))
Socks:
Khaki (VMC)
Turban:
Khaki (VMC) for the regular guys
Stone Golem (Army Painter (AP)) for the NCOs
Webbing / Backpack:
German Camo Beige (VMC)
Metal:
Gunmetal Grey (VMC)
Natural Steel (VMC)
Wood:
Beige Brown (VMC)
Beard / Hair:
Black (VMC)
Black Grey (VMC)
London Grey (VMC)
Boots:
Black (VMC)
Water Bottle:
Flat Brown (VMC)
The Bases:
First sanded it with’some very fine bird’s sand and then used Dark Sand and Iraqi Sand plus Stone Golem for a drybrush highlight.
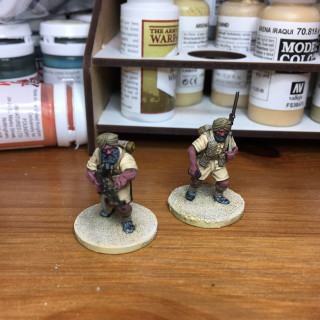
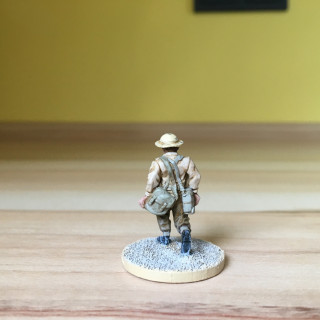
Next on will be some pics of my test model. For the pale skinned englishmen in my force I will give another example in a future update.
Terrain shortcut...
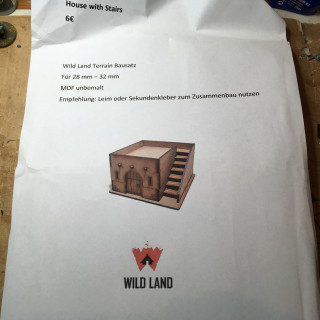
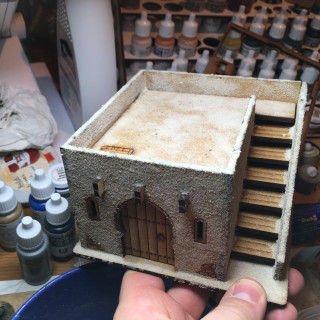
As we all know, painted men fight better. But they do need something to fight over, for sure. For the upcoming Western Desert battles I stumbled over a real bargain at a local gaming store. MDF laser cut arabian houses. Nice kits, easy to assemble, really sturdy to be pushed around on the tabletop at a price I would call “reasonable” at the least…6 Euros (about 4,50 British Pounds)!! For the small house that is, bigger ones go for 9 – 16 Euros each. Just have a glance yourself…
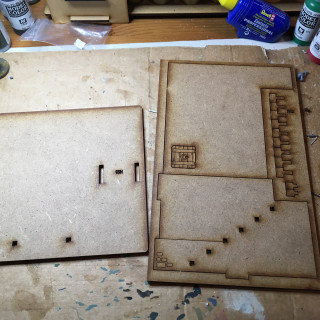
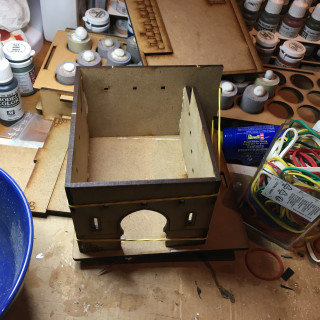
Here’s the kit, before assembling….
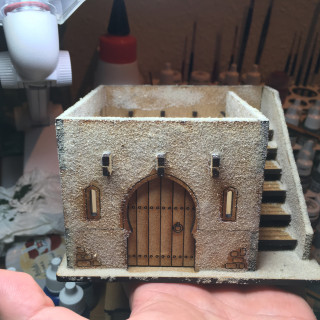
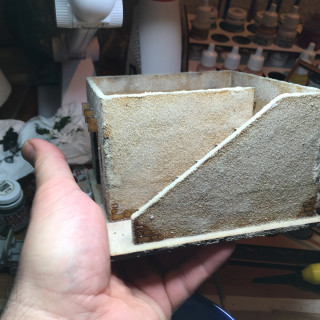
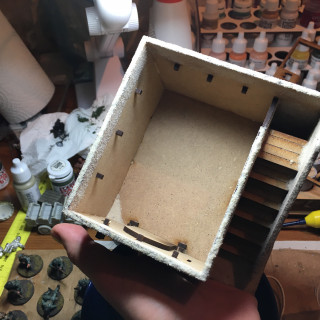
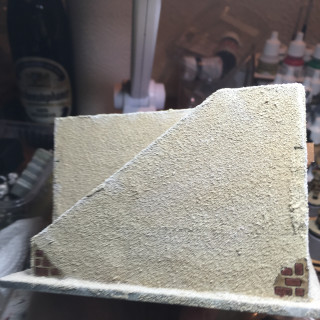
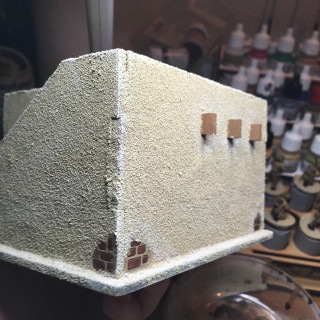
So this was fast and easy to put together. There you go! And after that I took some very watered down pva, put that on the walls and just threw some very fine bird’s sand on. Almost ready to go. The painting – and pictures of that – will follow in another entry.
Housing...
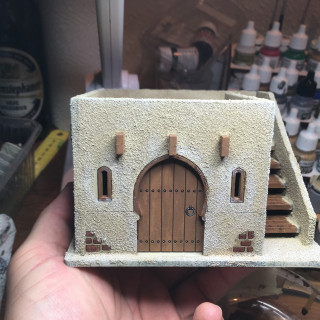
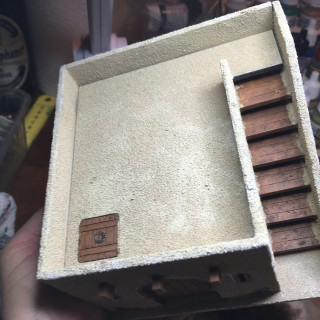
So, I’m going to call this finished. In a few words, I primed the house with Skeleton Bone primer by Army painter, used Vallejo Beige Brown for all the wooden parts and Vallejo Mahogany for the bricks. Then just drybrushed the edges and some parts around the windows and wooden panels with a very light stone grey color from the hardware store and that’s it. Ready to be used on the tabletop. Of course one could really go to town with more washes and drybrushing and such but for me, the state it’s in comes close to a “realistic” look and suits the tabletop perfectly.
'ere we go again
Sorry for not reporting for quite a while…but the “real life” got in my way during the first weeks of 2019.
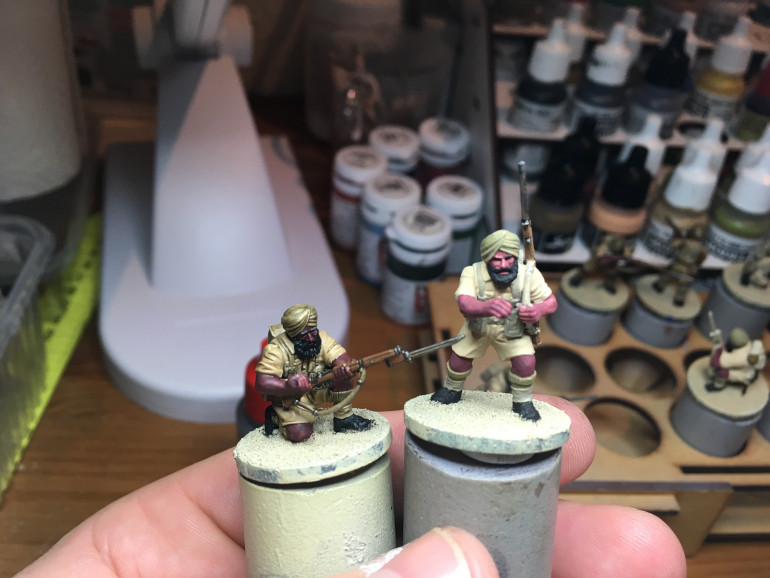
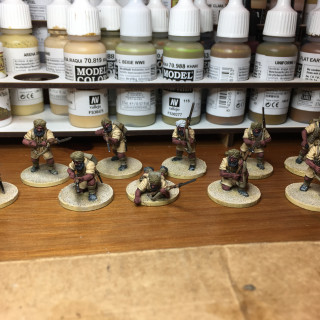
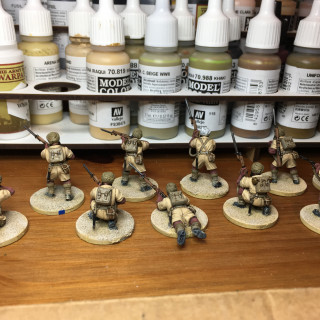
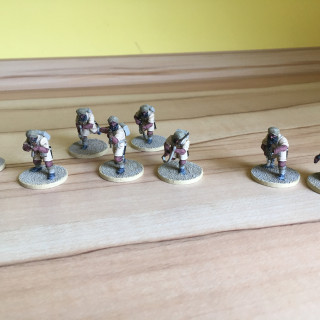
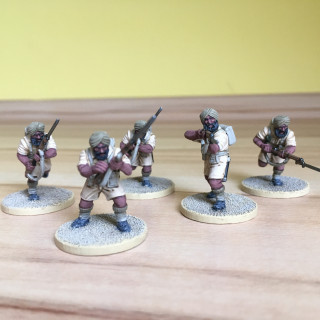
So, what was I up to in a tabletop way? I was at least able to paint the first whole squad of my brave Sikhs. When painting the first batch of models I always really get to grips with some of the flaws of my initial plan. Then, what was it in this case…?
1.”The Wash”
I use AP Soft Tone for Inking / Washing my models and this time I had to realize…even soft was way too hard. The contrast was too strong on the vanilla / sand / yellow(ish) uniform. Problem was solved by thinning down the Soft Tone with water…aproximatley 50/50 (water / wash)…that really did the job and gave me the result I was looking for. Toning down the Iraqi Sand without having a contrast that stark.
2. “The Highlight”
I then soon felt like even though Iraqi Sand after all is a very light color on its own it still needs some brighter highlights to give the models the final touch. To get the result just mixed in plain white to get to a 30 / 70 mix (30% white / 70% Iraqi Sand).
3. “The Skin”
Even though I felt okay with my test model I soon came to the opinion that too light is not the way to go, so I simply didn’t light up the skin tone as much as I did before…
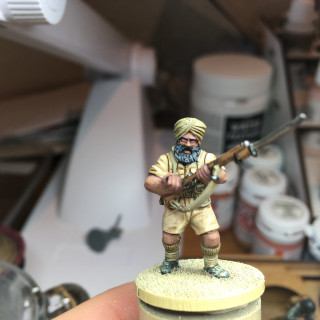
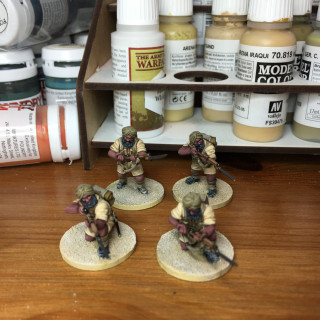
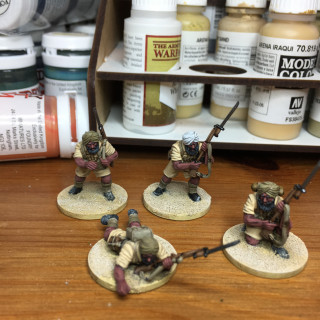
Now, that is it…and here you go with my No. 1 Sqaud of Sikh soldiers for my 8th Army project…C&C very welcome.
Huzzah!
Support your local infantry platoon...
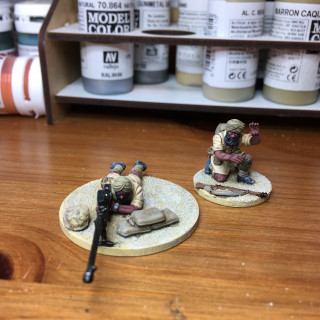
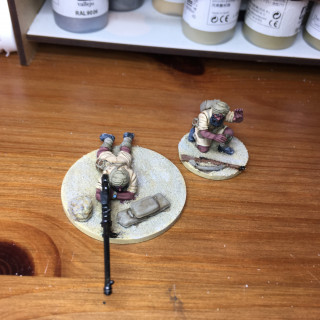
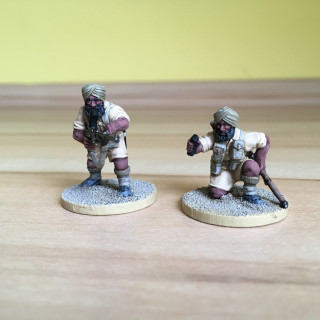
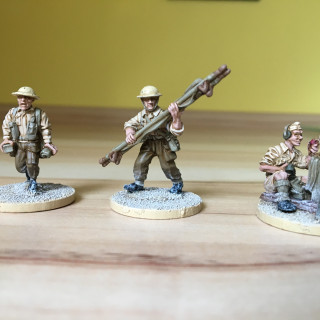
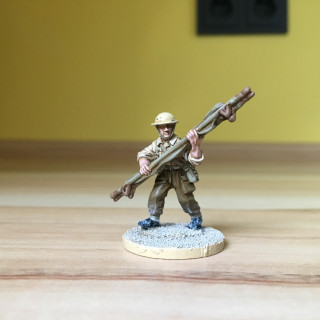
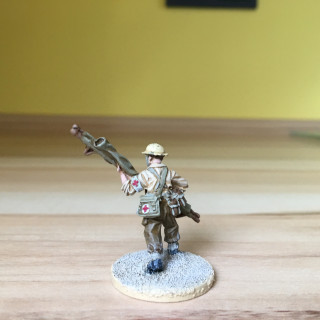
A little more firepower and protection against vehicles is now added to my force with these two weapons teams – the ol’ trusty Boys AT-Rifle and the ubiquitous 2″ mortar without which no British platoon would leave the camp.
Note that I modelled the loader for the AT Rifle seperatly so I might use this mini as a spotter of any kind e.g. FAO / Sniper / Howitzer / 3″ Mortar.
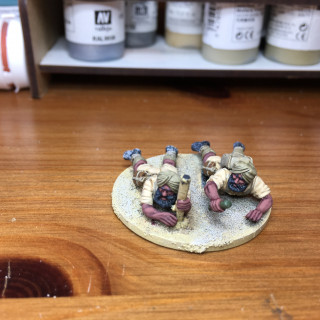
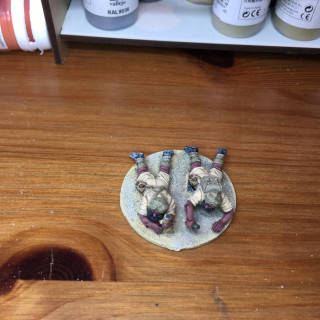
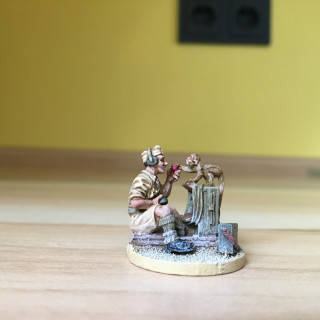
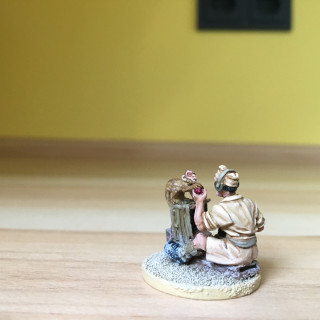
The loader of the mortar team by the way is magnetised with ferro foil so he could be removed easily as a casualty.
From the Midlands to the Western Desert
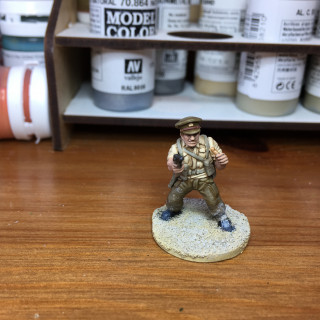
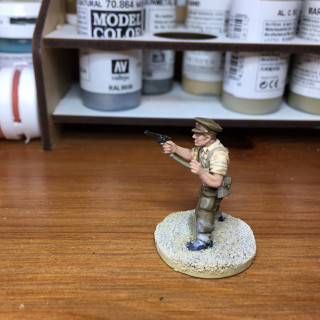
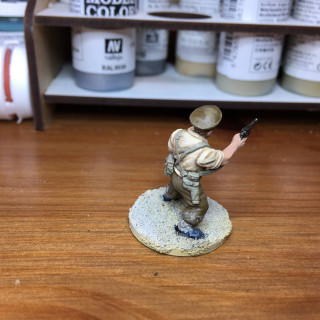
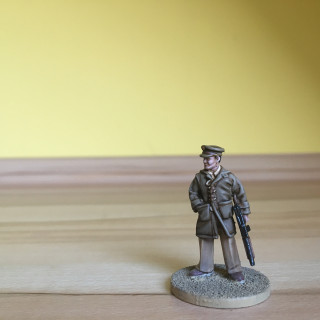
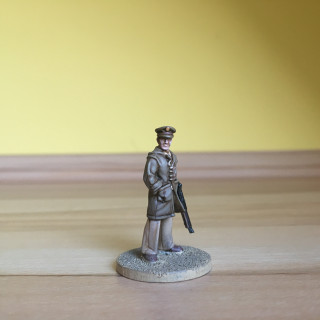
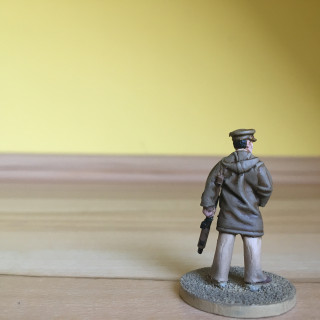
So here’s my first try on caucasian skintone in this project. May I introduce 2nd Lt. Gareth Lombscomb, a bank accountant by trade who – in peace times – lives in a small town set in the soft rolling hills in the heart of Albion. Now he finds himself on duty under the burning sun of north africa – for king and country.
For his skintone I used Basic Flesh as a base, then mixed in Pink Flesh (to give a subtle red(ish) touch – the sun and northern europeans, you know) and finally mixed in Pale Flesh for the last step – all colors Scale75.
The BD trousers are painted with English Uniform by Vallejo and highlighted by mixing in some Iraqi Sand (also VMC). The mini is a mash up made out of a body from the regular late war plastic British infantry by Warlord Games (please WG give us a new and updated box of these!!) and a head and arms from the new 8th Army box. C&C very welcome.
Keep on truckin'
Next step done. So the list I am building and the unit I want to represent commands that all infantry has to have enough transport capacity to be moved around in the vast desert of northern Africa. I plan on bringing two trucks (a Bedford OY 3ton lorry and a Bedford dropside truck), an Indian Pattern Carrier and two Bren Carrier on to the table top first of all….well maybe another Indian Pattern Carrier or an armoured car, we’ ll see.
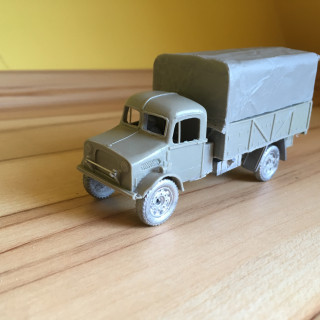
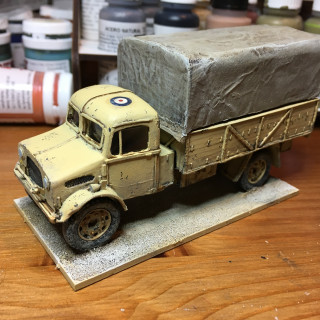
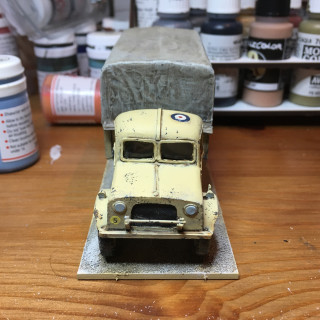
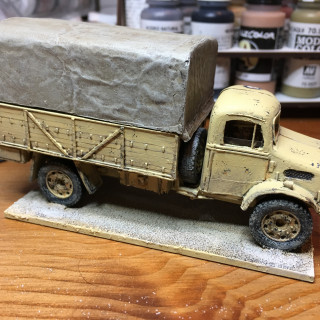
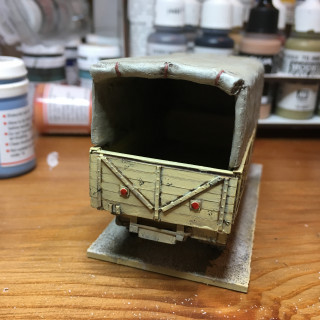
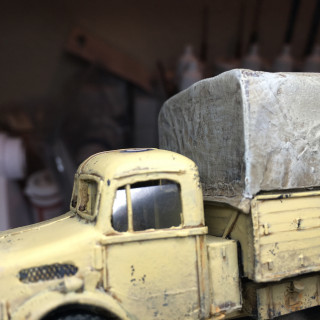
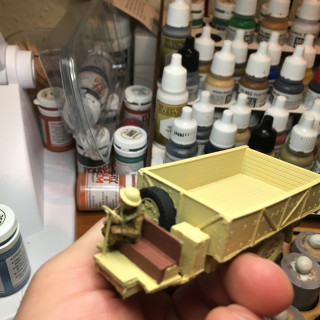
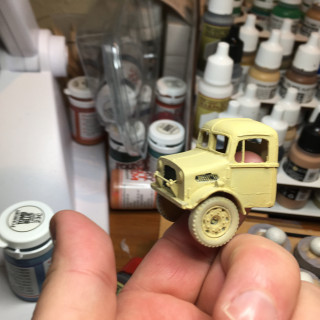
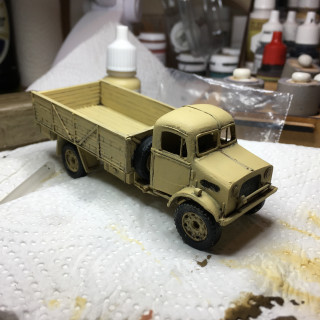
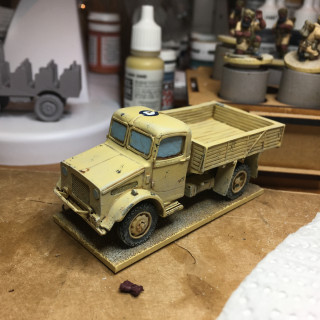
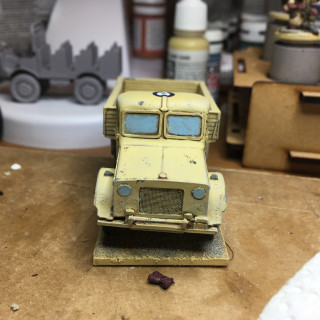
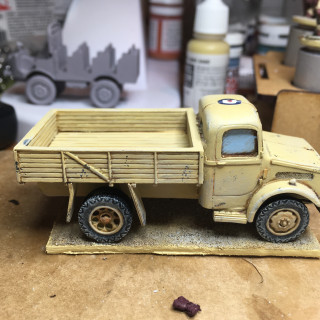
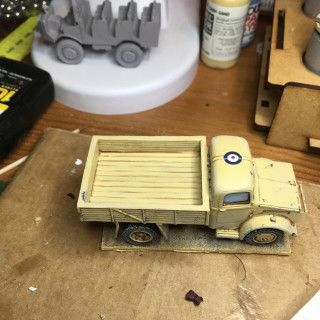
Here you’ll see the first truck I just finished. I primed this model with Skeleton Bone (AP) like all the infantry. Then put on a first coat of Dark Sand (VMC) on the chassis and German Camo Beige (VMC) on the canopy. After that I washed everything heavily with Army Painter Soft Tone dulling it down to a very dirty brownish tone. For the chassis I then applied several thin coats of Dark Sand leaving out the creases for a rugged look. The several thin layers gave a nice matt finish, I think. Then, to put on the chipping effect I used a small sponge with which I tapped on Black Grey (VMC) very randomly and carefully. The lower part of the truck’s body the got drybrushed with German Camo Beige…and that’s just it.
The canope was drybrushed with German Camo Beige after the washing process and then drybrushed twice again with a mix of German Camo Beige ans Stone Golem (AP).
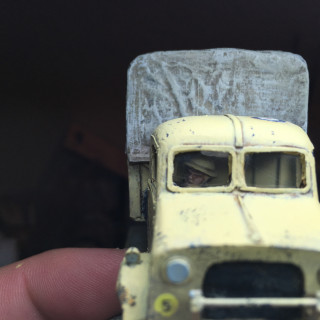
The tricolor rondel on top of the cabin may not be 100% historically correct..but I like the touch of color it ads and I think of it as some kind of “in the field” initiative by the crew in order not be taken out by friendly air strikes…now take a look yourself.
…oh almost forgot, I glued some see through plastic pieces from another cardboard factory kit for tabletop gaming into the drivers cabin, to give a feel of “real” window glass.
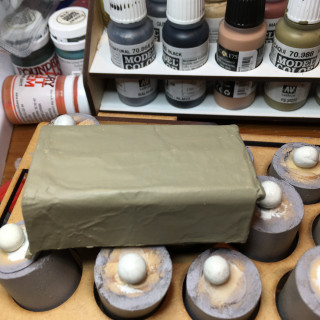
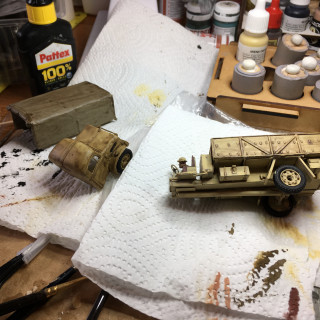
As a question arouse on how I did the washing of the models I will add a couple of shots of the truck before being washed (after basecoating), when being washed and afterwards, with a first coat of the initial base colors. This might give a better impression to you…
Short truck- short cut
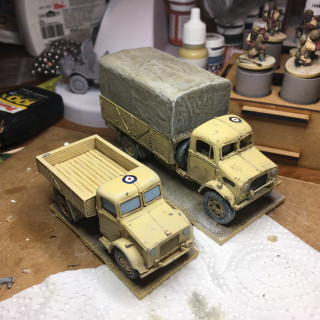
Got my second transport finished just tonight. Took me only about an afternoon to paint this up – including basecoating the model. I applied the same method as described in my former post and – again – I’m quite happy with the outcome.
The model is the Bedford dropside truck (civilian pattern) by Warlord Games. It may be referred to as the “little brother” of the Bedford OY 3ton lorry…as seen in the last picture, with the latter being the main transport for my ever mobile 8th Army Sikhs. I will mainly use the dropside truck for rushing around my weapon teams over the battlfield…at least that’s the plan, but all you tabletop tacticans know – plans and reality, two very different pairs of shoes. Now have a glance yourself…
Pace of progress...sloooooow, but steady (plus sneakpeak)
So I just finished my second squad of eight men for my force accordingly. As always with my armies I tend to do slight adjustments and experimenting with the set colors a little. This time I went to go a little lighter overall on the figures. Mainly with the webbing and backpacks mixing in more of AP Stone Golem into the basic Khaki. Also, I highlighted the uniform a tad bit more than I did on the prevoius models. That was mandatory, because I watered down my wash a bit too much and I feared I wouldn’t have enough contrast if I just let the VMC Iraqi Sand as it was (could have done another washing on the minis, but didn’t want to go through all the tidying up again). Anyhow, here you’ll see the full squad…
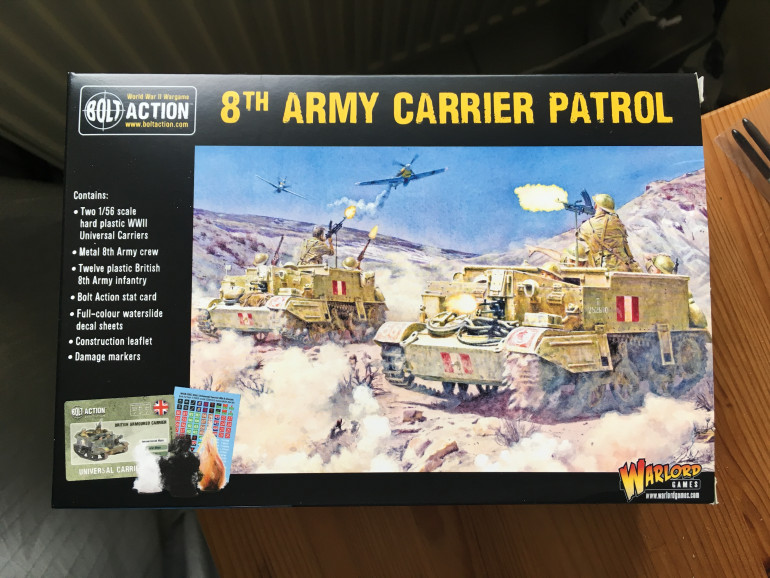
….oh yeah, and now a look ahead. Next up, I will build my Bren Carrier from the new top notch Carrier Patrol set that Warlord brought out. Other than my trucks (plain sand(ish) paintjob) I will try painting these up in the iconic Caunter camo scheme. This will be fun…and a little nerve wrecking maybe, we’ll see.
I don’t own an airbrush so will have to do this with some good ol’ brush work and we’ll see how it turns out. As I wasn’t sure about the “right” colors for this special scheme (1000 and more references on the interwebs) I ordered the AK Caunter Camo Paint set yesterday, which will hopefully do the trick….stay tuned more to come.
Carry on regardless
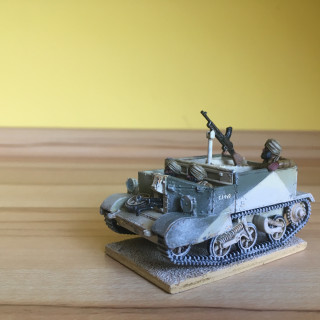
Hello again. At last I found time to get something finished and it was/is something that I’m a little excited about. First of all (even though I play British forces of other kind) I built my first universal carrier and secondly I painted it up in the iconic Caunter camo scheme of the early stages of the conflict in the Western Desert.
Beforehand I did some intense research on the interwebs figuring out which version to build for my 1941 Sikh Army (MkI or MkII?) how to do the camo scheme and most essentially answering the “one” question:…What are the “right” colors to use??? The latter I solved in a rather practical manner by ordering the Caunter camo paint set by AK (as I mentioned in an earlier post) and that…at least imho really did the job. As I do not own an airbrush I did all the painting in the ol’ fashioned way of brushing the paint on. The colors are a tad bit too thin for that technique, I would say so at least, but are very well pigmented and that – in the end – left me quite satisfied with the result. Now without further ado here is my MkI universal carrier with Sikh crew and two LMGs.
What’s best about this piece of my army being finished is, that I have the first 500 points of my list ready for action on the tabletop:-)…list will follow soon.
List(ening) carefully
As I already announced in my last post – here is my 500 points of Western Desert 1941 Sikh force for Bolt Action. All troops are categorised as “regular”.
1st Lt. – 75 points
1st infantry squad
9 men -> 8 rifles and 1 LMG – 110 points
2nd infantry squad
9 men -> 8 rifles and 1 LMG – 110 points
2″ mortar team – 35 points
Boys AT-Rifle team – 30 points
Universal carrier
fwd facing LMG + pintle mounted LMG – 70 points
Bedford 3ton lorry – 39 points
Bedford dropside truck – 31 points
Kind of a good start…at least I think so. Next up will be the rest of my infantry and the a Matilda II tank and a couple of more Bren Carriers and Indian pattern carriers…watch out.
No army without Scots
So, the heatwave really slowed my painting efforts down, in fact stopped it completely for some time. The real life added to the full stop, too.
But here we go again. It is not really 8th Army nor Indian infantry but I couldn‘t pass by this lovely character model of Laird Stirling (by Stoessie‘s Heroes) to lead my forces into battle…no army without Scots. Now have a look yourself.
Mind a cuppa and a smoke?
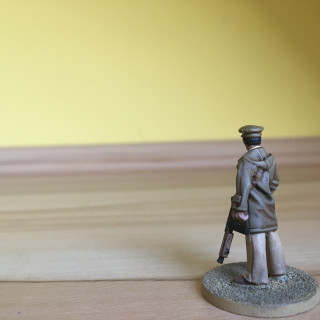
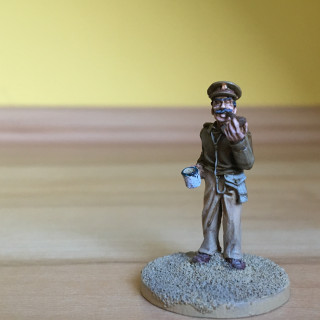
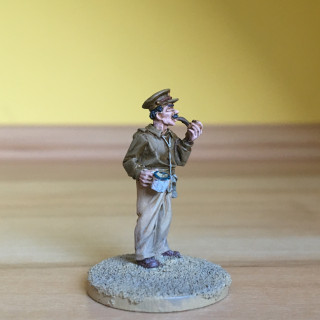
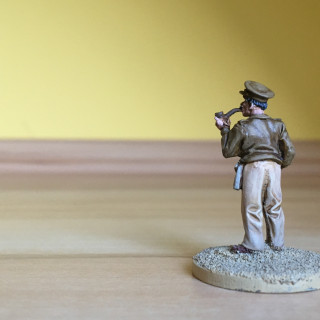
And another one of my HQ is done. This is the officer out of the very lovely HQ Blister by Warlord Games. The models in this are very characterful and well sculpted.
What I like about this mini in particular is the way it reflects what is known all over the world as „Britishness“ or stiff upper lip, if you will. „Oh, Fritz is coming at us. Well, indeed, there‘s always time for tea and tobacco…“ Now, here we go.
„Broadsword calling Danny Boy...“
Leading the rest of the now finished HQ is the radio operator of Warlord Games‘ 8th Army HQ fame. In addition to that and the stretch bearer I put a Blacktree Miniatures figure in the mix to complete my Medic team. The WG figures are very cool and characteristic with lots of detail, really enjoyed painting these. Now on the desk is the last squad of infantry to get a full sized platoon and after that some more support with a MMG Team and very much needed armour…stay tuned!
Her majesty the Queen...of the desert
Good evening all…just checking this project log I realized it’s been a full four months since my last entry…oh boy. Now what happened, project wise during this time? I finished my last squad of infantry to have a full platoon of Sikh soldiers. But those riflemen have been covered in previous posts quite extensivly I presume. So, now on to something completely different.
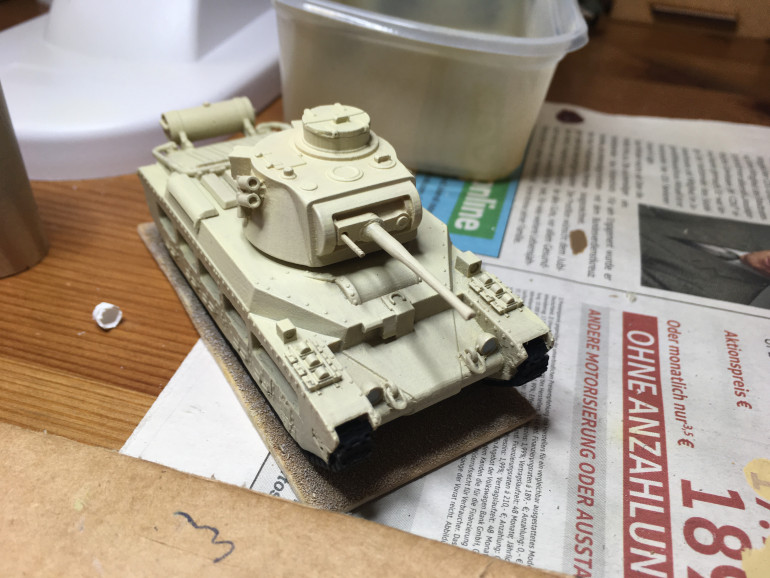
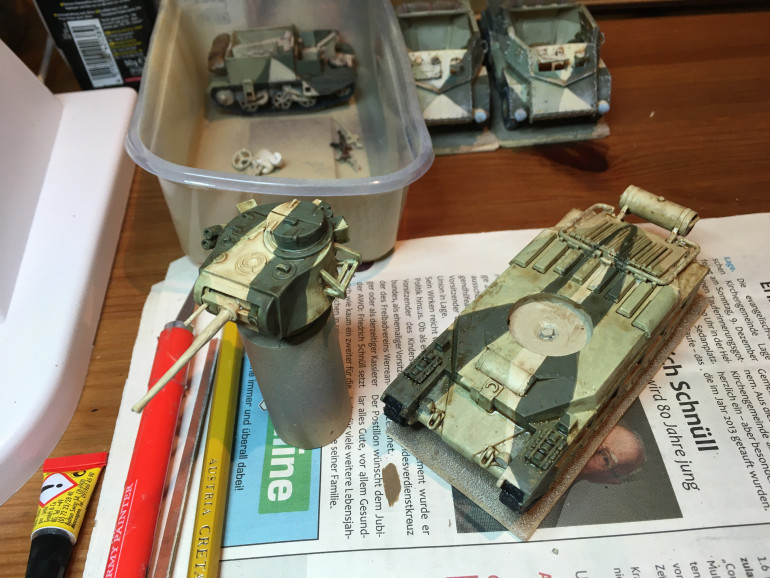
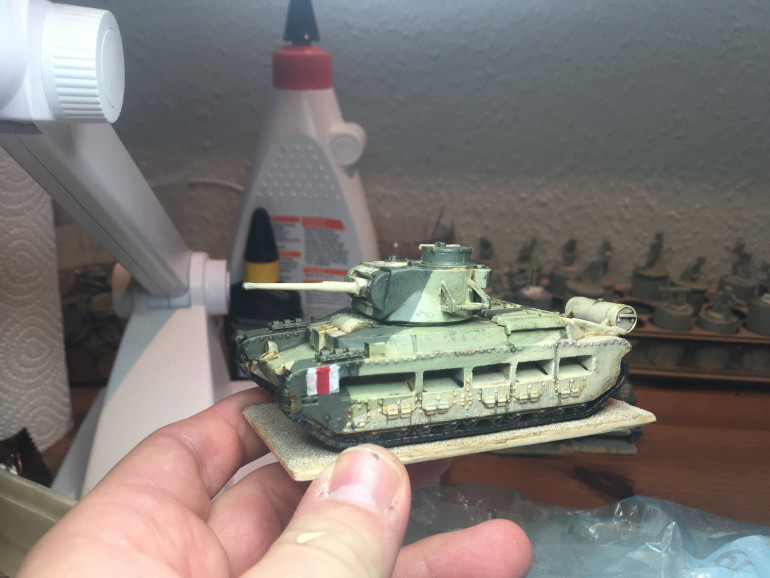
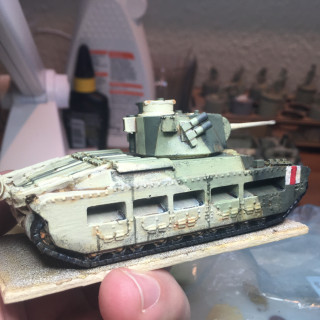
Even though only 98% finished (decals and last touch ups and a drybrush step missing) I would really like to show my proper armoured support for the lads on foot, the iconic Matilda II infantry tank. And what a beauty she is;-). According to my other armoured vehicles I was going to paint it in caunter camo…of course. I did some more research and finally found a tremendous source for getting your Caunter Camo schemes correct, a guide by Mike Starmer did the trick and is highly recommended for everyone who wants to try this at home. And of course I missed the target and think misinterpreted his sketches:-)…but was far too lazy to correct it as I think the final outcome still looks good (and historically correct) enough for the tabletop. One last word on the colors I used: I bought the AK interactive paint set for caunter camo and really love these paints although they seem a tad bit thin for being applied with a brush. Anyhow, when painted in thin layers and with a little patience the outcome is really good, at least that’s what I think.
An now, without further ado, here she is…
Bring me my chariot(s) of fire
So I am “deep into the 22” and short before finishing this army and project. It was one the if not the most comprehensive and longest ongoing projects I have done so far. For sure it was the most fun one, building, painting and putting togehter this iconic force.
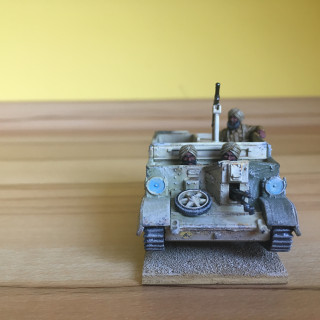
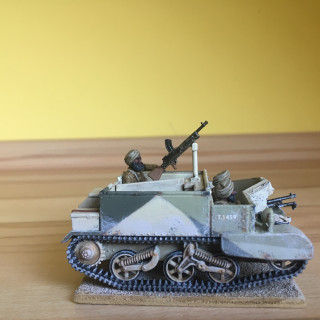
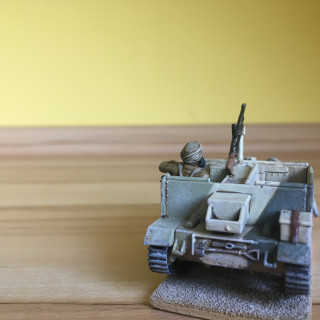
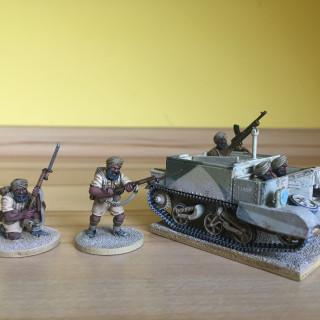
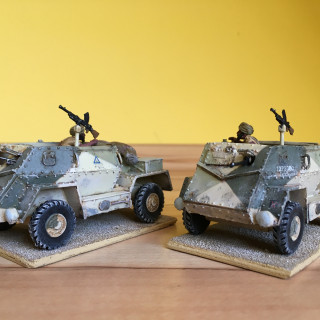
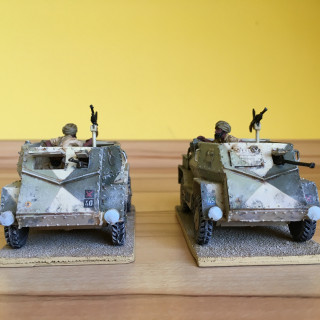
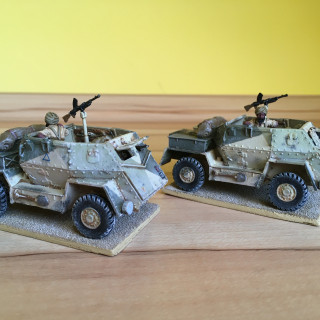
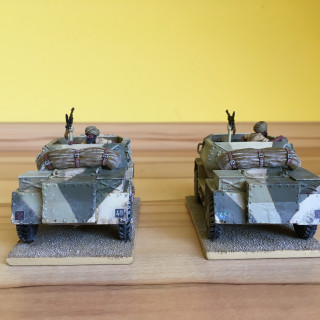
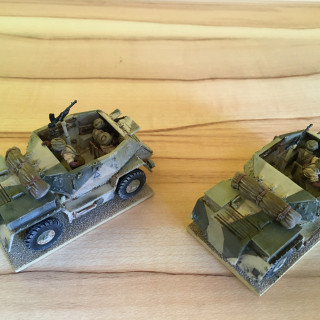
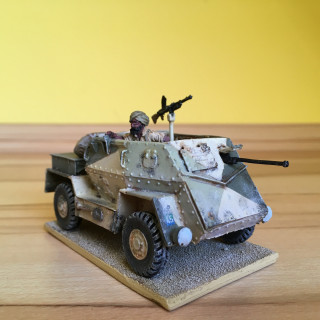
One of the things missing though is a some combination of transport capacity and firepower and because I build an Indian army I opted for the Indian Pattern Carrier over another Bren / Universal carrier to put into the mix. I purchased these from Perry Miniatures which makes the vehicles being maufactured by Blitzkrieg and the crew by the Perry twins (quite obvious). In addition to what the initial model sets offer I built the stand for the pintle mounted LMGs from one part Warlord Games – the Bren Carrier stand that comes with their kit – and one part of a nineties woodelven standard of GW fame. The painting scheme – of course – had to be the caunter camo I did on my Matilda tank (of which I will show you a final picture in a future post).
After this what’s more to come then? Next up will be the MMG and medium mortar teams and finally the Ordonance QF 2pdr AT gun – with all models from Perry Miniatures. This makes my army being comprised of models by all of these manufacturers: Warlord Games, Perry Miniatures, Blitzkrieg, Stoessi’s Heroes (1x) and Blacktree design (1x).
Now have a peek at my Indian Pattern Carriers of the “Red Eagle” Division.


