E Company, 2nd Battalion, 506th PIR, 101st Airborne – a Band of Brothers Bolt Action project by Bothi
Recommendations: 97
About the Project
After visiting the first Bolt Action Bootcamp in 2015 I came away with my first Bolt Action minis. I went with American Airborne, as I love Band of Brothers and always wanted to recreate them on the tabletop. I started painting right away and finished about a dozent minis. But as we weren't playing BA at all at the time it somewhat went dry in the sand.
We started getting back into Bolt Action a few month ago with playing the Battle of the Bulge campaign by Warlord. There is a project about this already:
BATTLE OF THE BULGE – BOLT ACTION CAMPAIGN BY ANDRE77 AND BOTHI
But as the above mentioned project is about our campaign, I though why not put up another project on my progress on the famous Easy Company. Currahee!
Related Game: Bolt Action
Related Company: Warlord Games
Related Genre: Historical
Related Contest: Bolt Action: Western Desert Boot Camp
This Project is Active
The Man himself!
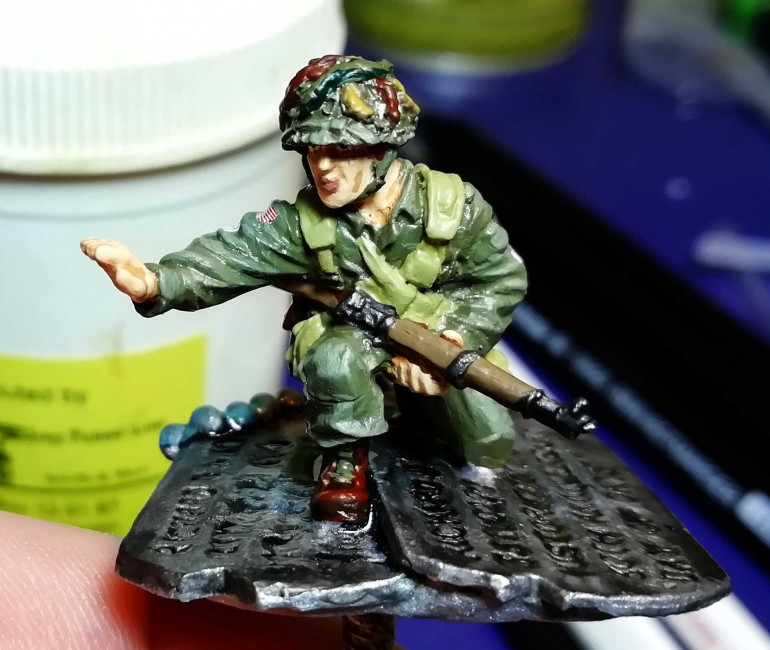
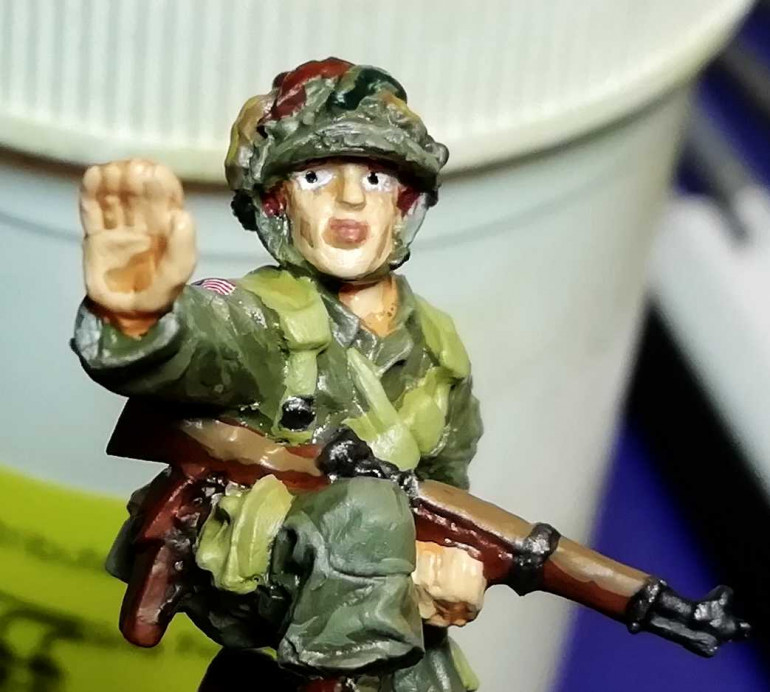
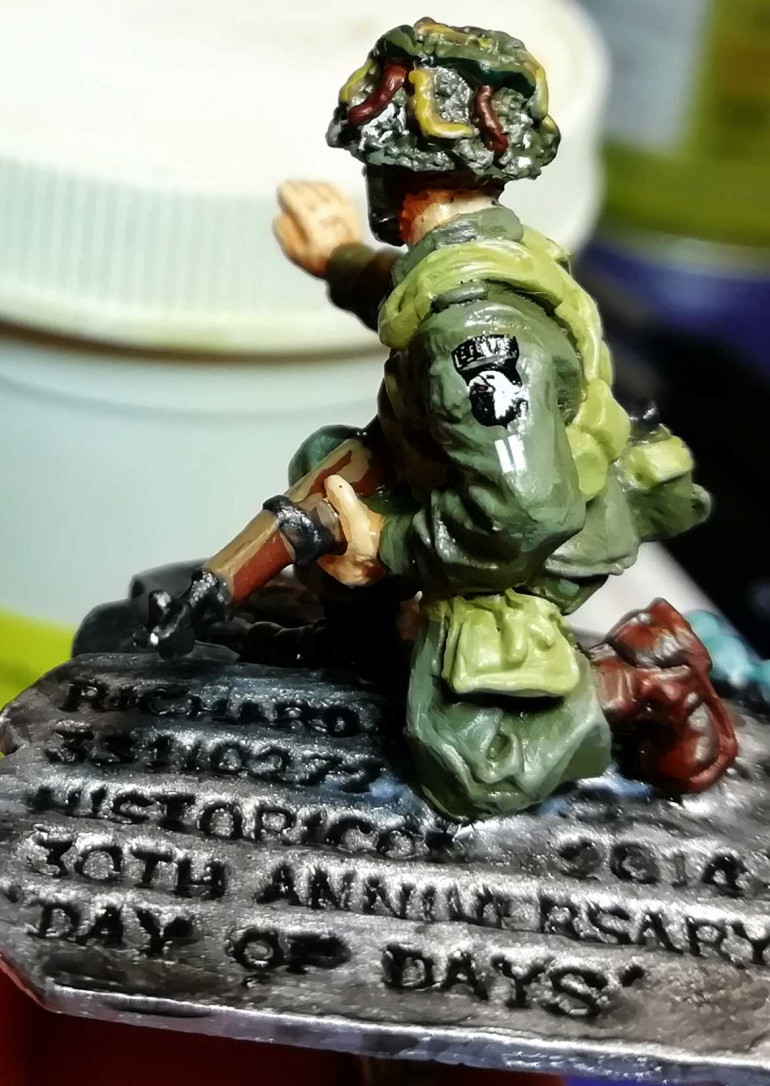
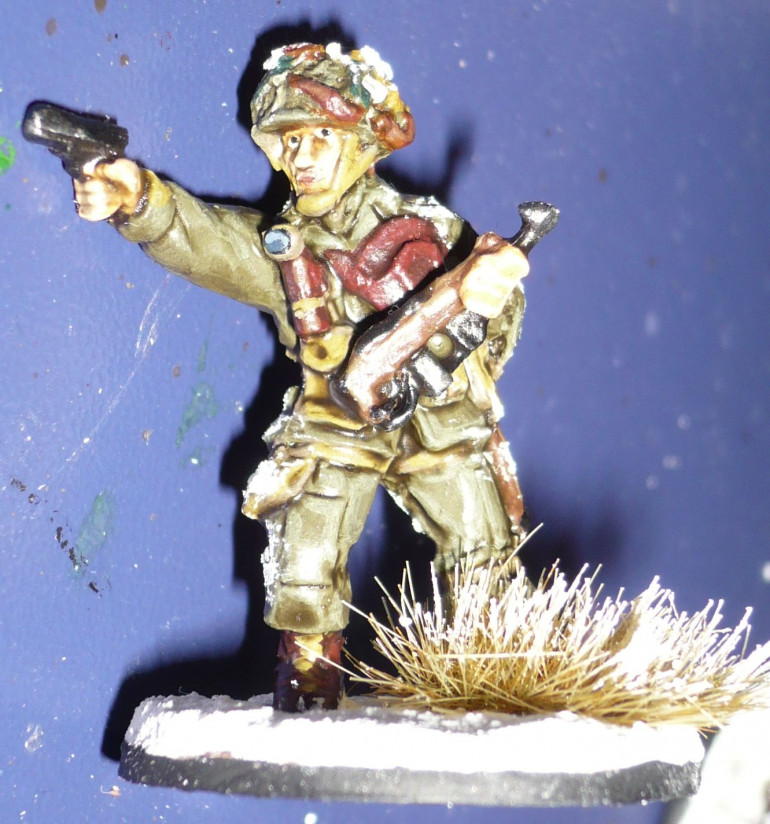
Started to work on Dick Winters tonight. I tried to get the limited Historicon model for years with no luck. But then Warlord re-issued a lot of their limited figures for their anniversay last year. Thank you for that.
He is not finished yet, as I only had 1,5h tonight to paint, but it’s a start. But there is a lot left to be done and I tried out wet blending for the first time. Not sure if I like the result. Judge for yourself:
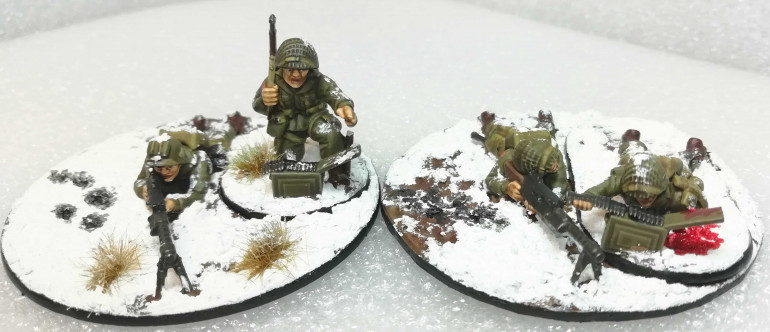
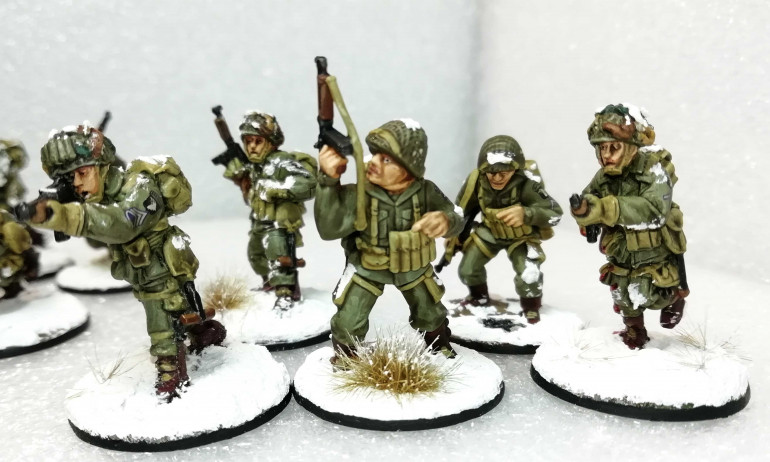
3rd Squad, Fire Support
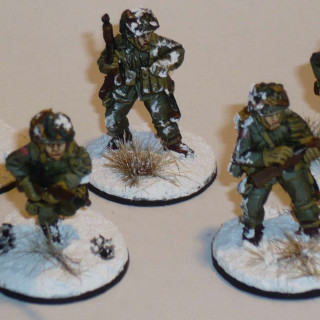
As I finished 1st Squad during the Bootcamp last weekend I got to work on 3rd Squad during this week and finished today.
3rd Squad you say? This is only due to the numbering I have below the bases. And as I wanted to paint a fire support squad next, 3rd Squad was up 😀
The Squad consists of:
- a Sergeant with SMG
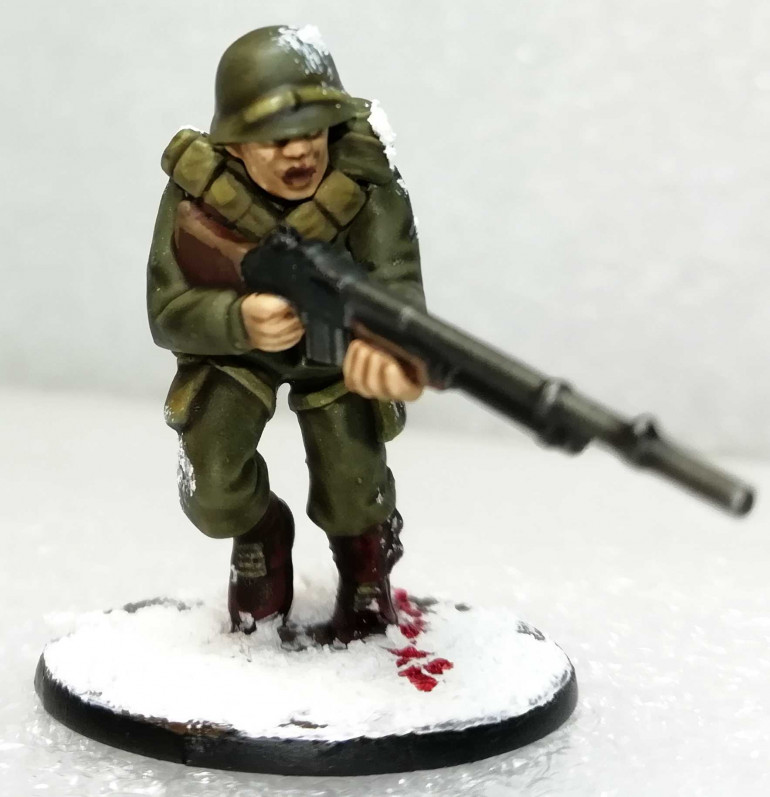
- a PFC with a BAR
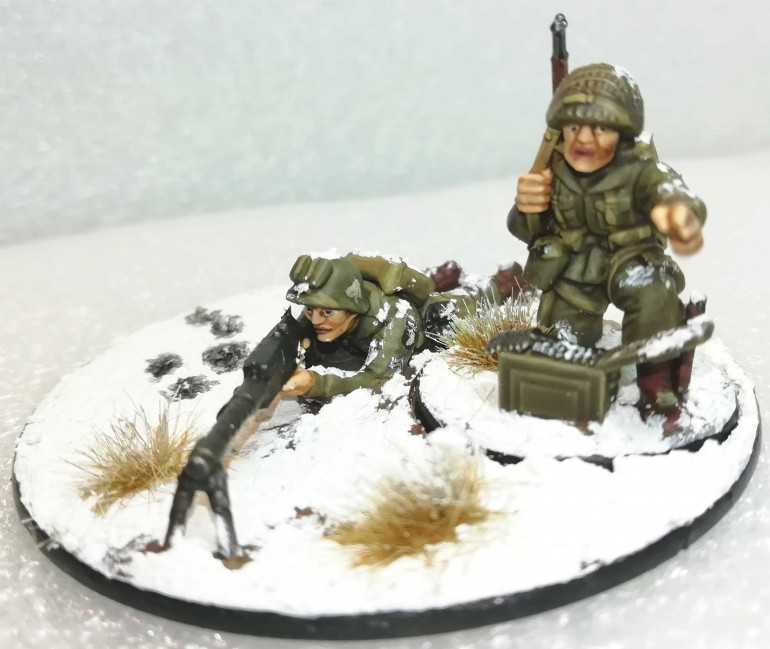
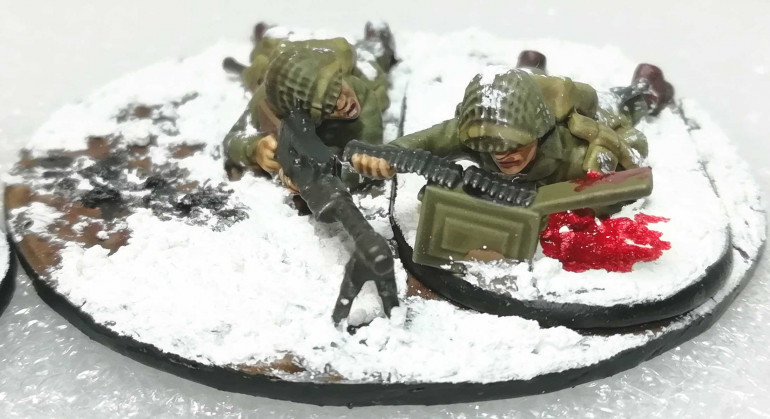
- a Sarge, a Corporal and 2 Privates manning 2 .30cal MGs
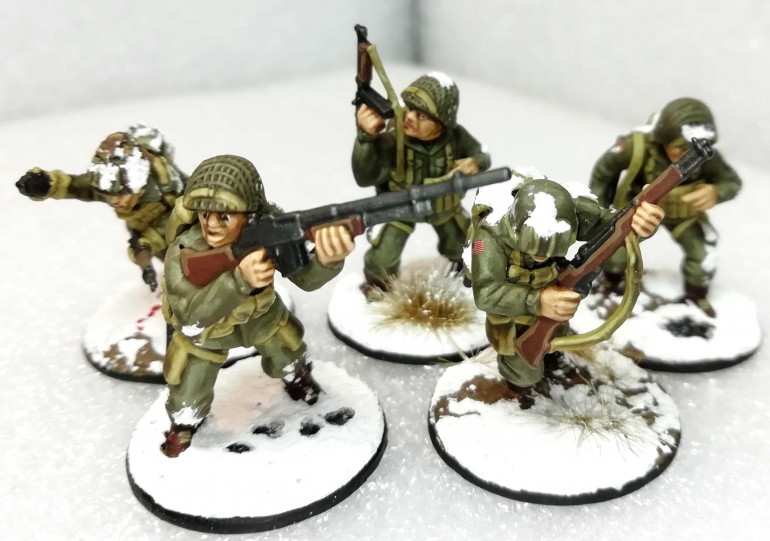
- a Corporal, two PFCs and a Private with Carbines
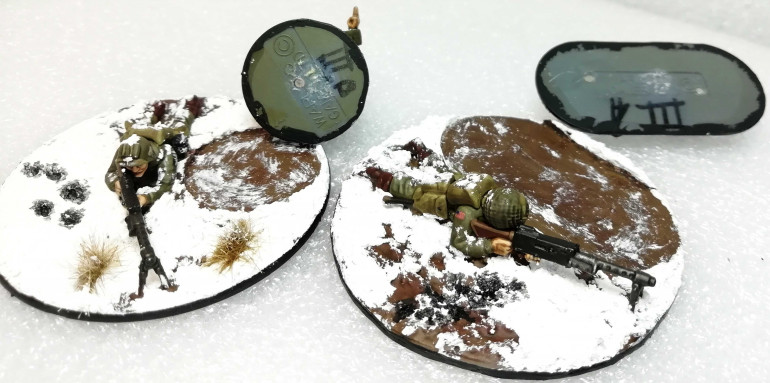
As an MG team consists of two soldiers in Bolt Action and they can be killed individually, I magnetized the second guy onto the MG base. This way I can remove the second guy and still leave the MG. Or I can remove the MG and still have the second guy running around. It was a bit fiddlely with the snow, but I am quite satisfied with the result.
1st Squad, finally finished
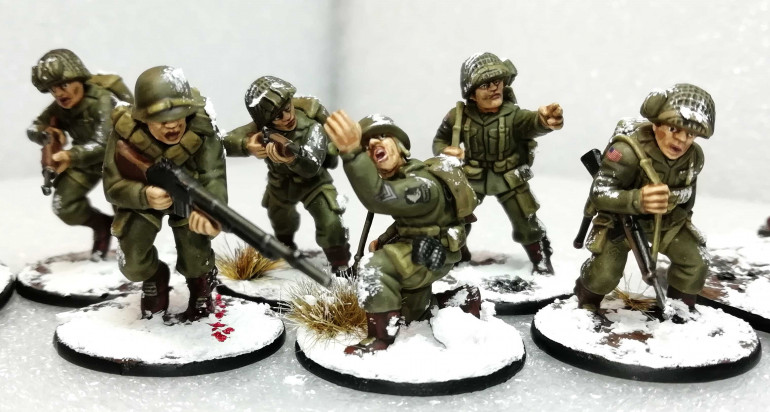
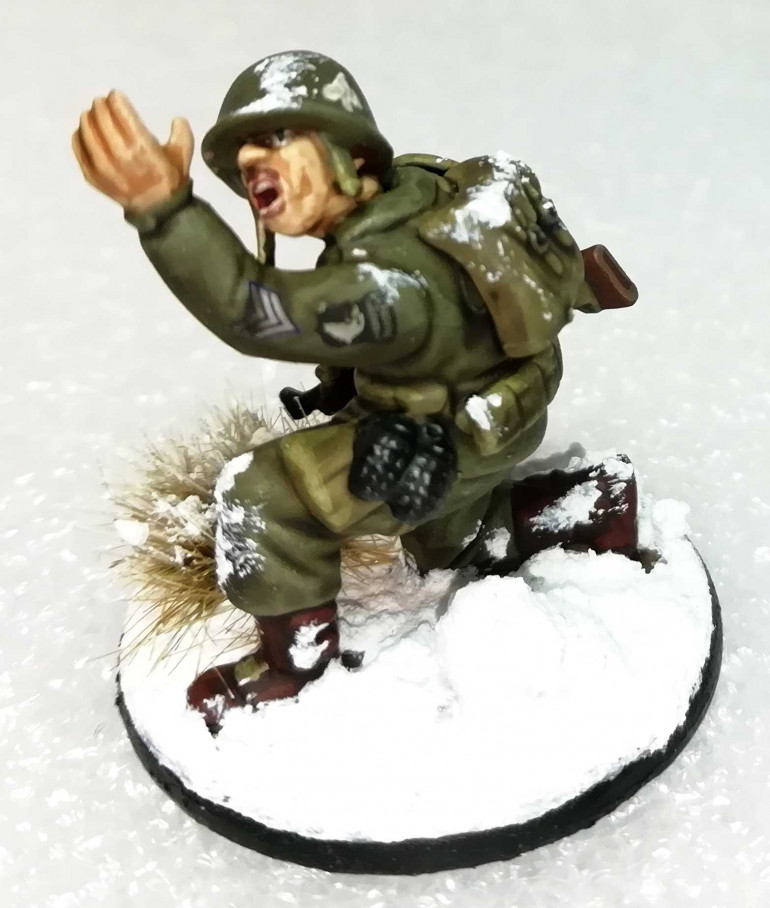
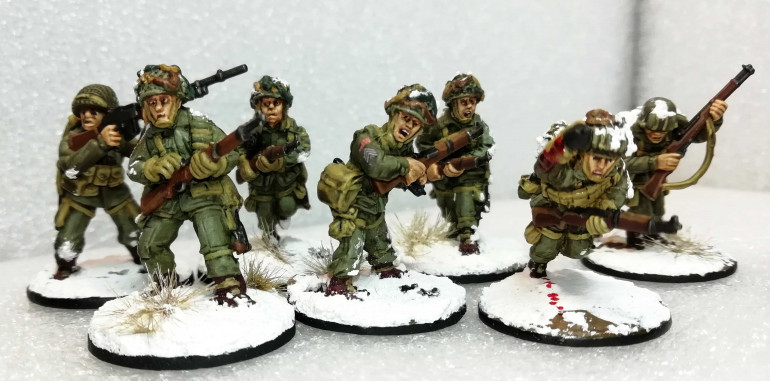
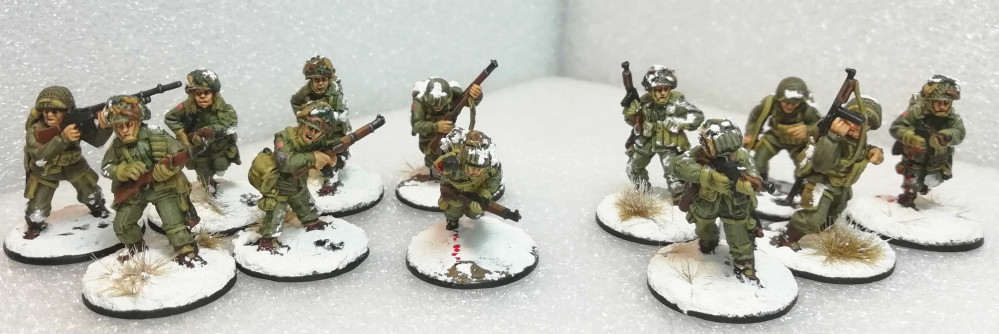
So after 3 years I went back and finally finished 1st Squad. Due to the very detailed step-by-step I’ve written years back I was able to reproduce the paint scheme quite well. I only had to replace a few of the colors as they went dry or I had used them up on other projects. But judge for yourself.
The Squad was completed to consist of 12 men with 2 more rilfe men, 2 men carrying SMGs and a single BAR gunner.
... 3 years later ...
After the existing part of 1st Squad was finished I stopped working on the project for about 3 years. So it was only a few weeks ago when I went back to this army. This time I am commited to at least finish 75% of this army that has grown over the years to more than a hundred minis.
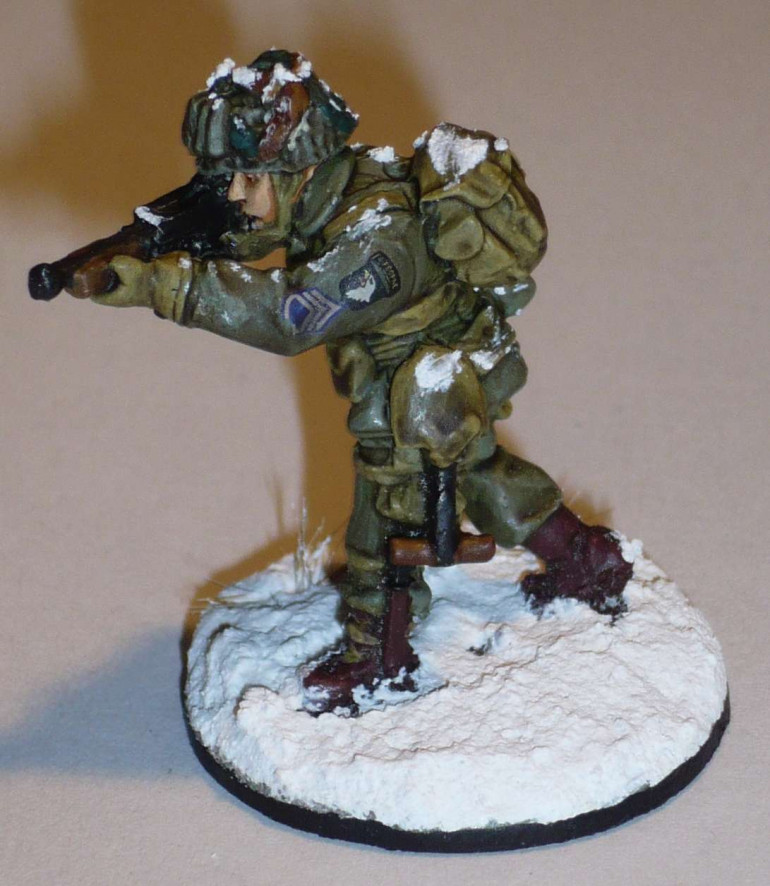
First problem was to recreate the paint scheme. Fortunately I had writen a step by step painting guide for these. For anyone interested, here it is (loosely translated from German):
| Step | Title | Color | Comment |
| 1 | Base Coating | Brown Violet Green | Entire Minis |
| 2 | Skin | Bestigor Flesh | |
| 3 | Highlights Skin | Elven Felsh | |
| 4 | Large Highlights Uniform | Brown Violet with Hellion Green | don’t forget the chin strap |
| 5 | Fine Highlights Uniform | Brown Violte with more Hellion Green | Light drybrush on Helmet and don’t forget the chin strap |
| 6 | Base Color Equipment | Baylor Brown with Hellion Green | |
| 7 | Highlights Equipment | Baylor Brown with more Hellion Green | |
| 8 | Inner part of mouth | Red Gore | |
| 9 | Teeth, Eyes and Helmet | White | Spade on Helmet, Officers with vertical line |
| 10 | Mouth Edges and Eyebrows | Bugmans Glow | |
| 11 | Eyes | Black | |
| 12 | Corrections Face | Elven Felsh | |
| 13 | Corrections Helmet | Brown Violet Green | |
| 14 | Helmet Camo 1 | Bestial Brown | |
| 15 | Hair | Bestial Brown | |
| 16 | Helmet Camo 2 | Steel Legion Drap | |
| 17 | Helmet Camo 3 | Caliban Green | |
| 18 | Helmet Highlight 2 | Baylor Brown | on topof the Steel Legion Drap |
| 19 | Helmet Highlight 3 | Brown Violet | on top of the Caliban Green |
| 20 | Weapon Holsters and Boots | Bestial Brown with Red and Black | Pistol Holser, Knife Sheath and entire Boots |
| 21 | Highlights Holsters and Boots | Bestial Brown with Red | Pistol Holser, Knife Sheath and Boots |
| 22 | Helmet Highlight 1 | Bestial Brown with Red | on top of the Bestial Brown |
| 23 | Bootlaces | Baylor Brown with more Hellion Greed | |
| 24 | Wooden Parts | Bestial Brown | Rifles and lower parts of the entrechment tools |
| 25 | Wood Highlights | Steel Legion Drap | 50% on the same parts, upper half |
| 26 | Metal Parts | Gunmetal | Rifles, SMGs, Grenade, Ent. Tool shafts, Knife handles, Drinking Bottle Clasp, Other Claps |
| 27 | Rifle Shading | Nuln Oil | Rifle metal parts |
| 28 | Metal Shading | Black Ink | SMGs, Grenades, Ent. Tool shafts, Knife handles, Drinking Bottle Clasp, Other Claps |
| 29 | Base | Bestial Brown | Only where needed |
| 30 | Decals | Flag and rank right, Eagle and rank left | |
| 31 | Decals fix up | Army Painter Matt Varnish | |
| 32 | Dipping | Army Painter Dark Tone | |
| 33 | Matt Coating | AP Matt Varnish with a drop of GW ‘Ardcoat | entire mini |
| 34 | 1. Snow Layer | Snowpaste by Noch | use a lot |
| 35 | 2. Snow Layer | Snowpaste by Noch | bullet holes, explosion craters, don’t forget the gras |
| 36 | Blackshading | Nuln Oil | bullet holes and explosion craters |
| 37 | Blackshading 2 | Black Ink | centre of bullet holes and explosion craters |
| 38 | Blood | Blood for the Bloodgod | only where needed |
| 39 | Edge Cleaning | get rid of excess snow | |
| 40 | Black Rim | Black |
Easy, 1st squad
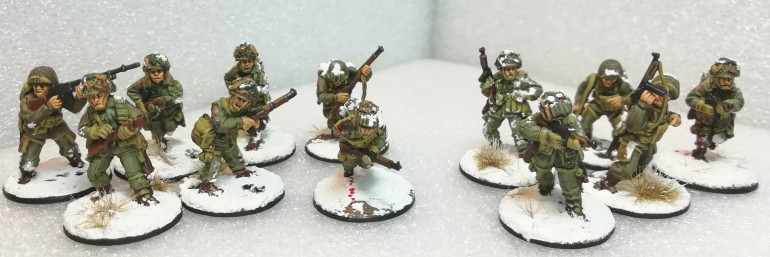
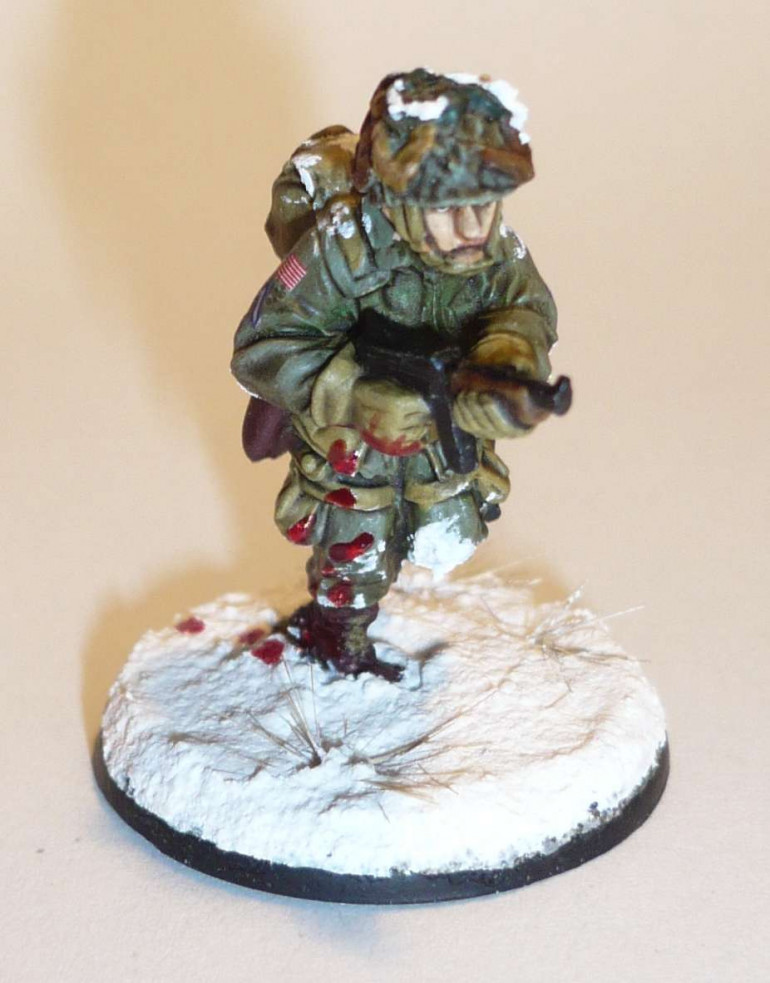
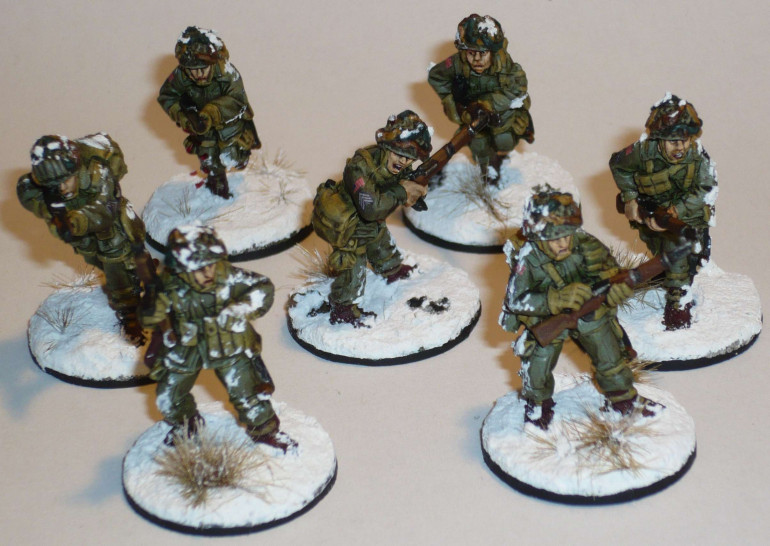
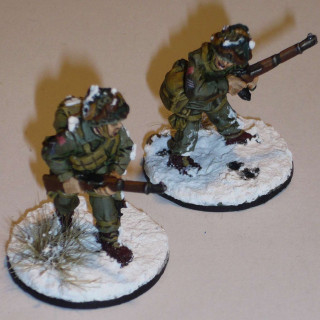
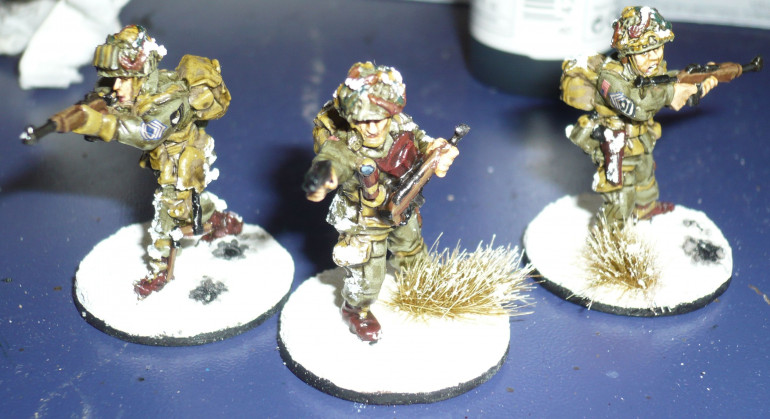
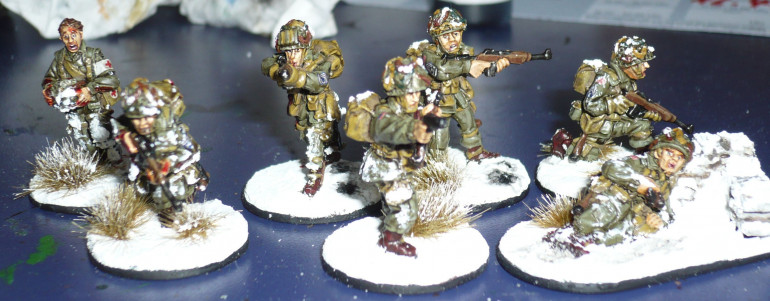
After finishing the HQ I started to work on the first squad. As I had not had all the minis yet the squad was only 7 men strong at the time. There are a couple of Privates, PFCs and Corporals and the squad is lead by a Staff Sergeant.
Screaming Eagles HQ
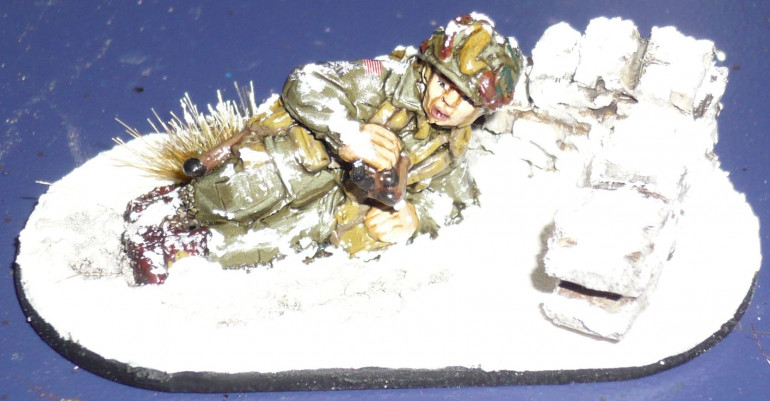
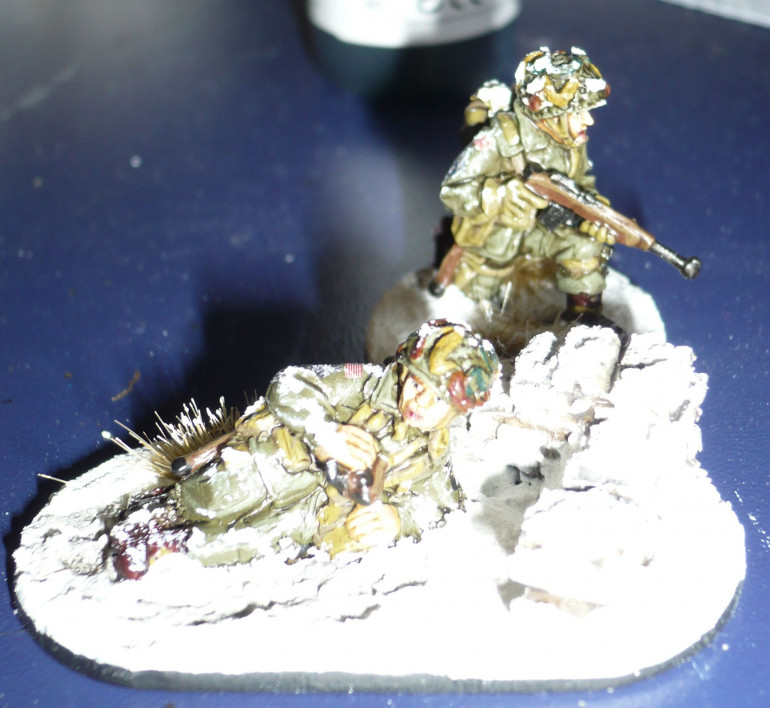
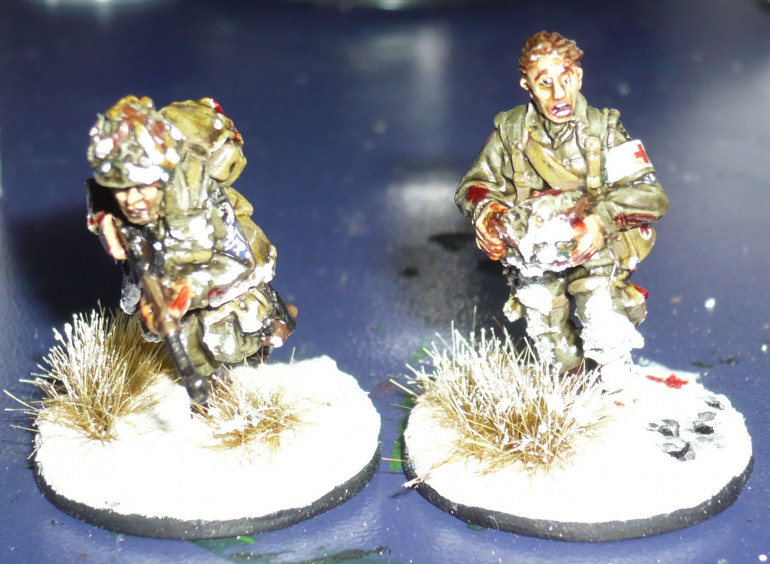
Here we go. First of all there will at first some aweful pics in the first post in this project. These are old pics (3+ years) from when I first started painting these. I guess I really didn’t know how to take pics back then.
The first thing I painted was a few of the HQ models. These are my Lieutenant, his accompanying First Sergeant and Technical Seargeant.
Next up was the Observer. He doubles as an artillery or aircraft observer in the game. He is a Technician 4th Grade and accompanied by a Technician 5th Grade.
Last but not least is the medic. He again is a Technician 4th Grade and accompanied by another Technician 5th Grade.


