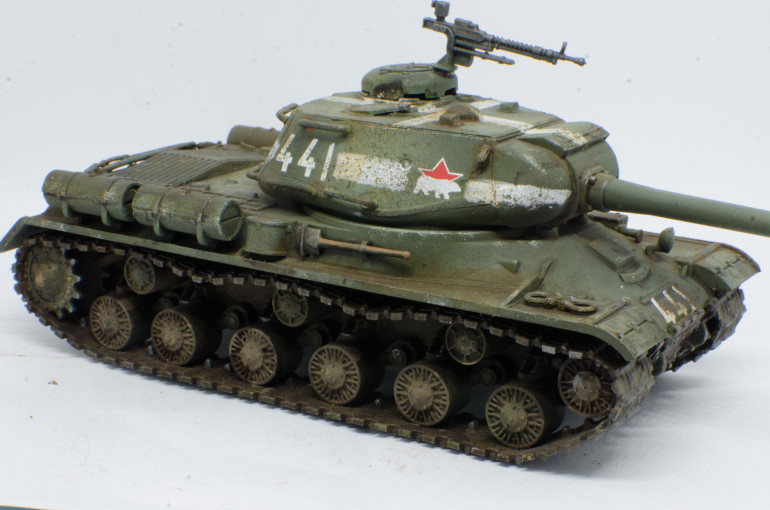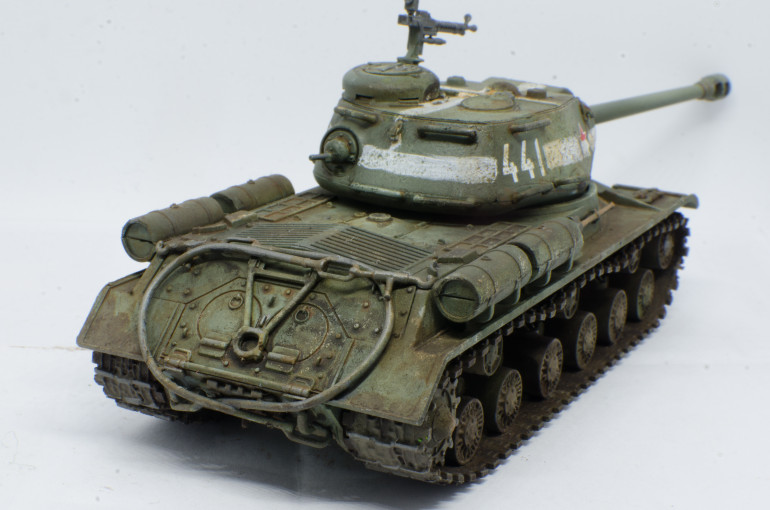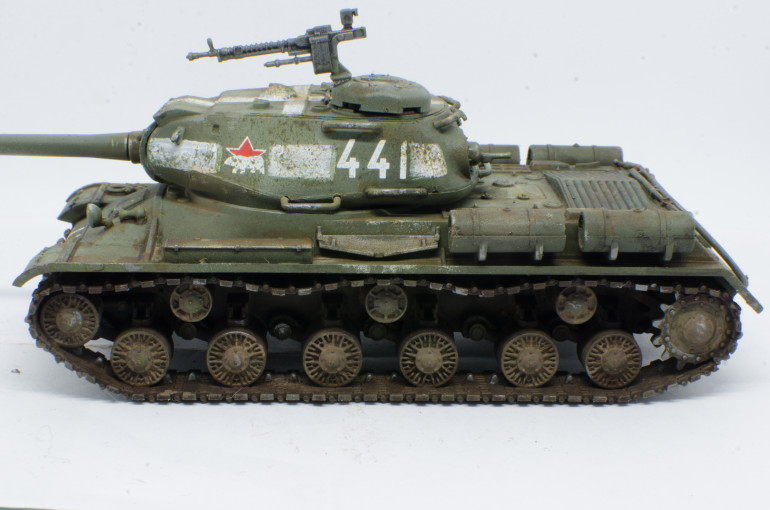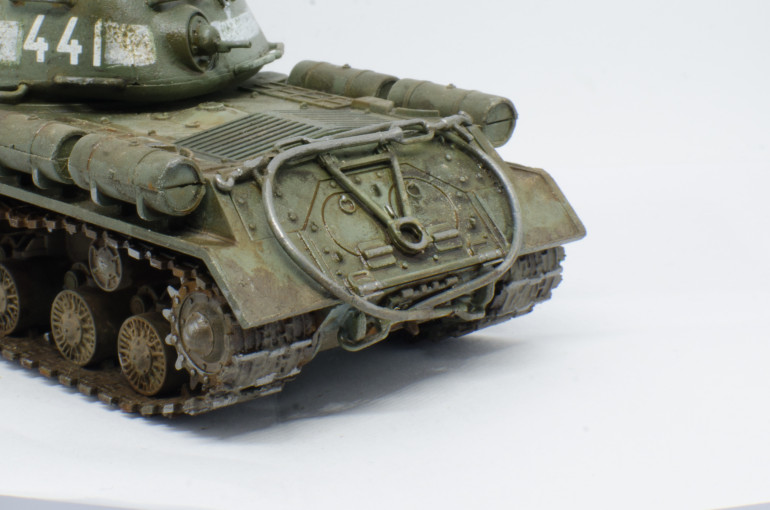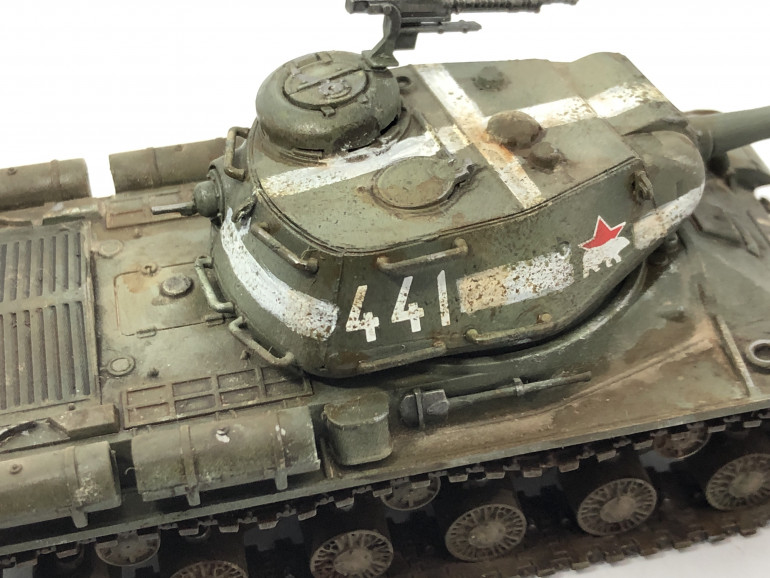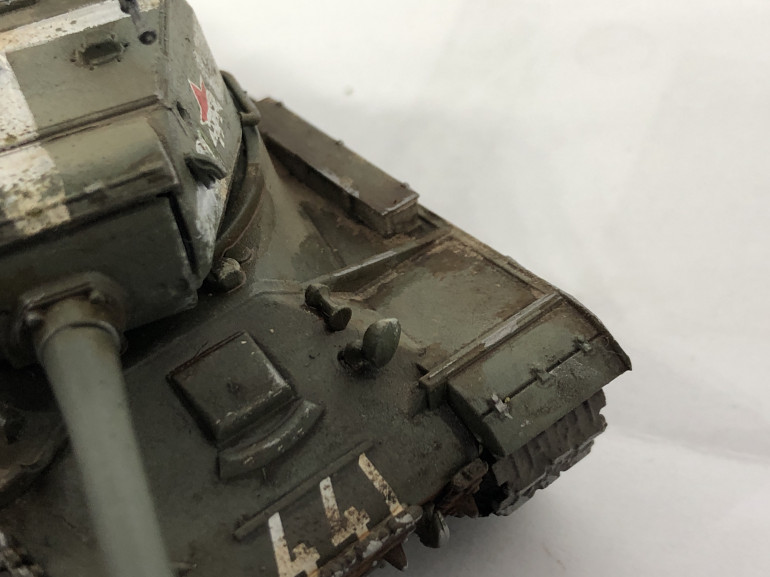
Weathering Soviet IS-2 tanks
Recommendations: 36
About the Project
To join the Bootcamp fun, I’m finishing pair of IS-2 tanks for Bolt Action
Related Game: Bolt Action
Related Genre: Historical
Related Contest: Bolt Action: Western Desert Boot Camp
This Project is Active
Varnish on. Looking good!
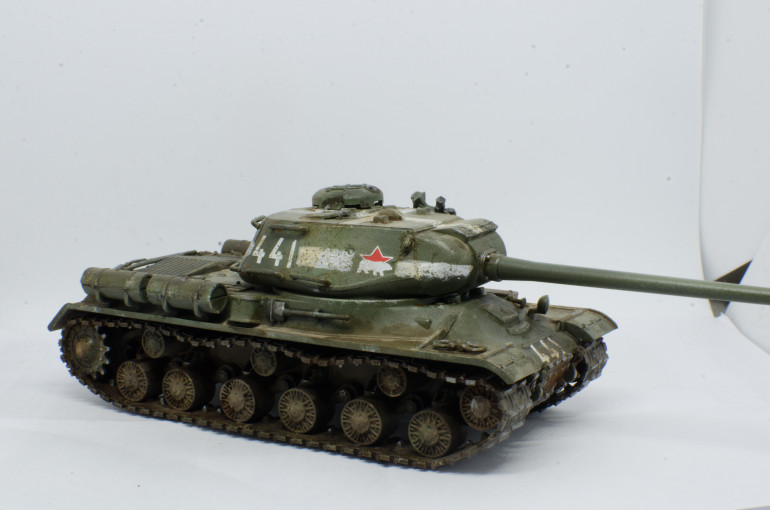
The varnish definitely did good. I’m not sure how well it comes across from the photos, but killing any shine from the washes or the pigment fixer takes the model to a next level in terms of realism.
As I expected, the lighter pigment colours seem a little darker now. I’ll need to consider adding more pigment on top.
Planning ahead
When using slow-drying enamel products, it’s useful to plan a head and schedule the steps you’re going to do. Working on multiple vehicles on one guy is nice, as you can alternate these.
For tank 441, while there is some detailing work I wish to do, I need to see the effect of matt varnish. I will start with varnishing it. The varnish dries comparatevely quick, giving me chance to still do weathering on the same day, have it dry over night and varnish again in the morning. I want these bad boys done this weekend!
Tank 432 should be easier. In threory that is. I’ll be trying to replicate the steps I did with the other tank, being generous enough with the pigments especially.
Here’s some more WIP shots
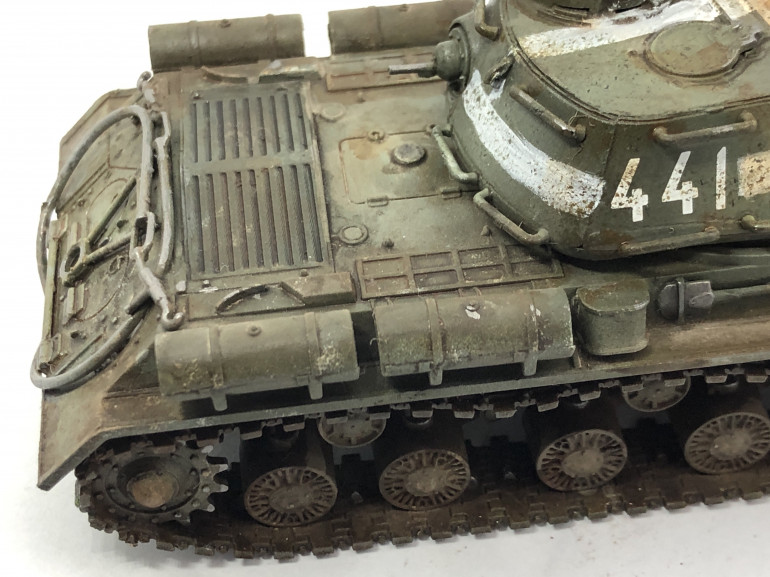
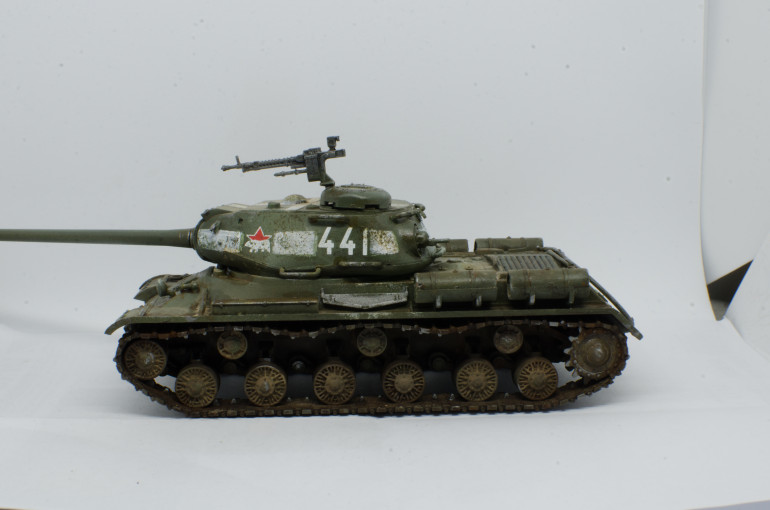
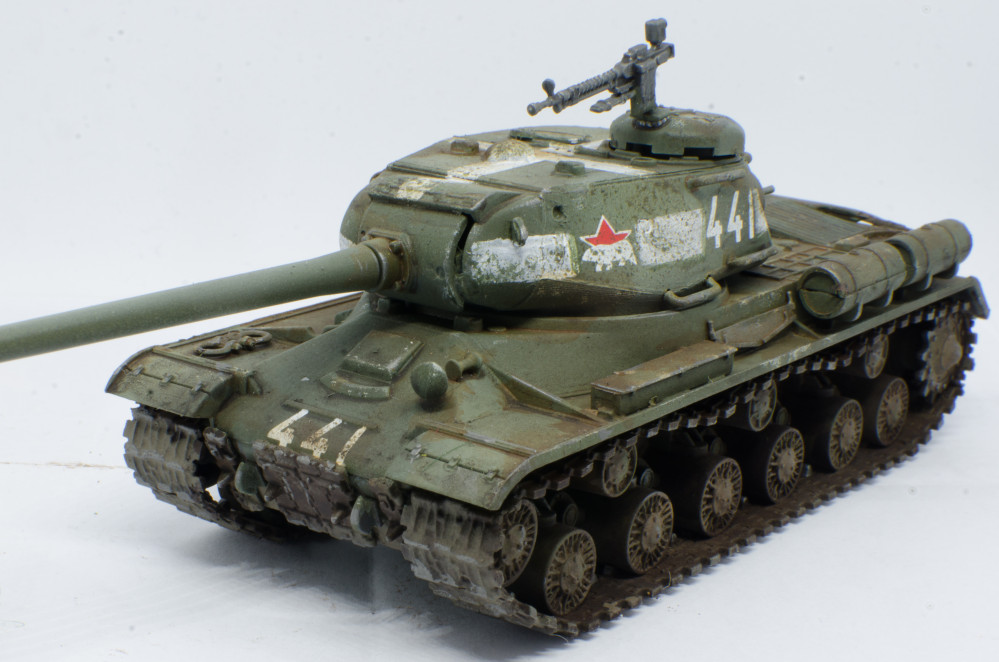
Tank 441
The other tank I’ve weathered couple of steps further.
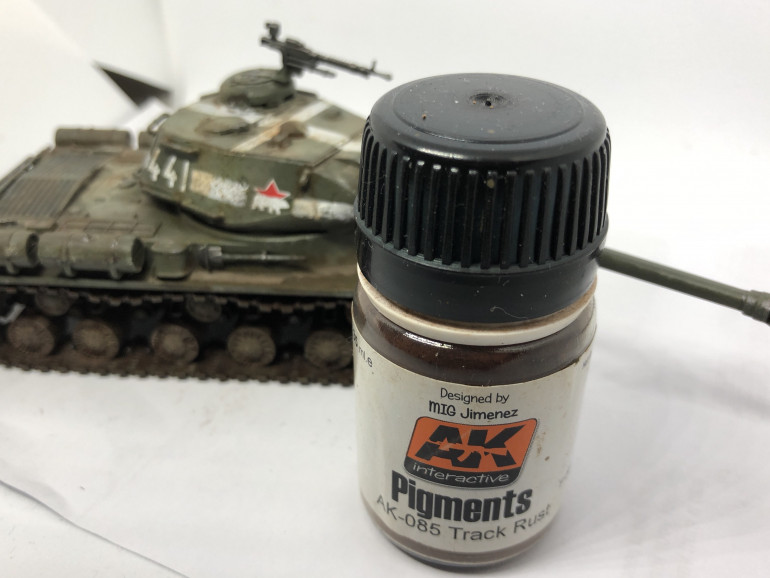
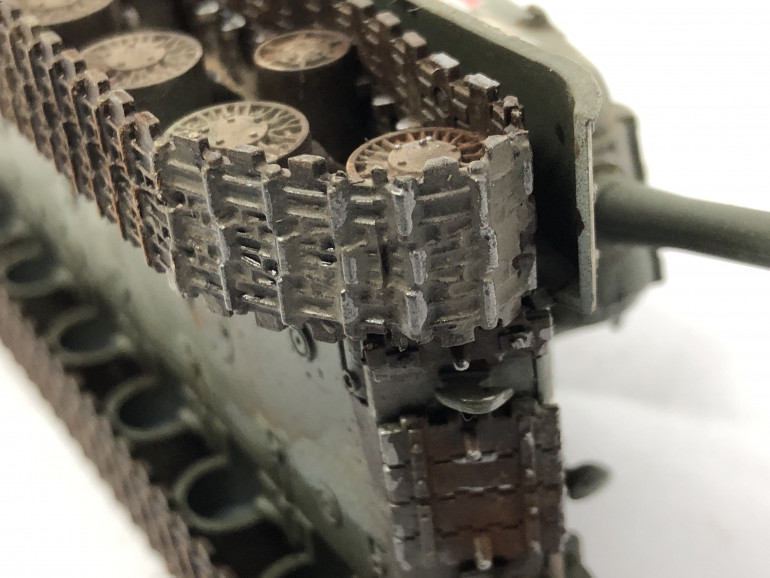
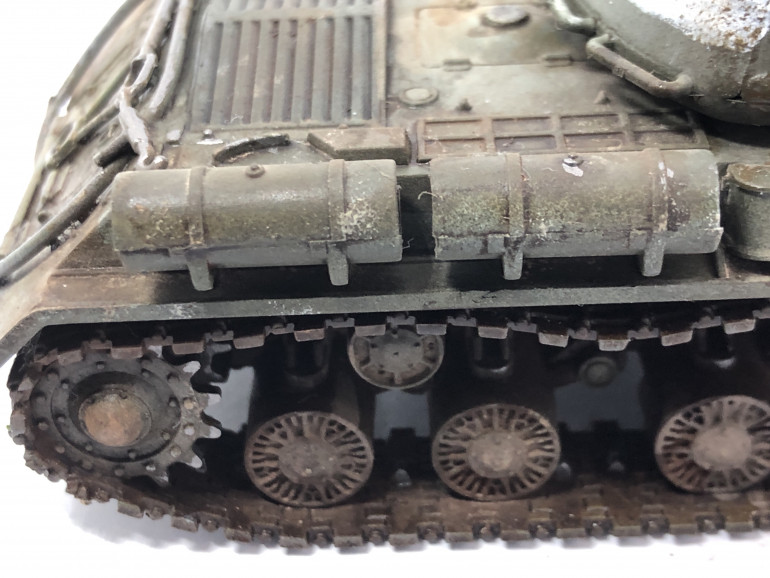
I applied a rusty pigment all over the tracks, followed with a pigment fixer to hold it in place.
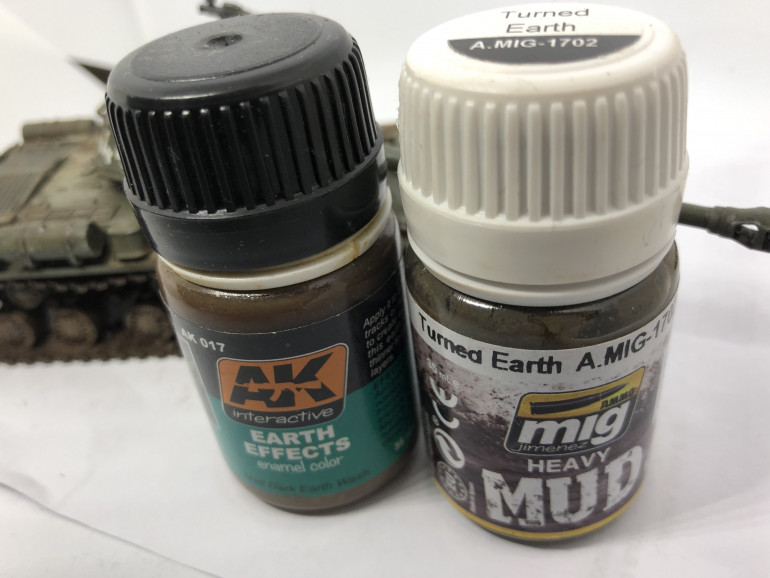
After the fixer had dried, I went over the outsides of the tracks with Mig Turned Earth mud effect, dabbing some of with a piece of sponge.
I washed the wheels with AK Dark Earth wash, which, after drying looked way to subtle so I did it again, much heavier. I also mixed some ”rubble” pigment to it, it give some texture and volume. After it had dried for few minutes, I softly dabbed it with turpentine to spread it out slightly and expose some of the original colour.
I’m basing my Soviet army for the Battle of Berlin and wanted some city dust/rubble effects on the vehicles too.
Again, with some trial and error, I settled with Mig ”Rubble” pigment. On the first go, I applied way to little, after applying the fixer almost all of it escaped. For the second pass, I used way more pigment and lot less fixer, which worked much better.
Then finally I went over with metallic acrylic paint to pick out some highlights from the tracks and wheel spokes and add some chipping to the edges and handles.
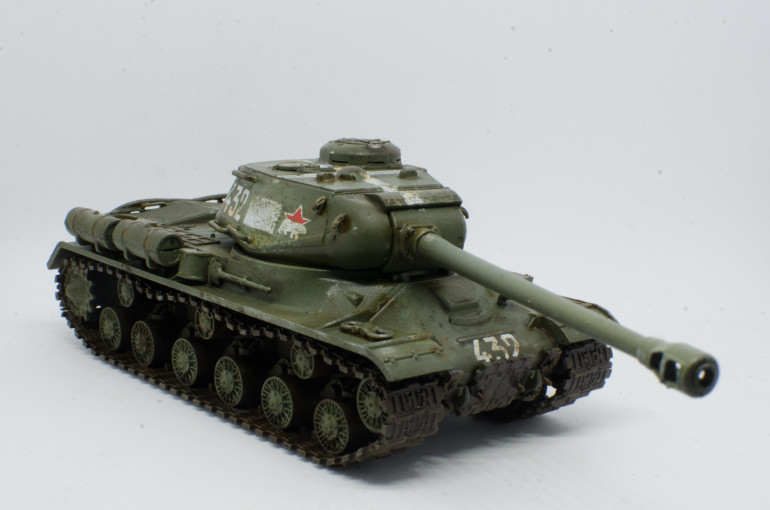
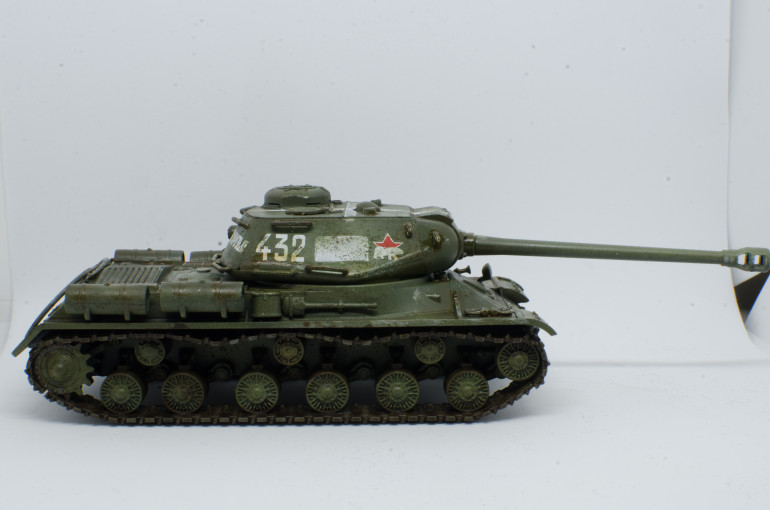
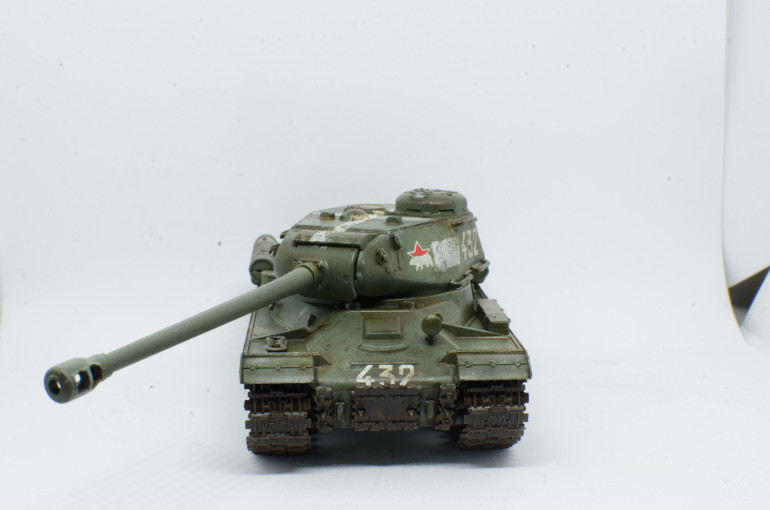
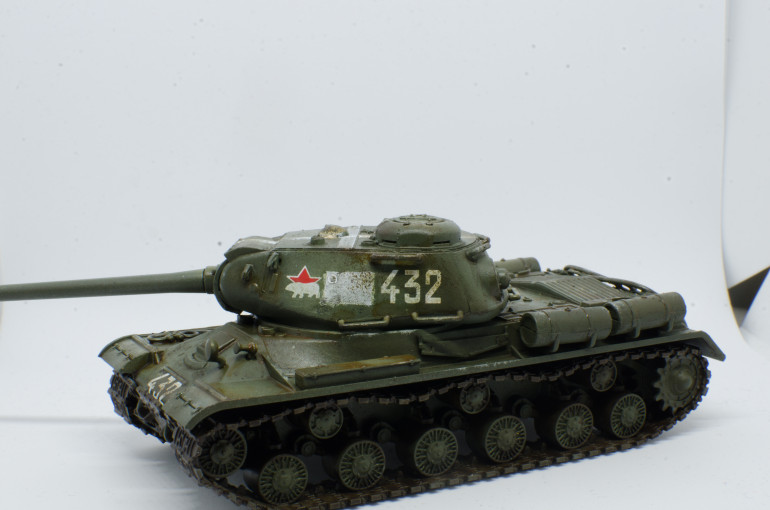
Starting point - Tank # 432
These tanks have been work in progress for a while, and unfortunately I don’t have photos of the painting stage.
The painting steps, roughly were:
– Vallejo Russian green primer
– Zenithal highlights with neutral grey primer
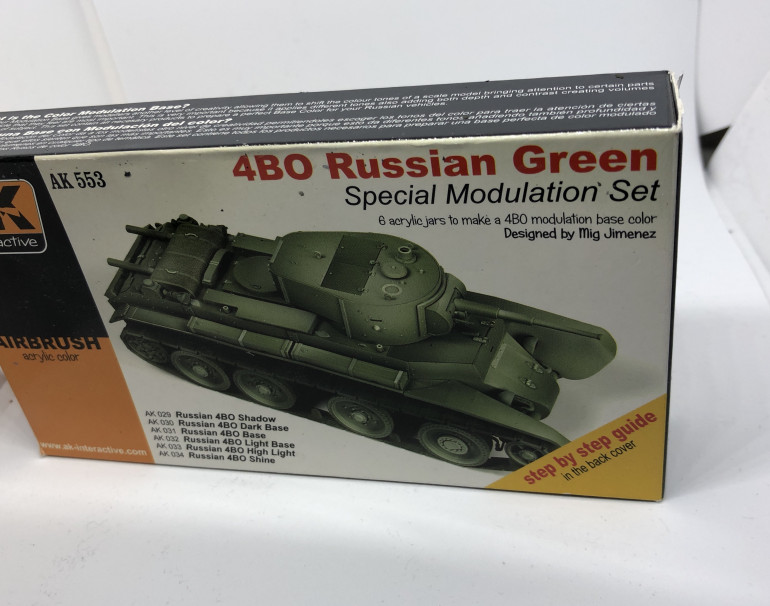
– Layers with AK interactive 4BO modulation set
– Enamel wash with AK interactive Dark Wash for Green vehicles
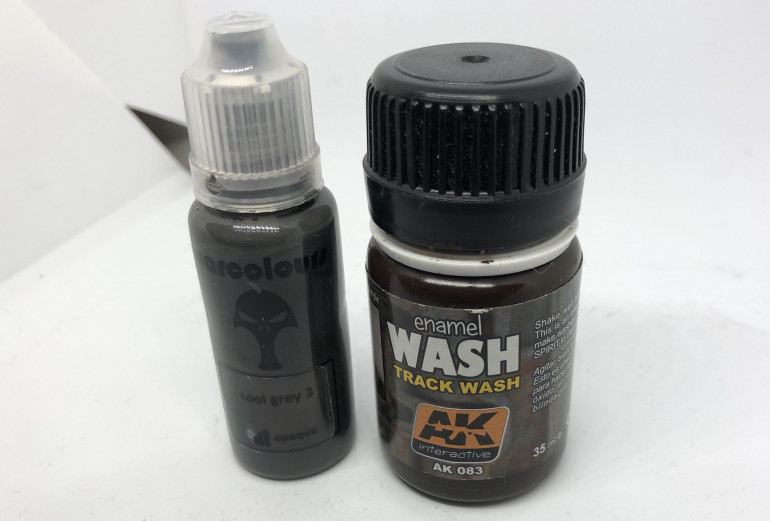
– Tracks painted dark grey
Then I placed the decals and painted the white striping to the turret.
Tank 432 has the first weathering stages done:
– AK track wash liberally applied all over the tracks
– Rust with AK Rust streaks
– The decals and the striping were stippled with dark green and dark brown paints, using a piece of sponge.


