A Tank Called Coleraine
Recommendations: 132
About the Project
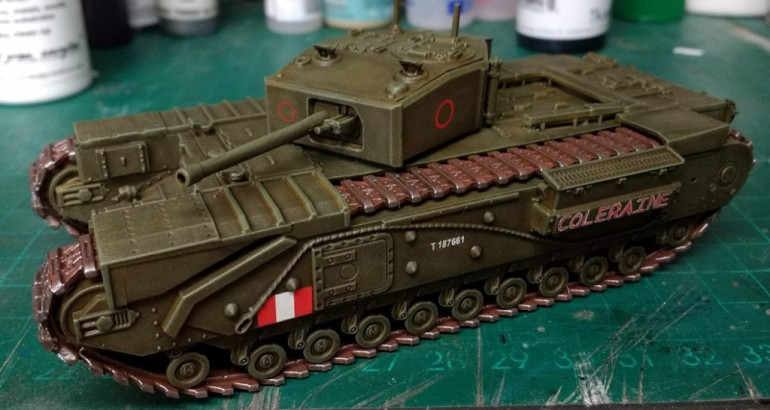
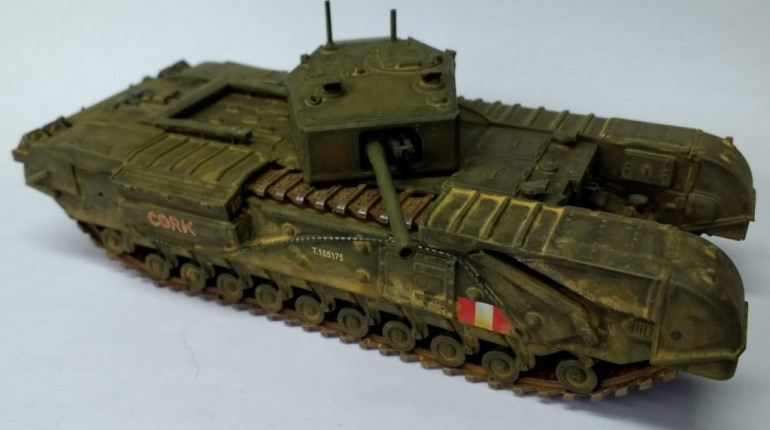
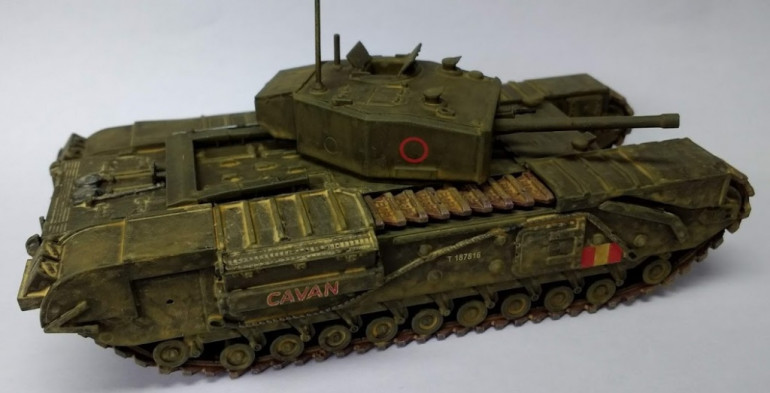
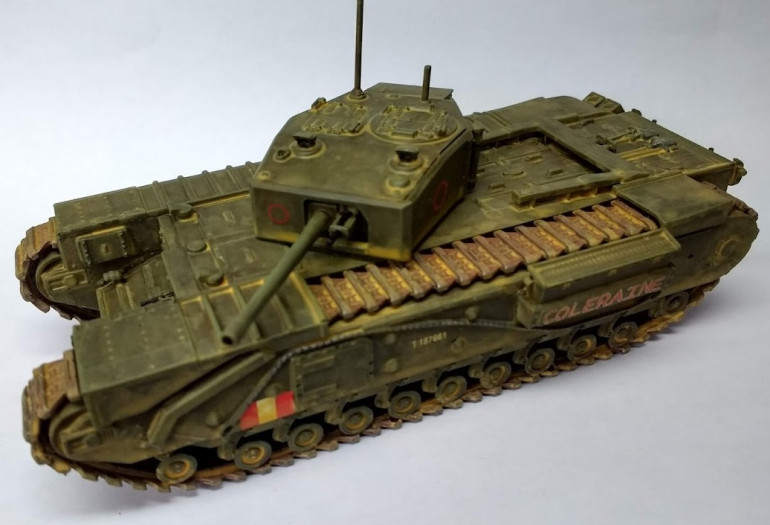
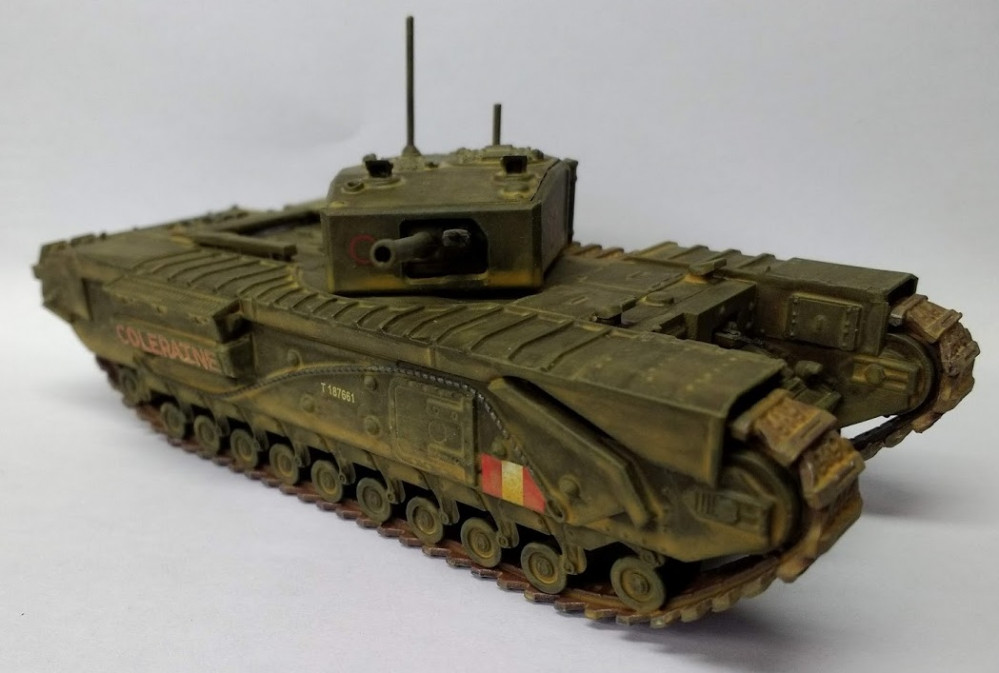
In preparation for the Bolt Action Boot Camp in September, I'm going to get into a project I've had in the stash for a while now. I like tanks, I like playing games with tanks (serious, proper grown up wargames that is, not pushing them around on my table muttering 'clankity rumble clank, dakka dakka, boom!', nope, never happens, that would be silly...). *ahem* I've got three Warlord Games Churchill tanks to build and paint. They will be modelled after tanks in service with the North Irish Horse regiment that fought in Tunisia in 1943. Each tank in A, B & C squadron had a name, starting with the squadron letter and named after towns in Ireland, so I plan to build three C squadron tanks, one of which will be called Coleraine.
Related Game: Bolt Action
Related Company: Warlord Games
Related Genre: Historical
This Project is Completed
Building the tanks
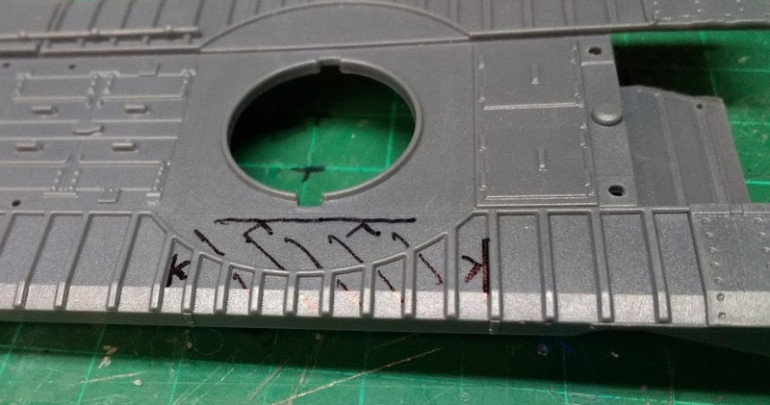
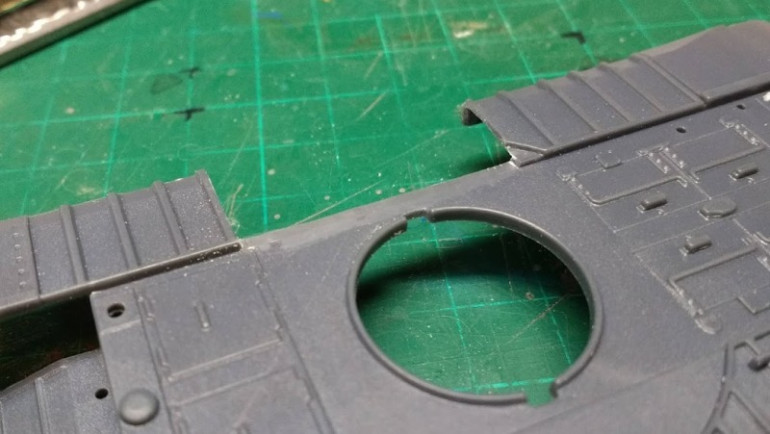
Warlord have many plastic kits in 1/56 or 28mm in their WW2 ranges, they are all of the quick build style and go together in less than a hour with no really tricky bits. To personalise my models and to give them a more battle worn look, I like to make changes to the basic kit that represent the wear and tear often seen on tanks that have been in action. A notable feature of Churchills in action is how often pieces of the Track guards/fenders go missing or get damaged; to show this I need to leave off some of the kit parts and cut a few others up. The hull top comes in one piece with the top track guards attached. After looking at reference pictures I decided which bits to cut away.
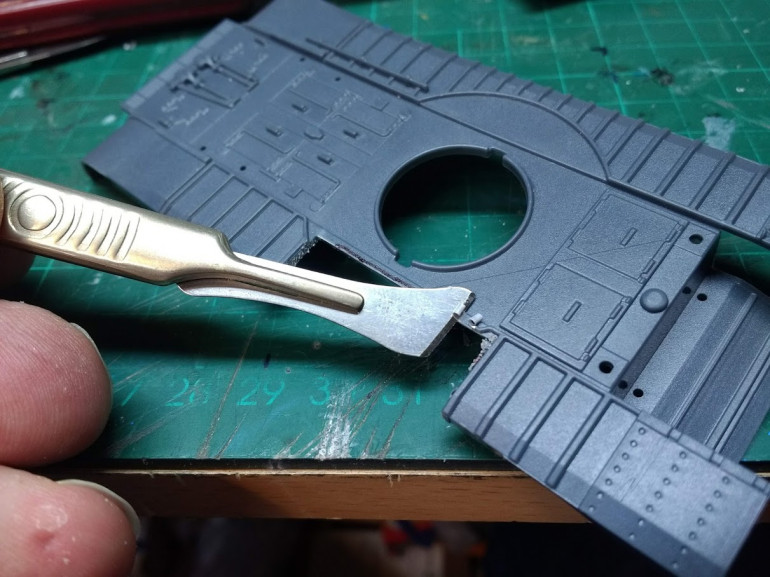
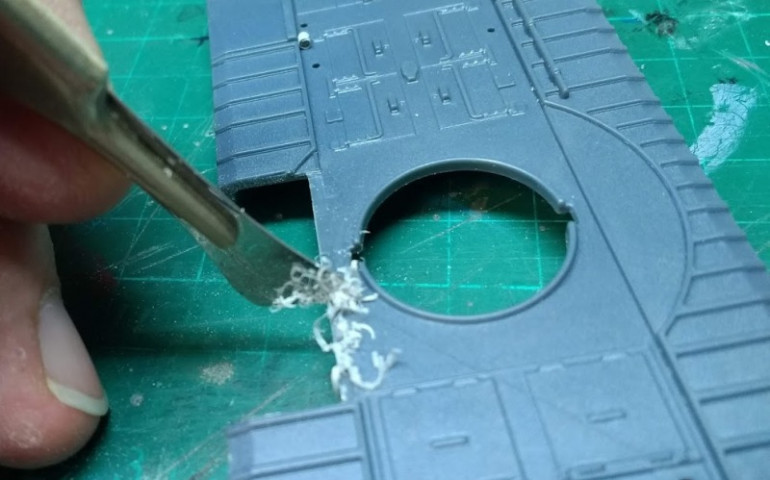
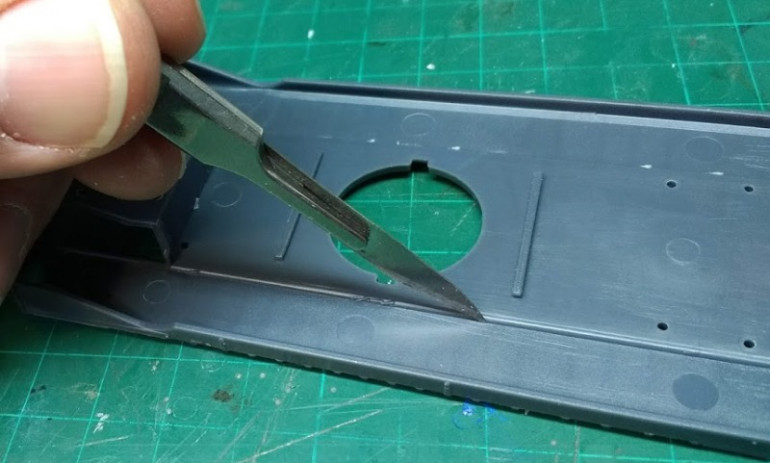 On the underside make a lengthwise score part way through the piece to be cut away, this will allow the piece to snap cleanly off after the crosswise cuts are made
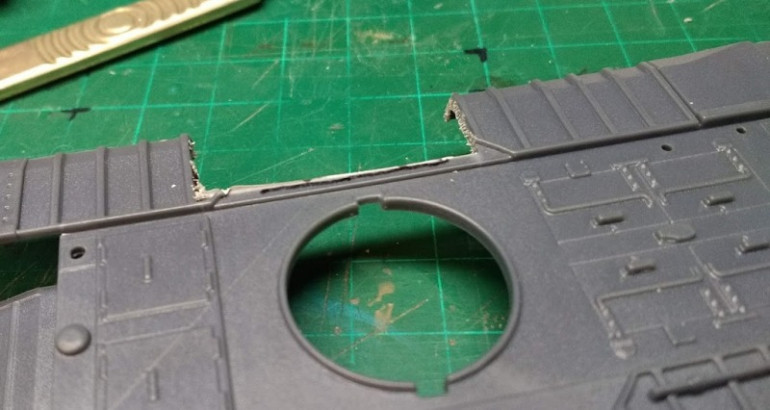
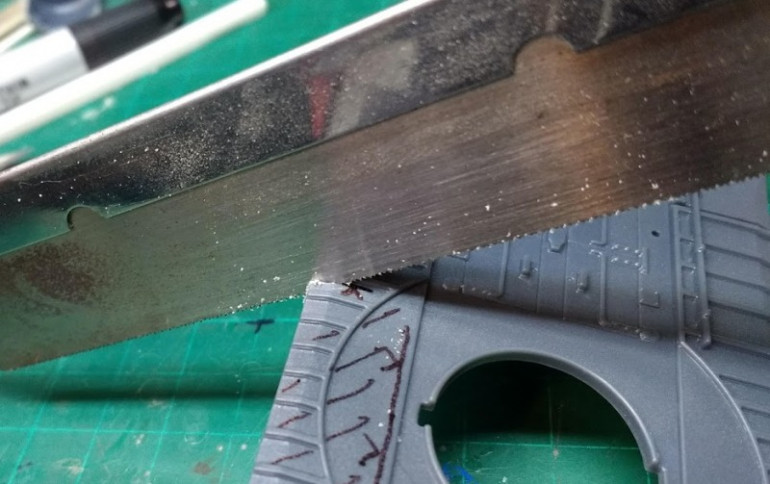 Use a razor saw to cut crosswise through to the score line, stay inside the drawn cut lines to avoid cutting off too much material
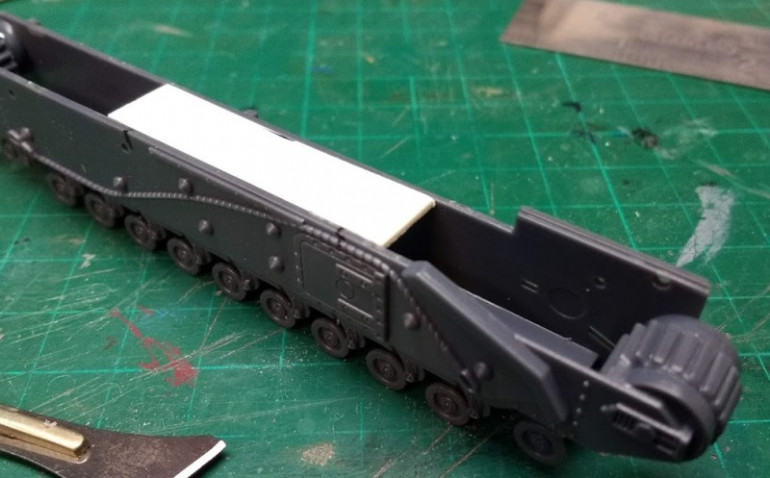
Now the top run of track is exposed it will look odd with a big hole below it, to fix this, the open top of the sponson is blanked off with a piece of plastic card cut to size.
The other two hull tops were given a similar treatment and then the kits were assembled as per the instructions.
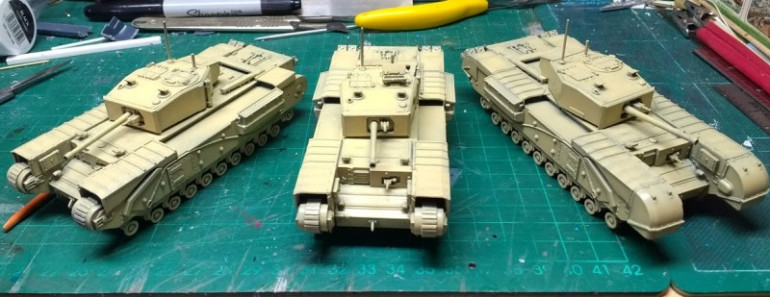
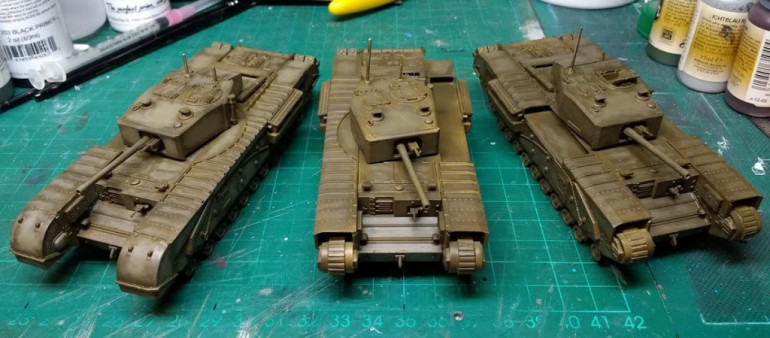
Due to a rush of enthusiasm I forgot to take a picture of the built kits before I started painting, so stepping out of order slightly, here is a picture of them after undercoating and base coat
Painting the base coat
After building the kits I decided to unpack my airbrush, I’ve not used it for a while so I had a fun game of ‘fight the airbrush’ while I worked to get my paint mixing mojo back up to speed, the white in particular didn’t want to play. this was surprising because it is the Stynylrez airbrush ready stuff. I faffed around with air pressure for a while but it still spattered, so I tried thinning it just a little and it immediately started blowing spider patterns everywhere, oh well, need to spend more time experimenting with it after I get this project finished.
To start I put on a black under coat, then tried some highlighting with white, the picture shows how this went.
Next step is choosing a base coat. This is where references and research come into play if you are looking to try and achieve some level of historical accuracy, however, I’m going for a gaming piece rather than a scale model, so ‘close enough’ will be my target. The problem is, conflicting evidence; some references I have show the tanks overall Light Stone colour, another (that I found today) states that 25th Armoured Brigade (of which North Irish Horse is a part) were Khaki Green. Why do these things show up after I’ve started painting?!!!
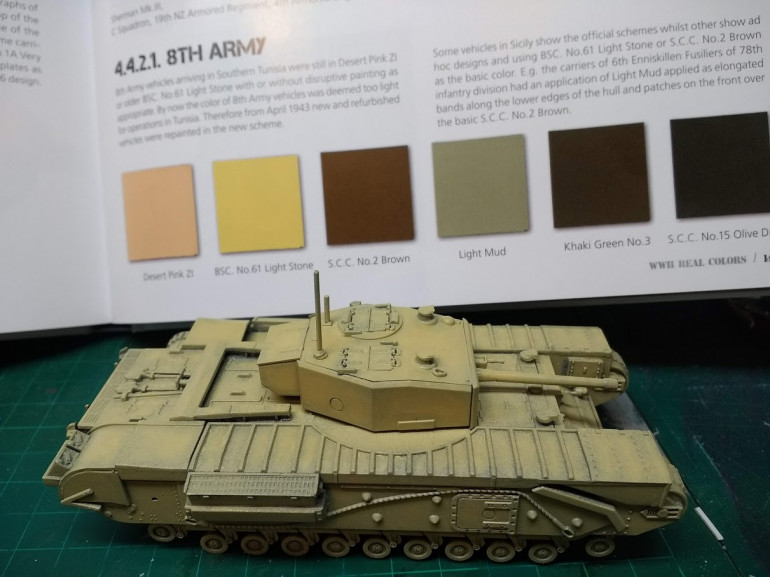 I think that Vallejo Model Colour Buff gives a 'close enough' match to BSC No 61 Light Stone but it's a looong way from Khaki Green no 3... Do I stick with the Light stone or swap to Khaki green? decisions, decisions. Time to ponder some black and white WW2 pictures and try and decide if it's stone or green with a heavy layer of dust...
Chameleon tanks, weren't they yellow before?
So after second guessing and tormenting myself trying to decipher black and white photos and trawling books and websites, I decided that the most likely colour for 25th tank brigade is Khaki Green. So, back to the airbrush, I didn’t have anything close to the right colour so I mixed up three different Vallejo Model Air colours; Camo Green, Burnt Umber and Pale Blue-grey in a 9:6:1 ratio. This got me close enough to the required colour. This was applied to all three, then some white was added to the mix and used to add some panel highlights to try and get a ‘sun-bleached’ look on the larger flat areas of colour. After that a liberal coat of Army Painter strong tone dip was applied and left overnight to dry.
Next up, start applying markings; first step is hand painting the names, red letters with white outline. Free hand painting letters and numbers is not my favourite, why do I put myself through stuff like this? Do I like the pain? Do I hate myself?
Anyway, the other two tanks will be ‘Cork’ and ‘Cavan’, much shorter (easier to paint)
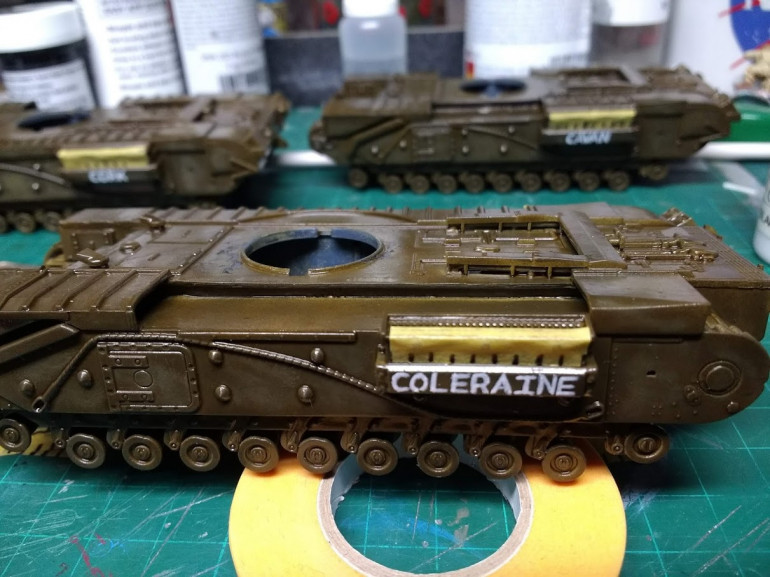 White first, I used a bit of tape marked out at 2.5mm increments to make sure I got the letter spacing correct. Looks a bit rough but this is going to be the best I can do.
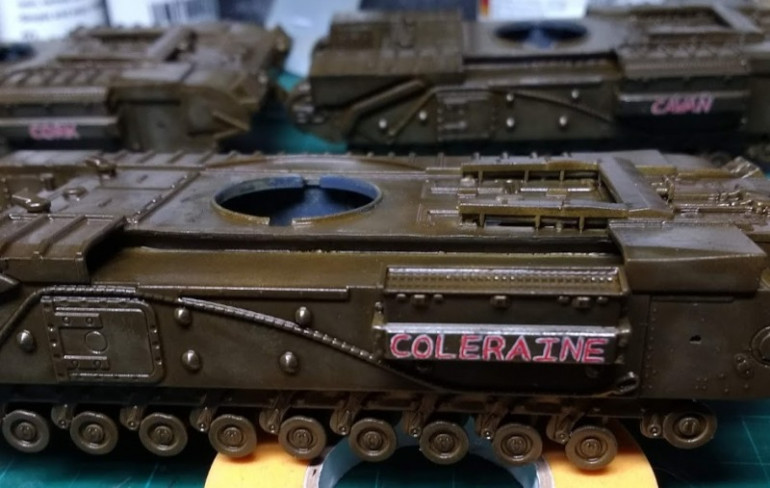 Red added over the white and some base coat colour used to try and tidy up some of the ragged edges. Hopefully a heavy layer of weathering will 'hide the crimes' and blend the lettering into the overall scheme.
Next up, add the rest of the markings; but, realising I don’t have all of the correct tactical markings, tomorrow will be a trip to Warlord to spend a few pennies on some decals and maybe some other goodies.
Adding some markings
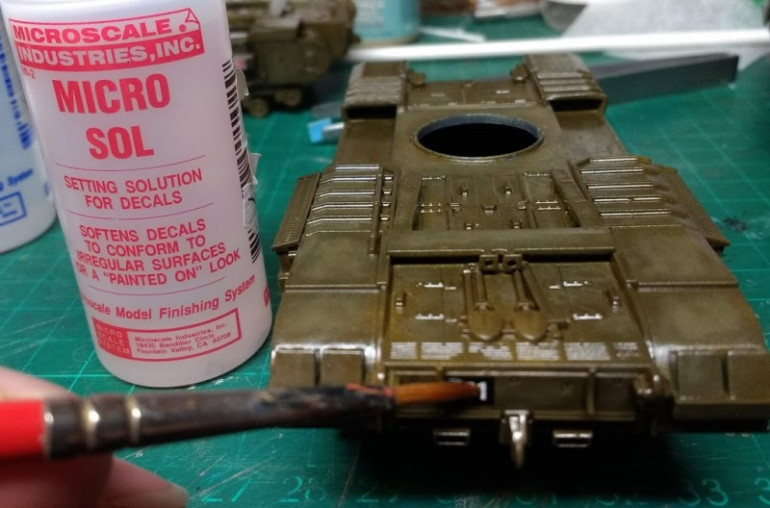
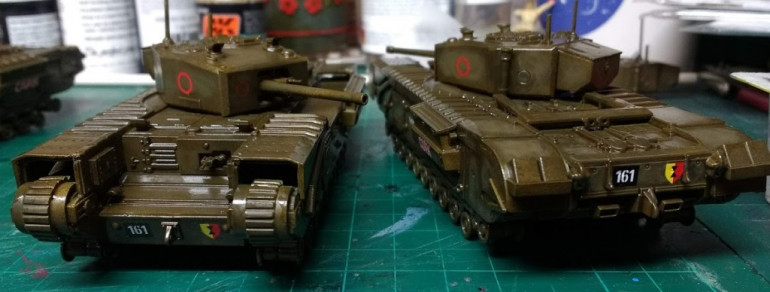
After a trip to Warlord HQ in Nottingham to purchase some decals (and a few other shiney bits) I started to add the necessary markings to the hulls and turrets. Water slide decals are easy to use with a bit of patience and using the Micro-Sol and Micro-Set system gives a really neat finish with no silvering (this happens when the decal doesn’t bed down fully on the surface and the carrier film looks like a silver/grey line around the decal).
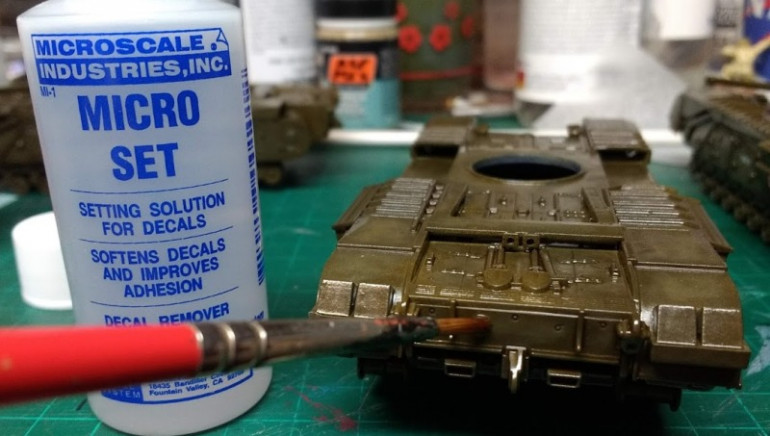 Decals go down best over a glossy, smooth surface, here the Army Painter dip wash gives a gloss surface. Alternatively, a dab of gloss varnish can be put down in the areas where a decal is to go. Leave the varnish to dry, then apply a drop of Micro-Set where the decal will go.
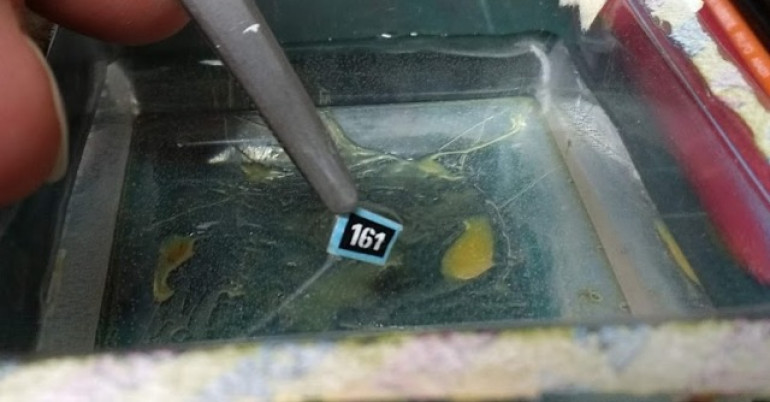 Split the decals up into single pieces and dip the first decal into water to release it from the carrier paper, the decal adhesive takes about 30 seconds to release.
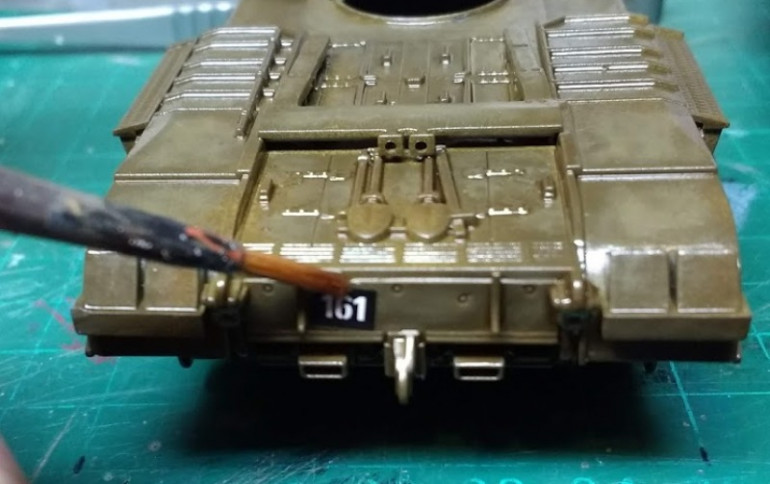 Slide the decal off the backing paper onto the area with the Micro-Sol on, use a damp brush to slide the decal into position, then leave it for about a minute for the decal solution to soften the decal, then I like to use a cotton bud to gently roll over the decal and press it into place.
Dry-brushing the highlights
Had to slow down a bit because of life ‘stuff’, but managed to get a couple of hours in today.
Started to dry brush up the highlights to tone down the dark look that the wash caused. After pondering a few different colours I settled on Vallejo Panzer Aces Afrika Korps Tankcrew for the colour. A little ironic, I suppose, but it’s a nice lighter green with a grey tint that lifts the base colour back towards the green from the brown of the wash.
To test paint ideas ‘in situ’ on the model I’m painting, I paint the underside of the vehicle the same as the top so I can try out paint ideas without ruining the upper scheme, (that’s the theory anyway, but I still have plenty of blunders with colours and techniques, that’s what you get for always wanting to experiment instead of choosing one way and sticking to it).
Making tracks (well, painting them, anyway...)
Time is getting away from me on this project, so I’m having to cut back on some of the weathering plans; I’ve decided not to add any chipping or more paint effects as I plan to add a heavy layer off dust that most likely cover up the majority of any other weathering.
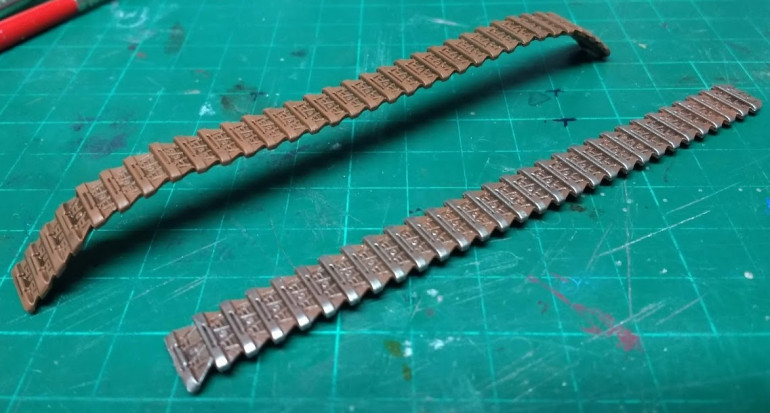
For a quick paint method for tracks, I like to do the following;
Base coat of Army Painter Fur Brown from a rattle can.
Wash with a mix of Vallejo acrylic washes, Sepia Brown and Black 60:40 mix thinned with a drop of water.
Dry-brush with Vallejo Oily Steel.
Final steps will be detail painting; exhausts, tools, etc. Then adding a heavy layer of Tunisian dust.
What's the weather today?
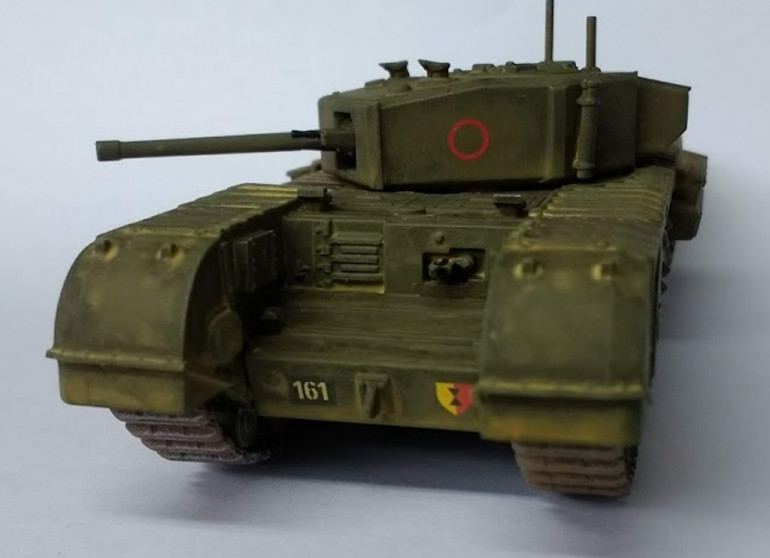
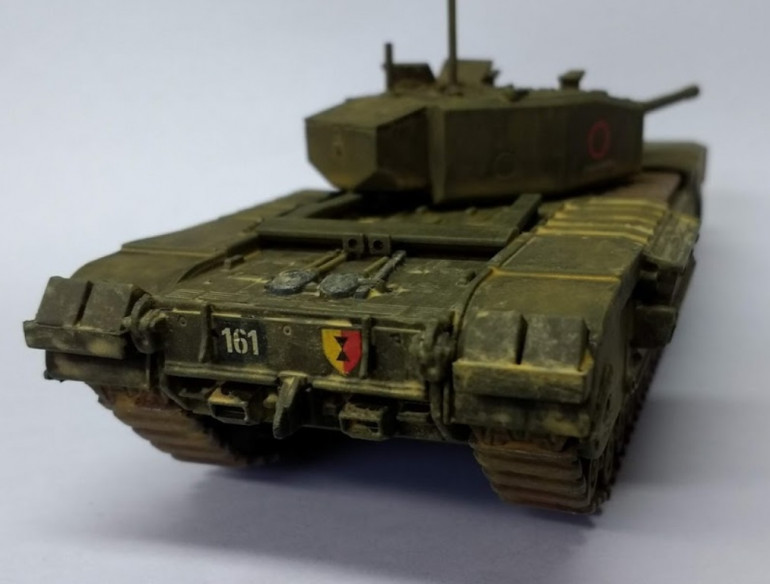
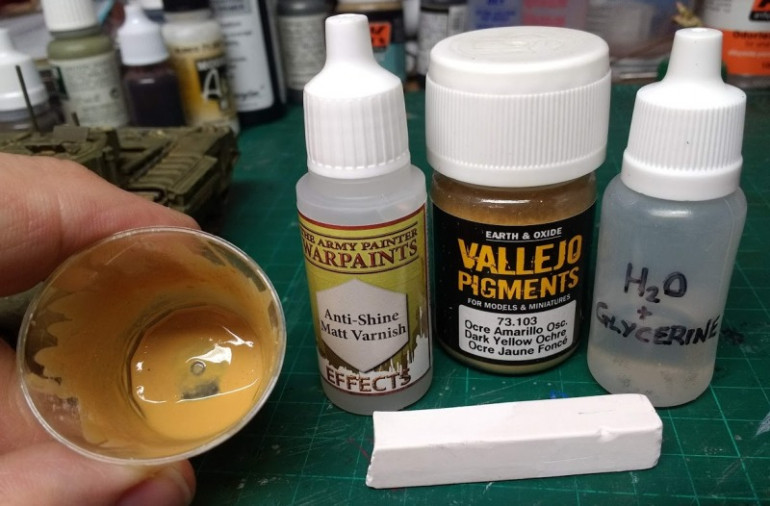 For the main weathering, a heavy layer of dust is required. I made the wash up from Vallejo dark yellow ochre pigment powder, some white pigment powder scraped off a piece of chalk pastel, Army Painter Anti-Shine Matt Varnish and some water mixed with glycerine as a flow aid. The powders are mixed 75% ochre to 25% white, then liquids are added; in roughly the same ratio. The glycerine/water mix is a cheaper alternative to the many varieties of flow improver that are available. My mix is about 95% water and 5% glycerine.
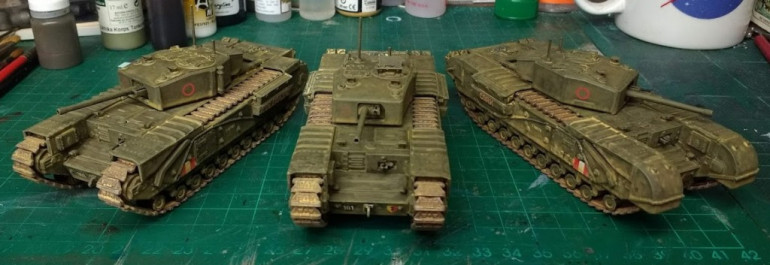 The wash was applied all over the model, especially heavily to the lower half of the hull and into the corners and crevices of the flat surfaces.
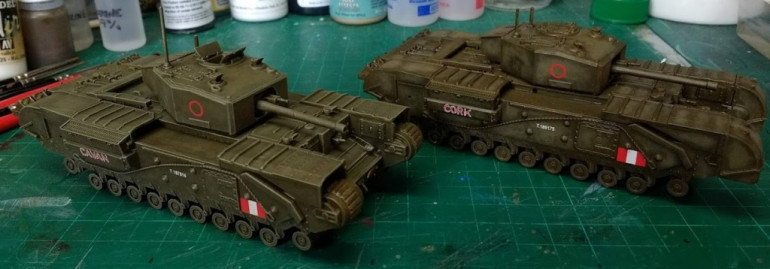
I’m calling these done for now, they’re ready to put on the table. The scheme is suitable for Tunisia and the Italian campaign so I have options for the development of my Eighth Army project beyond North Africa. I’ve enjoyed building these and plan to add a few more of these ‘easy build’ kits to my collection.


