Bolt Action Home Guard
Recommendations: 39
About the Project
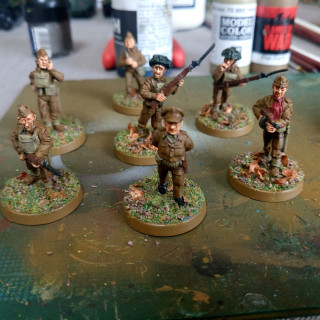
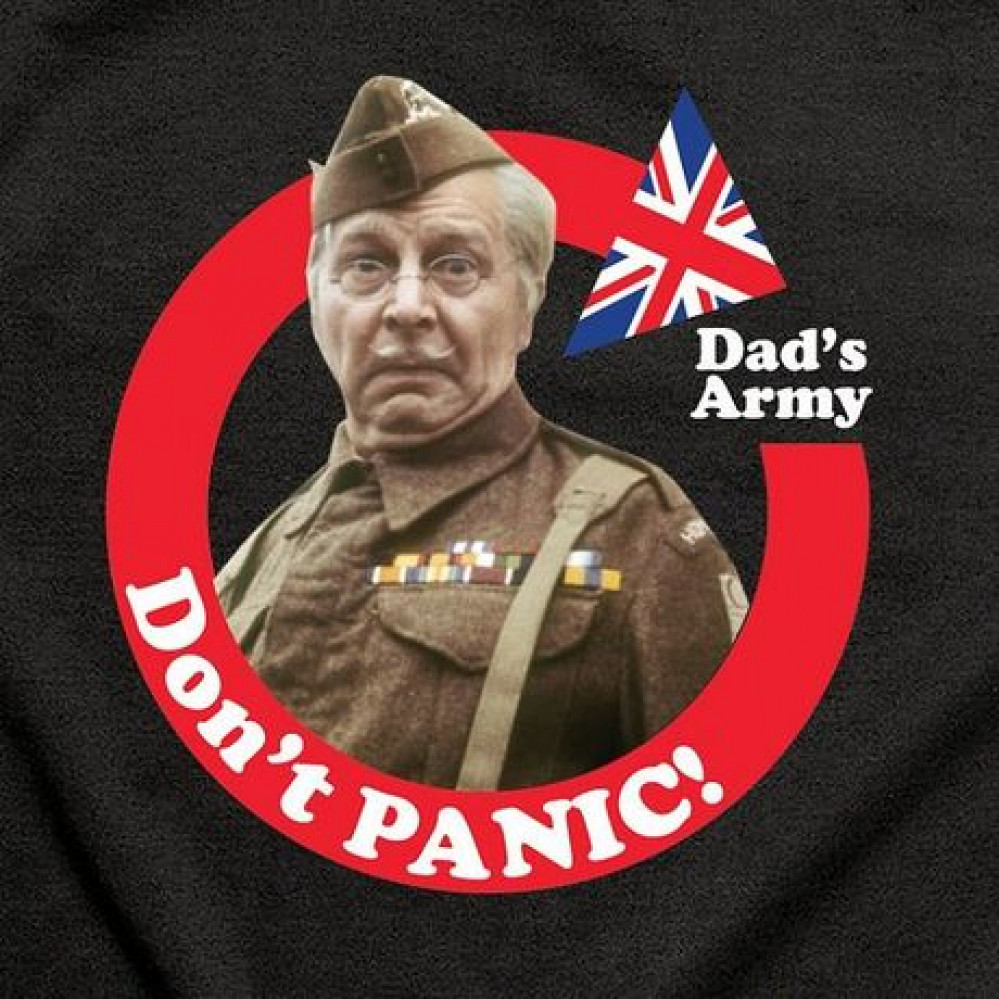
It's been a long time coming for me. It all started at Salute 4 or 5 years ago when I picked up the new shiny Dad's Army set from Warlord. Fast forward to present day and they are finally built and primed. With a local Bolt Action tournament coming up its time to get my butt into gear and get these old soldiers ready for Jerry!
Related Game: Bolt Action
Related Company: Warlord Games
Related Genre: Historical
This Project is Active
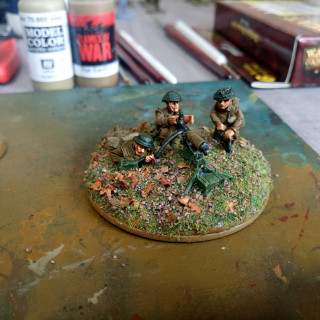
Dad's Army & Vickers MMG
More progress today!
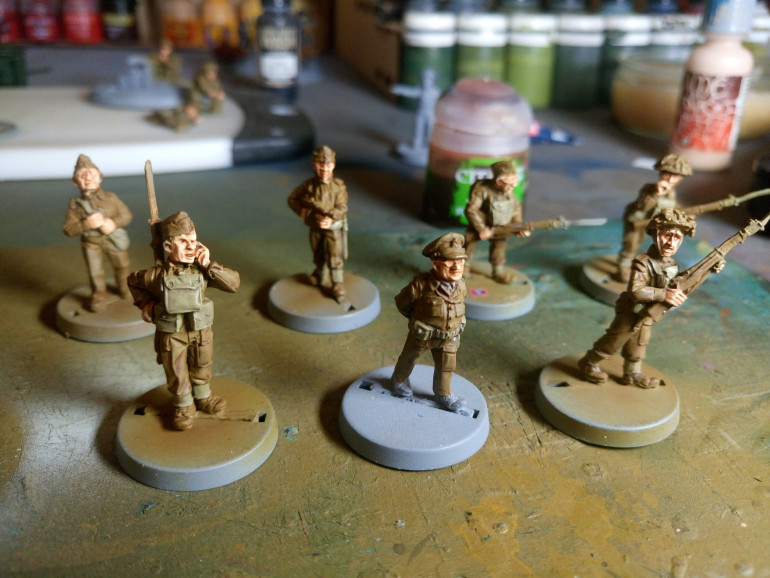
Finished off the detailing for dad’s army and the Vickers and based with flock mix previously used.
Going to start work on my HQ today which is the David Sterling model from Stoessies Heroes – lovely model!
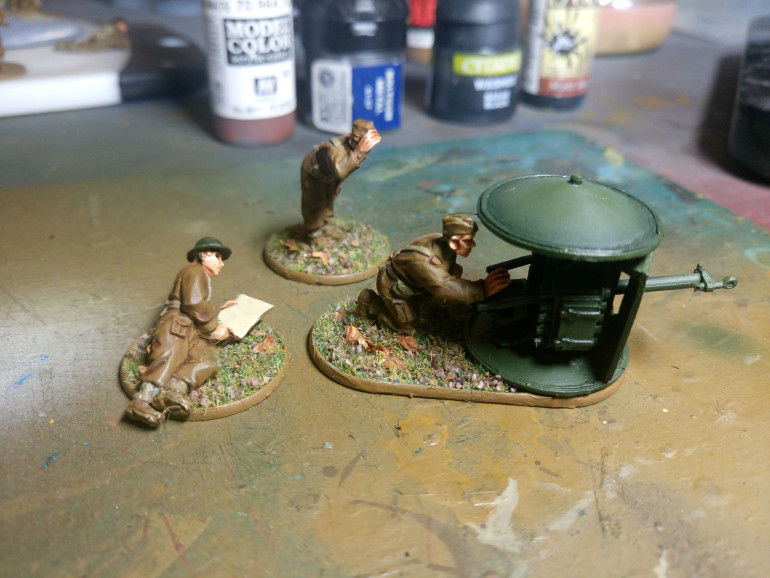
Smith Gun - Finished
In between working on the Dads Army unit today, I’ve been applying all the techniques on other units. When batch painting, I personally think its good to have multiple units on the go. That way when you are waiting for washes to dry etc you can be applying a stage to another unit.
Anyway here’s the finished Smith Gun – I love this model, just re-enforces the Britishness of the Home Guard for me. It’s not too bad in game, opponents don’t tend to like it as they don’t come across them that often 🙂
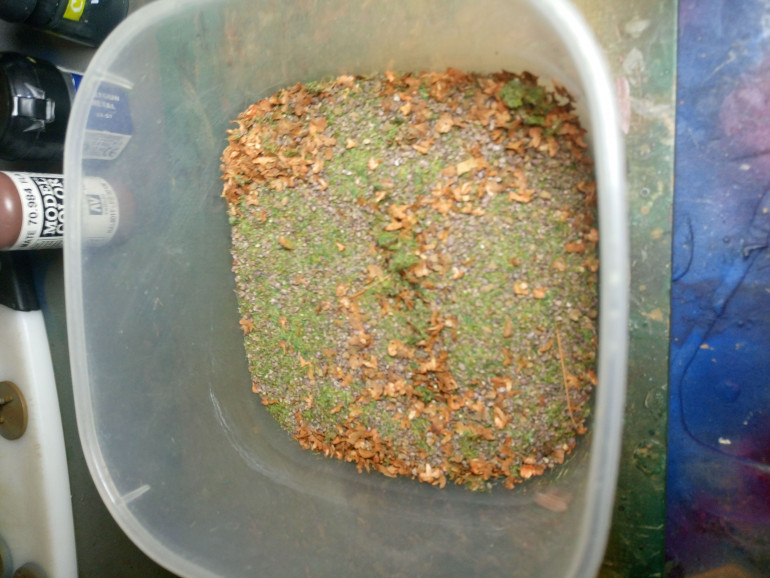
One thing I did prior to starting this project was to mix up a tub that I would be using for basing – that way you get a nice consistent look to your bases. This one was a mixture of green flock, grit and some pre made autumn leaves that I had hanging about.
Dad's Army Unit - Fleshing it out!!
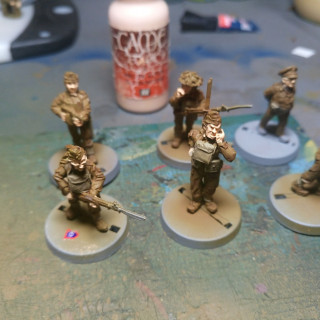
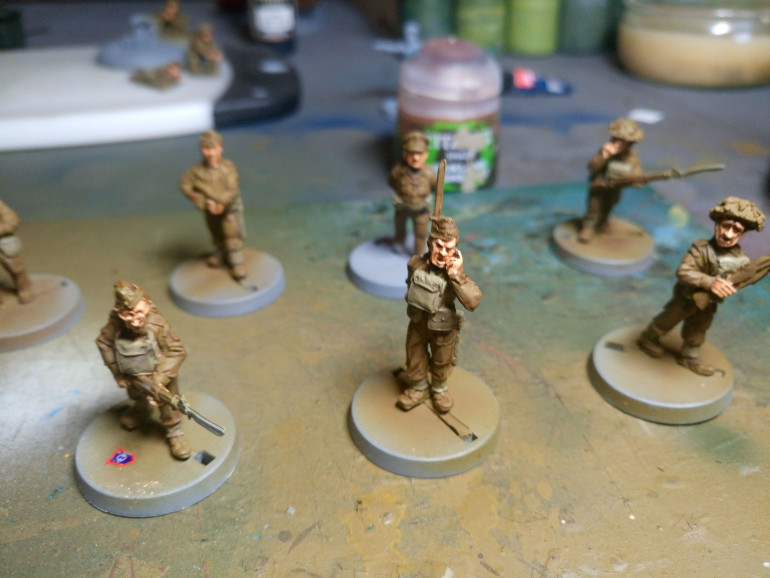
With the uniform and webbing complete, it was time to move on to the flesh. I started with a basecoat of Elf Fleshtone because lets face it us Brits are a pasty lot 🙂
The initial mix was fairly watered down as I didnt want to lose any of the detail so it took a couple of coats to fully cover. Mix was a ratio of 1:2 paint/water.
With that completed, I moved on to giving the flesh a wash and turned to the trusty Reikland Fleshtone, again watered down with a ratio of 1:3 wash/water.
I again went over the skin a couple of times to ensure that I’d created the effect I wanted.
Once this had dried it was back to Elf Fleshtone for some final highlights on areas such as the nose, cheeks and knuckles just to add a bit of depth and voila – flesh was done. Next update will be all about the details to finish them off 🙂
Apologies for the quality of the pics – using a camera phone plus daylight lamp so the detail isn’t fantastic.
Dad's Army Unit - Webbing
To get to this stage, I had basecoated the models with Vallejo Model Colour English Uniform (part of the British Paint Set – which is awesome btw) and then given them all a wash of Riekland Fleshshade.
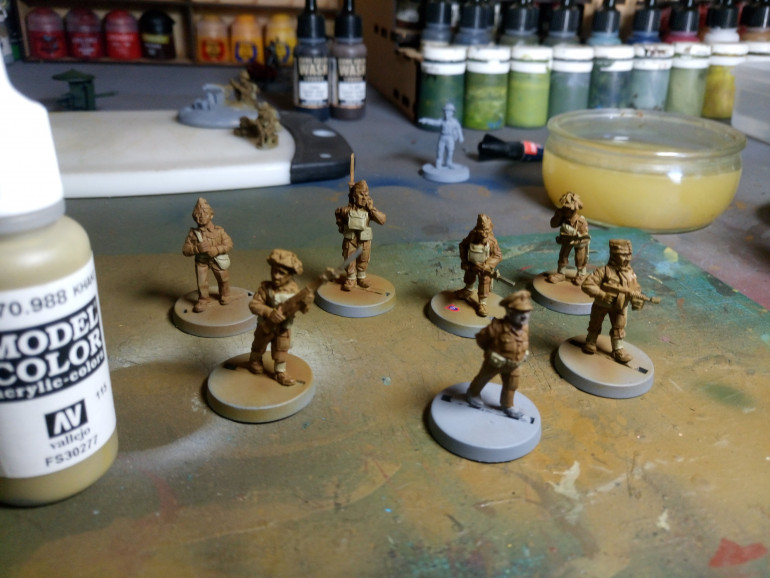
It was now on to the webbing and again turning to the British Paint Set, I went with the recommended Khaki (nice paint guide for Infantry on the back of the box). Here’s were this got us to:
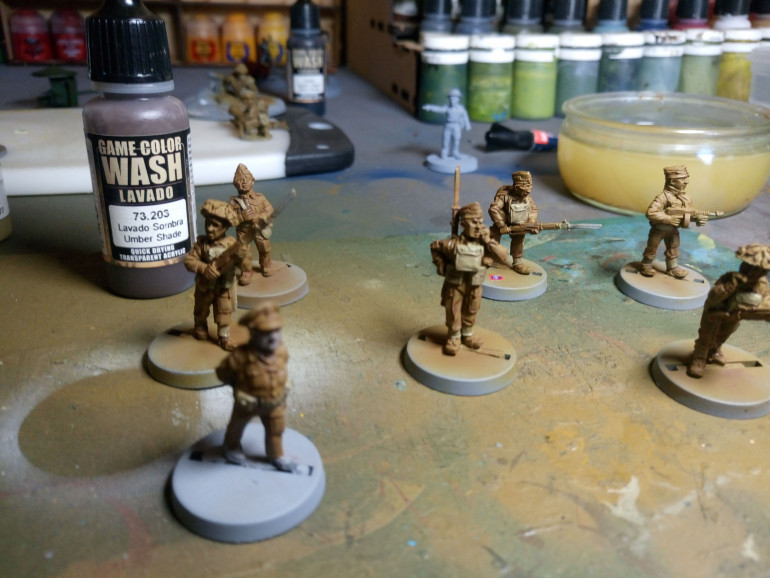
Once this was dry, and in this weather to be honest, the paint was drying in minutes, I then applied a thinned downed wash of Game Colour Umbro Shade – I’d say the ratio was probably 1:3 shade/water. Finished off looking like this:
Decals
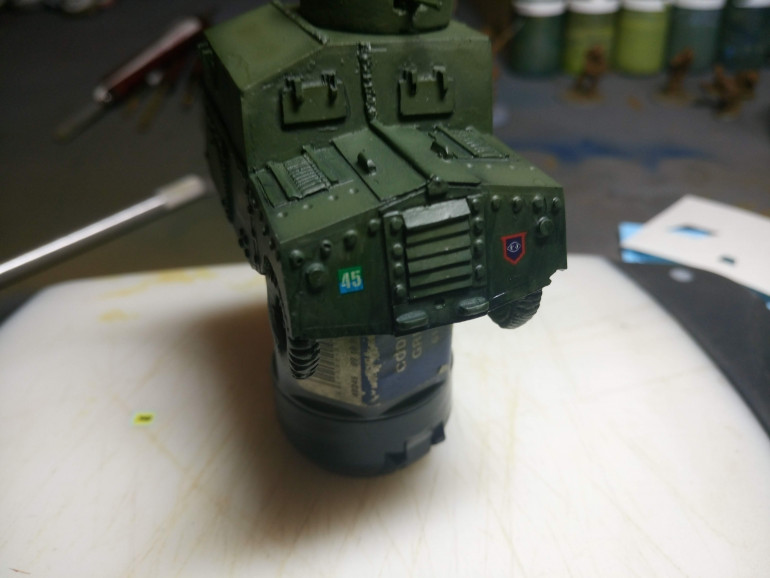
To finish off the vehicles, I’ve had to do something that I haven’t done for some time and that’s to add some decals.
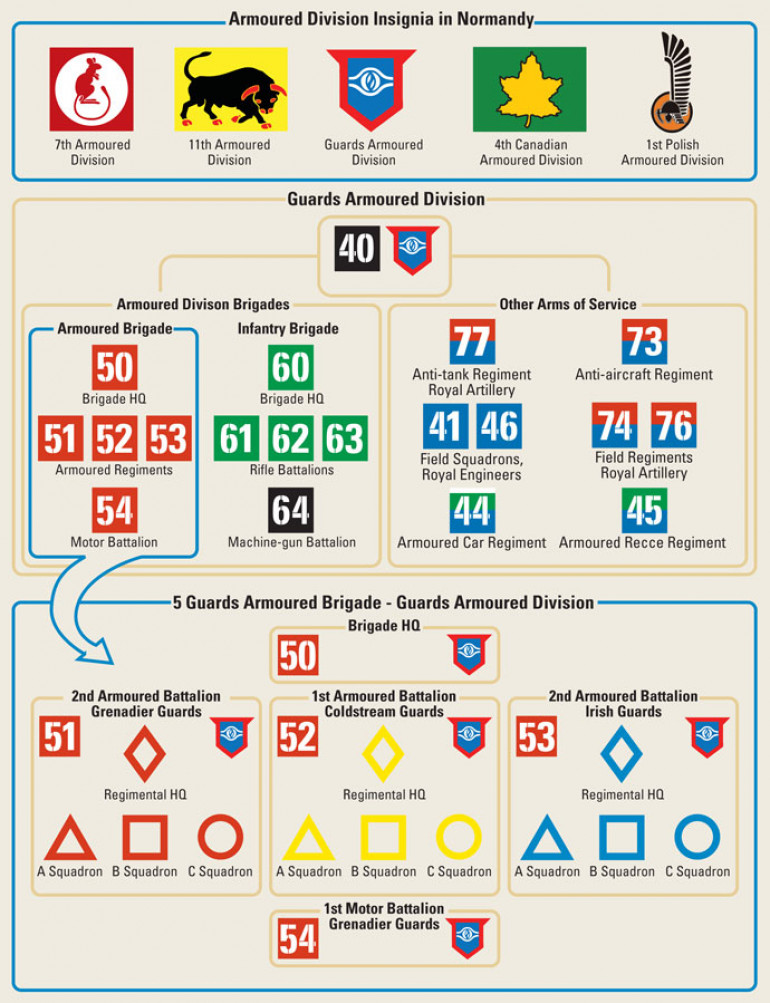
I was using the decals that came with the Warlord kit. Again, turning to google, I found a really good resource for British Army Markings.
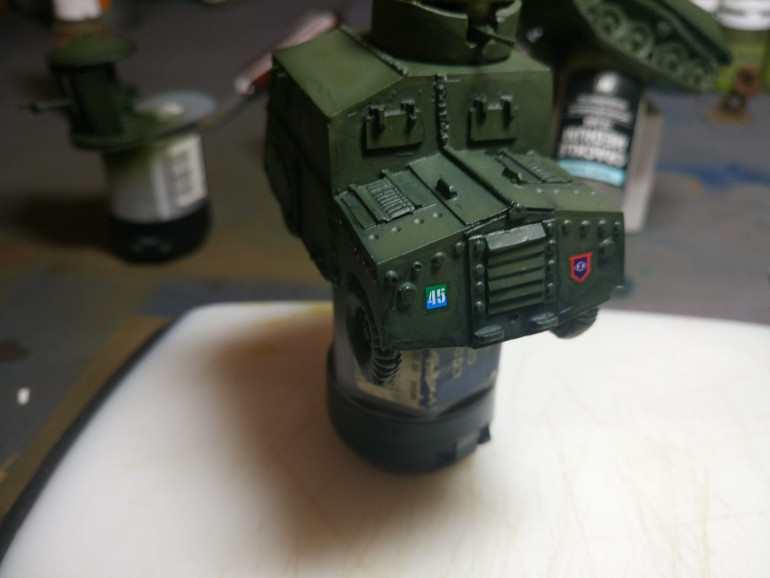
Using this guide for my Vickers and Beaverette, I was a tad disappointed that I didn’t have a 44 in my decals which would have been for my Beaverette to indicated Armored Car Regiment so I had to go with a 45. Now I’m not a rivet counter so I decided to opt for the rule of cool and add the 45 onto the vehicle.
So with decals after the initial application you are usually left with quite shiny area which tends to jar with the weathered look of the model. An easy fix is, once dry, run some matt varnish over the decal, wait to dry and then run the wash that you have used over the decal. This just removes a lot of the shine and also the edge that you might see to the decal after initial application. Turned out ok, see pic below
More progress
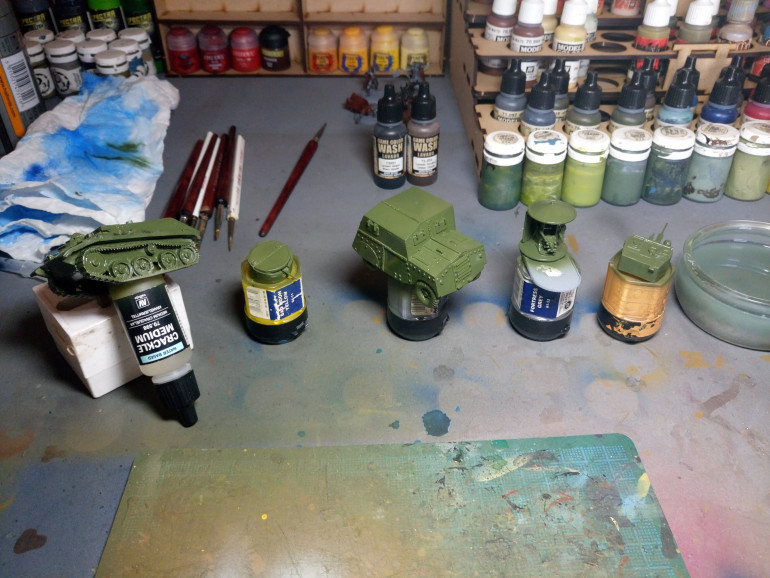
It’s time to move on to the slightly bigger stuff! So it was back to the airbrush to lay down basecoats. For the Brit’s, and after using some “googlefu” – Russian Green seems to the go to colour for tanks, armored cars etc. So the pic below shows the Vickers Tank and Beaverette after the first basecoat.
In Operation Sealion Campaign book, which is where you will find the most up to date list for Home Guard, we don’t have access really to all the shiny stuff but the stuff we can access is really characterful and chimes with what I really like to see on the table.
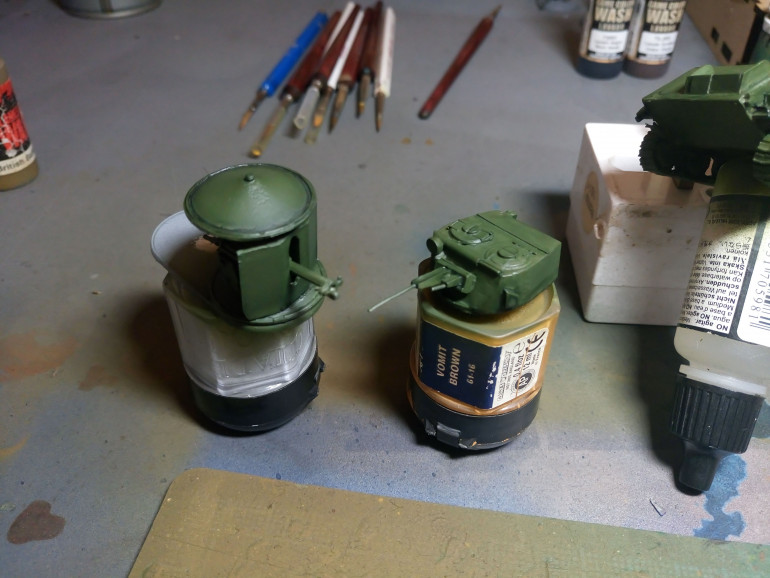
After basecoating, I then hit the models with some wash. For this I used a Vallejo product which is simply a wash for olive and green vehicles. It really does the trick and gets into all the nooks and crannies without pooling too much. You still need to keep a little eye on it and go in an work any small pools that do form but its not as prevalent as other washes I’ve used. The pic below shows the models after the wash.
To finish off with it was back to the airbrush to load it up with our original colour of Russian Green to hit the model for highlights and whola done.
Walmington on Sea's Constabulary
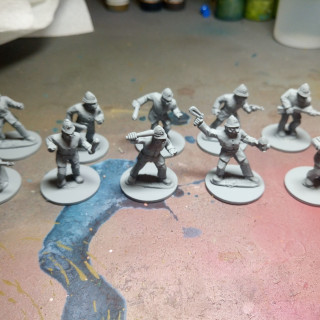
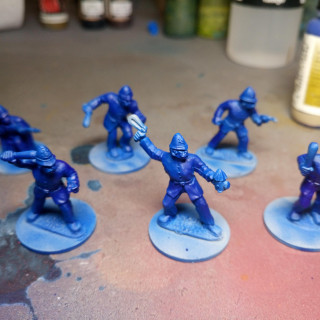
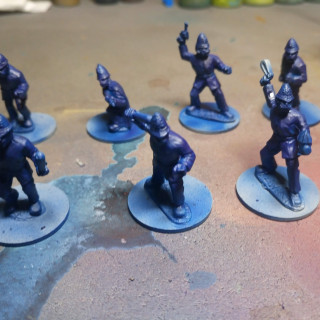
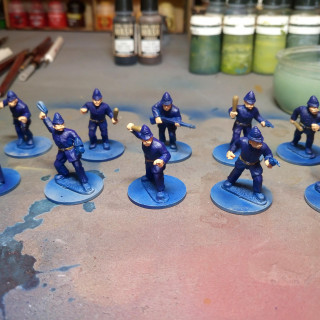
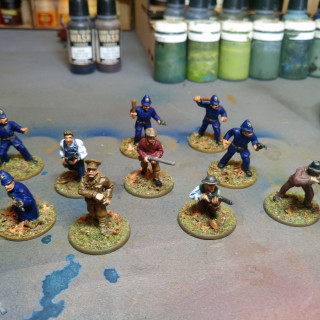
Well, with the airbrush still hot in my hands it was time to move onto some British Bobbies. In my list these guys count as LDV (Local Defense Volunteers). I really liked to aesthetic of the brave boys coming out to defend Blighty.
The technique that I’m using is pretty basic – prime, basecoat, wash, highlight and then pick out the details before basing with a pre-mixed recipe.
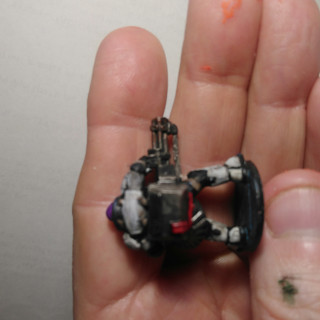
I picked up these models from Wargames Foundry and the last photo shows how they fit into my LDV.
Starting off
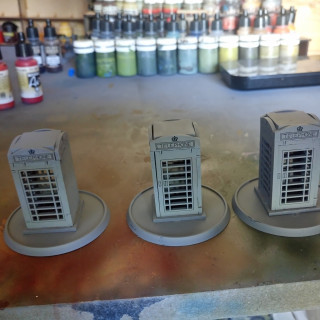
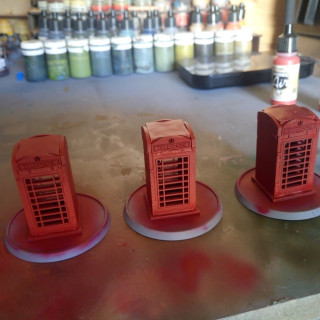
First up was to get my objective markers sorted. I’d recently purchased a new airbrush and wanted to use these as a test run.
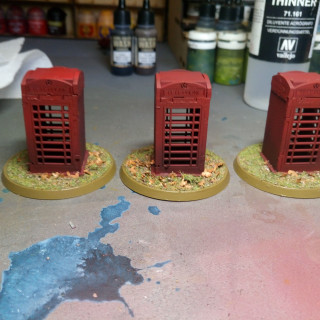
I’d chosen for my objective markers the high tech Home Guard communication device otherwise known as the British telephone box. Pretty pleased with how they turned out.
I’m going to add to the rear of the box some authentic ww2 posters for a bit of flavour.


