


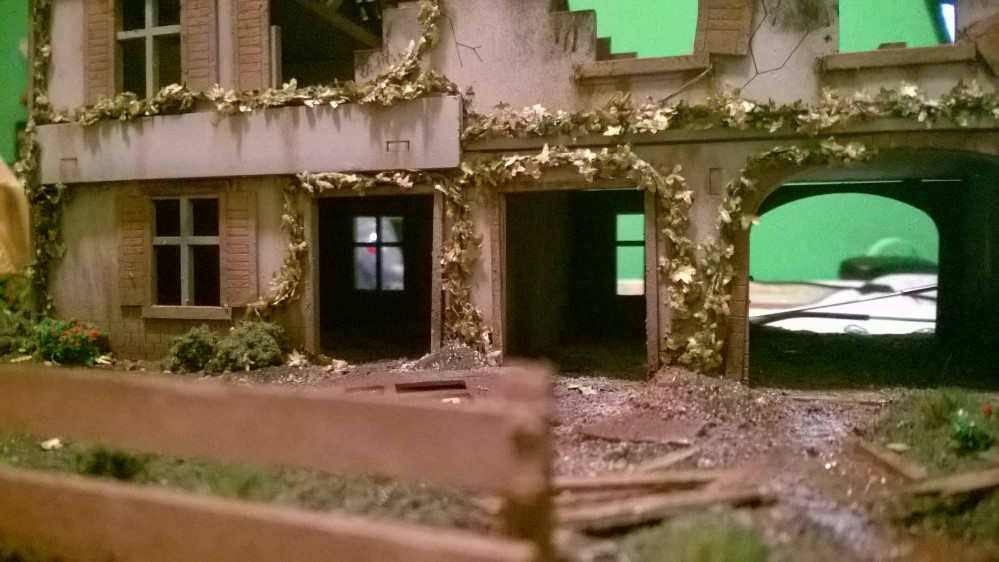
Bolt Action Sarrisa Ruined Farmhouse


Recommendations: 84
About the Project
Aaaaaaaages ago i was bought two sarrisa buildings for my bolt action table, a one and a half year old baby girl and new job have hindered my progress on these building, i literally built them and stuck them in the display cabinet unpainted, now......the time has come.....the planest have aligned....free time has returned (all but briefly) so i have embarked on two projects with these buildings...this is my first set of post so be helpful and gentle :p
Related Game: Bolt Action
Related Genre: Historical
This Project is Active
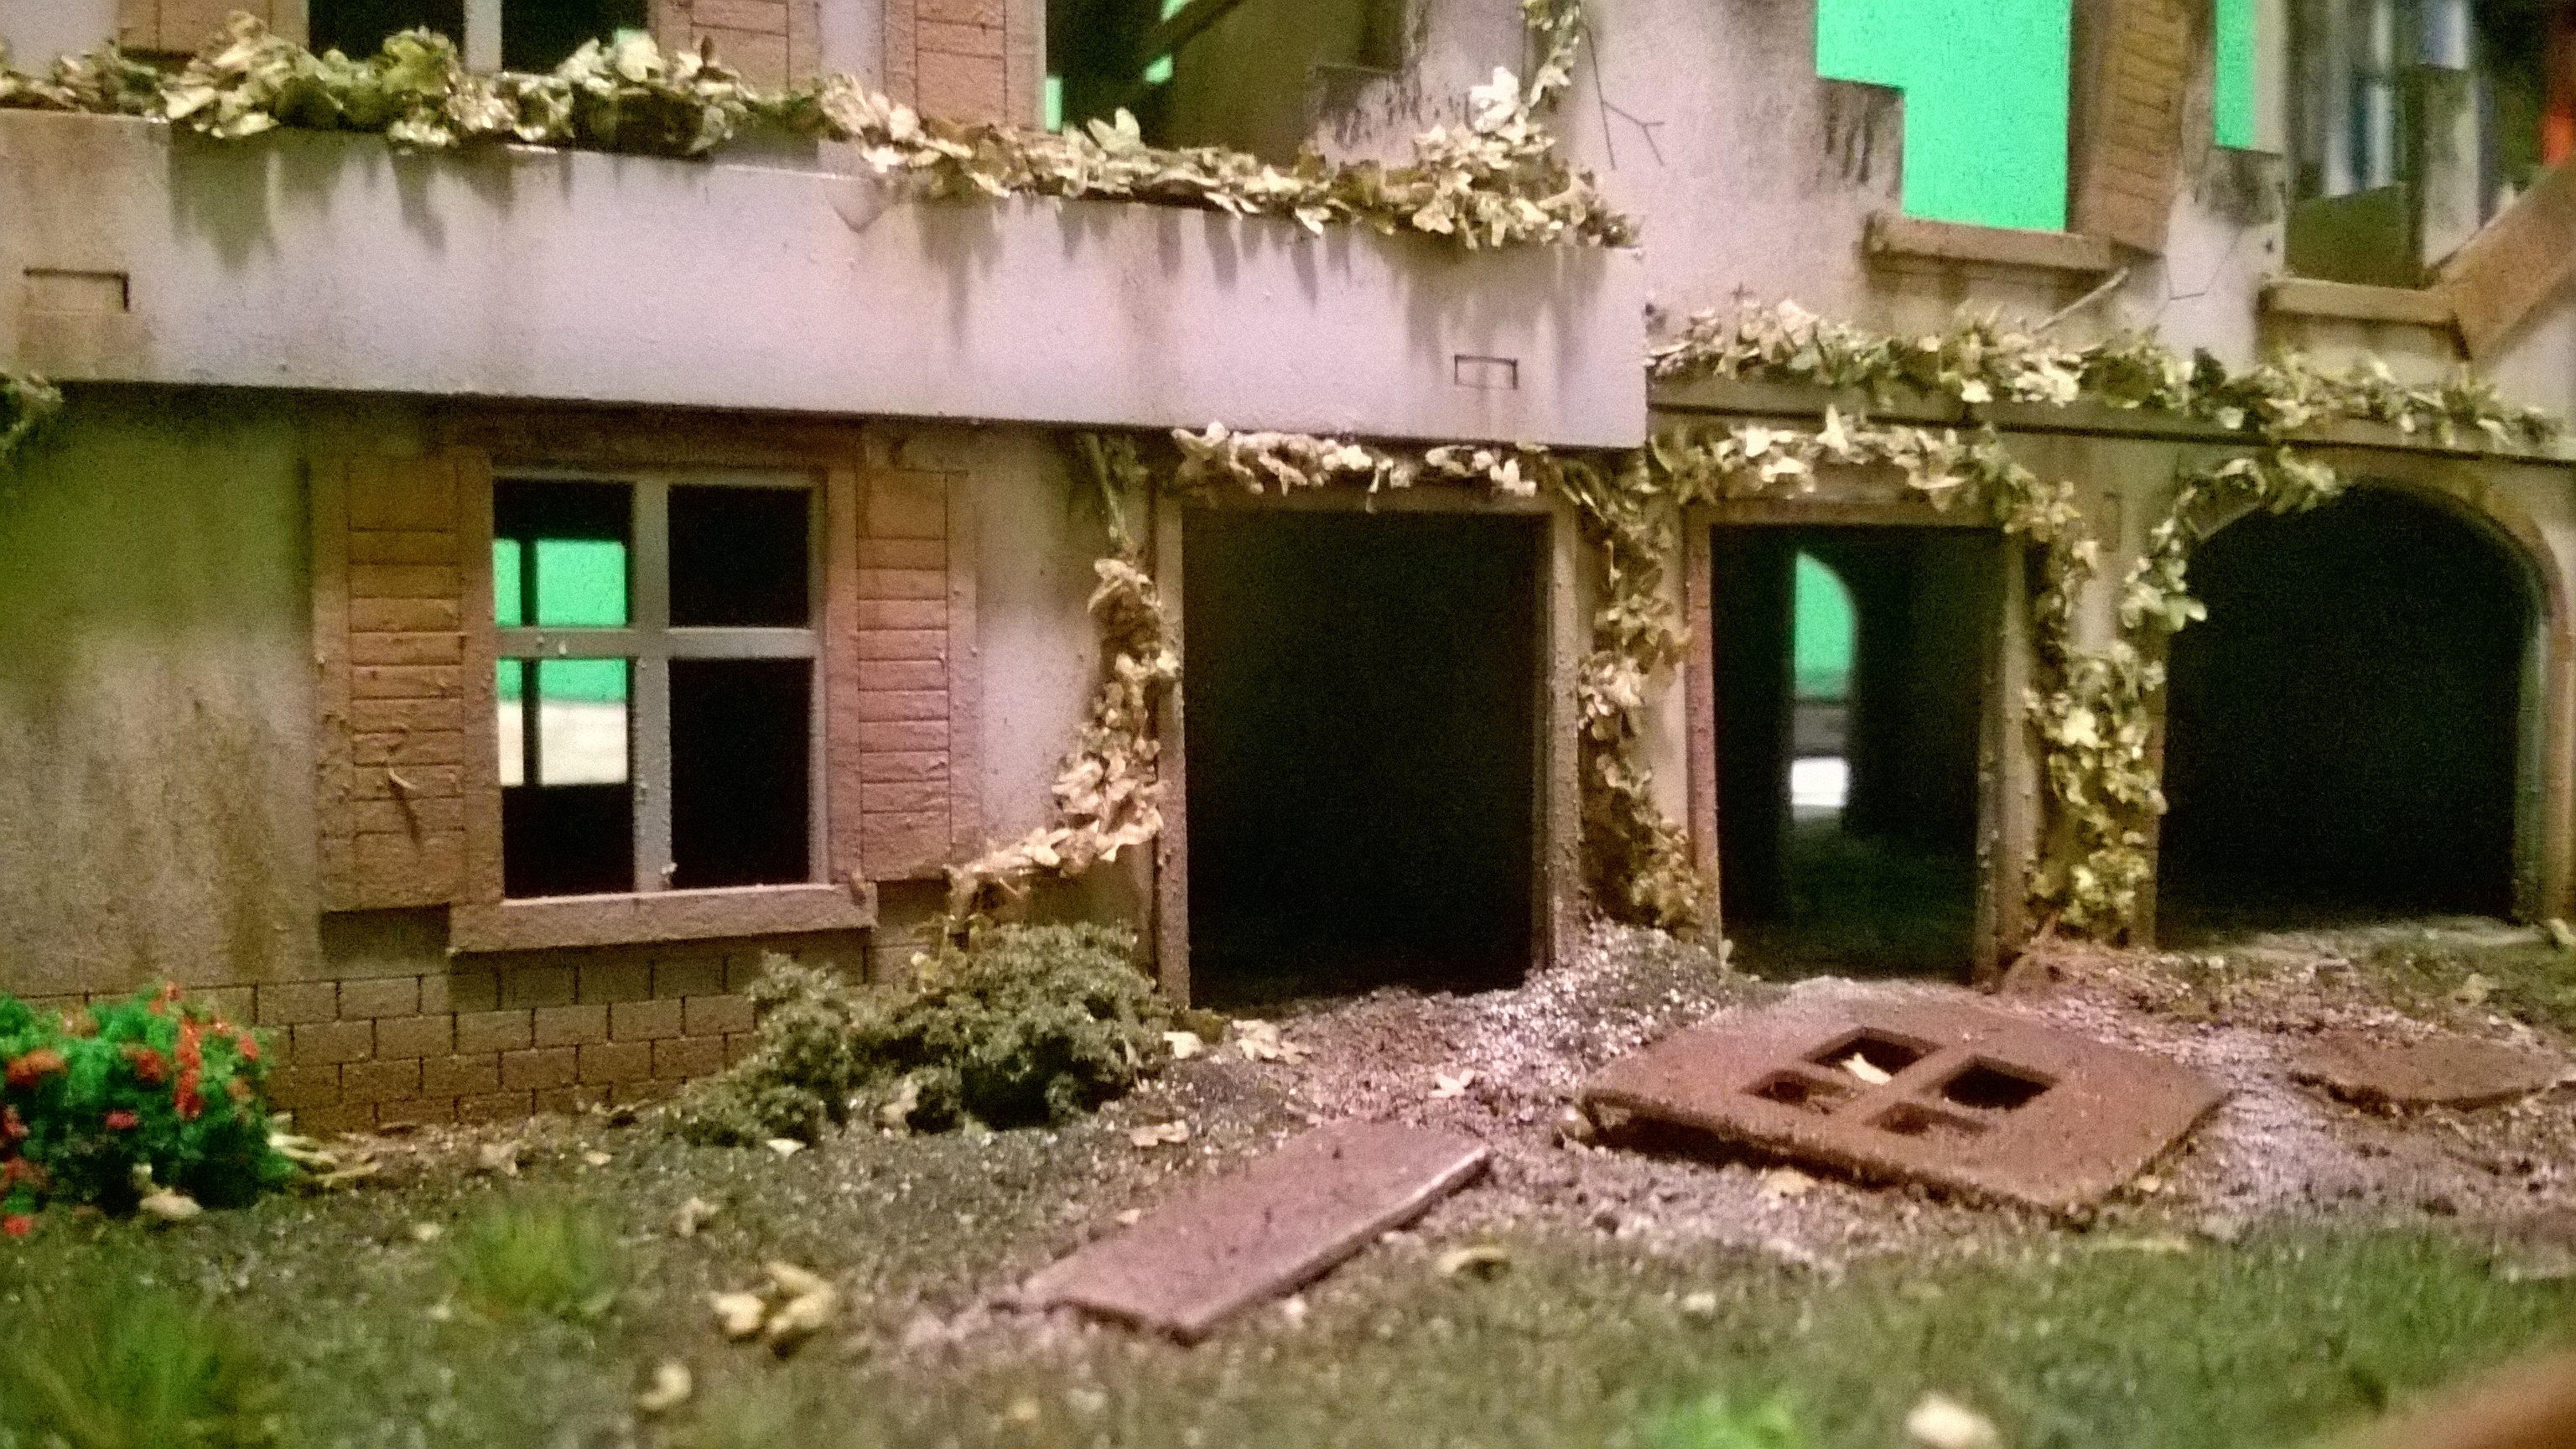 Not Finished....nope i cant stop i dont think.....i added some vines from Javis...and glued my fingers together,to the model, to the vines, to the table....
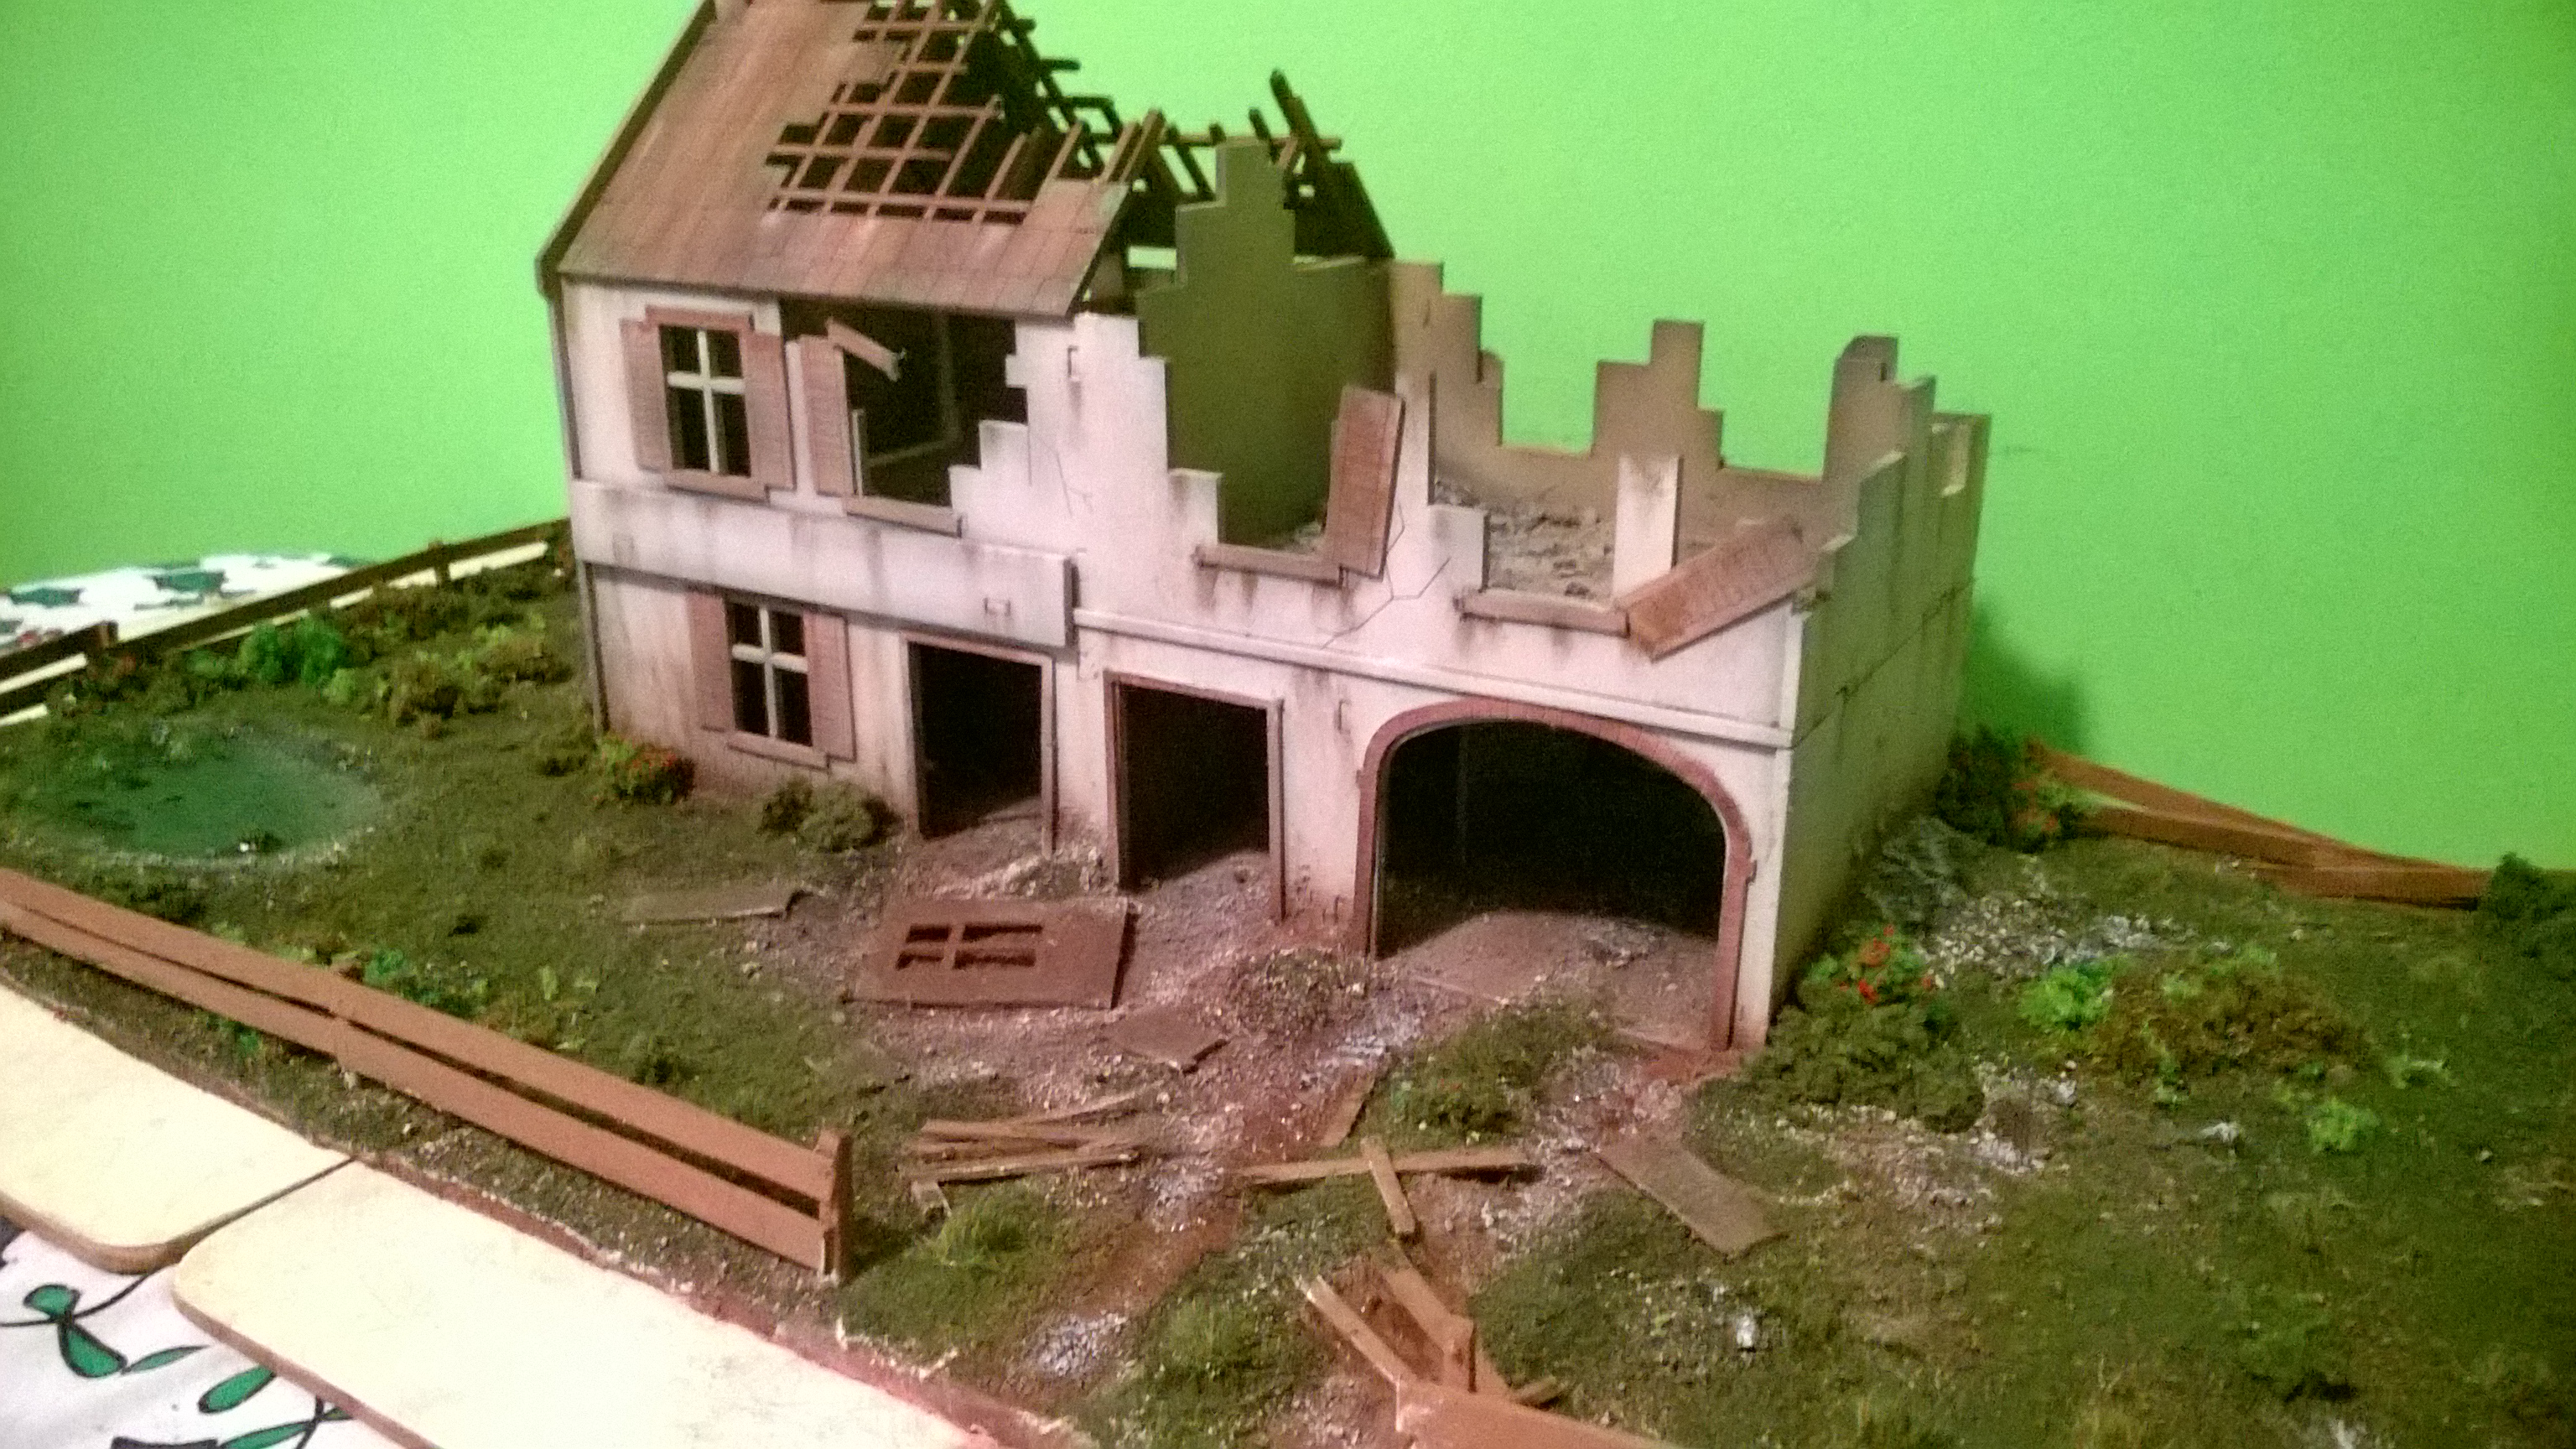
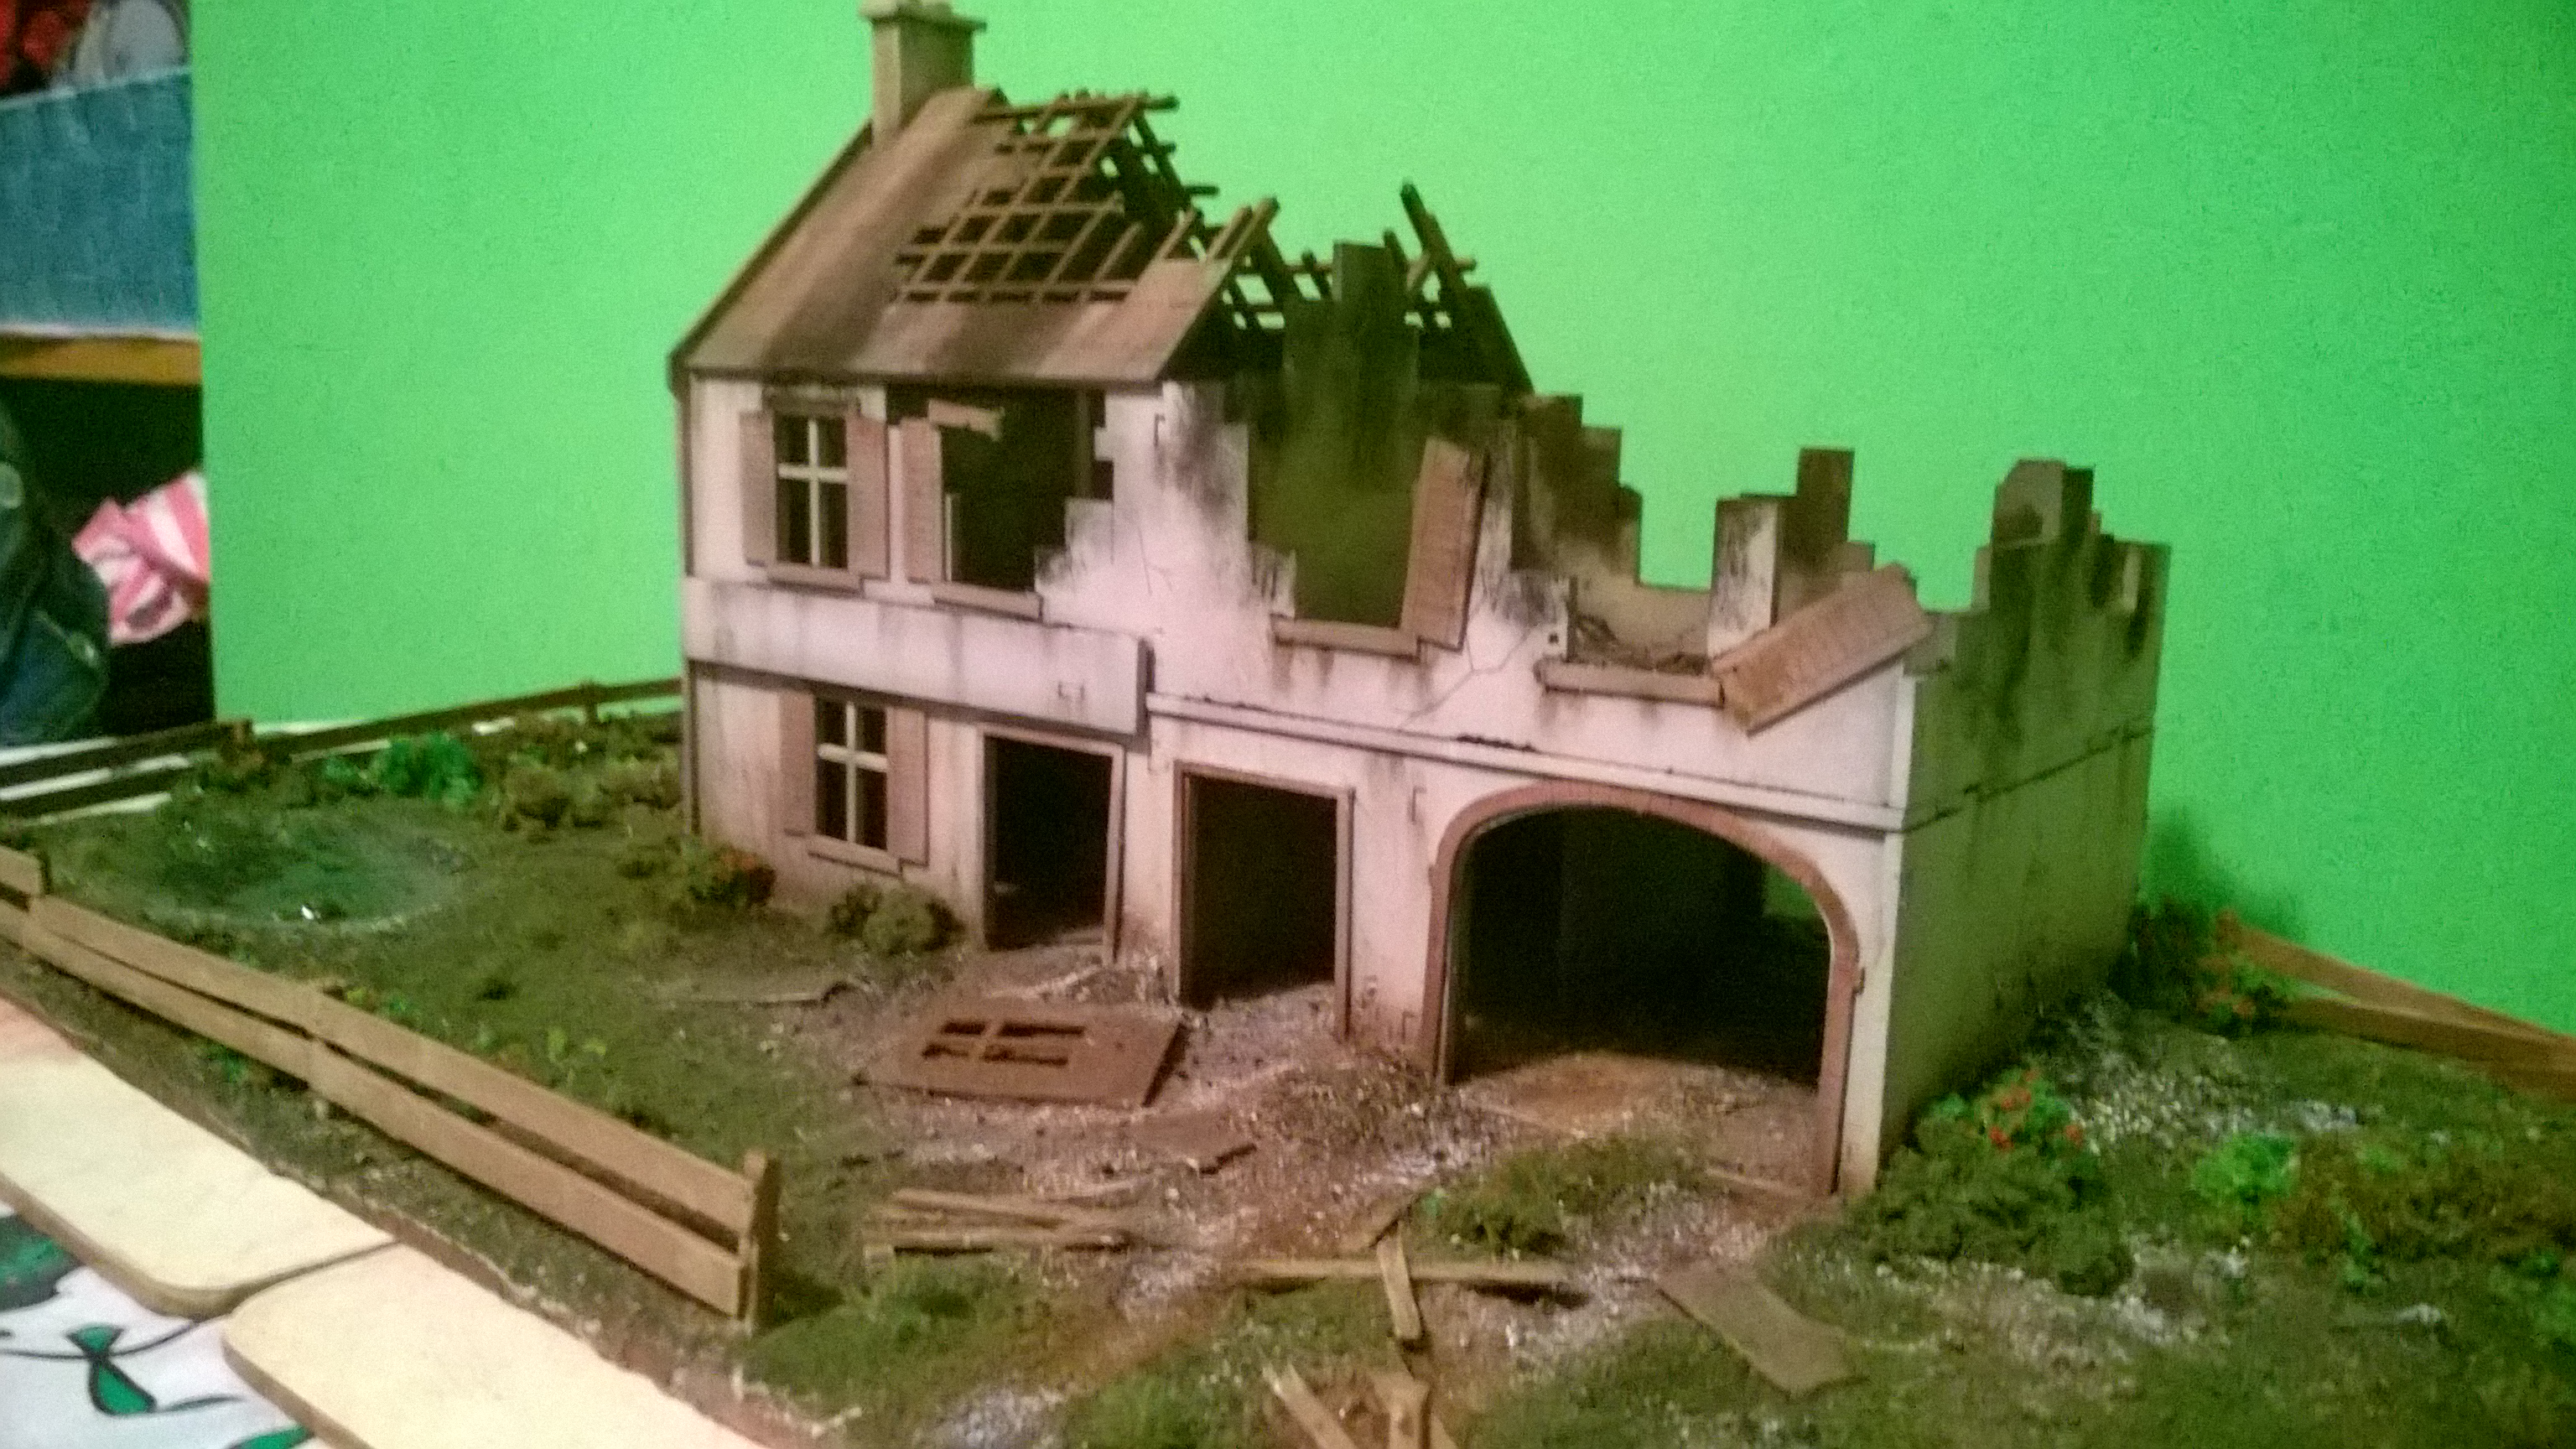
I think i might be finished…
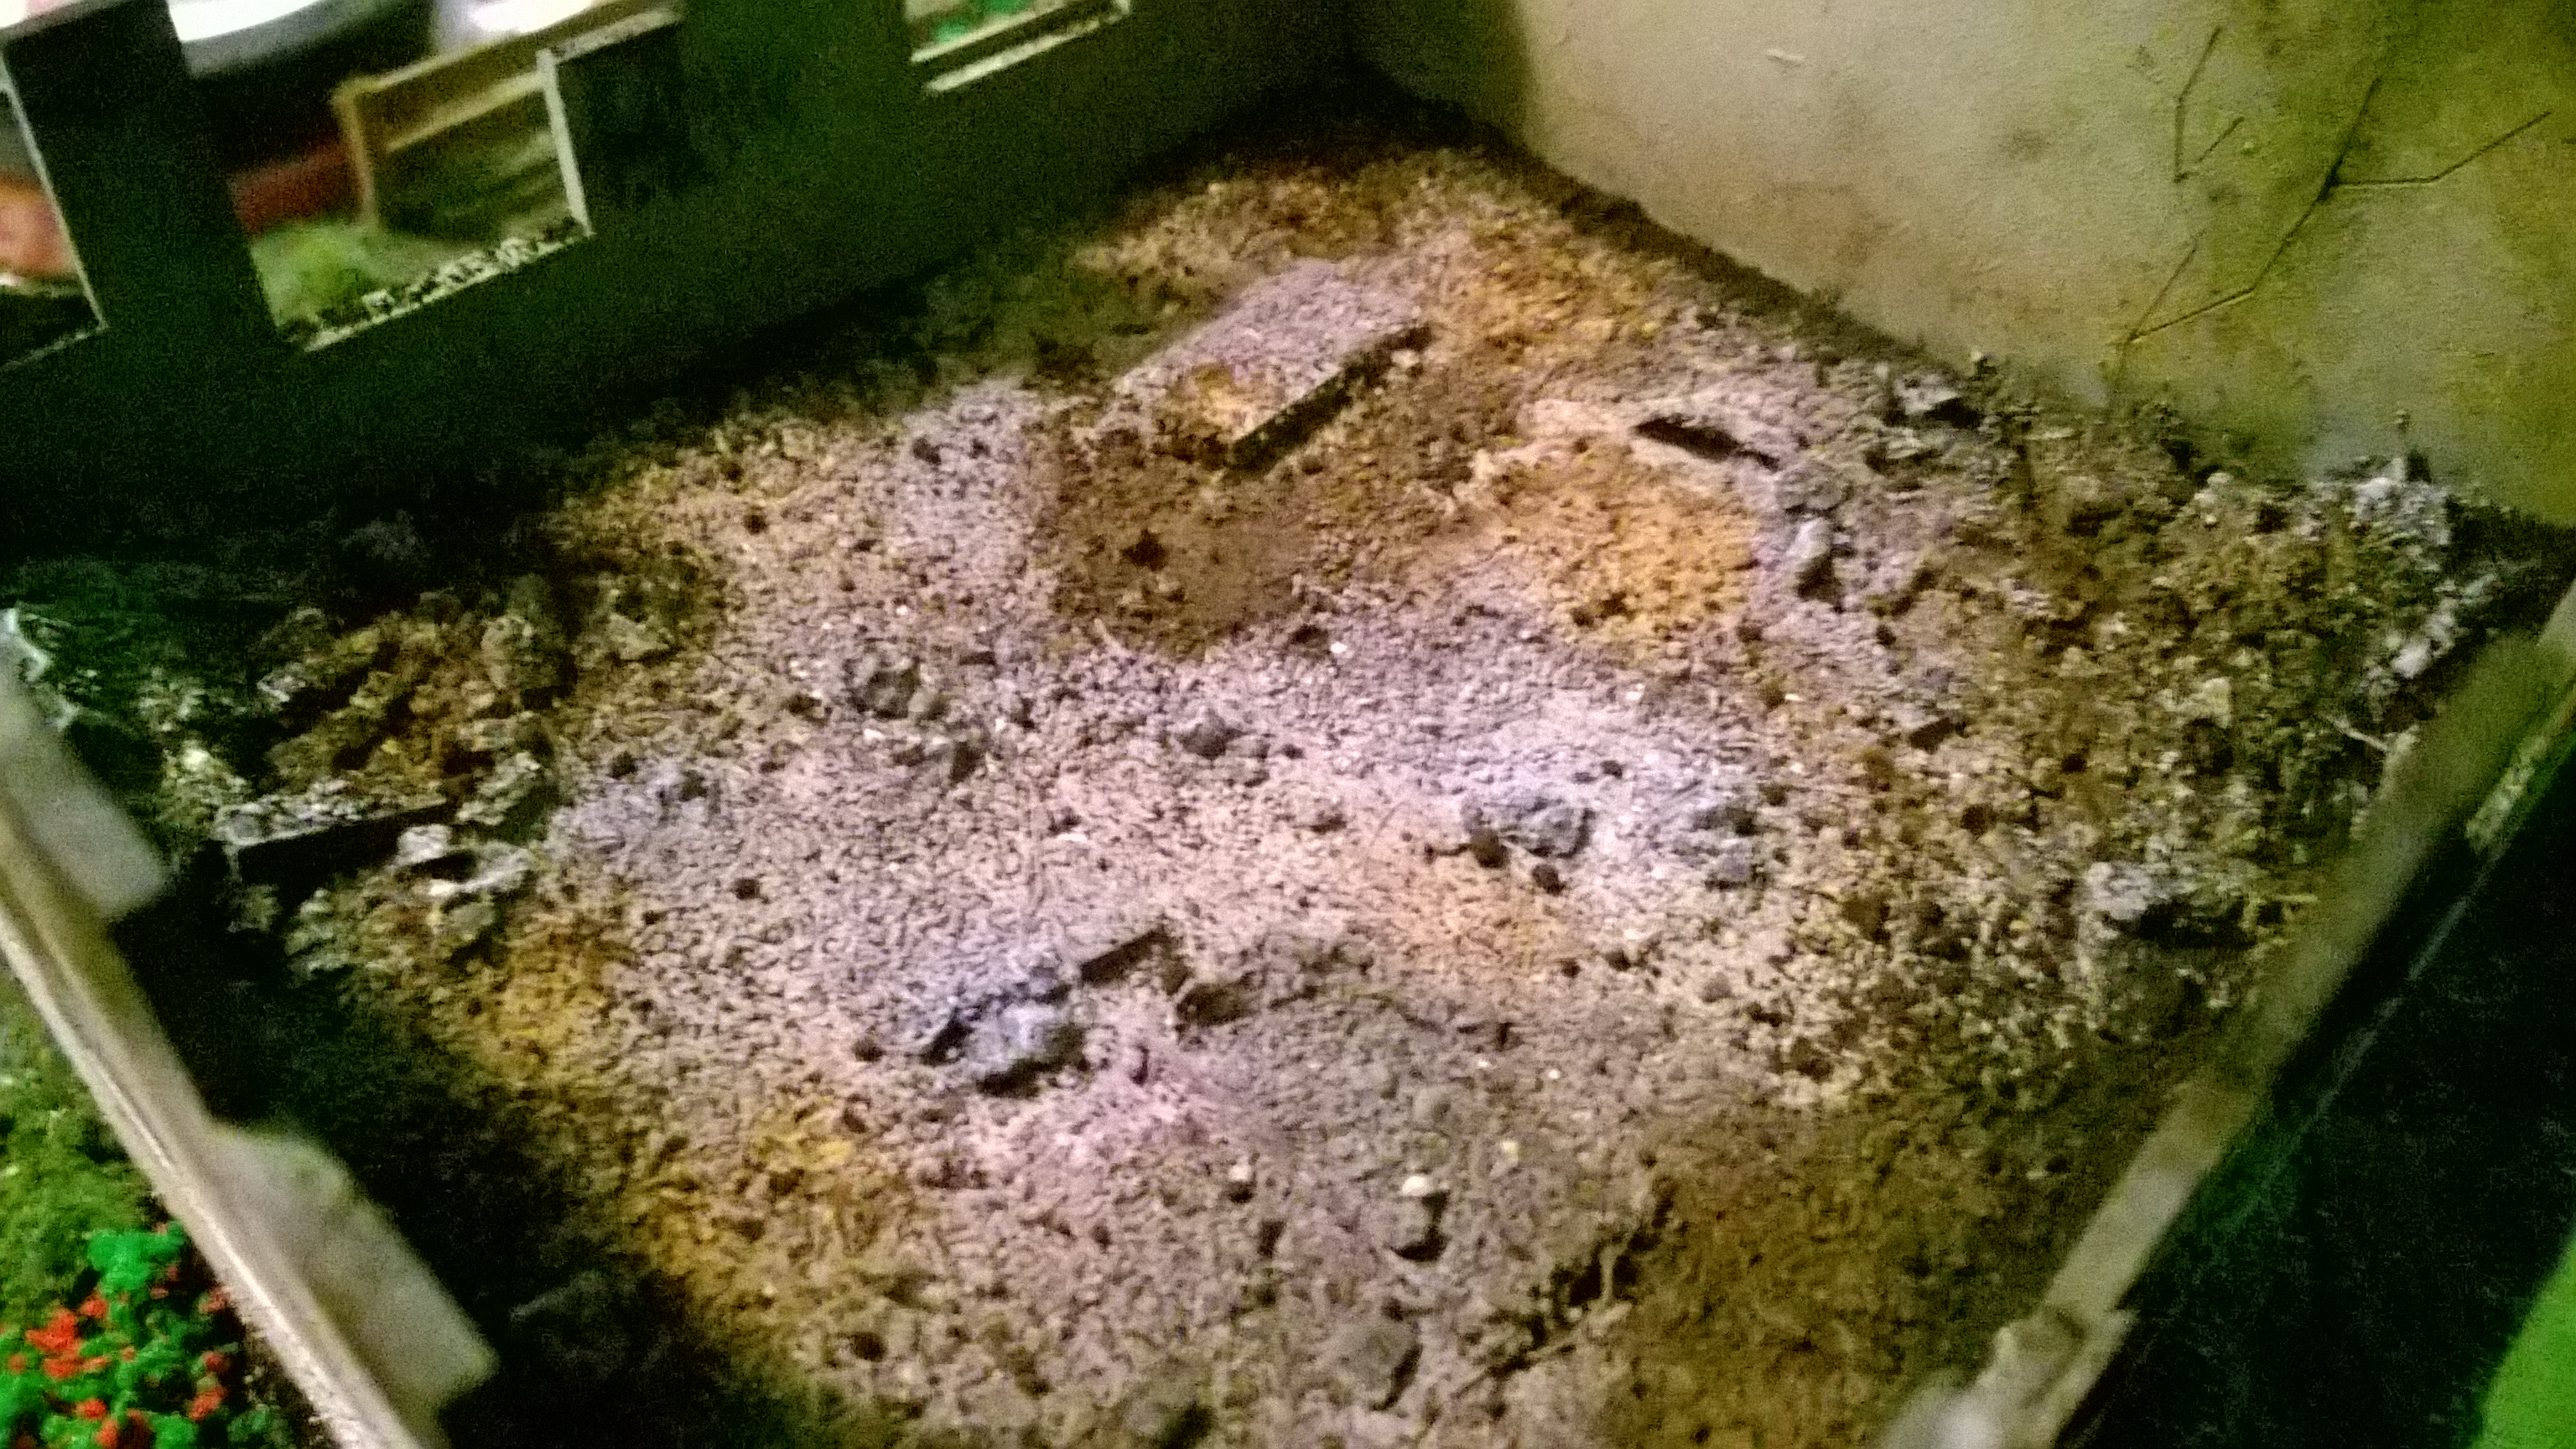
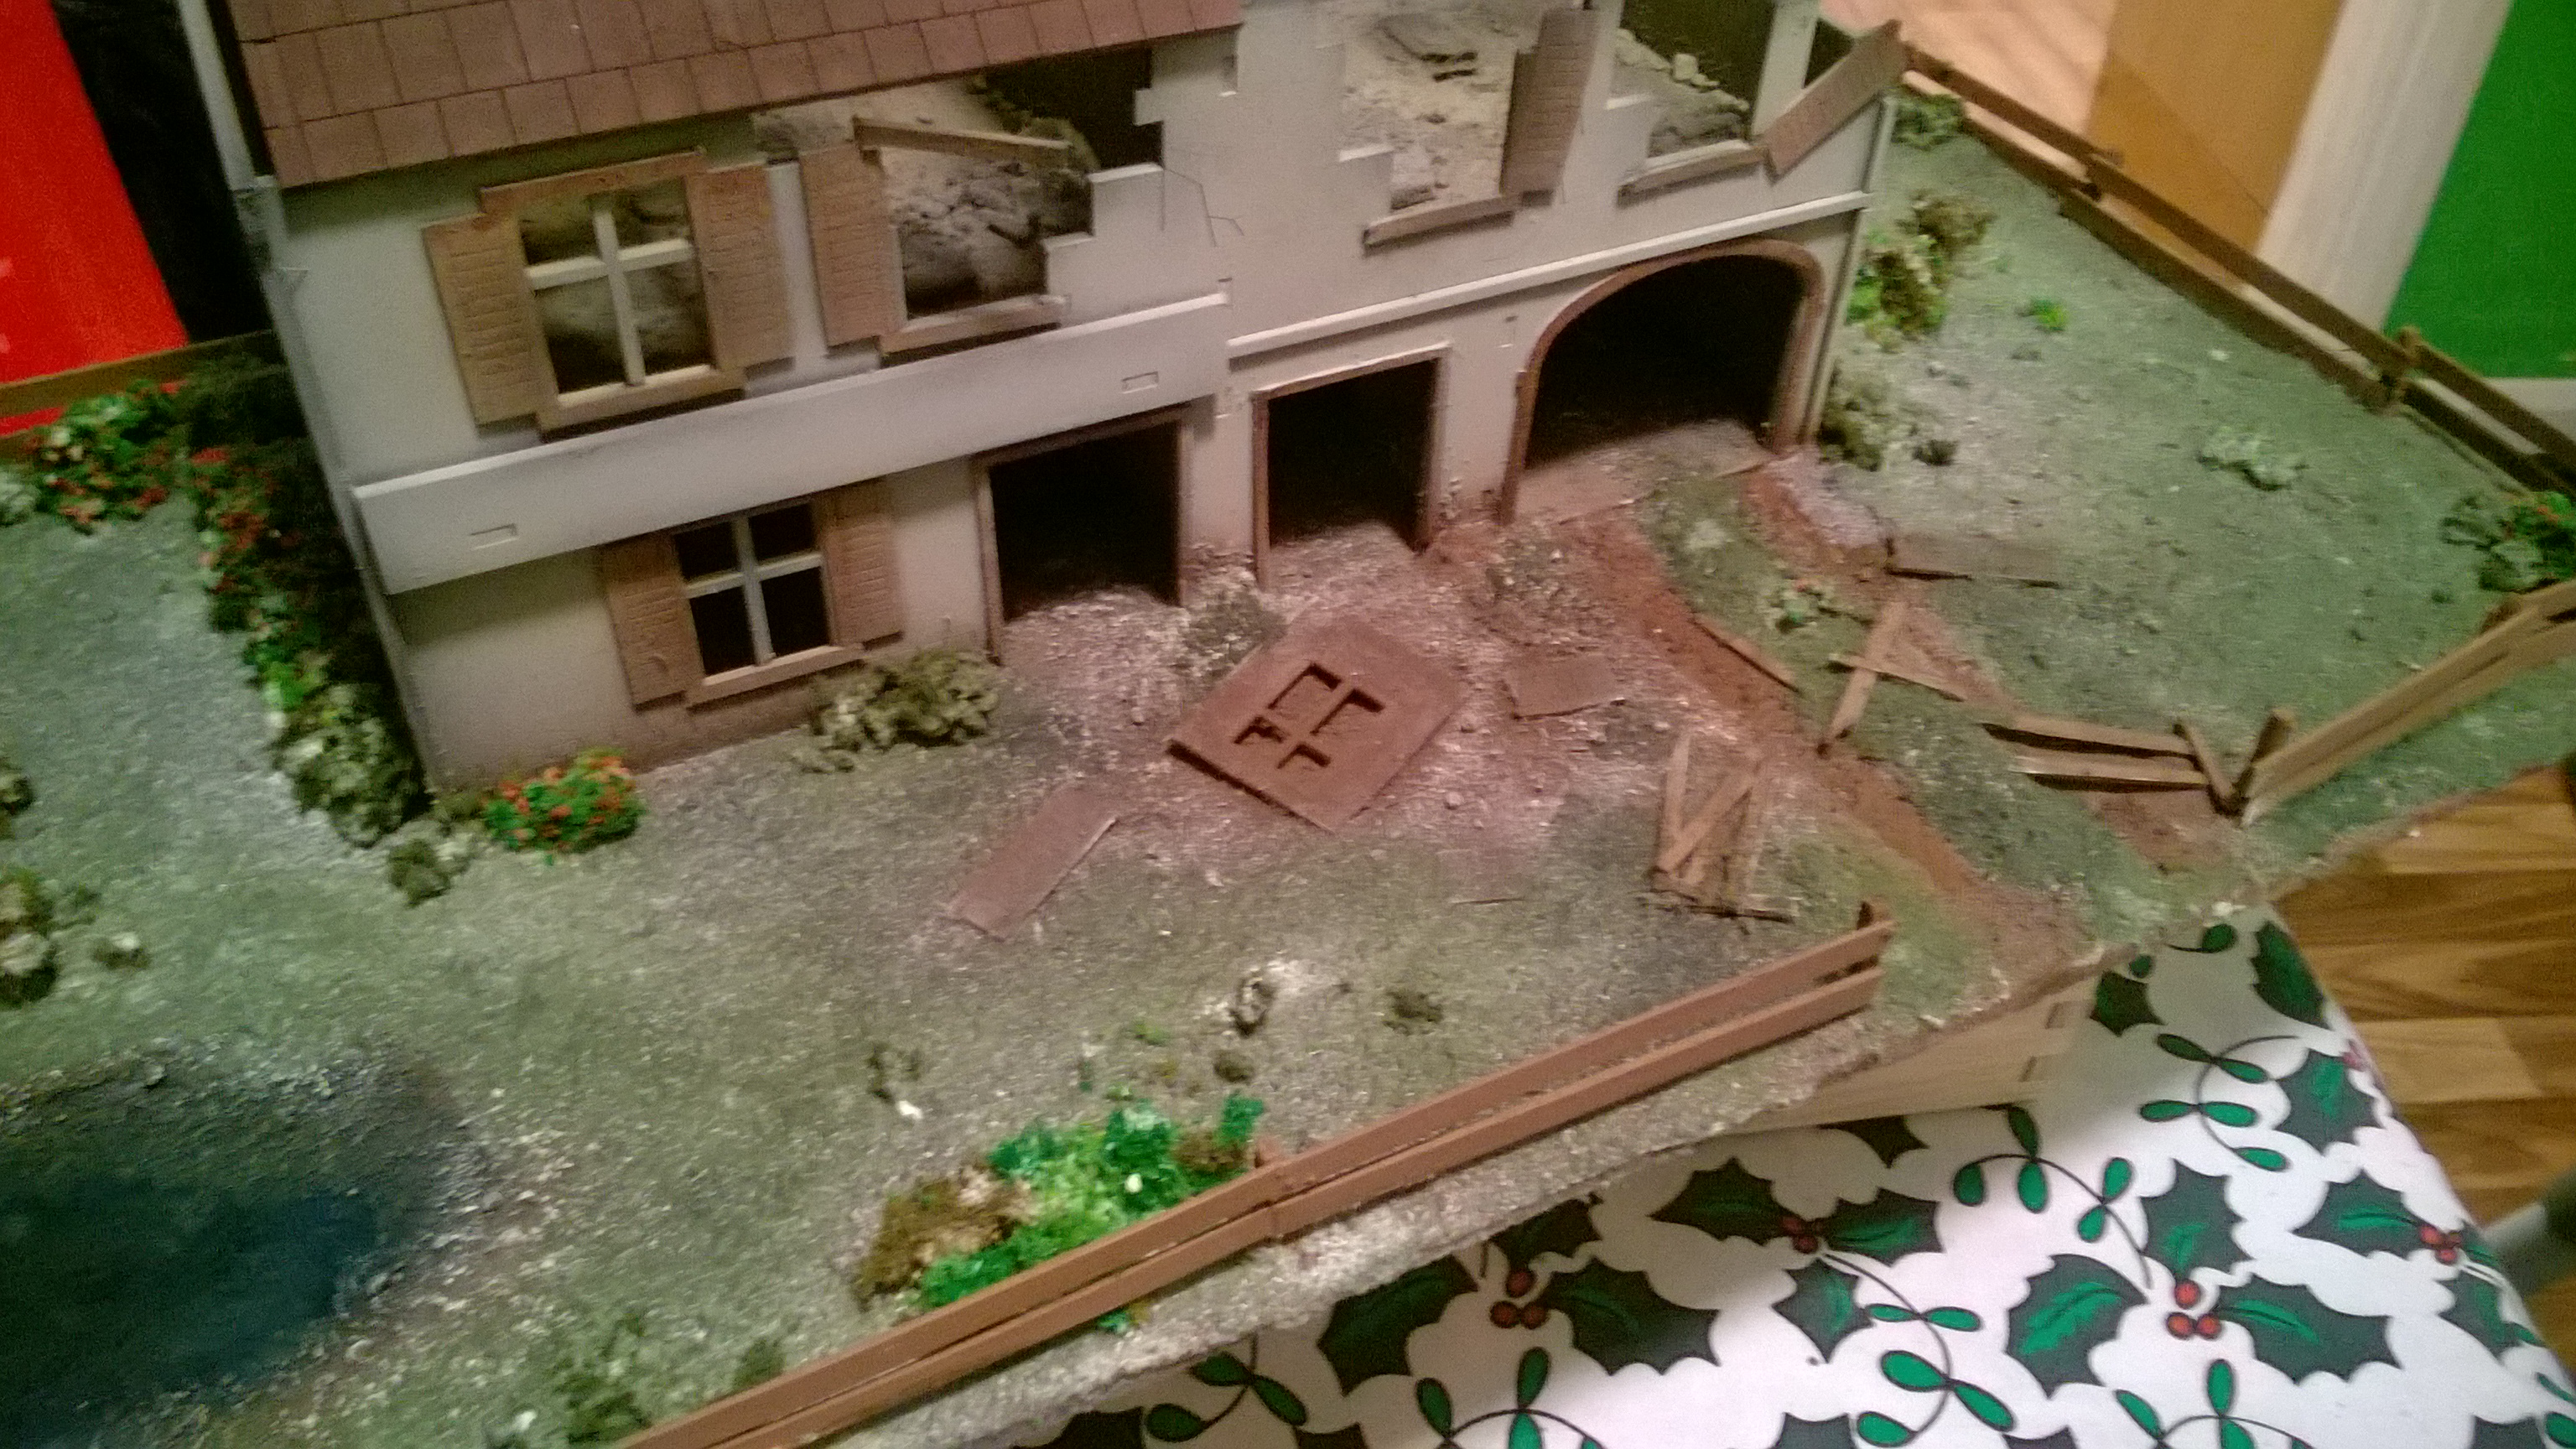
i went for it with the pigments, lots of pigments, lots of soot, lots of grime in the rooms. on the outside i just applied the pigments dry as i did the roof. on the inside i wet the areas i was applying the pigment and sprinkled on a sand colour and two different browns, a little light green and a little rust colour then sealed it down with IPA.
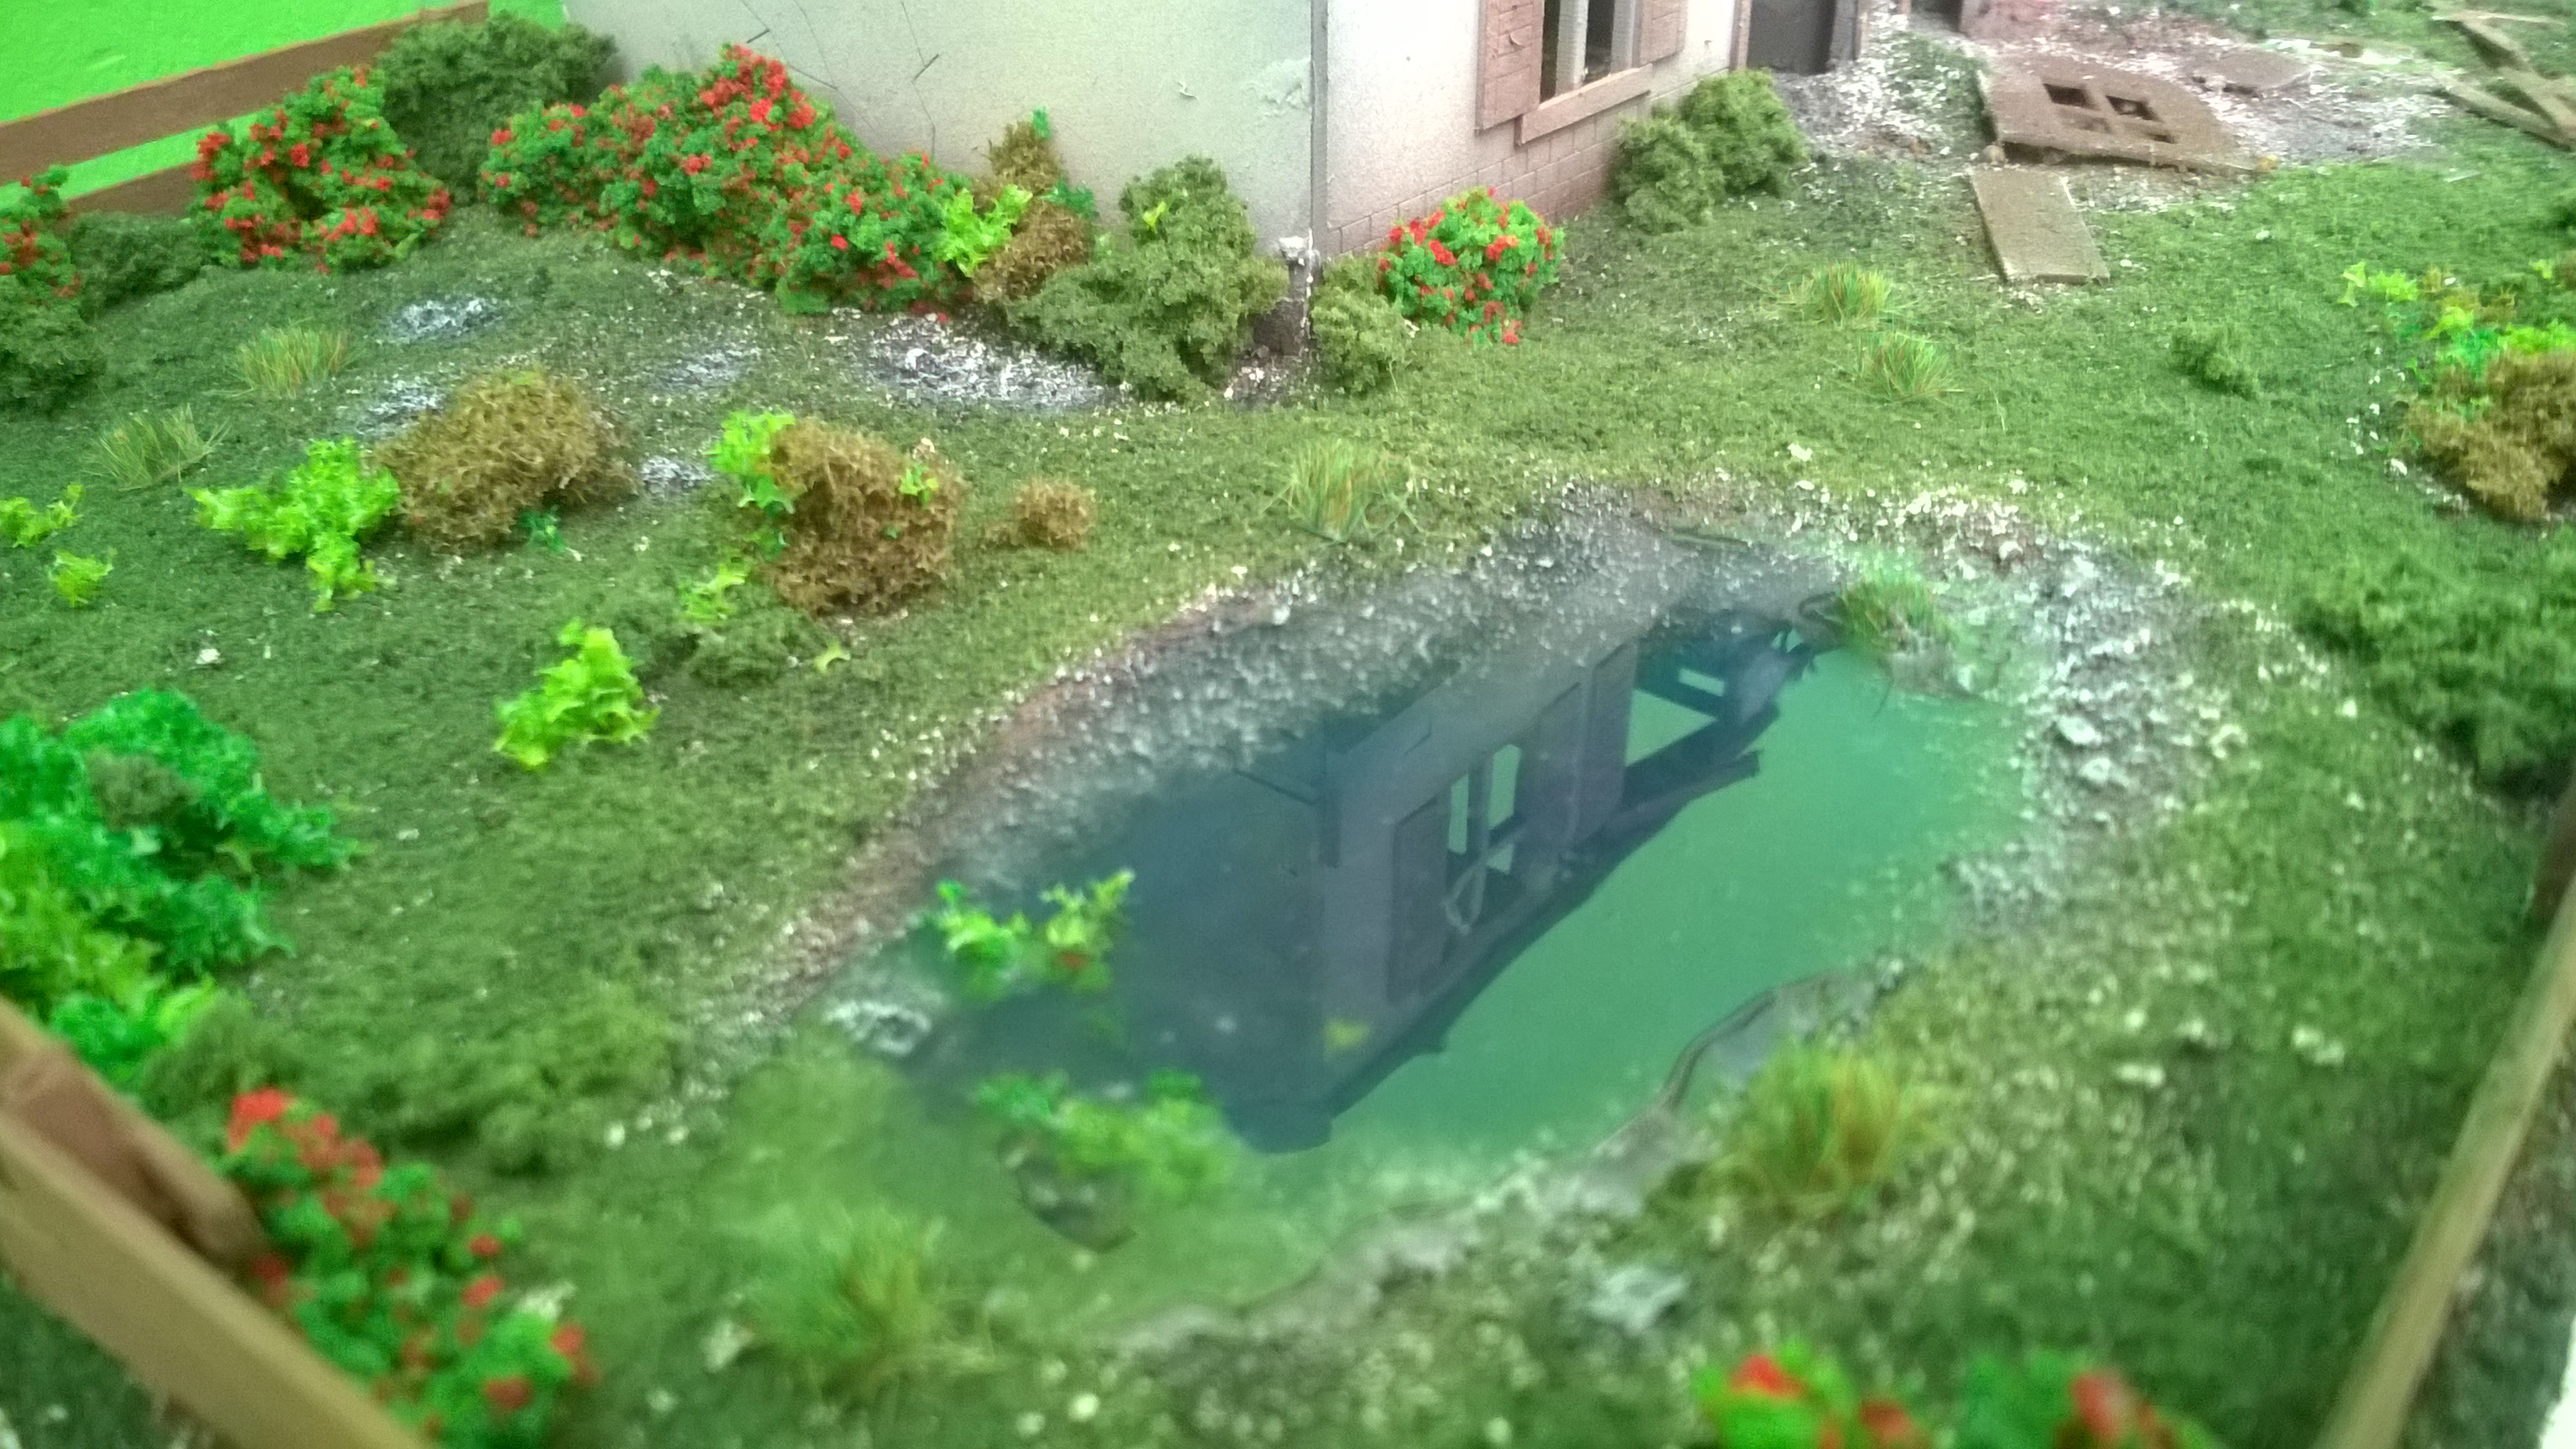
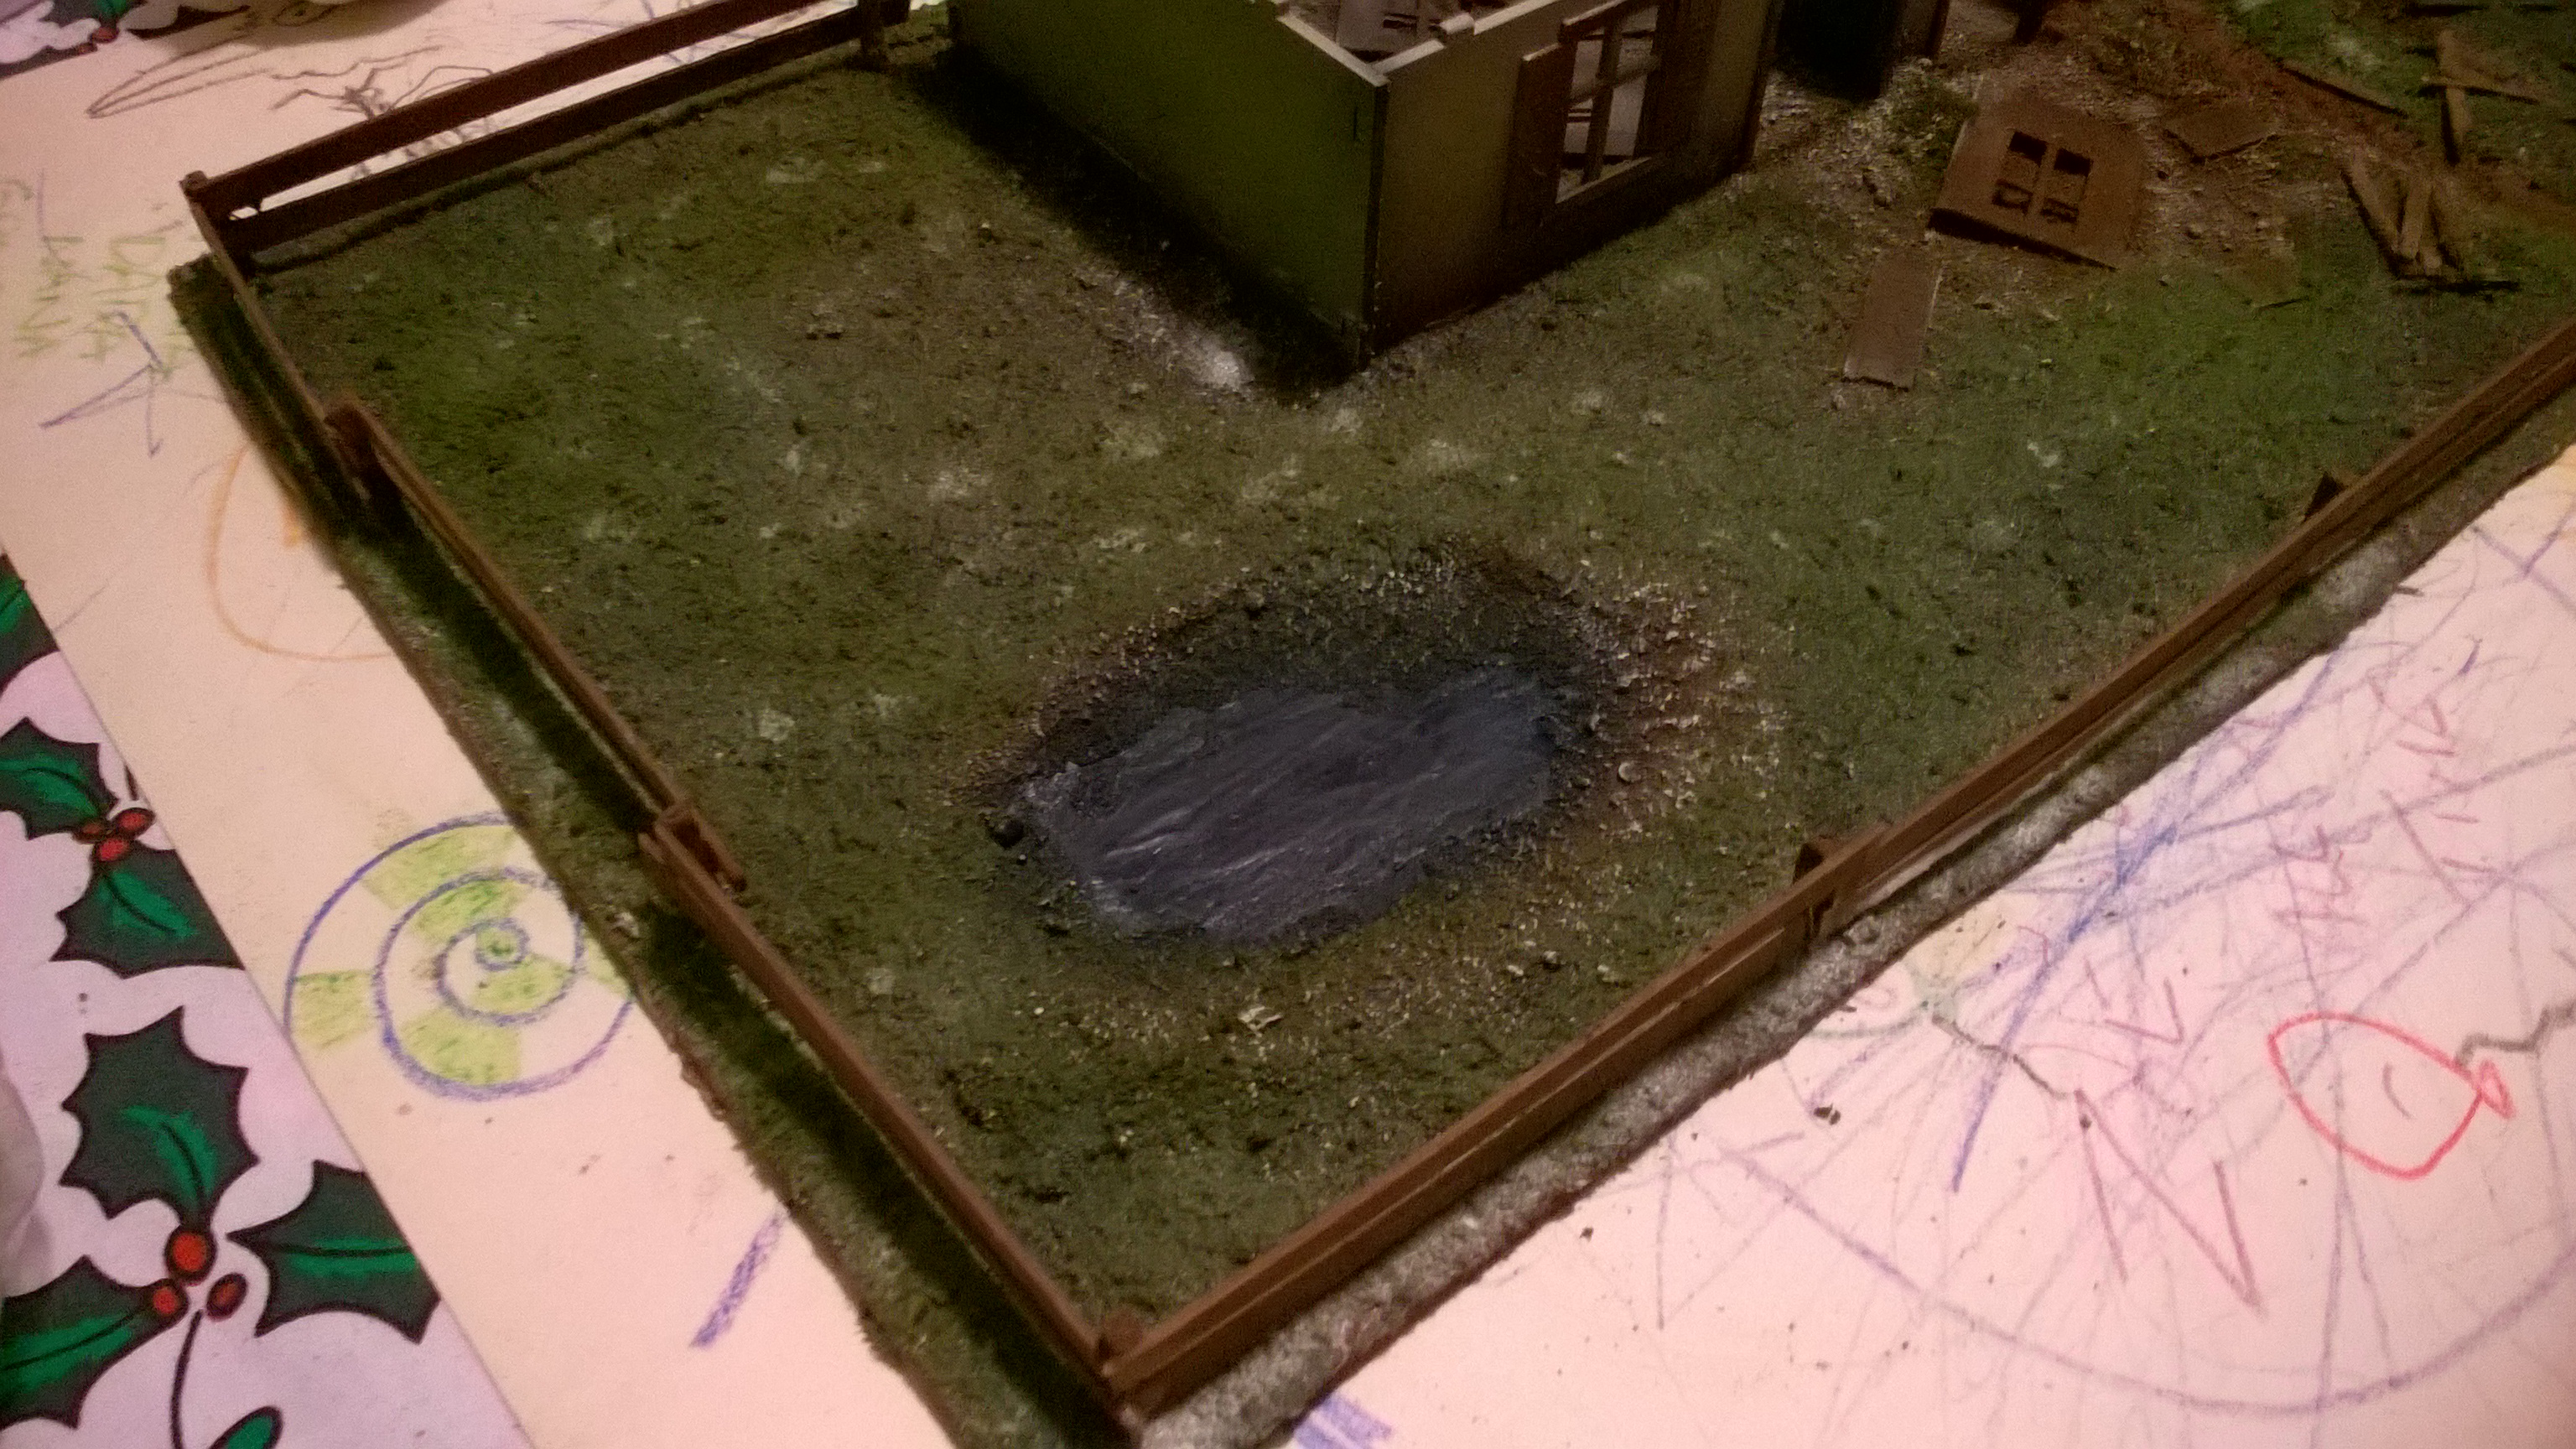
The pond resin shrunk as expected but im actually fairly happy with it as is.
I have crappy lighting where i am now so ill try to get some good pics tomorrow maybe…that is if i decide i am finished or not 😉
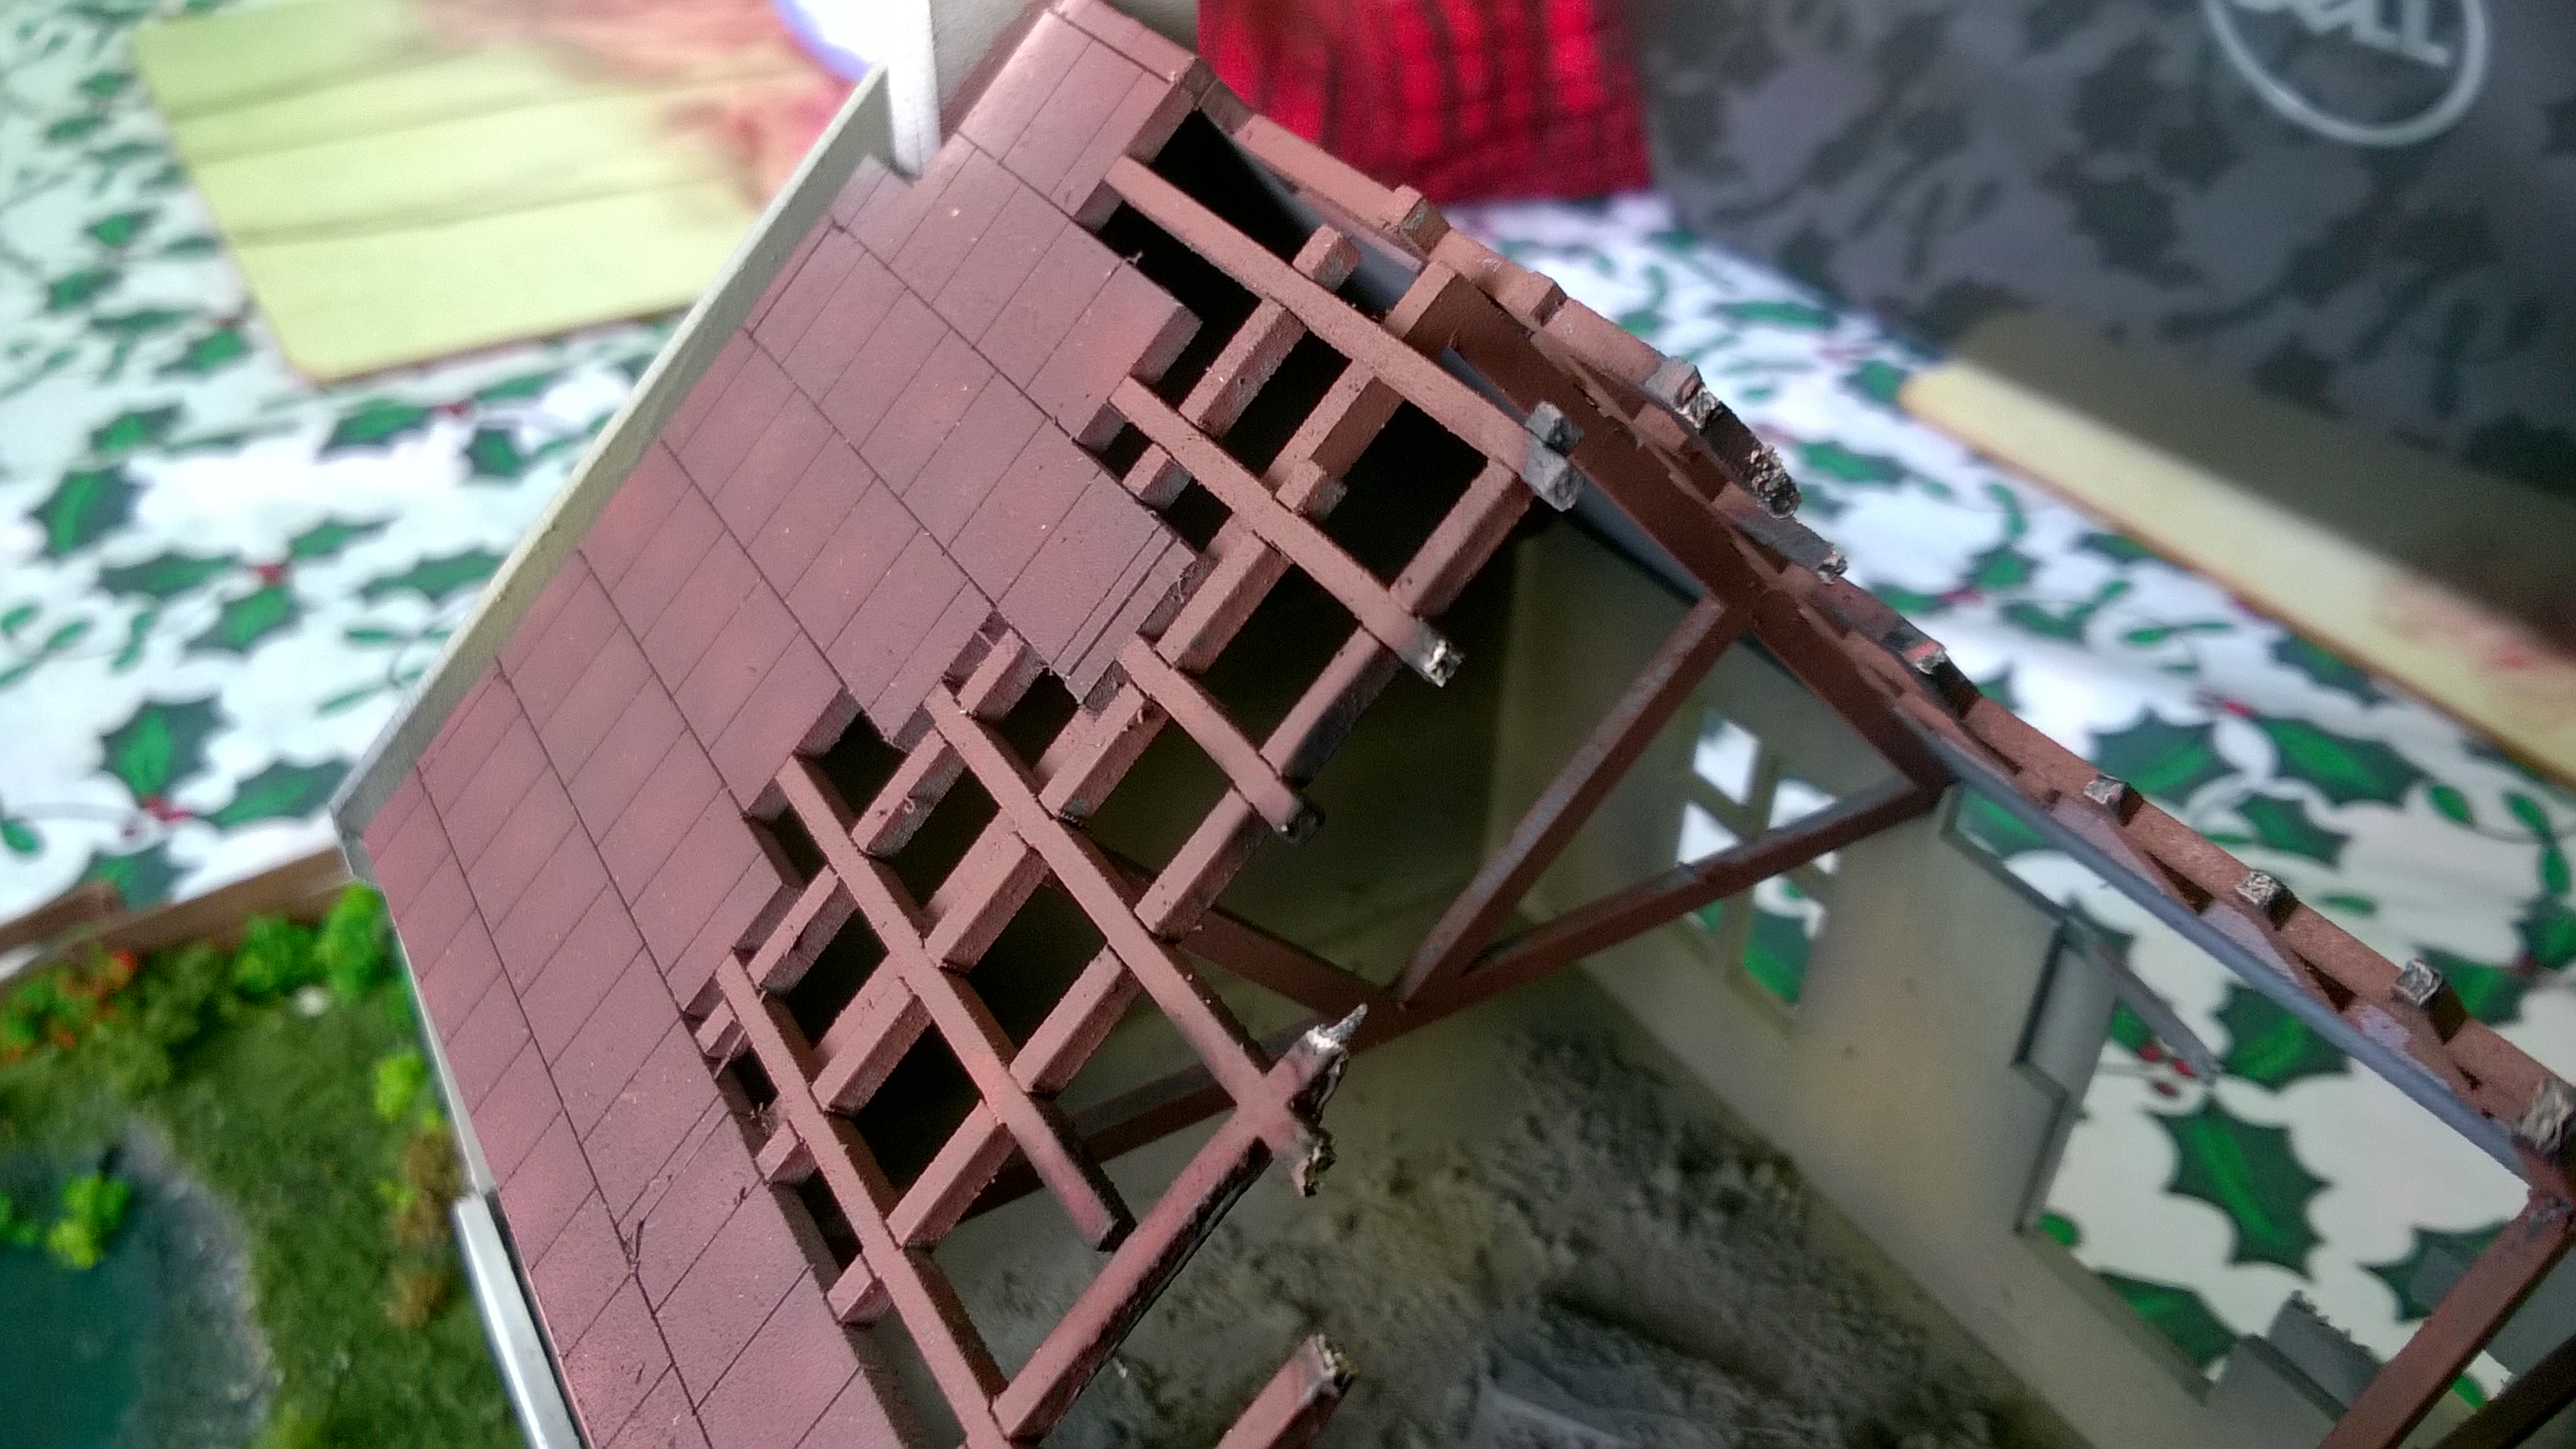
Cracked out the pigments and had a go at the roof, i used flory models pigments (im not sure he makes them anymore, but he does produce awesome sanding sticks well worth a look) the colours were white, dark dirt, earth green and rust.
to put the pigment on i put a tiny amount on a brush and tapped it on then just brushed down to try and achieve that flow/dripping type effect.
stippled on a bit of green for moss..
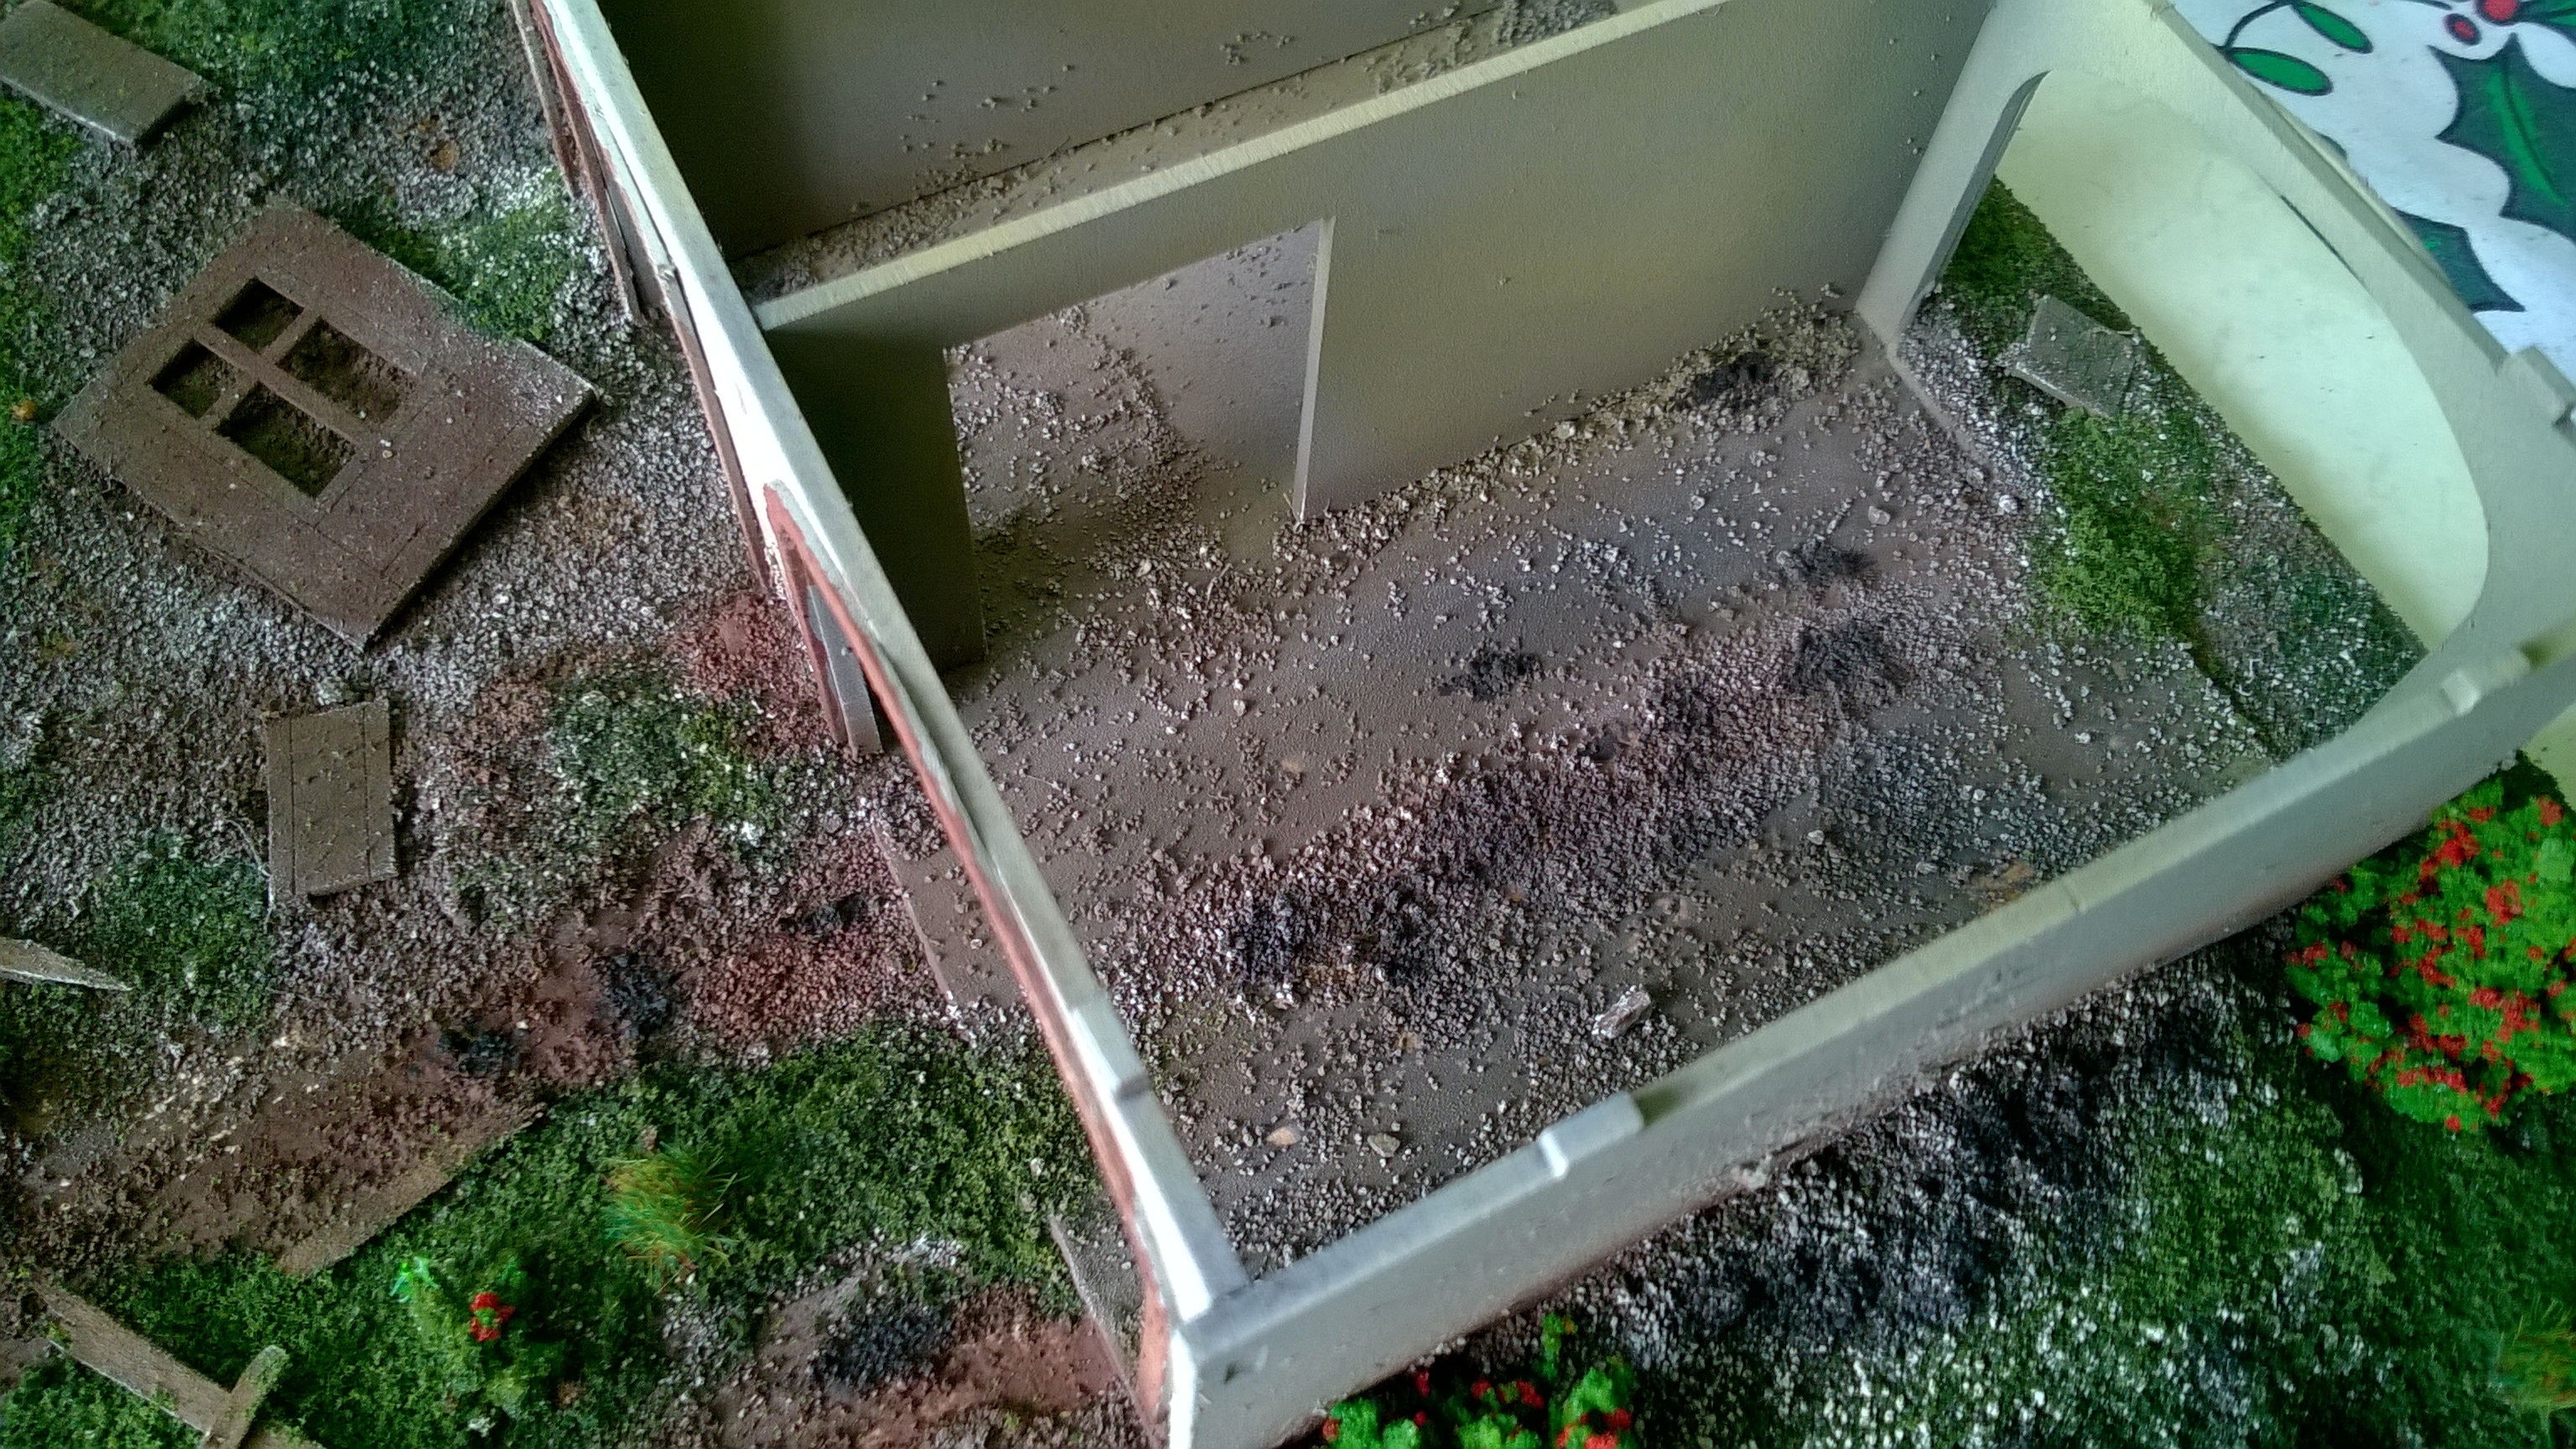
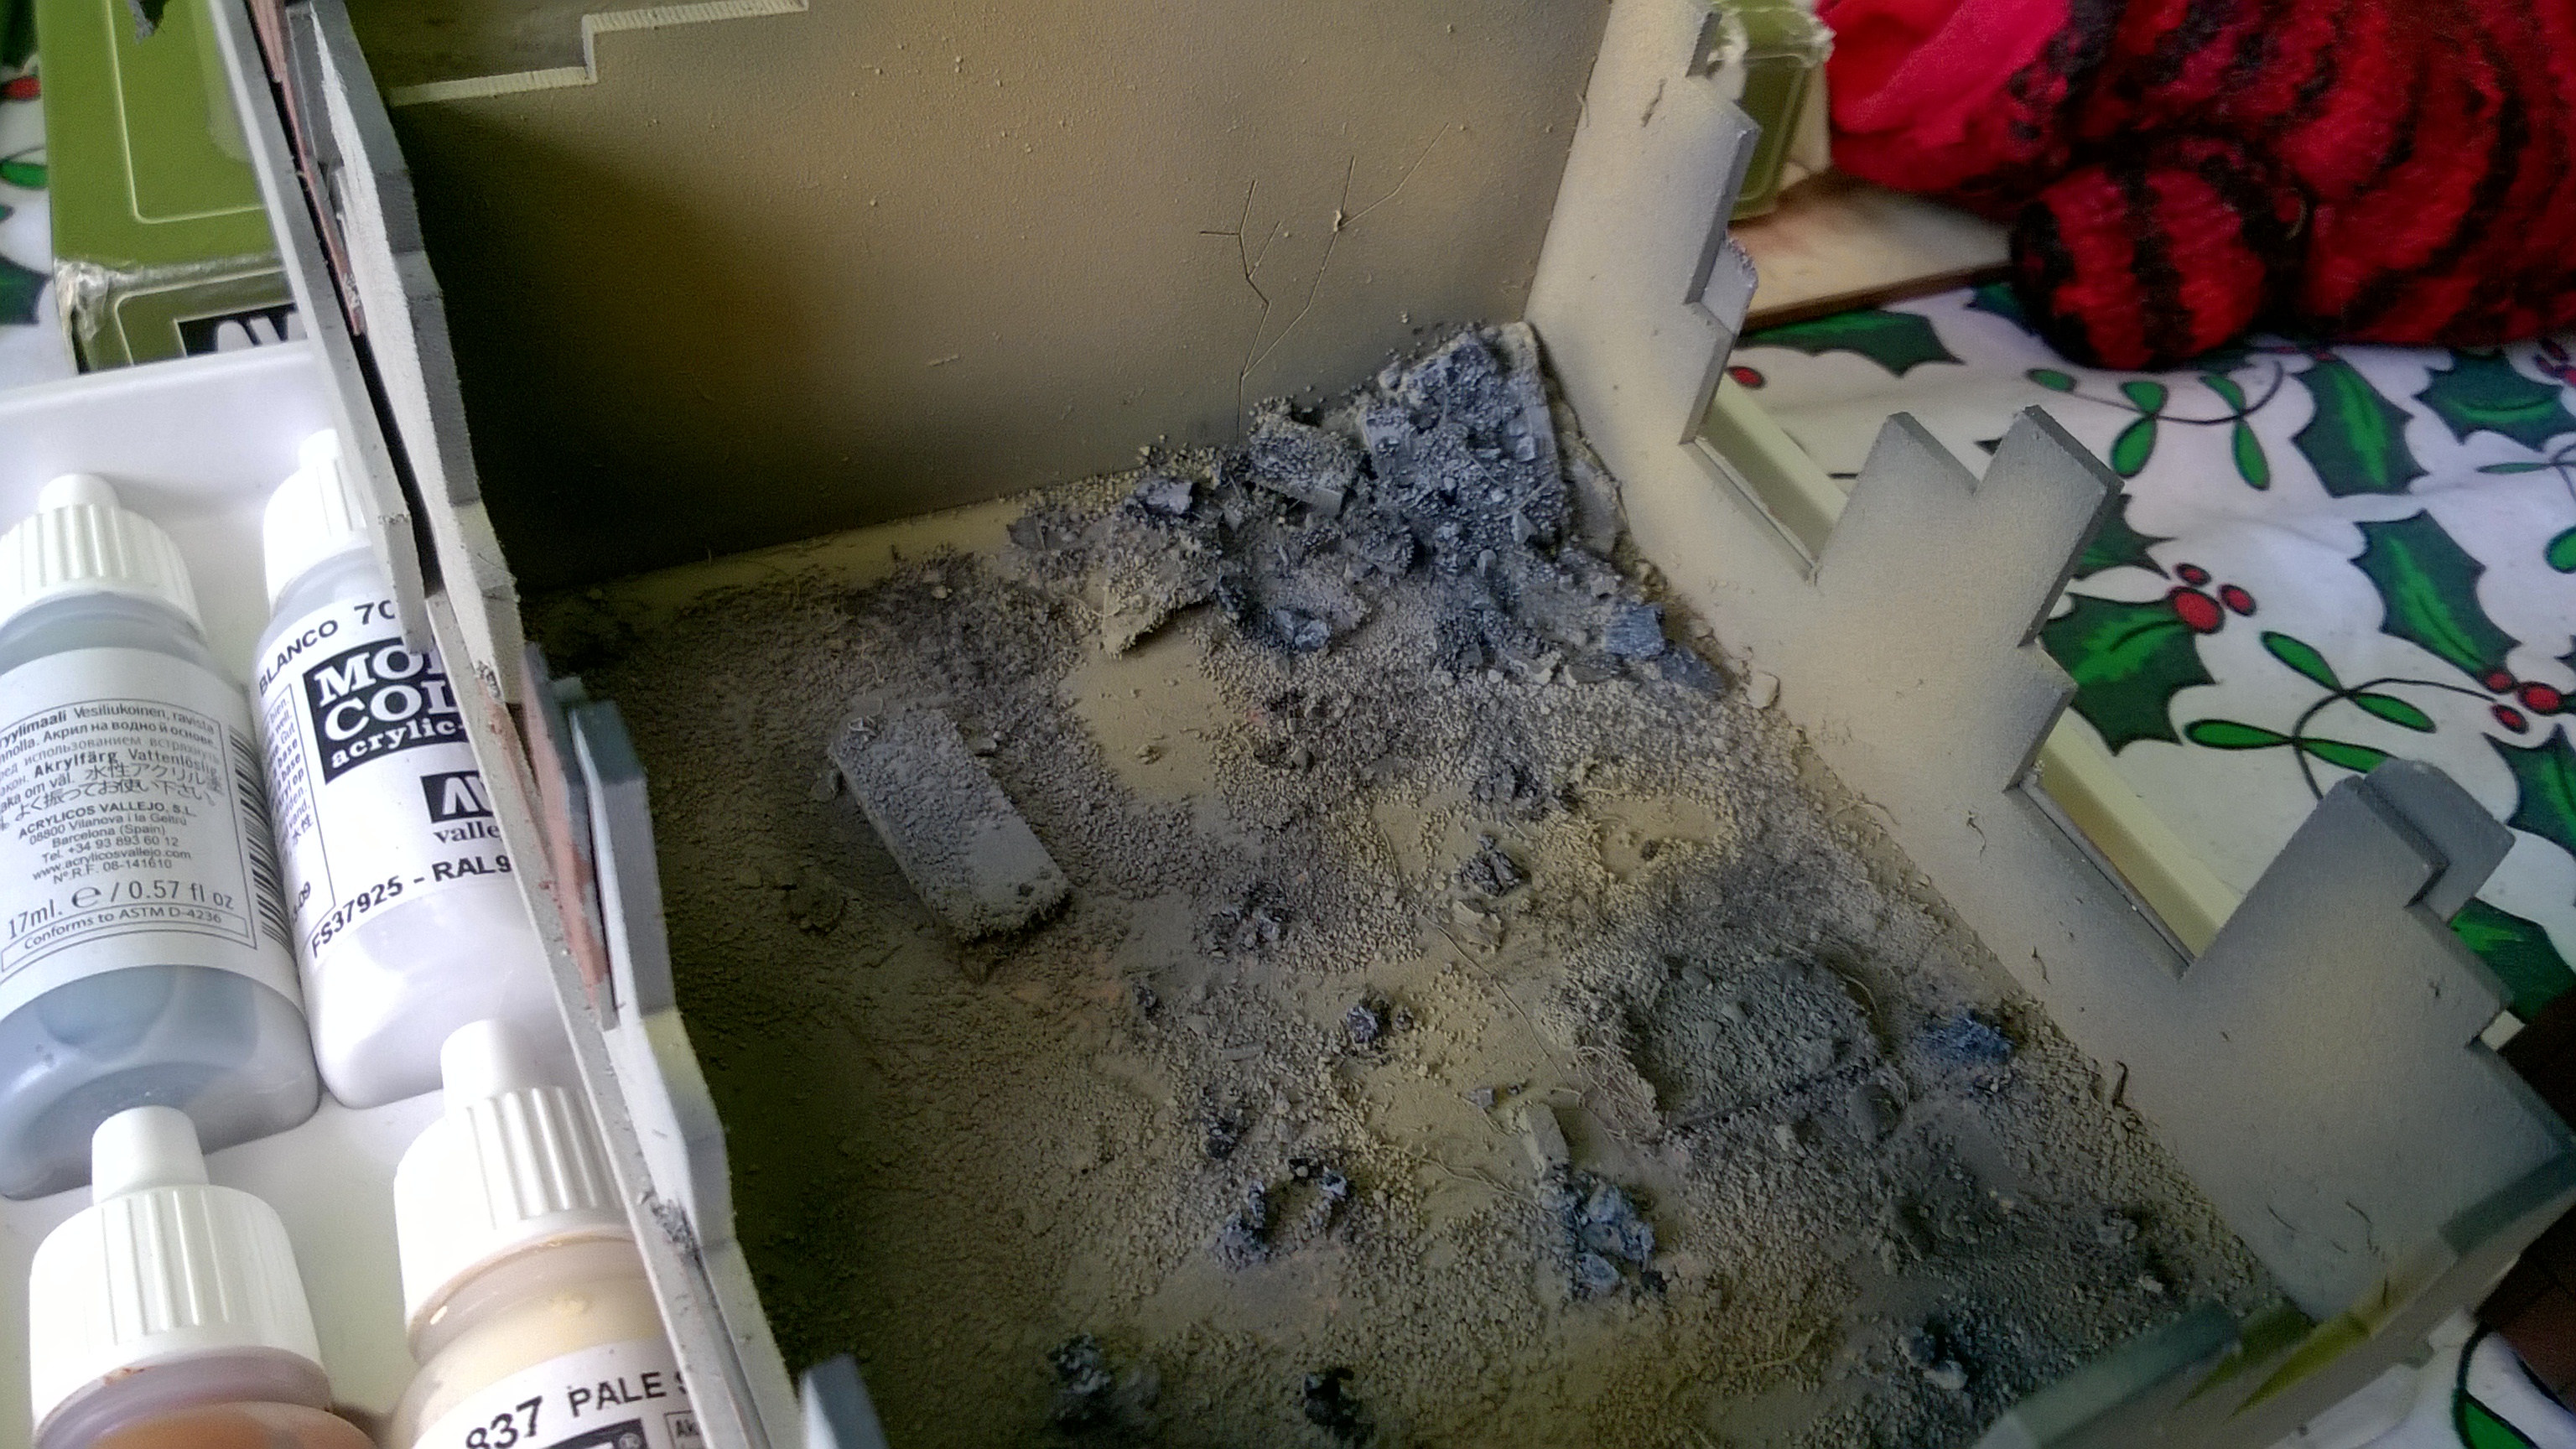

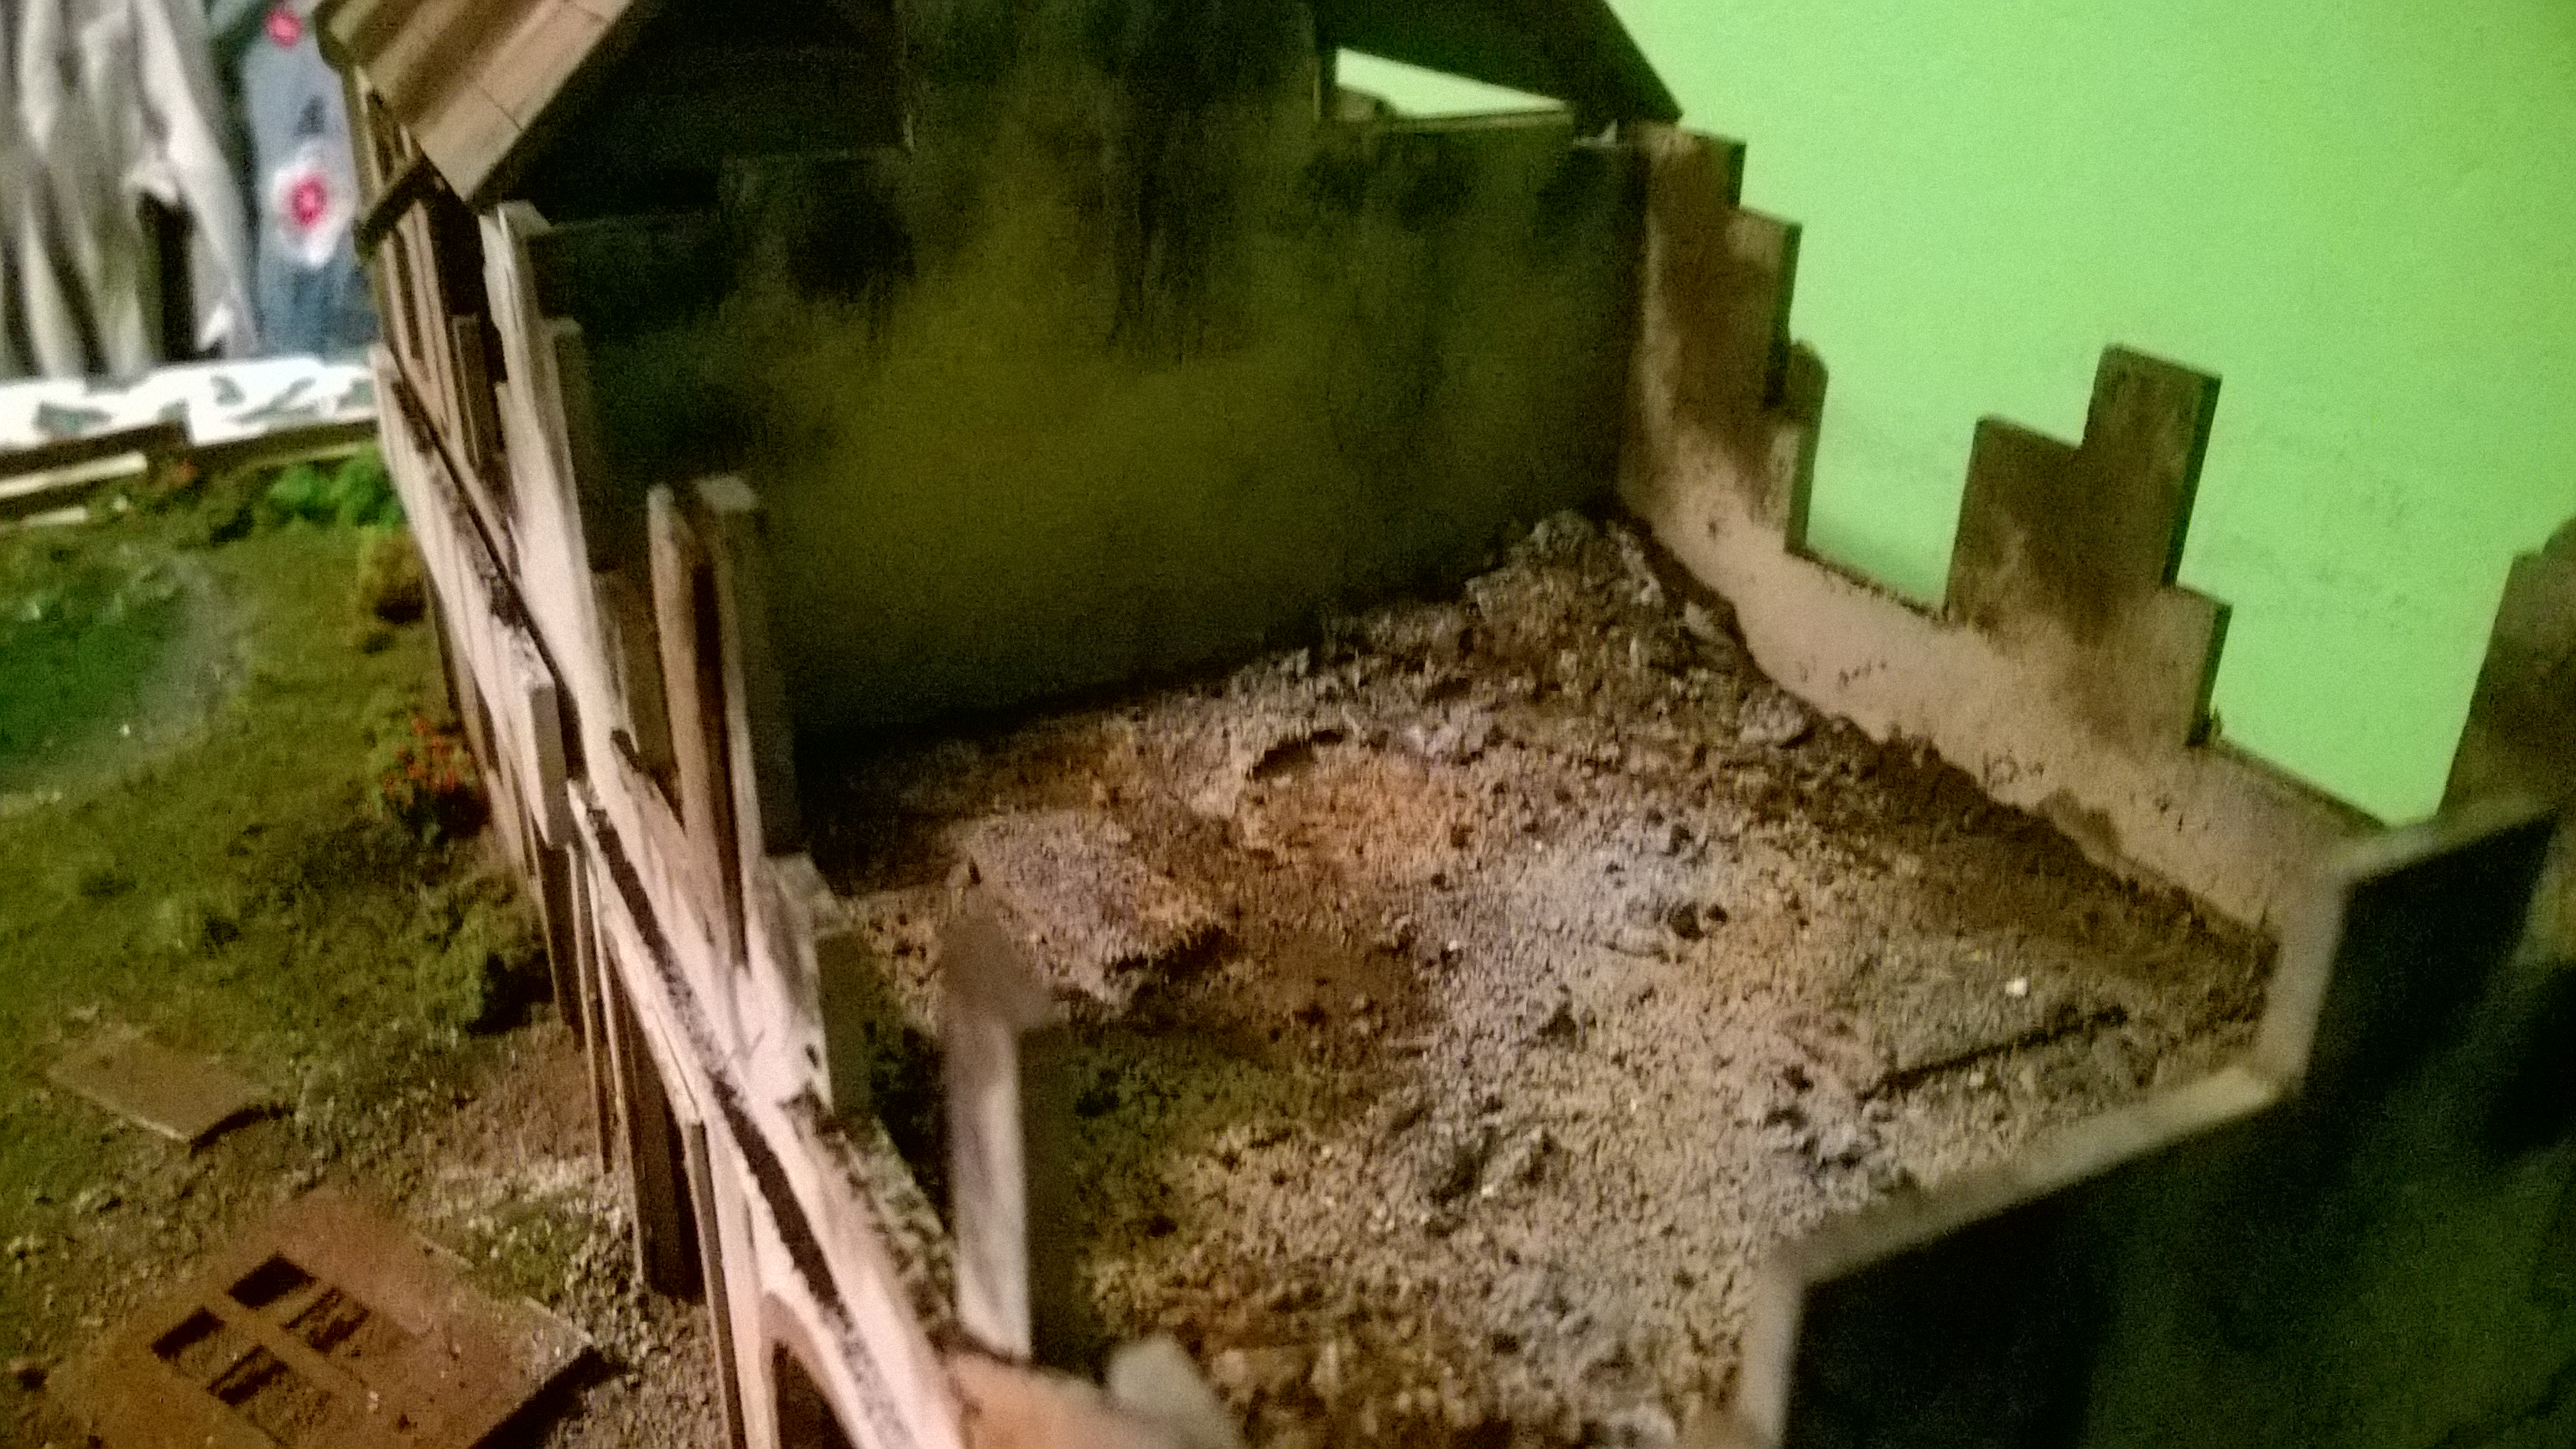
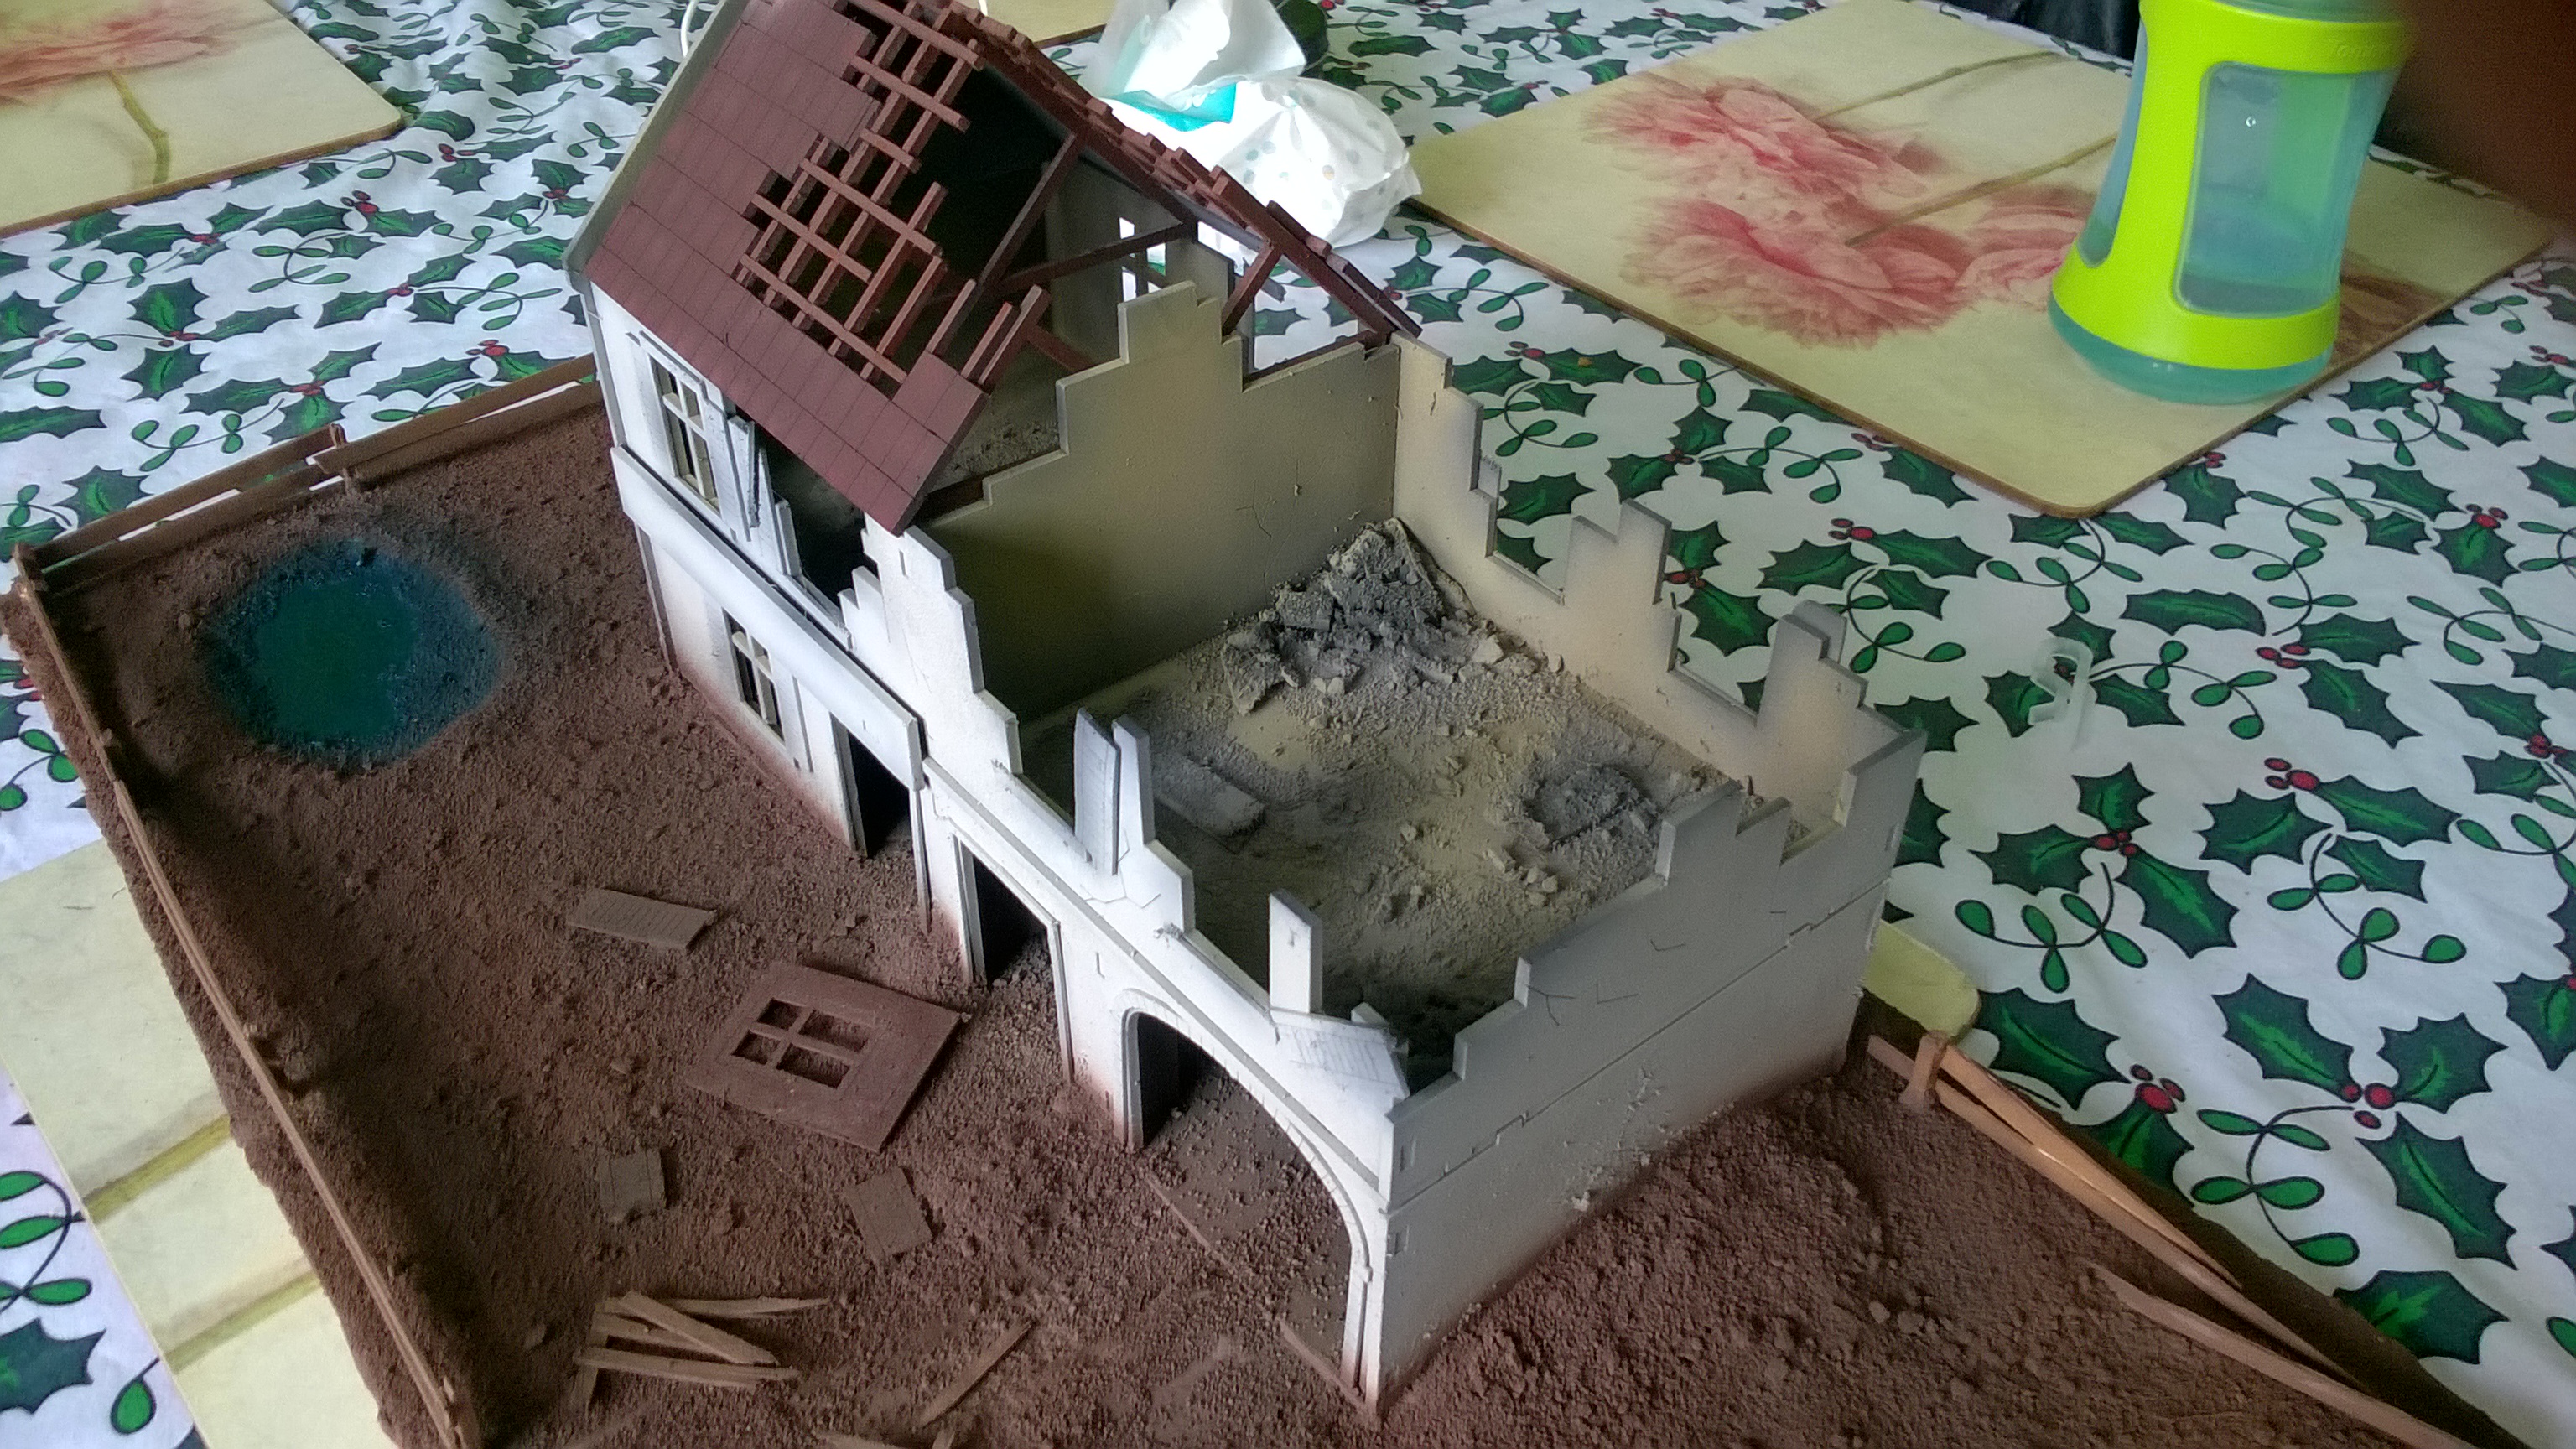
Bit of progress today, rocks and rubble given a black base, dark grey dry brush, lighter grey dry brush and then a white dry brush.
I popped down some water effects clear resin in the pond, i have had problems before using this when it shrinks so watch this space…
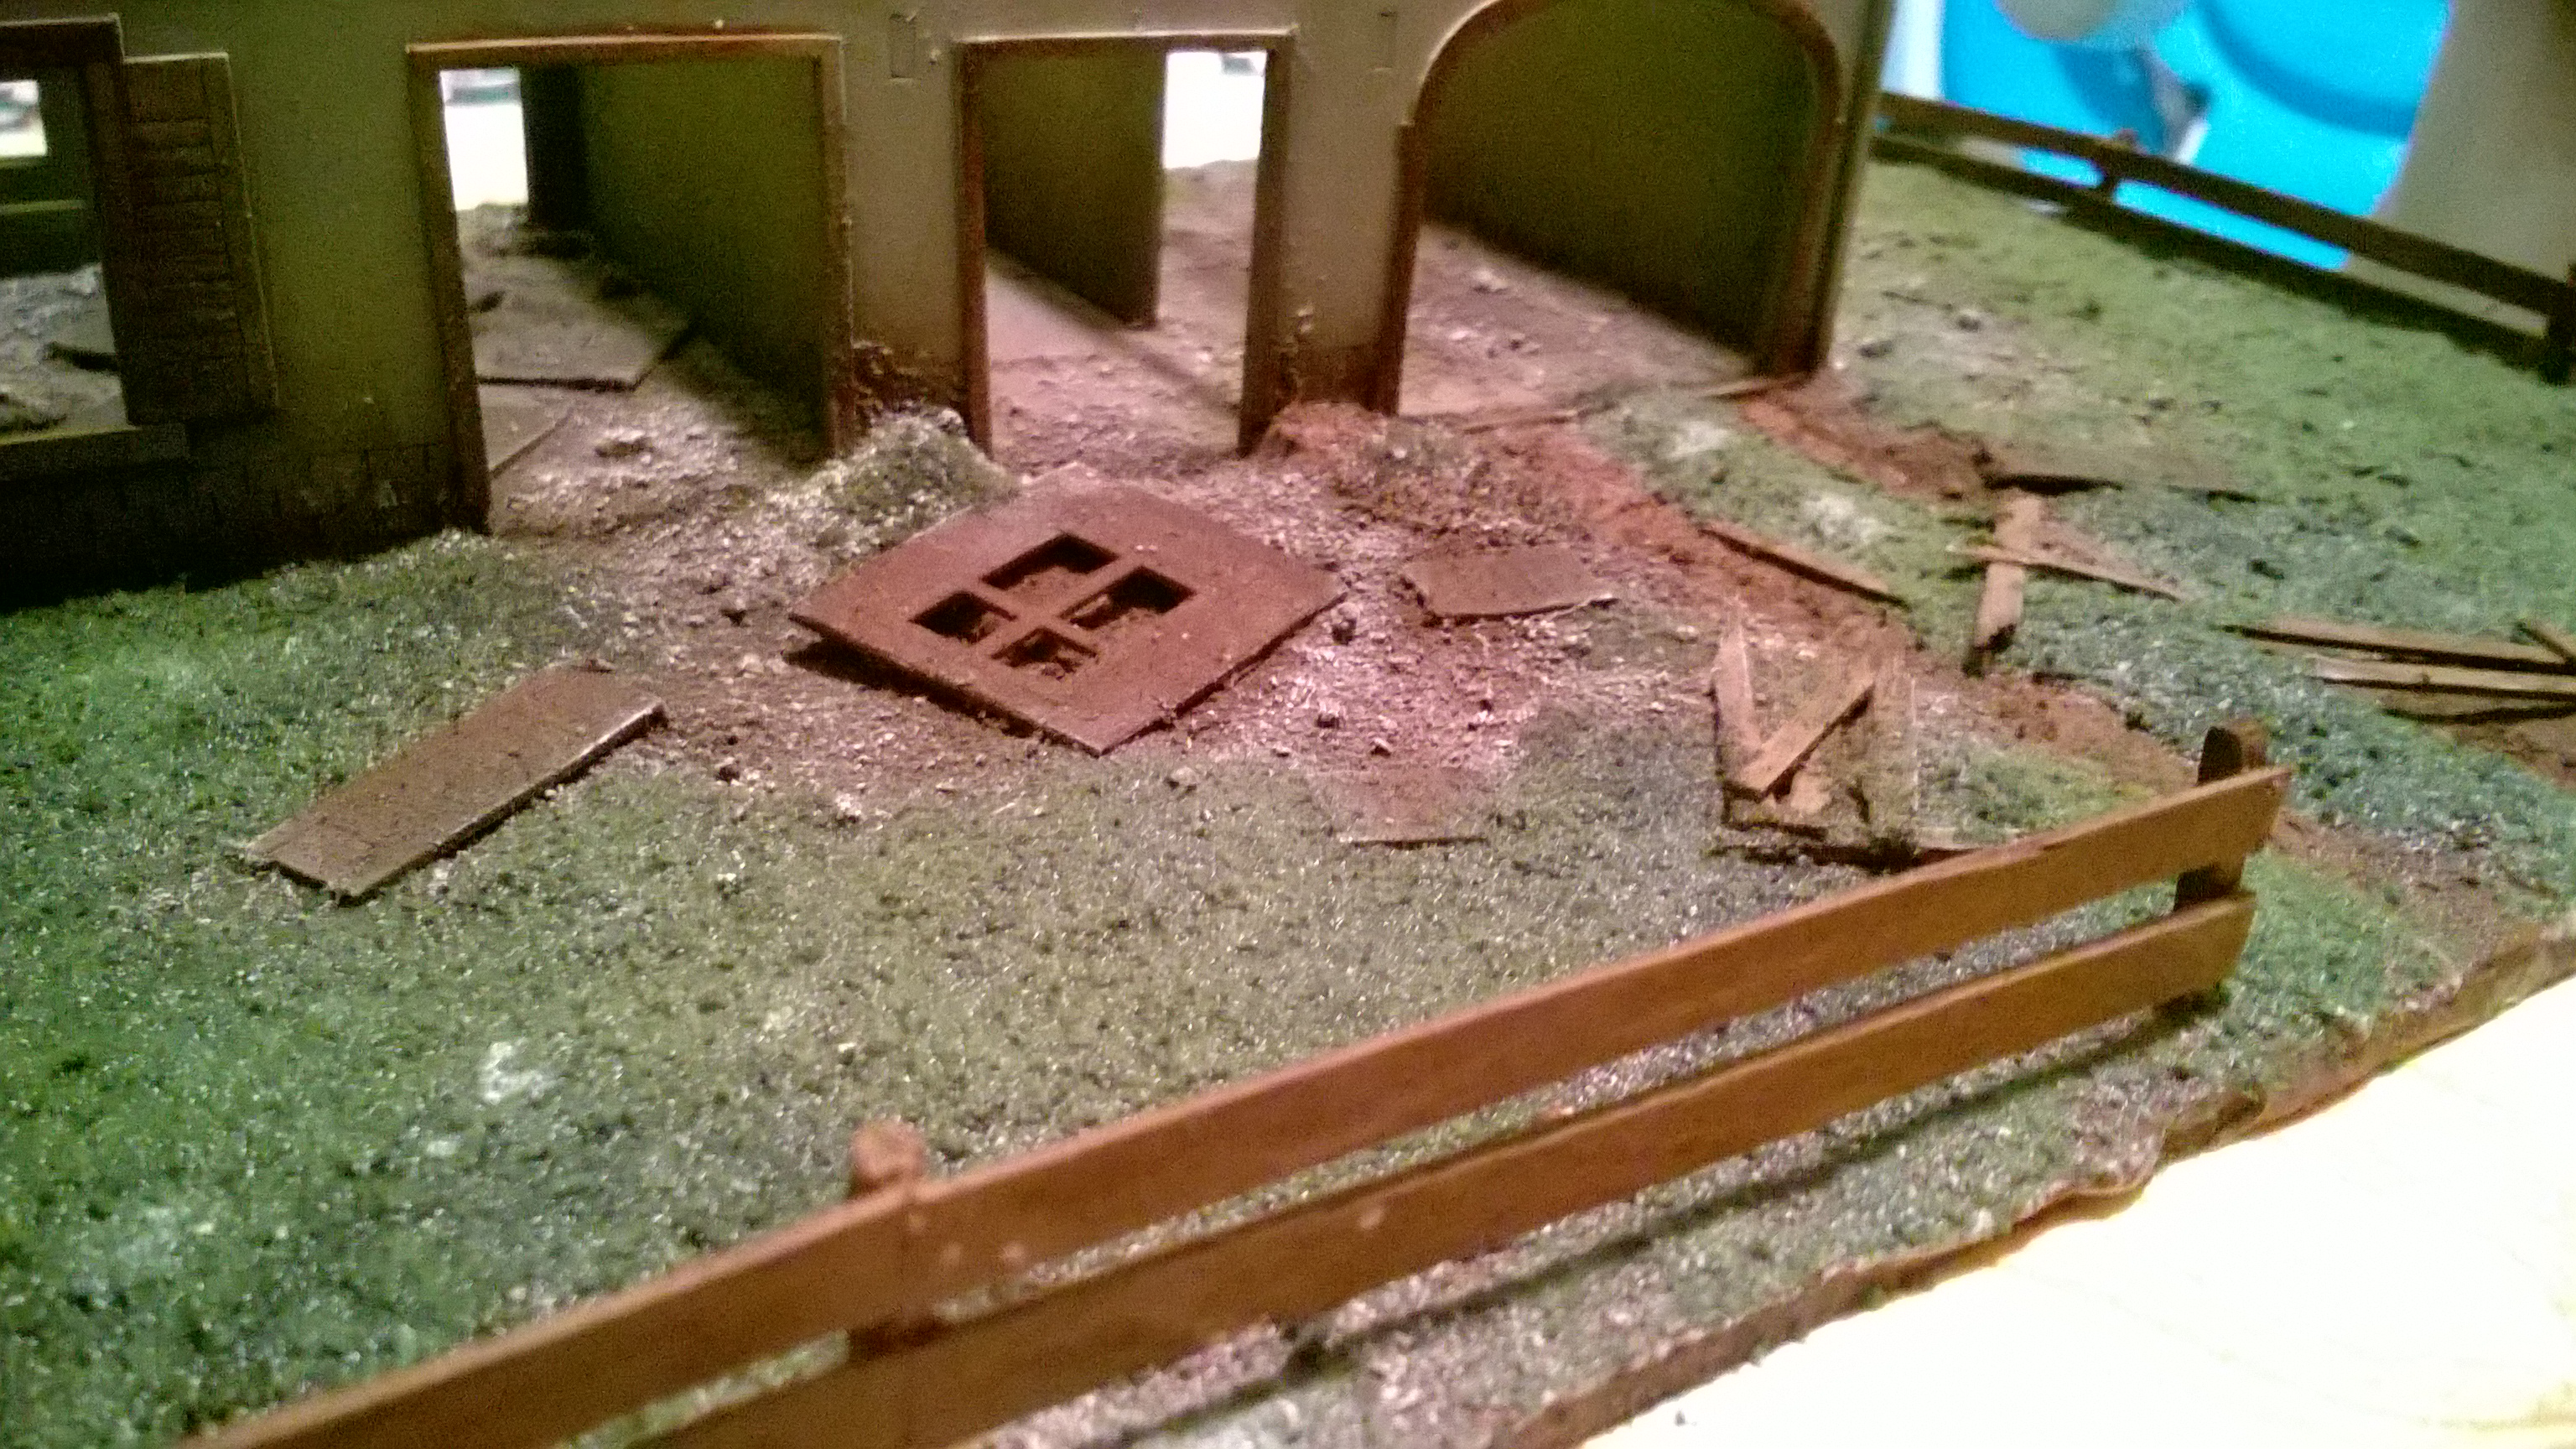
I took a lighter to the beams in the roof and burnt up the tips
Also on the driveway i put down some clear resin to simulate puddles, lets see how that turns out.
Overall im happy with the progress so far, good enough to go on the board as it is i think, but i think some washes and bits like soot staining and dry brushing around the fence will help a bit more 😀
Managed to get a couple more hours in, the in laws are watching films….like a sneaky mcsneackson i don’t think they’ve noticed me roll a natural 20 for hide in plain sight (in another room)
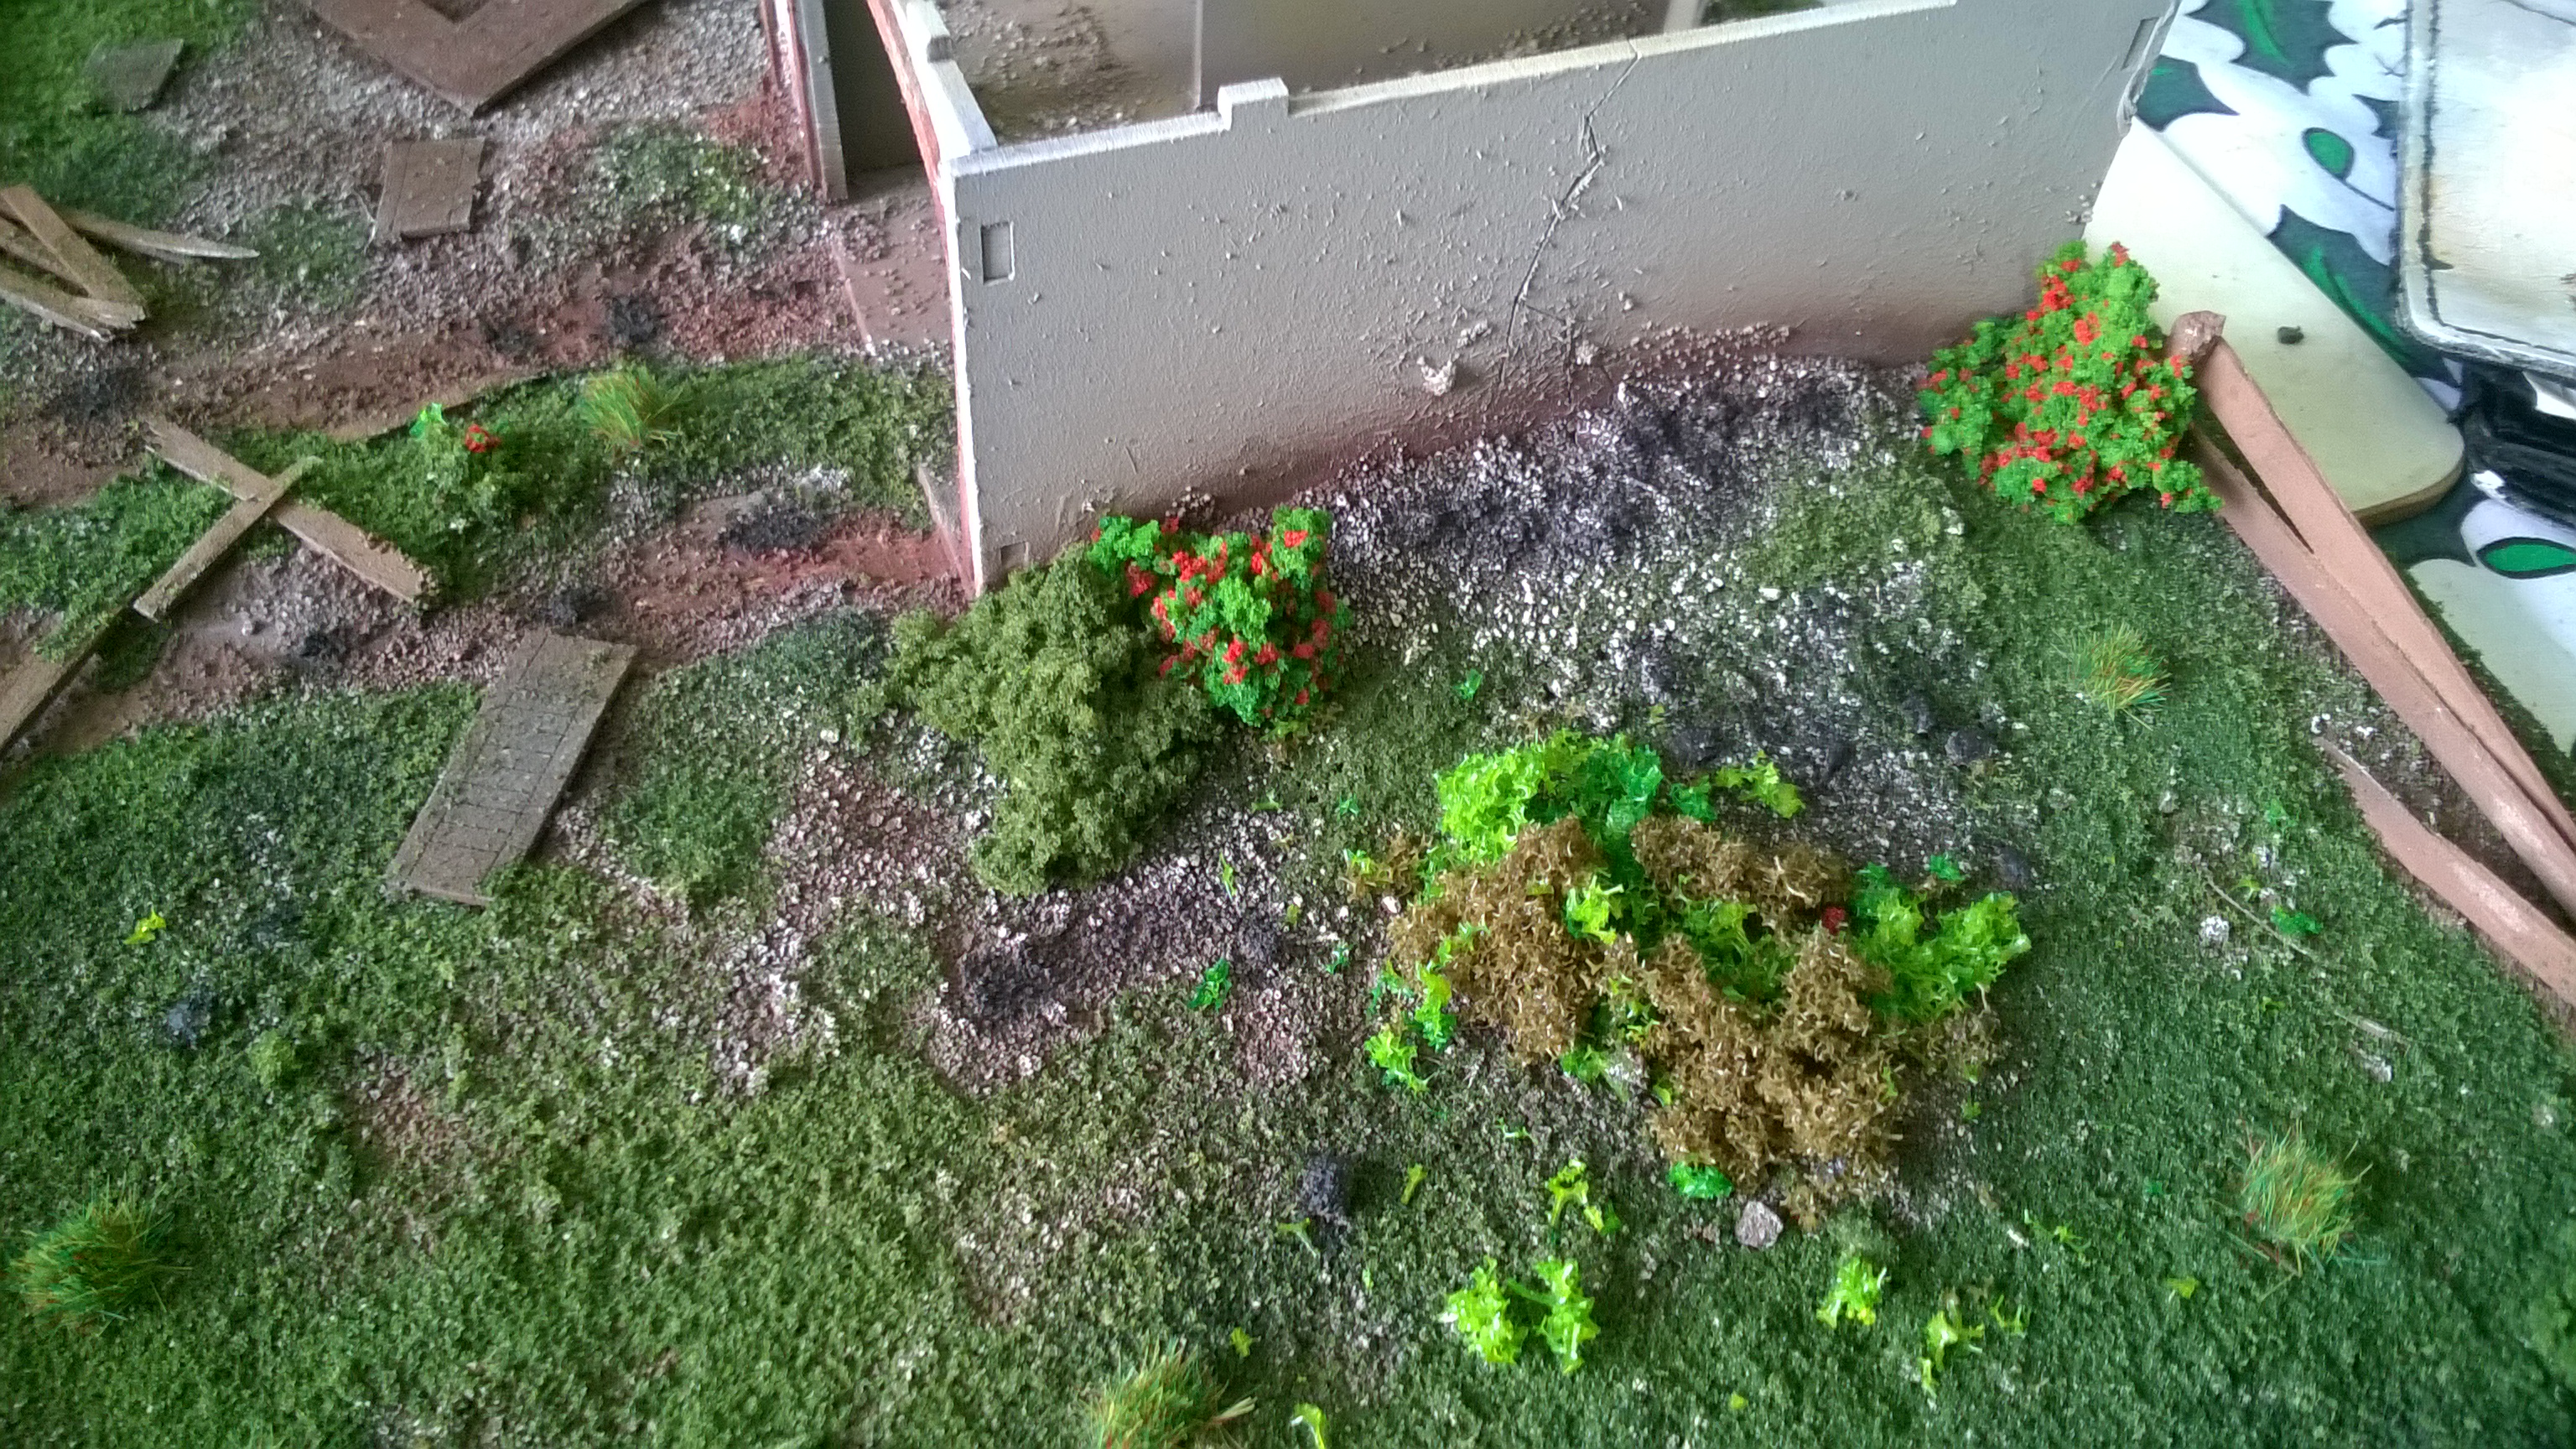
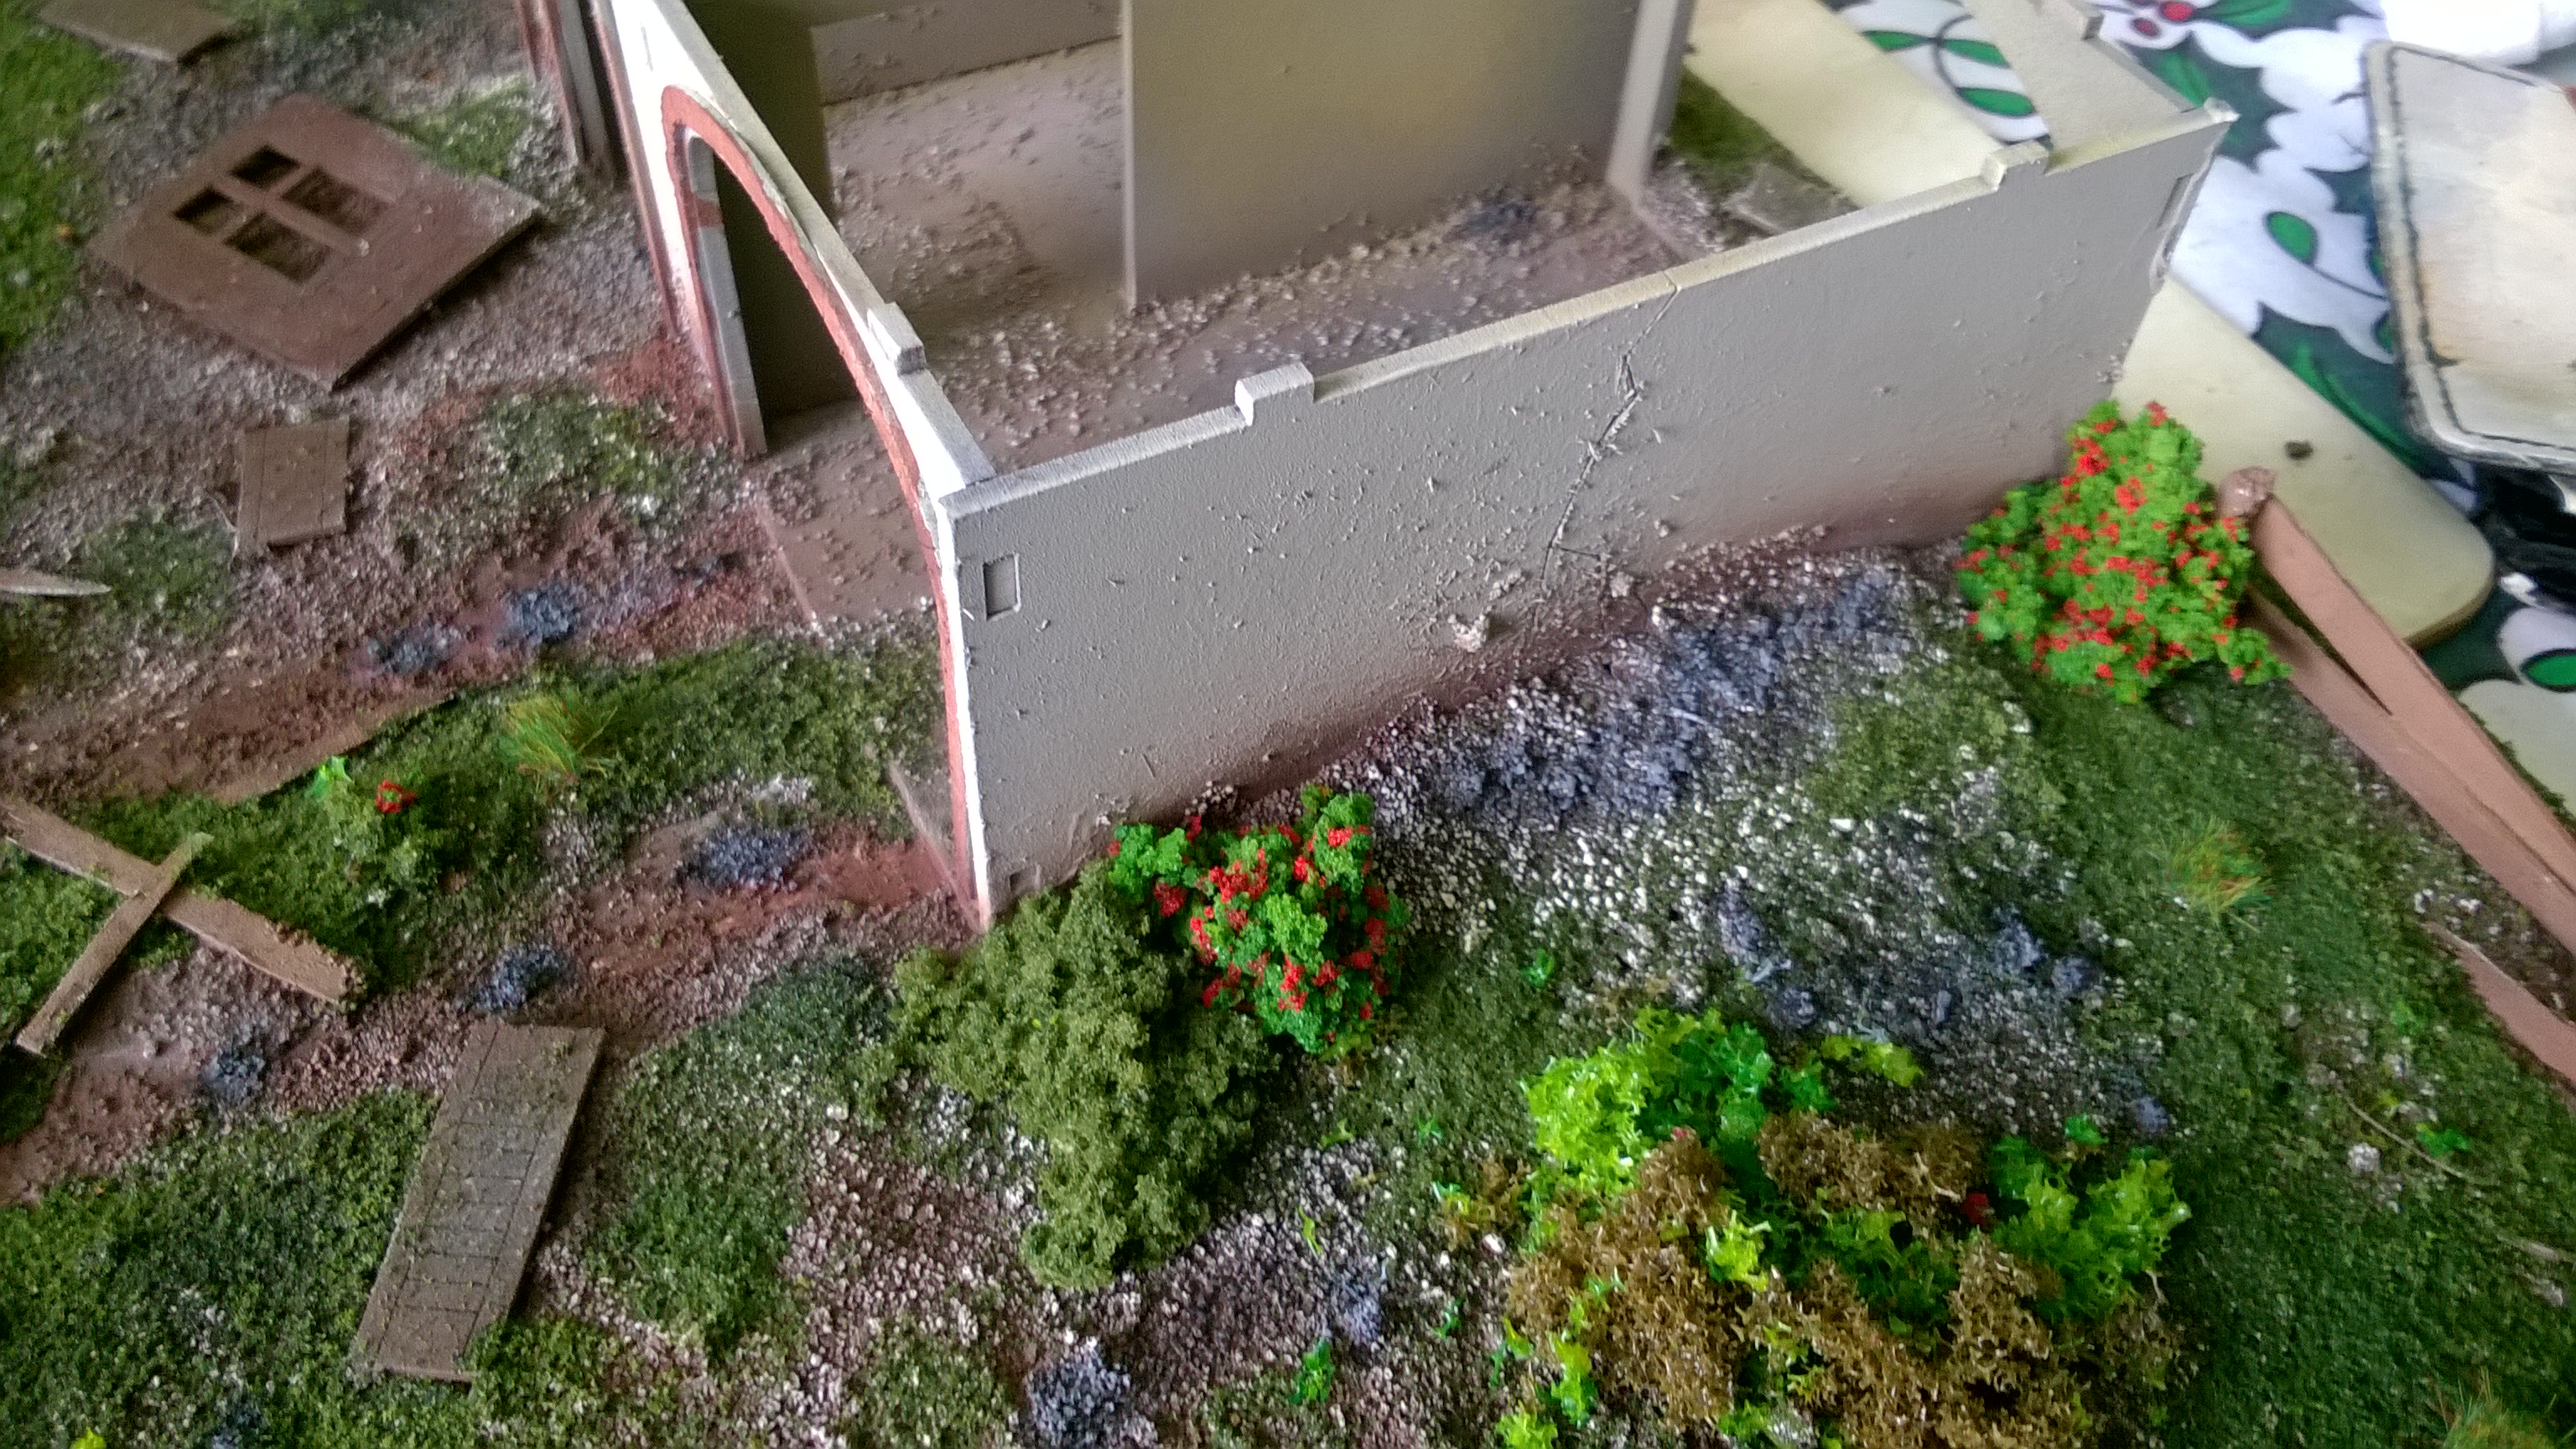
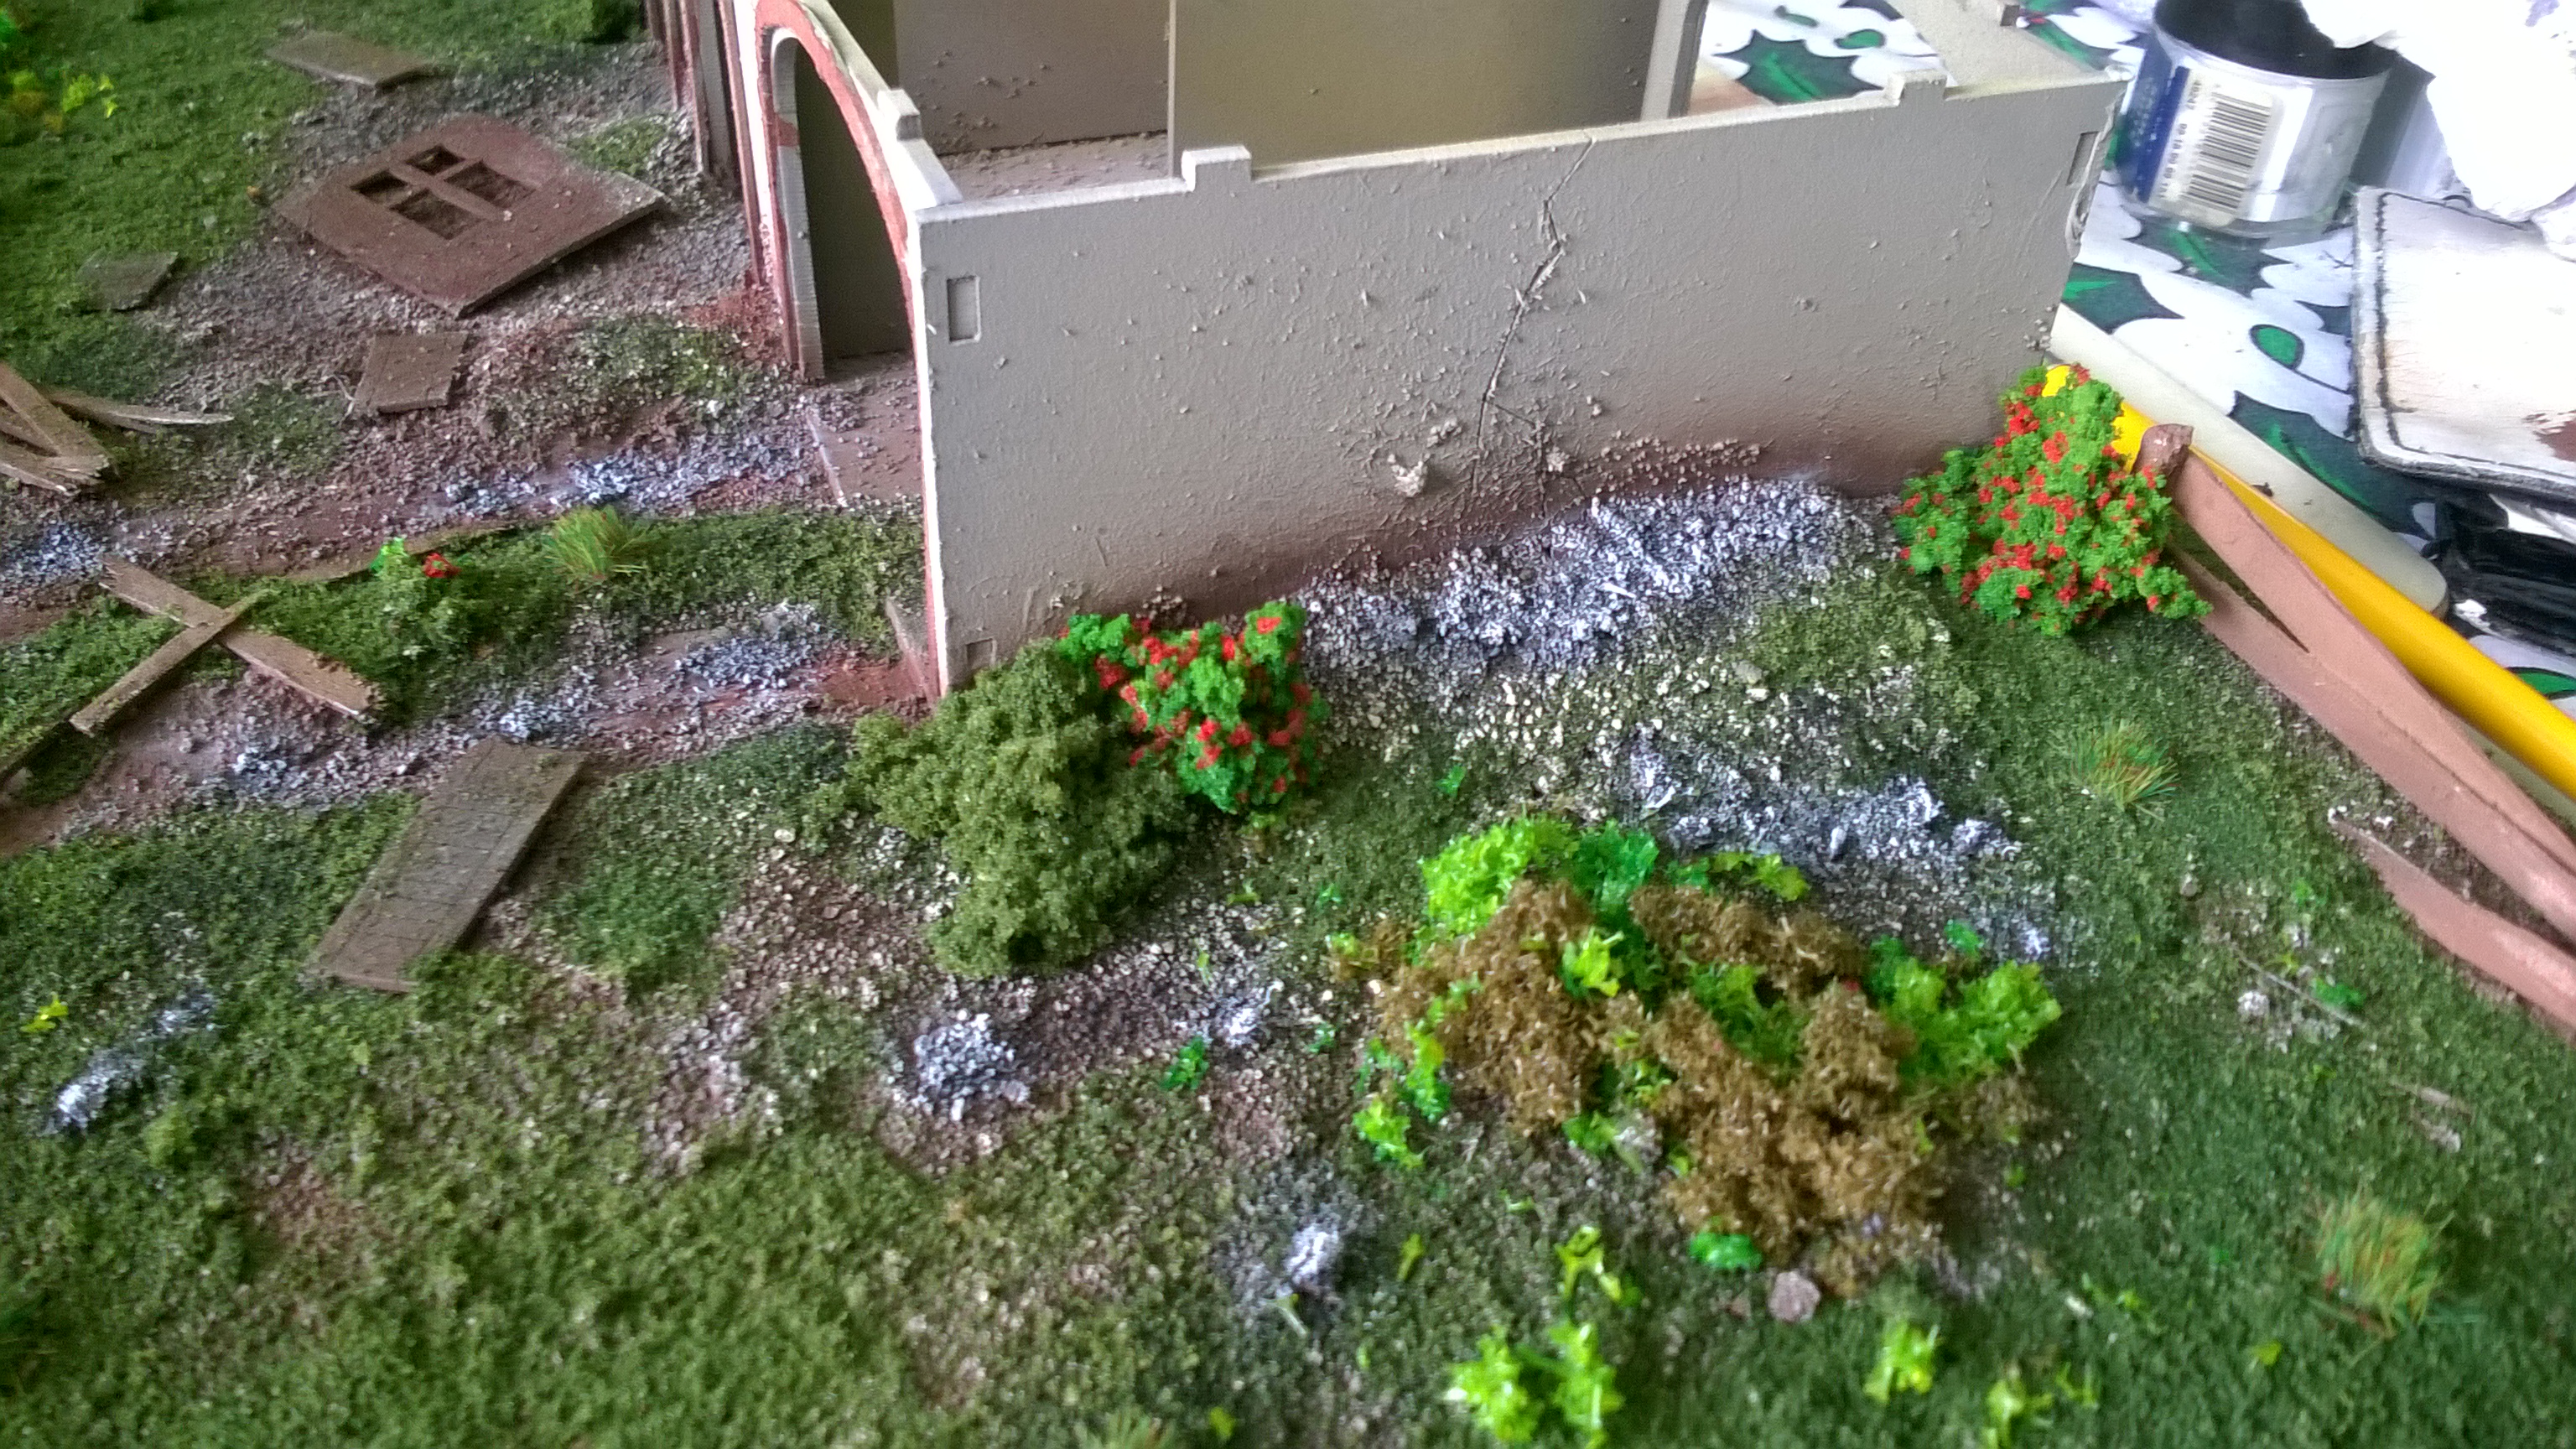
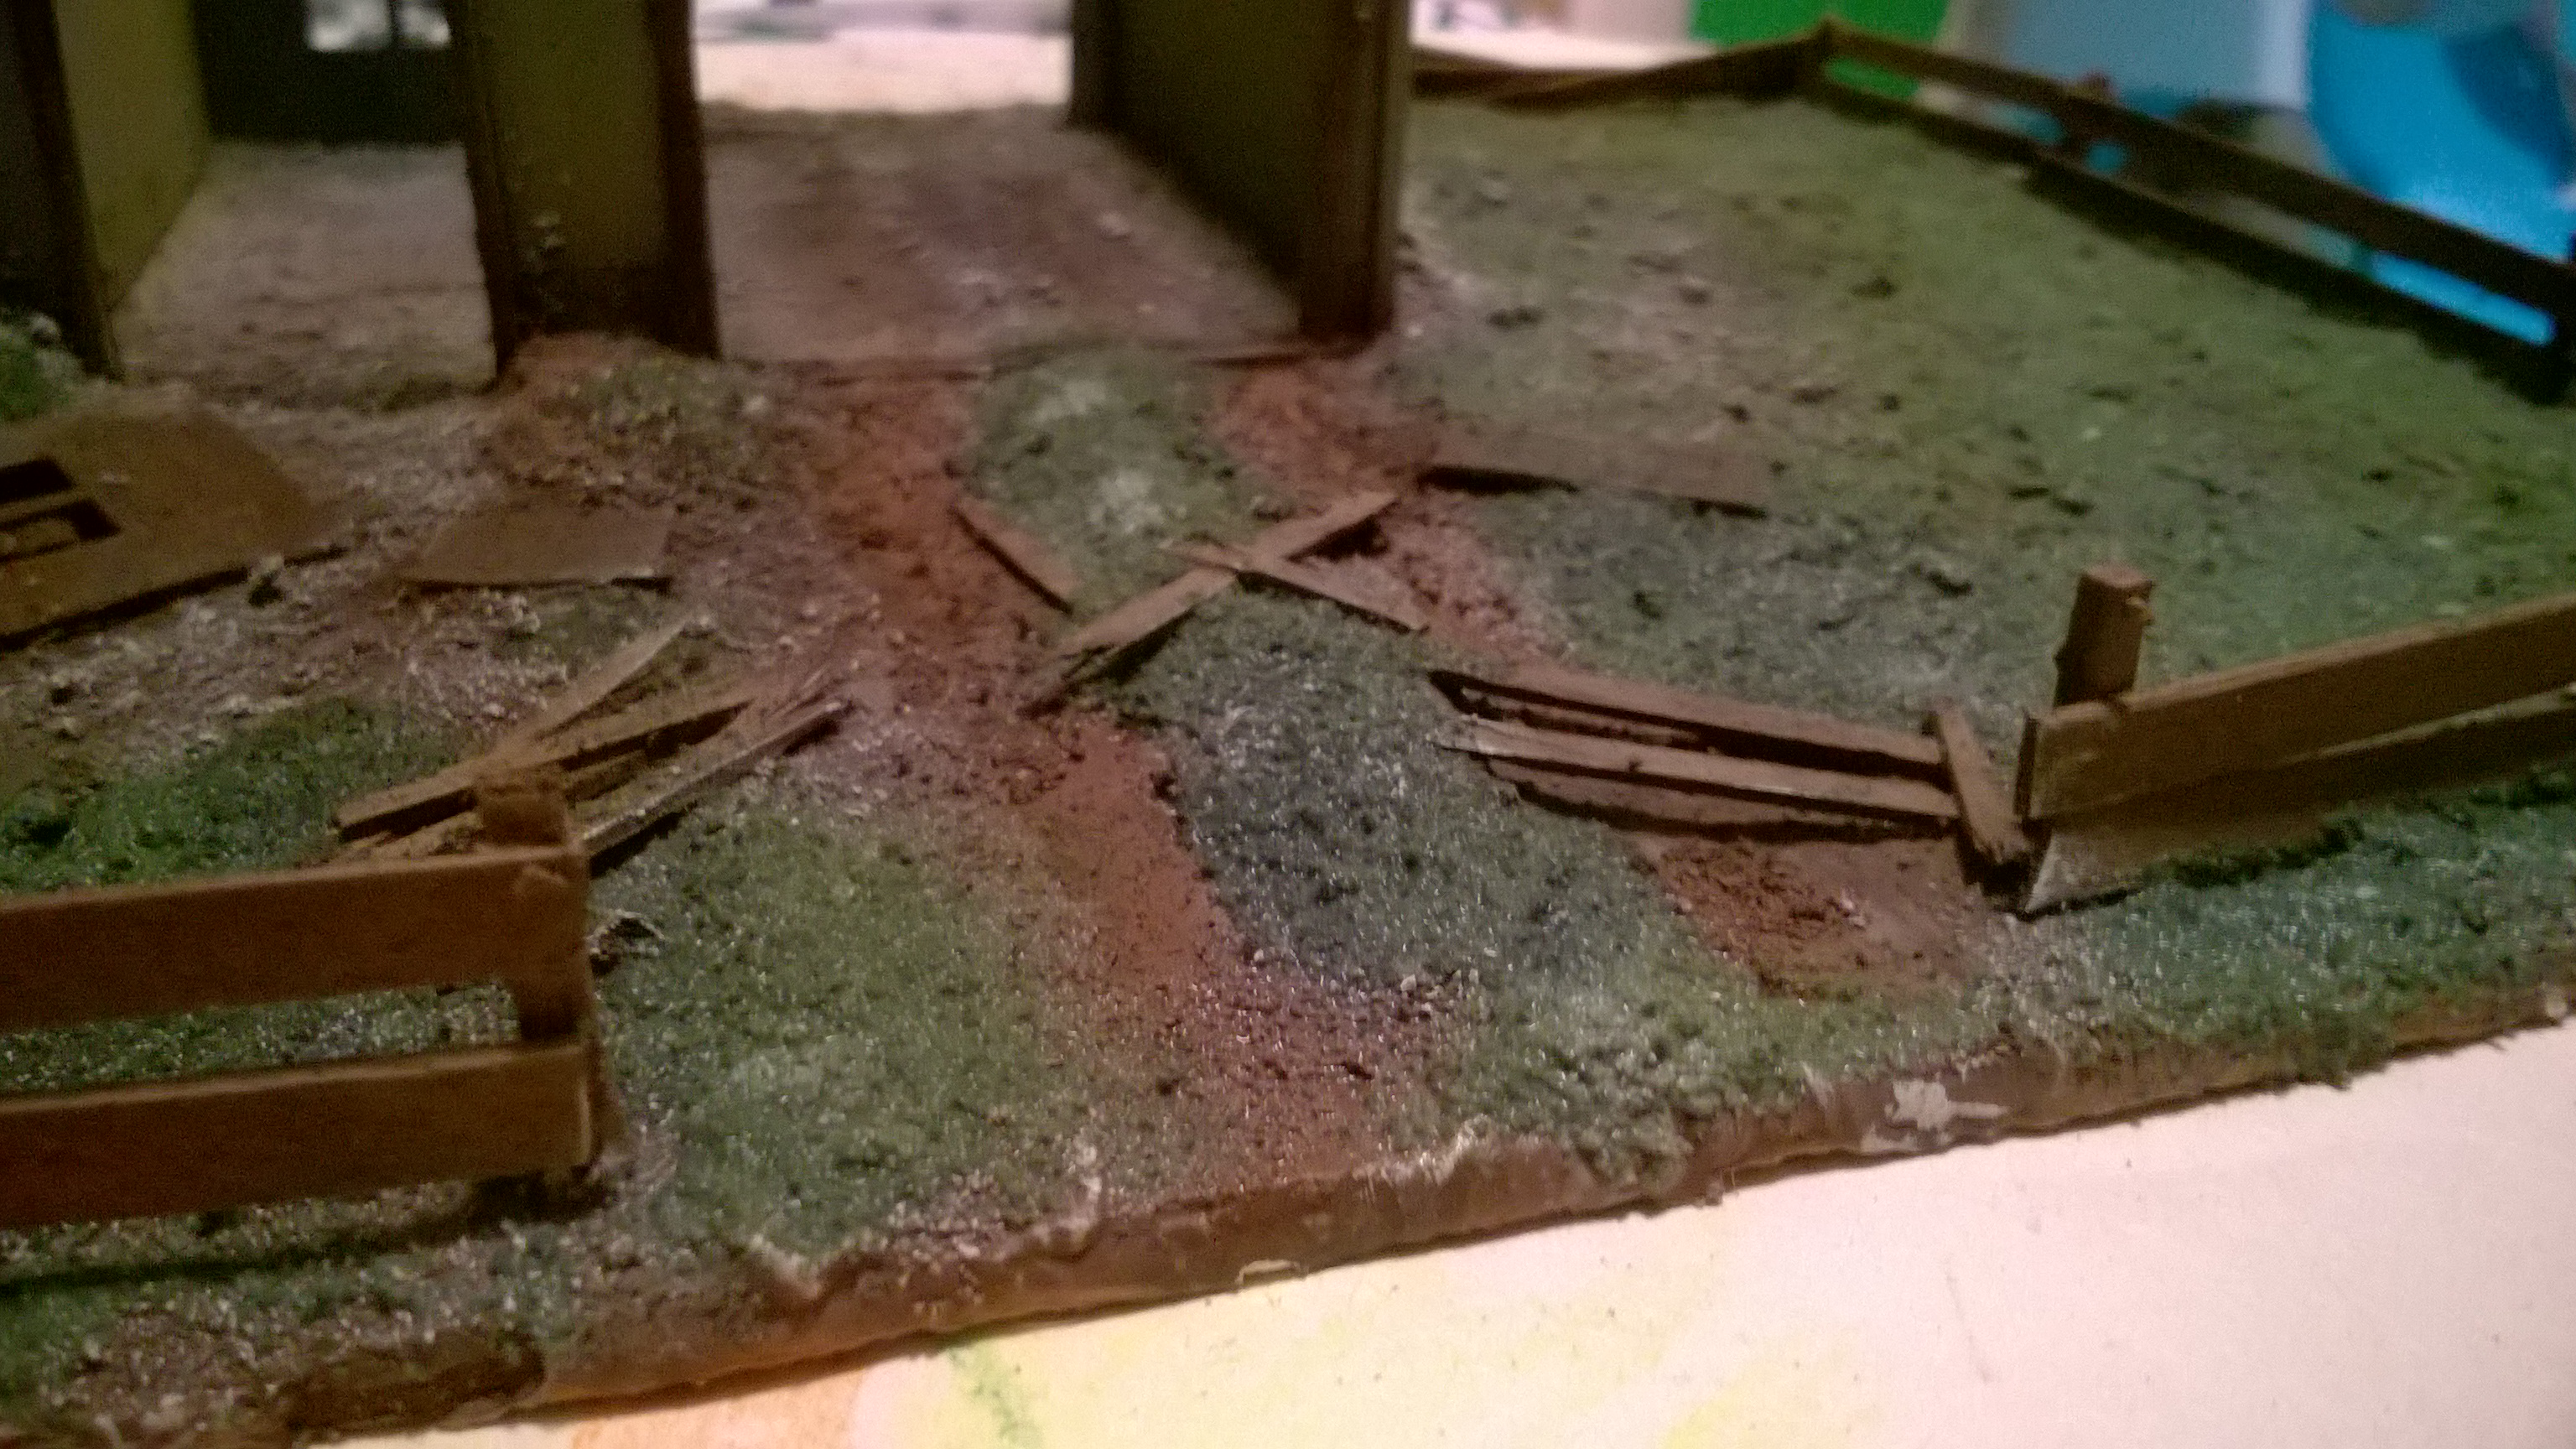
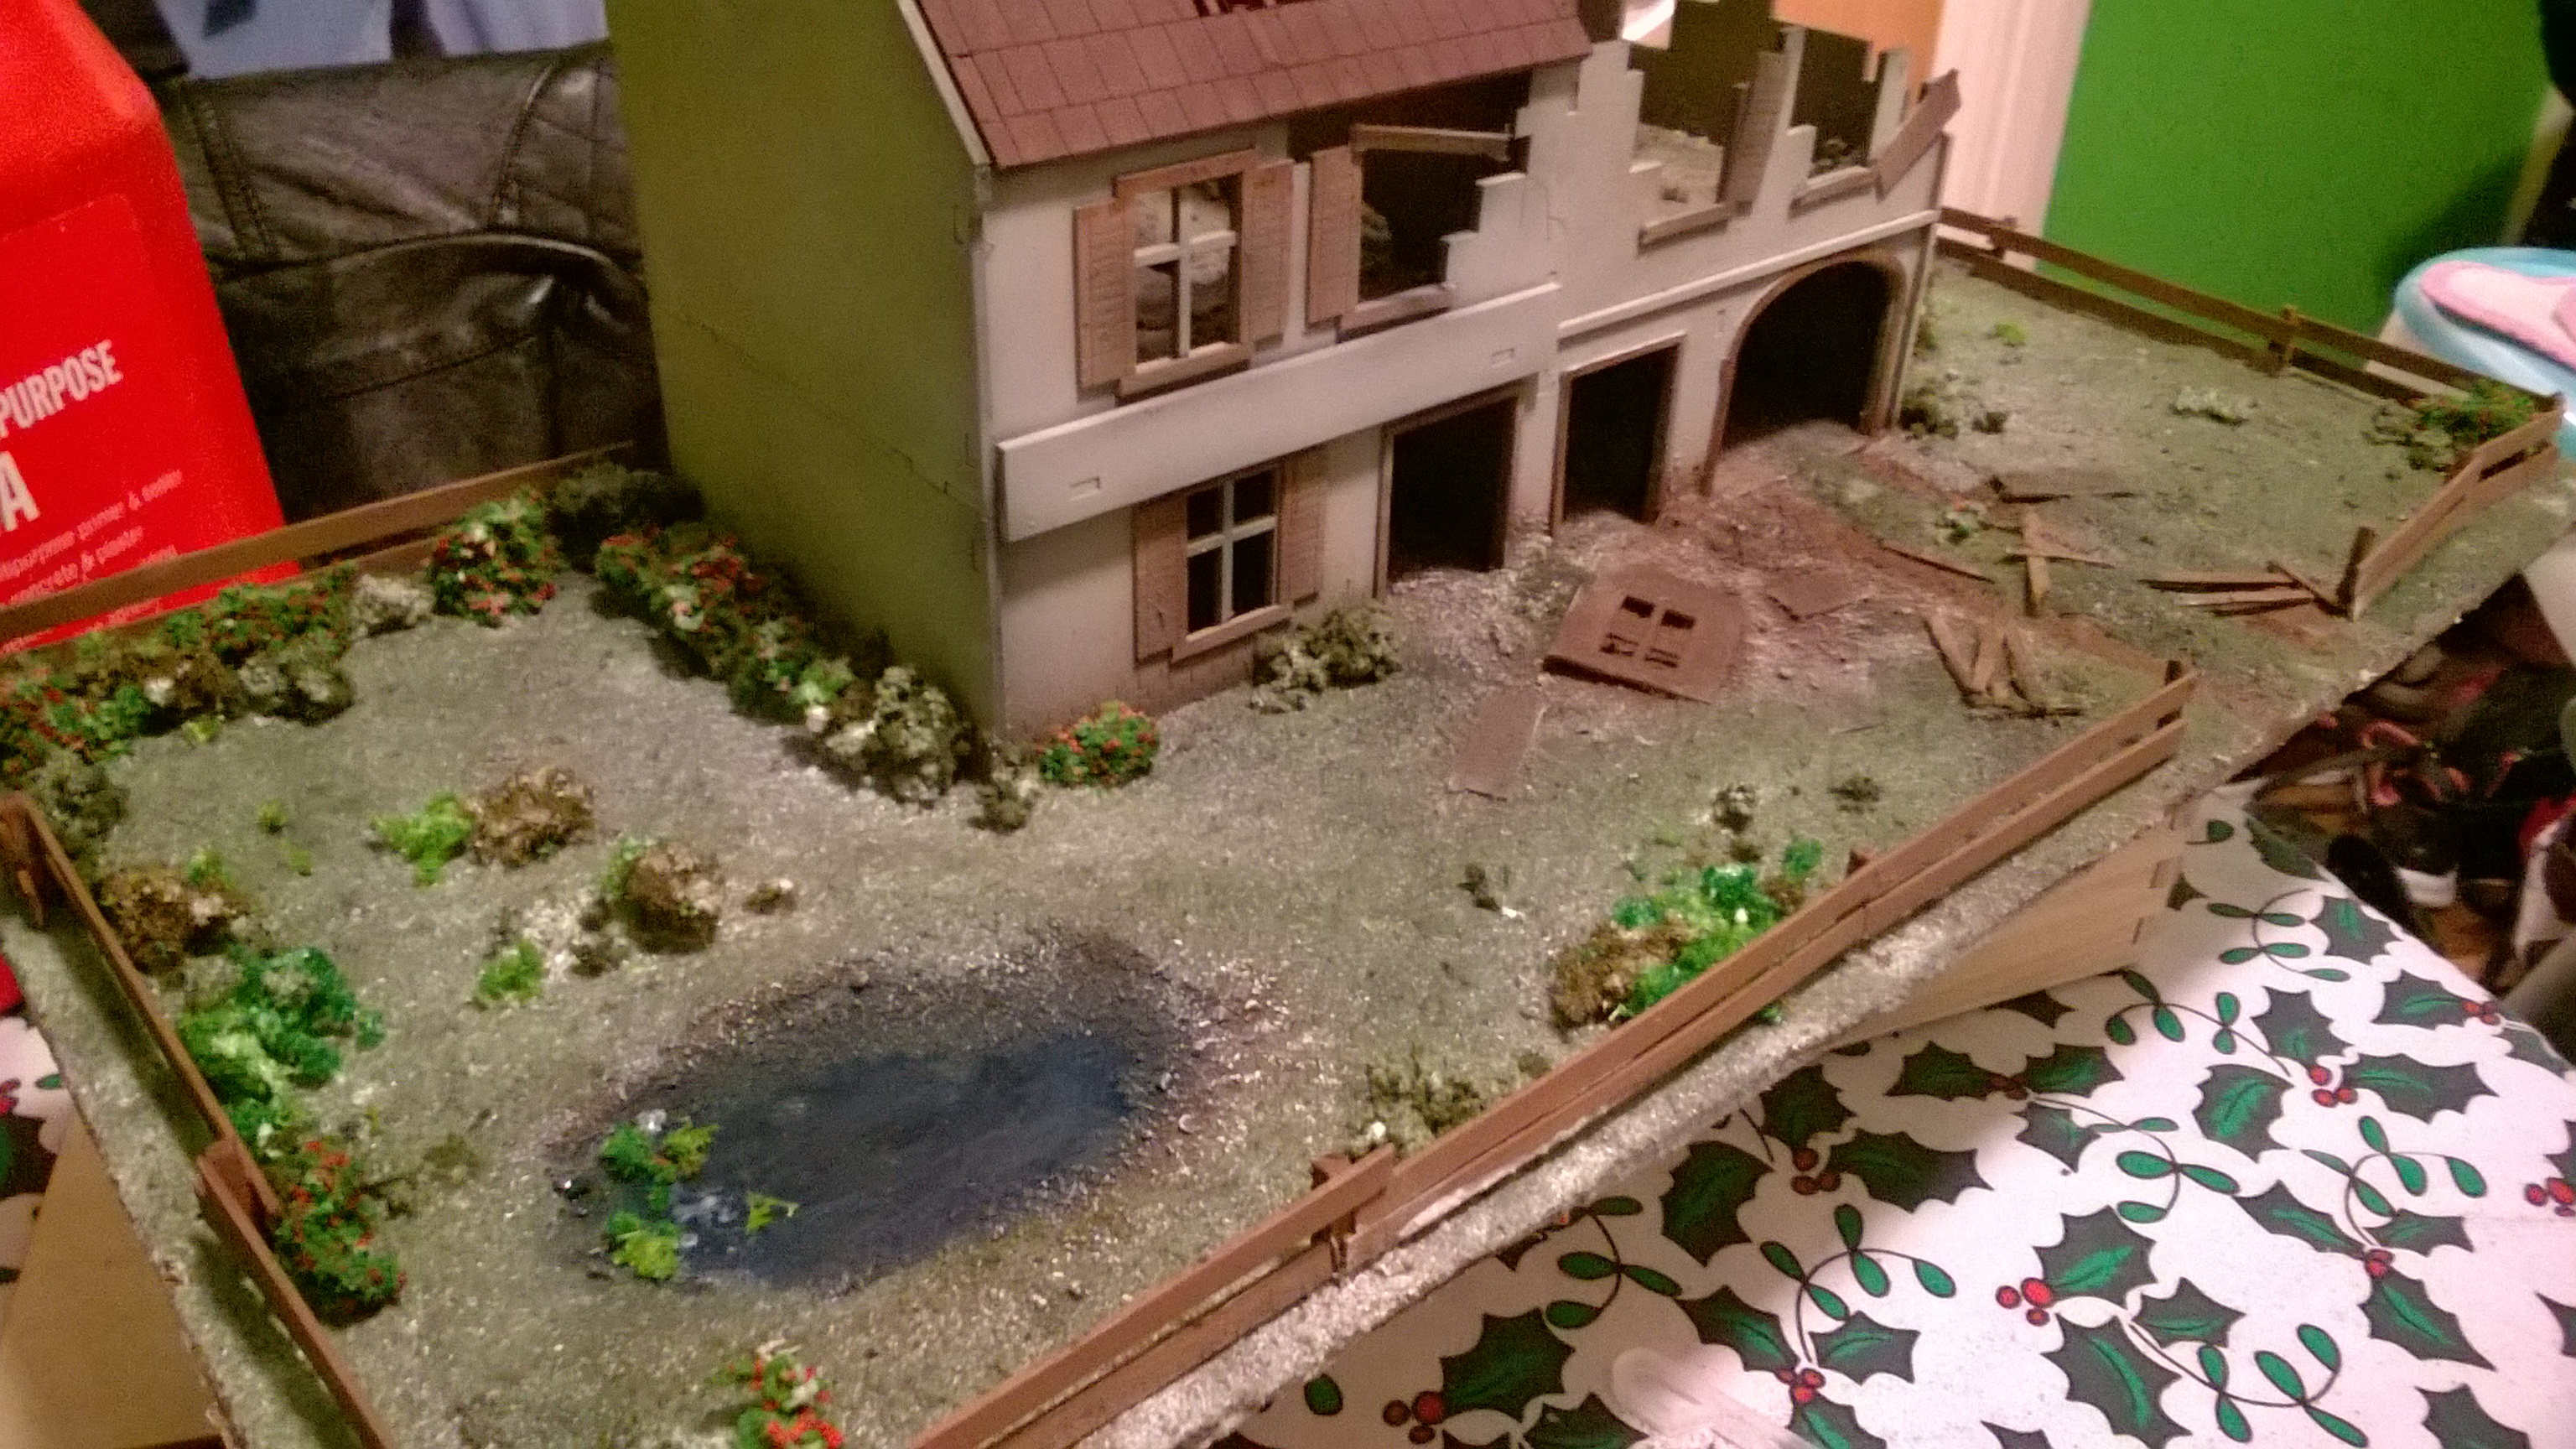
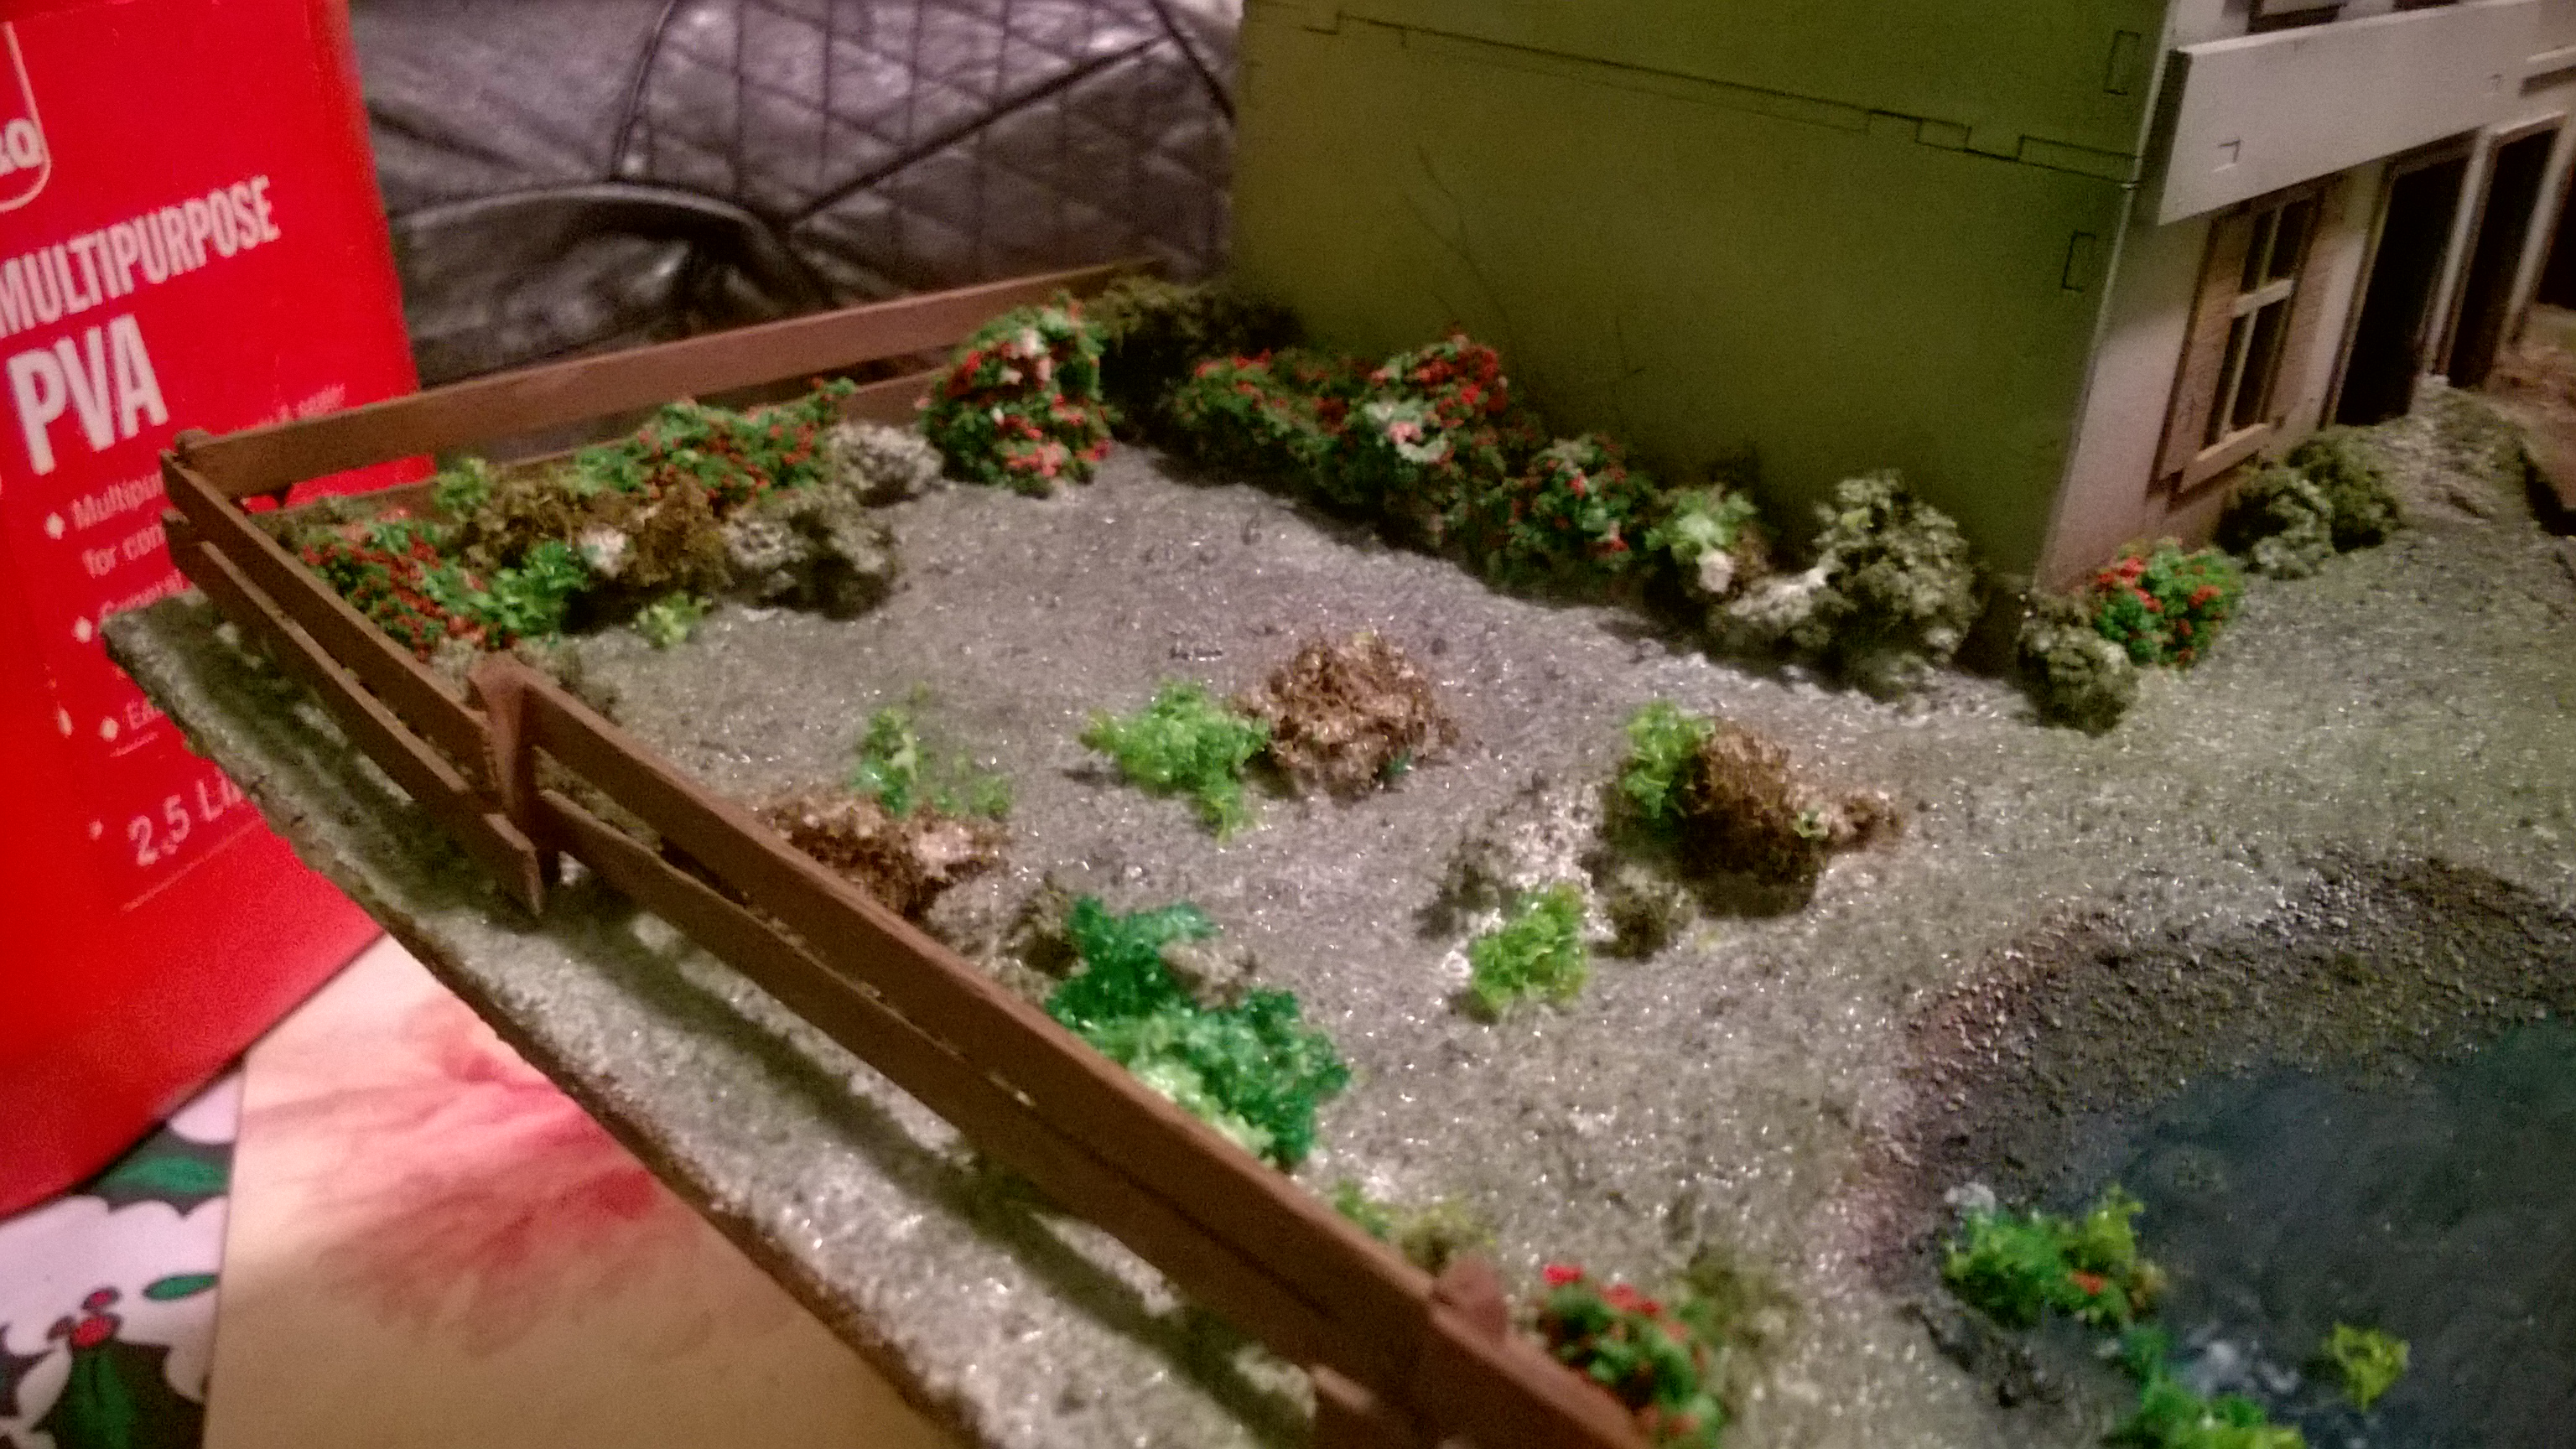
What the Flock….YES i hear you cry flocking marvellous, so couple of shades of flock popped down first ala all our favourite tutor of terrain Mel (or at least my vain attempt) and then iv gone a bit bushy.
Clump foliage plus some rose bushes from serious play (a strange sealy bag of green material arriving in the post….no officer they’re…Rose bushes?!) and some leafy bushes (also arriving in the post….im not entirely sure if im under surveillance but probably)
all of this applied first over a layer of watered down PVA and then another layer of PVA applied with a syringe, its a great way to seal it all down, the flock loves to soak it up. I dipped the bushes in pva before placing then and the gave them a squirt from the syringe too.
Oh and some watered down flat brown on the window shutters and door frames, these will have a wash too, iv been watching Lukes APS youtube chanel (super awesome if you have not seen it) he shows how to make certain washes for next to nothing by the shed load so ill probably have a go at that for the wash stage of the buildingaling.
until next time…happy gaming

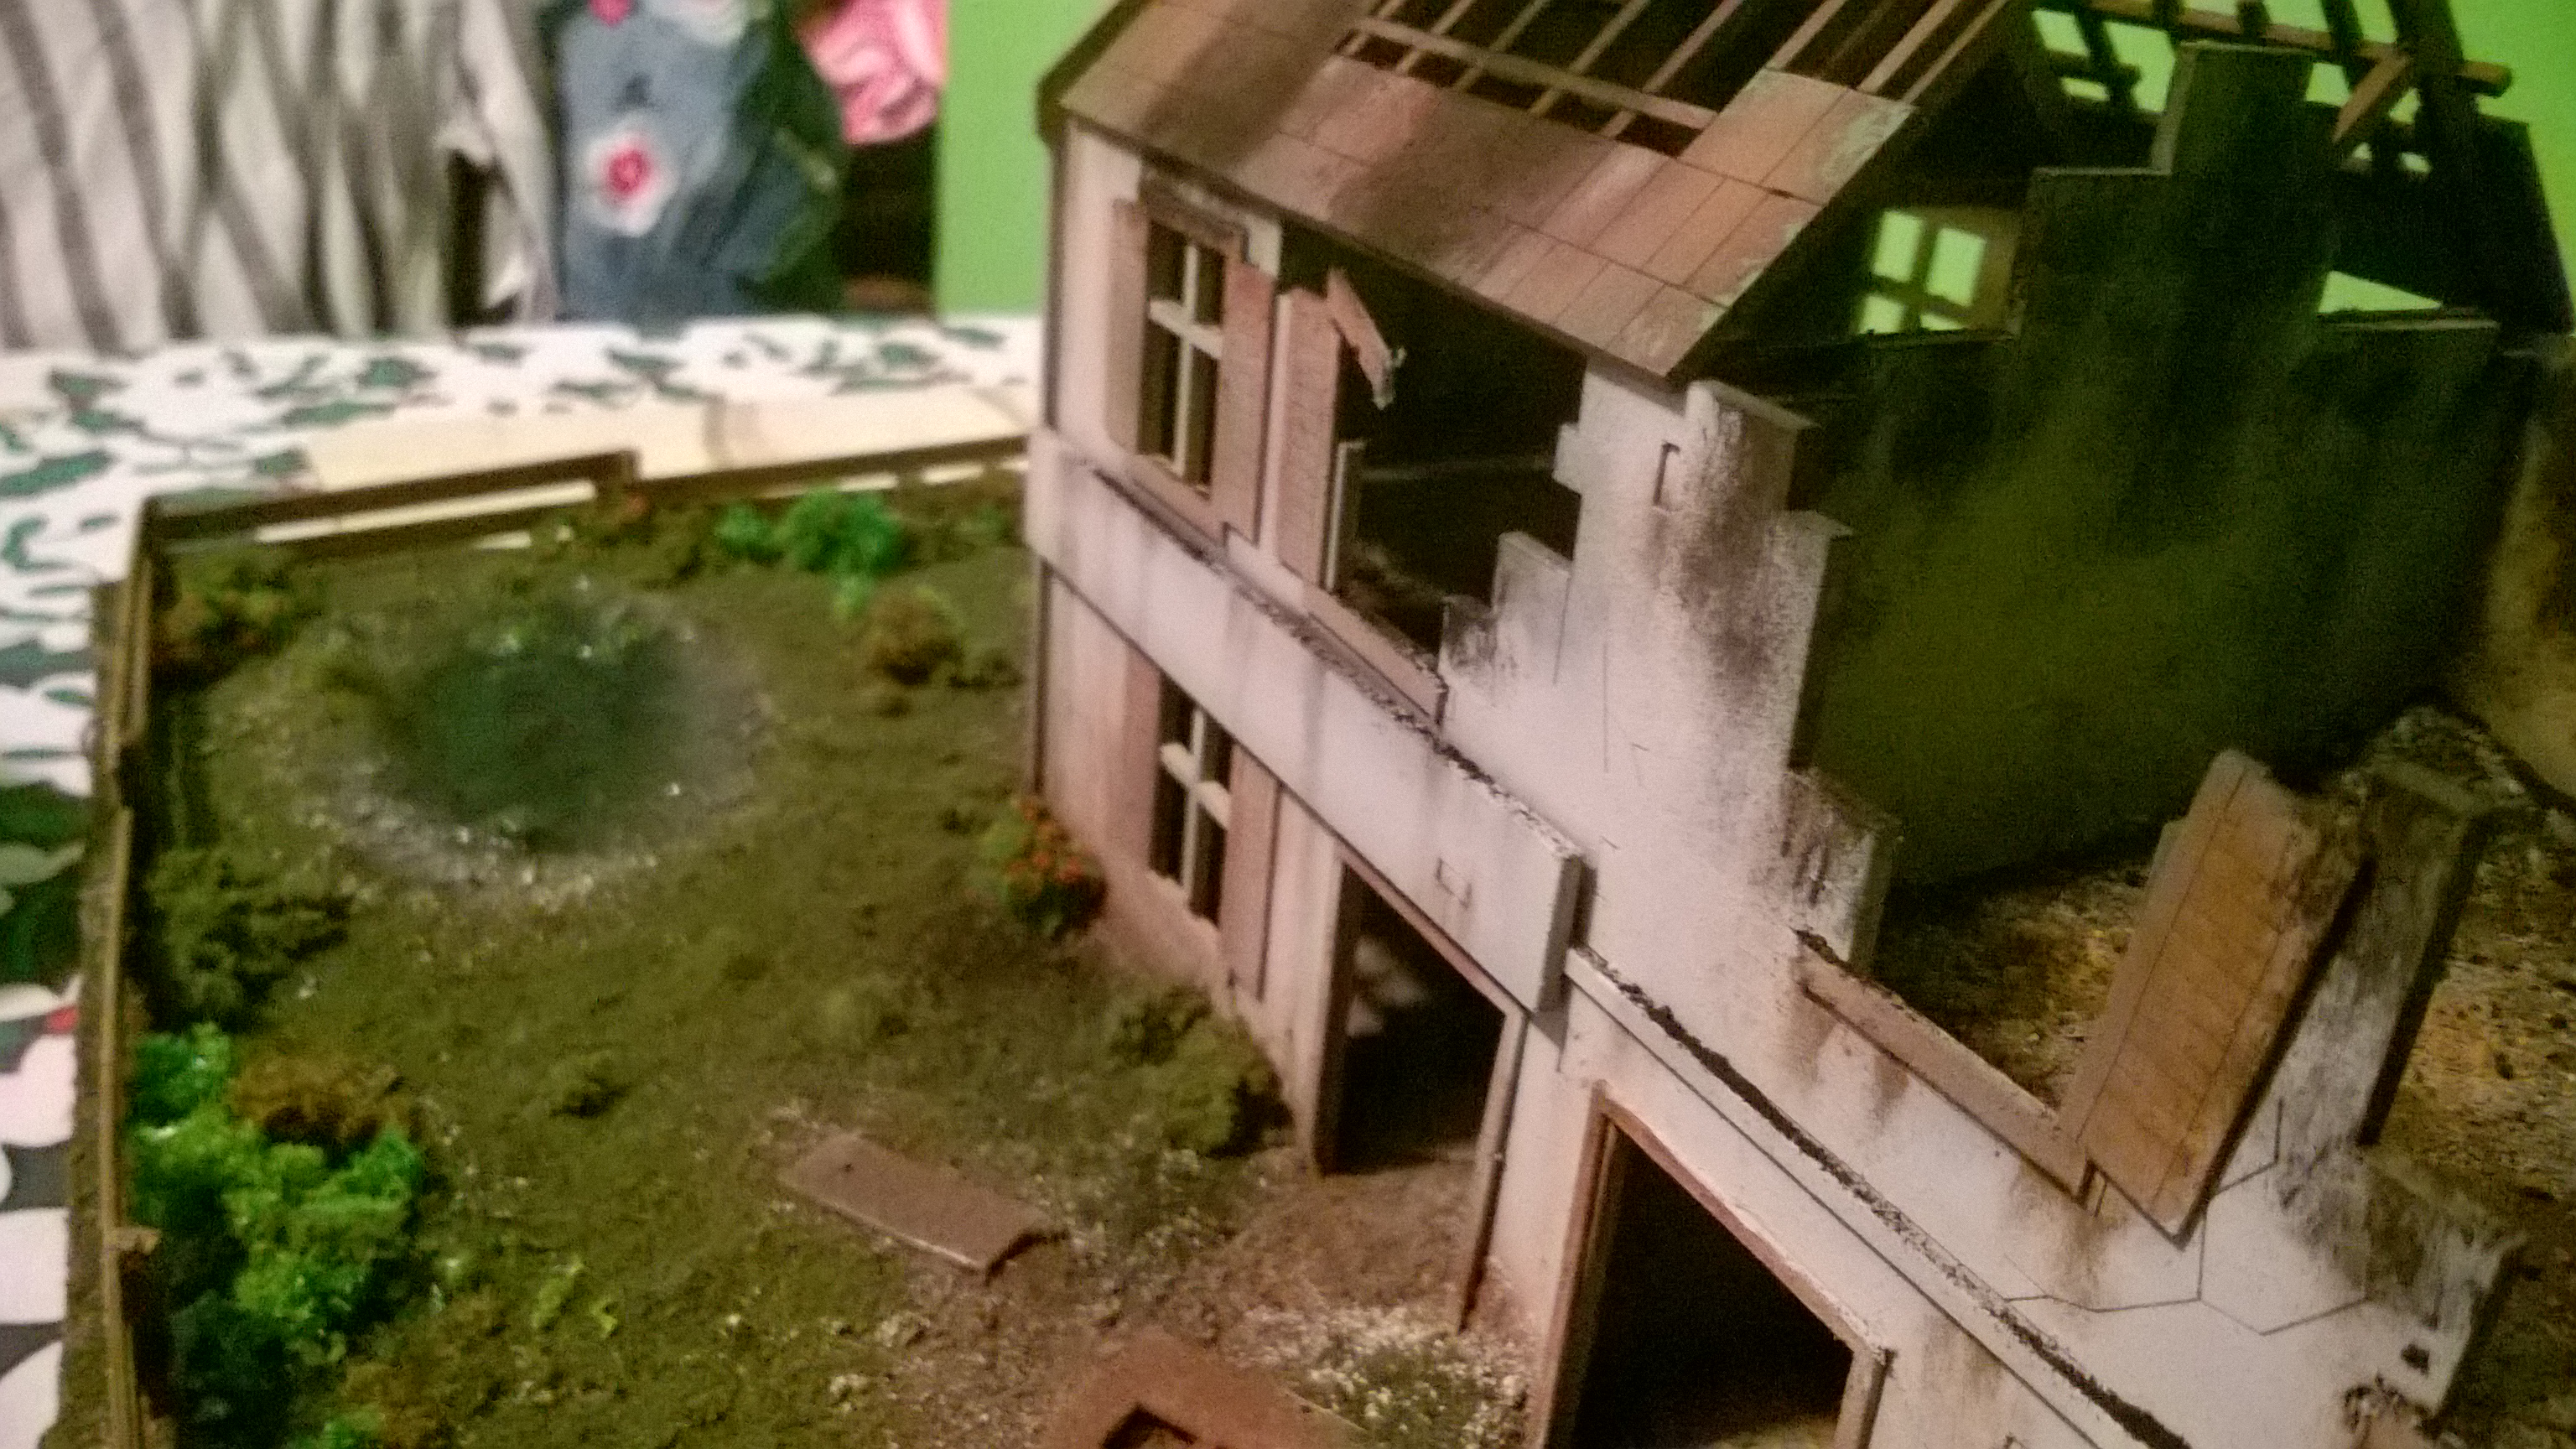
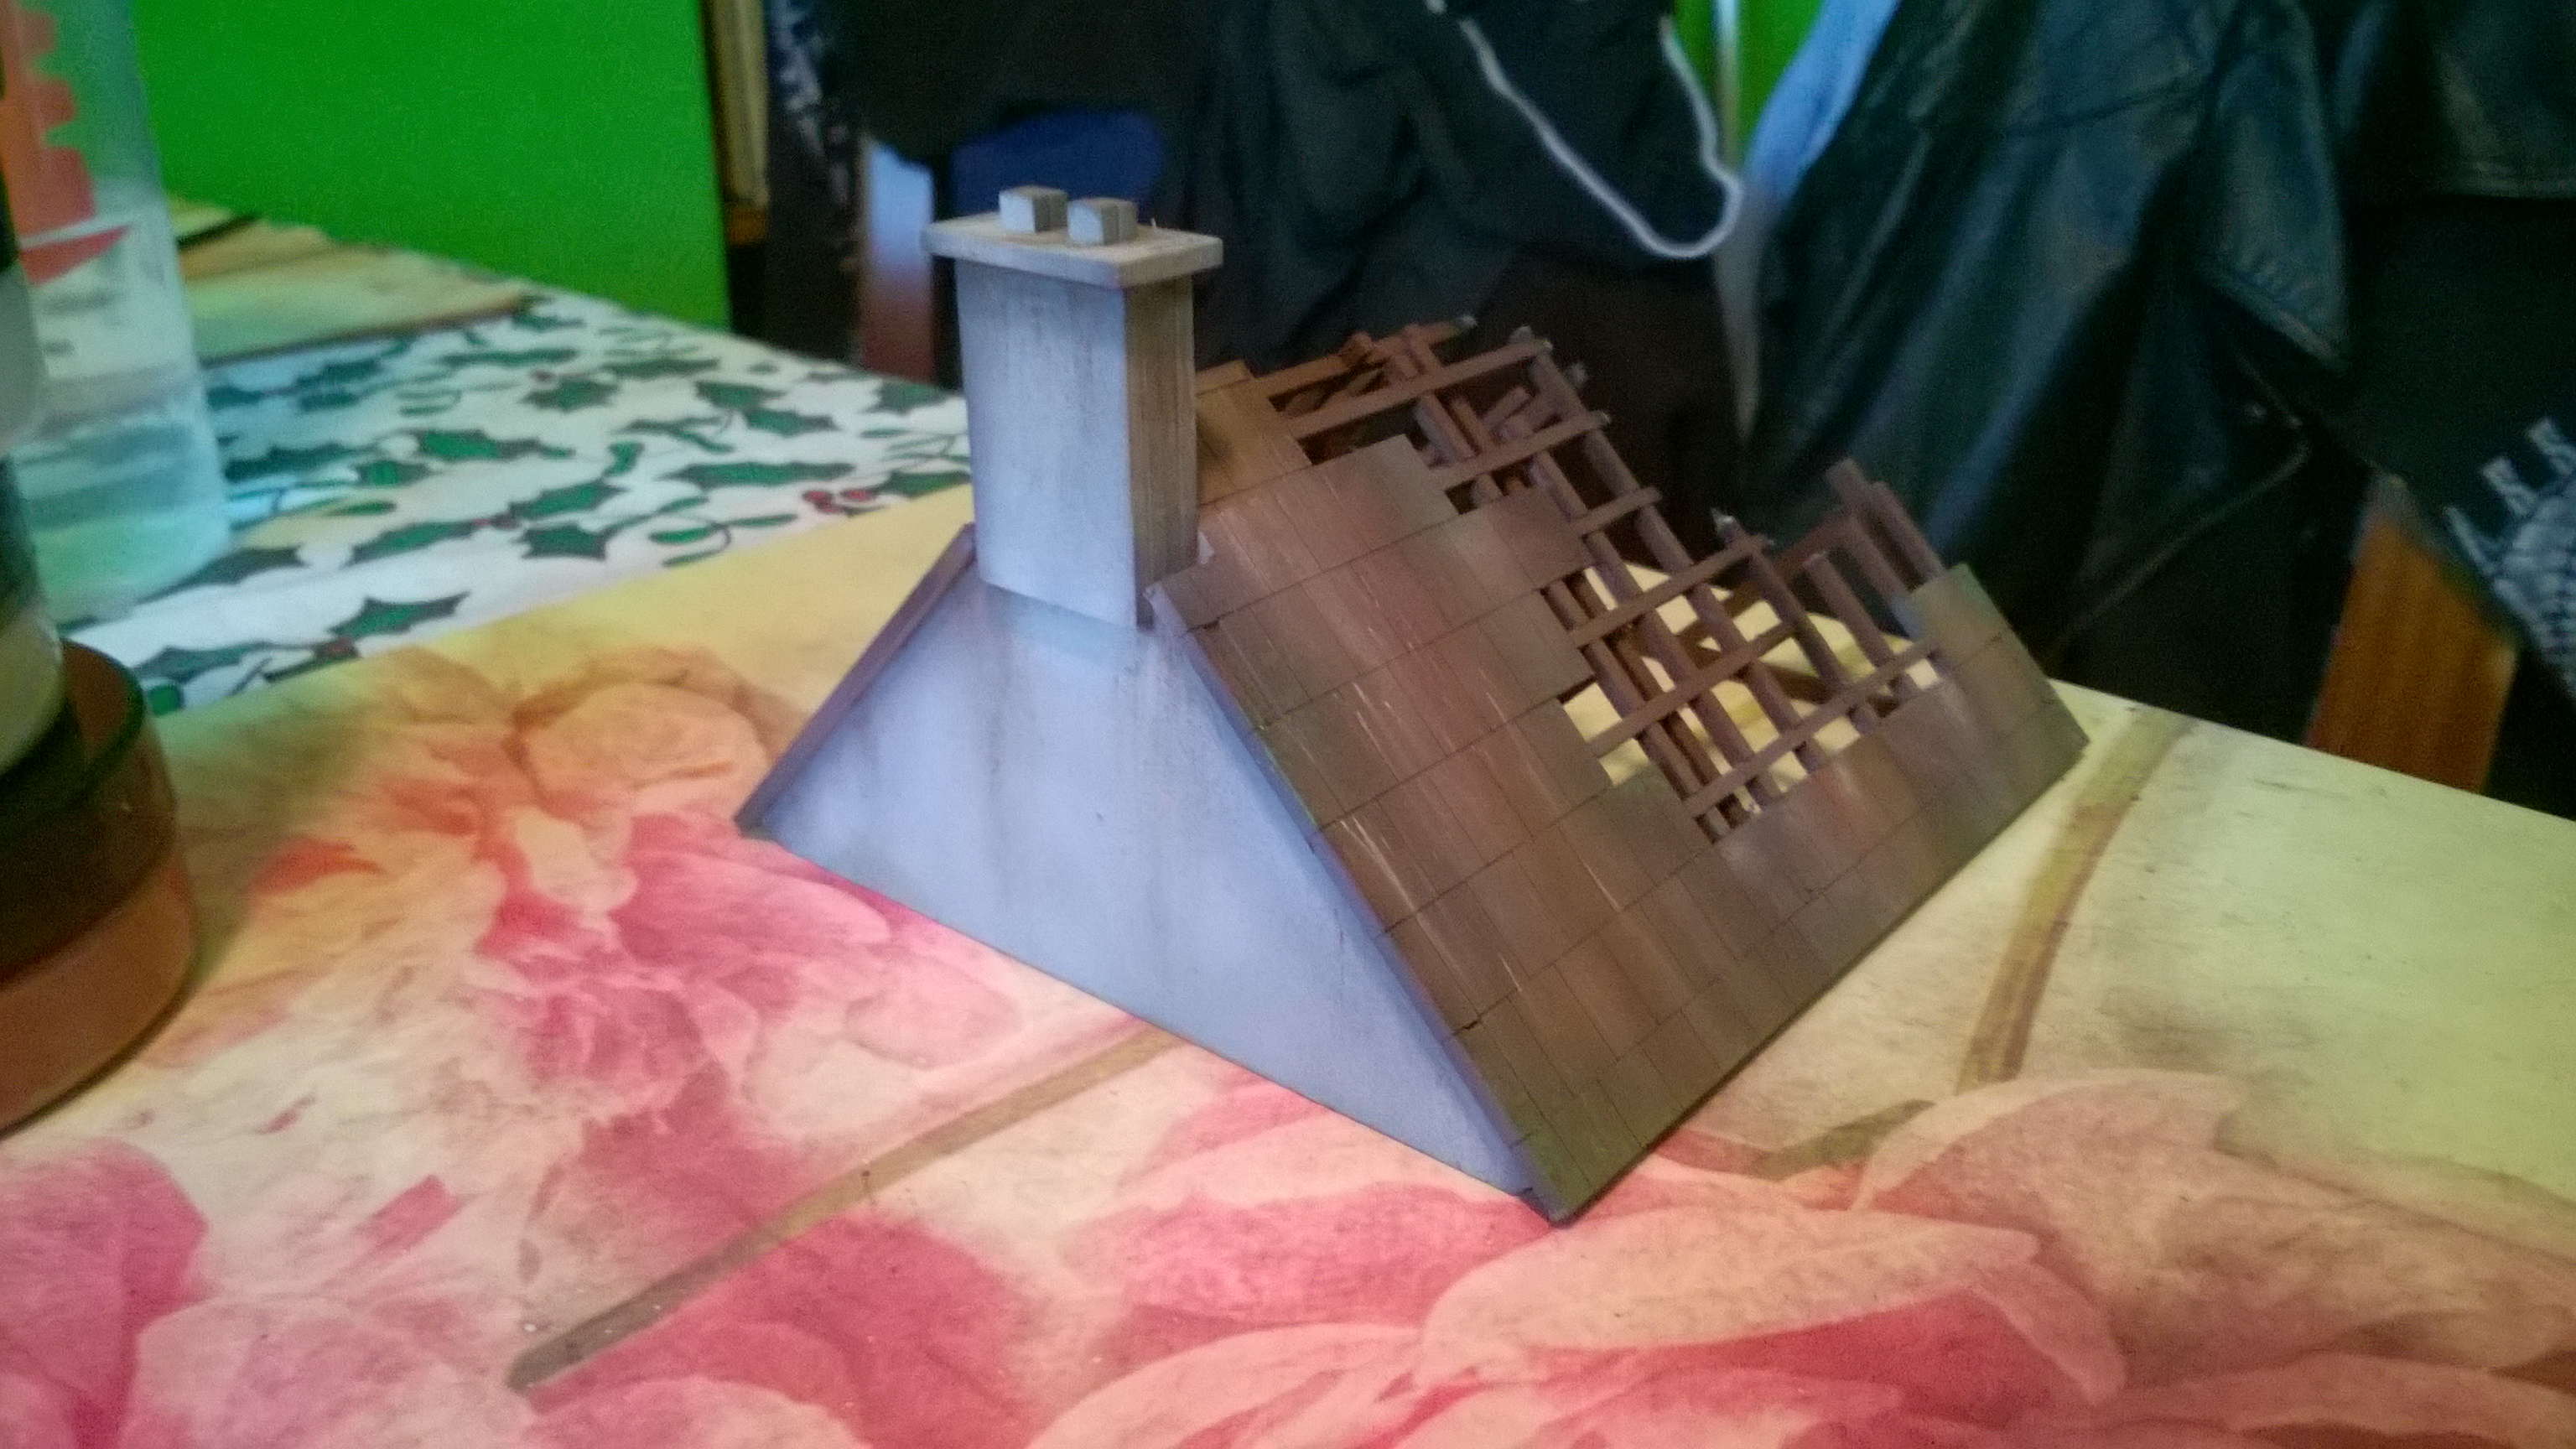
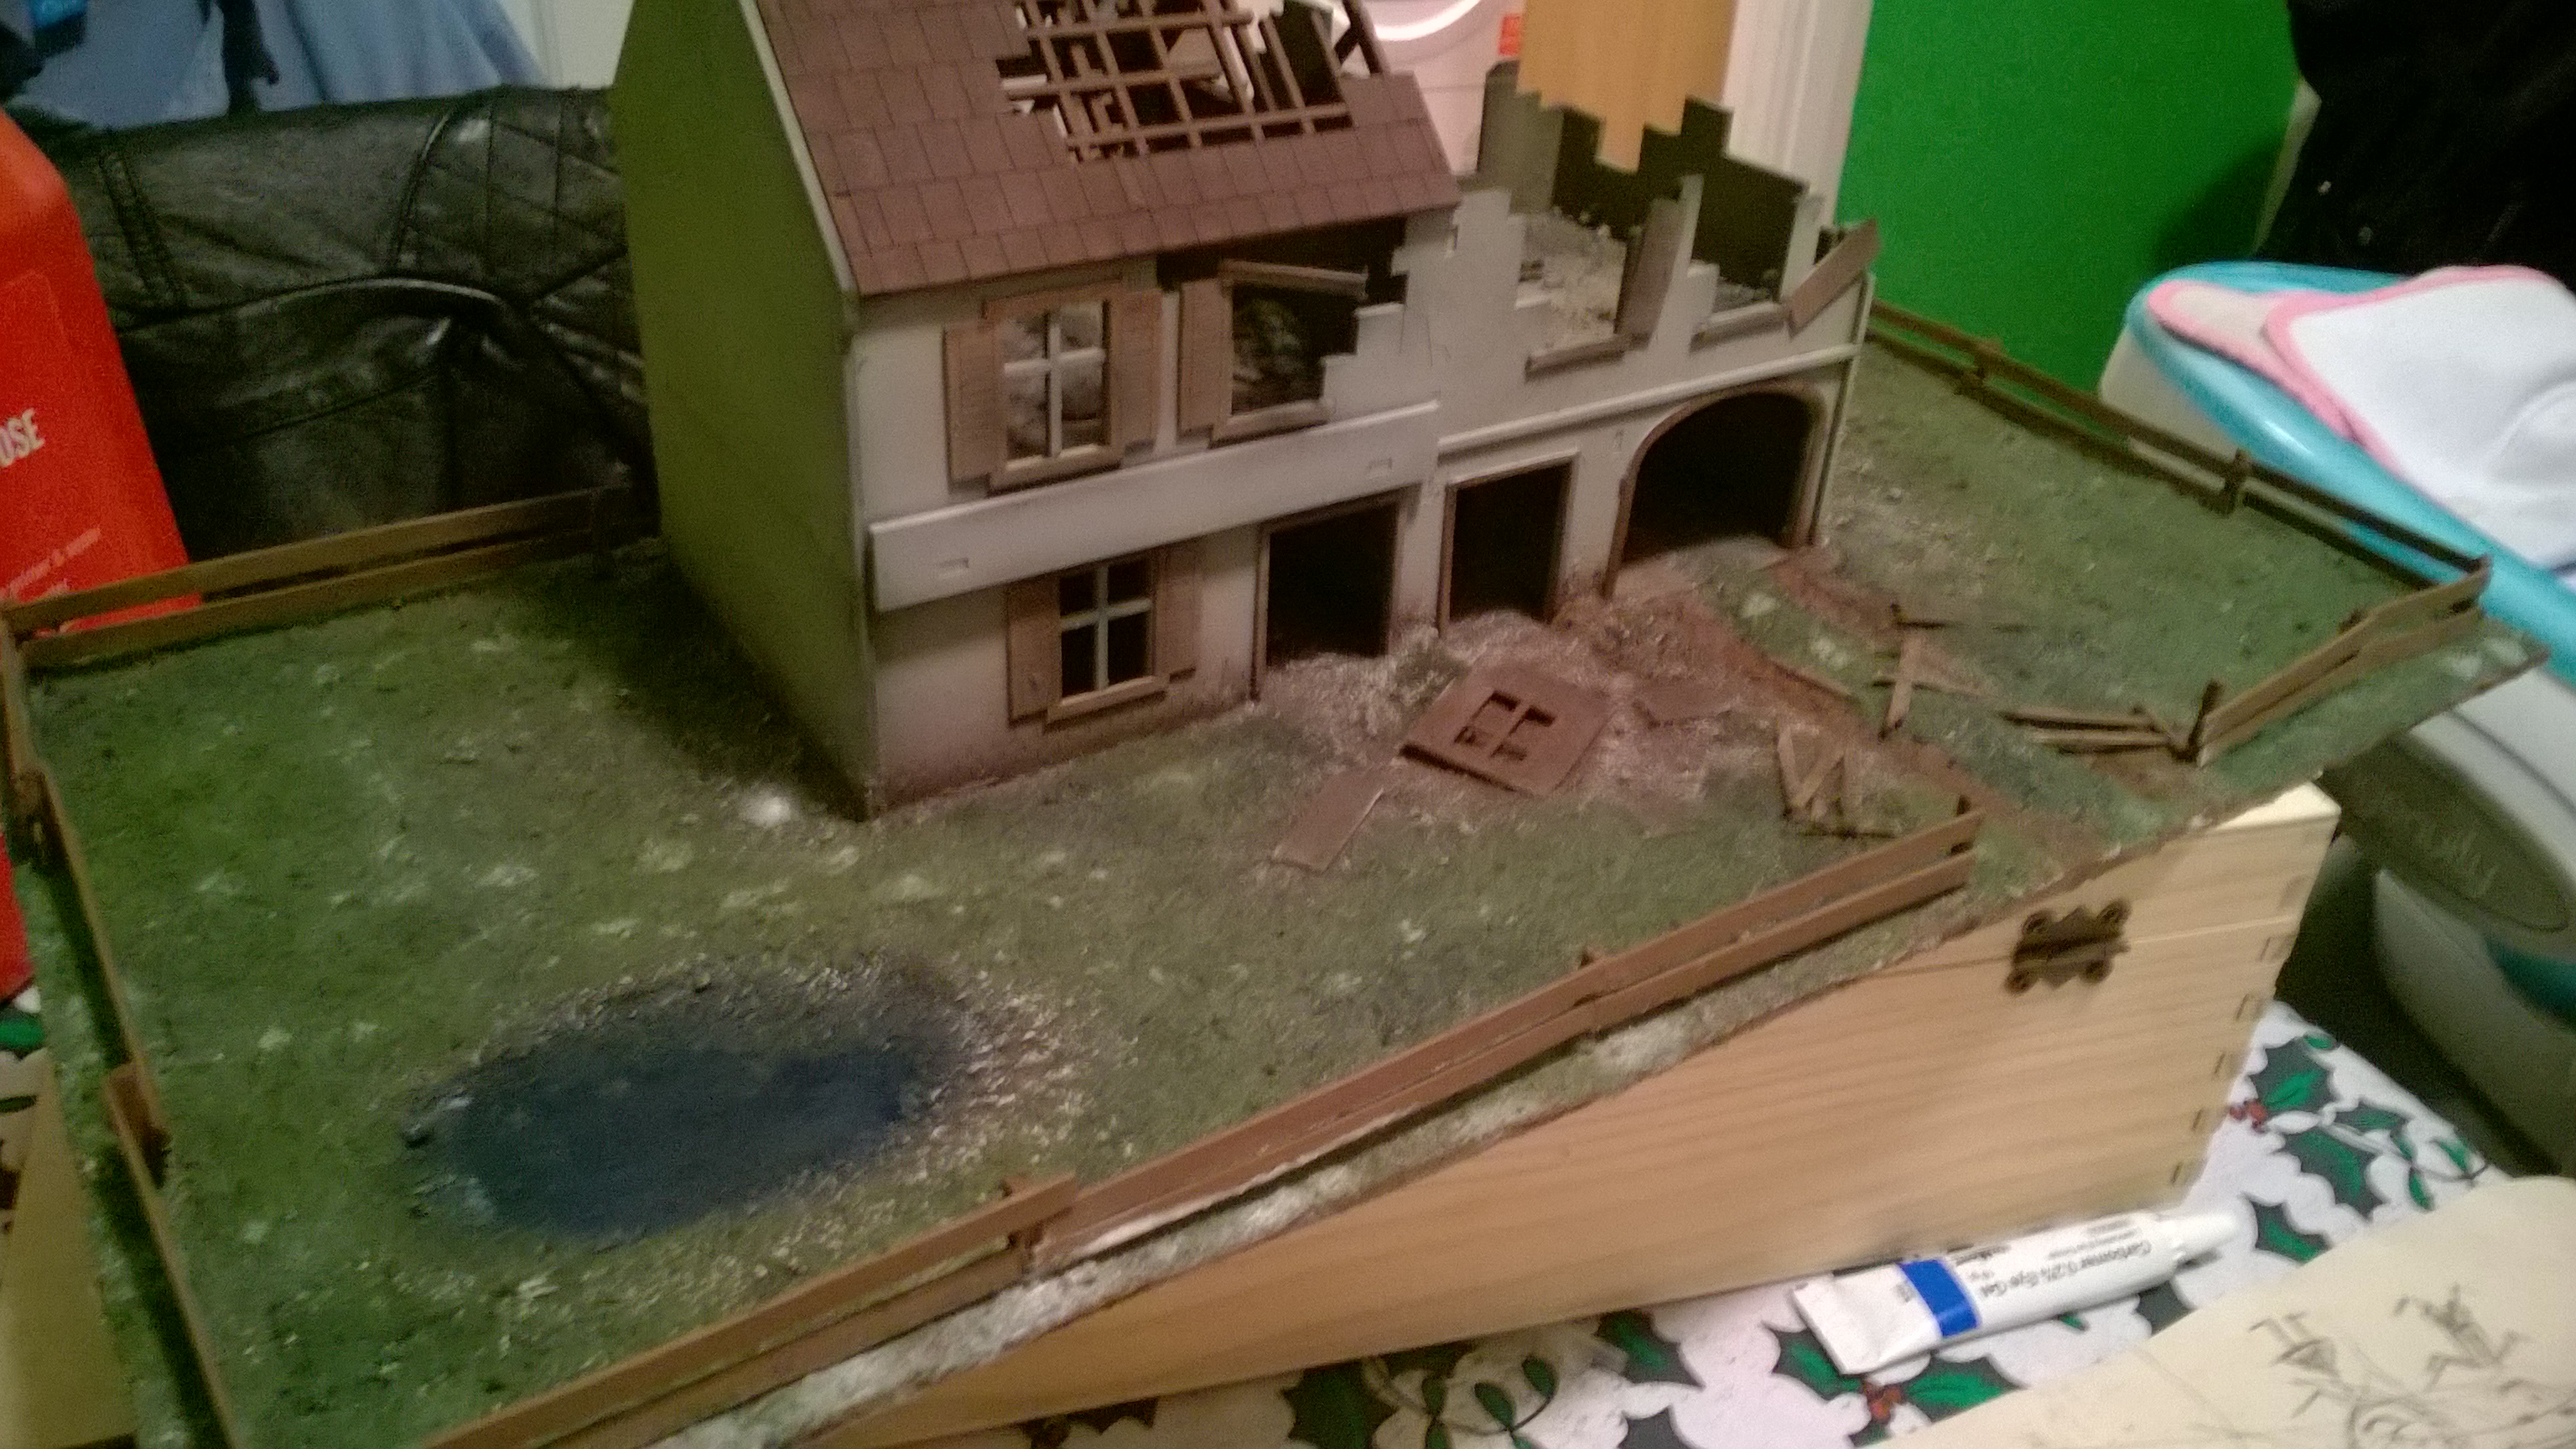
Progress is made…. So a few spares minutes today allowed me some time to do some base coats. First i sprayed the whole model with plasticoats mdf primer.
Then i used the airbrush to add shade, basically any details or corners etc had a black spray (i forgot to take pics sorry i was in the zone!)
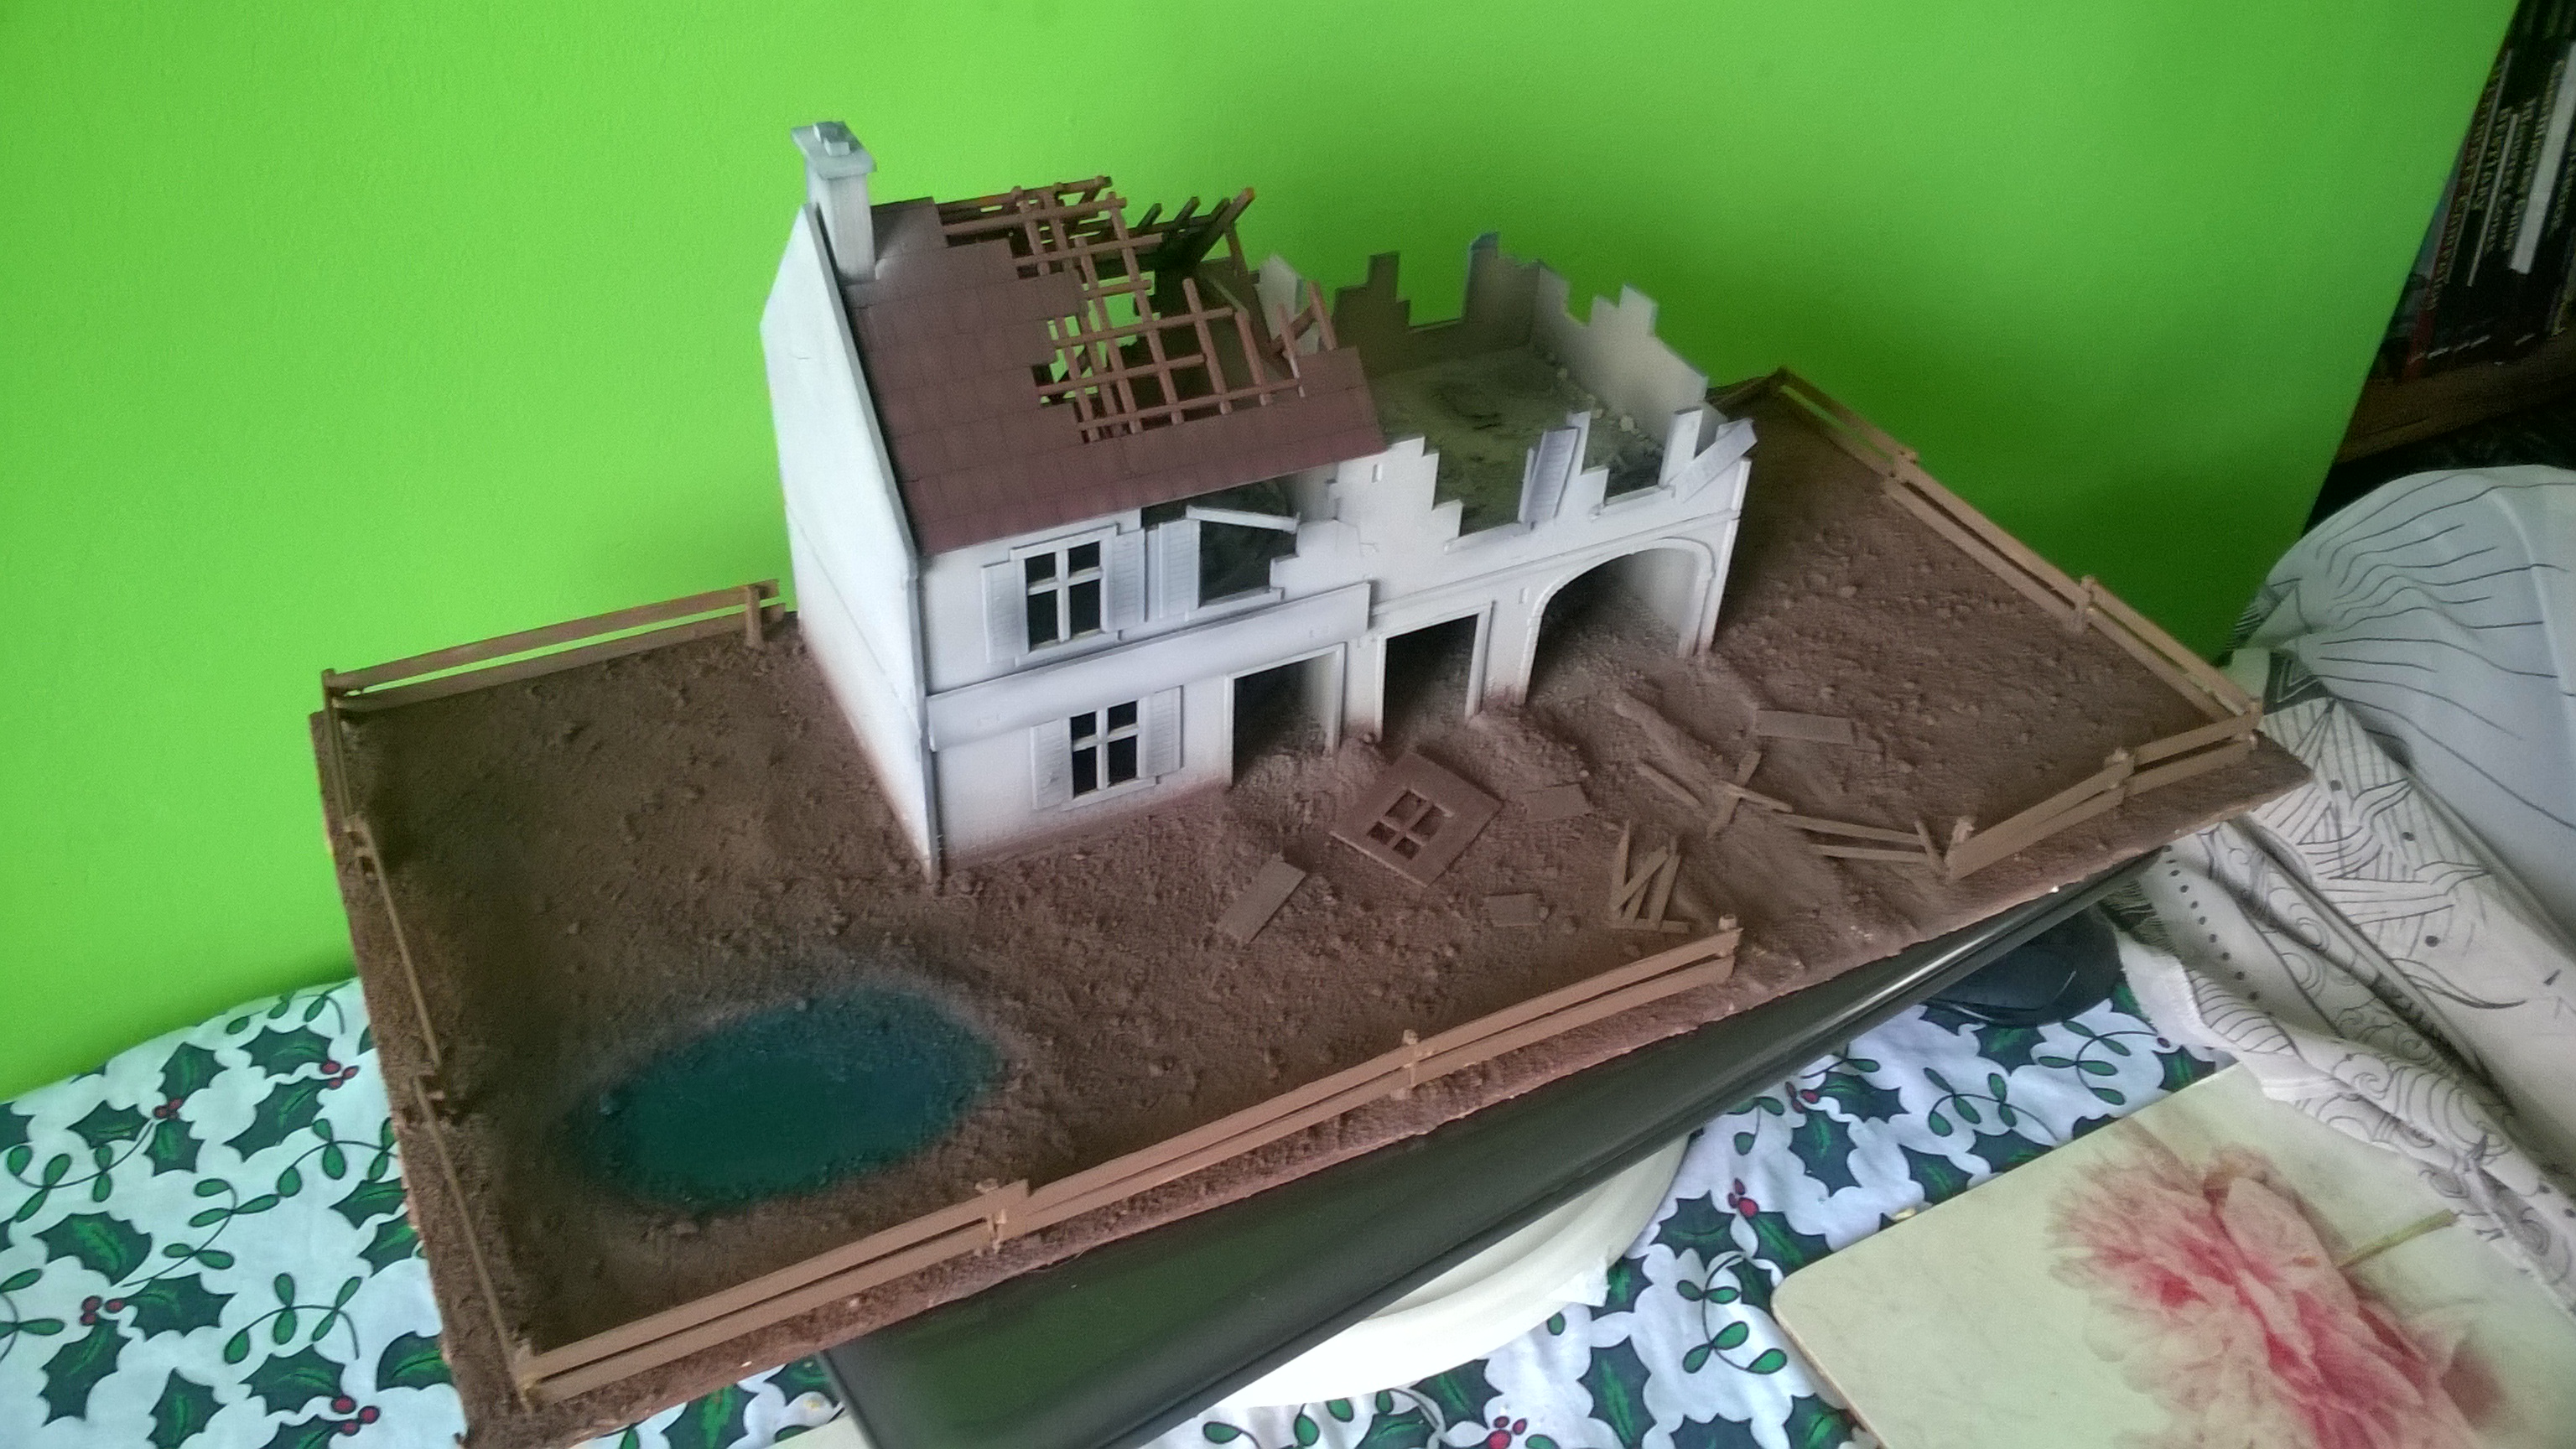
Next nice thinned down base coats allowing the black shading to come through. Red for the roof, deck tan for the outside and desert yellow interior.
Flat brown on all the earth and fence, and tamiya have some clear colours so i used the blue on the pond, so far not too bad a result, i will be adding a bit of clear resin water effect to this too hopefully with some reeds etc.
next a dry/stipple of beige brown on the fence and flat brown on the exposed beams.
Looks a bit funky but im sure once all the flock etc is on and a few more hand painted bits picked out its gonna look pretty good, im thinking lots of bushes too, bombed out and overgrown 😀
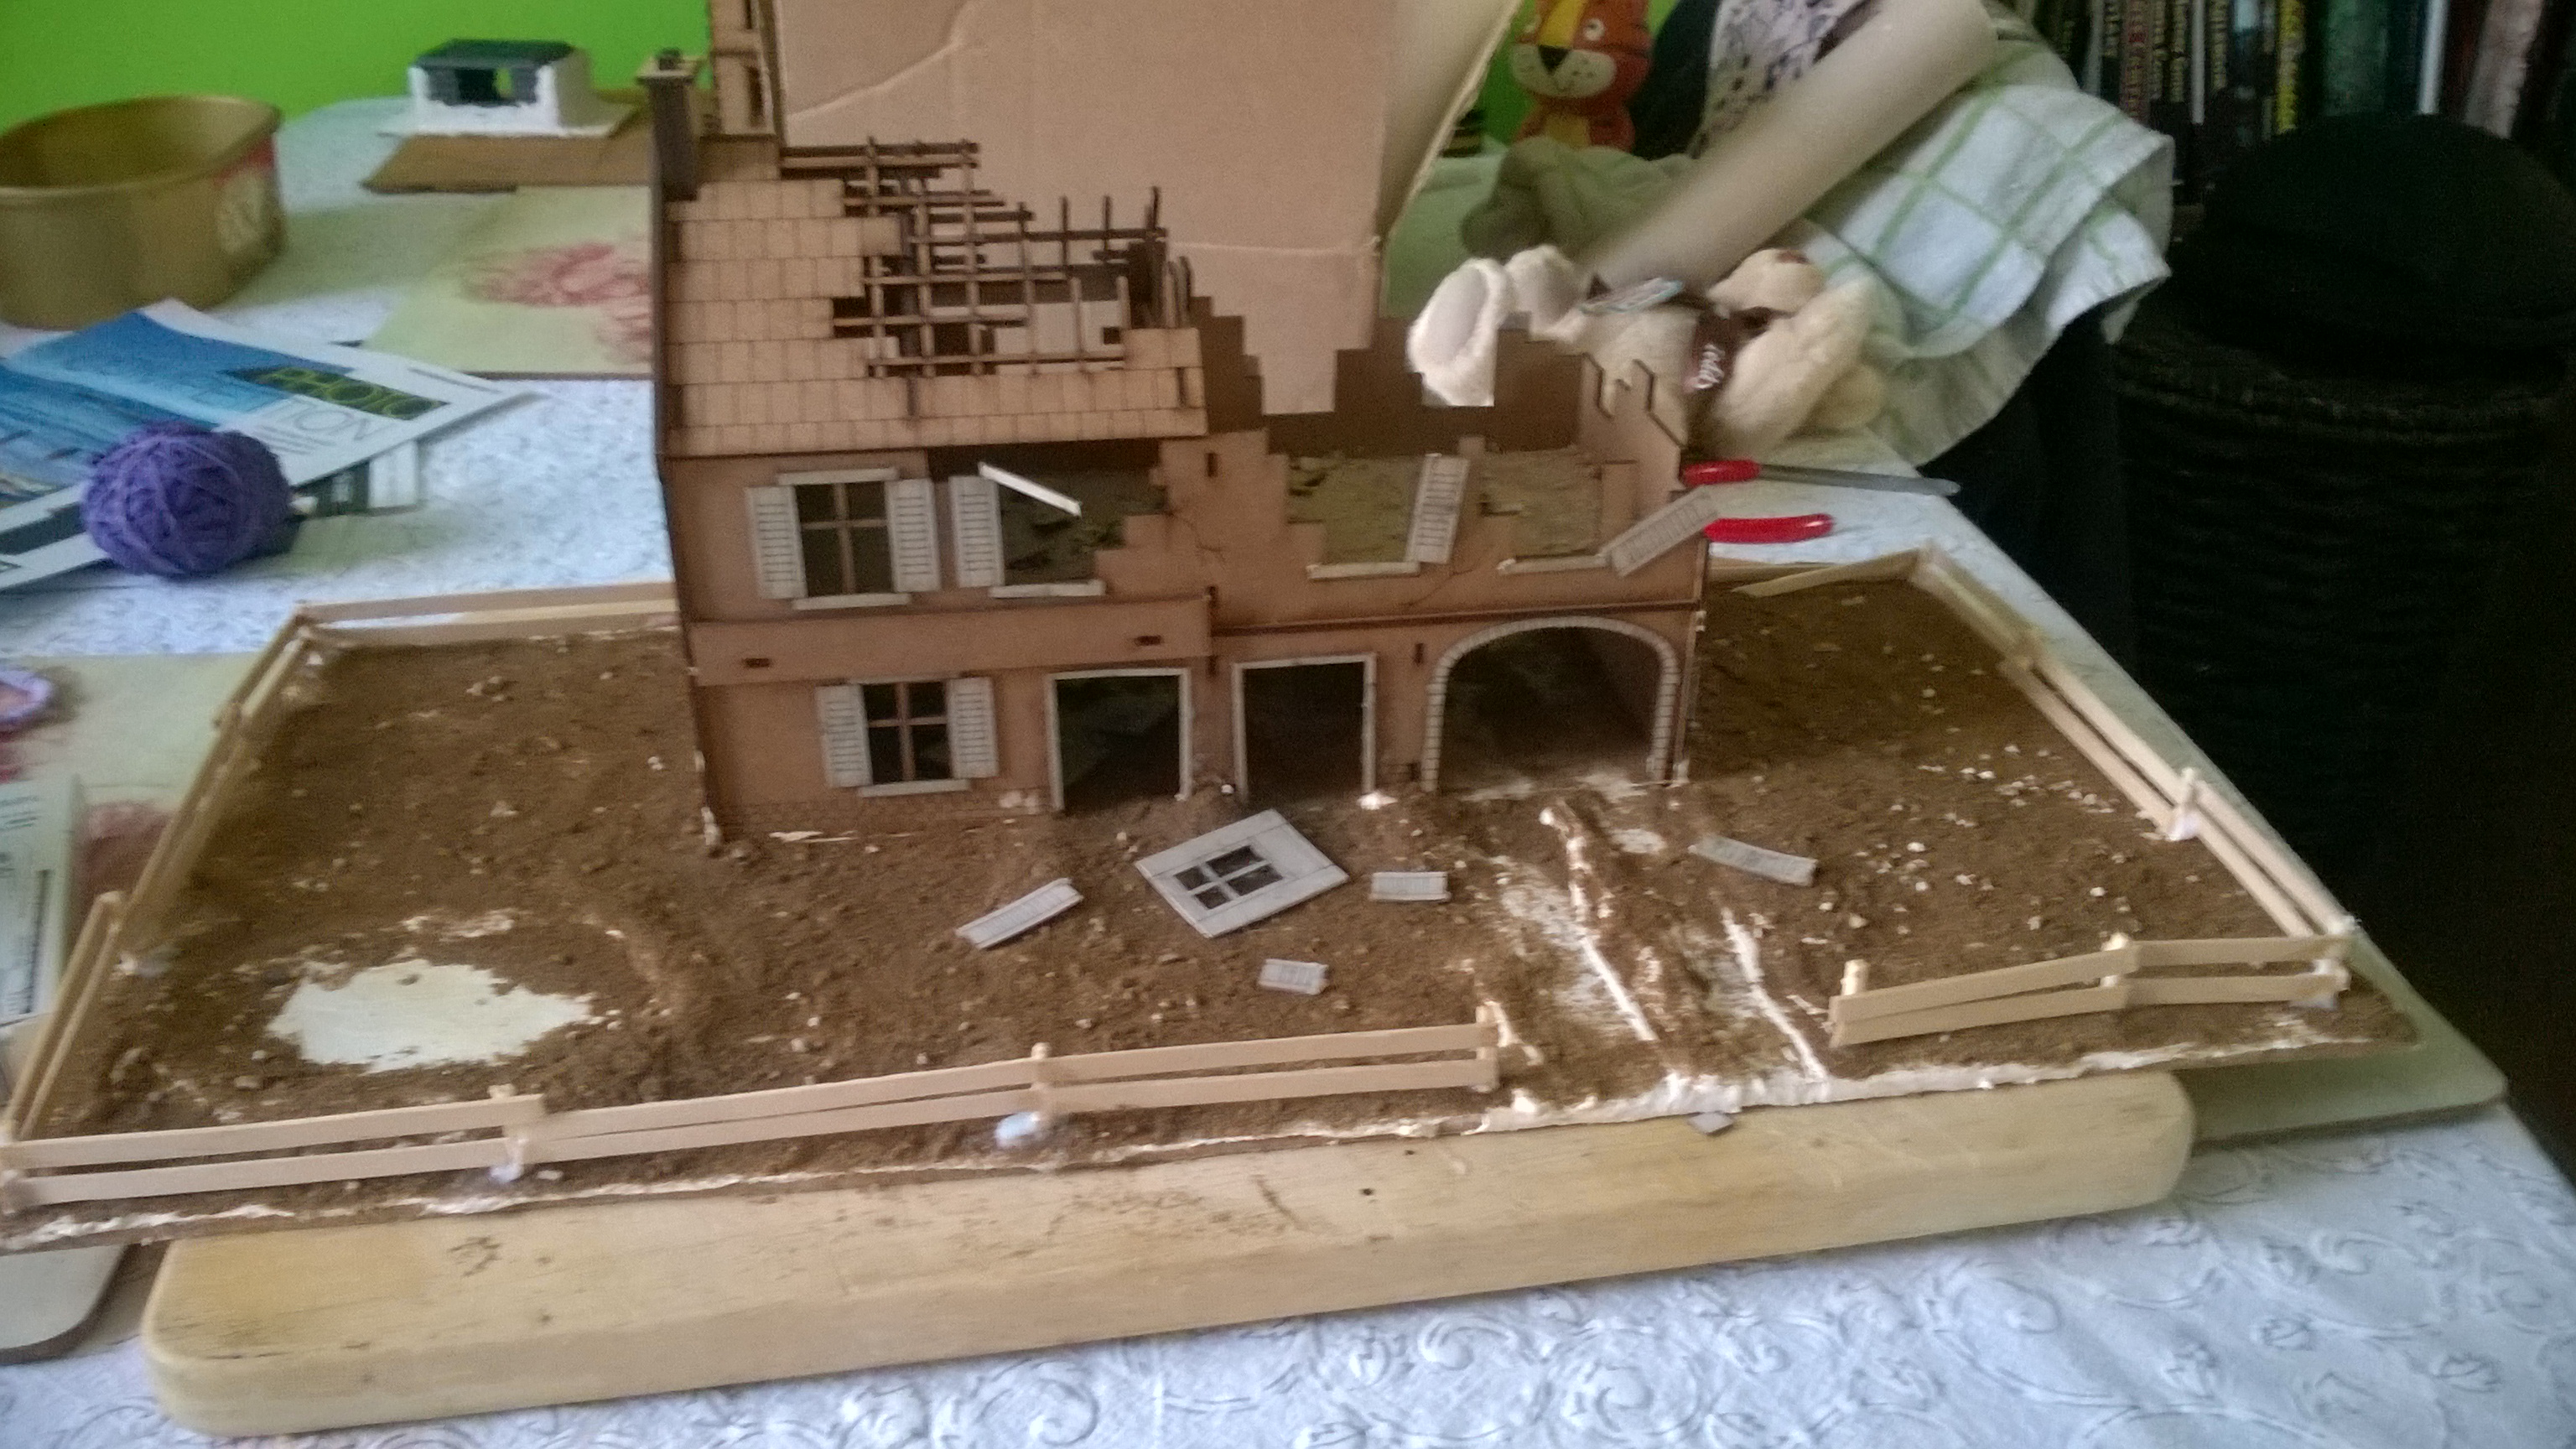
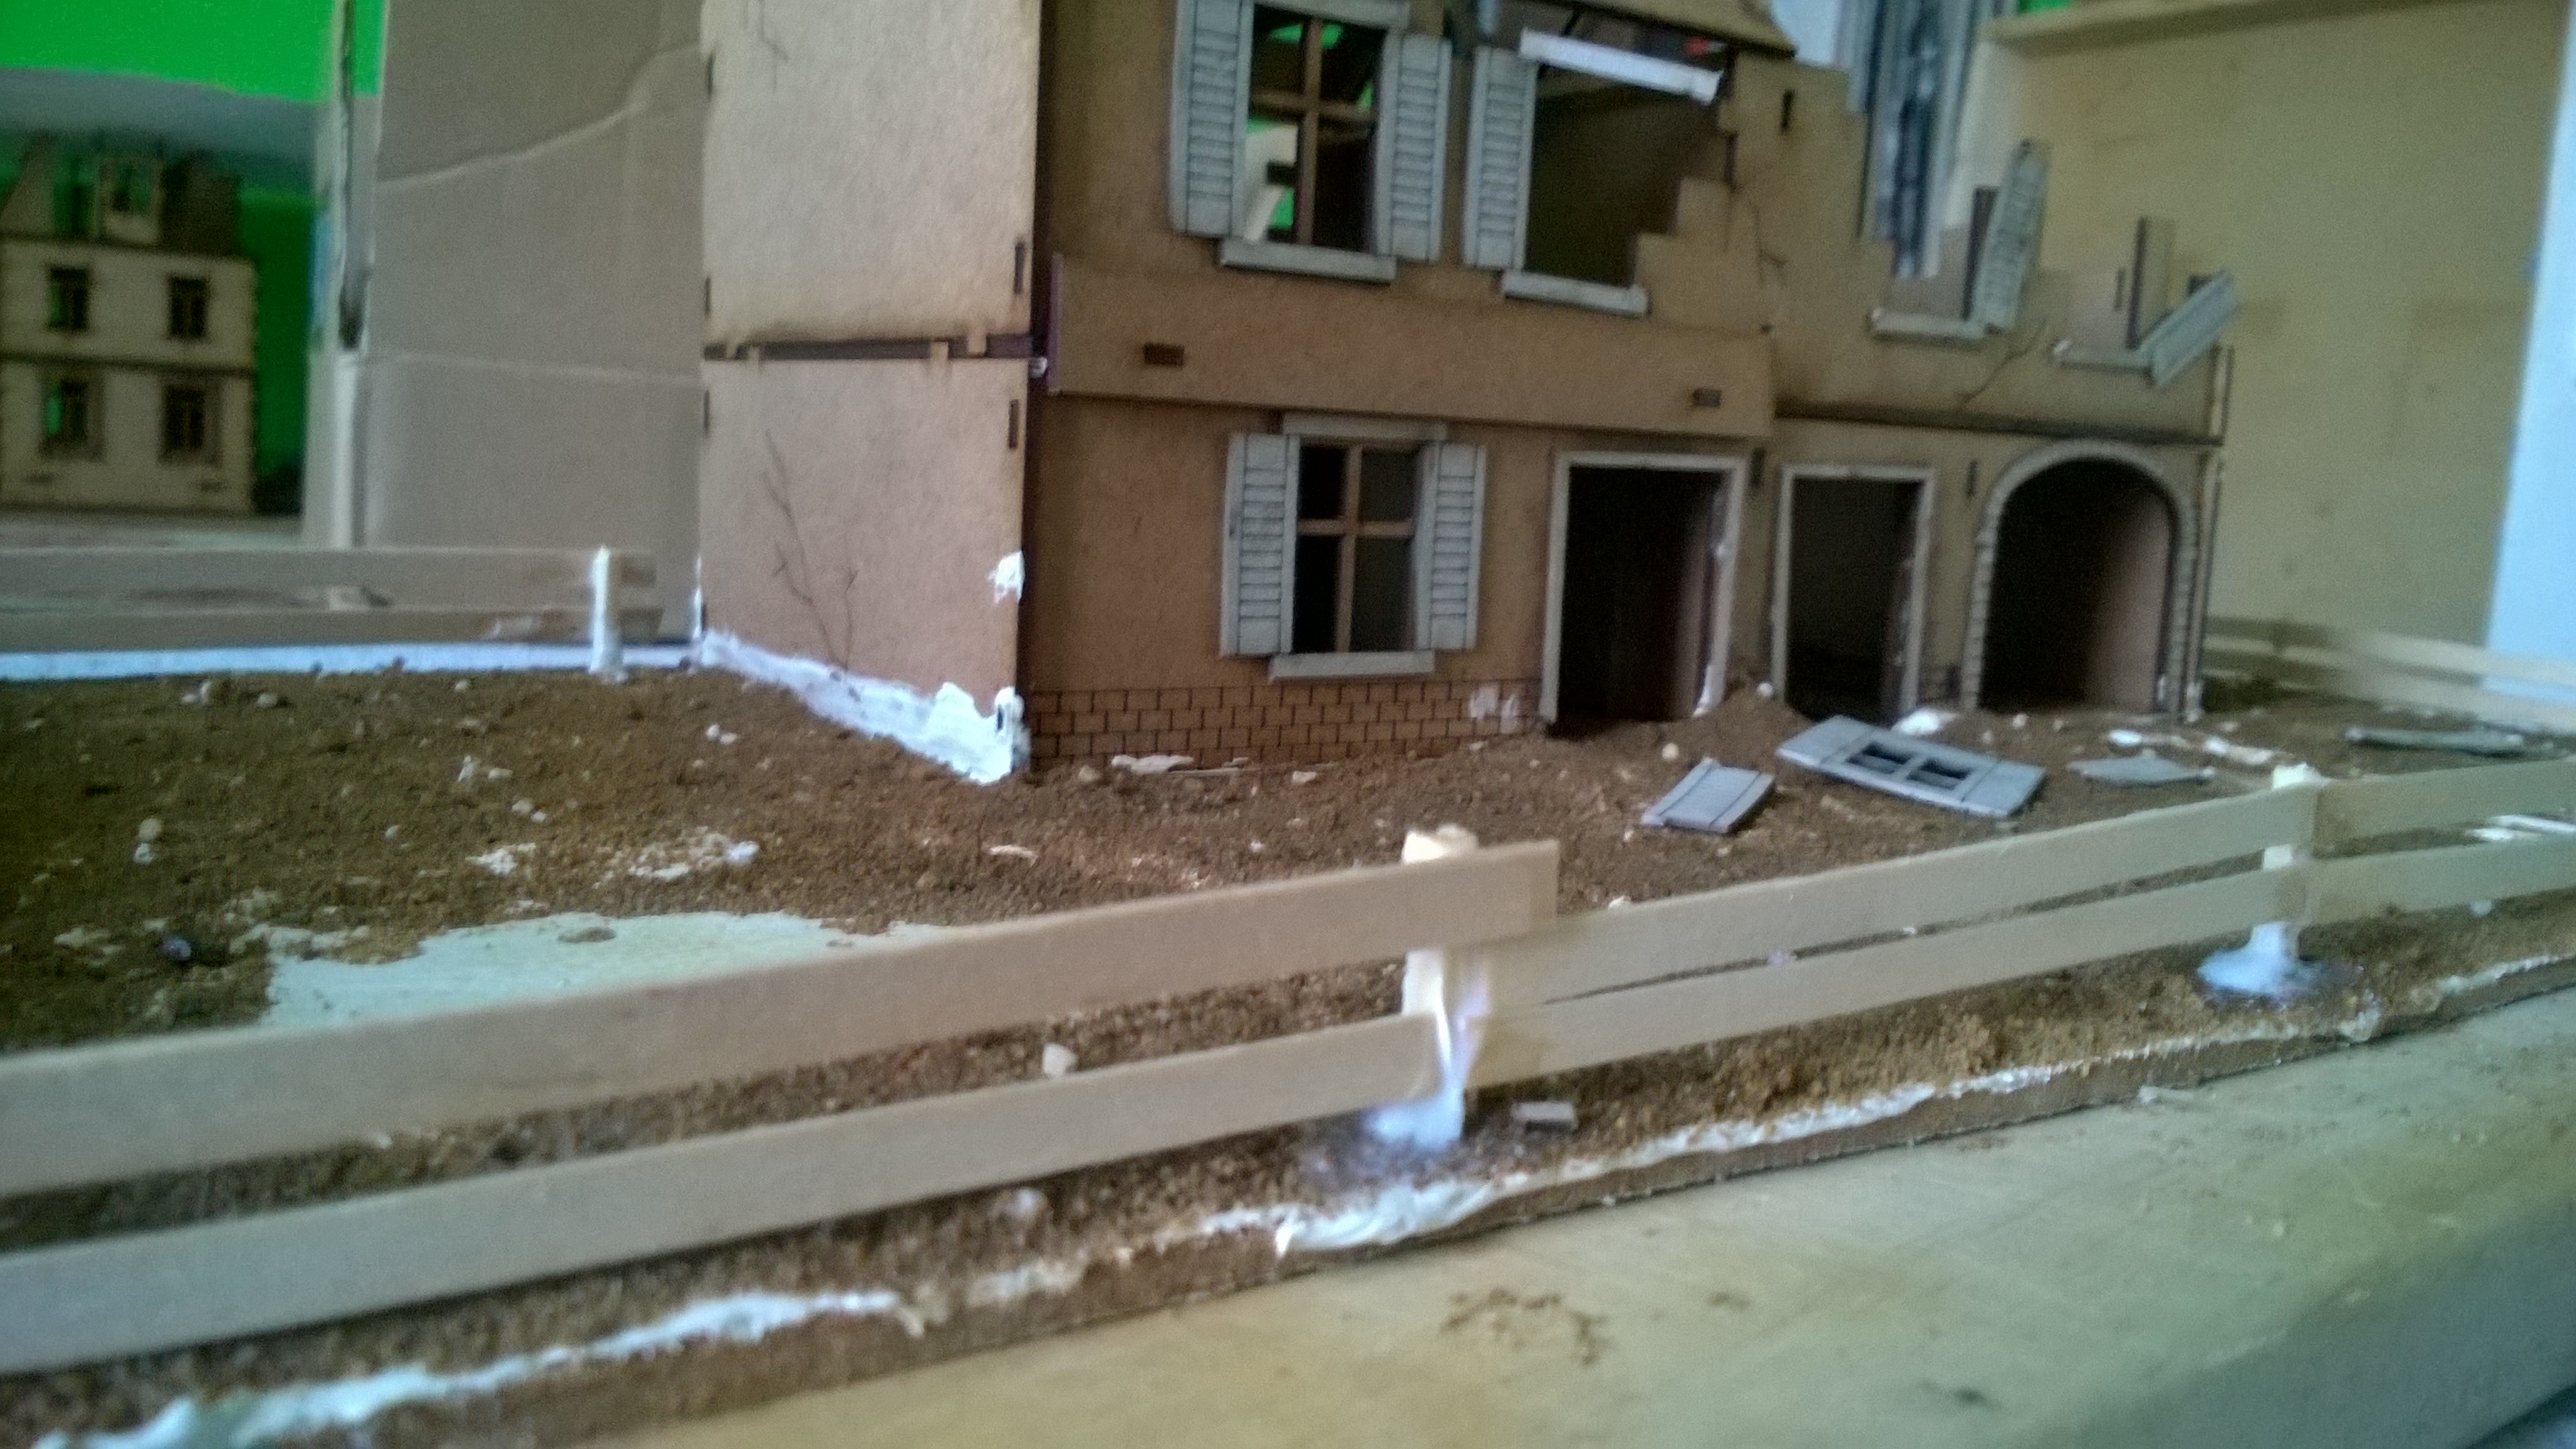
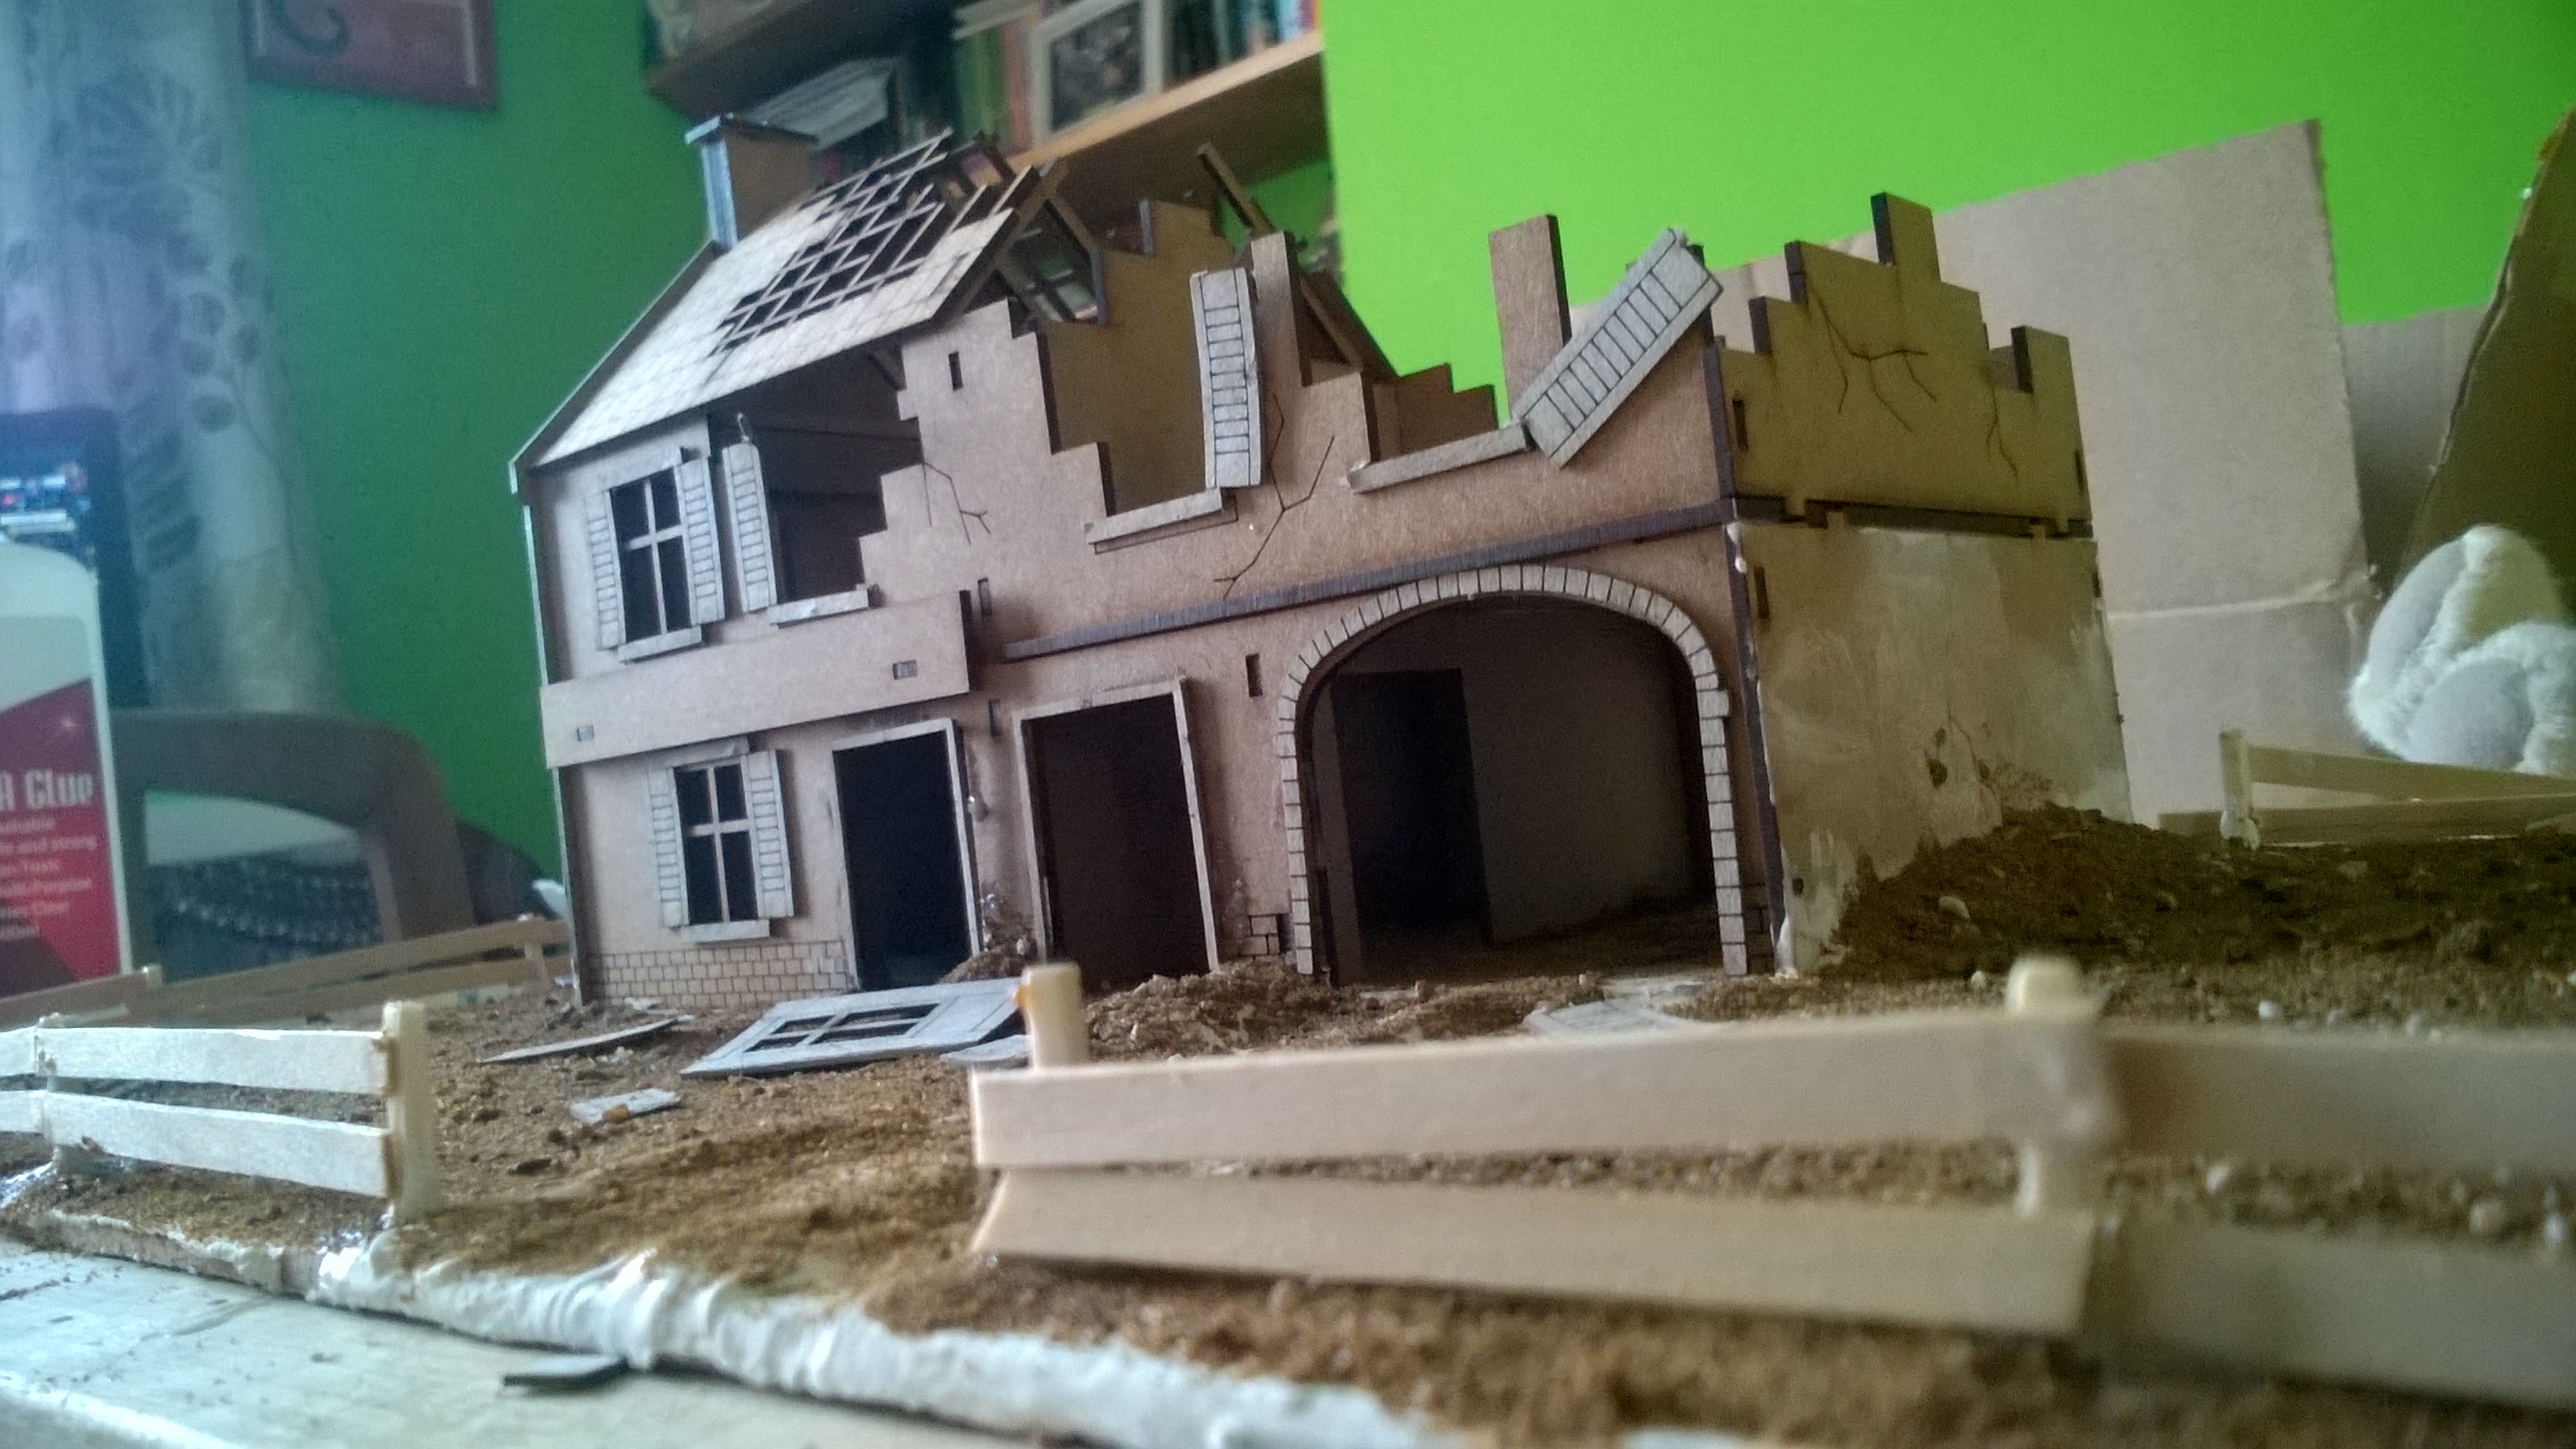
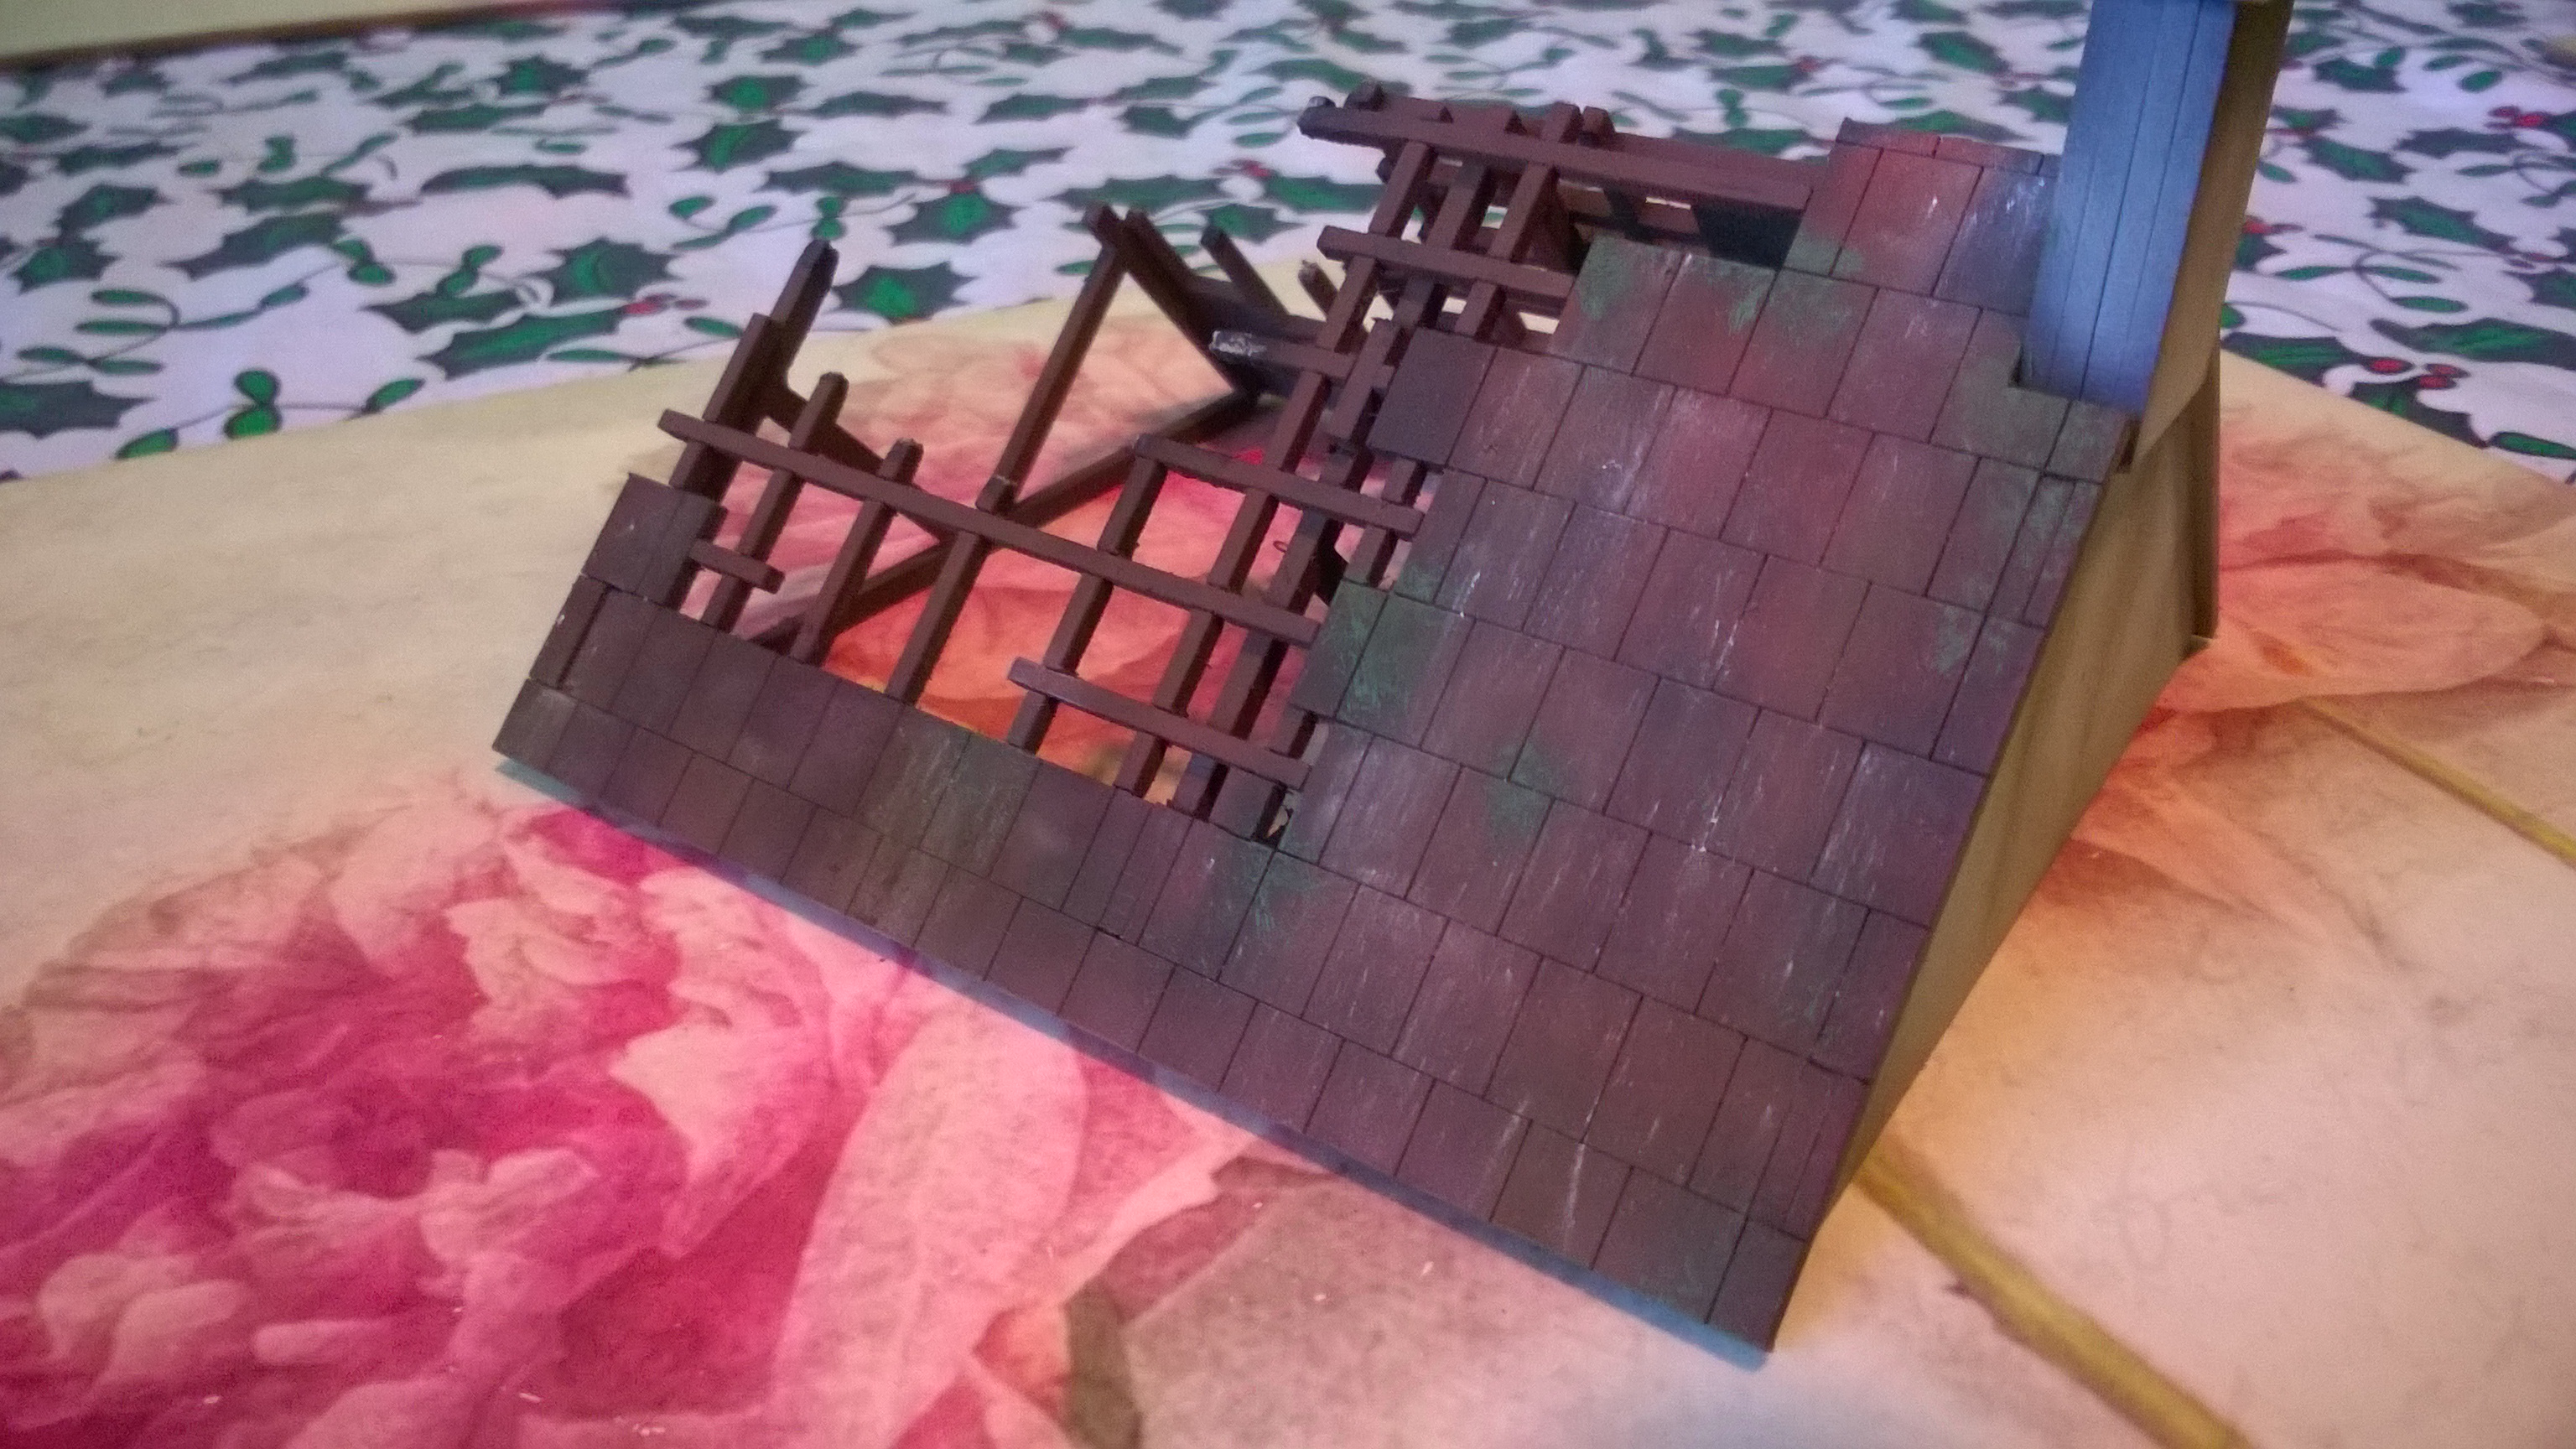
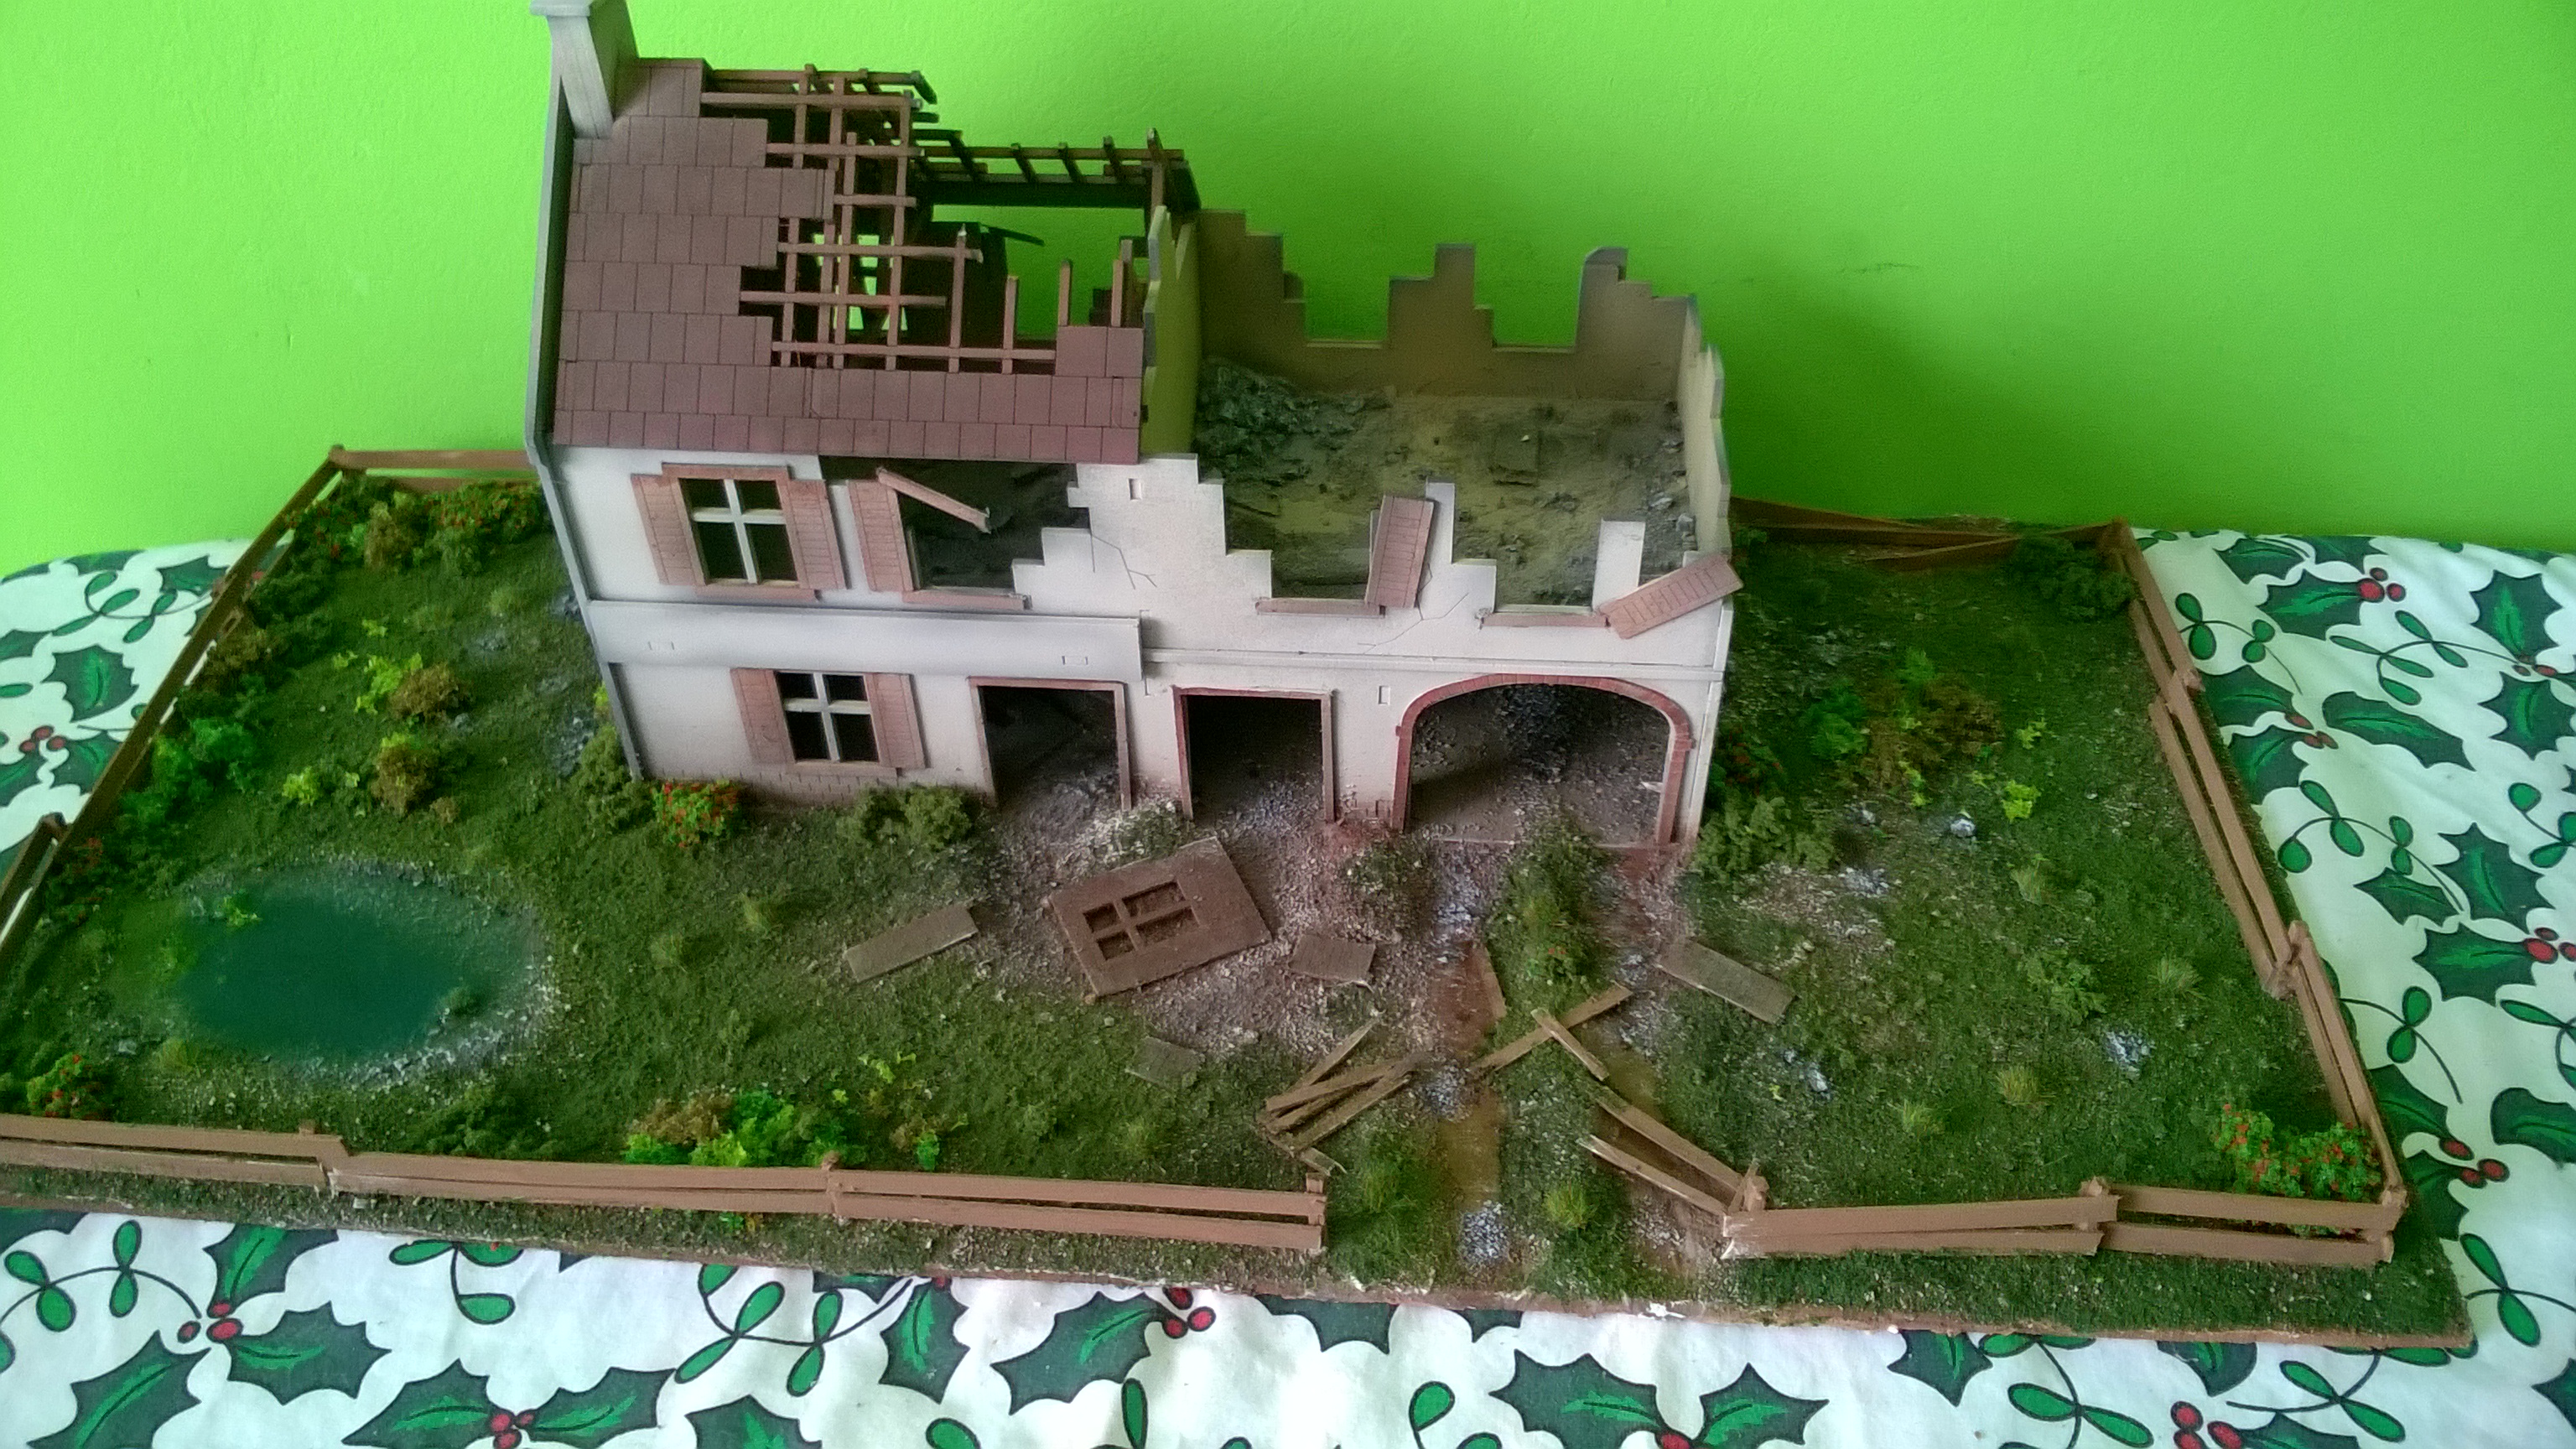
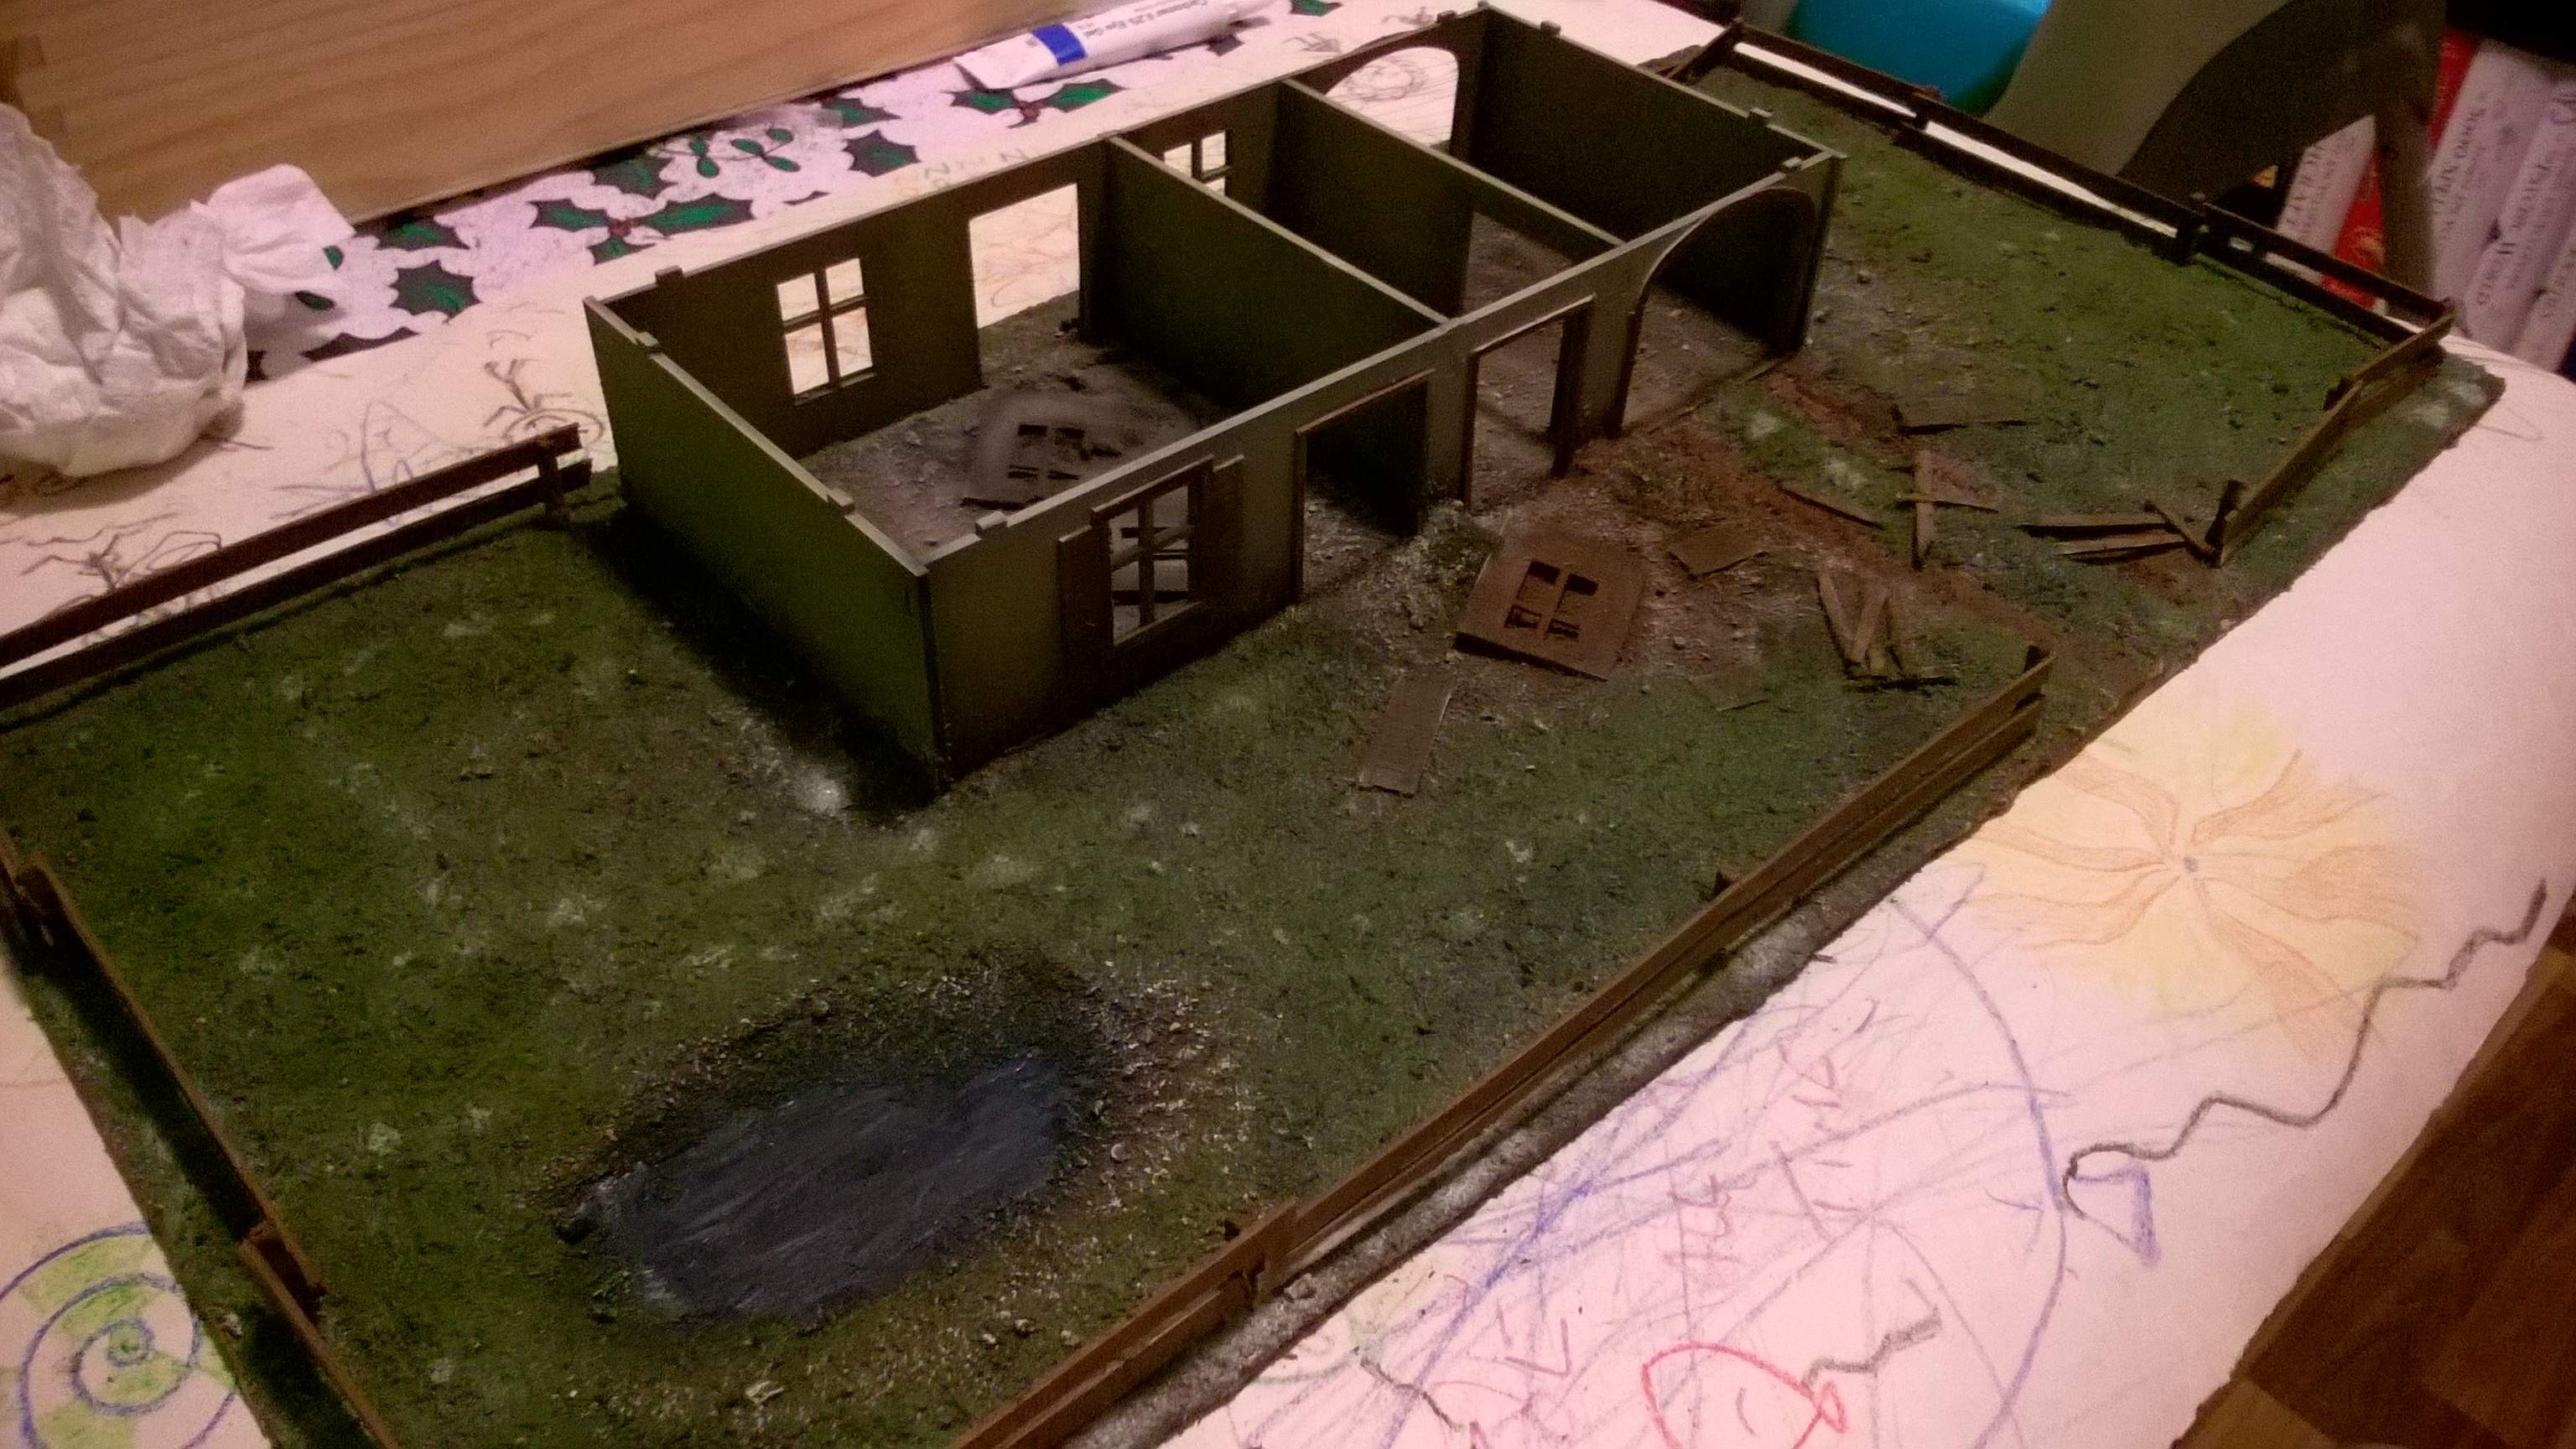
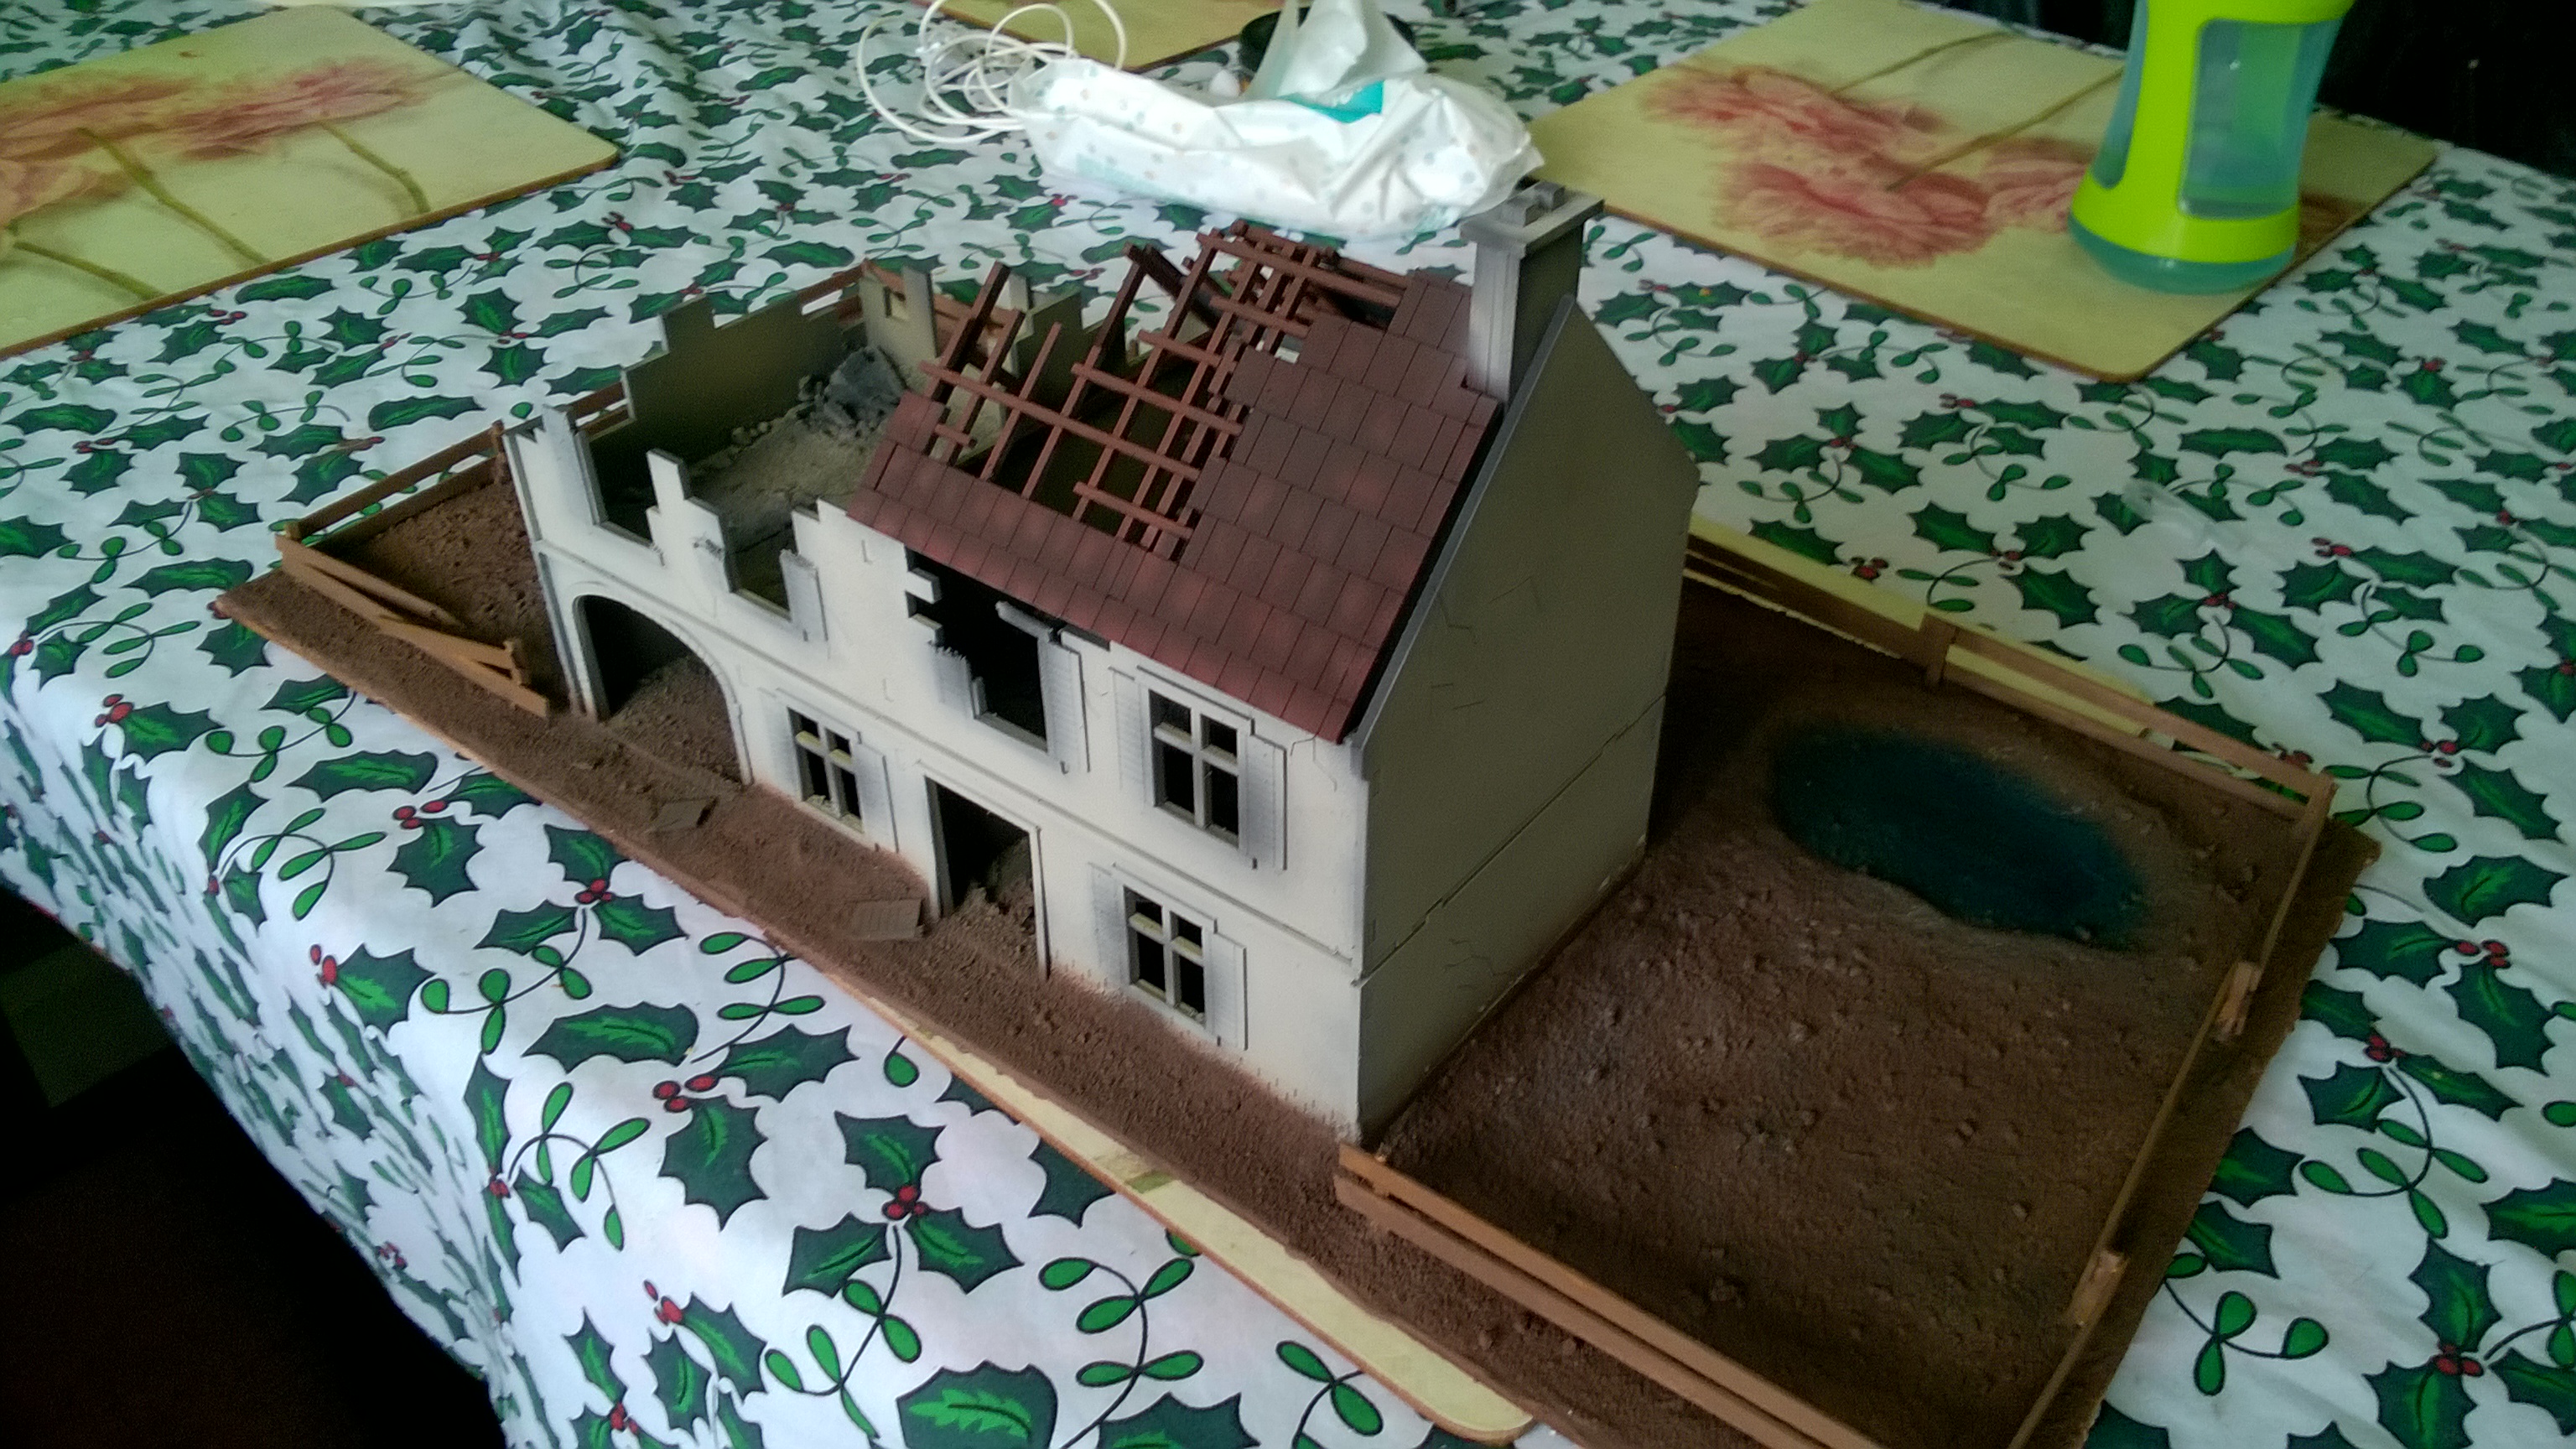
So it begins. Ok so the building was built ages ago by yours truly and then left to gather viewing dust, but now ah haaaa, tis time to make this bad boy feckin awesome. So this is what iv done so far…
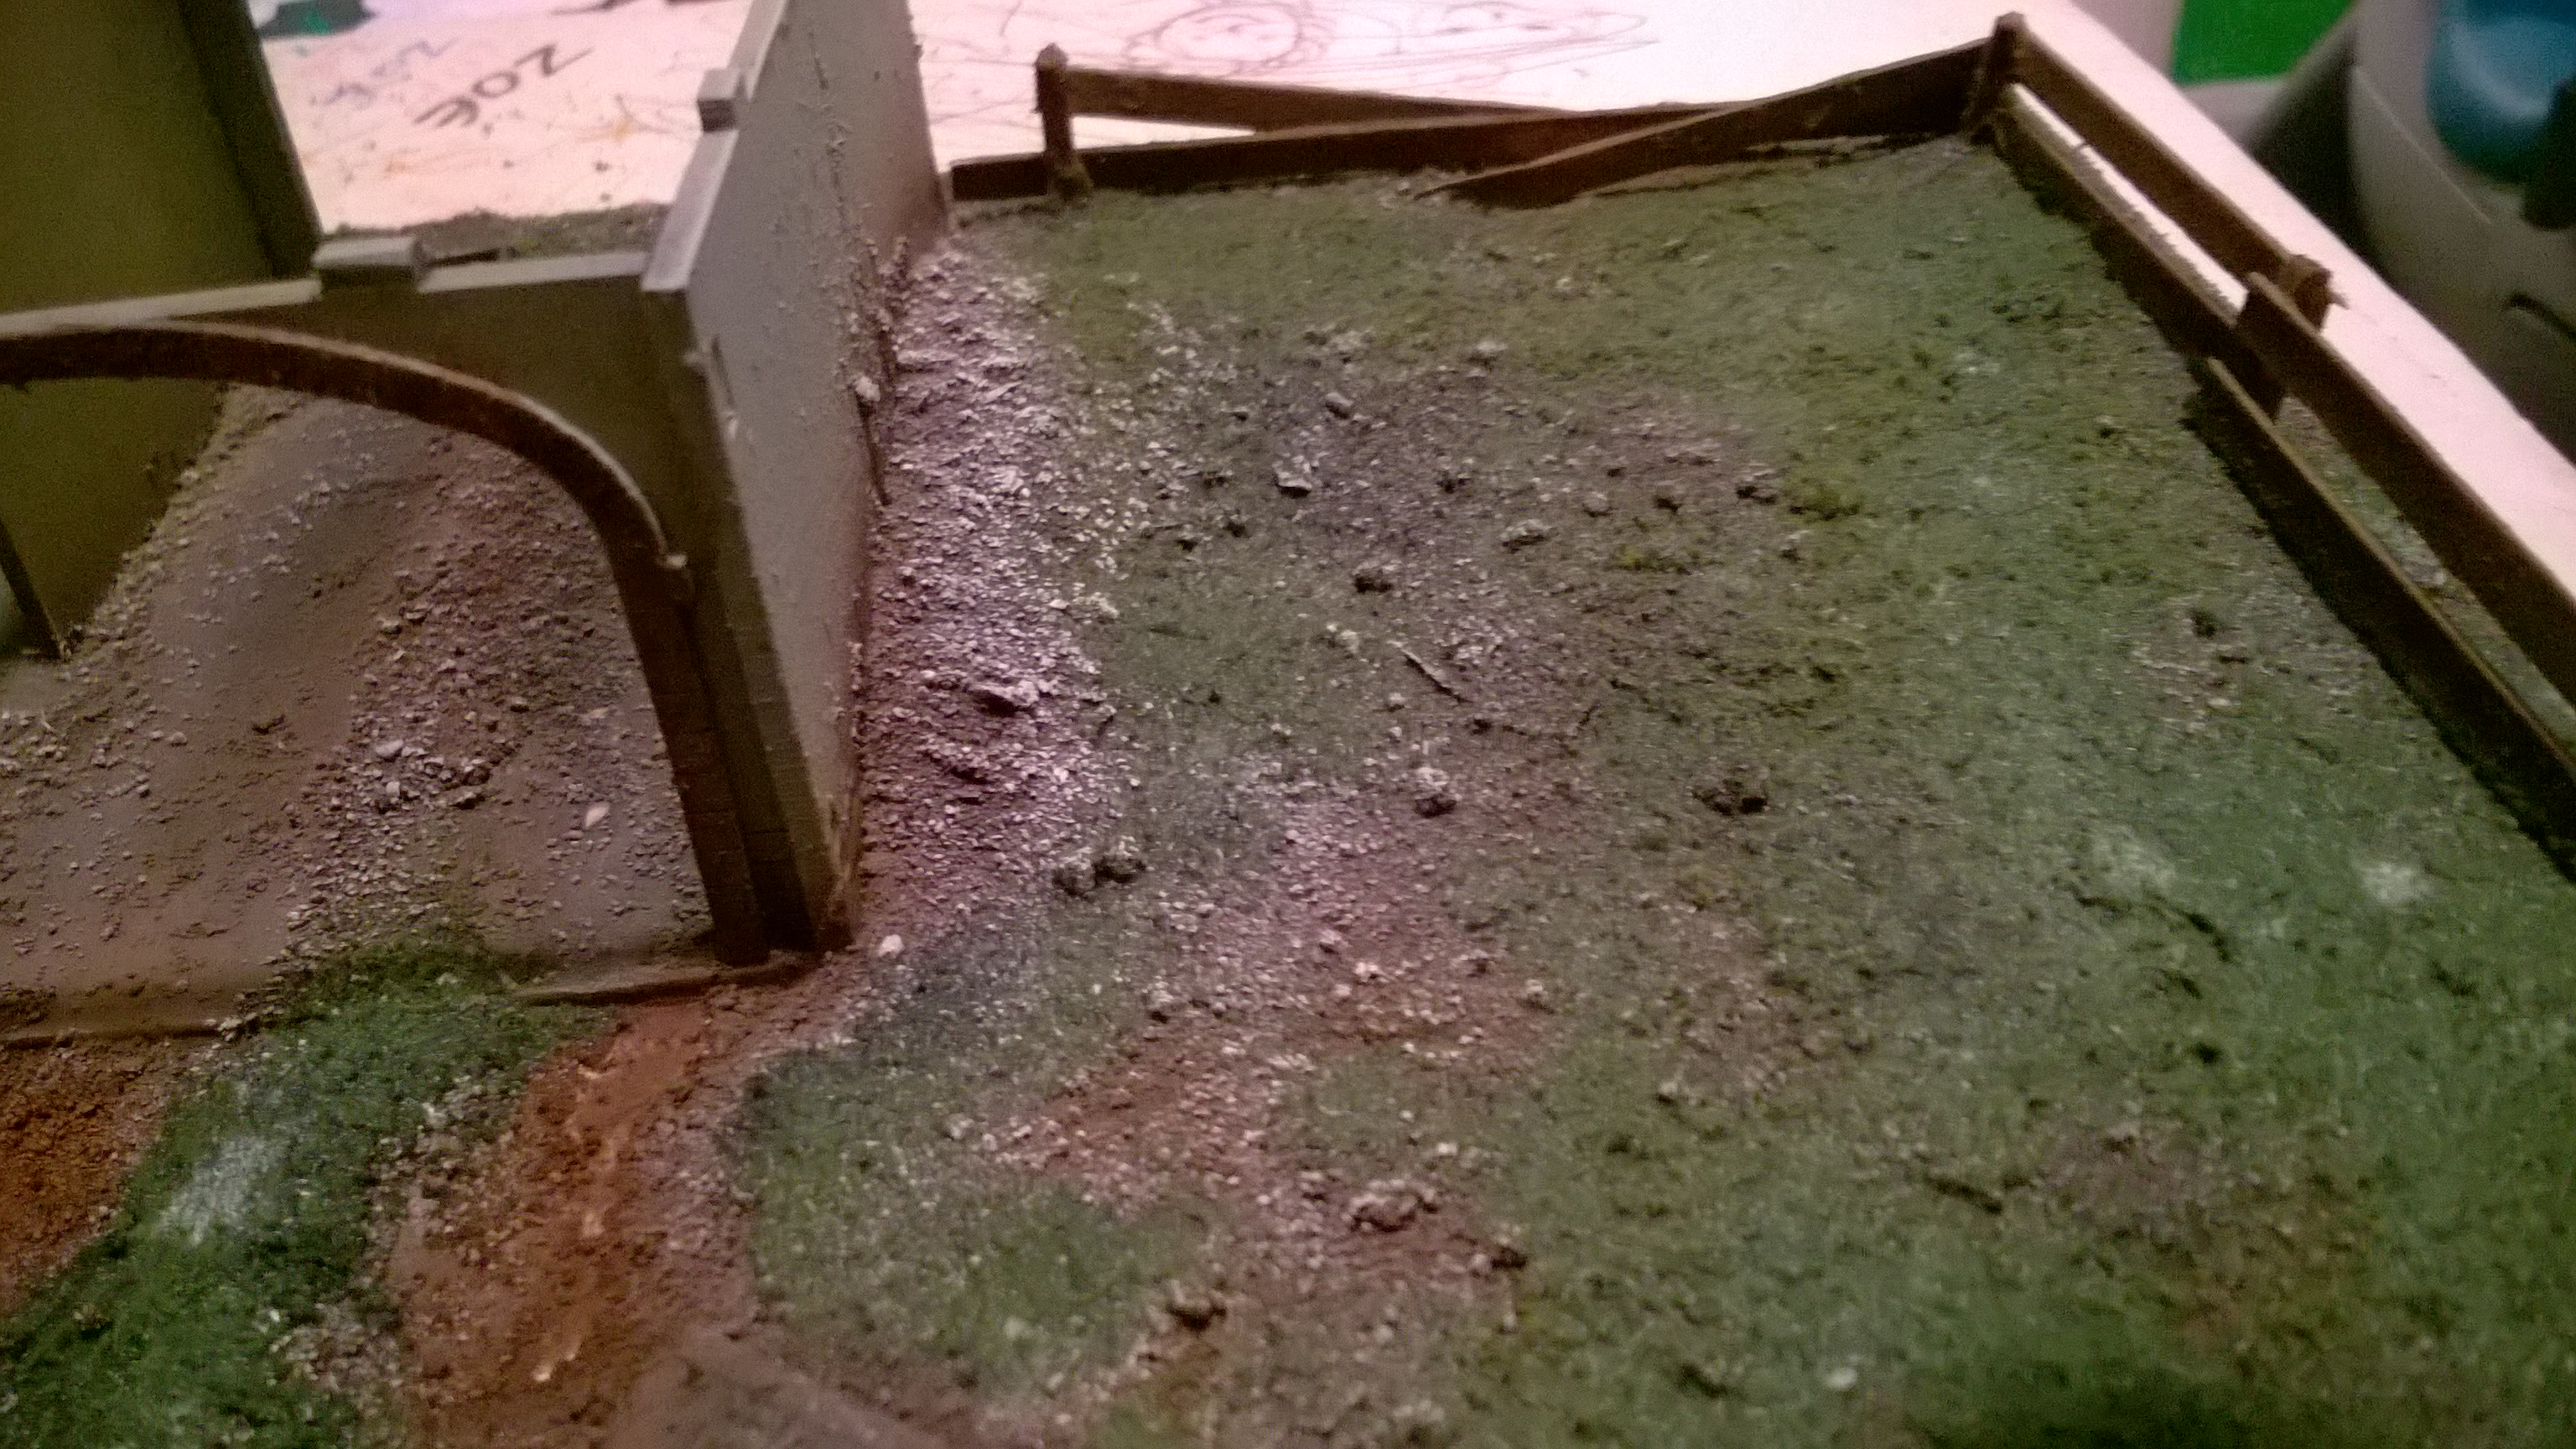
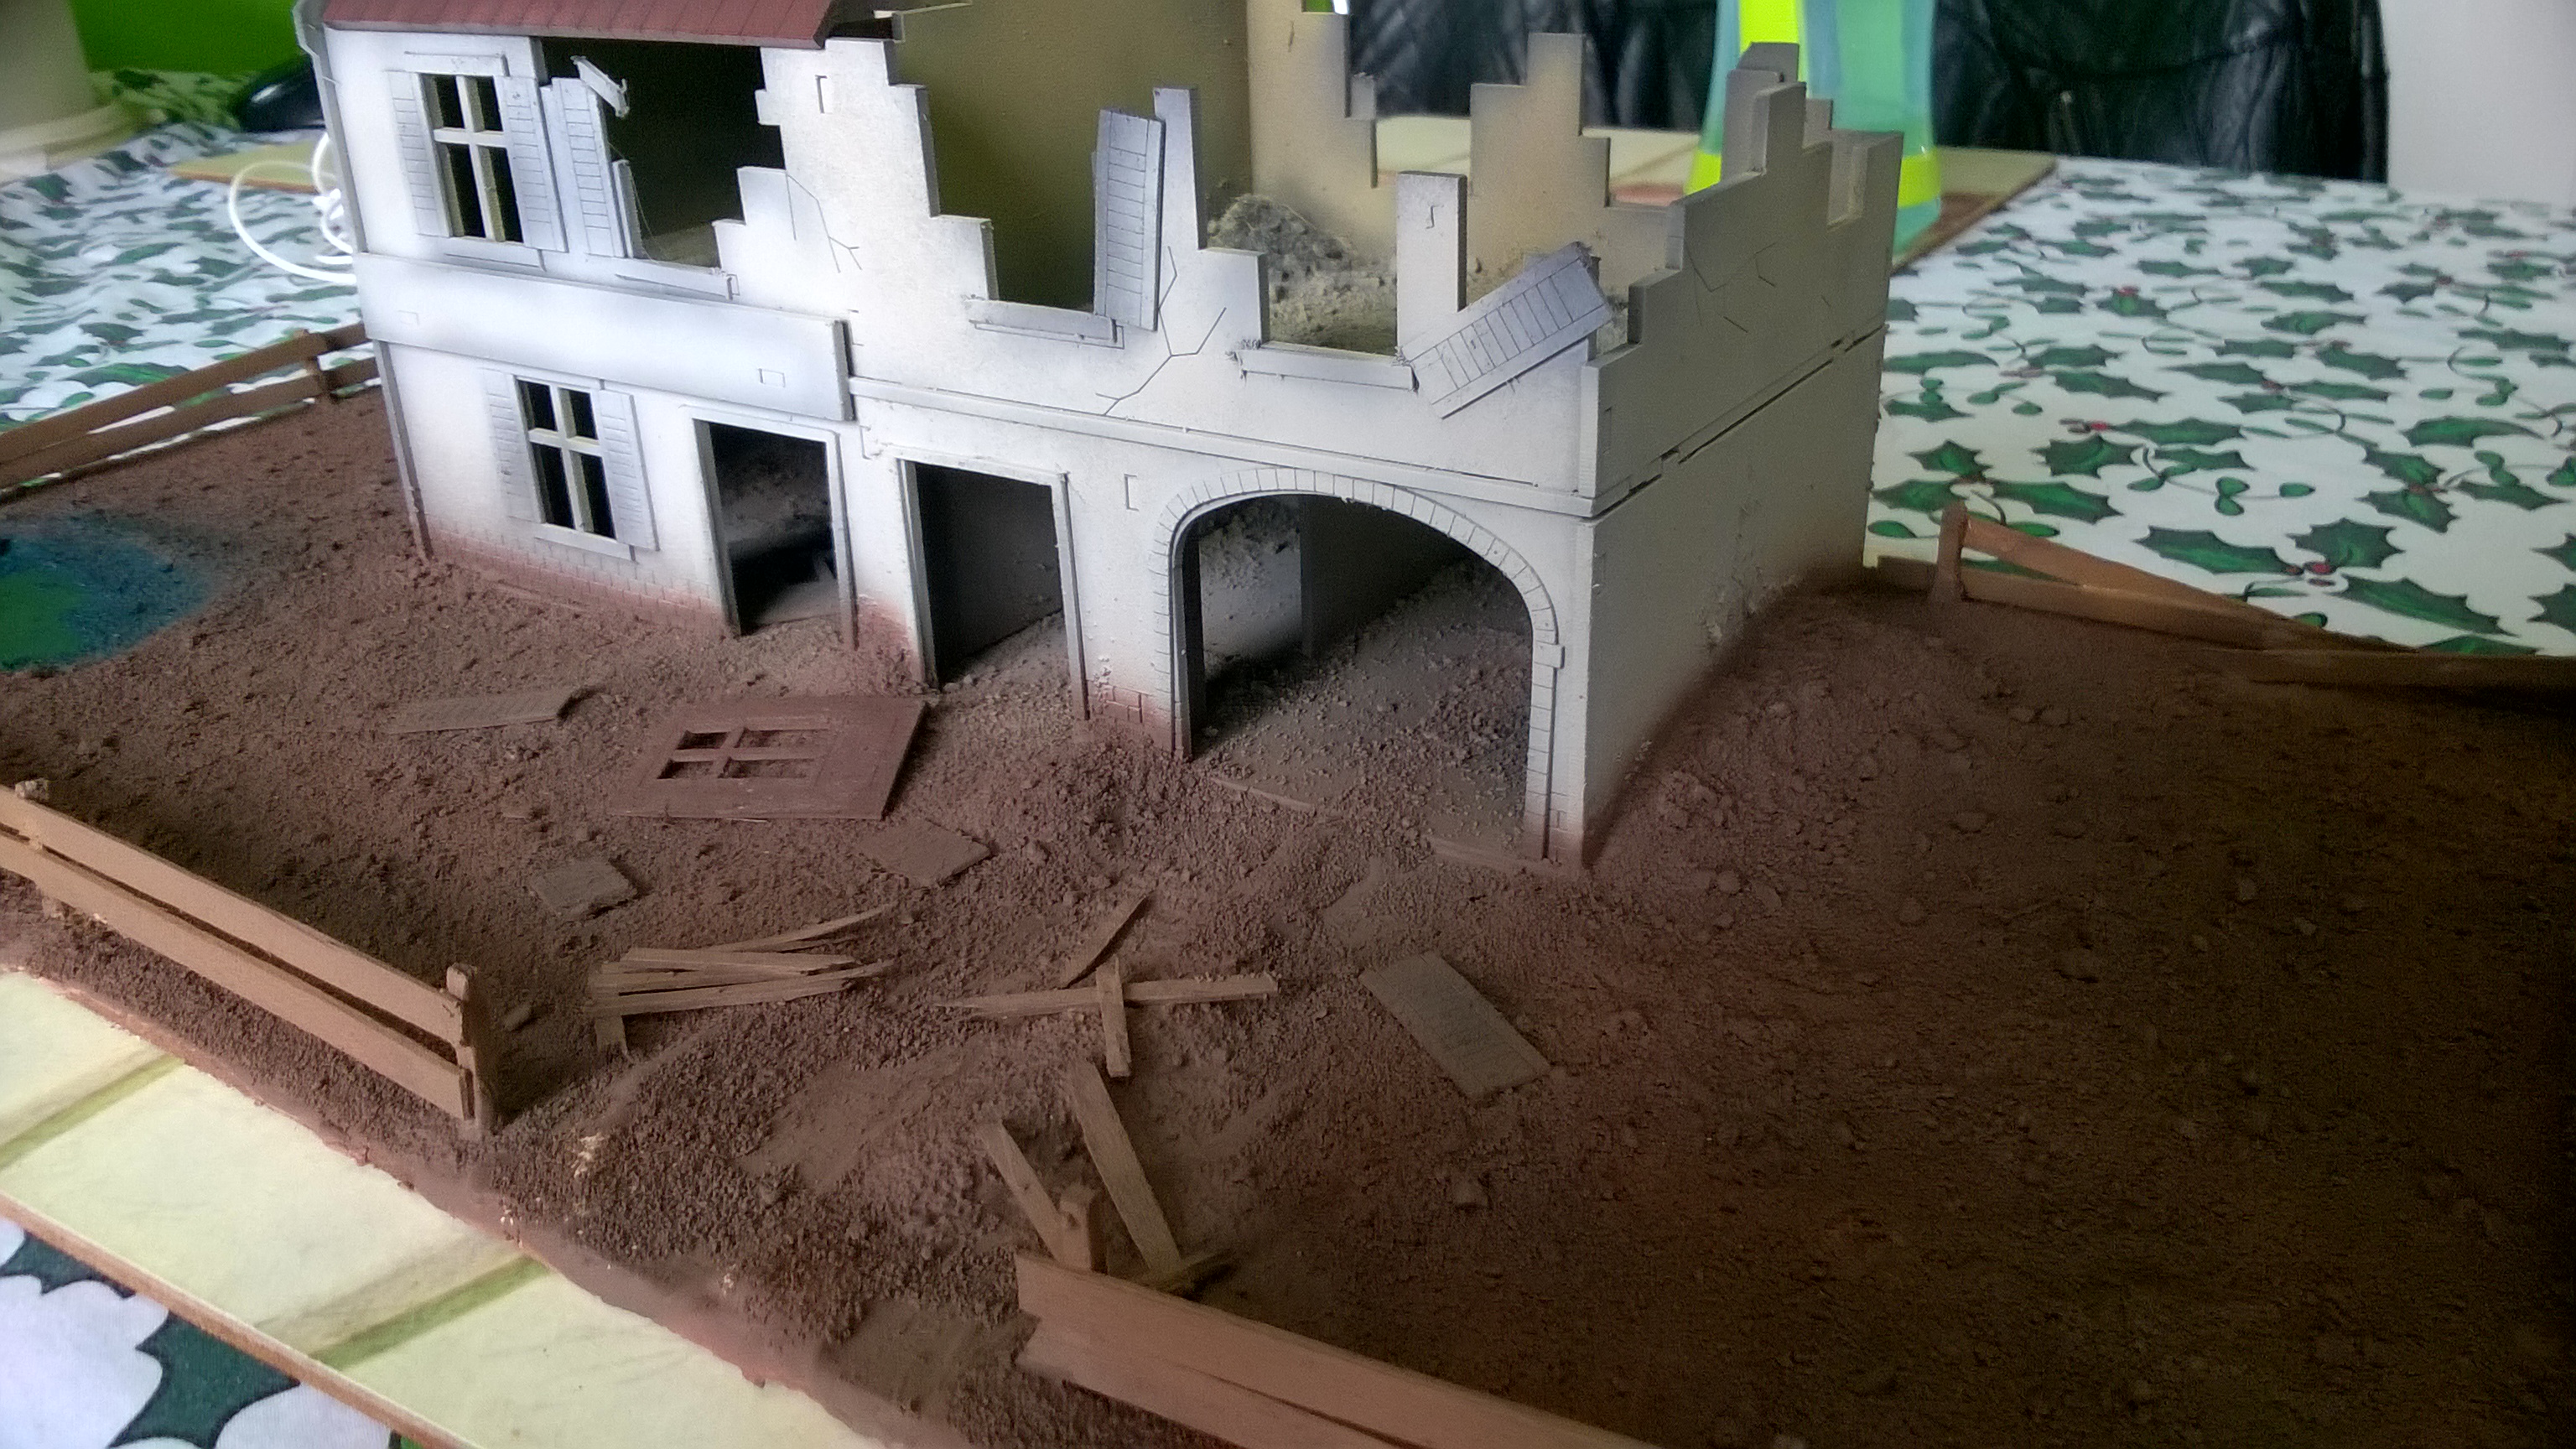
First I glued the building to a base ( back of a tatty wardrobe left by the previous owners of my house) then i textured with a bit of Pollyfilla and added a few sprinkles of tallus (medium size ish rock thingymibobs) and let dry, oh and pushed in some fence posts cut from cooking matches.
Then a healthy coat of watered down PVA and mucho mucho sprinkles of some builder sand i bought for a diy project which i baked to dry out and so far have had some good results from for basing so ya know how it goes, use what you got.
just now glued on some coffee stirrerer fence panels and added all the building card extras, like door frames, window shutters and doors, i just ripped these up for damage and obviously blew the bloody doors out 😀