Dan’s Frostpunk Terrain
Recommendations: 109
About the Project
Recently Frostpunk 2 came out, which is a great PC city builder game. The aesthetics are really good, so I want to do a piece of terrain to try and match it. I can then use the terrain piece as a display setting for my models.
Related Company: TTCombat
Related Genre: Post-Apocalyptic
Related Contest: TerrainFest 2024
This Project is Completed
Starting point
Frostpunk 2 is a post-apocalyptic city builder PC game. The idea is that burning coal in the industrial revolution triggered an ice age. The British empire sent expeditions to the artic where they knew there was enough coal reserves to fuel giant steam engines. Cities were built around the engines which provided warmth. The aesthetic is post apocalyptic steampunk that’s been frozen over.
These days I don’t play games, I just paint models. I wasn’t sure what I could do for terrain fest given I have no need for terrain, but what I can do is paint a terrain piece up and use it to display my models.
I’ve shopped around and a kit from TT Combat should be a great starting point.
Kit assembly
I built an MDF kit for Dungeonalia last year, but this kit is much bigger and more complex. The instructions didn’t come with the kit but can be downloaded from the TT Combat online store.
The instructions are simply a sequence of images showing the addition of one or two pieces at a time. They’re not too hard to follow, but I would have found it useful if they stated how many of each part I’m supposed to have found before assembly. To cram as many pieces on to each piece of MDF as possible some of the parts you need are spread out. At the same time I can see why they didn’t do that. It allows them to use the same instructions for other kits which may have the same sub-assembly but in a different quantity.
To build an MDF kit, you need a nice sharp hobby knife and some sort of “poker” for poking out small pieces. Assembly uses PVA glue, nest applied with an old brush.
First, twist off the pieces you need for your current sub-assembly. It looks like you could use a hobby knife to cut out the pieces, but I found this too difficult and feared if I kept trying that I’d end up with a bad cut. Usually you can just twist the piece and they pop out.
Where each part tears off, you get some frayed MDF that needs trimming off with a hobby knife. This soon dulls the blade, so be prepared to swap them out often as a sharp blade is easier to control and therefore is safer.
There are quite a lot of holes that have been cut into the pieces by the laser but where the piece in the hole is still in place. These just need popping out with a suitable “poker”. I used a sculpting tool.
Once you have all the pieces for your sub-assembly, put them together in a dry fit so you can figure out how they go together. TT Combat kits have patters etched on one side, but these aren’t shown on the instructions. Be careful that you don’t accidentally hide a pattern on the inside.
Once you know how to put a sub-assembly together, take it apart and put it back together again with glue. My kit is only intended for display so I was quite sparing with the glue.
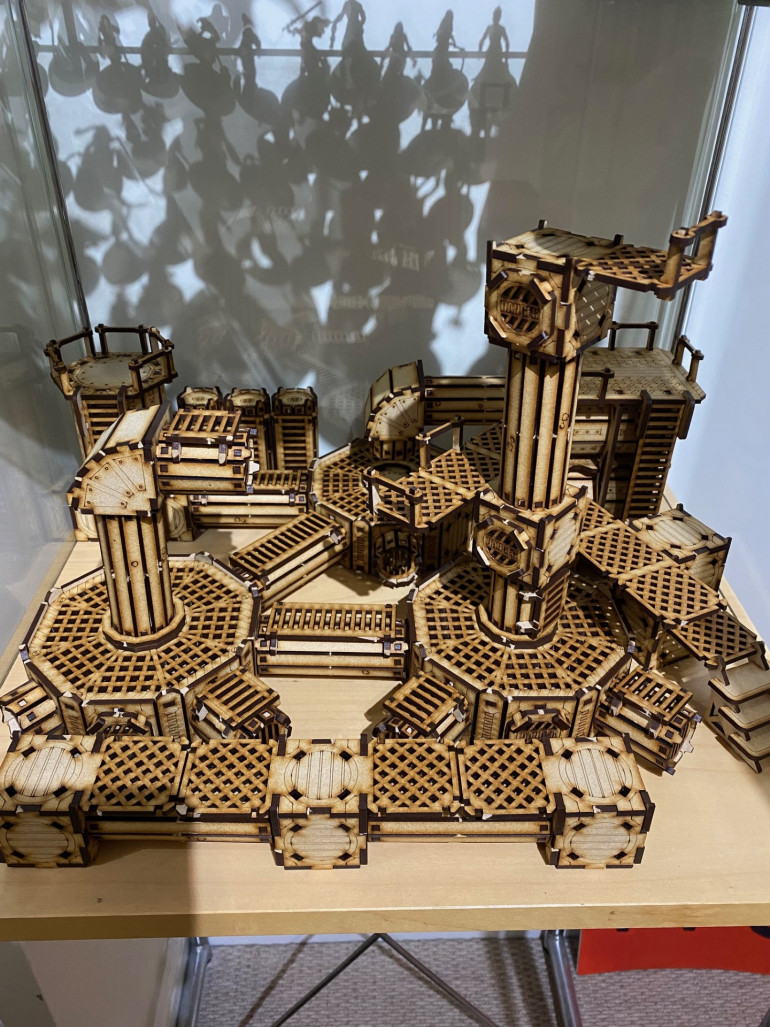
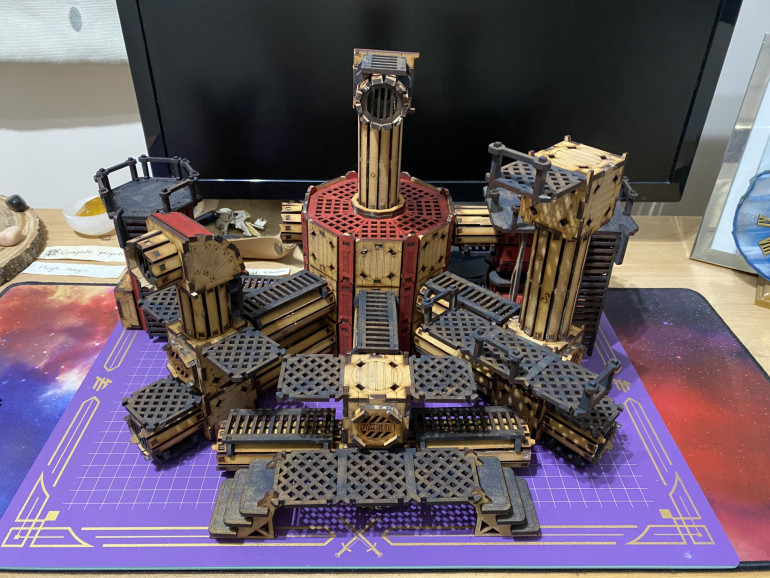
Here’s the fully built kit on my display cabinet’s bottom shelf. This is my first setup. The various sub-assemblies aren’t glued together so I can change the layout. I may try adding more height to free up more floor space.
Layout update
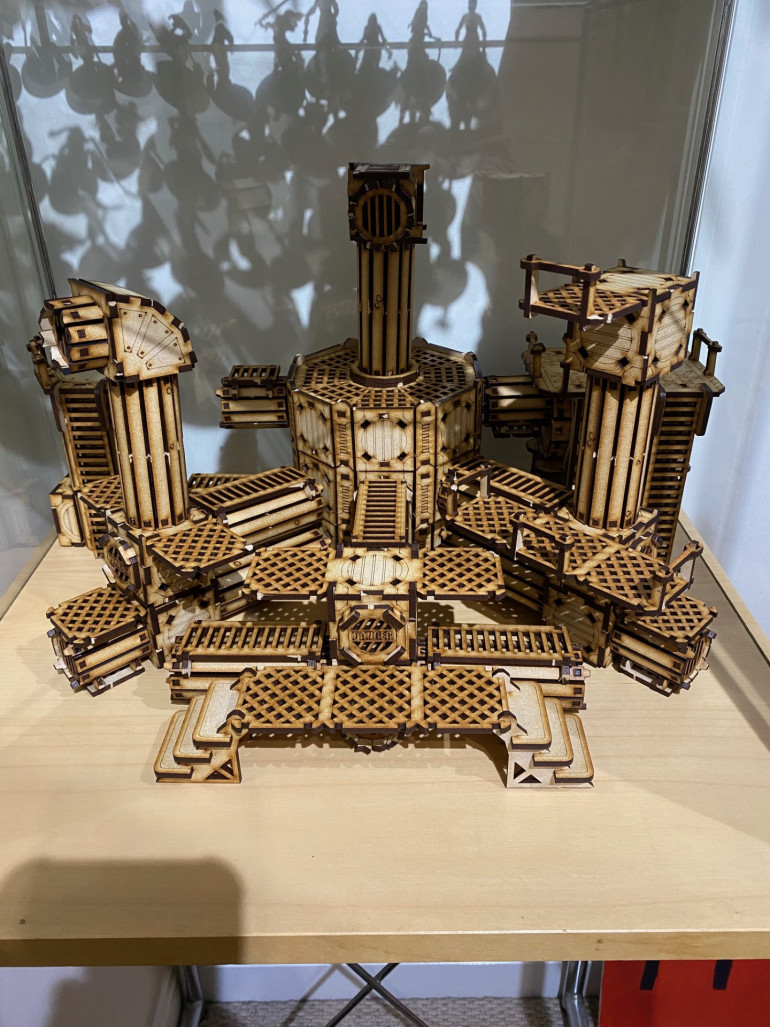
I had a quick play around with the components and decided this layout is better. More height at the rear and better use of all the components.
Reference images
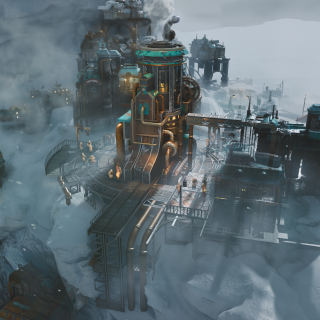
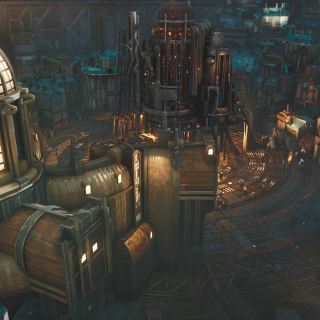
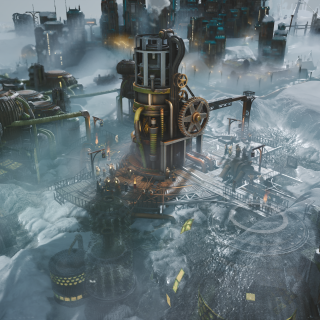
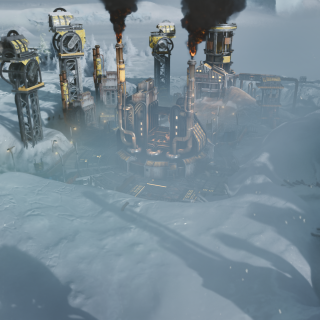
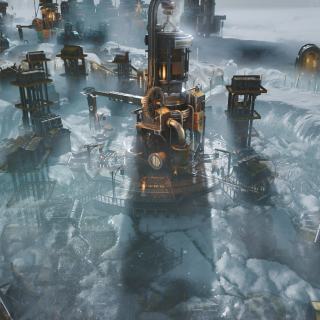
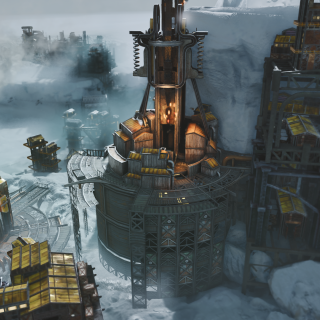
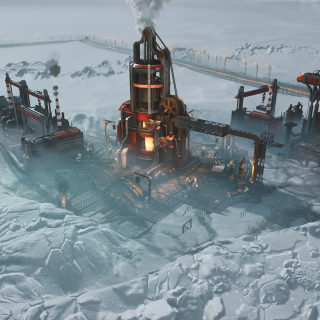
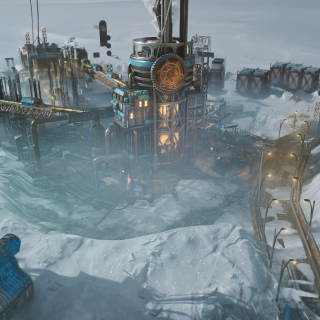
Here are some reference images from the video game. It has a nice feature where you can select any building or area and click on a button that zooms in for these cool cinematic shots. You can see that they have used a colour to theme each of the different types of area. Next I’ll do some tests to see which colours work best.
Colour tests
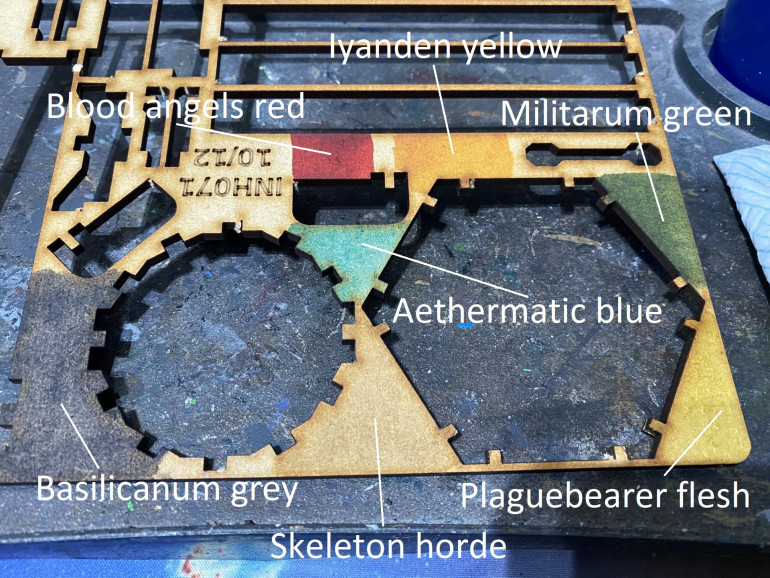
I tested using contrast paints directly on to the MDF, trying to match the colours in the screenshots from my previous entry.
All painted up
I decided to go with the colours red, black, and light brown.
Finished
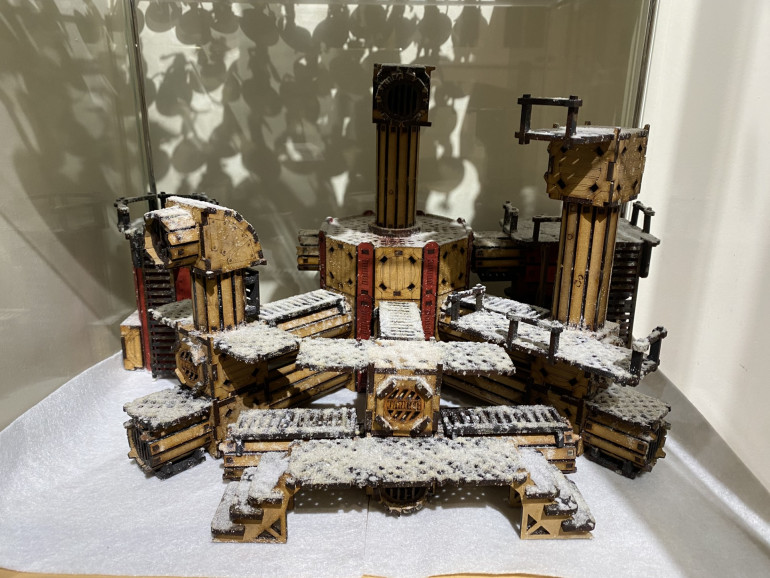
All done now. I sprayed a 50:50 mix of water and PVA over the model from above and then sprinkled it with snow flock. Two coats gave a decent coverage.
I set the piece on some white felt to give a better base to the shelf than the natural wood colour.
I’m happy with result – a compact display piece with lots of platforms I can put models on. The only problem is that I don’t have a single model on a snow base. I’ll have to ensure any sci-fi models I paint up going forwards get snow bases to I can populate the display.


![How To Paint Moonstone’s Nanny | Goblin King Games [7 Days Early Access]](https://images.beastsofwar.com/2024/12/3CU-Gobin-King-Games-Moonstone-Shades-Nanny-coverimage-225-127.jpg)


