


Farewell Ye Olde Vikings!


Recommendations: 36
About the Project
With the arrival of Matt Bickley's Vikings, I finally decided to sell off my old Citadel Vikings. These were 25mm miniatures made in the '80s, and were some of the first miniatures and armies I ever bought. I had over two hundred of them. I knew I was never going to use them, so I decided to part with them in order to make room for the new. I decided to keep just a handful, and paint up a little tribute to them. This is not a diorama, really, because it does not tell any story. I think it is more of a homage. These minis represent a more happier and trouble-free time in my life, so they deserve a worthy send-off or funeral. That is the crux of this project.
Related Company: Games Workshop
Related Genre: Historical
This Project is Active
Finishing The Base
Hi everyone,
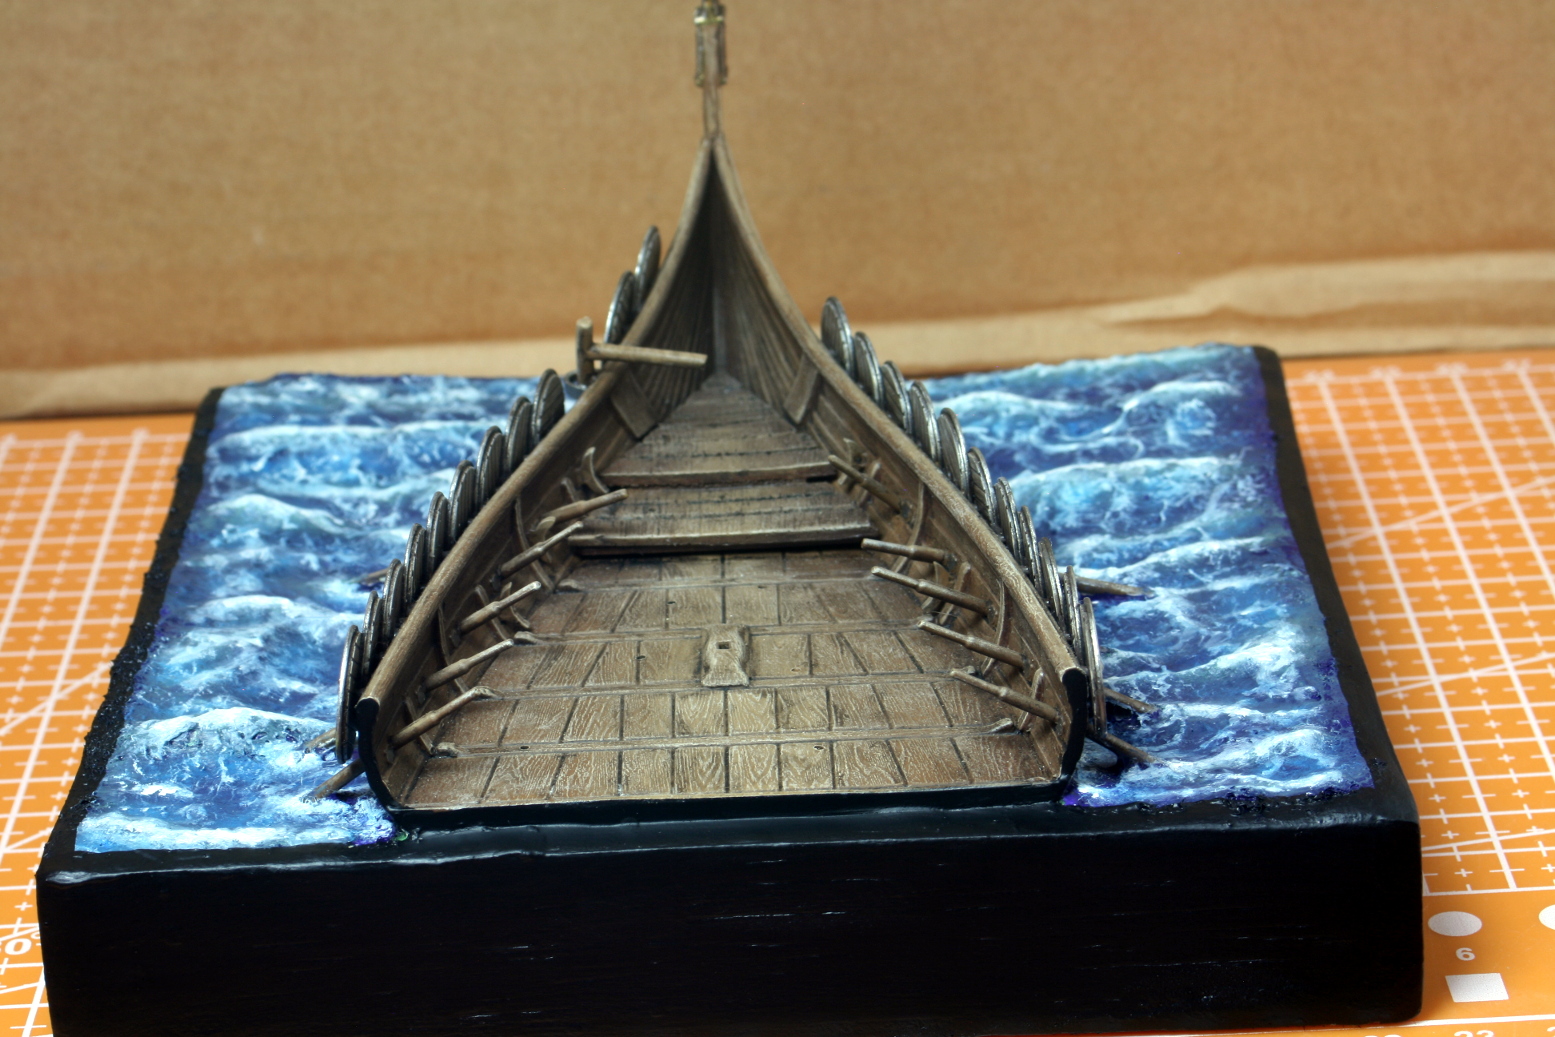
The base is finally done. I painted the sea in oils. This gives me ample time to blend and get it as good as I can. I always use opaque colours when blending because it is easier.
To add sheen to the ocean, I gave it several coats of Mod Podge with a brush.
I also added a backdrop. This is sort of my signature, so I went ahead and did it. After I painted the surrounding in black.
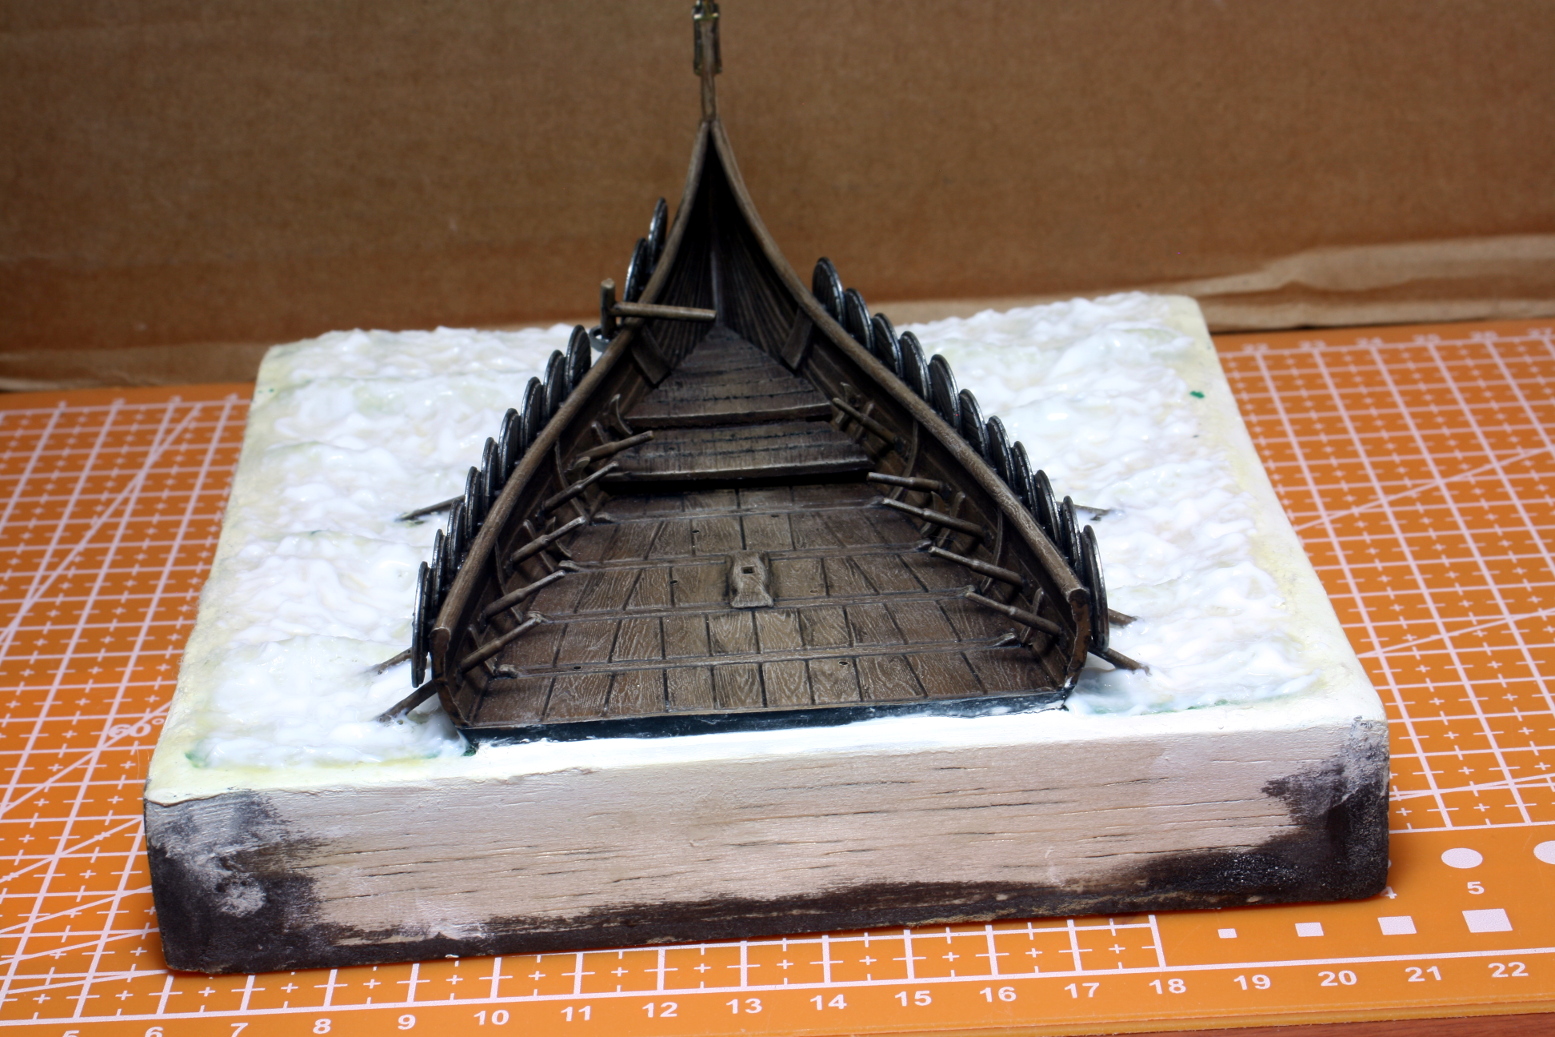
When everything had dried, I added some white-water effects by mixing artificial snow with gel medium. Then I placed the mixture on the top of the wave crests and under the ship.
 The sea base has been painted up with oils, giving me all the time I need to get it right.
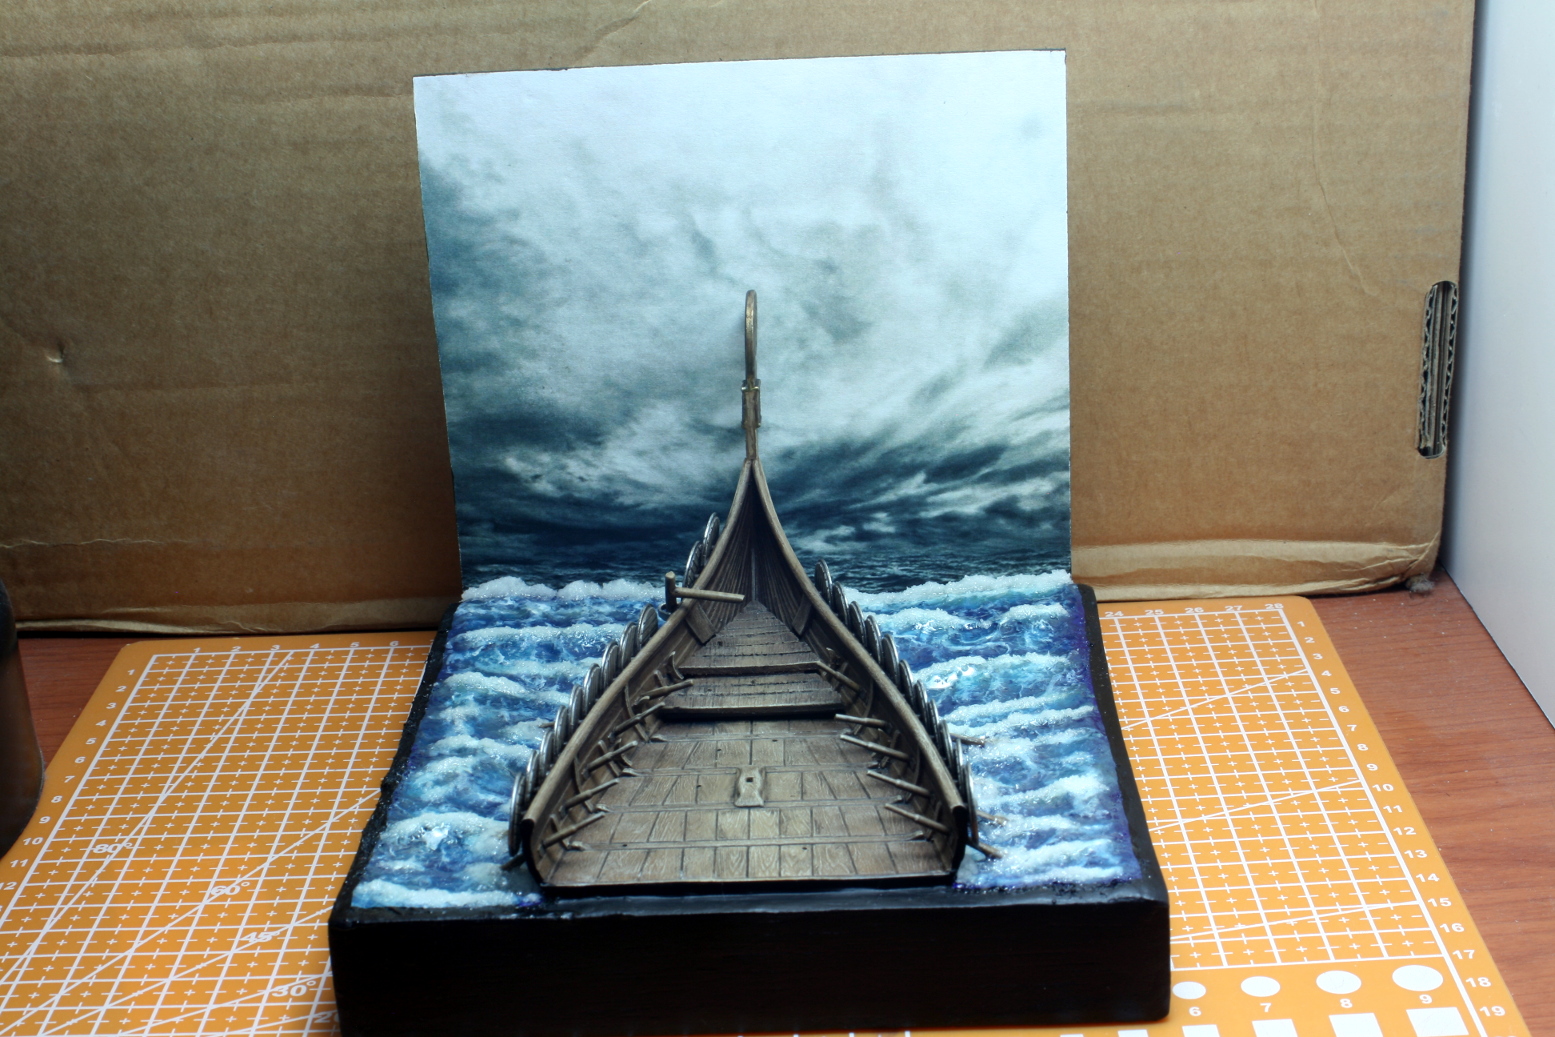 I added artificial snow mixed with gel medium for the white water crests.
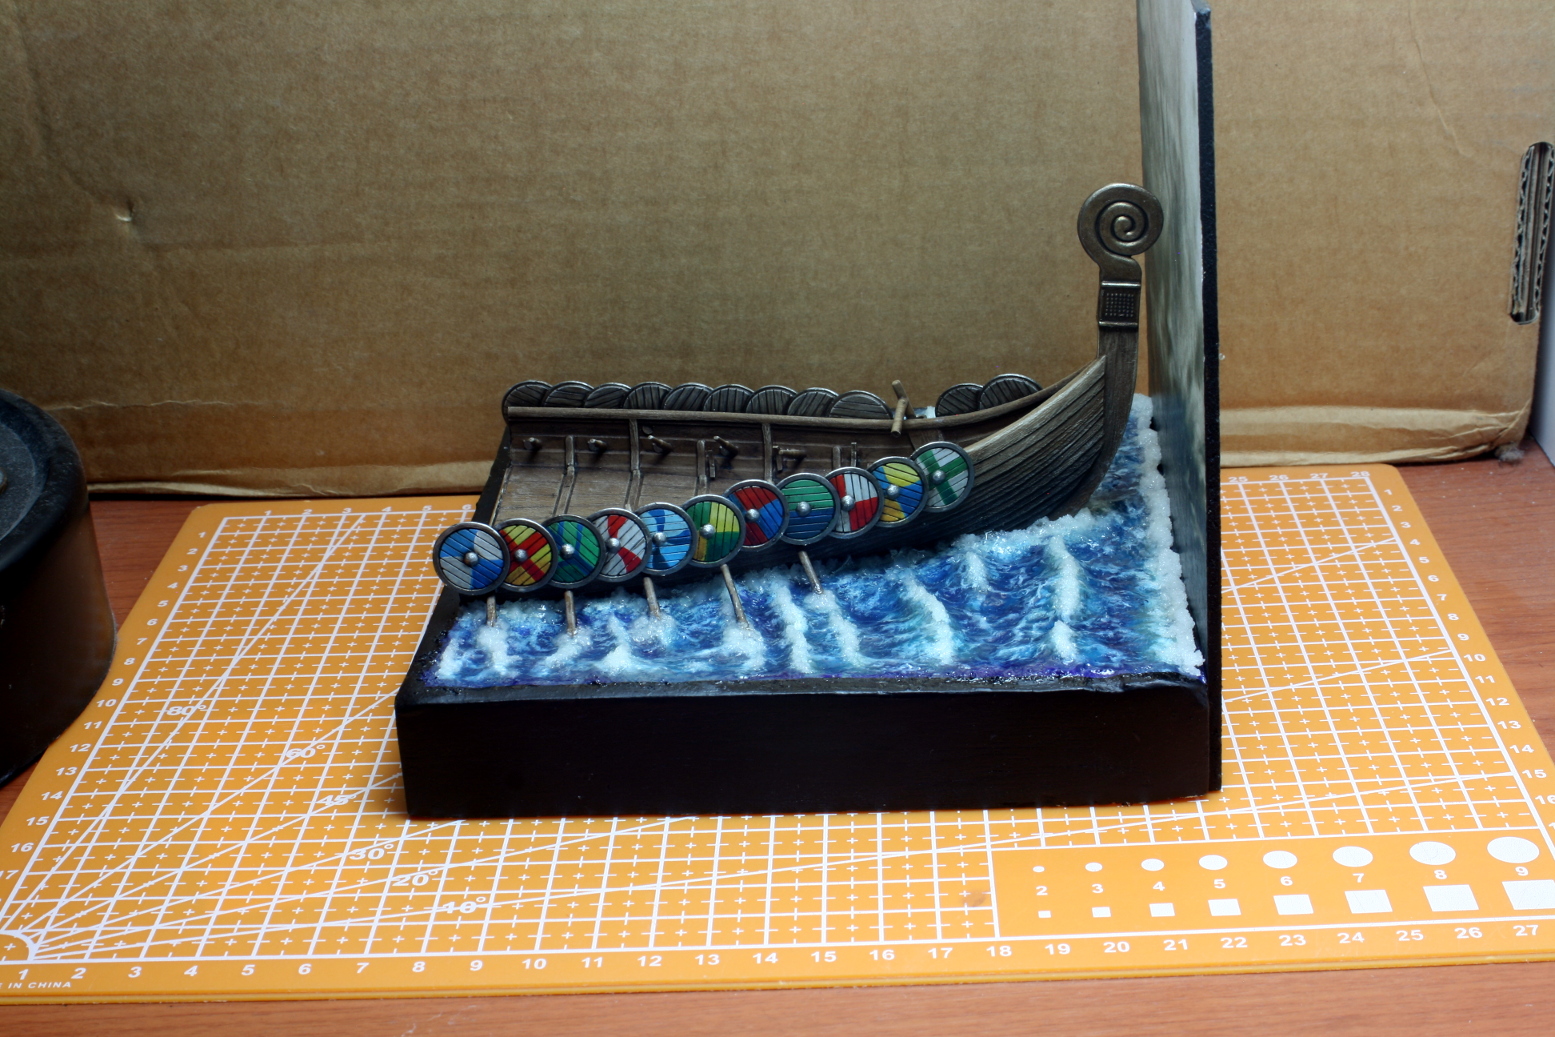
Next up will be the protagonists of the show – the Vikings themselves. I will start painting up the first five, because they need no converting or modifying. The following five need minor adjustments. SO I will leave them for after.
That is all for now. Until next time stay safe and have fun.
NR.
Building The Sea
Hi everyone,
I started this project with the base, so I decided to continue with it. The next step was to build an under-structure for it that fit the ship. Then I filled the base with air-drying clay and let it dry properly.
When all the cracks came out, I filled them with milliput, and added more miliput to build up some waves and once again let the whole thing dry.
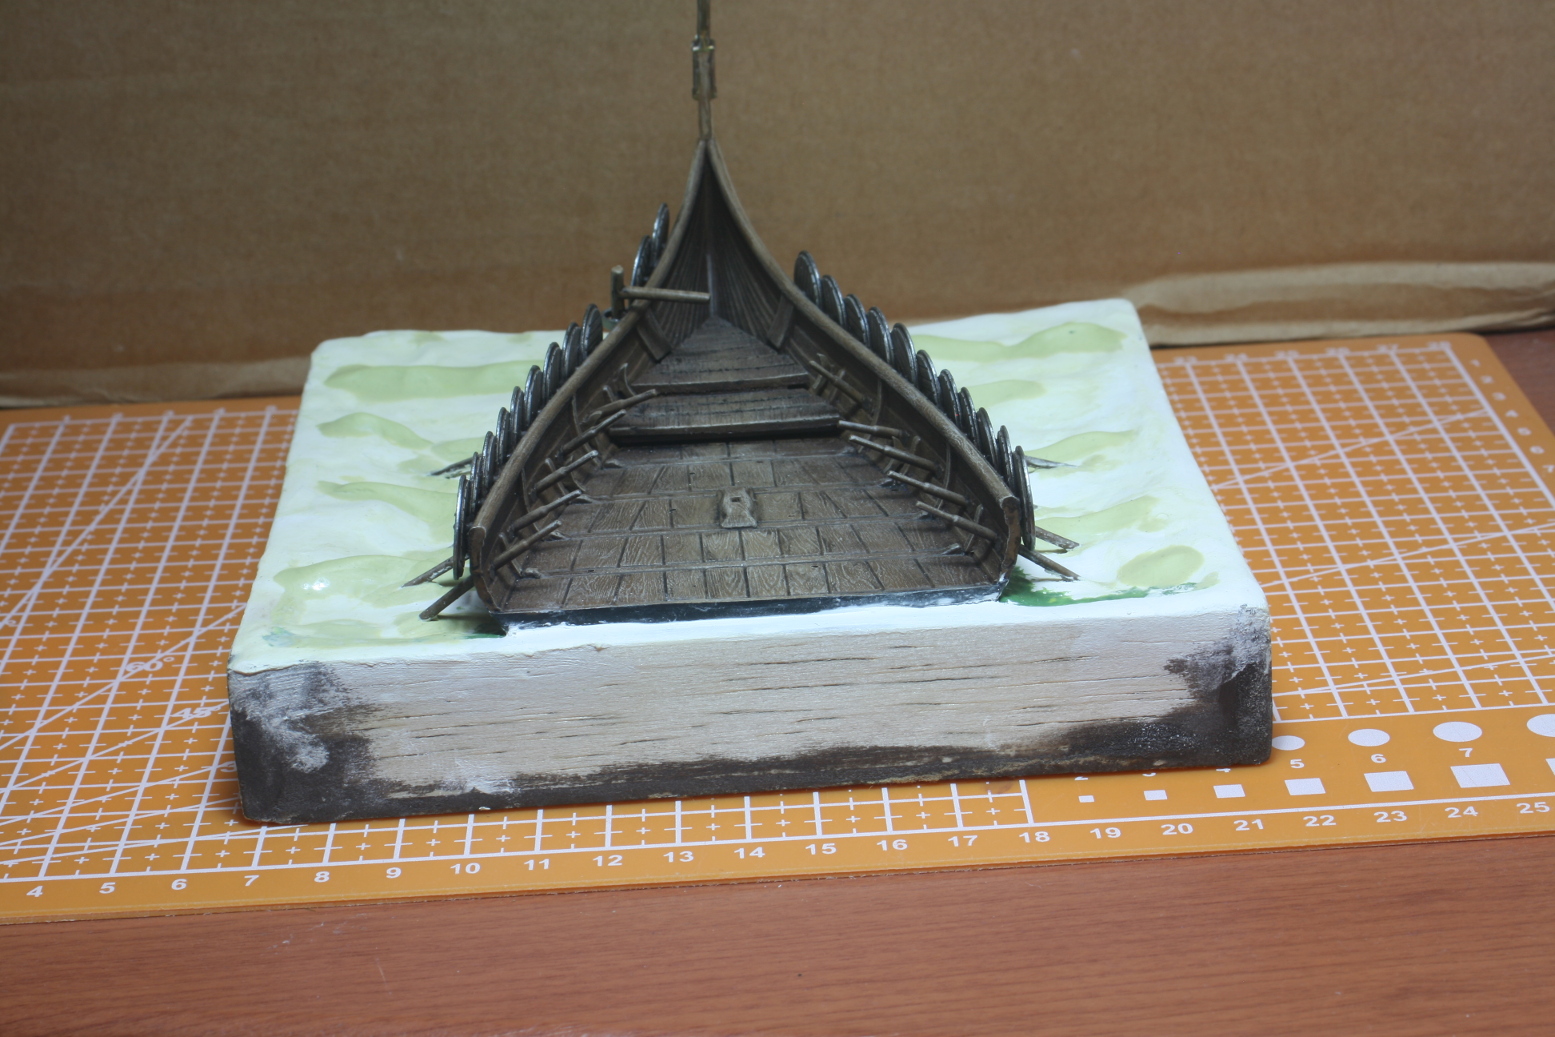 After the clay dried I filled out the cracks and waves with milliput.
After drying, I took some rolled-out-cotton roll that is used for plaster casting. I took a piece and pulled it opened. This is very cheap and can be found in most pharmacies.
N.B. I did paint the ship before setting it in place, but I forgot to take pictures – my bad!
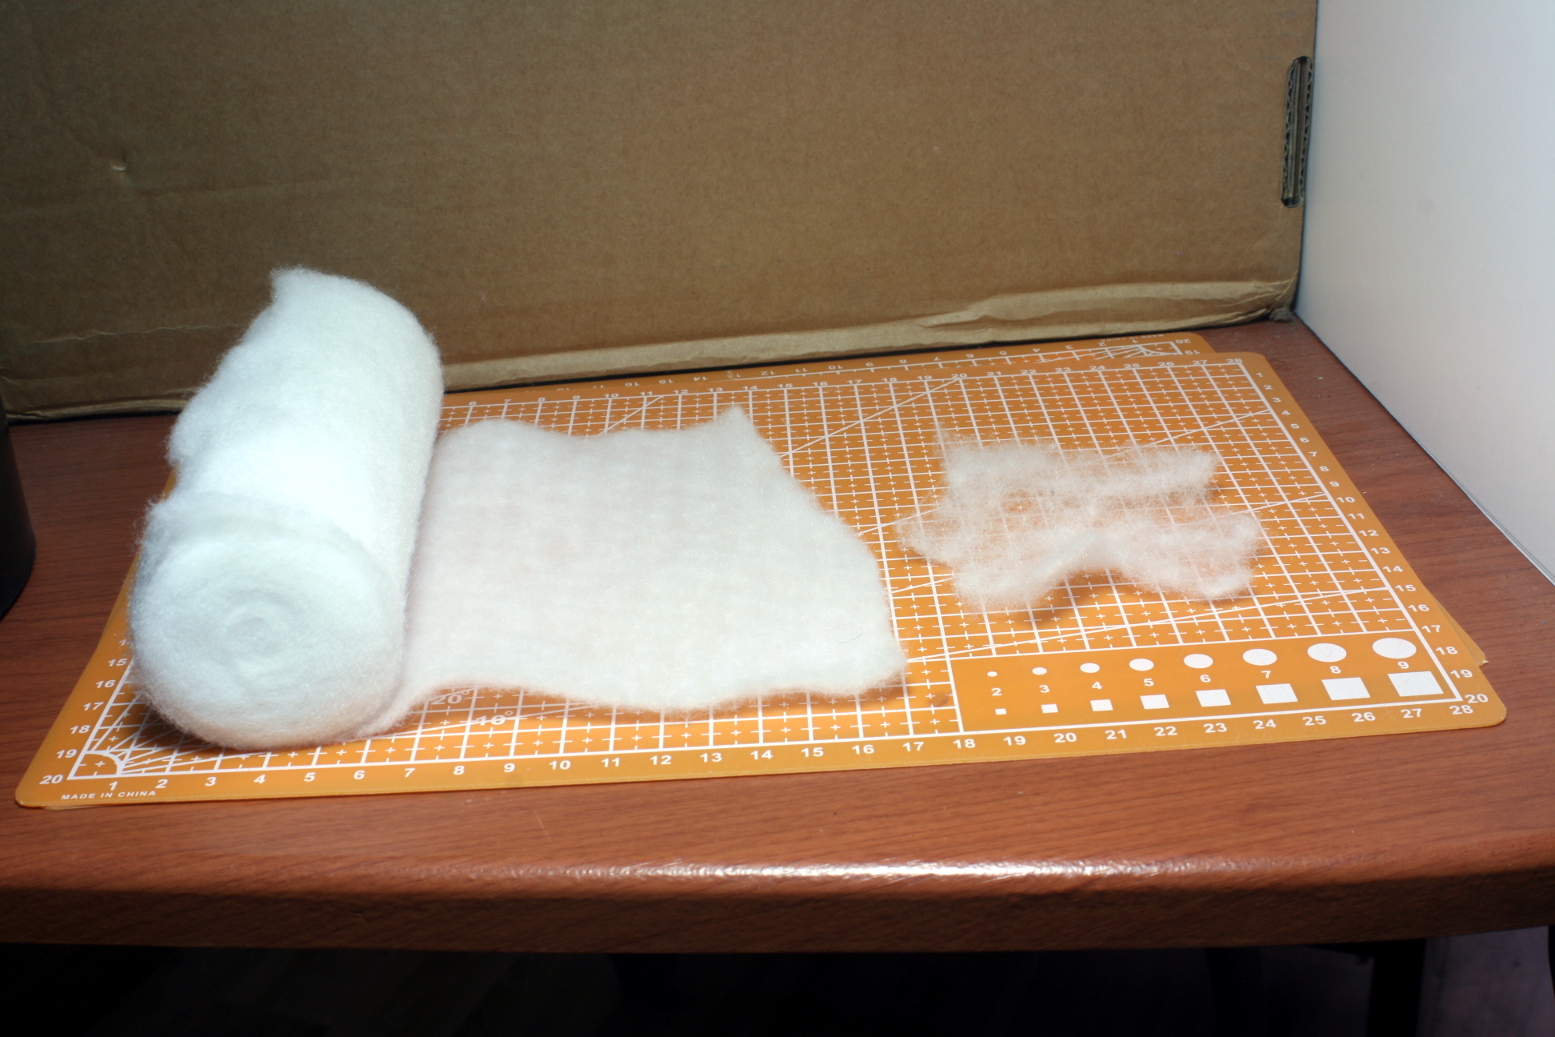 The cotton roll is pulled out and widened before gluing it to the clay-sea surface.
Slowly, with the liberal application of PVA glue, I placed the cotton sheet onto the clay-sea surface to create micro-ripples on the surface.
When the glue dried, I added several applications of matte gel medium to create even more texture.
When the gel has dried, it is ready for painting, so I gave it a light grey primer.
 The sea is given two coats of gel medium after the glue and cotton have dried, to accentuate surface rippling.
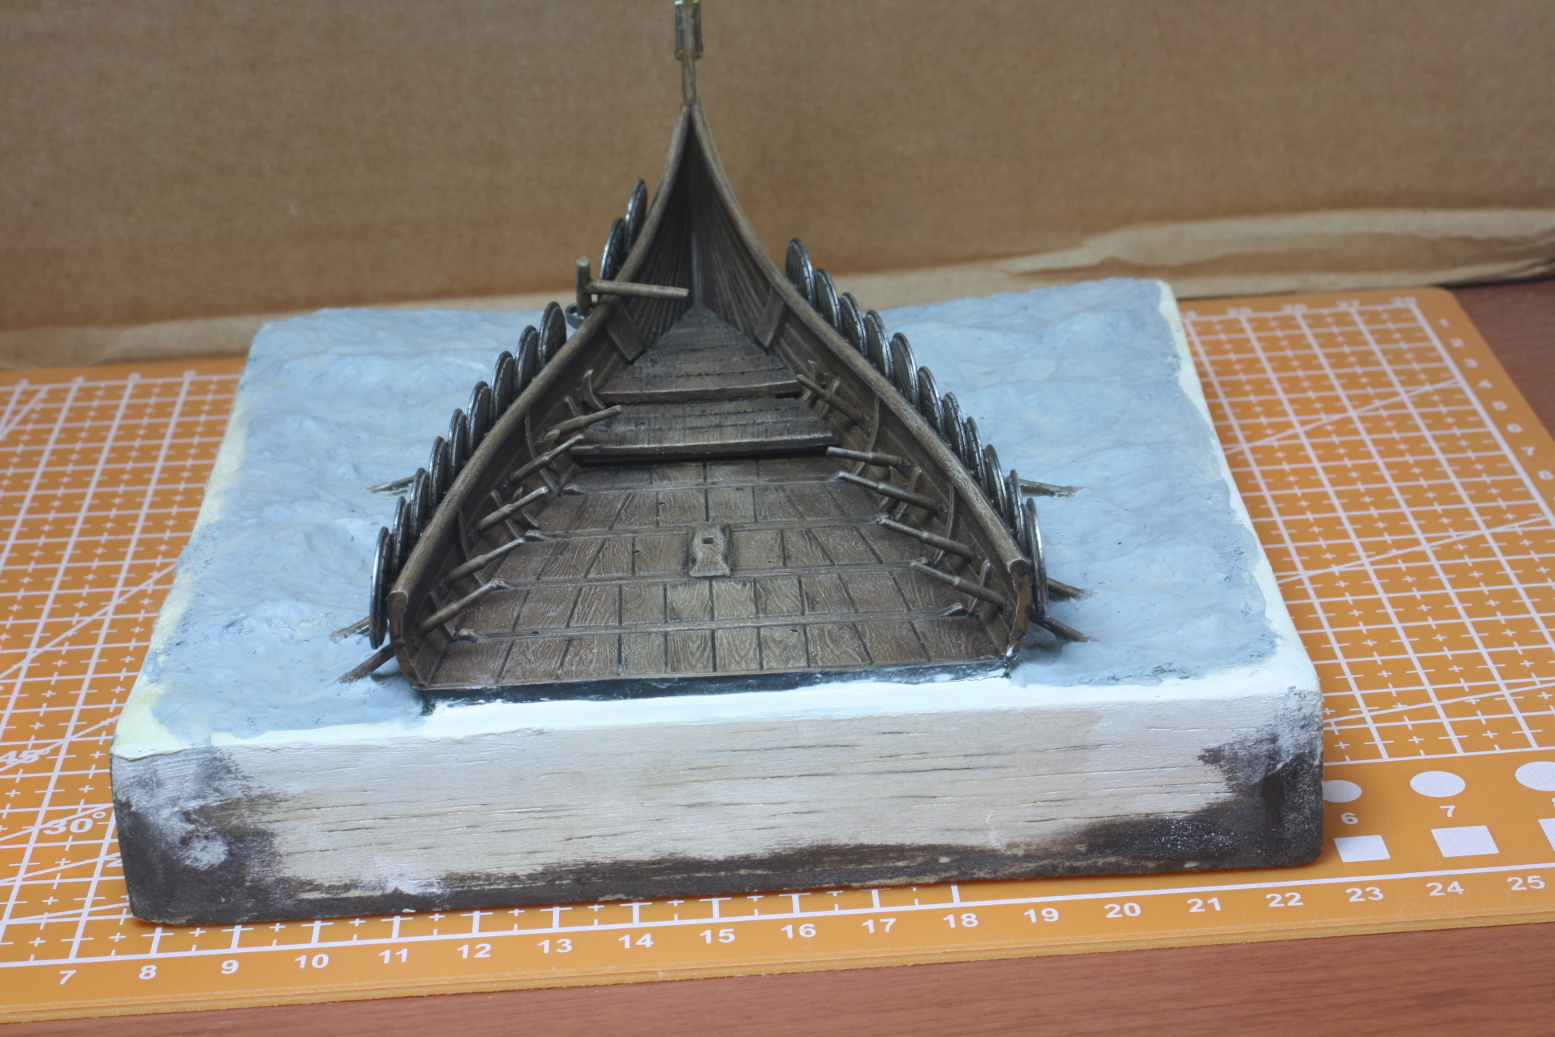 Primed and ready for paint.
In the next post, I will start painting the whole thing and add extra water detail.
Until then, stay safe and have fun.
NR.
The Project Begins.
Hi everyone,
As I have written in the sidebar, I have sold off a large army of these old vikings from Citadel Miniatures which I bought in the late eighties. This was one of my very first armies which I still had.
Unfortunately, they are now rather on the smaller side being true 25mm miniatures, but I wanted to keep a handful to paint up as a homage to these little wonders and to a better, happier time in my life that is as good as gone.
Since I am also getting the new Bickley Vikings, and knowing I will never use these older minis for any army project – I knew it was time to part with them
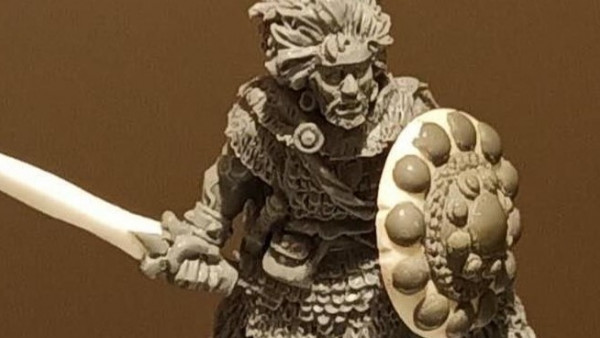
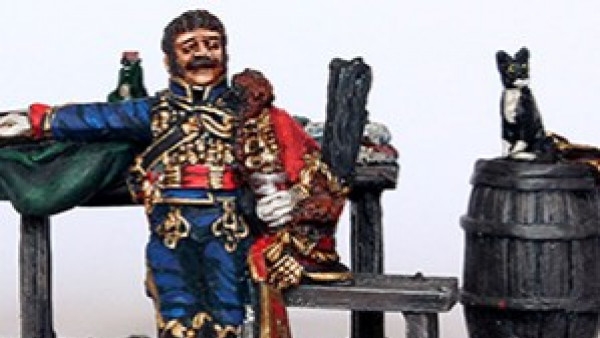
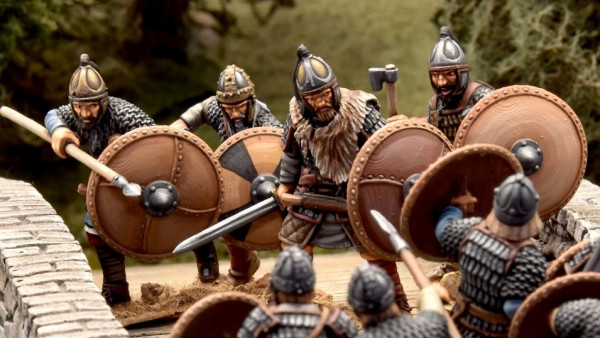
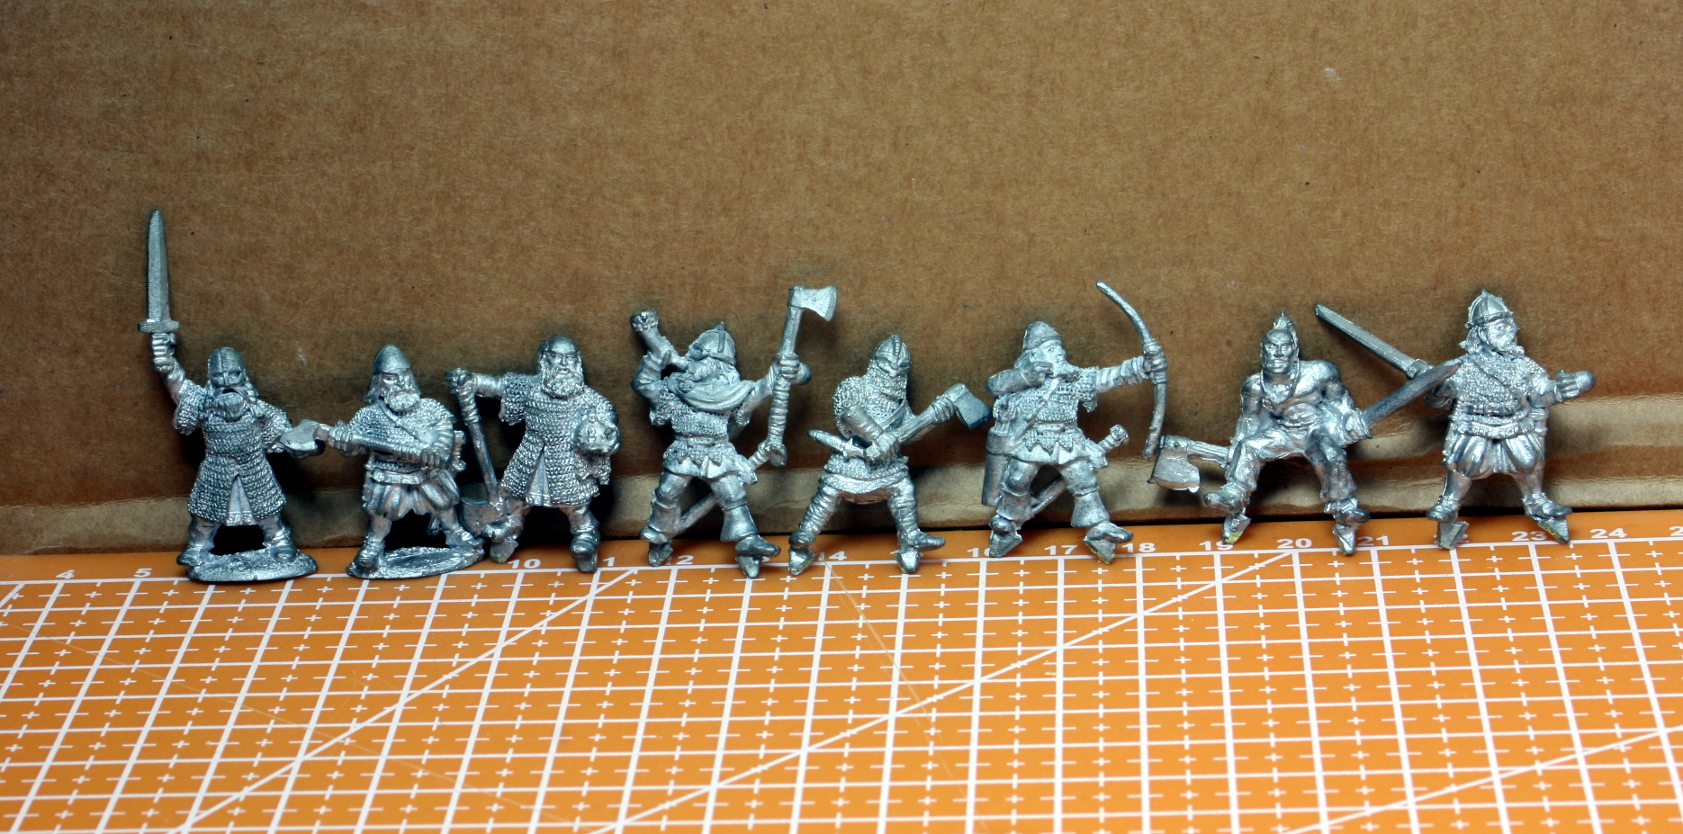 Here are the Vikings I kept for this project.
 The newer Foundry Vikings in comparison to the smaller Citadel Vikings.
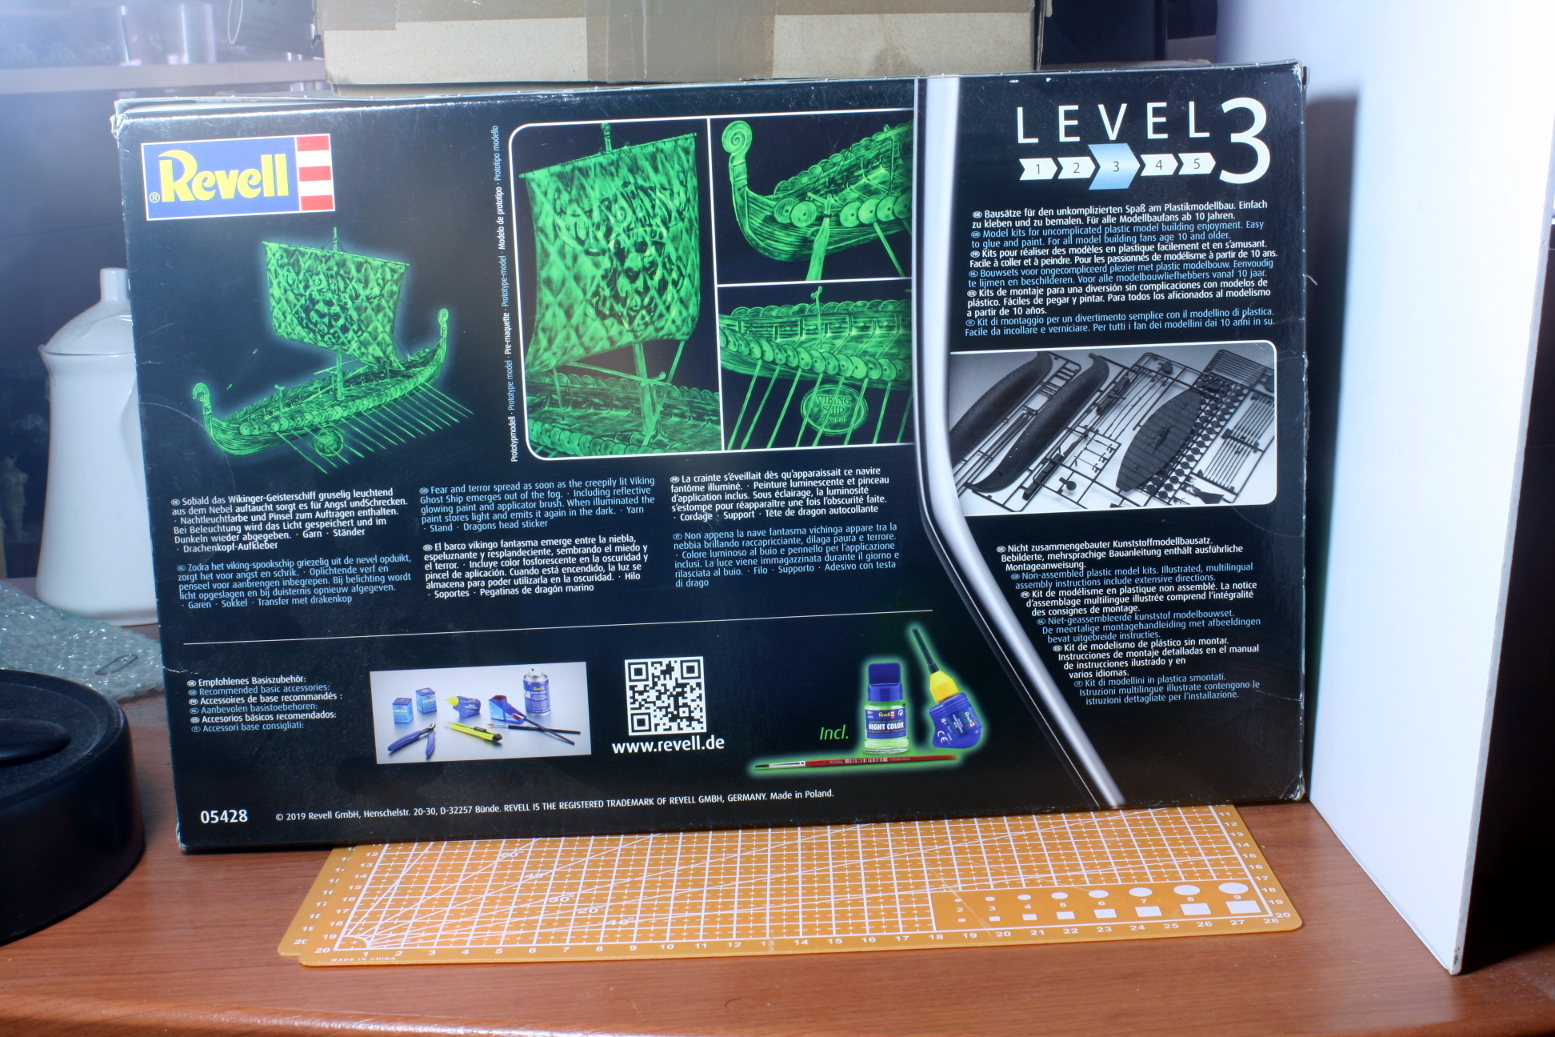
Looking through my pile of shame (that I pretend is potential), I also found a Viking ship from Revel. I remembered a piece of art from Angus McBride of a Viking last stand on a long ship – yes the one in the project picture. That is when the idea struck me, and I decided I would do something in a similar vein.
So, I went about building the long ship first. The fit was very good and easy to build. When it was dried well, I took out my fine saw and cut the ship in half and test-set my miniatures.
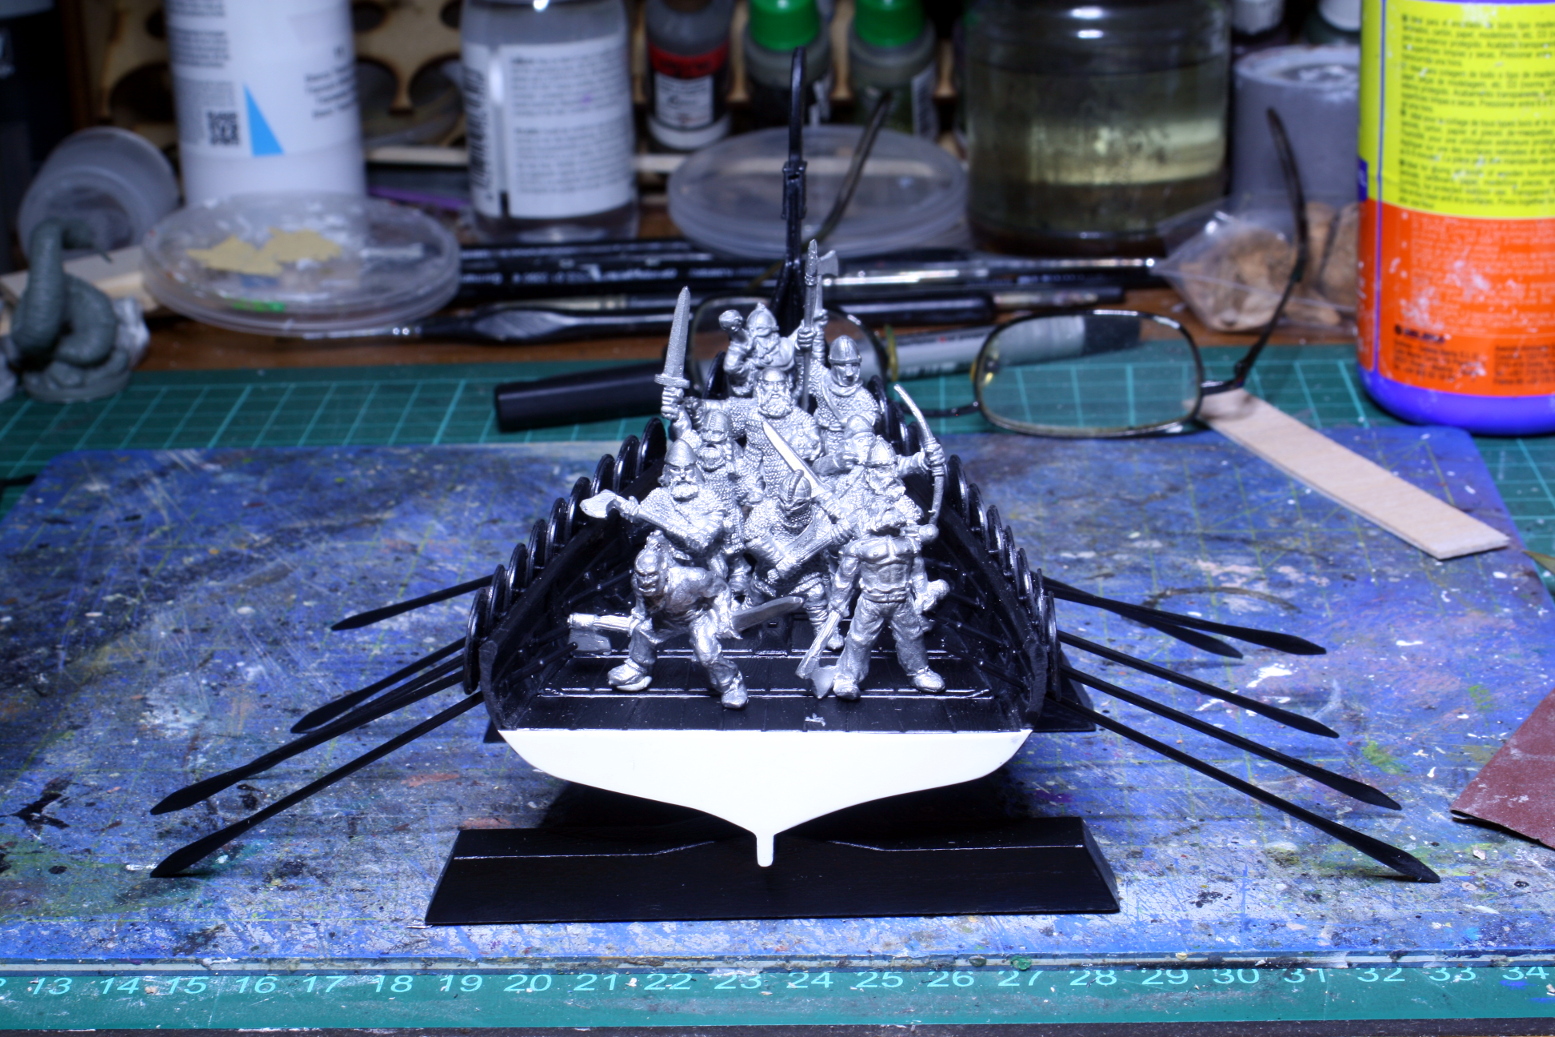
After deciding how the miniatures would sit, I primed the long boat and it is now ready for painting, but that will be for the next post.
Until then stay safe and have fun.
NR.