Old World or is it Kings of War- preparing for a classic good vs evil mash up
Recommendations: 293
About the Project
This started as a spring clean challenge to finish some long standing pile of shame miniatures. I didn’t get as many done as I’d have liked so thought I’d continue to log the project. My uncle and I have fair sized kings of war armies to many to field on a standard 6 by 4 table so the dream is to hire out a place for a good vs evil mega battle at some stage. Going to continue to log painting progress and maybe show off some existing units in the collection. This may take a while!
Related Game: Kings of War
Related Genre: Fantasy
Related Contest: Spring Clean Hobby Challenge 2024
This Project is Active
The Monopose Men and a Female
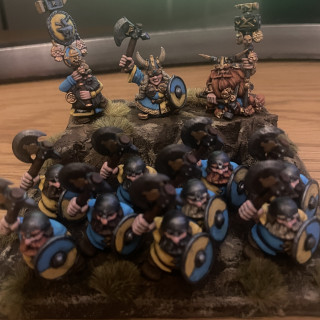
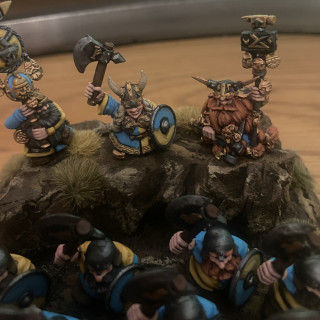
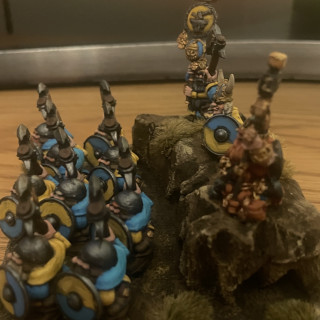
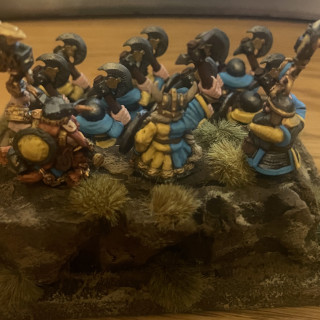
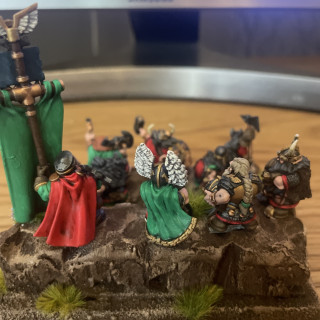
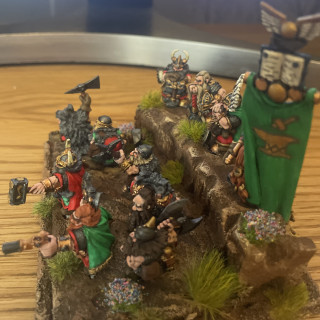
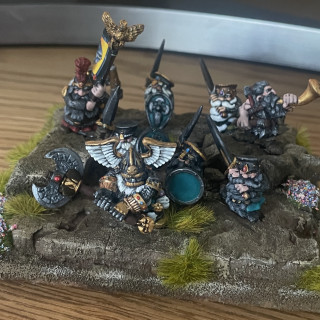
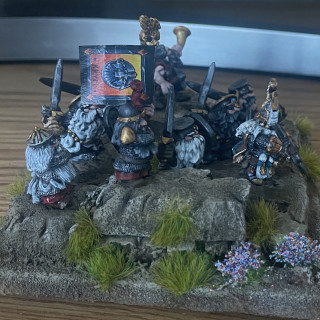
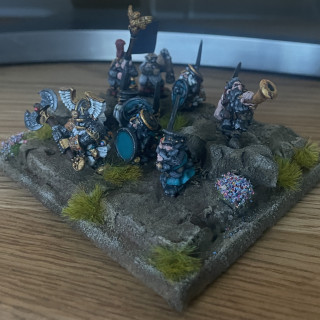
Next new unit done this week. I’m getting to the end of my dwarf miniatures. I had some of these much maligned monopods plastic miniatures and wanted to use them. They are very good for their time. They are simple to paint and think they look well with a fairly quick paint job. The use of 3 command figures gives the unit some interesting aspects. Iv done this with a few units which I may show off later in a showcase of the army when it’s done! overall happy with the result of the unit.
More war machines!
Not dwarves for a change! Iv had these since the 90’s and they had never been painted. Not sure why I even purchased them as I never had an empire army. Oh I know because they are awesome miniatures! Another crazy concept of a war machine which I love. They will fit on the good side of the battle nicely
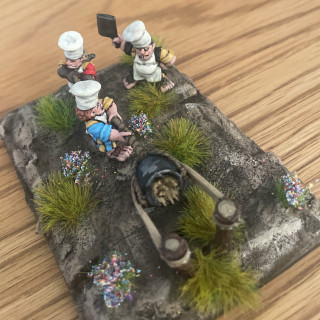
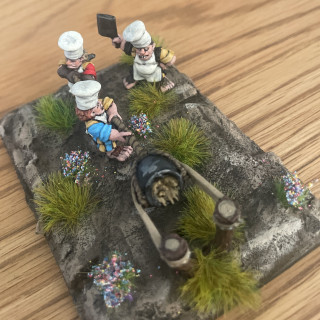
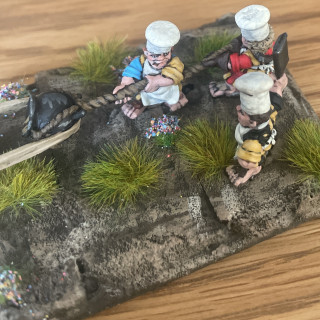
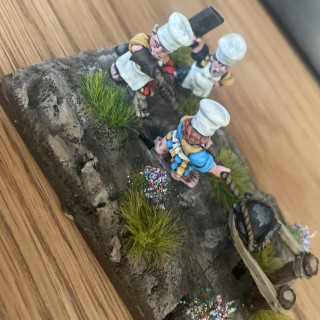
War machines!
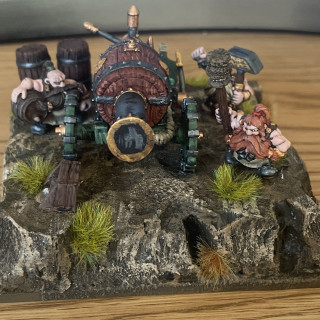
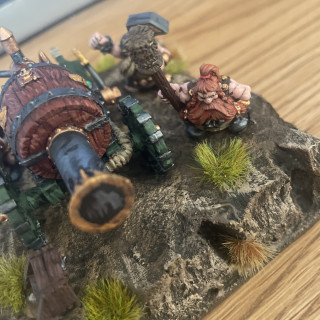
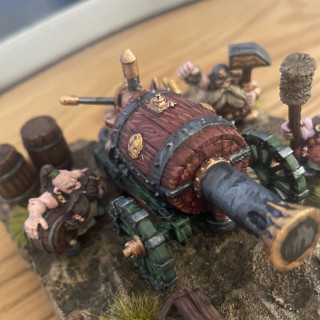
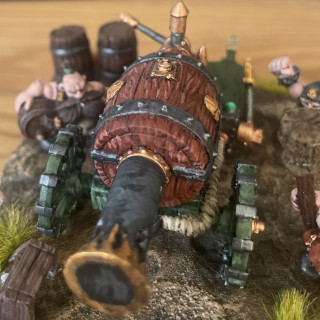
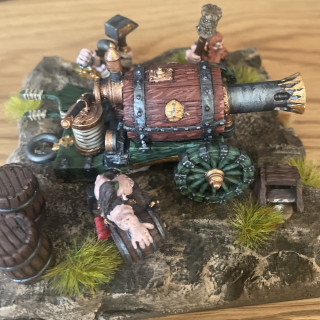
Next unit finished was the old dwarf flame cannon. I’d painted this as a child so it has been stripped back. Love the absurd nature of this flame cannon “let’s launch fire out of something mainly made of wood!”. Love the crew models very characterful. Great fun to paint
A unit of hero’s!
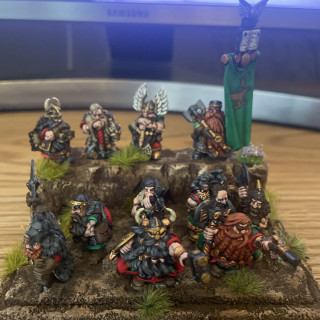
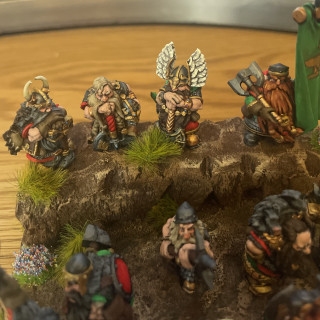
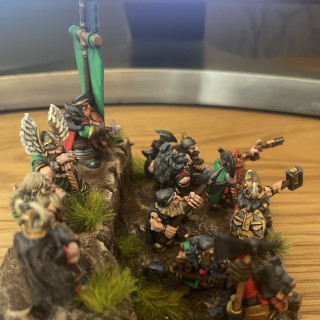
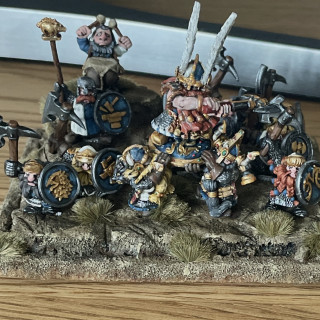
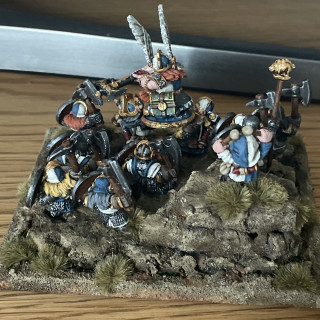
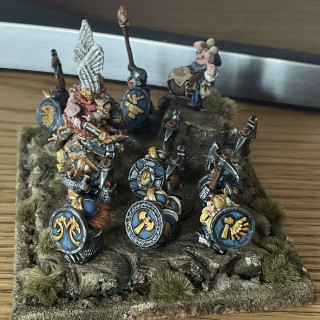
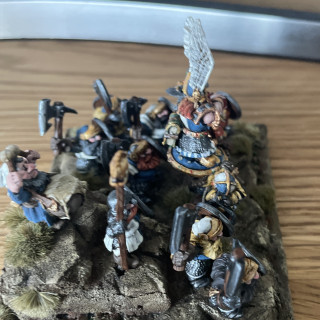
This could be my favourite unit that Iv painted. So many good models. The majority come from a GW made to order I think the thane with his helmet off at the back might be my favourite dwarf sculpt ever so was happy to get my hands on him. The banner bearer is from highland miniatures, the dwarf wearing the wolf pelt is from four A miniatures and the three with two handed weapons are heartbreaker miniatures which are really characterful. I aimed to push bright colours. Often when I paint bright colours the highlighting leads to desaturation of the colour and they do not look bright anymore. I pushed the highlights up to nearly white here and used several glazes (really watery paint lol) to bring back the vibrant colour and blend in the extreme highlights. Think it has worked well. Very happy with this unit
Next Unit on the painting table
Next unit is an interesting one. Couldn’t resist a GW made to order of the classic old world sculpts. Rarely buy GW these days but prices for these on eBay are astronomical. Love the GW classic sculpts
Another Unit Finished
Quite happy with how this turned out. A slight criticism is there is a few figures short but wanted to keep the long beard type look. Love the models though and happy with the result for 3 nights work
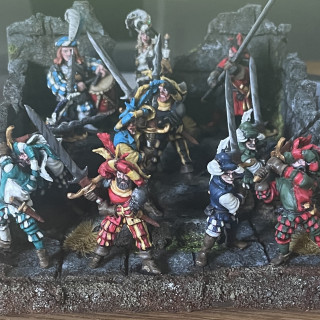
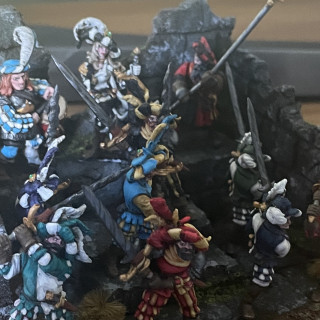
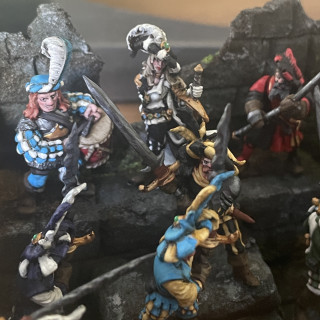
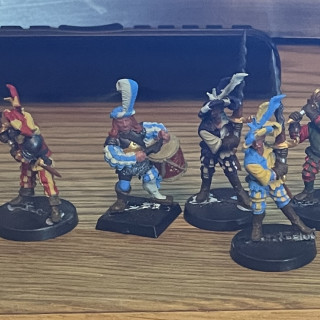
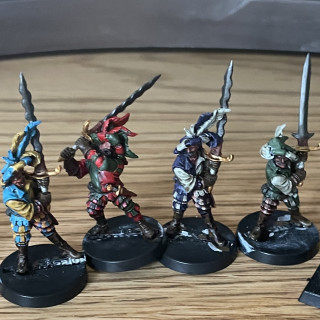
For the Emperor - the finished regiment
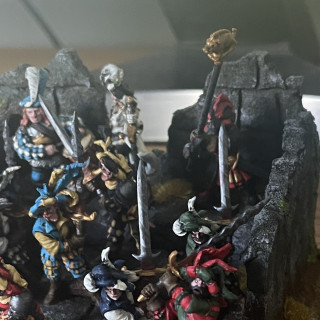
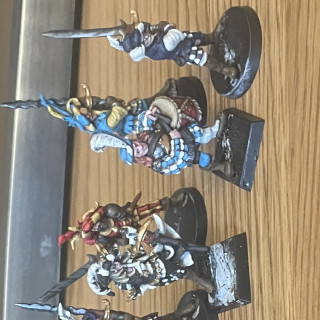
The minis were glued in place with super glue and this regiment is done. It was a real unit unit to do. I think it shows a side to KOW it allows creativity and can reduce costs and painting time. A regiment should have 20 models this has been done with 11 but do not think Iv lost the look of a massed unit.
Again great minis from black scorpion highly recommend
Prep for basing
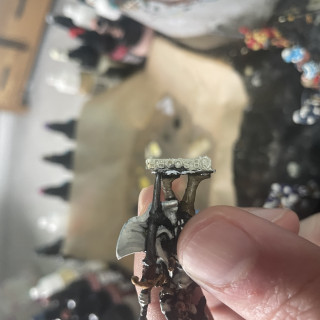
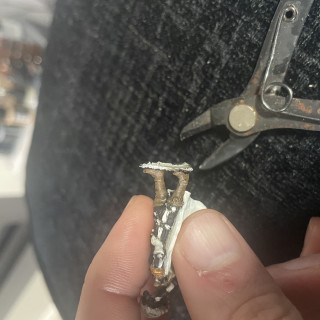
The minis required some tags to be removed before glueing this was done with hobby snips and then filing down to flatten the contact points. One tip Iv found as these are resin is to snip the middle of the tag first before removing. If you just snip them without doing this it can put pressure on the model and lead to breakages.
The miniatures
Iv done some posts on other projects about my method so will keep this short. Simple base coat with monument hobbies paints ( the best Iv used). Then an all over wash with army painter strong tone. Then highlights added by using the base coat and lightening up the colour by adding pale yellow to the original colour. These are great minis such fun painting the dandy colours.
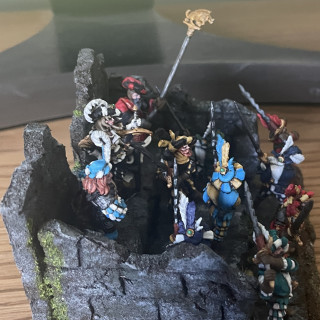
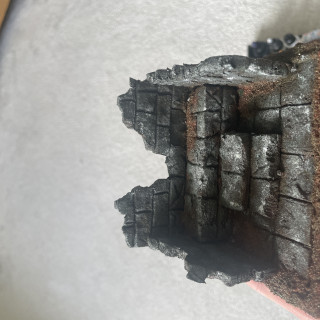
The final touches the base
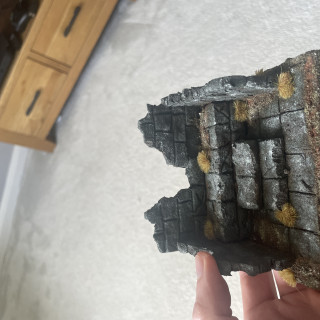
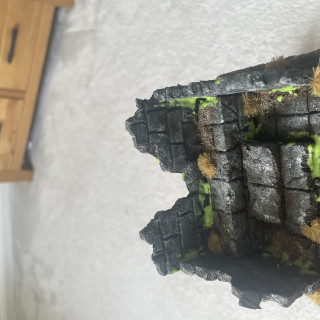
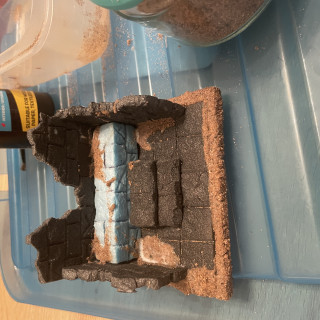
- I added some tufts around the base and walls.
- I wanted to make some moss so added some PVA glue to a pot. Poured in some green sawdust flock and mixed. This is then applied with an old brush to the base. It looks very luminous when wet but darkens and looks good once dry. (See final images of this unit)
- that’s the base ☑
The base continued
- I then added sand to the mdf trim and in some spots around the ruin. This was done through painting on PVA glue and chucking sand at it.
- once dry a gave the whole thing a brush on prime with a cheap brown paint. You could spray paint but this can melt the foam so if doing this a layer of mod podge before spraying can stop this.
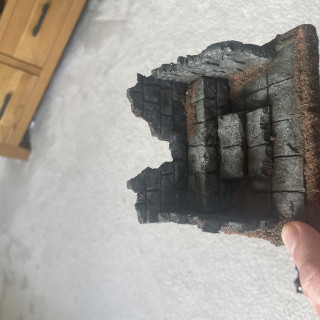
- i the stippled a green colour over the brown followed by a dark grey then finally a light grey.
- i then dry brushed the sand which had been left brown with a bleached bone colour. This gave contrast to the stone.
The base continued
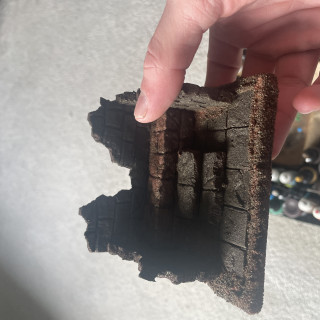
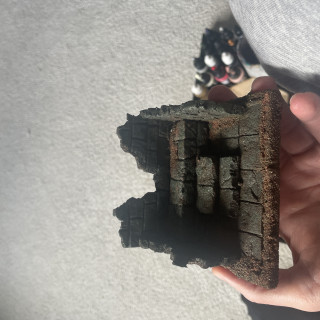
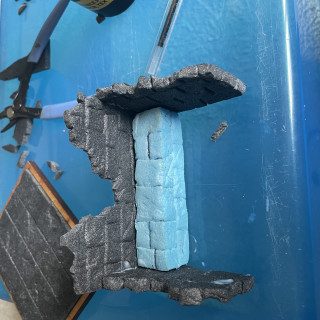
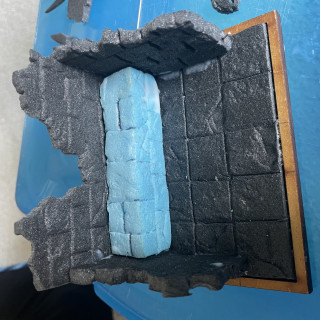
- The walls and plinth were textured and brick patterned as in the previous steps.
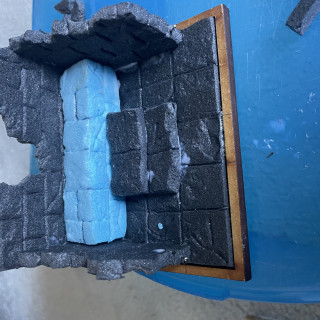
- the structure was then glued together with PVA. Pins were used to hold it in place. These can be removed when dry or pushed in to give strength to the structure.
- Once dry it was glued to the movement tray and pinned in place.
- i then cut and textured some steps to the plinth and glued these in place.
The base continued
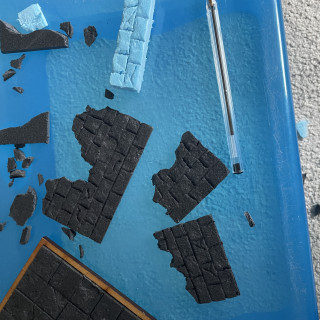
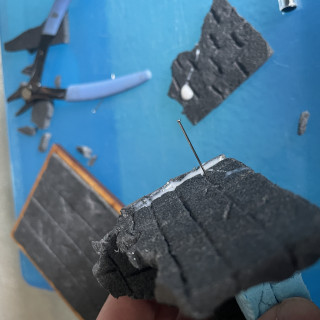
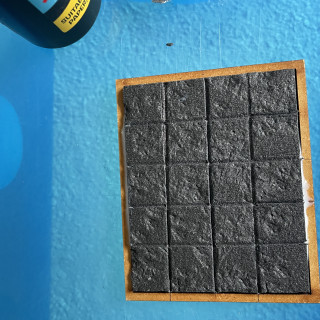
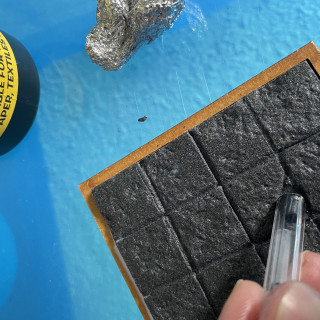
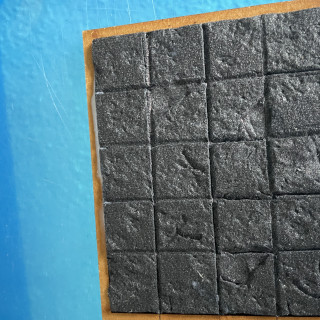
- I then marked out some squares to look like paving slabs and scored in the lines gently with a hobby knife
- the score lines were then widened with the point of a ball point pen. I
- I then used the bottom end of the pen to depress some areas of the paving slabs to add weathering and variety
- cracks and chips were then randomly drawn in to the foam with the ball point pen tip.
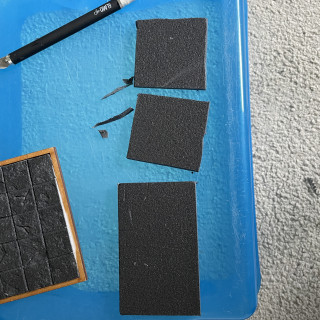
- I then cut some
- foam fort the sides and back walls of my structure and a raised plinth out of 20mm xps foam. This will give the base some height
The base
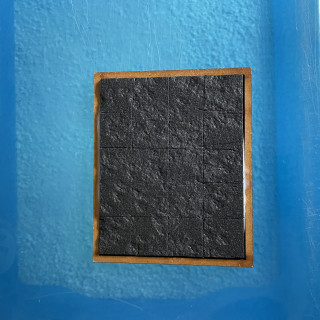
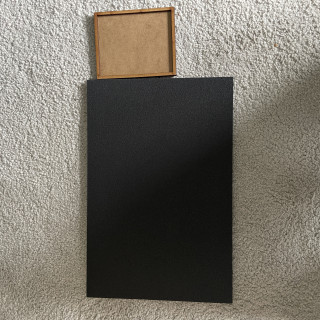
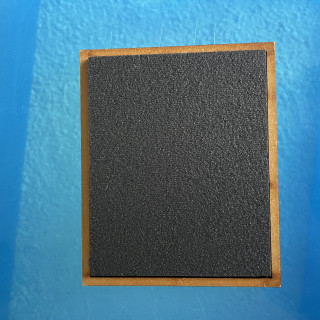
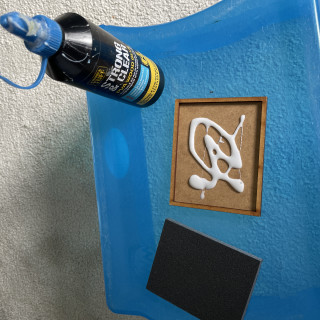
- I started with a unit tray 100mm by 80mm and a sheet of 5mm xps foam.
- The foam was cut to the size of the base with a sharp knife. If your knife is not sharp the foam will tear.
- The foam was glued in with PVA
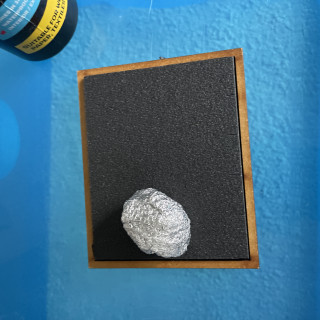
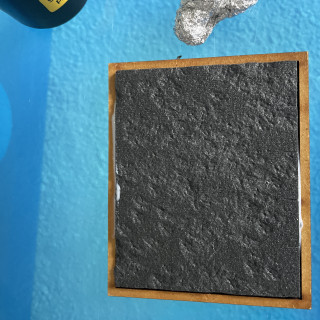
- I then used a crumpled ball of kitchen foil to roll and push into the foam to add texture
Next Up
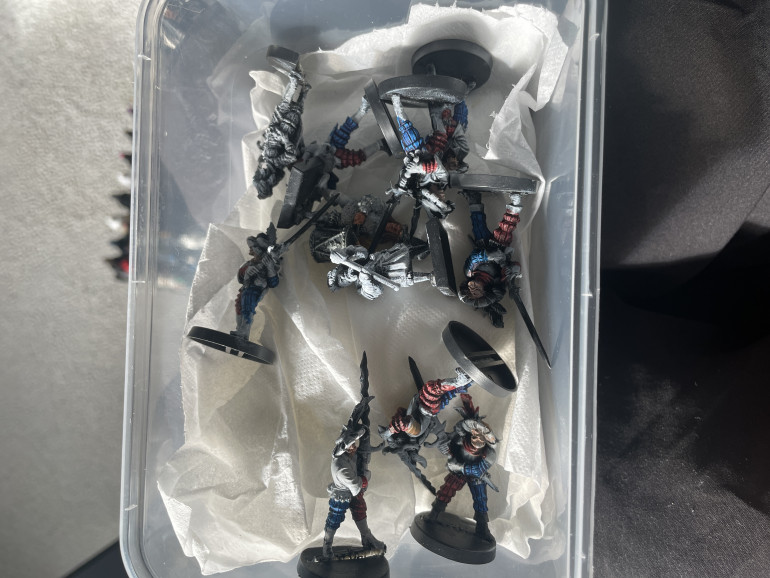
Something slightly different next, well a different faction. My uncle had started these miniatures but lost interest so I’m going to give them a repaint and base them as a regiment for his empire army. These are Black Scorpion Miniatures with a couple of old GW command figures. Black scorpion are some of the best minis around give them a look if you have not already.
Second Unit Complete King Alrik and his Company
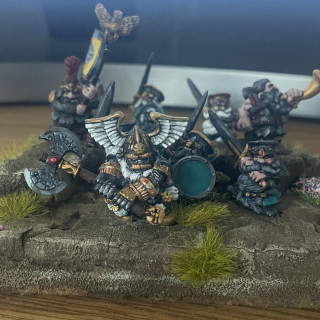
Well these are done fairly happy with the result although had a disaster with the varnish fogging so had to do a rescue job. Great fun to paint these old models. Love the sculpts as they look just like dwarves should.
The Slayers Complete
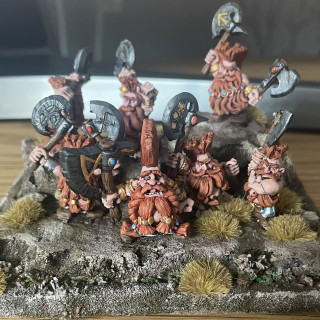
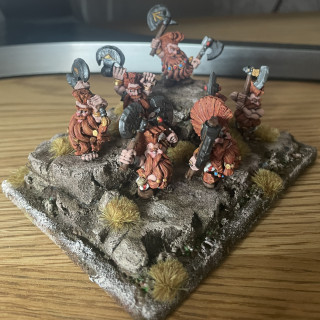
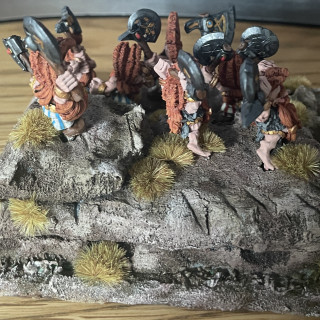
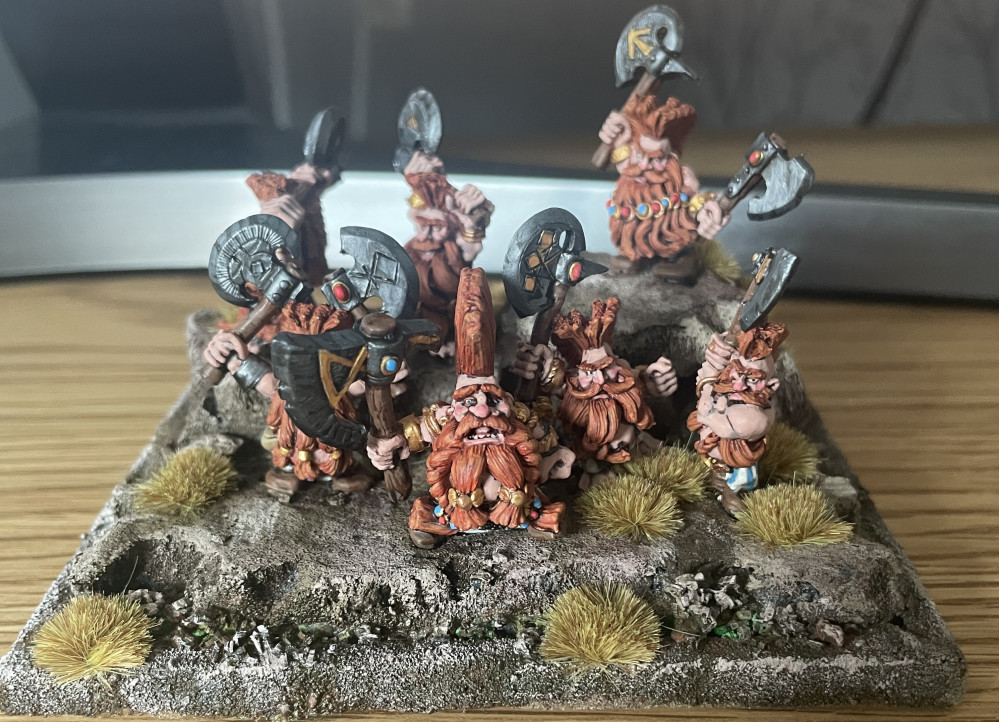
So I managed to finish my first unit in just under a week. I really love how they have turned out. They are such fun to paint. I’m happy with how the basing turned out. The painting was done using various browns and creams. On placing the minis the slot bases were pushed into the foam then glued and they stand very solidly. Added some grass tufts and calling this unit done.
Prep Next Minis- King Alrik
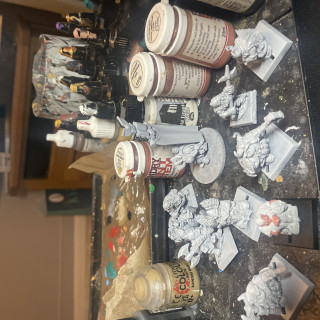
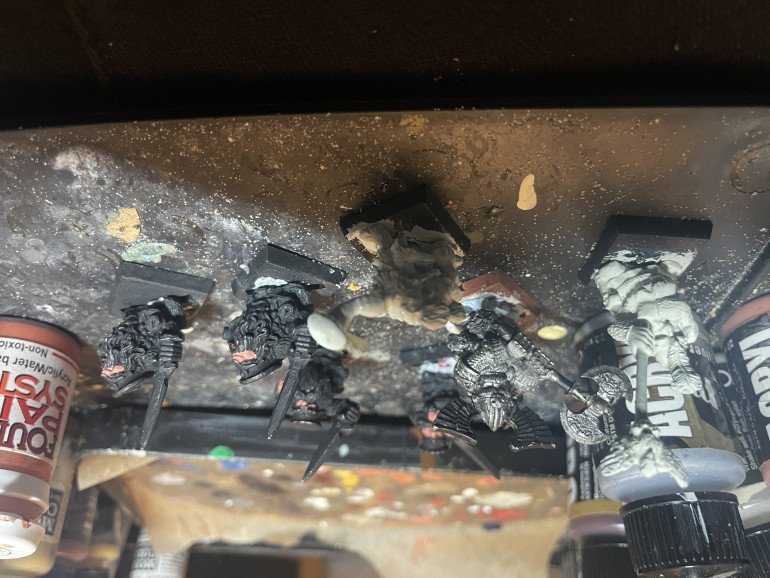
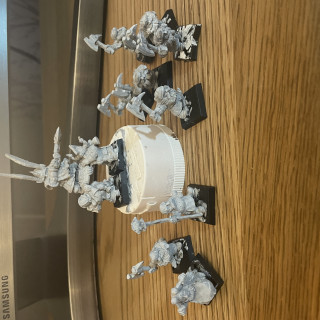
Prepped up my next unit for painting. Love the King and his shield bearers. I think I like it better than the new sculpt. He will be leading some Marauder Iron breakers along with a classic standard bearer and musician. More blasts from the past.
The basing
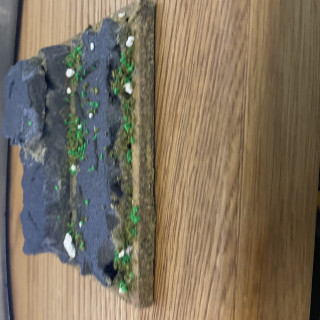
Spent some time putting a base together. I have used xps foam cut to size of the movement tray. Looked to make it more rock like by carving and tearing the edges randomly. Also I used a rolled up ball of aluminium foil to roll in a texture for the foam. I added some sand cat litter and foam flock to represent smaller rocks and dirt. I gave a spray of watered down mod podge which makes it all a little more durable and helps stop foam melting when using super glue. Doesn’t look much now but hopefully some paint will help.


![How To Paint Moonstone’s Nanny | Goblin King Games [7 Days Early Access]](https://images.beastsofwar.com/2024/12/3CU-Gobin-King-Games-Moonstone-Shades-Nanny-coverimage-225-127.jpg)


