O Group in 10mm
Recommendations: 40
About the Project
In this project I’ll be building armies and terrain to use with O Group, a battalion level WW2 rule set authored by Dave Brown and published by the Reisswitz Press offshoot of Too Fat Lardies. I intend to start close to the beginning of the war by building armies for the 1940 Battle of France.
Related Company: Too Fat Lardies
Related Genre: Historical
This Project is Active
Some more supports
Some more support assets for my Early War German battalion.
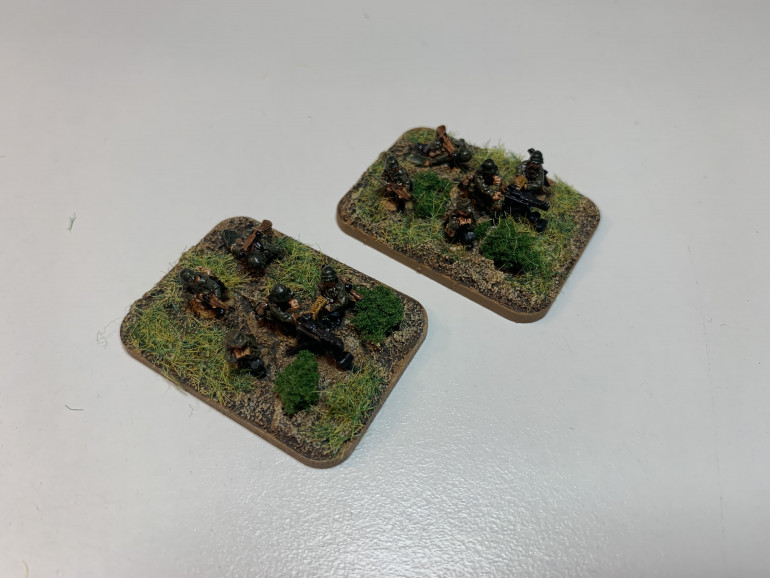
The first is a platoon of Medium Machine Guns. These can be fielded singly, together or as attachments to infantry platoons. One of the nice things about 10mm is that you don’t need to be so worried about accuracy in terms of equipment. On each of the bases above there is only one figure that is officially designated as “Early War” in Pendraken’s catalogue and the MG itself is described as an MG42 rather than the MG34 which was used during the 1940 campaign.Once the figures are painted in a uniform fashion, any differences in equipment detail that you might fancy you can detect just fade away.
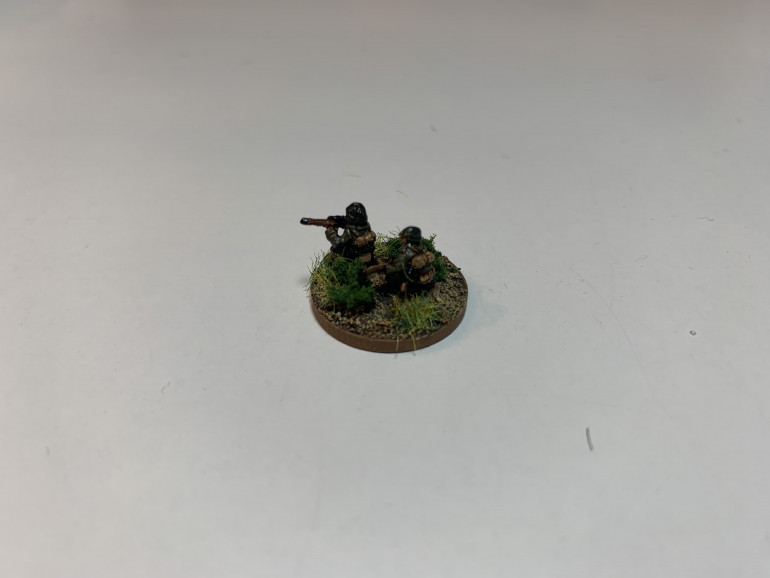
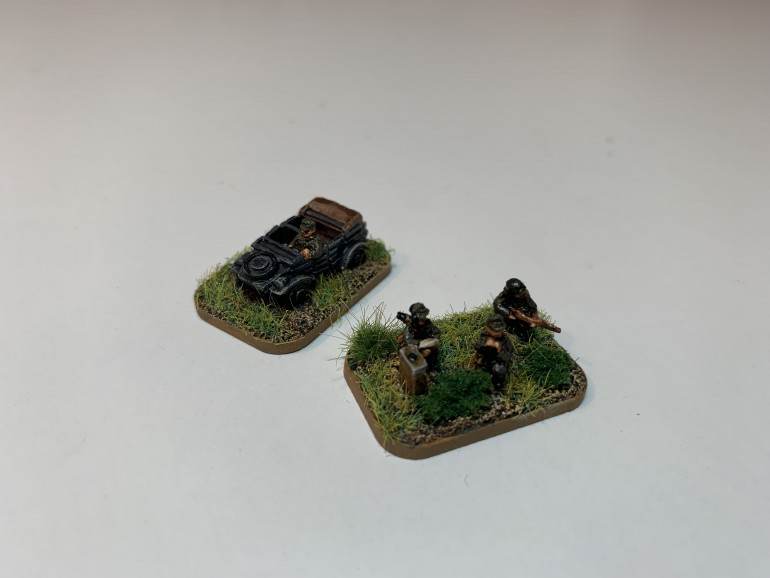
The second support asset is a Sniper Team. These are only used occasionally in O Group. To reflect the Sniper’s emphasis on remaining hidden, I based the team on the smallest base I had, just 20mm across.
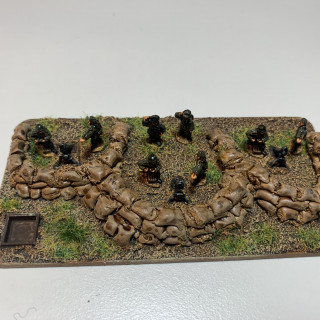
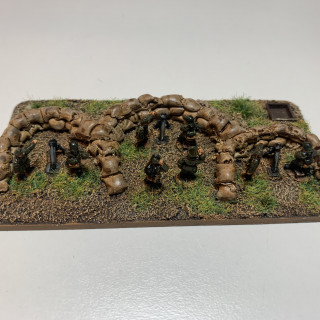
The last support asset covered in this entry is one that doesn’t need to be modelled as it represents something well outside the area of operations covered on the tabletop. The Mortar Platoon is counted as an Off Table asset and can be called upon through expending a designated number of command orders. As it is a dedicated battalion asset it is generally more readily available than regimental or divisional artillery, but not as powerful. However, having said that it didn’t need to be modelled, I wanted to do so as it would be a more tangible way to introduce new players to the game.
I based the mortar platoon on a 100mm x 50mm base. In reality the platoon would be spread over a much wider area and far less cramped but this is a decent compromise between reality and representation. I glued a small dice frame at the front of the base because mortars can run low on ammo and it might be helpful to place a dice as a reminder if this happens. I then added the Vallejo basing mix and placed the mortars, their crews and the officers. Once that was dry, I laid out the sandbag emplacements. These were made of milliput. I rolled out a very thin sausage of the stuff and then cut out individual sandbags with a craft knife and laid them one on top of the other. Placing two or three rows alongside each other at ground level and then building two rows and then a final row at the top gives the impression of a sloped “glacis” which can be quite pleasing. Once the milliput was dried and hardened the whole base was primed white for painting.
Basing
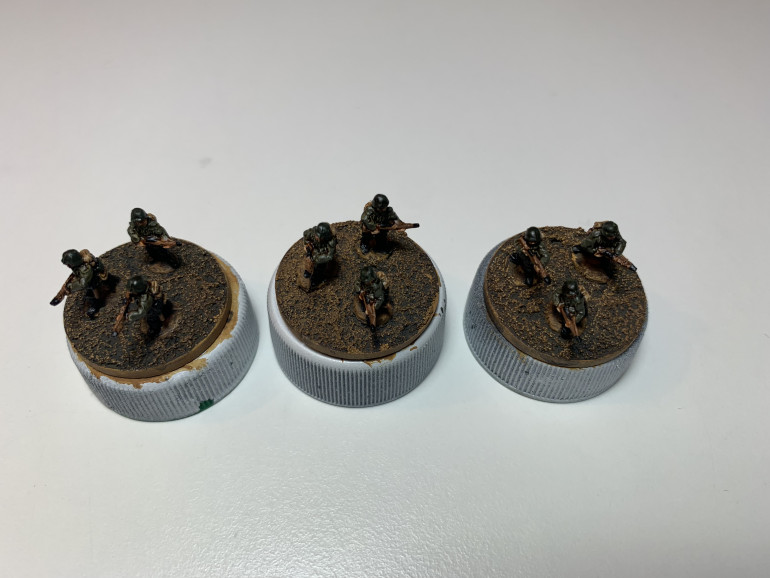
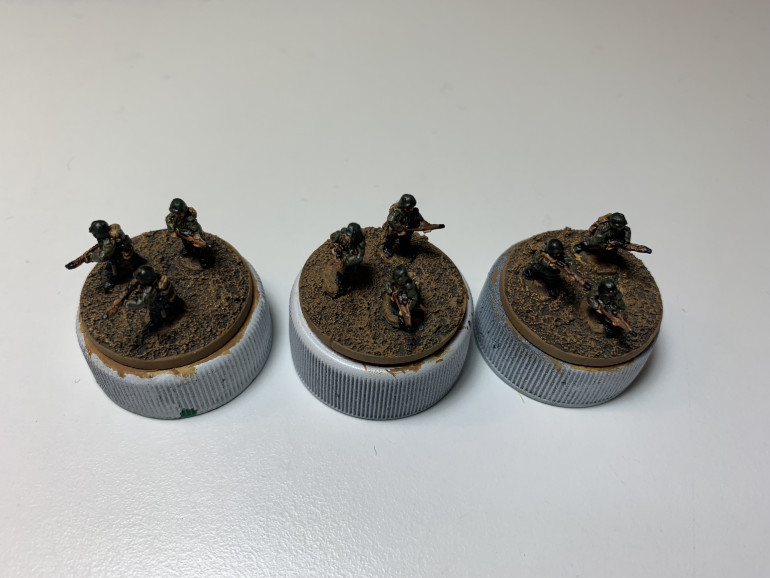
 Step 4 - lightly drybrush the base with Buff. After this step it is a good idea to varnish the figures and allow them to dry.
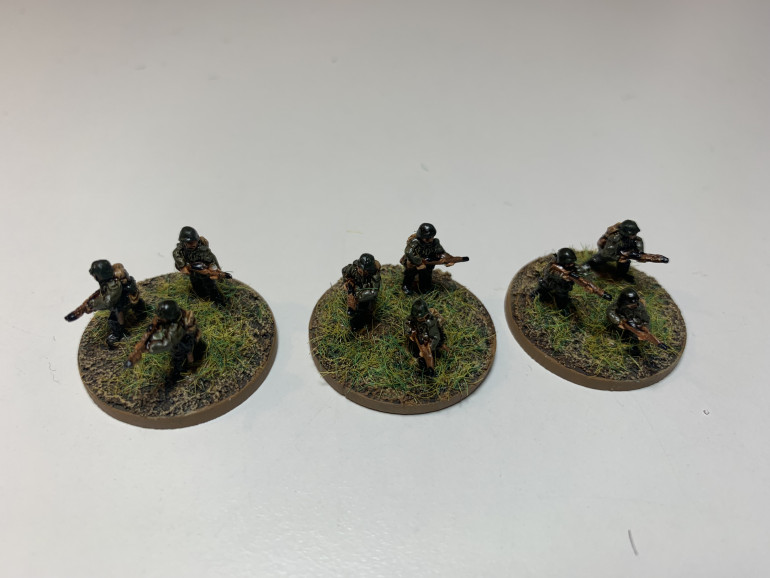
This is my 5-step guide to basing at this scale. You can go into a lot more detail, but as I’ve suggested earlier, I think there are diminishing returns in 10mm. It’s better to make sure that your approach is uniform across your army so that all the bases look like they are operating within the same environment.
Priming and Painting
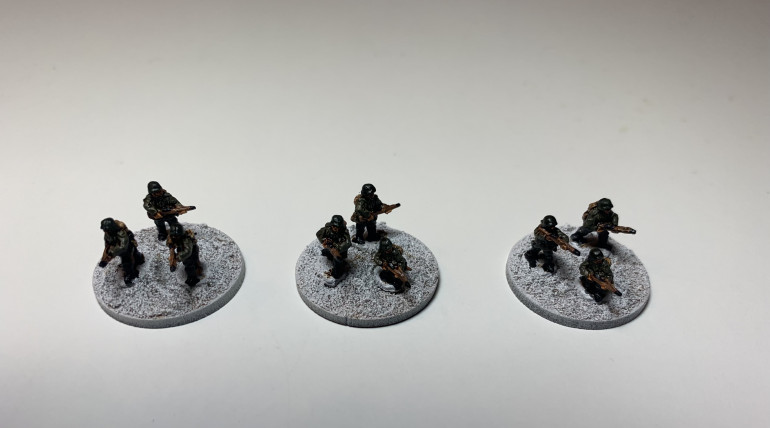
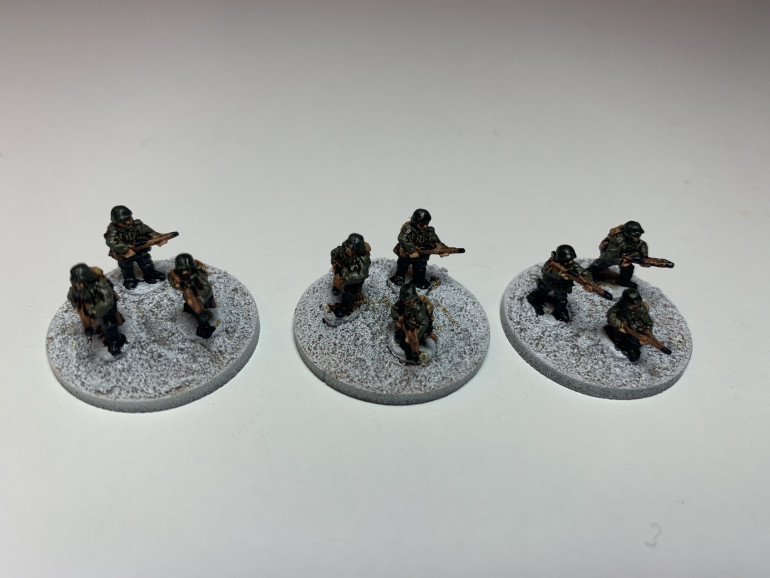
When I began this project I took the view that the paint job had to be simple. In my experience small scales do not reward massive investment in detail and I suspected this would be even more so in WWII where the combatants were doing their best to be as invisible as possible. I therefore set out a four stage process for infantry which is illustrated above.
Step 1 would be to prime the base of models white. This was so the fairly dull colours I was using would be brighter at least to some degree.
Step 2 was to base coat the models. The list of paints I used is set out below, but I tried to use a selection of colours so that elements such as rifles, helmets and packs would be obvious. At this stage of the process there will be white undercoat showing through in some places. That doesn’t matter as it will be fixed instep 3 when we add the wash.
I should mention at this point that I’m quite comfortable painting multiple figures of this type on a single base. Sometimes you can get a tricky angle, but if you get paint on the wrong part of another model on the base you can usually rectify that quickly.
Step 3 is a straightforward coverage of the models in a wash of Army Painter Soft Tone ink. This covers any bits of white primer that may be showing and defines the different areas of the figure a bit more.
Step 4 is the final step and involves a tiny spot of Vallejo Flat Flesh on the upraised parts of the face and hands. I’m not sure the effect is obvious in the photo above, but it makes a difference to the final effect.
The bases are now ready for basing and varnishing.
The list of base coat colours is set out below. I’ve included colours for machine guns because although the examples above are combat patrols I paint standard squads in exactly the same way and those often include figures armed with machine guns. All paints are from the Vallejo Model Colour range.
Flesh – Light Brown, highlighted with Flat Flesh after the ink wash.
Helmet and ammo containers – German Camo Dark Green
Tunic – German Field Grey WWII
Trousers – London Grey
Rifle and shovel handle – Beige Brown
Water bottle – German Camo Pale Brown
Pack – Tan Earth
Belts, shovel cover, boots, rifle ends – Black
Mess tins – Oily Steel
Machine Gun – German Grey
Machine gun ammo belt – German Camo Orange Ochre
Preparation and painting
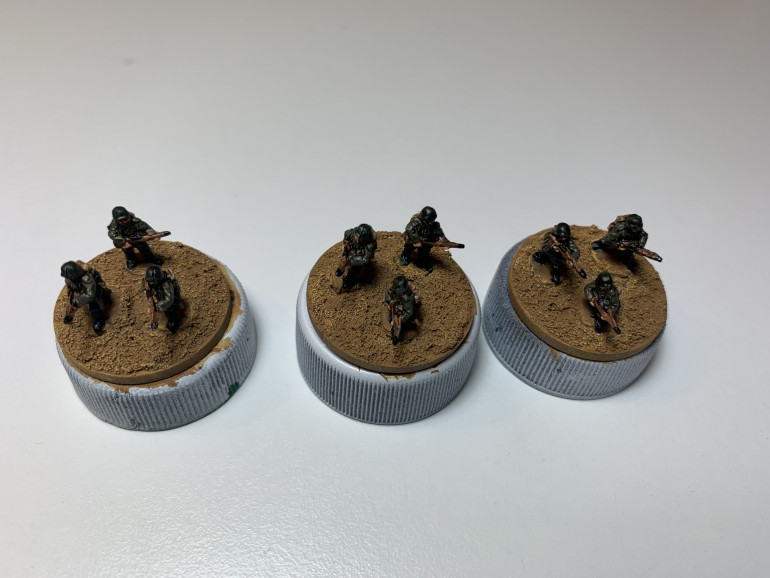
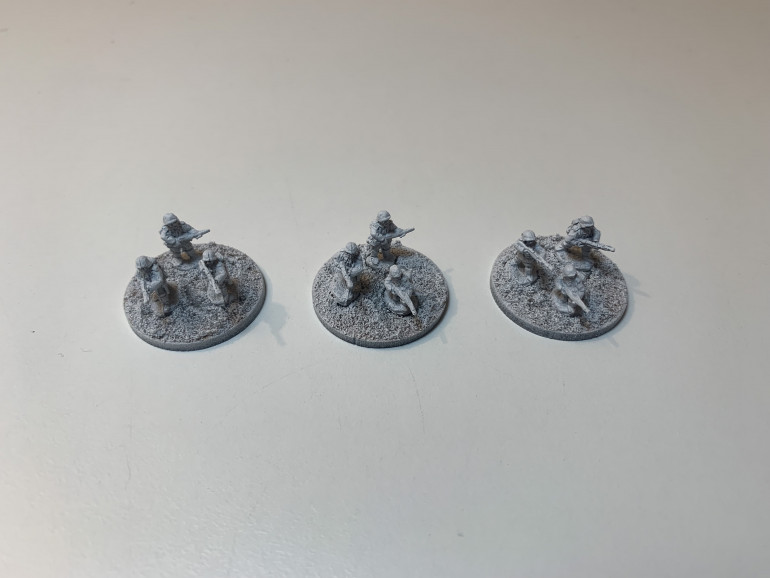
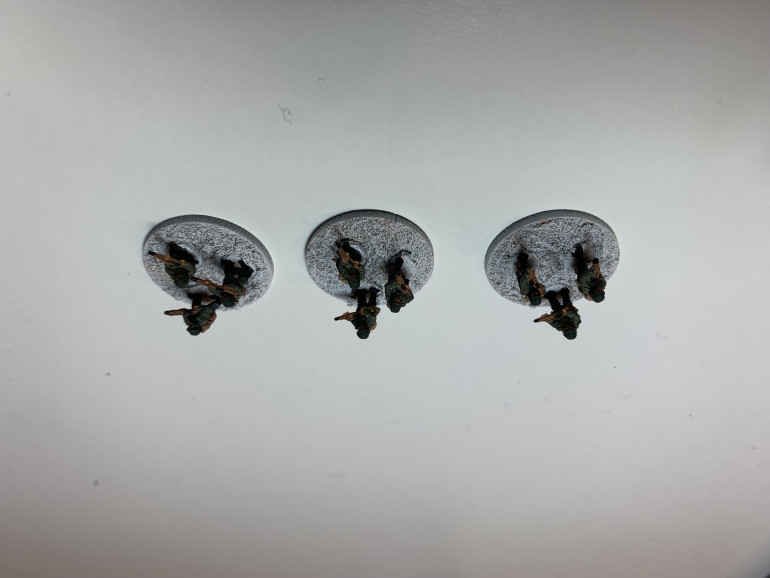
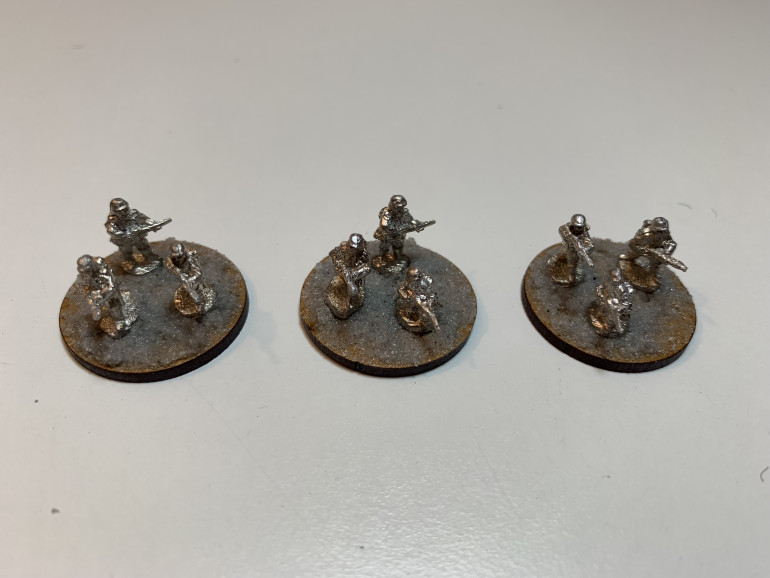
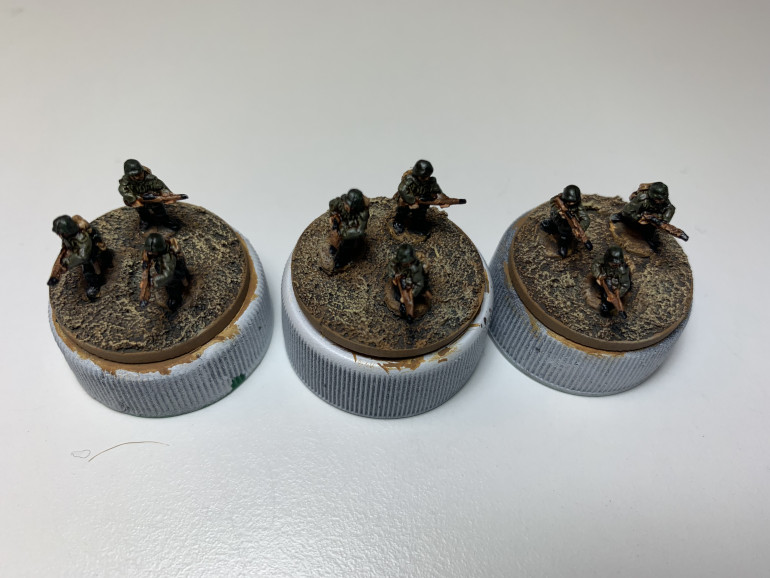
Combat patrols are an important part of O Group, being used to scout enemy positions and deploy your troops on to the table. Each company can have up to three combat patrols deployed at once. Most players use counters to depict combat patrols but I wanted something more immersive and decided to use miniatures based on 25mm rounds. This also gives me an excuse to show you how I prepare and paint these models.
The first stage is to clean up the bare metal. The miniatures themselves tend to be quite clear of flash, but there is often some filing to be done on the underside of the puddle to enable to figure to stand up straight.
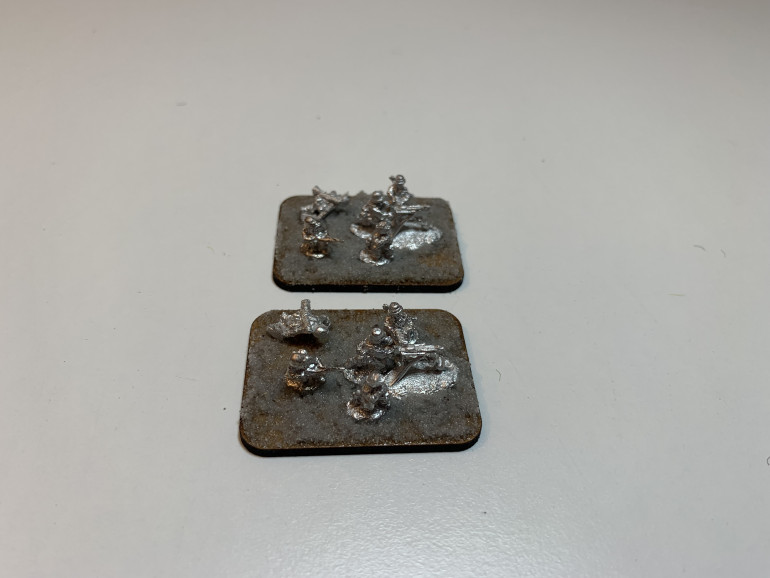
Once the figures are clean of flash I cover a base with Vallejo ground texture (in this case Grey Pumice but any will do) and embed the miniatures into it in a pleasing mini diorama. I then leave them overnight. In the morning the ground texture will be solid and the miniatures fixed firmly to the base.
The same technique can be used for support teams and vehicles. In the image above I’ve prepared to MMG teams.
Supports so far
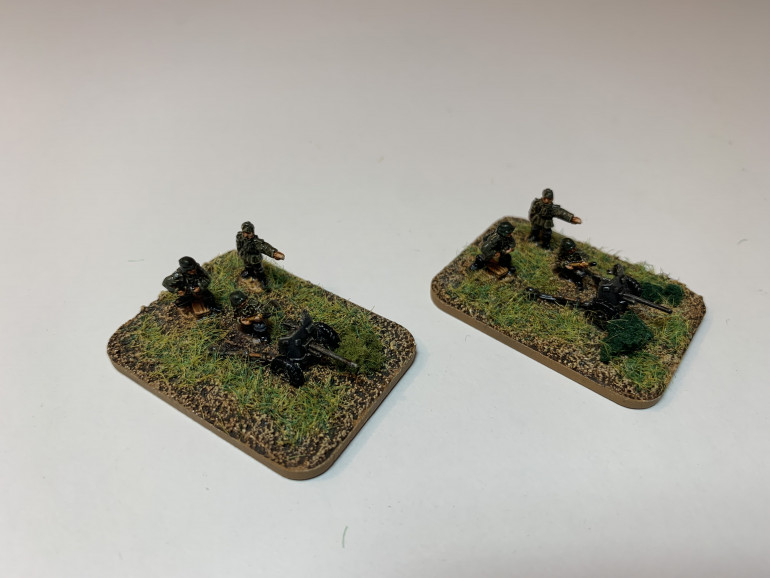
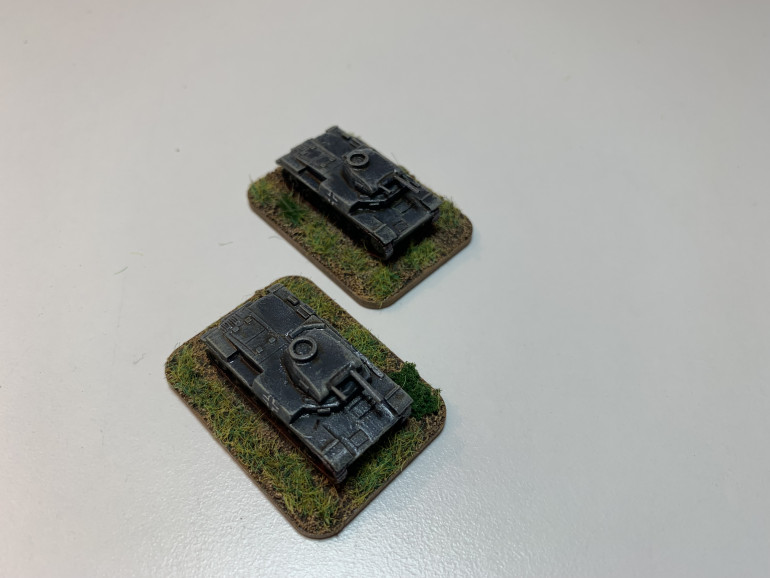
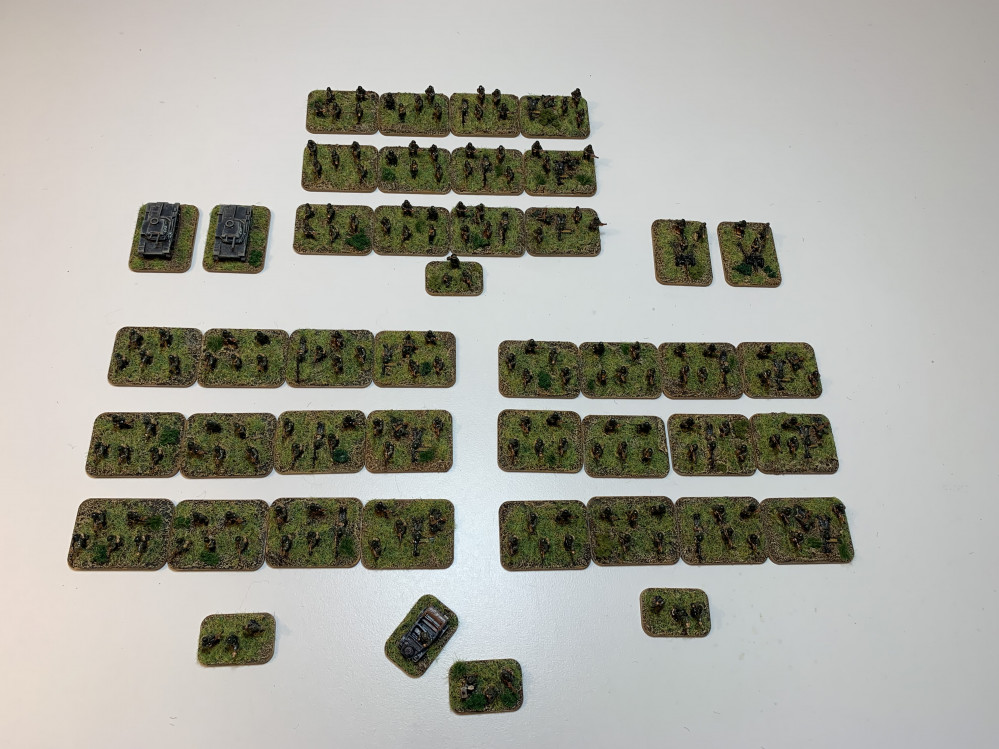
I started with one of Pendraken’s starter armies, but quickly realised I would need more to build the battalion. The starter pack included two Pak 36 anti-tank guns and crew, but I also picked up some Panzer IIs and some additional officers and radio operators to make up a Forward Observer team.
The infantry squads, anti-tank guns and panzers are all on 3cm x 4cm bases. The company commanders and forward observer are on 2cm x 3cm bases. The bases are all 2mm MDF from Warbases.
Progress to date
As will be obvious from the thumbnail at the top of this blog, I’ve already made some progress before starting this project blog. So far I’ve painted up most of a German infantry battalion and a few supports. I’ve also got about half a battalion of BEF to oppose them. Before I go further I thought it would be helpful to explain a bit about what I’ve done so far.
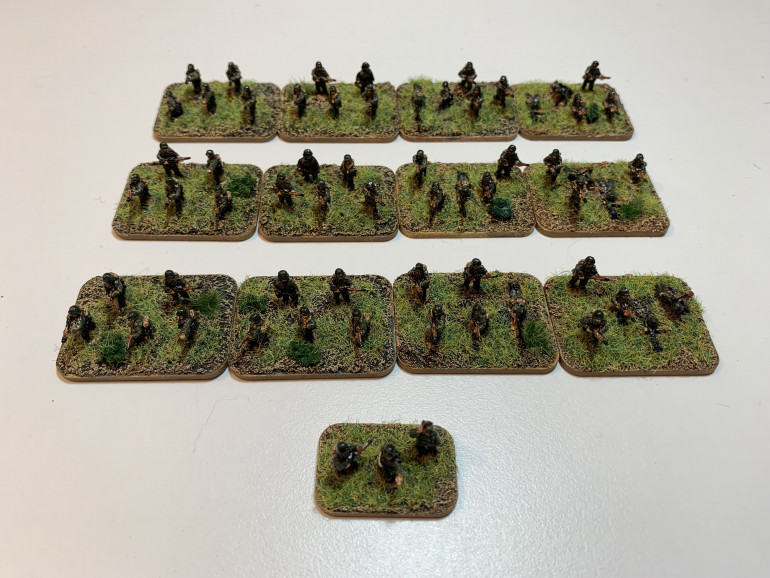
The standard German battalion is comprised of three infantry companies like the one above. Each company is comprised of three platoons (drei Zuege) of four squads. The formation is led by a company commander.
The image above is of an early war German platoon. In 1940 the Germans used square platoons made up of four squads. Later war platoons were made up of three squads.
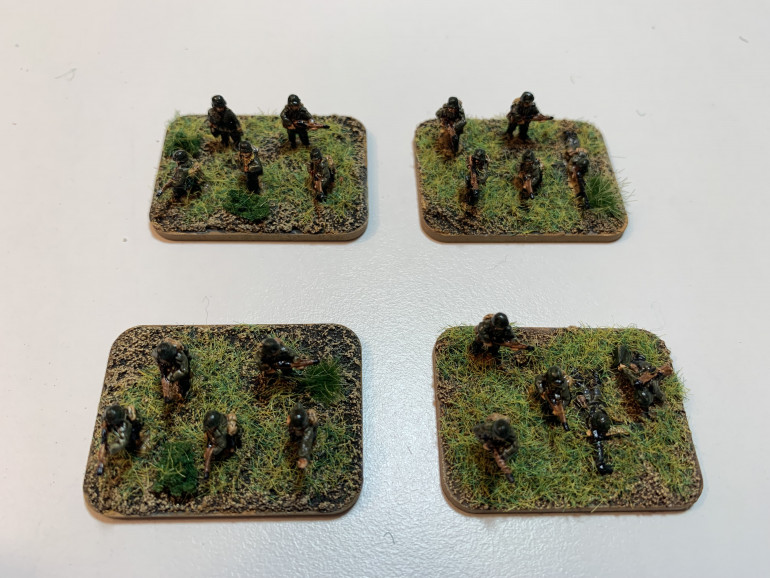
I’m using Pendraken miniatures for this project. Although the number of poses for basic infantrymen is limited, you can generate variety in the appearance of individual squads by adding NCOs, light machine guns and anti-tank rifles.


![TerrainFest 2024 Begins! Build Terrain With OnTableTop & Win A £300 Prize! [Extended!]](https://images.beastsofwar.com/2024/10/TerrainFEST-2024-Social-Media-Post-Square-225-127.jpg)


