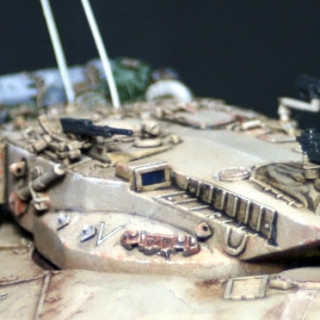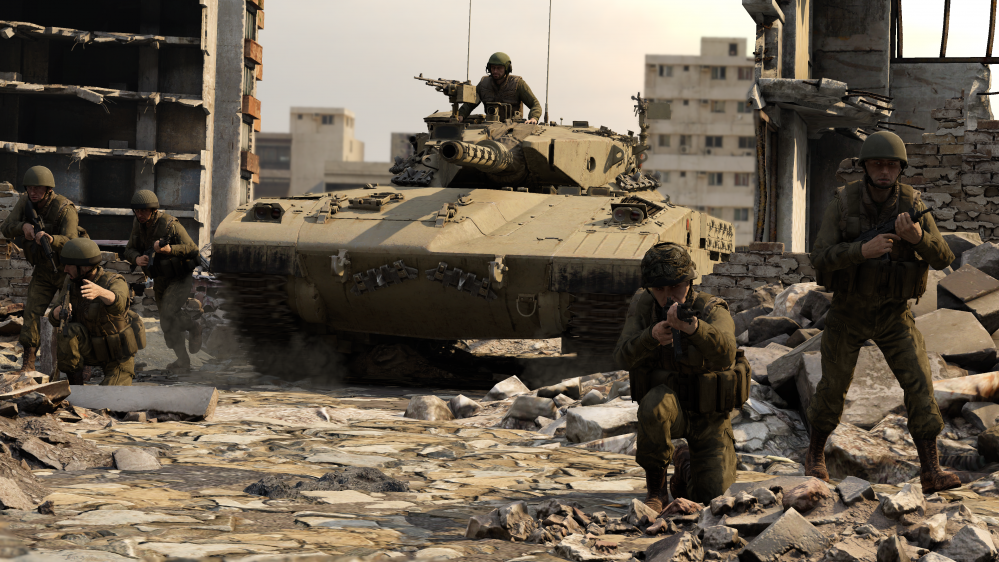
IDF On Patrol – A 1/72 scale Diorama
Recommendations: 152
About the Project
This is a IDF diorama in 1/72 scale. I have had these models for years, and this year I want to try and focus more on older models than on newly bought miniatures. My goal is to wither away at my mighty stash and try to start saving up for my pensioner years!
Related Genre: Historical
This Project is Completed
The First Step - Planning.
Hi everyone,
As I am writing this up, I am also putting on the finishing touches to my 54mm Conan model. In between, gluing this tuft, and retouching that boot, I started planning my next diorama in 1/72 scale.
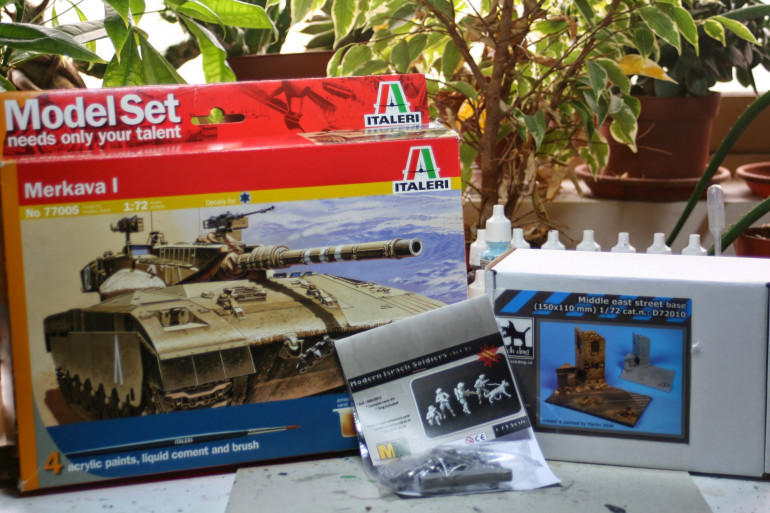
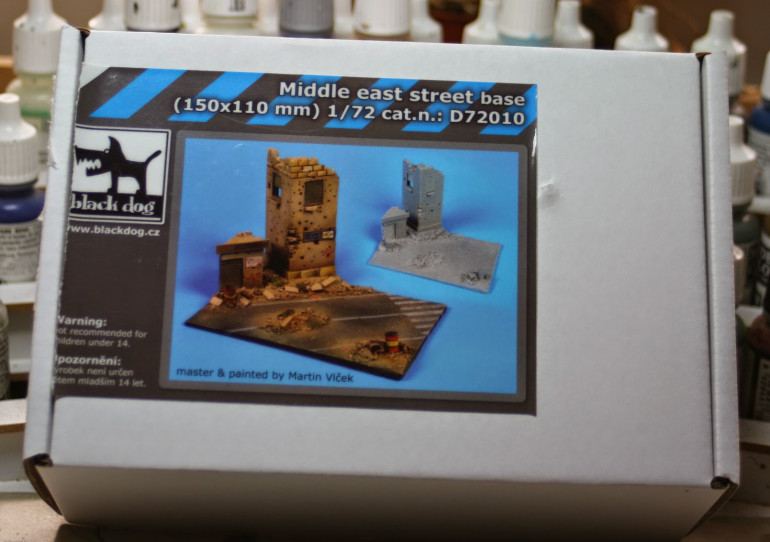
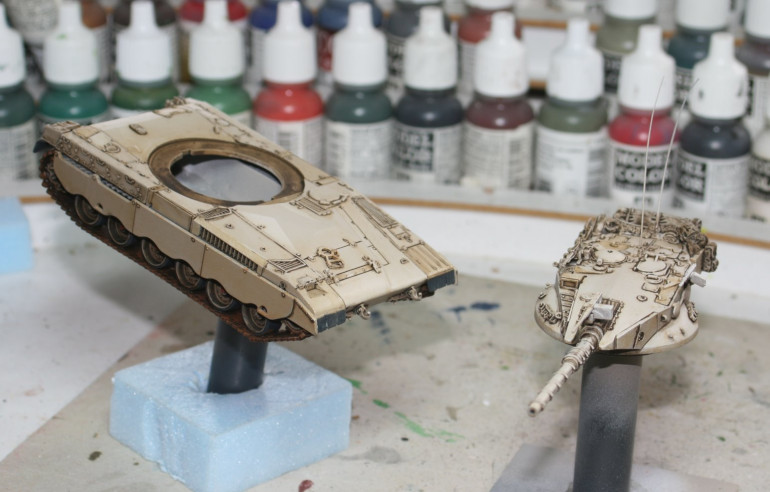
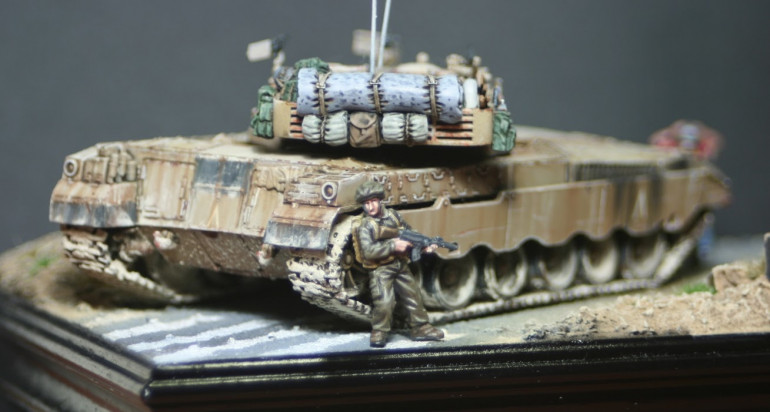
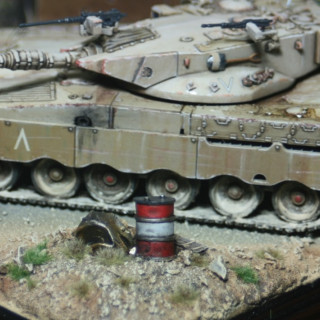
This is a 1/72 Merkava 1 tank from Italieri – my favourite all time tank, even though I only paint WW2 tanks as a general rule. I will be combining this with a Middle Eastern street scene from Black Dog miniatures. I have had these kits for over a decade now, and it is about time I used them!
As always, I start with the base when building dioramas. A lot of hobbyists start with the figures, and that is fine, but I have issues with display space at the moment. Hence I take extra care the whole thing fits into my display case when finished.
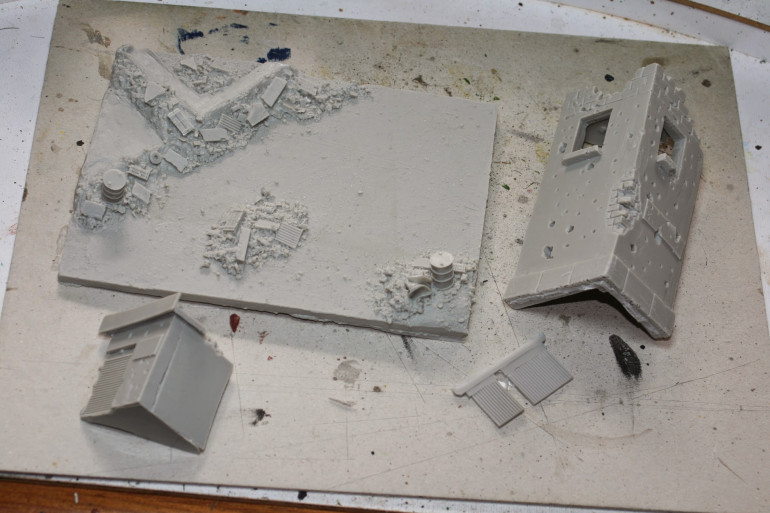
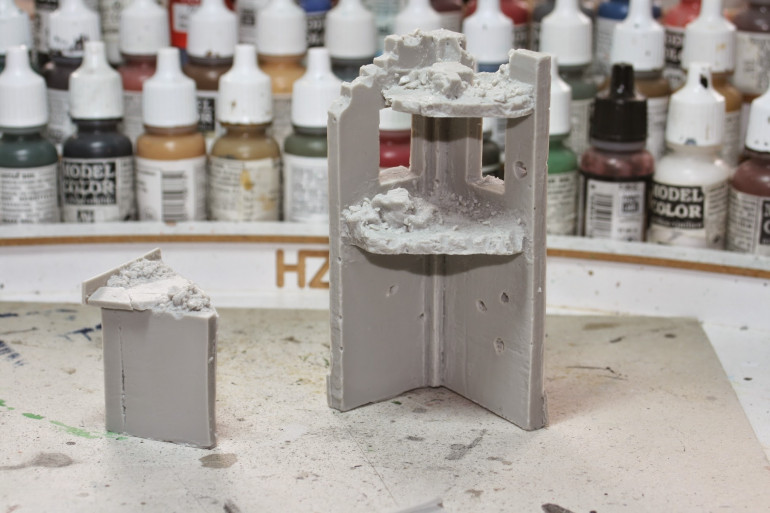
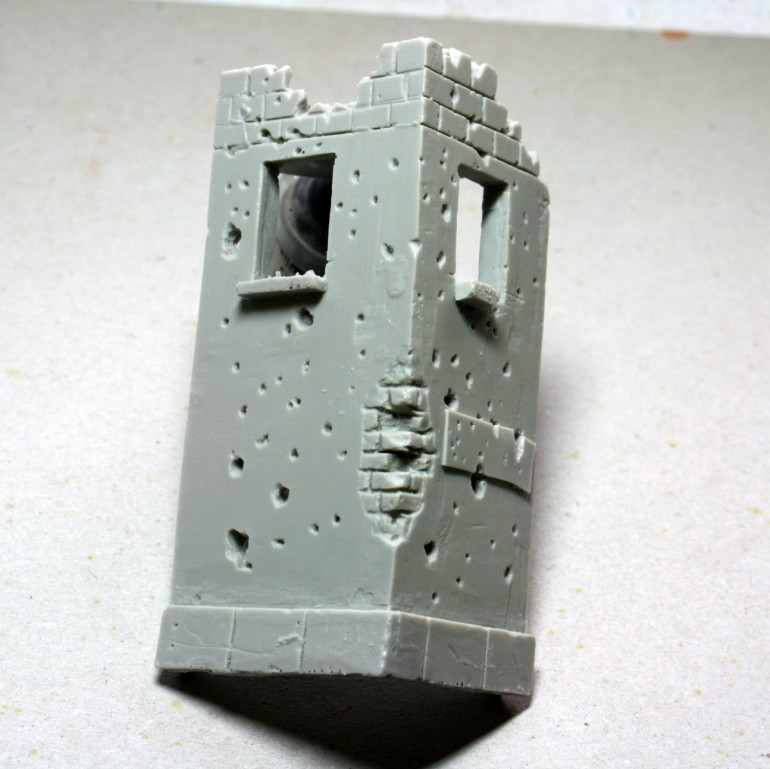
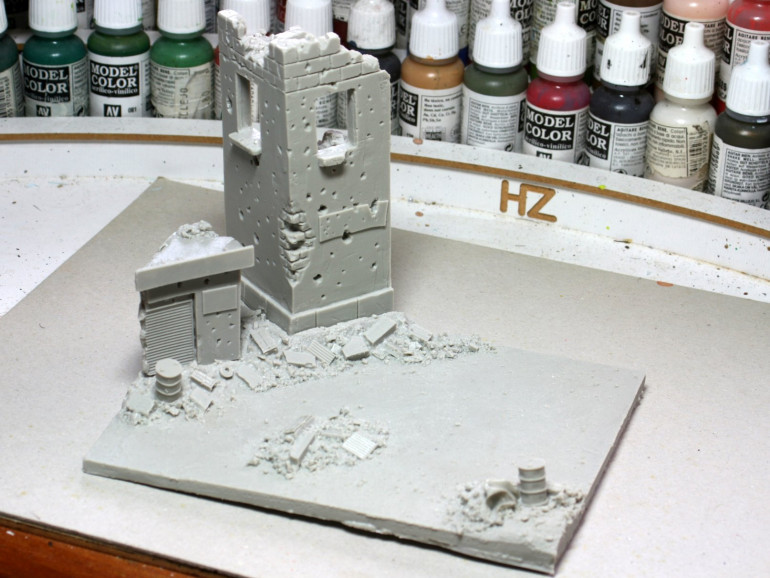
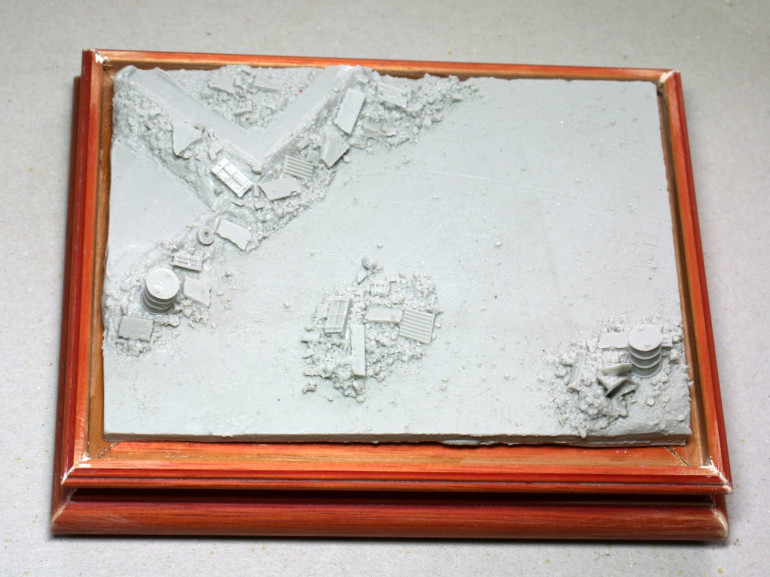
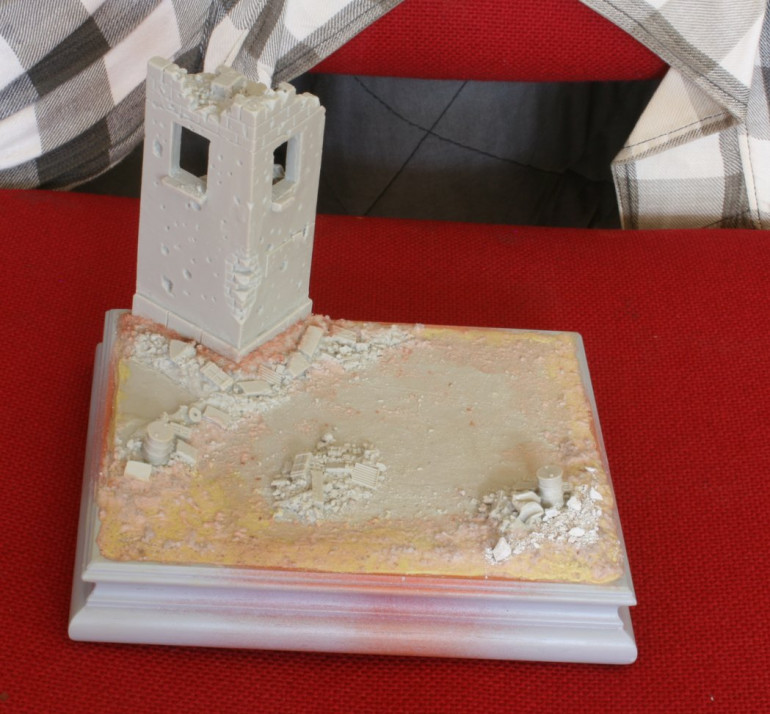
As a result, I start inspecting the Middle Eastern street scene and fitting it into the base I had prepared for another diorama that never got off the drawing board (this happens a lot with me. I get excited for some idea in my head that does not pan out as I planned in the real world and then I abandon it!).
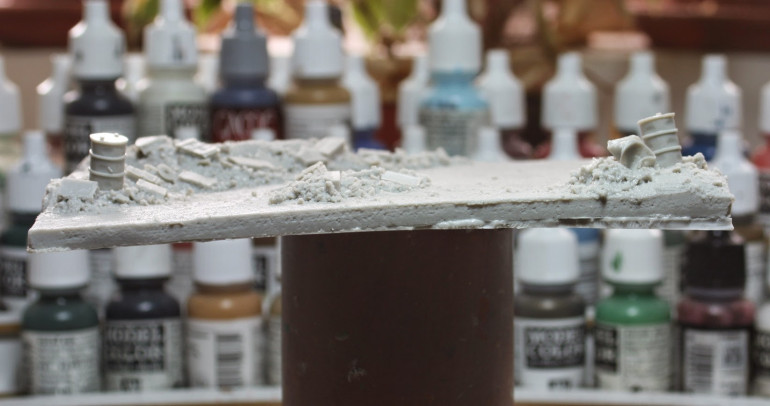
The kit is very nice and detailed. It does have some warping and flash, but nothing I cannot put right. The company is still in operation and I highly recommend their products. You can find them here: https://blackdog-model.com/
That is all for now. The next step will be to put the body of the tank together and start modelling and painting up the base.
Until then farewell and stay safe.
NR
Progress on the Base.
Hi everyone,
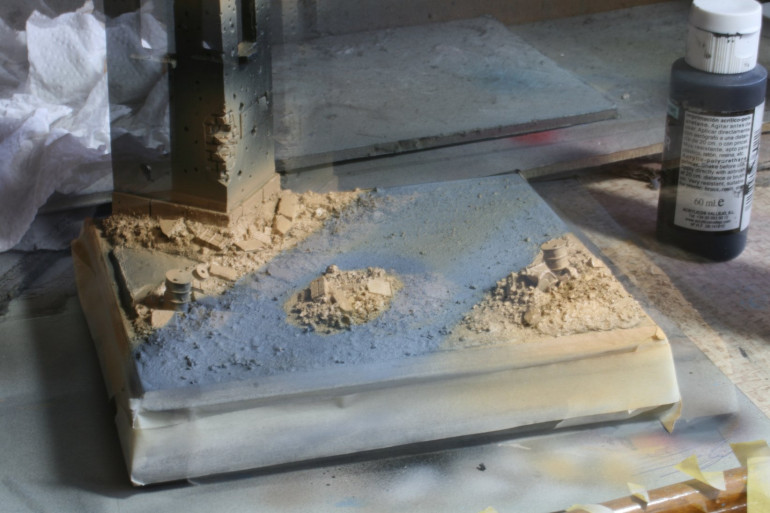
I have now started work on this diorama, after finishing the 54mm Conan miniature. After fixing the warping of the base, I attached the base to the frame and I extended the base to the edges of the frame with milliput. I also added some sand to blend everything in.
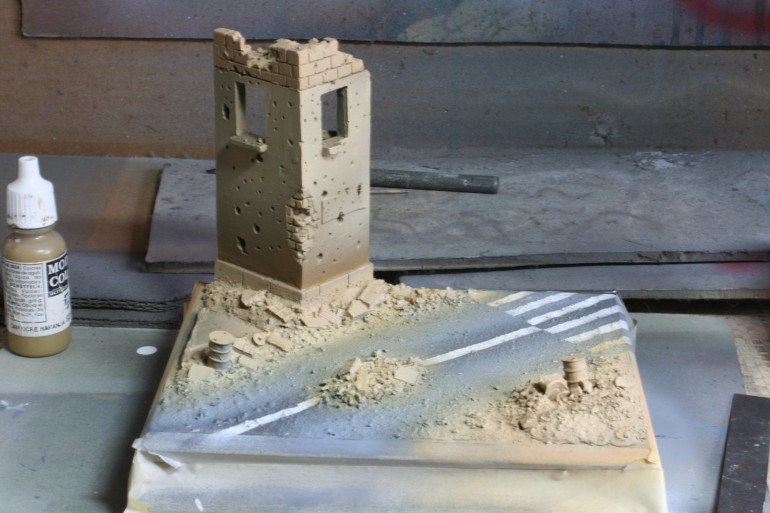
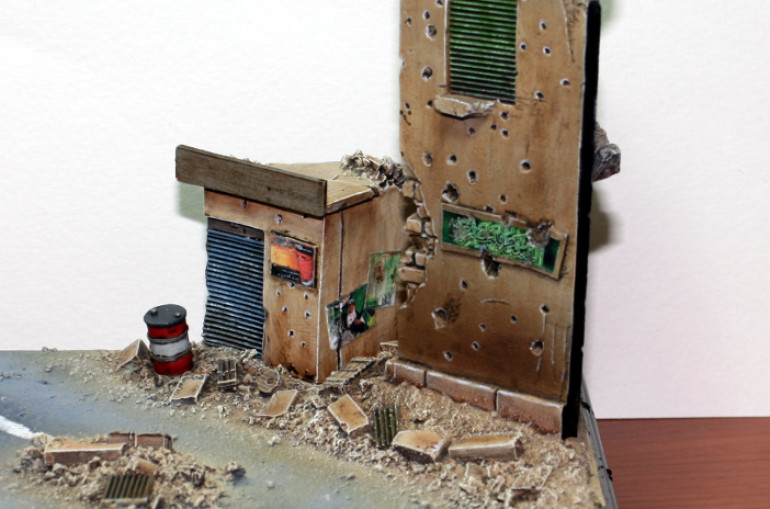
The next step was to add some base colours – basically colouring in the road, the surrounding land and he building with sandstone colours.
Finally for the today, I added some tone and painted in some detail like the white road lines.
That is all for tonight. I will continue to work on the base before starting the tank.
So until then, farewell and stay safe.
NR
The Base is Ready.
Hi everyone,
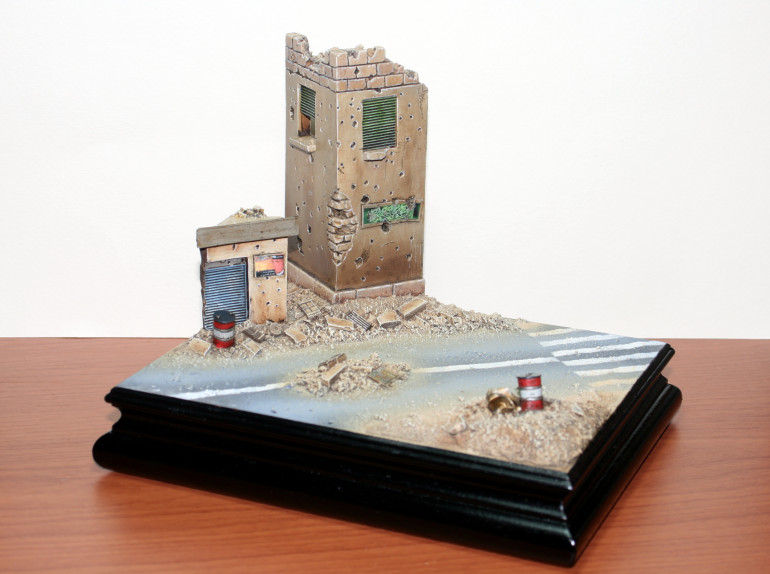
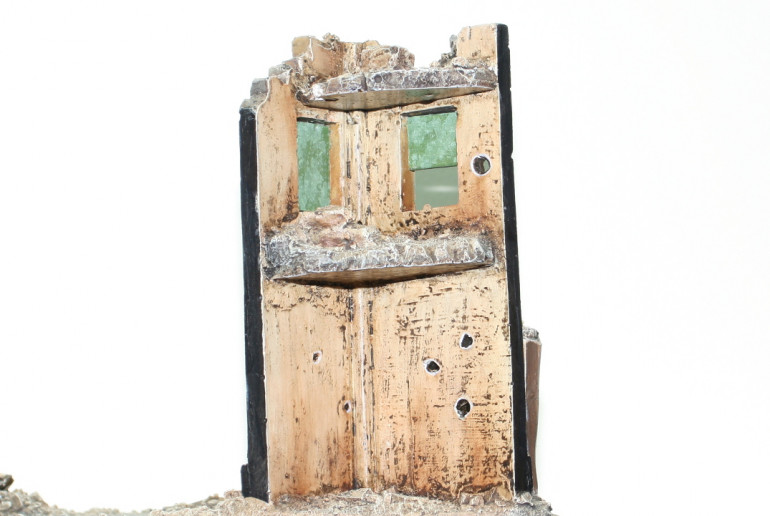
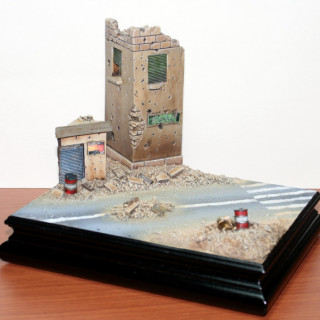
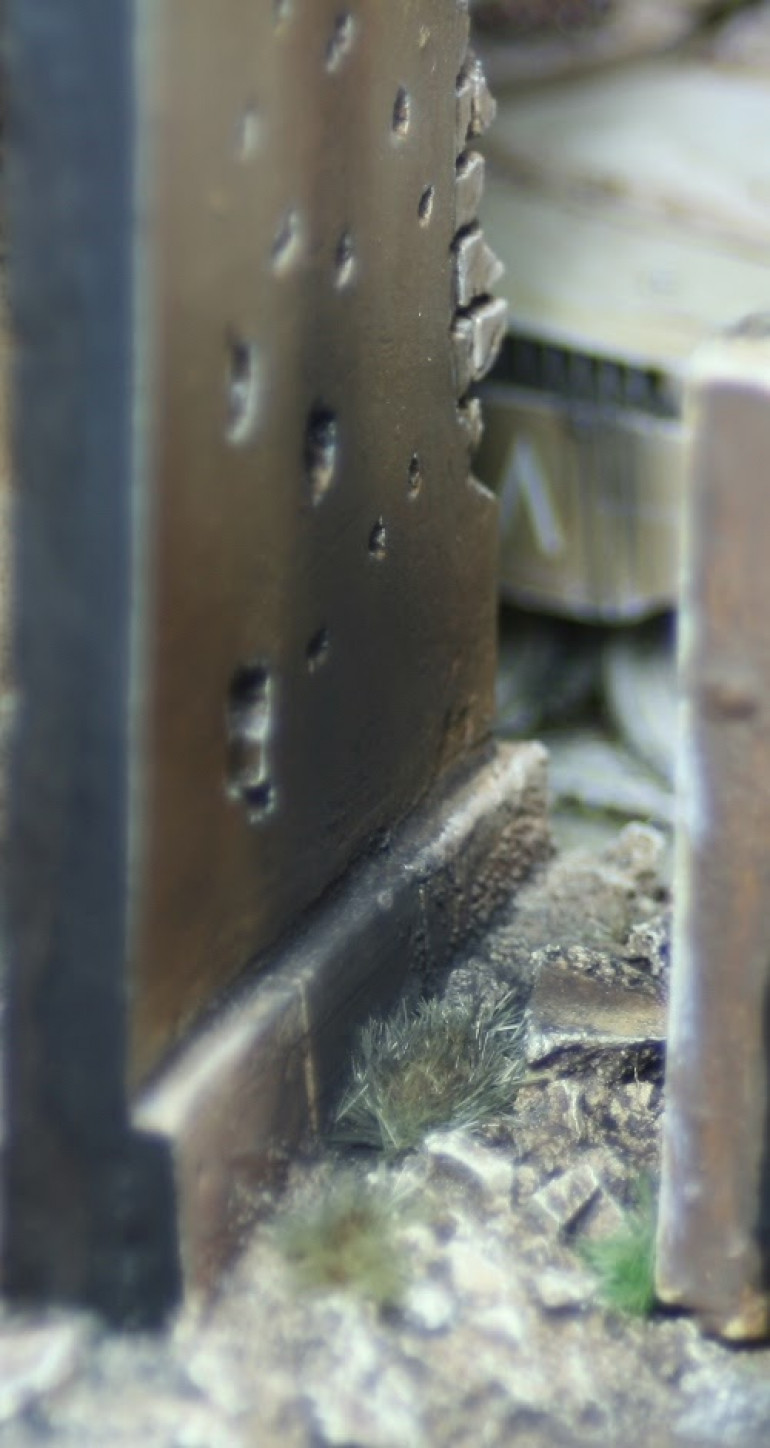
I have finished the base for the diorama. This was a very, very easy diorama to build because basically I just painted it up! All the details were already there and I did not need to do anything. Wonderful times indeed!
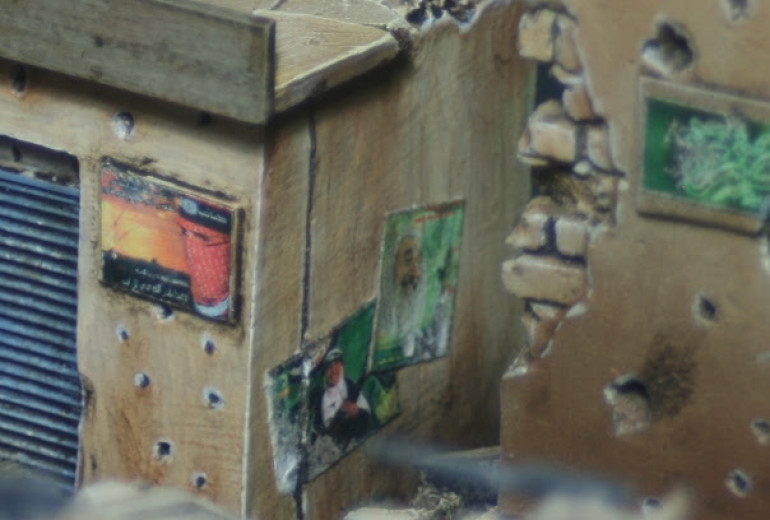
In the picture below, the posters on the wall are basically downloaded from the internet and shrunk down to size. Then glued on.
That is all for now. In the next post I will show some of the work on the Merkava tank body.
Until then, farewell and stay safe.
NR
The Merkava's Body
Hi everyone,
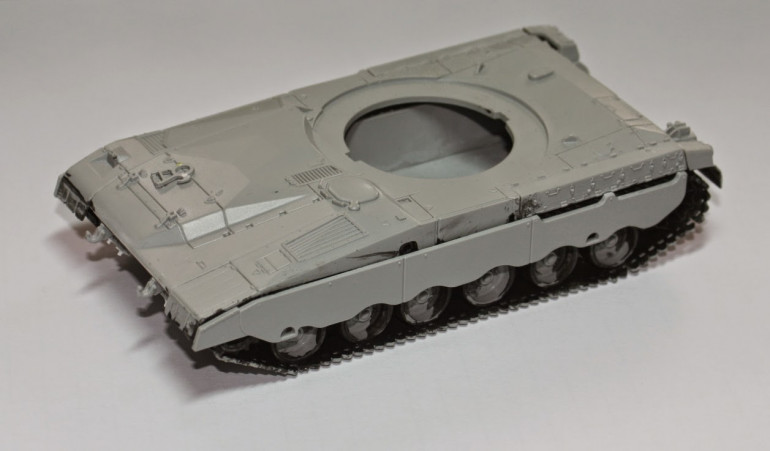
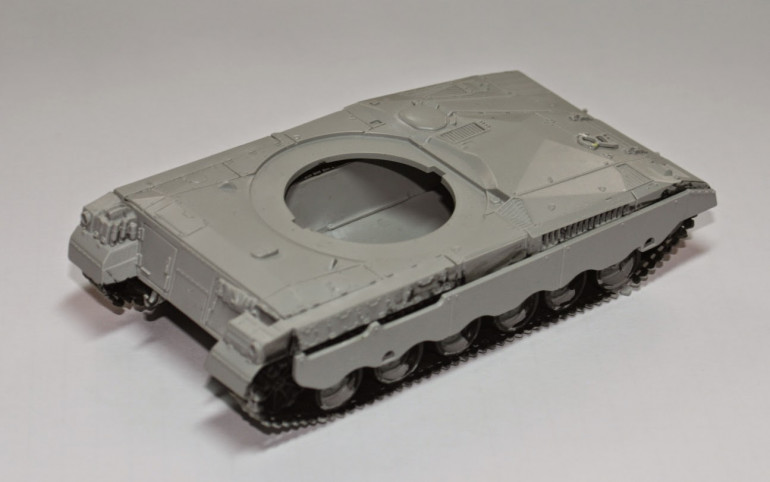
I have started to work on the tank. I am mostly a WW2 tank aficionado, but my preferred all time tank is the Merkava 1 & 2. I will never forgive the Israelis for not inventing this tank earlier, for my favourite conflict – the 6 Day war – NEVER!
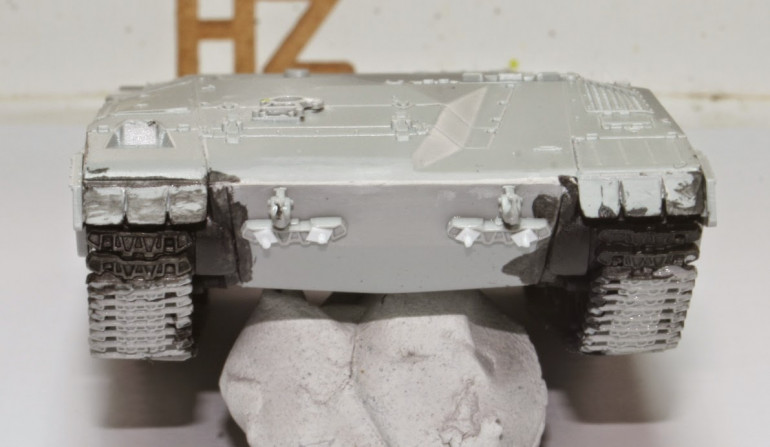
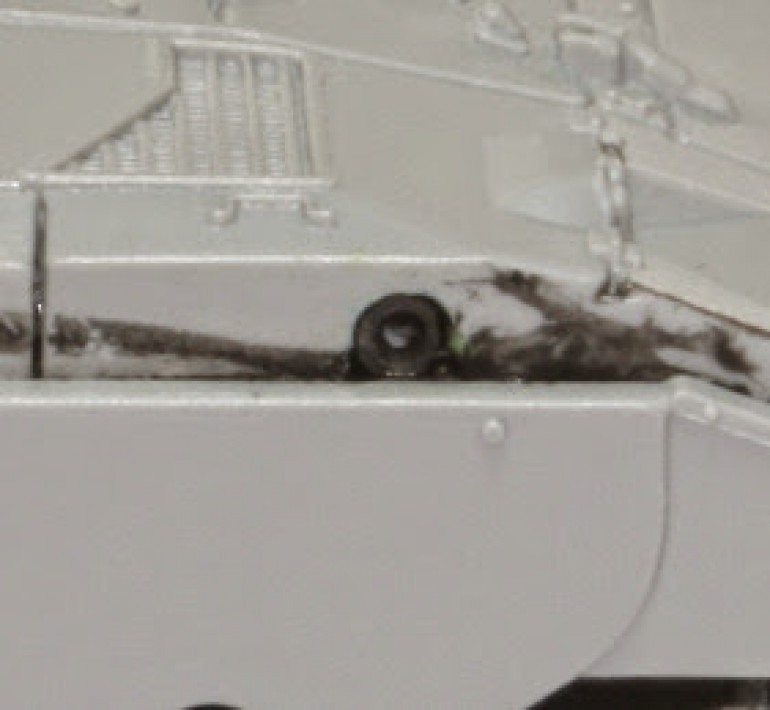
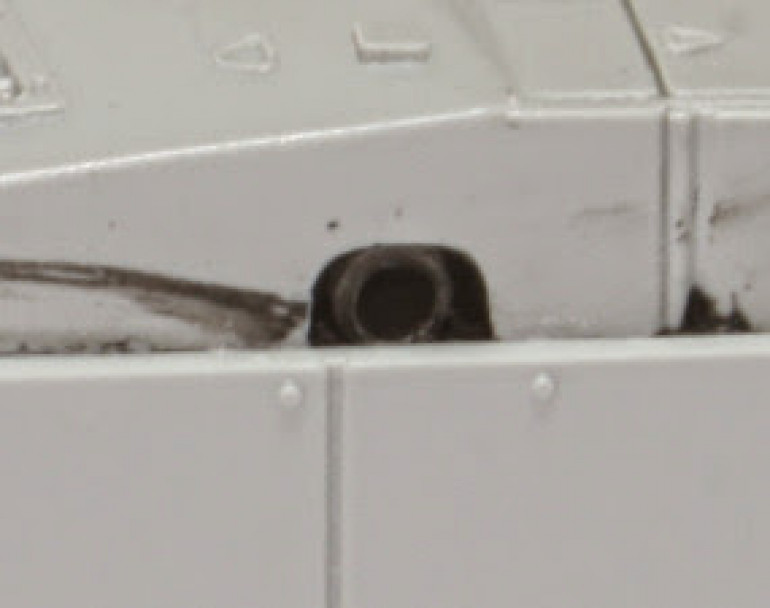
The kit has a lot of details missing so I added a few. The most glaring omission was the exhaust pipes. So I added them as well.
So the body build is ready. I will start work on the turret and hopefully it will be finished by Thursday or Friday.
Until then, farewell and stay safe.
NR
Some Extra Work On The Turrent.
Hi everyone,
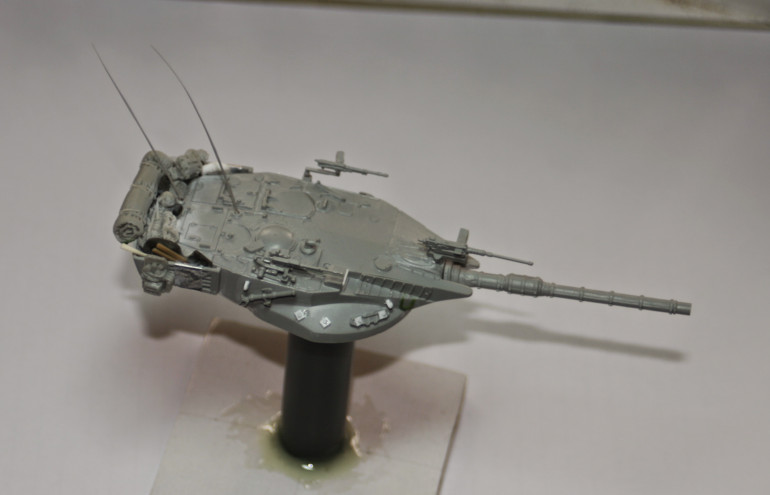
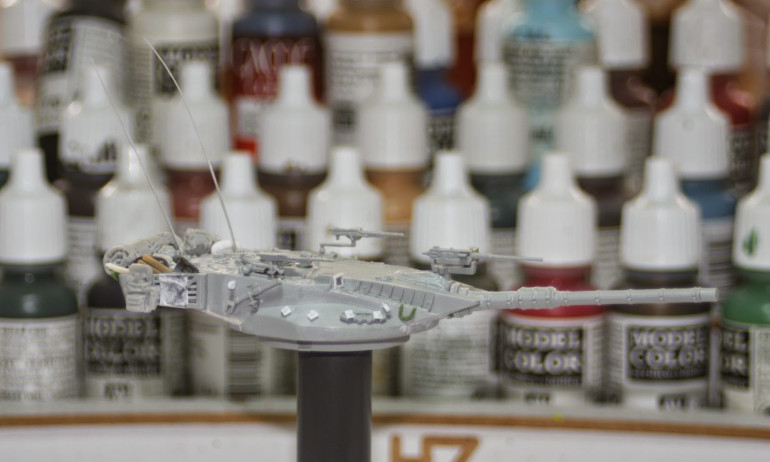
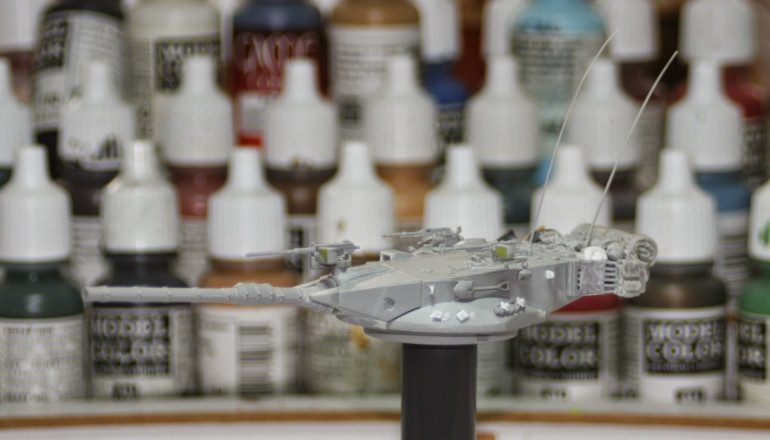
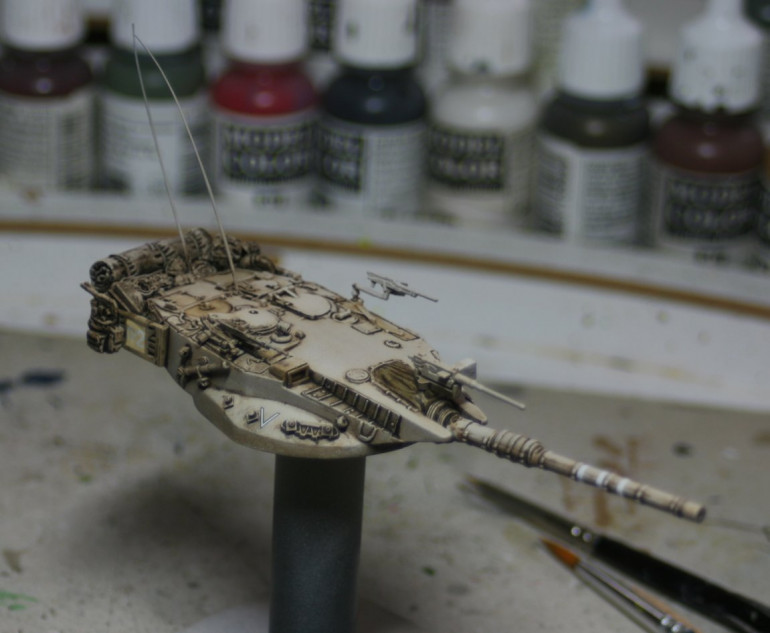
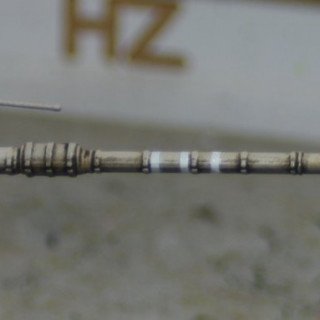
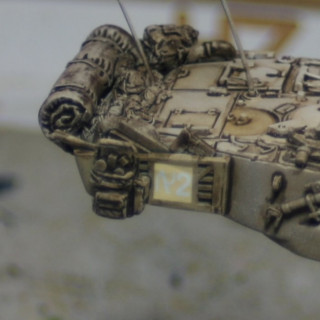
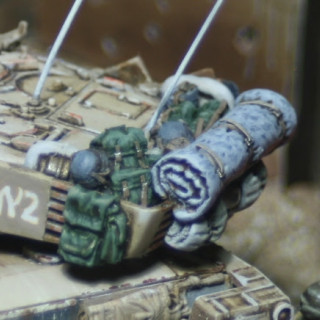
Continuing from last week, I add some extra details to the turret including some stowage. And that is it for now. I also added some antennas by streching a piece of sprue over a heat source (in this case a lighter).
The next step is the painting.
I will post what I have managed to paint on Sunday.
Until then farewell and stay safe.
NR
The Soldiers and a Suspect.
Hi everyone,
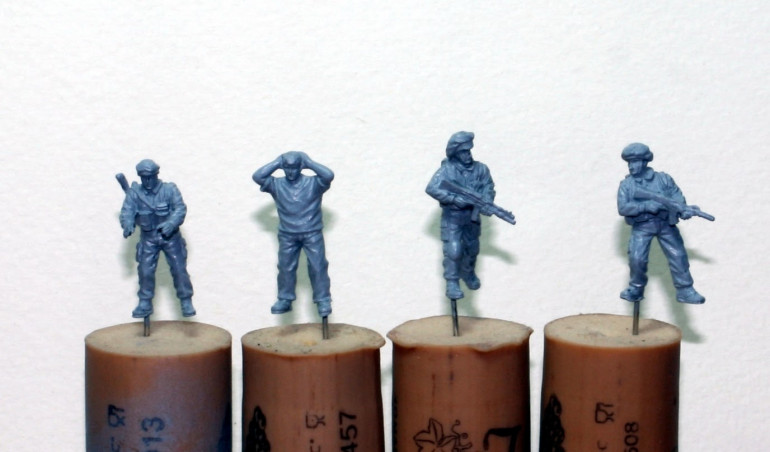
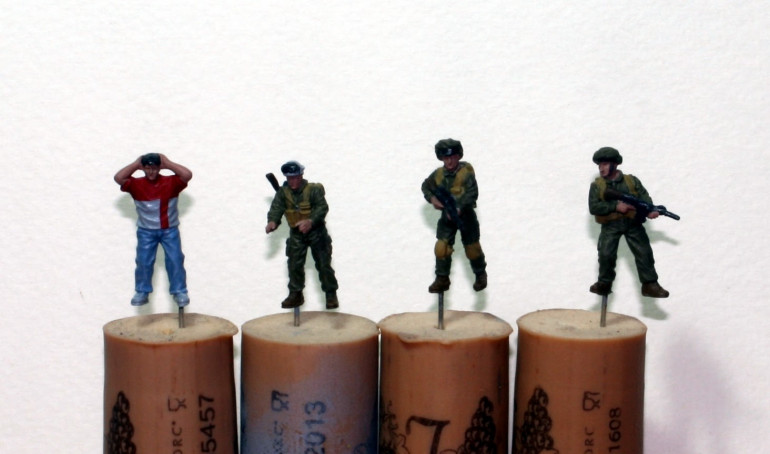
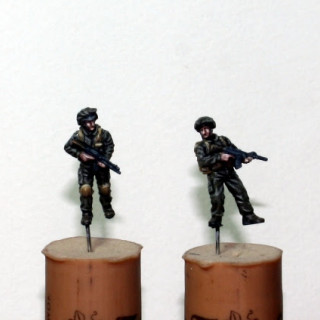
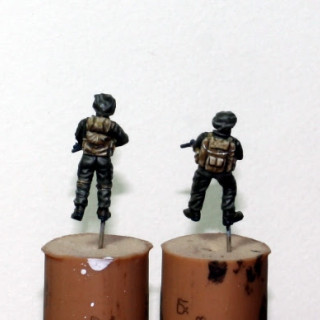
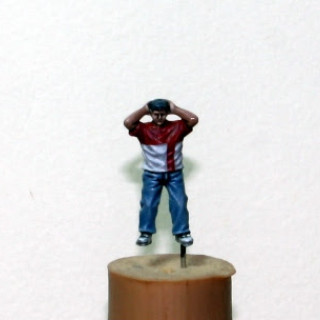
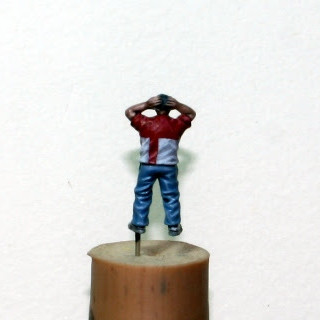
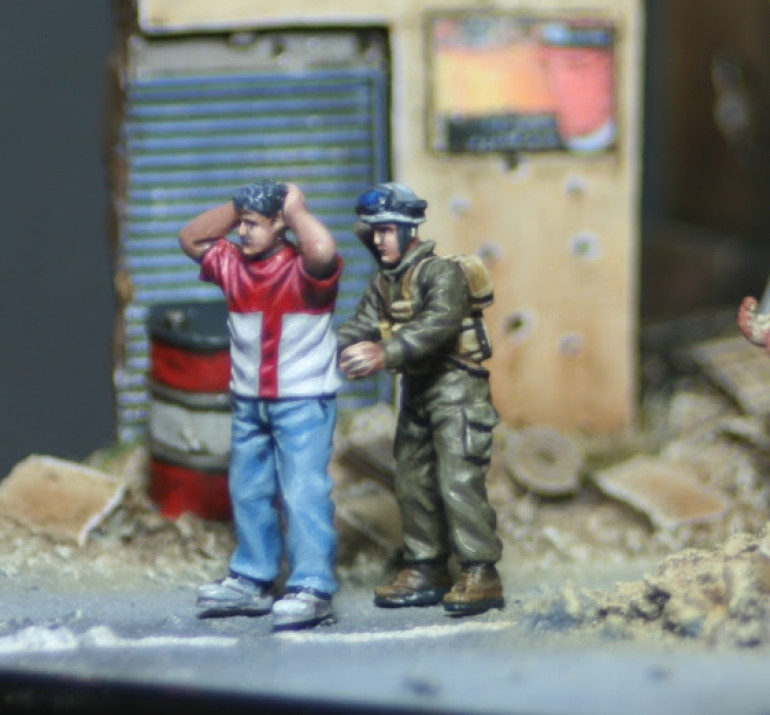
I spent some time on the 1/72 scale figures from Caesar Miniatures for the scene. At first I was going for a different set from a French company called Model-Miniature.com. Unfortunately, although better miniatures with a cool dog to boot, they were not chronologically correct.
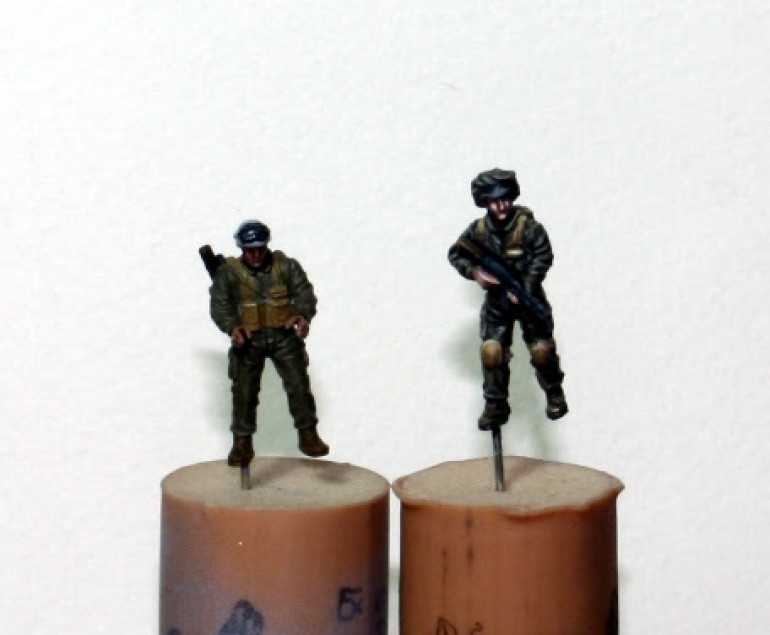
The Caesar Miniatures are nice and set in the right period, but they can come with a lot of flash and mold slip. I chose just 4 figures from a box of 40! The rest I through away!
The painting was very straight forward. First, I went with the base colours. Then I gave it all a dark wash (a brown + black mix) and three highlights. The first highlight were the original base colours. The the next two highlights were progressively lighter colours.
Next post I will be posting work on the tank itself. Until then…
Farewell and stay safe.
NR
Making A Frame Base.
Hi everyone,
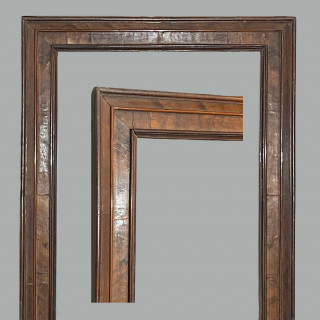
Today I thought I would go ahead and talk a bit about frame bases for dioramas. These are my favorite type of base. Not only can they be very colourful, but also thematic and functional to boot.
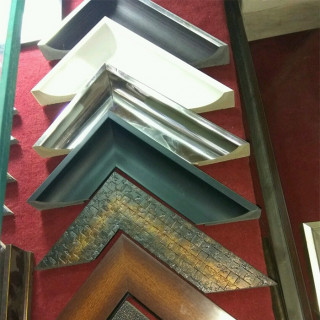
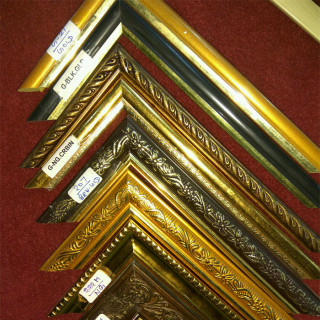
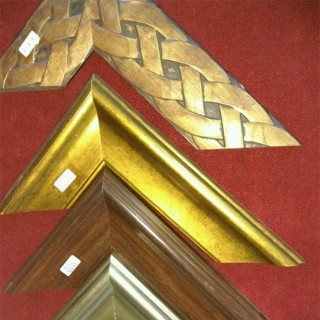
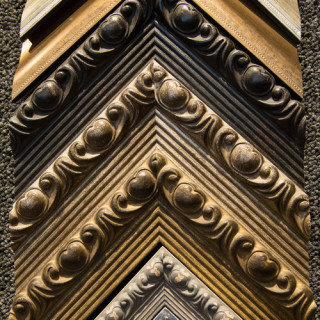
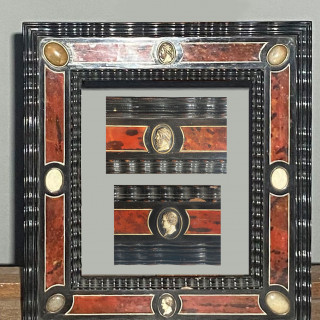
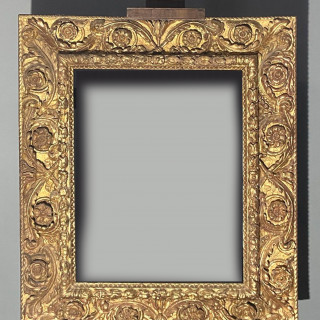
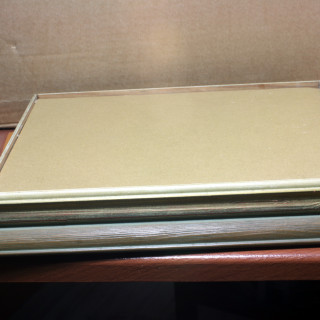
Below is a selection of bases you can choose from if you go to a frame maker. Not only can you choose from different colours, but also different styles and shapes as well.
Making Your Own Frame Base.
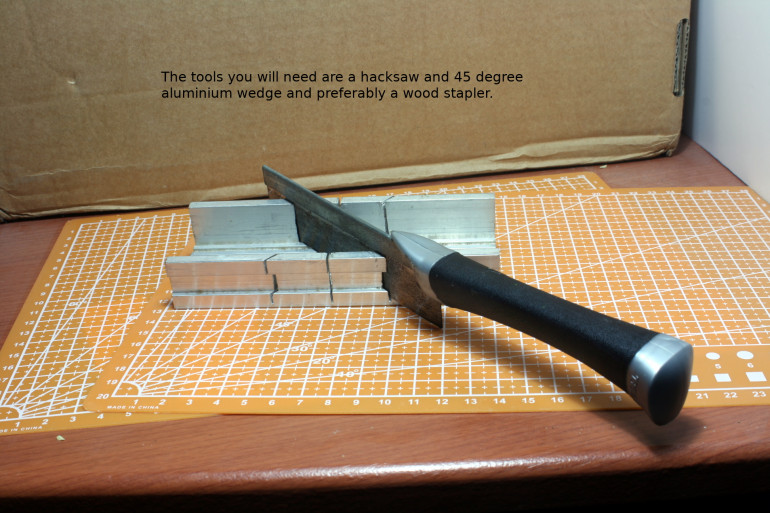
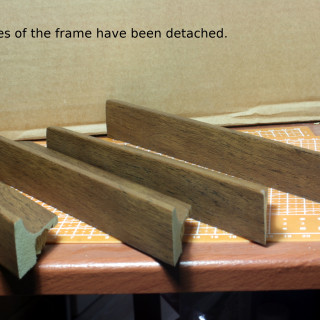
If you want to make your own frame base you will need to be aware of a few things. First, you need the required tools. A hacksaw and an aluminum angle are a necessary to cut clean 45 degree angles.
A wood stapler would also come in handy if you want to connect the sides quickly. Otherwise you will need to glue the sides together. If you go down this route, you will need supports to keep the parts together.
Once the sides are connected, you can leave the colours the way they are, or you can go ahead and paint the base up. The pictures below show a base I intend to leave as is and a base I have used for this diorama that I painted up black.
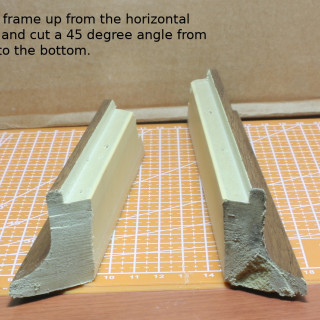
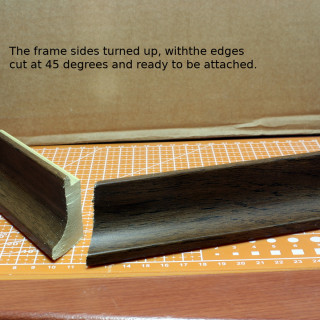
After separating the sides, turn them up vertically and cut a 45 degree angle vertically. This will shorten the frame a bit. The wider with the frame the shorter it will be.
Connect the frames with a wood stapler or glue. If you use glue, glue on a 90 degree wedge for strength and stability.
Remember: If you are going to measure your diorama-base to your frame-base, then first make the frame-base then calculate the diorama-base size. If you first design the the diorama-base, you must be careful to measure where to cut the frame-base from the inside not the outside the base.
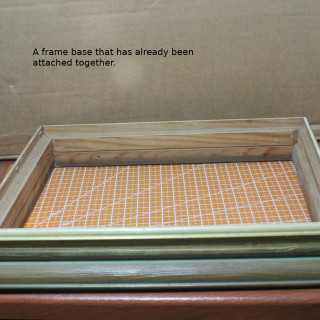
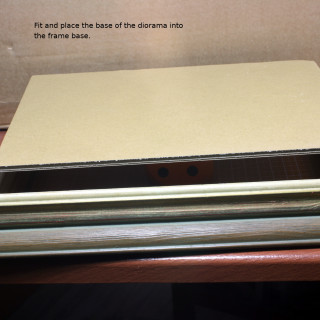
Once the sides are connected you can add the diorama into the frame base. In the pictures below I use a simple cardboard piece, but this can be XPS or any other material you decide to use.
A Tip From Someone Who Uses A Lot Of Frame Bases.
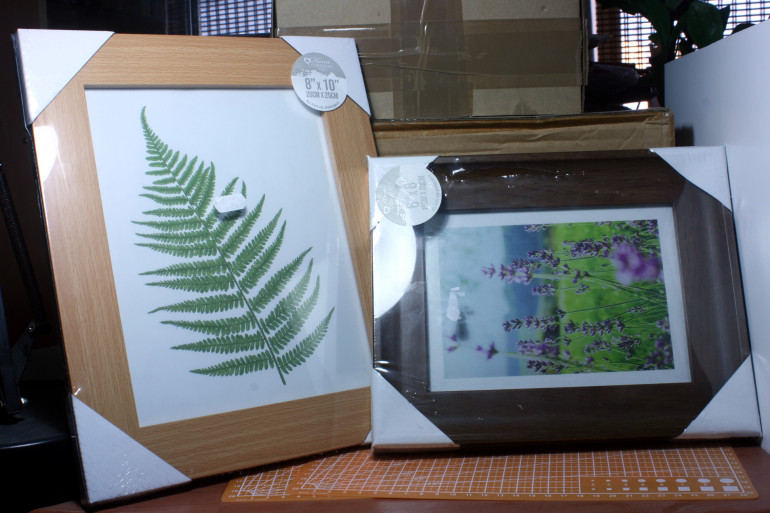
If you intend to paint the frame base, I suggest buying a few cheap frames from a discount store. These type of frames are not made from hard wood, but a type of artificial wood-like material, best described as hard foam. They are easy to cut to size. Once put together, fill in any imperfection with wood filler, sand down and paint up.
If you do not have the tools or time to make your own base, I would strongly recommend you go to a frame maker. You will get to choose a frame from a wider selection and get a very tidy frame construction. You will have to explain to the frame- maker what you need the frame for and to flip the sides up vertically, besides the dimensions of the diorama base.
If you have any questions or need clarifications, please leave a comment below and I will answer as quickly as possible.
I hope that helps you if you decide to use a frame base.
Until next time, farewell and stay safe.
NR
Painting The Tank. Part 1.
Hi everyone,
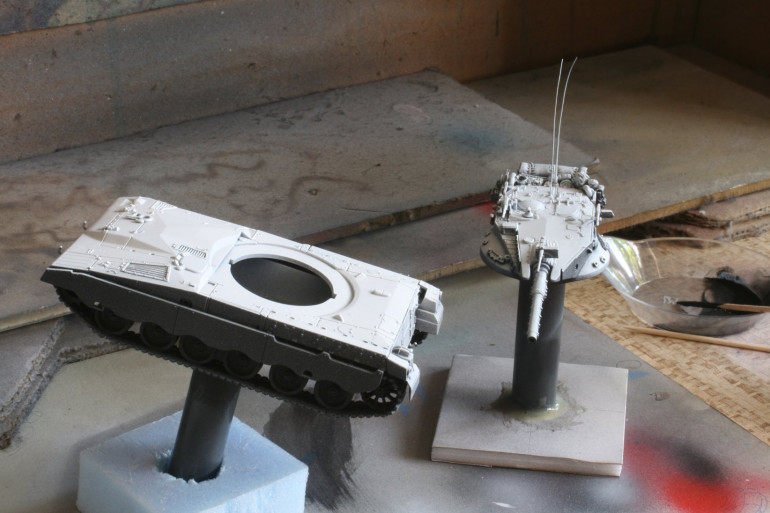
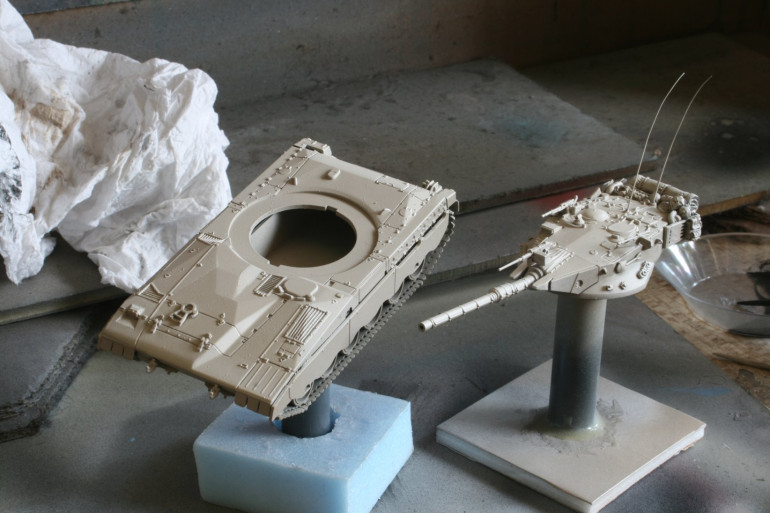
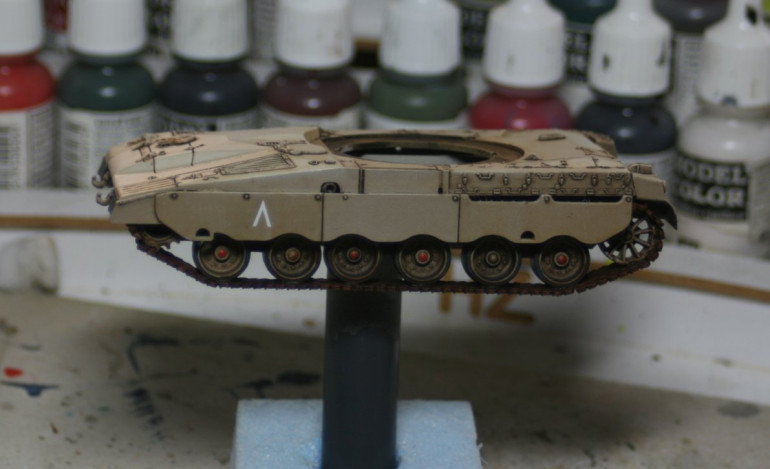
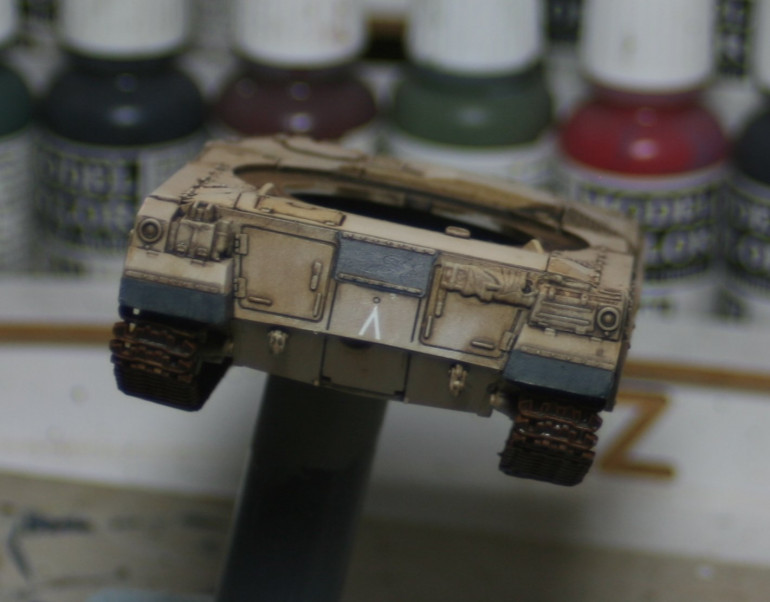
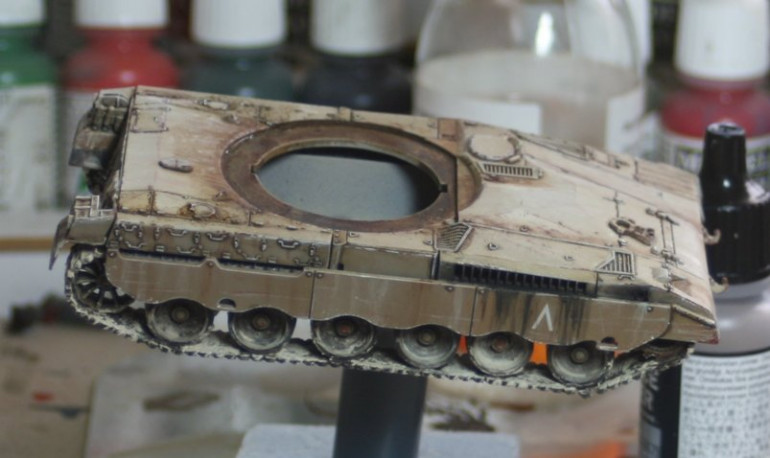
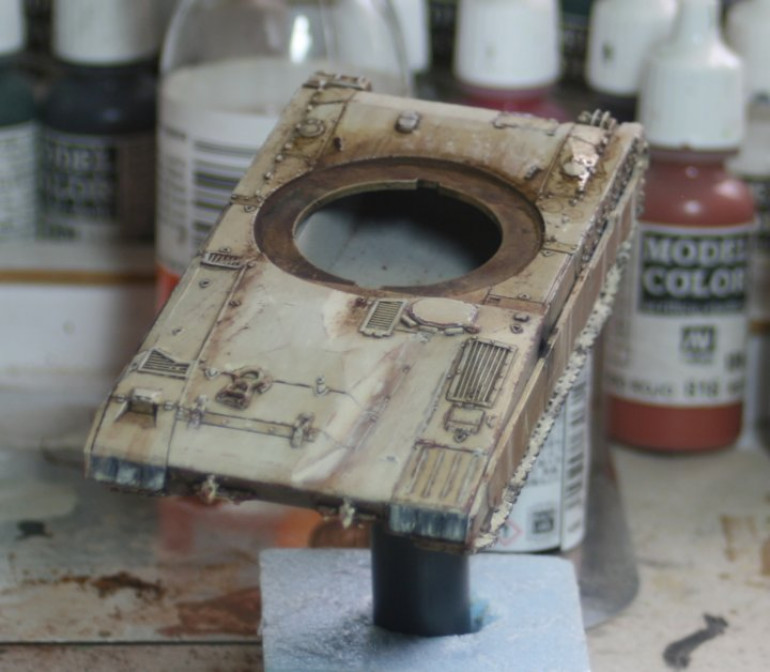
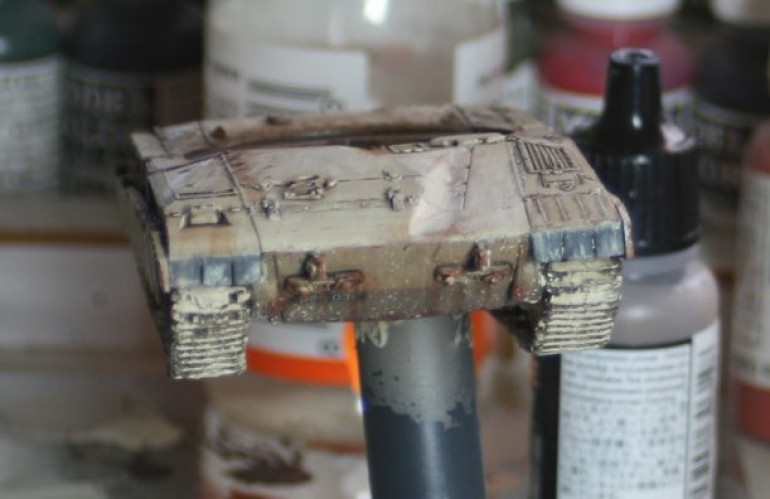
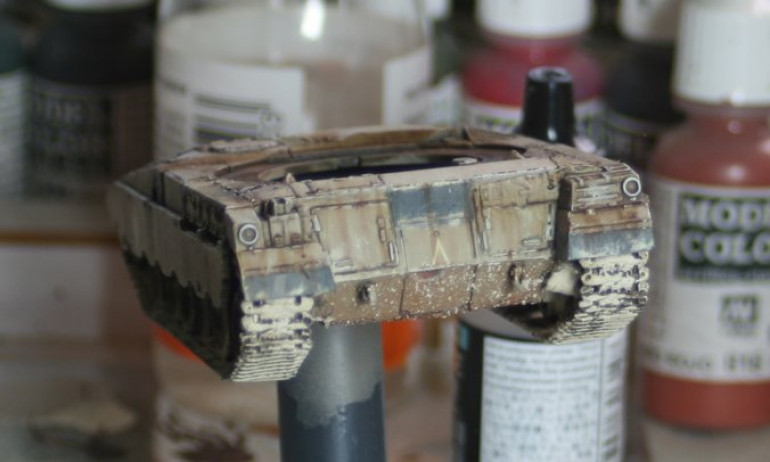
At long last I started painting the Merkava tank up. First came the grey primer and a desert drab-yellow IDF colour as a base coat. Some modelers go with a greener shade , but I prefer this colour more.
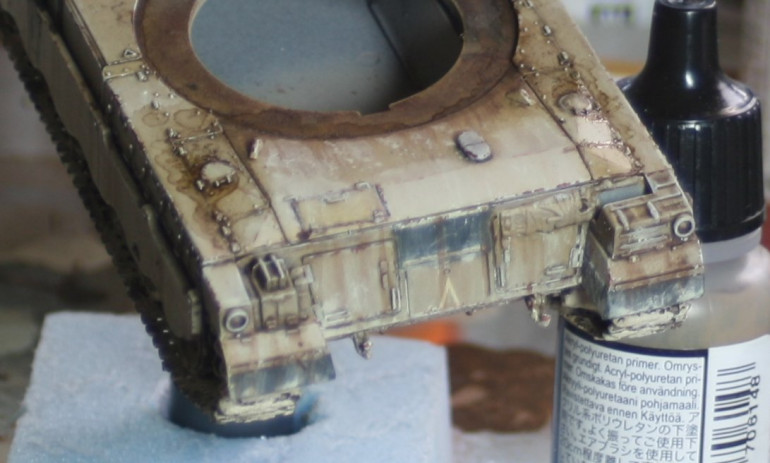
The next step was to add a zenithal highlight and the decals. This is as basic as it sounds. I just added white for a desaturated look. I chose this option because I think all tanks would have their paint job desaturate in the Middle-eastern sun.
When the highlight had dried I gave it a gloss vanish and let it dry for a day. After that I gave the tank a dark brown wash and cleaned it up with a sponge and spirit.
The next step is to add some weathering and colour staining, but that is for the next post. Hopefully that will be on Thursday if all my plans pan out.
Until then, farewell and stay safe,
NR
Oil Rendering and Pigment Details
Hi everyone,
I am nearly finished with this project, and hopefully, when I get the chance I will put it all together. The next step was to add a bit of life to the model by adding a bit of wear and tear to it. This sounds like an oxymoron, but in fact it makes perfect sense from the hobbyist’s perspective.
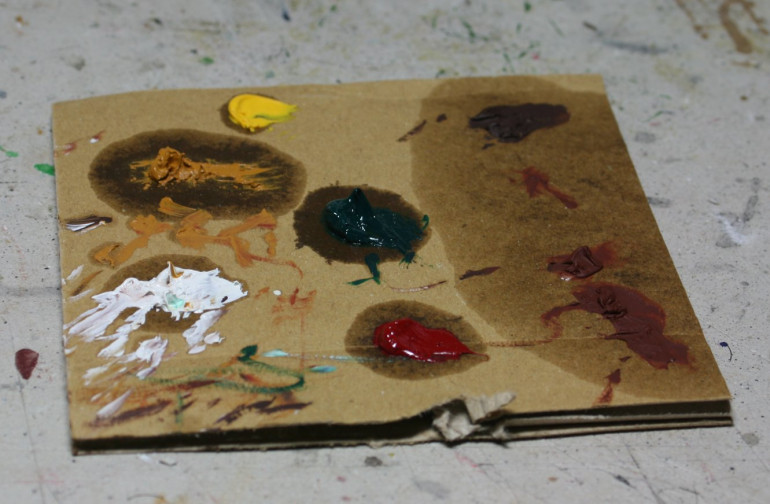
For the oil rendering, I first place the colours I need on a piece of card to absorb a good part of the oil.
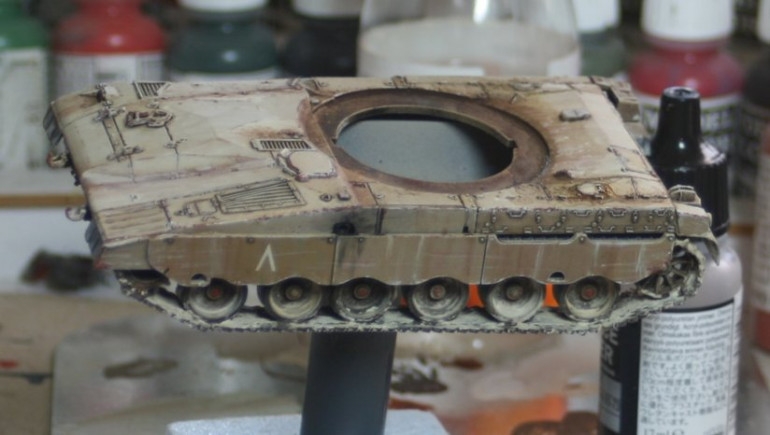
Basically, the process is to add slight streaks or dots of oil with a brush and remove most of it with a q-tip or sponge. How much to remove and how to steak it isn’t difficult but a little practice makes perfect.
When the oil dried after a day, I took out the pigments. I used them to stimulate soot near the exhaust vents, and dust all over the tank.
I also painted up all the details on the turrets, but I forgot to take pictures of the work-in-progress.
Hopefully, by Sunday this project will be ready, and I will either start a knew diorama project or continue to work on my 10mm Elf army (that only has a few more units to go) or start up painting my Silver Bayonet miniatures. It all depend on my mood.
Until then farewell and stay safe.
NR
The Project is Finished!
Hi everyone,
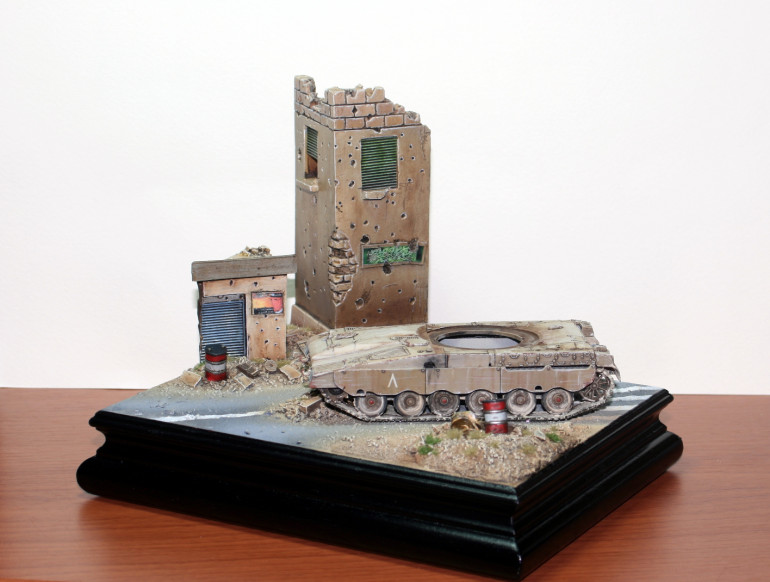
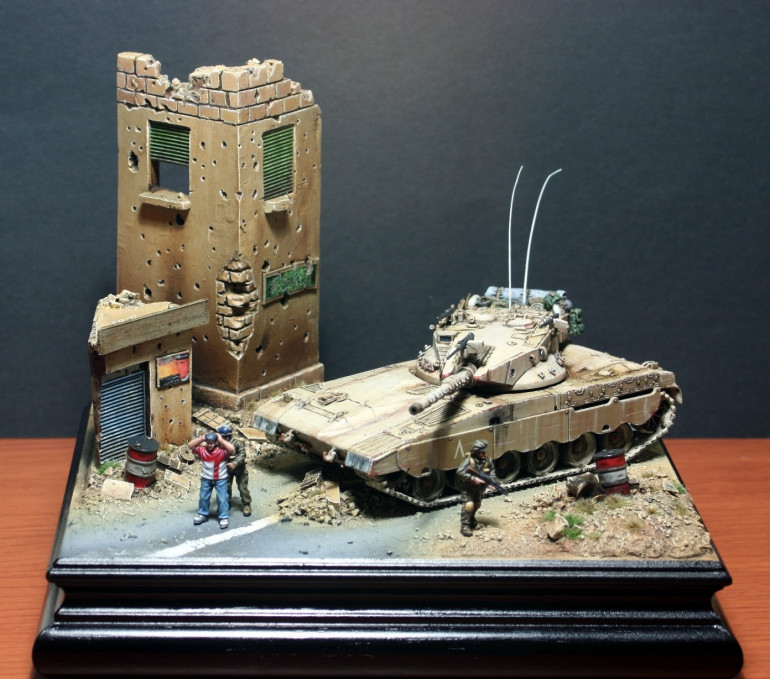
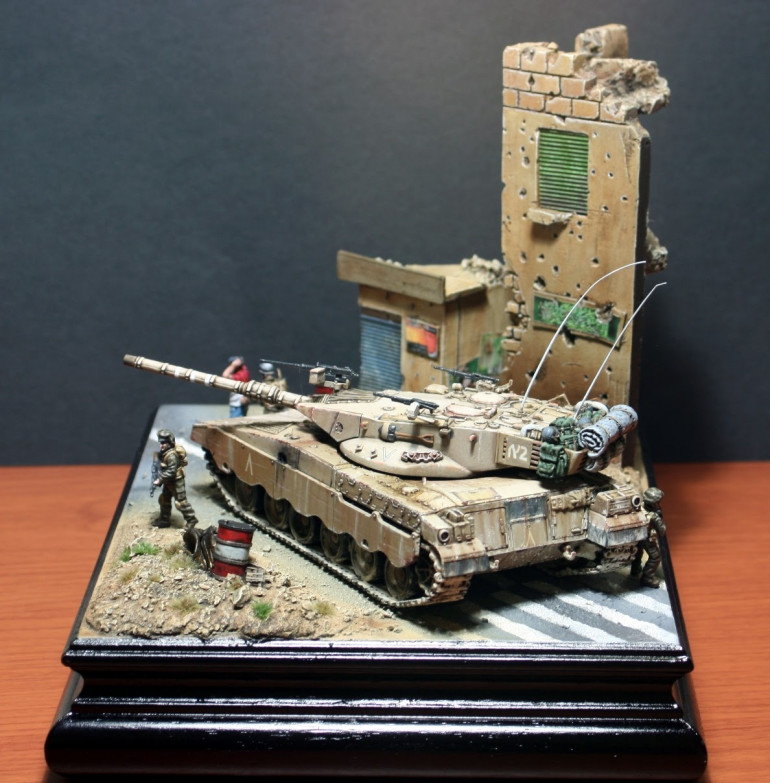
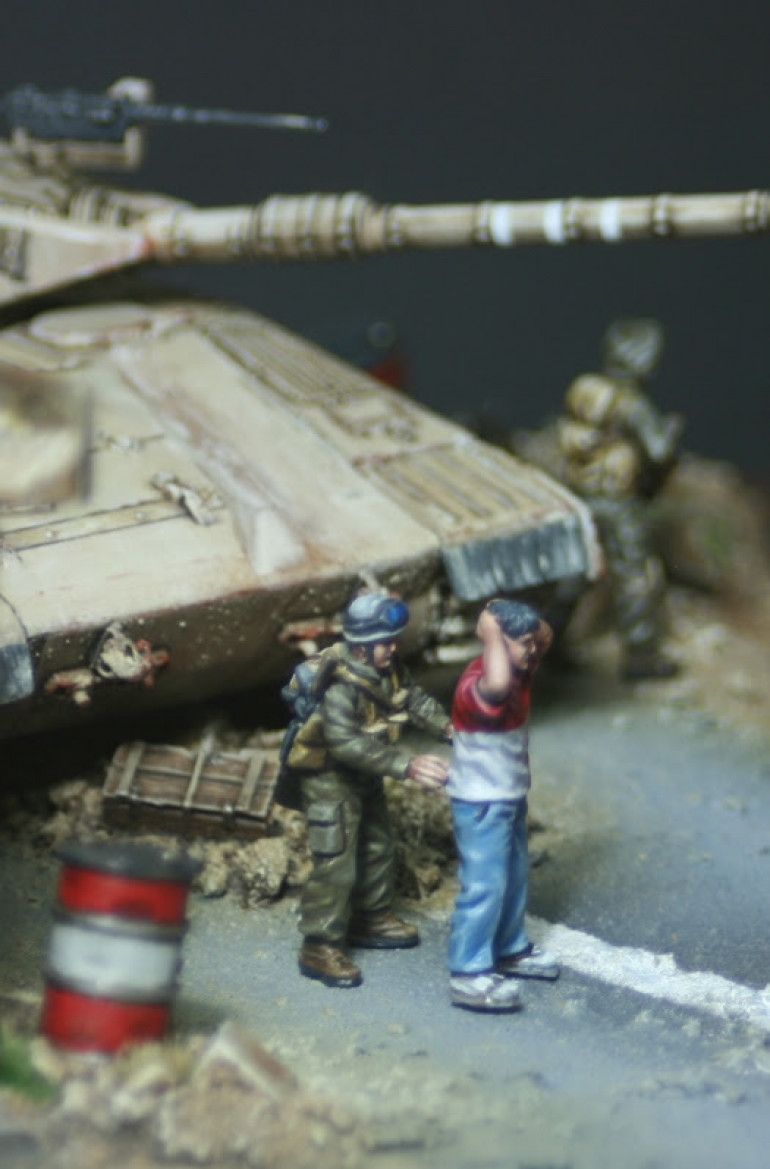
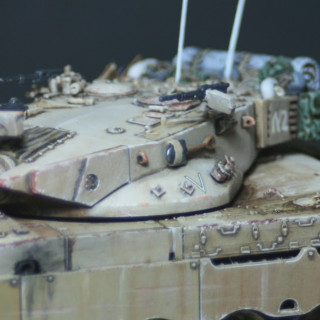
The project is finally finished. I really enjoyed putting this diorama together, because I hardly had to build or convert anything, besides the tank. 80% of the work is just painting and this is the part I enjoy the most. It is a big difference taking time to paint something to the best of your ability and painting in mass production mode.
In any case here are a few photos for your perusal. As always my photography is not the best and some shading nuances are lost unfortunately, but the photos are serviceable.
That’s it! Another project finished quite quickly to boot. I am really hyped with these dioramas and to be honest I just want to keep doing this and let my army projects burn in the limbo of ‘Unfinished Plastic Hell‘.
I have three dioramas on my mind at the moment. One involves a werewolf and another from the wonderful world of Tolkien (both inspired by thedace‘s last diorama). The last one a smaller Warmachine project. Then again I do love playing The Silver Bayonet with painted figures……decisions, maddening decisions!
I will have to think about it. Until then farewell and stay safe.
NR


![TerrainFest 2024 Begins! Build Terrain With OnTableTop & Win A £300 Prize! [Extended!]](https://images.beastsofwar.com/2024/10/TerrainFEST-2024-Social-Media-Post-Square-225-127.jpg)


