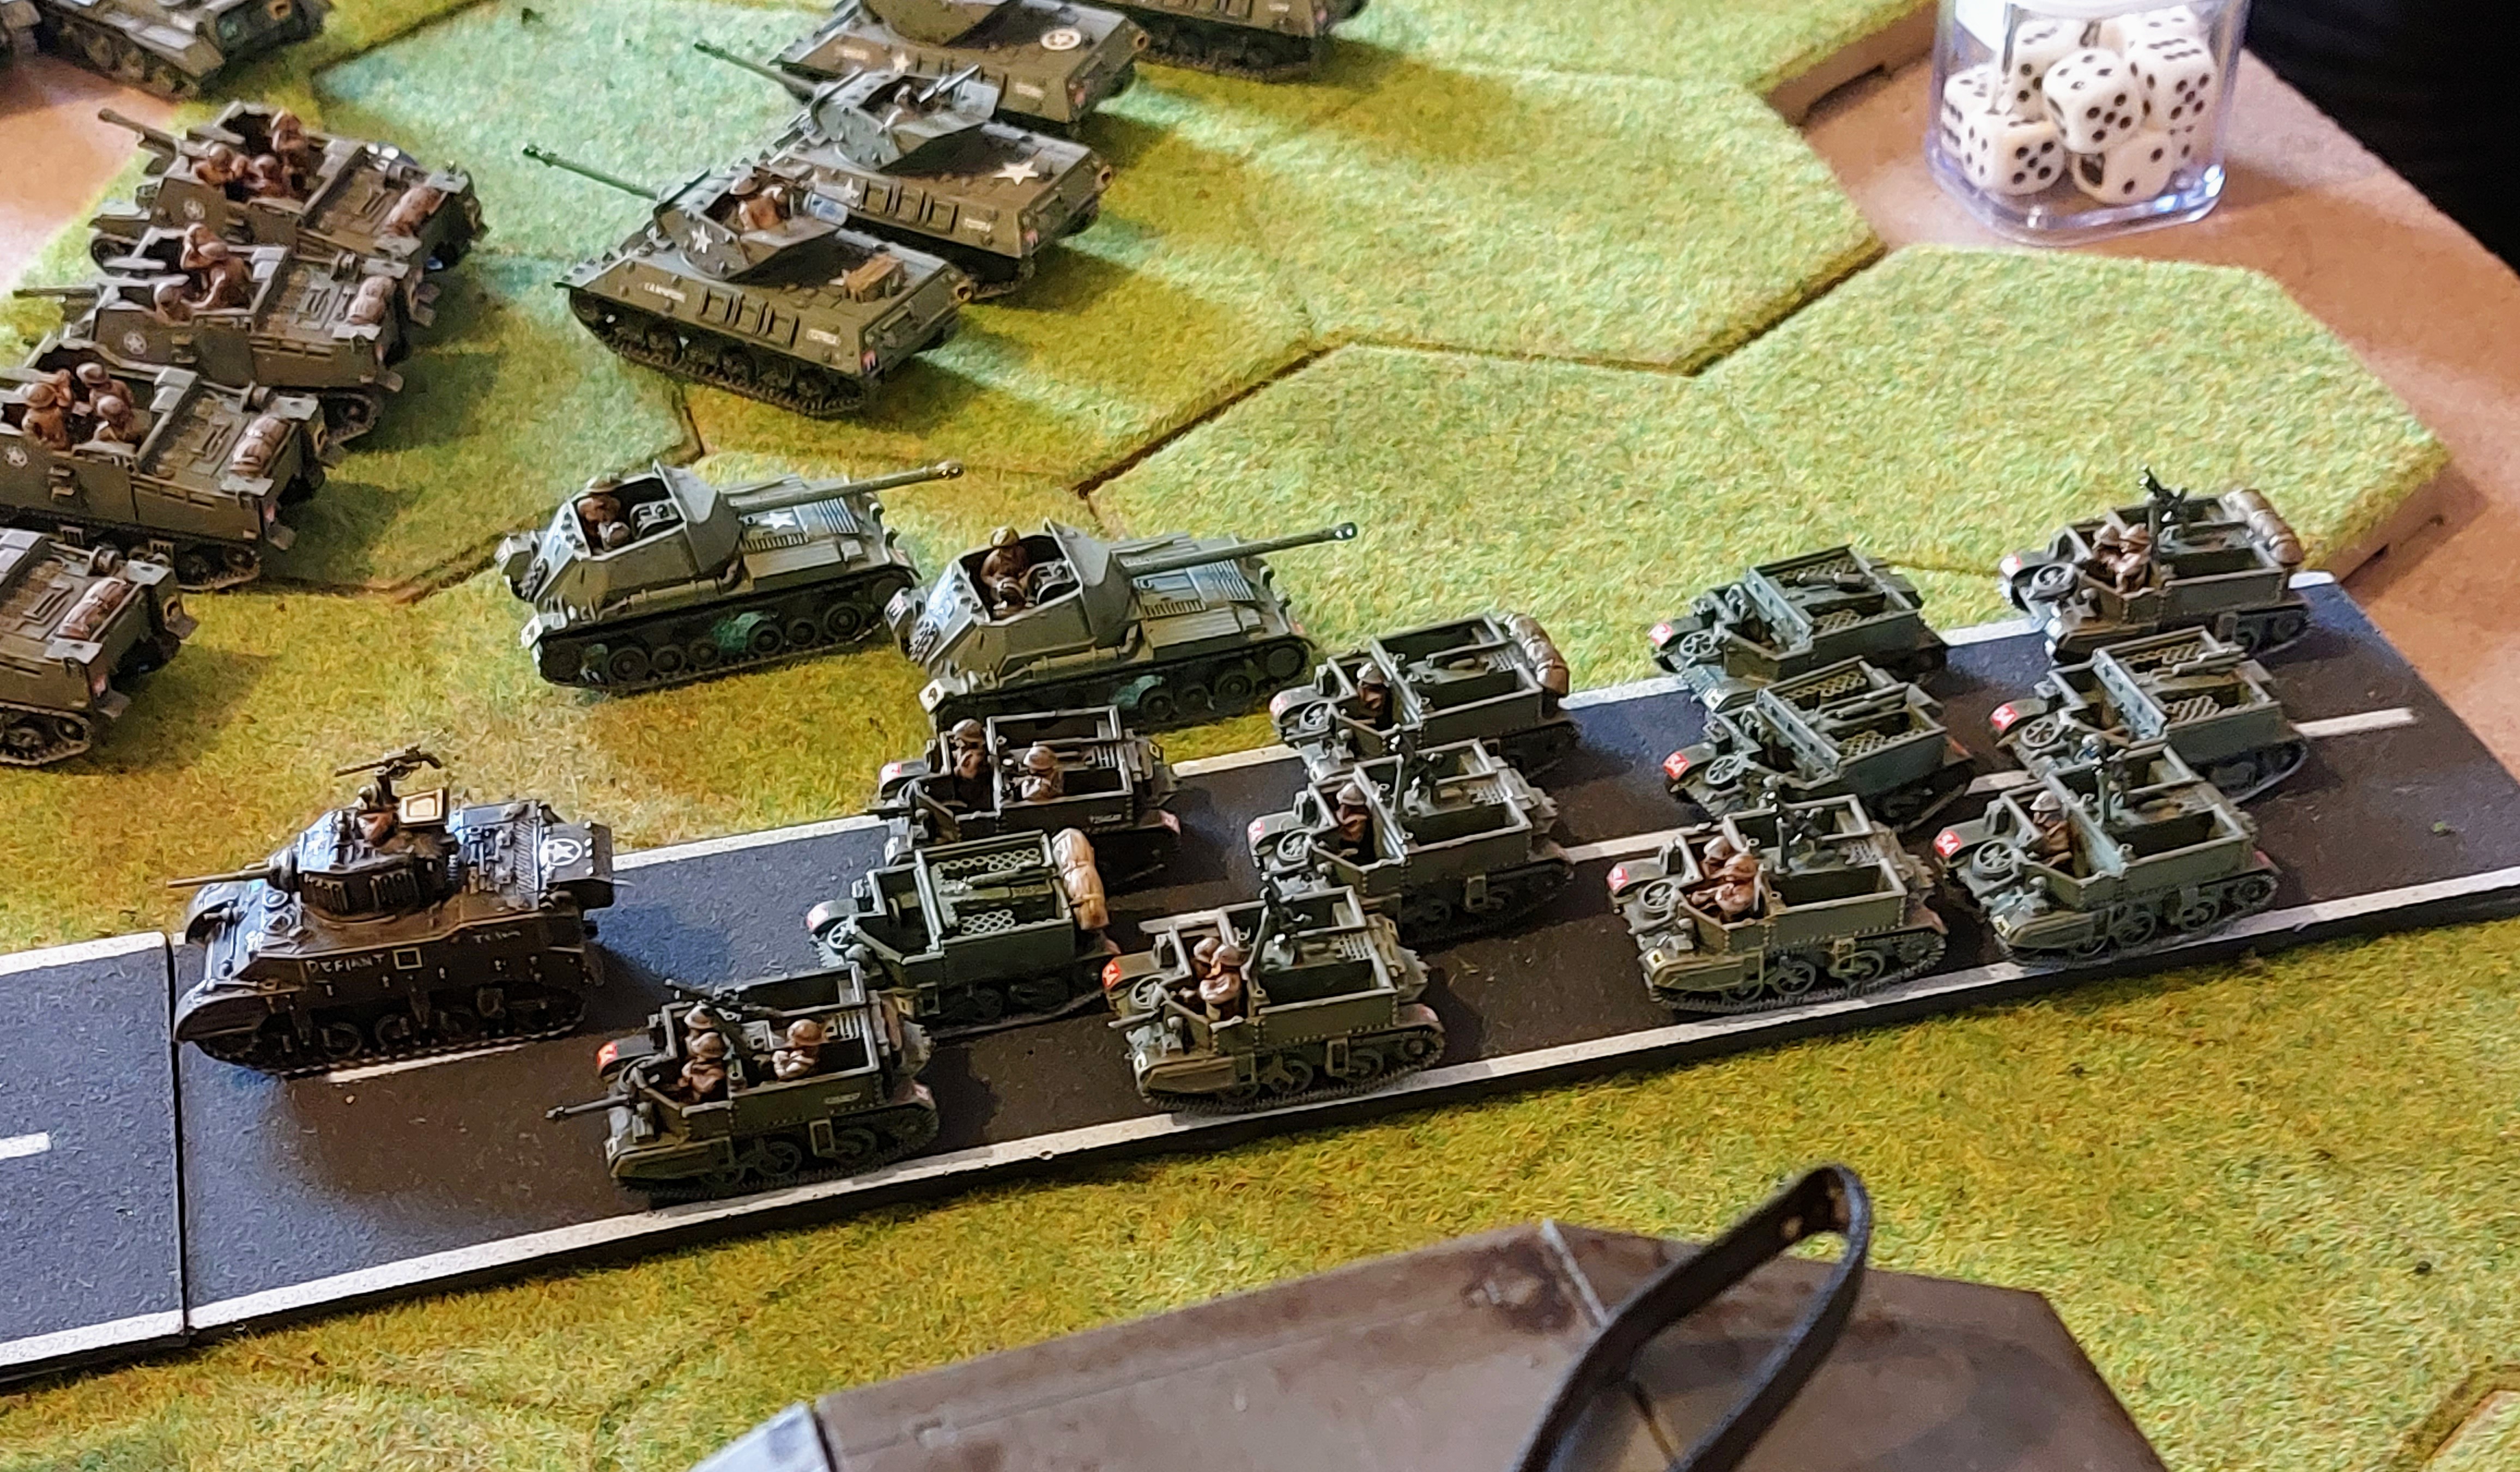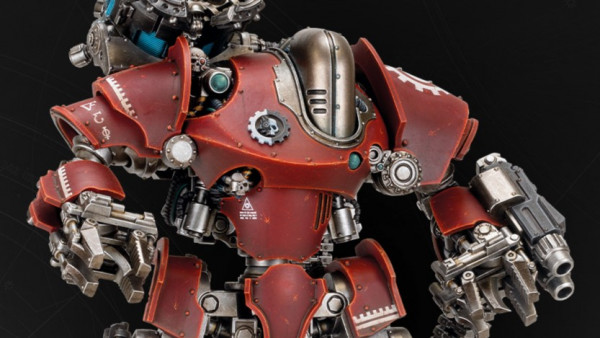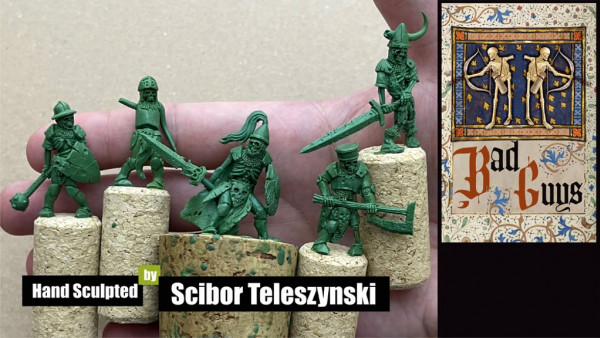


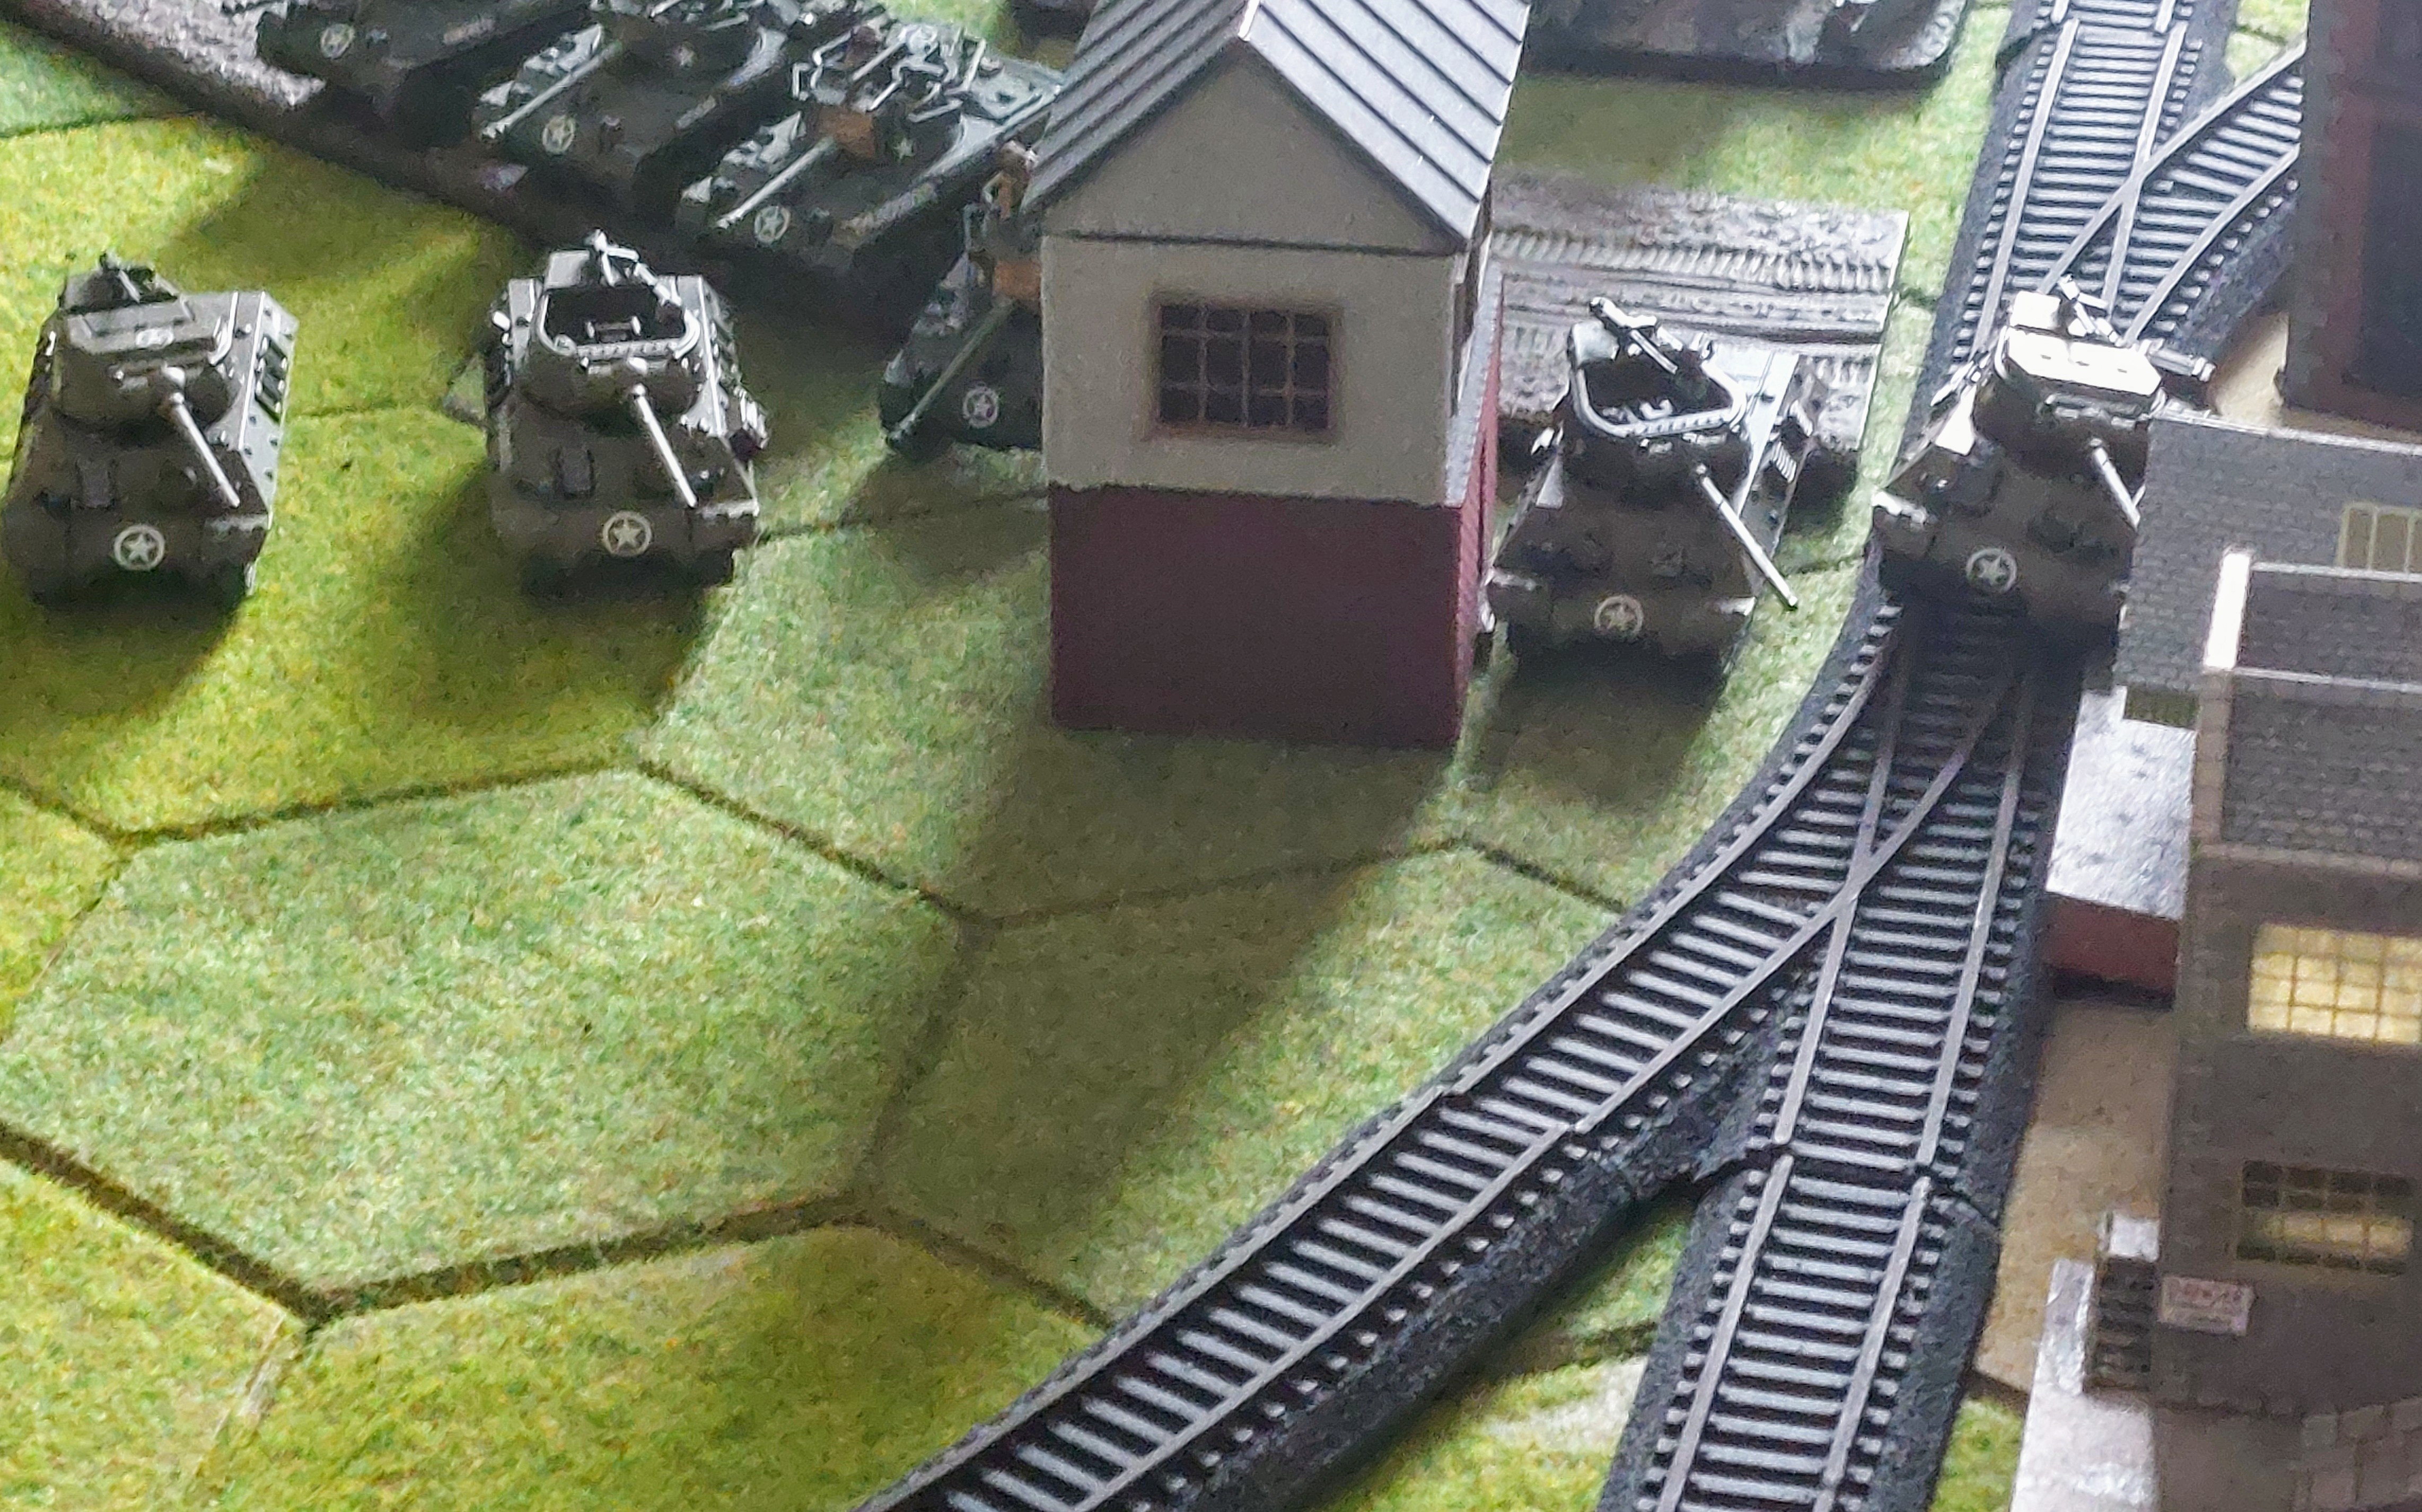
Bob’s Black Bulls 11th Armoured Division.


Recommendations: 359
About the Project
I actually started this project numerous years ago, it got added too at the D-Day Bootcamp, and now with Bulge BriI can try and Finish it
Related Game: Flames of War: The World War II Miniatures Game
Related Company: Battlefront Miniatures
Related Genre: Historical
This Project is Active
Move 1
Rather than my rambling blow by blow description from the last game I’m going to go for a more Newsreel 50’s BBC narration
So in best newsreel style ( comment on which you prefer.
Over on what is our Eastern front old Jerry our old adversary now brave Allie is attempting to push the Red plague from its Eastern border.
Initial reports have Jerry making probing attacks against the red hordes. An attempt to advance on both flanks has met some resistance and light casualties have been sustained.
From three Soviet prospective:
To arms comrades, our glorious forces have rallied I their might and have rushed forward to ensure the freedom of those we have liberated from racist tyranny, despite light casualties our glorious soldiers rush forward to destroy our liberated Allies lands.

Well that was 2x paragraphs that didn’t say anything, think I’ve got this propaganda thing down pat.
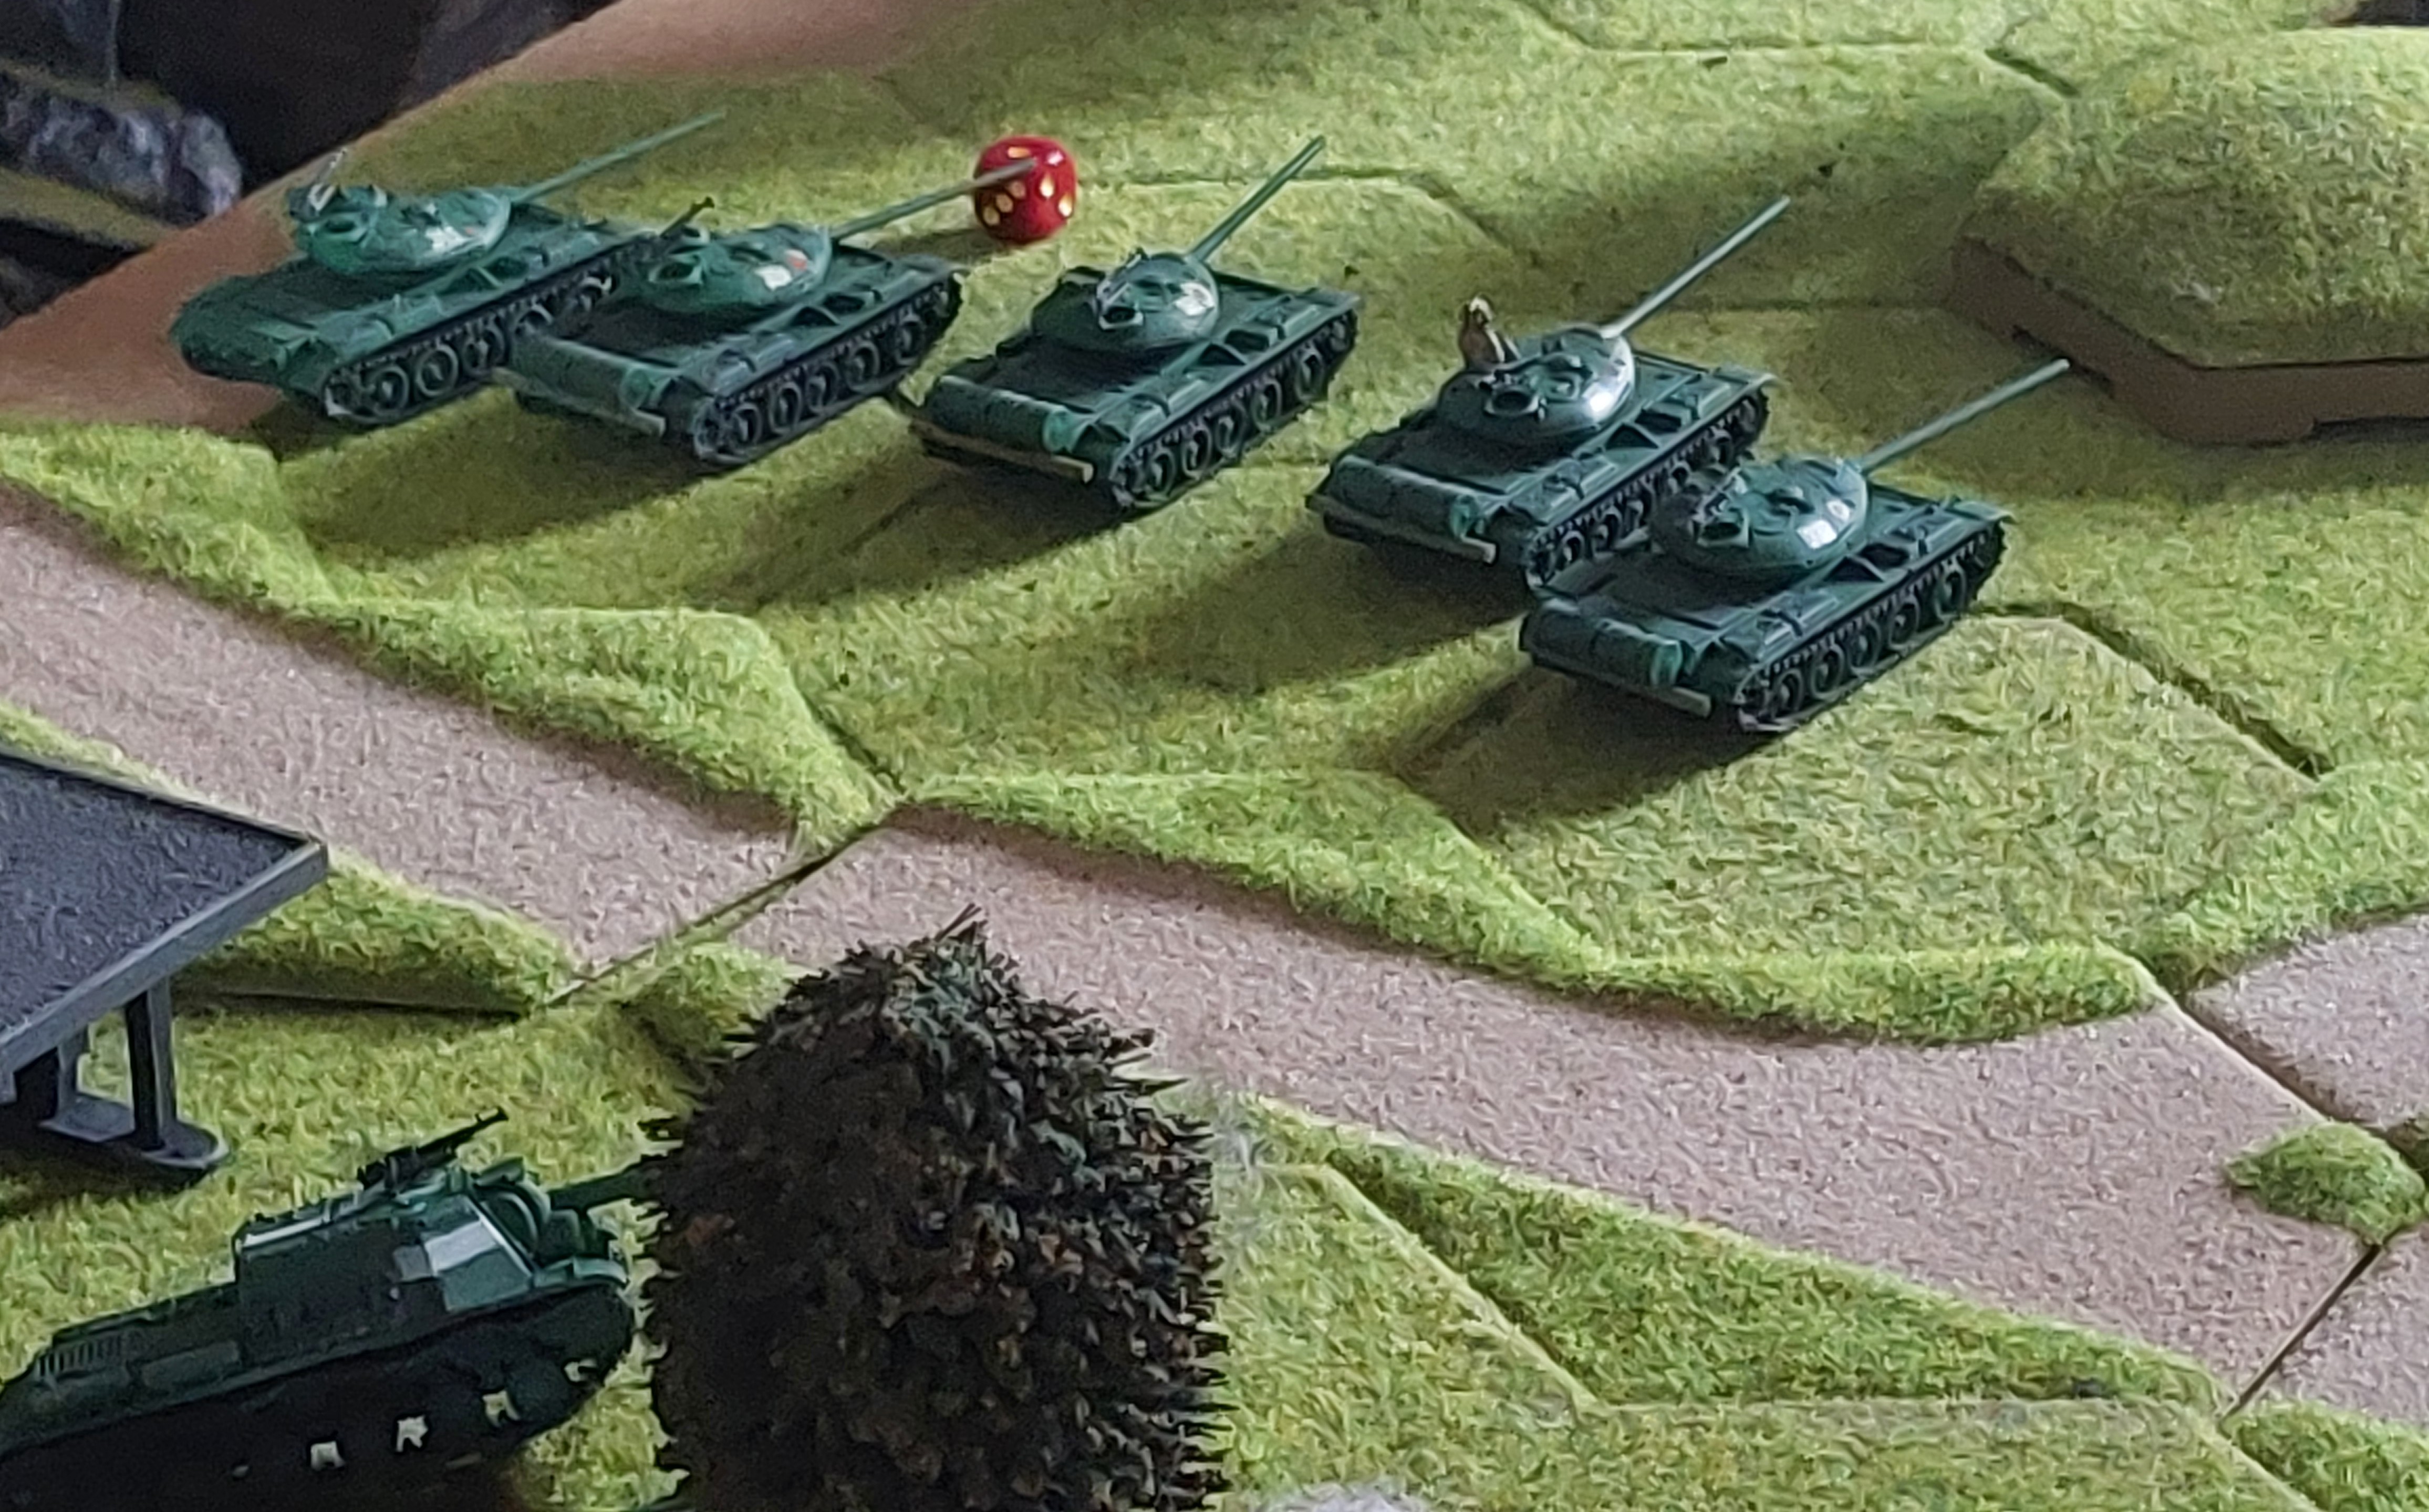
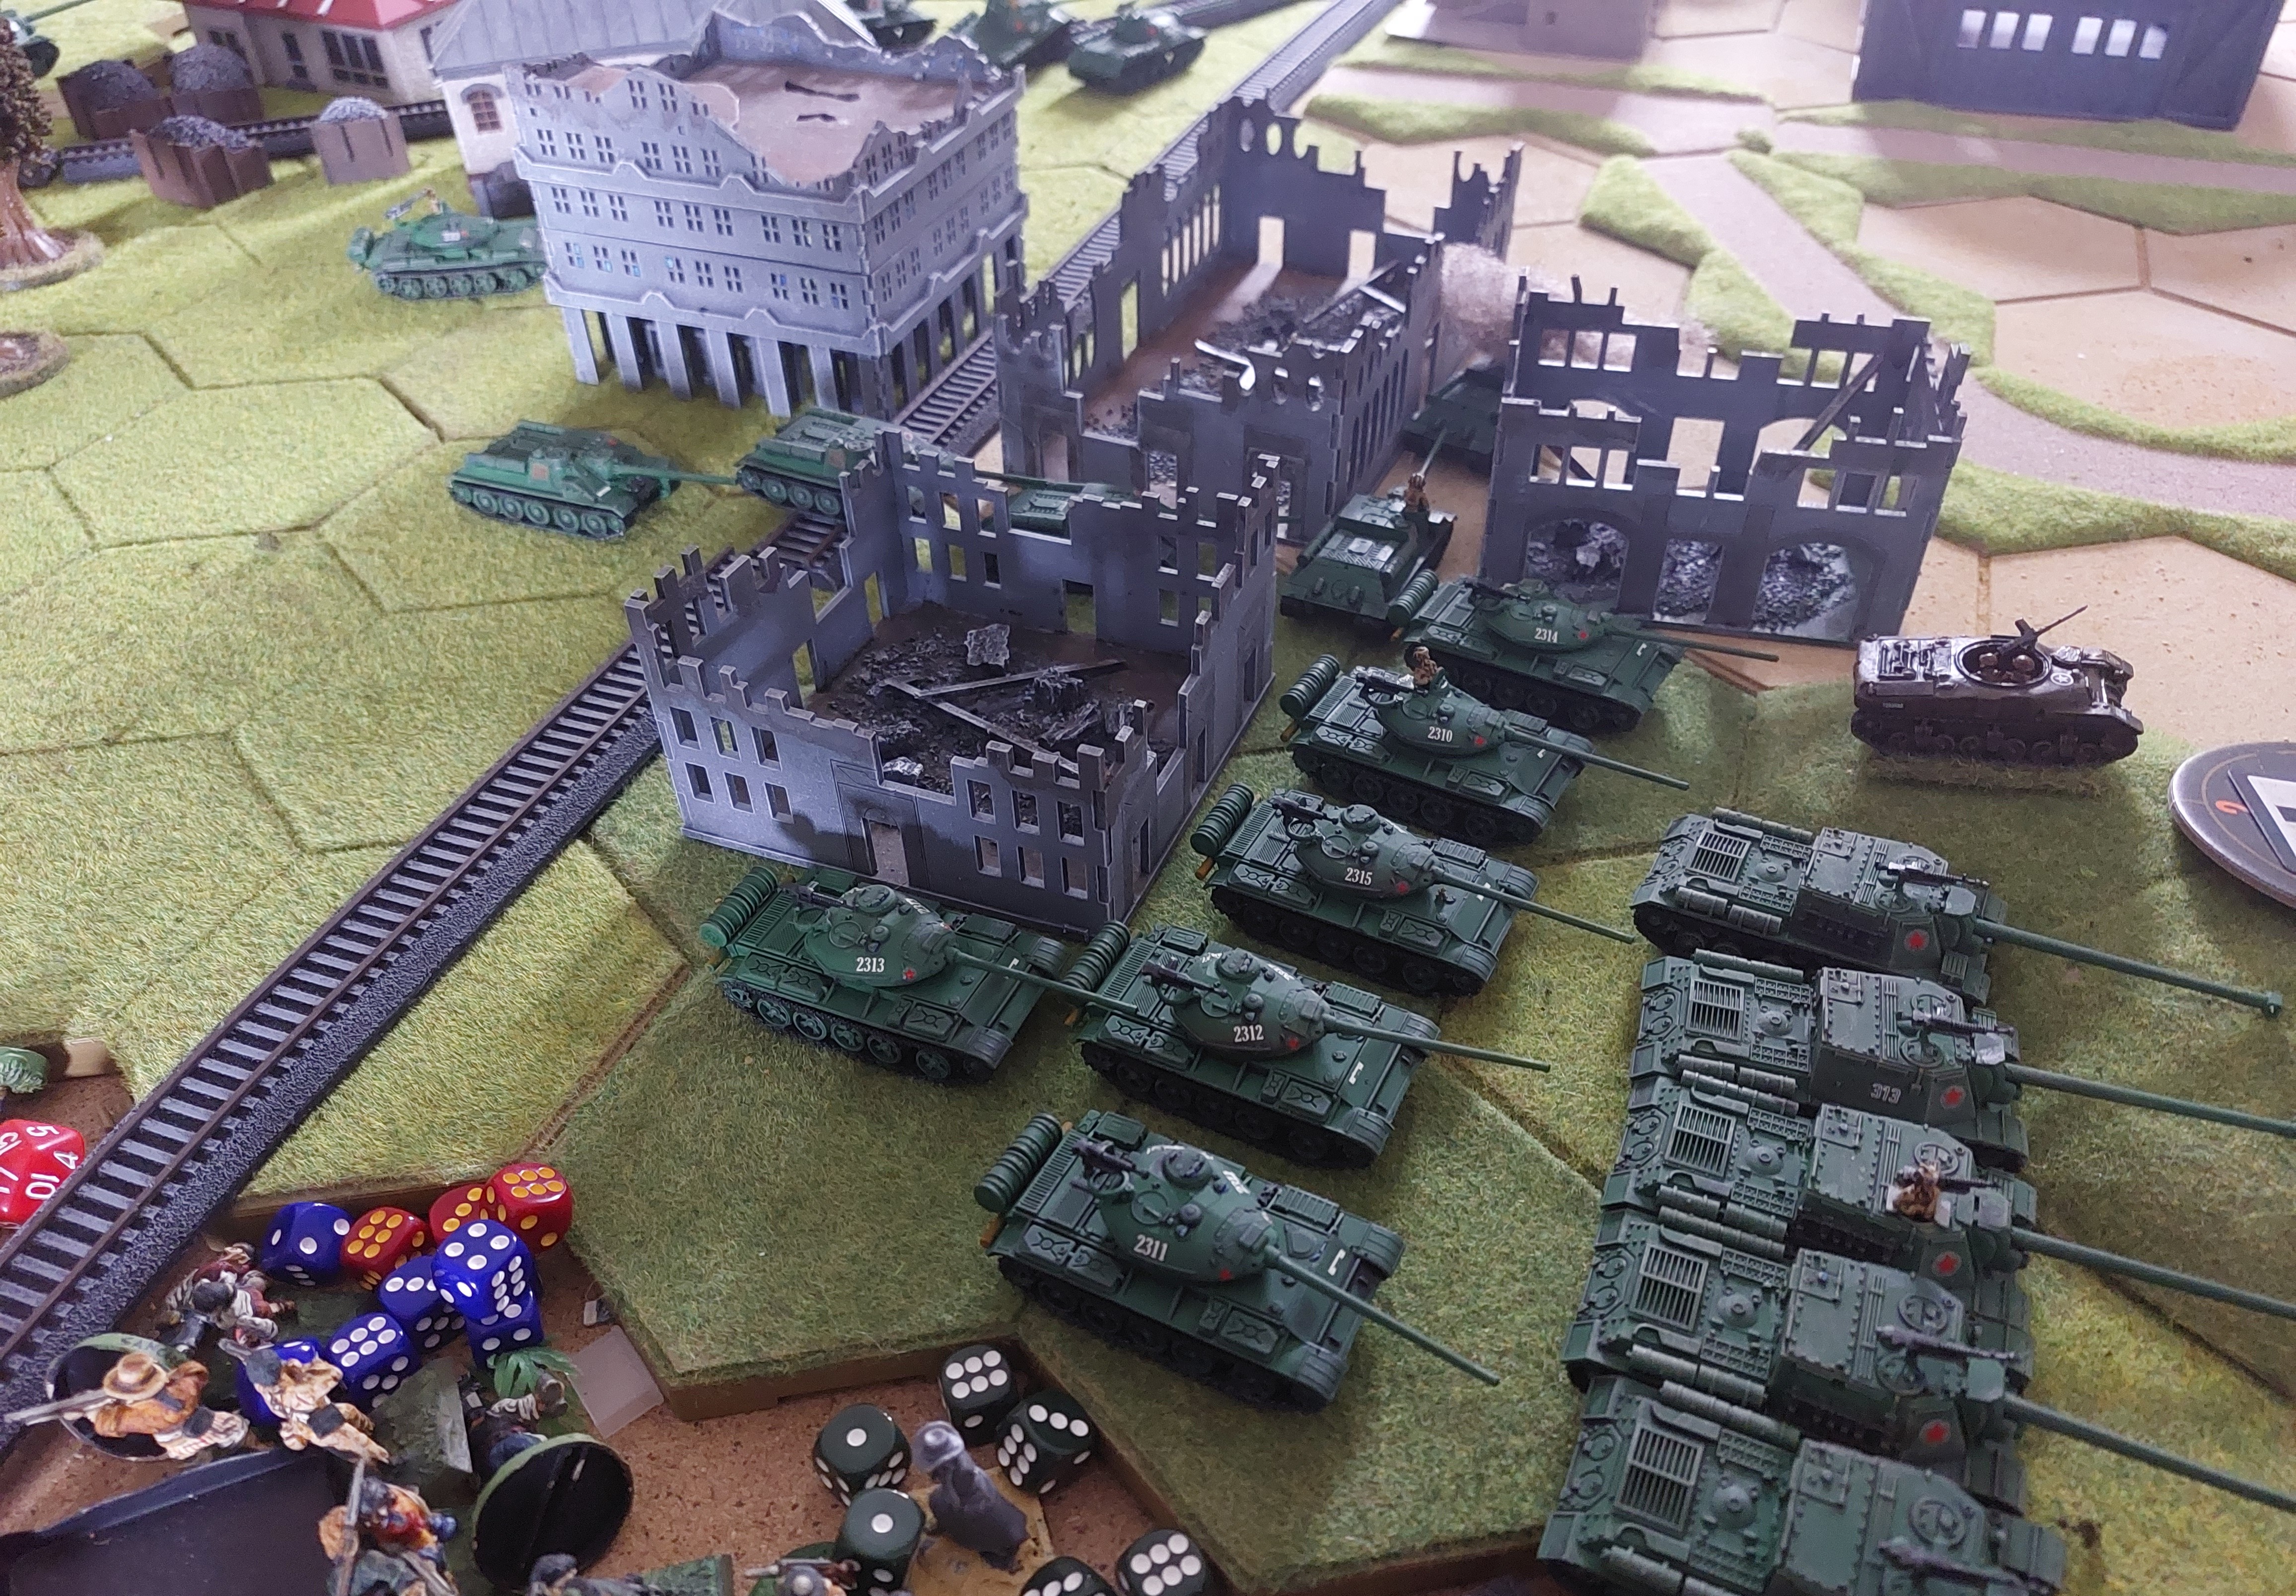
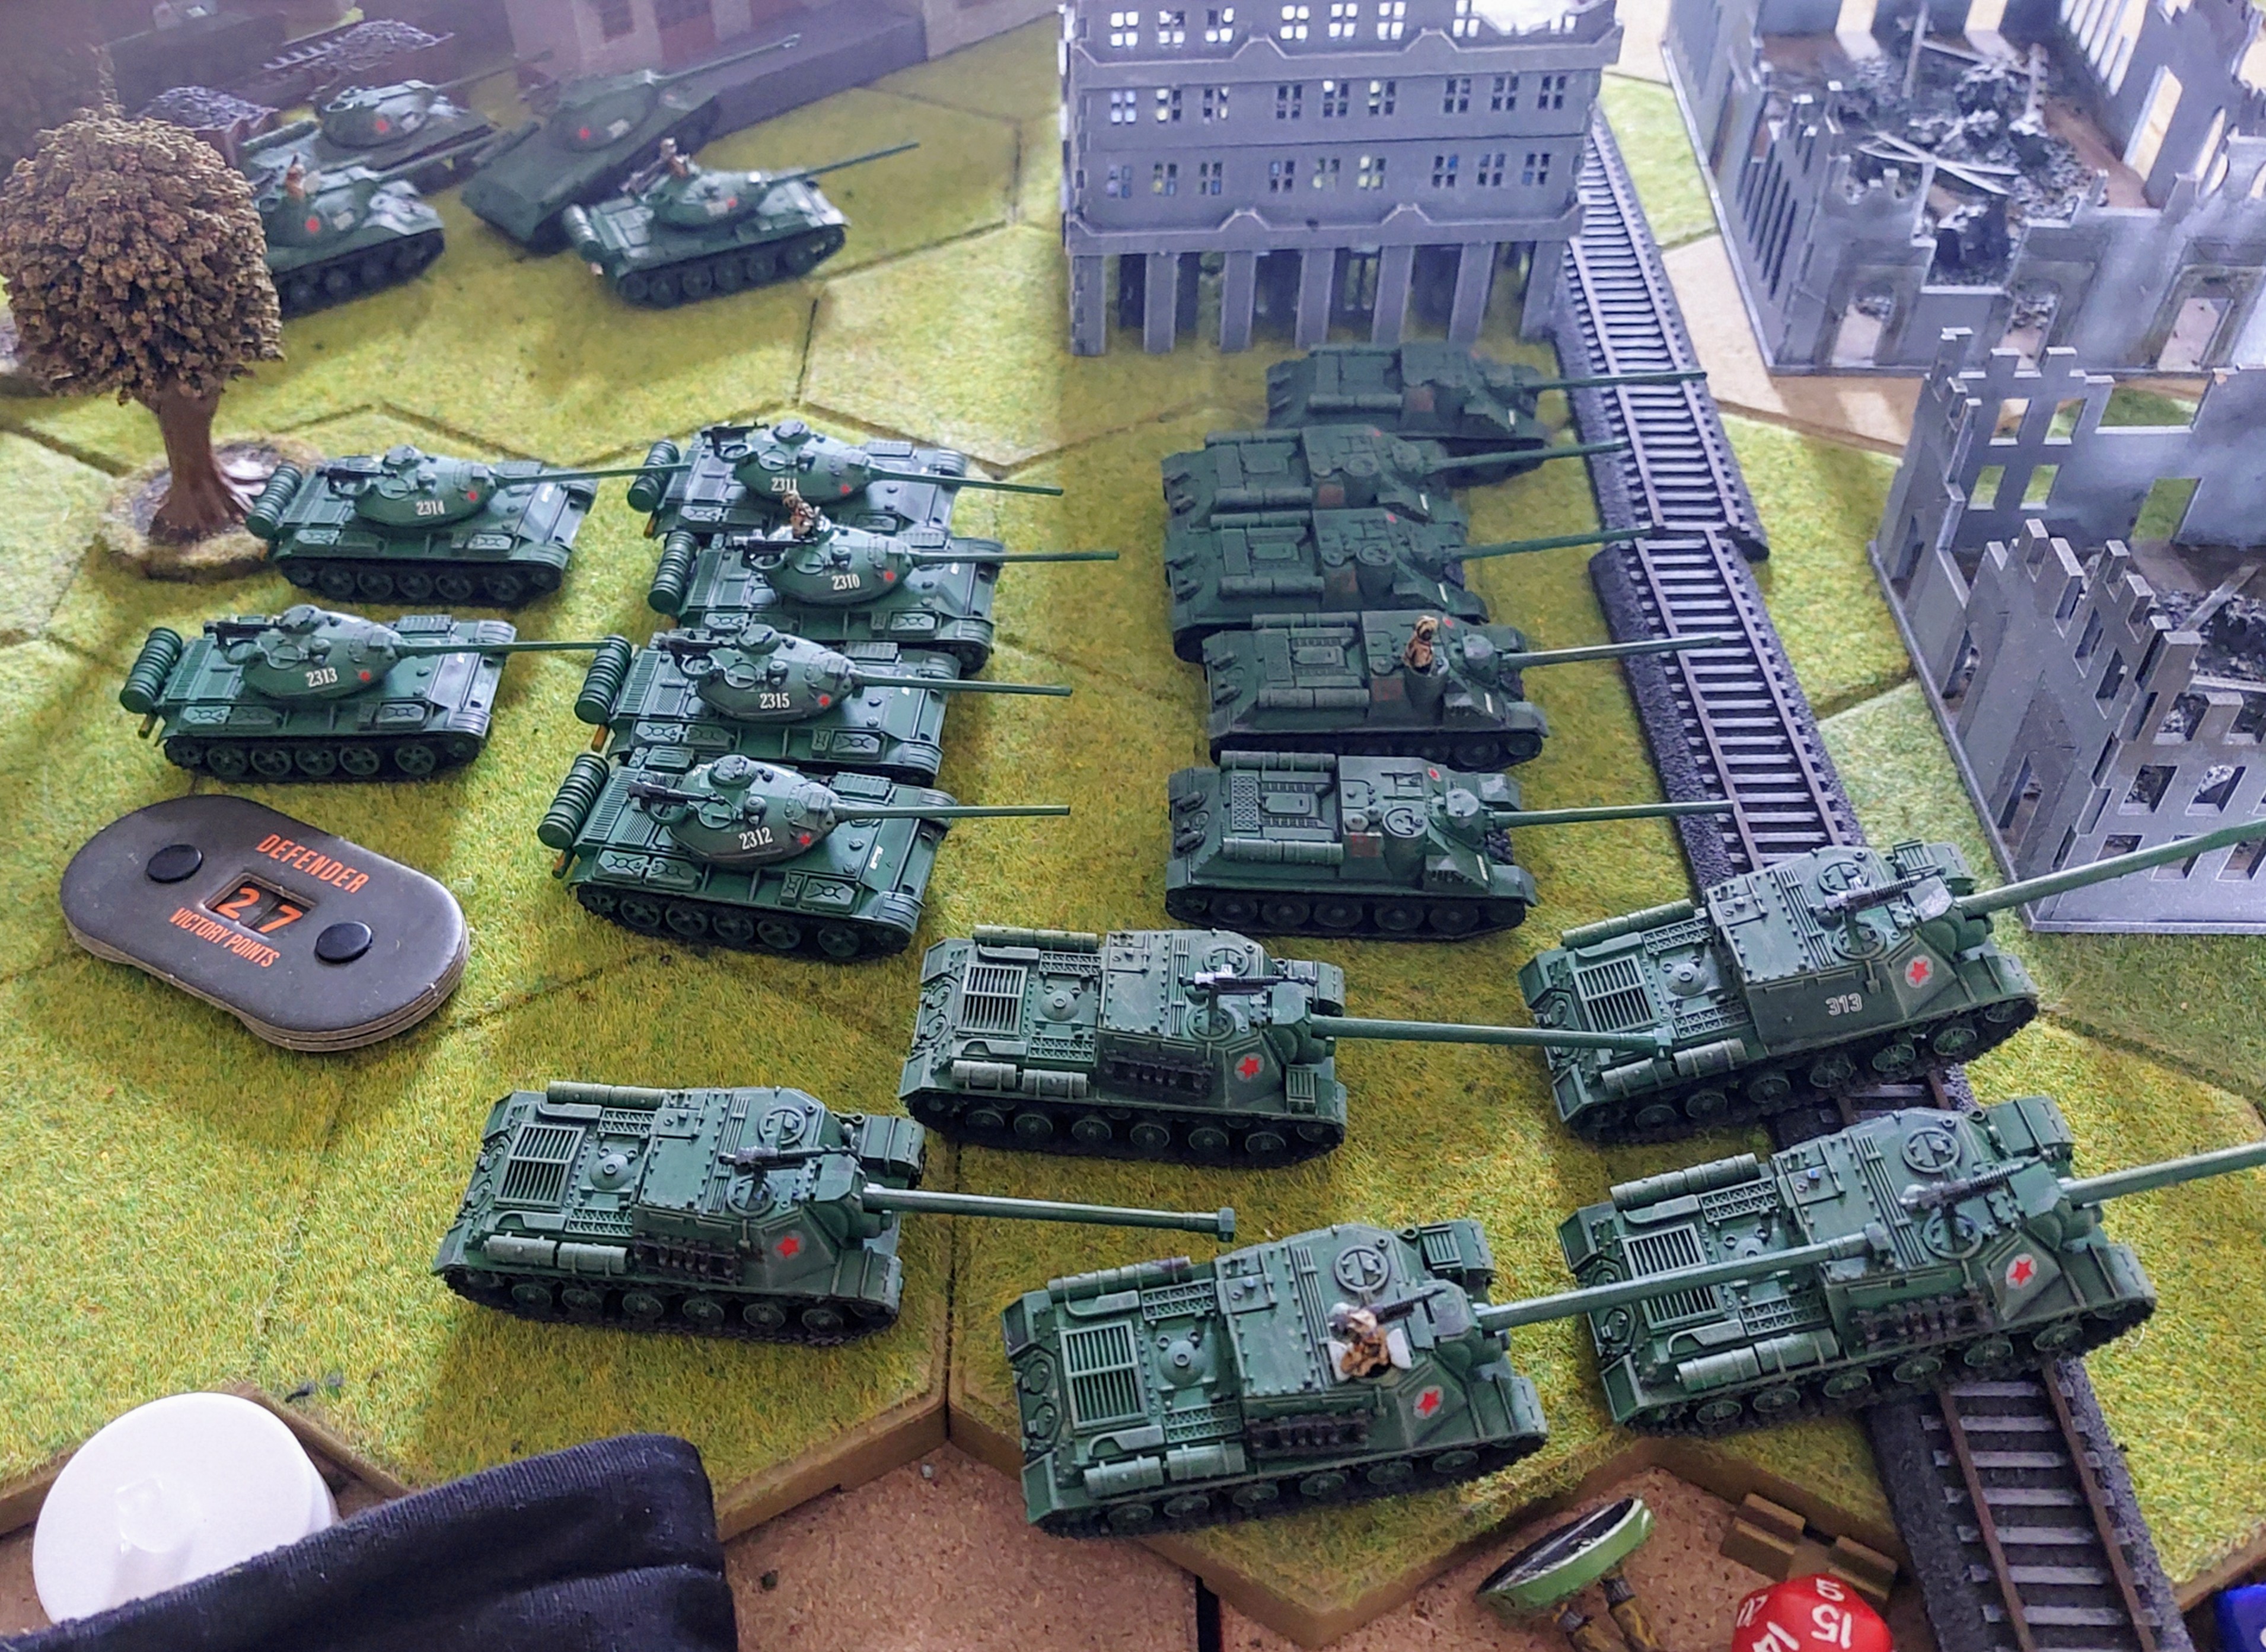
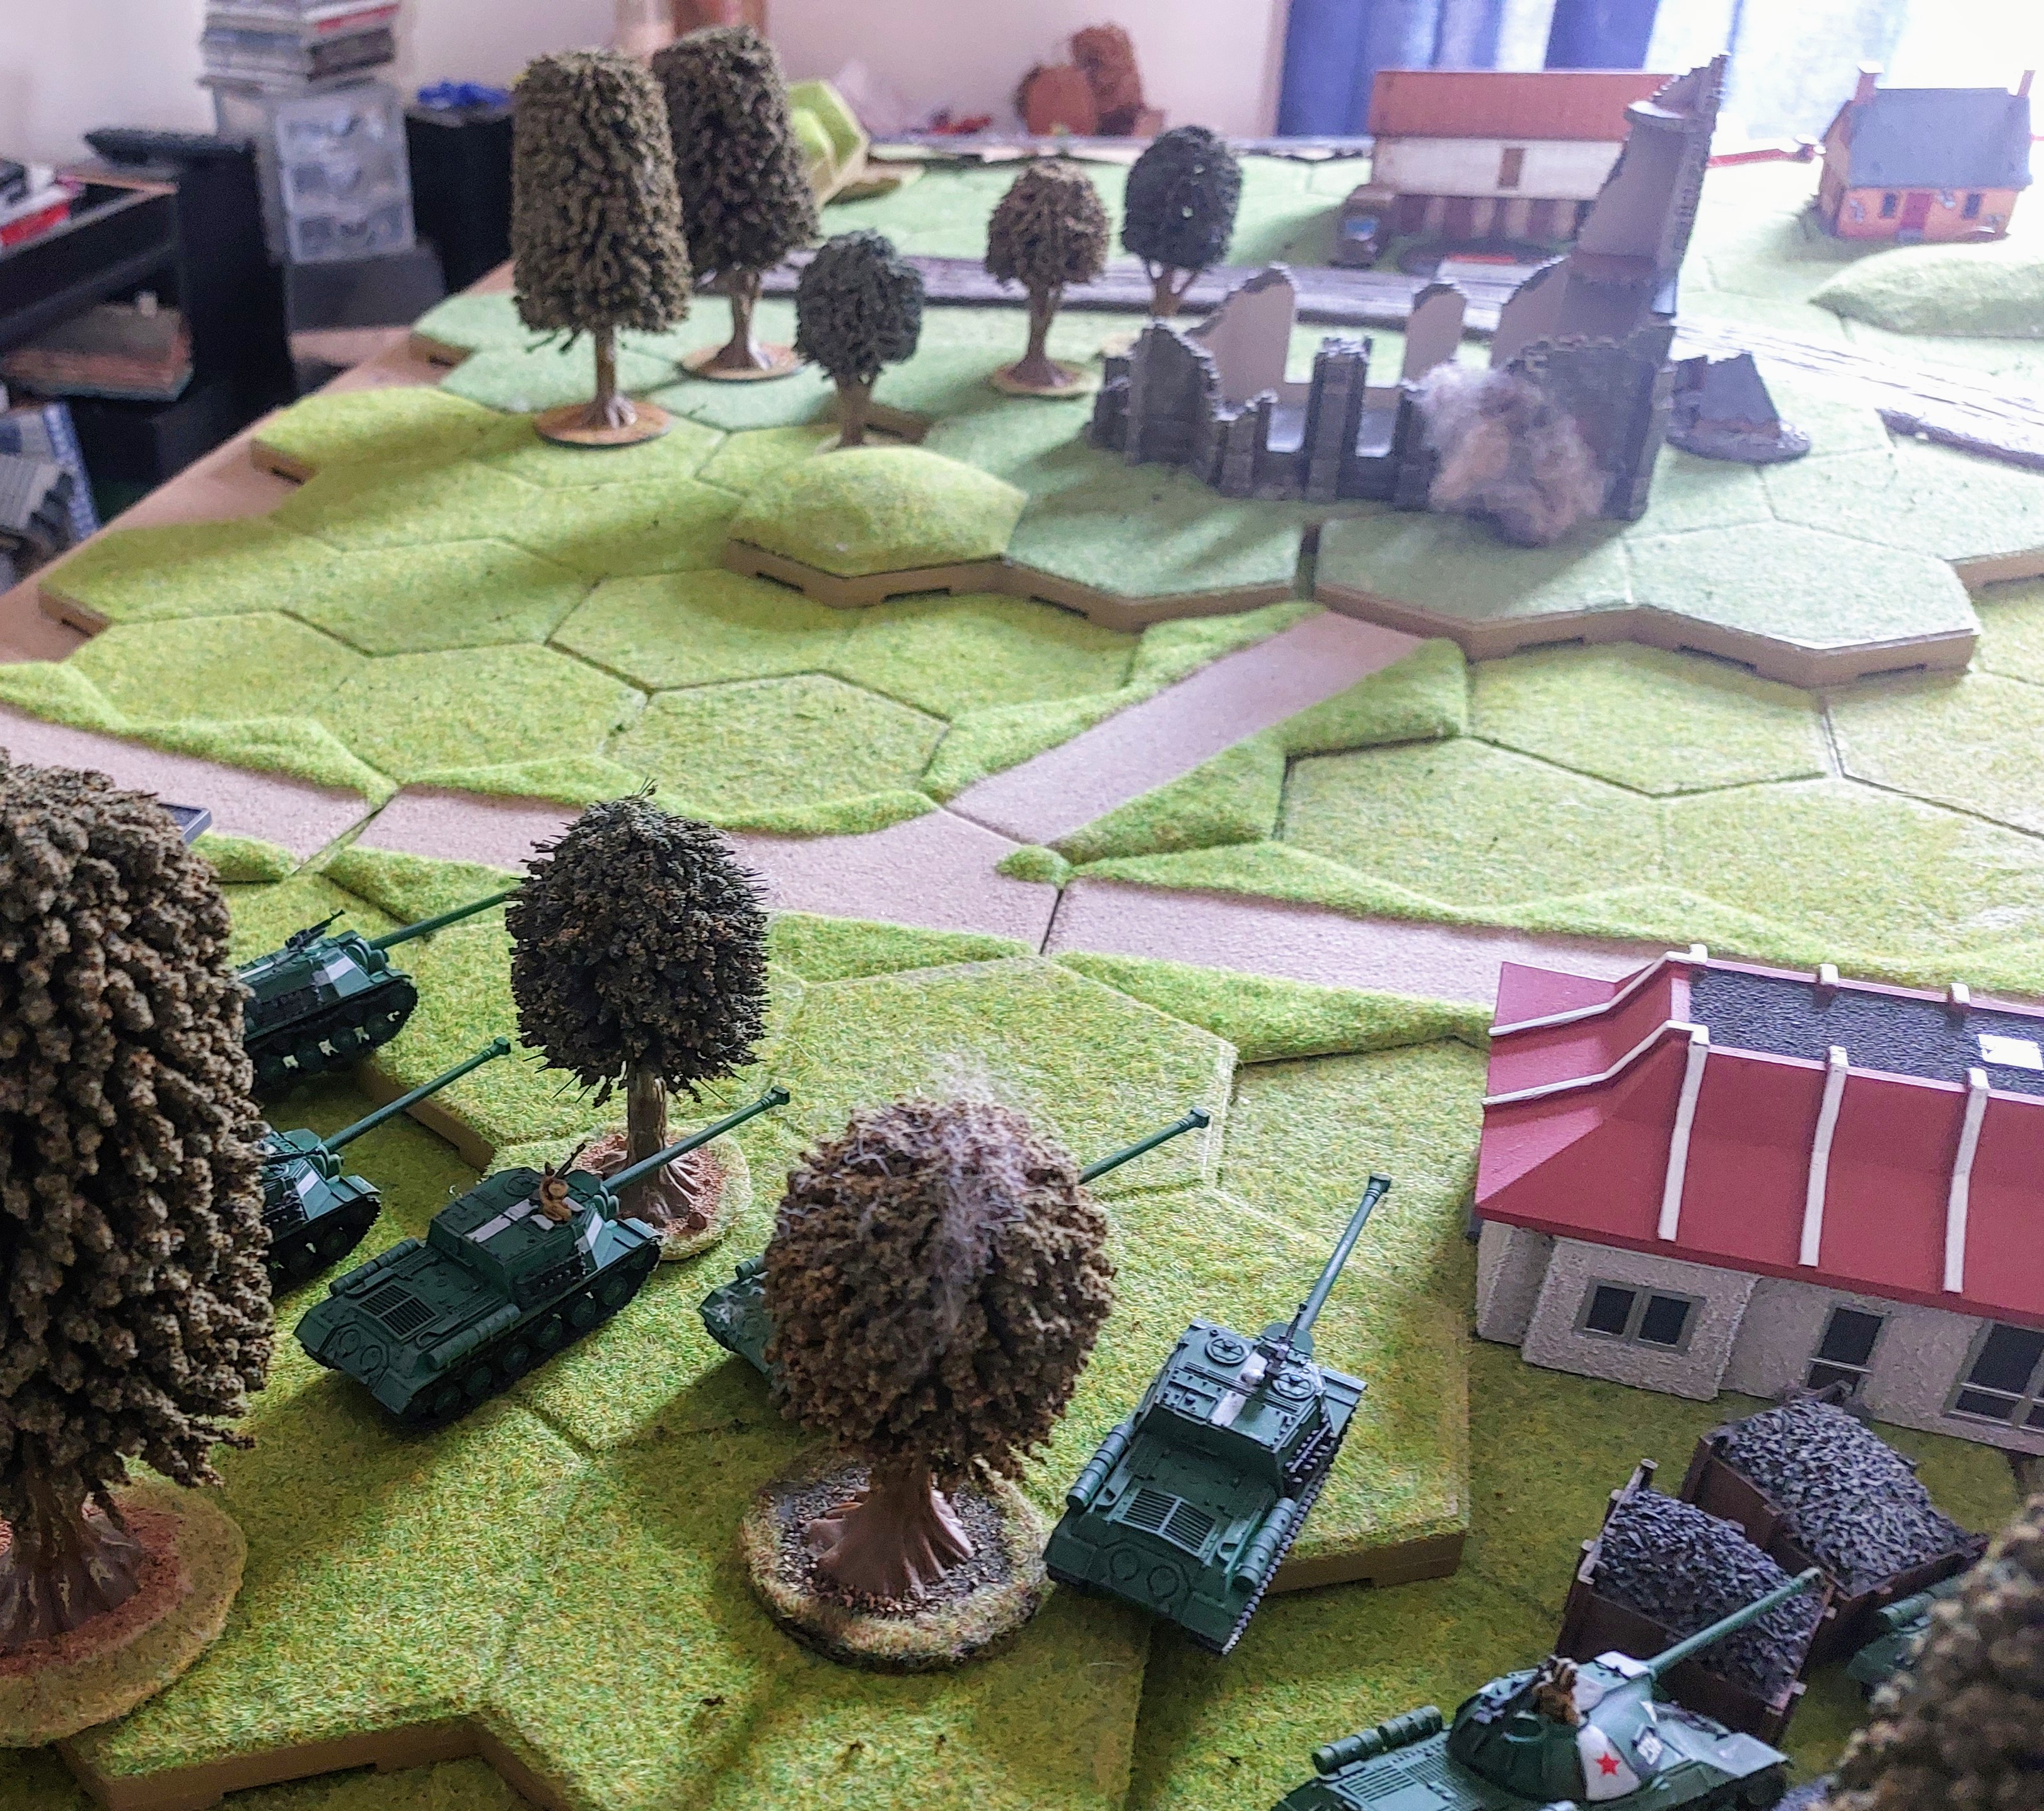
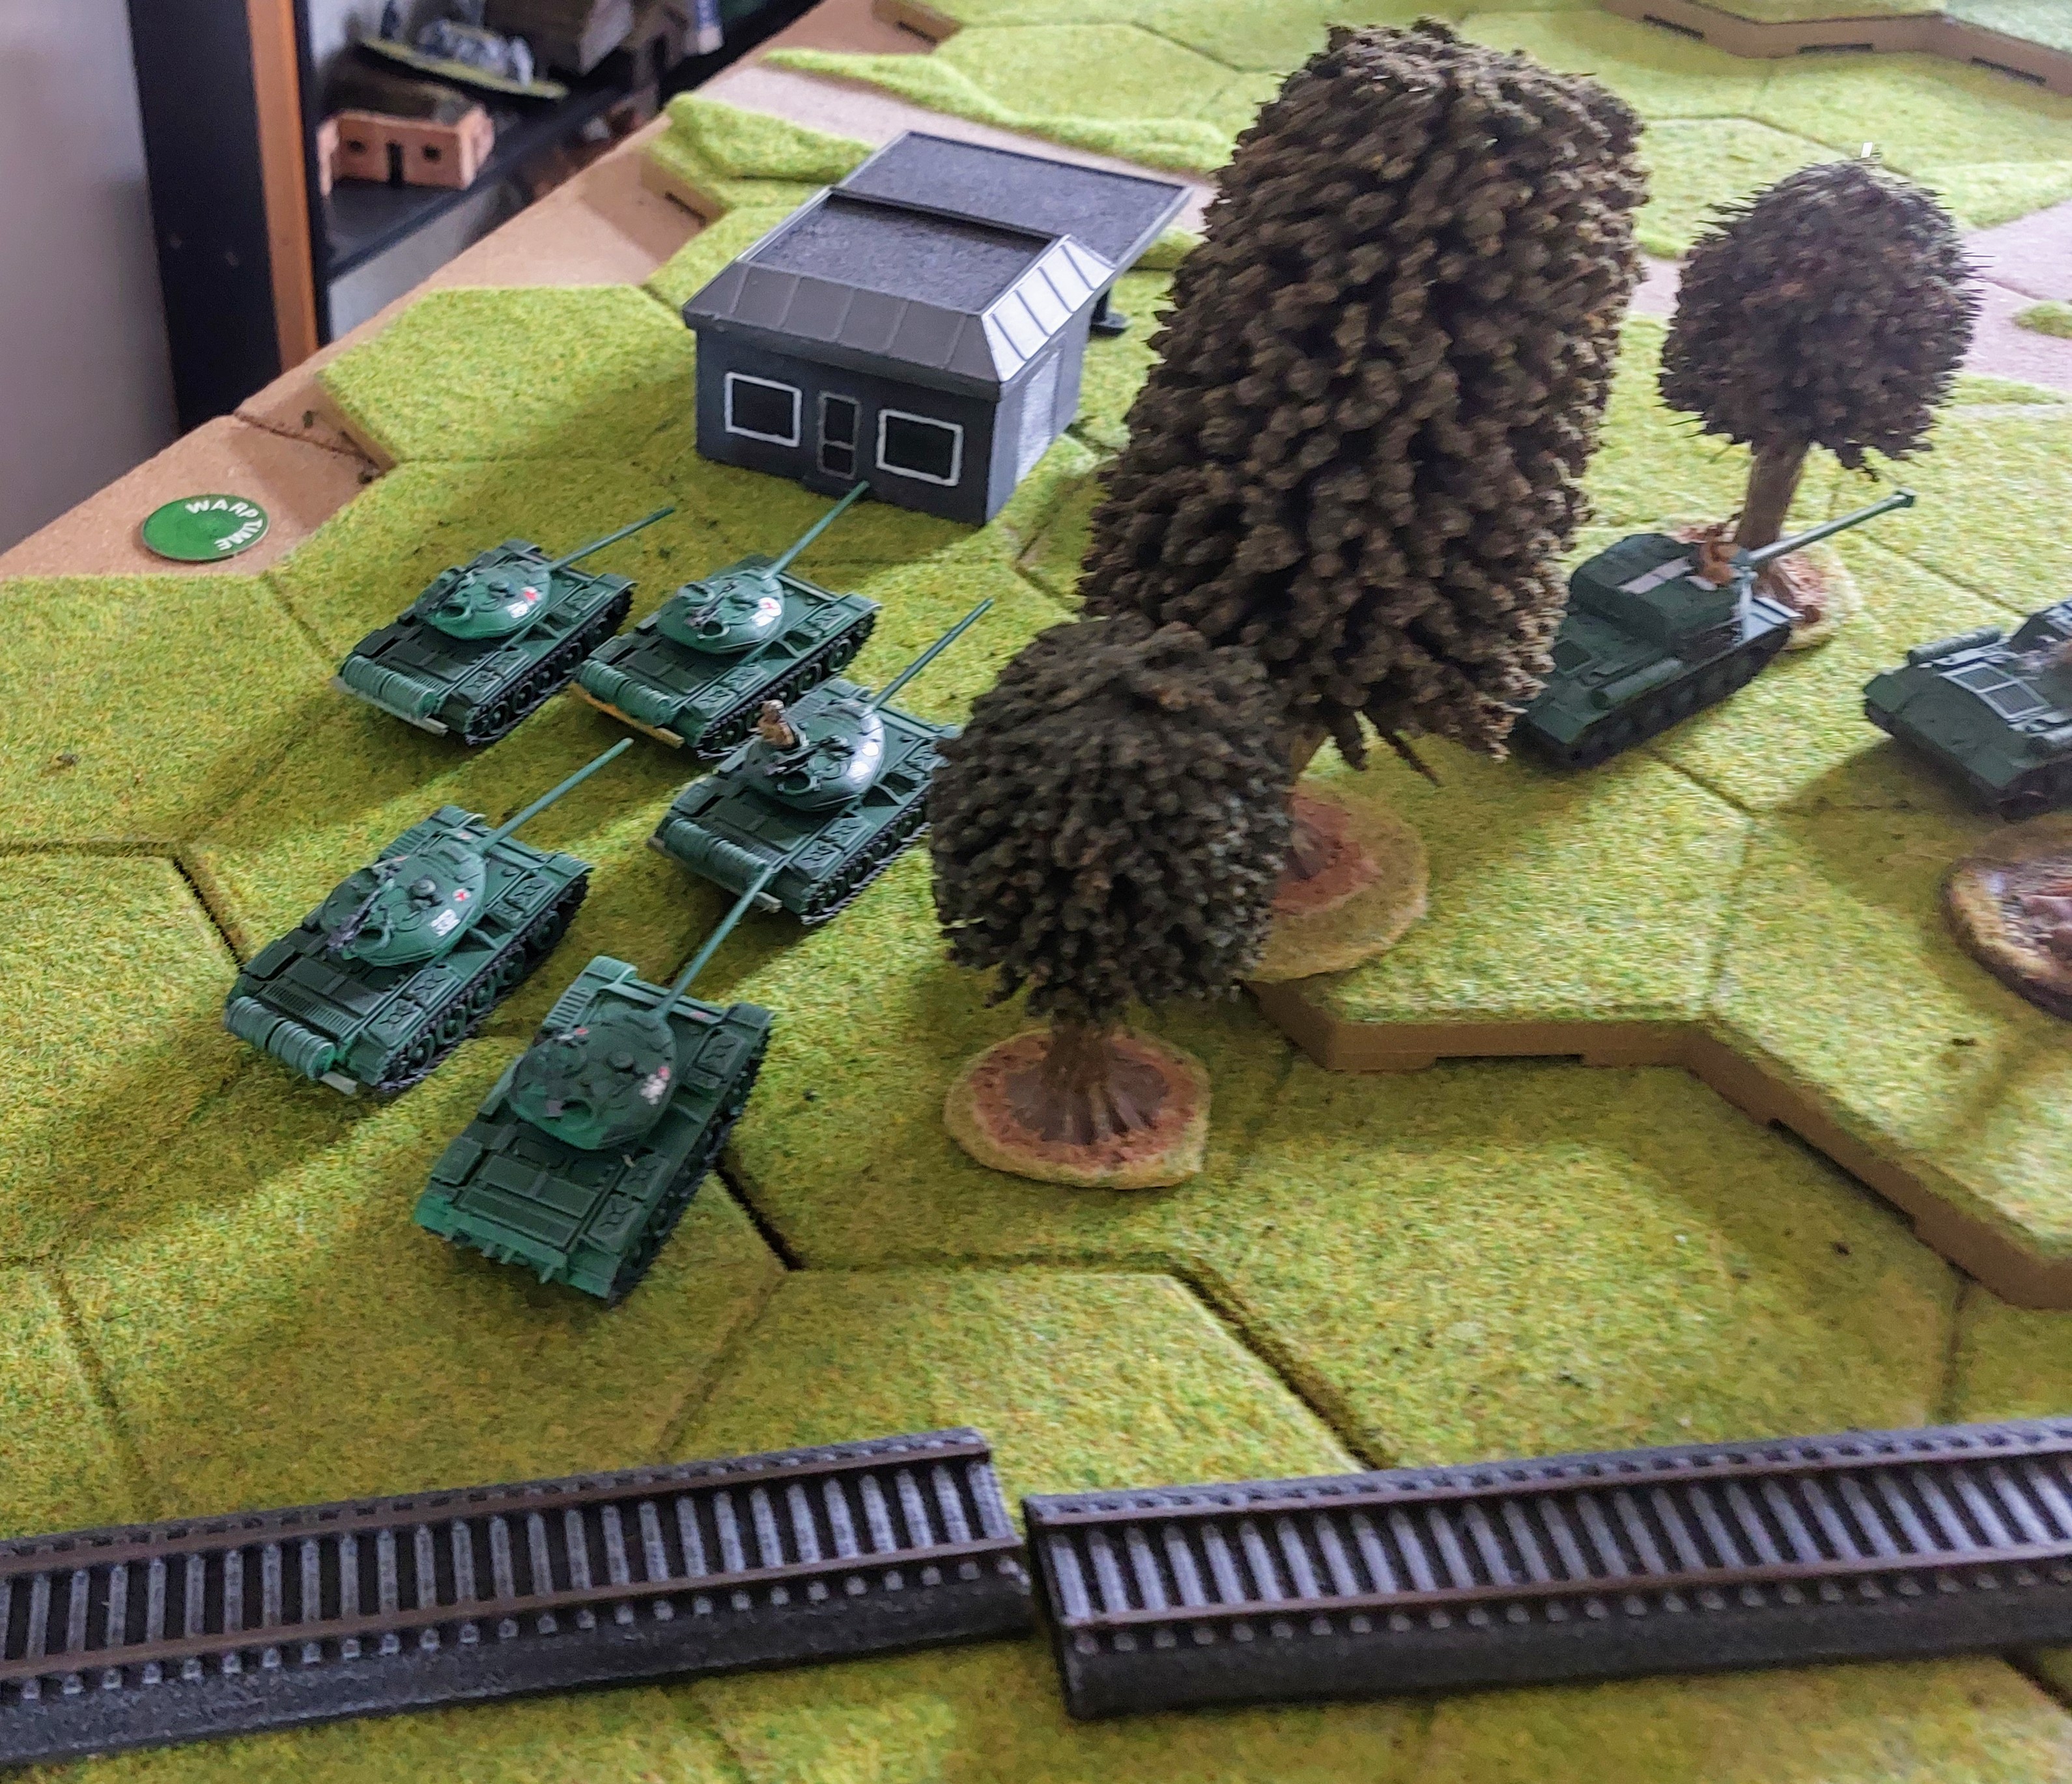
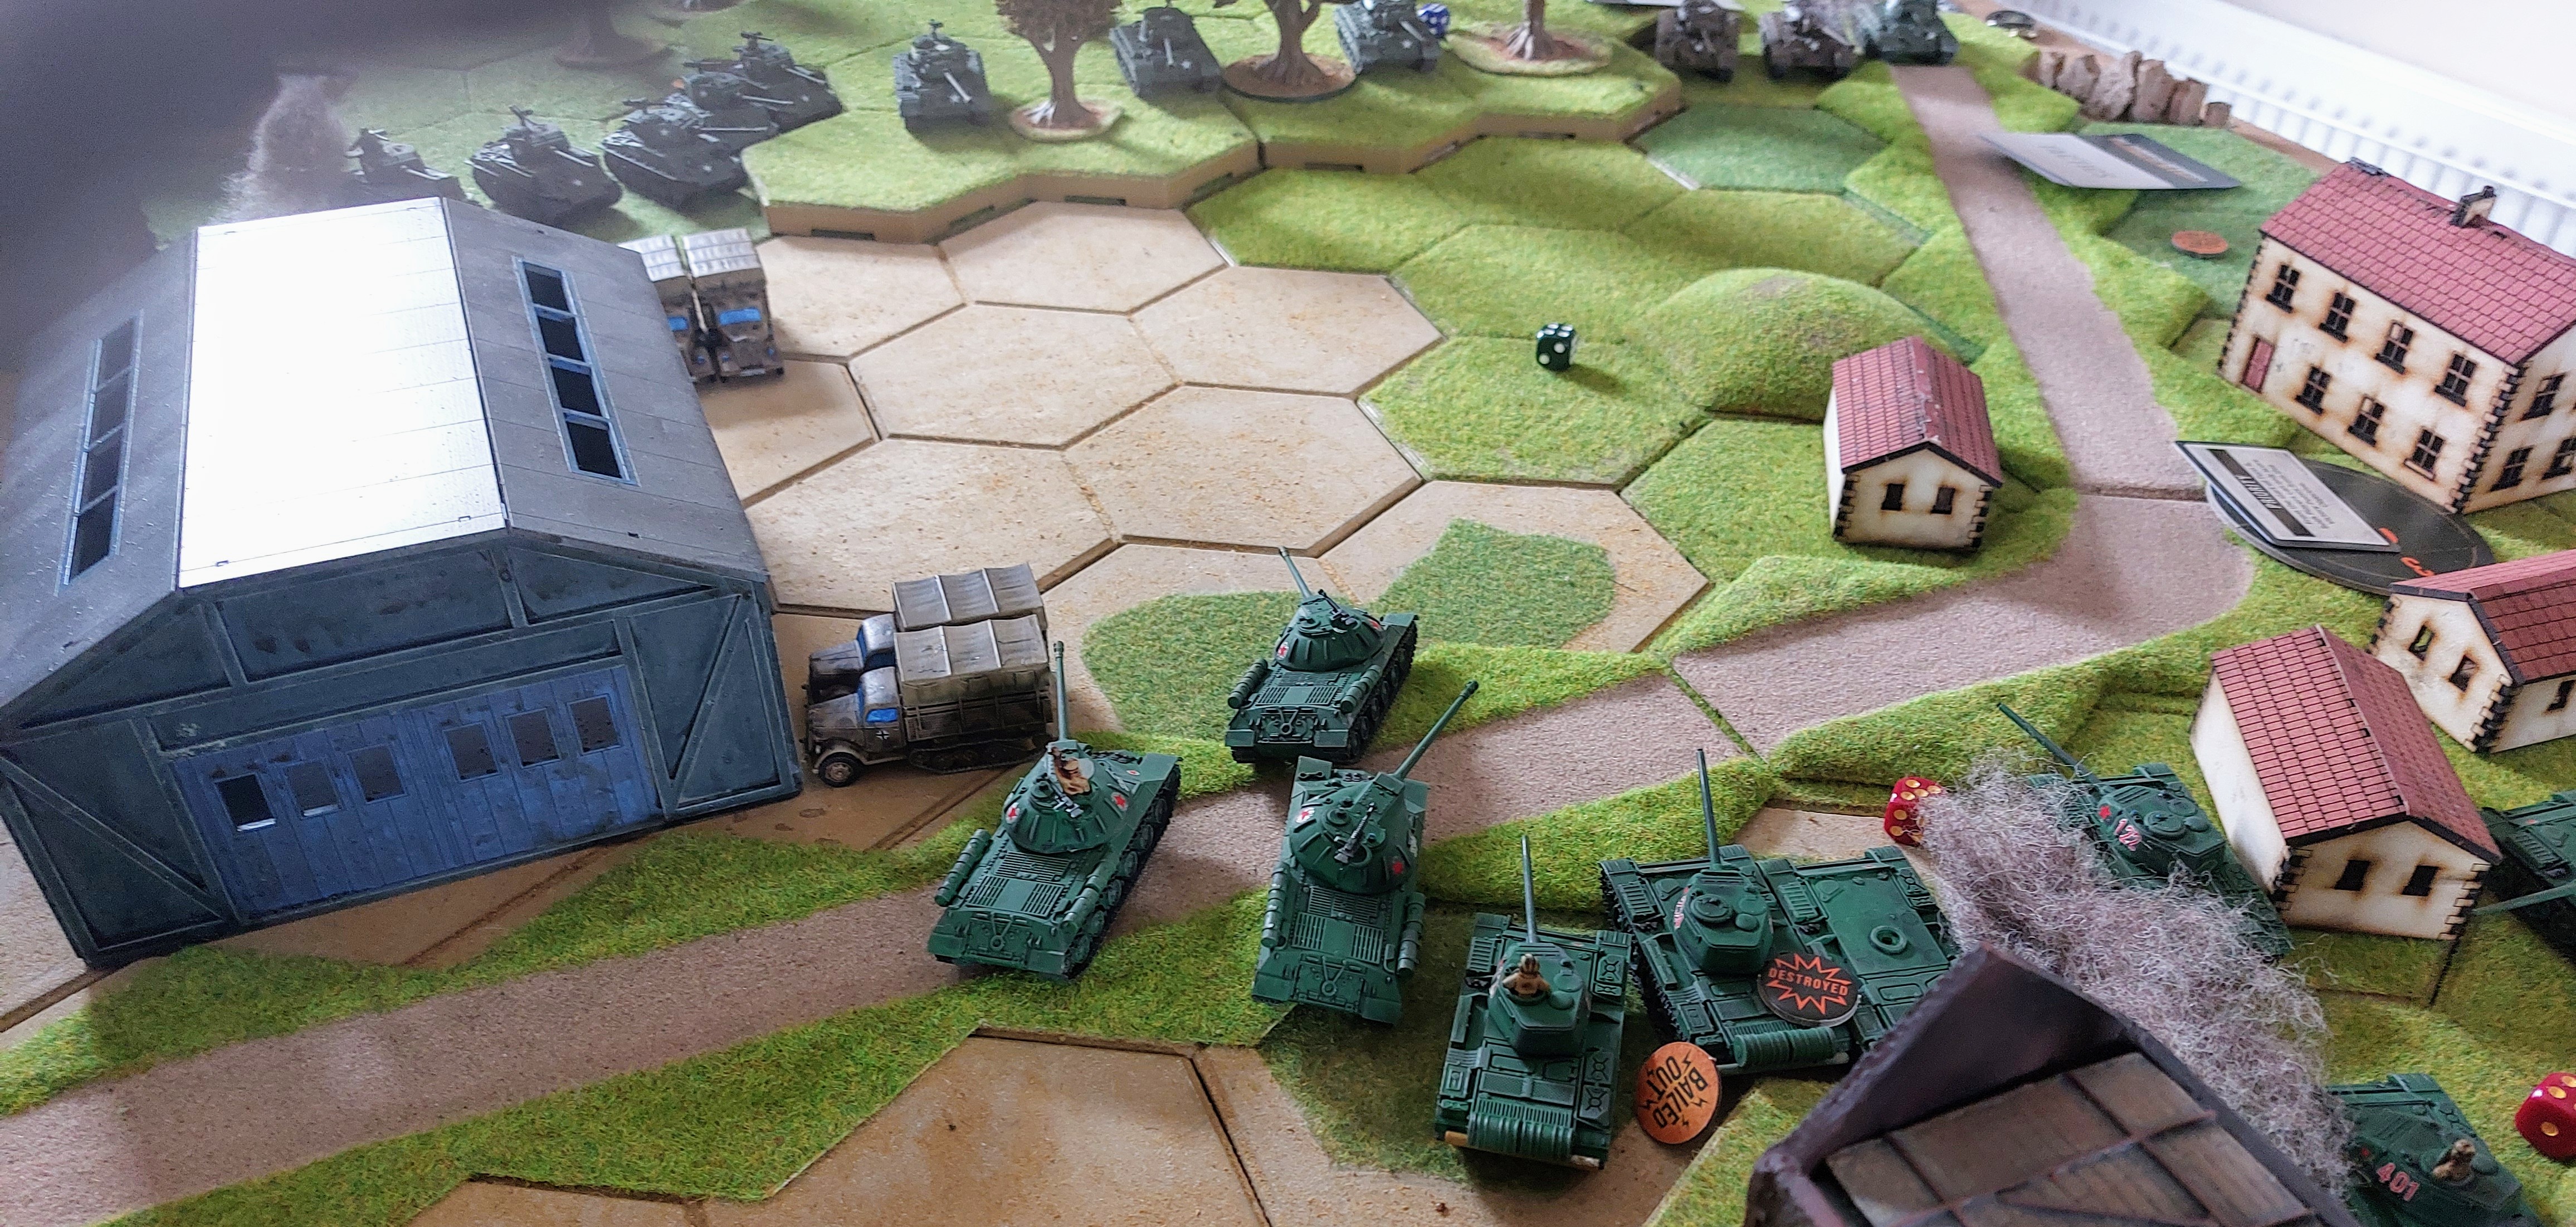
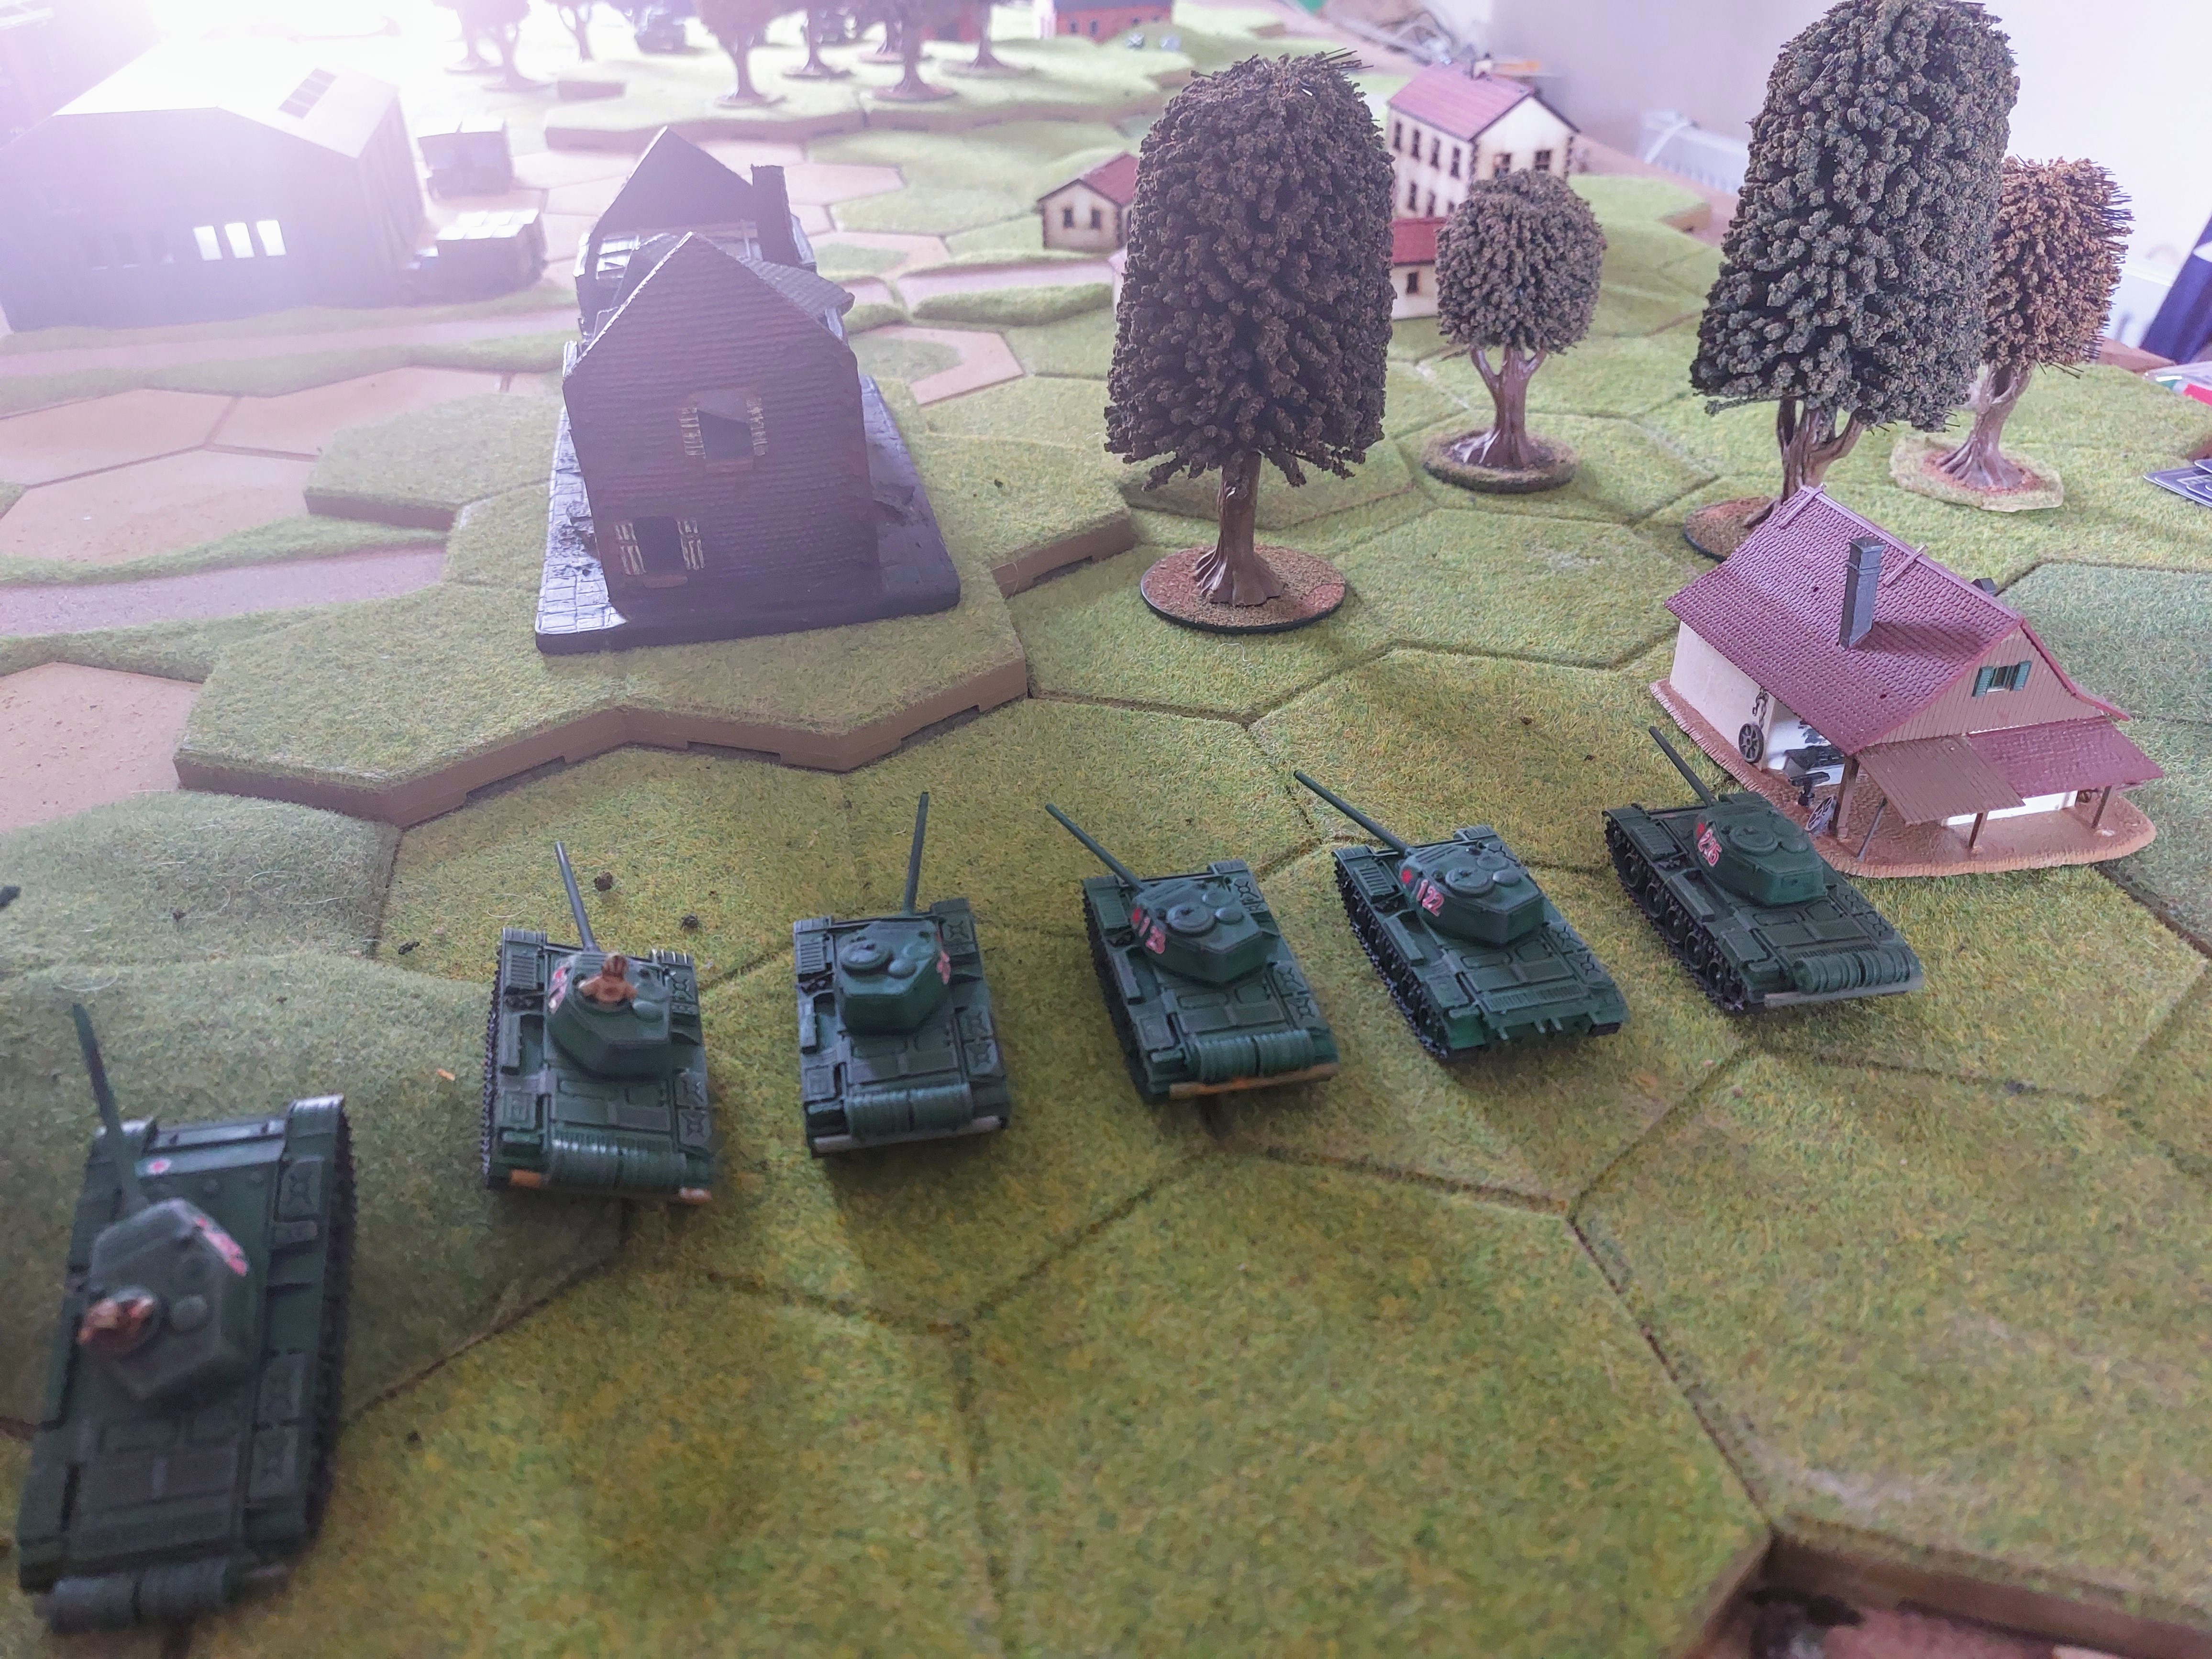
Anyway basically, initially Soviet Dice draws had 2x T54 units moving forward using cover to approach both objectives.
Then German dice meant that the units on the hill reserved dice for possible targets of opportunity.
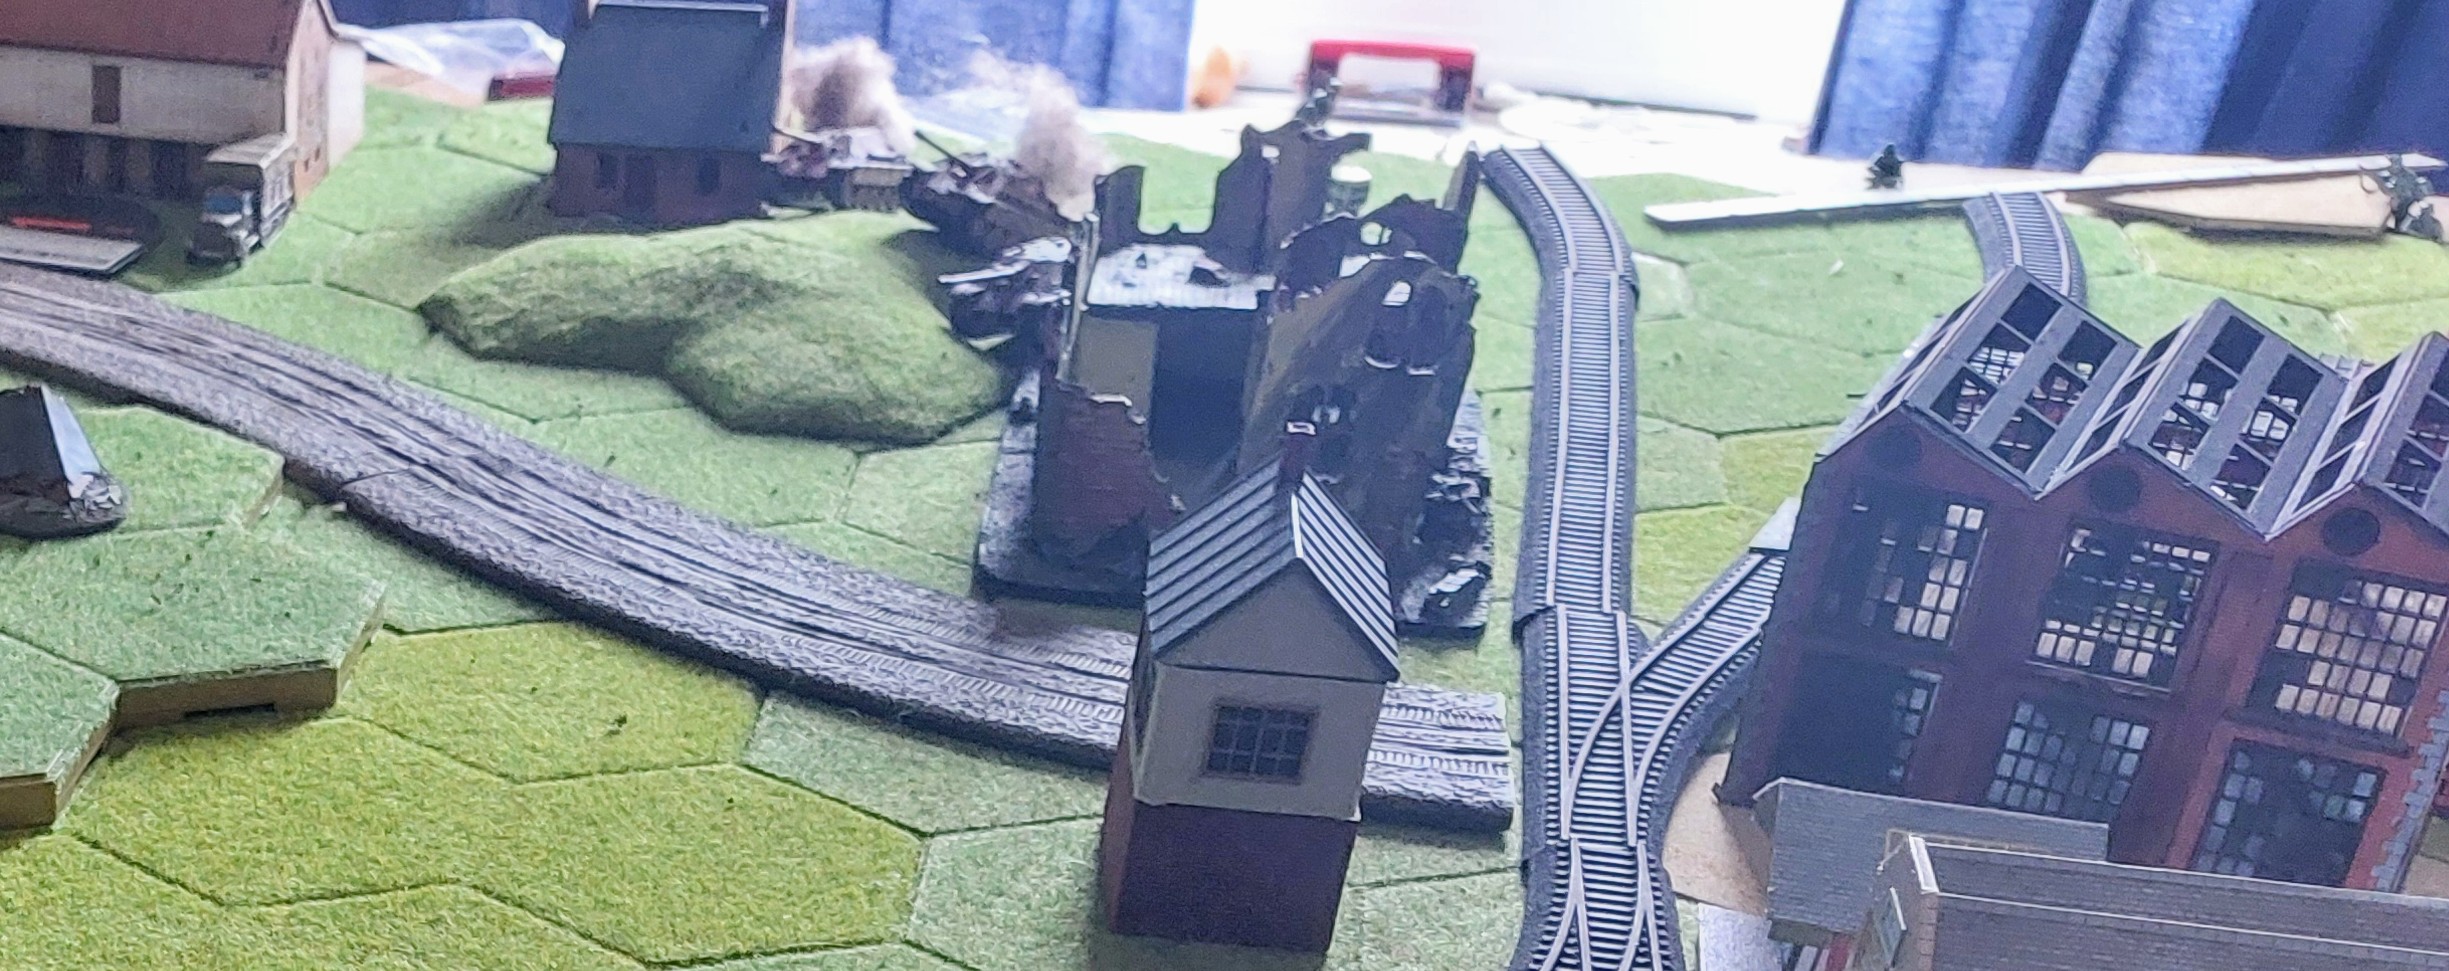
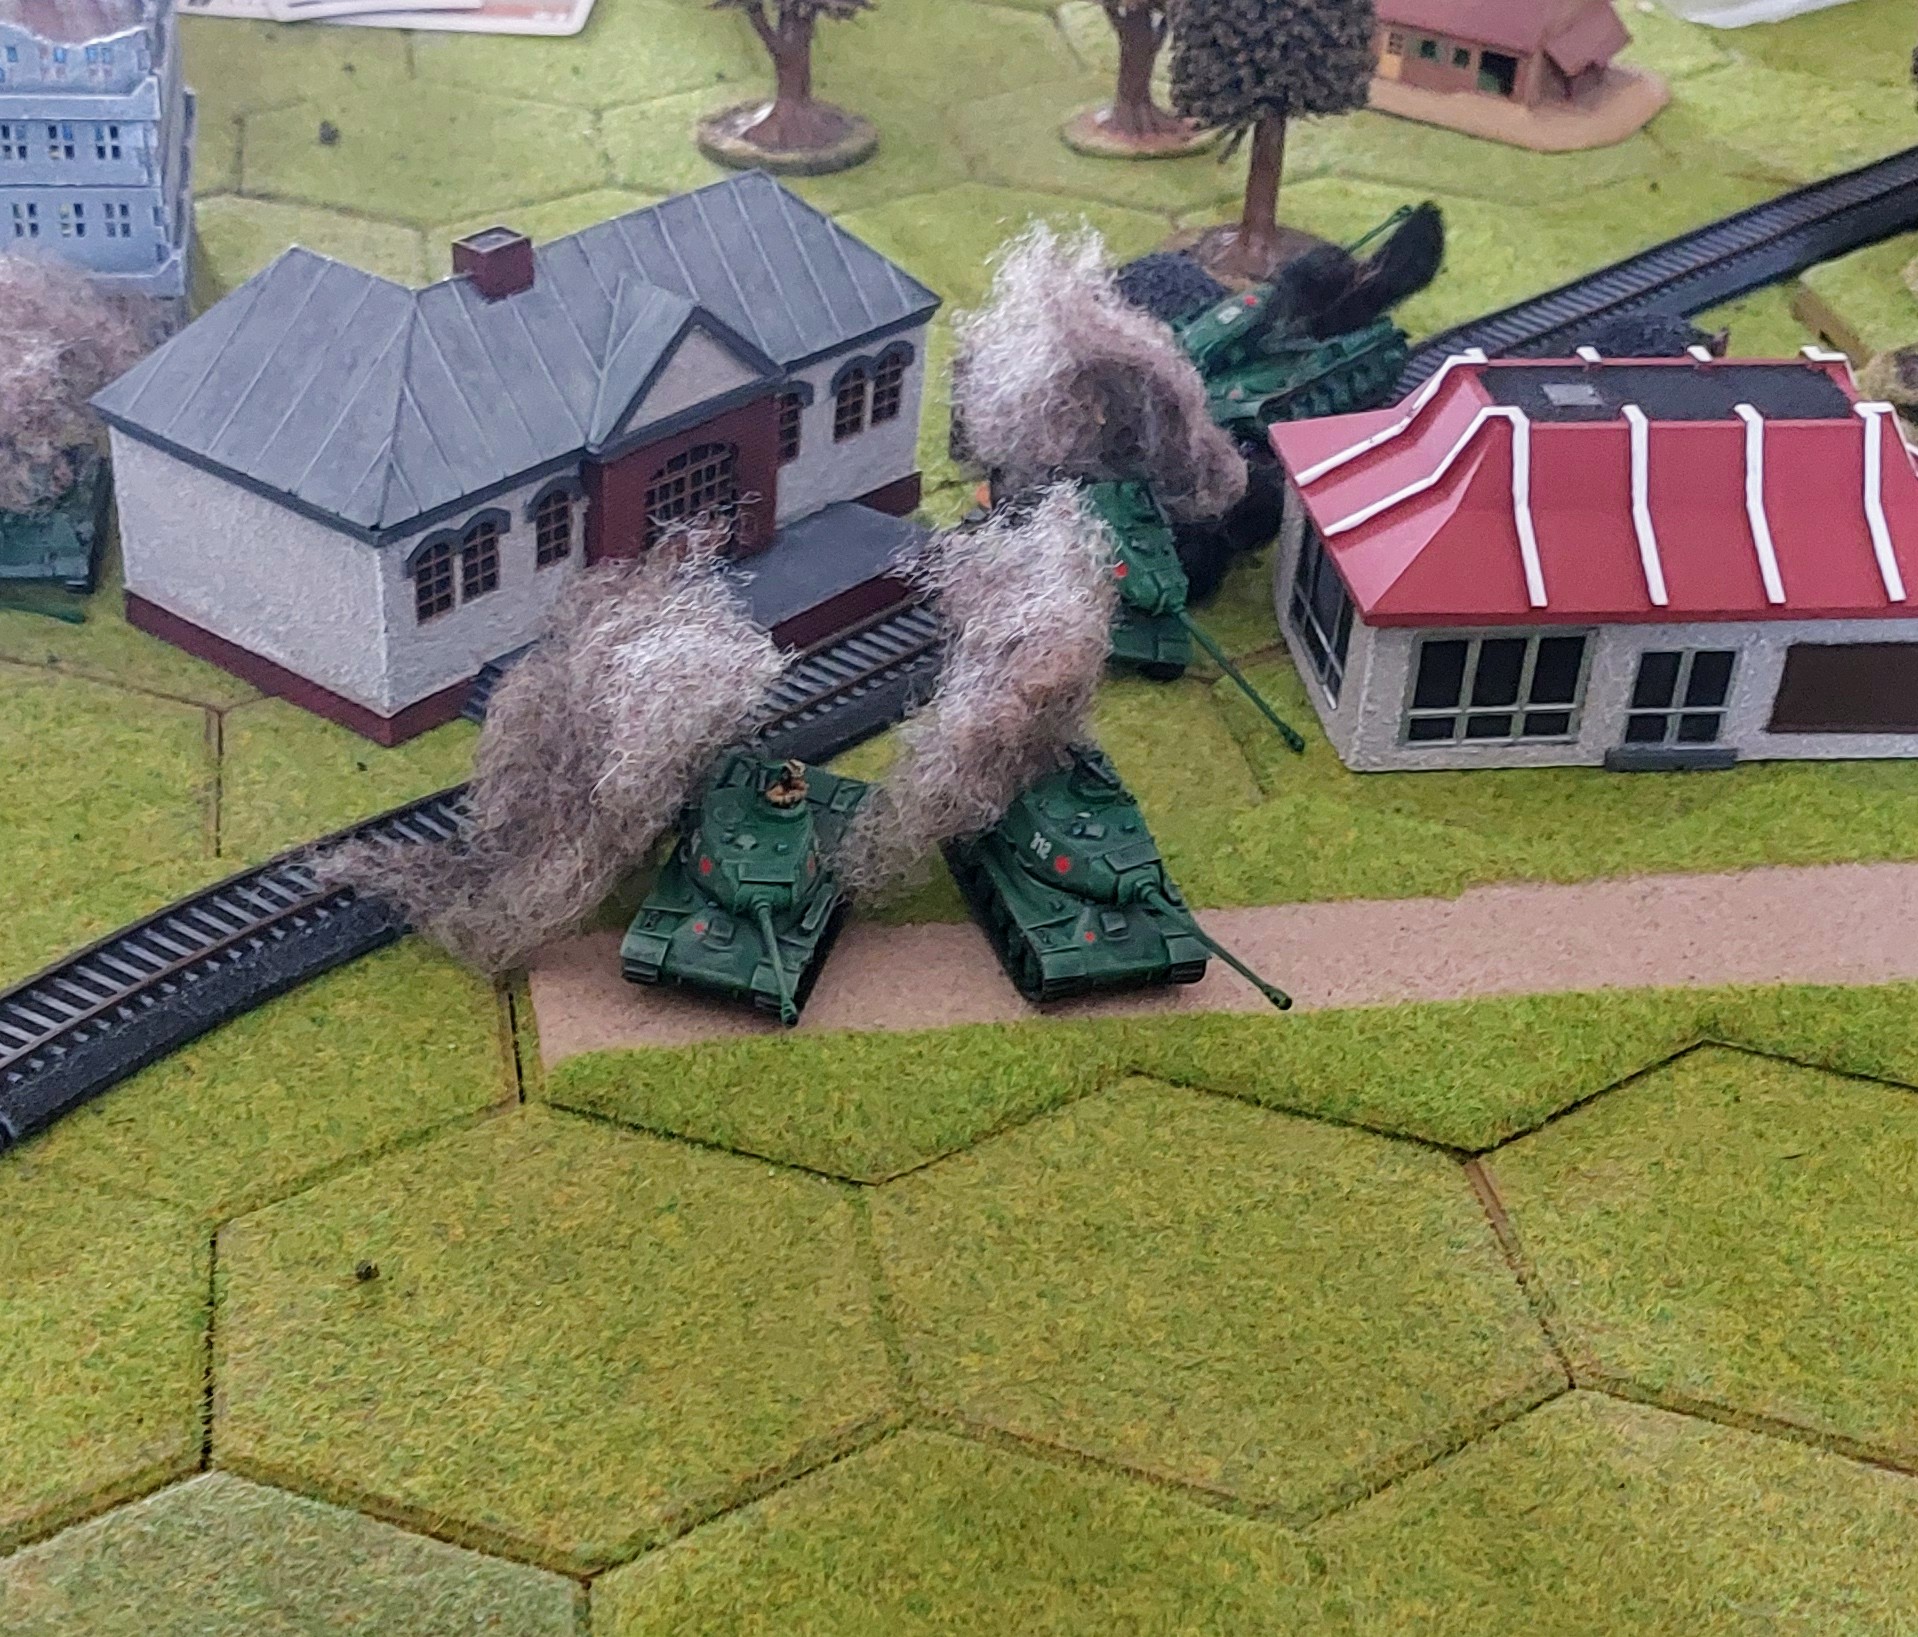
Still more German dice meant that both the Jagdpanthers and 75mm Panthers attempted to move on the objectives, the Former got a sight on the SU130’s and knocked out oneand bailed another.
I did then pull a red dice and neatly knocked out 2x Jagdpanthers , until as writing this forgot to check range and now realise the shels fell 2″ short!
With all the German dice gone the Soviets made a General advance, losing one SU100 to a hit from the German Command unit.
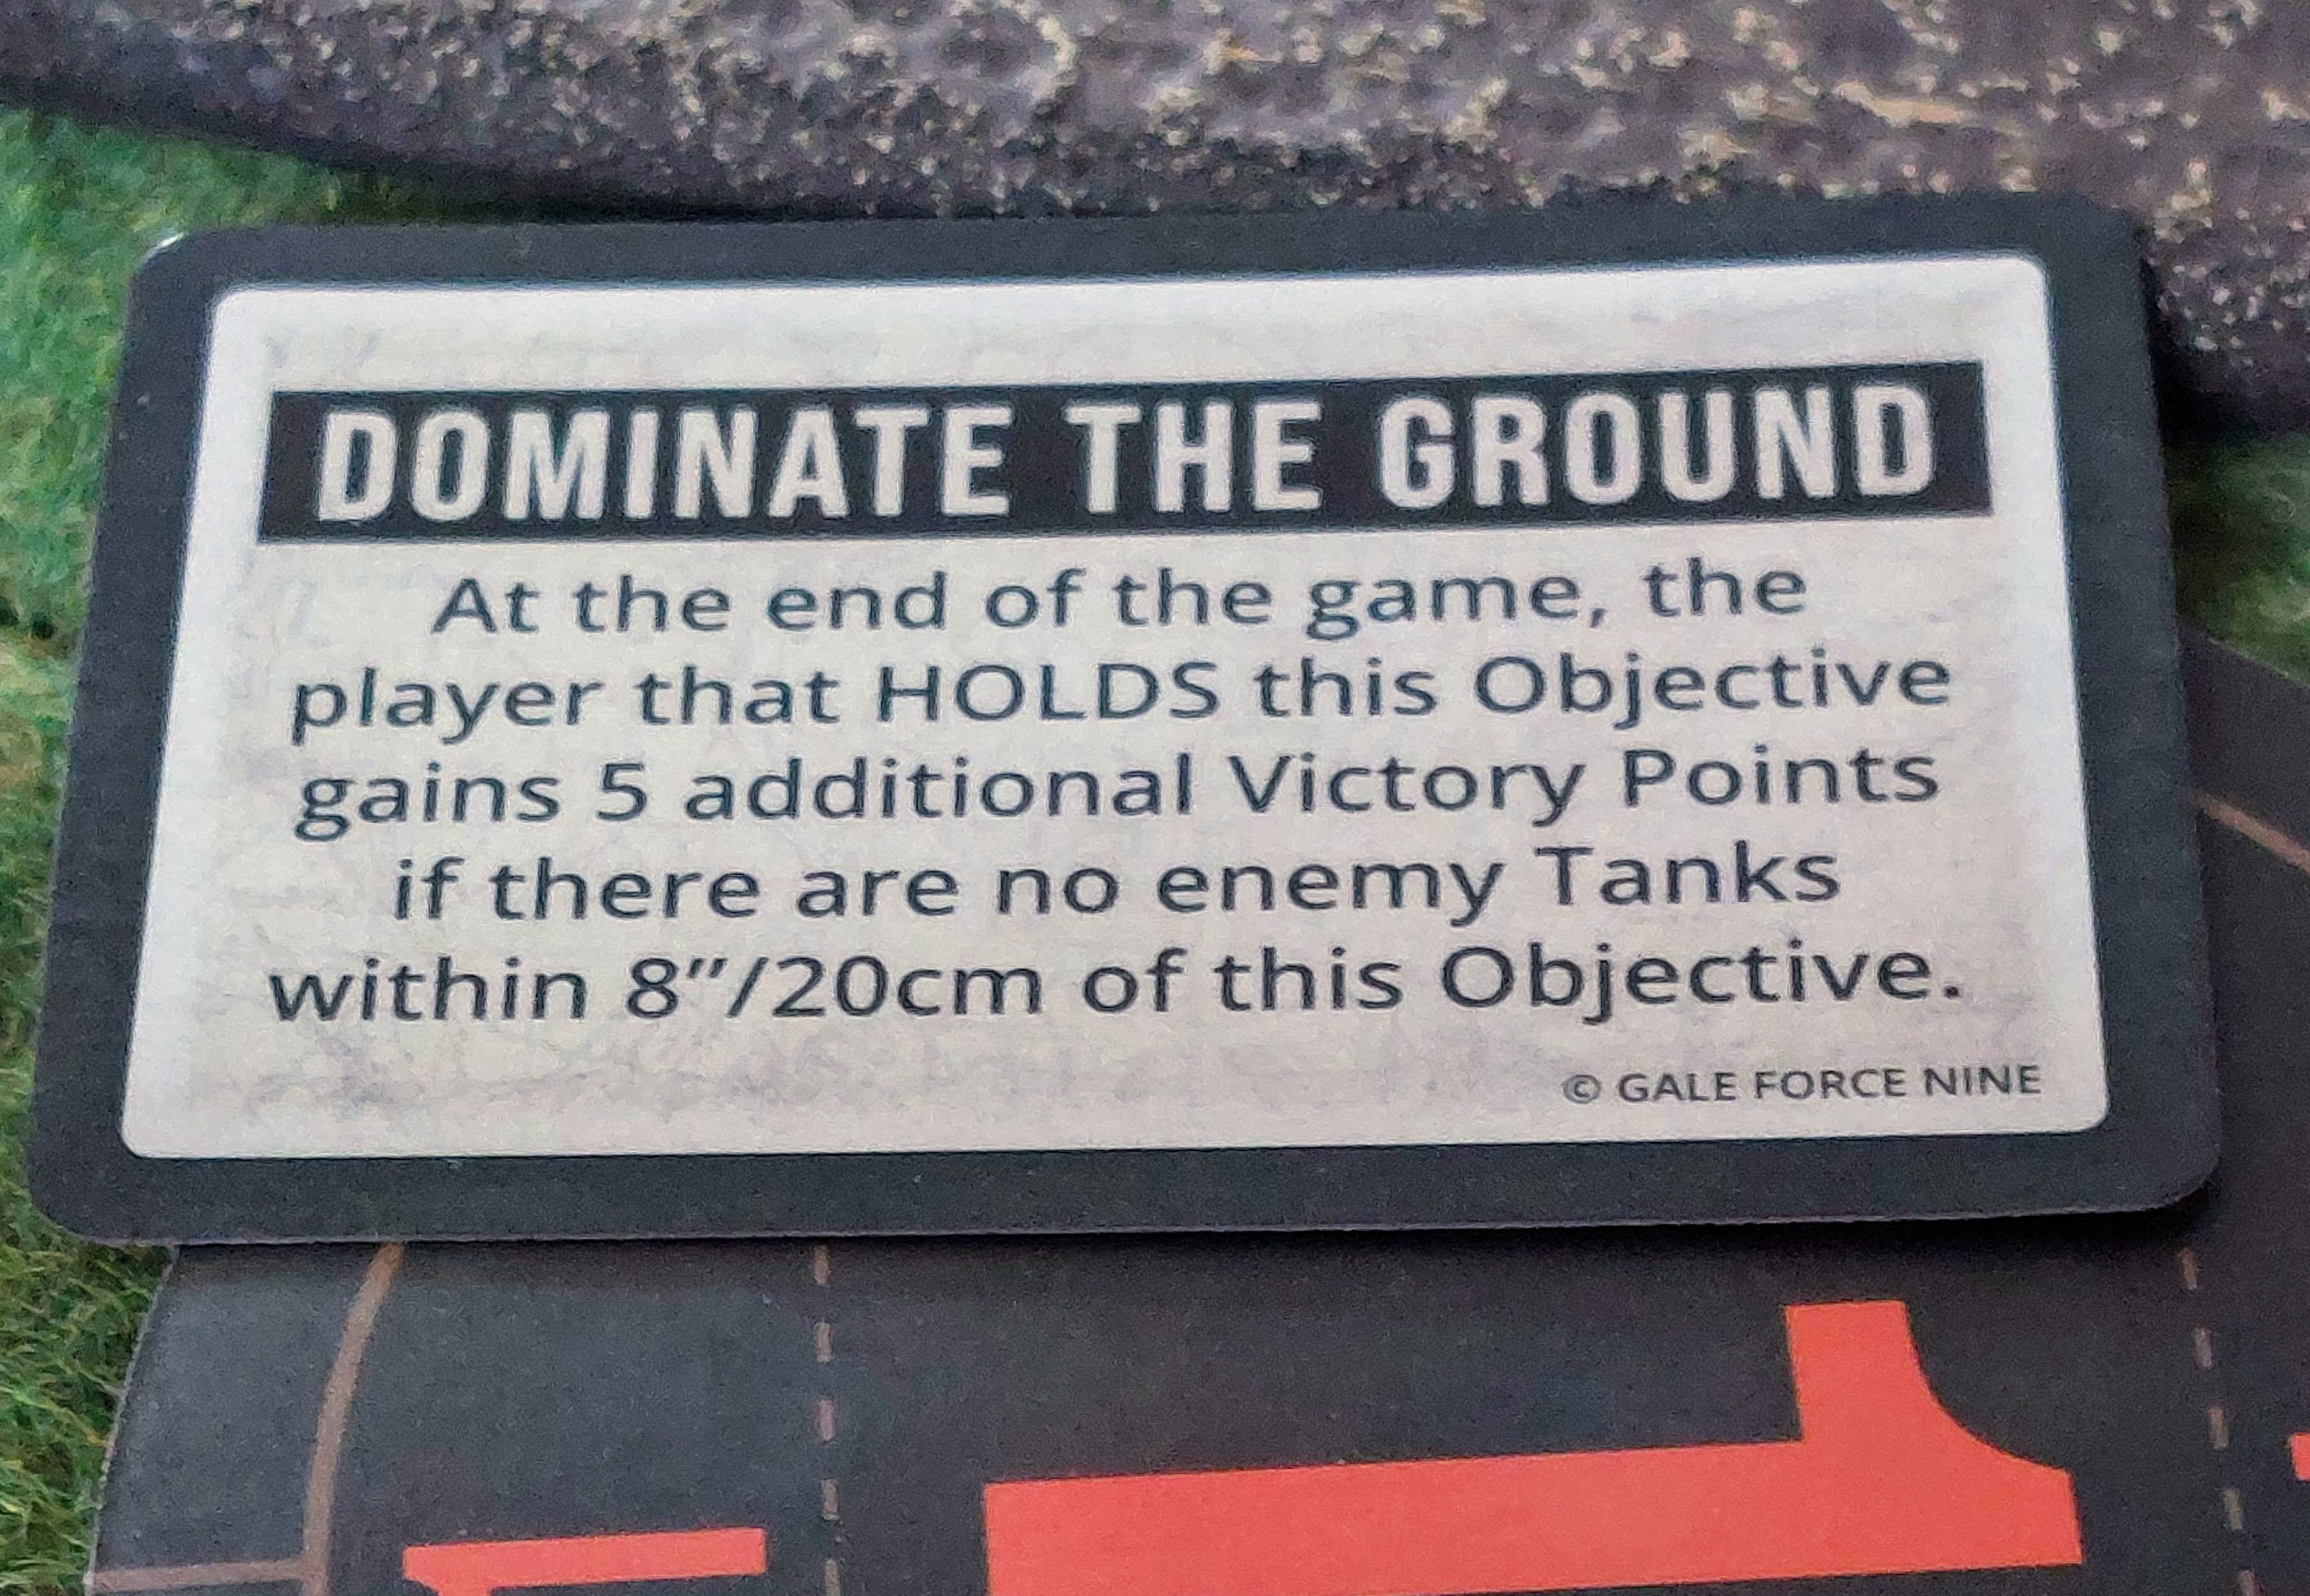
So Soviets 2 vehicles knocked out but 3 pts for objective 2, which they safely hold!
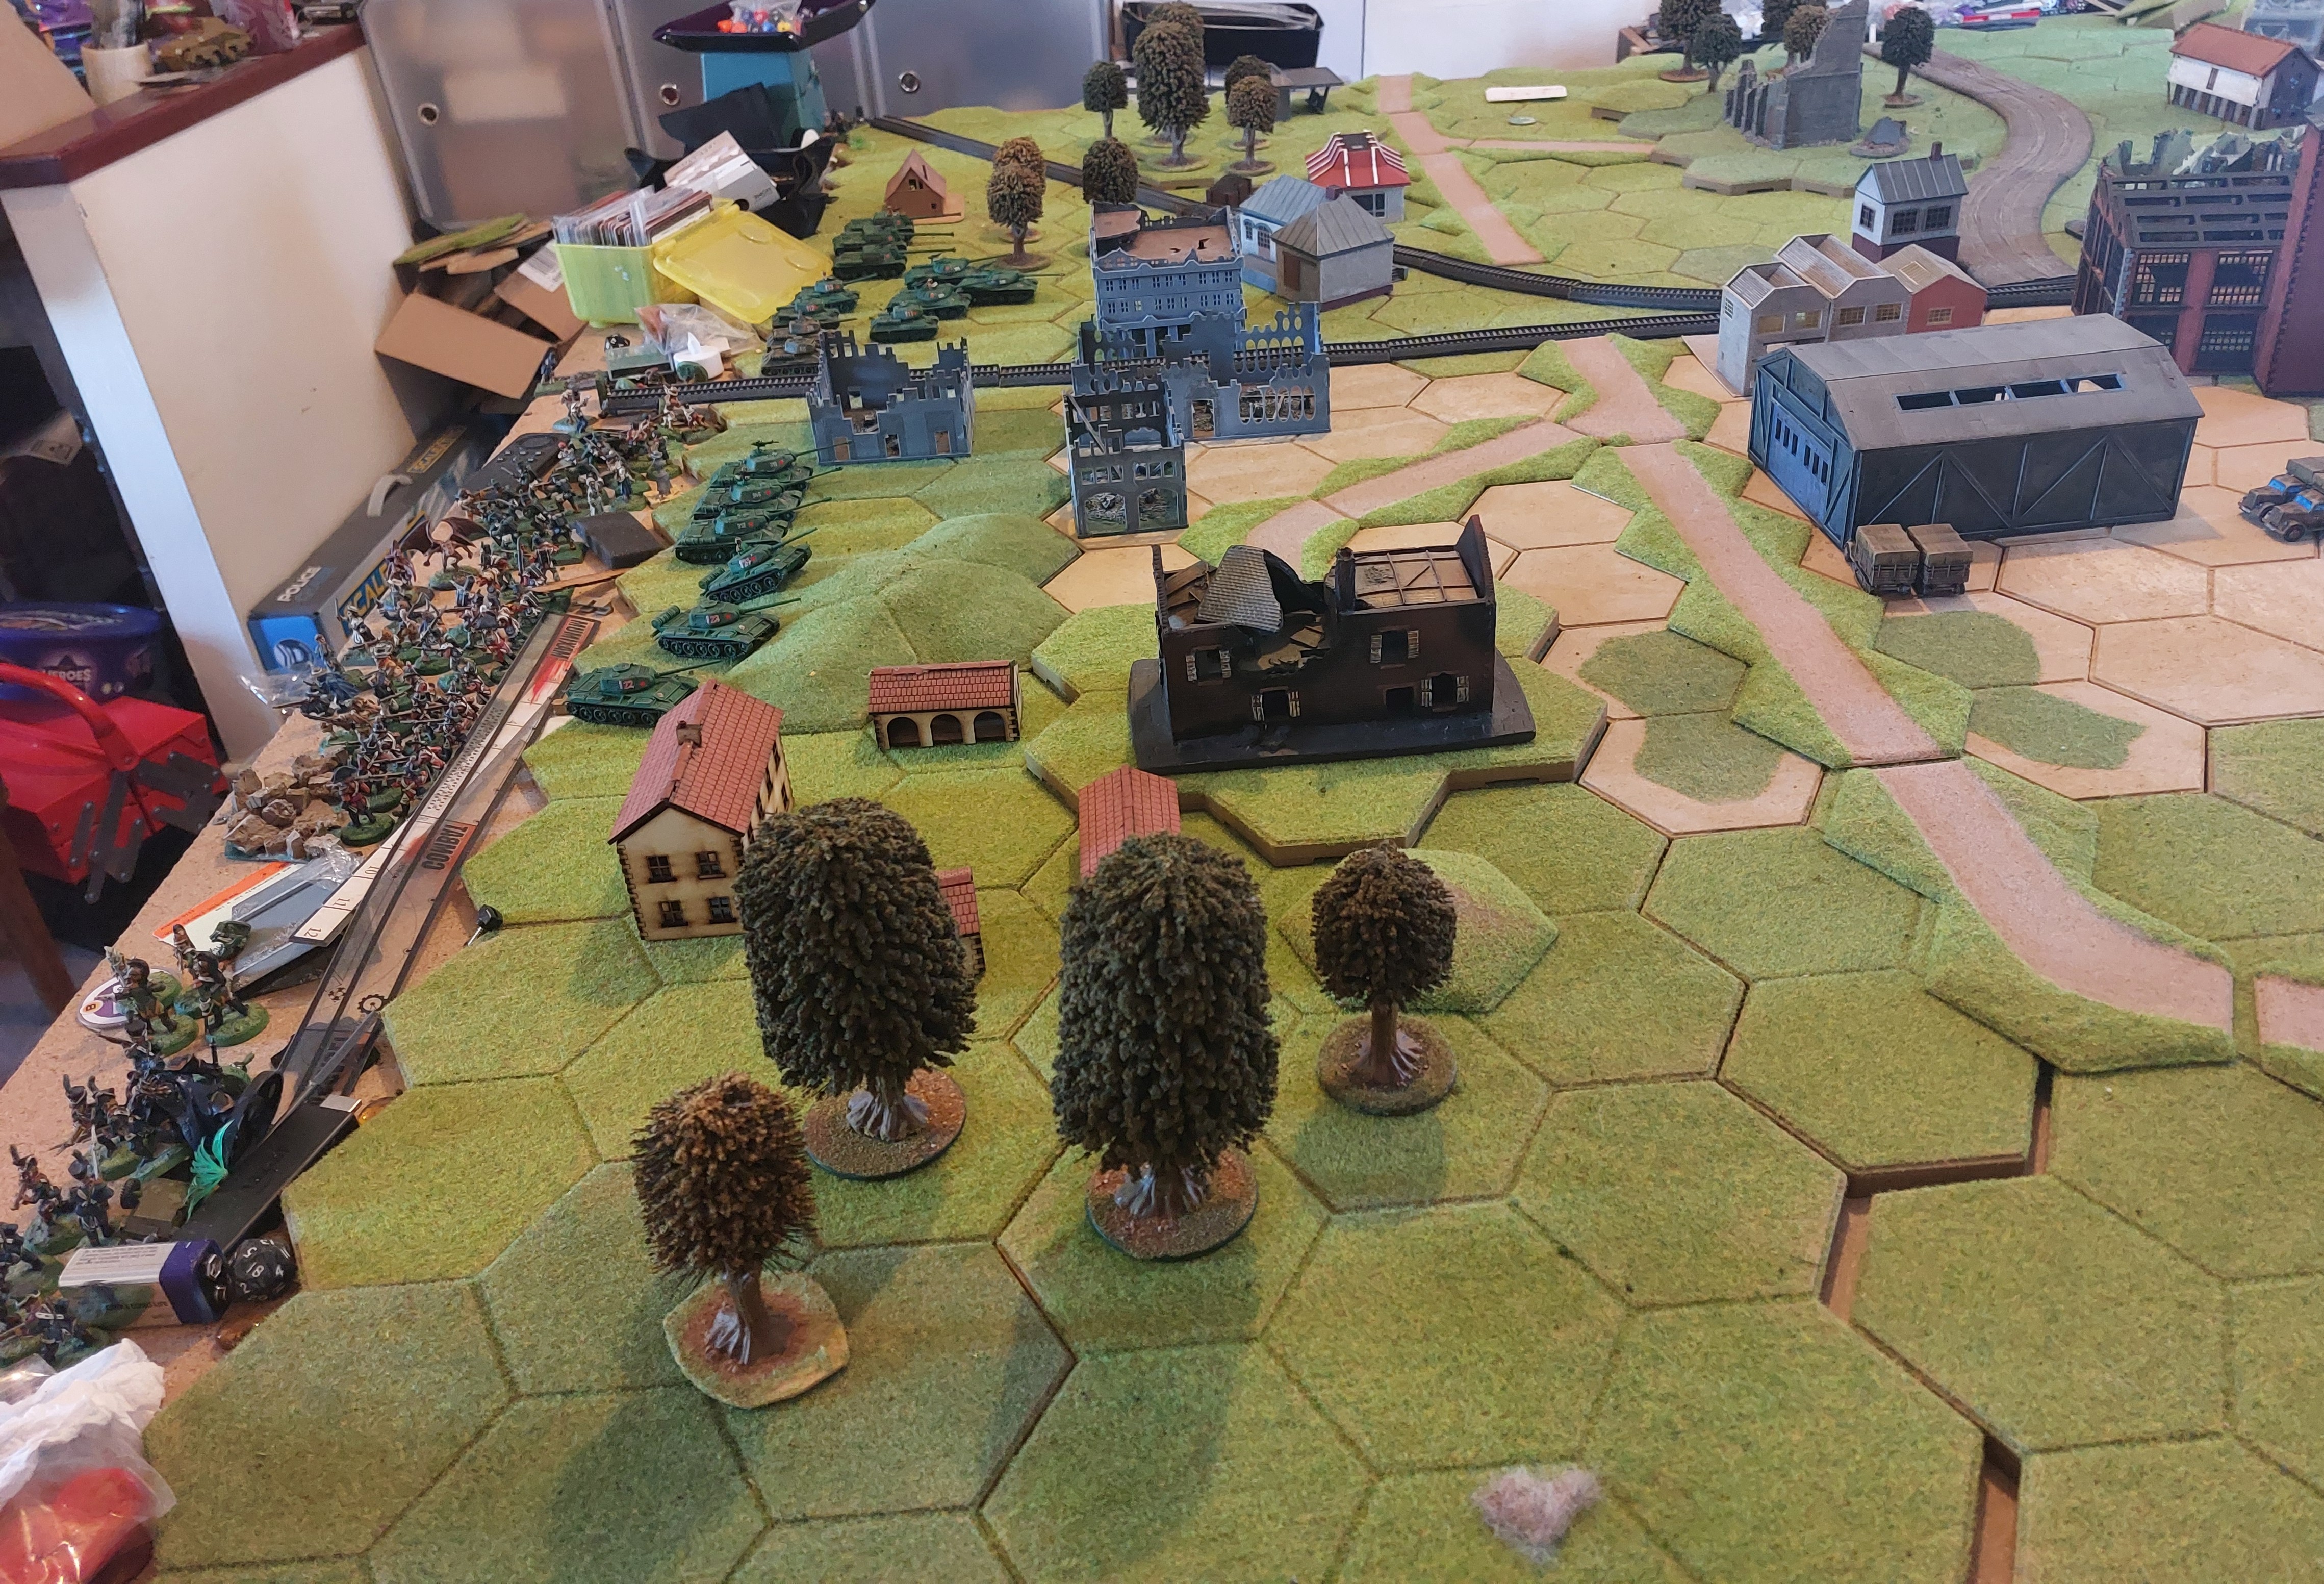
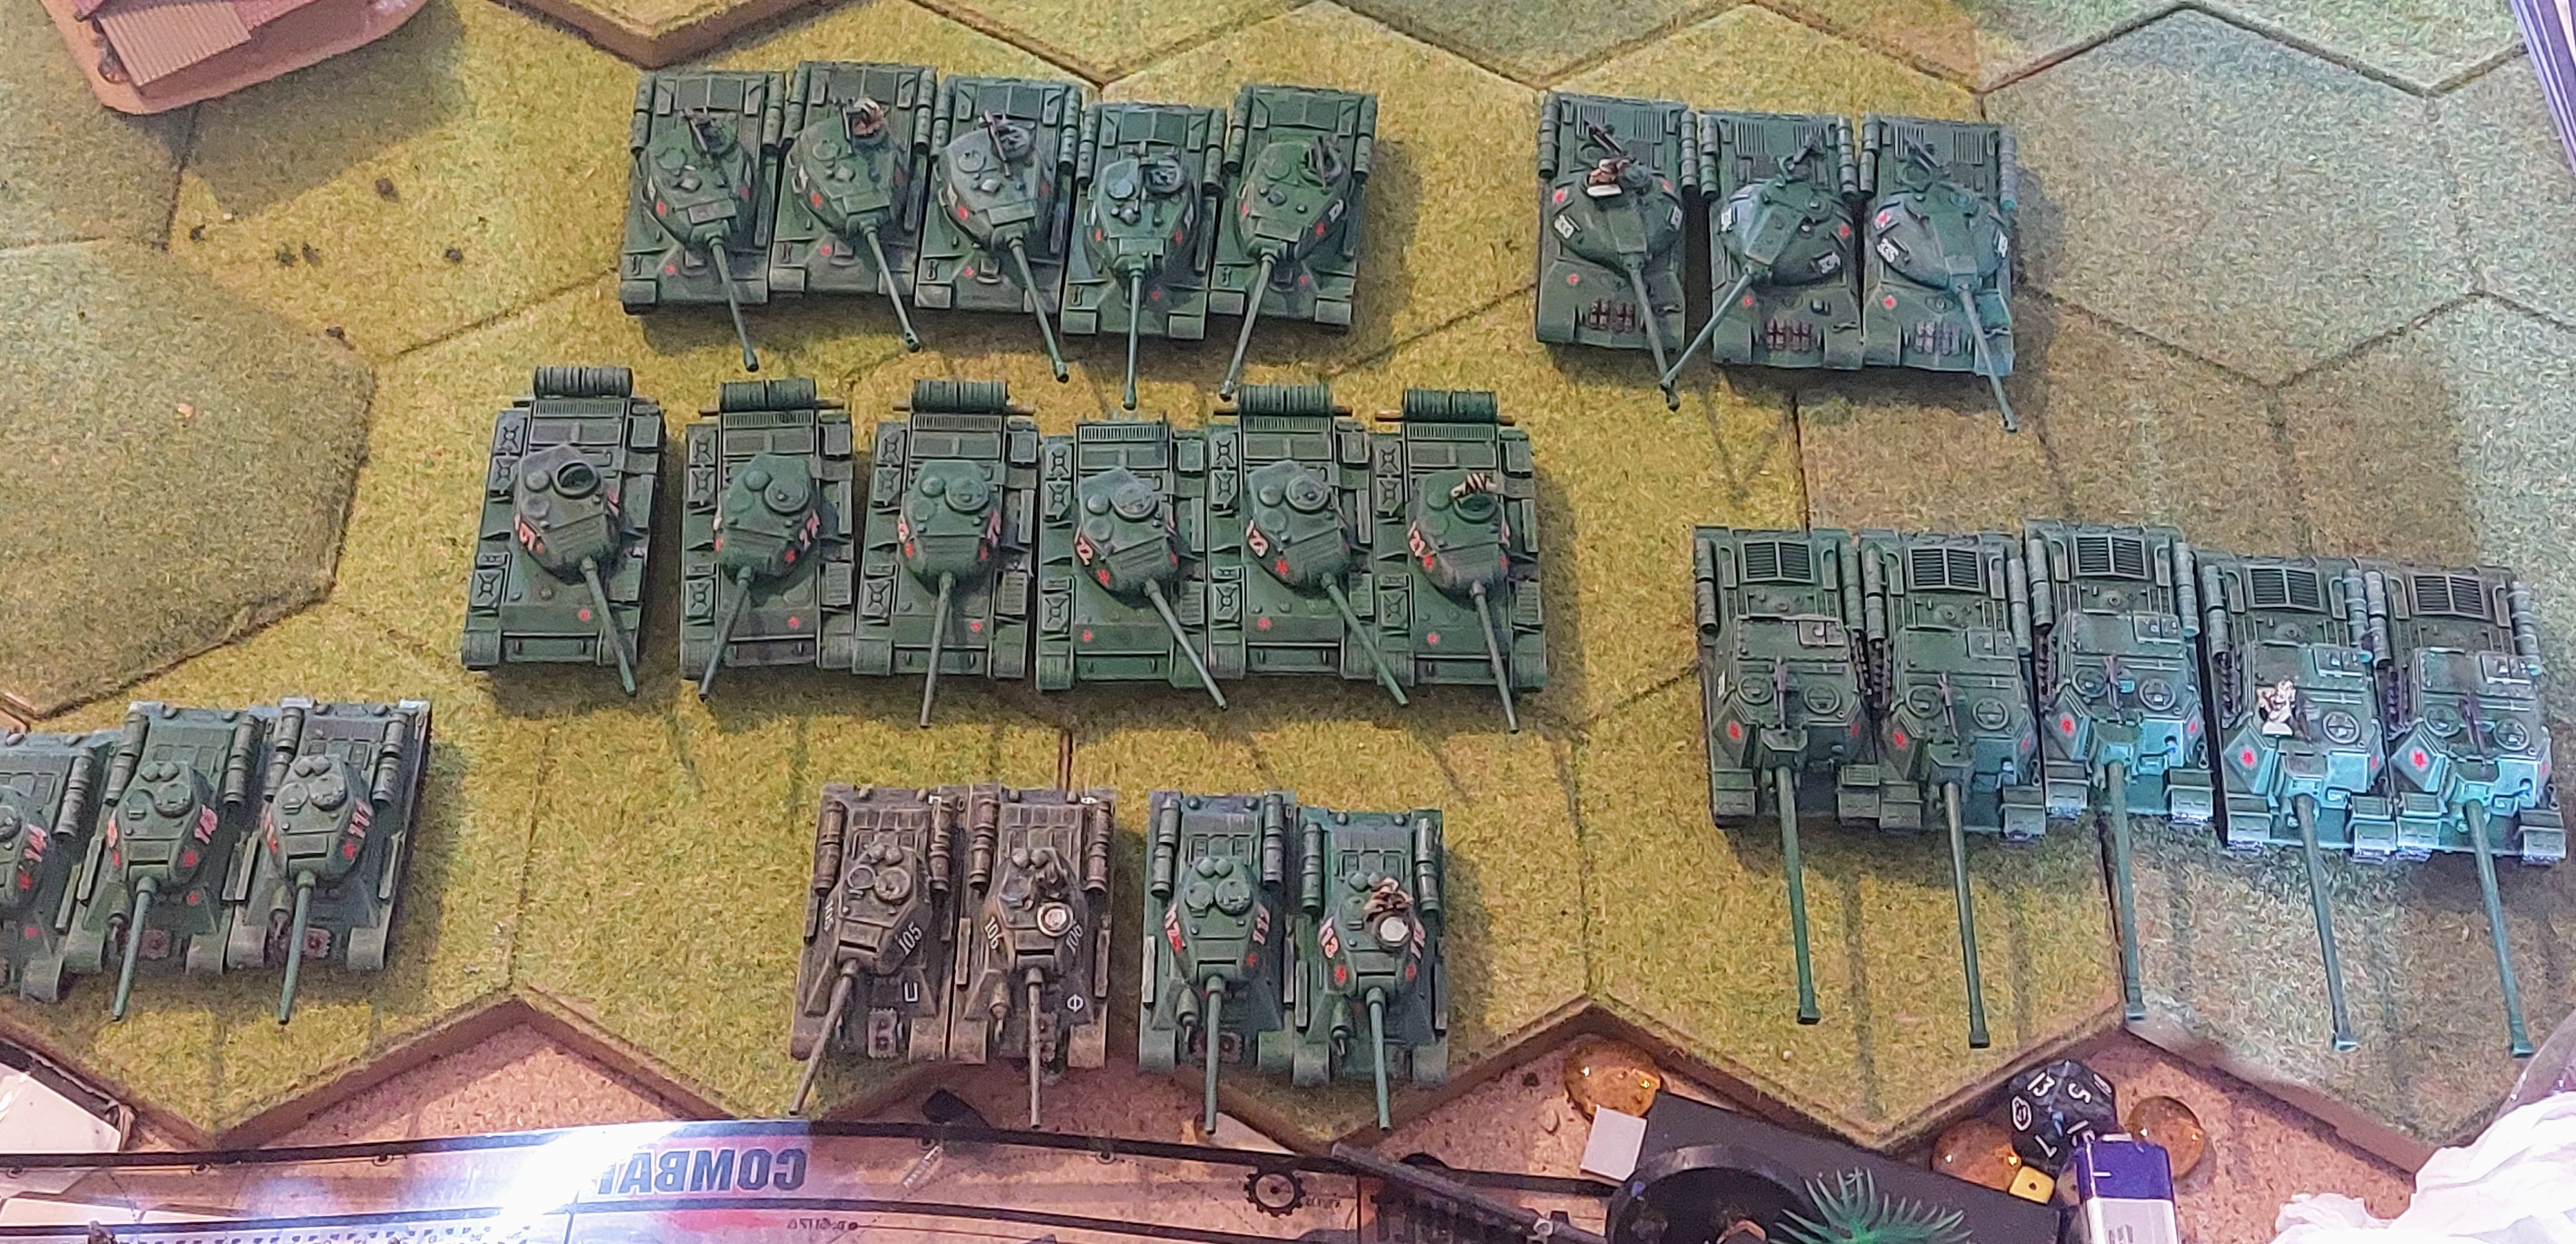
Deployment last bits!
Then the final German dice was drawn. As with the T54″s they were placed I the farm buildings on their left flank, enabling them to fire on objective 2, and to act as mobile unit to seize it as necessary.
Leaving only Soviet Units to deploy, they were place as per the battleplan ready to move off to take objective 2.
As I’m writing this up I already see a drawback to German plan as I have a side view of table and can see objective 2, sitting on the hill top… which means a Soviet Unit can hold it with out exposing themselves to incoming fire.
Finally as if to prove my point I revealed objective 1 for move 1!
Deployment!
Before I turned over turn 1’s objective card, I decided to do deployment, using the Bolt Action style chits in a bag to make it as fair as possible, but on the whole trying to stick to battleplan for each side.
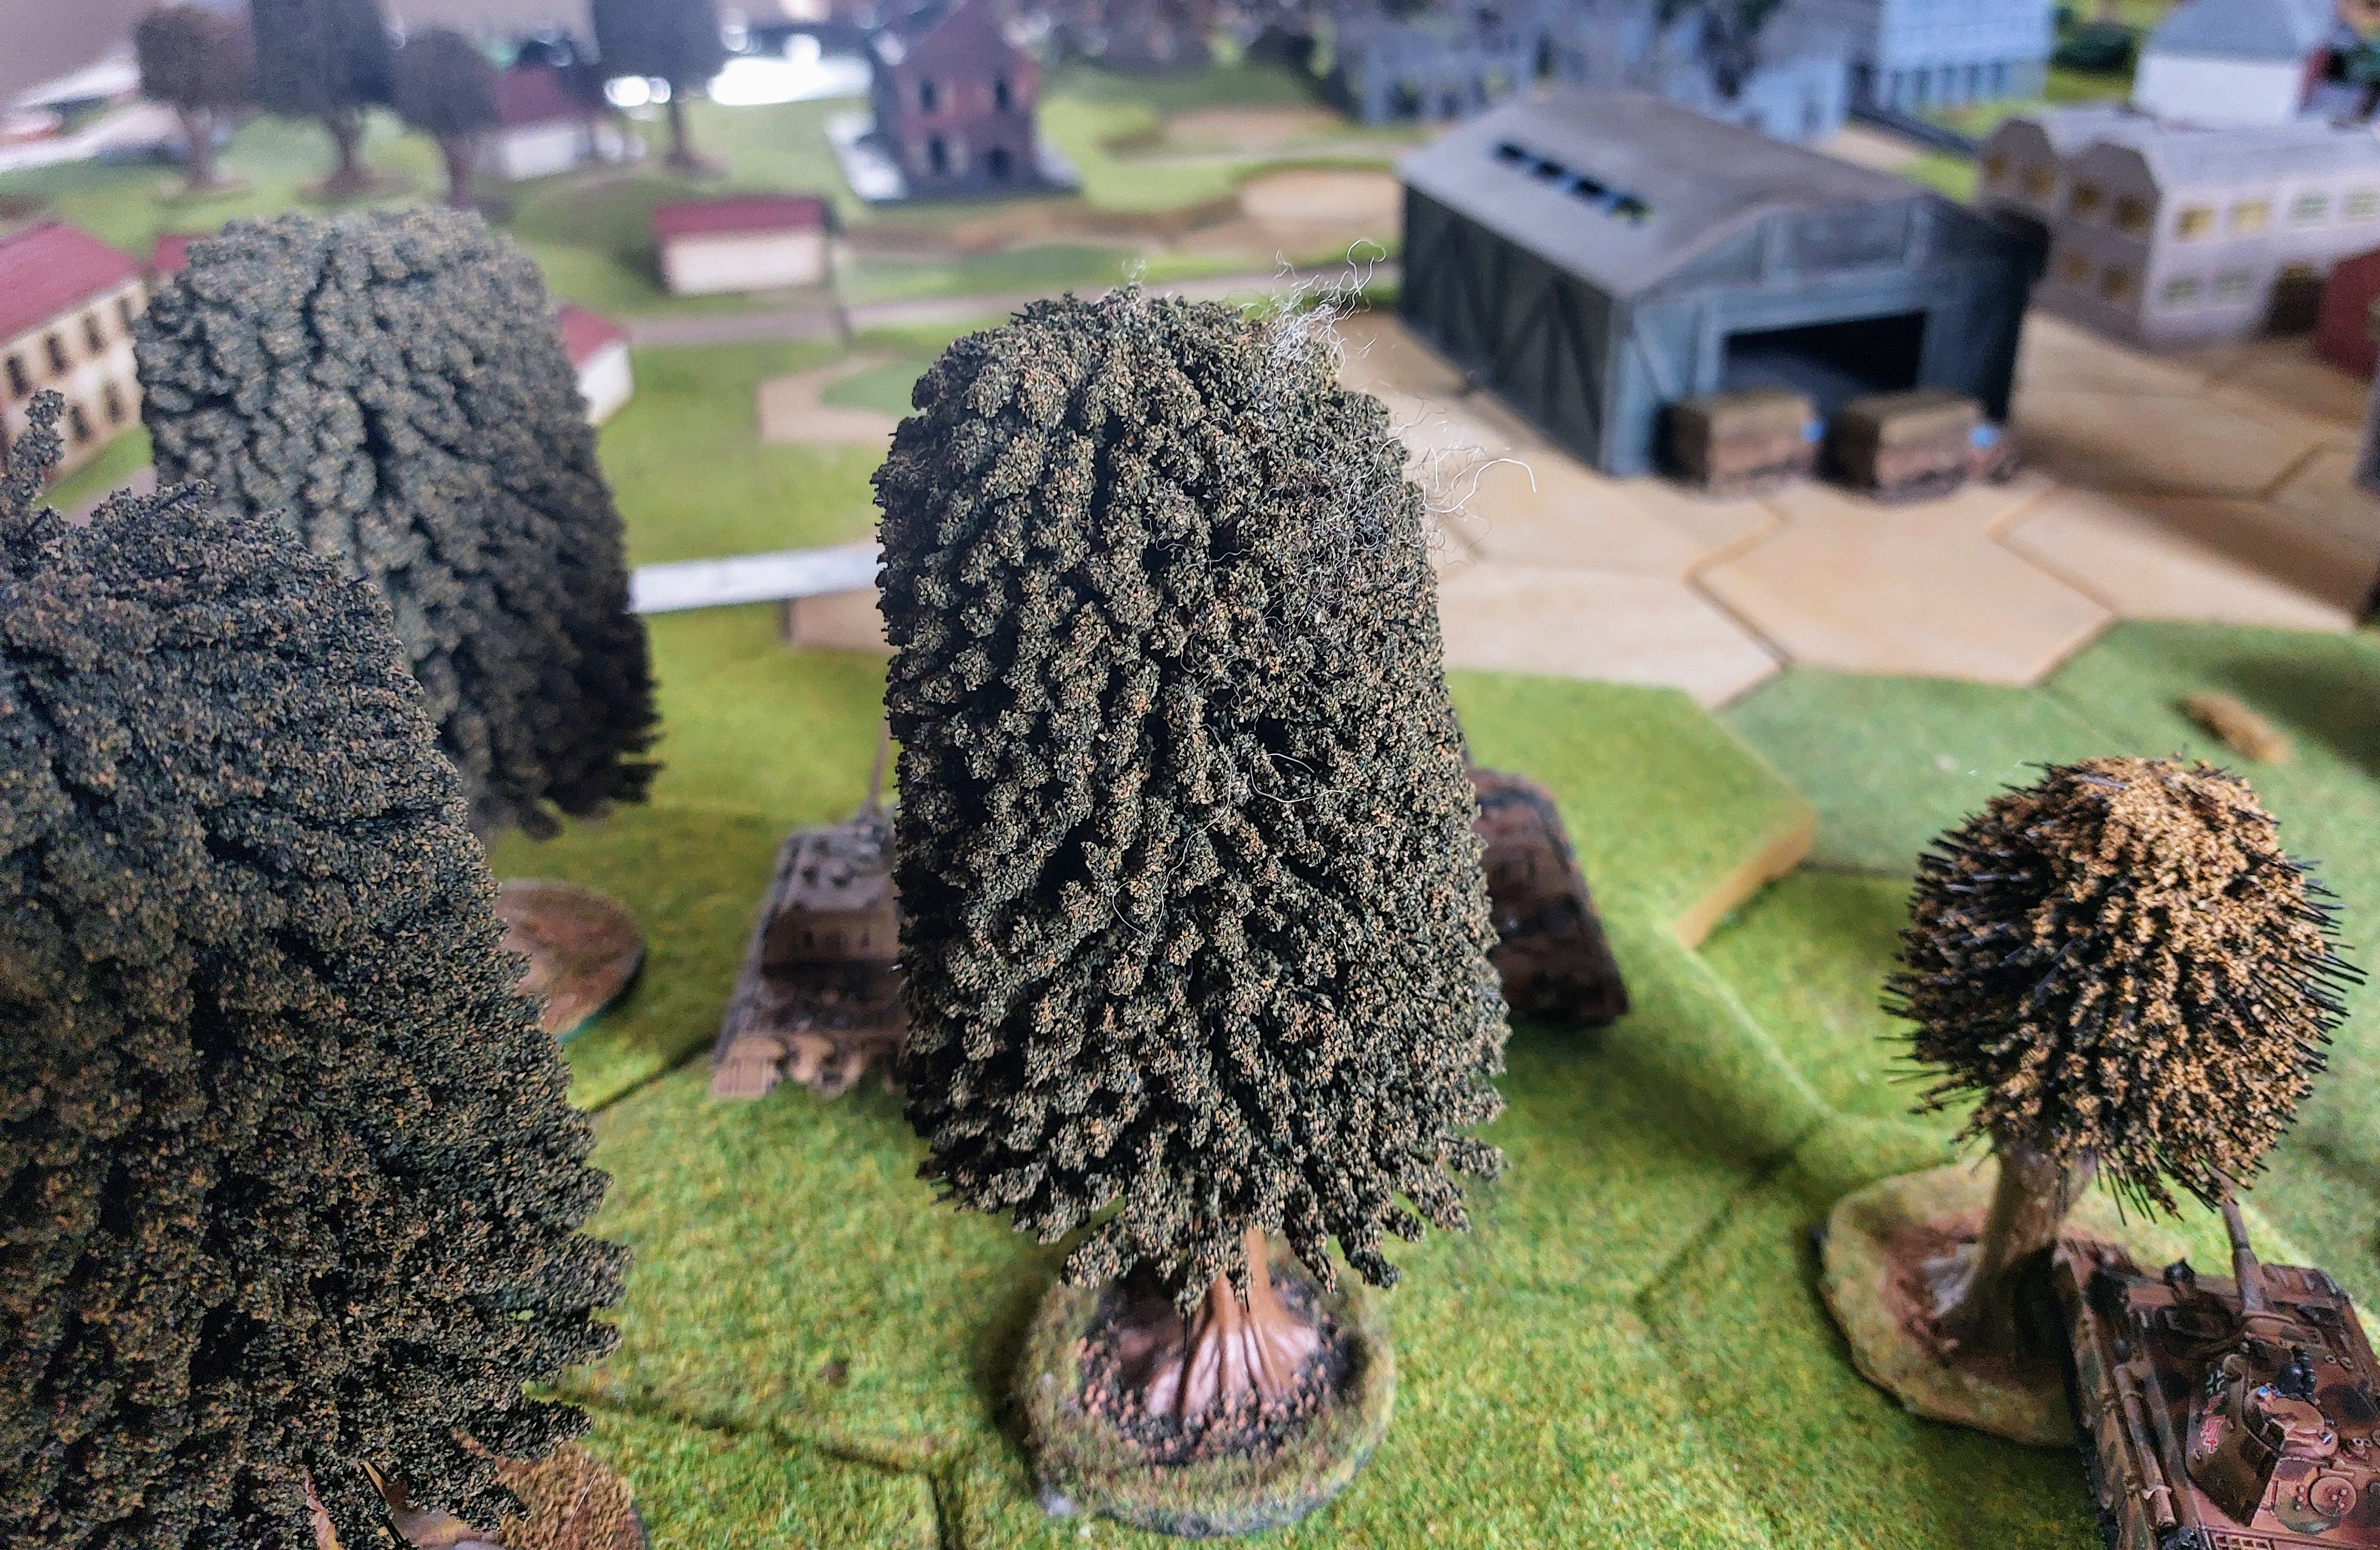
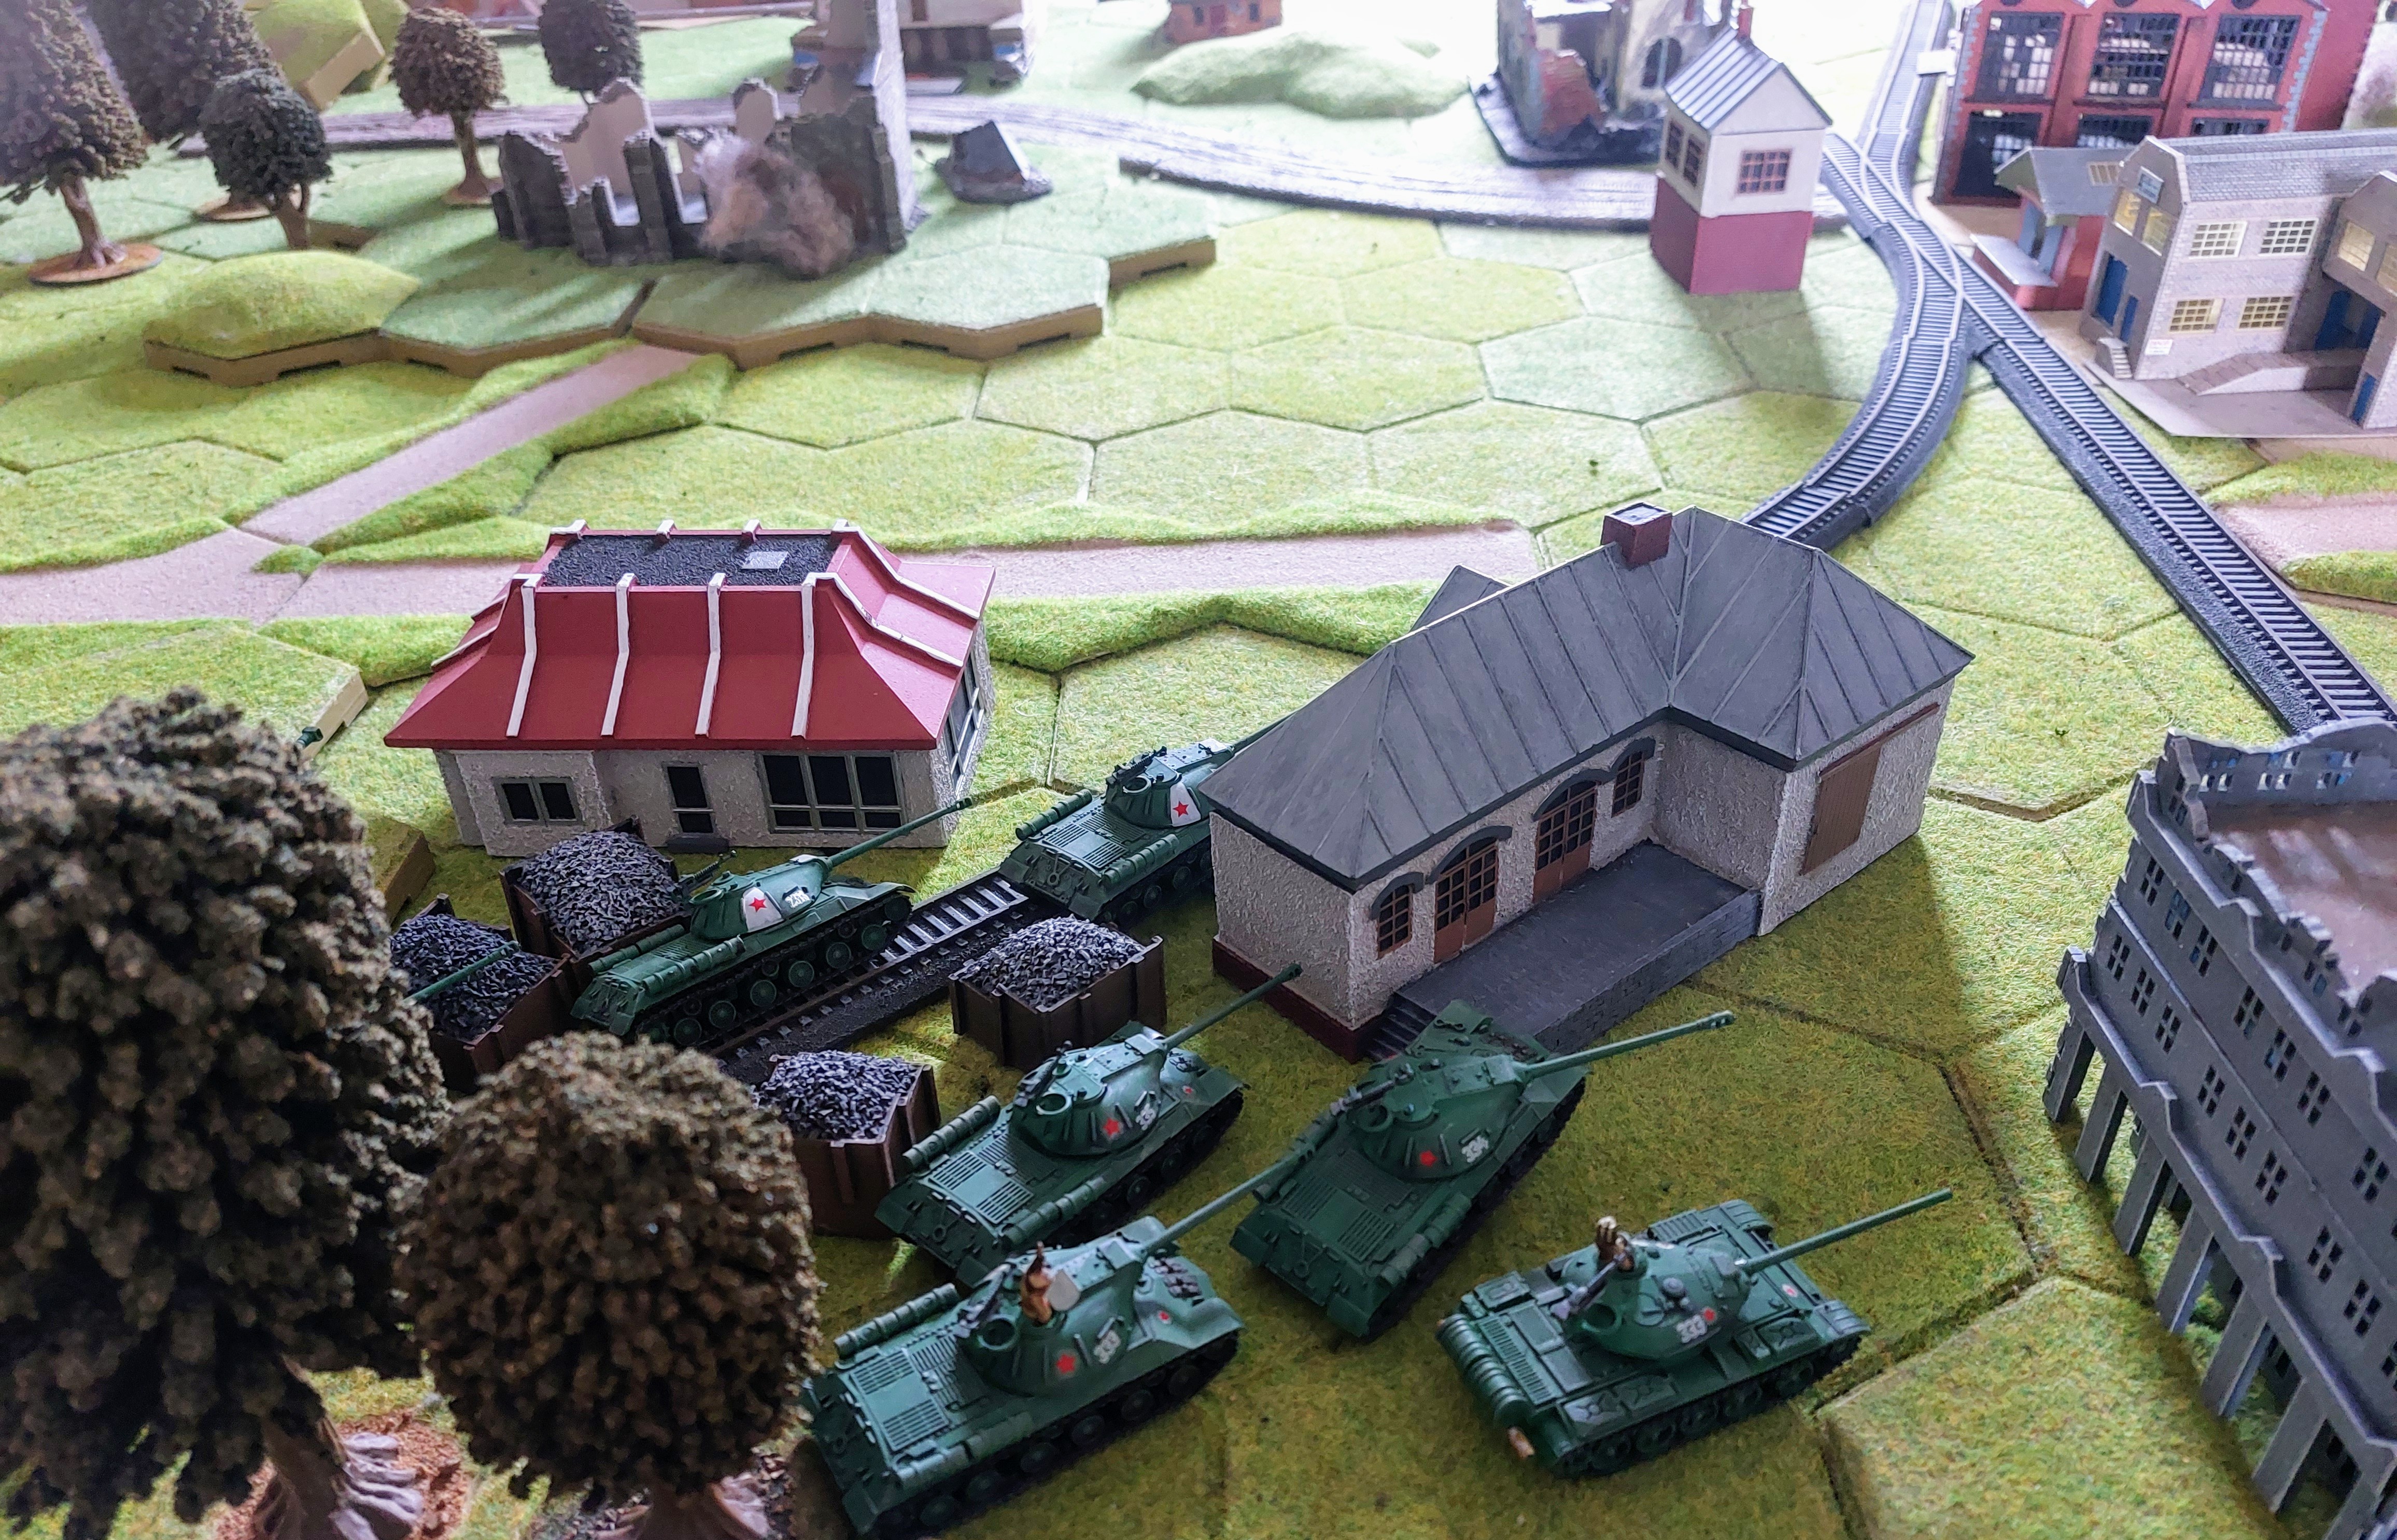
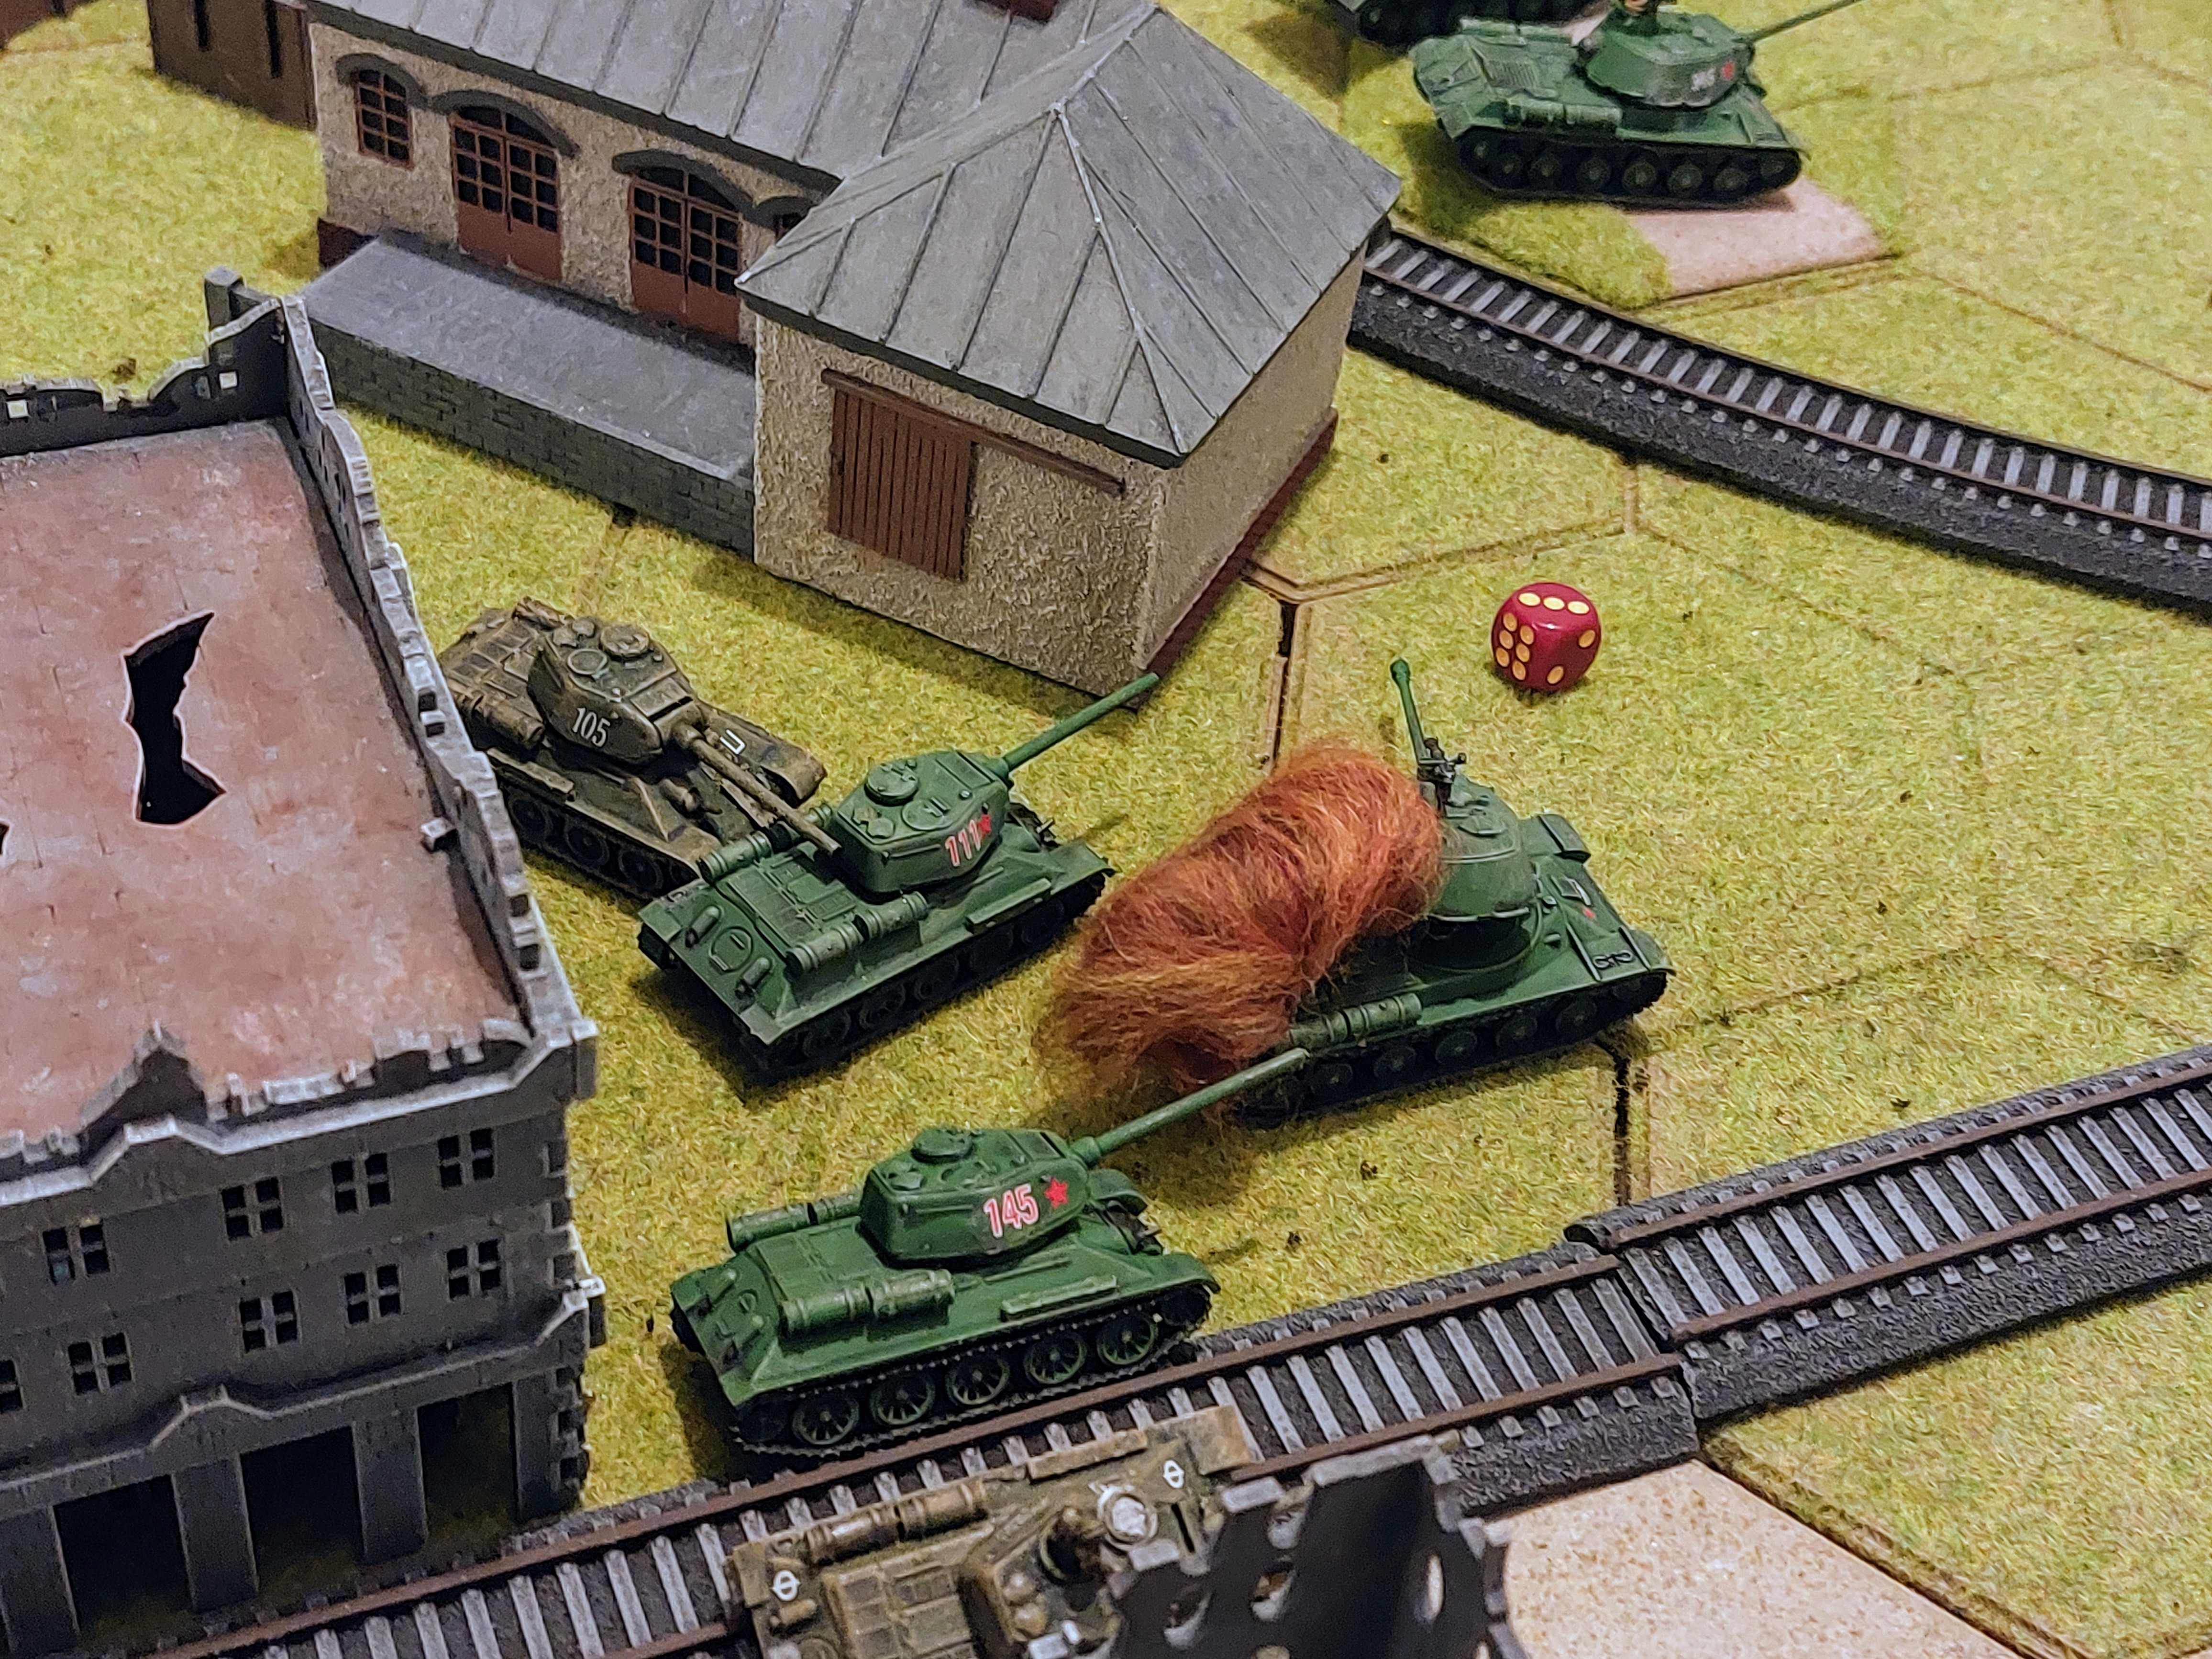
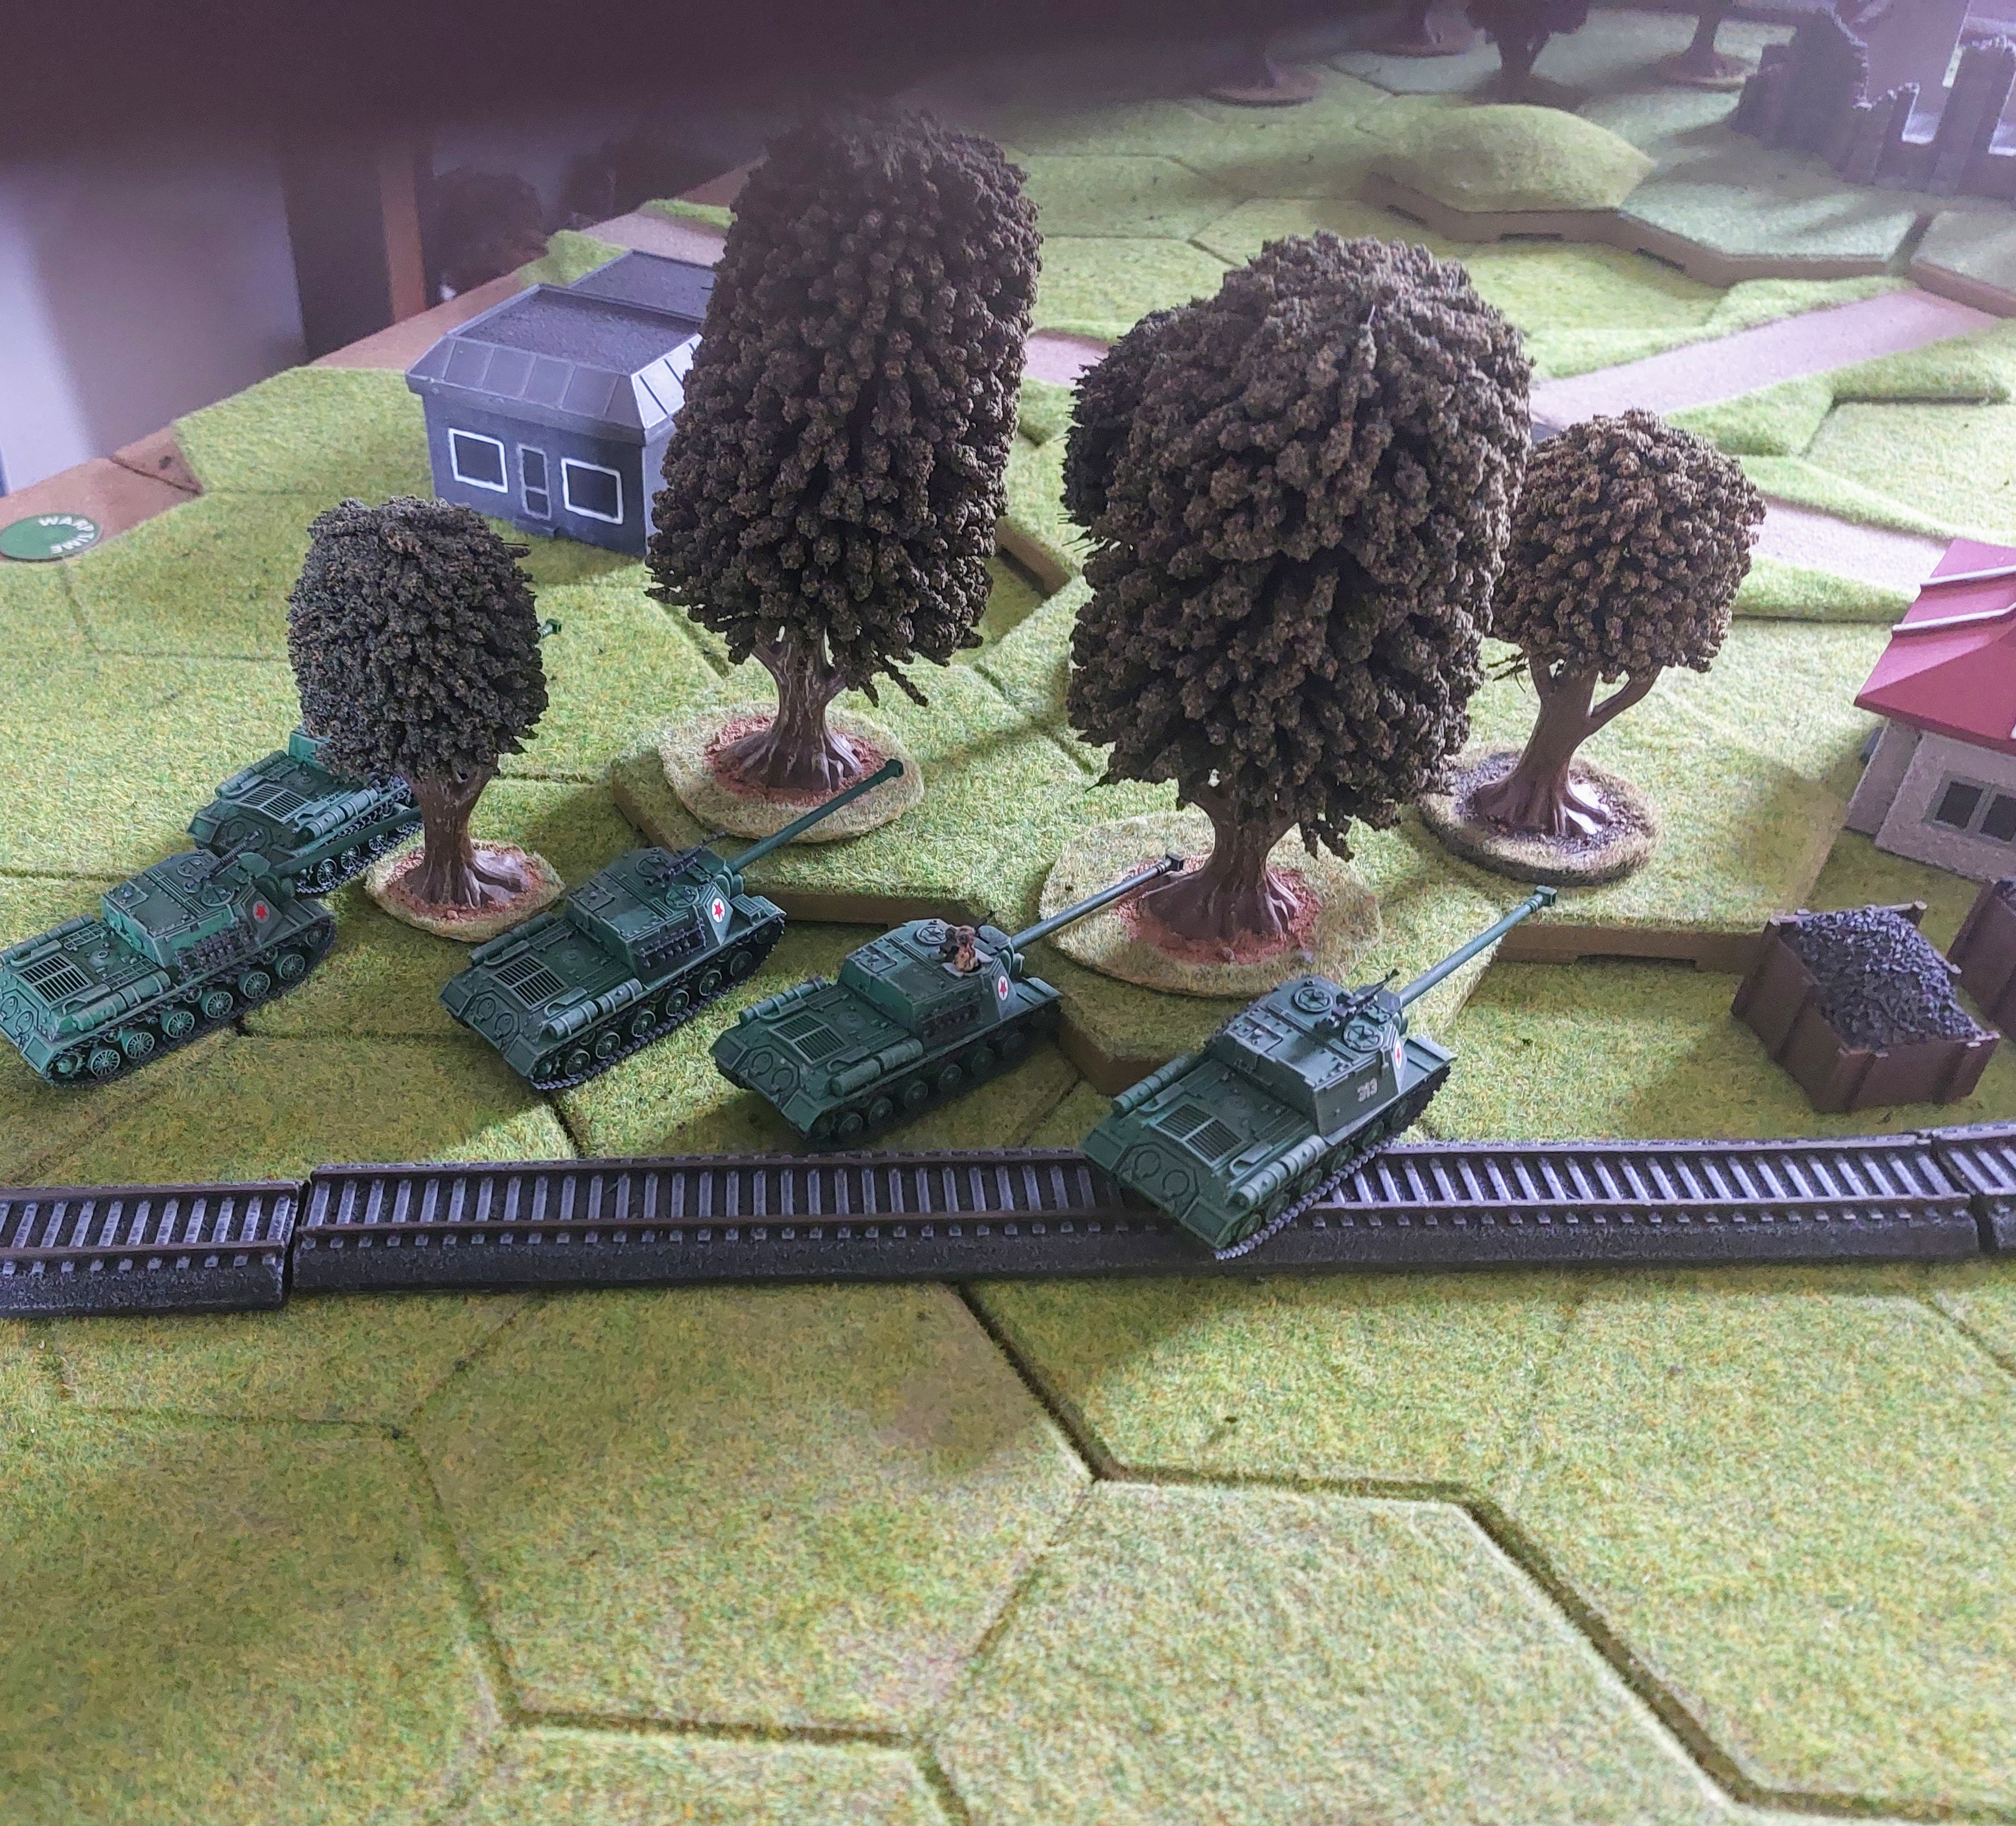
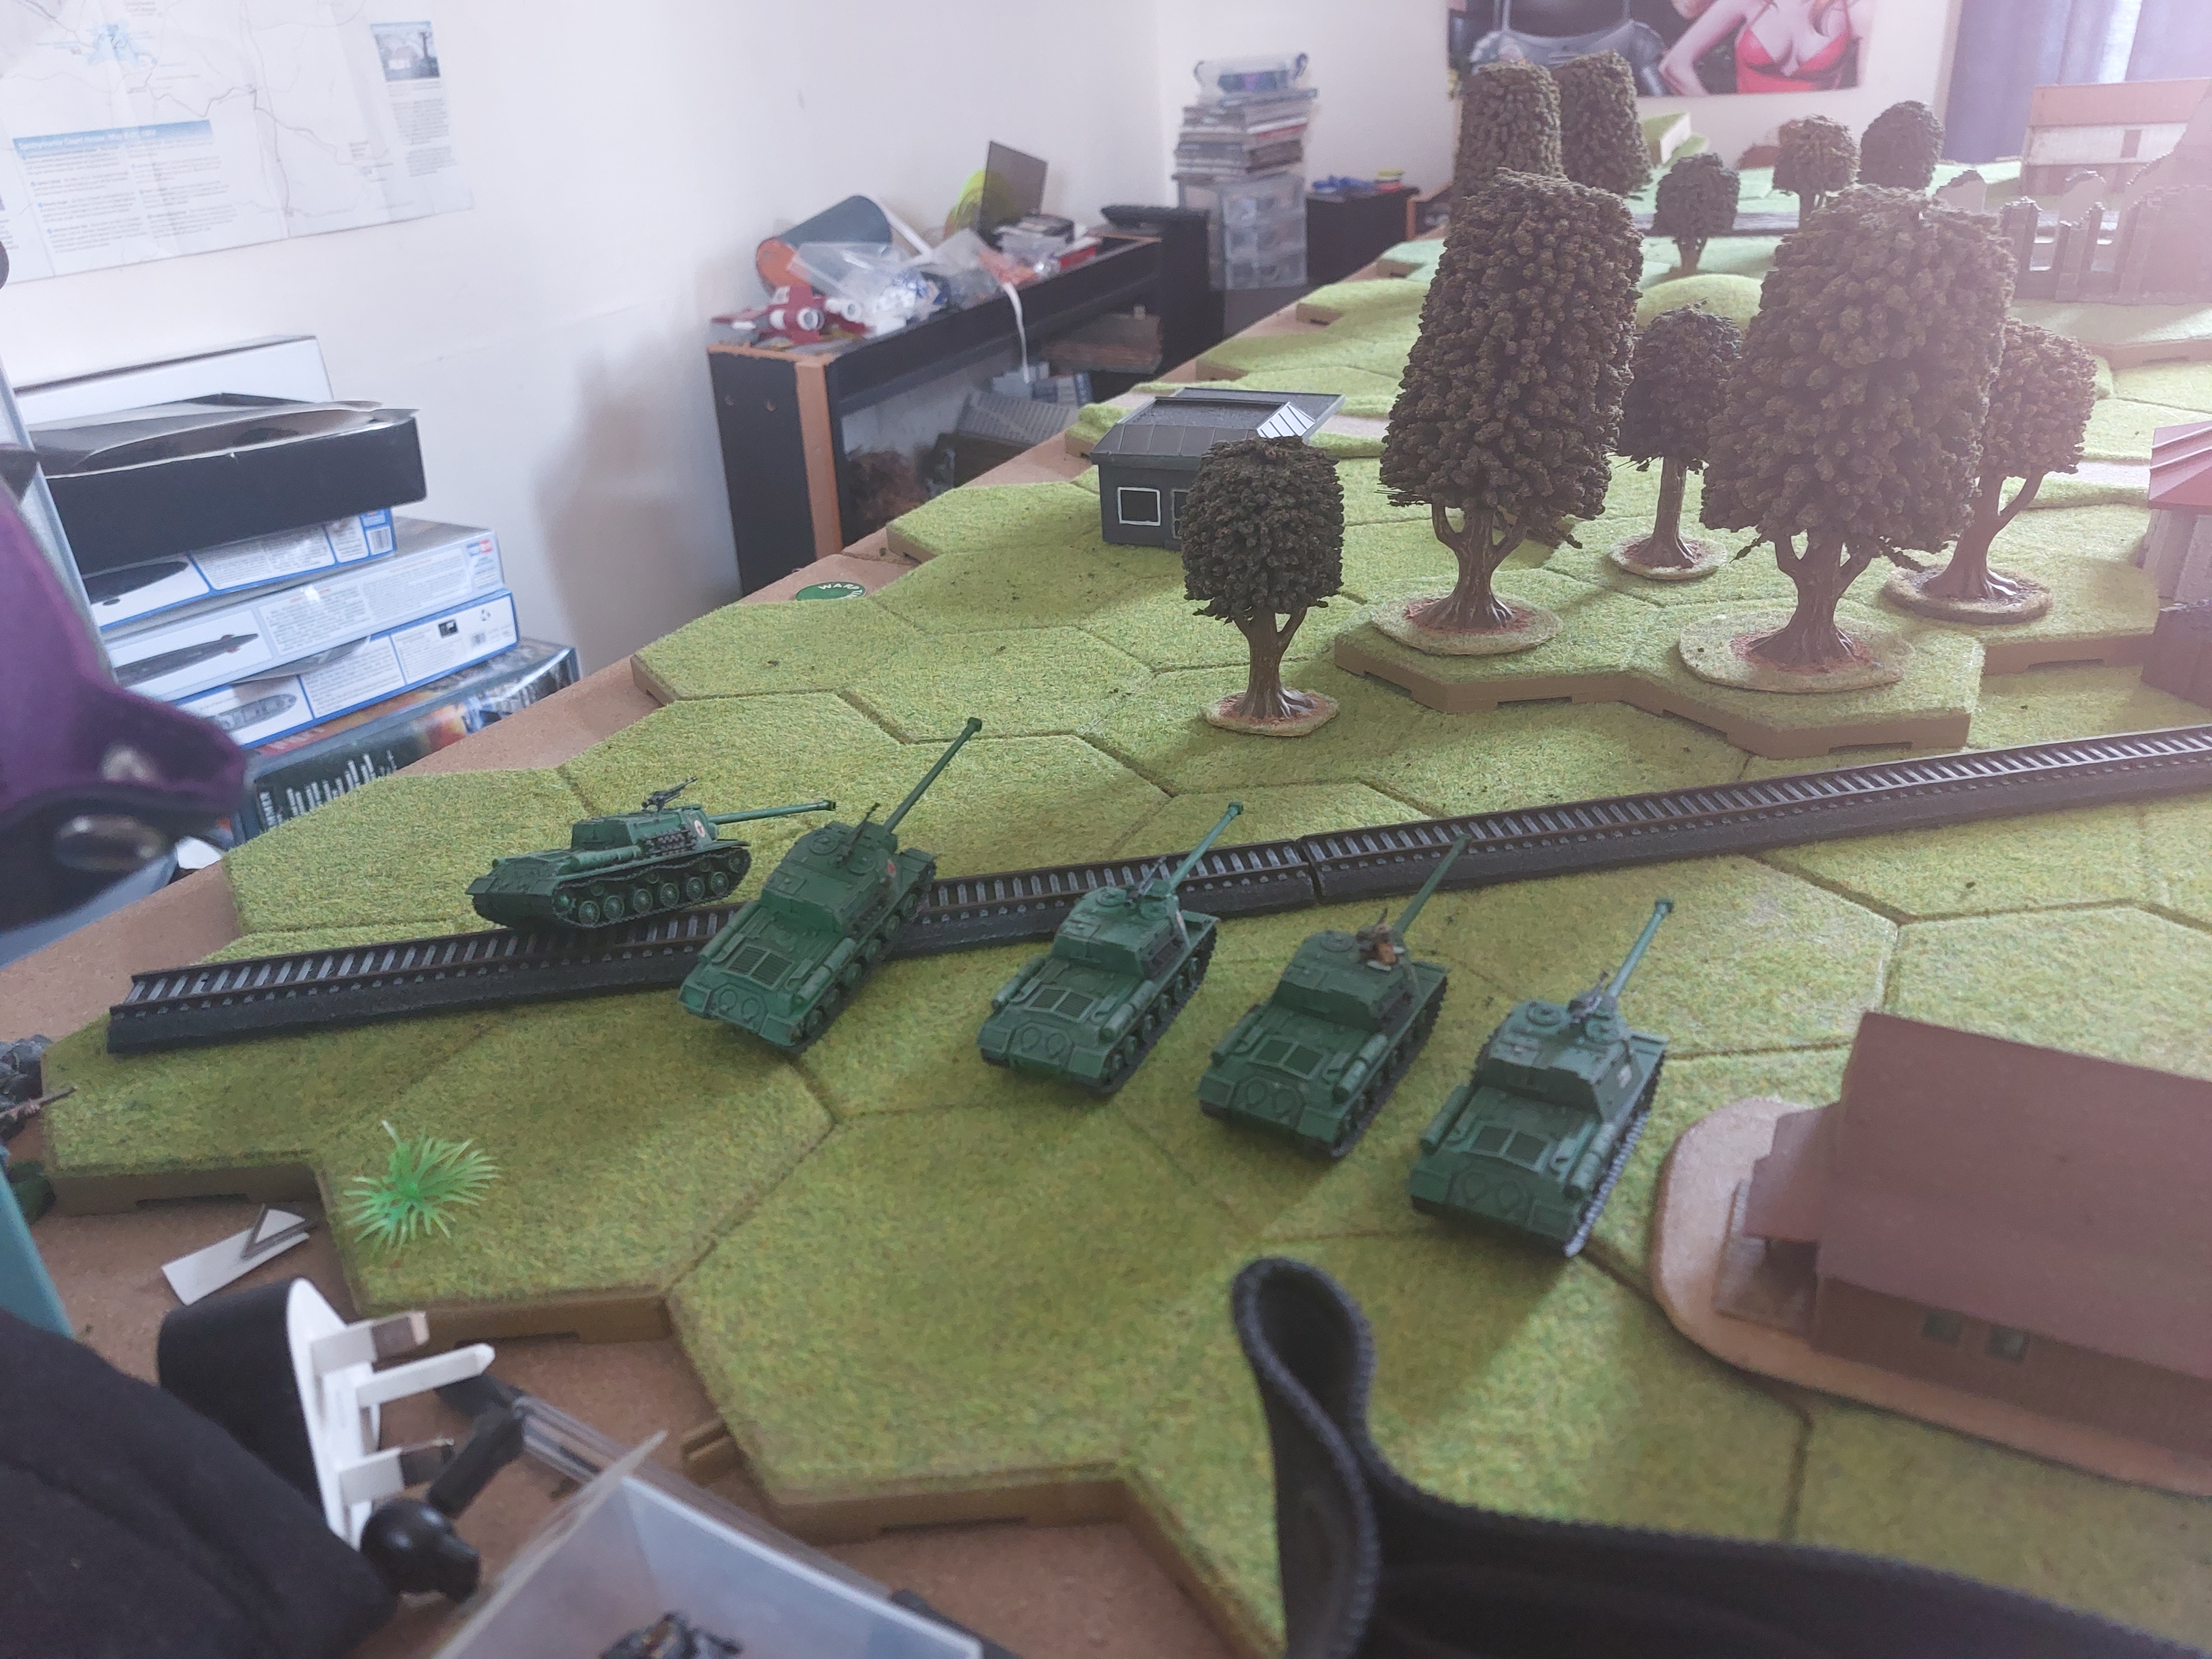
1st dice was a red, not really unsurprising as Soviets have 7 units, to German 5. Remembering the foo bar with the ISU130’S, last time, I placed one unit in the wood’s on hill by the rail branch line, putting them I a good position to cover Objective 1
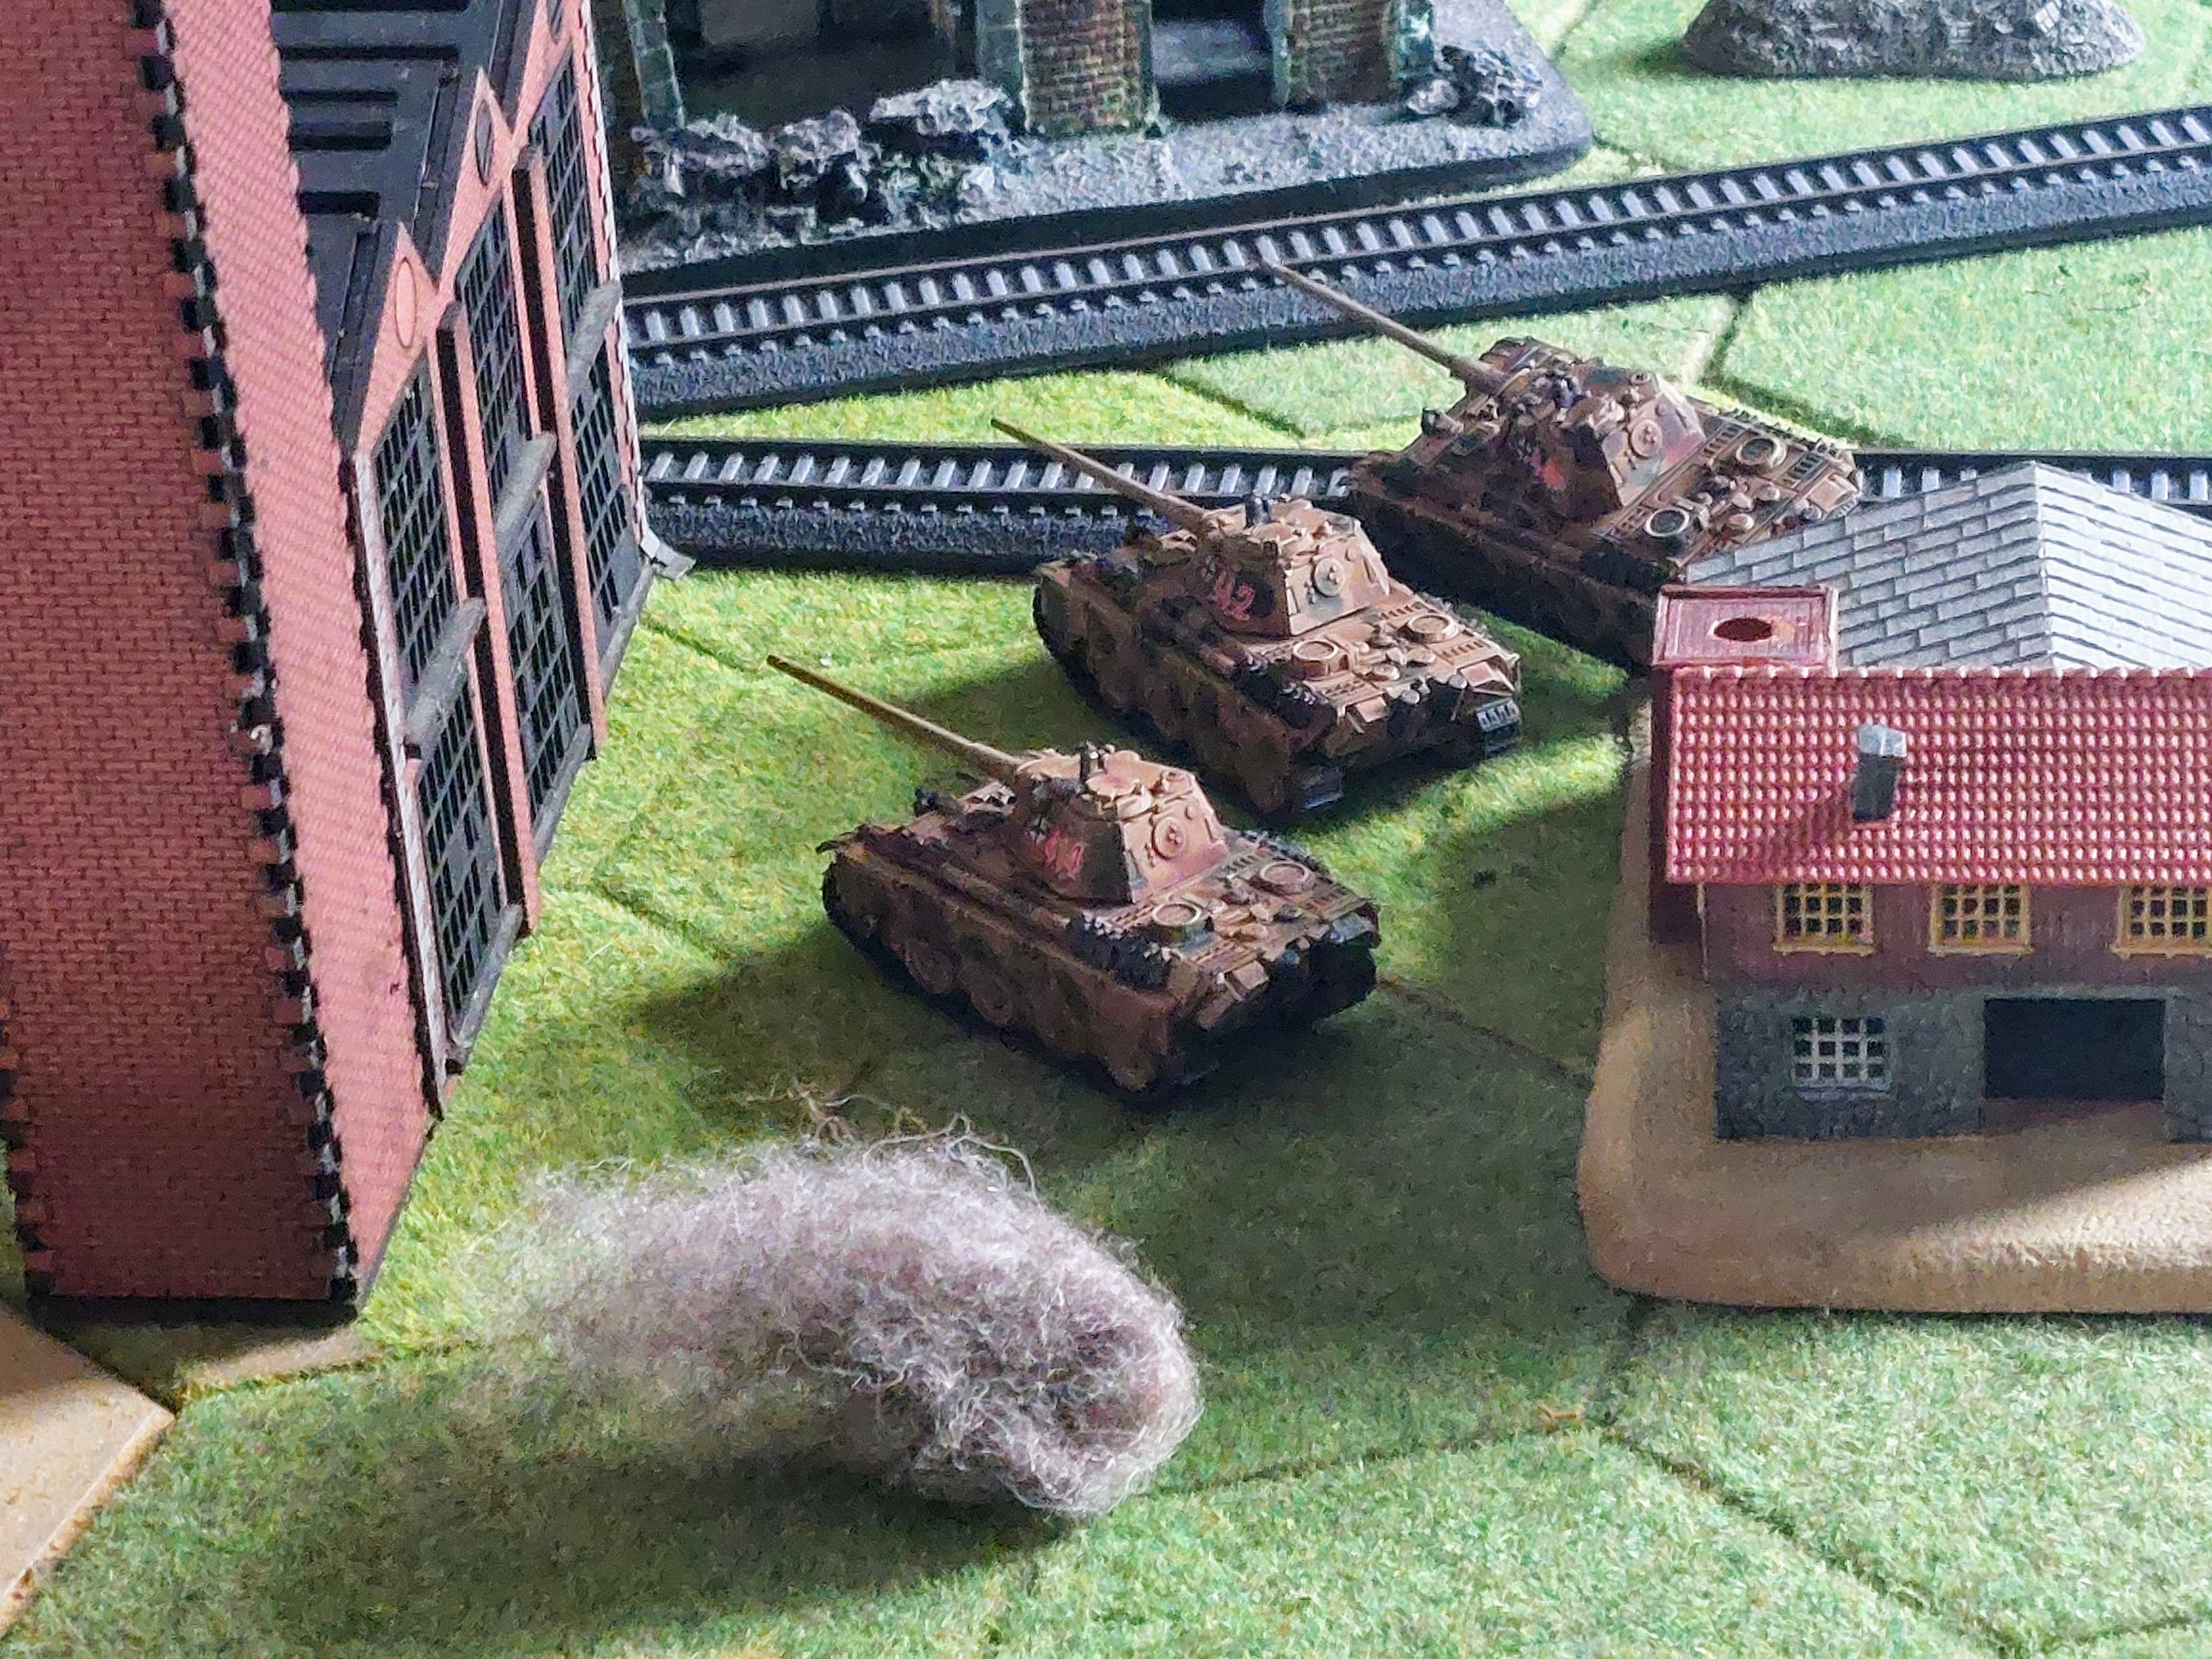
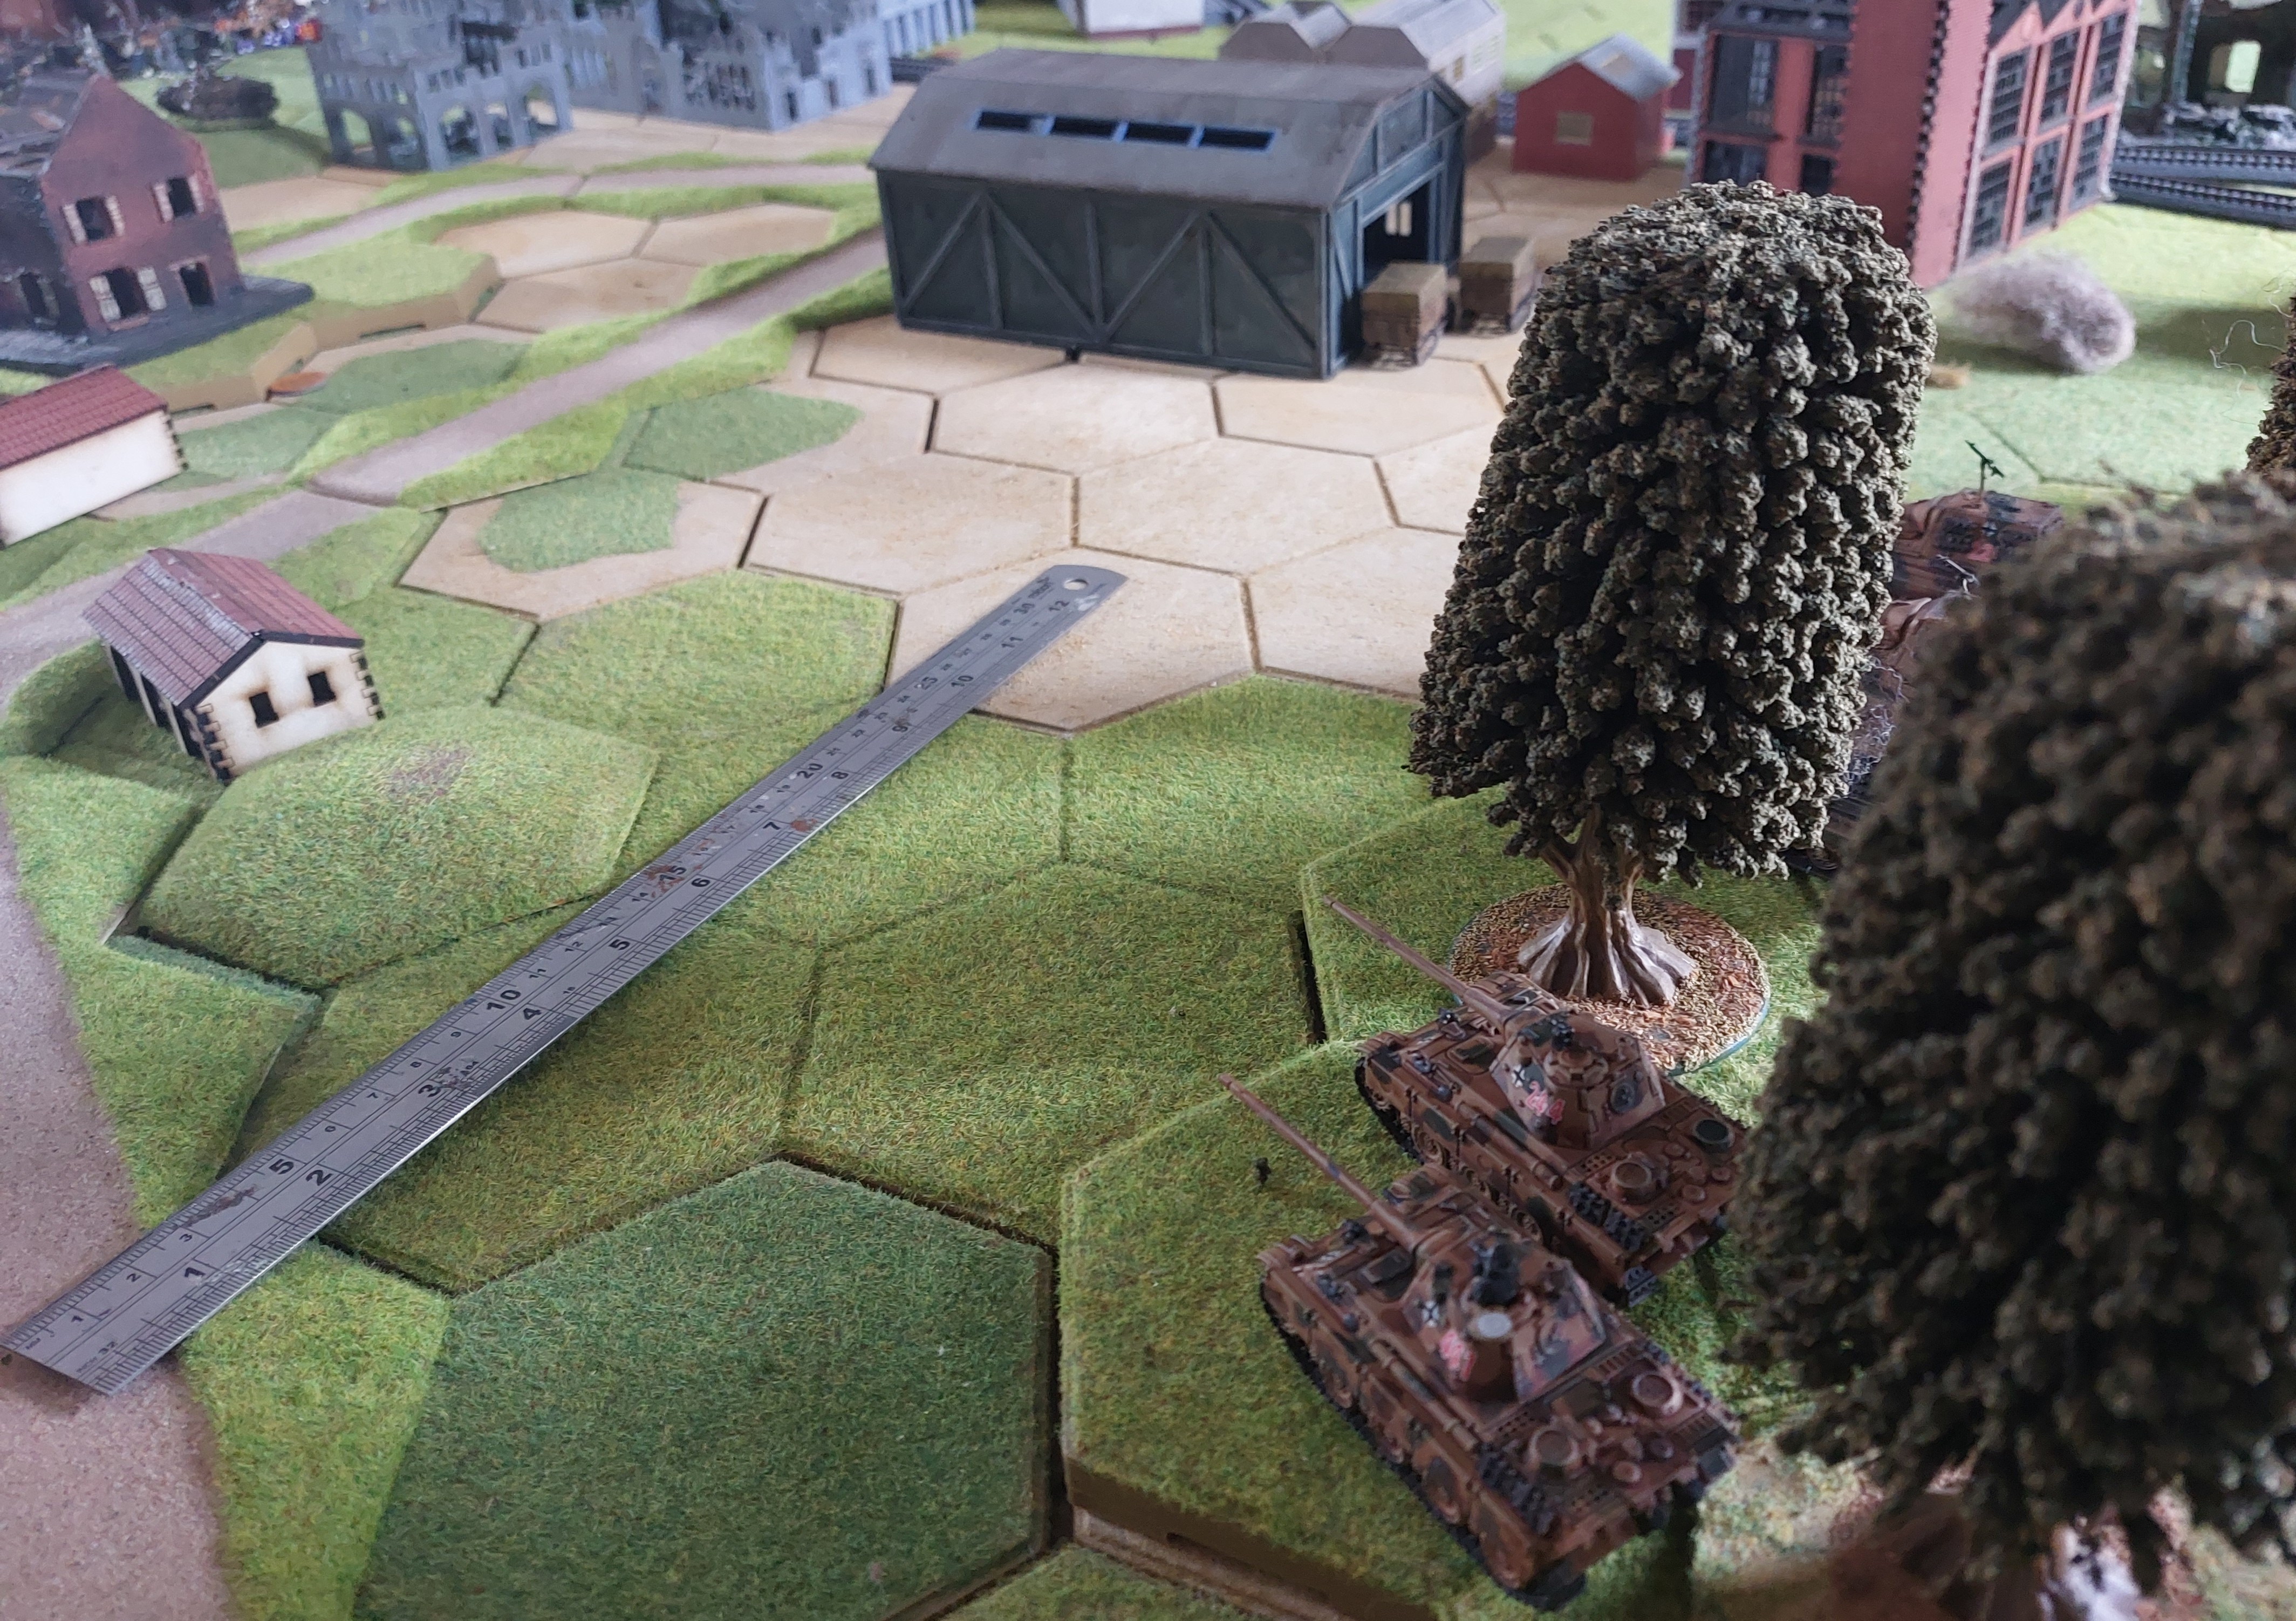
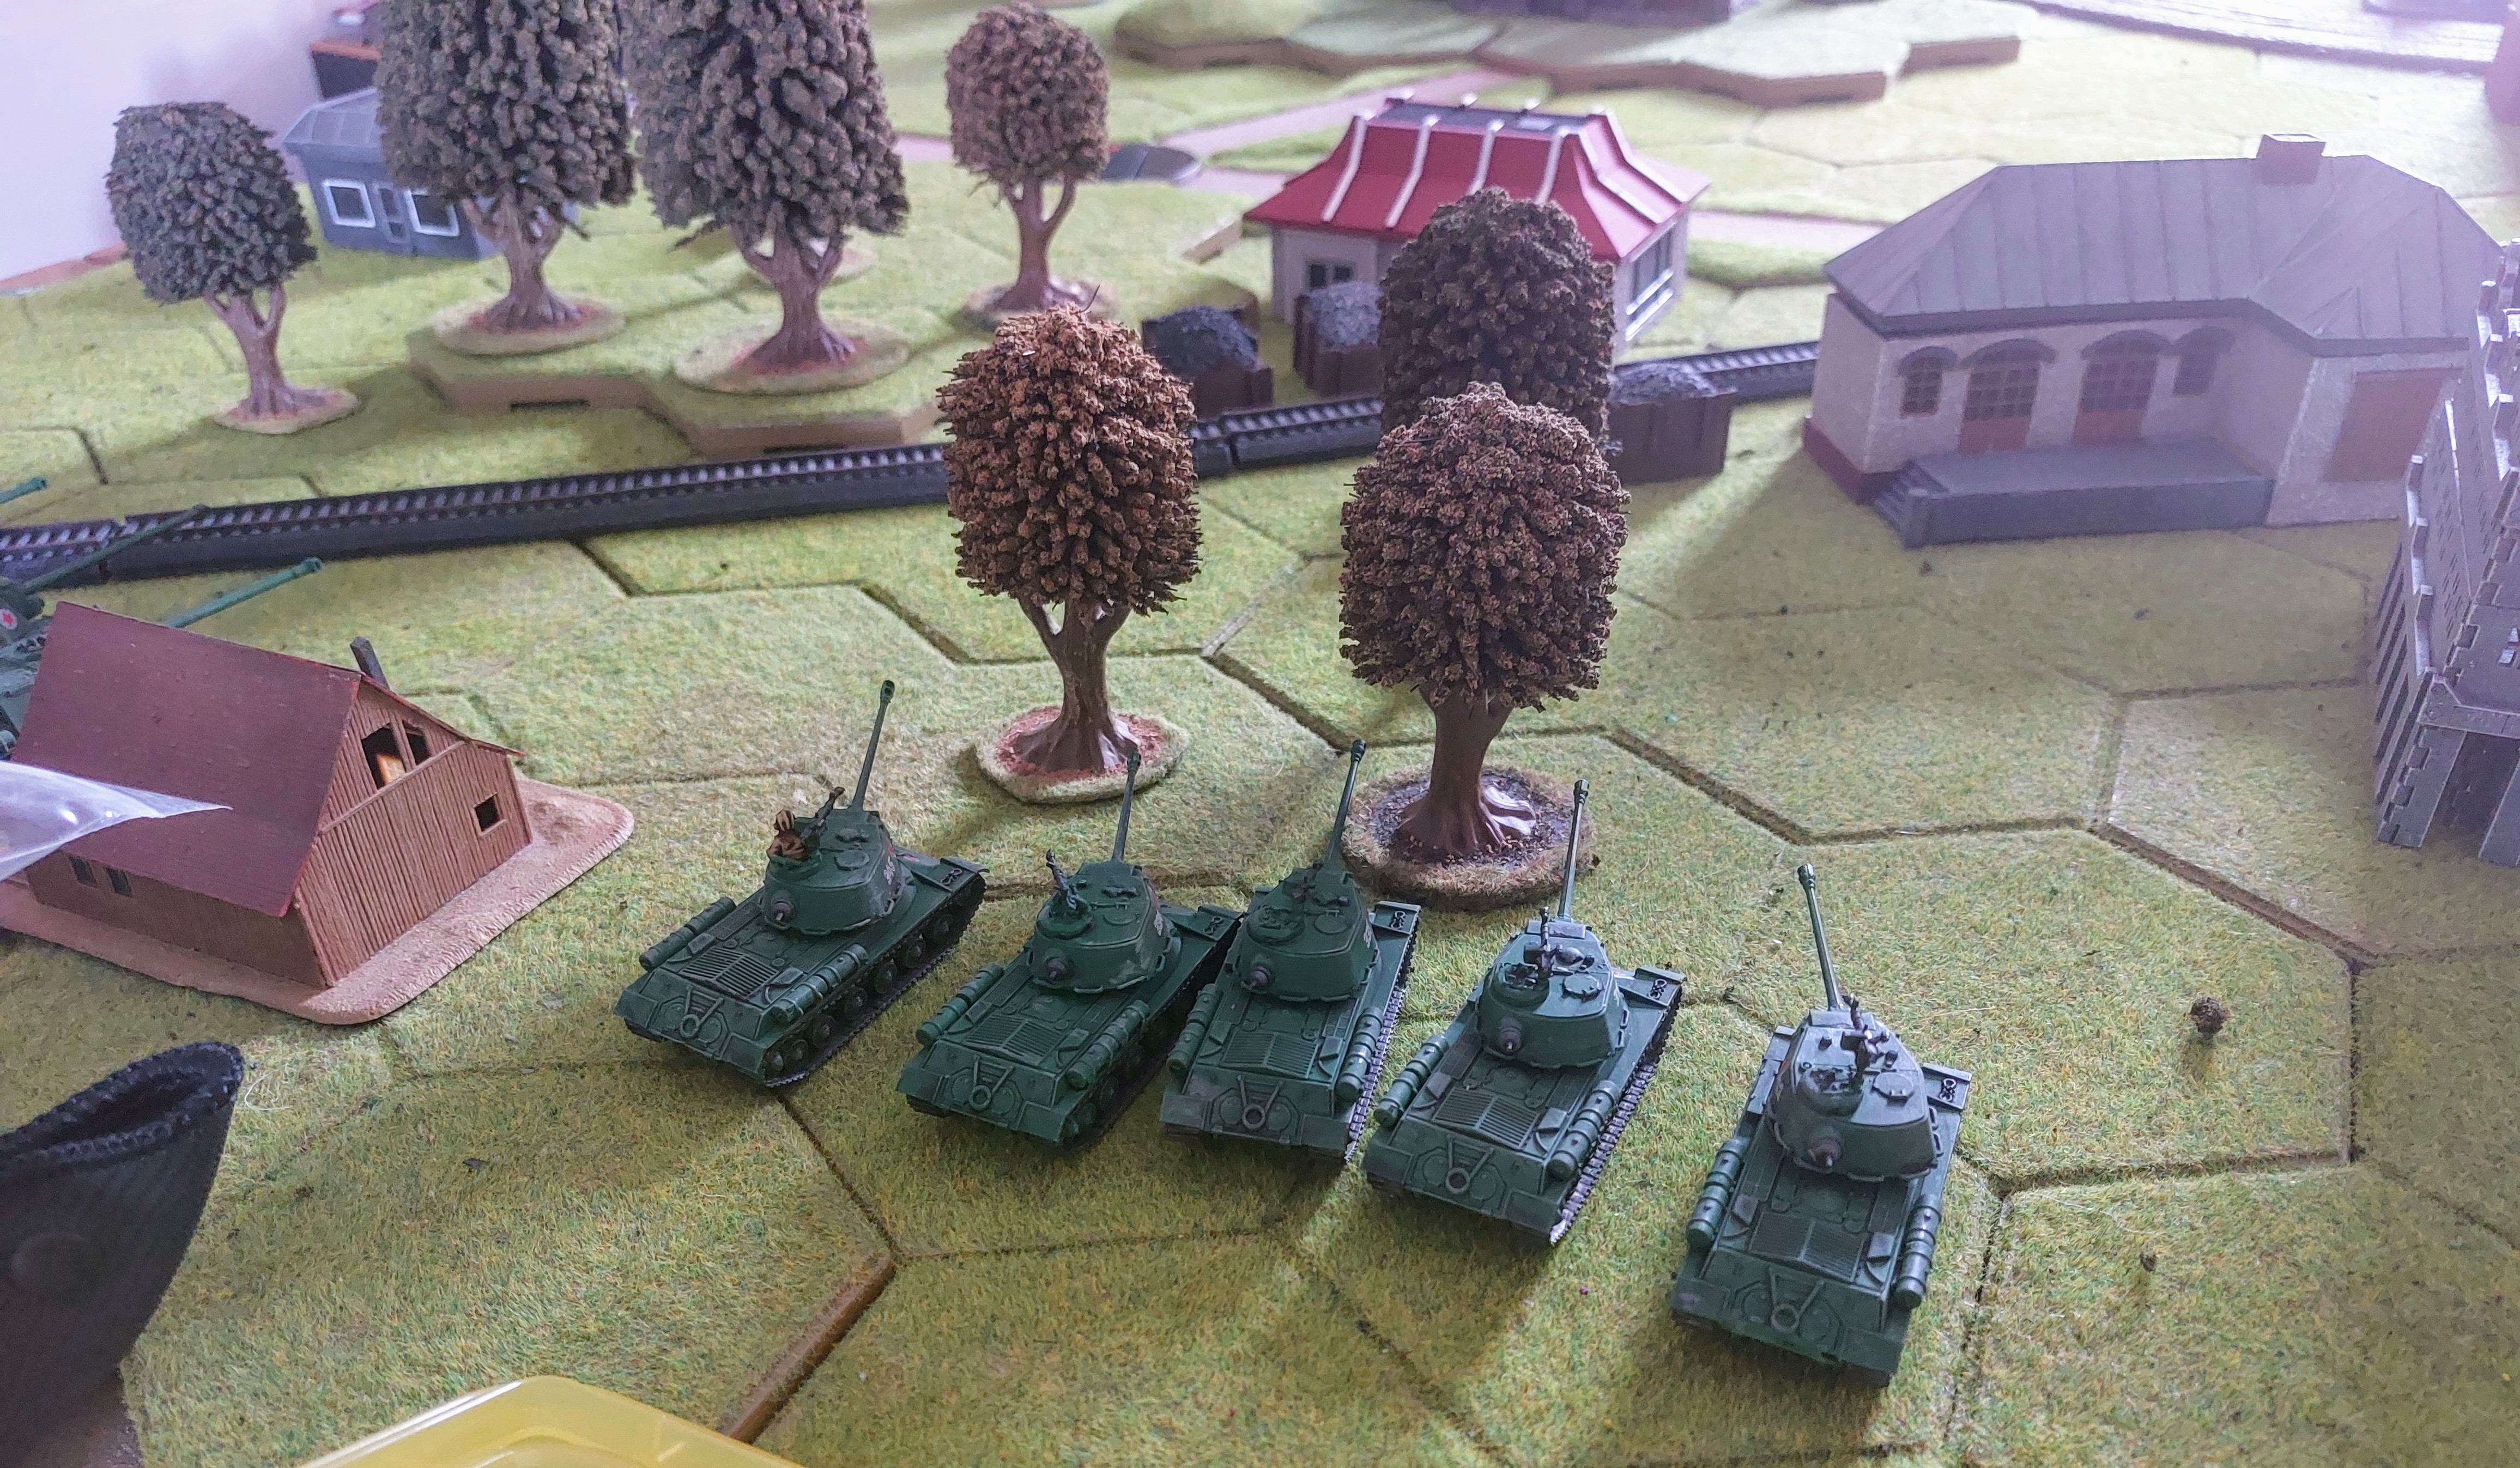
Next was German, so I placed the JagdTigers were their big guns could dominate objective 2.
 So we'll hidden behind treeline you can only just see them!
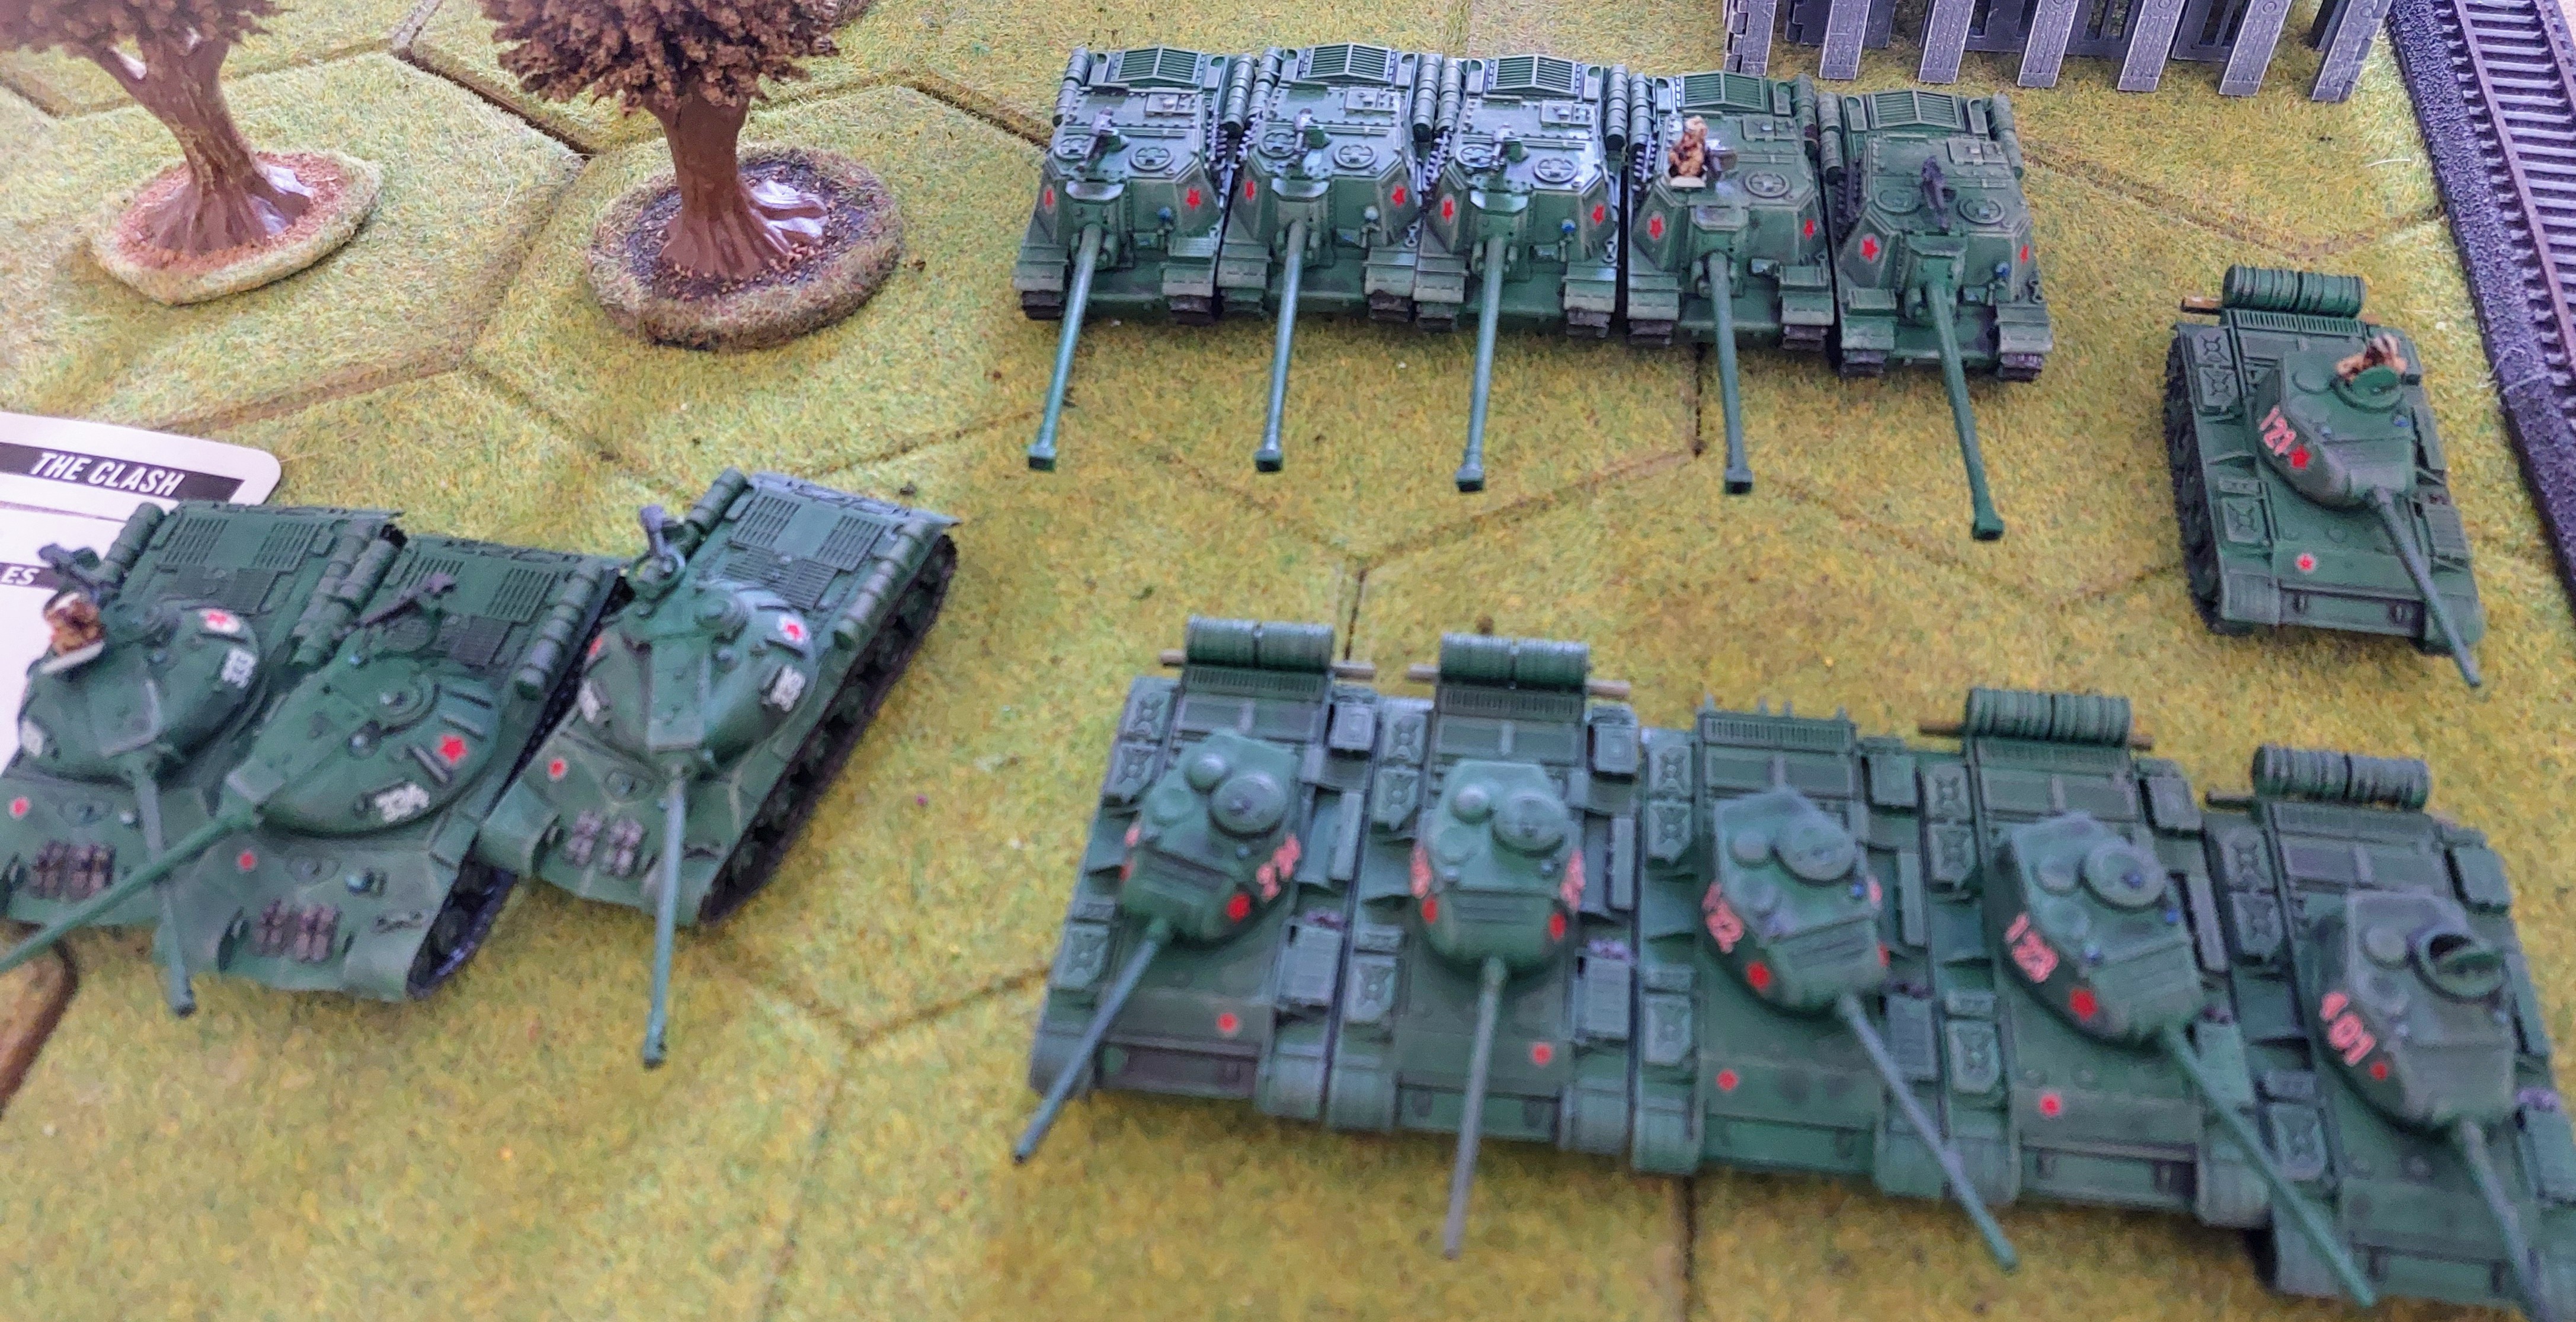
Next was another Soviet, this time the other SU130’s , who are In the lead of what was to be a Soviet tank park. (Photo later)
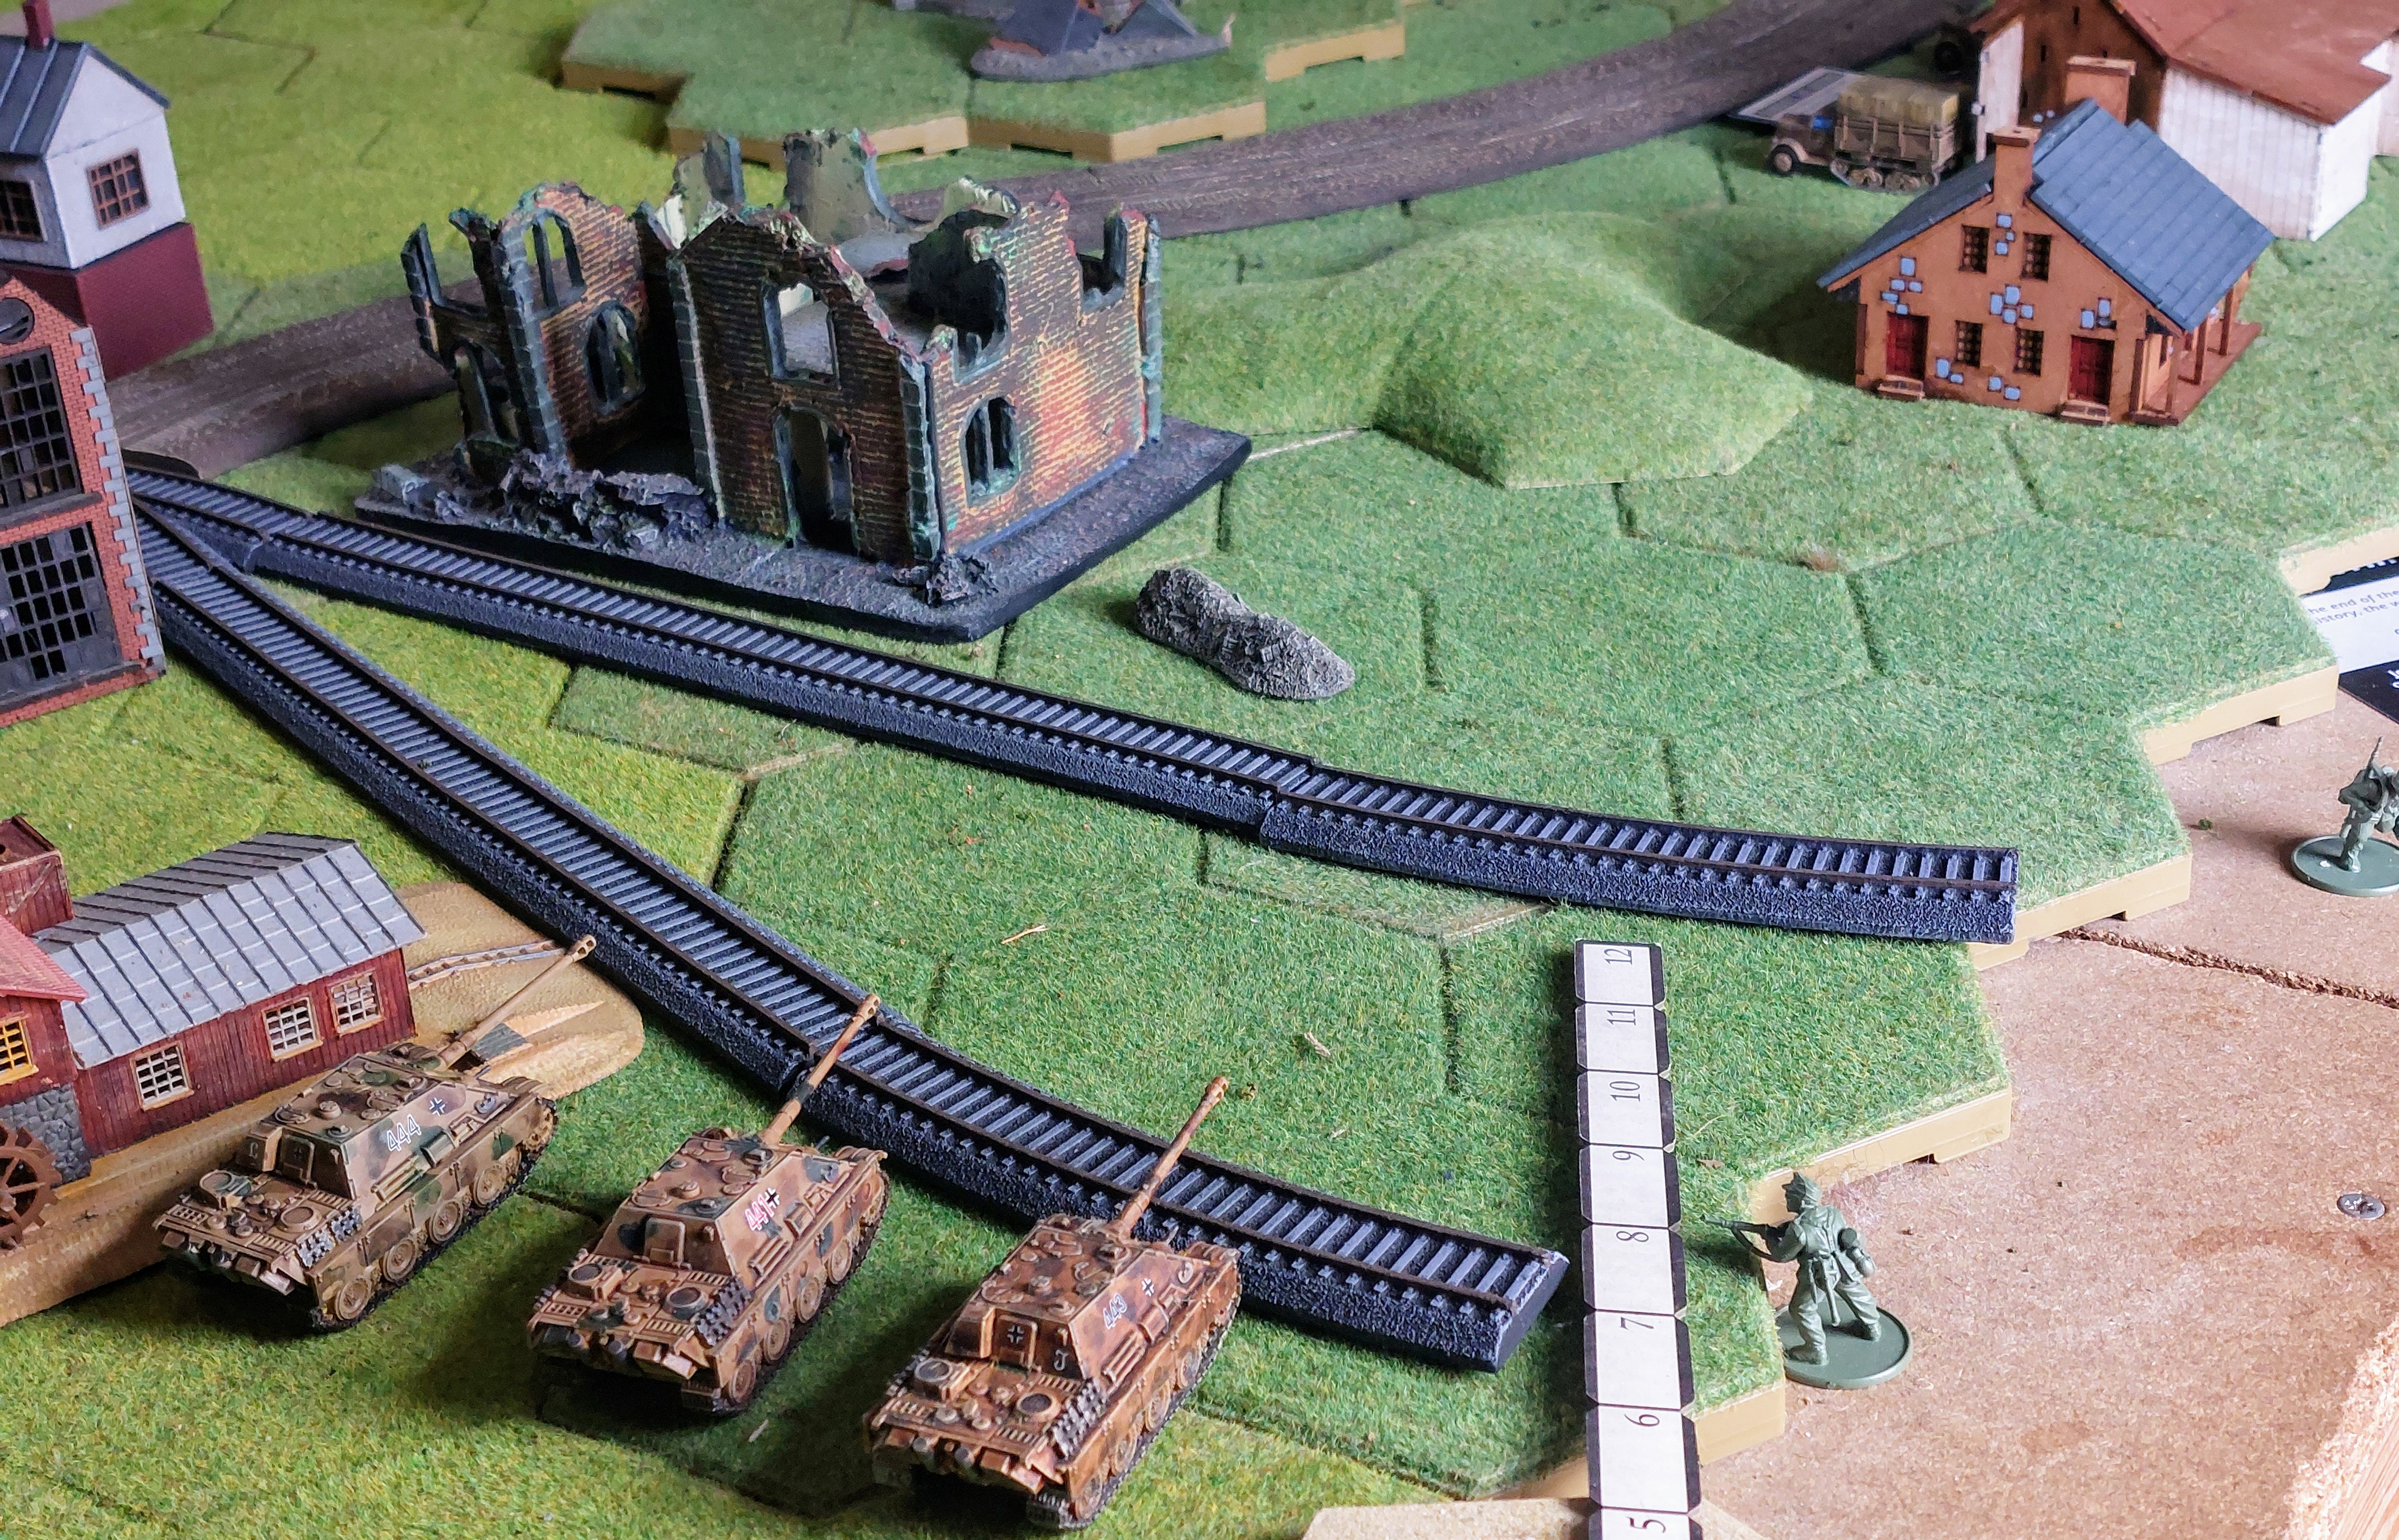
Next a German, so the Jagdpanthers were placed on the rail line to cover Objective 1.
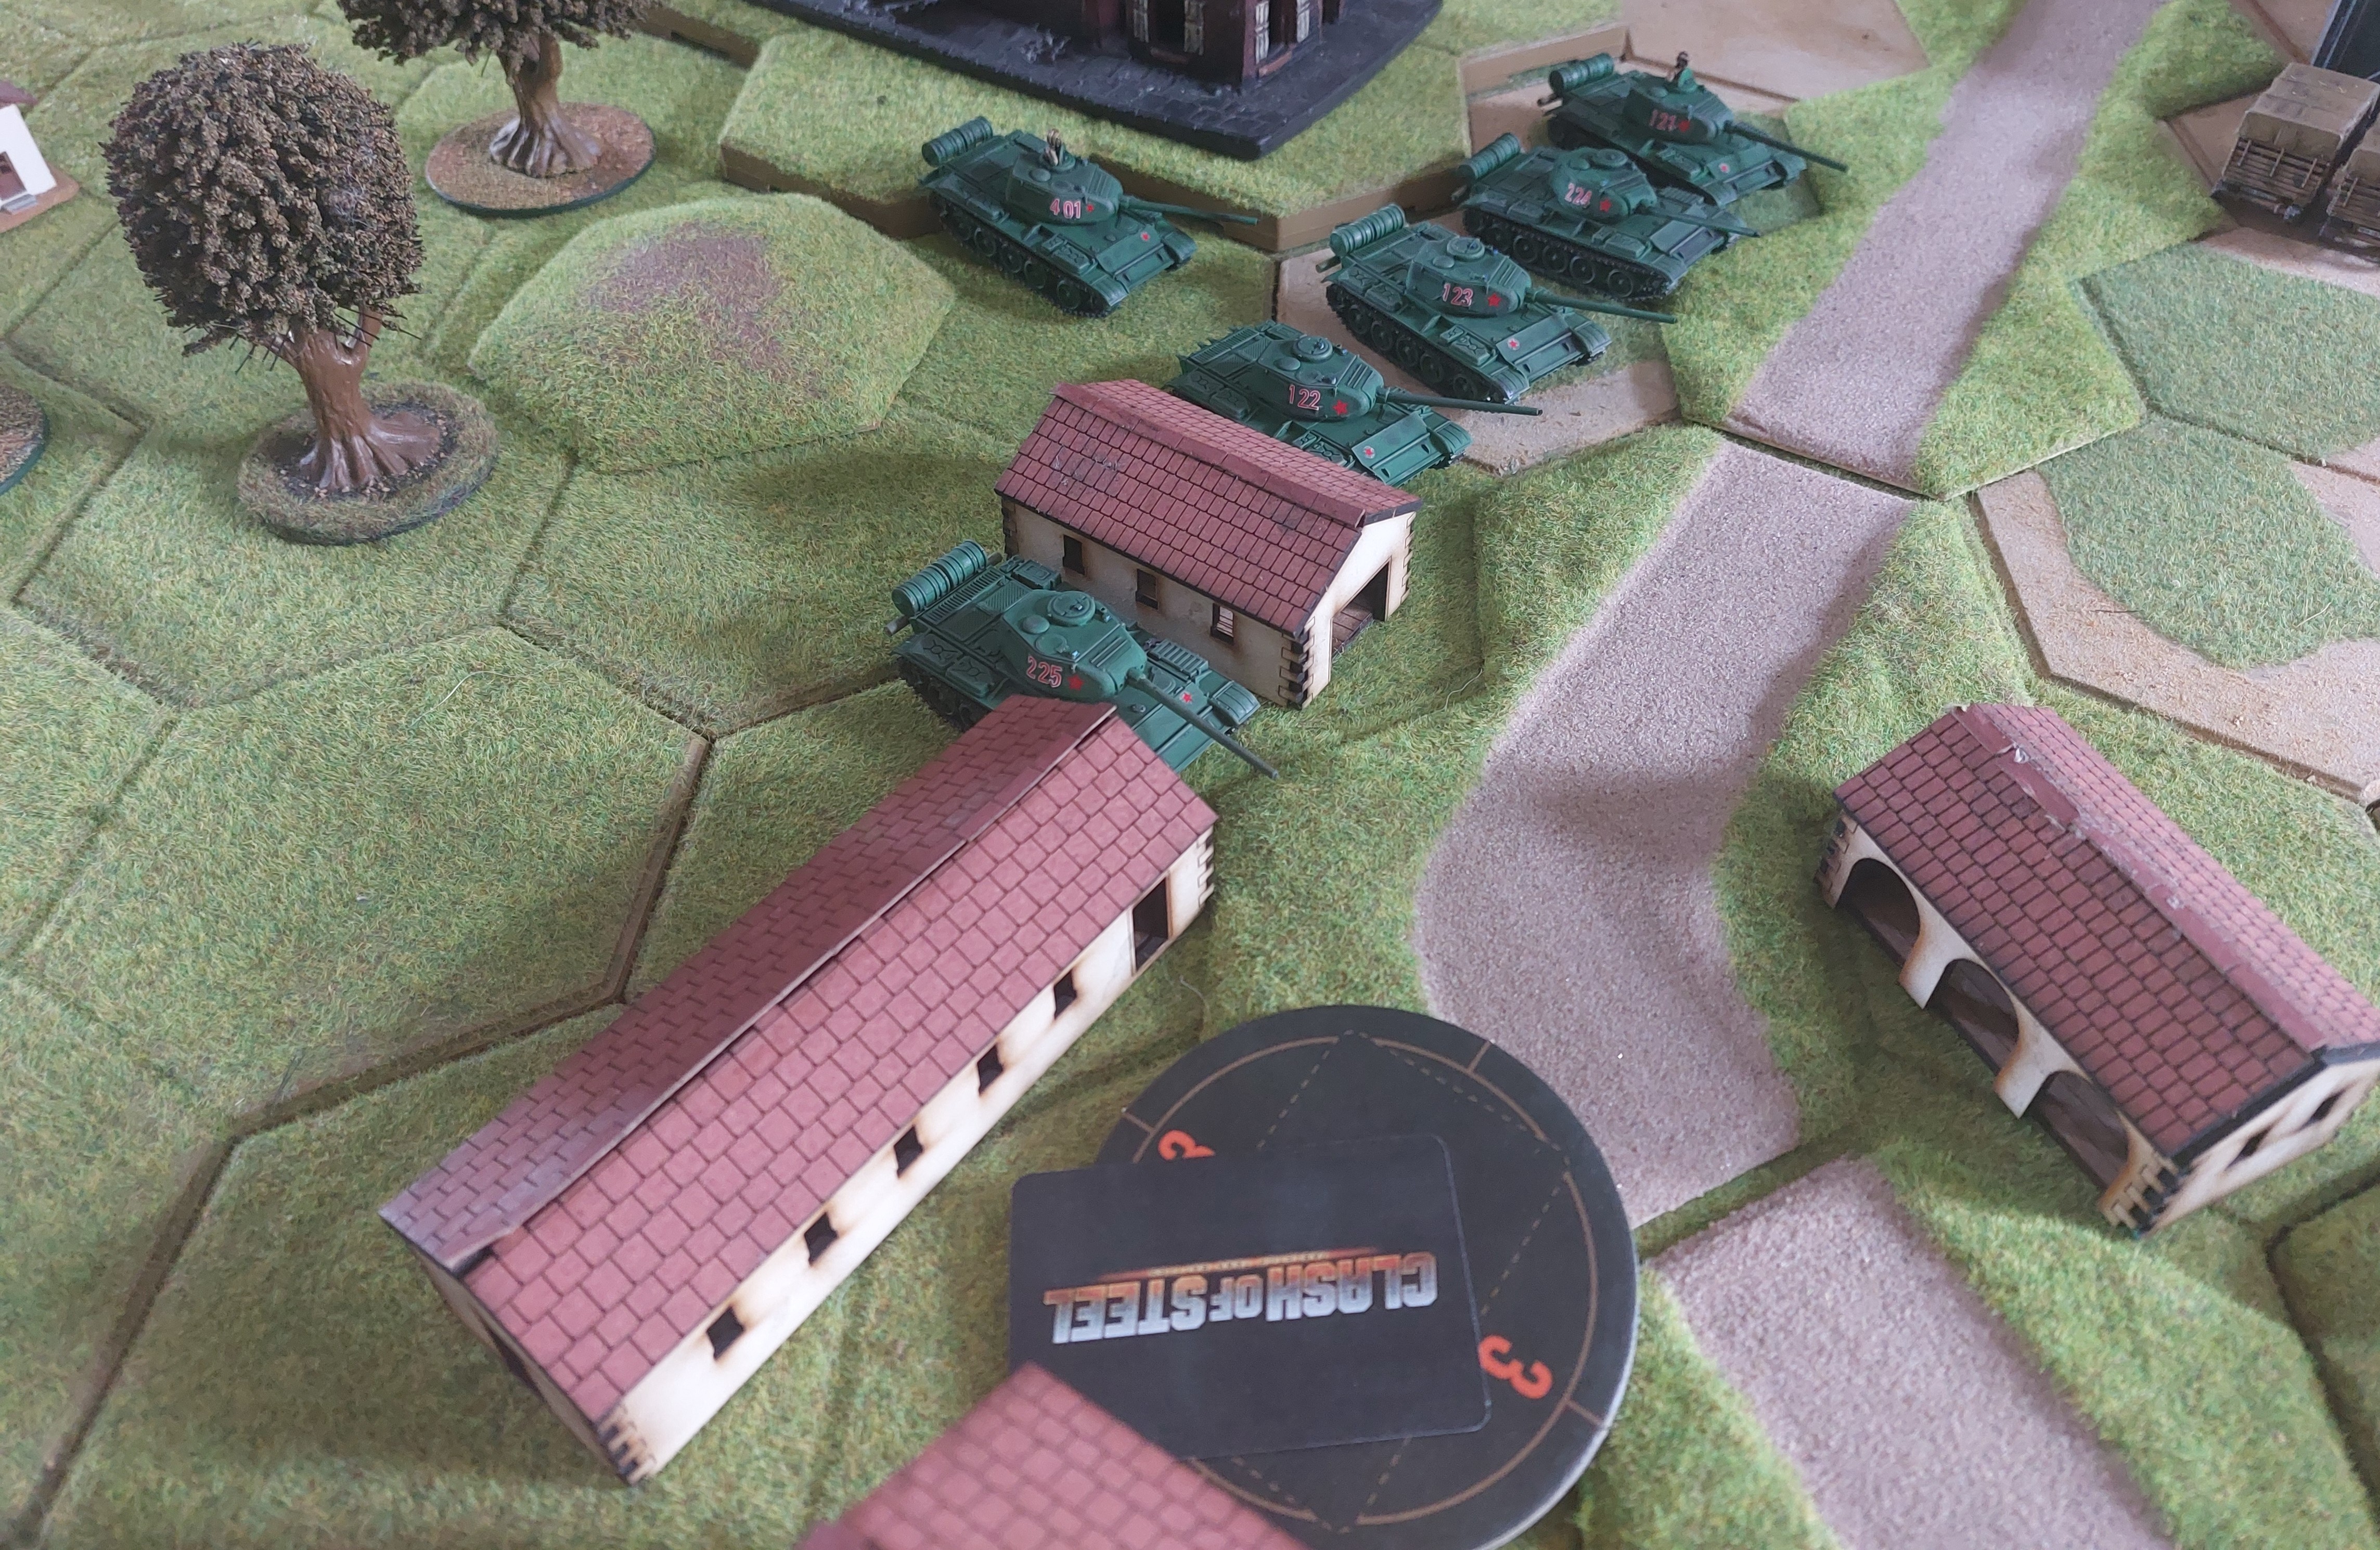
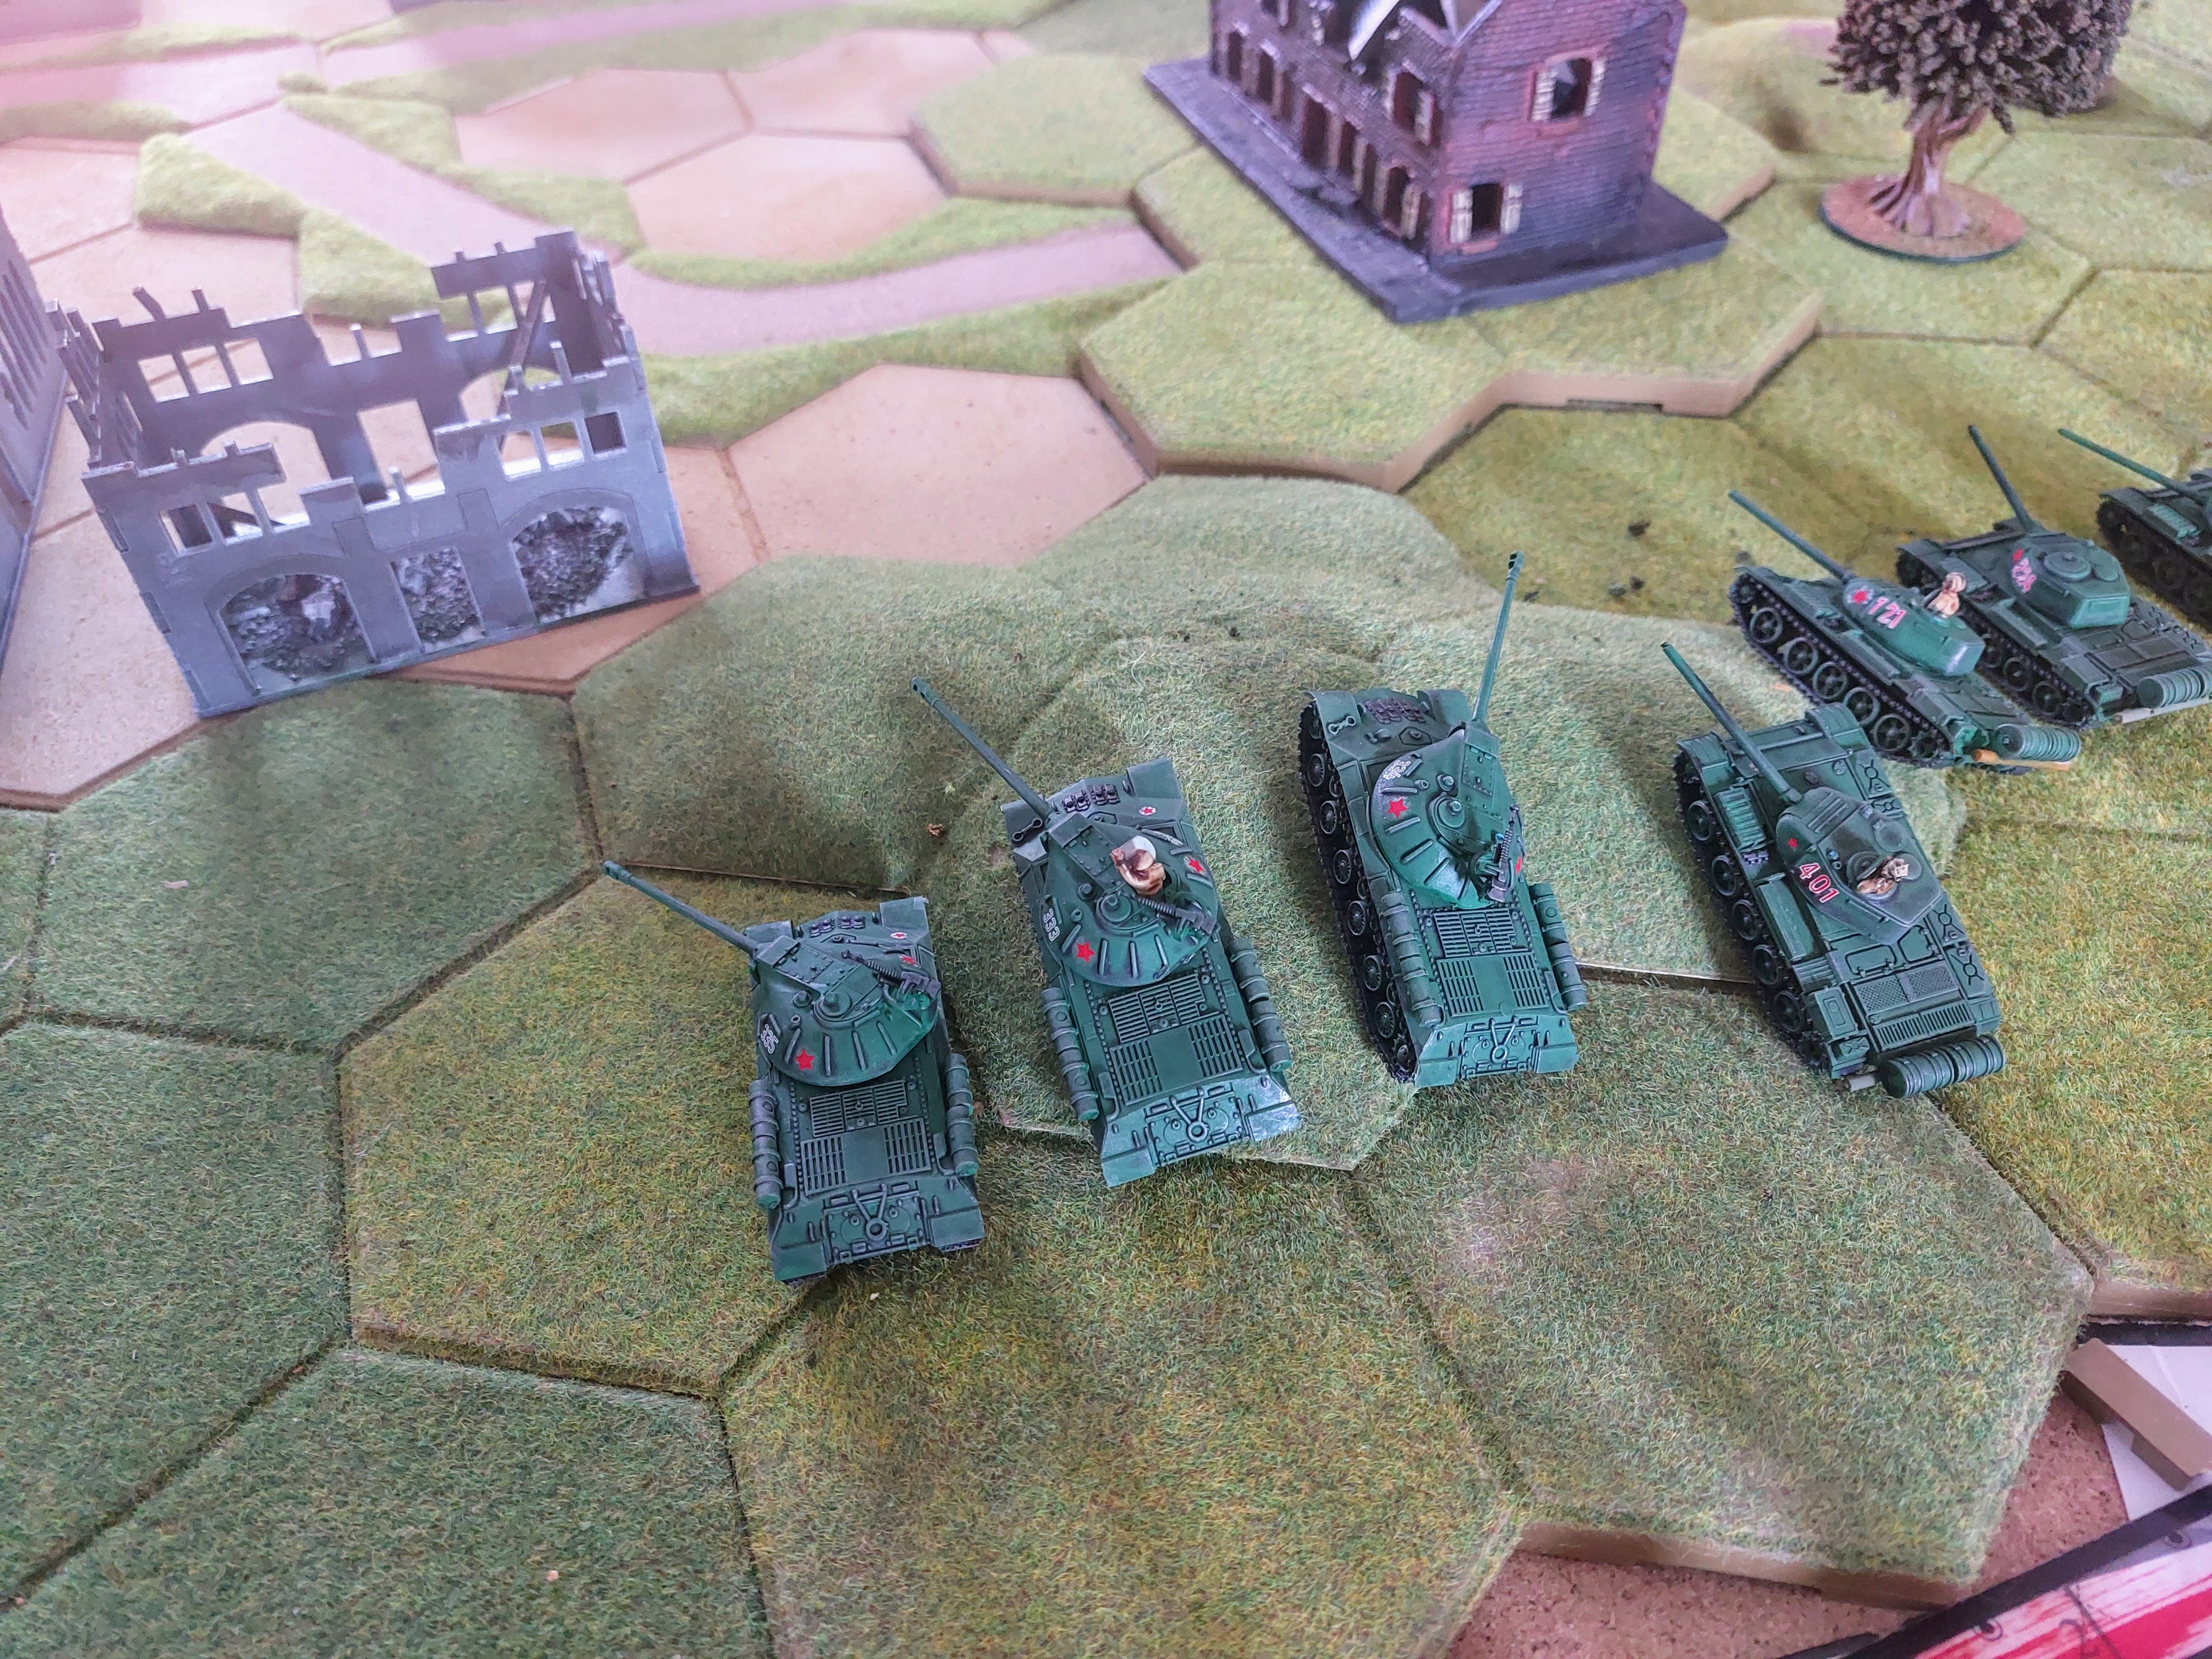
Then it was another Soviet( bag is having fun) so JS3’S were placed in the railway statio area, to be in position to attempt to close on objective 1.
As is the dice gods having a laugh both sides command dice were drawn next, the German chose the wood’s next to the Jagdigers , in order to aid the gun line covering objective 2.
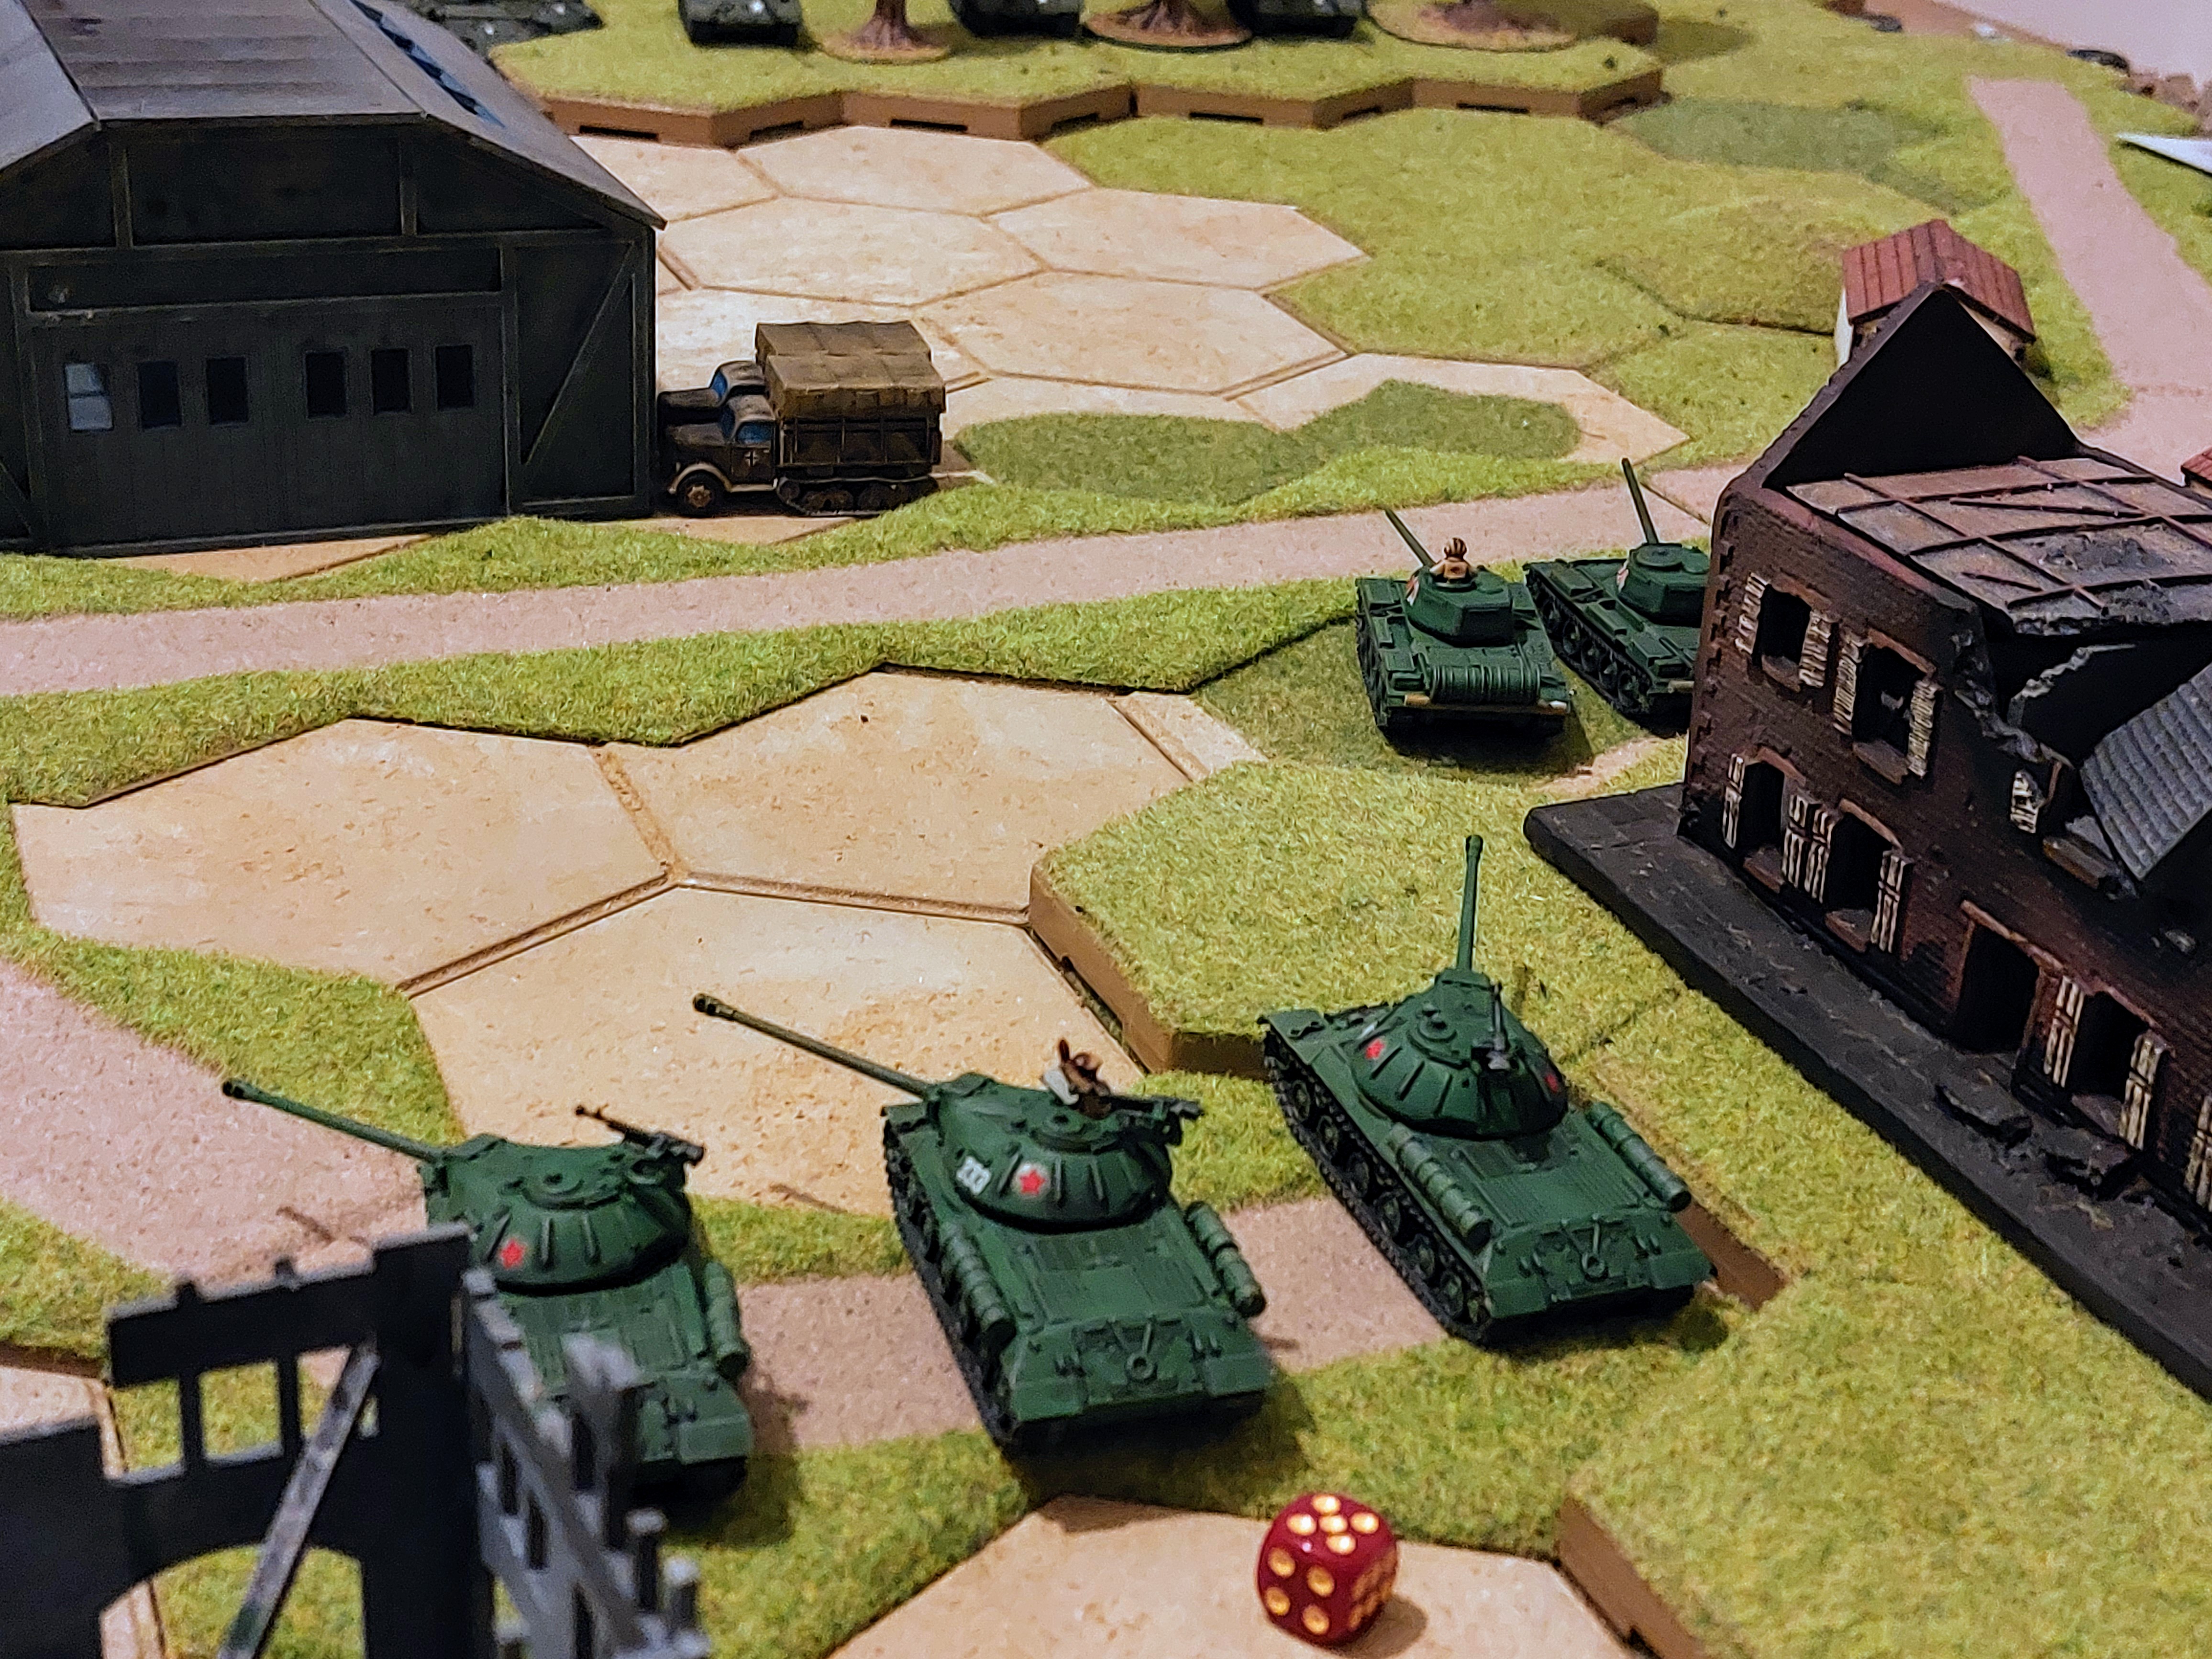
The Soviet Commander wisely place him self behind the ruins but I a central position fo both avenues of attack ( last picture later)
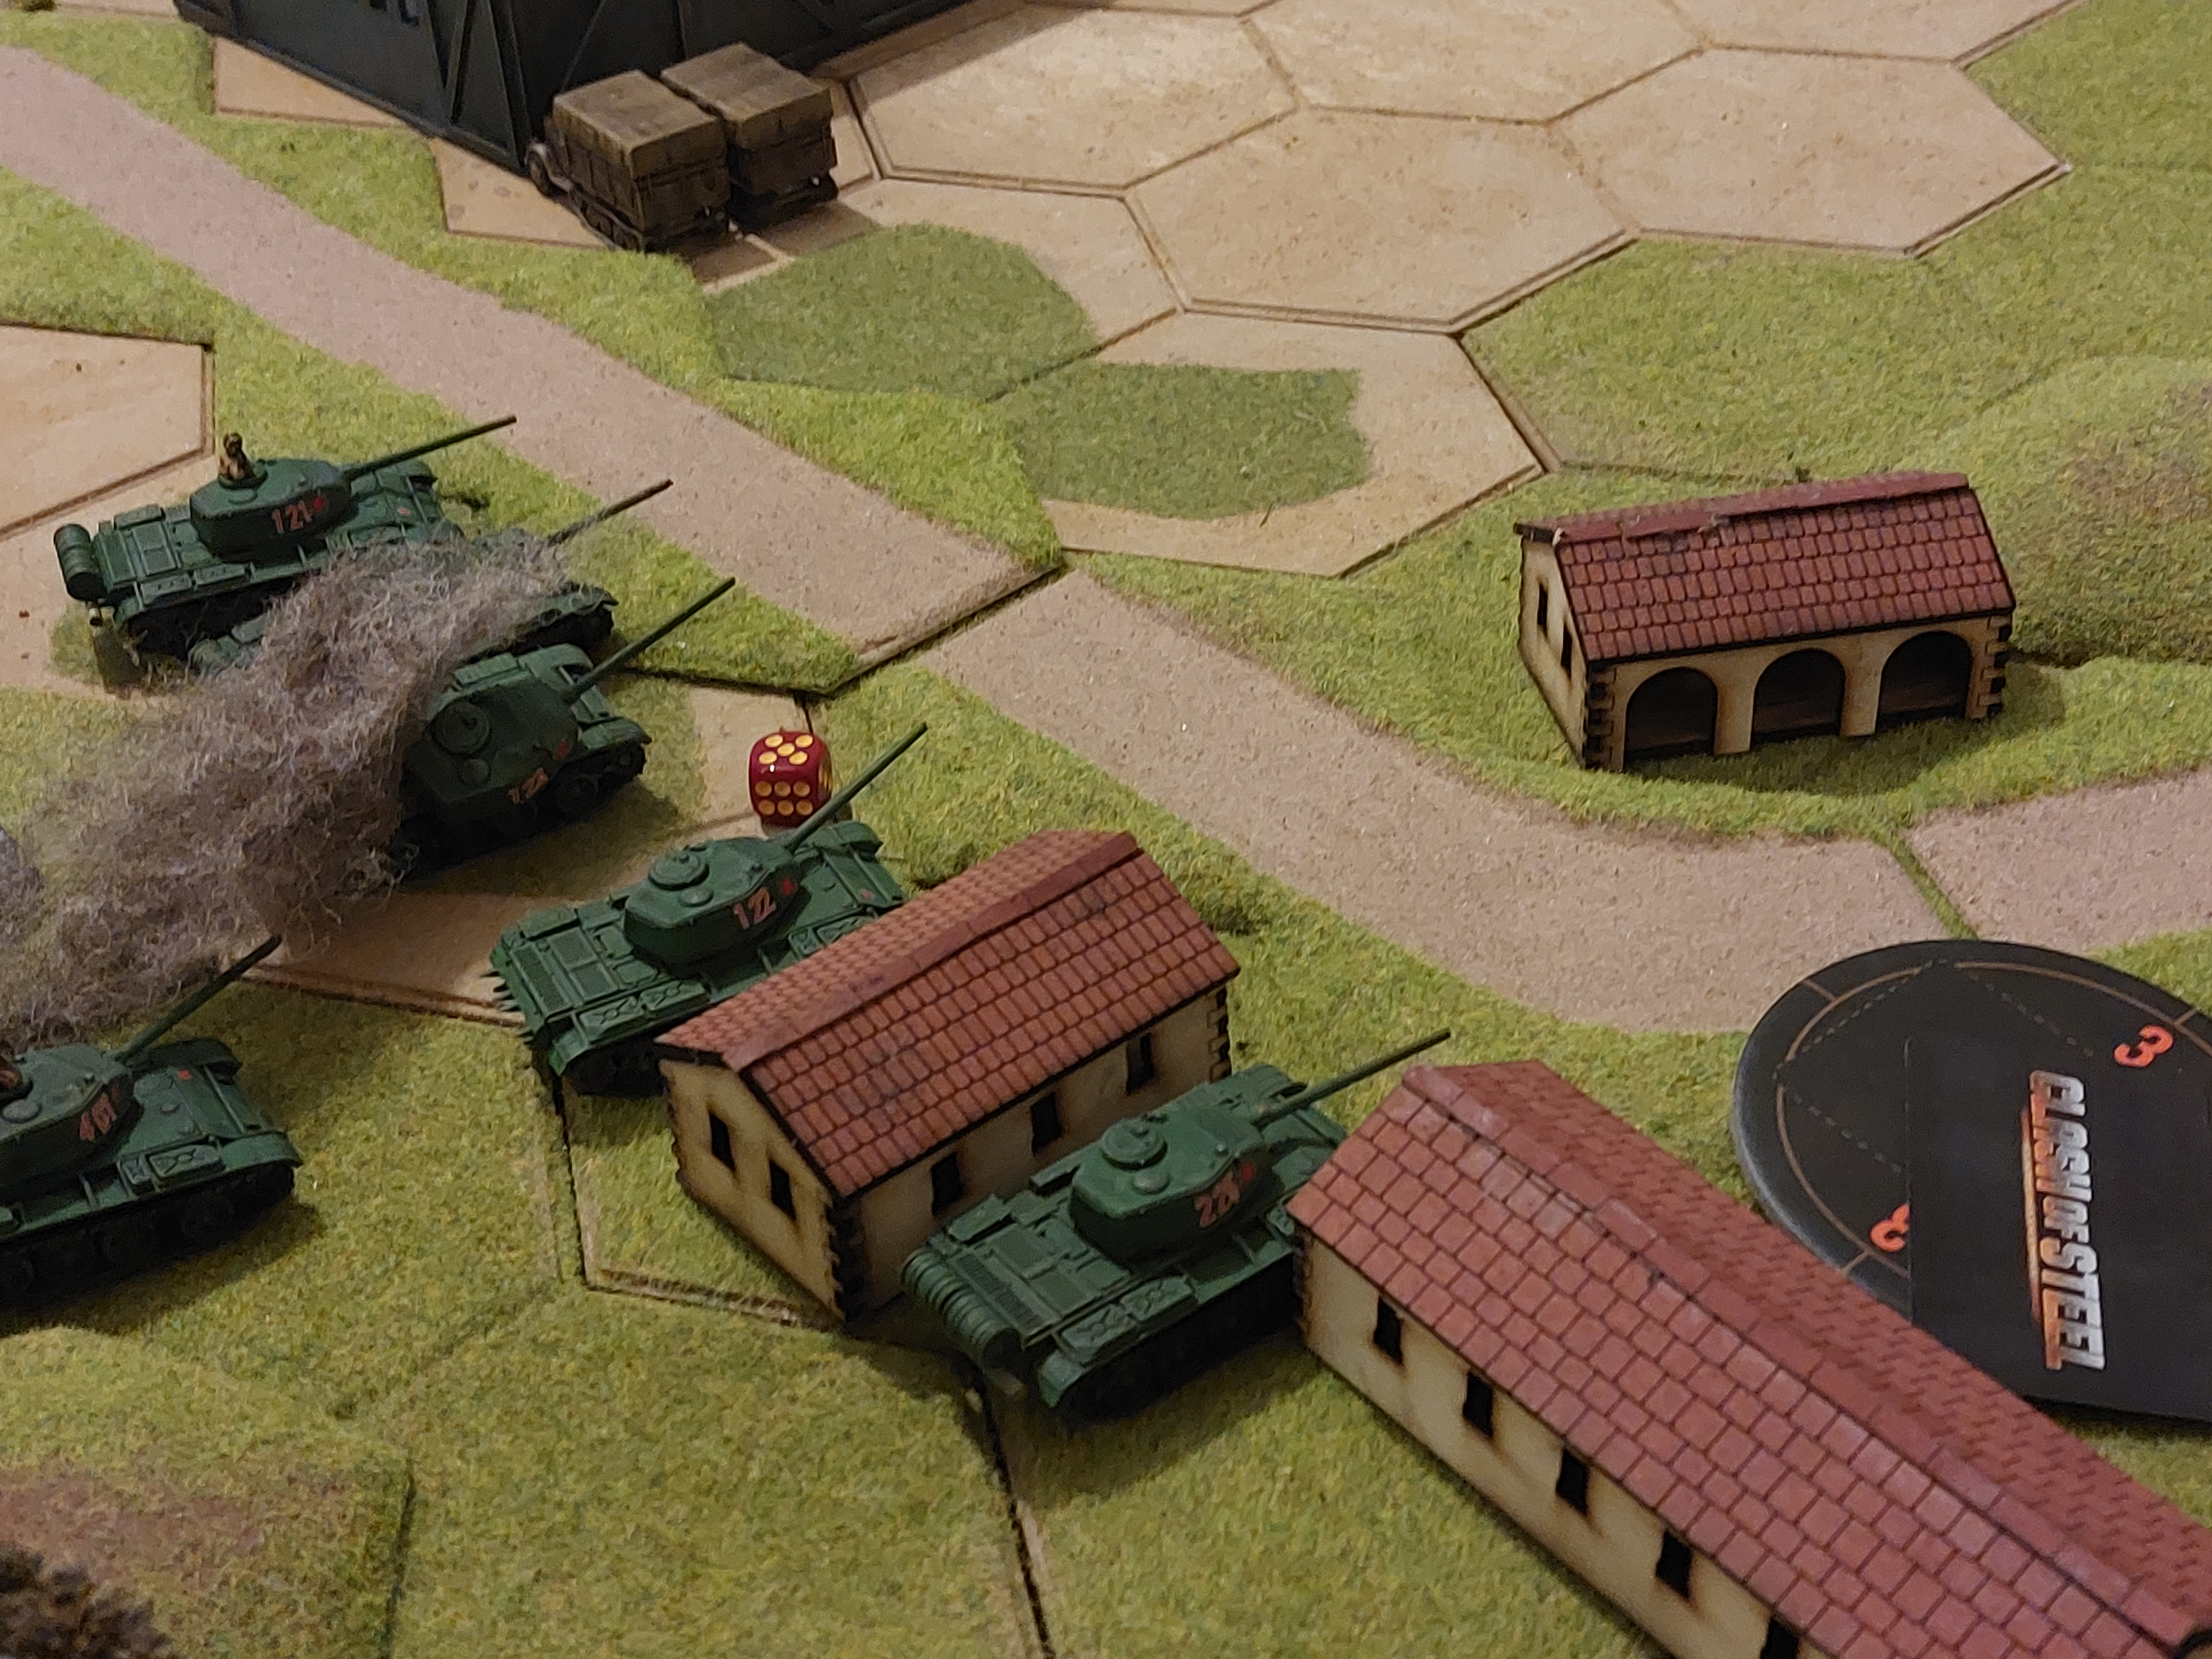
Another Soviet Dice was drawn, so the Smaller of the Soviet T54 company’s was placed on the far left flank in a position to sweep round on Objective 1 using maximum cover.
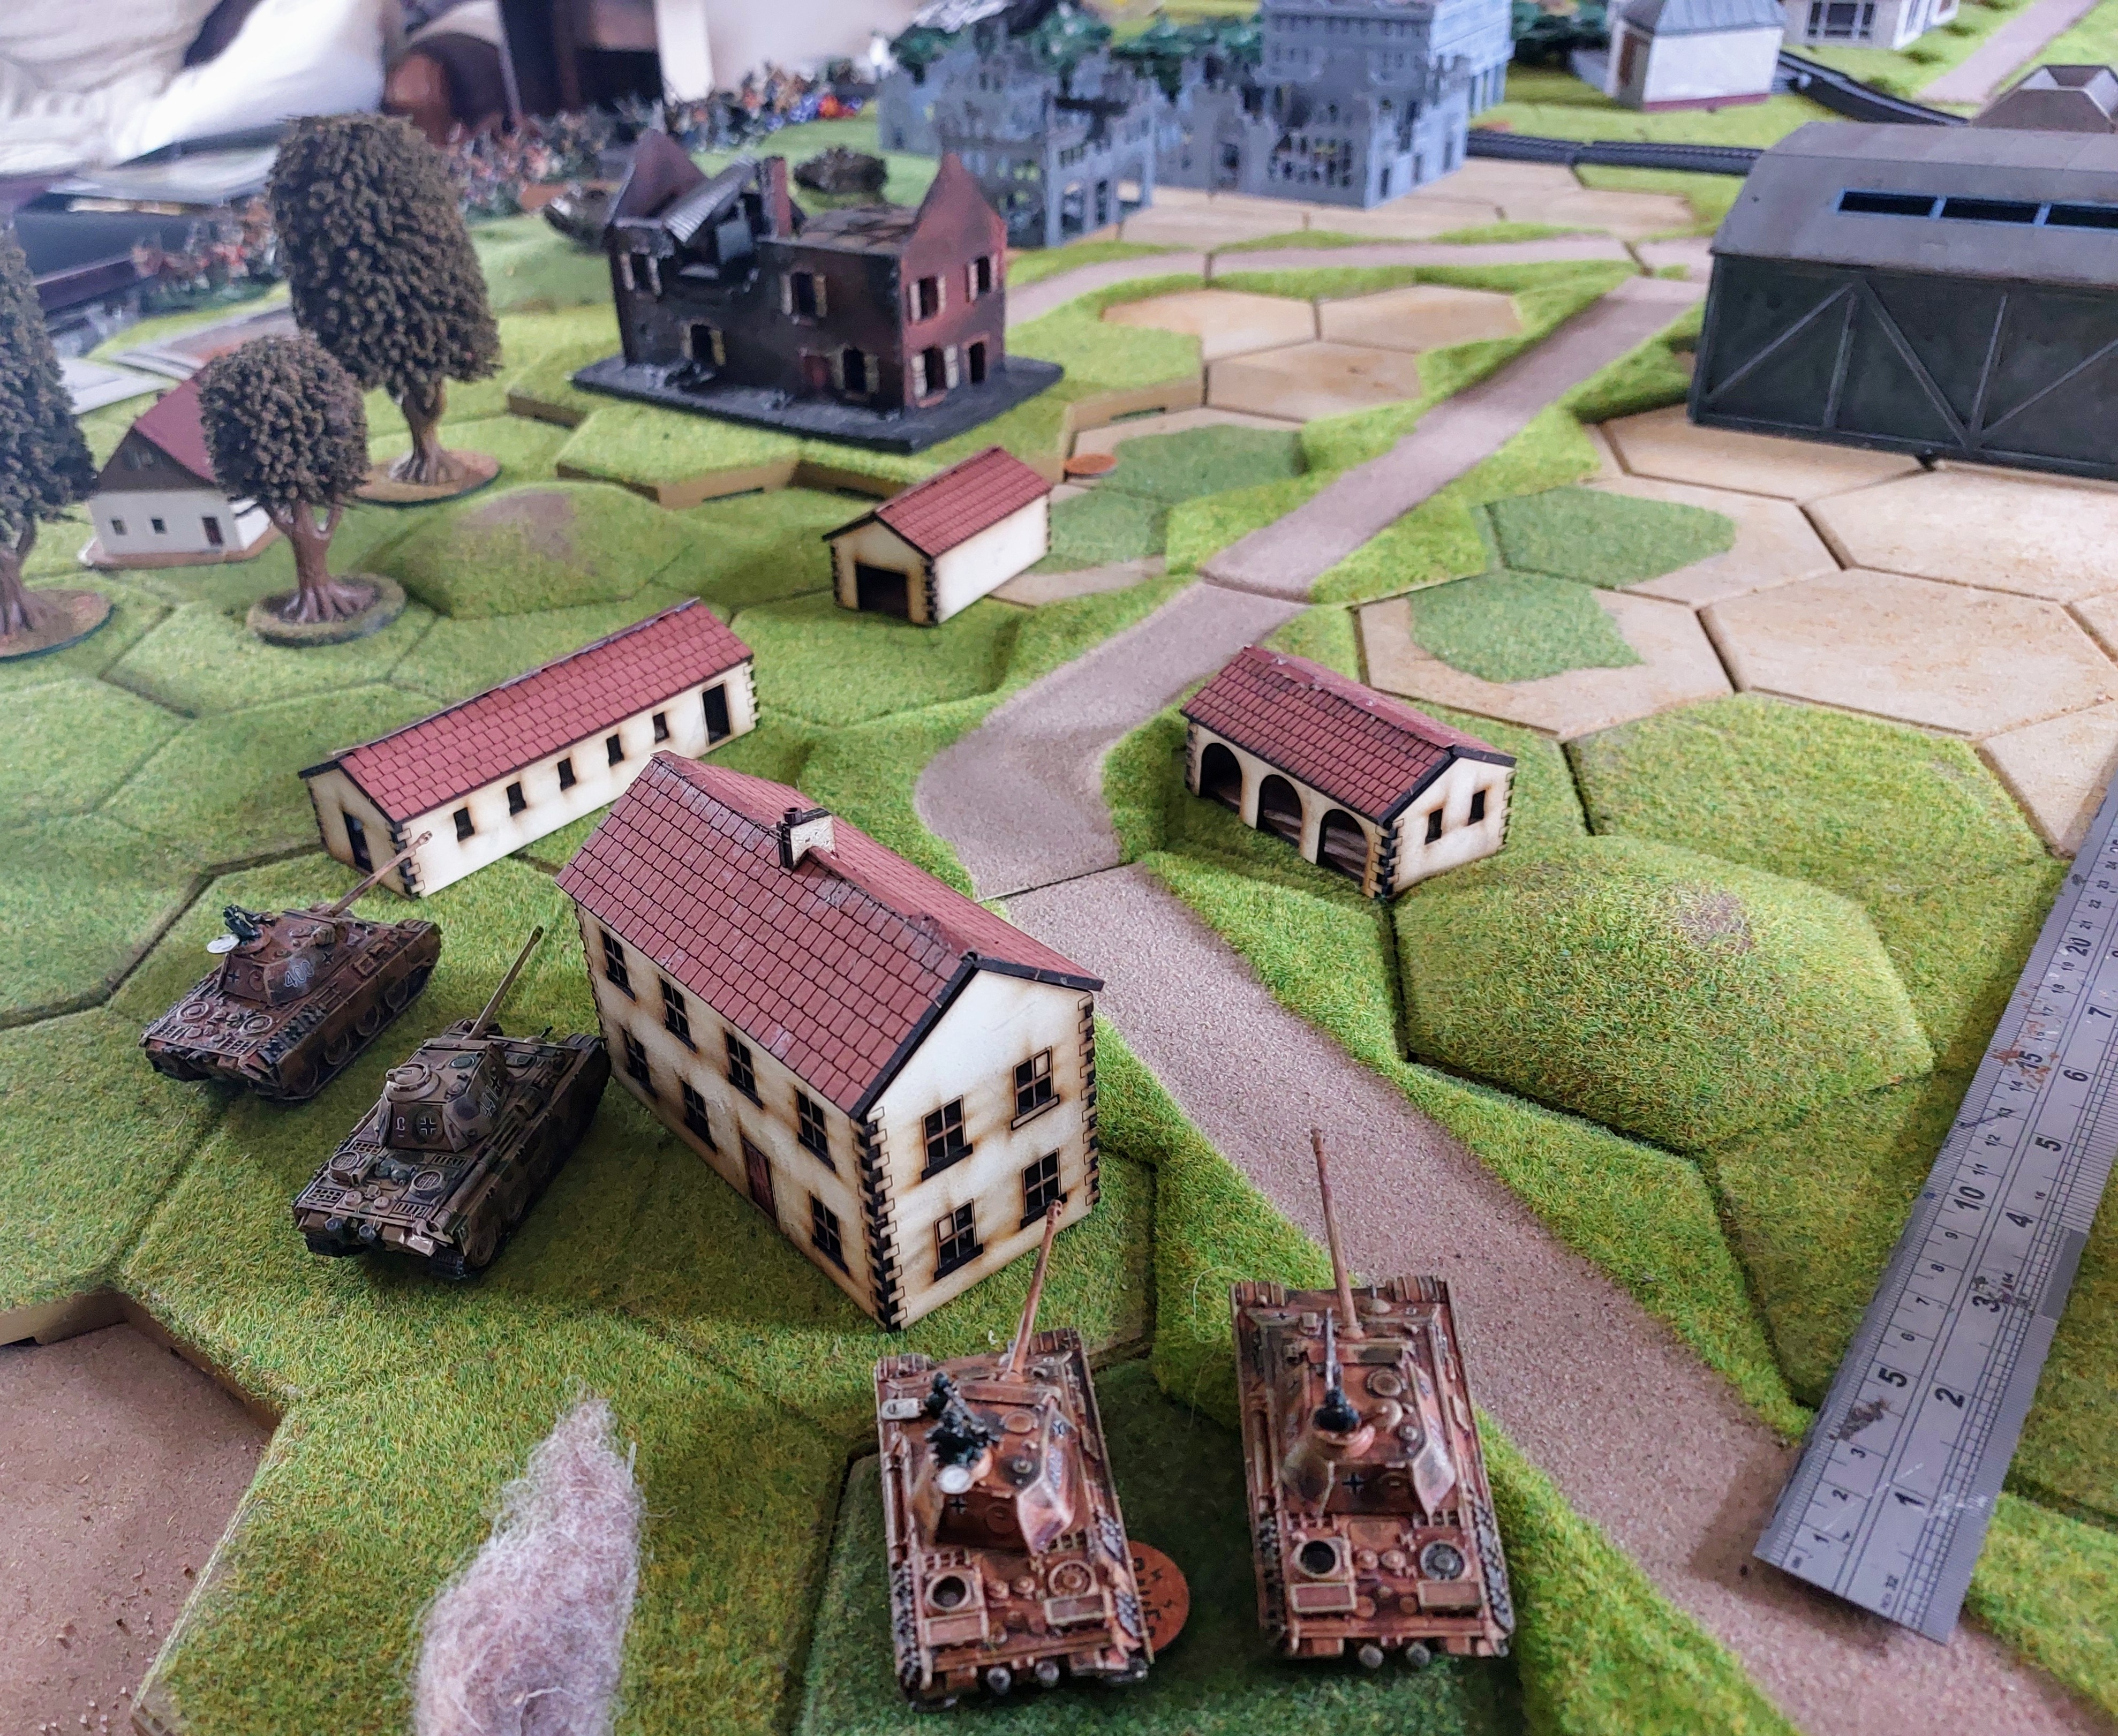
German plan (dan na!)
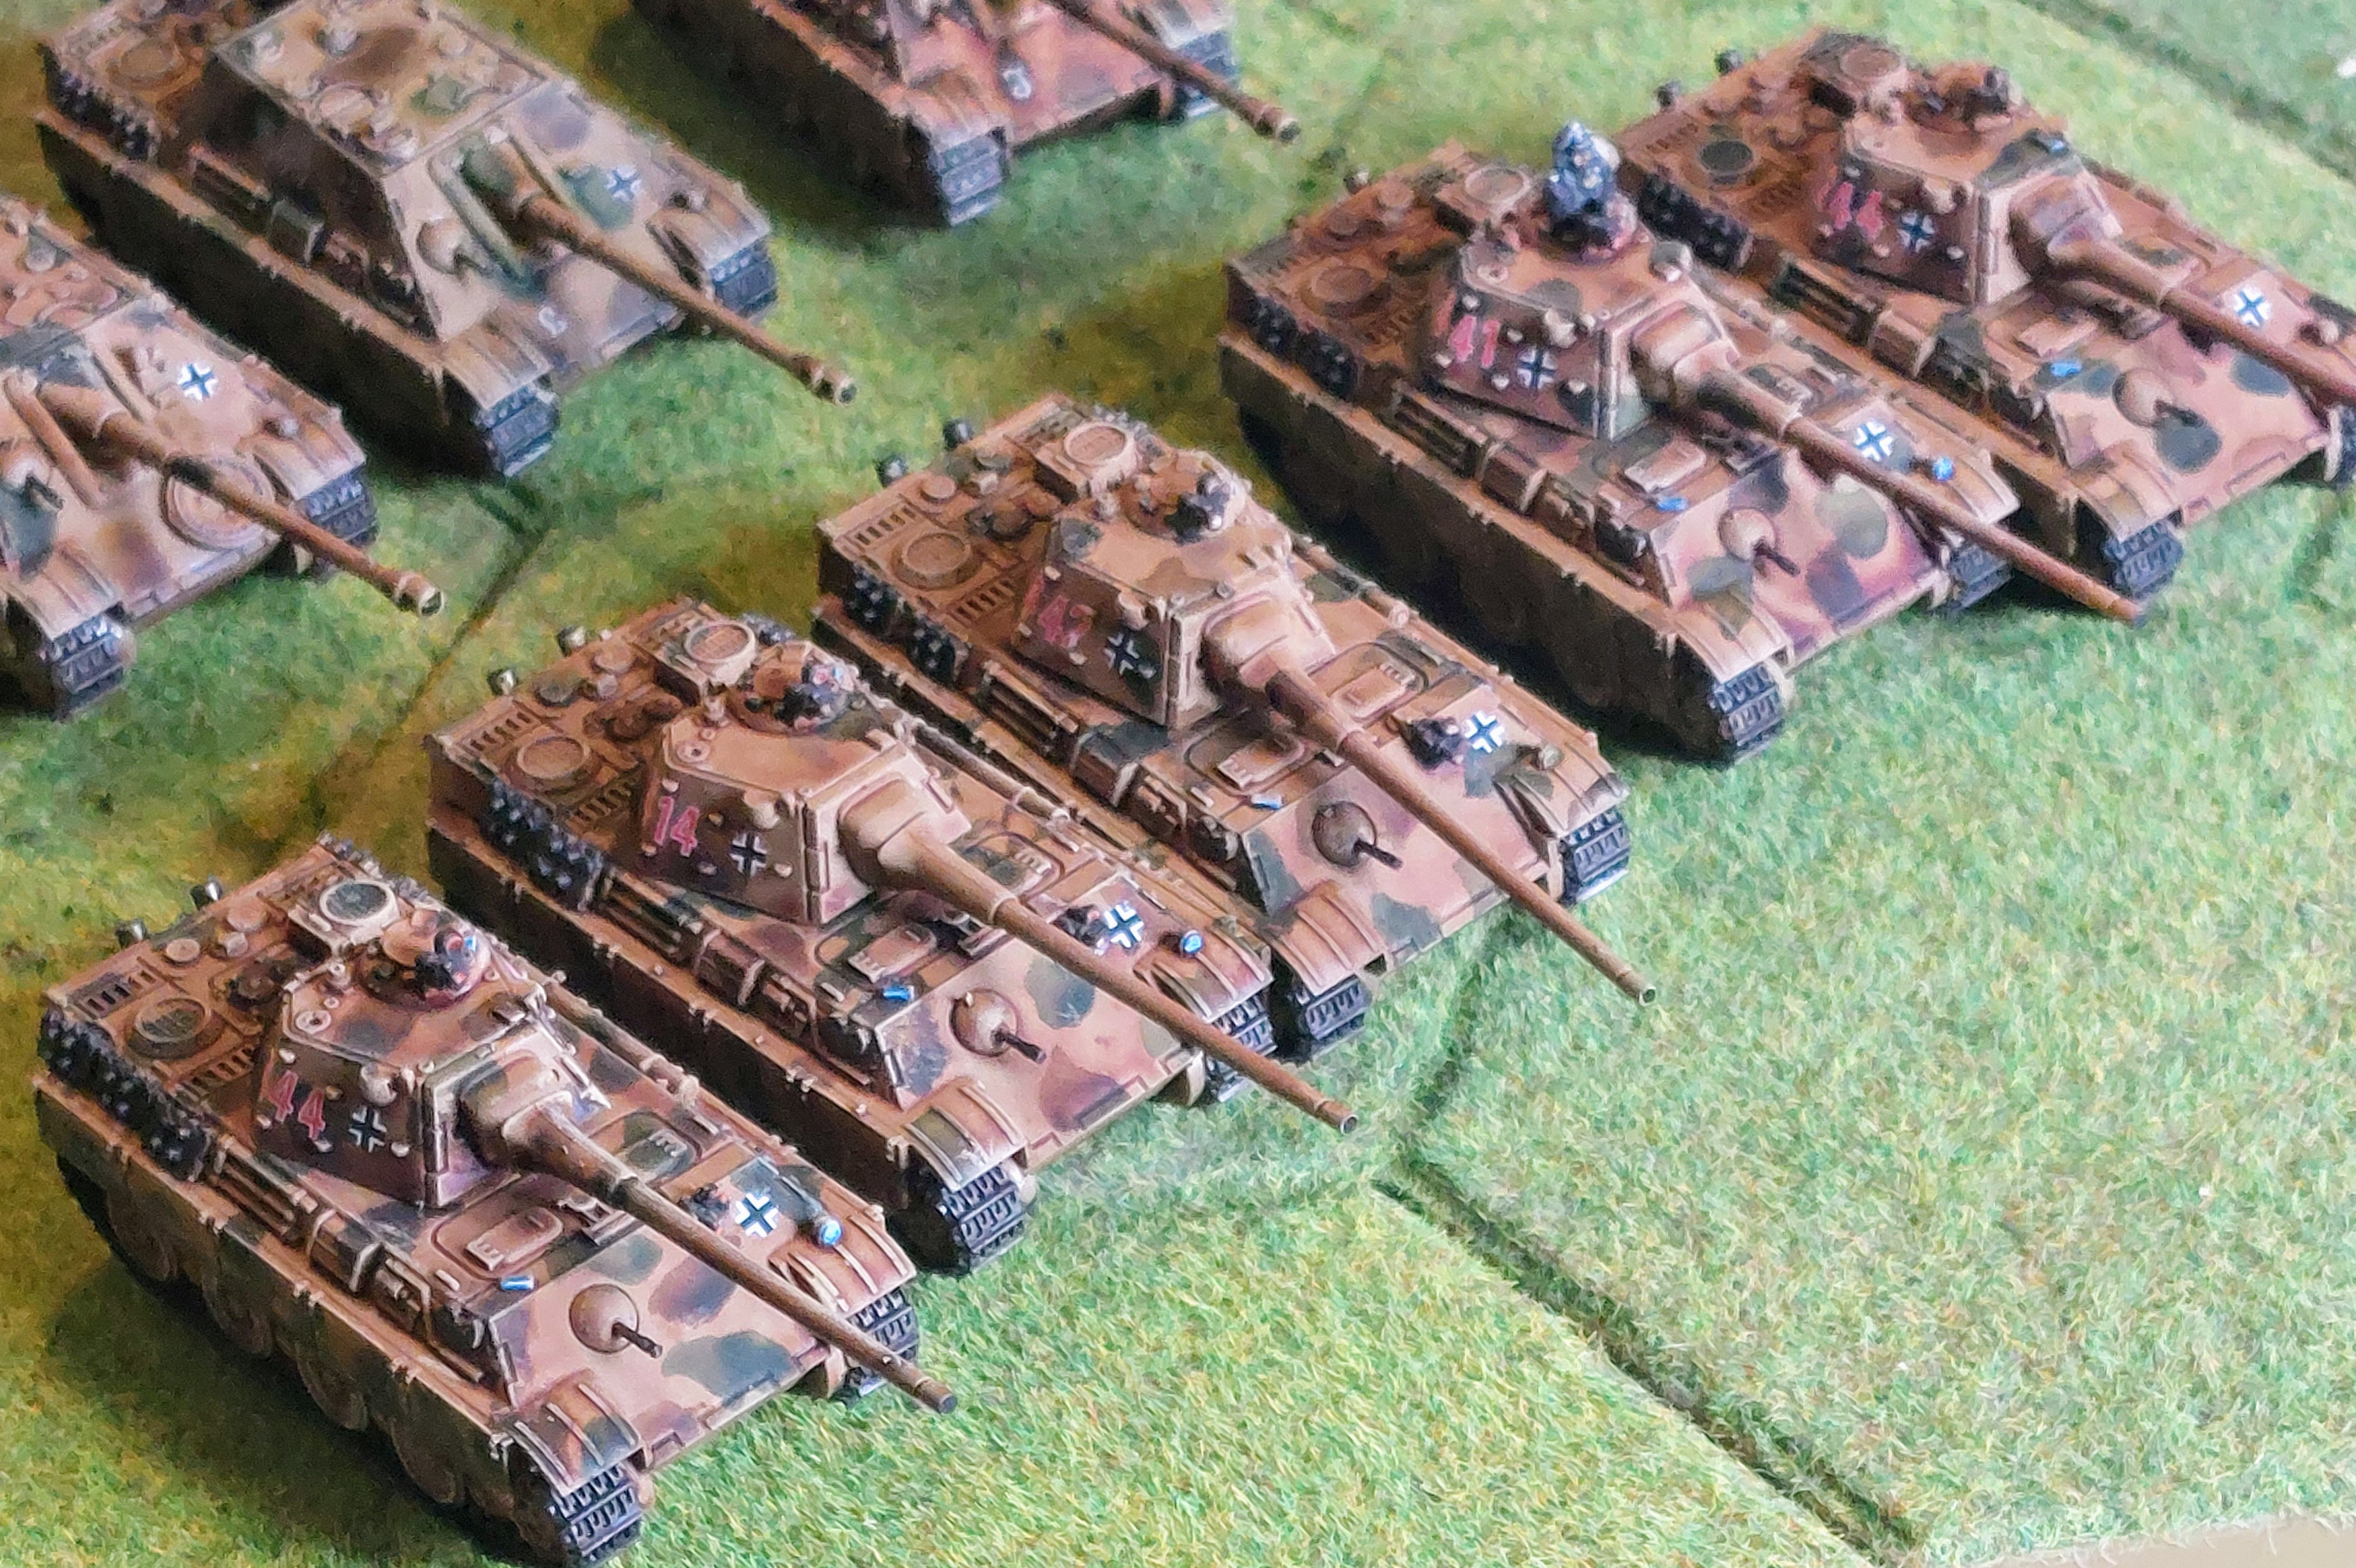
1st thing is I think I messed up on picking forces, should have gone with gut and gone for cheap and cheeful Tiger 1’s, think I could have got 2x 3 tank companys for cost of shiny Jagdtigers . but oh well !
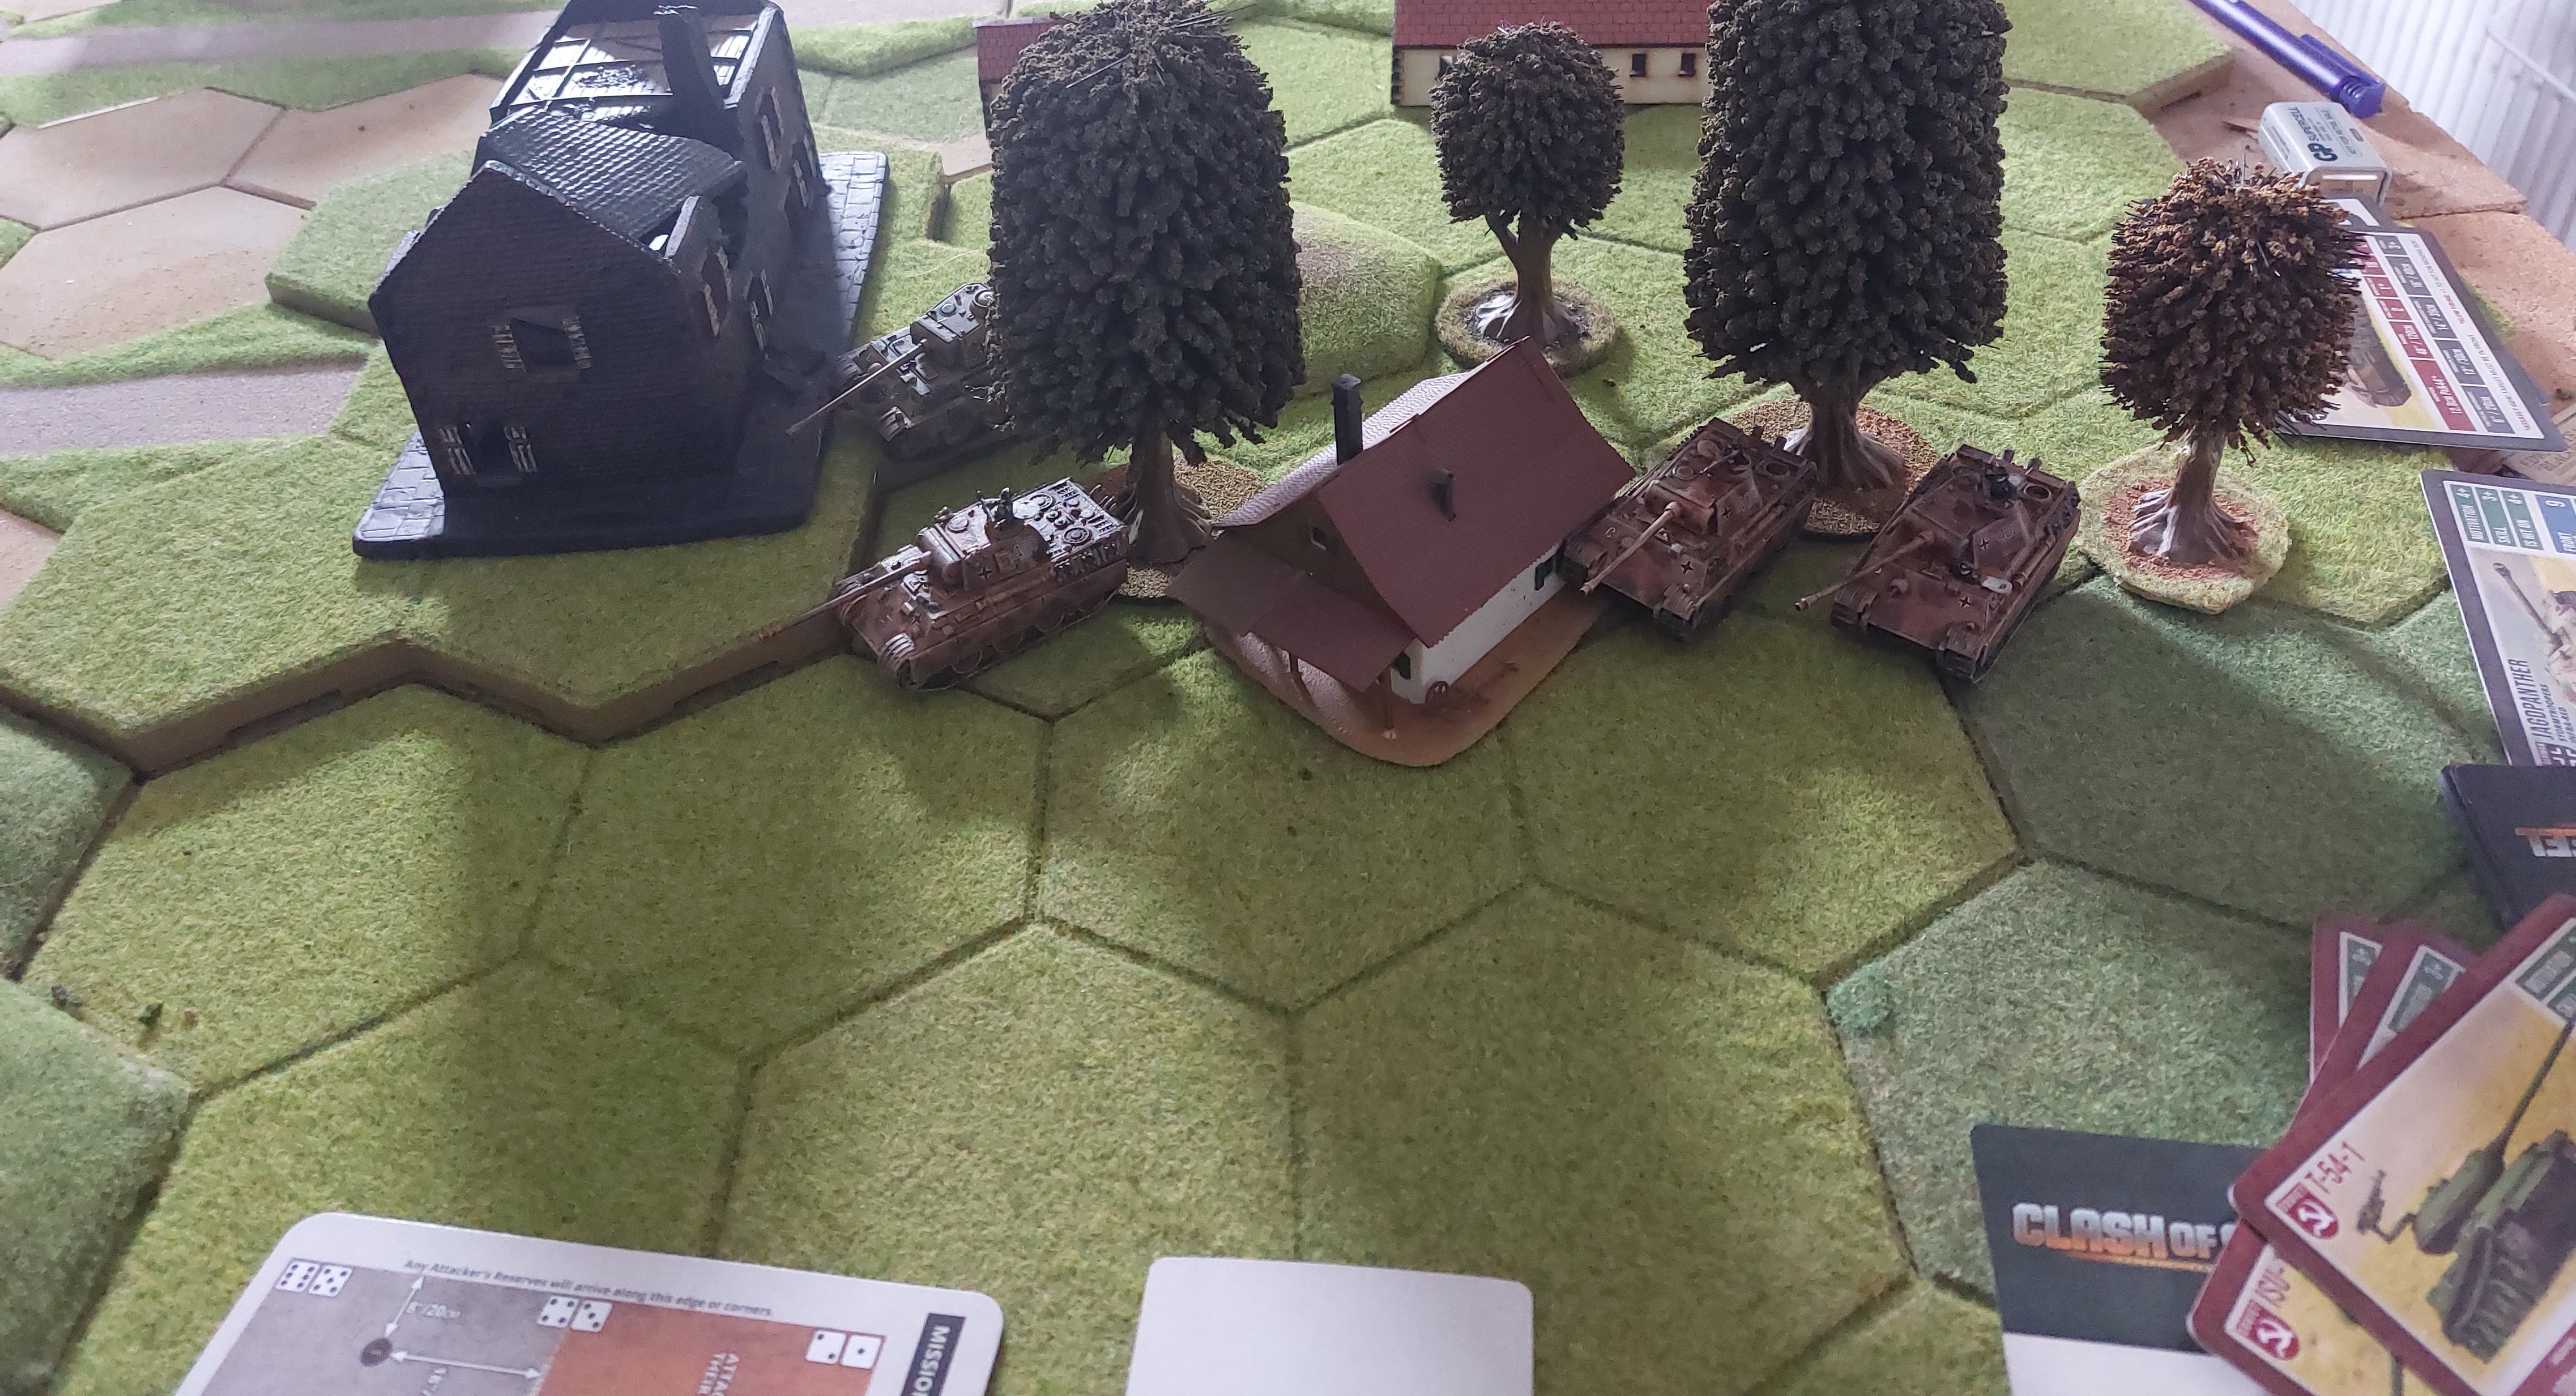
My thinking on this has developed on this, given numbers think going for objective 2 only intially is the way to go, as with previous game, can use the wooded hill to dominate the approachs to the objective with the Jagdtigers, moving the 75m panther ands around the sides of the table.
Initally the plan is to move the Jagdpanther into the the buildings around the rail line to shoot at anything moving to objective 1 and to hold the ** panthers back until I know what both objectives are.
Assuming that they are not dummies, plan is tot take objective 2 and only really contest 1 if they can quickly immobolise the Soviets and secure 1.
Its a plan, not saying its a good one!
Soviet plan (da na!)
The sound effect is for anyone who watchs those war story documentary’s which do battles , or phaff for 3/4 of an hour on the commanders forces etc, and then do 15 mins if lucky on the battle taking out time for adverts, pre views of post adverts, then re-cap post!
The Soviet plan is easy, steam roller the Germans !
But will consist of two parts.
JS3’s & 1 company of SU 130’s and the smaller co of T54’s will move to secure objective 1 as it is the closest of the objectives ,Deploying the Js3’s and the ISU30’s around the hill , with the T%$’s hiding in the building’s area for possible bacontree of approaching German forces .
The 2nd unit of ISU130’s will move into the farm buildings area and take up position to dominate the central table , with the common unit with them
leaving the larger t54 and SU100’s to move to take up positions around Objective 2
Next Scenario picked , thats different !
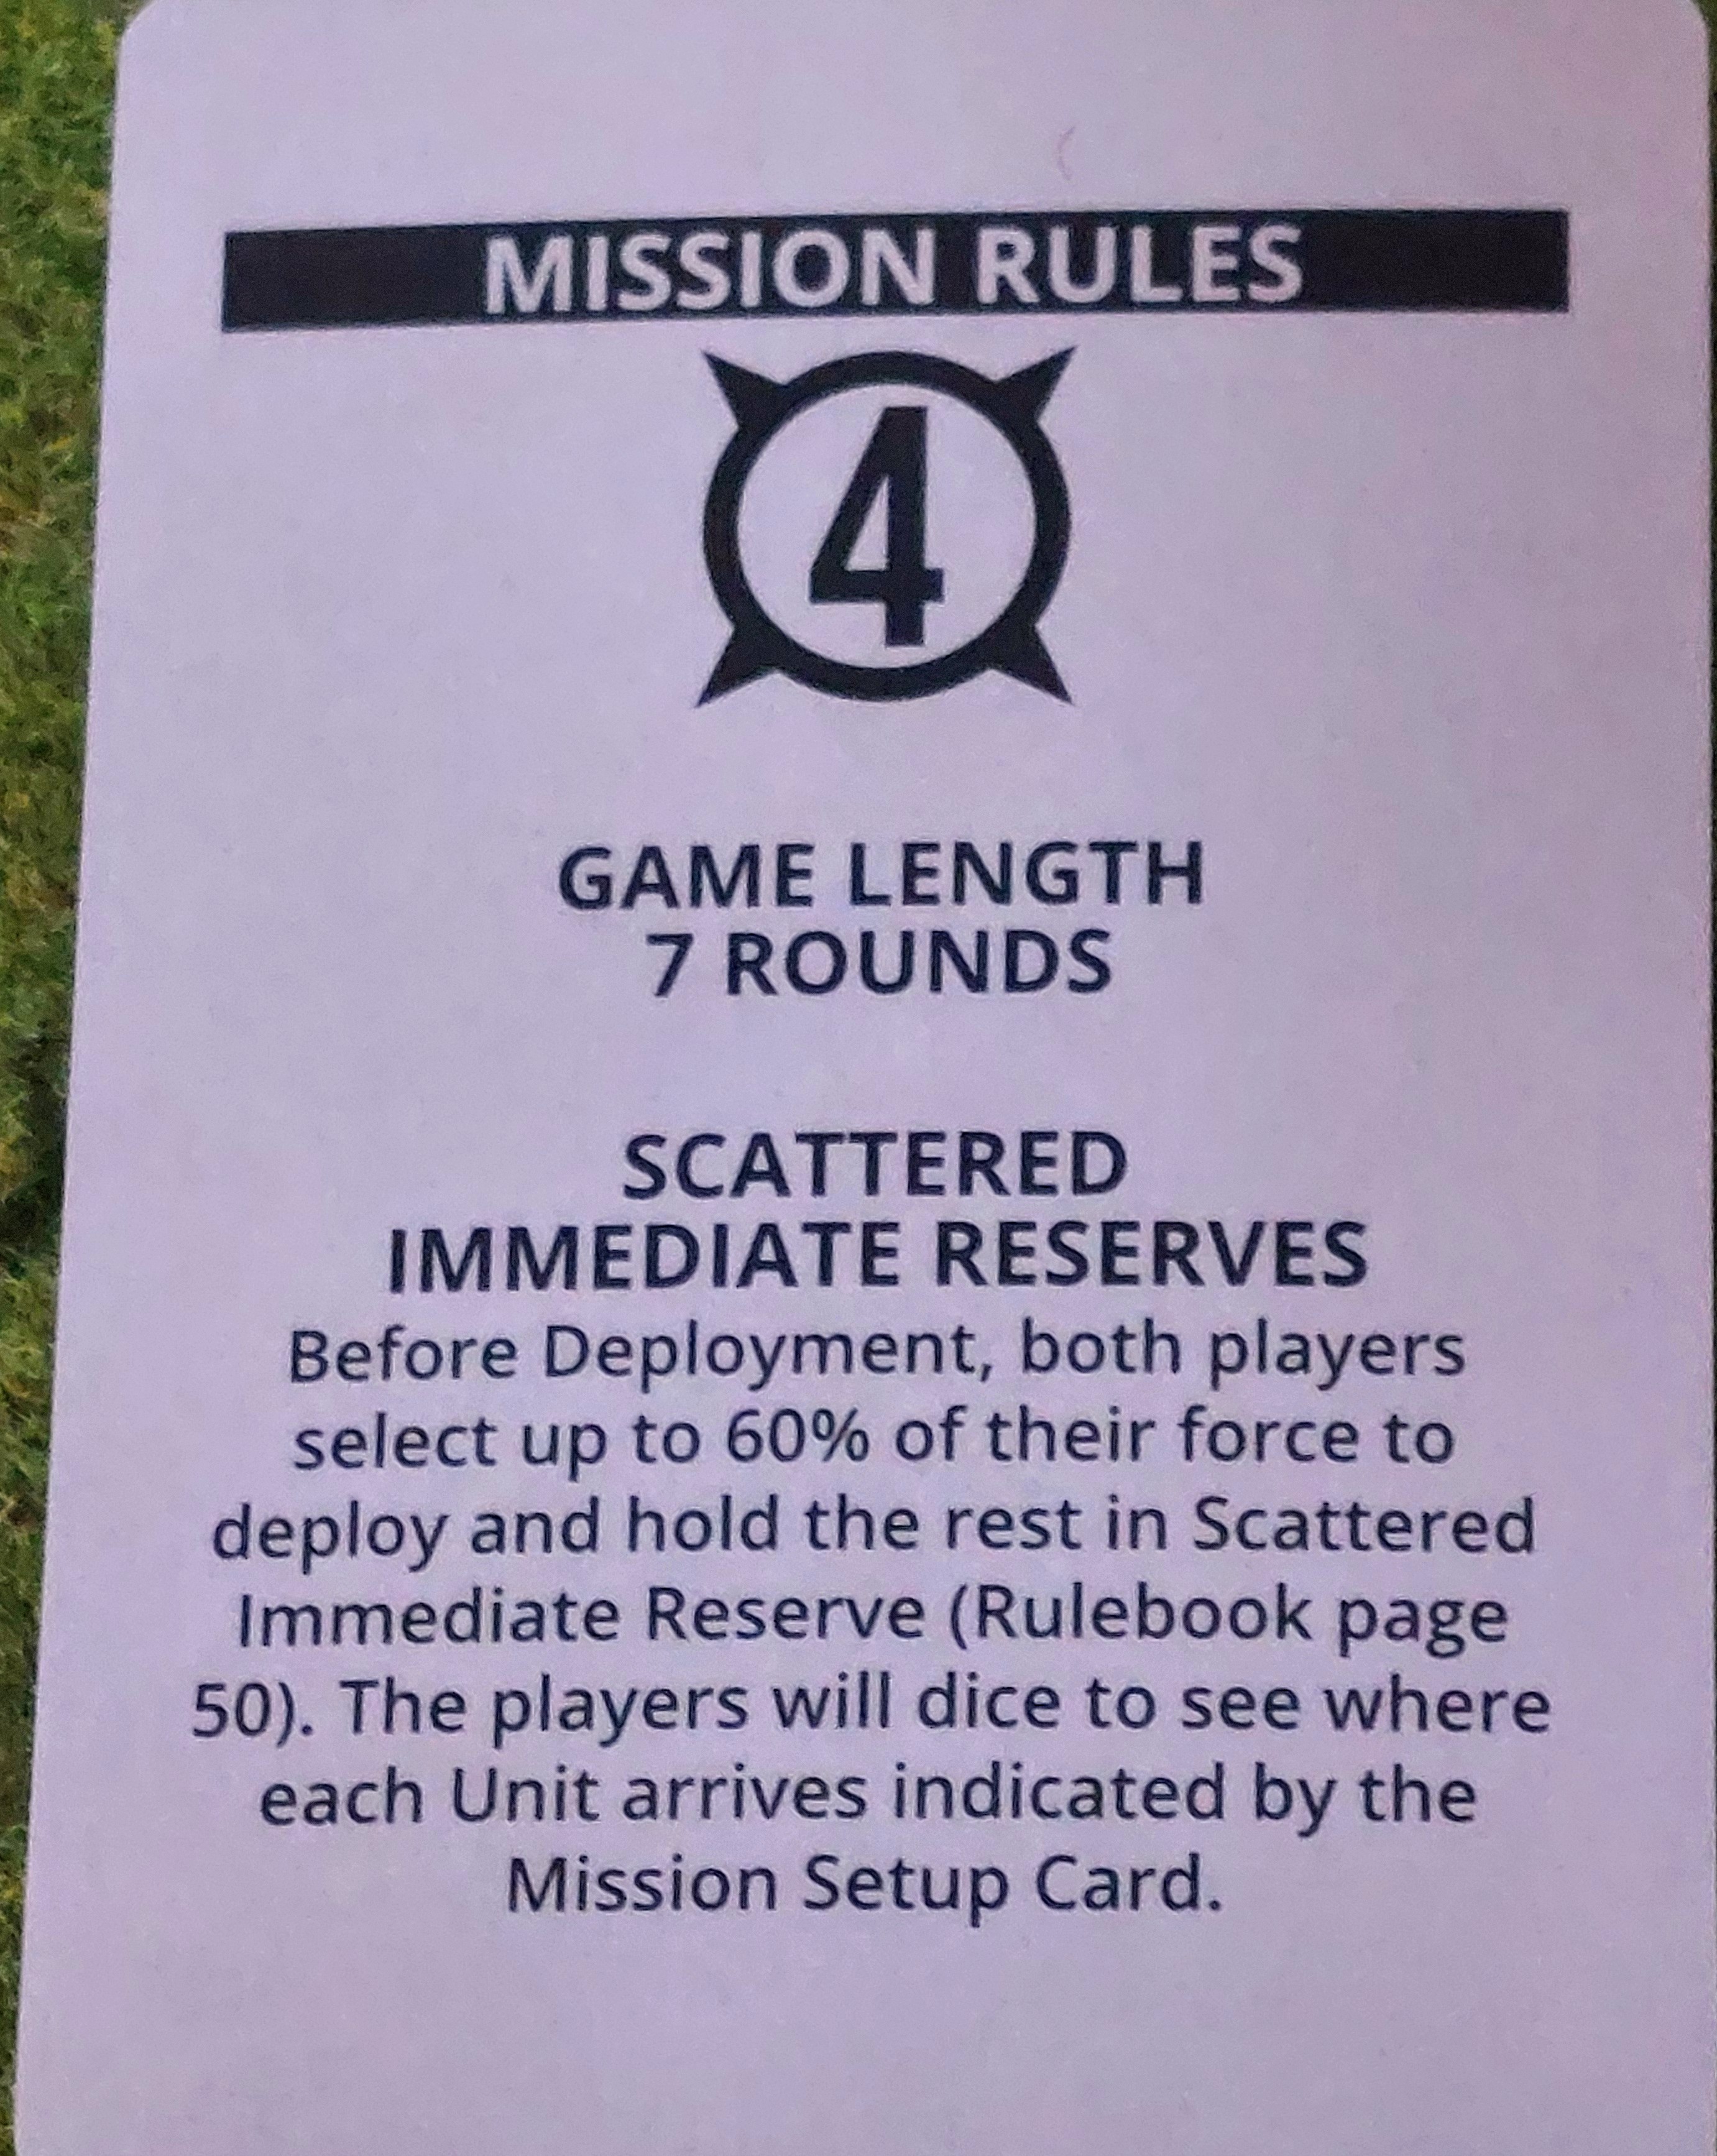
- Well having shuffled the mission setup and rules cards , I drew them randomly this time ( though why did I think they were going to be identical !) and that was different :
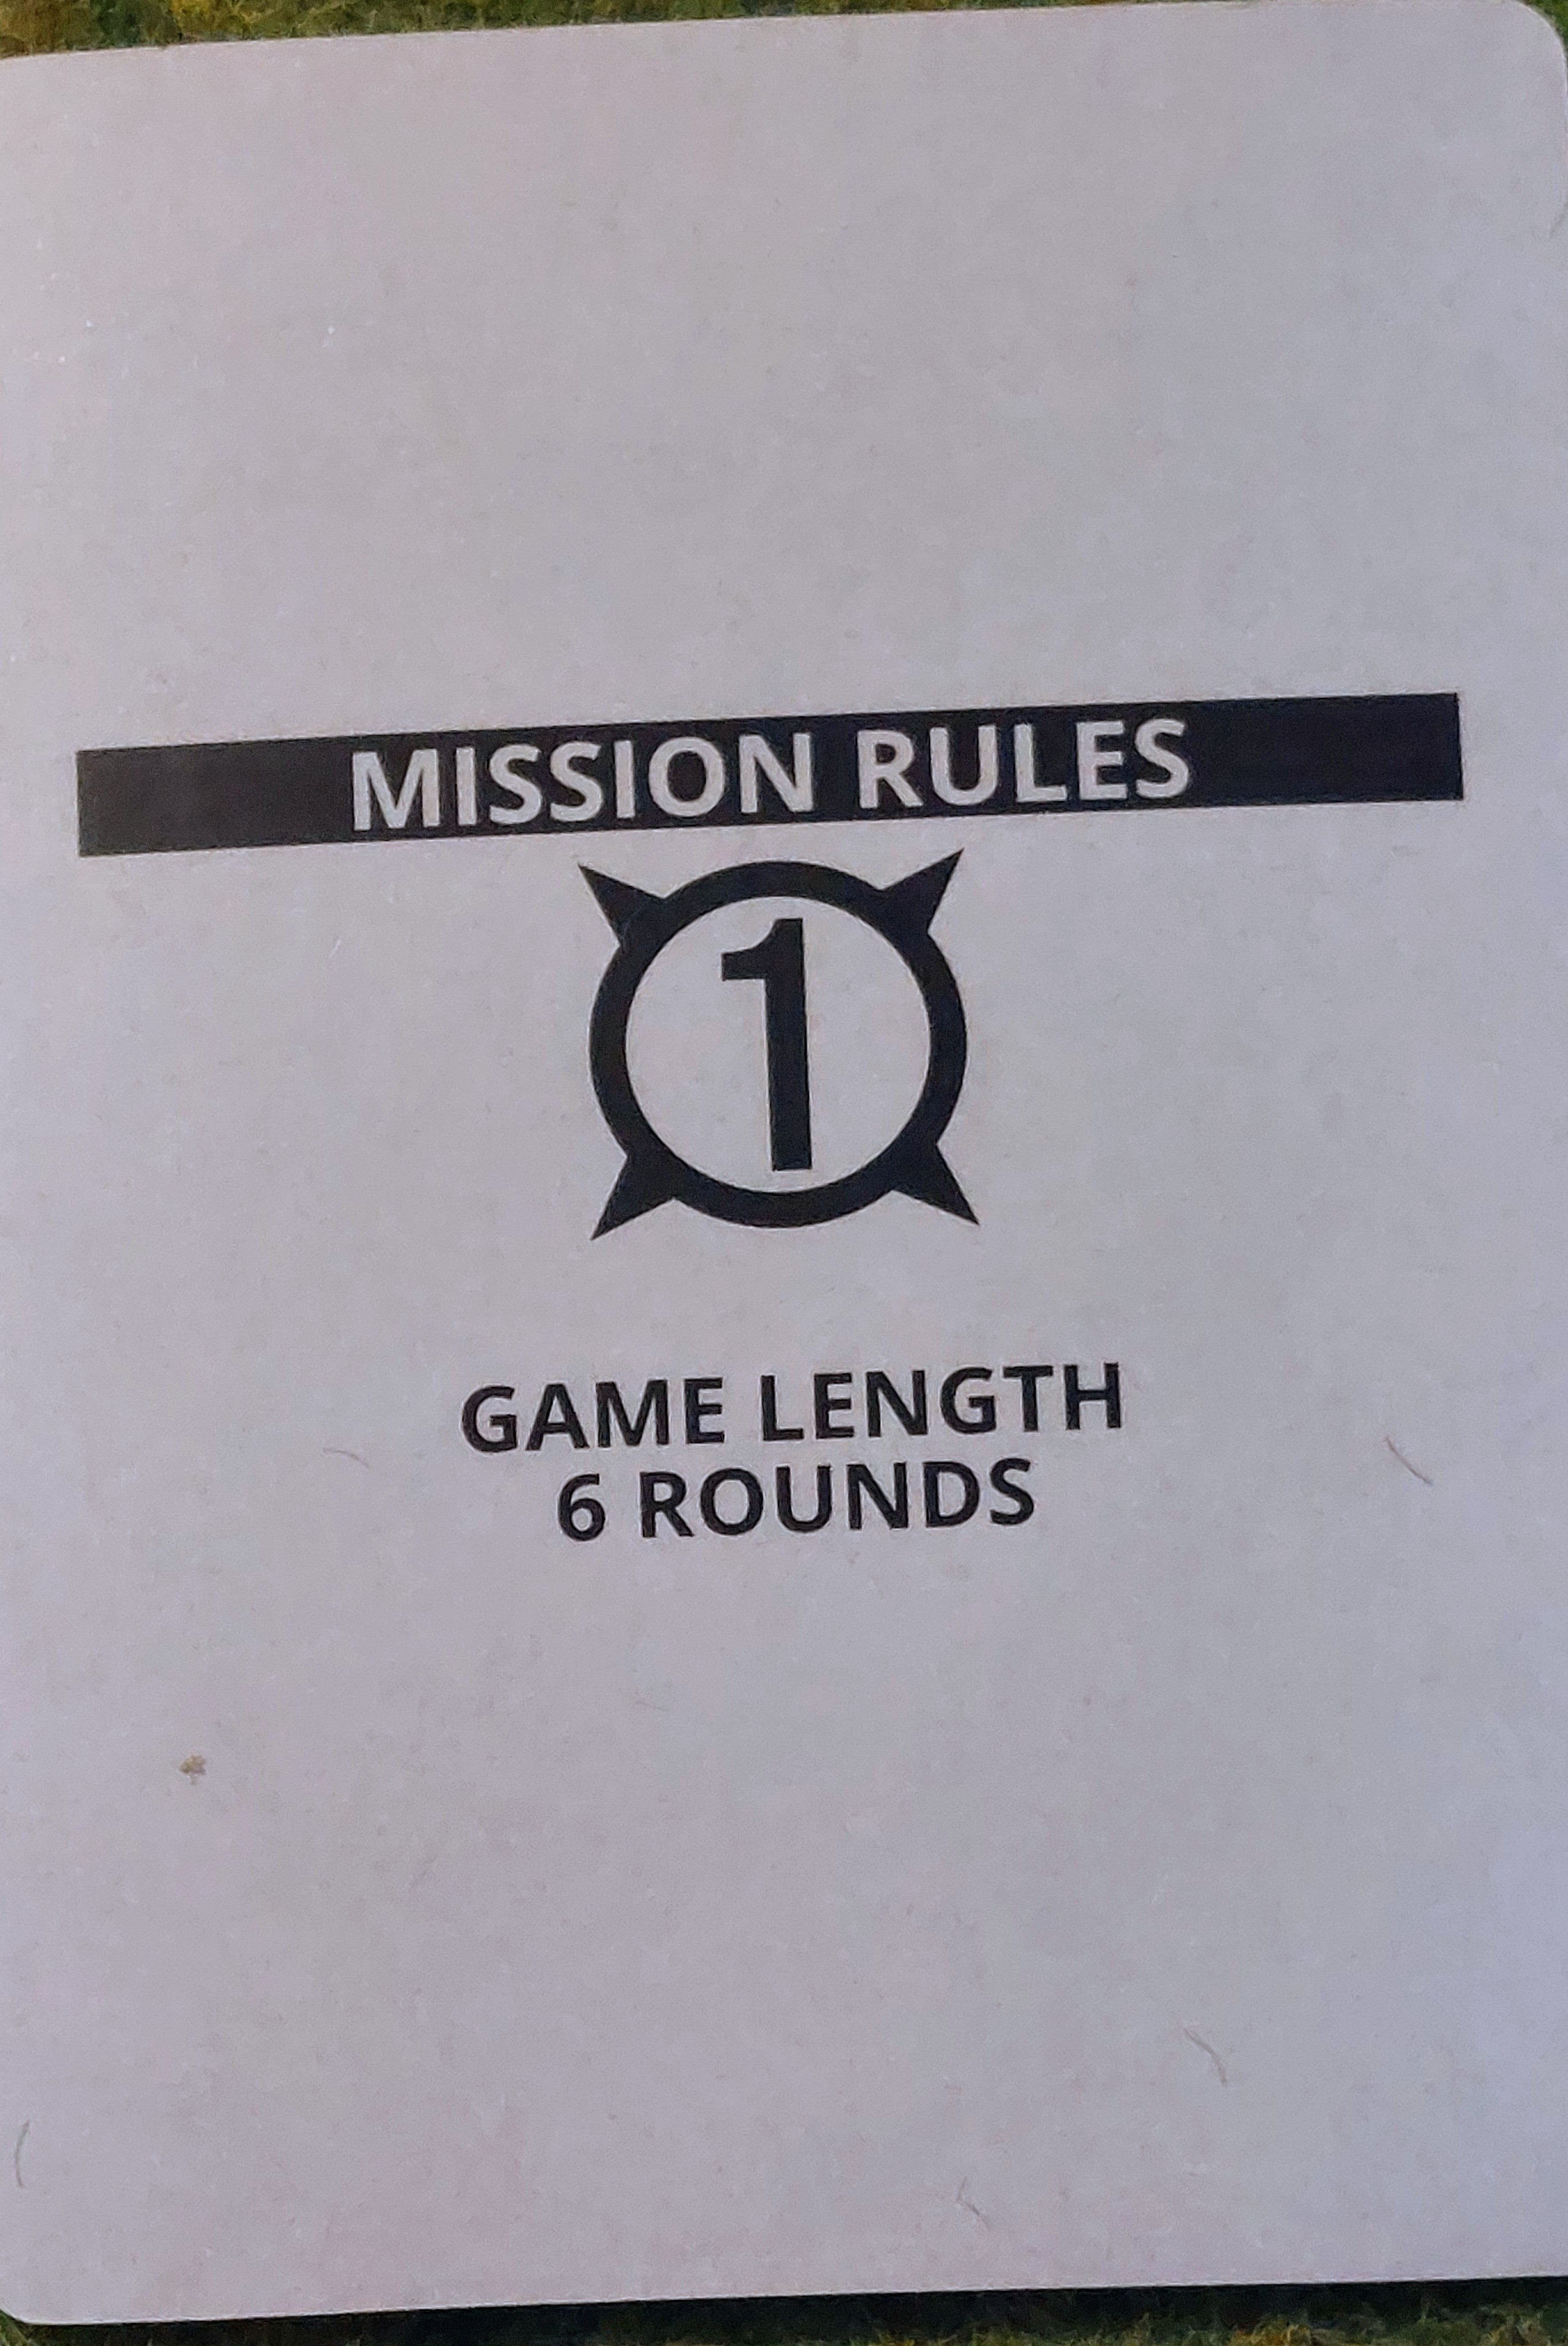
Shorter game turn , two objectives only , and no reinforcements , so the Soviet corner is going to look a bit con-jested!
Any way I placed the objectives as on the map and put some trucks, etc for effect!
Now that put the Tiger in with the Sturmoviks !
1st thing is the corner deployment with the built up area in the middle of the table favours the Soviets as it negates much of the German range advantage, which is good as the reduction of objectivess reduces the Soviet’s ability to stack up points by getting them 1st, Objective 2 is in hilly terrain so defending units can hide and both have dominating terrain around them.
Now all that needs to put a major monkey rench is for objective 2 to be a dummy, which will be after boths sides has had to allocate and beging to move towards either objective!.
Oh! and forgot to mention rolled for Attacker/Defender
Germans as per narrative are attacking and Soviets defending!
Upping the game
Having played the 1st game am now looking at expanding it upo 100pts
On my Birthday 14th Sept ( just 1st free weekend as Sept is heavy with Birthdays plus post pub visit can be arranged) planning a games day, using table layout to do various Clash of Steel Games, and maybe Stargrave final game. Will up it to 75pts a side. Also will return to standard Initiative to get people used to rules before phaffing with it.
But will be trying a 100 p solo game game , sticking with everyone vs Soviets, starting with re-equipped German force, facing a revised Soviet Force
The thinking on the Soviets based on partly the narrative from Army guides and 1st game Experience.
Firstly let’s try and Improve the Soviets Range, and Penetration, so more ISU130’S and T54’s.
Command
1x T54-1 4 pts
Command Skill
Major Lightning 3pts
Core Units
6 xT54-1 company 19 pts
5 xT54-1 Company 16 pts
5x ISU-130 Battery 15pts
5x ISU-130 Battery 15pts
6x IS-3 Company 20pts
Support
5x SU100 Battery 8 pts
100 pts
The skill allows a role for 2nd movement of units within command range.
This selection should give a bit more punch but also allow them retain there mobility.
German
Command
2x Panther 8.8cm 22pts
Skill Resourceful 3pts
Core Units
3x Panther 8.8 cm 18 pts
4x Panther 7.5cm 14 pts
3x Jagdtiger 30pts
Support
3x Jagdpanther 13 pts
100pts
You will notice a marked lack of Maus, they suck up a lot of pts but still only have one bang stick.
I decided I needed more than better to stop being Swamped.
It is very Panther orientated, the 8.8 version gives me same bang as the King Tiger, but with Superior Mobilty plus Accurate.
The Command Skill makes him Concealed if not moving, even if out in open.
Be interesting to see if it works as it Germans with 15 tanks vs Soviets with 33 , so over 2 to 1 numbers can German superior tech overcome Soviet numbers, the age old question .

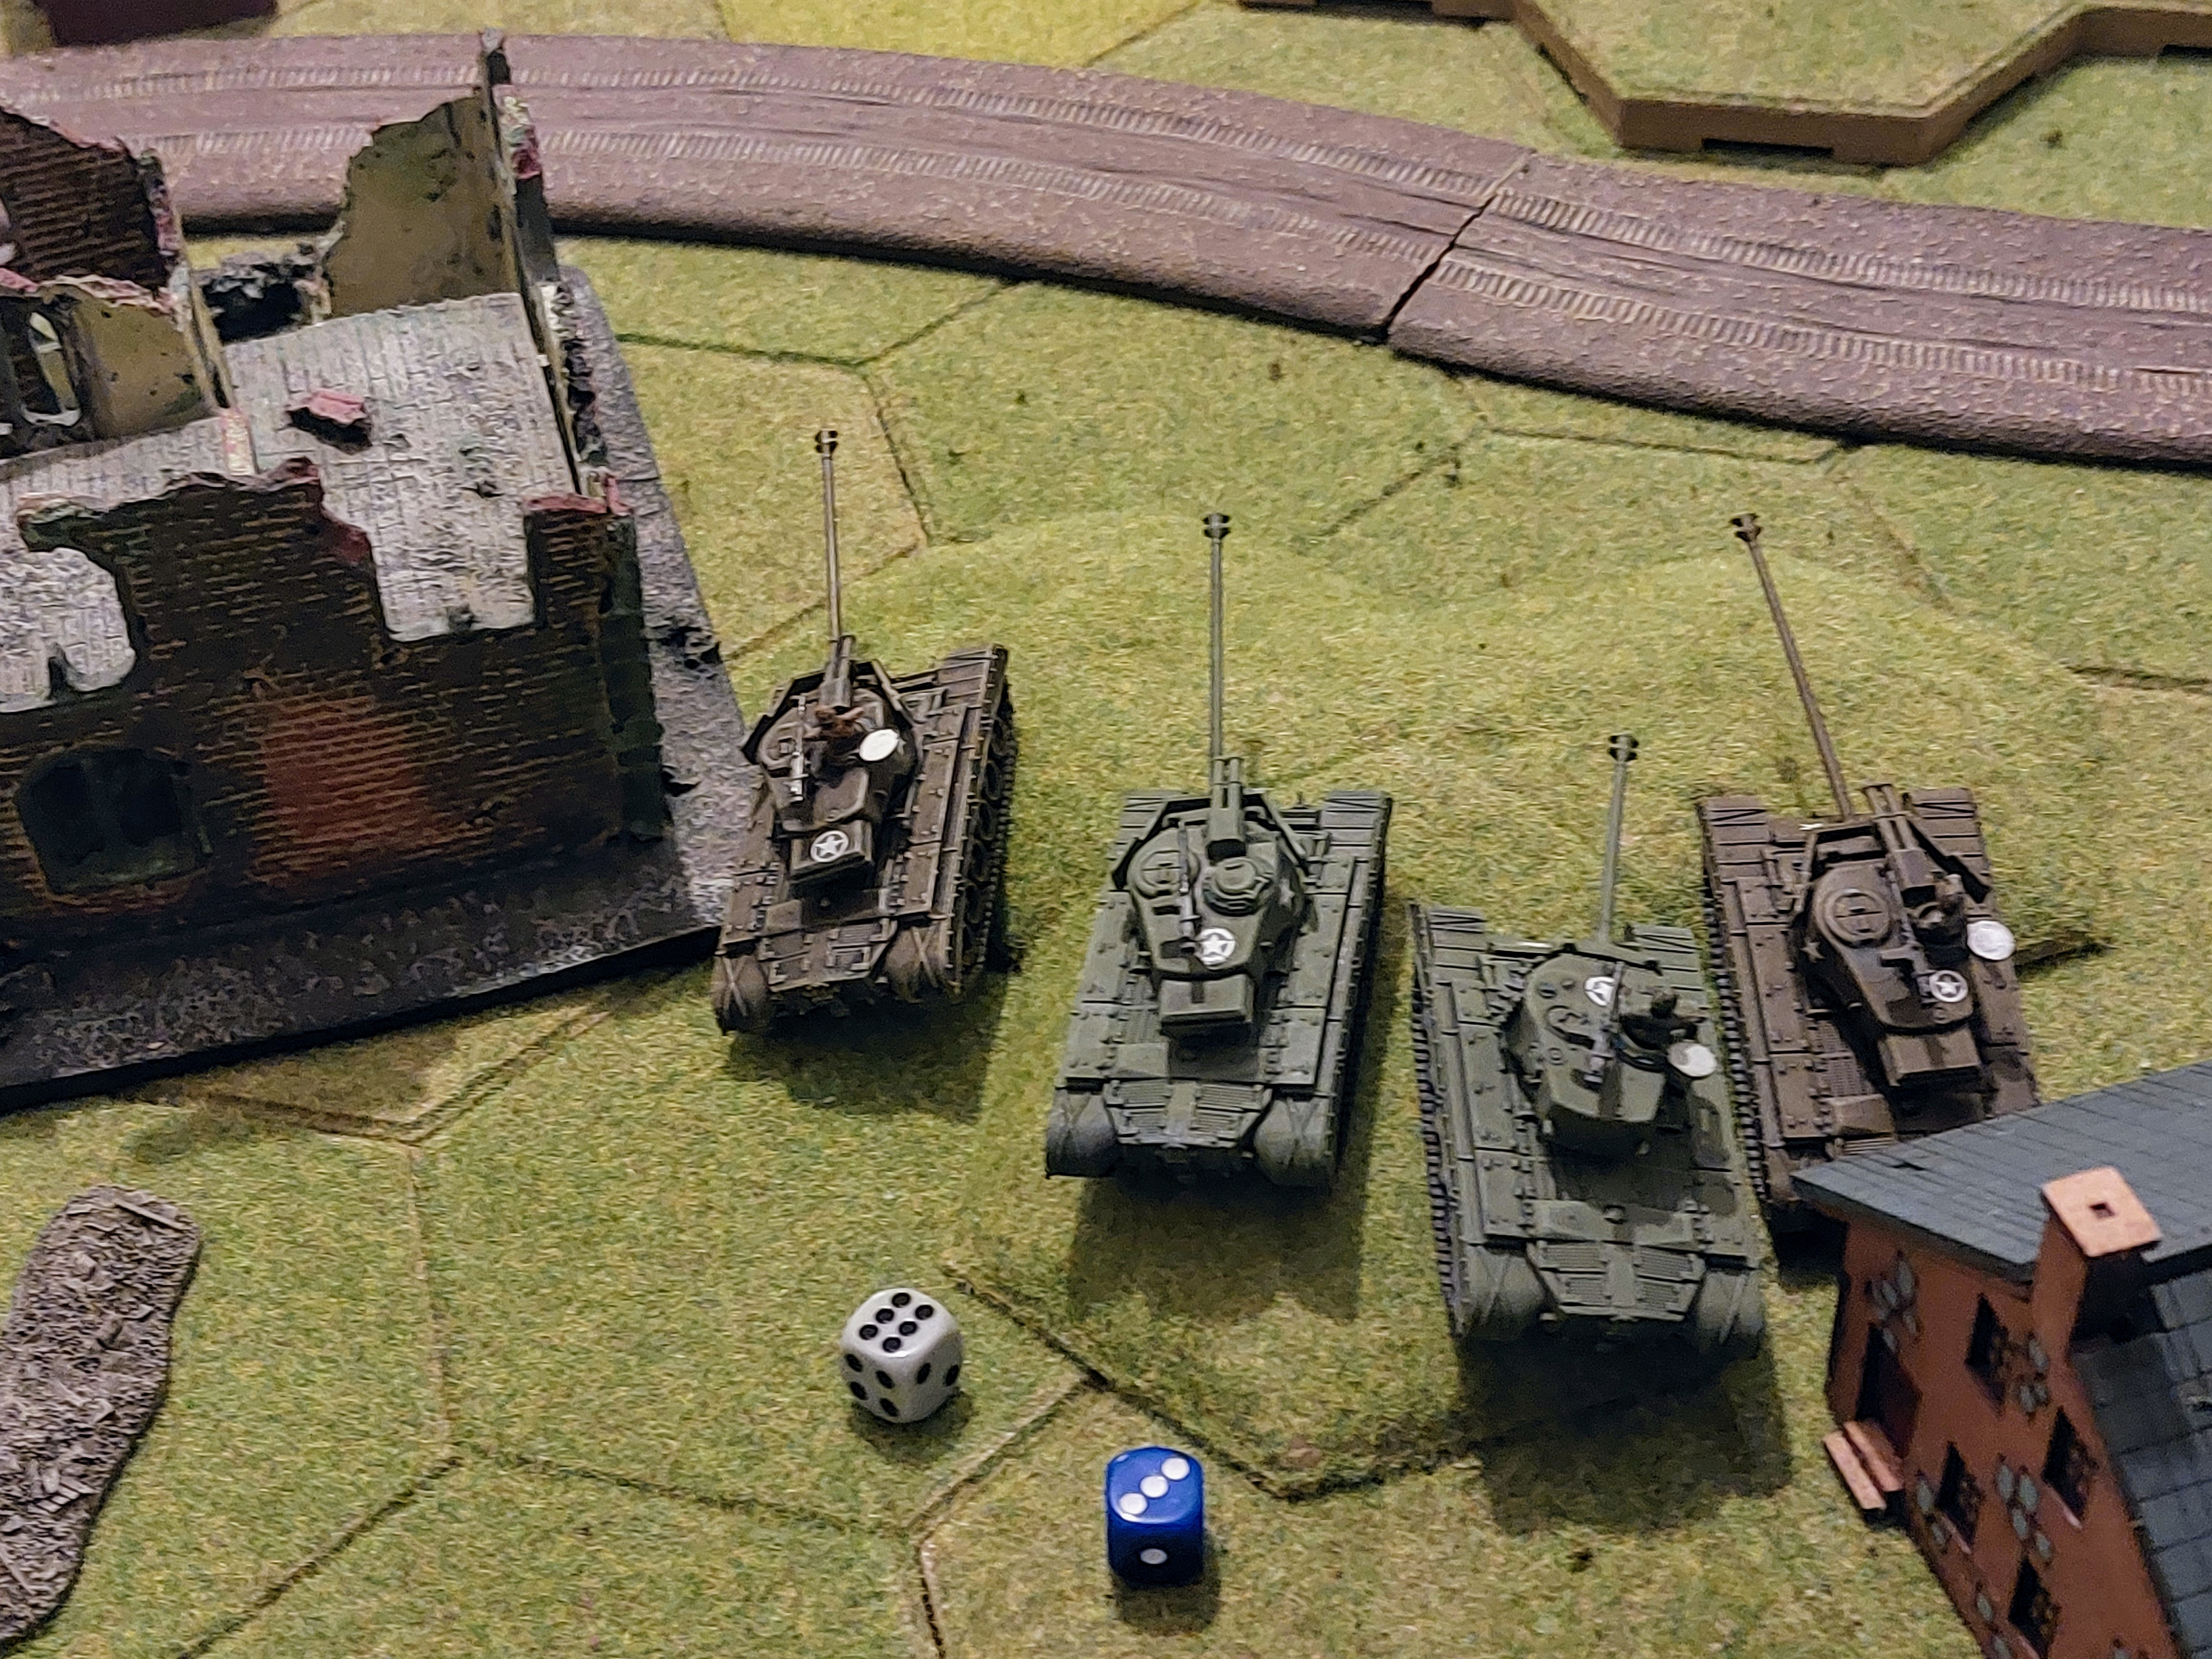
For those who want a close up of new 88 Panthers.
Final thought on 1st Game
As a solo game this tank light version of Flames of War worked well, it reminded me not only of the rule mechanics but was reminiscent of some of the earliest micro tank games I played back in middle 70’s using old WRG rules.
The various random mission layout and mission rules give a wide range of random scenarios for a table that can be left with same basic layout, it’s certainly an idea we will adapt for other games.
Now as for the Forces, the Soviets have 2 things going for them, numbers and mobility, that’s it, their heavy tanks are not as good as look on paper ( historically correct) being out ranged and having insufficient armour against the best guns of opposition. To be fair it was shear bad luck and lousy dice that kept their best unit out of most of the Game stuck in a fog, but they still managed victory pts .
Think T54’s are the way forward.
I’d watched a few lets plays by various groups and it became obvious that the big Heavy tanks were costly, slow firing, and despite good armour and guns just didn’t have enough shots to kill the Soviet waves, which is why I went for lots of Pershing’s, which worked (just) have a feeling my British Force will be pretty much Centurions and Comets!
Moves 5 & 6 it's all over.
With only 2 units left and the Command could the Soviets hold their pts lead till the end of move 7.
1st dice of move 5 was a blue, not going against the trend of game for the side least units draws 1st.
The Americans played a Tactics card swapping the objective rules, so the fog moved from objective 2 to 3, leaving the SU130’s in sight of everything, 2st the 2 Super Pershing’s stopped and poured 3 out of 4 shots into the unit easily dispatching 3 despite having cover ( it was below 16″ so only needed a 4 ) with for once managing FP roles as no armour save possible)
Next another Blue, so having dispatched the 3 SU 130s on the far right, the M36s move 2 into site and 2 stayed stationary to pour 6 shots into the survivors, 4 hits , and 2 shots failed to bounce, one would have survived the FP check but another Tactical card was played and it went on the roll.
Pts Sov 21 U.S 15

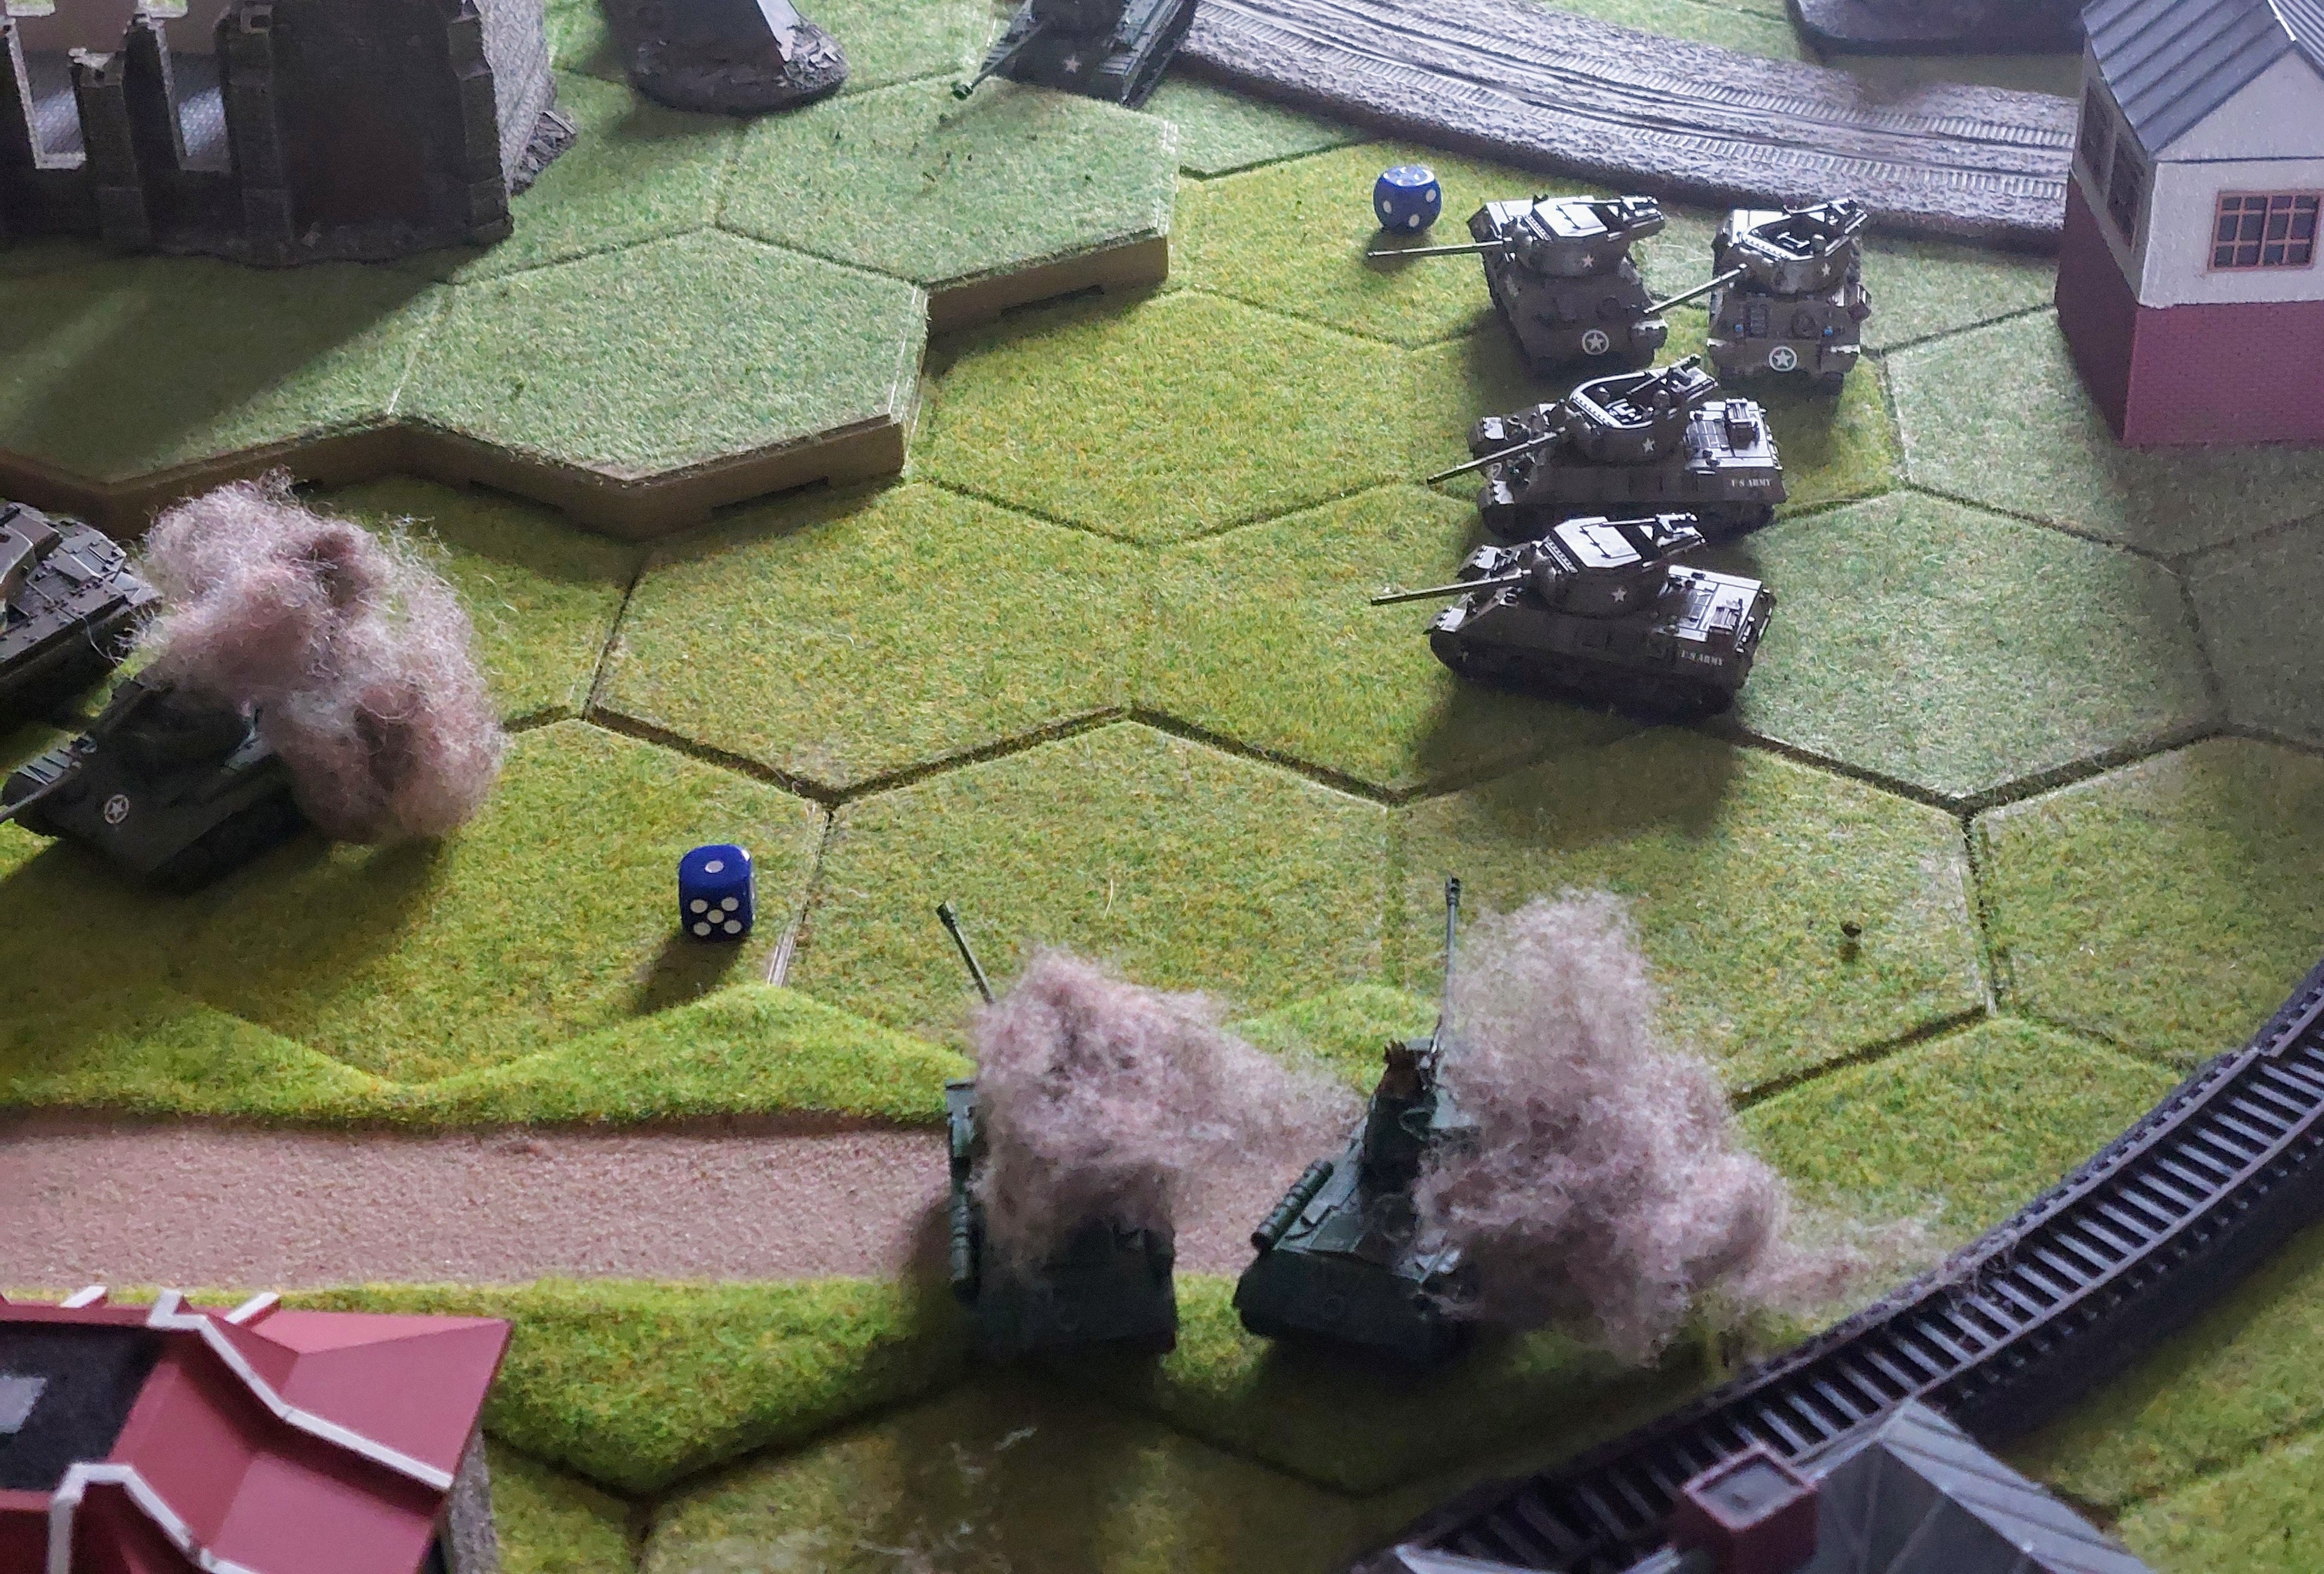
A red dice next , so the IS3′ opened fire on the Remaining Pershing easily killing it to pull back 3pts and hold their lead
Soviets 24 U.S 15
With only Soviet Command to activate, the U.S used their next dice to secure objective 2 (or so they thought) which would be the pointable objective as of next turn.
Then another Blue, so the Assault Pershing’s moved of the hill to close on either the JS3’s or the Command T44. Pointless to try shooting as the J3’s armour matched their AP .
Another Blue, so the Easy 8′ activated, 32 moving forward and 2 staying stationary to fire at the rear of the JS3’S whose side armour was exposed, checking the rules only the 2 stationary could do it, and 4 shots hit home, the armour roles shrugged of 2 but 2 went in and the FP test was easily passed as the Easy 8 is on 2+.
Only the command dice, were left, the U S could have little effect but the Soviets moved theirs to objective 3 to steal its last 3 pts, it fired on one of the Easy Eights but the tank managed amazing armour saves and the Soviets lousy FP tests.
As the U.S used a dash move with their Hellcats to get to objective 2 they couldn’t score pts for that turn,
End of 5
Soviet 27 U.S. 15
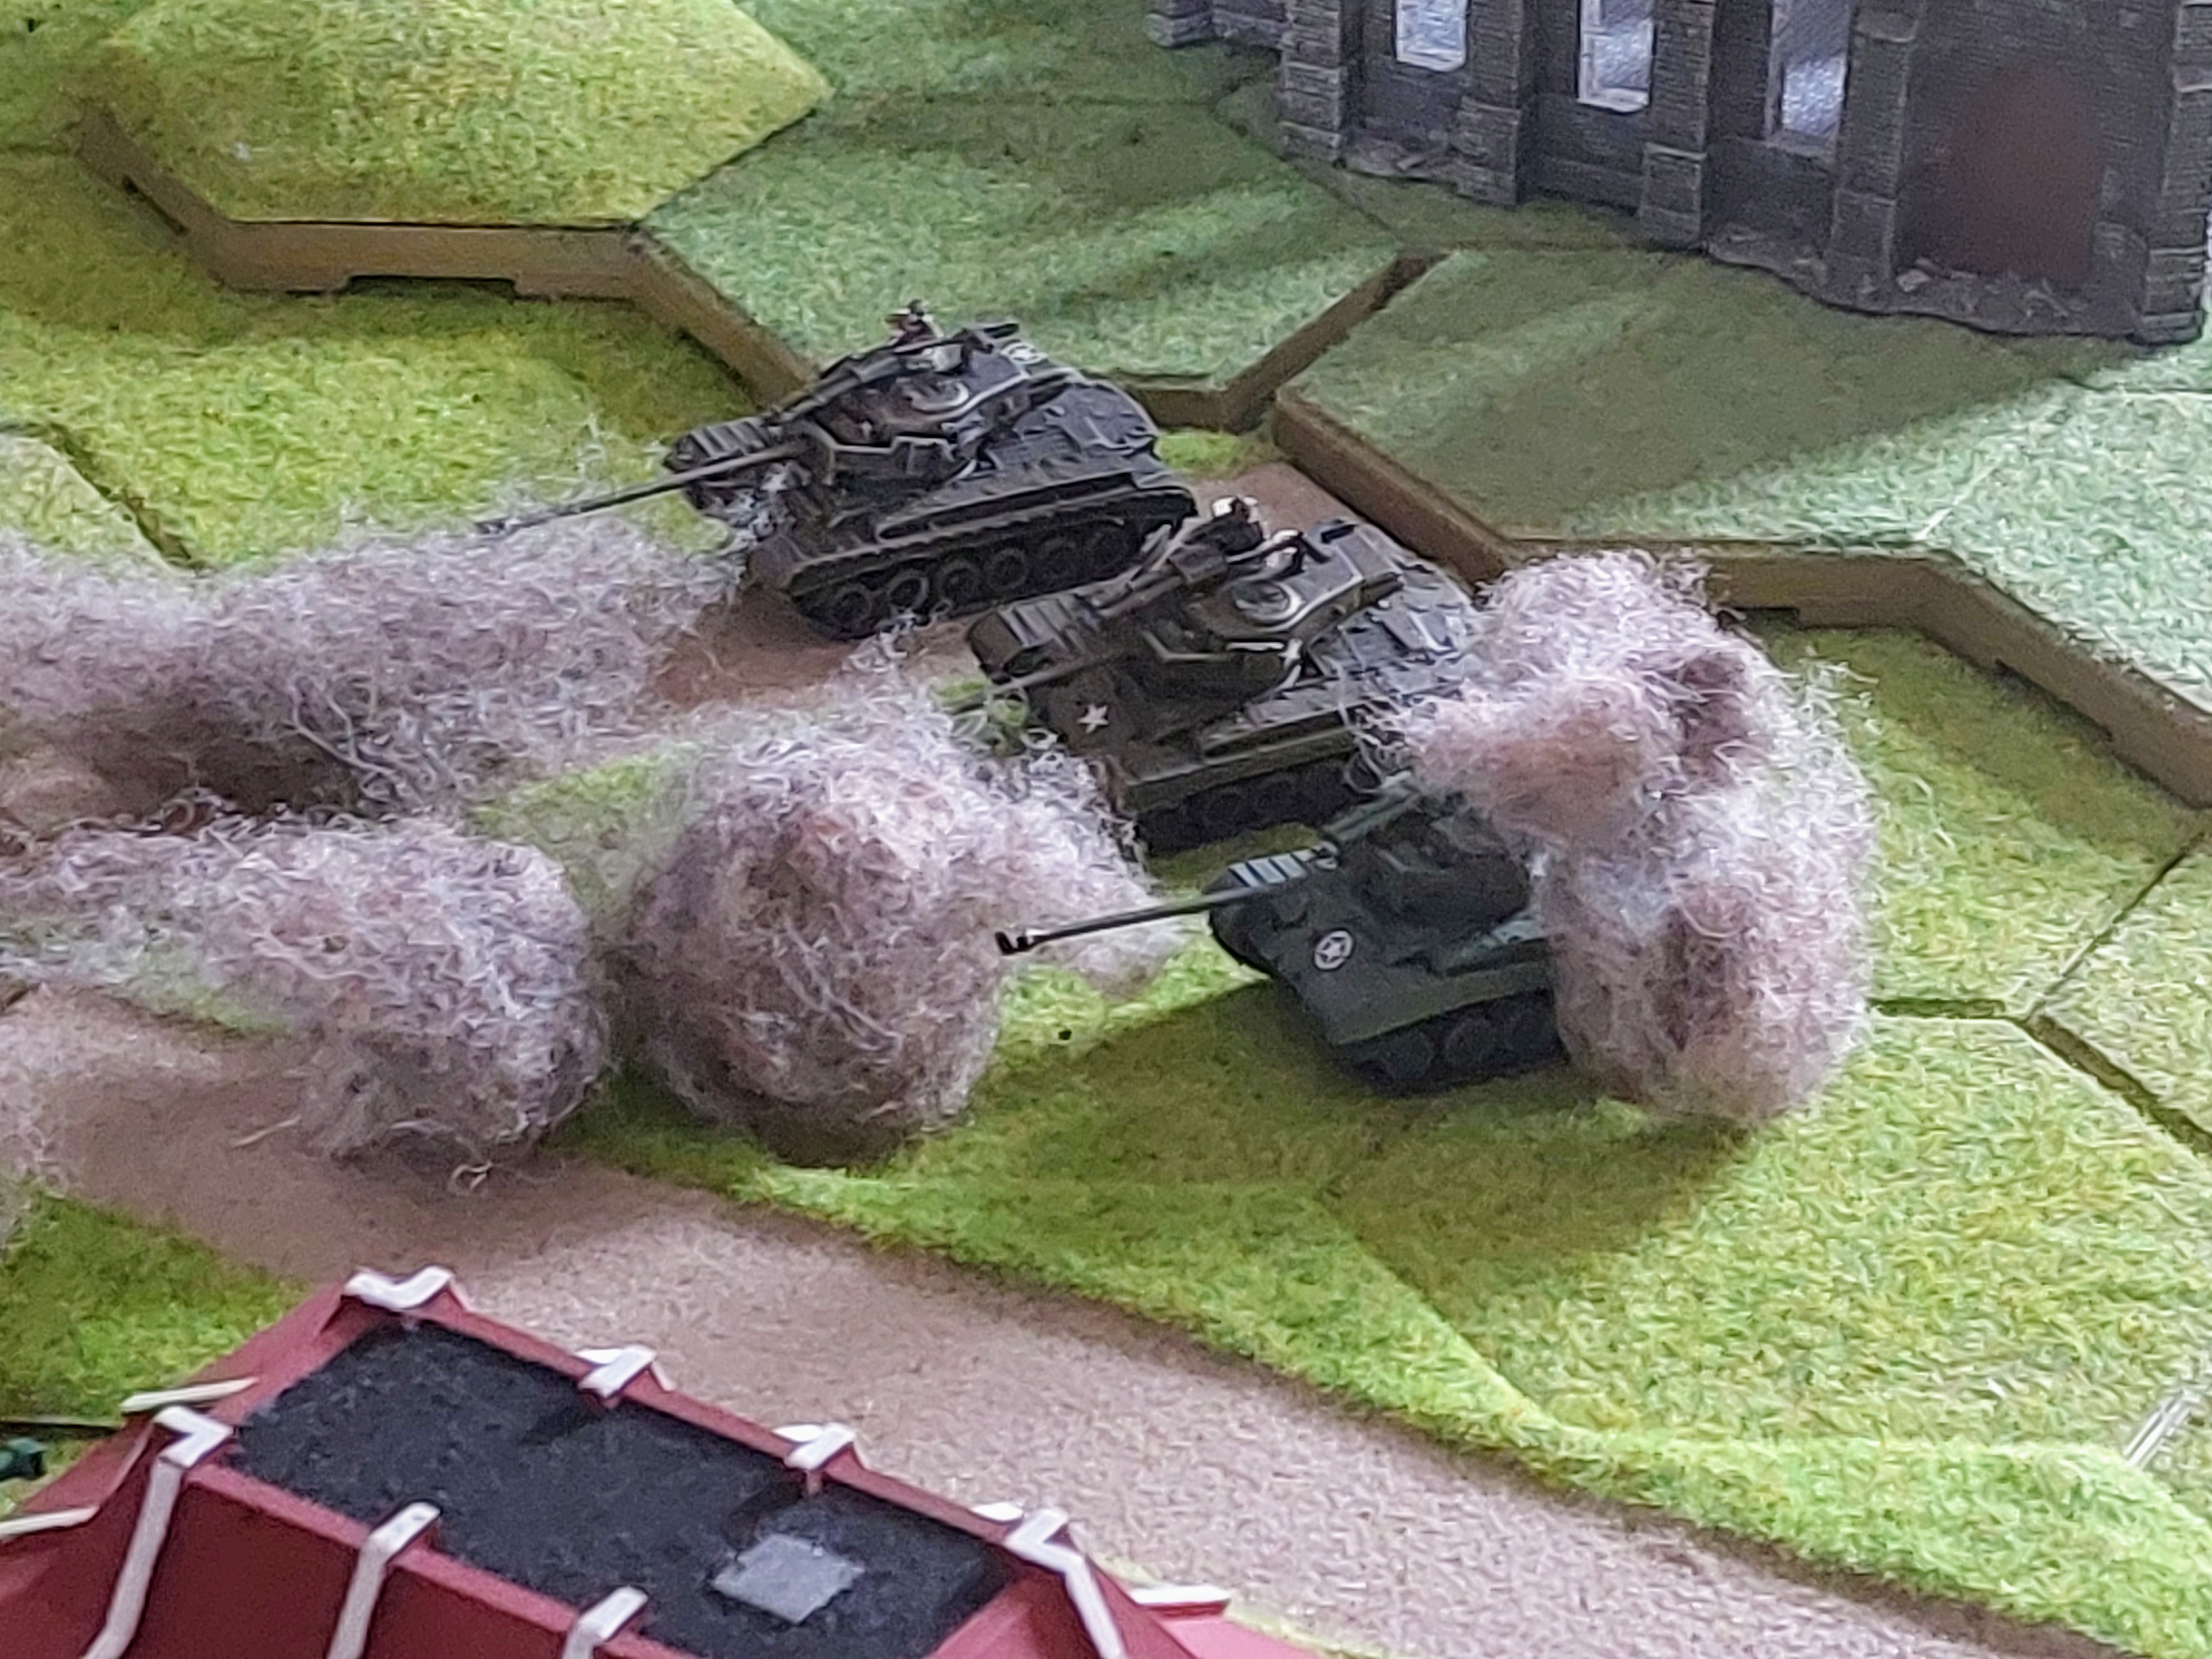
Move 6
Now the Soviet’s have only 2 dice in the bag and U.S 6
The almost by now standard U.S dice came out, and the 2 closest Easy Eights moved to secure side shots, so on only 3’s at pt blank, hit, the Soviet failed it armour save and on 2+ were easily dispatched on 2+.
The other 2 despite being out of Command fired their 4vshots at the side of the final JS2, despite now being on 5’s (3+ +1 for over 16″ and +1 for out of Command, managing 2 5’s and despite one armour save passed the 2+ firepower dispatched that for 3pt for another unit
Soviet 27 U.S 18
An inevitable 2nd Blue Dice was drawn, and the Assualt Pershings move within 12″ of The Soviet Command to pour Accuarate fire easily dispatching it from the Side.
Another Unit and Sovit force destroyed.
So pts now
Soviet 27, U.S. 21 ptsWith no Soviet Units left, this left the U.S forces holding the only portable objective for this and turn 7 for total odds 6 pts
so ending
Soviet 27, U.S 27 a draw in ptsthough a moral victory as they held the field , for the loss of only 5 tanks.
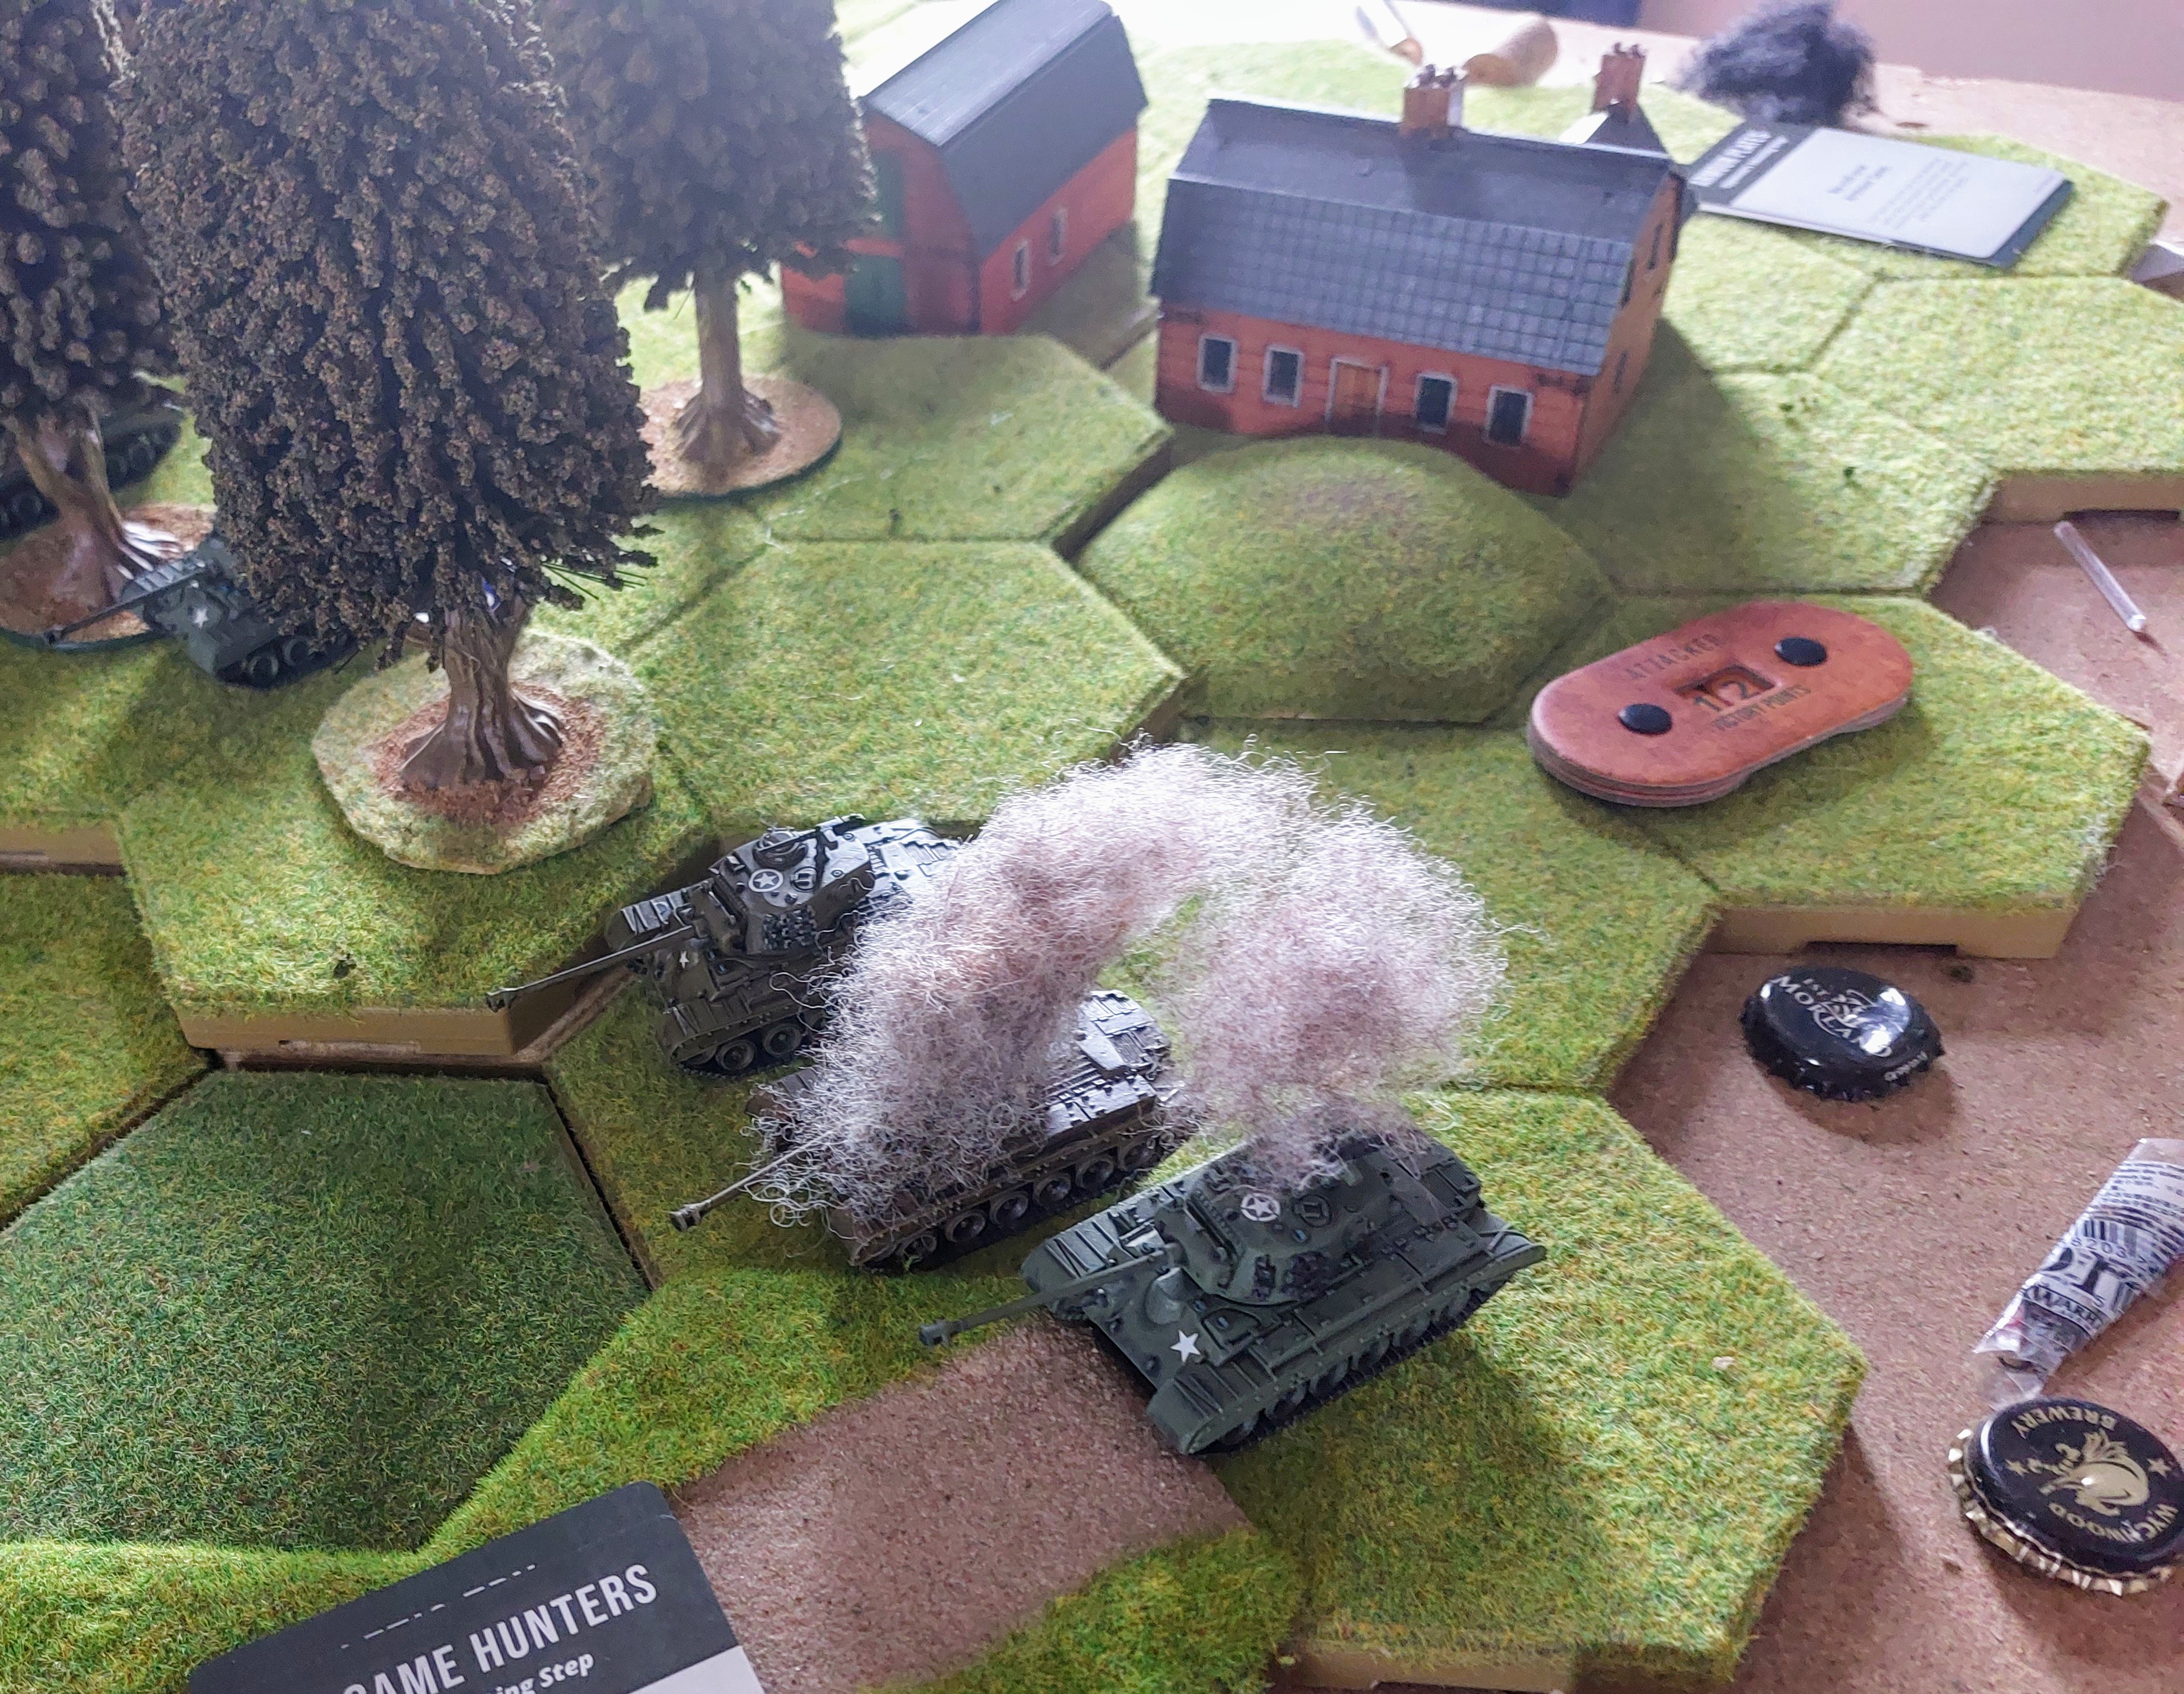
Move 4 not holding the line!!!!
Well no objectives to reveal, but the final U.S. reinforcement arrived, and the dice put them in the middle of table.
1st dice for once was red (funny how that each time the side with the least dice get theirs drawn 1st ) so in a vain attempt to save the unit, the T34’s were activated, 1st they managed to successfully get the bail outs back in, They then again shot at the Easy Eights but only managed a bail out .
Then it was a Blue, so the Assault Pershing’s fire again in an attempt to wipe out the T44,s this time they manager to destroy all but one, who again successfully succeeded the last man role.
Another Blue, , the Americans played a tactical card to pull one card from the discard pile, and chose the +2 to pen card, and fired on the remaining T44 and double dispatched it for another 3 pts !
Red, not expecting them to last long the JS3’s fired again at the Pershing’s and managed to knock out another, but the Americans successfully passed the last stand so no 3 pts!
Then a Blue, so in what was a bold and nearly fatal move, a tactical card was played to add 6″ to a cross country dash , the Super Pershing’s raced across the table in an attempt to close on Objective 2, but fell short.
This left their side armour vulnerable, which the one the next red, the Soviets moved 2 of their surviving T34’s to face , joining with the two already facing that way to pour 6 shots into the exposed sides scoring 4 hits, , but by fluky dice luck on armour saves, managed to 1st match the penetration on 2 of the hits , lousy fp checks meant they bounced the shots for only one tank destroyed,
This though did put all the T34’s in a position that it was possible for the M36’s who the moved on next blue with a tactical move to get a shot at them, and they managed 3 out of 4 shots (I know were the coonskin caps are) which easily penetrated and for once all got successful fp tests .. The last stand was successfully rolled by the crew, unfortunately he was forced to bail when the American command dice was rolled and the commander moved into a position to finish him off,
so another 3 pts to the Americans, plus it removed the Soviets from objective 1.
The final red dice was revealed and the ISU30’s attempted to reform, 2 made it and the 3rd skirted the hill to join his companions in the fog.
The Soviet command dice was drawn and it managed to bail another easy 8.
This just left the blue for the Newly arrived Hellcats , who raced towards objective 1 only to find the Soviets removing it by playing a tactical card!.
So at the end the Soviets were reduce to 3 victory pts for objective 2.
so Soviets 21 Americans 12 !
Move 3 , Holding the Line
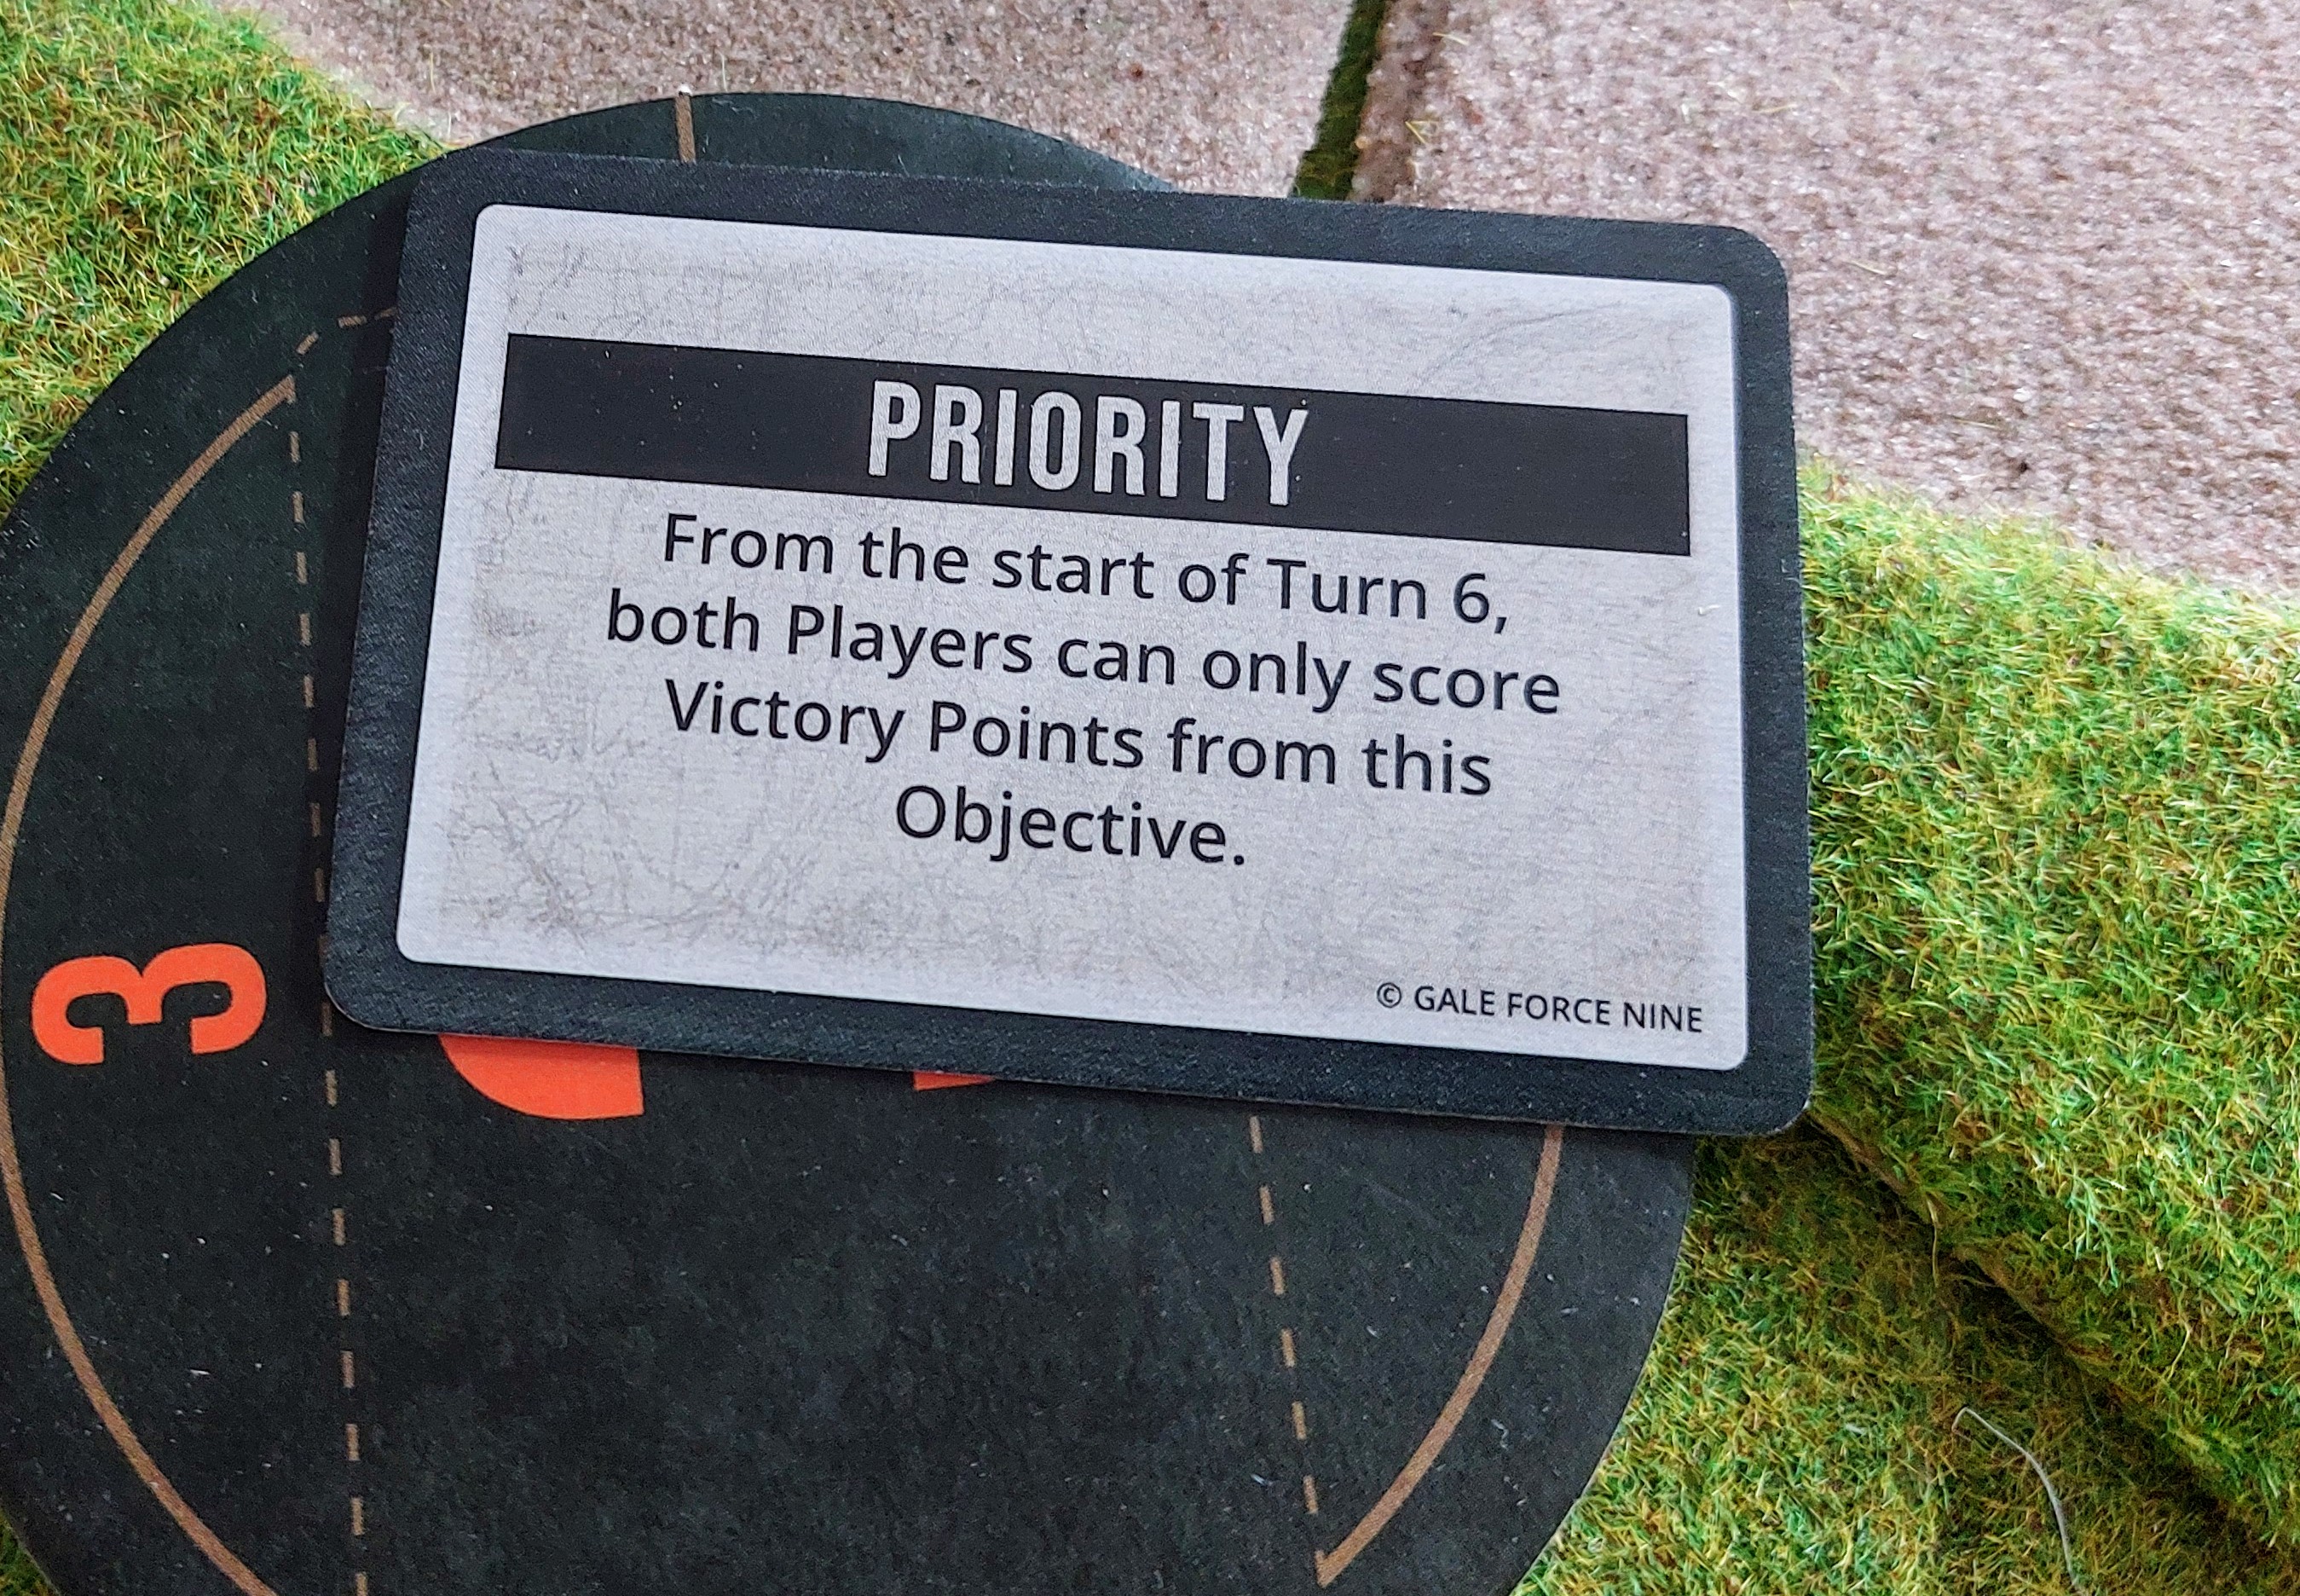
The 3rd objective was revealed, and it’s rule was it was sole printable objective from move 6!
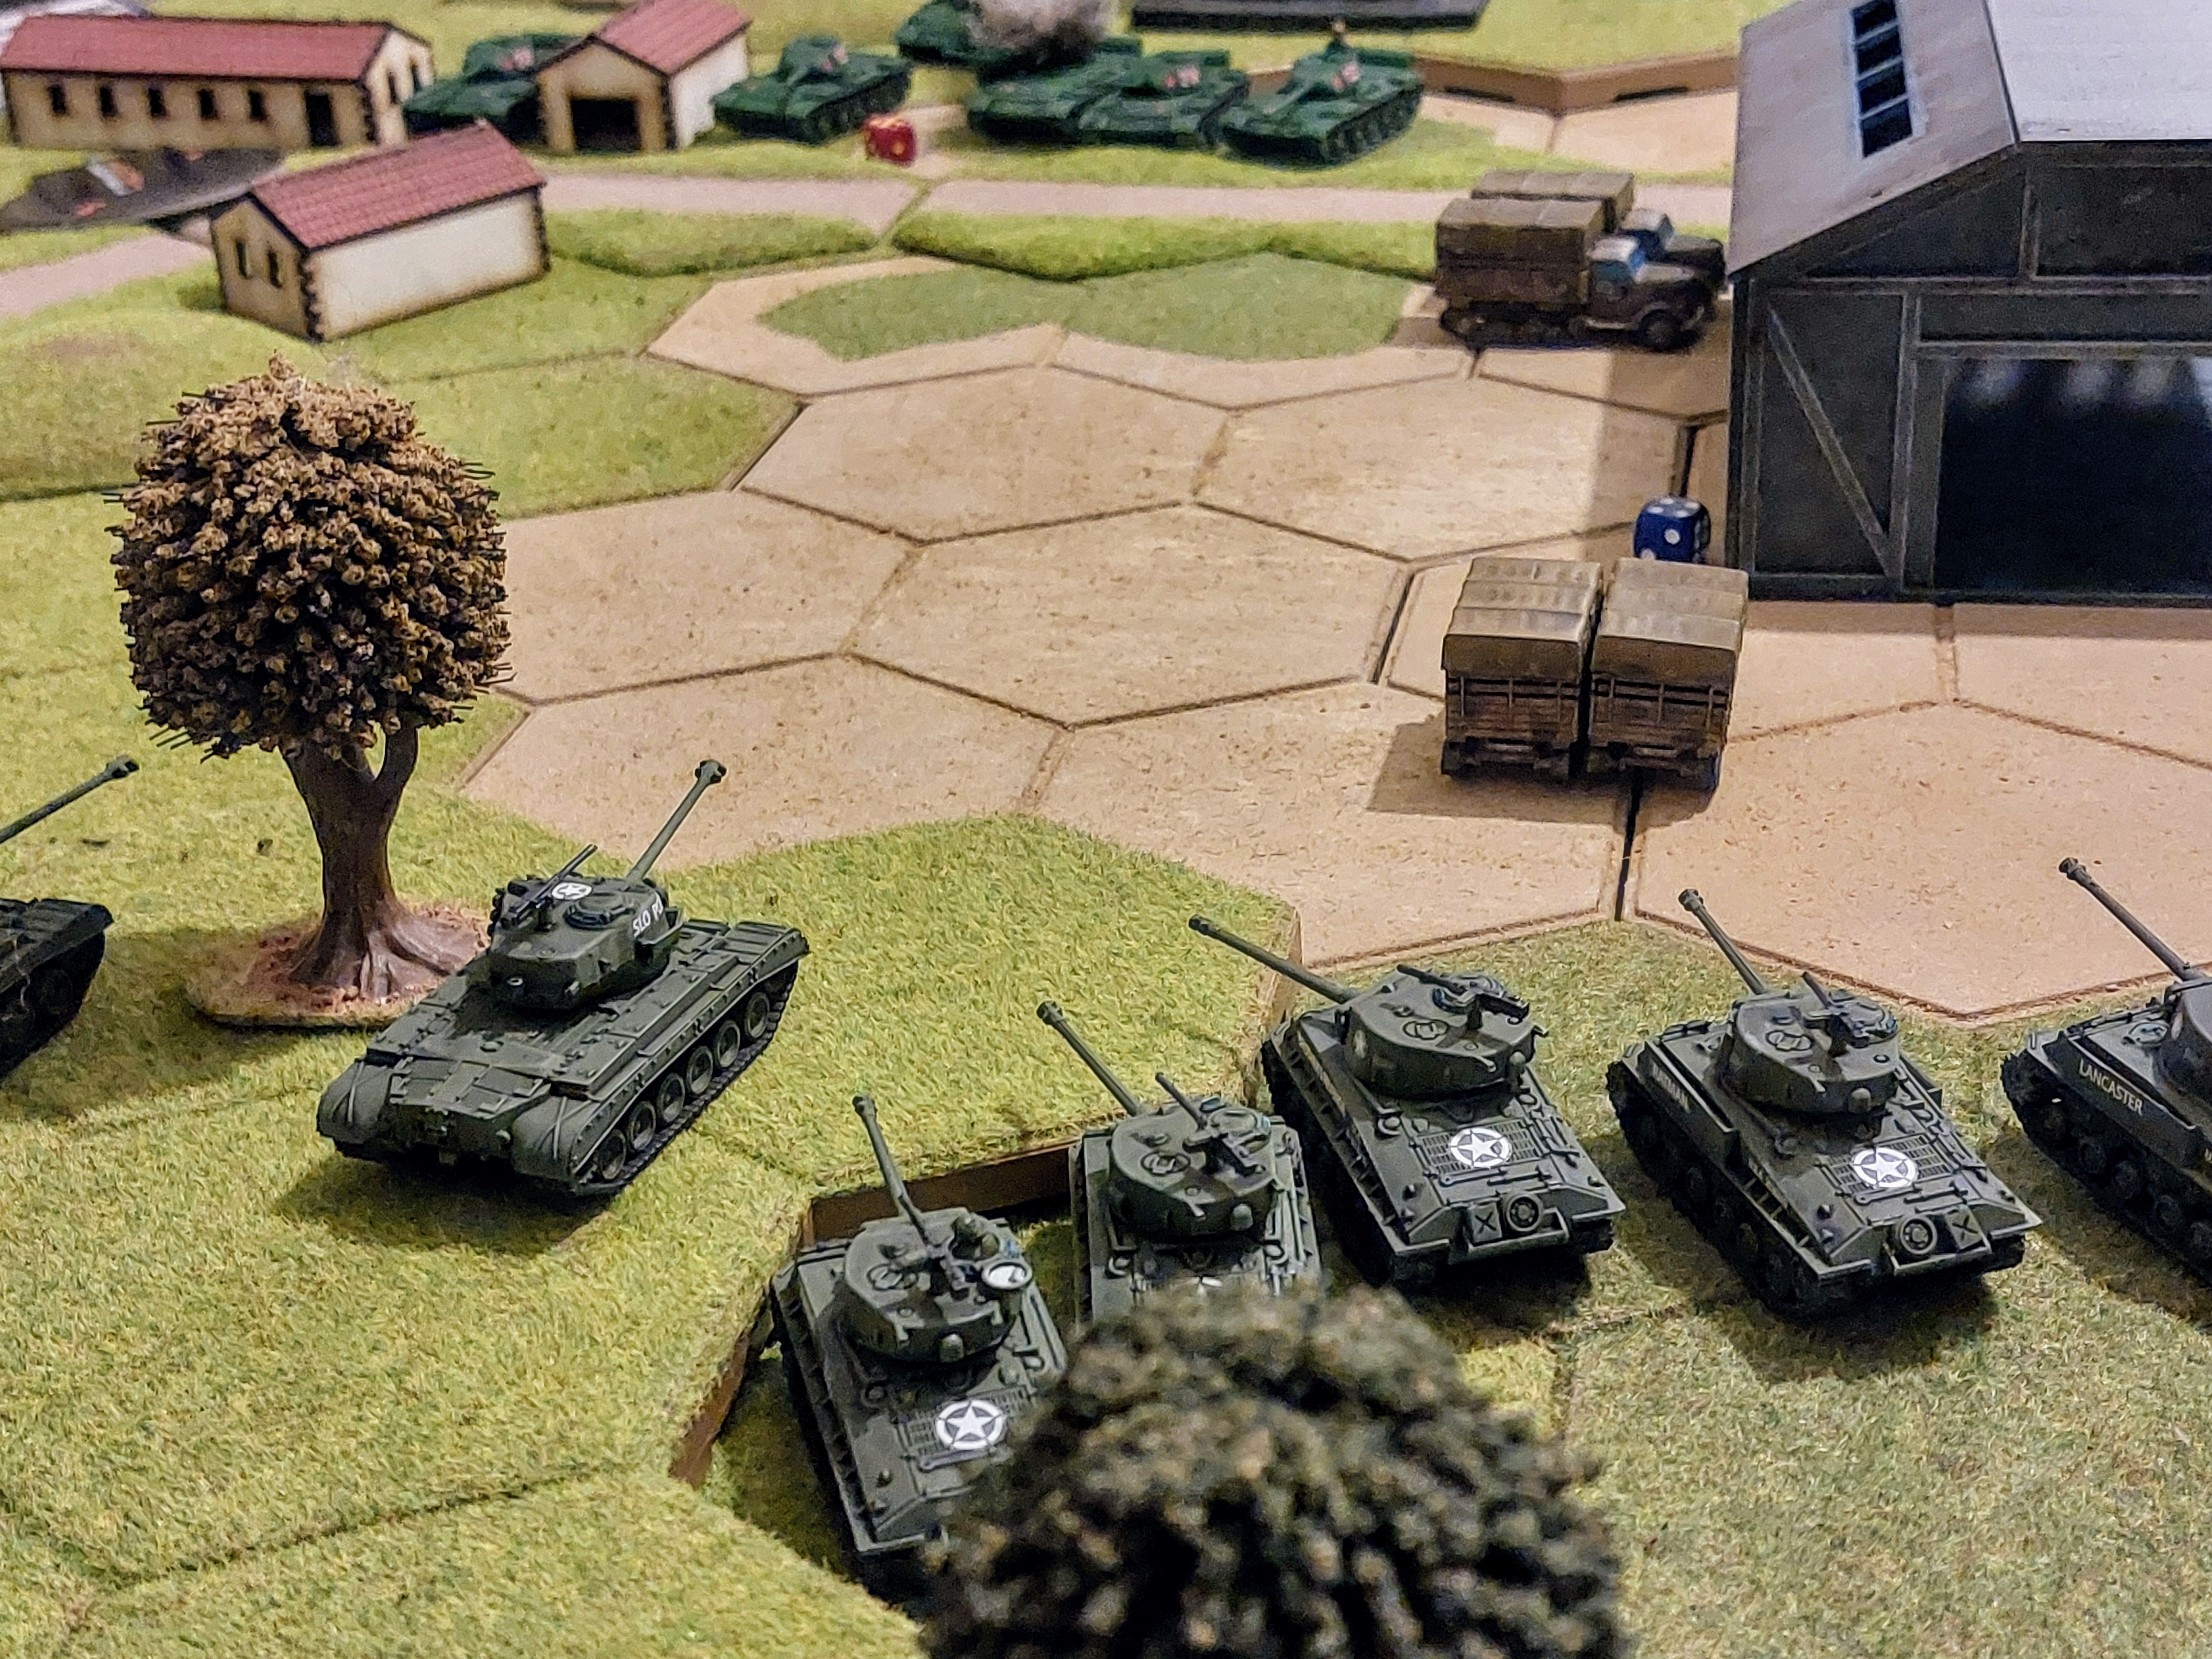
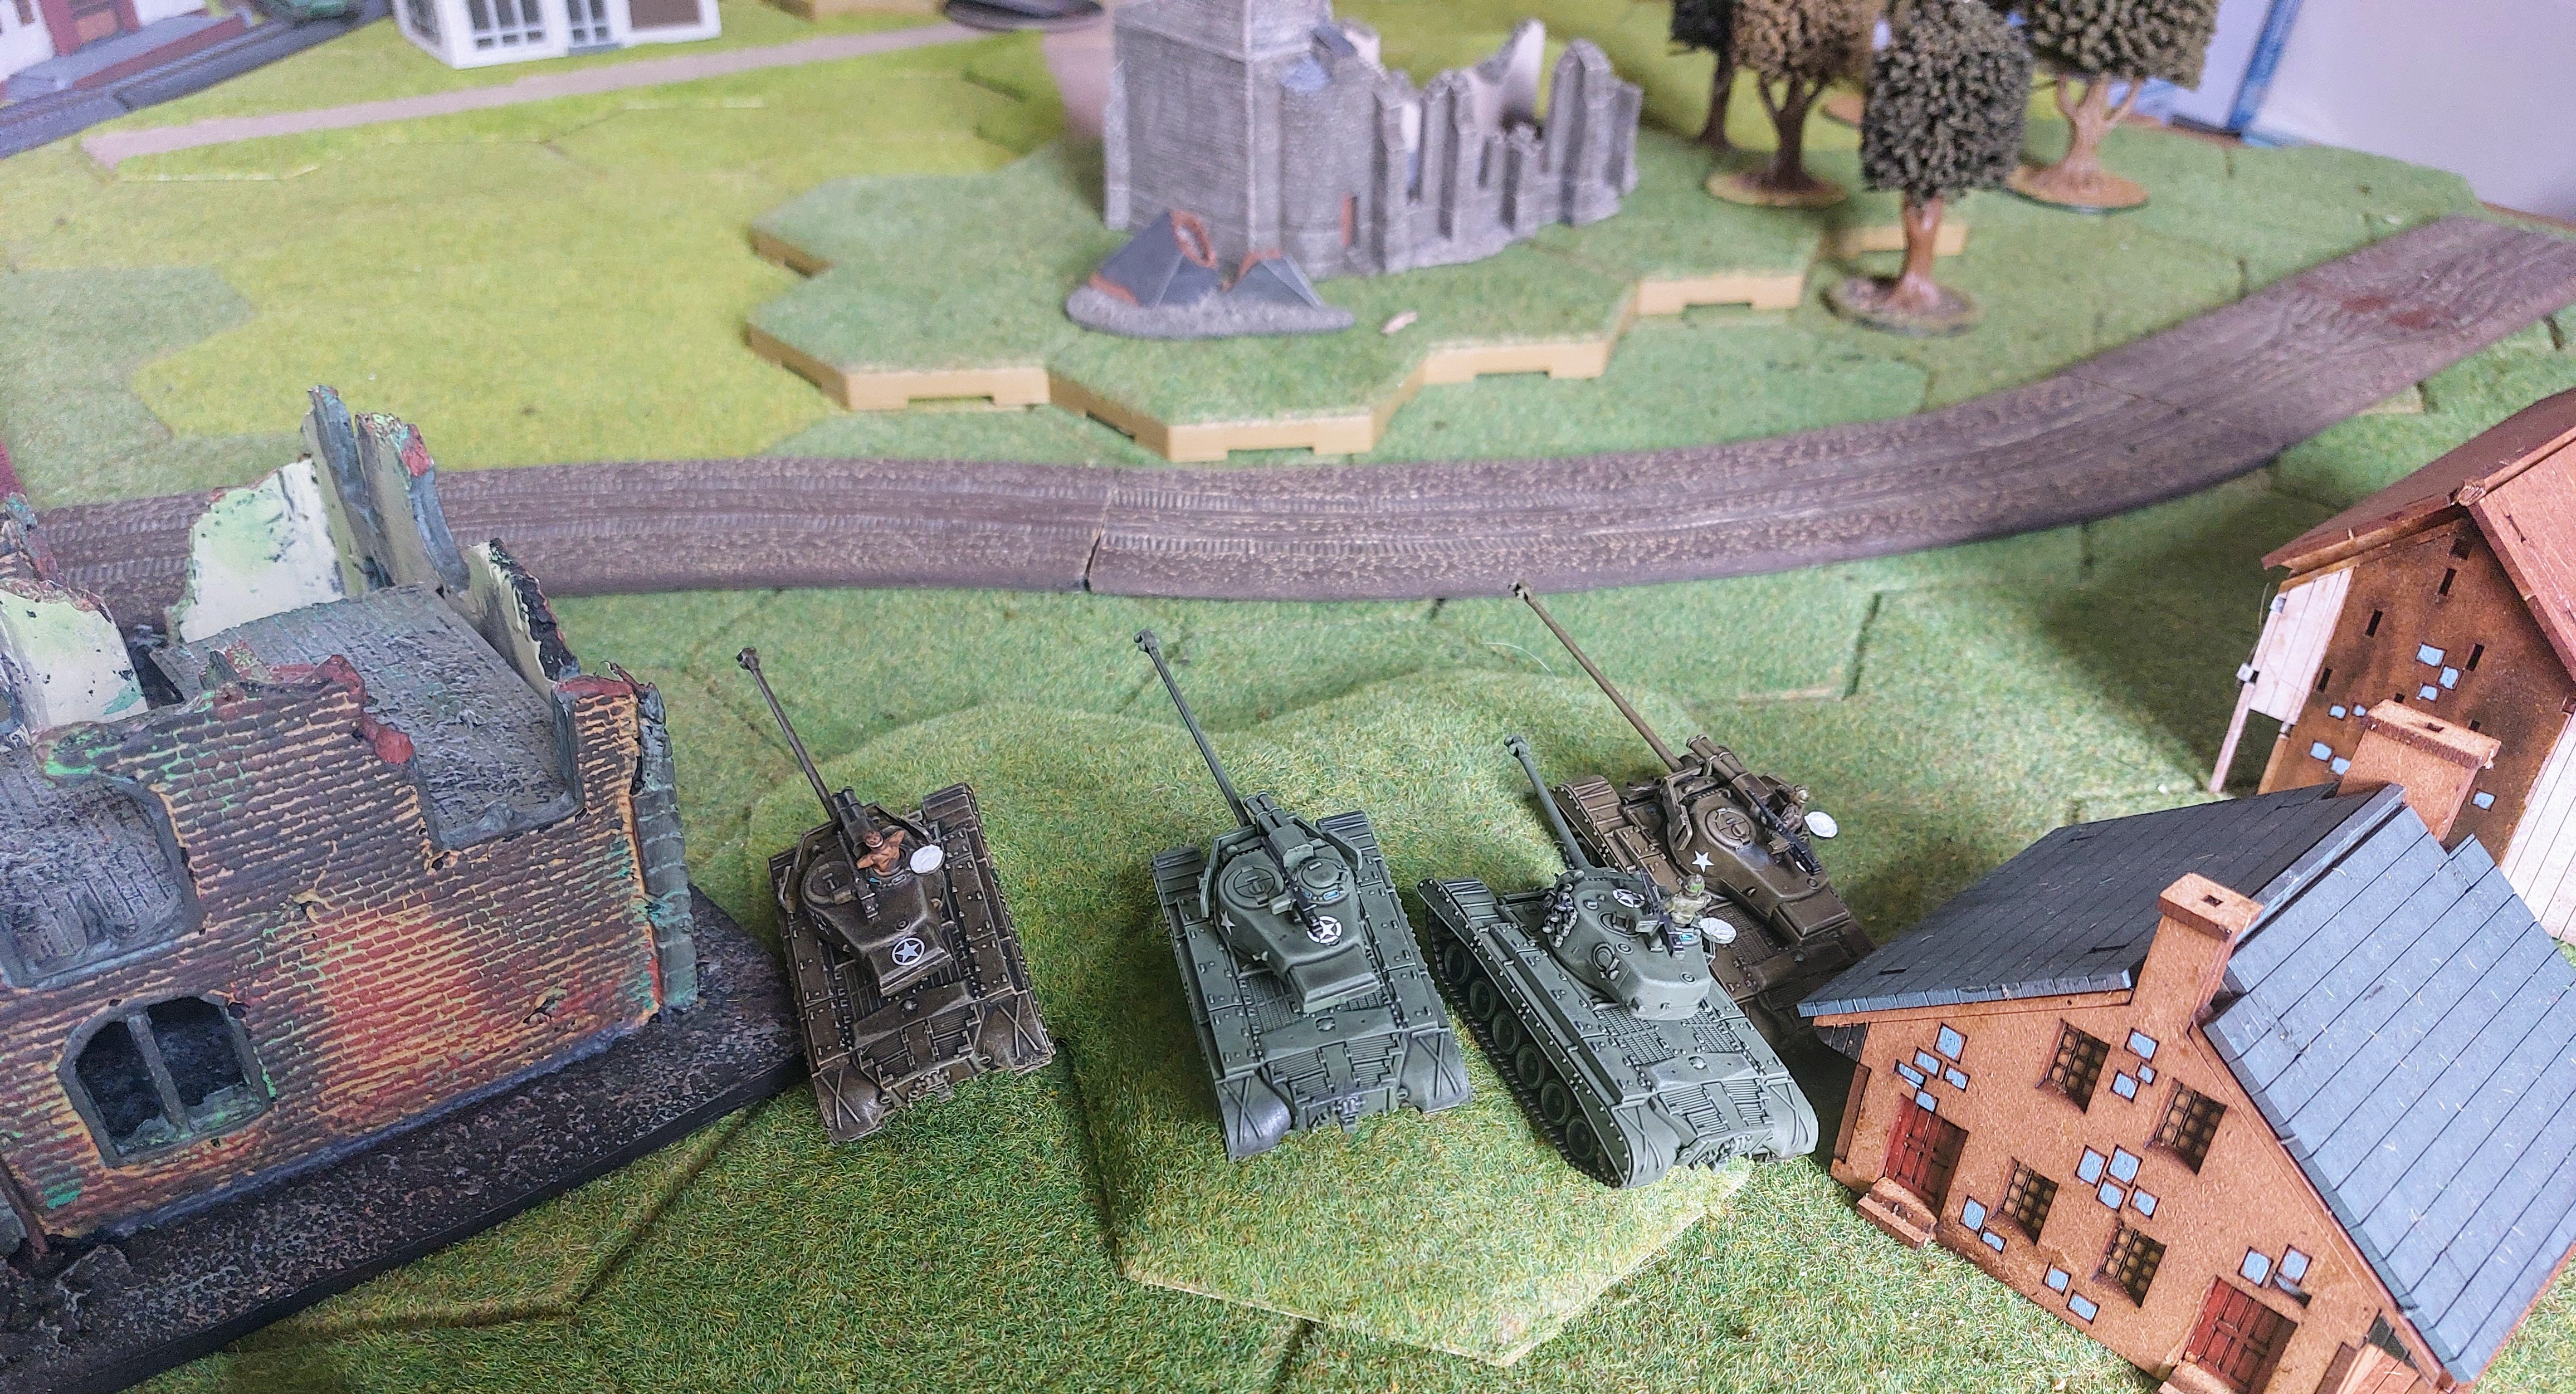
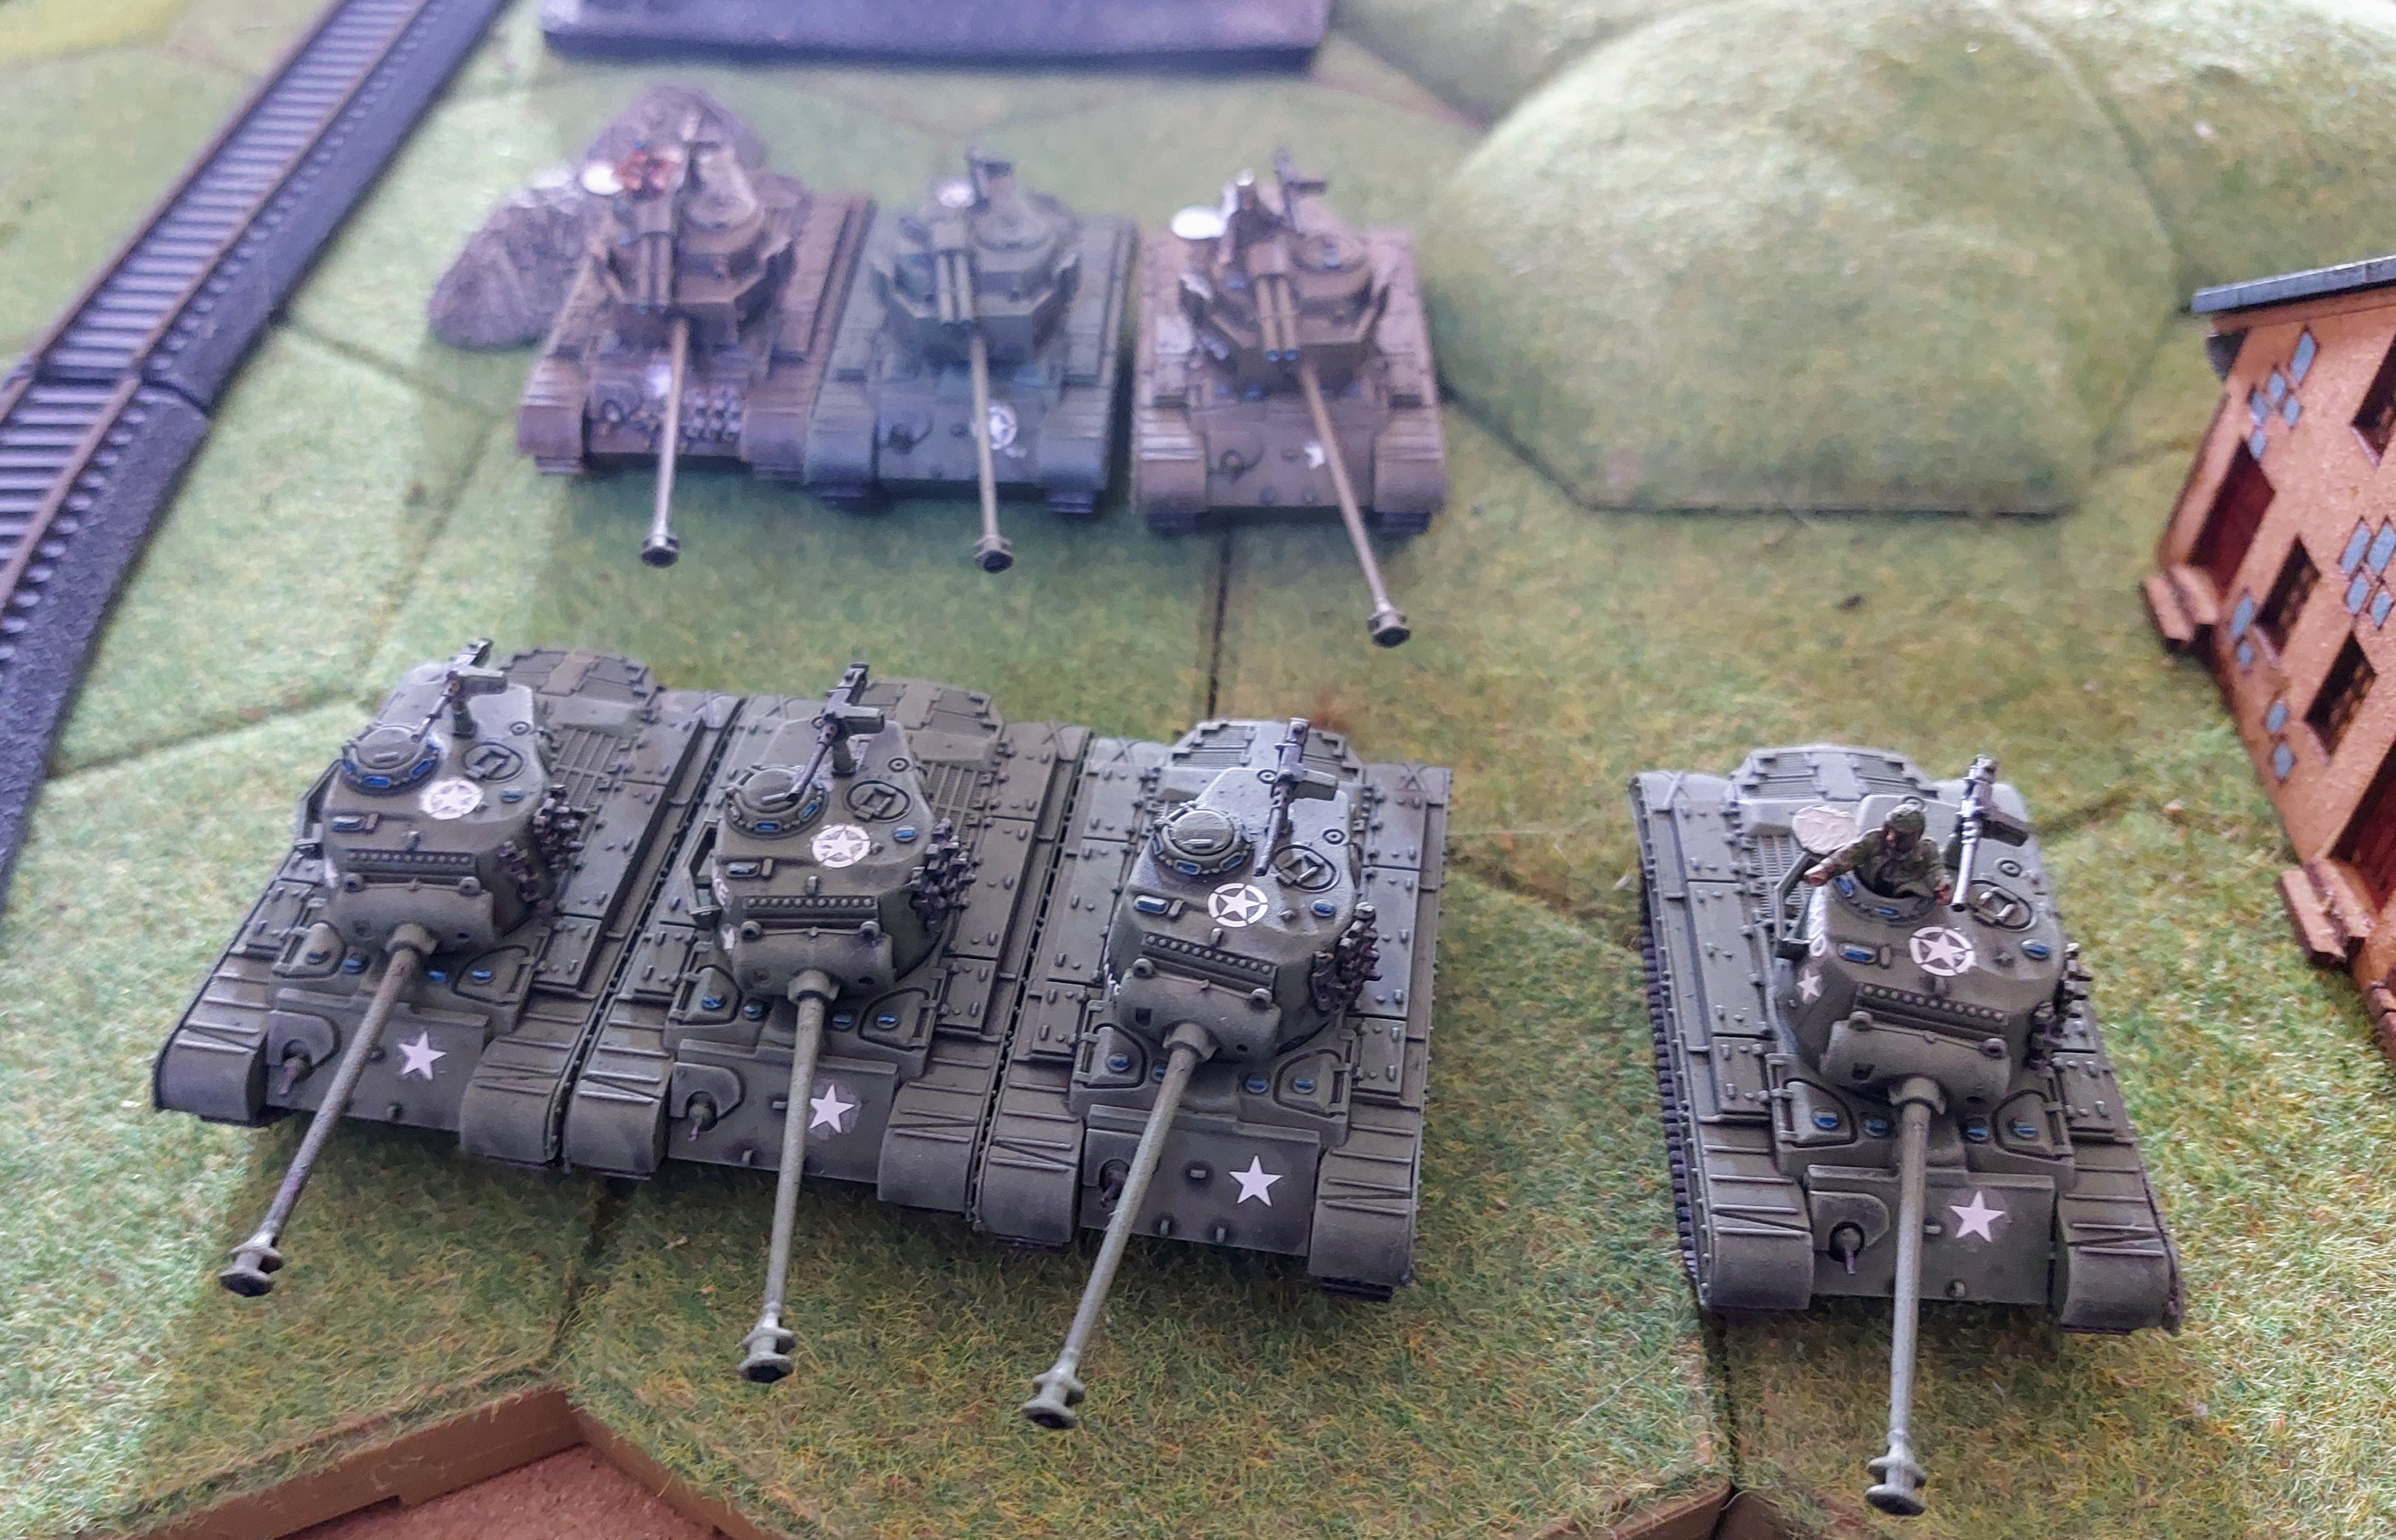
Americans got 2 x Reinforcements so brought on the M36’s which arrived Centrally,and 3 Pershings which arrived on far left flank.
1st dice was pulled, and it was a blue, so the Super Pershings opened fire on the remaining JS2s scoring just sufficient hits to destroy them and claim their 1st 3 victory
Next was a red dice and it was decision time. I decided to activate the T44’s, and try and whittle down the incoming fire as had a plan!
As they could only hurt the Easy Eights they poured 8 shots on to them but only managed two bail outs due to good armor save rolls and bad firepower checks.

Another Blue dice came out and the Assualt Pershings returned the Soviet Fire, before rolling to hit the Soviets played the tactical Cammo card making them +1 to hit, which was to save the unit for this turn.
Only one hit out of 6 shots and it managed to bounce the shot on armour save.
Another Blue dice pulled, and American player had choice of move towards objective 1 or pour more fire on hapless T44’s, it chose the latter with an American tactical of +2 to penetration despite this they only managed 3 bailouts leaving 2x T44’s fully operational.
Then it was red, and the 1st troop of T34’s moved forward to seize objective 1, plus the found two had side shots at an Easy 8 which they quickly dispatched for the 1st actual Soviet kill.
Another Red and the Soviets moved their 2nd Troop of T34’s, but were unable to get into range, which turned out to be fatal as the next dice was the American Commanders dice he put 3 hots into the T34’s bailing one out, then ordered rhe M36’s forward who promptly knocked out the remaining 2 and a 2nd bailout, wiping the unit for a further 3 victory points.
Then it was another Blue so in an attempt to denie the Soviets 3 pts moved forward and engaged the T44’s who again did enough of an Armour save to reduce the hits to potential bailouts , and lose firepower tests meant 1 stayed in to Claim that moves victory pts.
Only Soviet Dice remained as the one Blue had already been activated by the command dice.
1st the JS3’S moved forward so they would be in position to take over objective 3 if the T44’s were destroyed, and opened fire on the Approaching Pershings scoring a 6 and knocking it out.
The Soviet Command forced another bail out on the Easy Eights and the ISU 130’s failed all their cross tests so we’re stuck in fog but still managing 3 victory pts.
So at end of move Soviets had 9 pts for all the objectives taking total to 18 and The Americans on 6 for Destroying 2 units.
Turn 2, 1st blood but Soviets pull ahead on pts
Well we went to move 2, an d now both sides can roll 2 dice fir Reinforcements, both got one, and both rolled centrally for deployment, the Soviets deployed their 4 tank troop of T34’s, the Americans their Easy 8 Shermans, .
I drew 1 more tactical cards fir each side.
Again despite the dice disparity, the Americans drew 1st their Comand unit dice, I had decided to use an Idea Gerry Mentioned, which was roll the dice and the no of pips decides how many units within his command range he could activate.. in this case he only needed 1 ,so he activated the Super Pershings to open up again on the JS2’S, 8 dice and 5 hits
The American commanders used his Volley Fire Skill and rerolled his misses scoring on more hit.
Only one dice failed it’s firepower test so 5 knock outs, as only 3 tanks were in ine of sight they all died, (the Soviet had a card to make one Armour save, but with the number of U.S Success’s didn’t use it.)
[Please allow from our overhead photographer who was under fire himself]
Then it was the Soviets turn to draw a dice, so I decided to move the ISU130’s forward as they had the best range , unfortunately 3 out of the 5 failed their crossing test who moved to front of wood, where I suddenly remembered the 2nd objective card….
Bugger it revealed Fog , and all vehicles range dropped to 12″ so they could not See the Super Pershings ( I should have revealed it before I moved the unit and perhaps would have picked another unit!, as it happened it didn’t effect much!)
Next dice was another Soviet, It was a toss up whether I went for the T44’s or JS3’s , here is my 1st mistake for Soviets, I stayed stationary and fired at the Assault Pershings , I should have closed as the rate of fire is the same halted as moving, particularly as the U.S are 1 harder to hit, we’re over 6″ and partially concealed in a wood so 6’s were needed… forget it!
I matched a Gerry roll and if you put the dots on all 3 dice together would have just got 6!
 Fog blinds objective 2
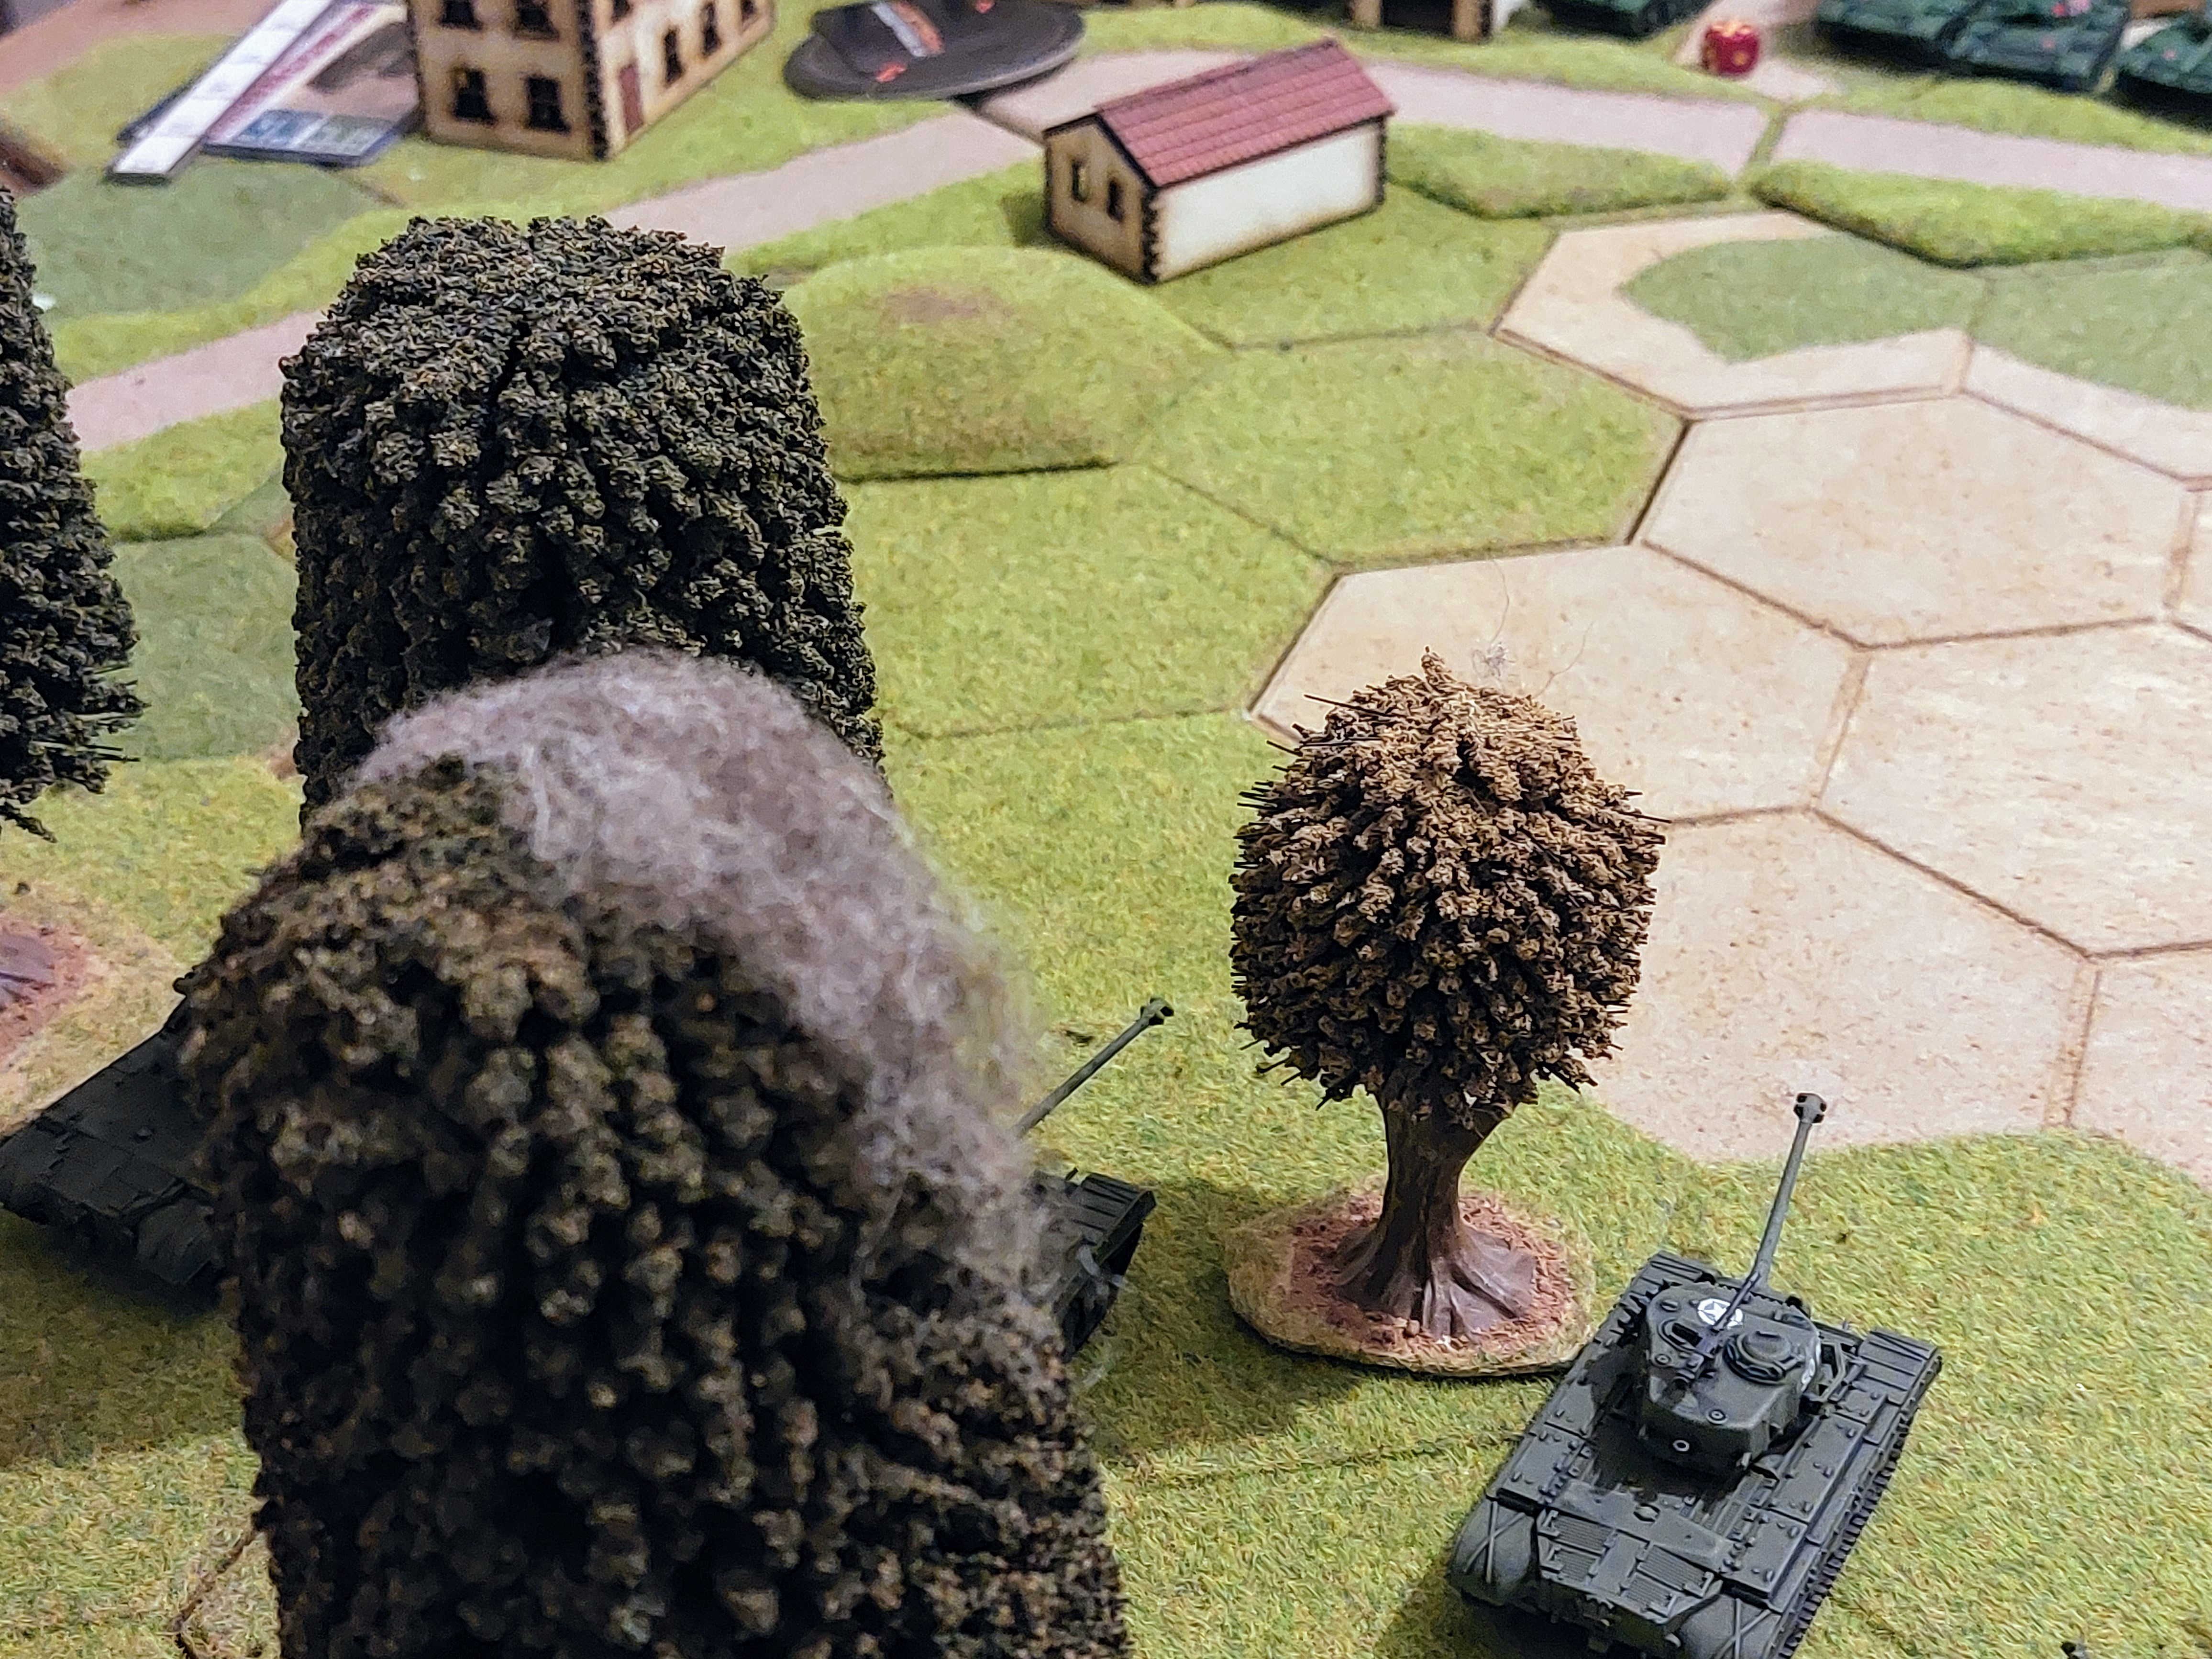 Return fire from Soviets sets fire to tree!
Next Dice was American Again, so the Assault Pershings decided to return the favour, but opened up o the T44’s I an attempt to remove them from the objective, so on 4’s as they were still in open, Gerry struck again only managing 1 hit out of 6 shots , but it did manage a Kill.
I then on drawing the next Red dice decided to leave the T44’s stationary and go for extra shots on Assault Pershings, but despite 8 attempts couldn’t manage a hit,
( need to check but may have been achedemic as not sure they can penetrative the Pershings Frontal Armour.
The next dice was Soviet so the Surviving JS2’S moved I to range and missed completely the Super Pershings!
Then it was the Final dice for the Americans, which brought the Easy 8’s forward who moved into range of the T44’s but the one hit bounced off the armour!
The 2 final 2 Soviet Dice were drawn, the T34’s whi moved up but were unable to get into range of anything, and finally the Soviet Command tank who failed to hit anything.
So at end of move 2 the Soviets lost 4 tanks , but held 2 objectives so score at move 2 is Soviets 9 and U.S. 0
1st move and 1st snubbed toe!
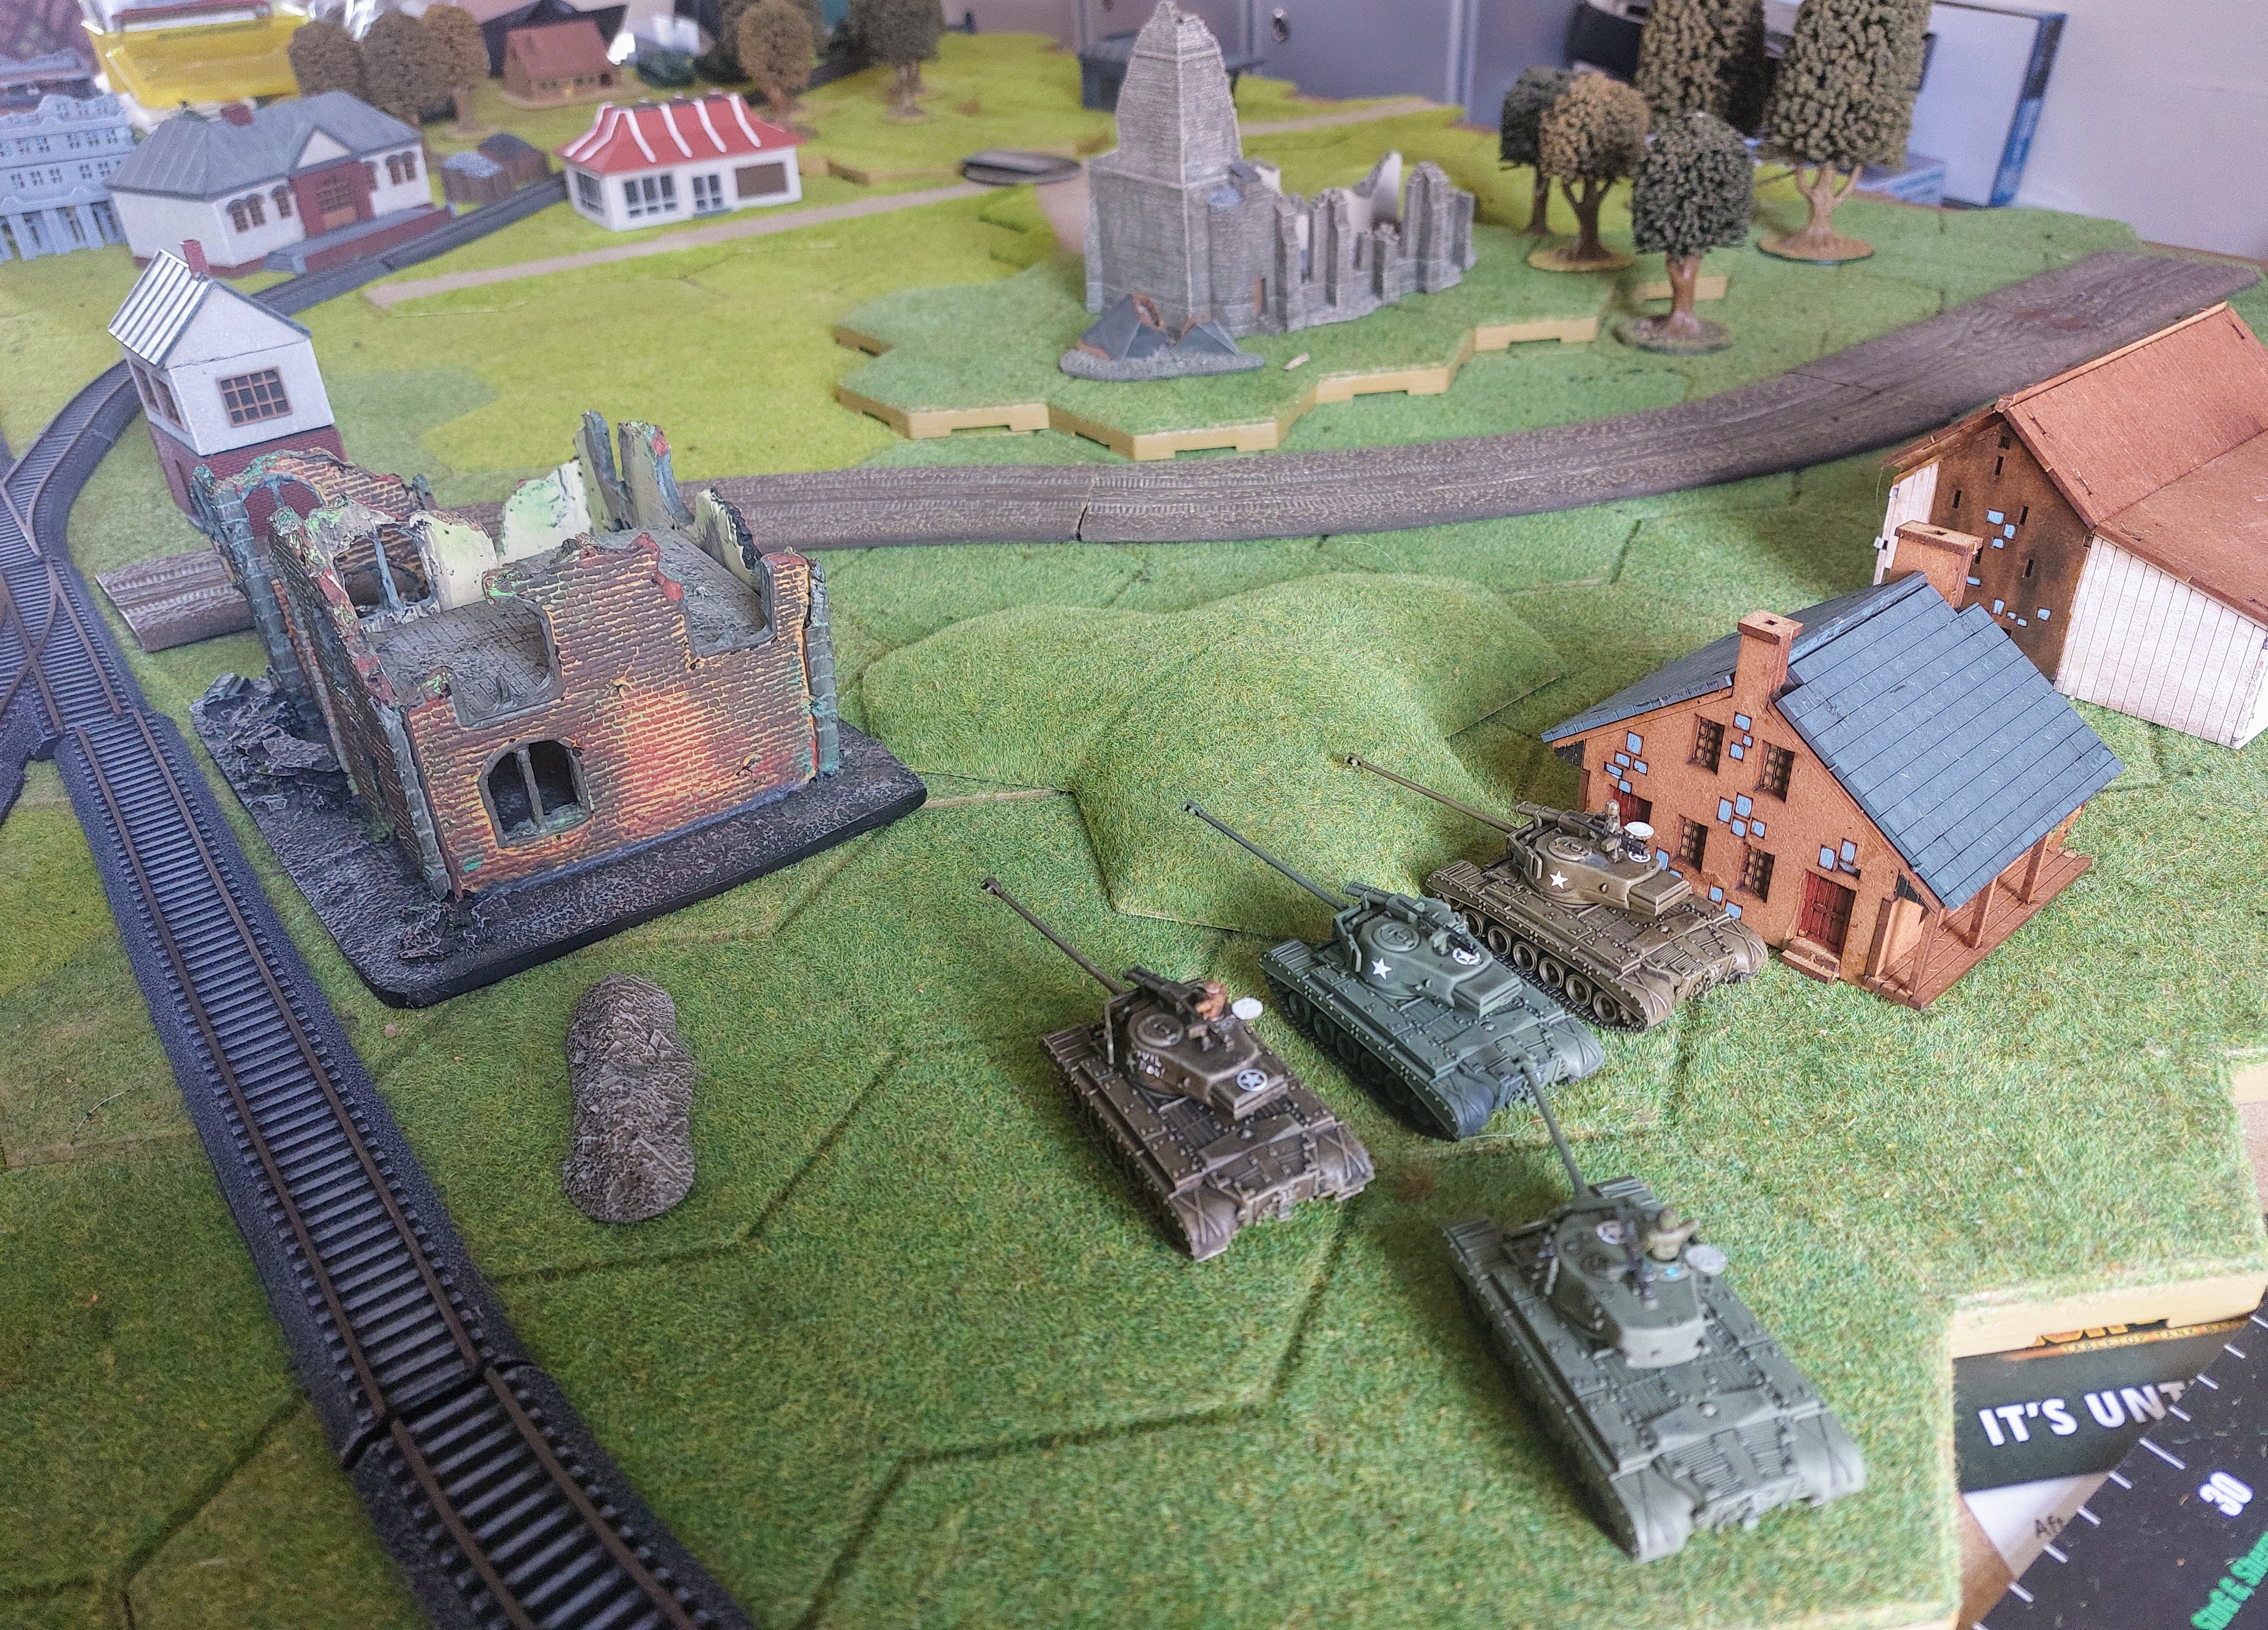
Well wouldn’t you know it despite a 2 to one amount of dice in bag, U.S drew 1st dice and the Assualt Pershings moved towards wooded hill on their right, one failed the cross test, so the others stayed back enough un wood to be out of sight.
- Then we had a series of Soviet dice, The T44’s dashed forward to get close to objective 3. Both the IS3’s and the T44 Command moved cautiously forward towards objective 1, and the ISU’s moved towards the wooded hill on their right flank , stepping just shirt of Cross test.
The 2nd American dice was revealed and they moved to the small hill in front of them going hull down, followed by their command tank.
The final unit of JS2’s moved through the Station, and were engaged by the Super Prshings and Command tank ( I allowed reaction fire for units who moved tactically to allow for the phased movement but at a +1 to hit) the JS2’s being unable to reply as out of range. The Americans were on 5’s to hit, and managed 1 hit but only got a bail out.
I had revealed objective o es card which just said replace card post move 5.
The T44’s were within 4″ of objective 3 so gained 3 pts.

Deployment!!!! Well this went well Comrade!
Think the title sums this up!
I began deployment, staggering deployment for each side unit by unit with the Americans as attackers going 1st.
I 1st Deployed the Assault Pershings on their left flank , hoping to take the wooded high ground and dominate objective 3.

Having been distracted by a sudden call of nature,I deployed my 1st Soviet Unit on the right flank again to attempt to secure objective 3, forgetting my U.S deployment in the meantime!
The Super Pershings being the most powerful U.S unit I deployed to the right of the central railing, so that it could potentially deploy either to cover objective 1 or 2 hoping that I would manage to role some immediate Reinforcements!
I also post rhe text Soviet deployment placed my Assualt Pershing Command tank here, as it was a good central position to control U.S forces.
I now only had Soviets to deploy, so I placed the ISU30’s on the Soviet left to attempt to dominate objective 2.
Finally I deployed the IS3’s and the Command T44 on their right of the Railway line, as they had a fairly straight run at objective 1.
Then I rolled for the Reinforcements, no need to stagger this as American was a 4
And Soviets 6, so I deployed the JS2’s, to their right of railway line.
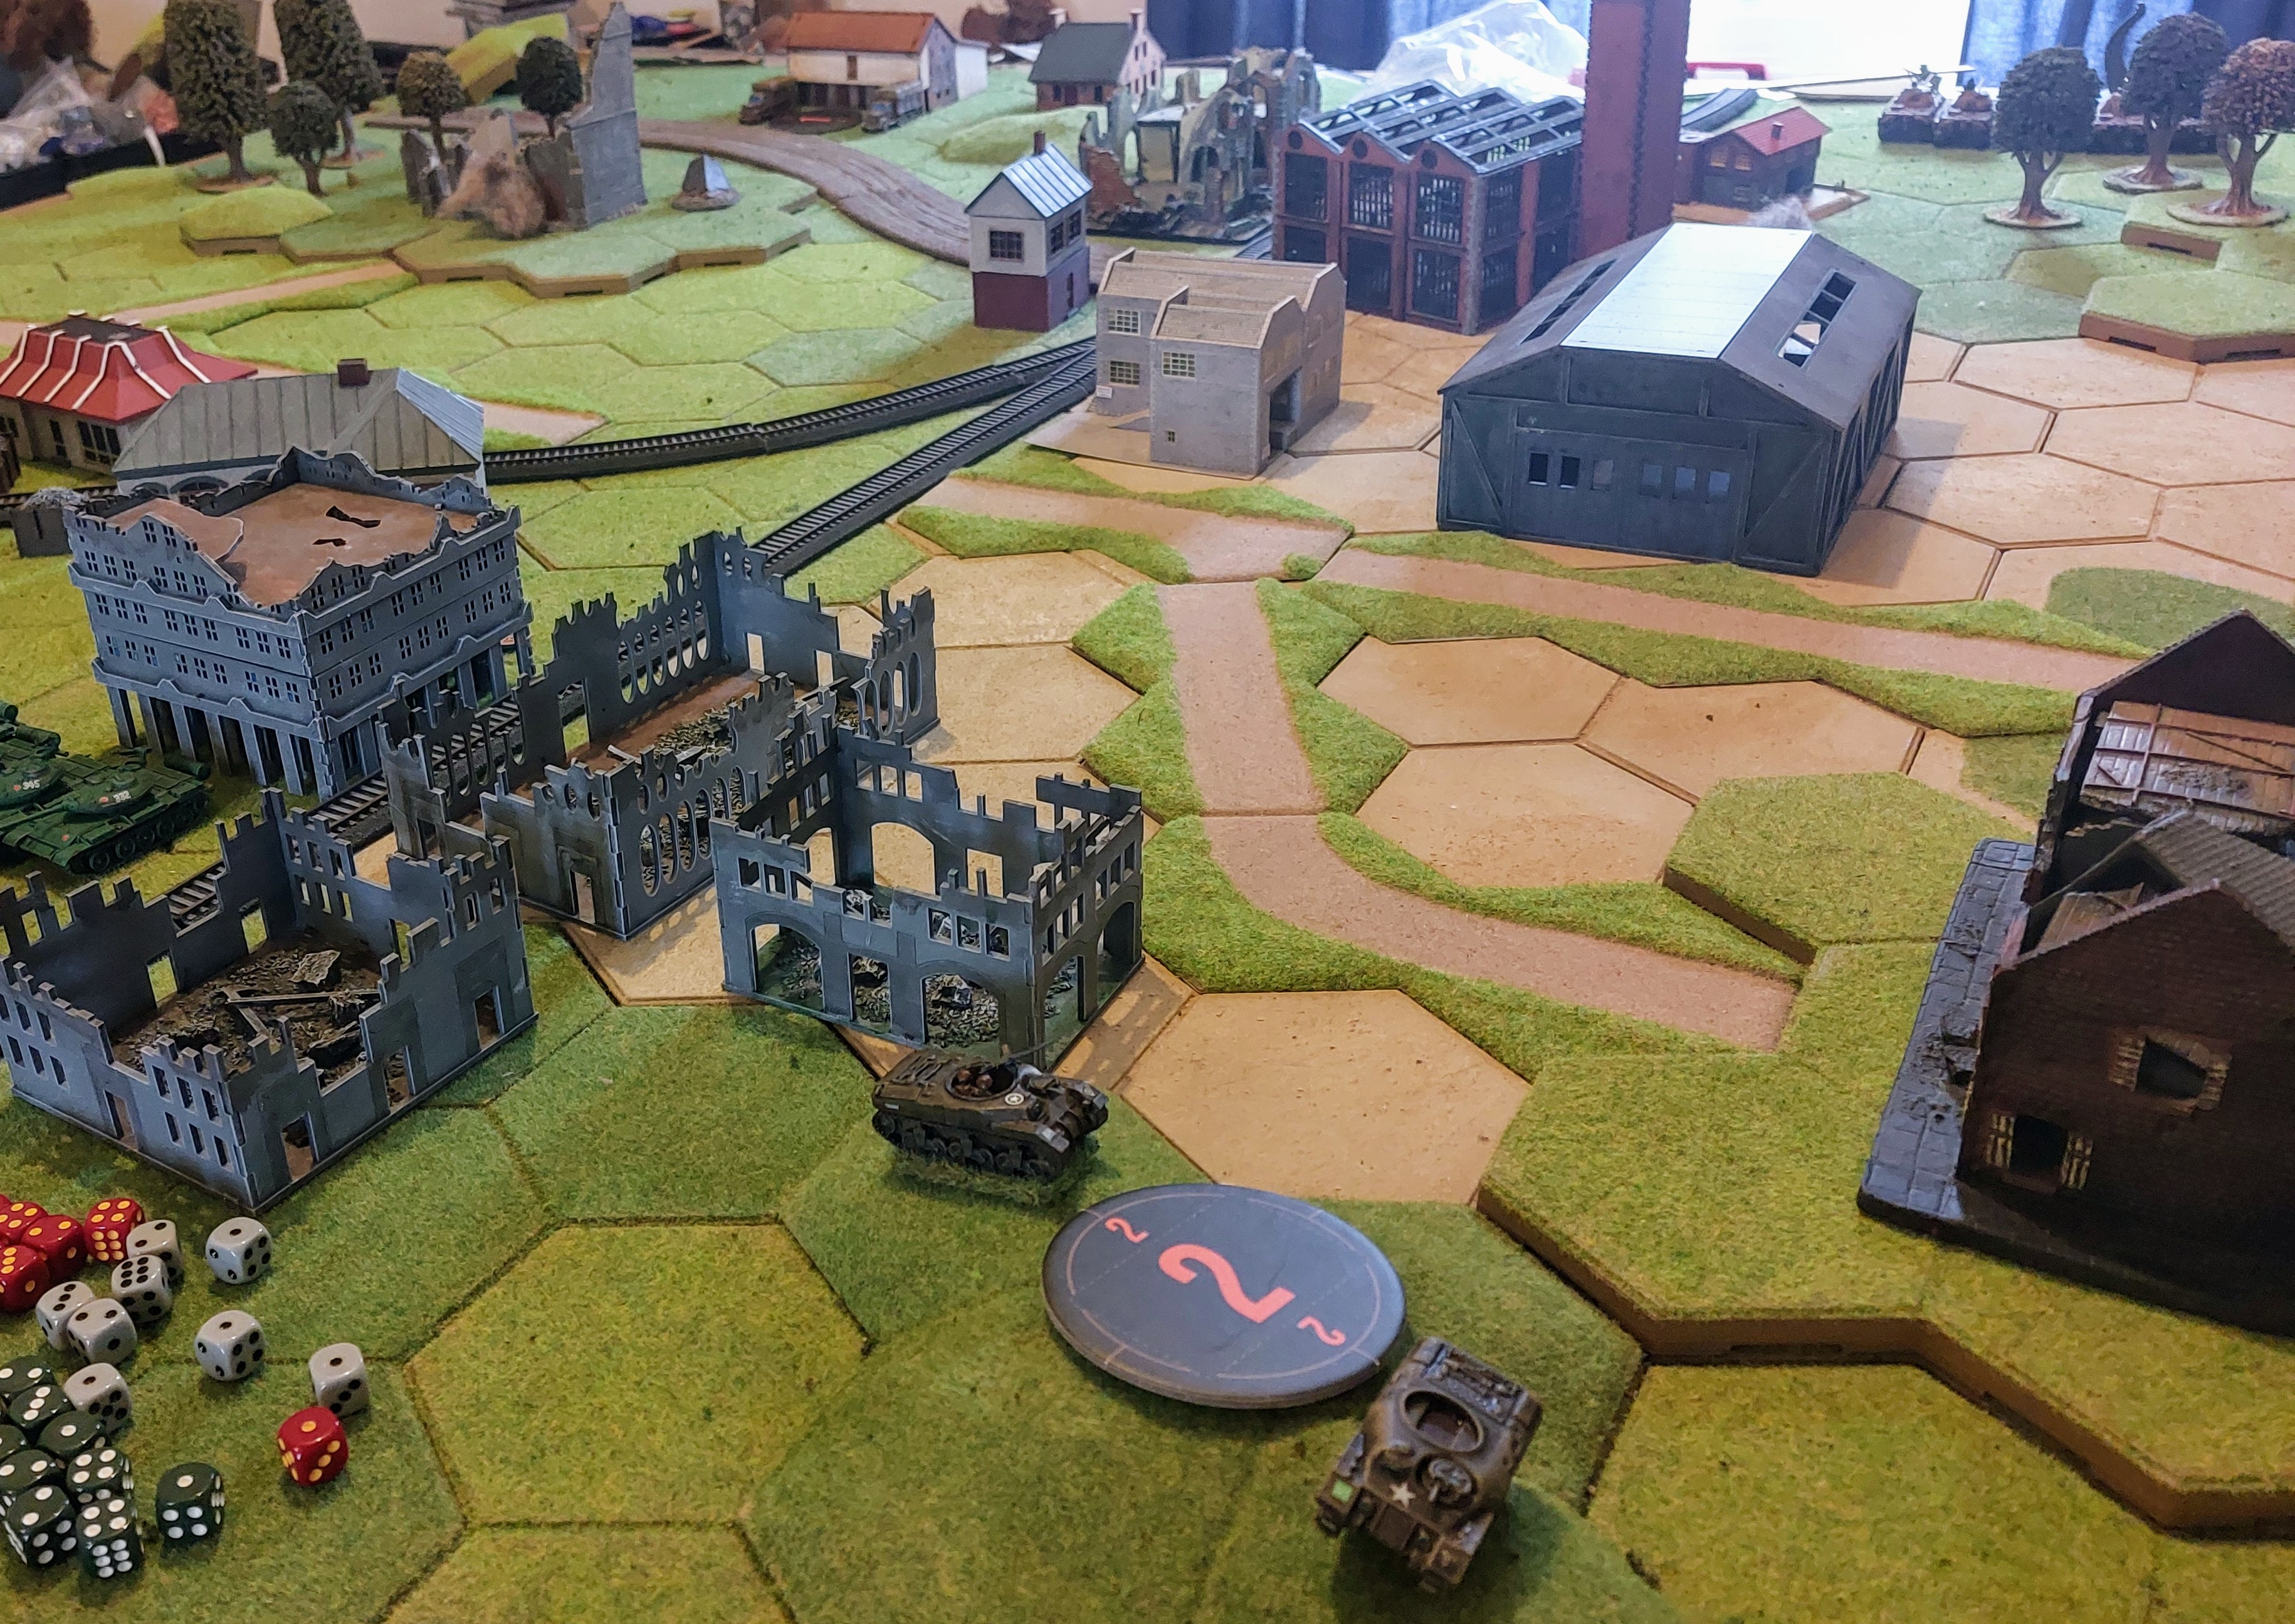
The Table and Scenario 2
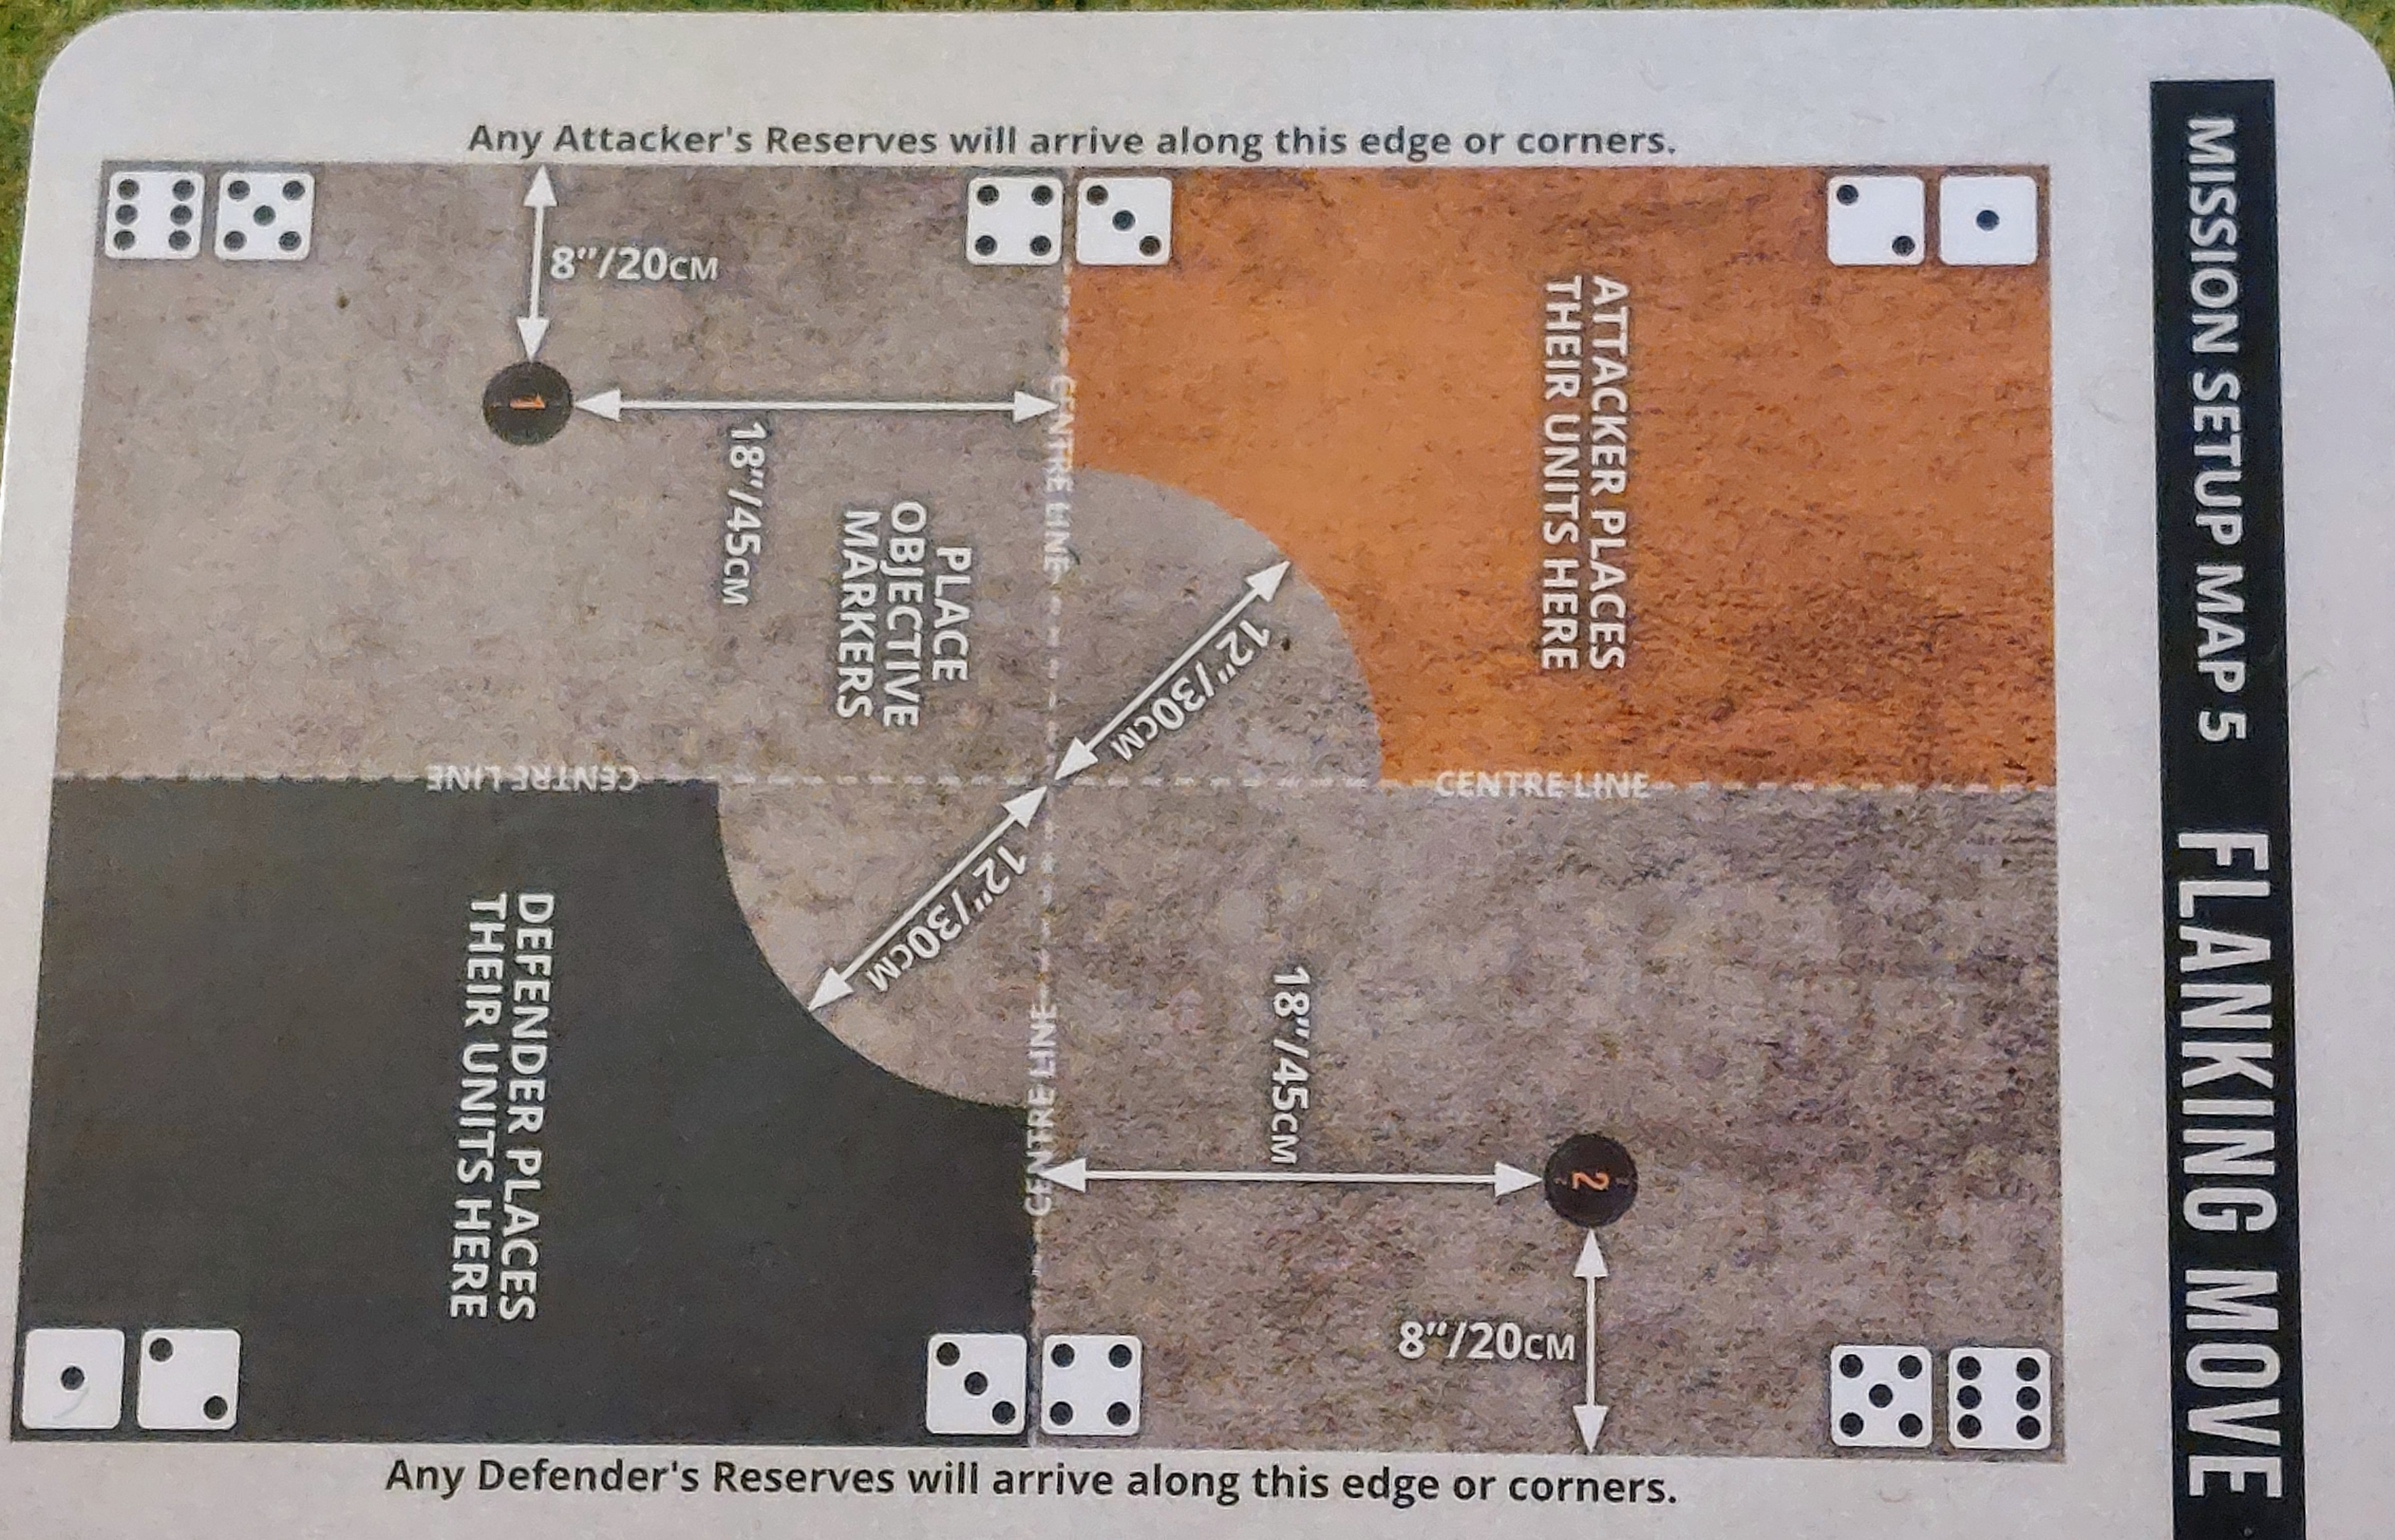
Normally in the game you pull a random table mission set-up card, but chose the one that would best fit my narrative for 1st game, for subsequent games I will pick randomly as coupled with the scenario mod cards , they can allow for multiple different scenarios on a single table layout.
This card shows the base dpeloyment areas and where the objective markers are layed. Then a random mission objective card is placed face down on each of the objectives. These will be revealed on moves 1,2 &3 , , each may be a game objective, a dummy or a variable length or immediate effect objective which can be replaced as the game goes on..
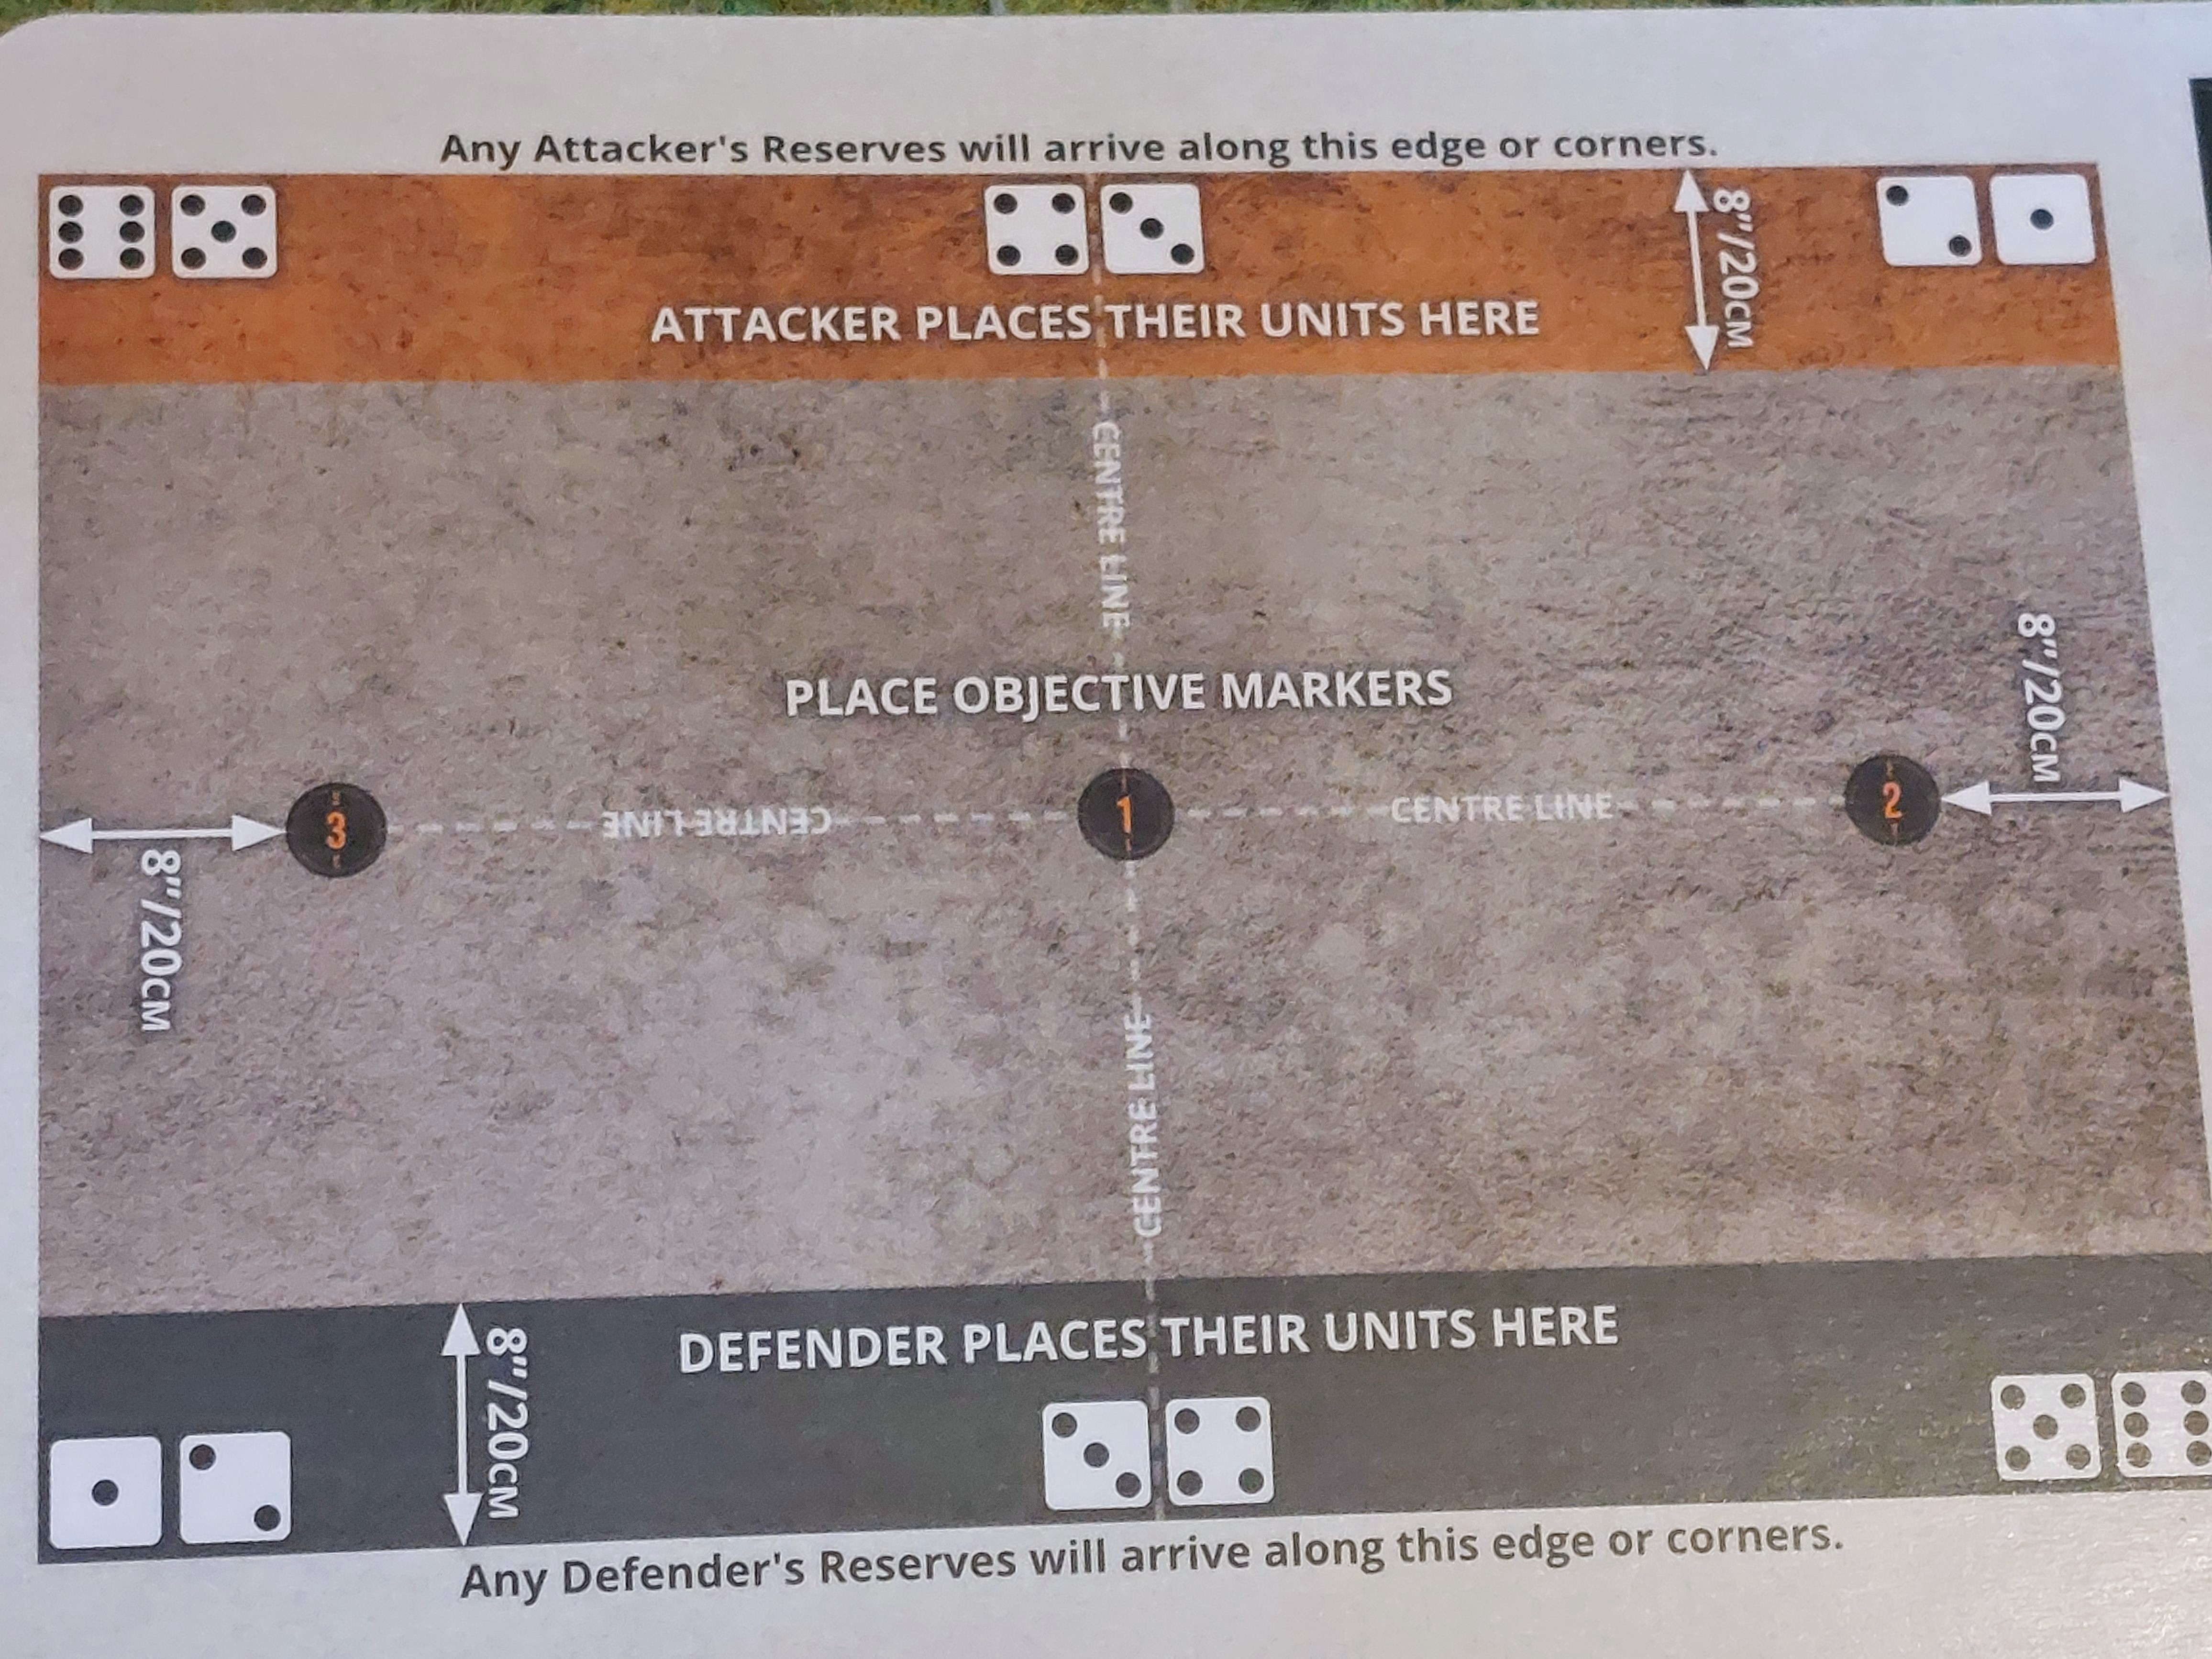
I still pulled out the mission card , which has the game length in turns, any special scenario rules and how much of forces are initially deployed .
If I have read it right, above means I can deply up to 60% of my force as I want , the rest may arrive on 5+ die role in area shown by the die indicators on the mission layout card.
So I can deploy upto 42 pts initially and the rest is on dice, On bright side my bad dice luck should effect both.
So for the Americans my initial
Deployment force is:
U.S Force
Command
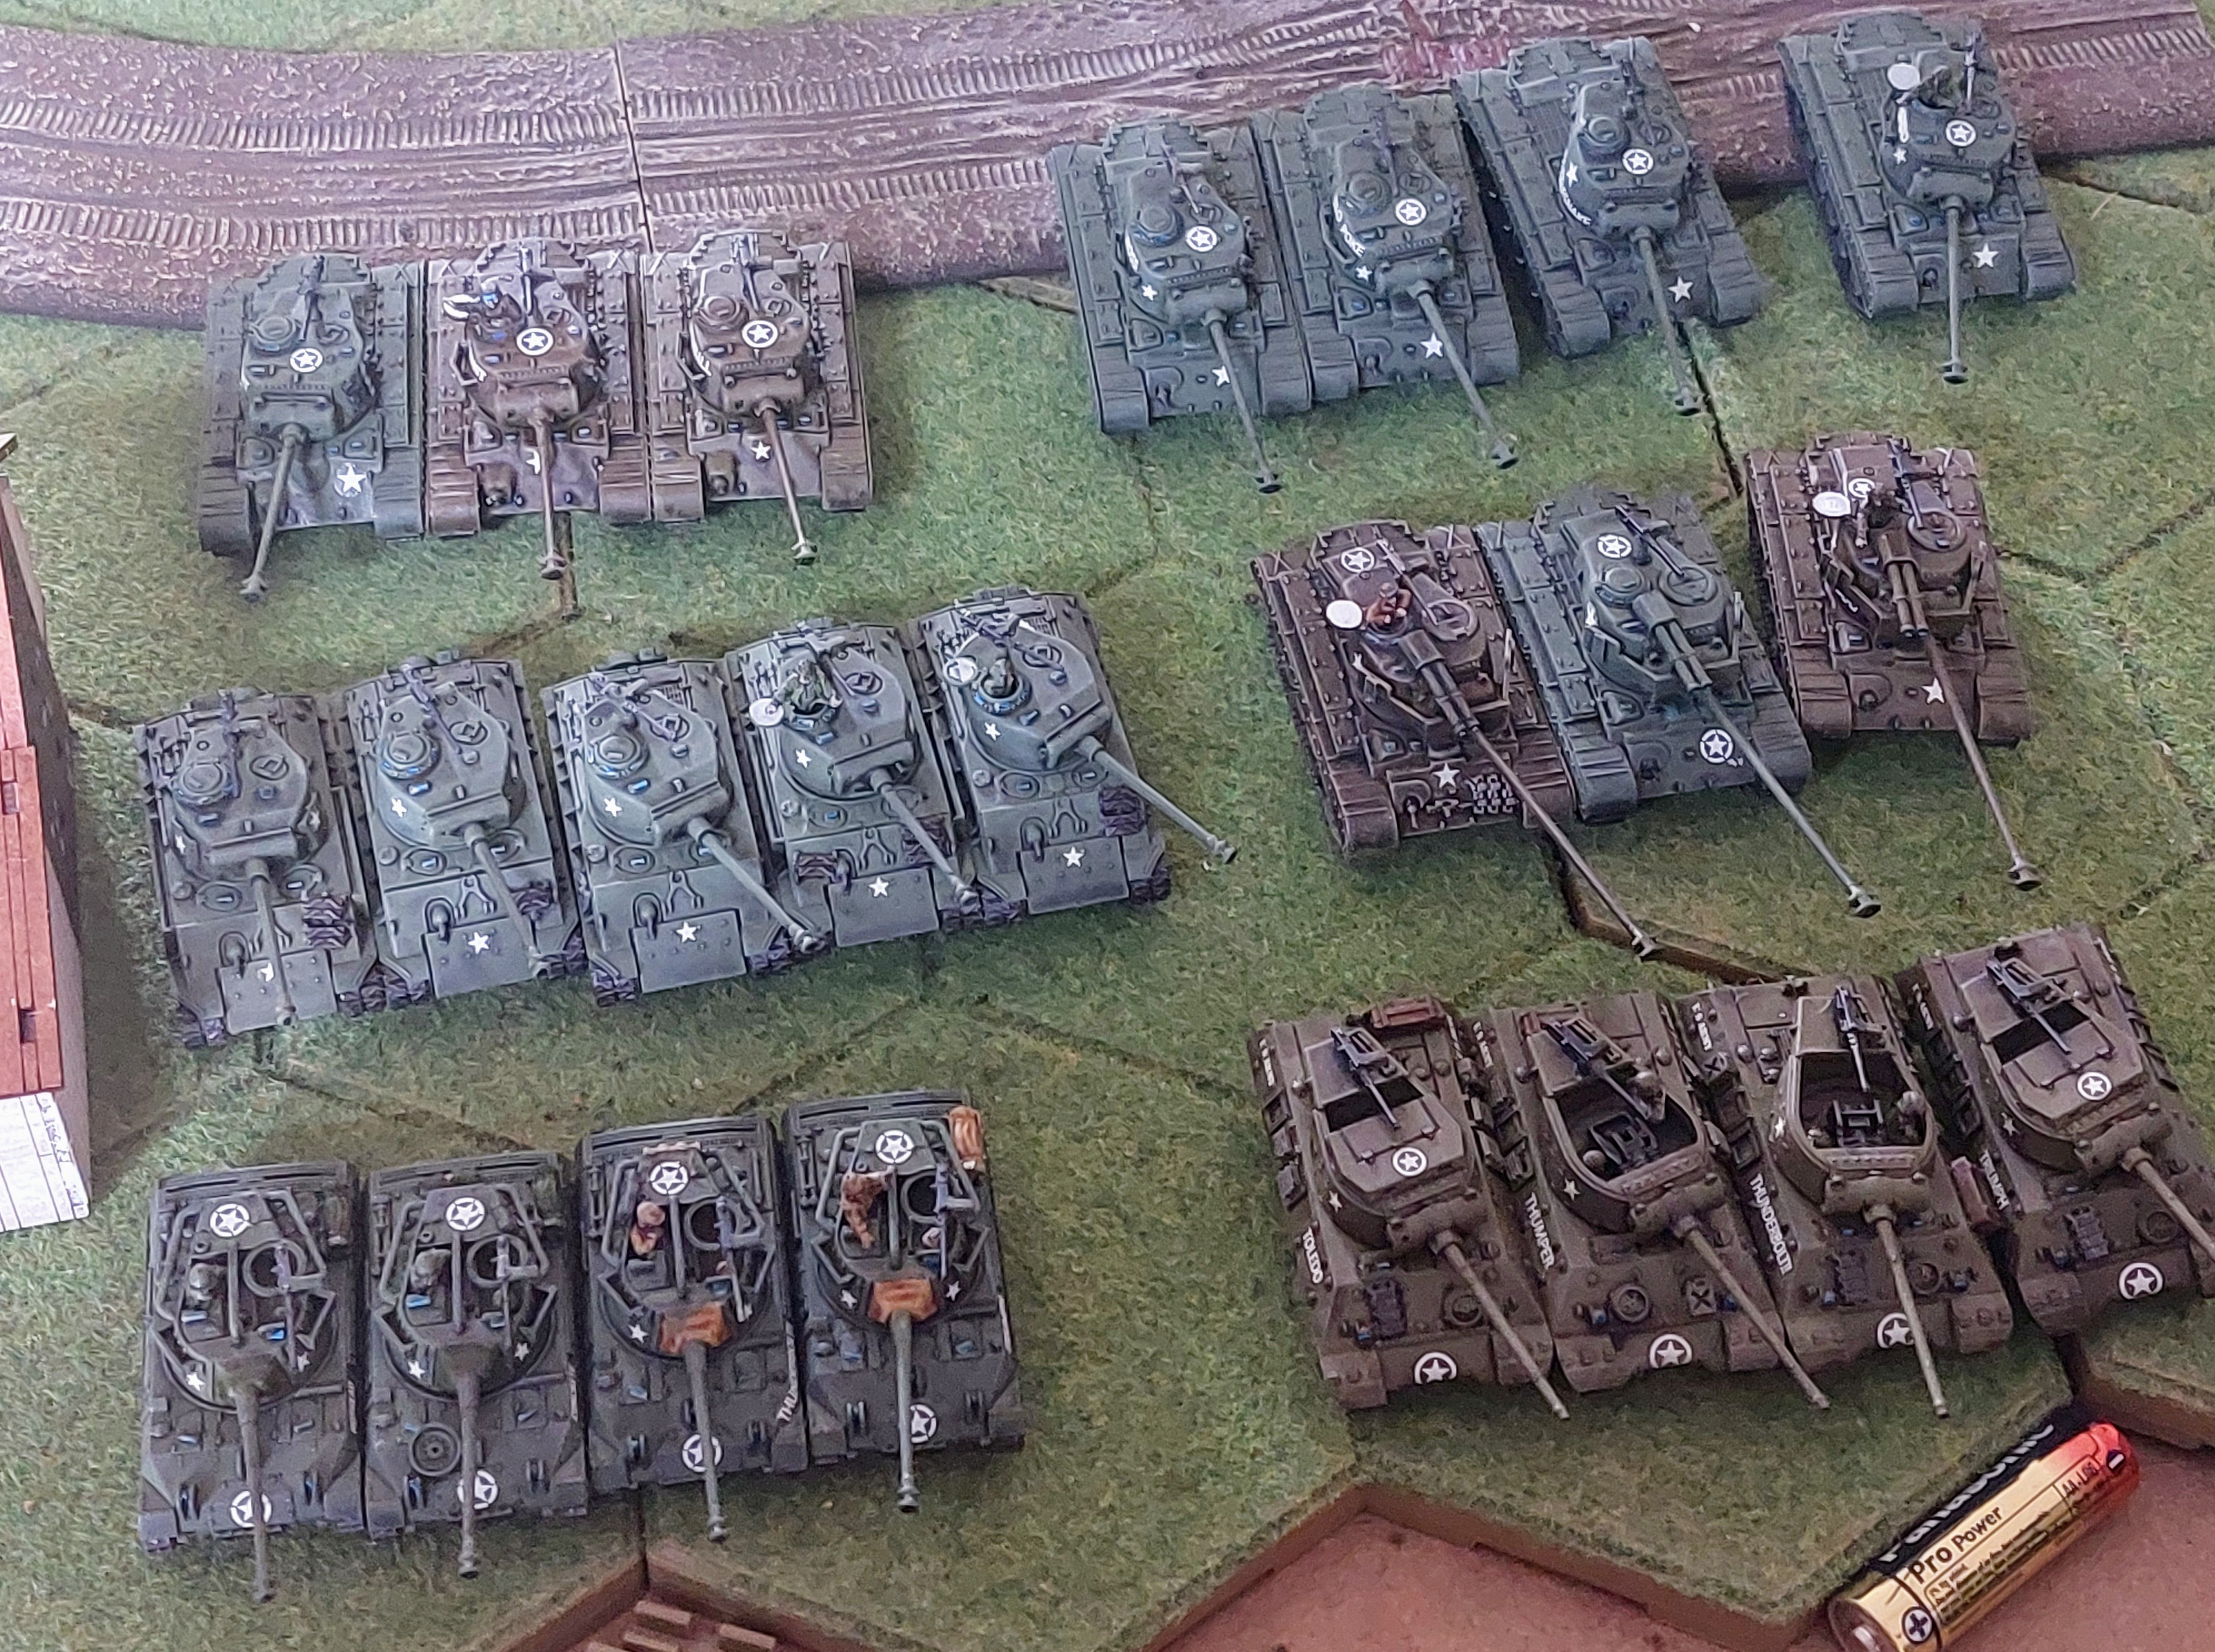
1x T26E5 Assault Pershing 5pts Volley Fire Skill 3pts
Core Units
3x T26E5 Assault Pershings 16 pts
3x T26E4 Super Pershings 14pts
Not a lot, but does mean most of my Heaviest and least manoeuvrable units are were I want them, the lighter units are hopefully fast enough to re-deploy from their inevitable lousy position
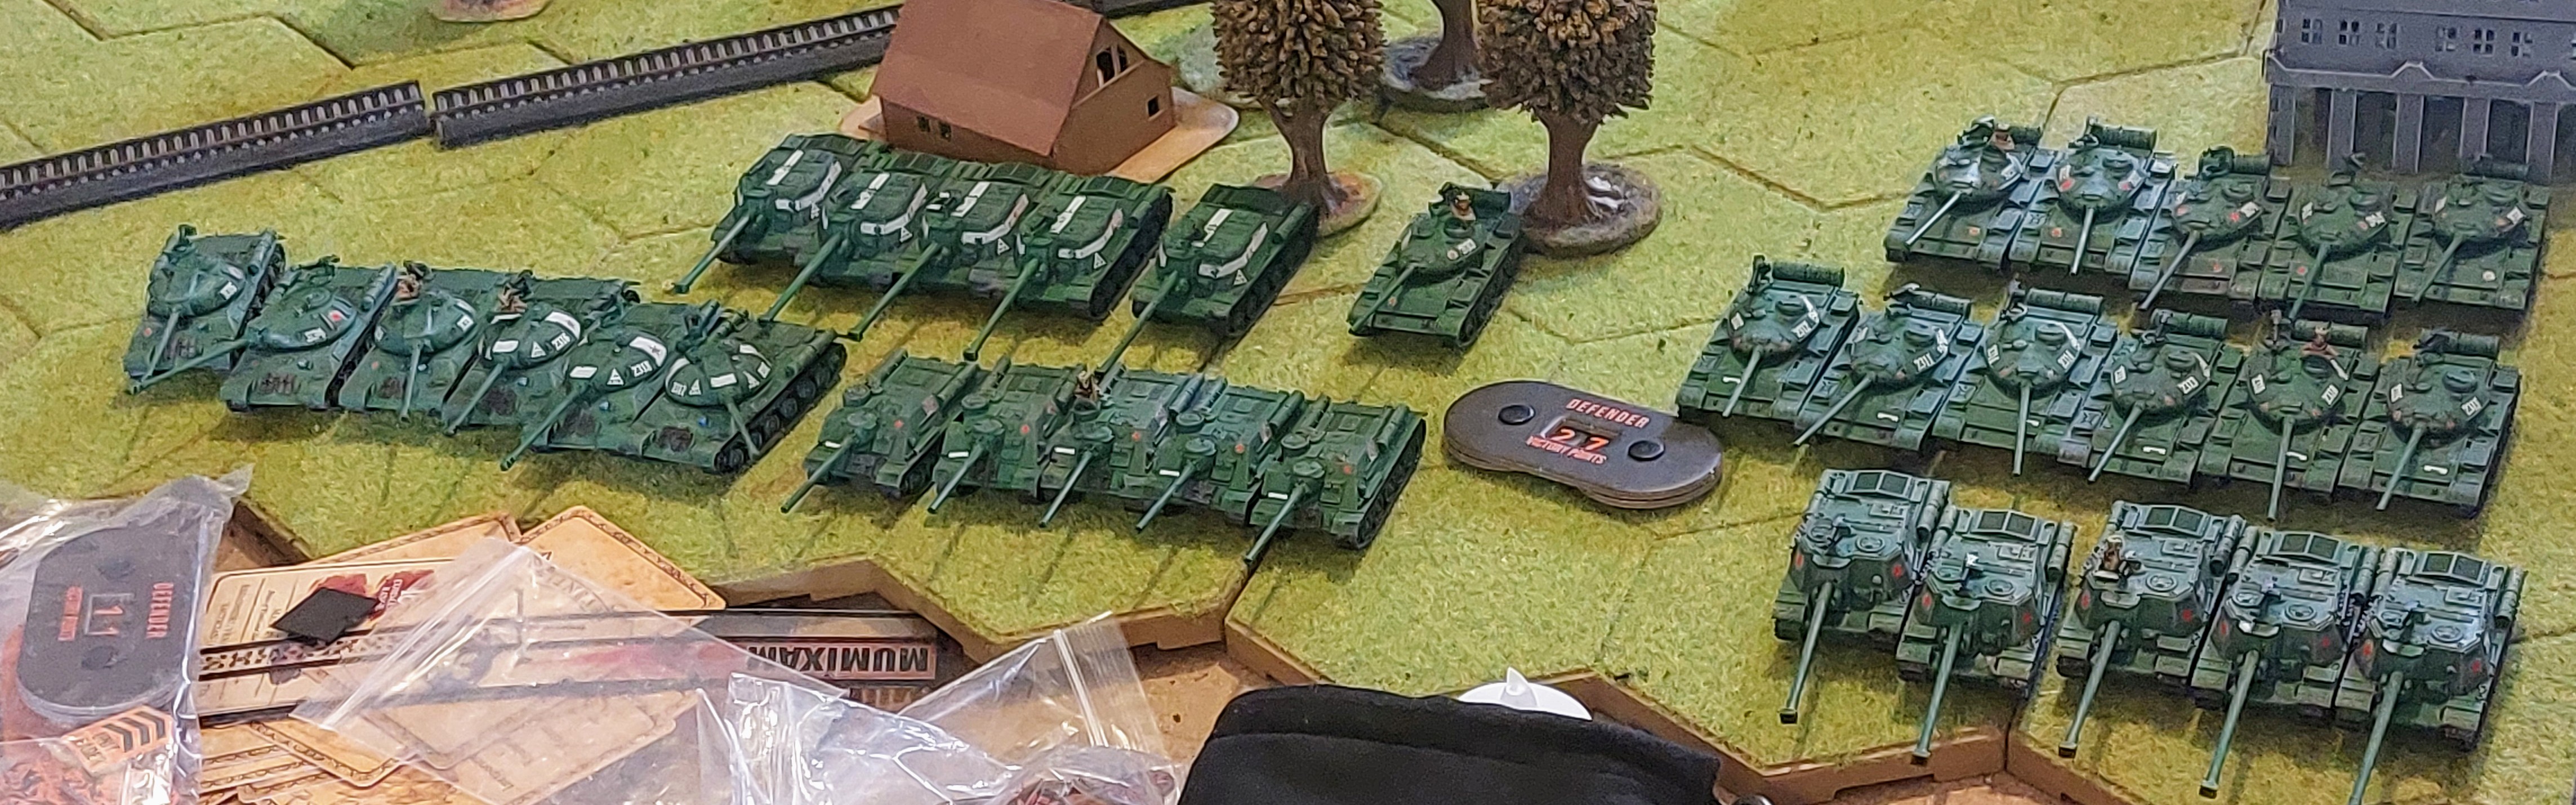
Soviet
Command
1x T44 3pts Punch it Ability 3 pts.
5x T44 11pts
5x ISU 130 15 pts
3x IS-3 10pts
I had a similar thought for the Soviets, but have the advantage of one fast unit in the T44’s
This will give the American player some pause for thought, as he does not initially have enough units to attempt to secure the 3 objectives.
The Table and Scenario
Well having had major re-organisation I added setting up a Generic table for the 1st Scenario.
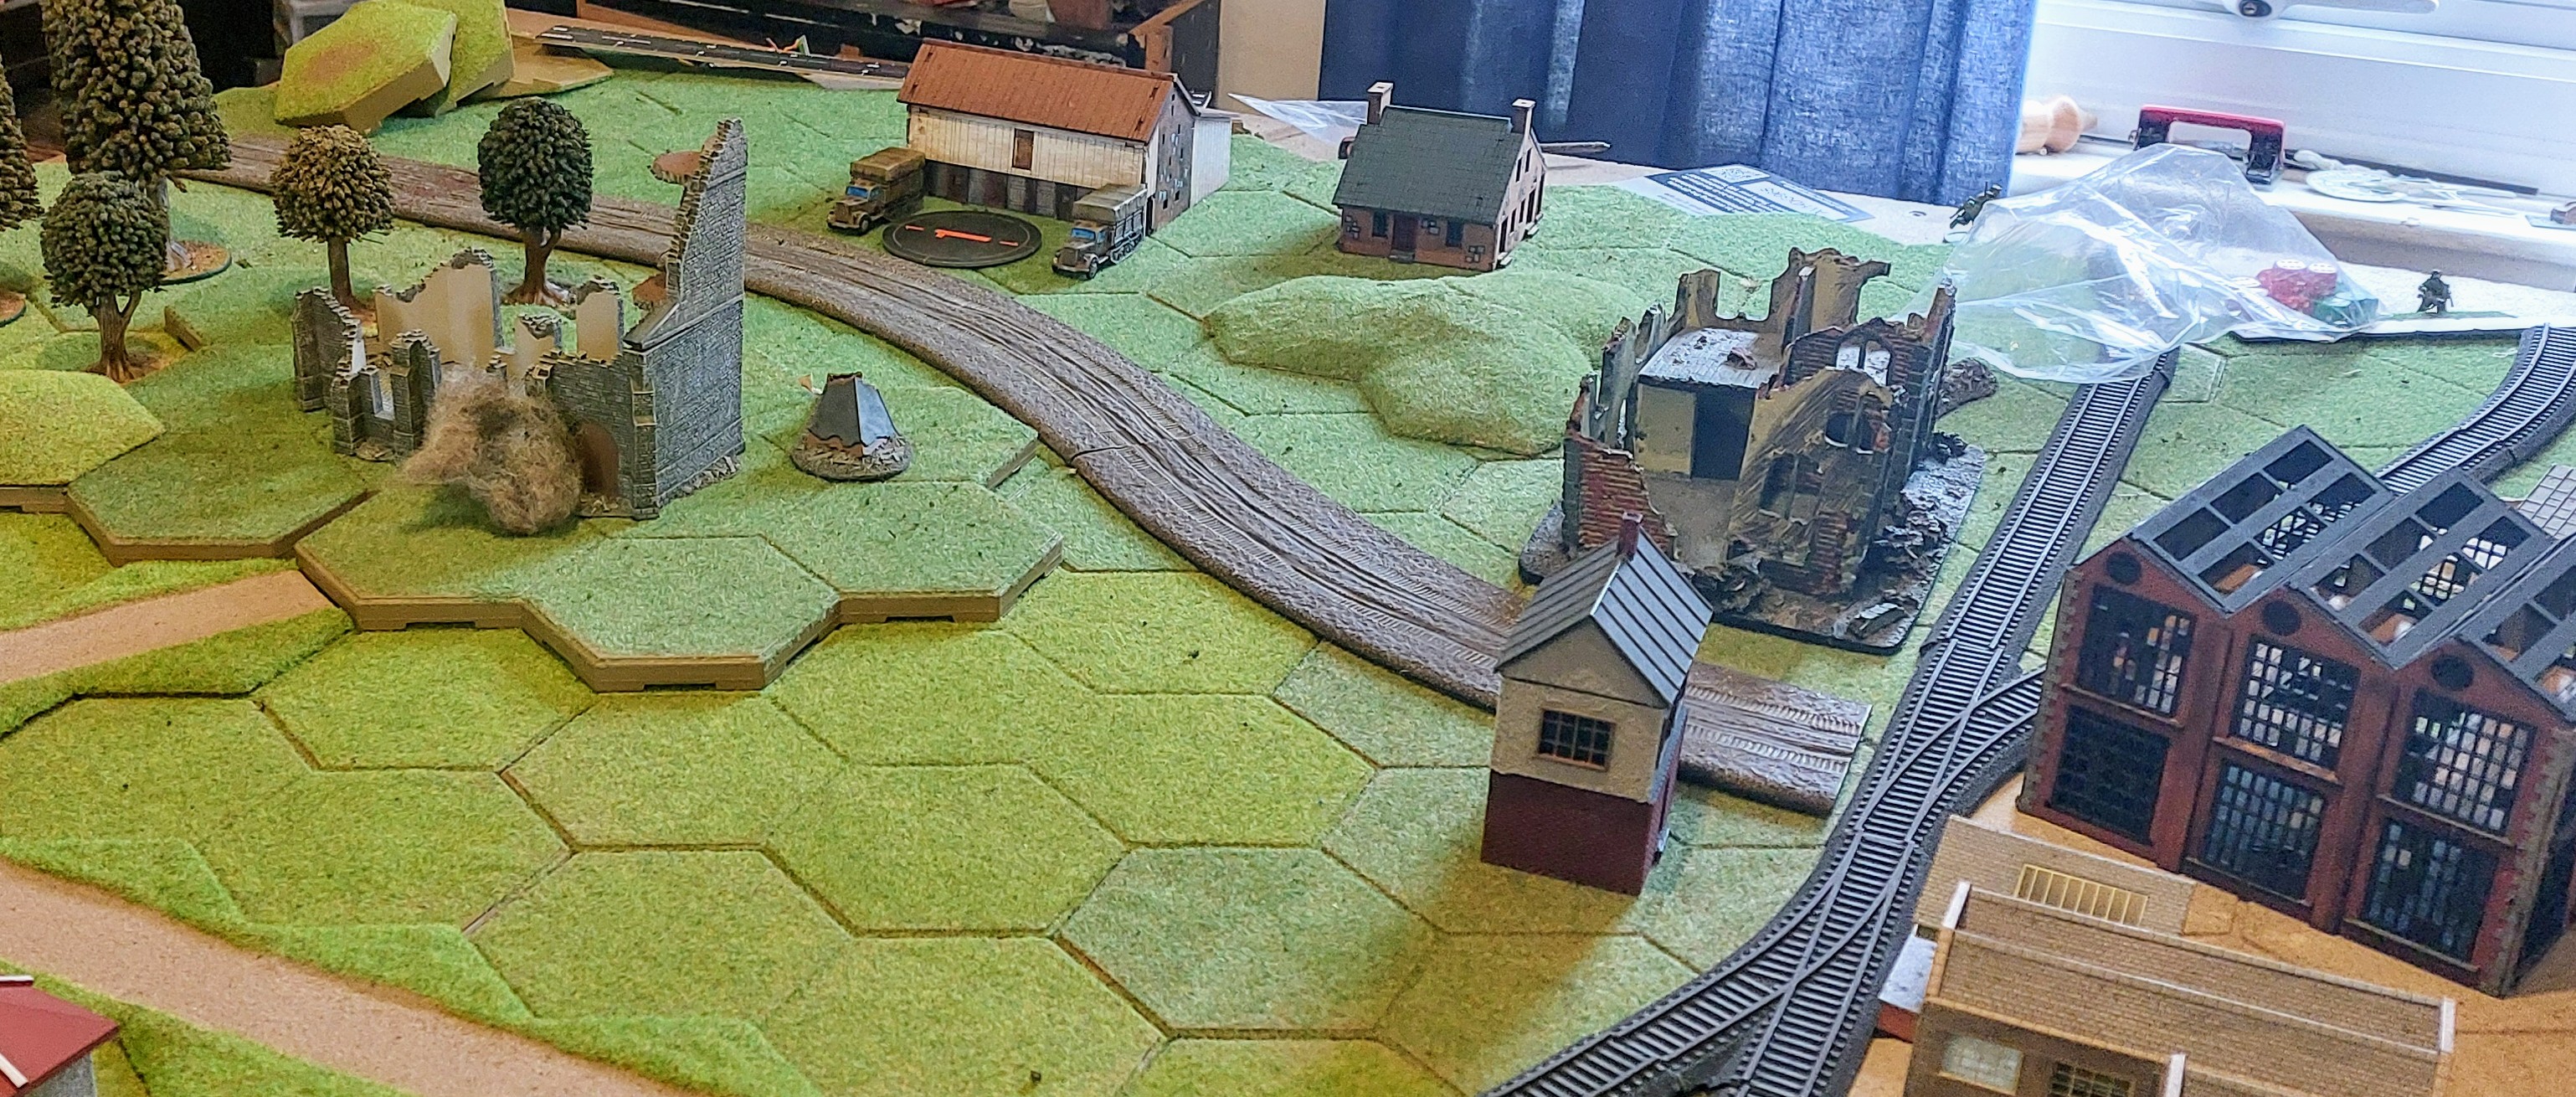
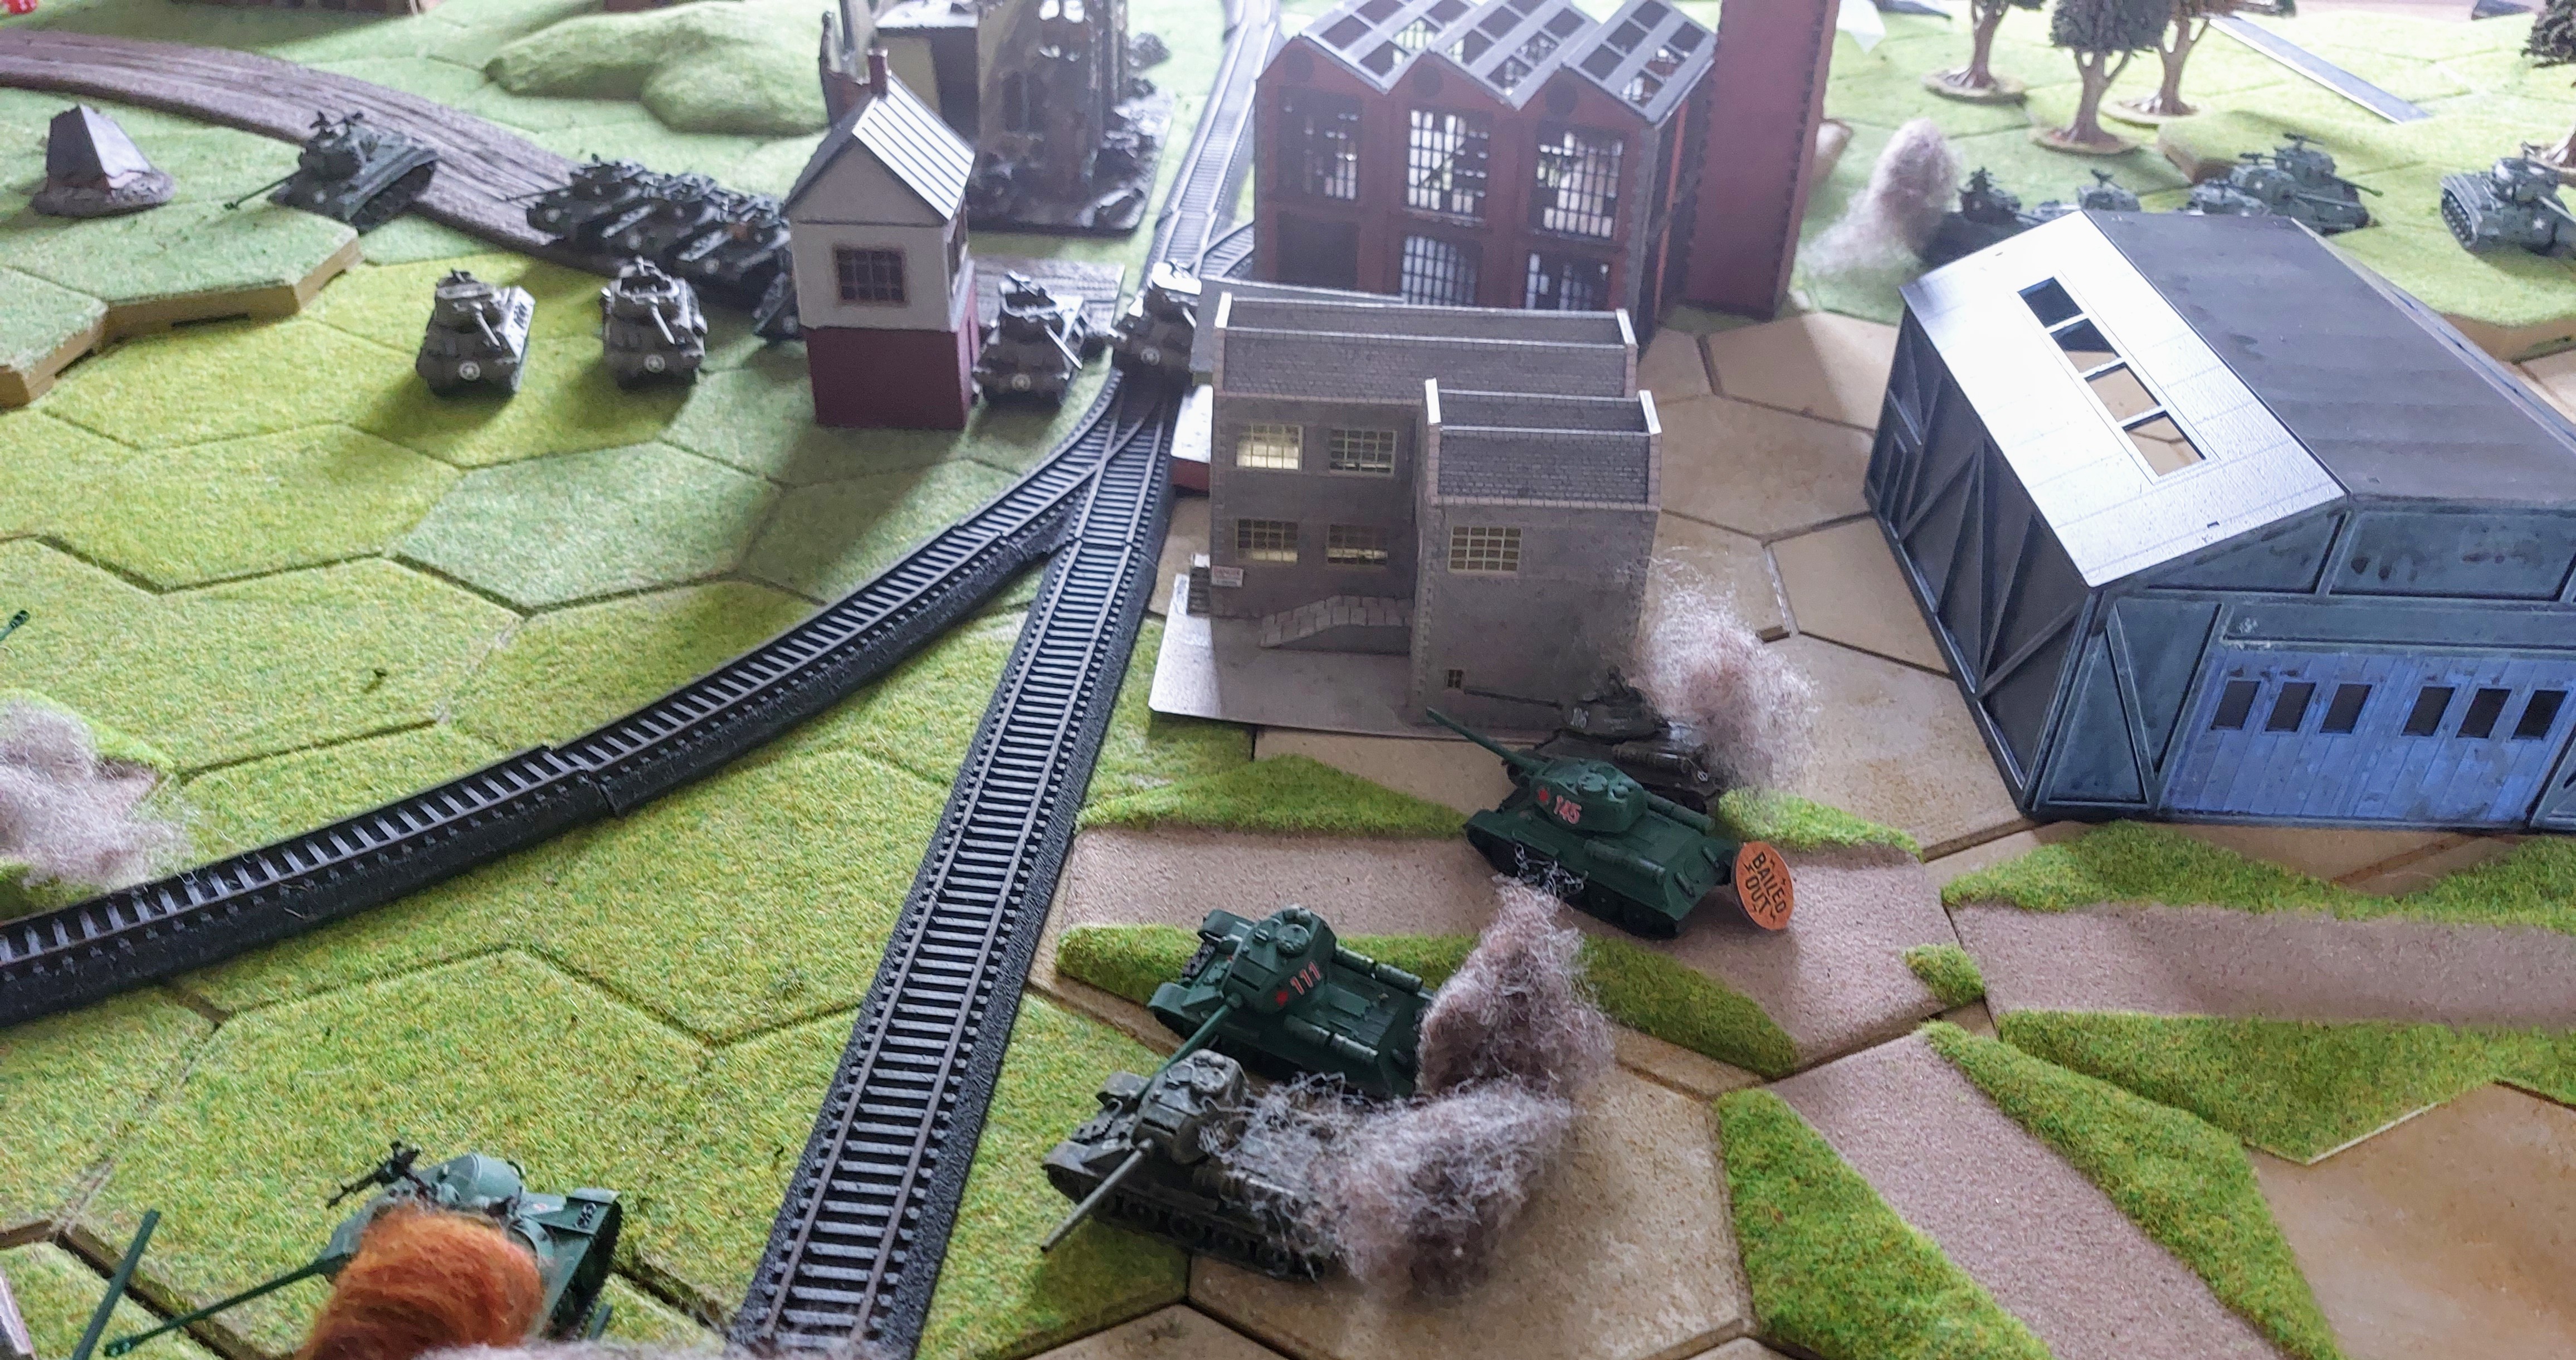
Down the centre is an industrial area and rail head, which still has damage from the end of the last war. A couple of farms and woods break up lines of sight.
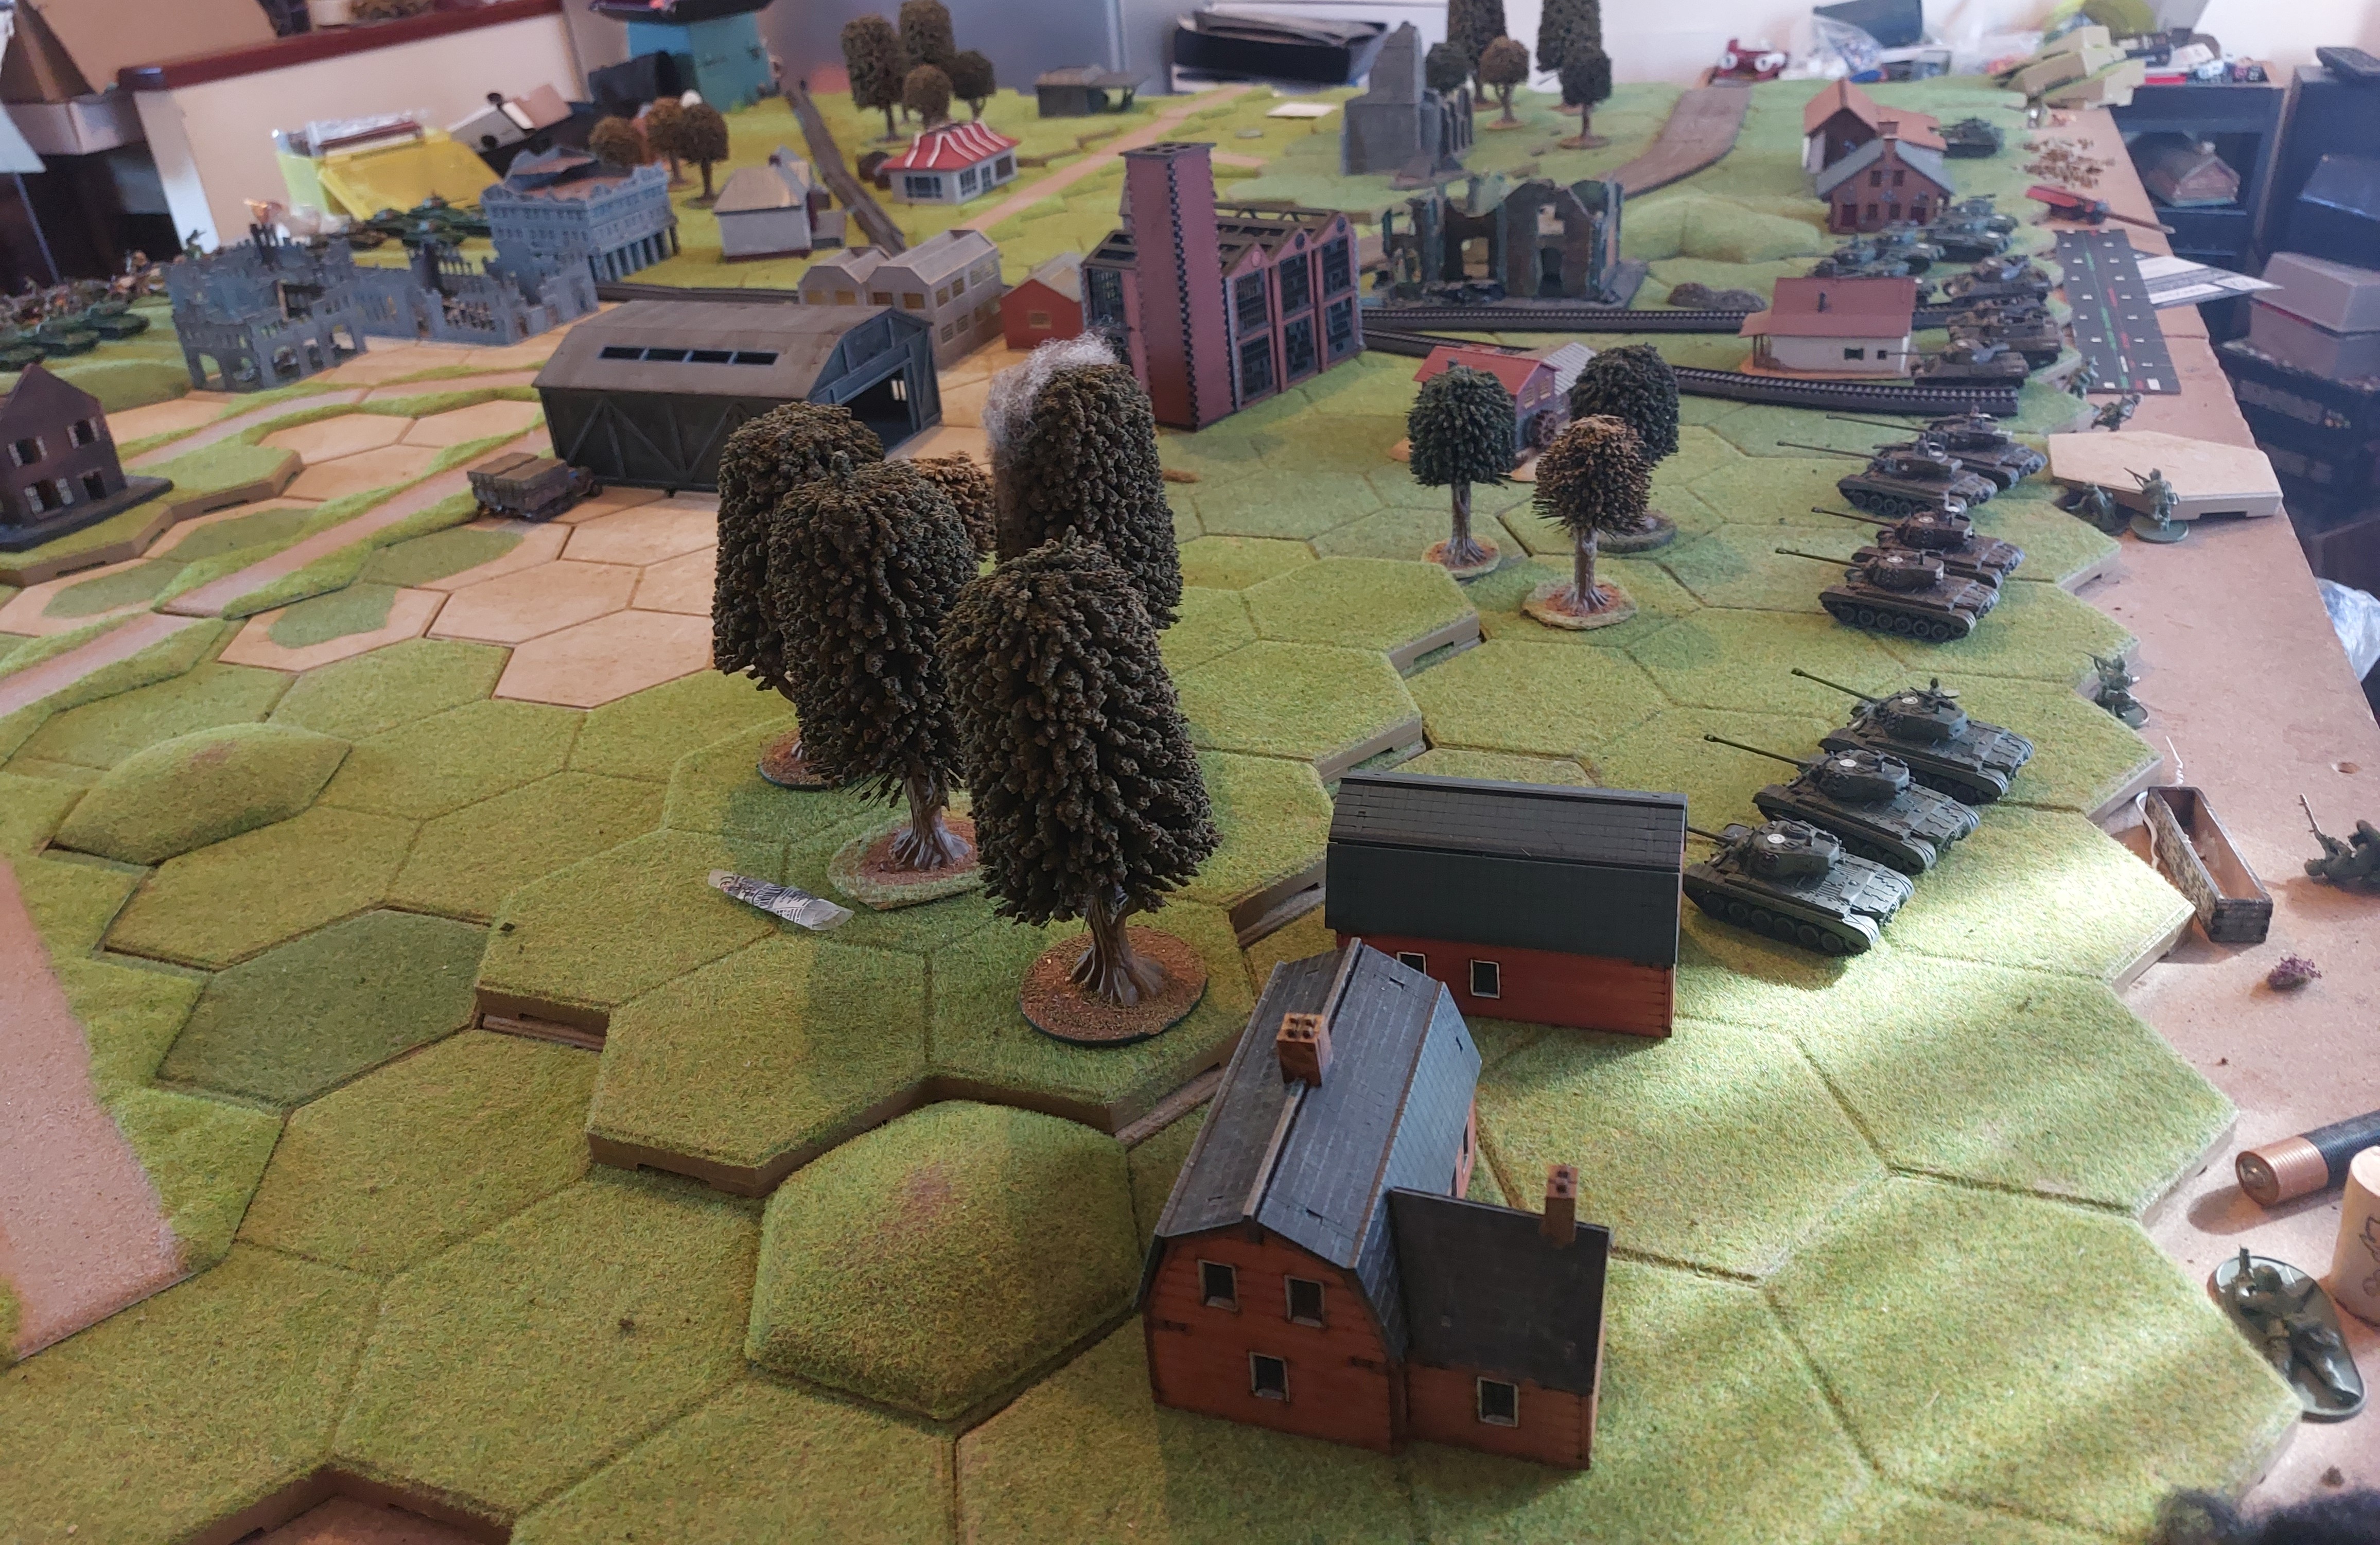
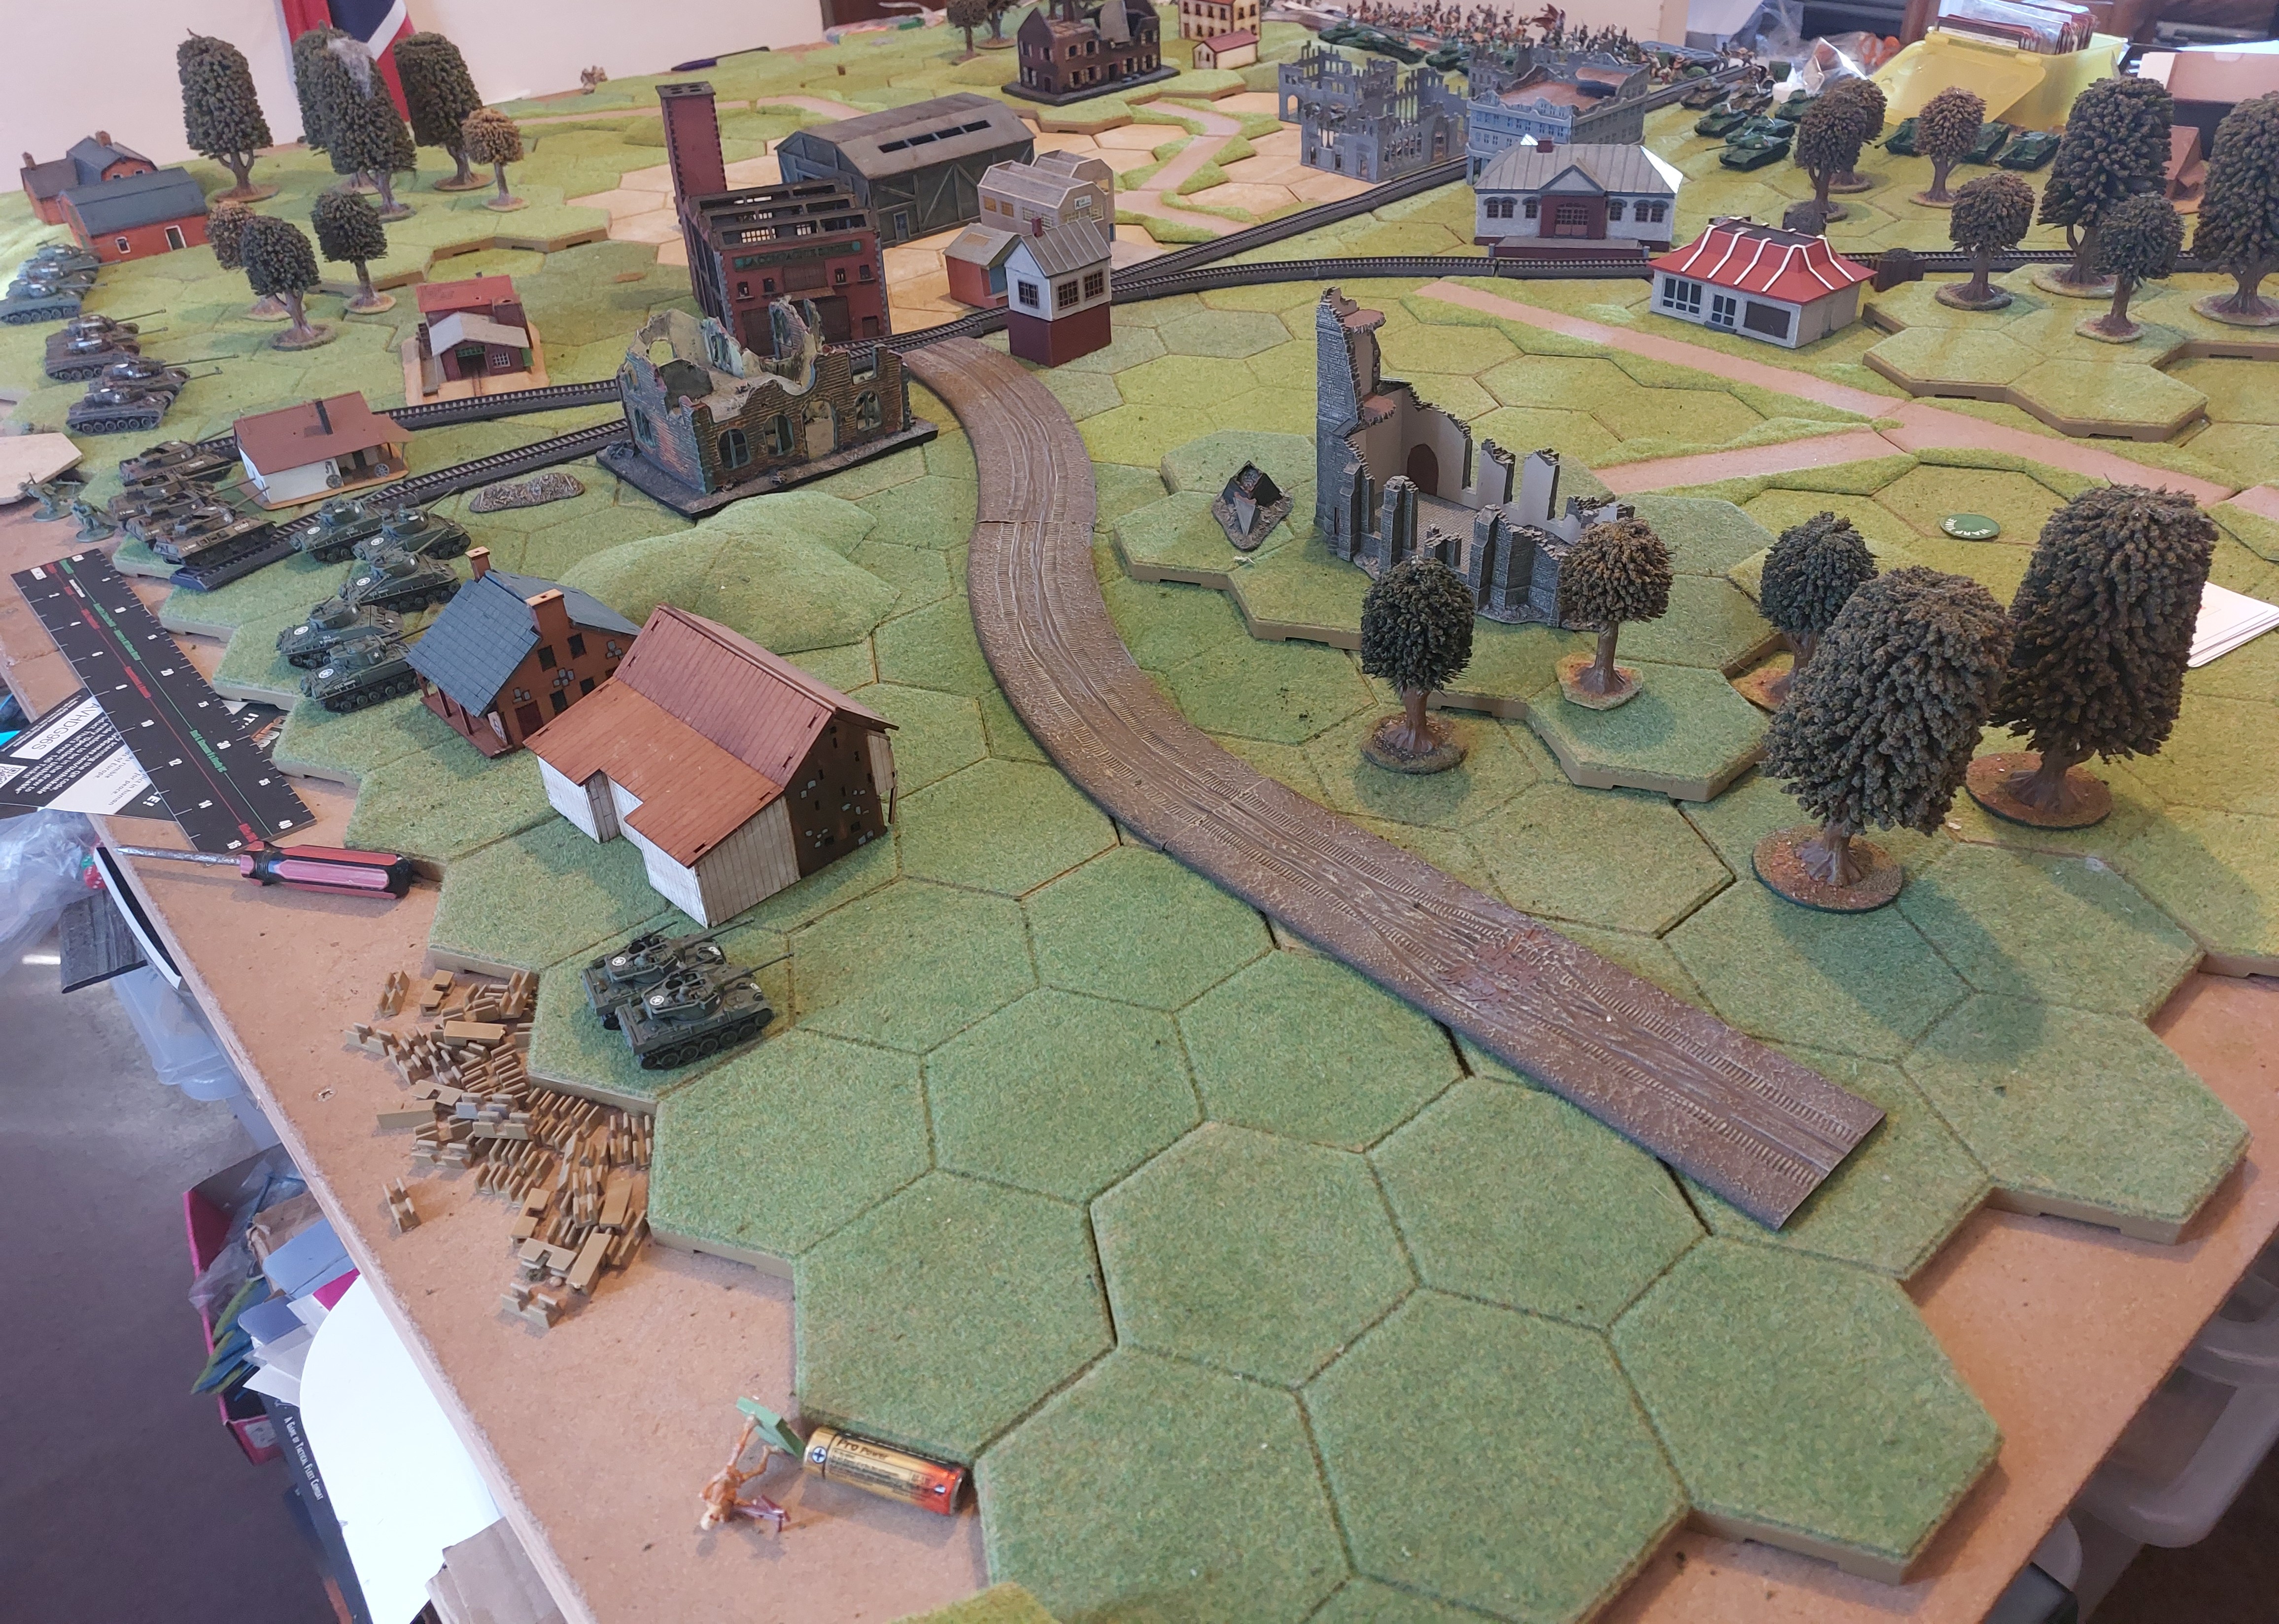
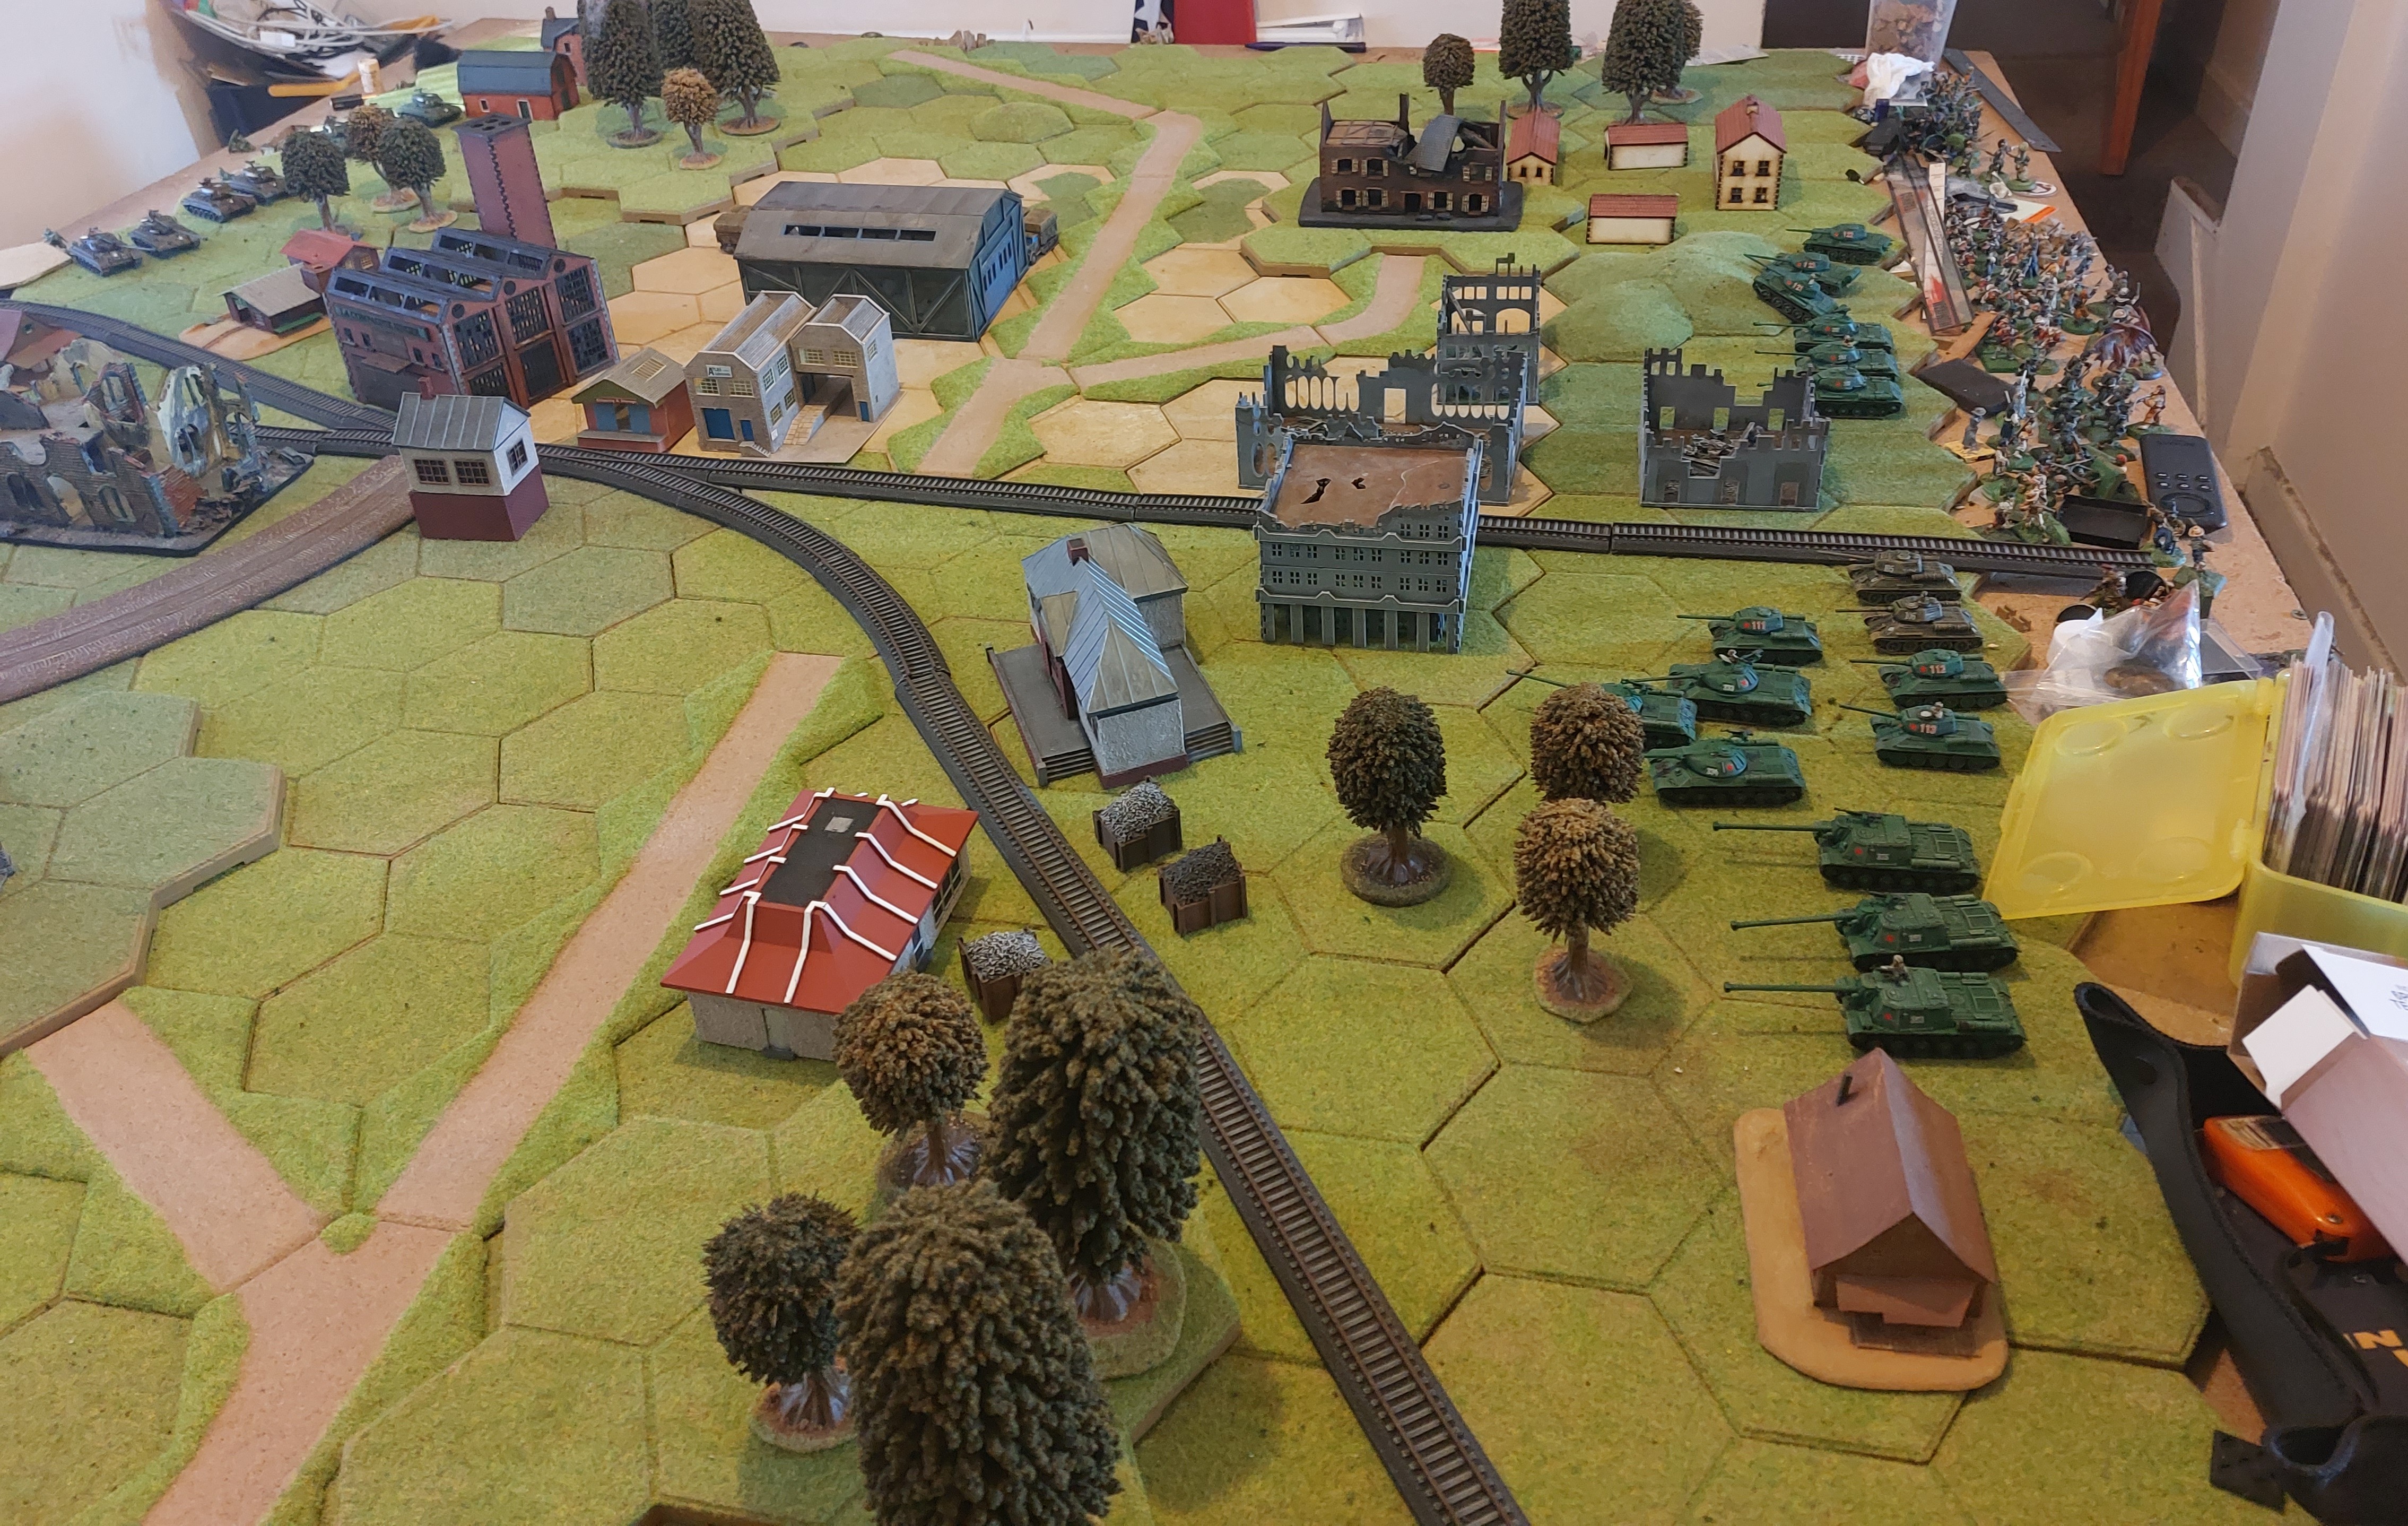
I have randomly picked each forces table side, the U.S are o the left and the Soviets are on the right ( sort of reverse of political spectrum) as can be seen by the models on table, though they have just been put down pre game and are not in their deployed positions.
The Scenario from the book
Protests in much of Eastern Europe particularly Warsaw have been crushed by Soviet Troops leaving many protesters dead on the Streets. The Western Allies demanded the Soviets responded by re-inforcing their occupation .Protests throughout the Soviet Zone of Germany and Poland saw further brutal suppression.
On 6 June 1948 British, U.S. and German troops cross the border under the pretext of protecting German and Polish Civilians.
The lead Elements of the U.S forces crossed the Oder and Neisse rivers at various points , advancing in a West-East axis , quickly overrunning any token resistance and approached Wroclaw. Fast moving lighter Armoured columns ran into an advancing column of T44’s and unidentifiable tanks, and a savage firefight broke out.
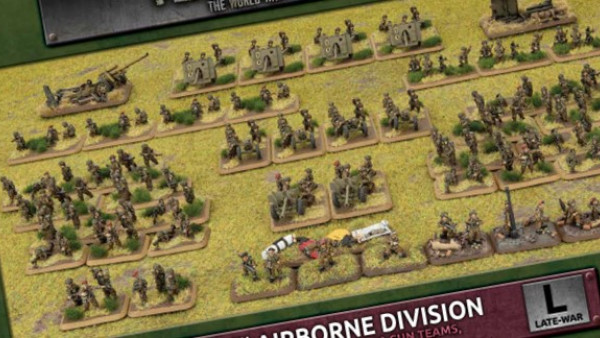
The army list for each side are provided from the forces booklets in the starter sets which detail what can be command , Core and Support units giving the max of each type:
U.S Force
Command
1x T26E5 Assault Pershing 5pts Volley Fire Skill 3pts
Core Units
3x T26E5 Assault Pershings 16 pts
3x T26E4 Super Pershings 14pts
3x M26 Pershing 8 pts
5x M4A3 Easy Eight Shermans 10pts
Support Units
4x M36 Jackson Tank Destroyers 8pts
4x m18 Hellcat Tank Destroyers 6 pts
Total 70pts
Soviets
Command
1x T44 3pts Punch it Ability 3 pts.
Core units
3x IS-3 10pts
5x IS-2 12pts
5x T44 11pts
5x ISU 130 15 pts
Support Units
4x T34/85 8 pts
3x T34/85 6 pts
70 pts total
A question to Readers
Well over the last few weeks I have beavering away painting up both the Starter sets for Clash of Steel and some other units to round out the Forces , and I’ve nearly enough U.S and Soviets to do 1st game.
(note I have had enough British and German to play for a couple of weeks but I’m being awkward reasons below)
But the question to the masses do you want me to go back over how I painted the various forces , or would you prefer I go straight to the battle report ?
Now those that know me will know I’ll tinker with the rules a bit, mainly in this case as intend to play it solo . The 1st 2 player will be rules as read. The reason for the amendment’s is partly :
1) I dont like I go you initiative
2) a more random initiative will make playing both sides easier and fairer
3) I will be amending the random scenario and objectives to fit in with the narrative I have for the 1st and possibly series of small games.
This comes to the reason I haven’t played with Brits and Germans so far, as the base narrative of the game is a Western Allies (plus a slowly recovering Germany) vs Soviets , and my plan is to play the initial clashs of the respective forces described in the background of the game.
Starting with the U.S and Soviets.
Not only that I’m initially leaving out the more exotic vehicles for the this initial clash where possible , and play a game with forces that could have dnd sid sometimes meet in Korea 2 years later.
Clash of Steel
As part of my current flit between period and Genres, I am now heading back to this one with the release of above.
I had said no new projects then I got into Legions Imperialis, but both this and the Western Gunfighters projects are not new. With this I’m just extending the time period my 11th Armoured is engaged in.
For a long time I’ve wanted to do a what if, had the war continued , without bloody Zombies, Mechs, Monsters of the I’d etc, and actually use some of the built and used post war kit, that in many cases were used in Korea. Funny in how in all the above weird wars , allied vehicle and air technology seems to be ignored in favour of even more exotic designs than some of the weird ones that were actually considered.
Apart from that who doesn’t want to play with Maus, Tortoise, and IS3?
Plus it has actually got me to get around to finish the 6 King Tigers and Jagdtiger which have been sitting in a trap for over a year !
Oh and I forgot!
Sorry I forgot most Important part of move 2 after some considerable prompting from the umpire who had spent a week painting them, and wished he’d seen John’s Americans at weekend@!@@
The arrival of the Rifles Carrier Platoon (German should surrender and go home. Hurrah!)