Spring Clean Maurice
Recommendations: 47
About the Project
So it's that time of the year again. Like many of us, I have numerous wargaming rule sets. I picked up Maurice by Sam Mustafa when it first came out and purchased two 10mm armies from Pendraken in the UK (great models), but did nothing. Until Now! Time to paint the lead, create the terrain, make buildings, trees, roads, rivers, fields - in fact make a full on 10mm gaming experience in 18th century Imaginations.
Related Genre: Historical
Related Contest: Spring Clean Hobby Challenge (Old)
This Project is Completed
What's this all about?
For those unfamiliar with “Maurice”, it is a set of wargames rules for battles in the 18th century or as Sam Mustafa says, “War in the Age of Gentlemen and Philosophers”. It is an ideal set for “imaginations” a favourite for the period around and including the Seven years War.
It is not scale specific but I think lends itself nicely to the 10mm scale so the larger confrontations can be played as well as the smaller skirmishes between the many warring states.
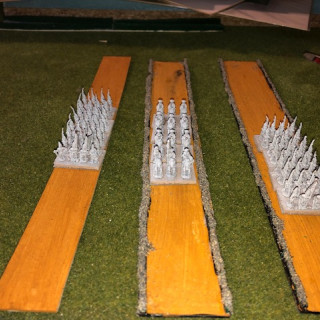
The rules require a unit to comprise 4 bases of any frontage, as it is the frontage that regulates movement, firing distances, charges and for the purpose of this Spring Clean challenge, recommended sizes of terrain.
So my challenge is to paint a couple of armies, and make the necessary terrain based on Sam’s guidelines and using whatever materials I can gather from here (I am living in North Macedonia) which has no “hobby shops” as people in Europe would expect to be able to visit. So I will use what materials I have gathered over the months to create this world.
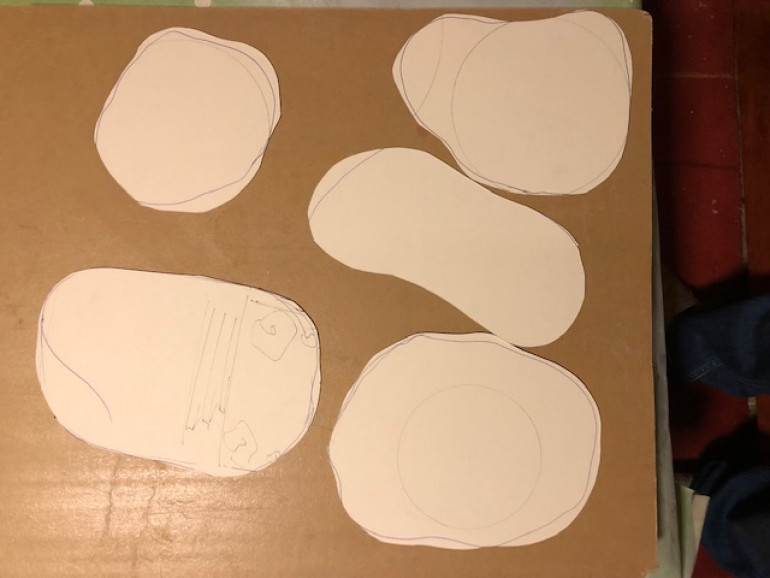
The recommended sizes of the main terrain types from Sam’s book is as follows (note sizes are based on base widths which in my case is 30mm – bases are 30×20). There are minimum/maximum dimensions which are measured across the centre of the feature. Hills and Woods and Lakes can be on round/oval bases, Towns are ideally on square/oblong bases.
Roads are 1 base width wide = 3cm
Streams also 3cm wide
Town 6cm – 12cm
Hills 12-24cm
Marsh 6-12cm
Wood / Rocky ground / Fields 12-18cm
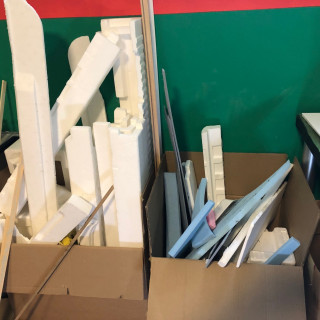
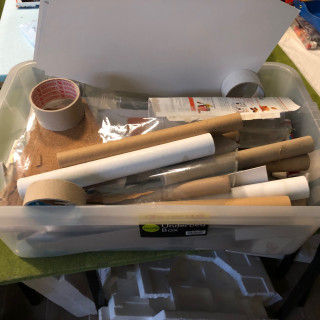
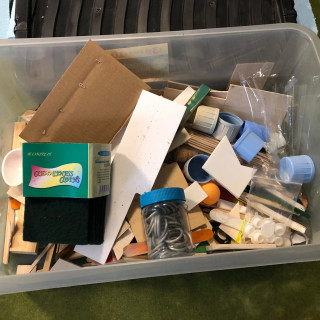
I will use card or similar for the bases of the terrain features unless I can find a source of plastic card or something similar. And THIS is what I’ll try to make the features from.
I hope you will enjoy this journey into somewhat unknown territory to me. (I’ll also post pictures as I go for both the terrain and figures.)
Roads - where is this leading us?
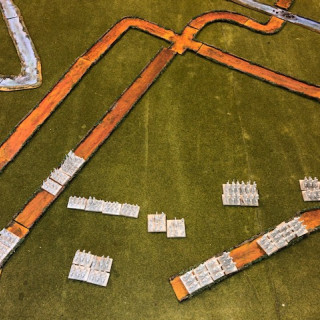
So, finally managed to get around to doing something with this project. real life interfering with pleasure. Let’s make some roads. I mean what could be simpler than a road system?
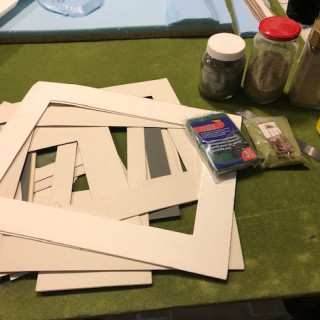
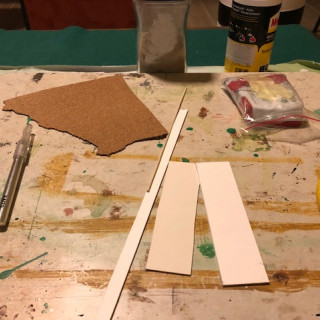
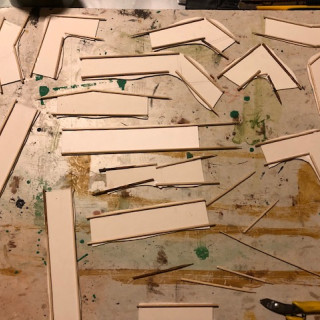
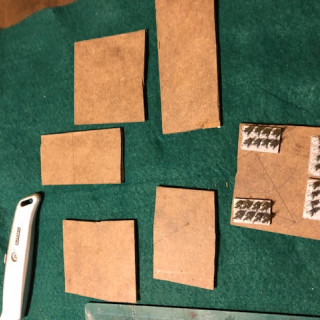
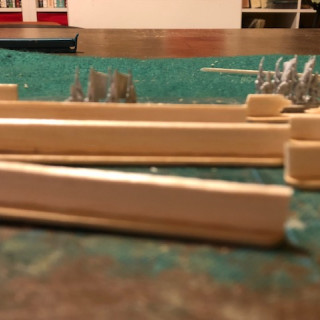
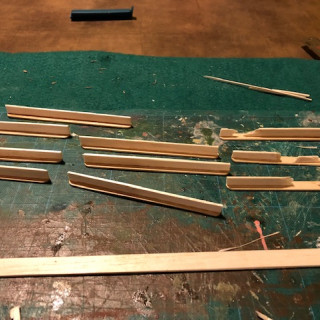
Well in my usual enthusiastic jump in and DO something I started to cut up 30mm strips from artists mounting board – the thing which is typically used when framing watercolor pictures. I happened across some old mounts from pictures I had thrown out, so – waste not, want not.
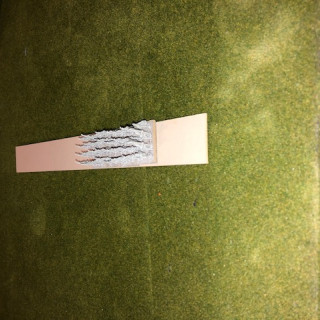
Well, in principle the roads “work”, but are rather bland, so I tried to add some hedges using washing up “scrubbers” but of course these were too large resulting in “flying” troops.
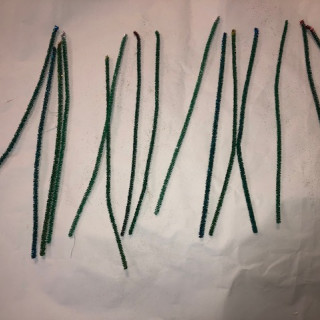
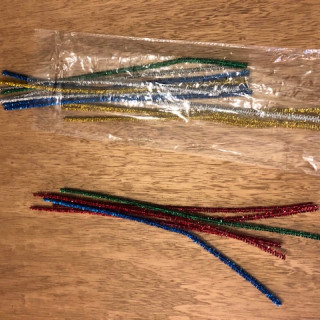
So, maybe widen the road before adding the “hedges? Well I tried 45mm and 40mm. 45 looked far too wide, so 40mm it will be. But what to use as hedges at this scale? I thought of pipe cleaners, but was unable to find them, but DID see some children’s arty-farty rather sparkly things made in a similar way. (See pictures). These I spray painted green.
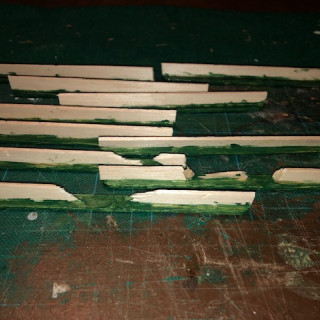
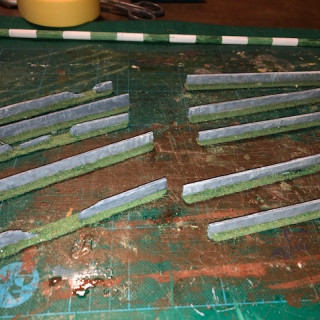
To “mount” them on the roads, I used some wooden skewers glued to the road edges. (these actual were also good for strengthening the roads and preventing bending, something I was nervous about. So a surprised additional benefit). However, I couldn’t find a good way to glue the sparkly things to the skewer.
Next attempt was to forget about making the hedges especially large, and just use the skewer as the hedge. After all these are reasonably in proportion, and we’re not talking about french style bocage.
First though, some painting ideas on what colours to have the roads. I used a variety of acrylic paints using Raw Sienna, Burnt Sienna, Ochre and a mix of them. The effects were OK, but the final colour was, at this point not fixed.
For the hedge base (the skewer) I painted it a dark grey – “Payne’s Grey” which represented the dark wood of a typical hedge.
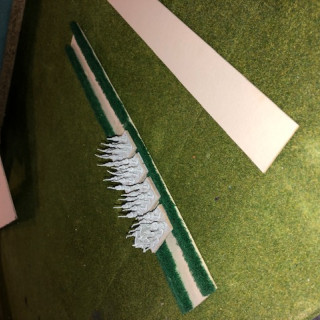
Nevertheless, to continue with road “production”, I proceeded to glue the skewers to the roads and glued some flock on to see what the effect was.
It was mixed in my eyes. Pictures show the 30/40/45 mm roads for comparison
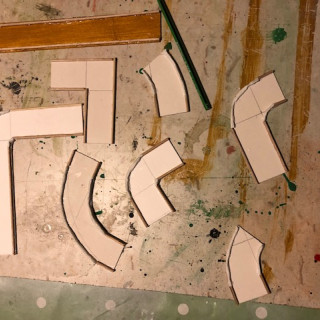
The next step was making some connecting pieces, such as turns, junctions etc.
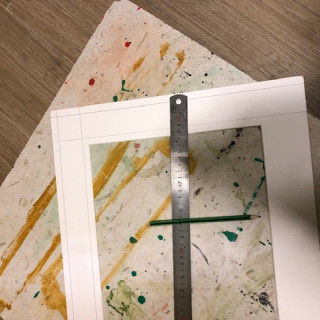
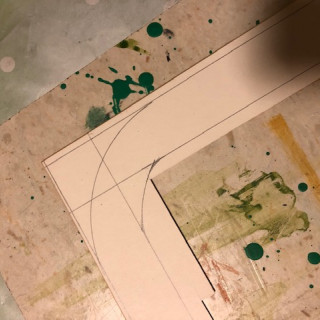
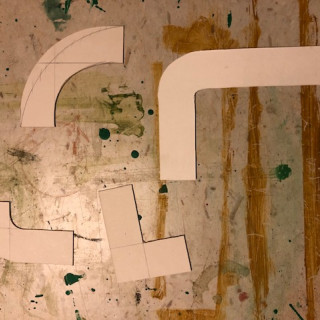
The mounting board had “natural” corners, and using them as a guide I ruled off a number of road junctions.
For 90 degree curved roads, I drew these freehand following the lines I had drawn on the mounting board corners.
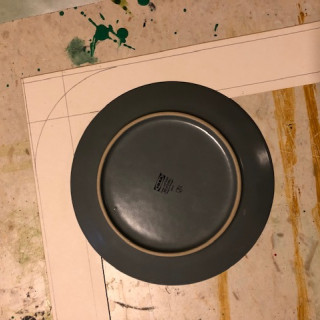
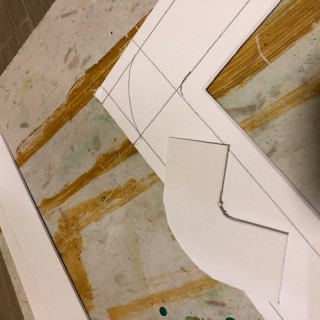
For more gentle roads I used a small plate as a guide, and this was also useful as a “ruler” to support cutting up the board with a craft knife. As ever be especially careful when using a knife and make sure to have a new blade (I ended up in hospital with a sliced finger some time ago when using a non-sharp knife!). It’s better to have several careful cuts than try to force a single cut or a blunt knife!
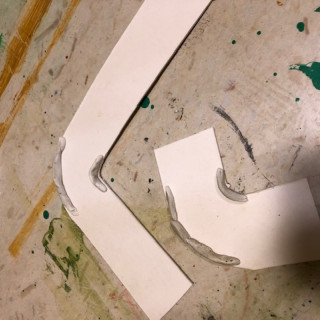
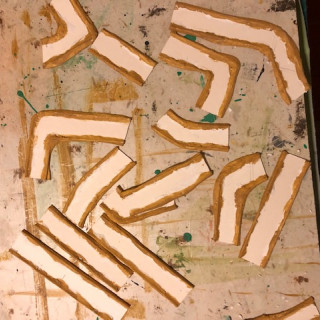
The curves were made with white DAS putty, but any other similar materials should suffice. For the curves, I lined up the boards with parallel lines 40mm apart and used the plate to “connect” with the outside line/ The inner curve was made freehand. Although I did not try this, different sized plates should result in slightly gentler curves.
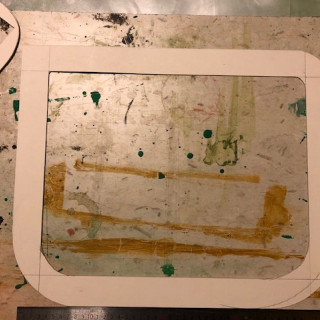
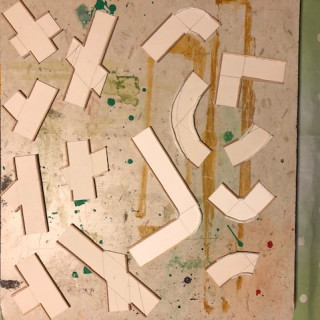
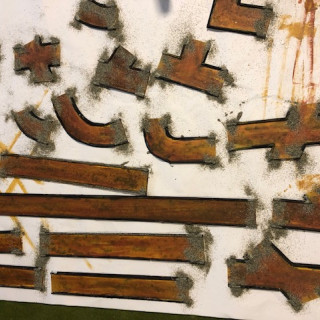
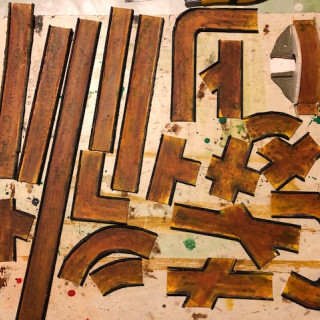
One mounting frame can produce several strips of road, and various curves.
However, I had in mind to use a previously failed experiment in making my own “flock” which had resulted in quite course grained flock as “bushes”. Thus breaking up the rather bland look of the hedges.
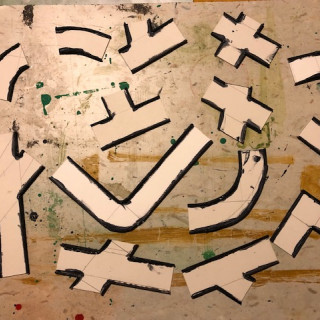
Finally I make some straight junctions and connections
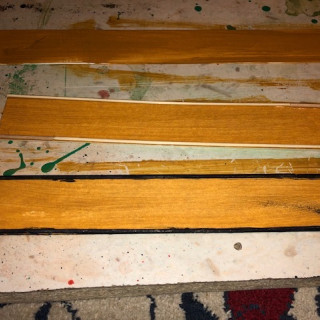
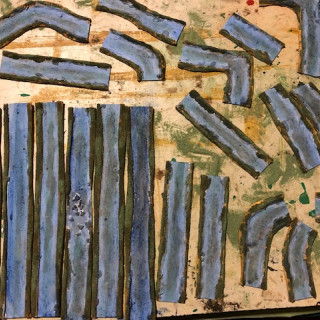
The roads were coloured based on my previous experiments, and mixing colours from Ochre and Sienna, but I afterwards I thought they were too “yellow” and toned them down by a wash of heavily diluted Raw Umber. Acrylics are not transparent, and I could have used watercolors, but had none handy at the time I was working.
The darkened skewers were painted with the grey and then some Jarvice flock added to the ends of each road so that there would be a similar hedge effect when lined up. But I still wanted to liven them up.
I had in mind to use a previously failed experiment in making my own “flock” which had resulted in quite course grained flock as “bushes”. Thus breaking up the rather bland look of the hedges. This was applied with almost neat pva glue, I’d guess about 80% PvA.
So, not absolutely what I had originally imagined, but they are playable, and I guess that’s what matters. I think I’ll need to make a few more straight pieces for completeness, but it’s a sound start.
Next up – Rivers
Rivers - going with the flow
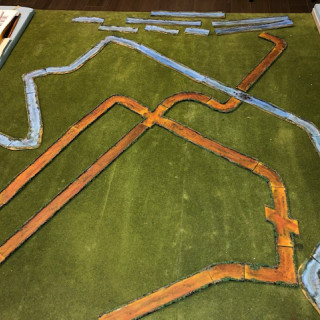
After my over-enthusiastic start with the roads, I thought doing a little thing first might be a good idea. I think, although the rules state rivers are 30mm wide, that this leaves some scope for making them look more aesthetic and so I again went with 40mm wide strips of mounting board.
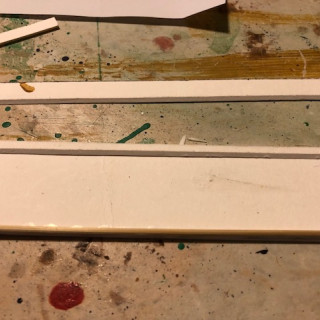
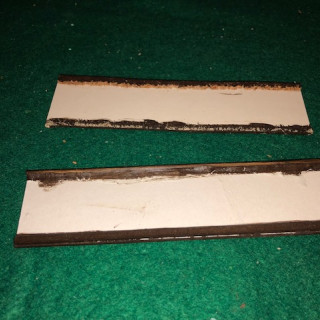
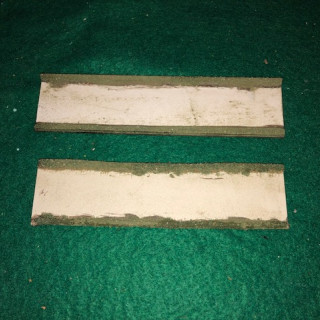
But I also wanted to experiment with different approaches t the river banks, and looked at four alternatives. These were: using think cork sheets, just PvA glue, the skewers I used previously for the road hedges, and the bevelled leftover strips from the mounting board.
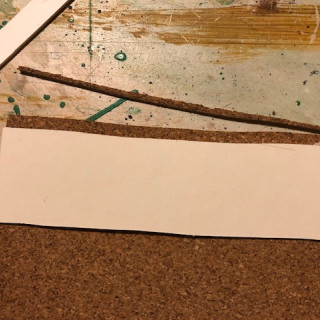
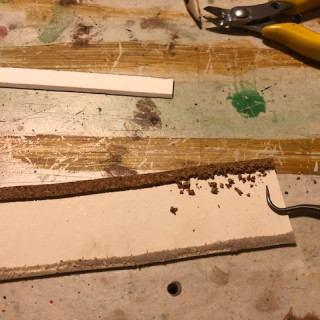
The cork was cut using a river board edge as a guide, as these were purposefully not cut straight to gives me illusion of a winding river bank. The edge of the cork was broken up with a wax modeling blade to eliminate the straight edge.
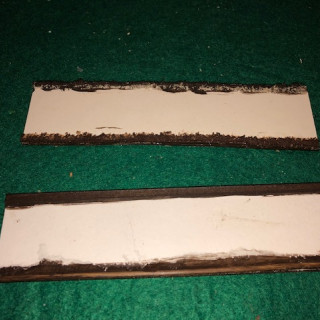
These strips were glued to a test piece along with a PvA glue/sawdust mix on one side, and the two other options on a second test strip.
When the glue was set, I painted the ‘banks’ with a dark brown paint (Burnt Umber) and glued only this some flock. The finished river sections all looked pretty much the same to me! So a practical thought was to go with the Skewers as these provided additional strength and should prevent the boards from warping or getting bent during play.
The straight edges were obviously easy to do, but what about the curves and bends? Well, once again I used the skewers, but glued them in place around the bends using a number of smaller pieces. These will be later covered with DAS, so I do not think this weakens the piece, and anyway, gives the DAS something to adhere to.
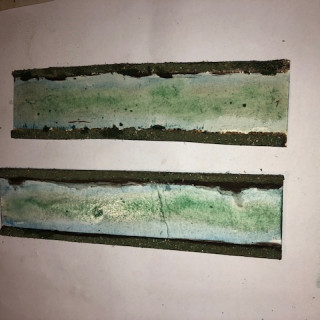
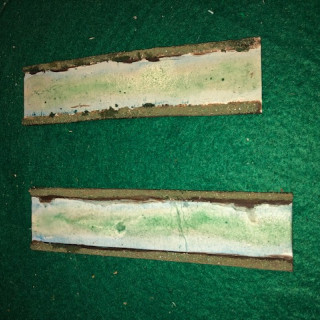
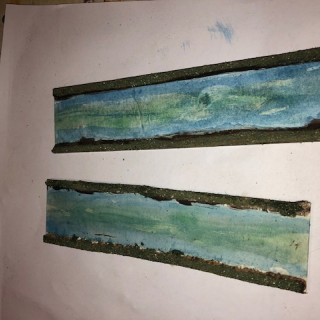
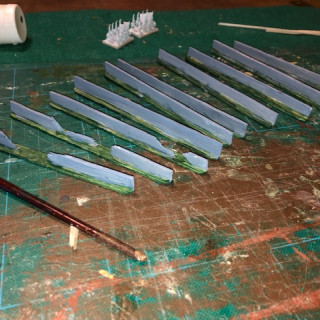
Painting the river bed came next. Now, we all know that rivers are not actually “blue”, so initially I used some watercolor paints to add some browns, greens, and blues to the board. As watercolors are transparent (note these are NOT acrylics, which dry opaque) the colors underneath show through to some extent.
I played around with these on the test pieces, and will probably do something similar with the final terrain pieces (as it happened I painted the final pieces with an initial paint layer of very light blue acrylics (blue and LOTS of white) as the mounting boards were slightly different colours, so this gave a uniform canvas for the water colours).
So experiments over, I sliced up several straight pieces, and mainly drawing freehand used the natural corners of the picture mounting boards to draw a variety of curves and bends.
These were affixed with skewers and when dry (I used PvA throughout, although I’m sure other glues, or Superglue would also work) I applied DAS to all the edges and worked it in a varied pattern. These are after all supposed to be natural rivers (Not “Formal” rivers – Ben!)
When it came to painting, I decided that the base “ground” for the rivers would be a much lighter tone and rather than using the deep brown from my original experiment, I chose Ochre. On reflection, perhaps that well TOO yellow, but at the end of the day, I can always darken it with some additional color if I think this is required.
Once dried, various flocks were added. These I made myself from very fine sand I collected from a. beach holiday which was “cooked” in the oven for an hour (to eliminate any possible bacteria etc. and colored by storing in acrylic paints until it was all absorbed. This produced an extremely small end product, which in terms of the scale appeared fine.
The rivers were painted in a haphazard was with greens, browns and blues.
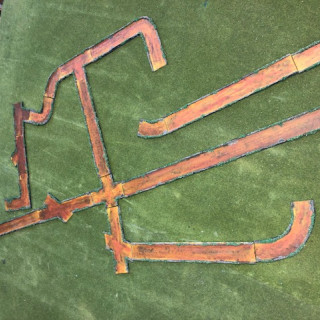
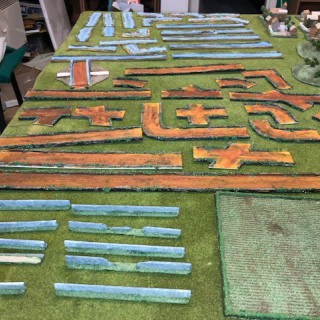
The final pictures shows the road and river sections in a totally random layout. Of course in reality a war-games table will have a simpler layout, but the additional short pieces means that a real “meandering” river is possible.
These can also be used as “streams” for larger scale – e.g. 30mm Bolt Action, which is another period I game in, so mutual benefit.
Thanks for reading, and happy gaming. Coming next – Hills
Hills - climb every mountain
I’m taking a family break so won’t be posting for a week or so, but in advance Here are my thoughts n how t approach this aspect of the gaming ideas I have.
Basically, I think there are four possible ways to represent hills on the gaming table. The first of these is using something under a cloth/mat such as books etc. Although more subtlety can be applied by carving blue/pink hard insulating core into rough hill shapes.
The second approach is to create a ready formed table with hills etc. formed by a variety of foundation material and then painted, or flocked with whatever takes your fancy. Both of these have one drawback in my opinion, and that is how to make the roads/rivers adhere to the surface of the “land” you have created. Some experimentation with using acrylic filler used for waterproofing baths/kitchen sinks might be worth of more investigation, but it’s not a direction I’m likely (at the moment) to pursue.
Next comes “stepped” hills made of blocks in various sizes to replicate the hills, as they might appear on a map. The different sizes being the levels of hills as they would be represented by the height lines on an Ordinance Survey style map. I think these would be a suitable option to go along with simple, unadorned “blue” rivers and “brown” roads.
Finally, the option I will go with is fully sculpted hills in various sizes and heights (consistent with the rules) as the aesthetic fits with the designed rivers and roads, in my view.
More time consuming, and a little more effort, but I think in the long run it will look better on the table top. (Note that the basic table will be a flat piece of wood 8′ x 4′ which is more than enough fr the scale of battle I envisage).
Hills - climb every mountain
I’m taking a family break so won’t be posting for a week or so, but in advance here are my thoughts on how I plan to approach this aspect of the gaming challenge.
Basically, I think there are four possible ways to represent hills on the gaming table. The first of these is using something under a cloth/mat such as books etc. Although more subtlety can be applied by carving blue/pink hard insulating core into rough hill shapes.
The second approach is to create a ready formed table with hills etc. formed by a variety of foundation material and then painted, or flocked with whatever takes your fancy. Both of these have one drawback in my opinion, and that is how to make the roads/rivers adhere to the surface of the “land” you have created. Some experimentation with using acrylic filler used for waterproofing baths/kitchen sinks might be worth of more investigation, but it’s not a direction I’m likely (at the moment) to pursue.
Next comes “stepped” hills made of blocks in various sizes to replicate the hills, as they might appear on a map. The different sizes being the levels of hills as they would be represented by the height lines on an Ordinance Survey style map. I think these would be a suitable option to go along with simple, unadorned “blue” rivers and “brown” roads.
Finally, the option I will go with is fully sculpted hills in various sizes and heights (consistent with the rules) as the aesthetic fits with the designed rivers and roads, in my view.
More time consuming, and a little more effort, but I think in the long run it will look better on the table top. (Note that the basic table will be a flat piece of wood 8′ x 4′ which is more than enough for the scale of battle I envisage).
Sorry for the delays in following up on this thread. Real life issues.
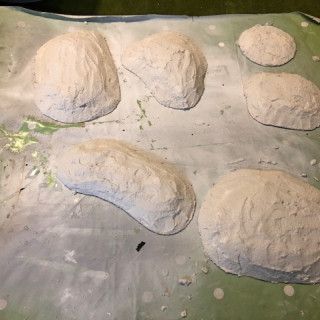
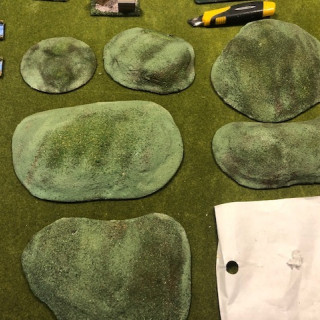
So, in the meantime I’ve been doing work on different aspects of terrain and so will start a few other threads on things I’ve been doing. But to continue with hills I have taken a standard approach to this by putting some insulation foam onto mounting board bases, shaping them, then applying a coating of paper mache type finish.
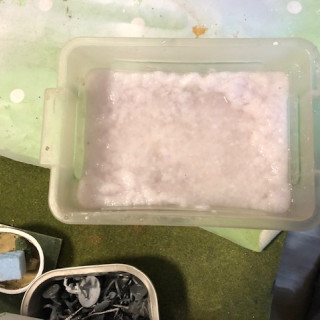
I made up a mix of papier mache by soaking inexpensive toilet paper in water and used a hand held food mixer to make a “sludge” pulp. This was mixed apron 50/50 with filler powder (other things can be used, e.g. plaster of Paris, grout etc.) and this was pasted over the hill foundations and once dried, smoothed off with sandpaper.
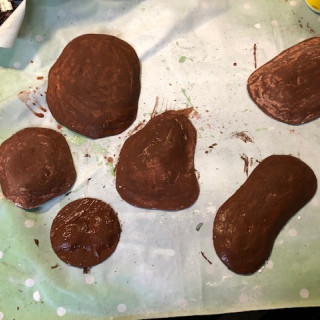
These have been undercoated with brown paint – a simple acrylic from a discount shop. This was a mix of Burnt Umber and Sienna.
Next up will be gluing flock etc. (once I get some more PvA glue!)
Towns
When considering my approach to towns/villages etc. I decided early on that this would NOT be a task of creating massively details, perfect representations of buildings. There are commercial manufacturers that produce excellently detailed models. Instead I took the view that these are simple gaming approximations, and so a more prosaic approach was the way to go.
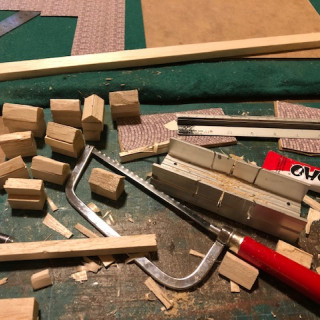
With that in mind, I used balsa as the basic building shape cutting balsa strips of different sizes into 30/35 mm lengths. These were glued together combined to create the basic “house” shape.
During my holiday I came across some wood veneers and in my mind I thought that these could form the elements of ‘color’ for the buildings. So with three or four different packs, I set about cutting up the balsa and creating some basic shapes.
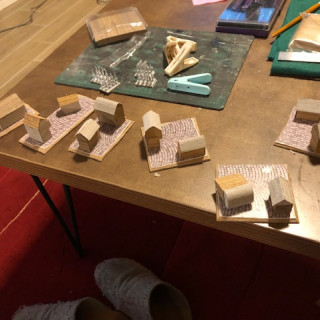
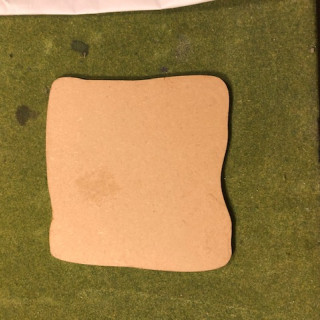
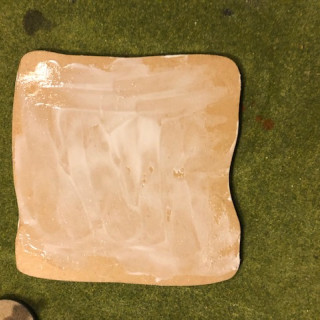
The bases were cut from some MDF in generic square/oblong shapes within the min/max parameters of the Maurice rules. These are to my mind smaller bases than you might expect, but two ormolu can be combined to make larger “cities” if that’s necessary. But bear in mind the fighting will not take place these bases, so “full sized” houses are not necessary any way.
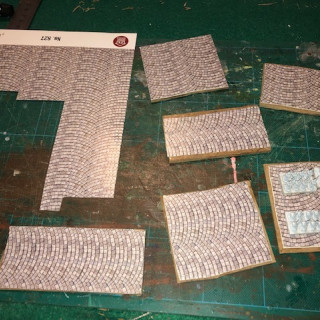
I had also picked up some embossed paper which I think is actually scaled for “N” gauge railway buildings, but I used this as a ‘standard’ base material indicating this was an urban setting – although that should be obvious.
So the basic town base was roughly square with a ‘stone’ effect
The buildings were made by gluing different veneers to the balsa bases mixing up the different wood finishes in a random manner.
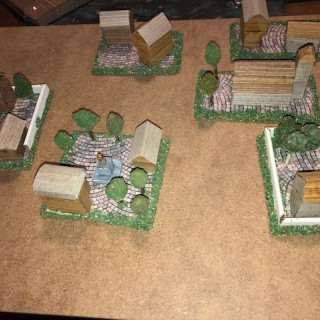
These basic house models were glued onto the bases, and then they were finished off by flocking some grass on the edges and adding a few small trees to ‘decorate’ the final base.
Pictures should show the final look. (The trees were made from cotton buds, PvA glue and sand/flocks)
Odds & Ends
This thread will feature those other terrain aspects which don’t really require much effort, but add a little to the scene. According to the Maurice rules these are:
Walls / Rough ground / Marshes / Fields
Walls are probably the simplest to do, particularly at a small scale. In my case I attached balsa to “lollypop” sticks, a quick & dirty paint job, add some flock and Voila – walls. Not pretty, but I’m going for functionality first. Perhaps later on I’ll spend some time beautifying them, but so long as they work as a terrain feature, it’ll do.
Construction was straight forward. The height of the walls was actually the thickness of the lollypop sticks and look in reasonable proportion to the figures.
For painting I used student acrylics, any green will do for the base I think, the walls were grey with added white. Then “spotted” with the same color bit with added white, and finally a highlight with pure white. (That’s probably TOO white, but c’est la vie).
Then flocked with a mixed flock (probably summer grass from Jarvis? I no longer have the original packaging) and that’s as much as I’ll do.
Next up fields.
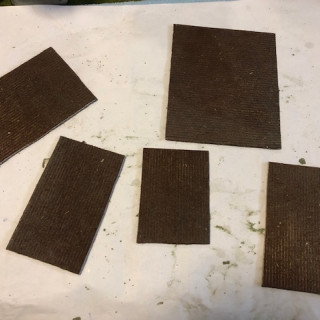
Ploughed fields were made with corrugated card cut to roughly oblong sizes according to the min/max recommended in the rules.
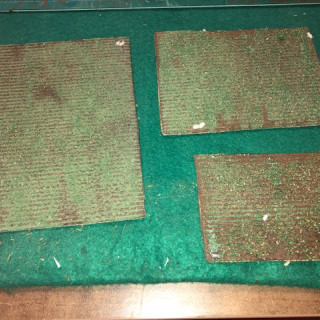
These were painted in brown and “flocked” with dried coffee (not instant! but coffee grounds from filter machines). This was ‘fixed’ in place with diluted PvA.
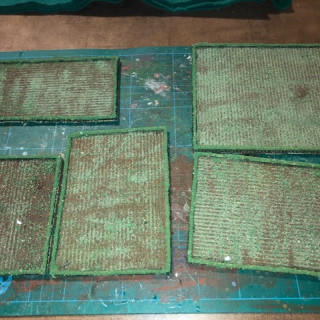
Once set, I glued skewers on each side for strength, but also to provide the base for “hedges” around the fields.
These were painted green, then flocked.
Another simple terrain feature.
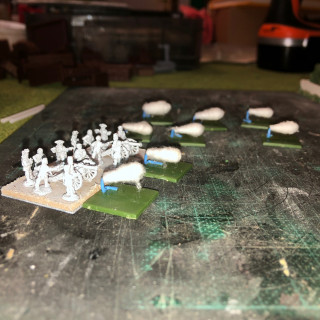
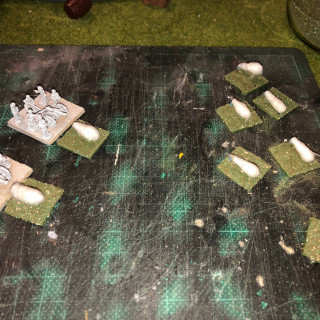
As in most games when artillery fires there is some indication it has done so. At this scale using large cottonwool balls was too much and although these can be pulled apart into smaller balls, I wanted something a little different.
So I looked at cotton bud sticks (used for ear cleaning) and felt they were an ideal size. So, I removed the tips from several cotton buds and glued these to off-cuts of paperclips. These were reformed into small stands and glued to some small bases I had left over from – I think – a Perry miniatures figure box.
the bases were then glued and flocked. Simple
Update (Possibly the last one)
To anyone following this thread, apologies for nothing being posted for a while. The reason is a good one, as I won a contract for the first time since Covid and life has been hectic. As a consequence I have had little time to devote to the Challenge, but here’s an update on a busy few days back home trying to catch up a bit.
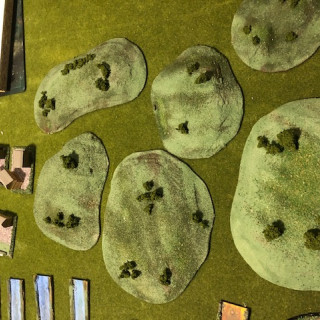
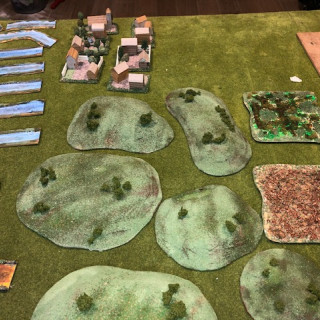
Hills: The last post on hills left with the bases painted in dark brown acrylic as a prime color. Since then I have flocked the hills with a variety of different colored flocks and glued down some clump foliage. I have deliberately NOT added anything which makes these terrain features scale specific, as I think that can also be used in larger scales as mounds/slopes etc.
The flock is DIY made from some fine sand I collected on holiday some time ago, and colored with simple green acrylics. The cheap store variety should suffice.
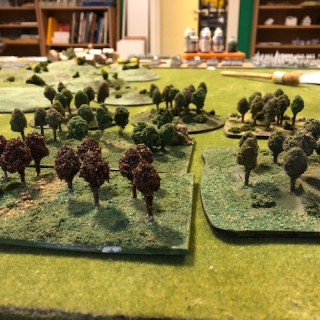
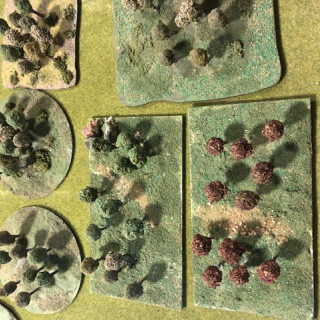
Woods: I had a variety of potential bases for the woods and used old CDs, artist paint boards and some old MDF bases I picked up many years ago.
Unfortunately I forgot to take pictures during the process, but I followed a similar step by step to the approach seen online by numerous terrain makers.
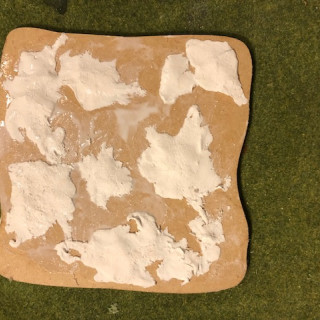
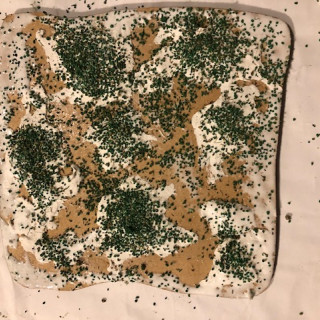
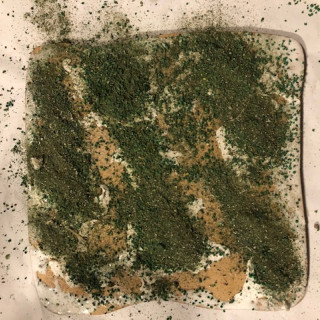
The first step was to create more variety in the “land form” by sticking down some DAS style putty in a random manner. When this dried, I painted the base with browns and green acrylics and after this flocked it with my flock. I used various colors, including browns and also some dried herbal tea leaves.
Once completely dry, I drilled small holes through the base to accommodate small trees. These were made from dipping “cotton buds” (the things you use to clean ears with – forget the proper name) into a heavy dilution of PvA glue (I’d guess 80:20 PvA:Water) and then into sawdust. This was repeated several times to build up a large “tree foliage” shape. Once happy with the overall look, a final dip into flock was made to complete the tree. The trunks were simply brown/grey acrylic.
The trees were stuck down in “clumps” and that’s that.
Marshy/rough ground:
The same approach was made with these terrain features as they are essentially the same, albeit the effect on the table may be different.
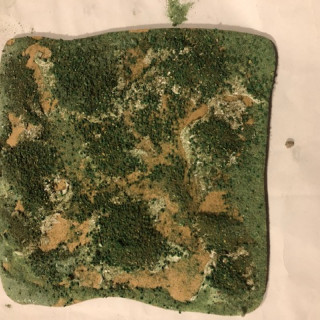
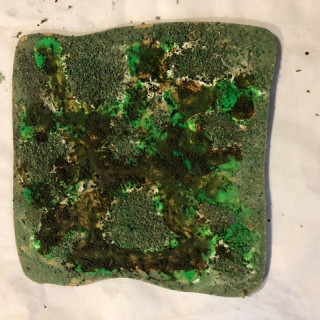
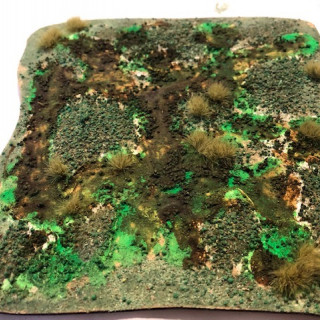
Marsh: I used MDF bases and applied some PvA before adding some DAS to create a random high/low look to the area. Once dry I started to add a variety of green flocks to the “raised/DAS” areas, building this up to randomize the look of the thing.
After the flock had dried, I then painted the land in between the raised areas with a bright green acrylic, finally toning this down with some “sepia” dip solution and finished this off with some tufts of brownish/green grass.
Next time I’ll add the approach to “rough ground” and any “missing” things I get round to.
Thanks for following this sporadic thread.
Closing the project
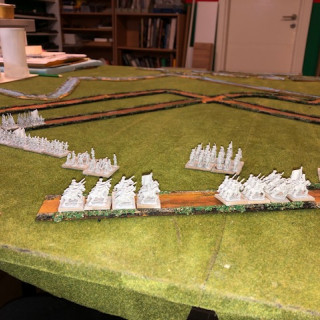
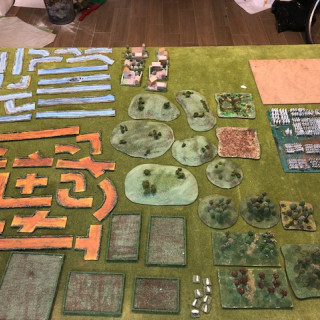
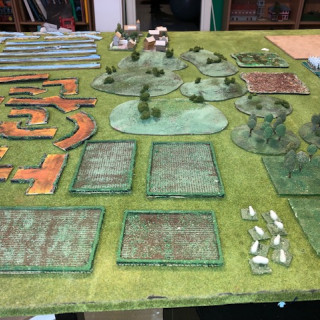
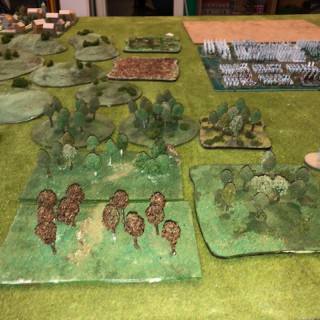
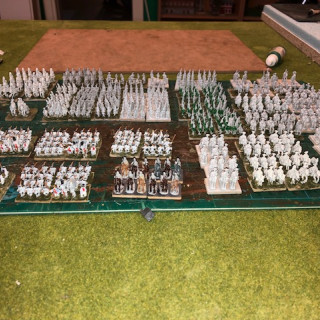
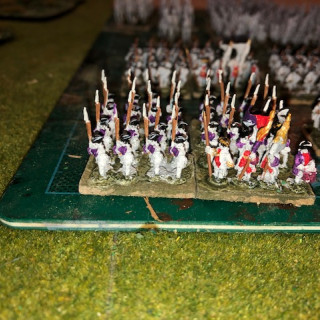
As I intimated last time, I’ll not be finish this project at this time. But at least I got a kick start to 10mm wargaming. Some final pictures of the outputs. Thanks for following


![How To Paint Moonstone’s Nanny | Goblin King Games [7 Days Early Access]](https://images.beastsofwar.com/2024/12/3CU-Gobin-King-Games-Moonstone-Shades-Nanny-coverimage-225-127.jpg)


