Ottoman Turks
Recommendations: 560
About the Project
This is a army I have had on the back burner for the last couple of years that has now come to the fore again. I already have this army in 15mm all the way back from the 80's but with the group I game with getting into 28mm Renaissance I thought why not and started over in 28mm.
Related Game: Black Powder
Related Genre: Historical
This Project is Active
Army Lists
For our games we use the Pike and Shotte rules from Warlord as they facilitate multi-player games and get us a result in a few hours. While the rules do contain lists for the Ottomans and Poles they appear to be for the mid 17th Century and do not cover all the potential troop types.
Previously we had a group project to build forces for the Italian Wars and we faced a similar situation. What I ended up doing was producing list for each of the major antagonists. I wish I could say this was the product of much scholarly reading and research but in truth it was done by taking existing army lists from previous rules (mainly WRG 2nd Edition Renaissance and Field of Glory Renaissance with a sprinkling of Tercio and DBR) to produce the lists of troop types and ratios. It was then a matter of converting morale, armour values and weaponry to Pike and Shotte. This also included decisions on which if any of the special rules needed to be applied to add the correct flavour.
I did the same for the Ottomans, Poles and Imperial Austrian forces. I have attached copies of the list if anyone is interested.
Army of Parade (Part 3)
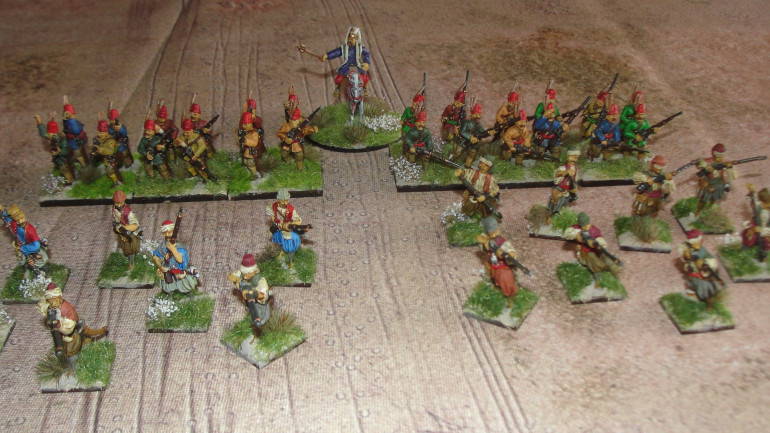
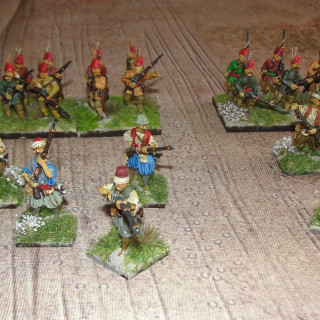
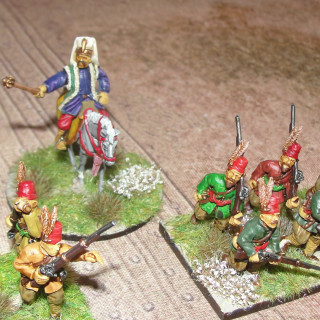
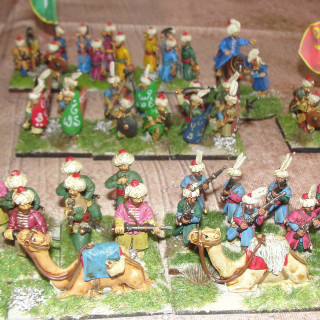
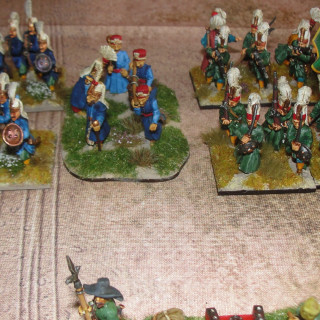
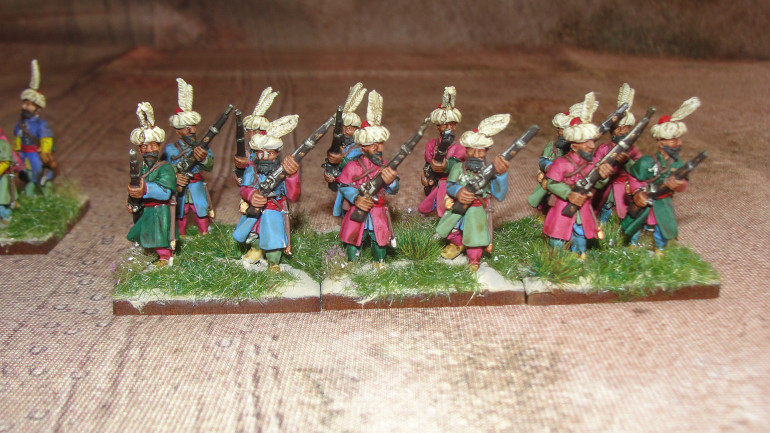
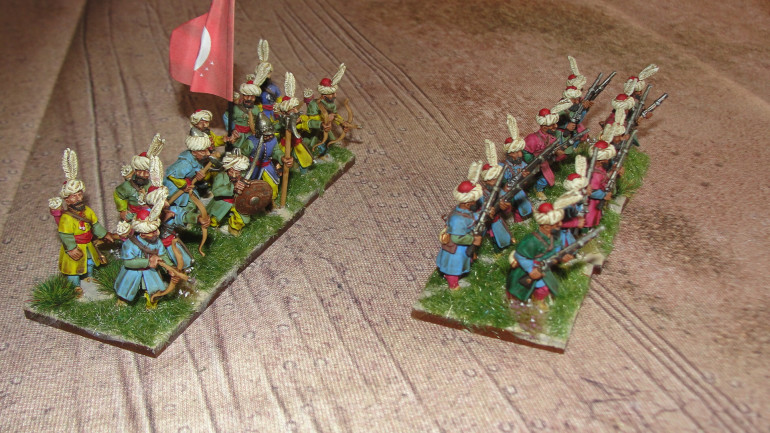
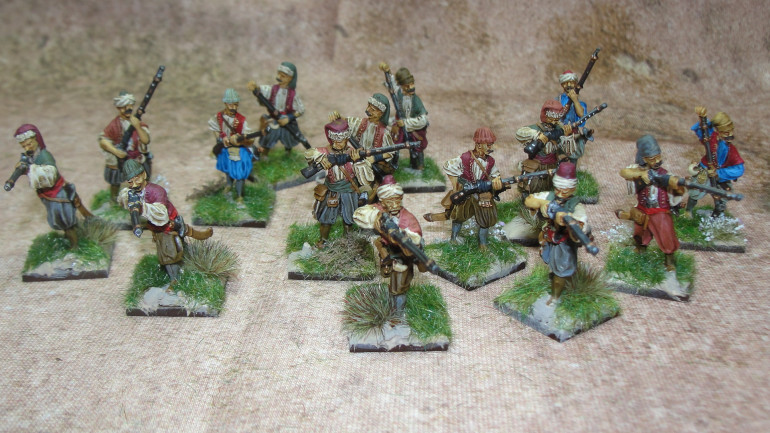
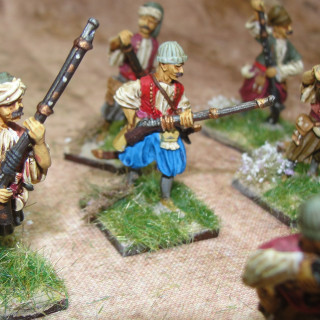
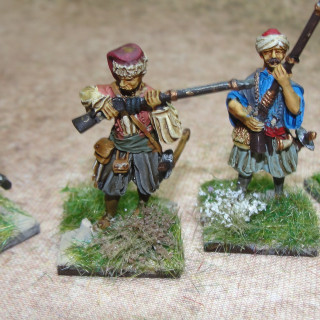
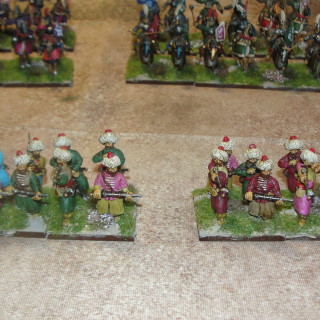
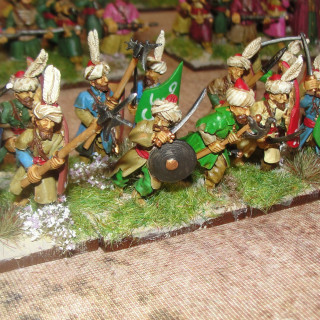
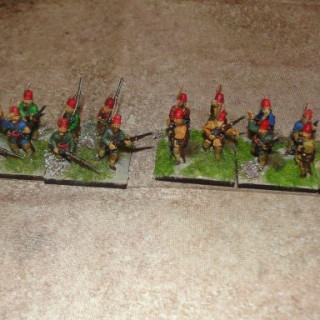
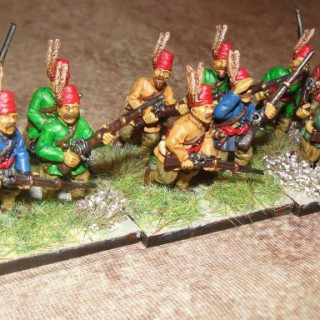
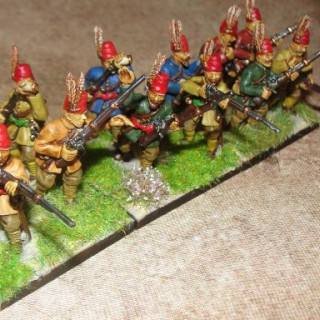
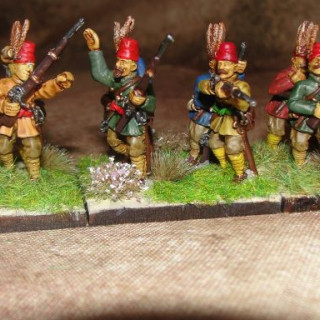
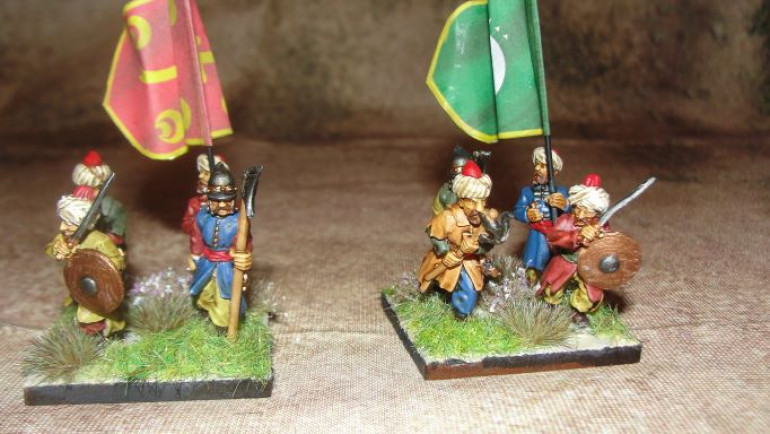
Last but not least (unless you were a Janissary) are the rest of the infantry. Starting with the Tufekcis Musketeers and the Balkan Sharpshooters. Both these units started to appear in the 17th Century armies.
The Tufekcis (I need a couple more units of these) as a more modern fire armed unit adopting a more western way of drill that had been rejected by the Janissaries. By this period the Janissaries had become a strong “political” force, even leading to the overthrow (usually fatal) of some sultans and pasha’s so had to be handled carefully. While the Janissaries had adopted firearms early and with great enthusiasm they resisted later attempts at modernisation.
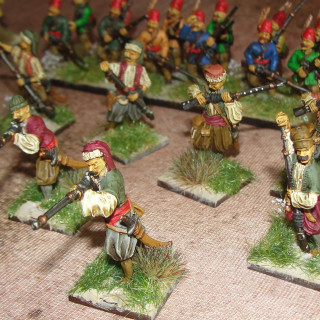
The Balkan skirmishers could be either Muslim or Christian background but all had a reputation for marksmanship and courage.
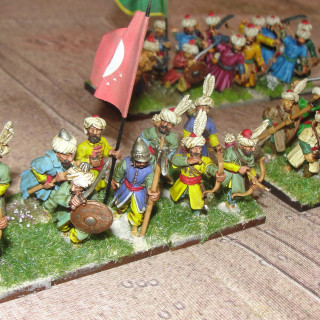
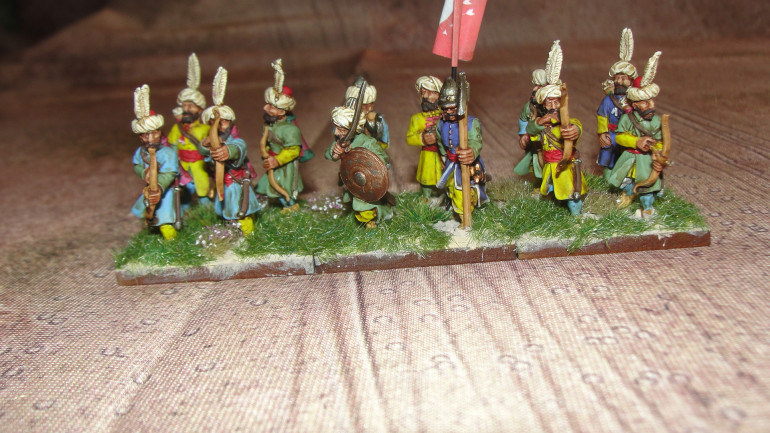
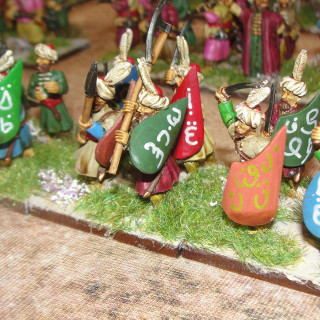
And lastly we have the Azab or Volunteer infantry. In the 15th and early 16th century they were mainly bow armed later adopting the arquebus and then musket in the 16th and 17th century.
So I approached this by having a couple of units bow armed and a couple with musket to cover both the early and late periods. I than added a couple of units with hand-to-hand weapons who can then represent either bow or musket on the battlefield.
The added advantage is that the bows and hand-to-hand units can then be used to represent the dodgy levy units.
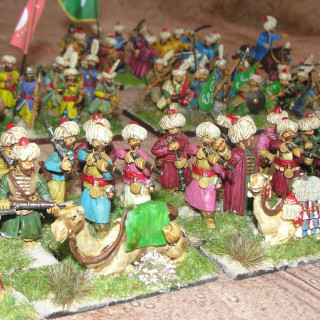
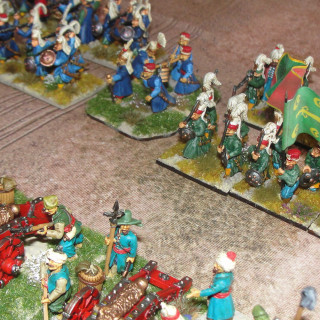
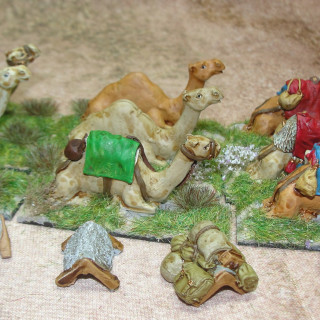
They are pictured below with their “mobile” field defences otherwise known as tethered baggage animals.
Army on Parade (Part 2)
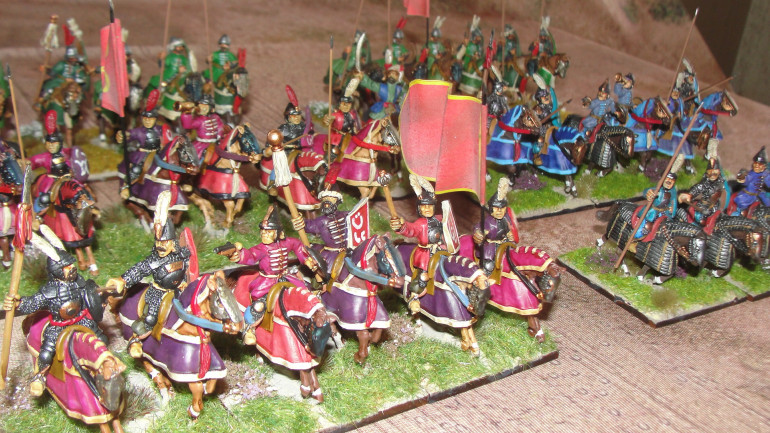
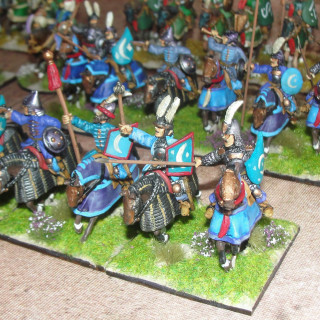
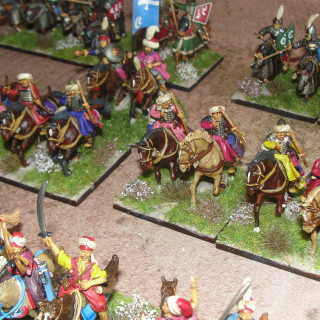
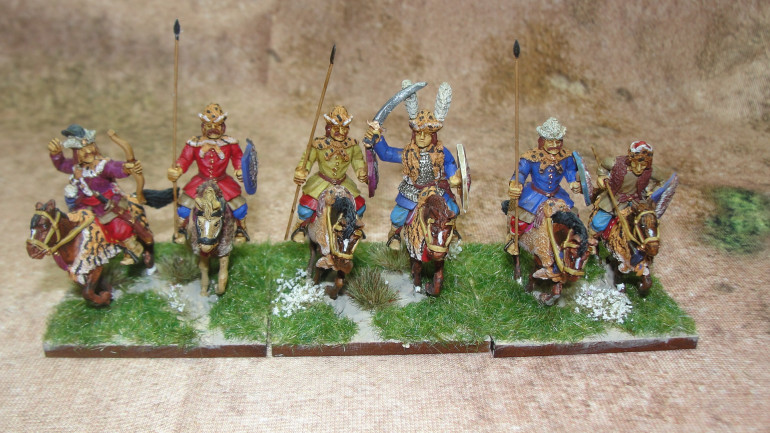
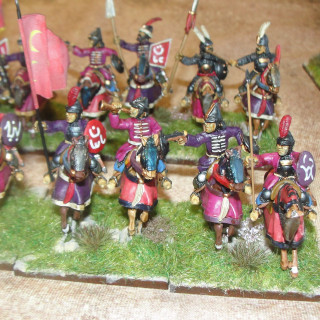
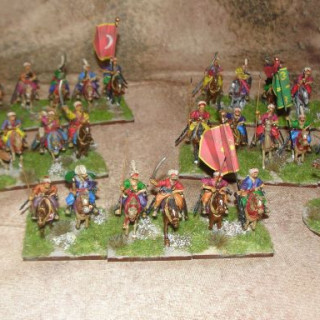
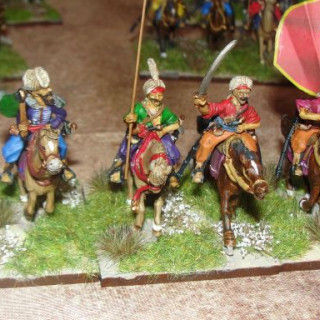
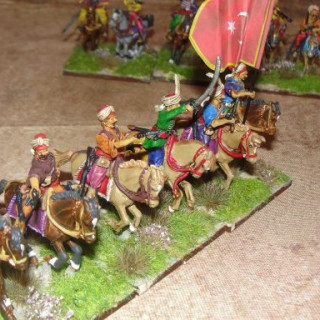
Here we have the last of the “Kapikula” or Household Troops with the Sipahis of the Porte. While no uniforms as such were issued I have used a single colour to “tie” the units together both to help identification on the table and give a more regular appearance.
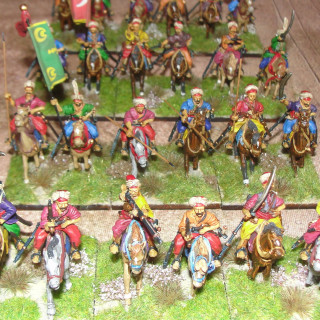
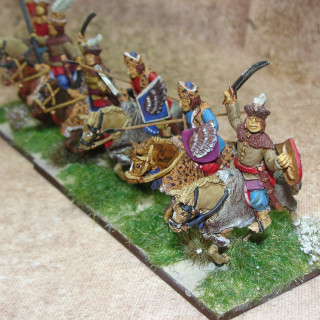
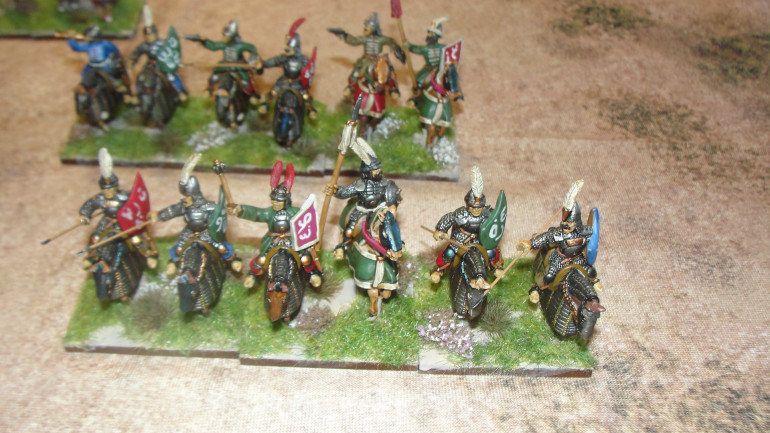
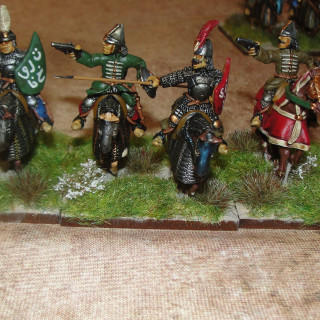
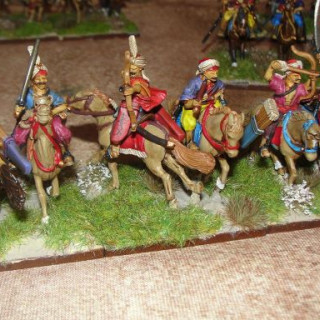
Next up we have the rest of the heavy cavalry in the form of the Timariot or Feudal Sipahis. In the 17th Century these were divided into the Anatolian (or Eastern) Sipahis and the Roumeliot (or Western) Sipahis. Part of the reason for the distinction was the unwillingness of the Anatolian Sipahis to adopt gunpowder weapons as they considered them unchivalrous (according to some sources) and they dirtied their cloths!!!
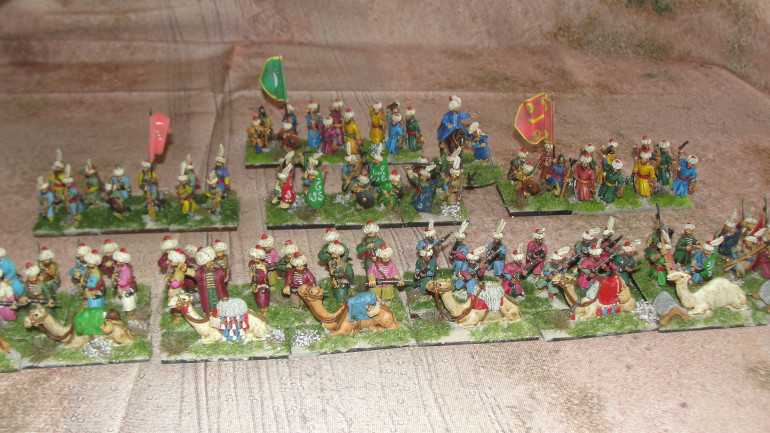
Army on parade
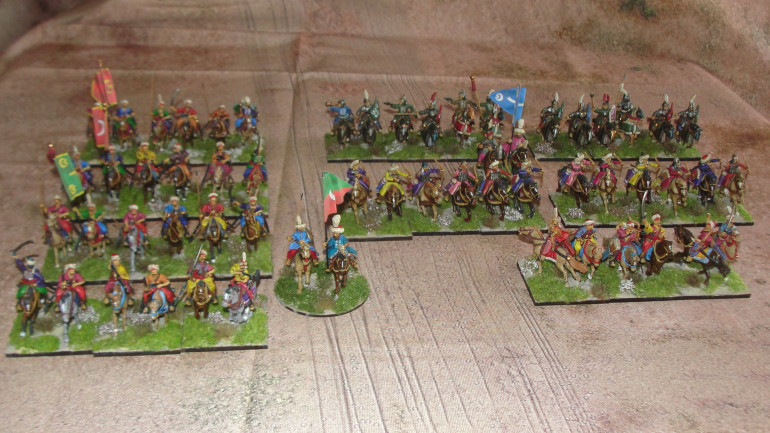
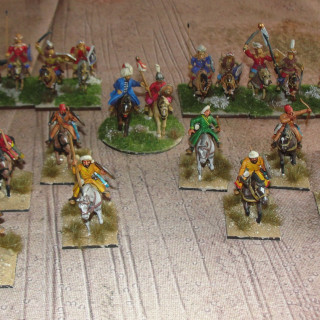
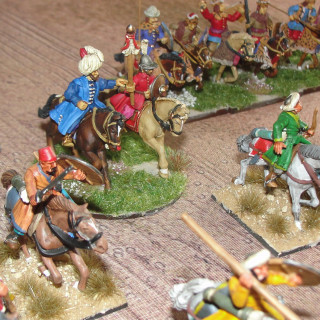
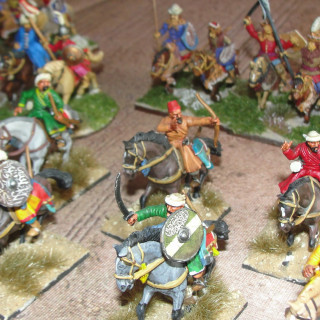
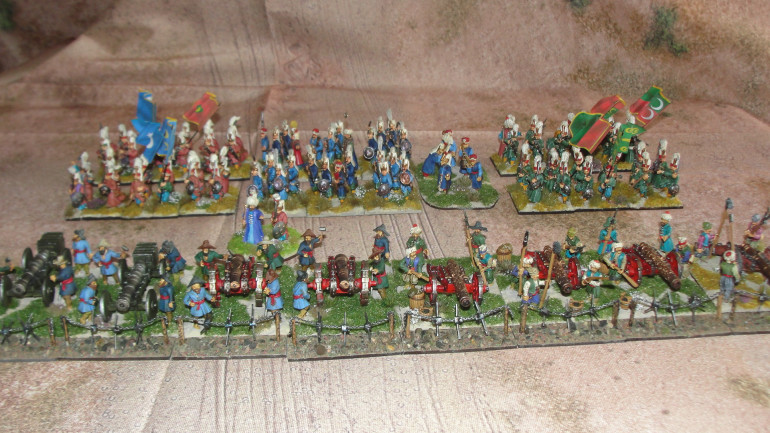
With the completion of these last sets of figures I have completed all the figures I currently have for the army ?. So here are the various units that make up the army. Hopefully in a couple of weeks there will be some better pictures as they take to the table to face the Poles in their first battle.
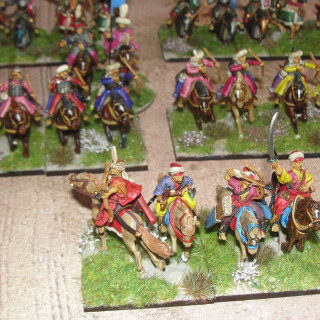
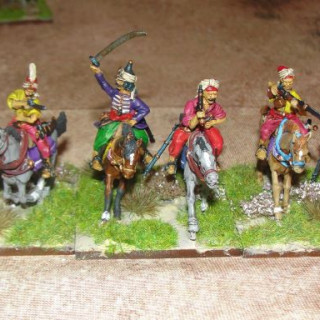
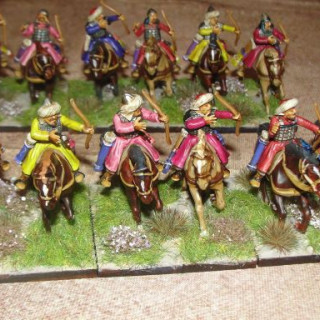
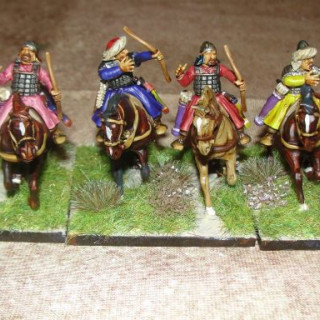
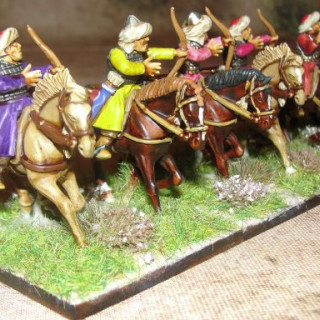
First up we have the light cavalry with the Delis and Turkoman/Akincis skirmishing cavalry. I do have to add more Akincis to the army but they were disbanded at the end of the 16th century.
Next up we have the “Kapikula” or “Household Troops” in the form of the Janissaries and the Artillery Corps.
The last (for now) of the Infantry
The last couple of units completed were a couple of units of Azab infantry one with musket/arquebus (for later armies) and the other with bow (for early armies). These again were from The Assault Group. As with the previous units it was time for “brighter and more vivid” colours in the paint collection to be broken out and we were off.
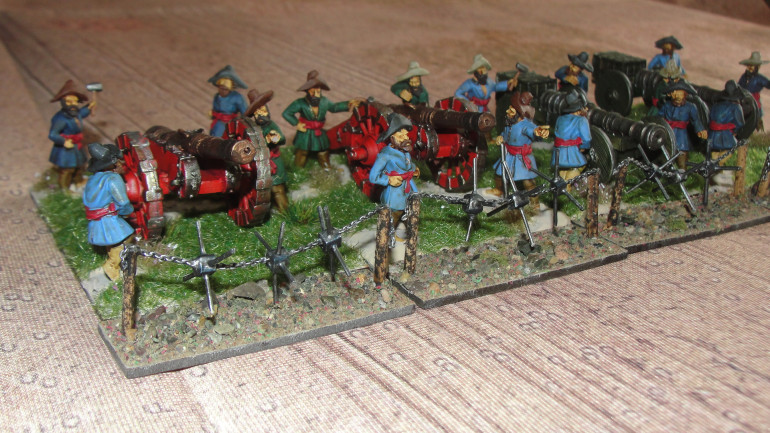
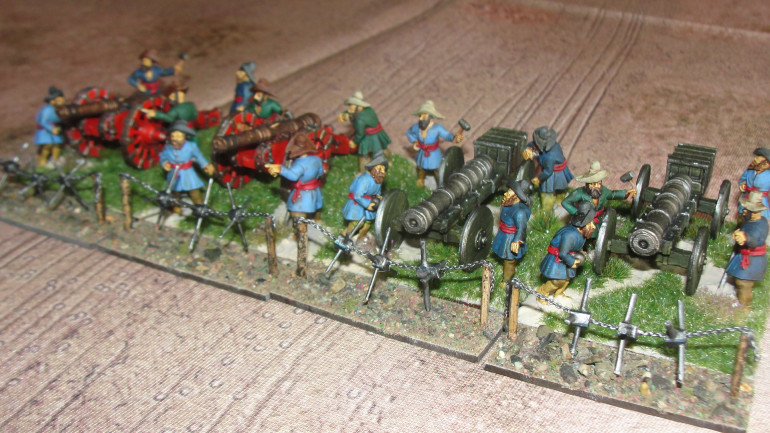
The last of the Artillery
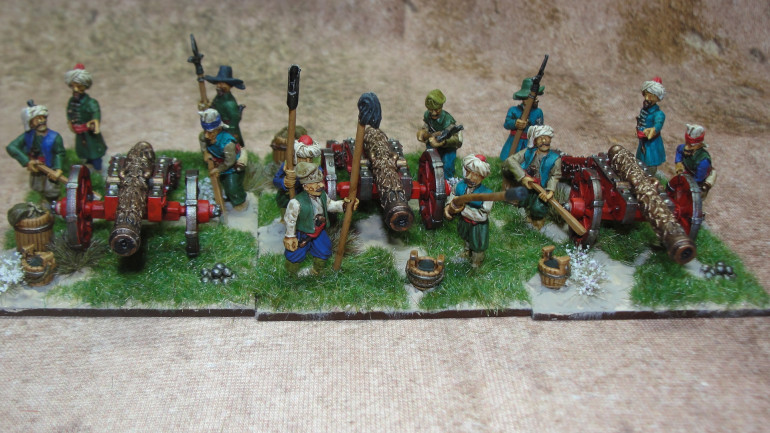
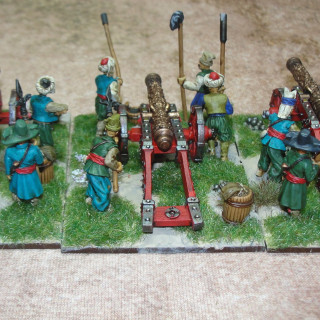
One of the things with the Ottomans was the use of Artillery and in particular the inclusion of trained artillery troops within the “Kapikula” or “Household Troops” of the Sultan providing professional artillery crews. So Ottoman forces could include more artillery than there opponents in this period both in the field and at sieges.
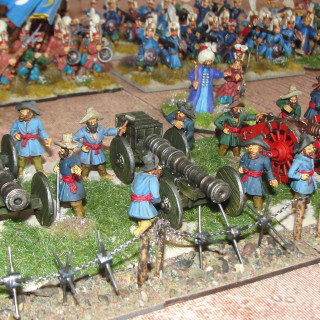
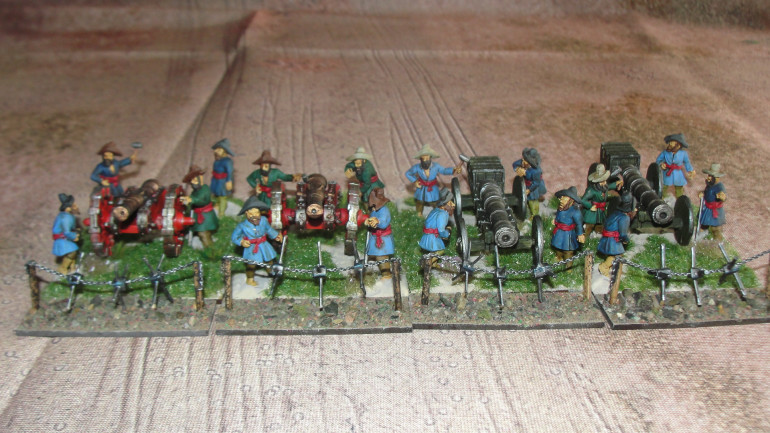
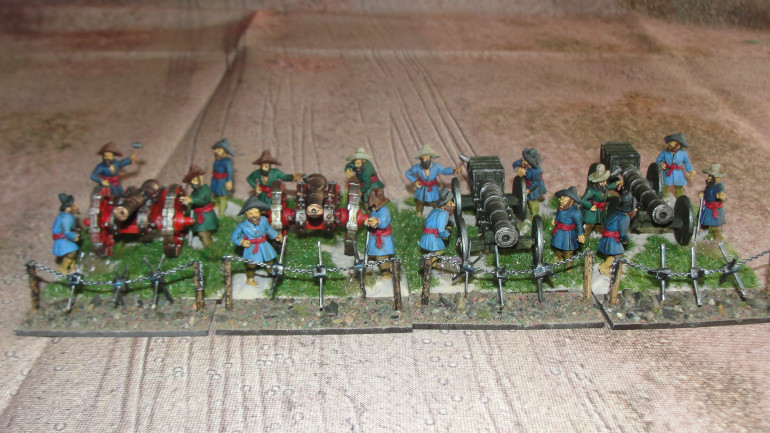
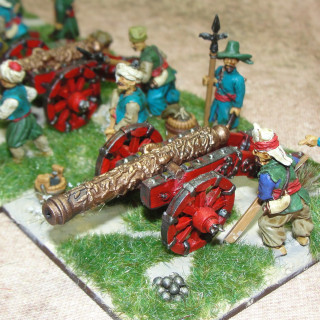
While I have already completed four heavy guns it was time to add four medium guns. The original guns I have are from The Assault Group so to try and make these look different I picked up four guns and crew from Old Glory. These included a couple of “older” looking guns. This is because one advantage with an Ottoman army is you can use some of the troops over a 300 year period as dress changed little in the period. The only issue I had with the Old Glory figures was that they all had the same version of hat. While this type of hat does appear in contemporary illustrations the odd turban would have been good but you cannot have everything.
"Gun Chains"
One thing that has always been mentioned on various “army lists” for the Ottomans was “chained guns”, “chains for defence of guns” or “stakes and chains to defend guns”.
Over the years I also read various descriptions about the defences used by the Ottomans and they have all used similar vague terms for the defences used by the guns on the battlefield. So as we mainly use the Pike and Shotte Black Powder variant for the games we play (good for large, multi player games over in a few hours) and not wanting my guns to be rode down by the cavalry it was time to think how I could represent these.
I have always had difficulty with the theory that the guns were actually chained together as this would mean:
a) half your crew would be on the wrong side of the defences when loading the guns
b) recoil would be a complete pain with chains and spikes flying everywhere.
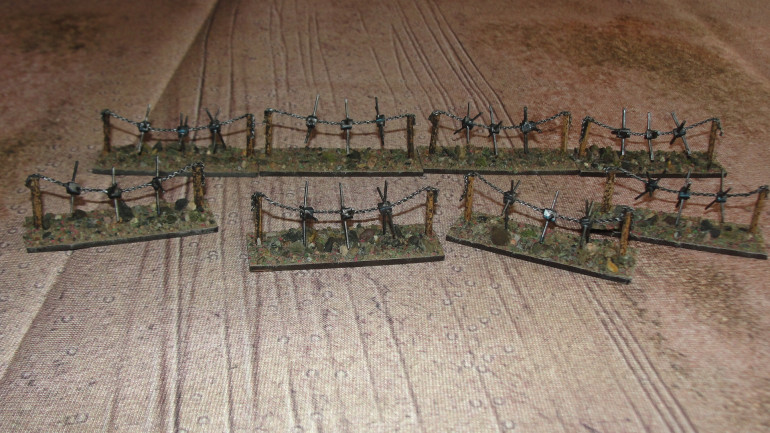
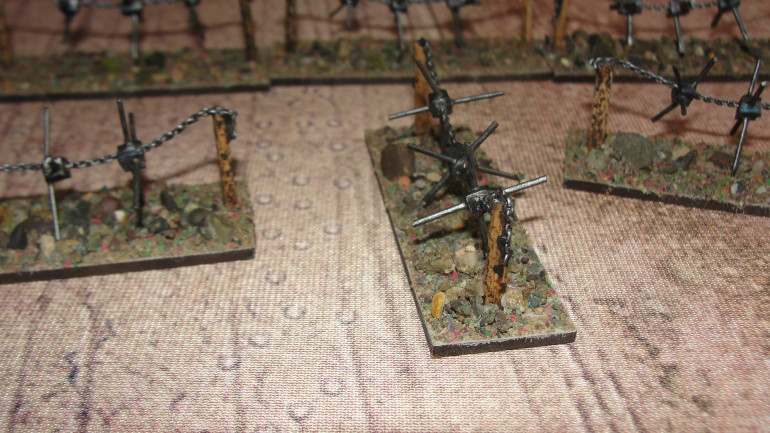
So here’s my version
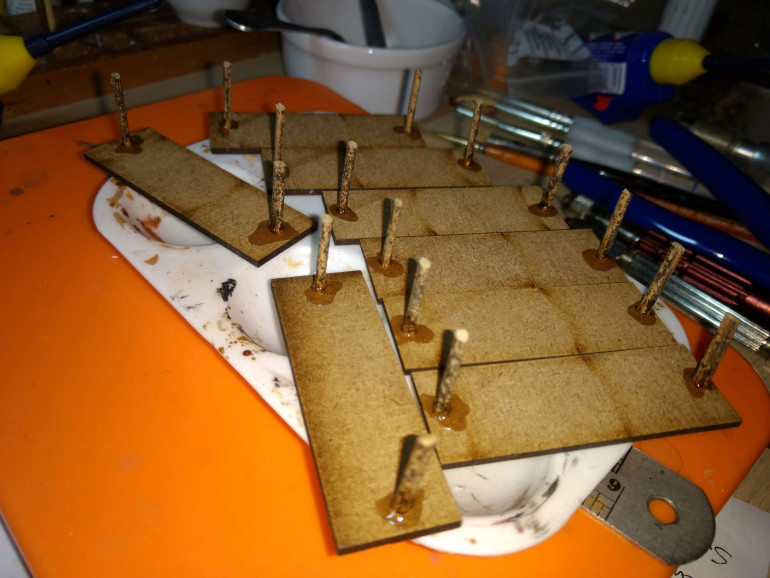
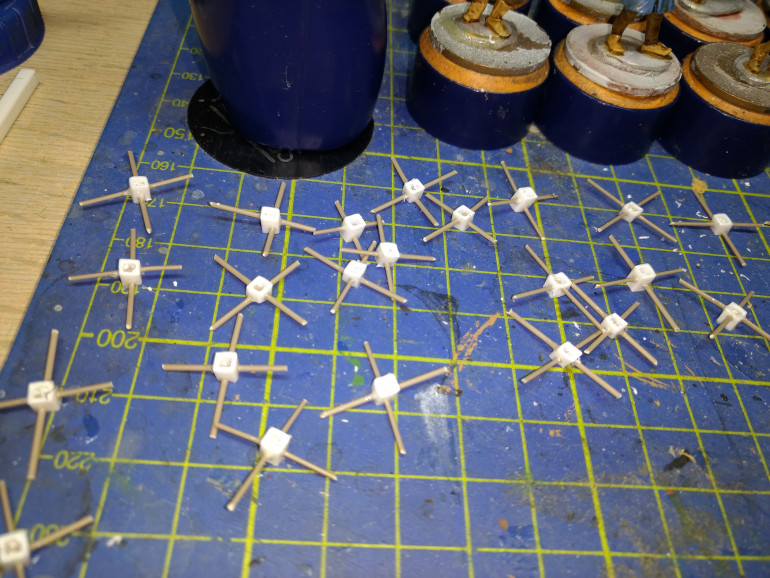
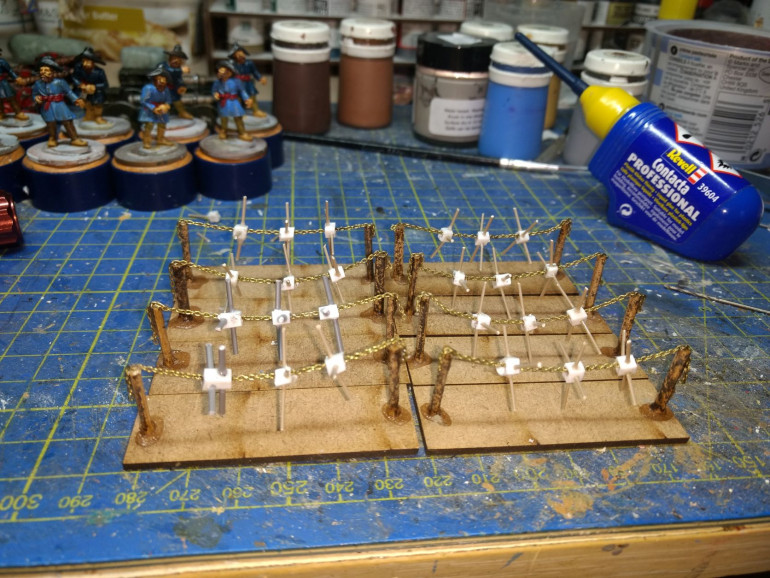
Next was what to do regarding the “stakes, spikes, spears” in the various descriptions. I already had some fine chain but the links were not wide enough to pass anything through.
So some square plastic tube drilled and fine plastic rod glued in place. This then had to be drilled again to pass the chain through.
Once this was done the chains were then mounted on the posts and the “spikes” spaced out and glued in place.
The final touch was painting the entire assembly starting with Gunmetal Grey and highlighting with Blue Gunmetal and Silver to try and give a bit more definition.
Balkan sharpshooters and "field" defences
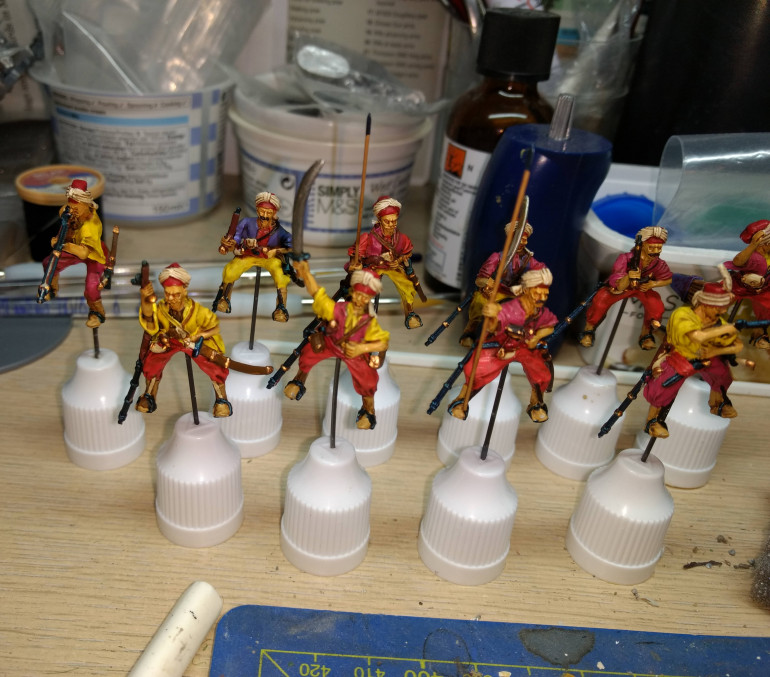
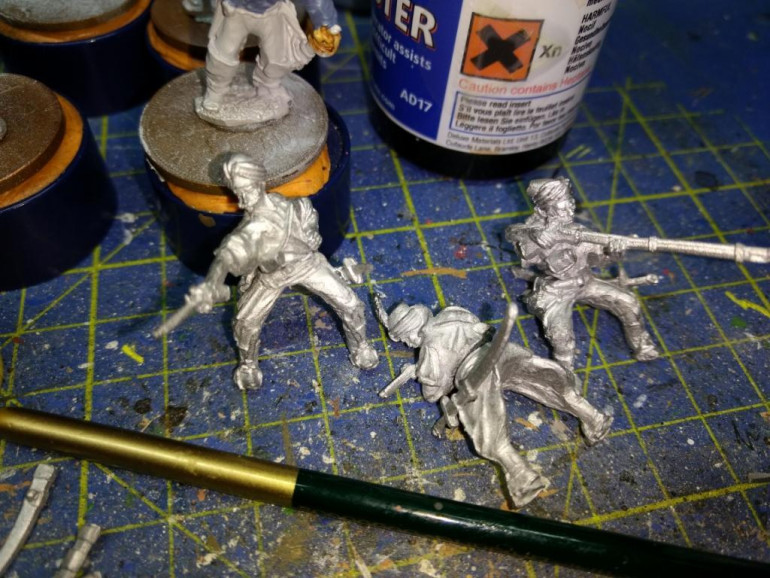
The last batch of figures completed at the moment are the Balkan Sharpshooters used in the later armies. These were skirmishing troops recruited from Bosnia and Albanian areas controlled by the Ottomans and had a reputation for being expert marksmen. The figures are from Warfare Miniatures.
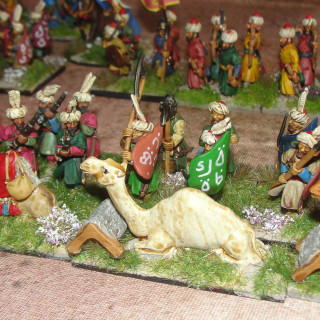
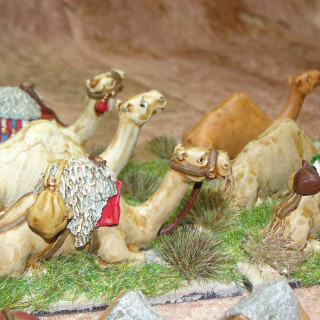
And for something completely different (and again could upset animal lovers) are the tethered camels that were used for improvised “field defences” to protect infantry from enemy cavalry. The figures are from Redoubt Miniatures, I think from one of its colonial ranges, but a camel is a camel.
So what’s left to complete for the army? On the immediate “to do” list are some more Azab infantry, additional artillery and I need to build some “gun chains” for defence of the artillery.
Heavy Artillery
The next batch of figures completed was more artillery.
The Ottomans had a reputation for the adoption of technology and nowhere was this demonstrated more than in its artillery. In Europe where “master gunners” were assisted by “labourers” the Ottomans had adopted a professional organisation incorporated the “household troops” and associated with the Janissaries.
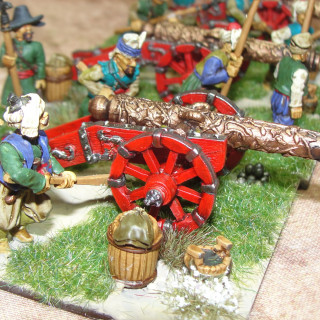
The figures are once again from TAG, I especially like the ornate cannon. The bright colours of the gun carriages are just speculation based on some illustrations.
Janissary Kazan
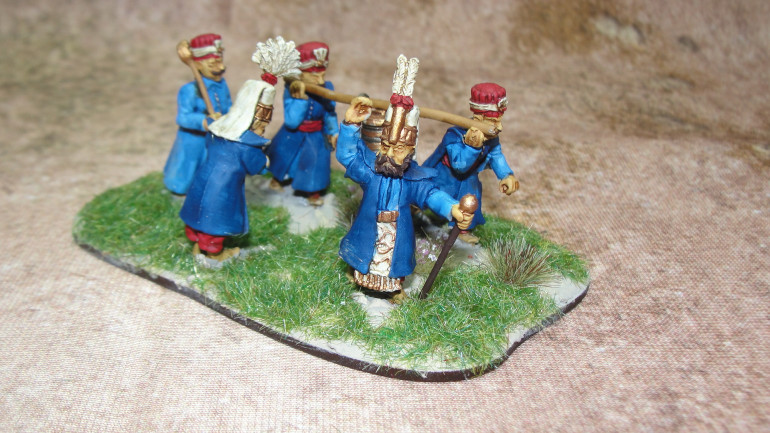
How to explain the relationship between the Janissary corps and a cooking utensil?
The janissary organization was based on the model of a kitchen. High-ranking commanders were called çorbacı, the soupier or soup maker. Other military ranks were designated by culinary terms: Aşçıbaşı, the chef; karakullukçu, the scullion; çörekçi, the baker; gözlemeci, the griddle bread maker, and so on. The entire corps was known as ocak, the hearth of fire, and was commanded by an ağa, the master. The emblem of the whole janissary corps was a cauldron called kazan-ı şerif, the honorable cauldron.
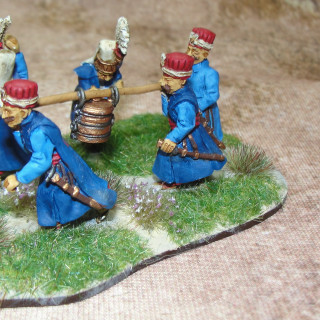
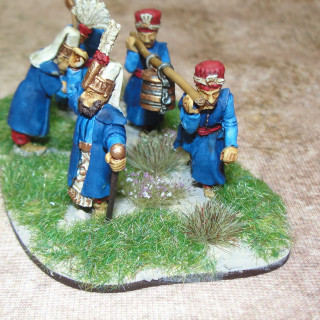
So when looking for something different for the command stand for my Janissaries it was a none starter, the Kazan it was. Several are available but this one was from The Assault Group (TAG) with the addition of an additional figure from the TAG Ottoman Command group.
For this group of figures I went for the more “uniformed look” with various shades of blue with red for hats and sashes.
While probably not historically accurate it will be easy to spot on the table ?.
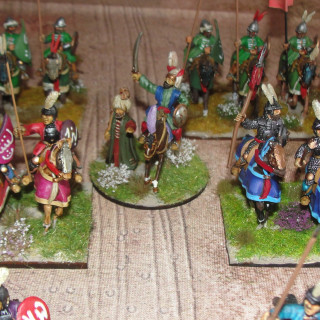
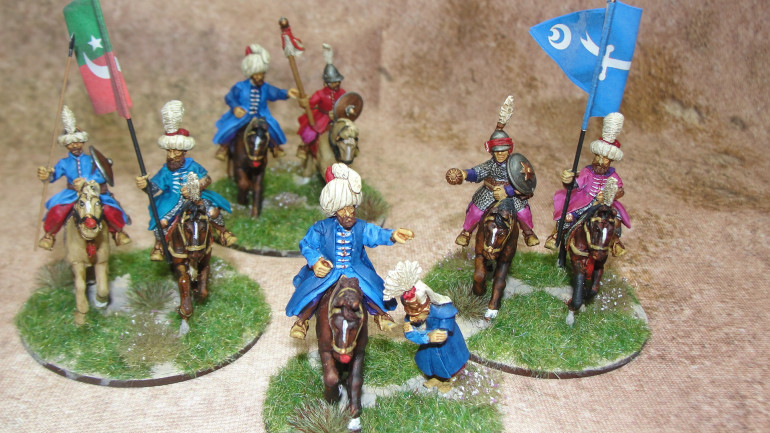
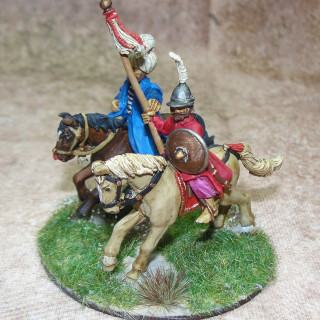
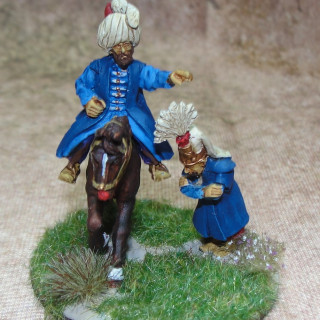
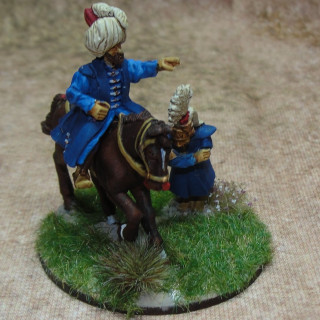
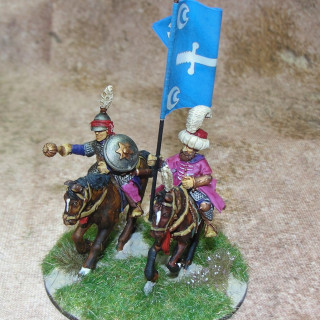
Ottoman Command
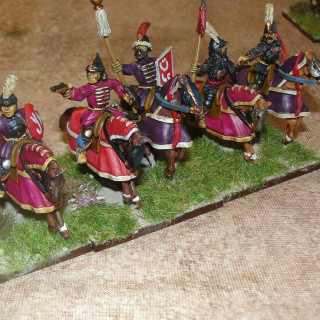
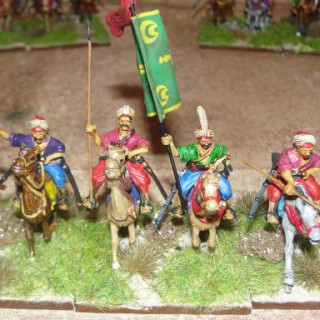
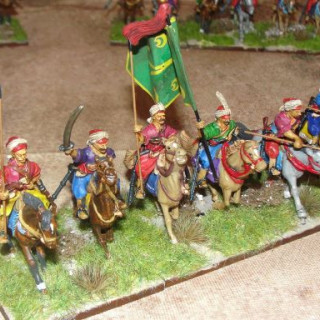
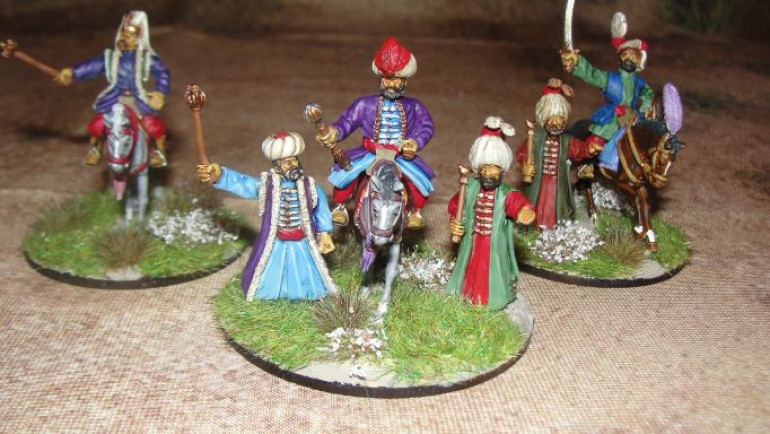
The next set of figures completed were more command stands. It gave a chance to break out some of the more vibrant colours.
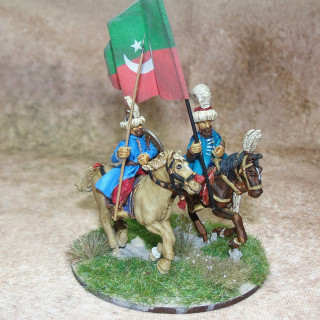
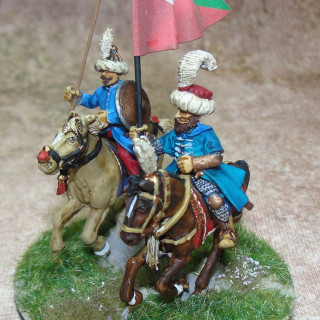
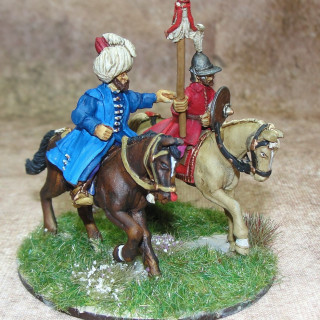
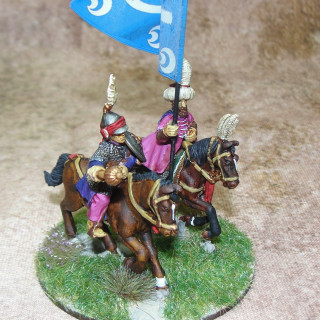
These come from The Assault Group (TAG) and are a mixture of the standard Command packs and the Akinji command pack. The standards were from Pete’s Flags.
Finished Delis
So here are the finished Delis (just noticed I took the photos again before I finished the edges of the bases – doh!!)
Deli Light Cavalry
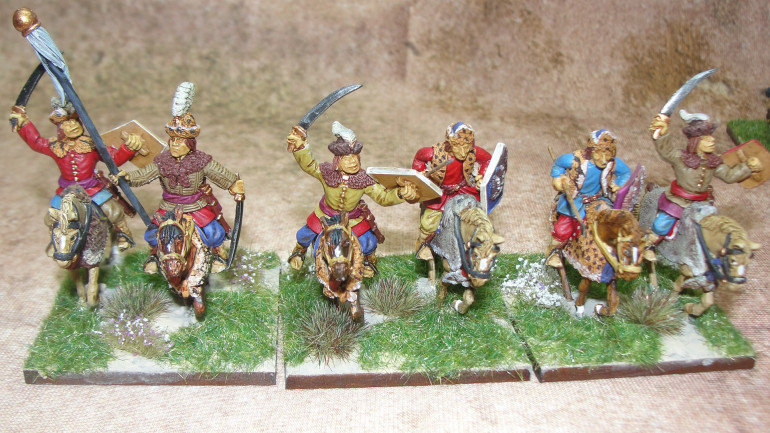
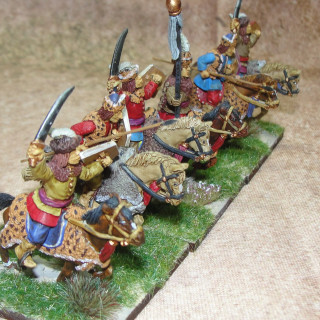
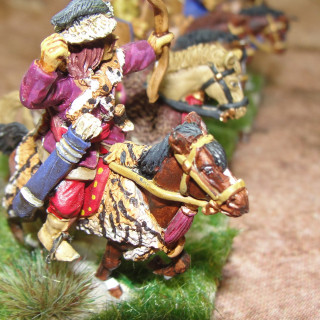
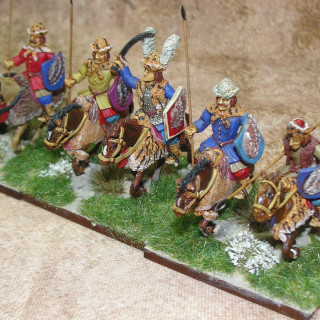
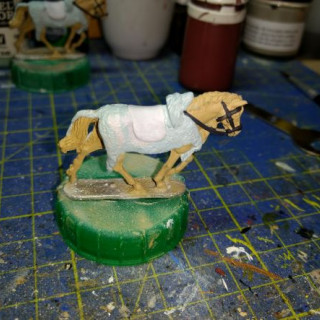
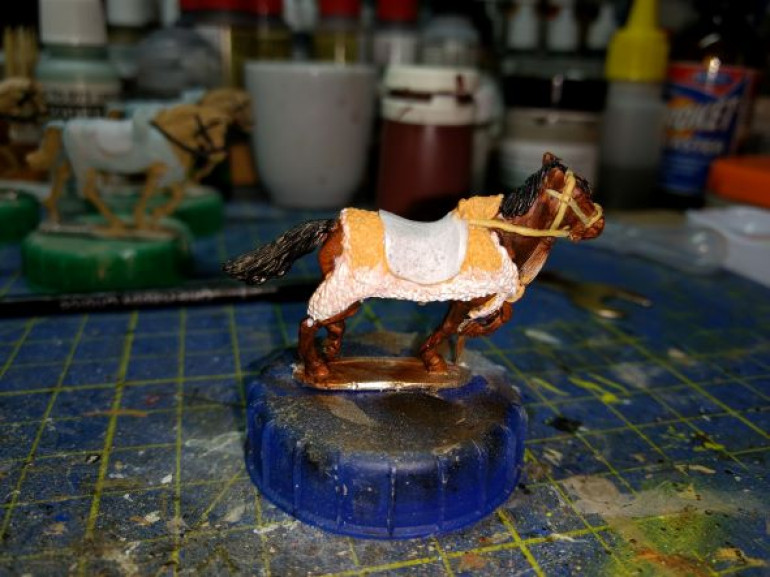
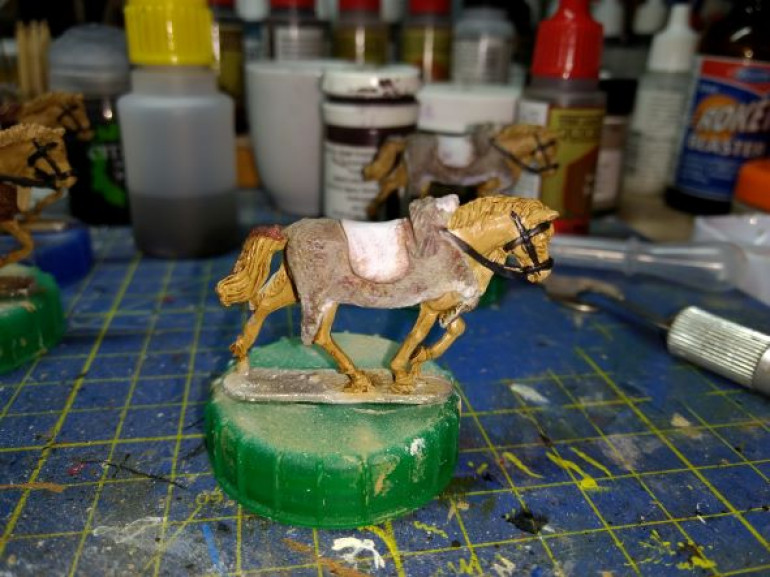
The next unit on the list for the Ottomans was the Deli (or Delli, plural Delier) Light Cavalry and even by the standards of the Ottomans they were extravagant and an environmentalist/conservationist nightmare. The name being derived from the Ottoman Turk for “daring, reckless, madman, crazy”.
Originally raised from the Balkan Volunteers (who may or may not be convert to Islam) they were used as Governors Bodyguards and Border Troops.
Similar to the Hungarian Hussars they had a penchant for wearing animal furs (although they carried on the tradition longer than their Hungarian cousins), depending on the source you believe they did this because either:
- to inherit the characteristics of the predator;
- to intimidate the enemy;
- both of the above.
The models themselves are from Warlord Games and are modelled with impressive animal pelts on the horses. The only issue I had with the sculpts was the heads on some of the pelts, instead of looking like a ferocious predator they reminded me of either a sheep or a big soppy long eared dog! So, the question was what animal pelts would be available to them?
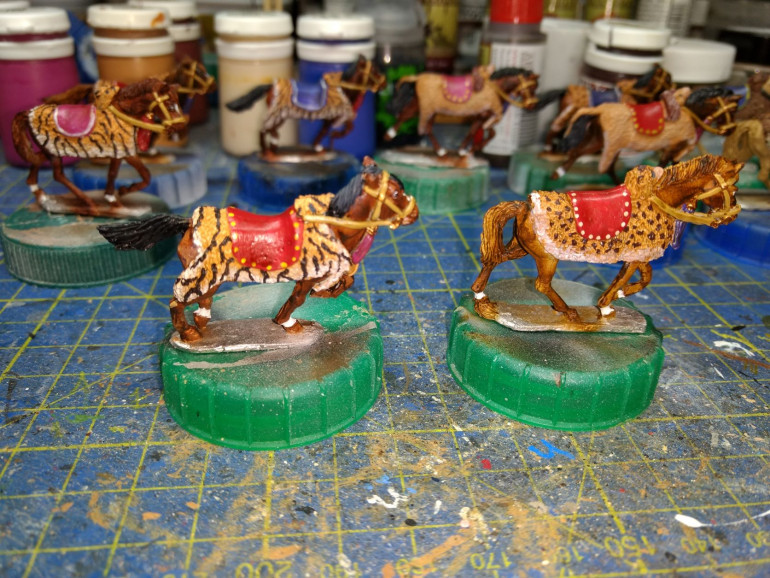
Considering the options I decided on the tiger, Asiatic lion, Eurasian lynx, European brown bear and the Eurasian wolf.
As for the colours (wargames foundry tri-colour paints) for the tiger I used a ochre base colour, a mid bay brown for the bear, tan for the lion and the lynx and for the wolf a grey base coat.
All the reference photos I used showed white areas around the inner legs and belly this was added using a thinned off white as a glaze and several coats to get the effect I was after. Once the initial colours were laid down an Army Painter soft tone wash was added and then some highlights dry brushed back over. Lastly for the markings for the tiger and the lynx I used a dark musket brown. In the photos these are thicker than I originally wanted but when I initially applied them to a test model with a paint pen, they couldn’t be seen at arm’s length, so were added with a brush so they showed at “table length”.
The one that was most difficult for me was the wolf, the reference photos showed a grey-brown mix to the fur with the undercoat being greyer and the outer hair being brown. The base colours were dry brushed over with bay brown and then a strong tone wash applied and highlighted again. While not really satisfied with the finish I adopted the “good enough” approach as it was only on a couple of horses.
So the finished horses.
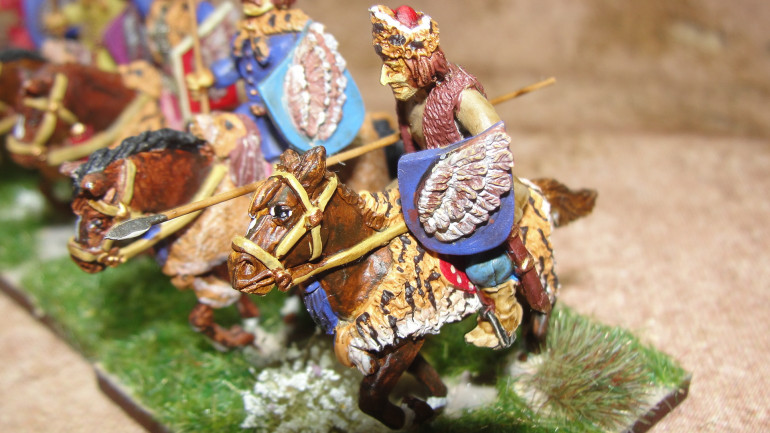
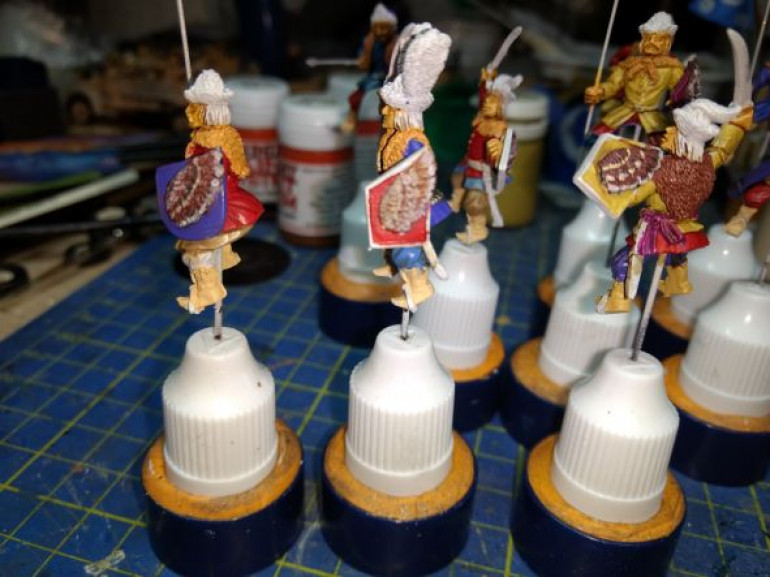
Once the horses were done it was time to tackle the riders and the same principles were applied to the various pelts adorning the figures and then it was time to tackle the other issue. As well as the penchant for fur they also had a tendency for nailing wings of birds of prey to their shields and hats (see I said they were a conservationist nightmare!). The Warlord figures didn’t have the winged hats, but they did have the wings on the shields. Reference photos showed that some of the birds of prey had the darker plumage at the top of the wings and lighter towards the tips of the feathers.
Last of the Sipahis and some Infantry
Pushing on with the heavy cavalry I needed to complete two more Feudal Sipahis and two more Sipahis of the Porte. I already had 24 of the old Warlord Sipahis so they would provide the units.
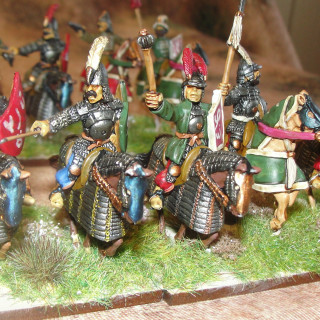
Now the horses were a mixture of caparisoned or fully armoured so decided that for the feudal horse they would be mainly the armoured horses and be the units of more heavily armed sipahis rather than the lighter armoured ones done previously.
For colours it was again into the brighter paints. And to try and provide a little bit of contrast to the horses three versions of steel and a couple of bronze were used.
Next up was the Sipahis of the Porte. I was trying to give the units a more cohesive feel without being totally unformed. So these were done with various “reddish” shades although after washes some appear more purple, but they do give off the elite feel
It was now time to turn the attention back to the infantry and I needed some more Azab infantry. The first are some arquebus/musketeers. These are Redoubt figures and normally I like their figures but these were a slight disappointment. It appears that the moulds are worn as even after spending time attempting to clear the mould lines I realised I was also getting rid of the actual detail!! So with enough mould lines still showing to give Ger a field day they were painted.
The next couple of units come from The Assault Group with mixed hand to hand weapons which means they can be used for either additional bow or musket units. In addition they can also be used for Levy Infantry. These are very nice figures but did mean that I had to try and freehand the shield designs. When looking at shields of the period these were mostly decorated with either symbols or Arabic script. Therefore a quick look at the Arabic key board characters and it was out with the paint pens.
So that’s the latest bunch of figures for the army. It is now on to the last units I need to “complete” this phase of the build. These are:
- Command figures
- Delis Light Cavalry
- Balkan Sharpshooters
- Heavy Guns
Finally Feudal Sipahis finished and some extras
Finally finished painting my way through the initial “feudal sipahis” from Warfare Miniatures. These will mainly be forming the battalia of Roumeliot Sipahis as they adopted firearms faster and with more enthusiasm than there Anatolian brethren.
As I was finishing these off I was looking for some figures that I could use for the Anatolian Sipahis who retained bows for longer. For these I used some of the Gripping Beast Arab Heavy Cavalry with the turbaned heads for the most part to provide a couple of units. The rest will be made up of some armoured sipahis from Warlord I have spare.
Next up was adding some more Infantry and these were Tufekcis musketeers from The Assault Group. I had a quick internal debate whether to paint them as a more uniformed unit as I have already done with the Janissaries but decided against this. Instead I went for a more subdued colour palette tying the unit together by the use of the red “fezzes”.
Also from TAG came the command figures for a couple of units of bow armed Azab infantry I have already painted, again it was out with the bright colours to make them “pop”.
Finally I have also completed a number of command figures (Warlord and TAG) but still need a few more.
Next up more Cavalry and I need to get the artillery finished.
First of the Feudal Sipahis done
Well finished the first of the Feudal Sipahis (apart form the varnish) and it was out with the bright colours that have not seen the light of day since some Italian War figures completed last year.
Basic block colour and wash with the quick highlight. With the amount of firearms these will be probably used for the “European” Sipahis in the late 16th and early 17th Century and I will need to buy some more for the “Anatolian” contingent.
Getting Started on the "Feudal" Sipahis
Having already completed the Janissaries and four of the units of the Sipahis of the Porte it was time to turn my attention to the “Feudal Sipahis”.
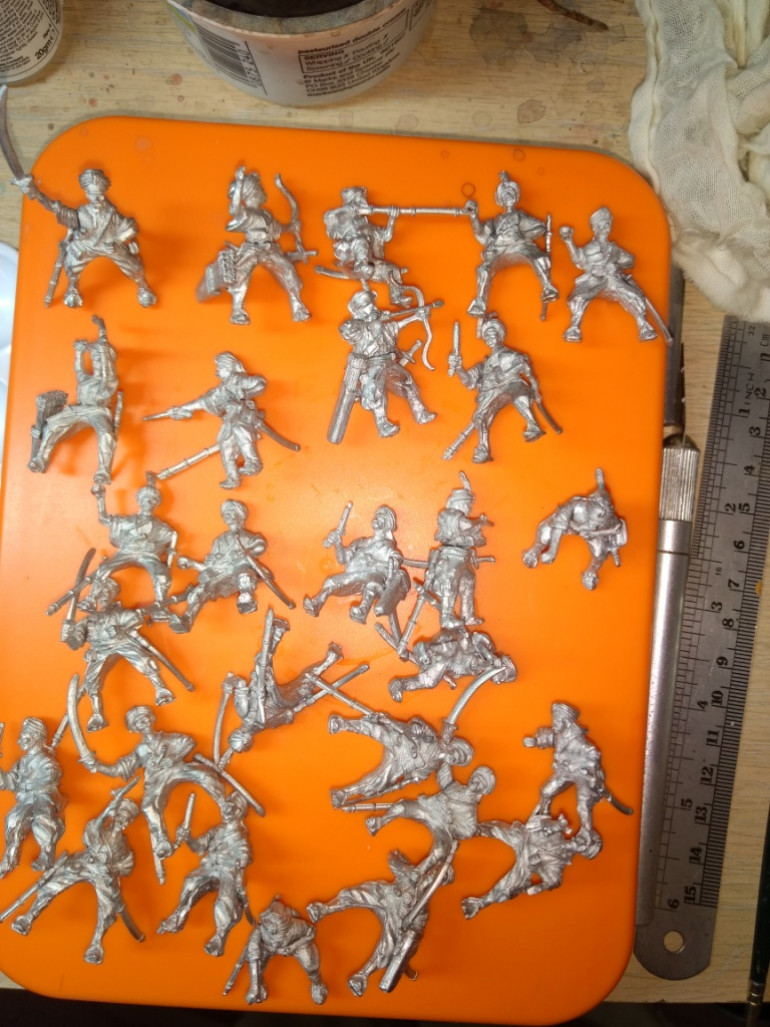
Now one advantage of the Ottoman army is that the same figures can cover a major period of time (if you don’t look to closely) and as I was looking to use this army for both the 16th and 17th Century I was looking for figures that would distinct from the “armoured” Sipahis I have used for the Sipahis of the Porte (these were from either Warlord or The Assault Group). As if by magic Warfare Miniatures have released their “unarmoured” Sipahis about 18 months ago which I ordered and have had sitting in a box since. So it was time to finally get them out and glue my fingers together again.
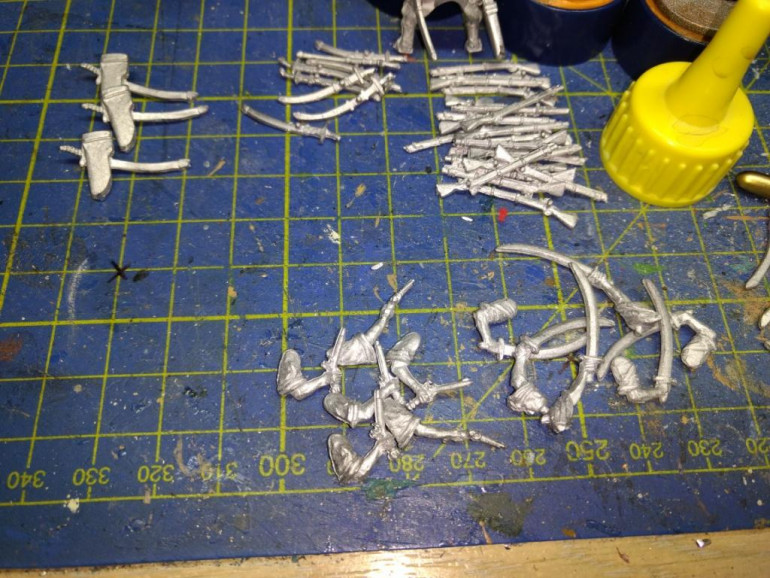
Now the only issue is that the figures are multi part metal (which I have a love/hate relationship with) and if I had been sensible I would have sorted all the bits out first and then started the build rather than start and then realise I had used some parts on the wrong figure and had to start again (doh!!!). Also if you haven’t worked with multi part metal before I would really recommend getting an accelerant to make the superglue set faster.
It was mainly the main weapon arm, sword scabbard and carbine/bow that have to be fitted, but the advantage is that once done you do get a lot of unique figures.
With this army it also lets me get out the colours I rarely use due to the predominance of bright silks etc they wore.
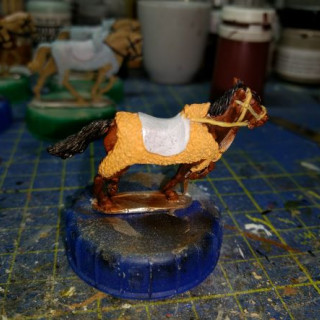
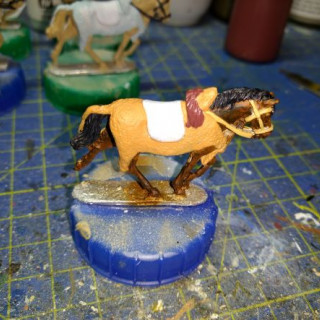
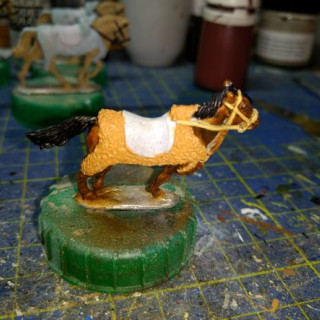
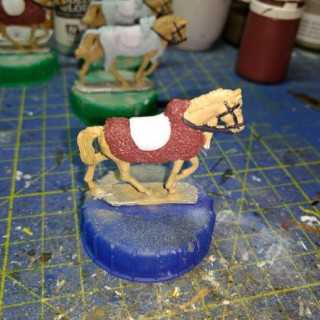
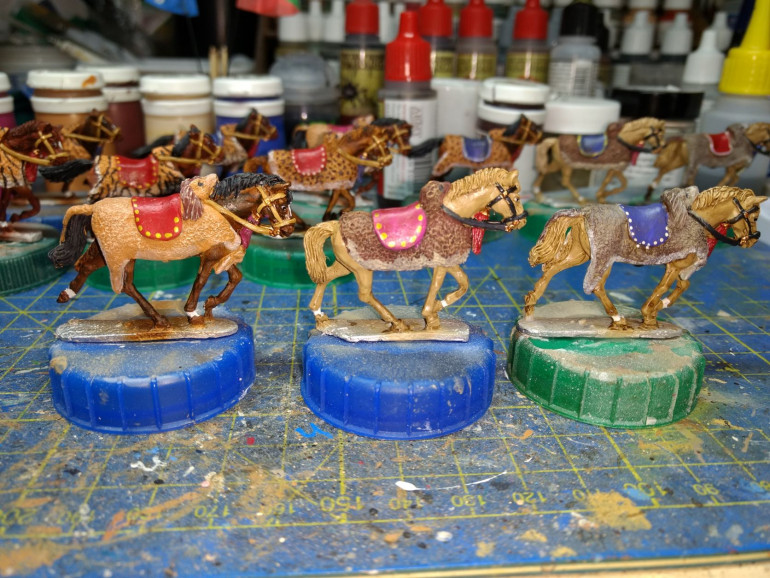
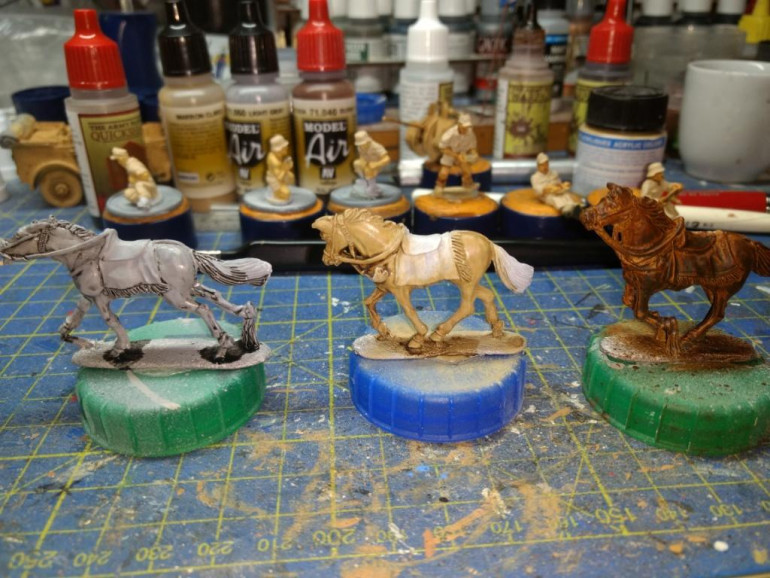
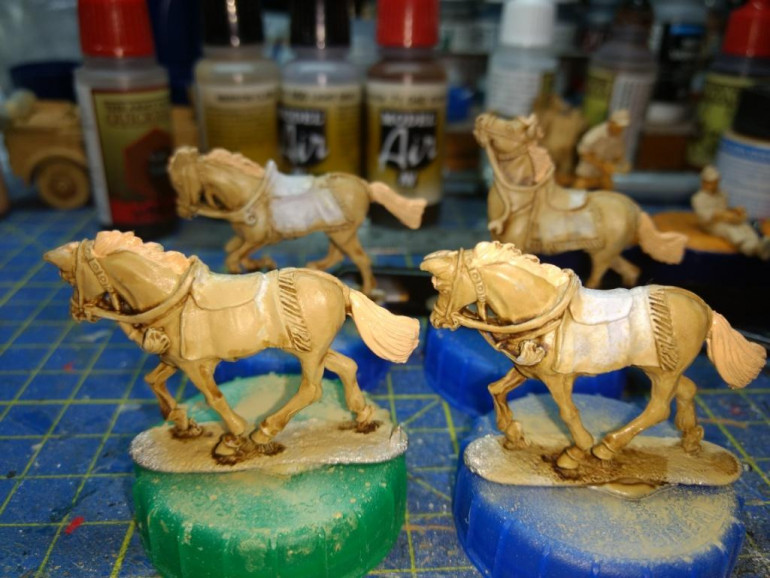
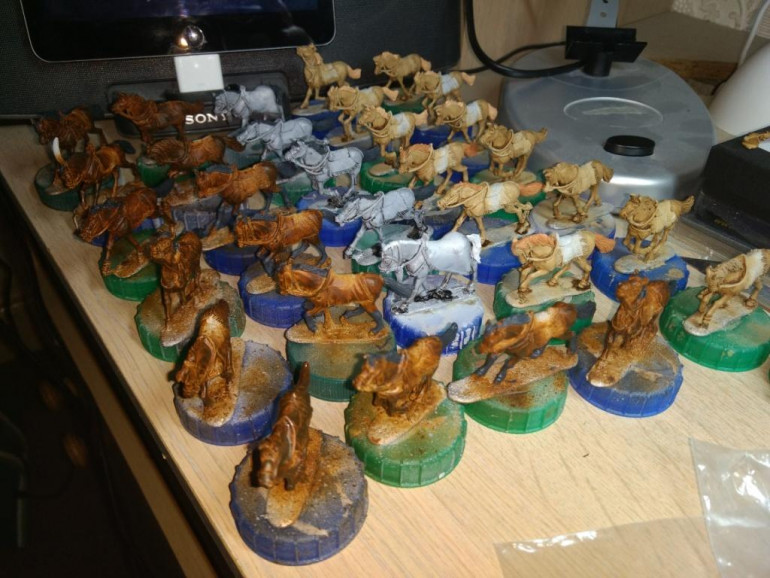
However this also gave me the issue of 30 odd horses I needed to paint (and I have a love/hate relationship with painting horses also) so it was time to try something new. While the airbrush was still out after undercoating the figures I broke out a burnt umber, grey and light brown and airbrushed the horses. It was then time to give them a quick wash with either Army Painter soft tone for the browns or nuln oil for the greys.
I have done a lot more “light” horse colours than the traditional dark bays I usually do to try and give them the Arabian flavour.
Then it was on to complete the various manes and tails, so the basics on 30 odd horses done and now it is time to get down to the tack and saddle and details.


