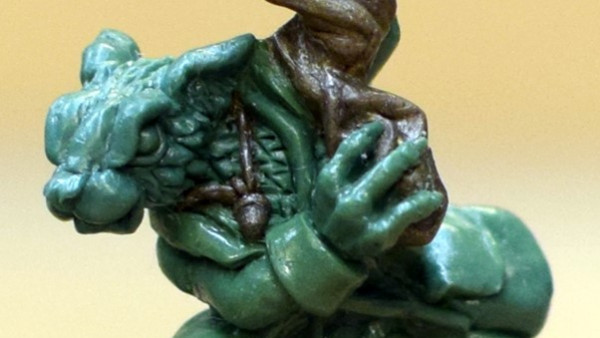


Za Rodinu! Za Stalina! Ura!!


Recommendations: 81
About the Project
For the Motherland! Well ... not mine of course. This project will document my progress (or lack thereof ;)) of my Soviet army.
Related Game: Flames of War: The World War II Miniatures Game
Related Company: Battlefront Miniatures
Related Genre: Historical
This Project is Active
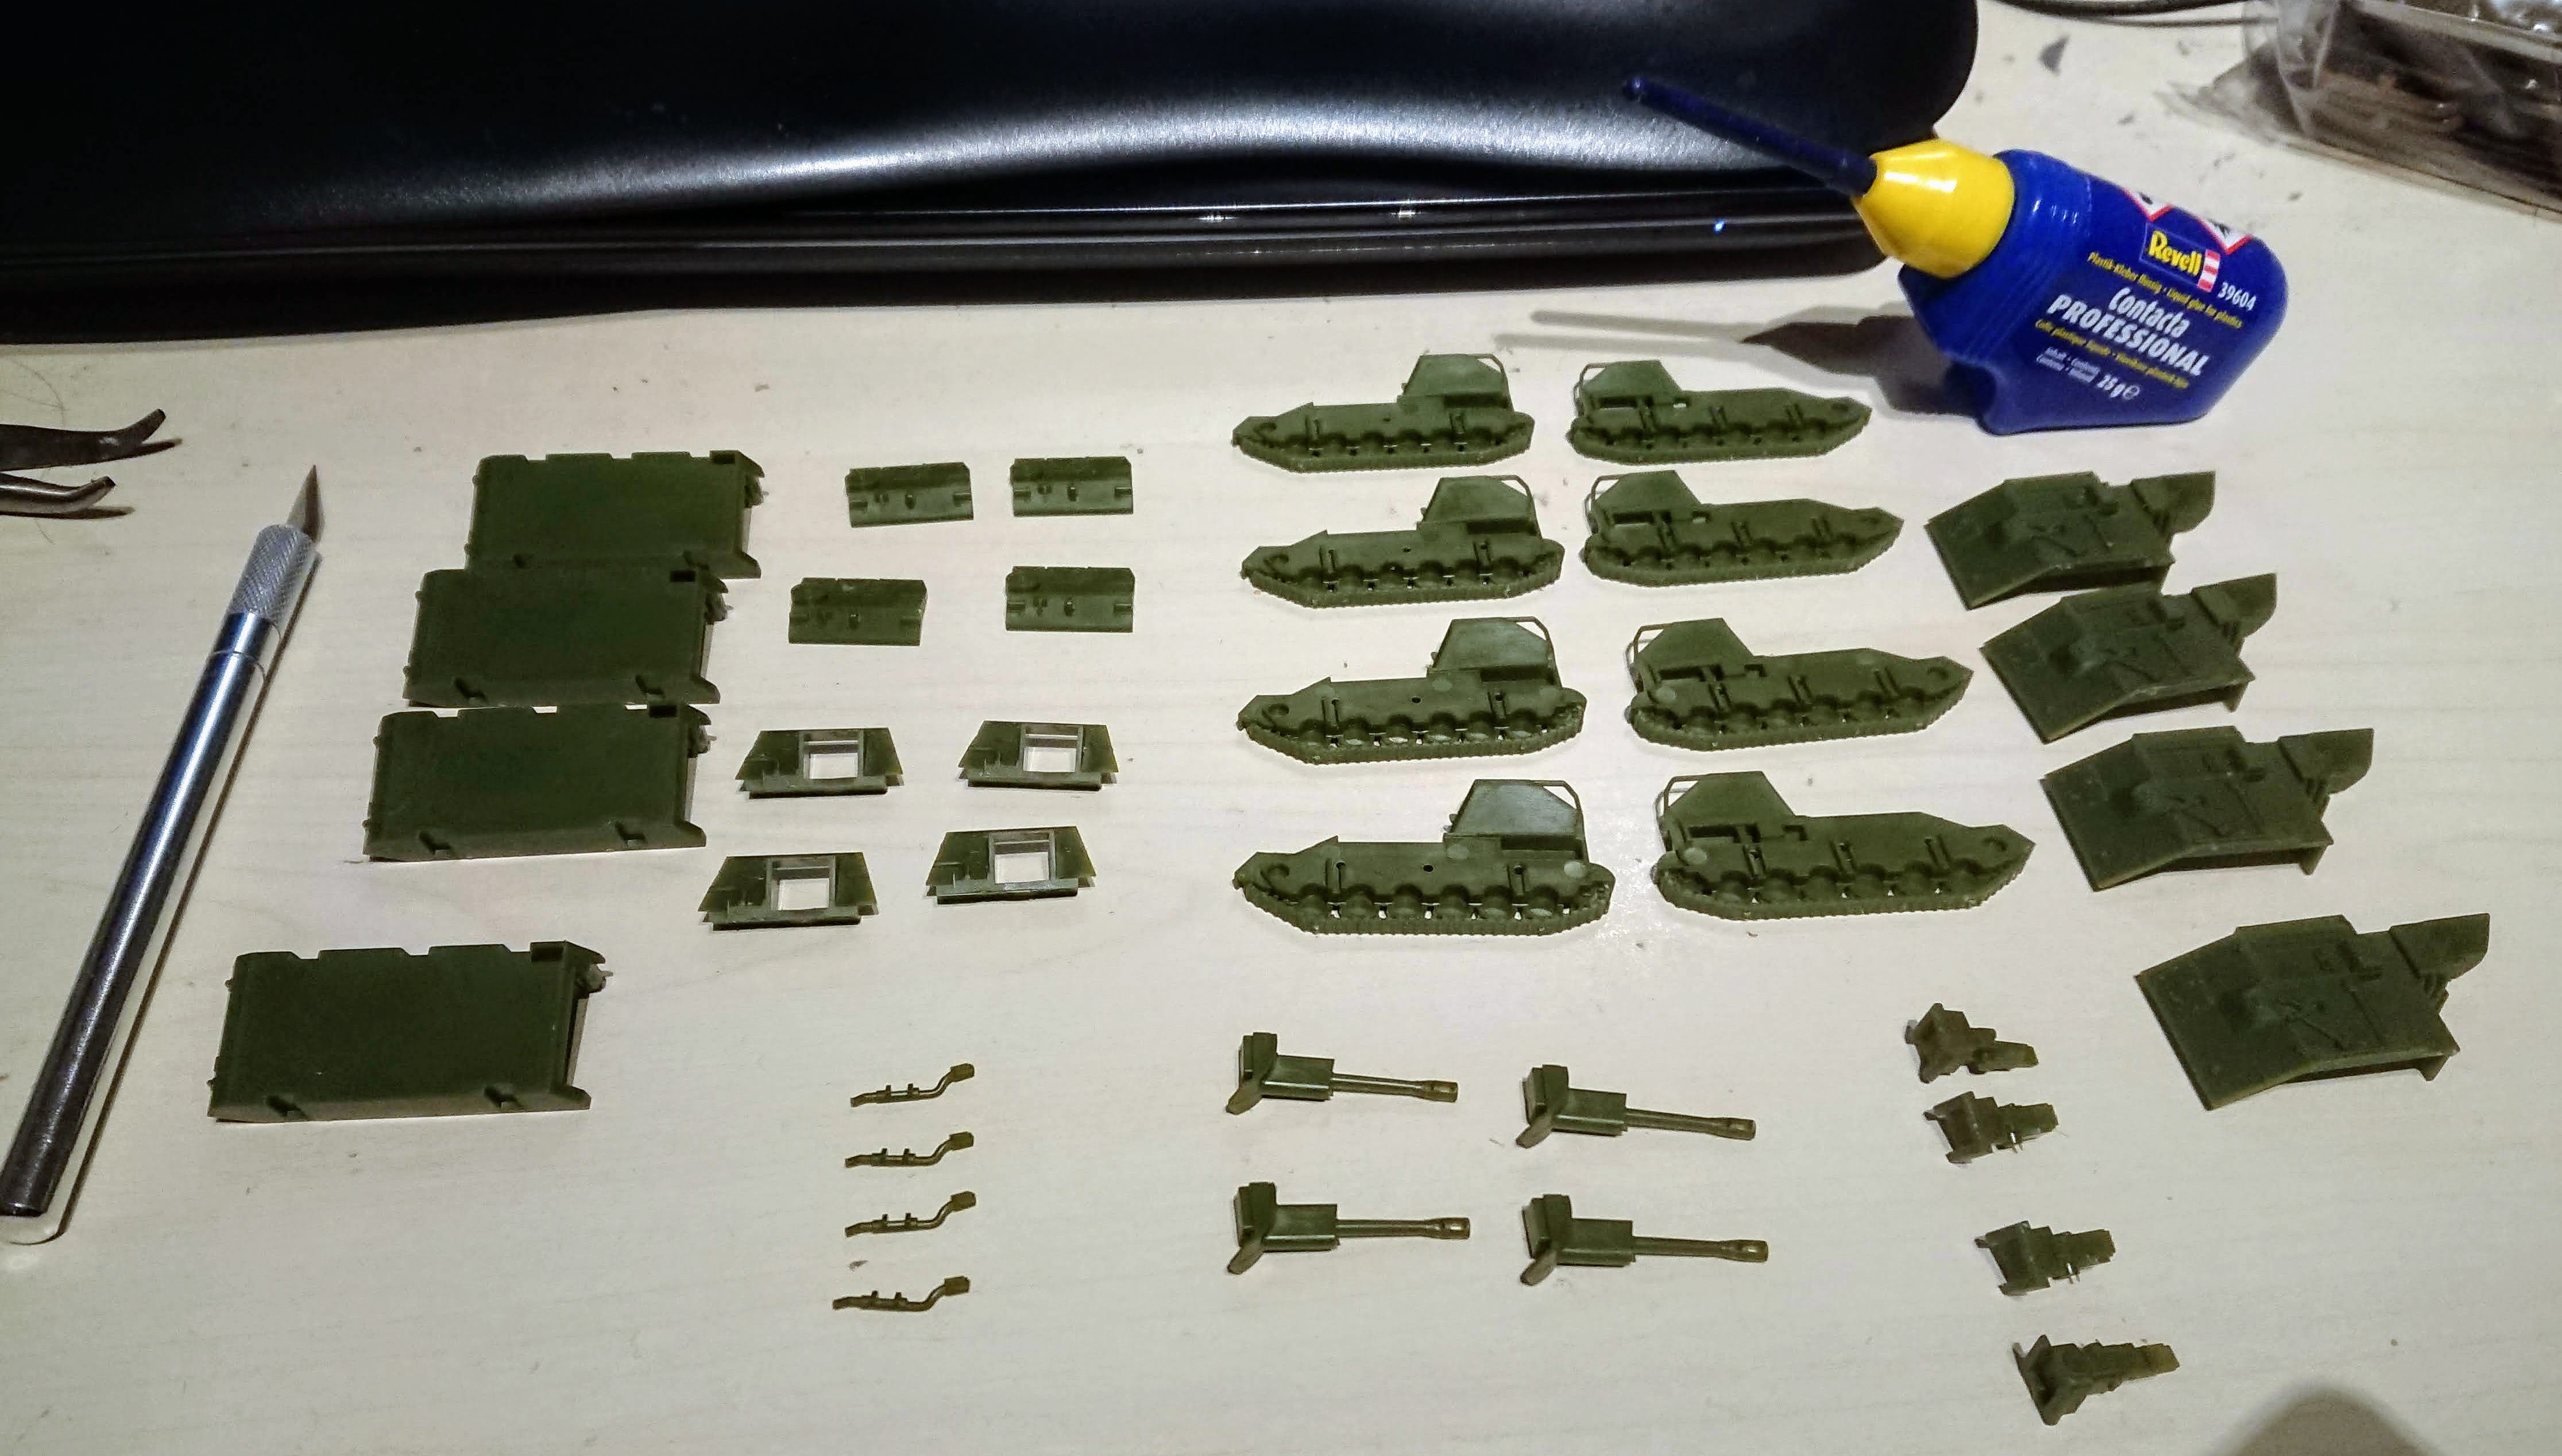
One kit, two choices, four unit cards
76mm Anti-tank, 76mm Artillery or 57mm Anti-tank
Official instructions :
https://www.flamesofwar.com/Default.aspx?tabid=53&art_id=6179
One kit, two choices, four unit cards.
Yep, the hardest part is not the build itself (two wheels, one gun, one shield), but deciding how to use it in your list.
The 57mm variant only gets to choose between fielding it as confident trained (LS177 : anti-tank company) or as fearless veterans (LS146 heavy tank-killer company).
I’d say if you’ve got a few spare points then it may be worth a shot.
The 76mm variant gets a 3rd option as it can be an artilery battery (LS148) as well.
Technically there’s a 4th option if you buy the SU-76, but that’s buying a different kit.
It is however worth thinking about as the added mobility may be useful if the points are available.
The only weird thing is that the artillery variant gets classified as a ‘large gun’.
I don’t know if this is an error or simply meant to represent the need for the gun to fire upwards.
Assembly tips
You may need to check the instructions to see how the gun shield is mounted.
There are sprues with 6 crew for each gun, but the instructions say you only need 4 which should allow for a bit of variety.
The only problem is they don’t tell you anything like that in the official instructions on their website.
Then again … maybe it’s because you can only ever fit four of them on the big bases.
The sprue has a few ammo boxes and a map table as spare bits.
Use them to decorate your base if need be.
This is a tank
Heavy tank IS-2 & IS-85
Official instructions :
https://www.flamesofwar.com/Default.aspx?tabid=53&art_id=5862
This kit shares the same lower hull as the ISU-152 & ISU-122 kit, which makes things easy if you’ve built those already. Then again … that’s never the hard part, is it ?
The official instructions only mention the IS-2 and IS-2 (late) variants (different upper hul).
What they don’t mention is that the barrel without the muzzle brake would make this the IS-85 variant. That makes for a total of four combinations, but we only get to build one. Like the IS-152 & ISU-122 youthe fuel tanks can be used to make the vehicles look a bit different so you don’t need to use the commander to indicate the leader.
Assembly tips
Like the ISU-122 & ISU-152 the machineguns are flippin’ tiny and fragile.
The machinegun that attaches to the back of the turret (looks like the oil can from Wizard of Oz ;)) is tricky to get of the sprue. So watch your cuts and try to catch it if it decides to jump.
One of the mantlets has a slightly wider top plate. It is the one at the outside of the sprue. That is the one you want for the IS-2 according to instructions. I kind of doubt anyone would notice at this scale though.
And finally … the bit of spare track covers where the top and bottom of the hull meet at the front.
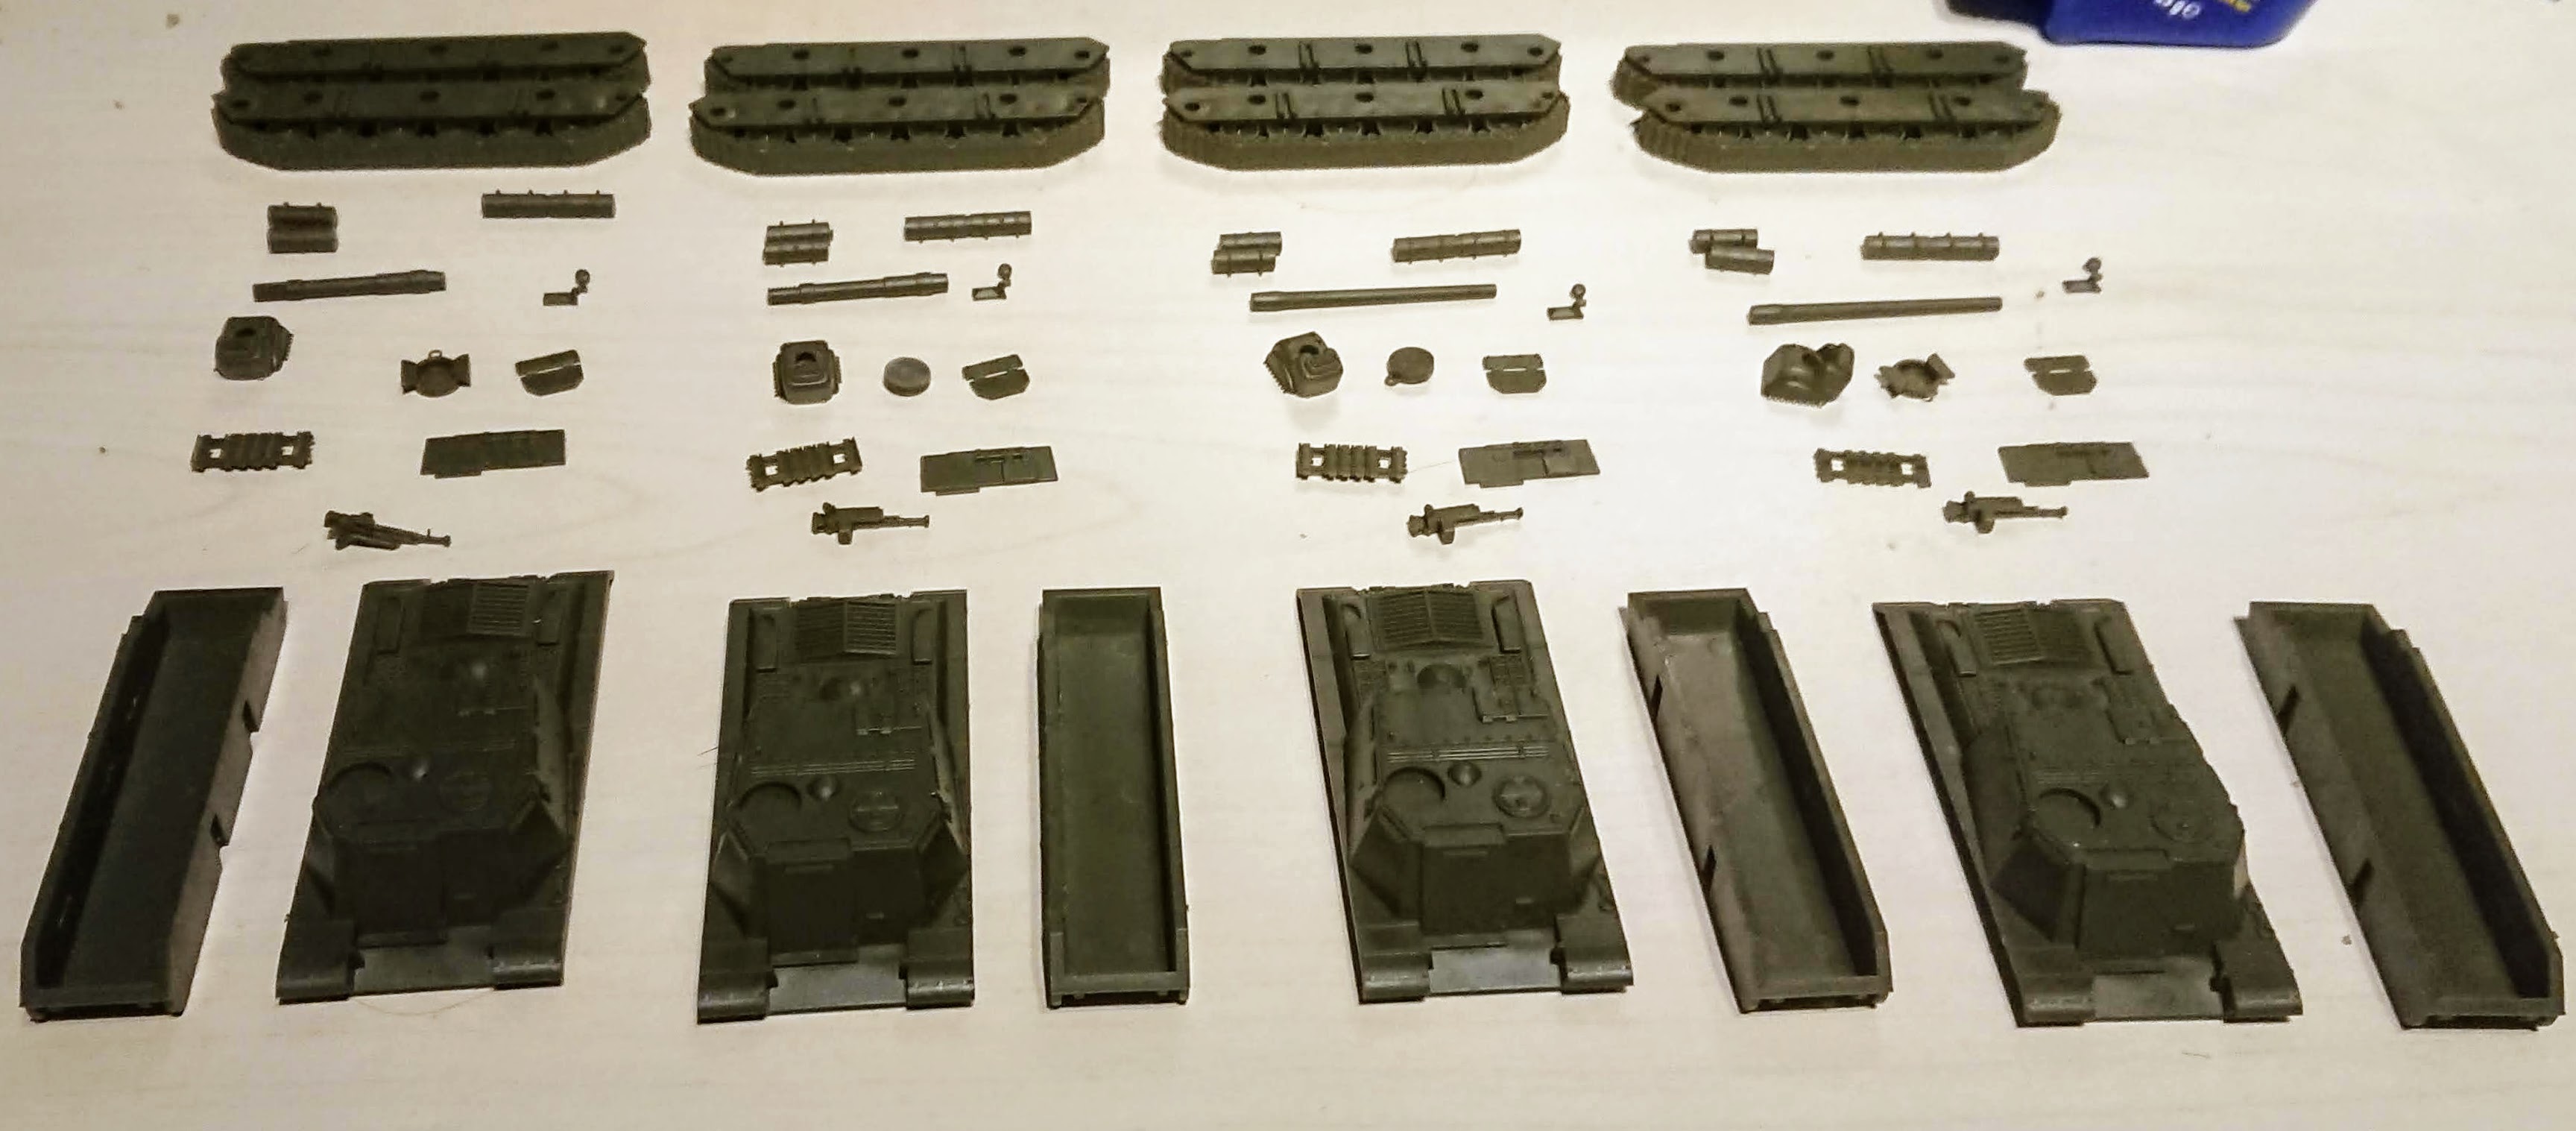
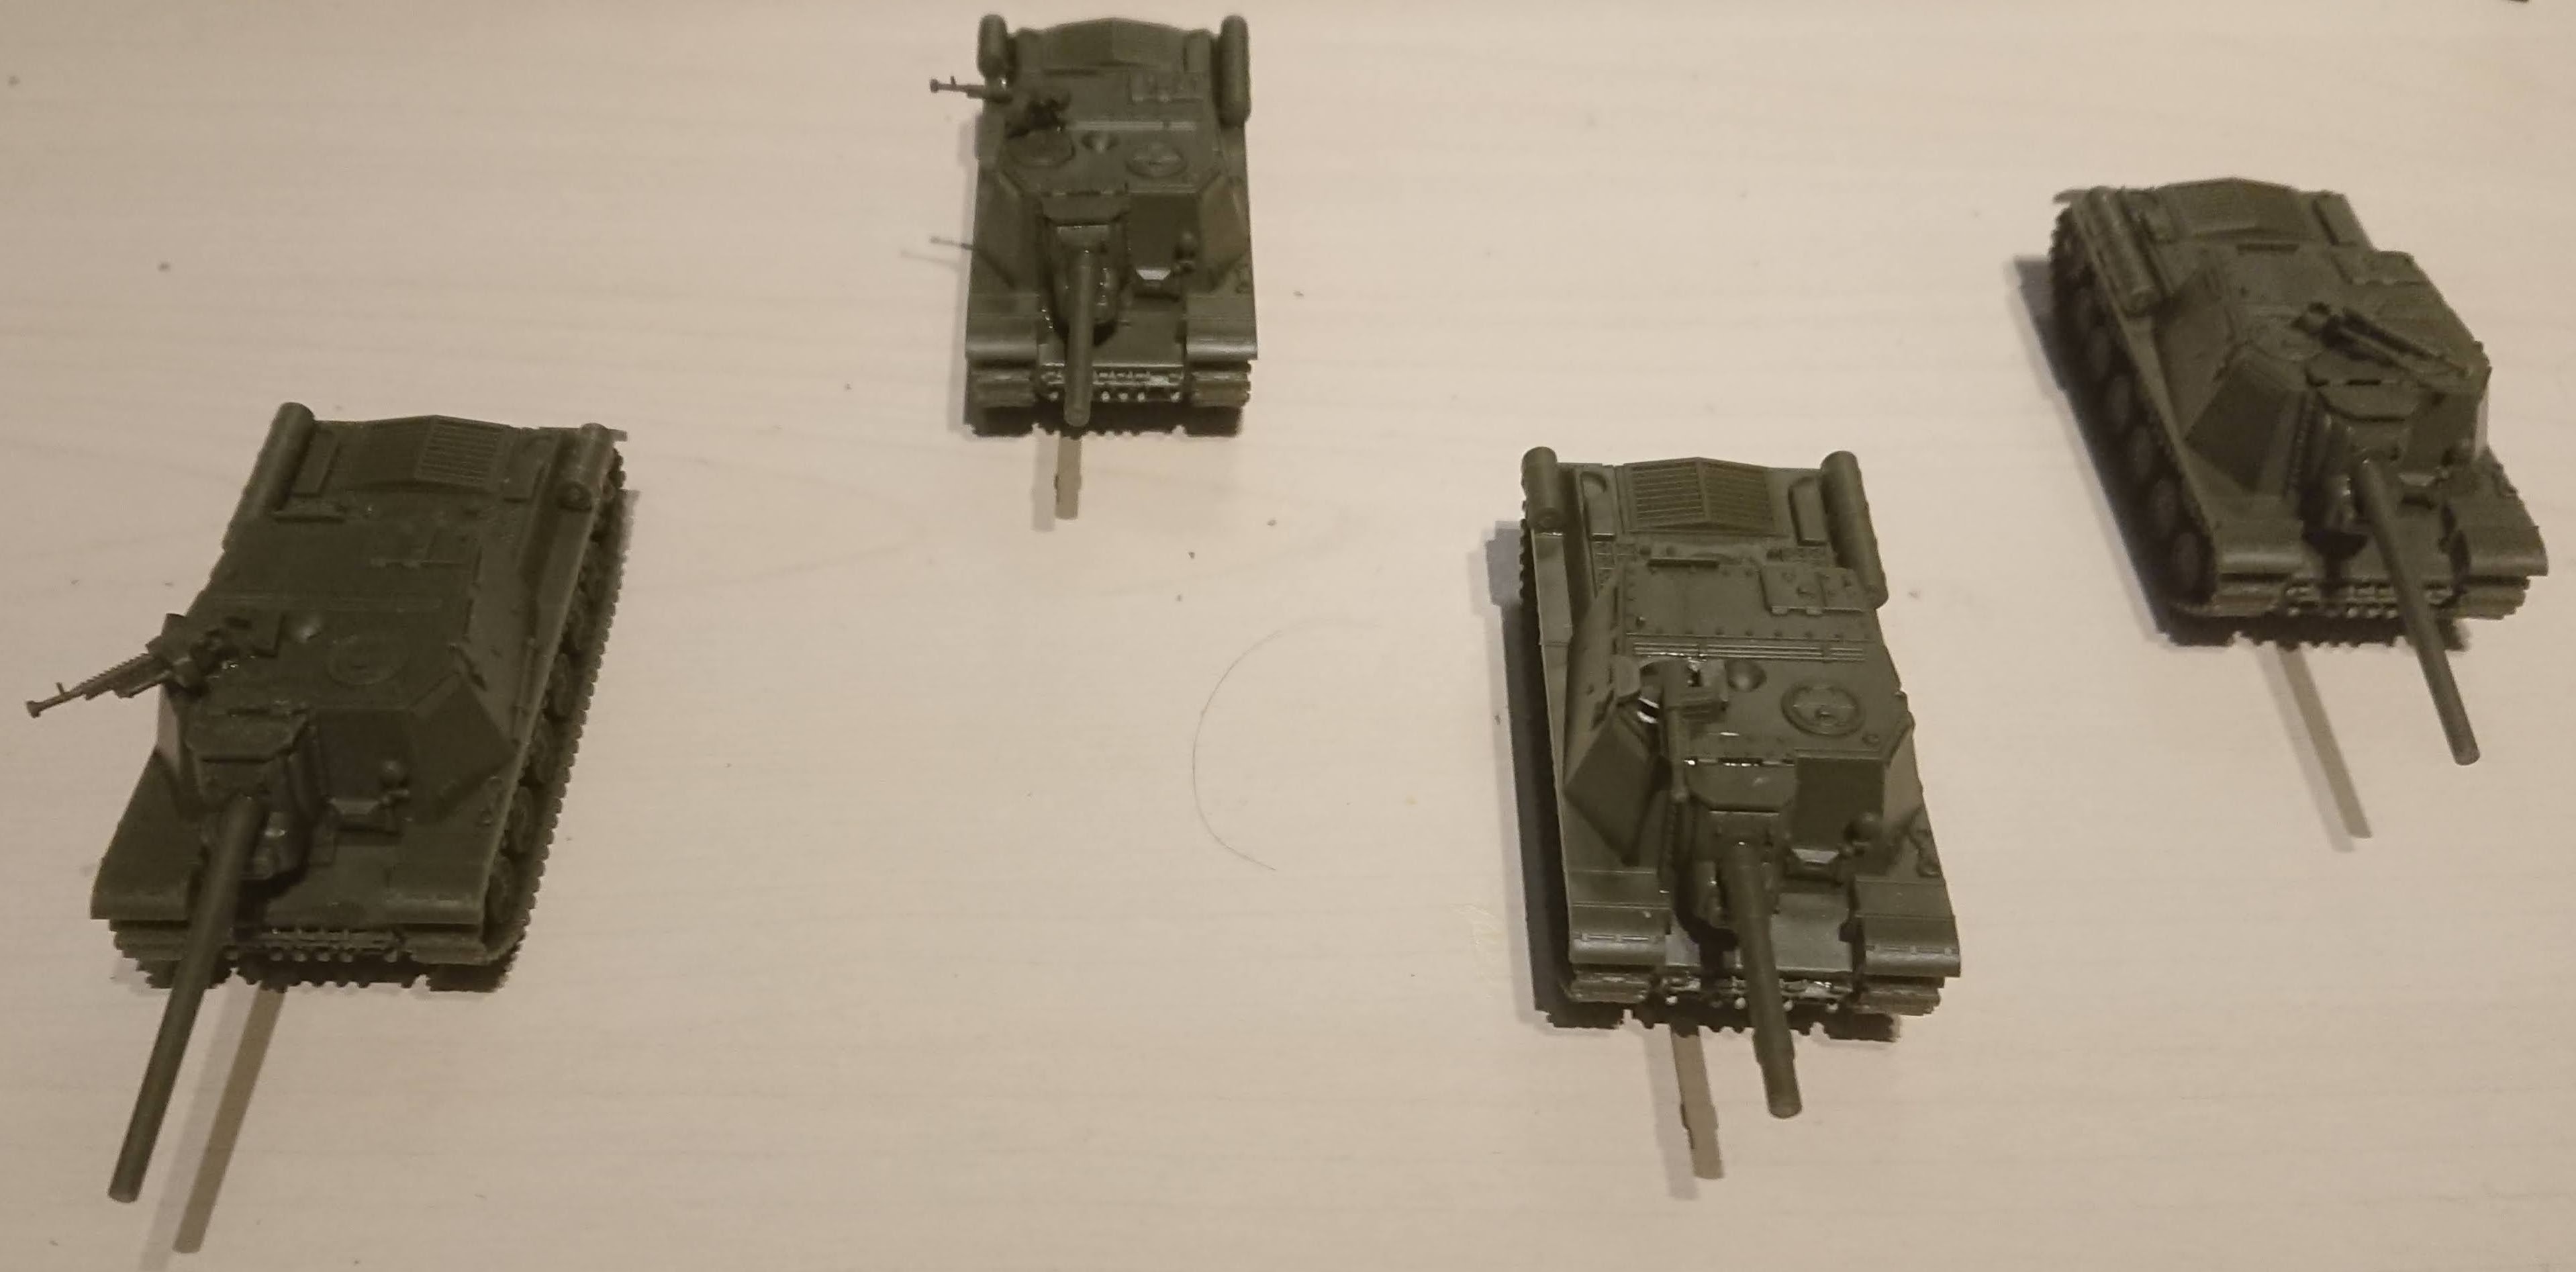
 Ready to assemble ... minus one missing thing that got away
 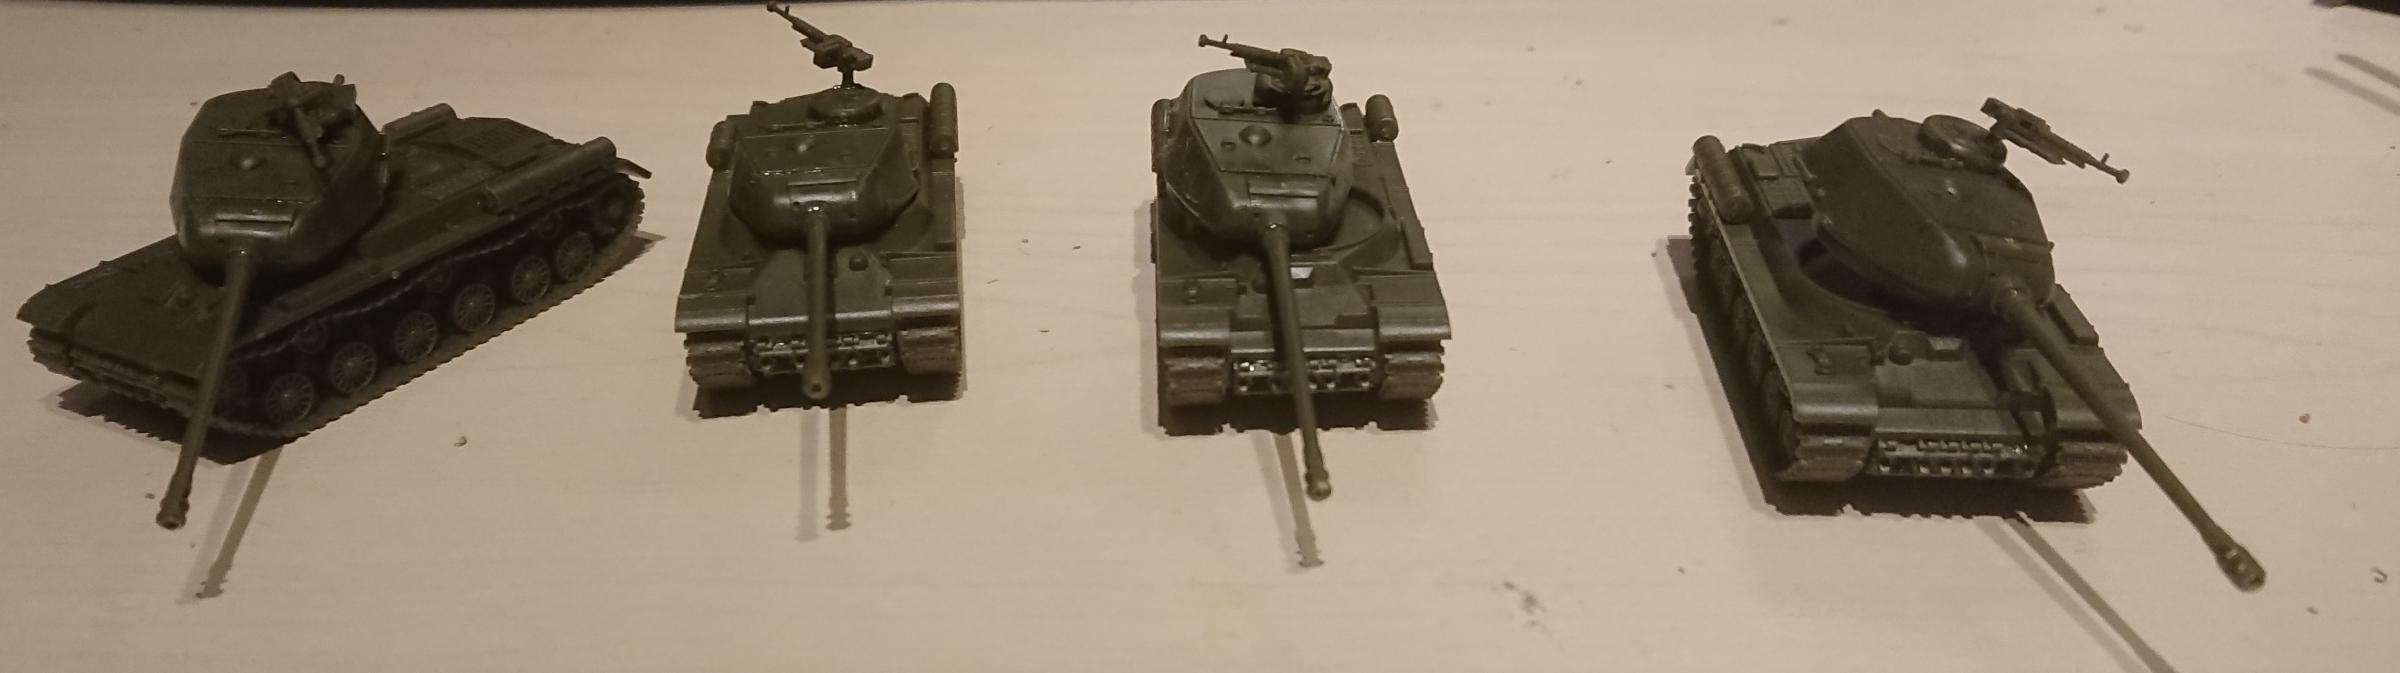 almost ready to roll out ...
Additional resources and reference material
That's not a tank
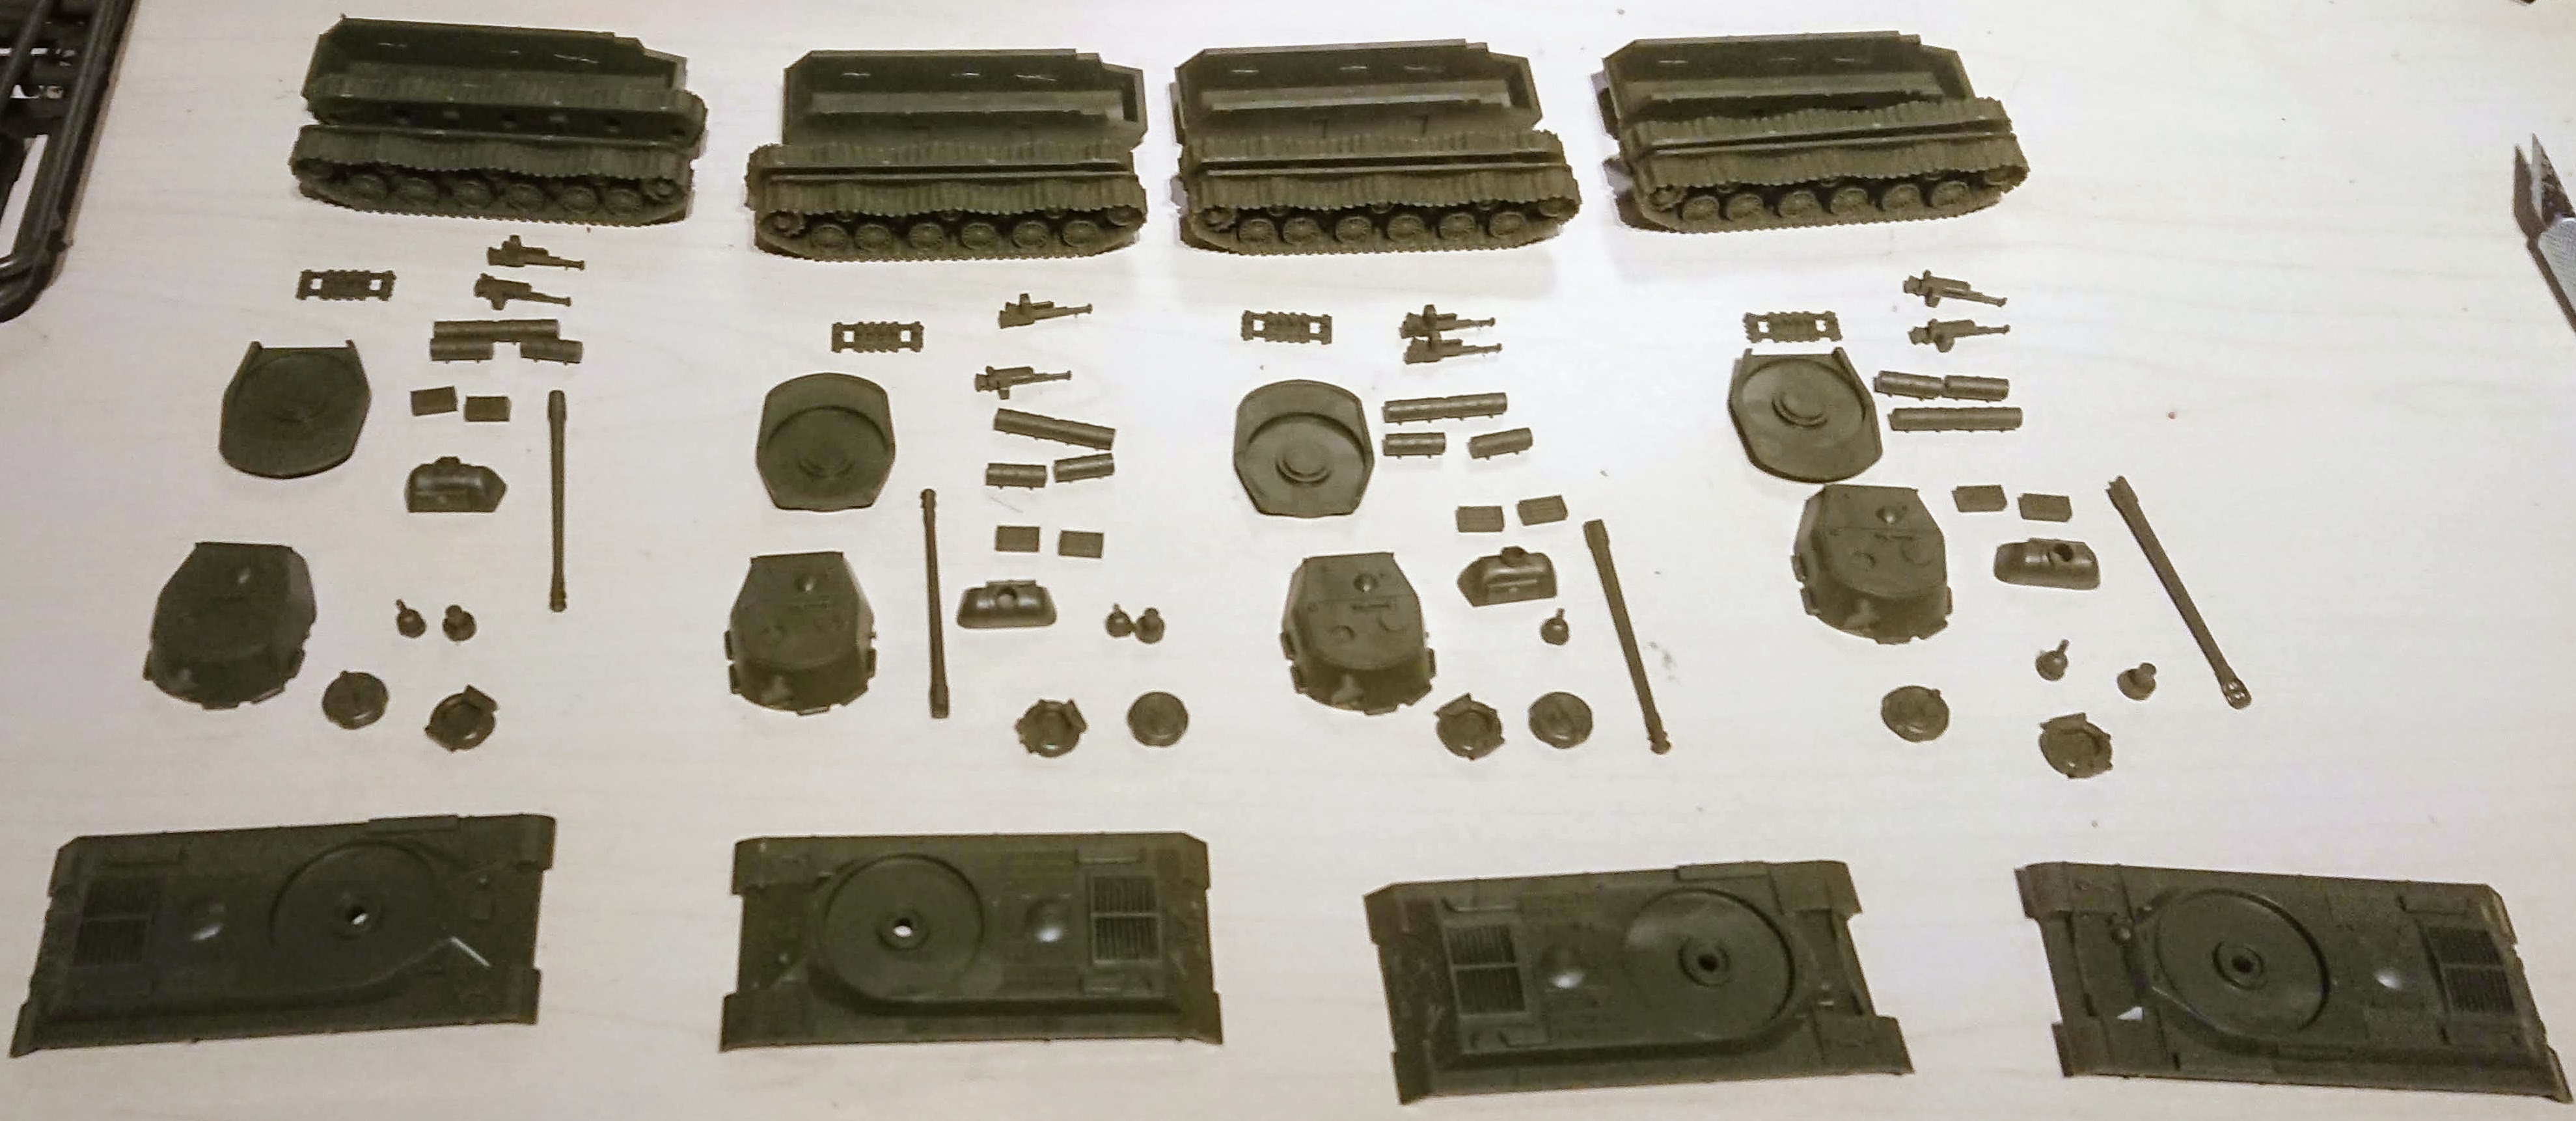
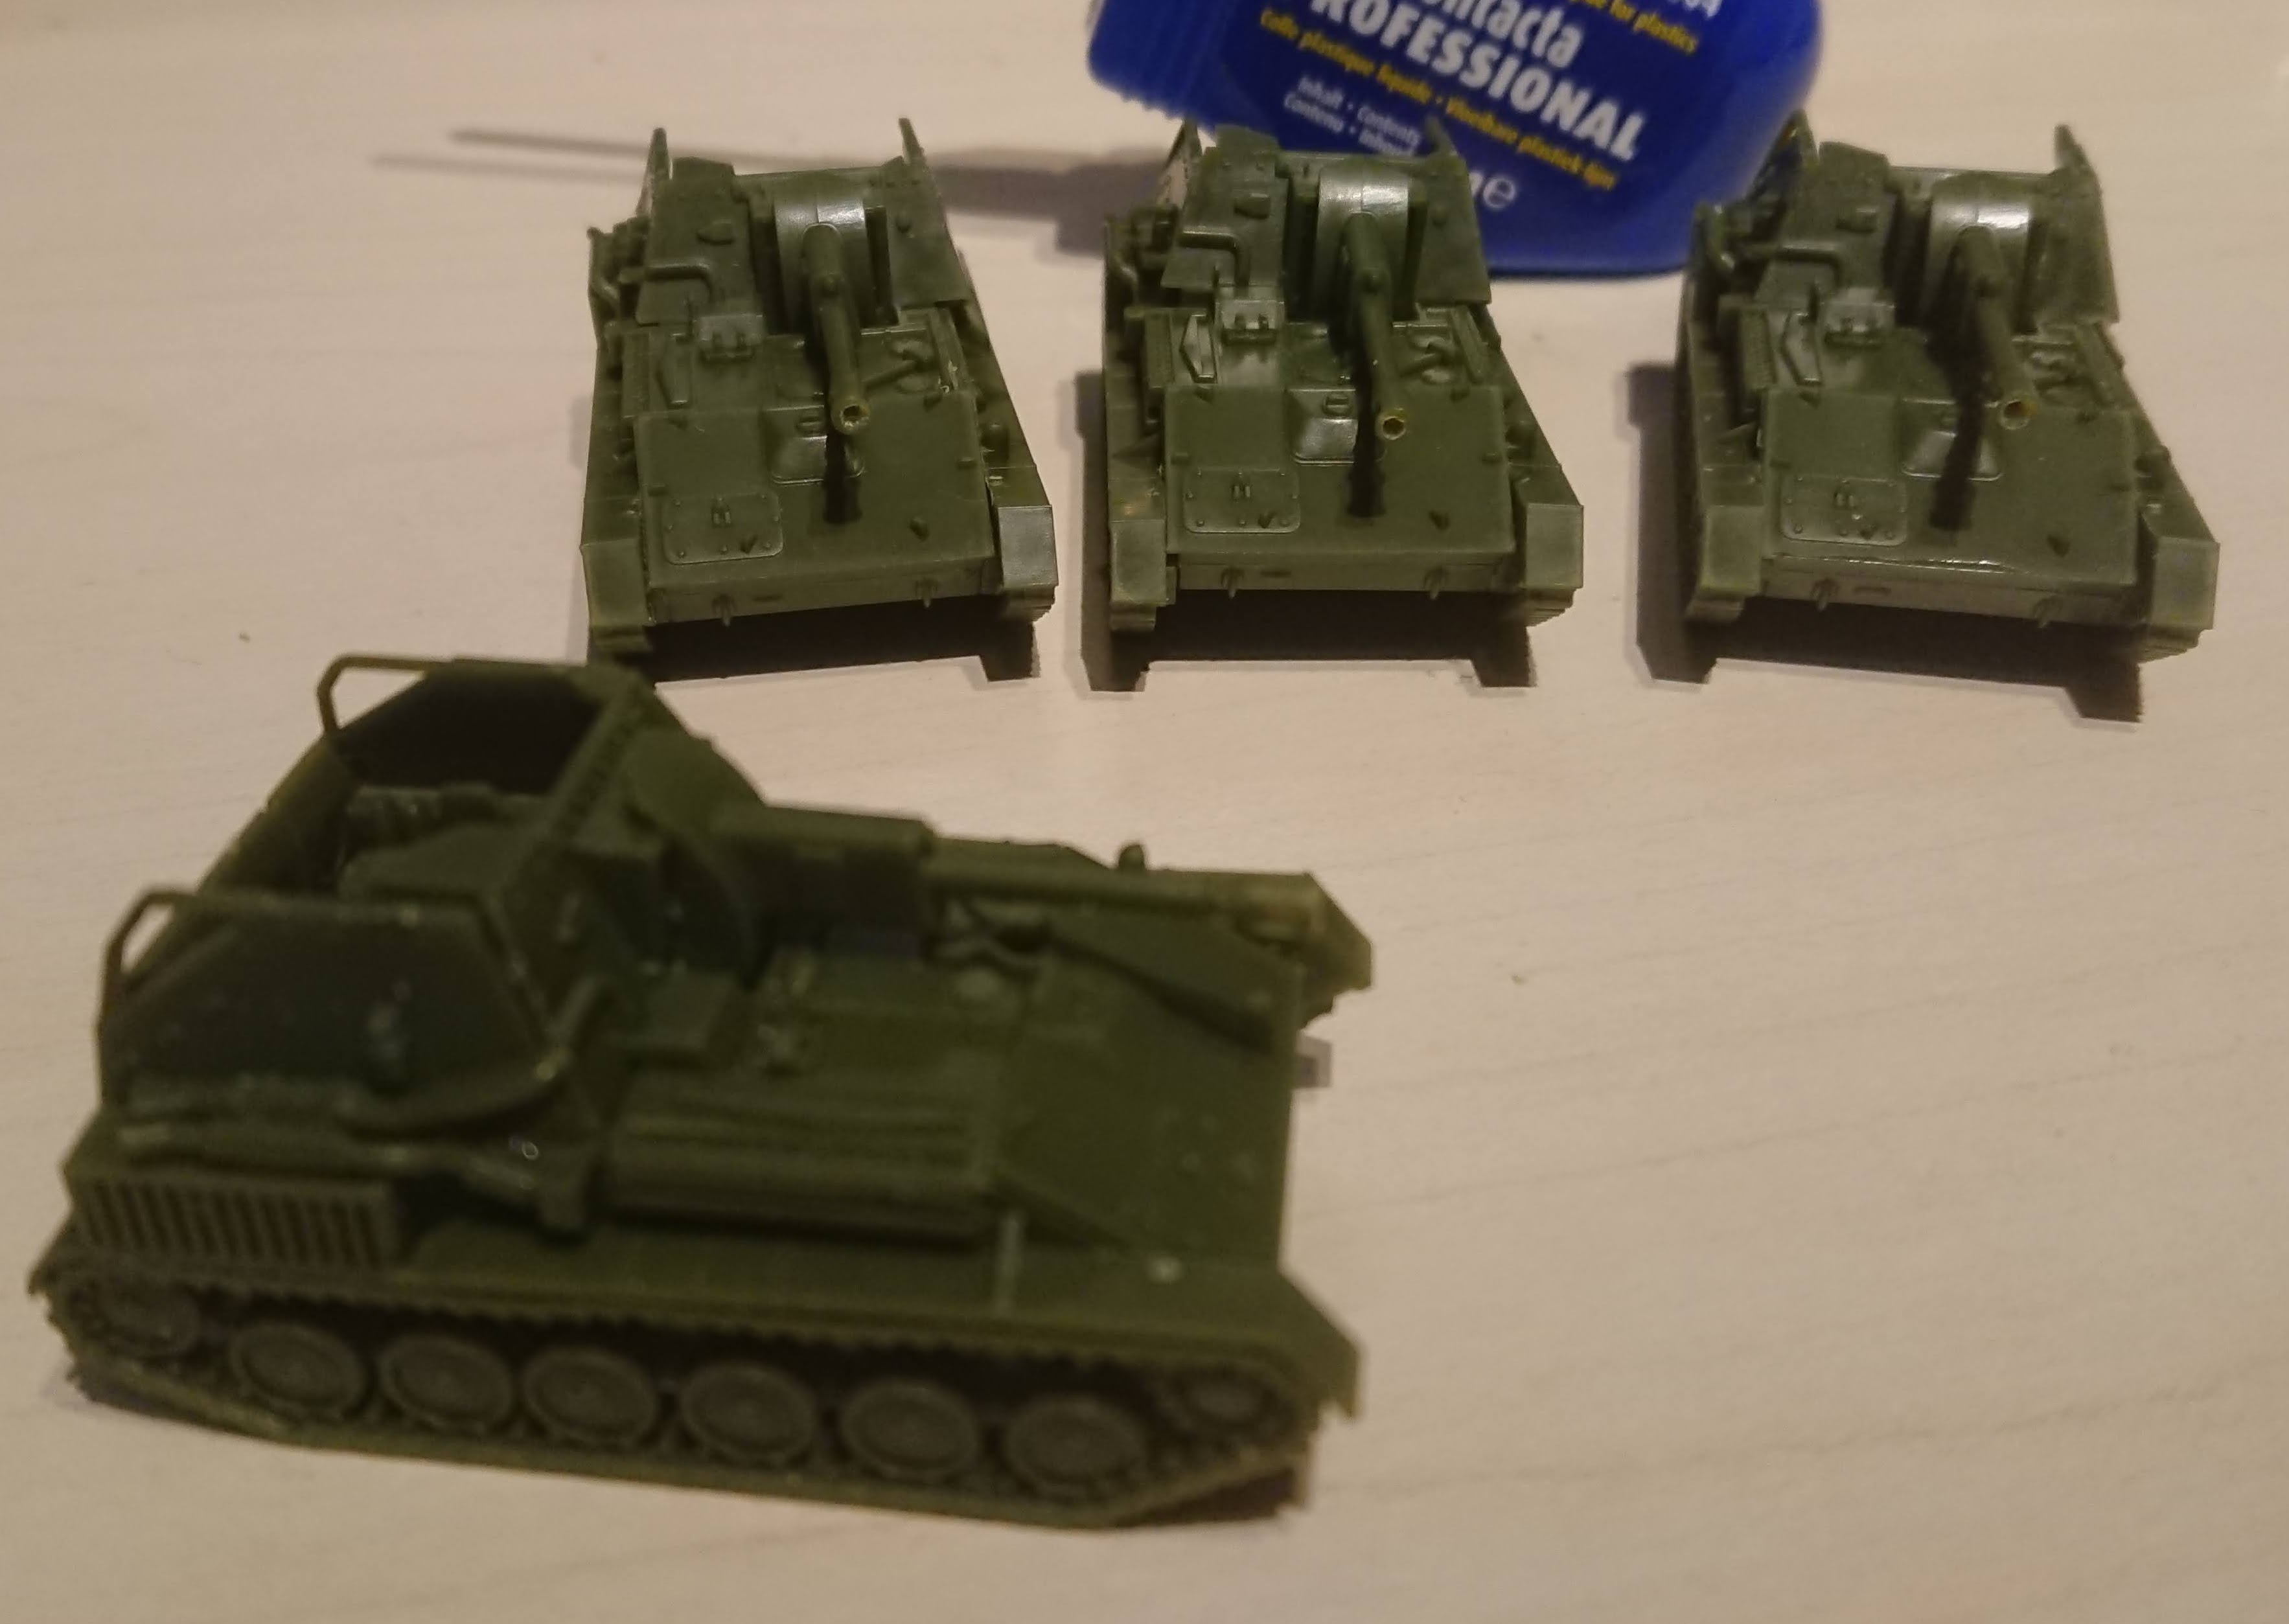
Self-propelled guns ISU-122 & ISU-152
Build instructions :
https://www.flamesofwar.com/Default.aspx?tabid=53&art_id=5863
Old (v3) instructions :
https://www.flamesofwar.com/hobby.aspx?art_id=4864
Not much to be said about this one as instructions are straightforward.
The only thing you need to worry about is which gun barrel you pick as that is the only difference between the two variant in this kit. Everything else is a matter of being careful when cutting the parts of the sprue.
 Ready to assemble both variants
Assembly tips
The machinegun and the tiny light thing are very fragile, but at least you’ve got a spare machinegun on each track sprue.
When placing the big fuel tank you need align the tiny notch in the center with the slight bump on the hull for the best fit.
The track part on the front of the hull does help you to hide the small gap that may be left after attaching the upperhull to the track assembly.
The gun barrel itself has a very tiny identation that should be at the bottom when placing the barrel in the mantlet.
 Assembly completed
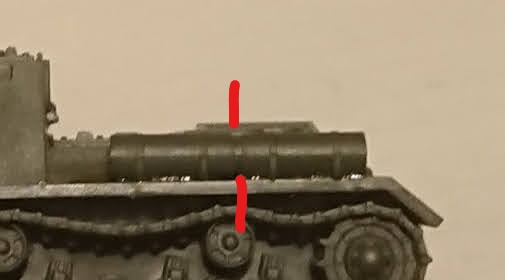 top red line indicating indentation on fuel tank, bottom red line indicating bump on hull
Additional reference material and resources
More pictures of actual vehicles and related resources :
Time to scare the German infantry ...
Light Artillery SU-76
Build instructions :
https://www.flamesofwar.com/Default.aspx?tabid=53&art_id=7071
Not sure why Battlefront doesn’t include that in their boxed set, because although the kits are dead simple doing things in the correct order is good for ye olde ticker.
To summarize :
- attach left and right tracks to hull,
there are notches to stop you from making mistakes - attach front armour plate
dry fitting is useful ! - attach rear armour plate to the hull
again … dry fit and then glue - the tiny annoying exhaust bit is next
I doubt people would notice if you happen to misplace it. - the gun is last thing
asseble and dry fit first before attaching it to the main body
Easy, right ?
Now if only they explained how to fit the crew …
Then again, painting them before adding them may be a good idea.
No need for lots of detail as they’re barely visible anyway.
 Ready to assemble
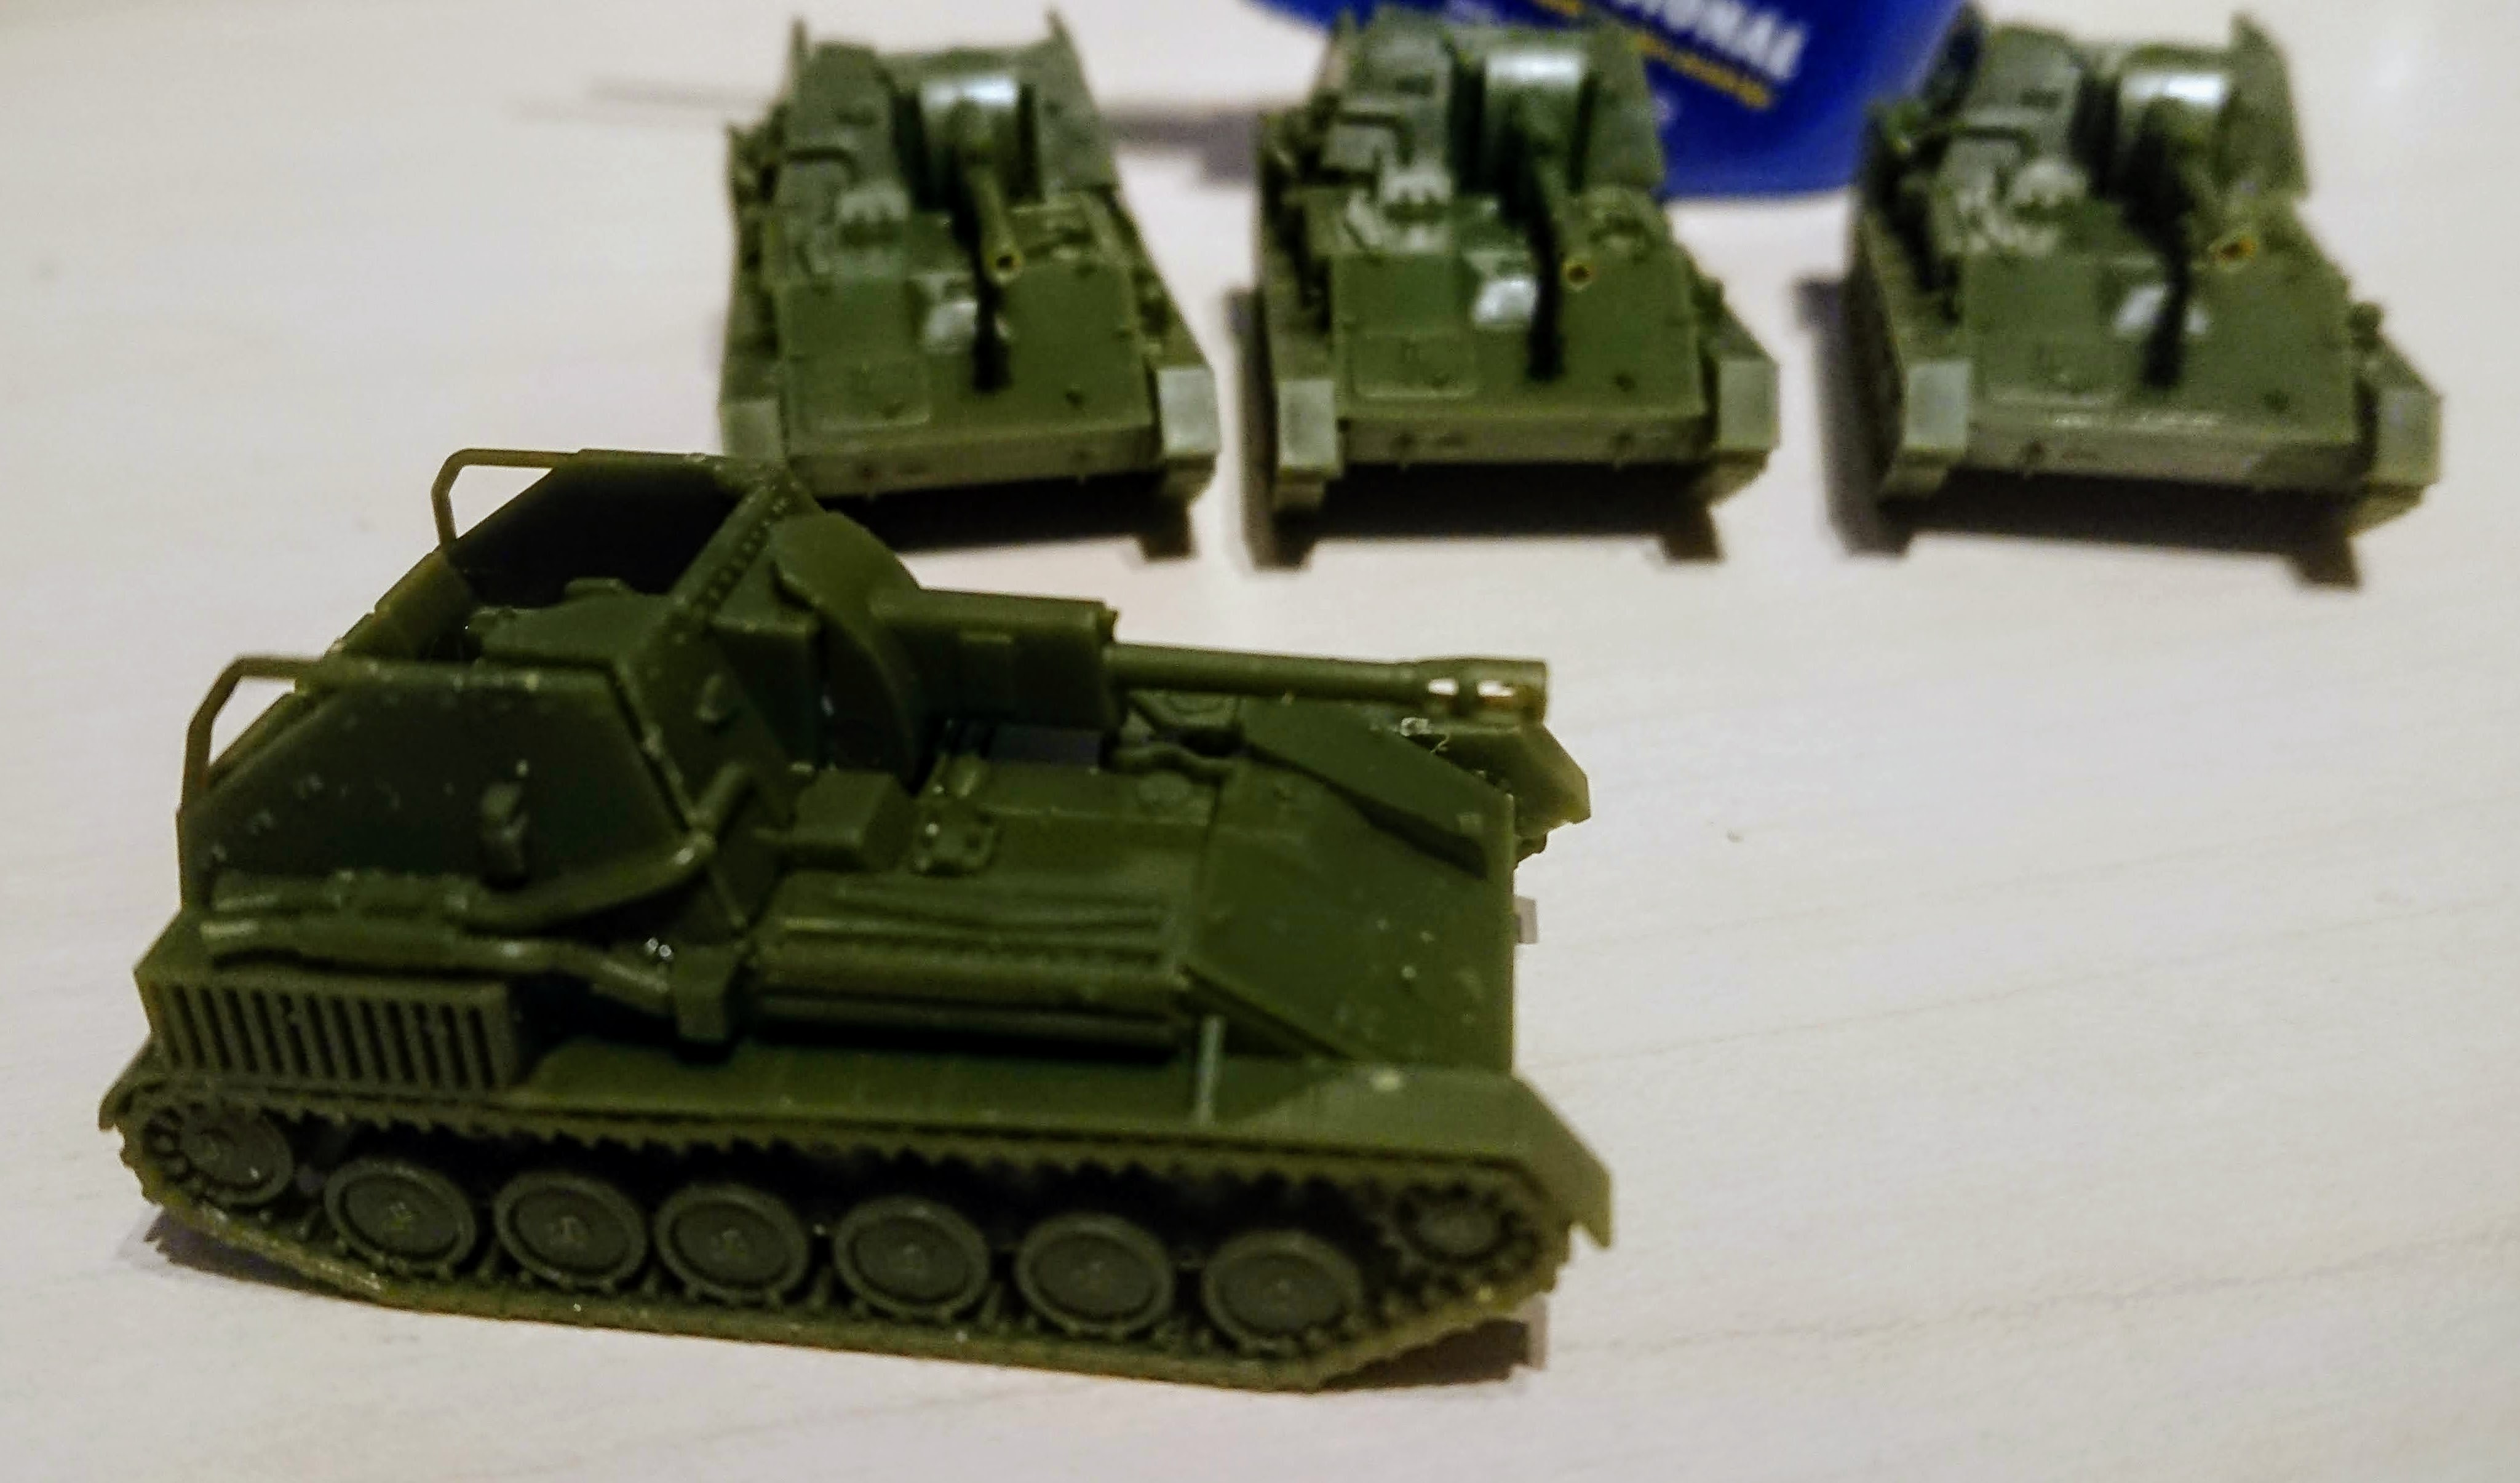
Assembly tips :
- make sure you do clean those parts, because the parts have a very tight fit
- follow the instructions
- if you do be warned that the top armour is tricky to get into the correct position. By angling it slightly it will be that bit easier. This is also the part where you discover if you cleaned enough …
- the exhaust only needs a touch of glue at the spot it exits the hull
- if you want to add a crew then don’t glue the gun into position on the hull and check to see if everything fits before glueing anything
And yes … I did drill those barrels, because I thought it would look good.
I probably will need to hide my crimes with paint to make it look better.
Bah bah green sheep ?
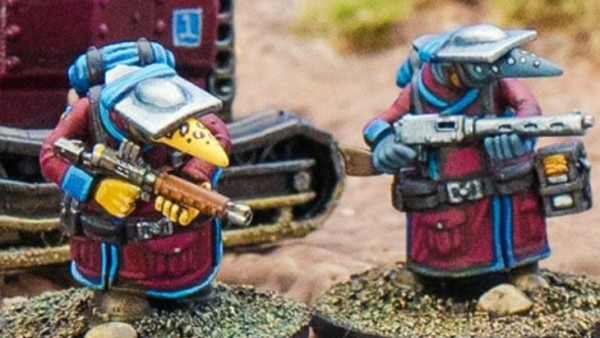
BA-64 Armoured Car
First squad of tiny toy armoured cars.
Can’t call them cute things tanks, can we ?
Official instructions :
https://www.flamesofwar.com/hobby.aspx?art_id=7118
Real easy to build. Getting them of the sprue was the easy part.
Not bending or breaking the tiny machinegun was the hardest.
Assembly
- glue the chassis together
- add the top of the chassis
- glue the spare wheel to the back
- glue your weapon of choice (or the one that didn’t break ;)) to the turret
- find a tiny commander and glue him in the turret if you want to
… - profit ?
Tiny build tips
- the hole for the turret pin is very tight.
Use a small drill bit or sharp knife to make it a bit bigger so your turret can turn a bit better. Not too big though.
You may need to do it again after priming as well, but doing it now allows for dry fitting of turret. - keeping the commander separate may make it easier to paint him
List building thoughts
Tiny, fast and fragile scouts.
If you’ve got artillery then fielding one of them as an observation post is an option. At 1 point it might just be the thing to add.
You do need to buy an extra set if you’re going that route as well as fielding a standard ,because you only get 3 and the smallest unit size is 3 …
‘Hiding’ the observer inside the scout squad might be a good idea, but I’m sure your opponent will notice.
What's in the box ?
Official link :
https://www.flamesofwar.com/hobby.aspx?art_id=7064
I’ll let someone else do the show and tell :
Anyways … lots of plastic to build.
(or maybe link the OTT unboxings in the future … ;))
Reference materials
Books
Books to read and use as reference, because physical references can be very handy.
- German and Russian Tank Models 1939-45
Author : Mario Eens
Publisher : Casemate Publishers
ISBN : 9781612007359
First edition March 2019
This small book shows 4 scale model projects in extreme detail.
Not immediately useful in wargame scales, but as an technique ideas and execution reference it is pretty neat.
- The Tank Book
The Definitive Visual History of Armoured Vehicles
Author : DK
Publisher : Dorling Kingsley Ltd
ISBN : 9780241250310
First edition April 2017
Lots of pictures of tanks and armored vehicles from pre-world war 1 up to modern stuff with a chosen few showing extra details like interiors.
Great generic reference for all things tank.
I kind of wished the two-page images were posters, because the binding of the book kind of hides some of the details.
Bovington Tank museum has been involved with this book, so I guess this is as close as you can get without visiting.
- Operation Bagration
The destruction of German Army group Center, 1944
Author : Ian Baxter
Publisher : Casemate Publishers
ISBN 9781612009230
First edition October 2020
This is a small booklet, 126 pages. Lots of information and pictures (black&white). A few coloured paintings of various troops in uniform.
And finally the order of battle for both army group center (2 pages) and the Soviets (5 pages listing just the divisions). Not a lot of detail, but enough info if you want to do more research.
Videos
Painting tutorials and related reference videos.
Initial resources
With Battlefront releasing a new Soviet armybook (Soviet : Bagration), unit cards, command cards as well as a big box of plastic goodies that’s where I will start.
- Soviet: Bagration
- Soviet: Bagration Unit cards
- Soviet: Bagration Command cards
- Soviet Late war heavy assault group army deal
Time to think about what to build and what to add … or maybe just build what is in the box and build a list later ?
We’ll see …
All things Soviet in Flames of War :
Soviet camouflage and markings
Soviets tanks are green or white … right ?
Well, let’s do a little more research first.
https://www.beastsofwar.com/forums/topic/soviet-tank-colours-and-markings/
Links discussed :
http://www.wio.ru/tank/oz/oz-en.htm
https://www.o5m6.de/redarmy/camouflage.php
Summary so far :
Yes, Green was the standard. White was winter camouflage which was applied by the crews themselves with whatever was handy. As such don’t expect any pure white perfect patterns. It will be interesting to see if this can be replicated at scale.
What, how and why ?
At first WW 2 was these things :
(1) May ’40 : the invasion by the (evil) Germans
(2) Battle of Britain
(3) D-Day
That kind of changed when a flight simulator called IL2 Sturmovik was released.
Instead of Spitfires and P51’s there were Soviet aircraft of all shapes and sizes, including the IL2 Sturmovik.
It was effectively my introduction to the eastern front of WW2.
So when I discovered Flames of War … Soviets it was.
Of course it helps that their camouflage is either all green or white and that they don’t appear to have any complex marking scheme for their units like the British 😉
Anyways … enough talk.
Links for inspiration first :
https://il2sturmovik.com/about/
And a great series that shows WW2 from the Soviet perspective :