


ECW – resurrection after 40 years


Recommendations: 640
About the Project
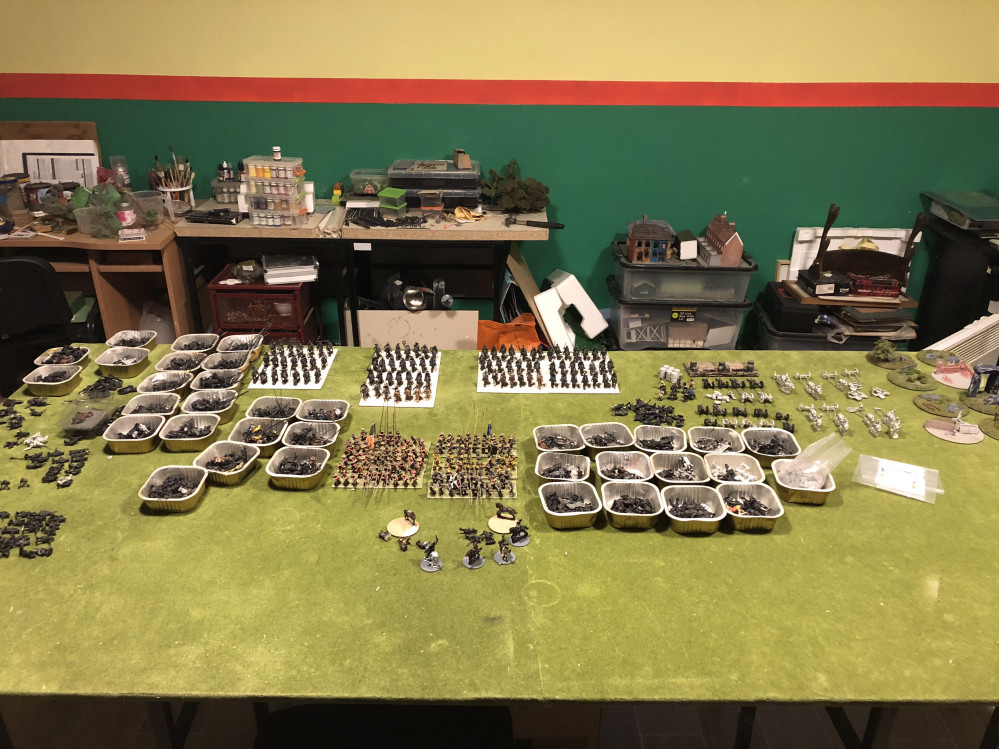
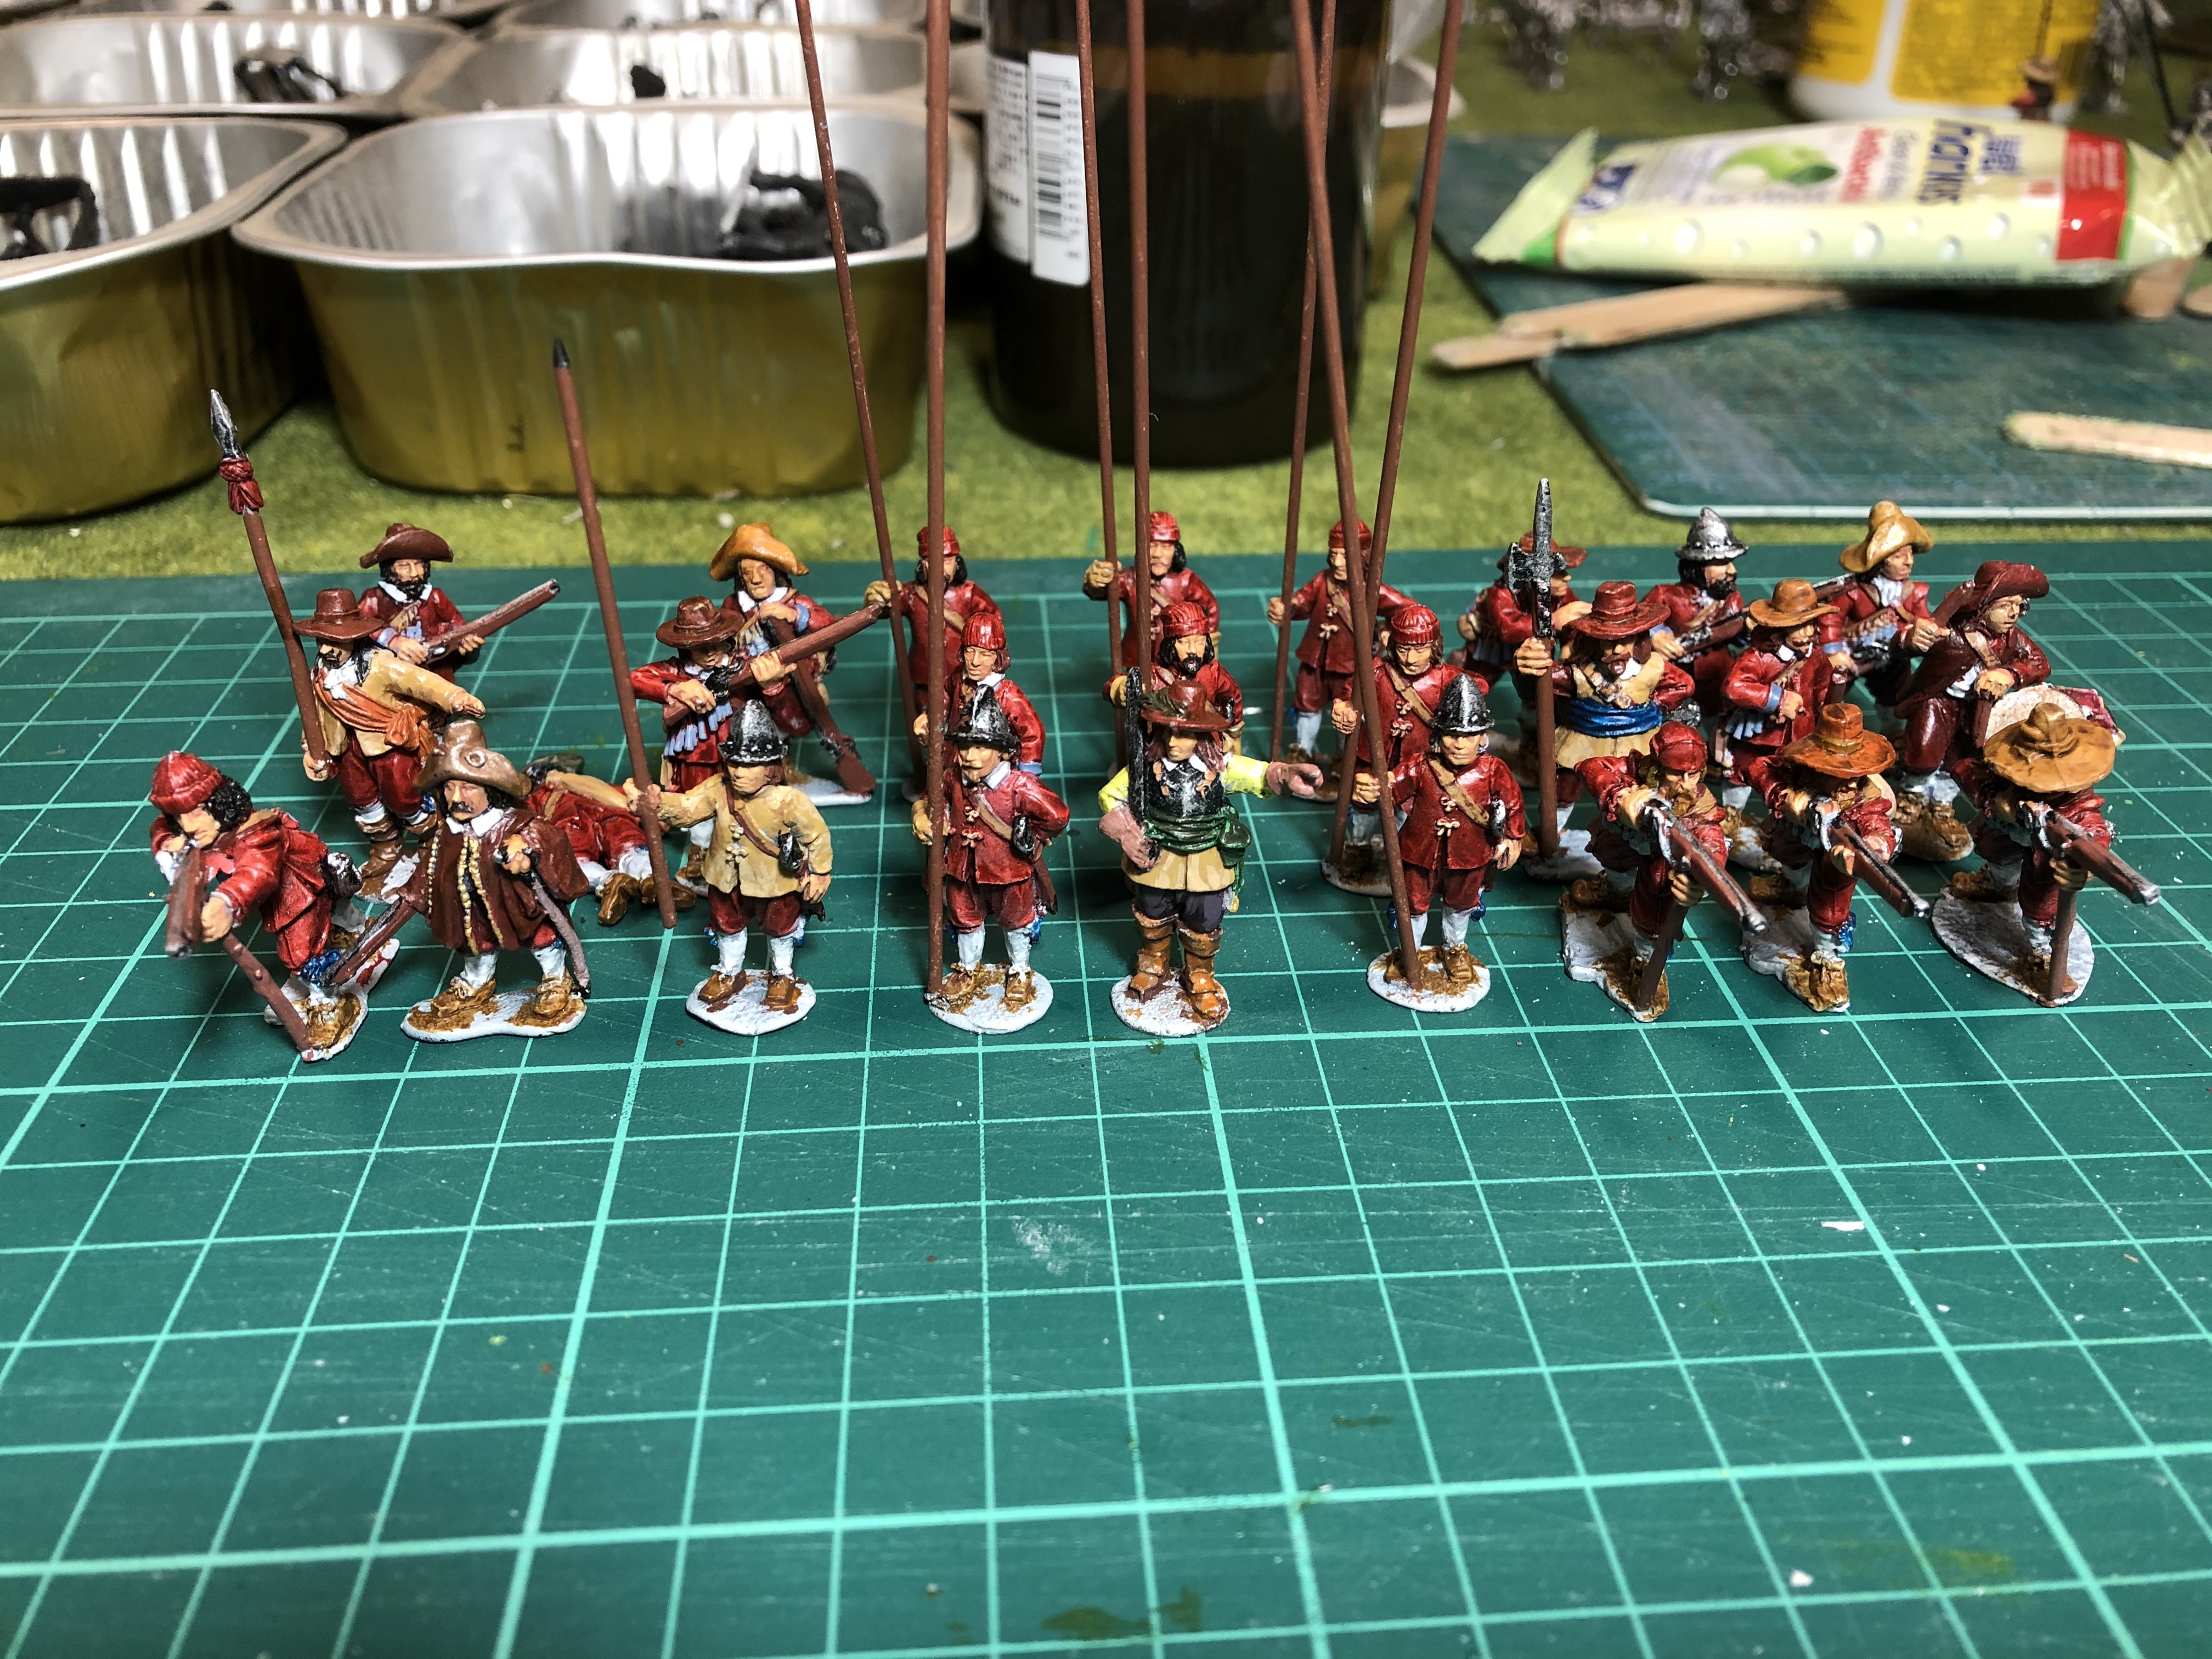
Shortly after Wargames Foundry established itself back in the 1980s, I purchased a sample pack of their ECW figures and I loved them. So, I thought, why not build two armies (I'm a solo player) and set about looking at rules etc. 40 years later in the basement of our newly built home (outwith the UK) my 10 year old says, "Dad can we play with these", pointing to the shelves of partially painted, and based minies, with the remainder still in packs. So I thought, with the OTT Spring clean challenge, maybe I'll get closer to finishing (actually, it's more like starting properly) my ECW project! This is the task: to turn the mountain of lead into something playable. What you can see in the header picture are the six paint/based foot regiments, and the variously based cavalry (for play testing) and the little tin boxes of all the other minis! Our new home has a basement, part of which will be my War-game room. Still need shelving and other assorted finalizing, but it will be where I hope I will spend a lot of time with my boy as he also develops an interest in the hobby. So, the next step is to determine my plan of campaign and what to do first!
Related Genre: Historical
Related Contest: Spring Clean Hobby Challenge (Old)
This Project is Completed
ECW - Resurrection after 40 years
So, although they say the best battle plans are redundant after the first shot is fired, at least some kind of plan would be a good thing. So here goes:
The rules I play are based around Principles of War, which are a base movement game, without individual figure removal. The base is 18cm wide, which is 3 x the oft used 6 cm square bases seen in many games. I will not change this during this re-boot. Also it is flexible enough for me as a solo player, and also simple enough for my son. (No lengthy figure movement phase – he wants to get into the action immediately!) Also, it means I can adapt the excellent “Victory without Quarter” rules to make a simplified version for our games.
Both options require some form of markers – Casualties, Brigade commanders, and re-load – so I’ll work on these first. Then I’ll look to paint and base up 3/4 more Foot regiments, before tackling the numerous cavalry bases and the artillery.
So, in the next few days I hope to have something to show you. In passing, I picked up some Contrast paints when I was in France recently (for a different project) and will try these out for the first time on the Foot regiments first. I’ll stick to my simple 3-step paint job for the markers for now. Wish me luck
ECW - Resurrection after 40 years
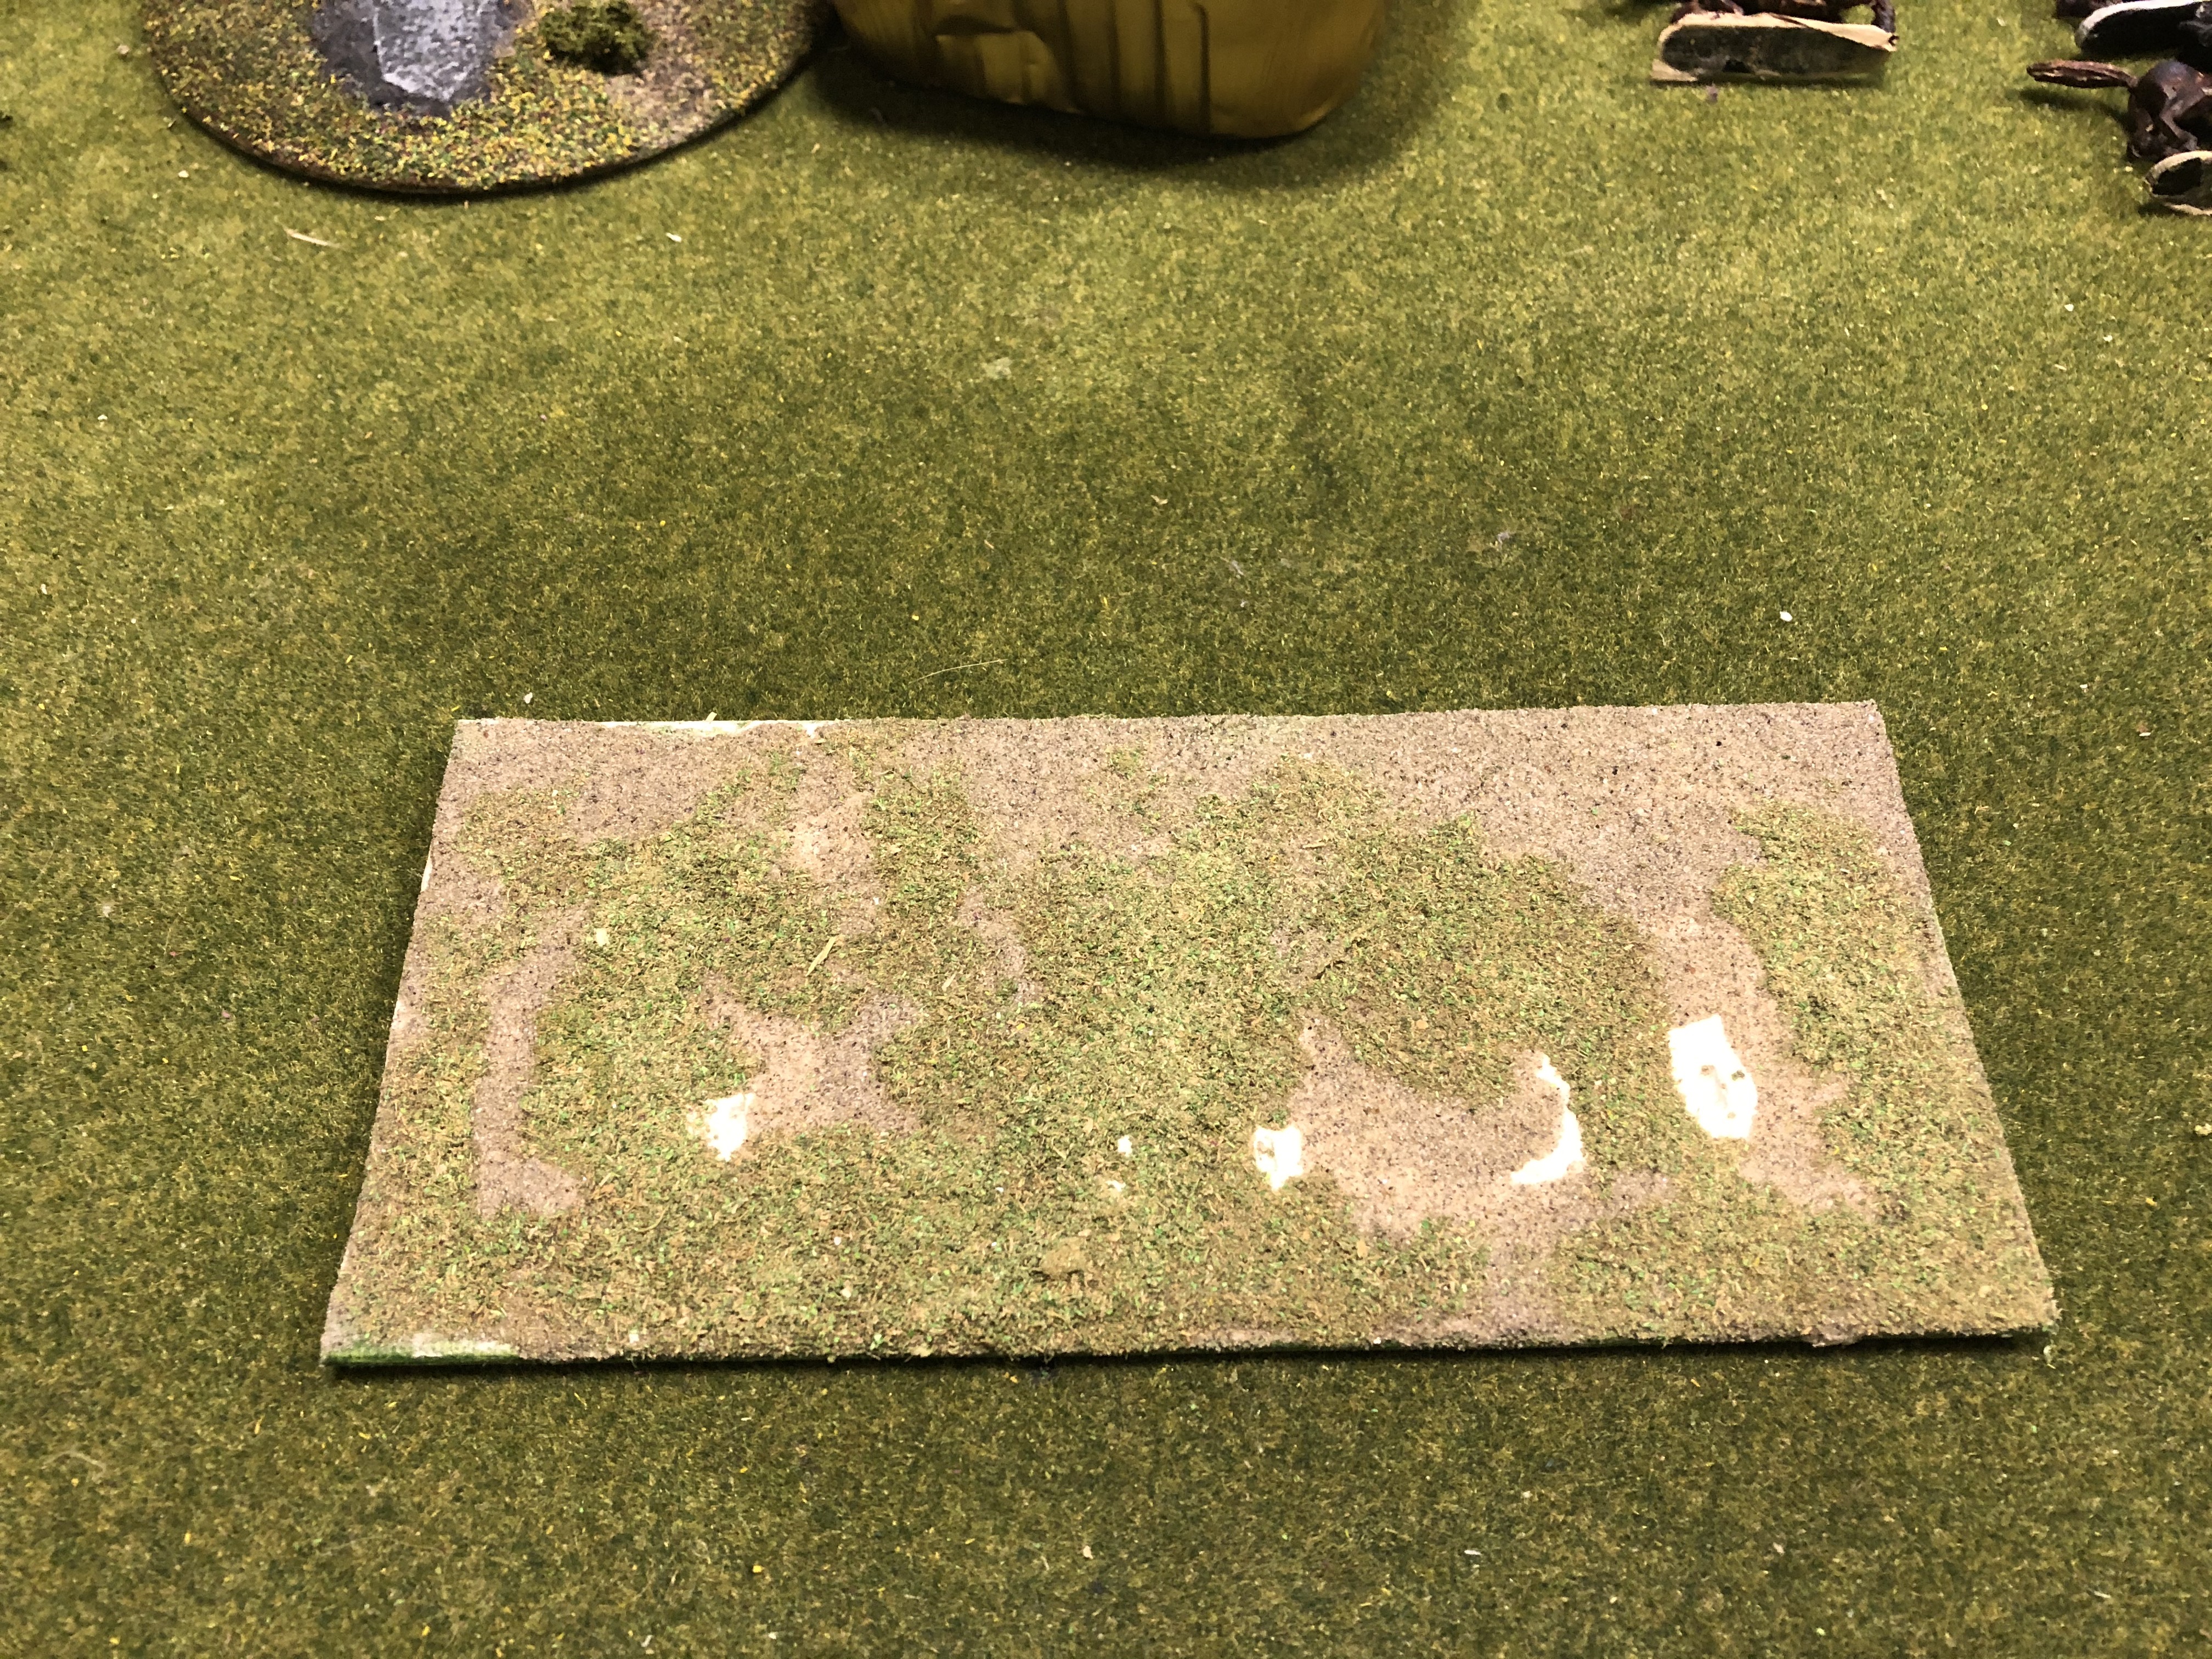
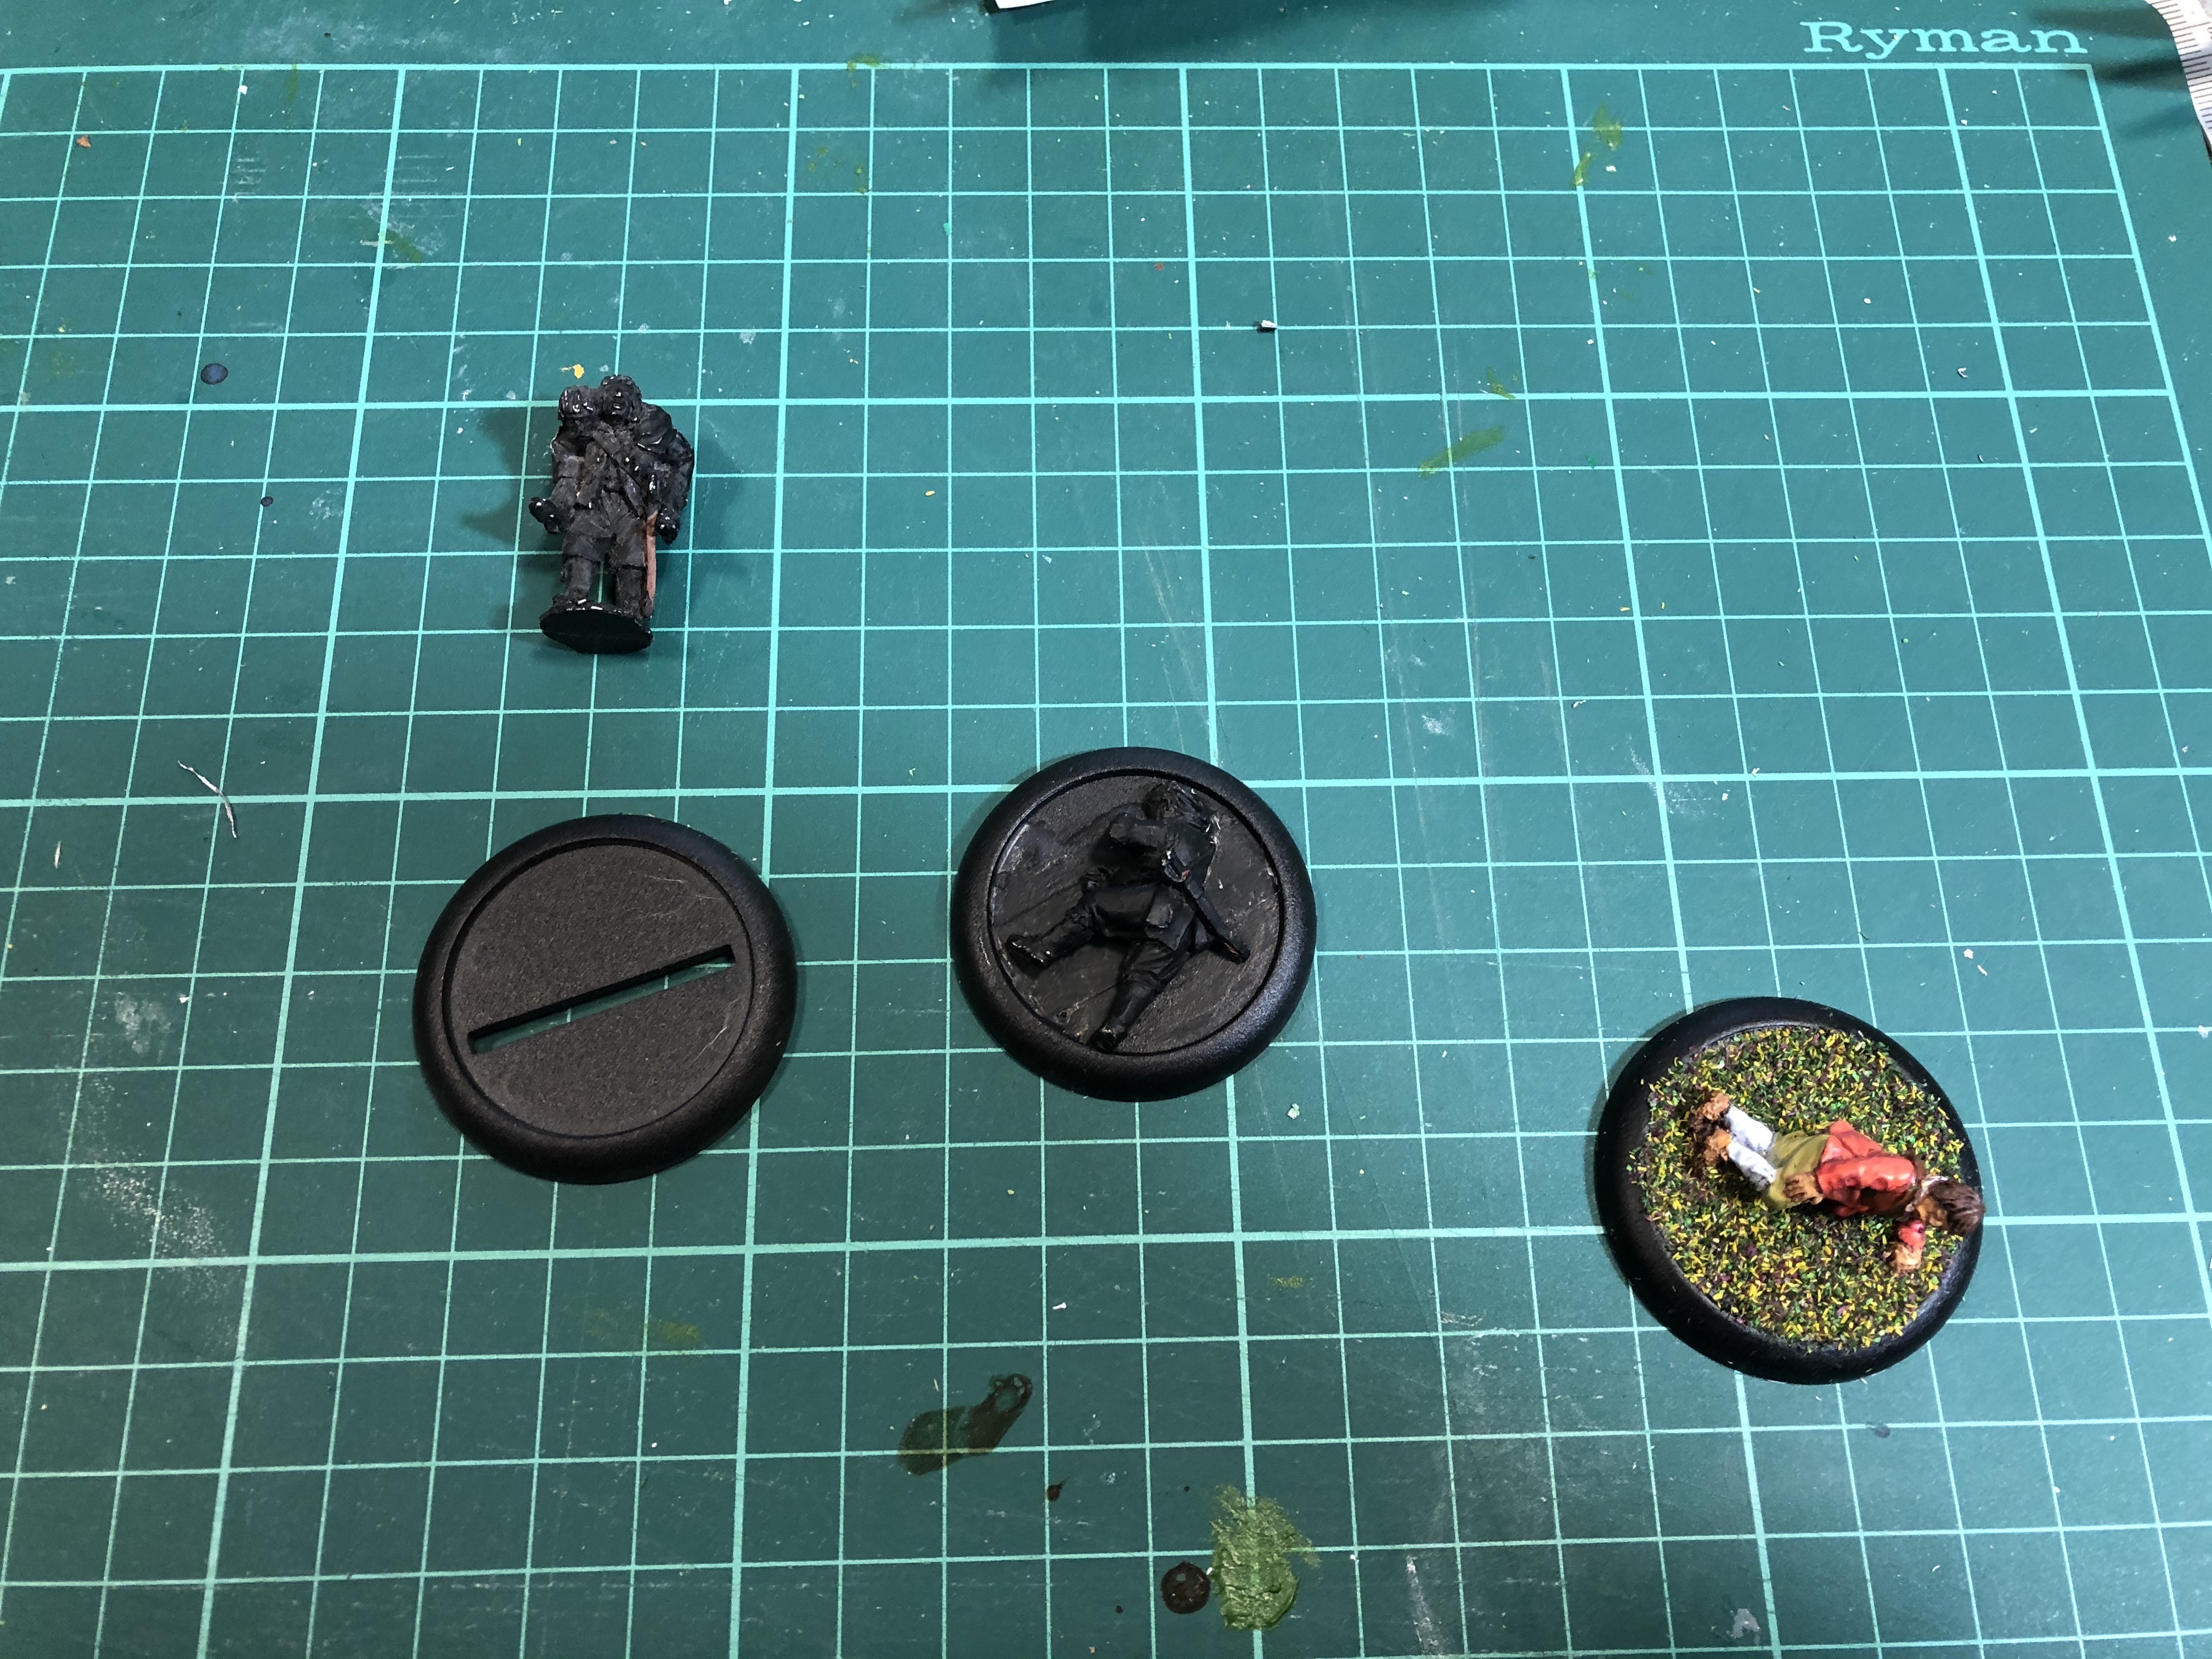 Markers: These will follow a simple process of fixing the individual figure to a base, painting it, and adding flock or similar as in the picture.
I am living in the Balkans right now and there are no “proper” gaming shops here. So, I’ll have to make do with what I have collected during visits to the UK or Europe in the last few years. The bases I am using for the casualty markers were purchased some time ago for what, I have no idea anymore! But they’ll come in useful now.
Once the figure is painted, I make the base with diluted pva and water – about 50/50, and add very fine sand. Once dry I then add the flock, which is a Woodland Scenics pack – I think Summer Meadow, or similar title. I am now looking at making my own flock using fine sawdust and acrylic paints.
A question I have yet to answer is whether to leave the bases black, or to colour them in some way. I am considering either green to match the war-game board (covered with the old Citadel mats), or to go Red as a completely obvious marker. I’ll try some colors and post them. Comments welcome.
Casualty Markers
 Which colour for the base?
Here are a few of the casualty markers with the bases painted. They are on a piece of the matting that the war-game table is covered with so you get the proper idea. As these are supposed to be obvious markers, I am leaning towards the RED base. But they will need a couple more coats of paint for them to really stand out. I like the Green as well as it’s more subtle but still makes it clear there is a marker in play. The plain Black base, I don’t like. So, some thinking in order as I complete the 12 bases I want for the game.
Casualty Markers finished
 Red for death!
So, in the end I want for the red base. Here are the twelve markers (hope that’s enough for now) on a sample of the Citadel mat. I think they stand out well.
Next up will be the re-load markers which will follow a similar process. More later
On to the Reload markers
 Same approach, fix to base and flocking
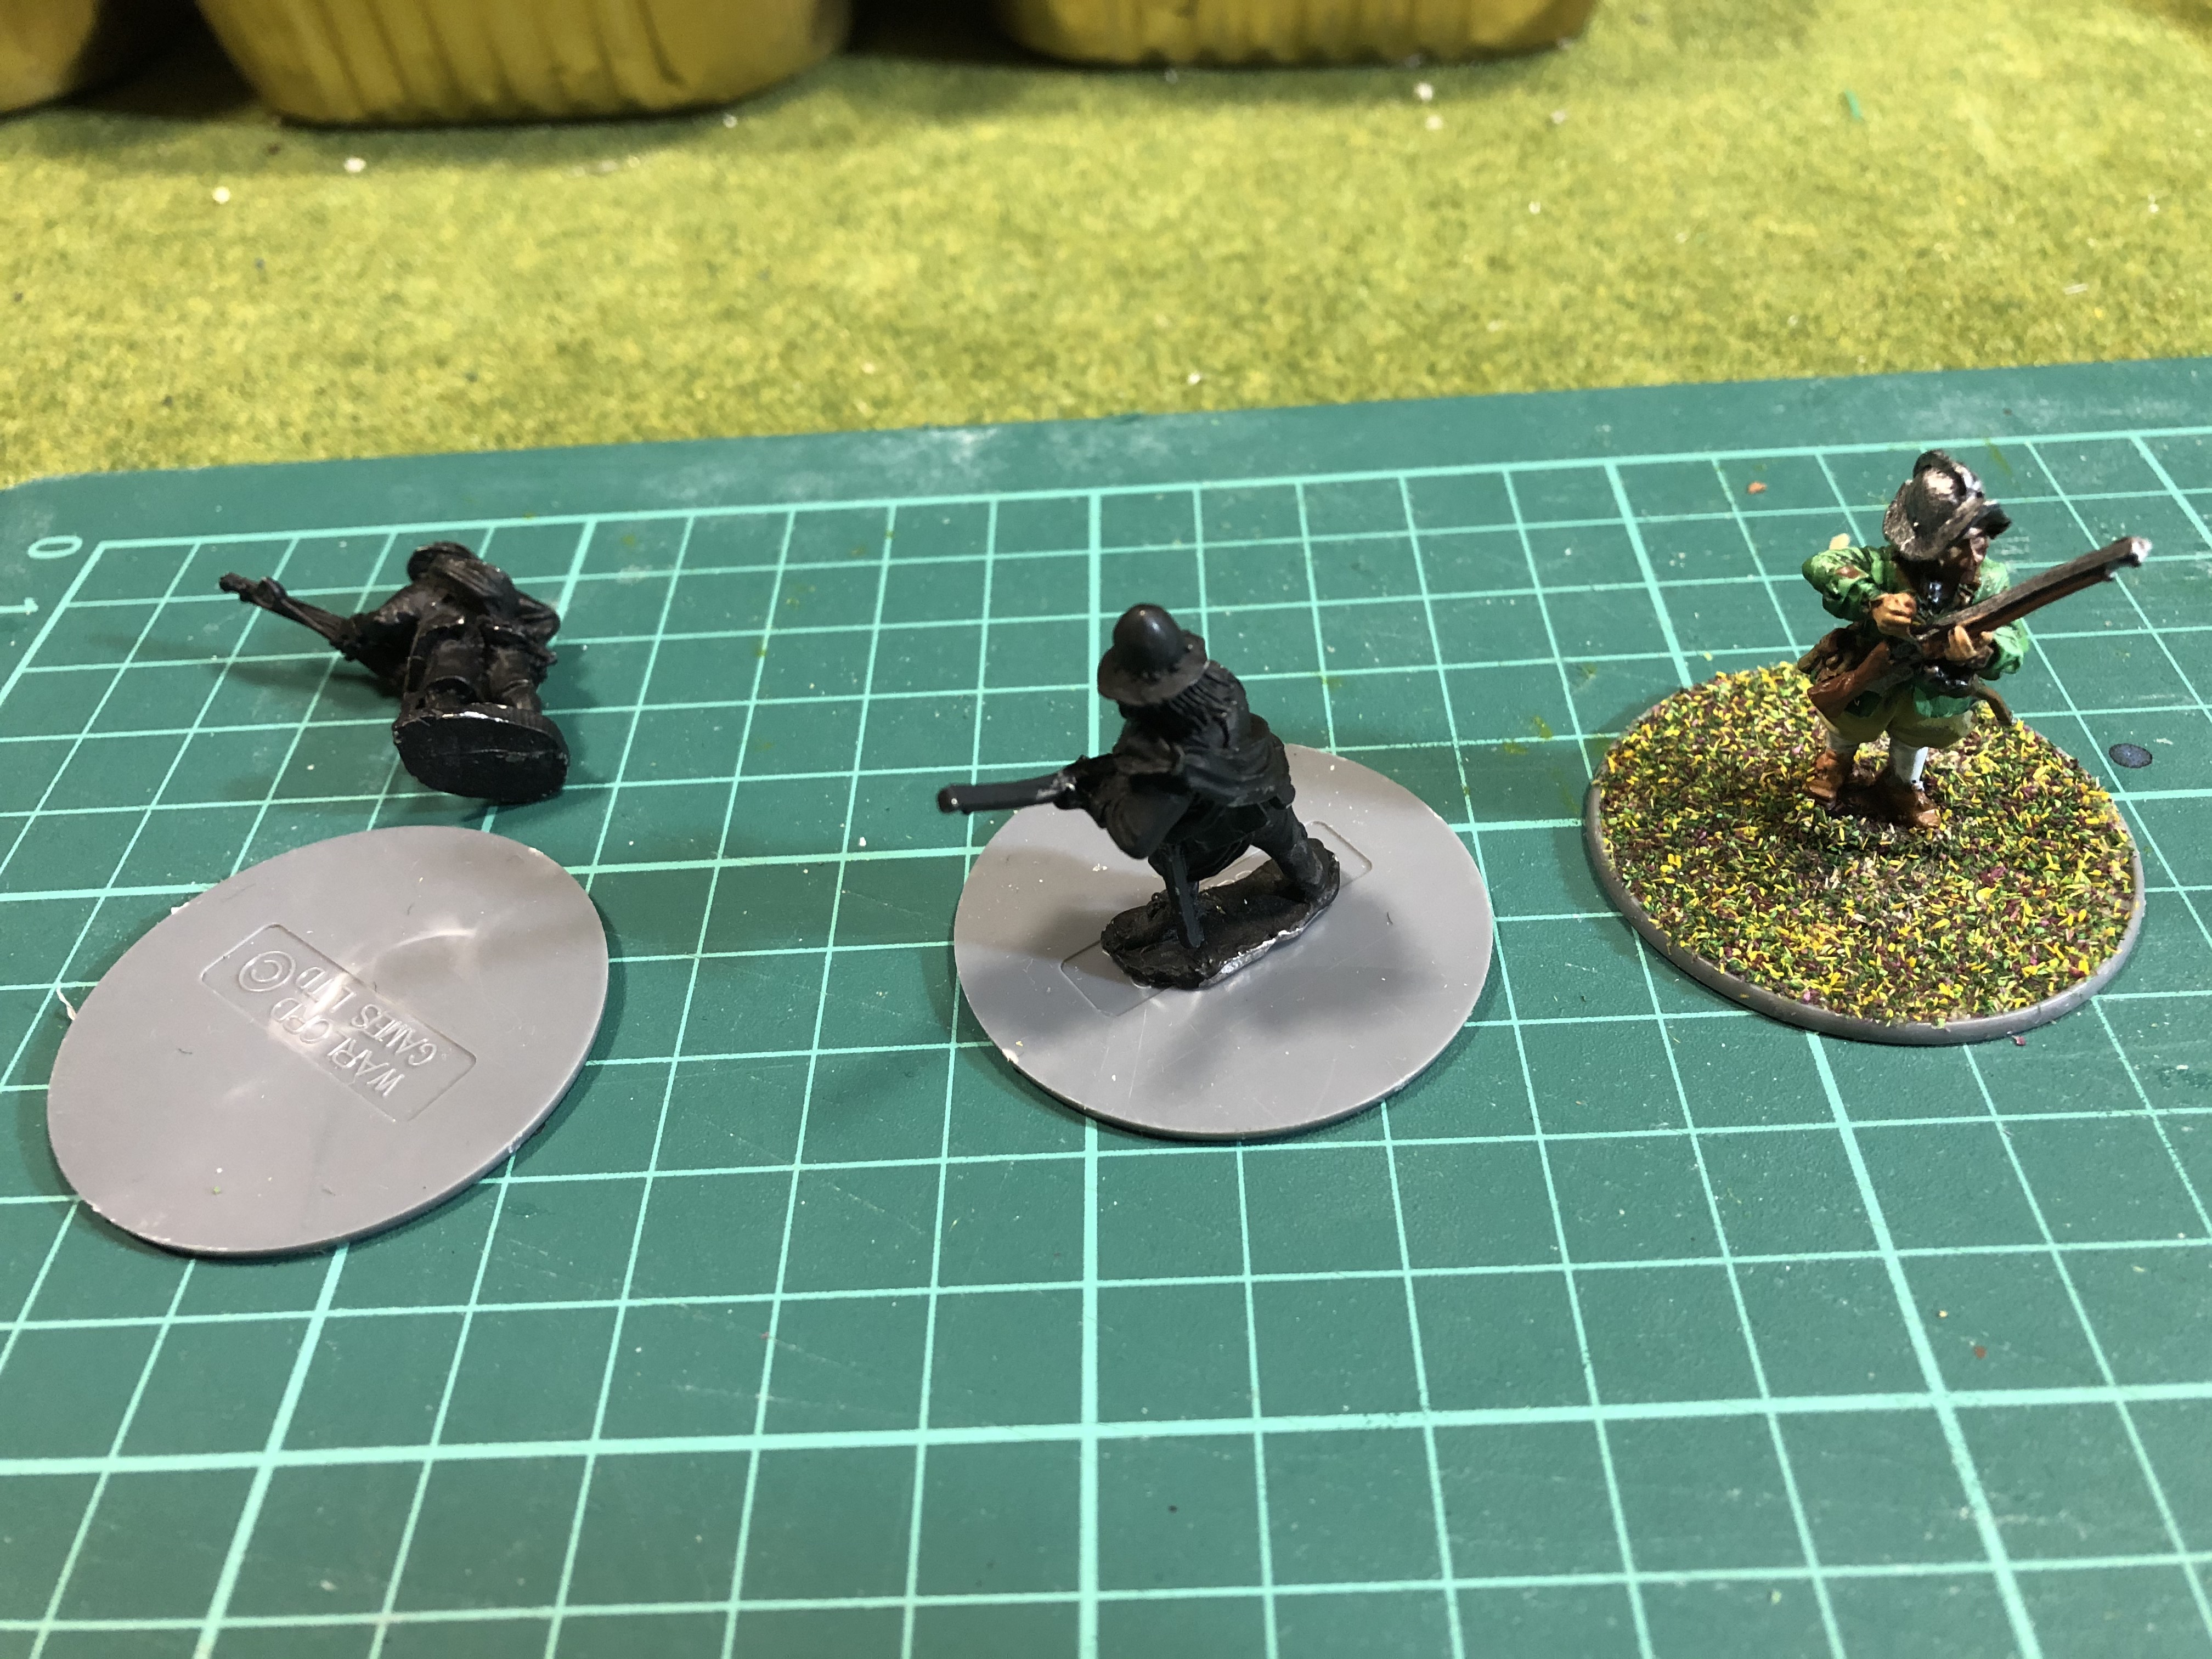
With the casualty markers done, I’ve moved on to the Reload markers. I’ll adopt the same approach, although I have no more of the bigger bases, so am using some Warlord bases which I got for a reason I can’t recall now! (This seems to be a recurring issue. “Short-term memory loss!).
The bases have a very small “lip” on them, which is not clear in the picture, but basically, the reloading figure is simply glues to the base with super glue gel, and after its cured, I add the ground cover of 50/50 pva/water and fine sand. Once this is dry (I have left this one overnight), I add the flock. And that’s it!
So, I’m looking at making 10-12, which should be enough. The rule set I’m adapting gives a +1 volley effect if the Regiment has not fired, it then gets a “reload” marker and loses this bonus until it Halts for a turn, or a “reload” card is turned up. The rules are card based – as is now obvious! Pictures will be posted once the rest of the markers are done. If anyone is interested I’ll post my adapted rules.
A short digression - Contrast Paints
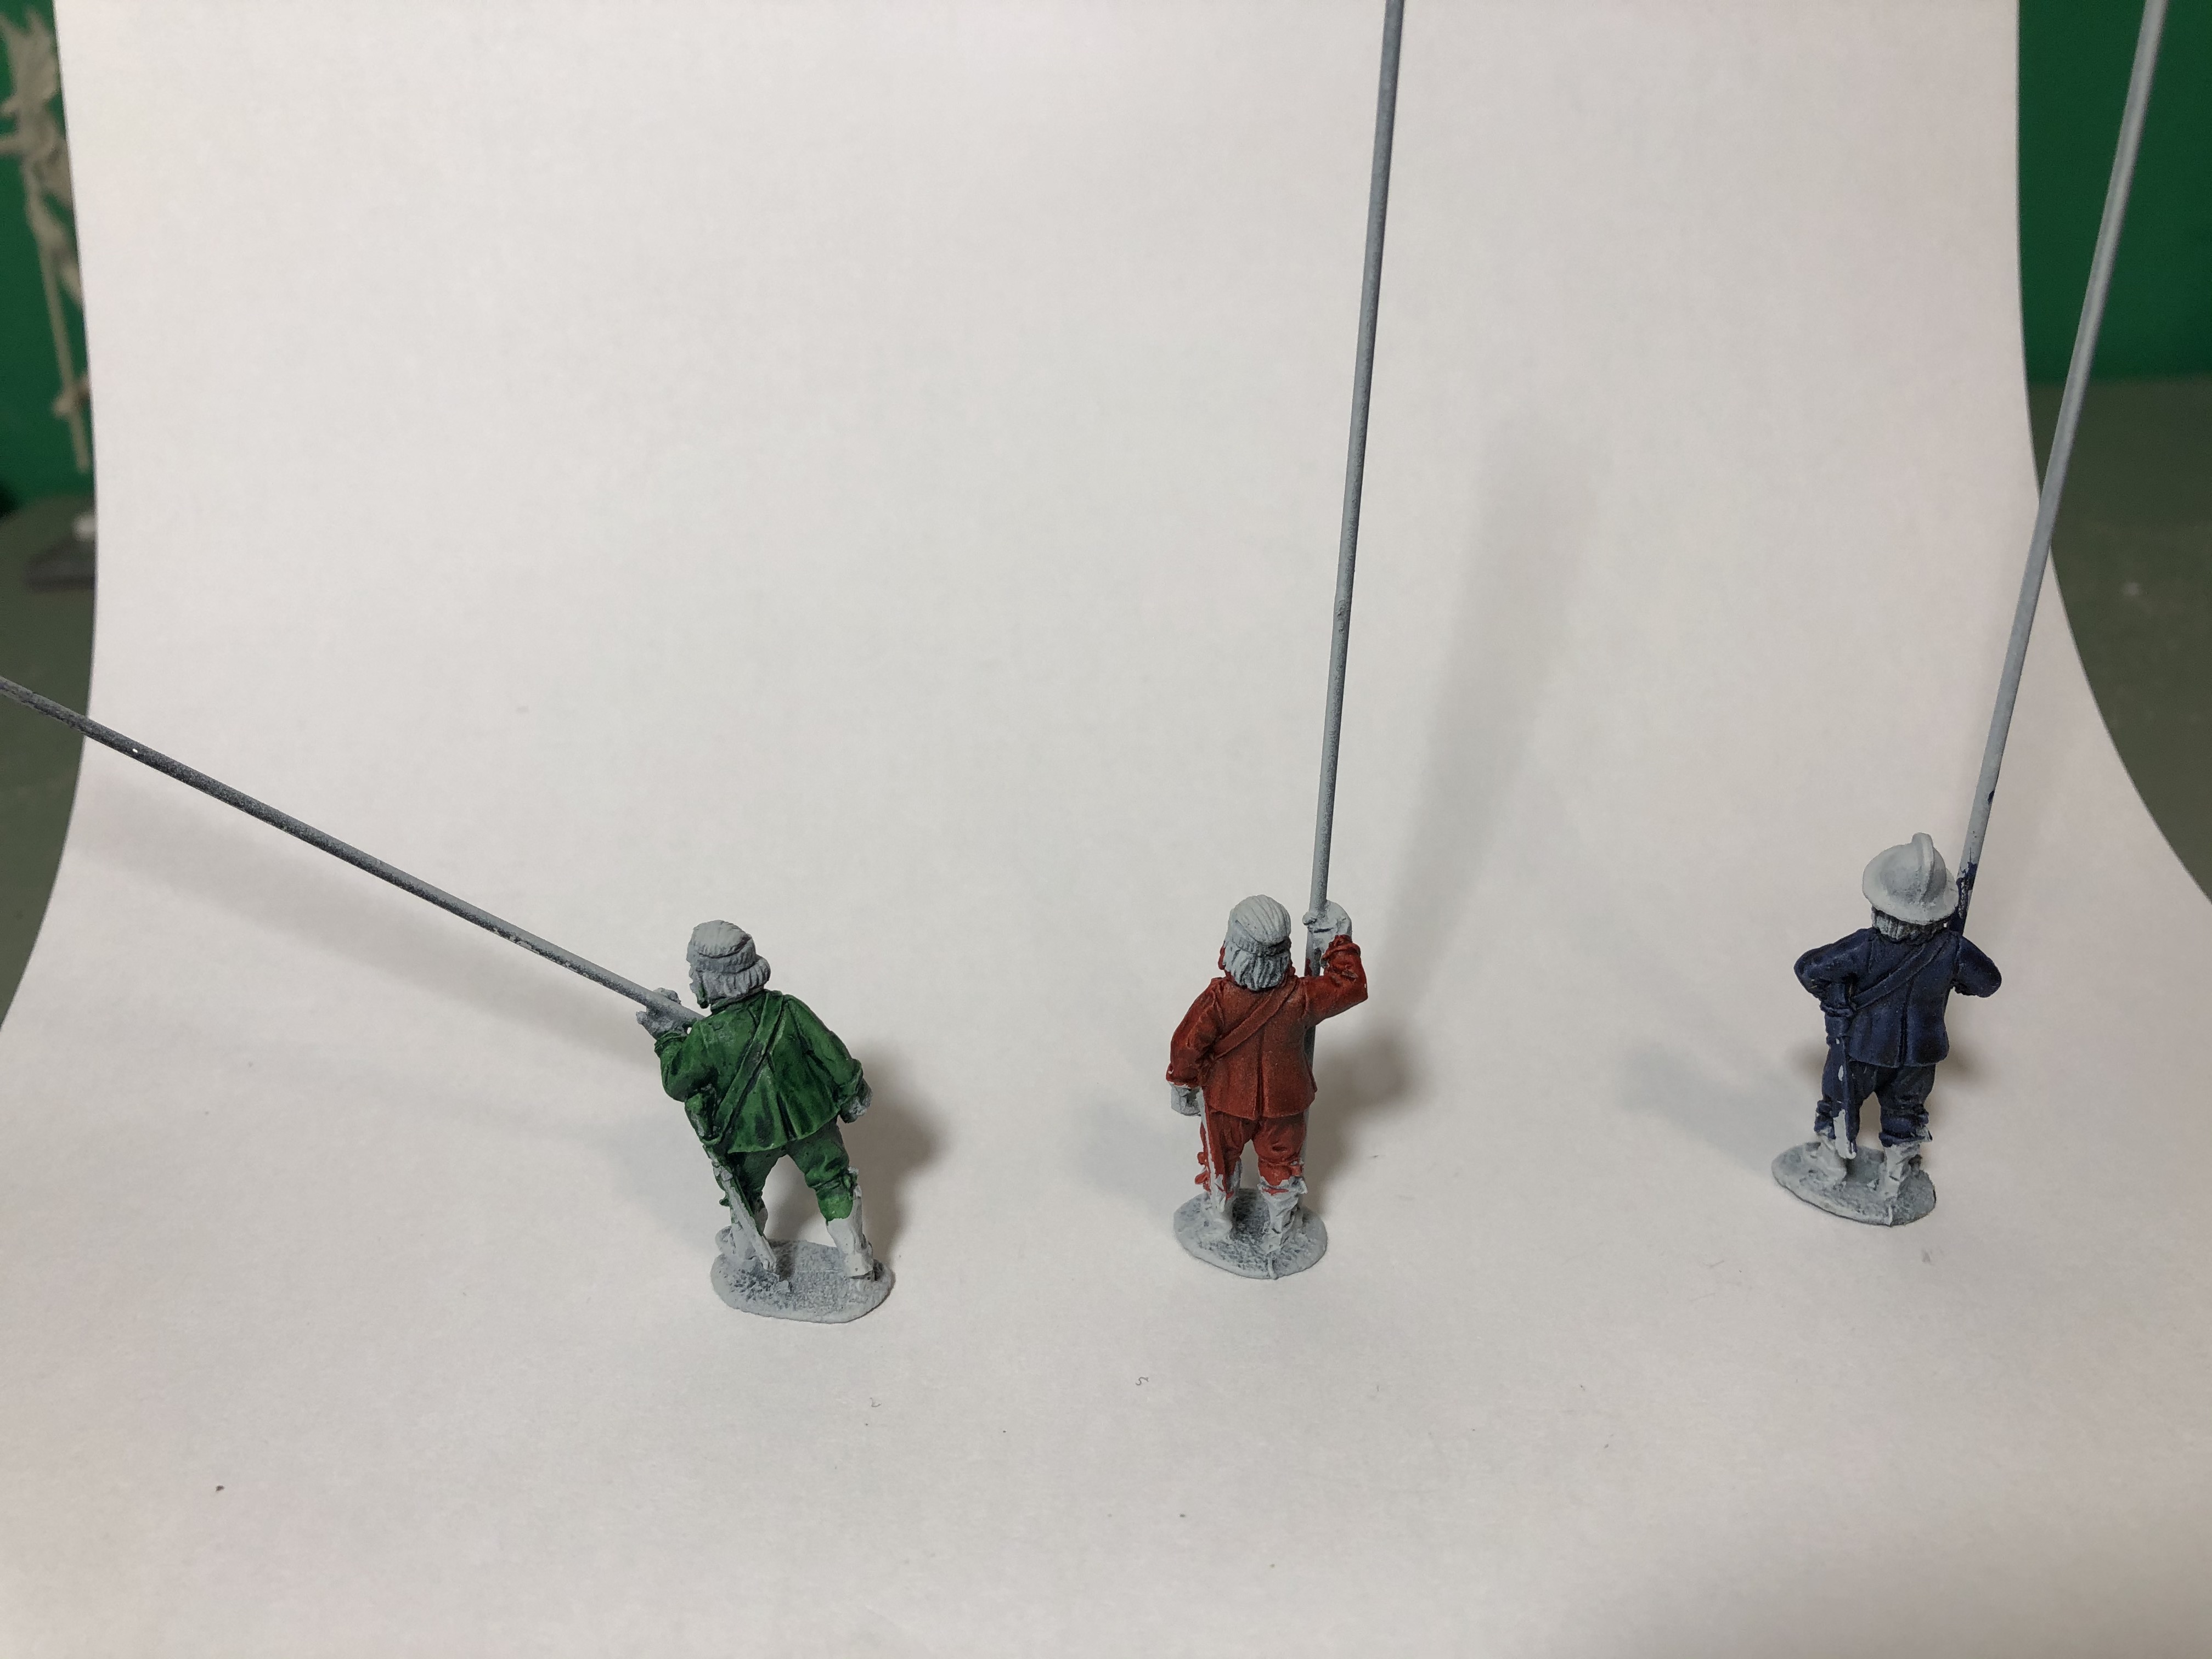
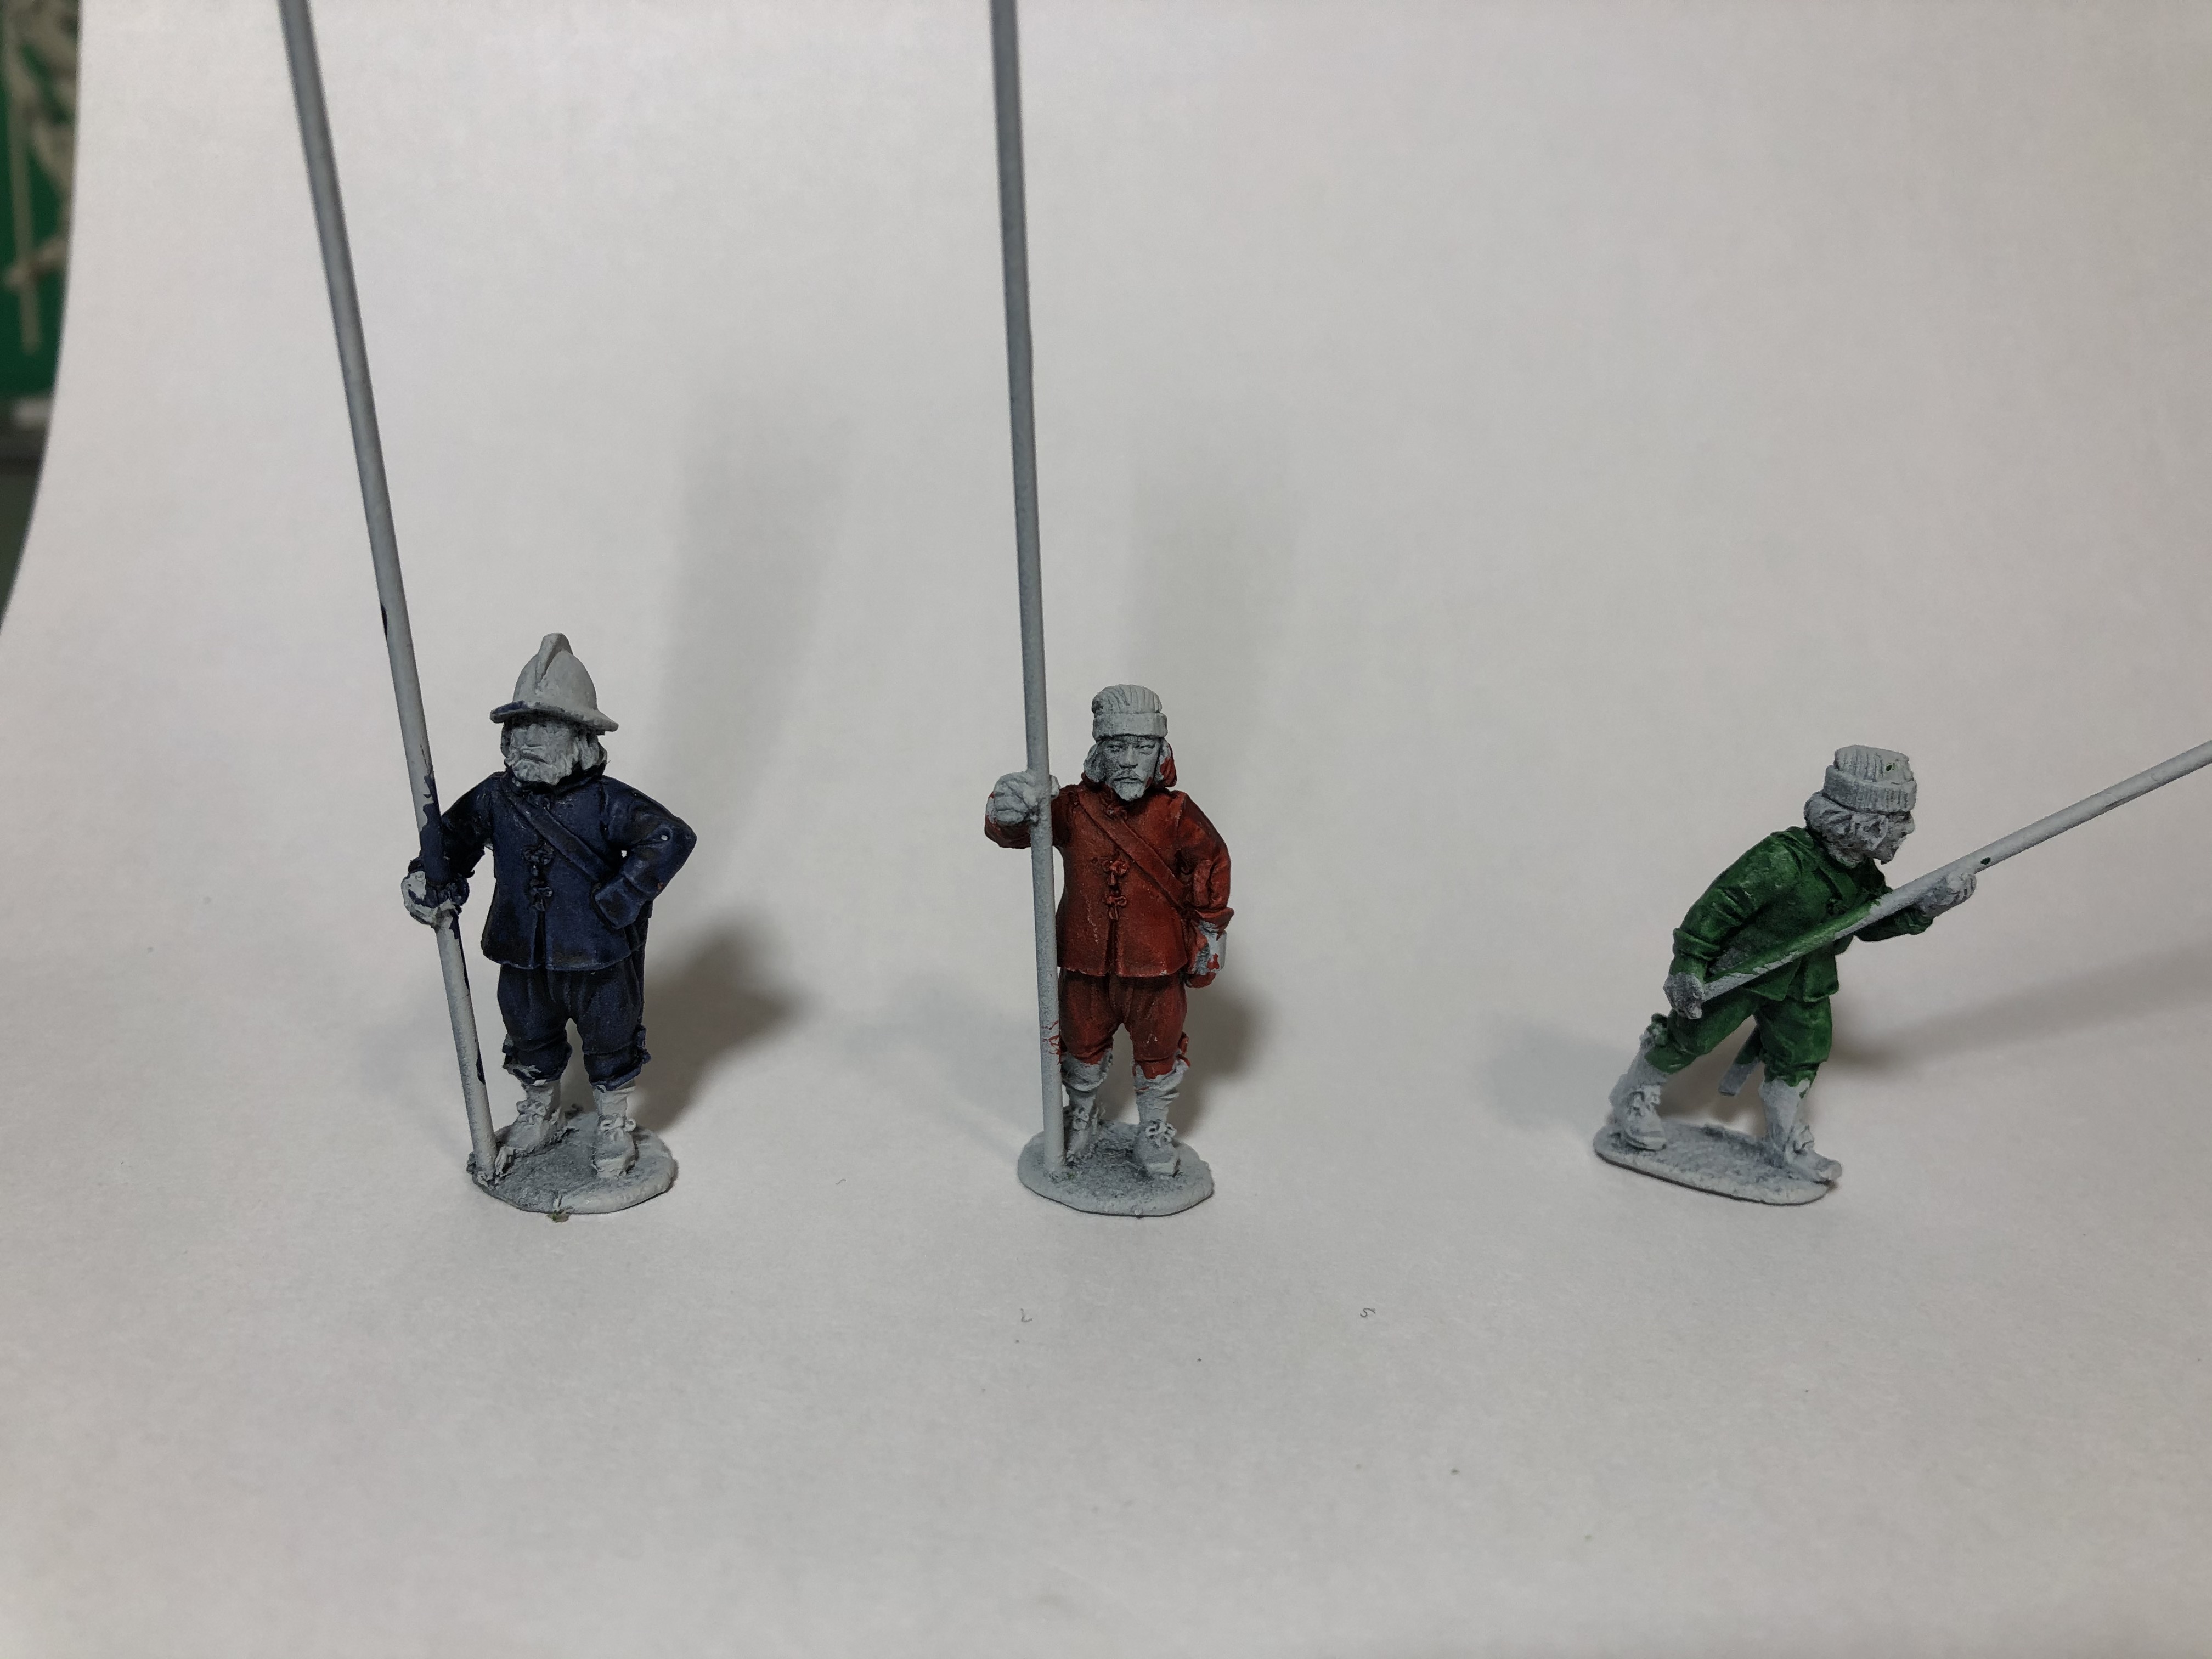
I picked up some Contrast paints for another project when I was in France last year, but have not used them up till now. I tried the Red, Blue, and Green as a “Tester”, and maybe I need more practice. the Blue didn’t seem to “contrast” very much. Perhaps I used too little, or too much? If anyone has some experience with using them, I’d be pleased to hear from you.
Some basing information
I tried to post a larger update, but it seems my internet access is not strong enough for the upload, so I’ll split this into a couple of posts.
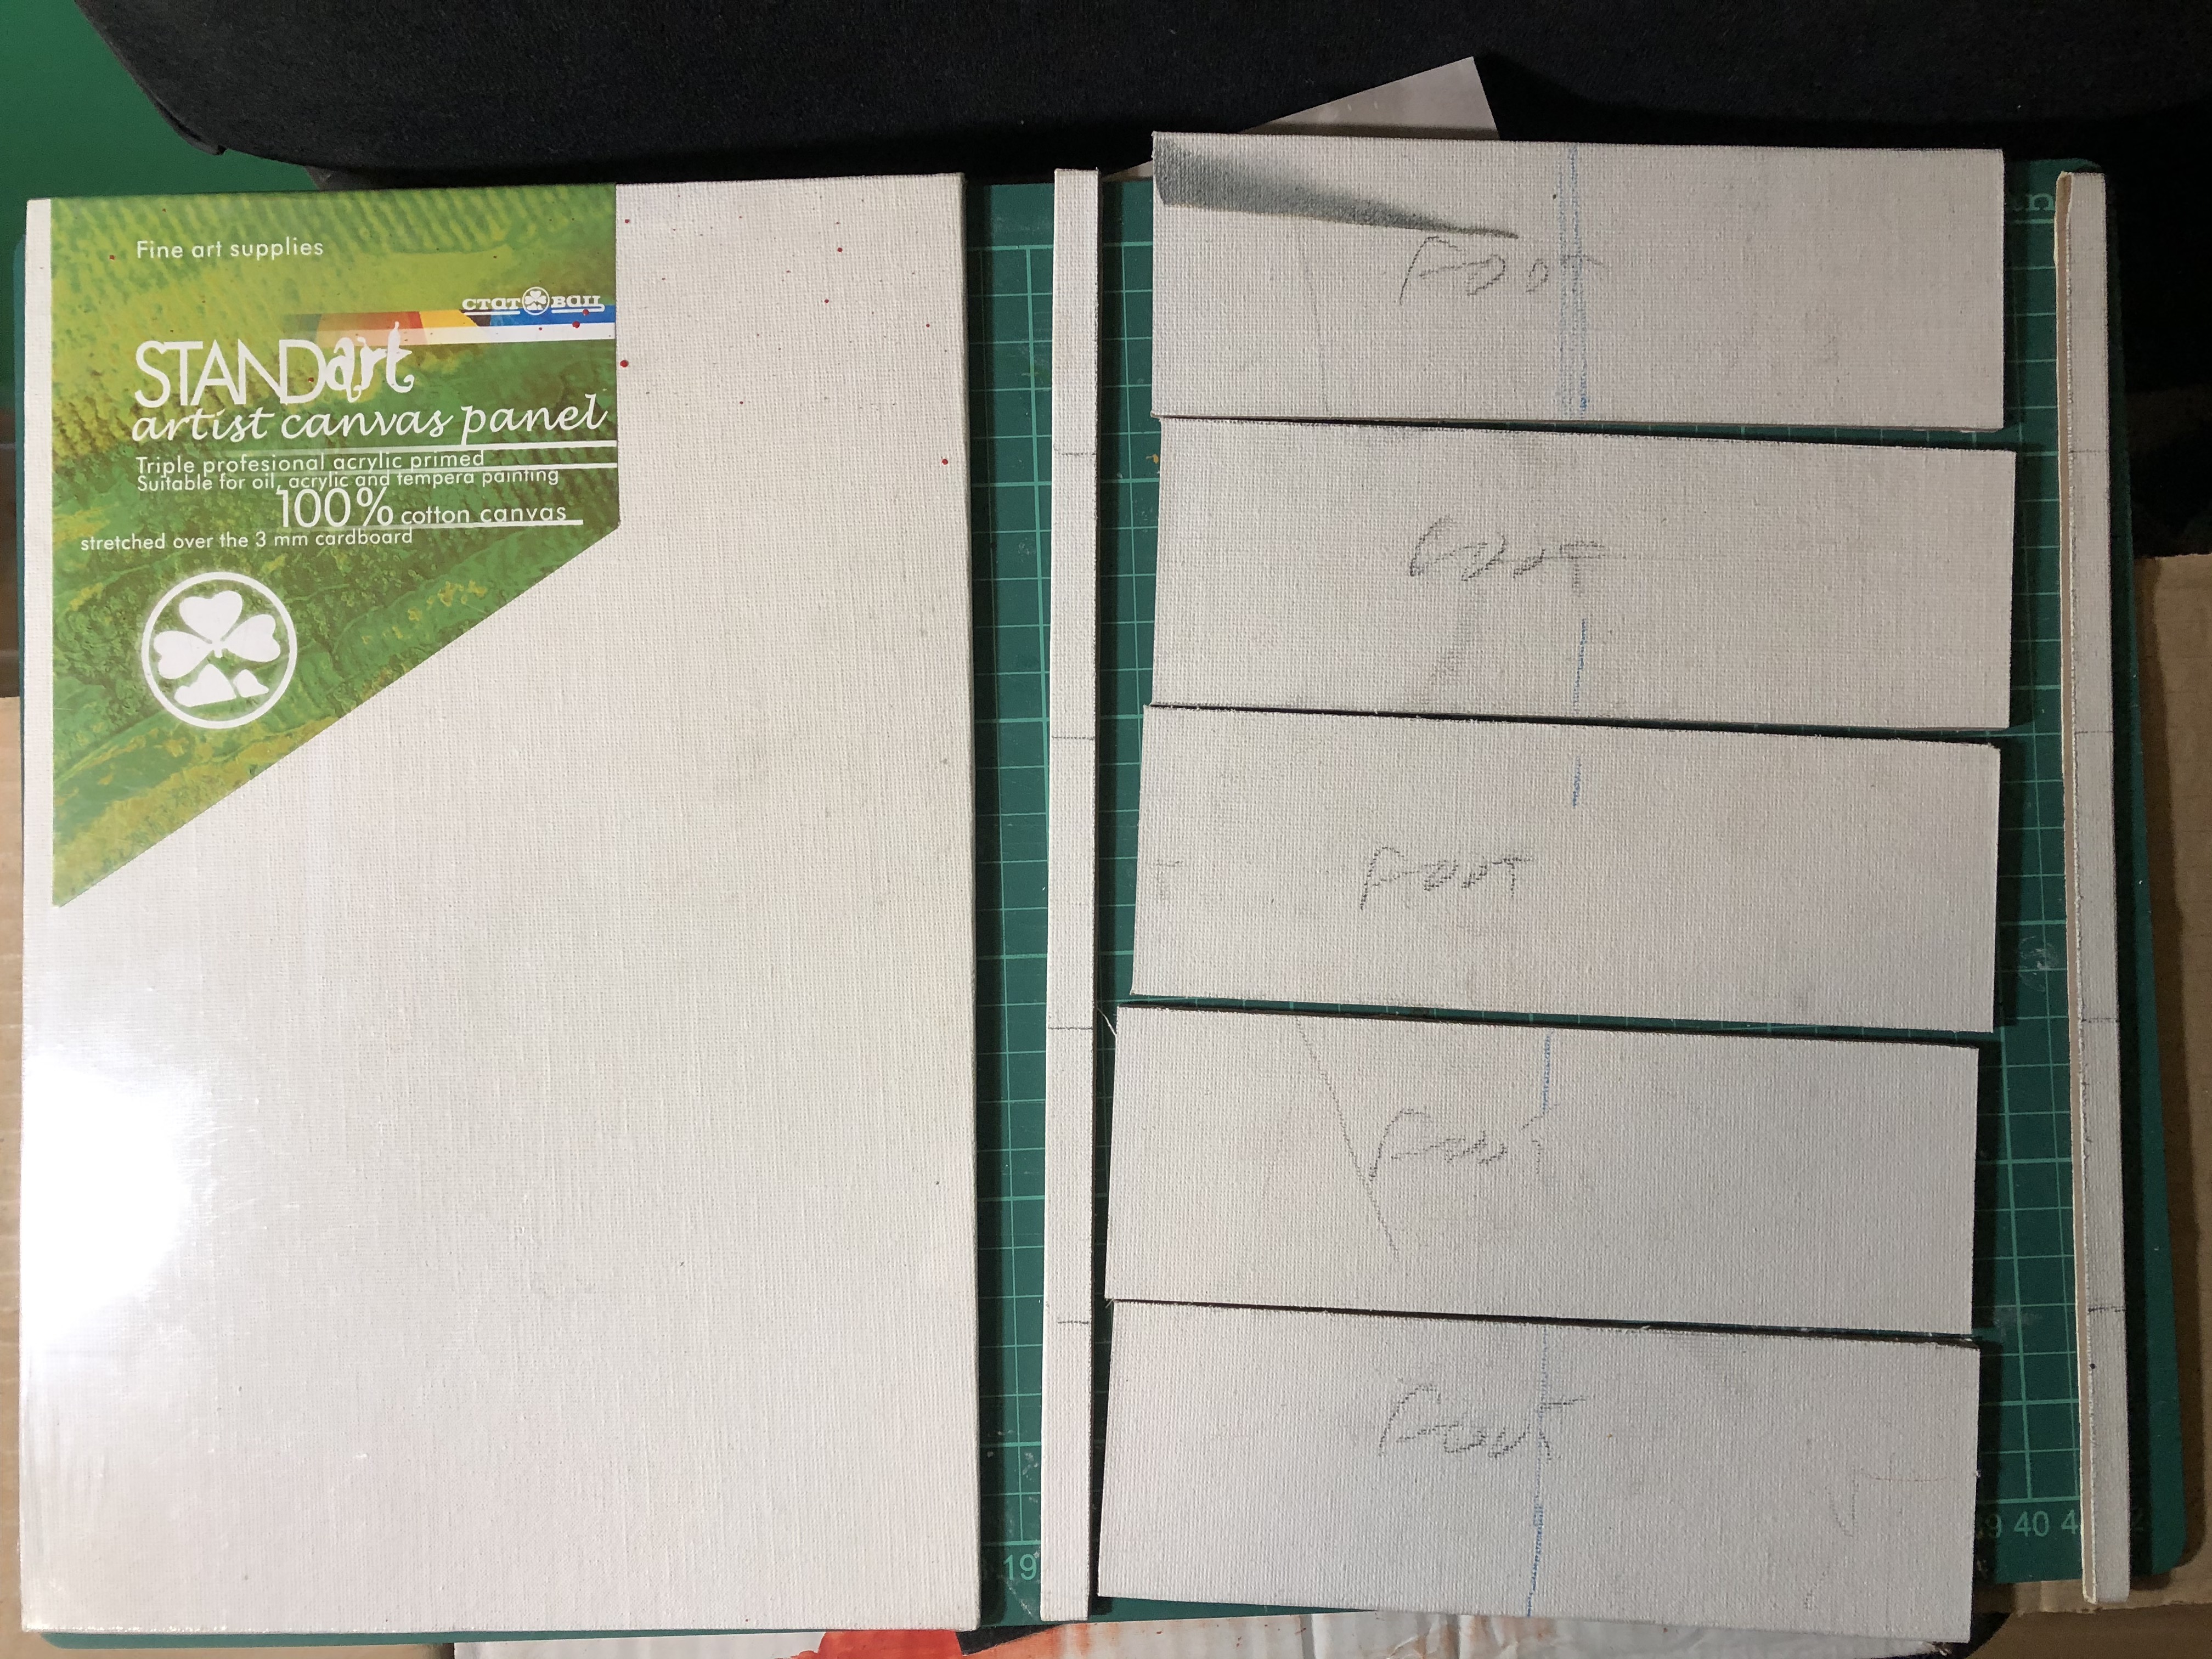
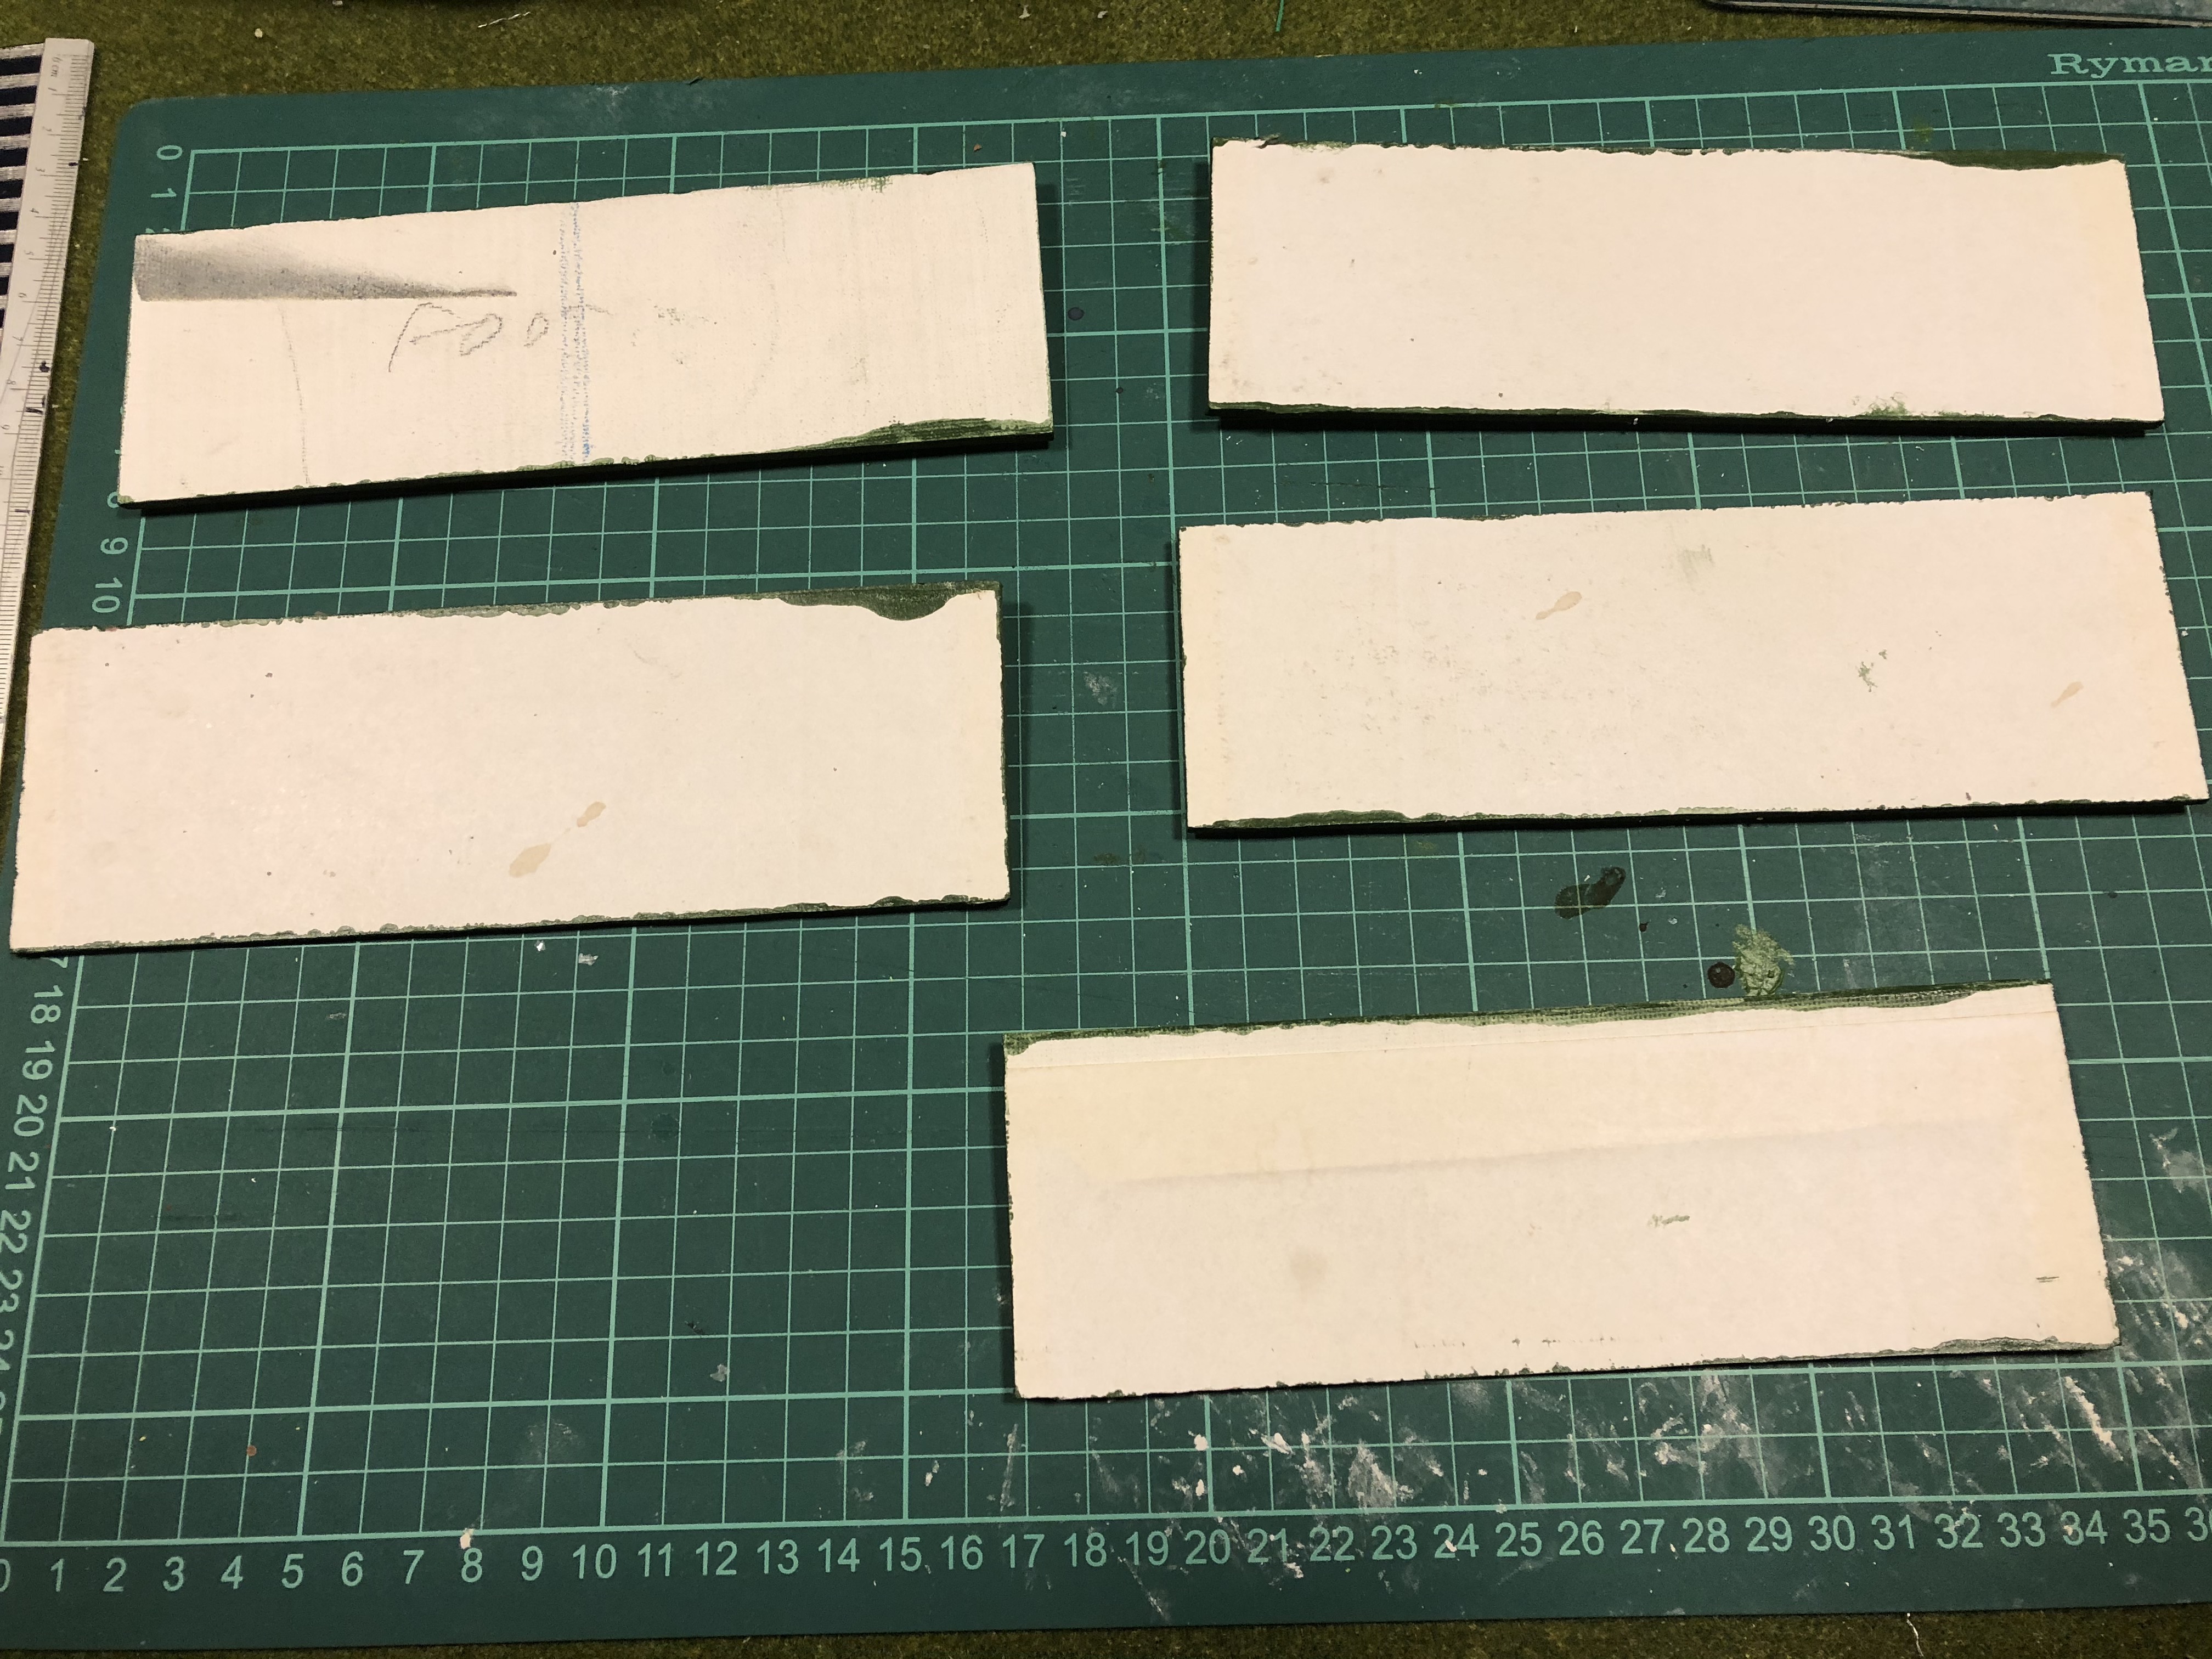
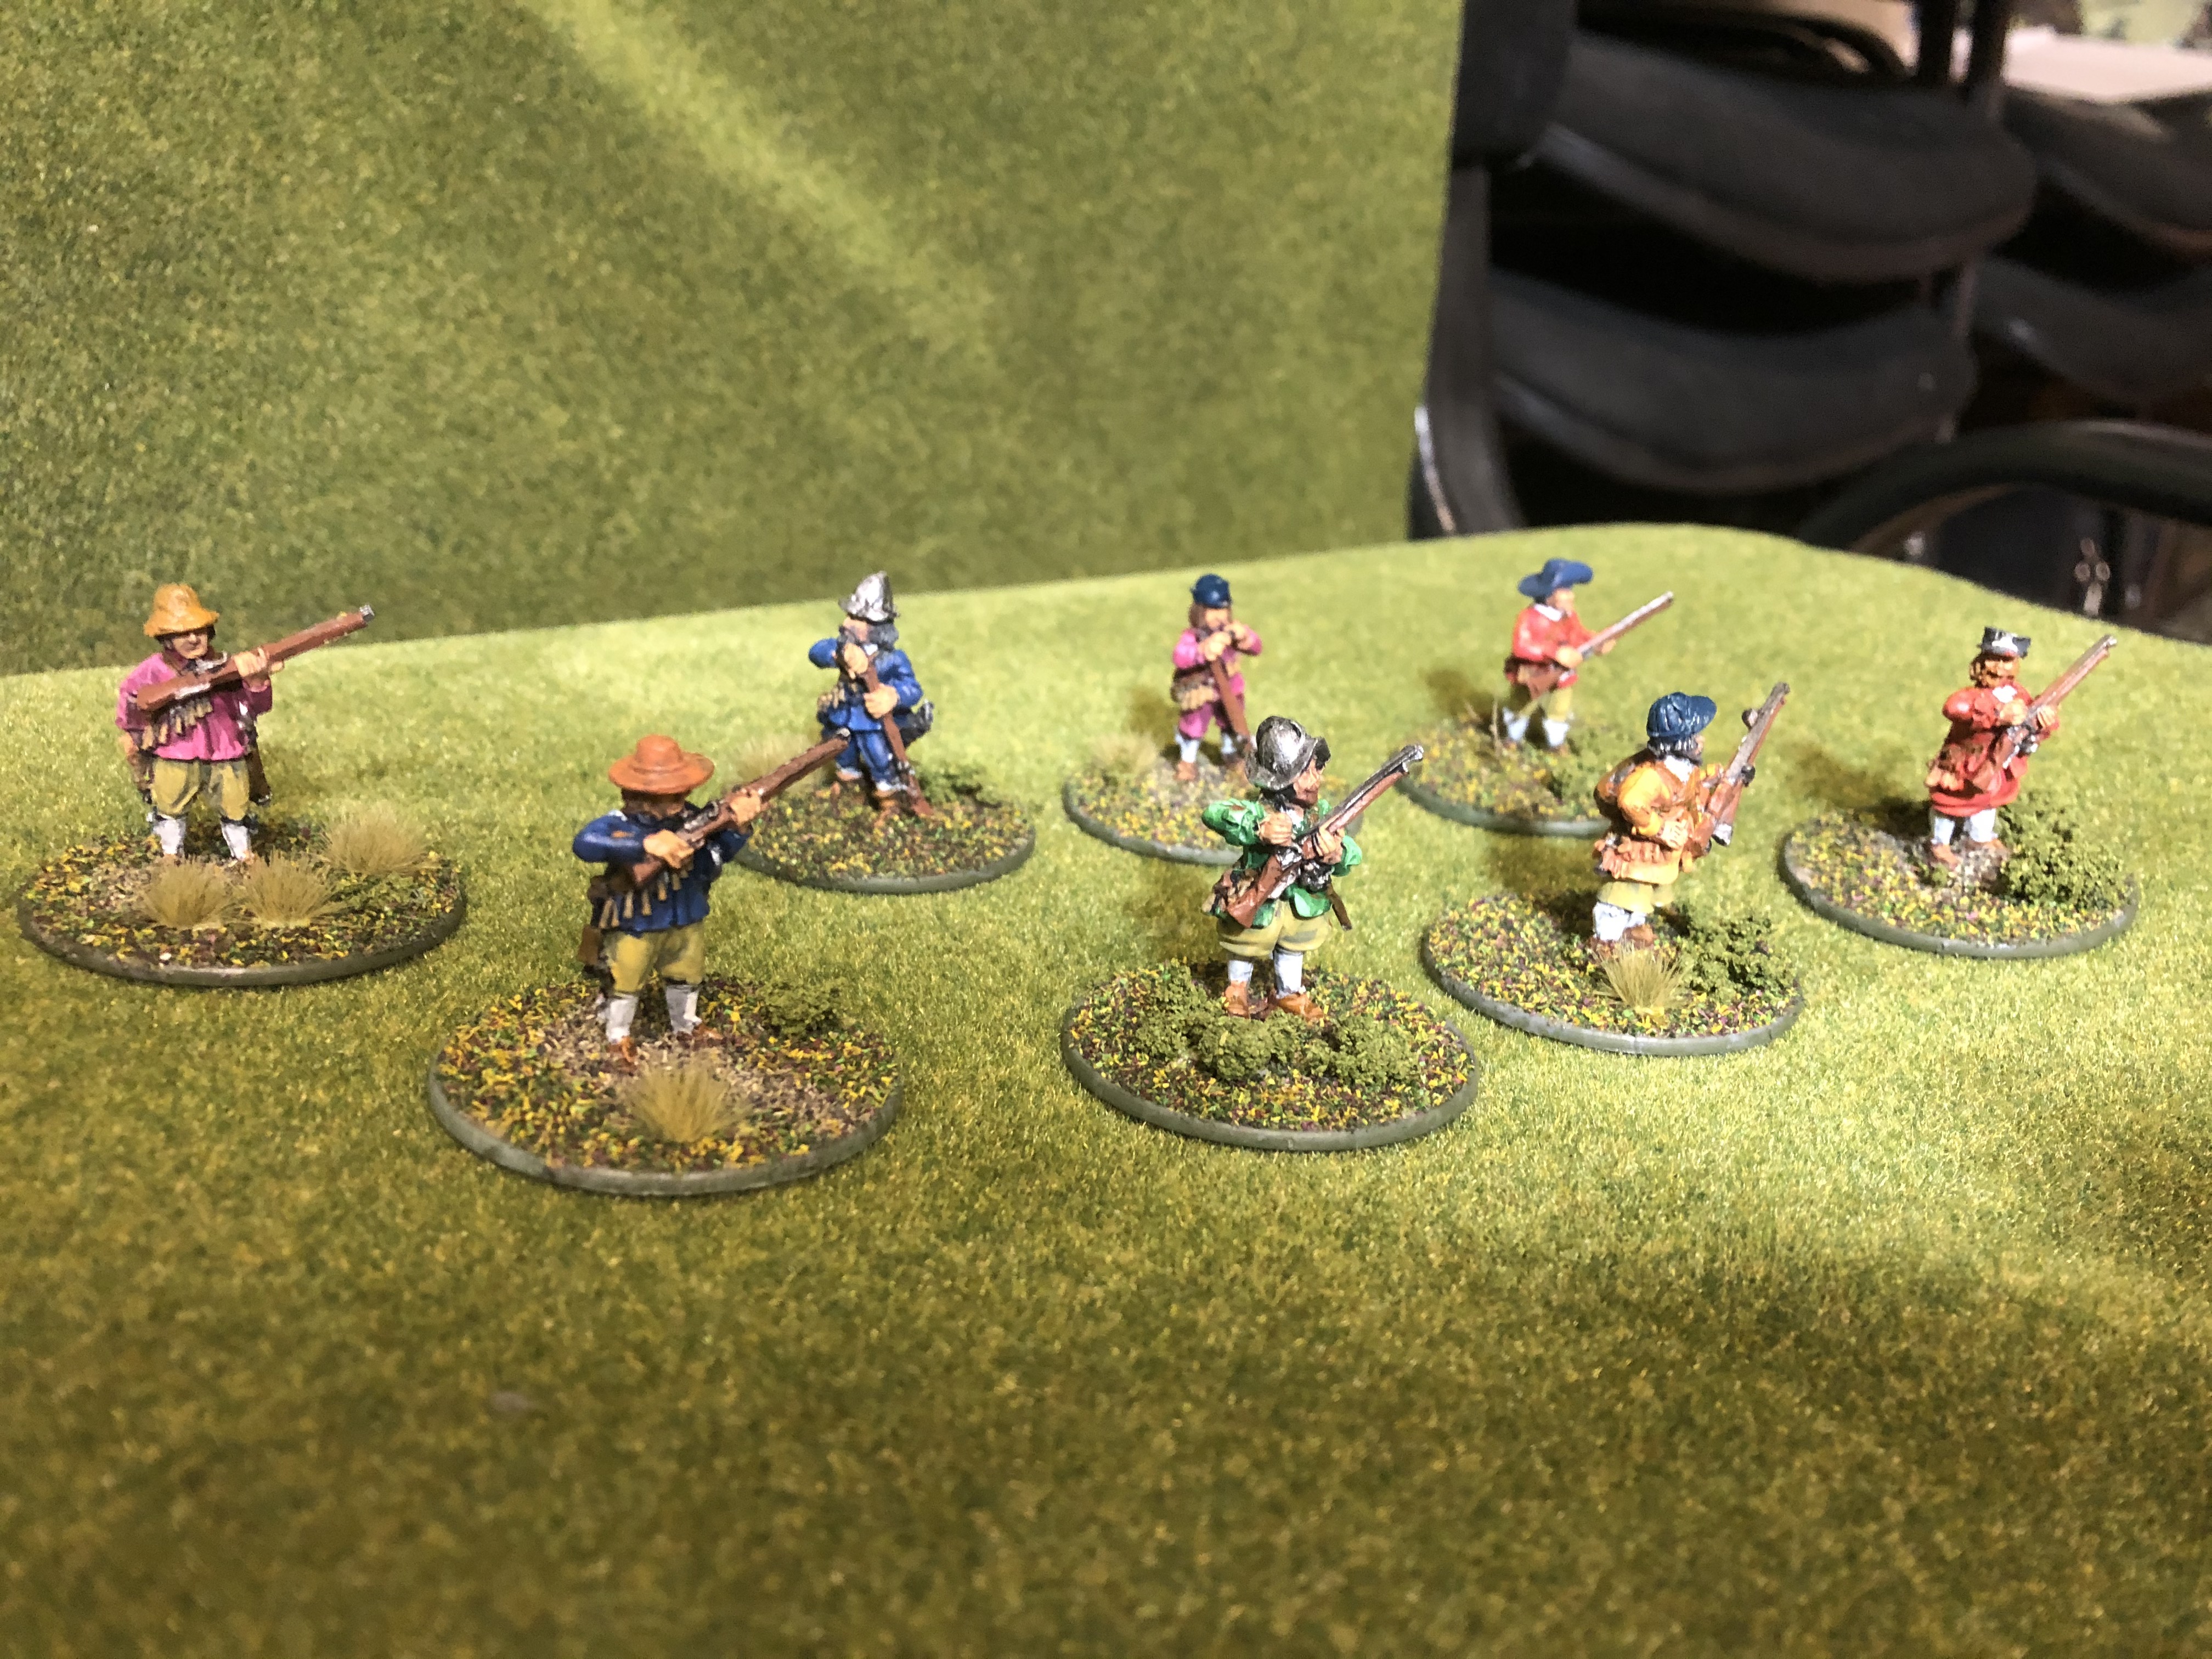
For basing the figures I use Art materials as in the picture. The example here is 20x30cm. The rules have a 18cm frontage for most units, and in this case I take 1cm from each side rather than just 2 cm from one side as I will use the two cut-offs for either my 6mm Napoleonic, or the 10mm SYW. Depends what it looks like.
The Bases are then painted with acrylics on the cut edges. Any green will do really, but a reasonable bright one seems to work.
The third picture is the newly varnished figures. (I’ll not try to post a painting tutorial as I’m only average at best, and there are many better things you could be watching!).
The actual basing approach itself will follow shortly.
Basing the figures

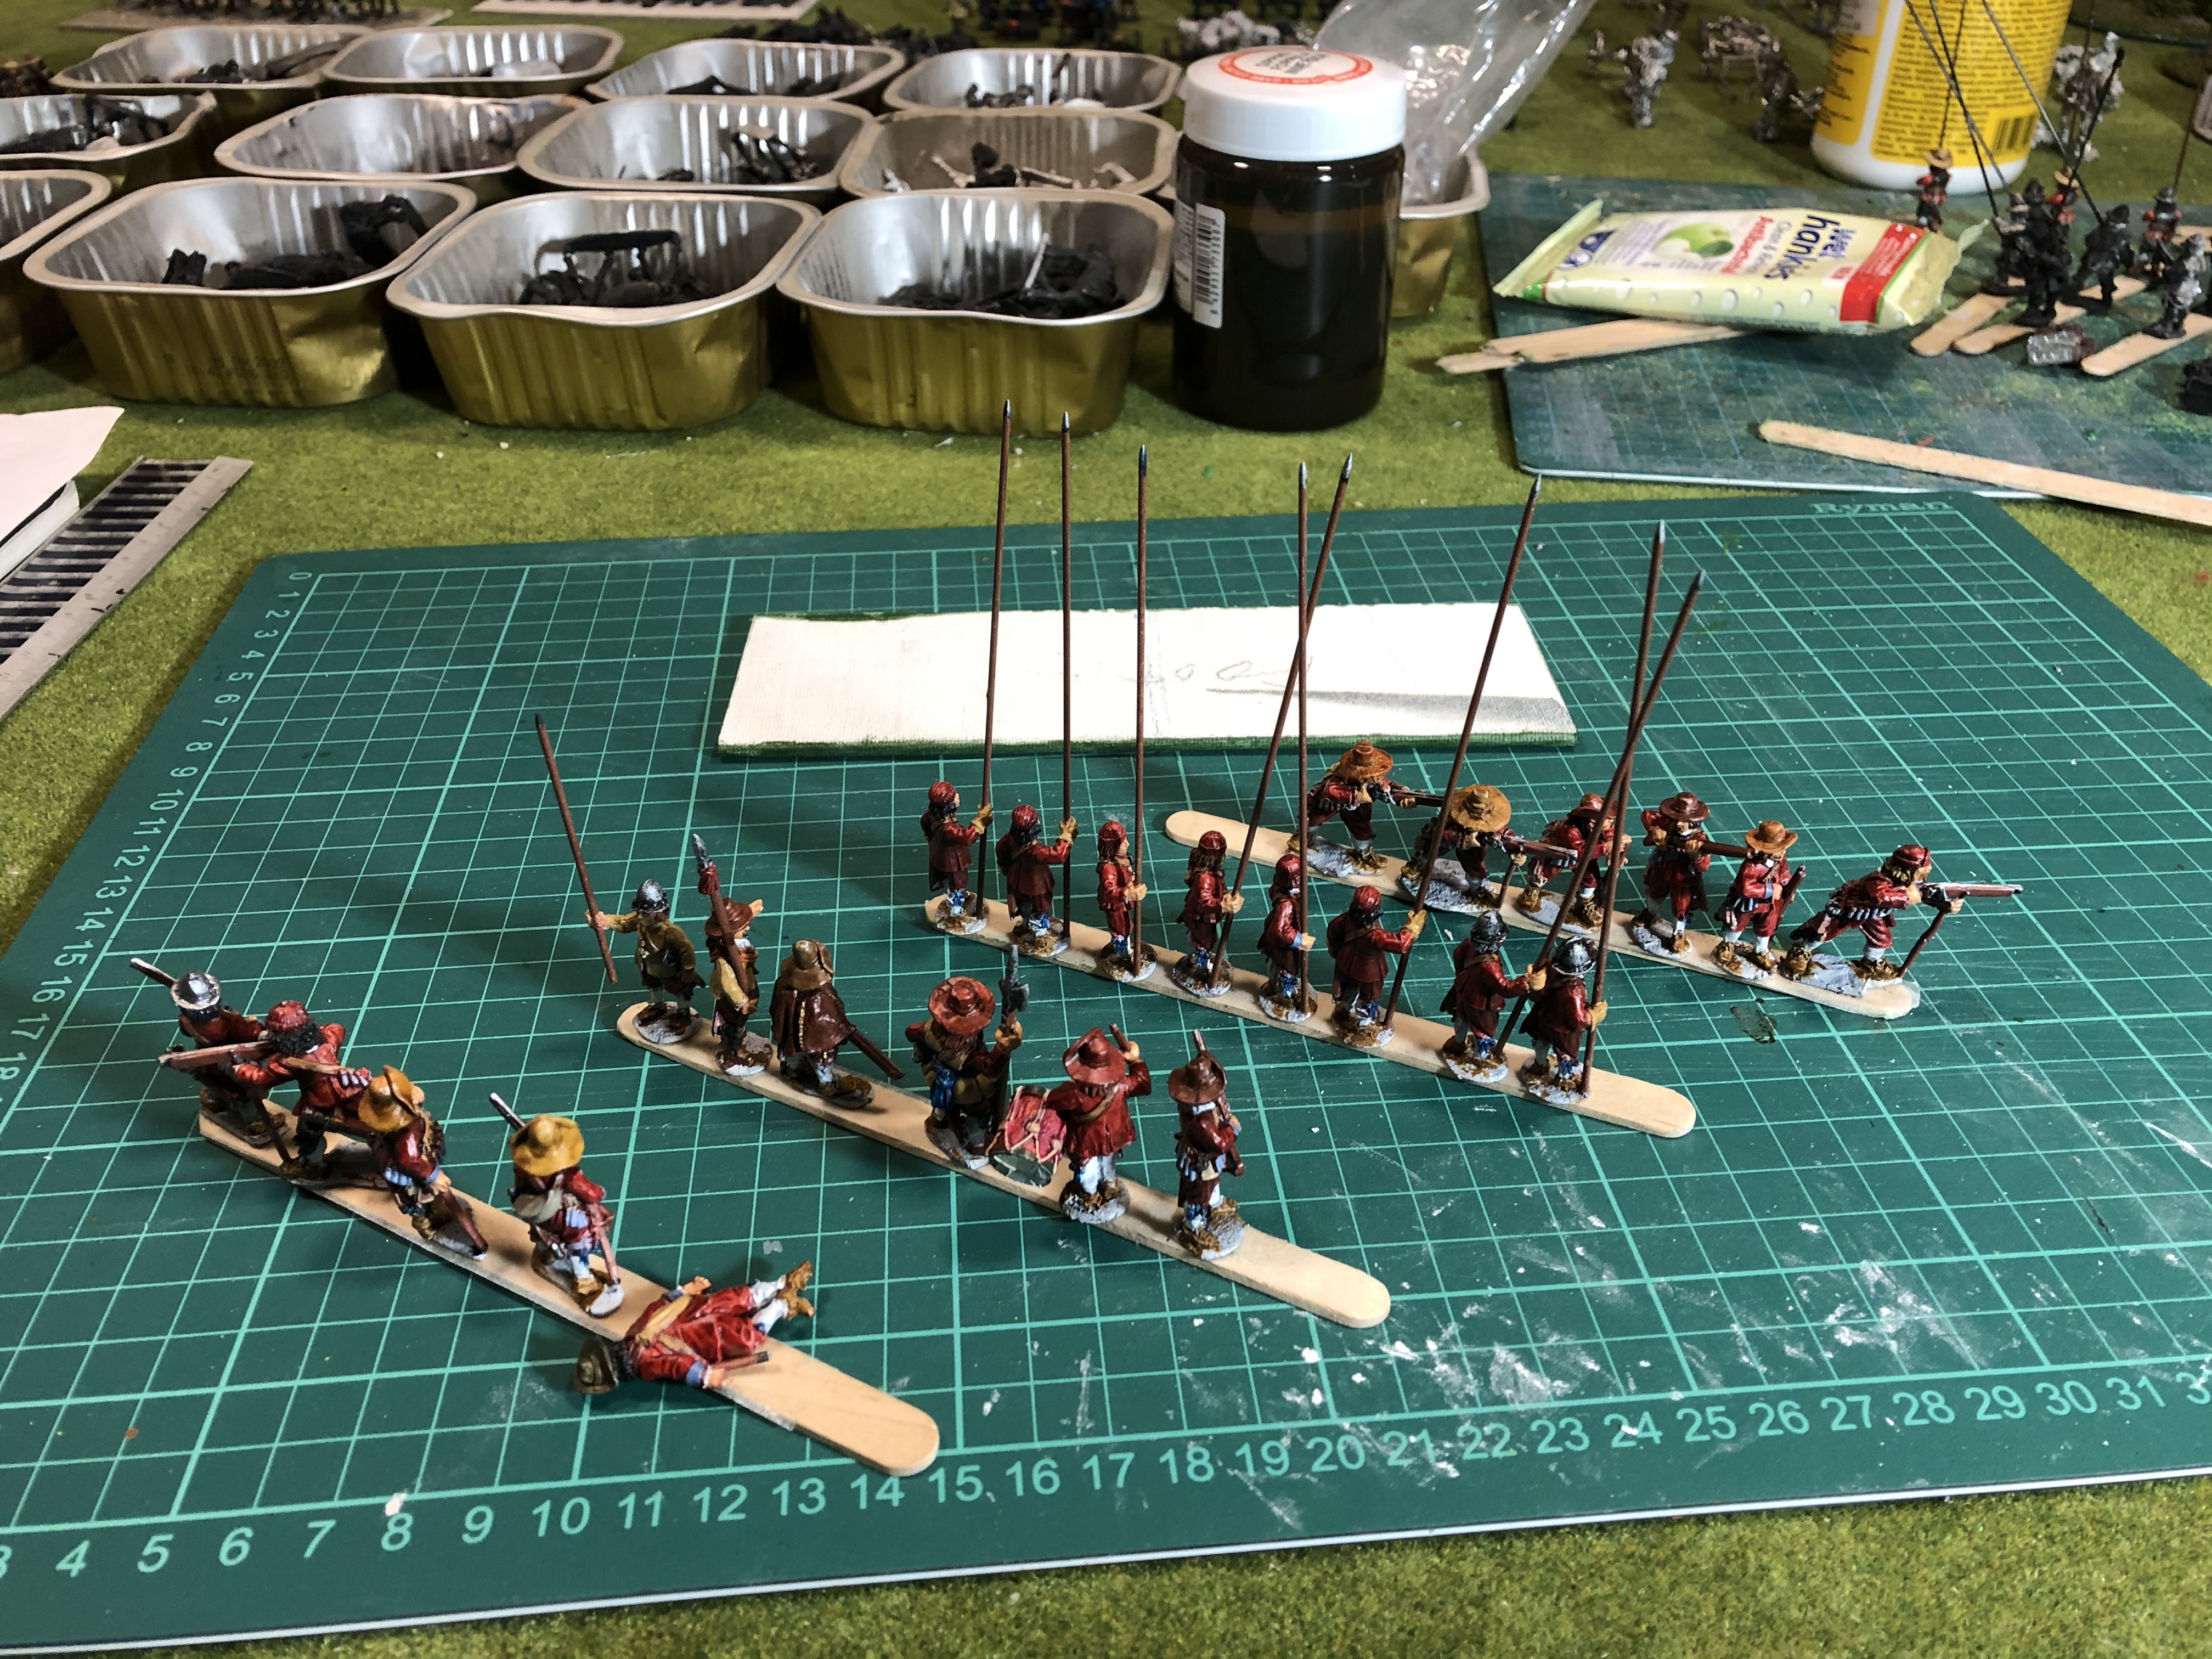
Before basing the figures I play around with different formations, placing key figures in alternative places to see what the overall look is. Better to spend some time now rather than realize there wasn’t enough room for the Officer afterwards!
Once the “look” is OK, I use UHU glue to fix the miniatures to the Art base, and once cured, the first coat if watered pva (50/50) goes down followed by fine sand. I picked up the sand I use years ago from an old builders merchant, and it has lasted years and still has years to go. Other fine sand will also do.
The pva/sand mix does two things. It creates a reasonable texture for the ground, and it helps to fix the minis in place.
After it has dried a second pva mix is applied wherever I want some “grass” and this is flocked. I tend to flock almost all the base as I just don’t like to look of the patchwork approach of grass and mud. But I’m sure there are many occasions when this look is ideal.
Then it’s just a case of letting everything dry and apply a final well watered pva wash to seal the flock. I use a 10% pva wash. And that’s it.
First Reload Markers completed
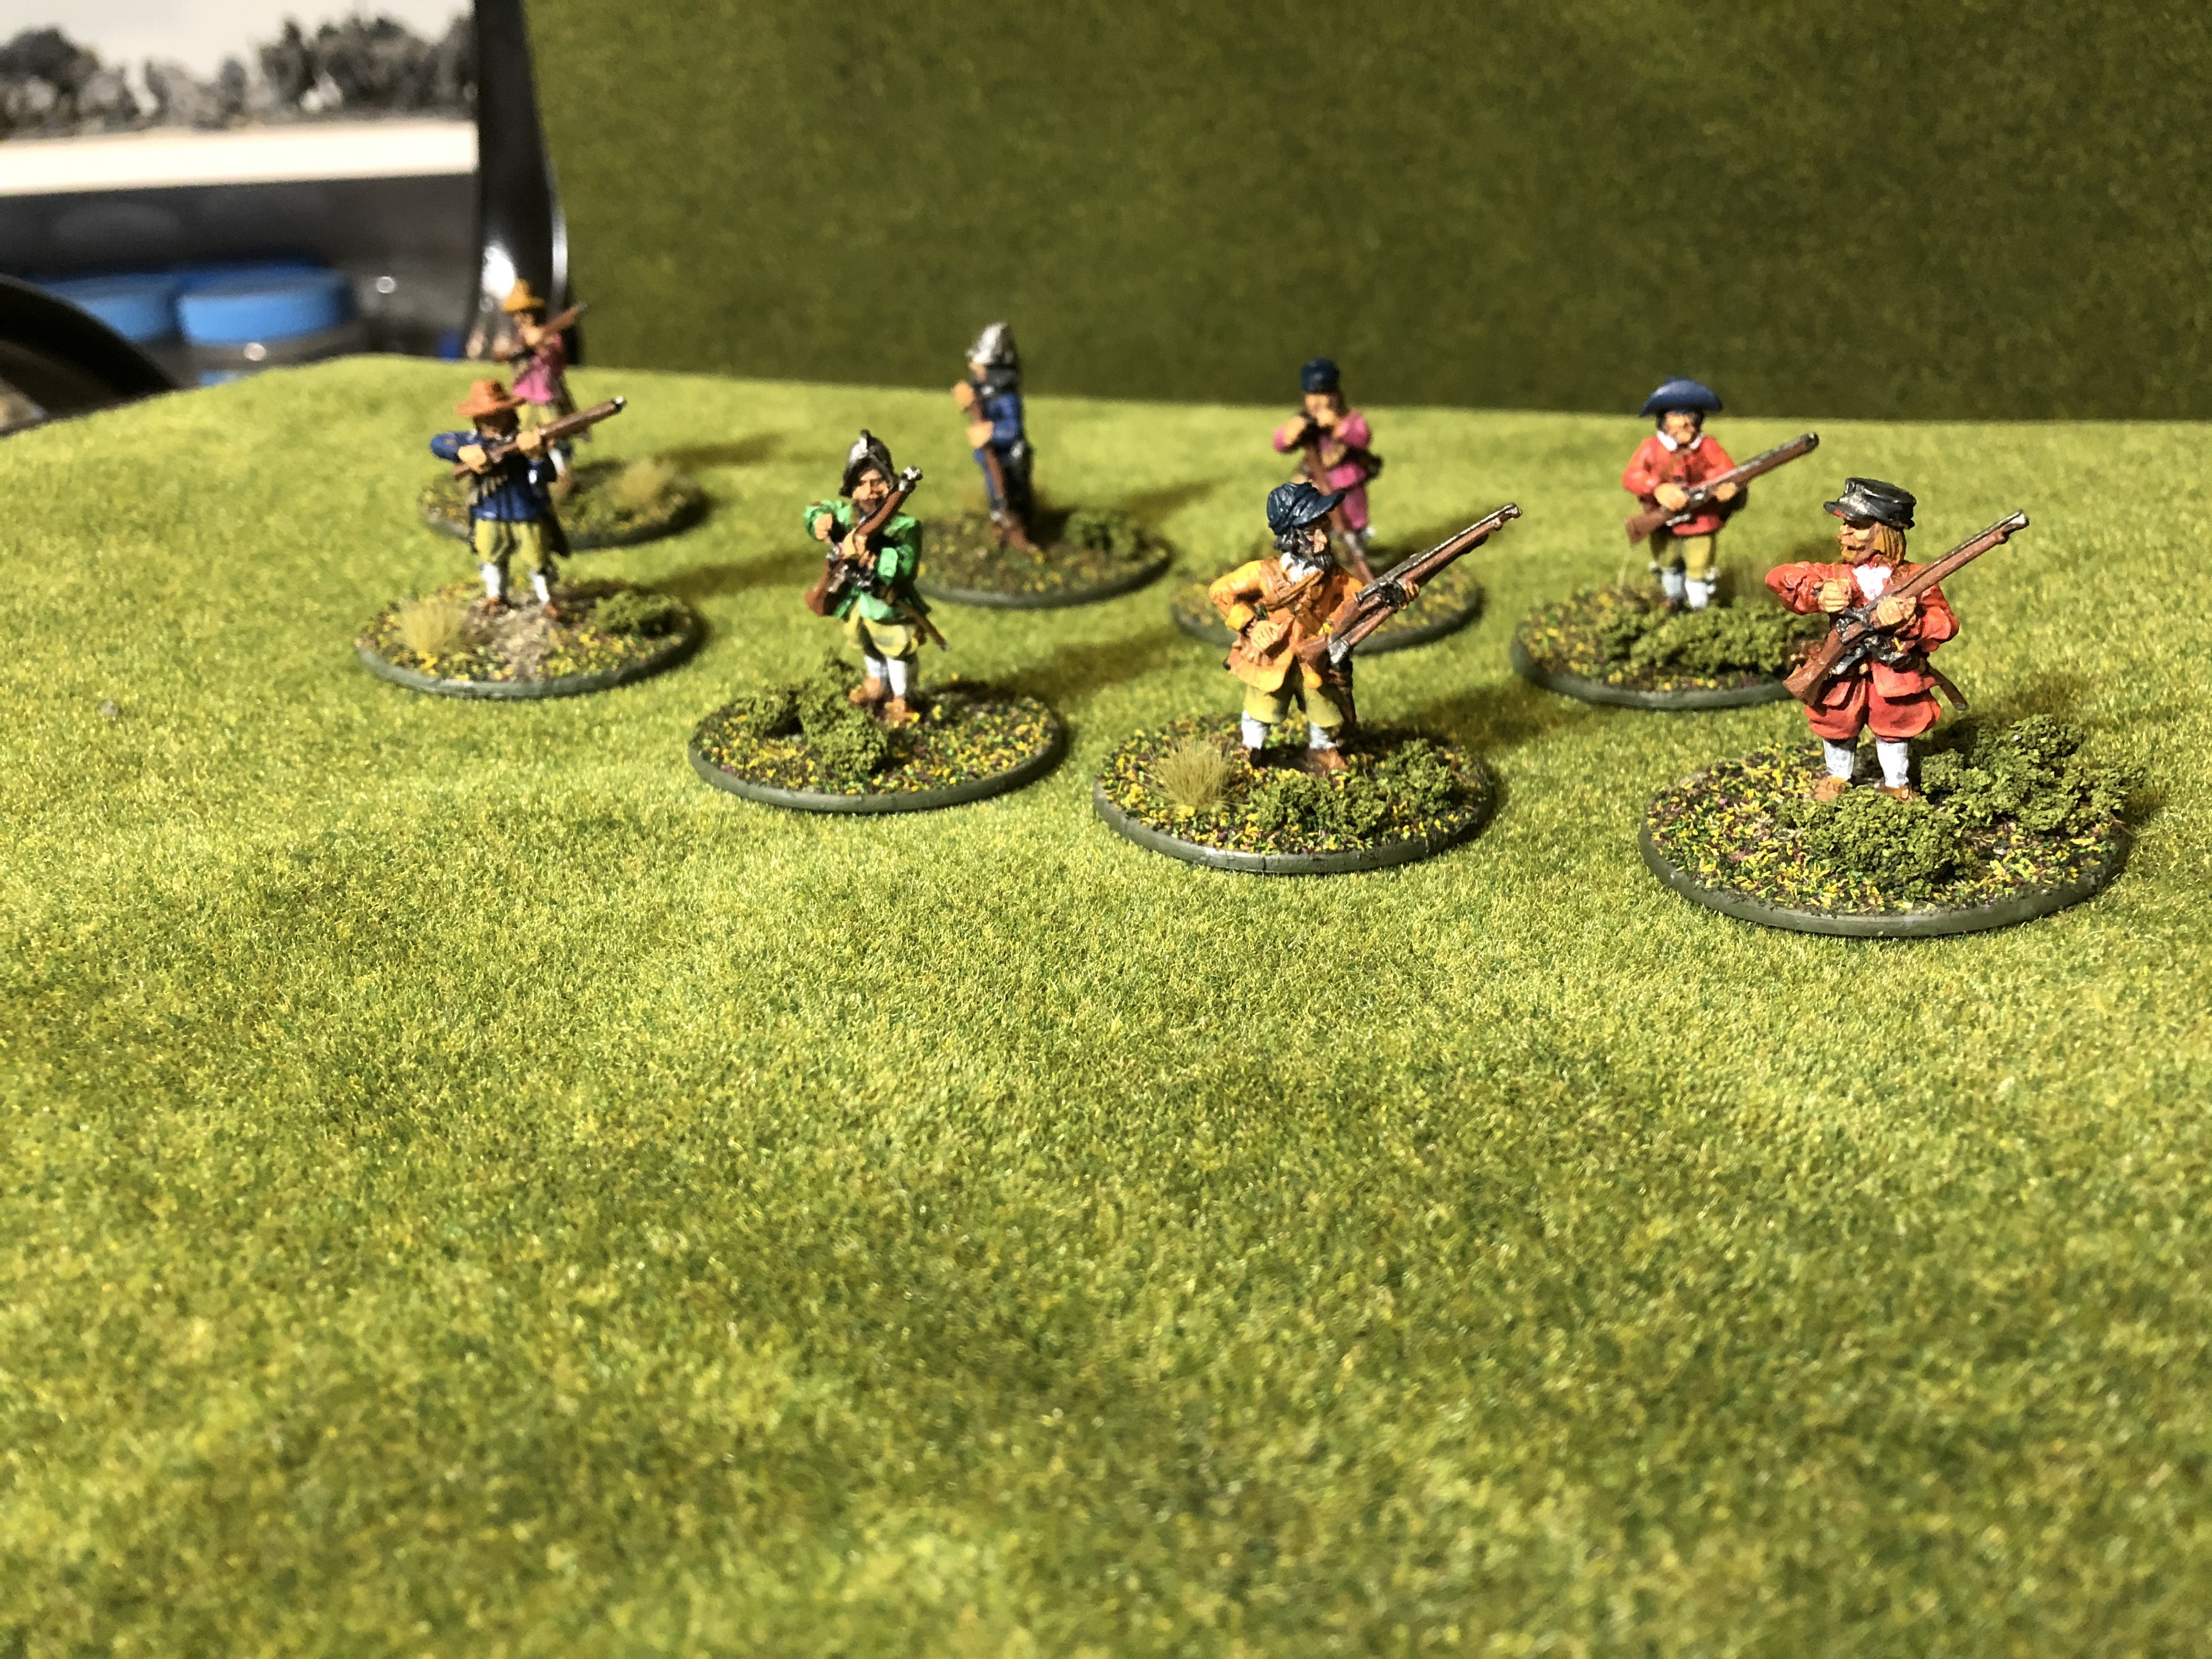
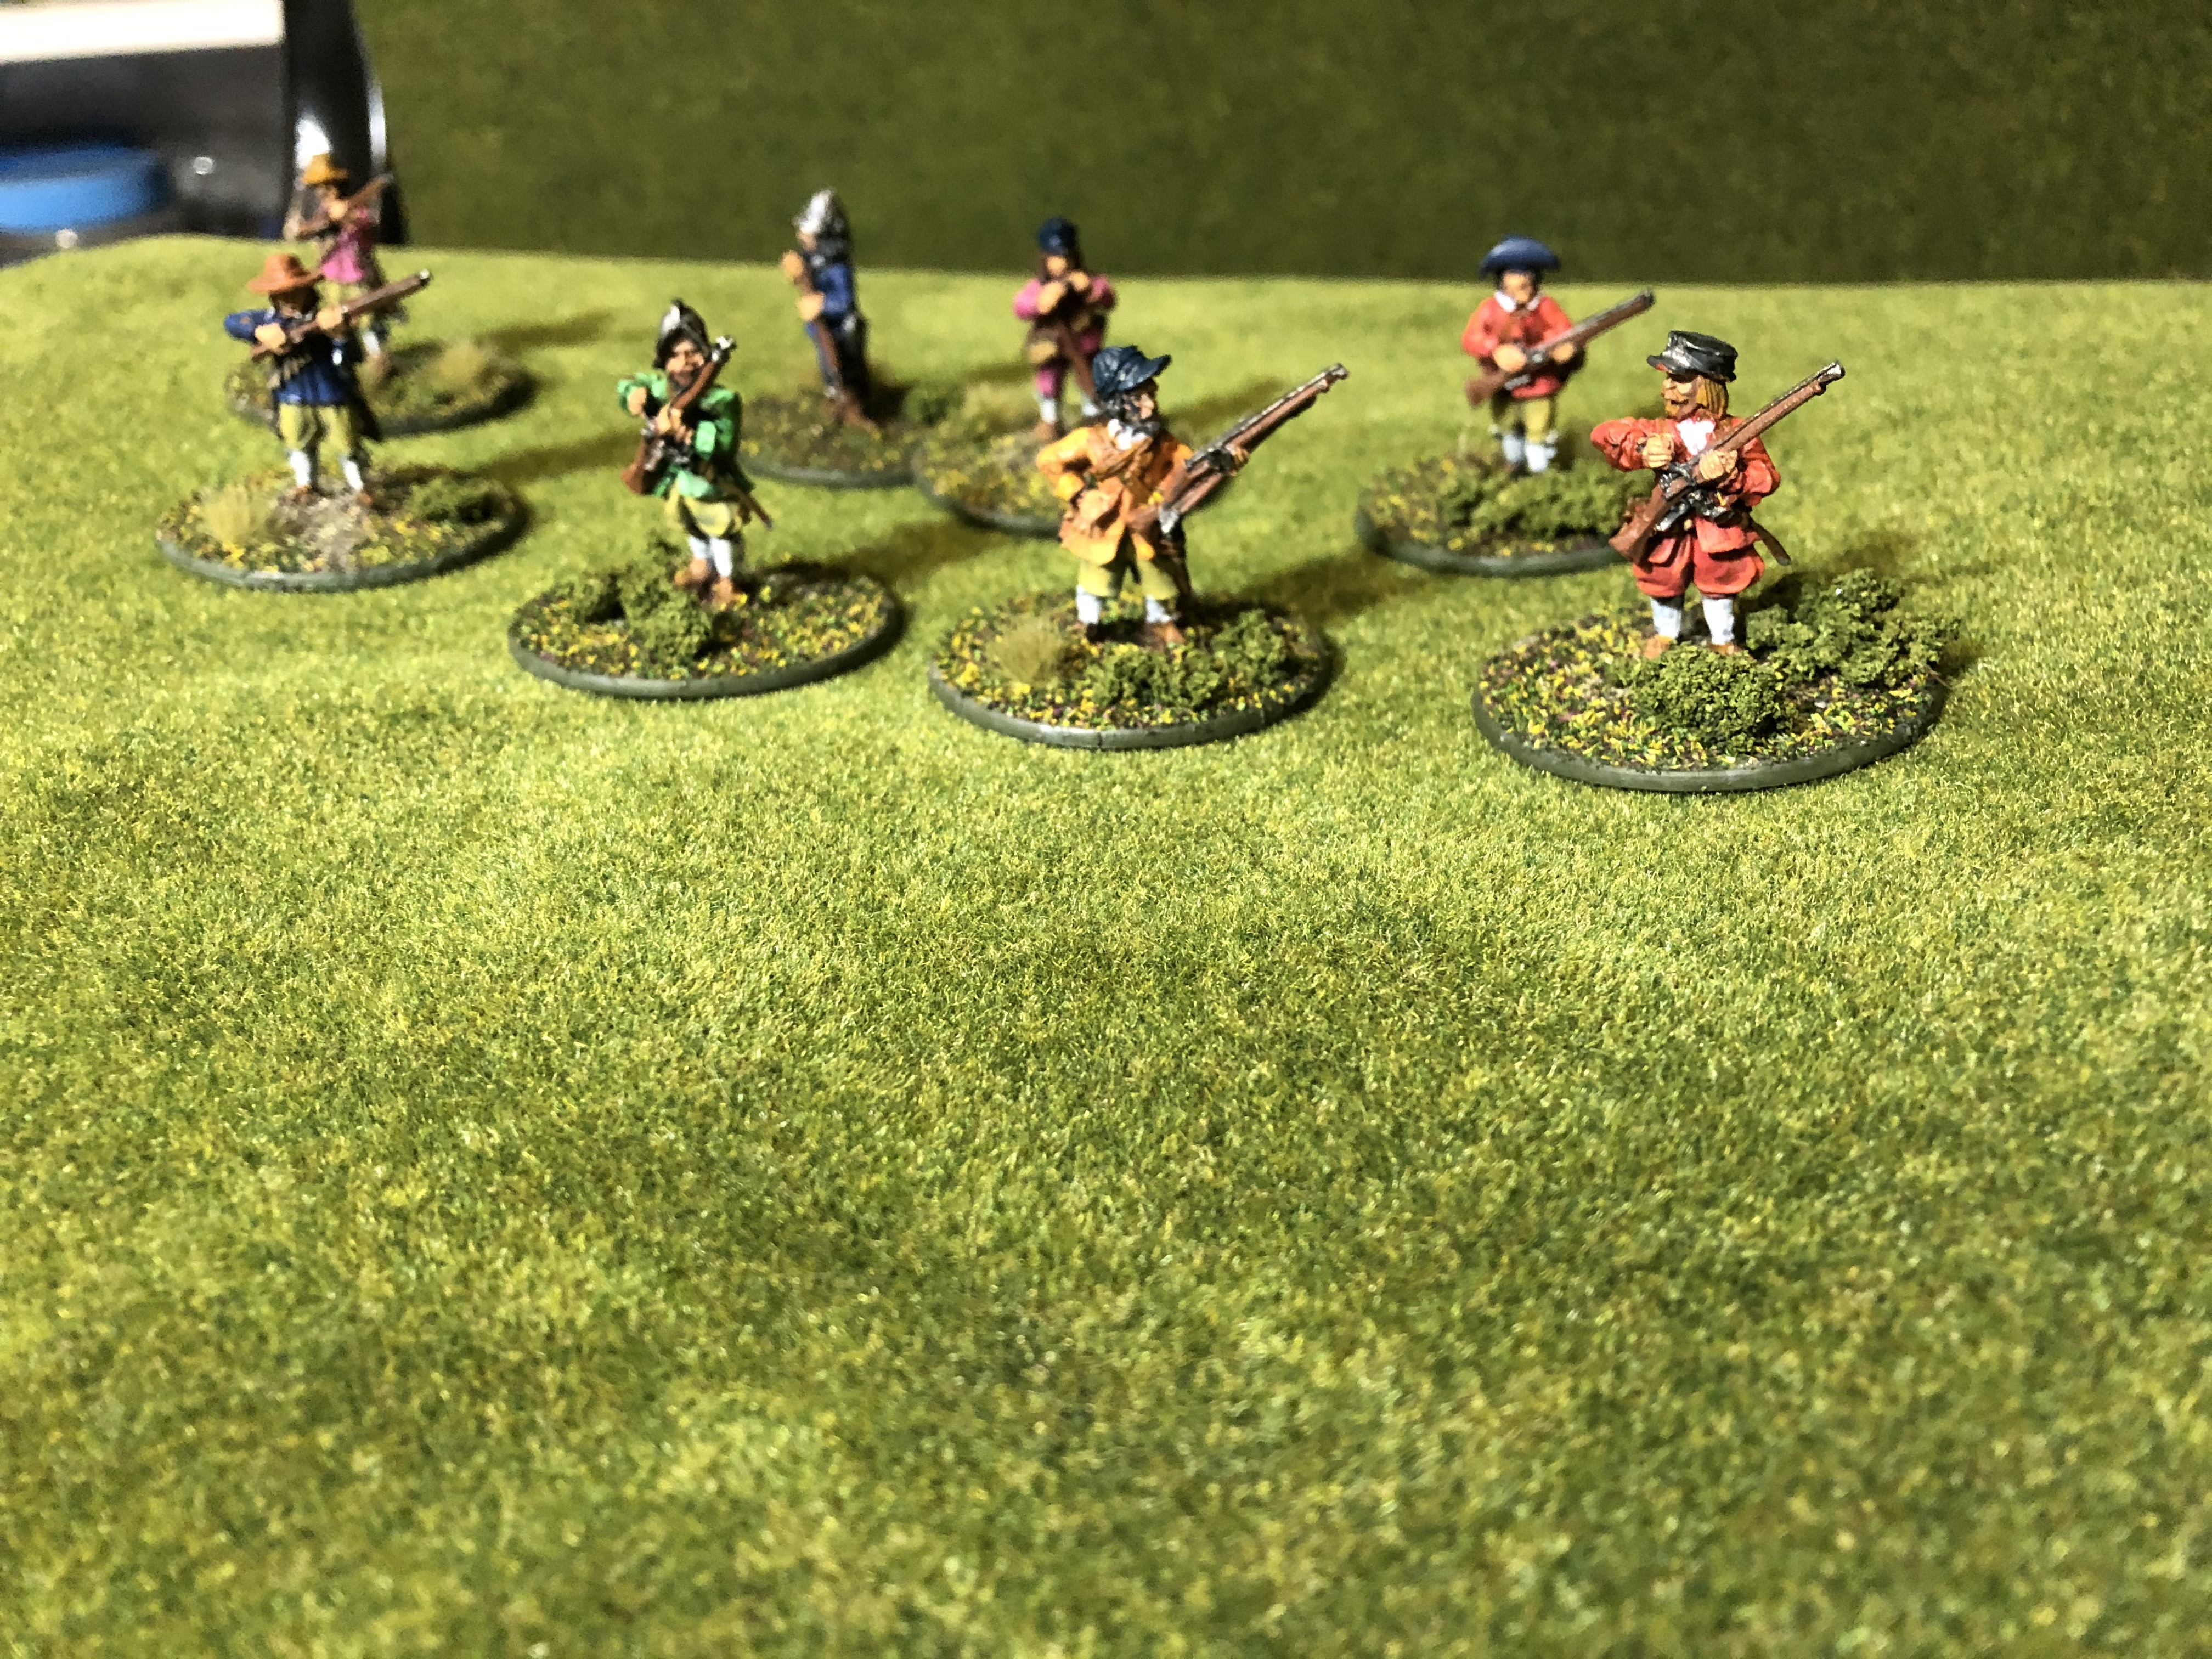
I finished with eight Reload Markers which should be sufficient for now. I have plenty of spare figures, though no more of the 30mm bases. I might wait for the current issues to pass before getting some more.
The method was the same as previously posted. The figure is glued to the base, “bedded in” with pva/water & fine sand, then flocked and other bits of basing clutter added.
Not sure there’s much more to be said. Next up, the four Brigade Officers and the C-in-C.
Officers
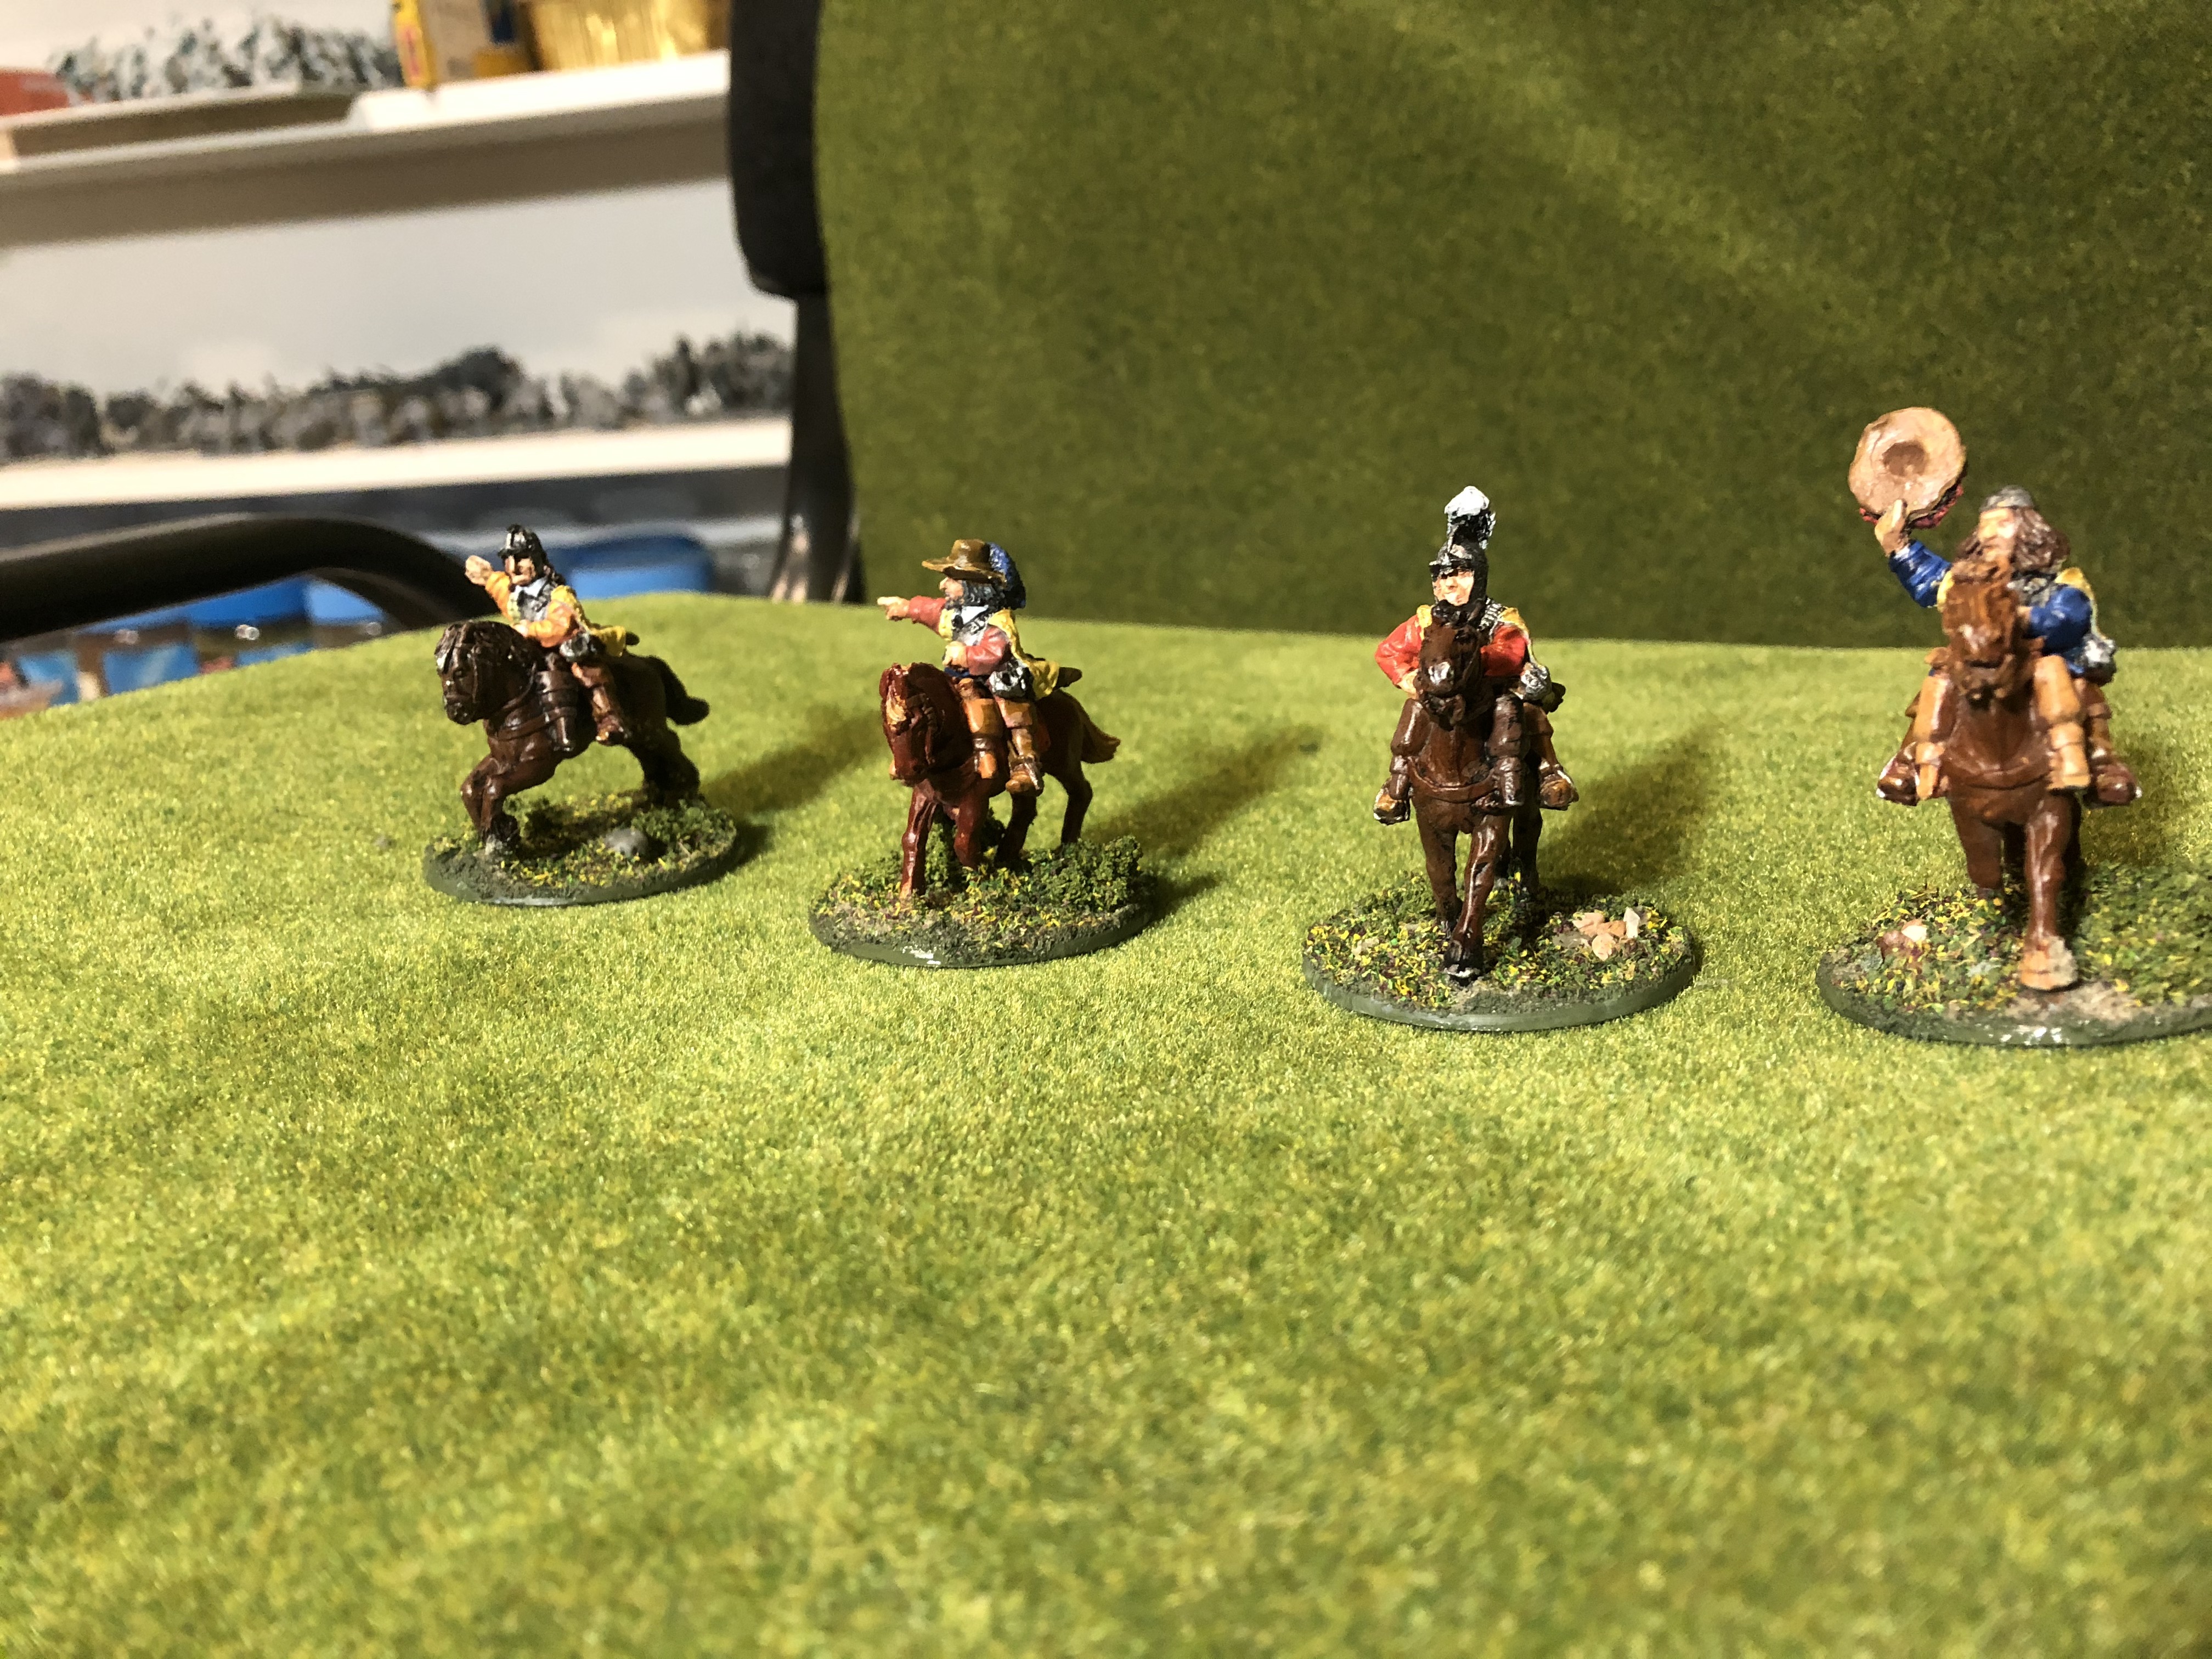
Just a quick post with the four Officers finished. The basing was as usual with water/pva and sand followed by flocking and the odd basing clutter.
Next post will be a more detailed one for the two Commander-in-Chief bases.
Commander Bases
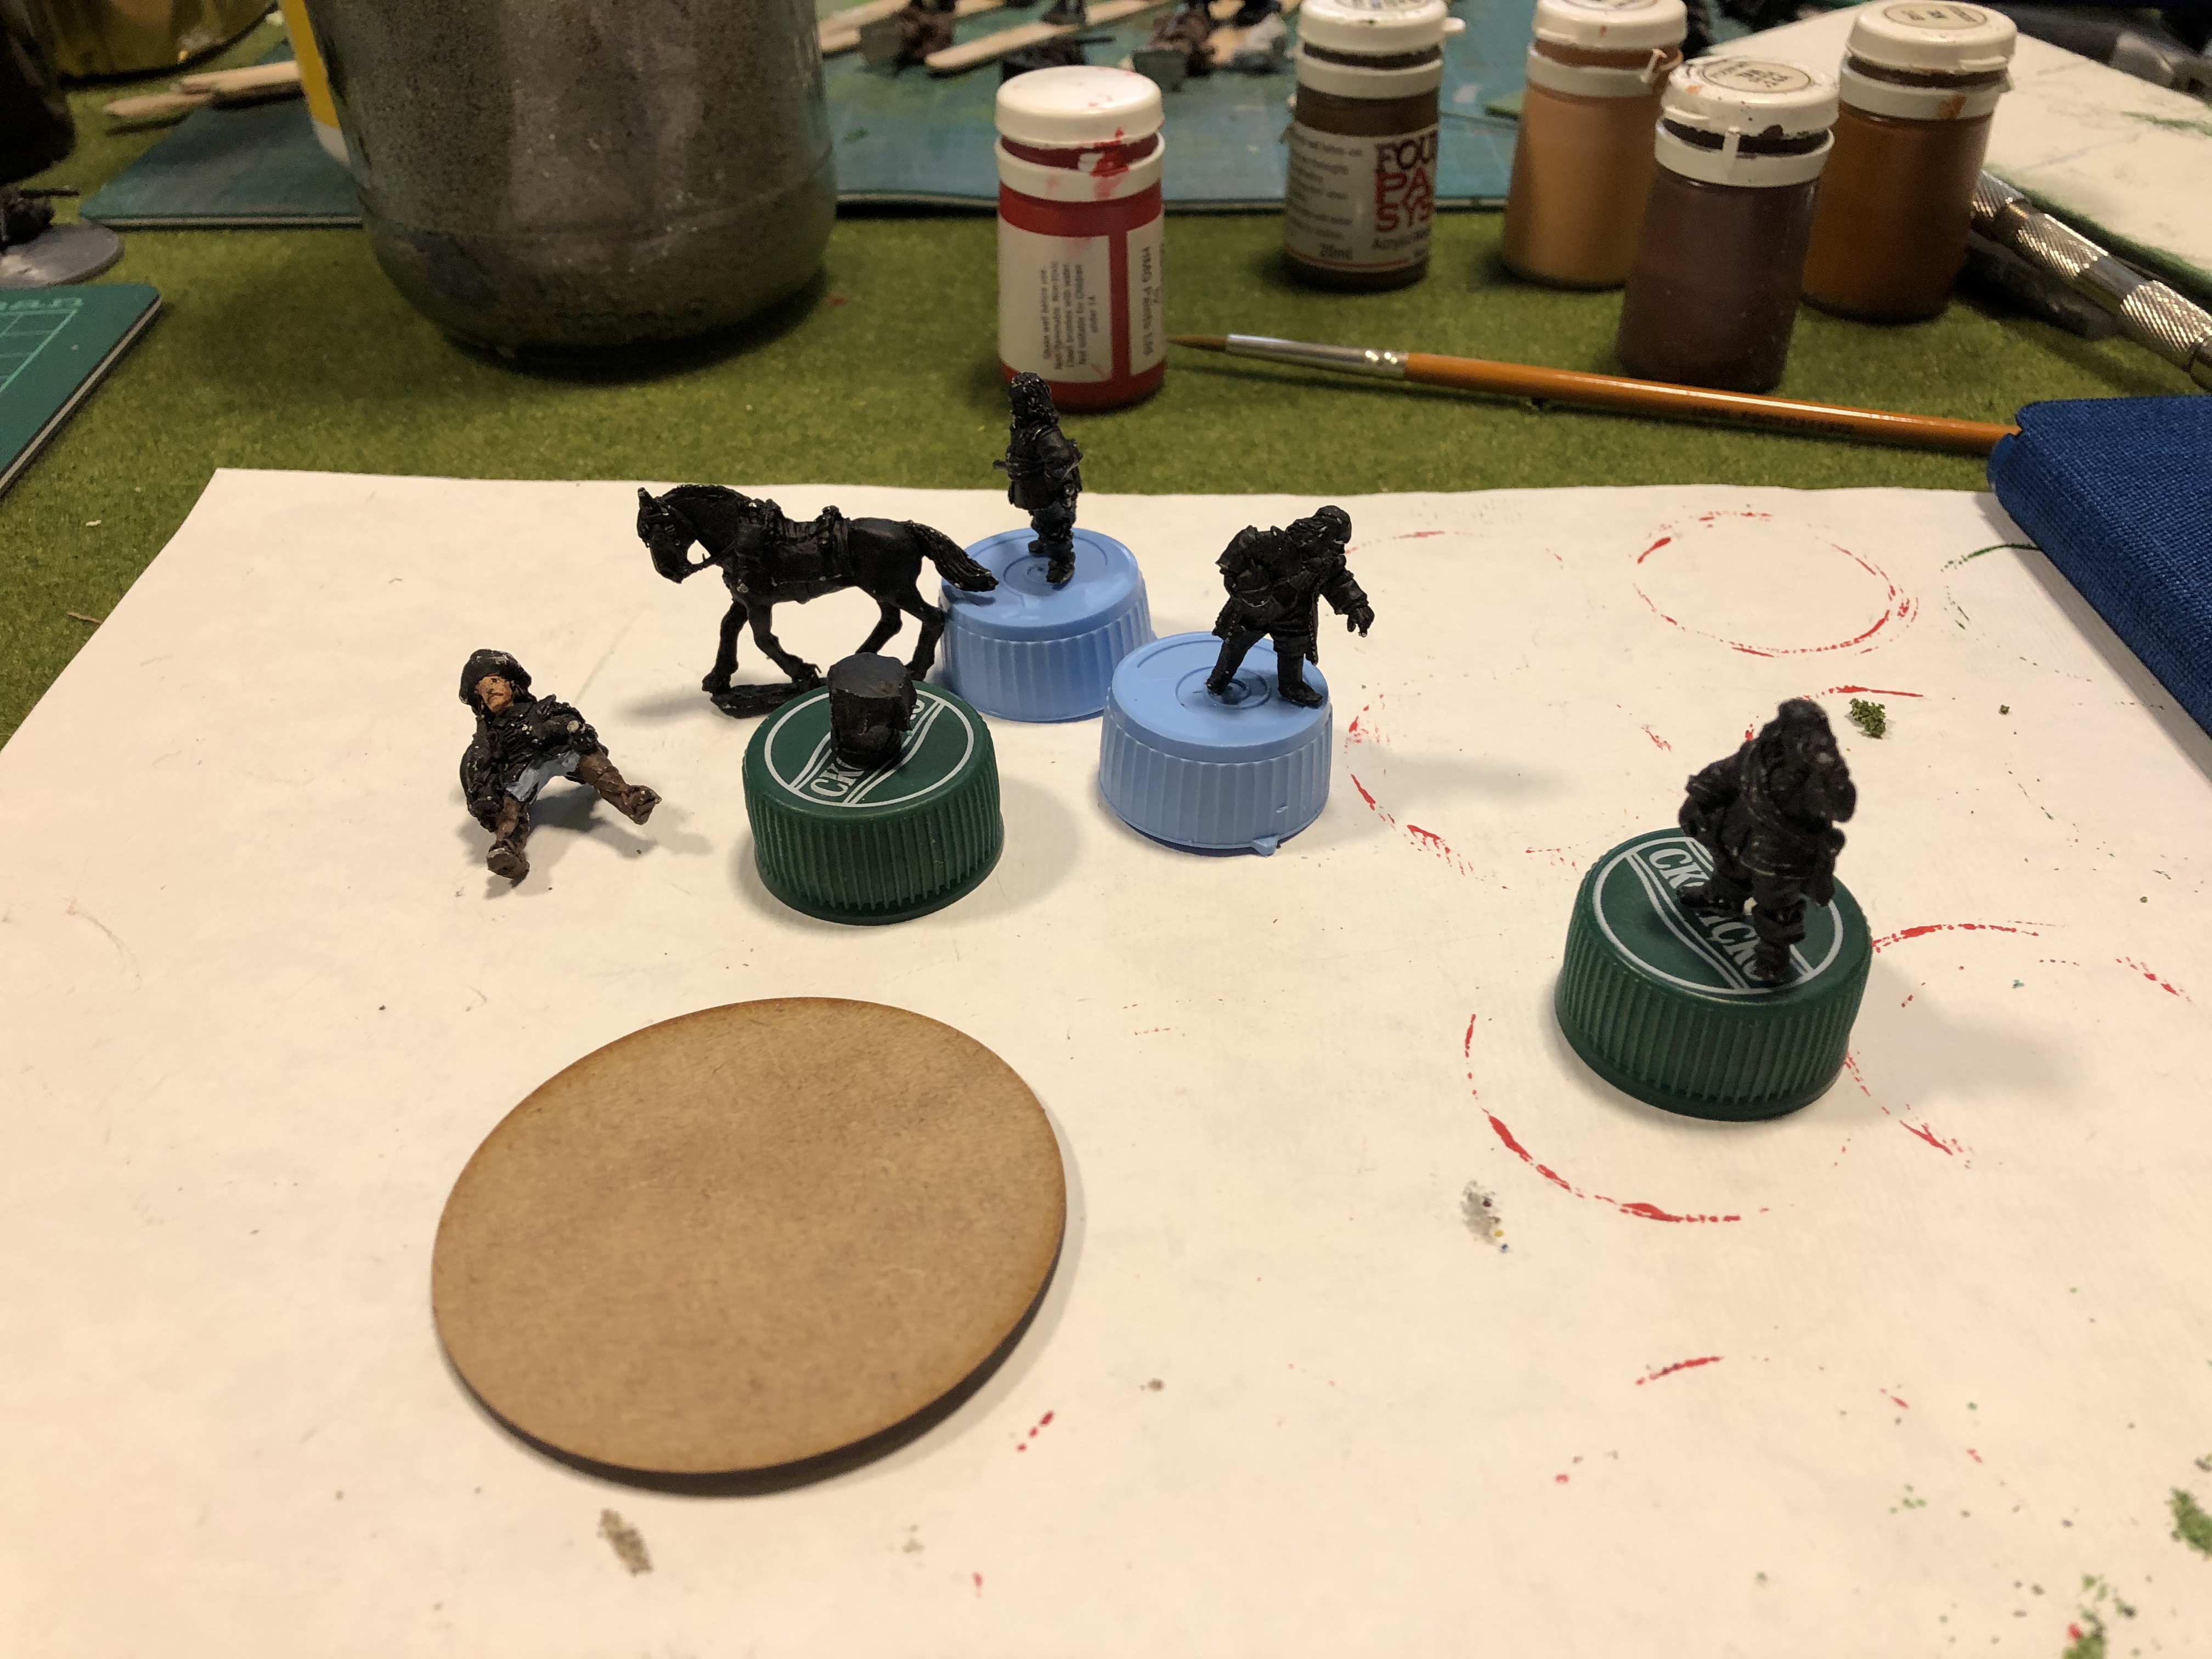
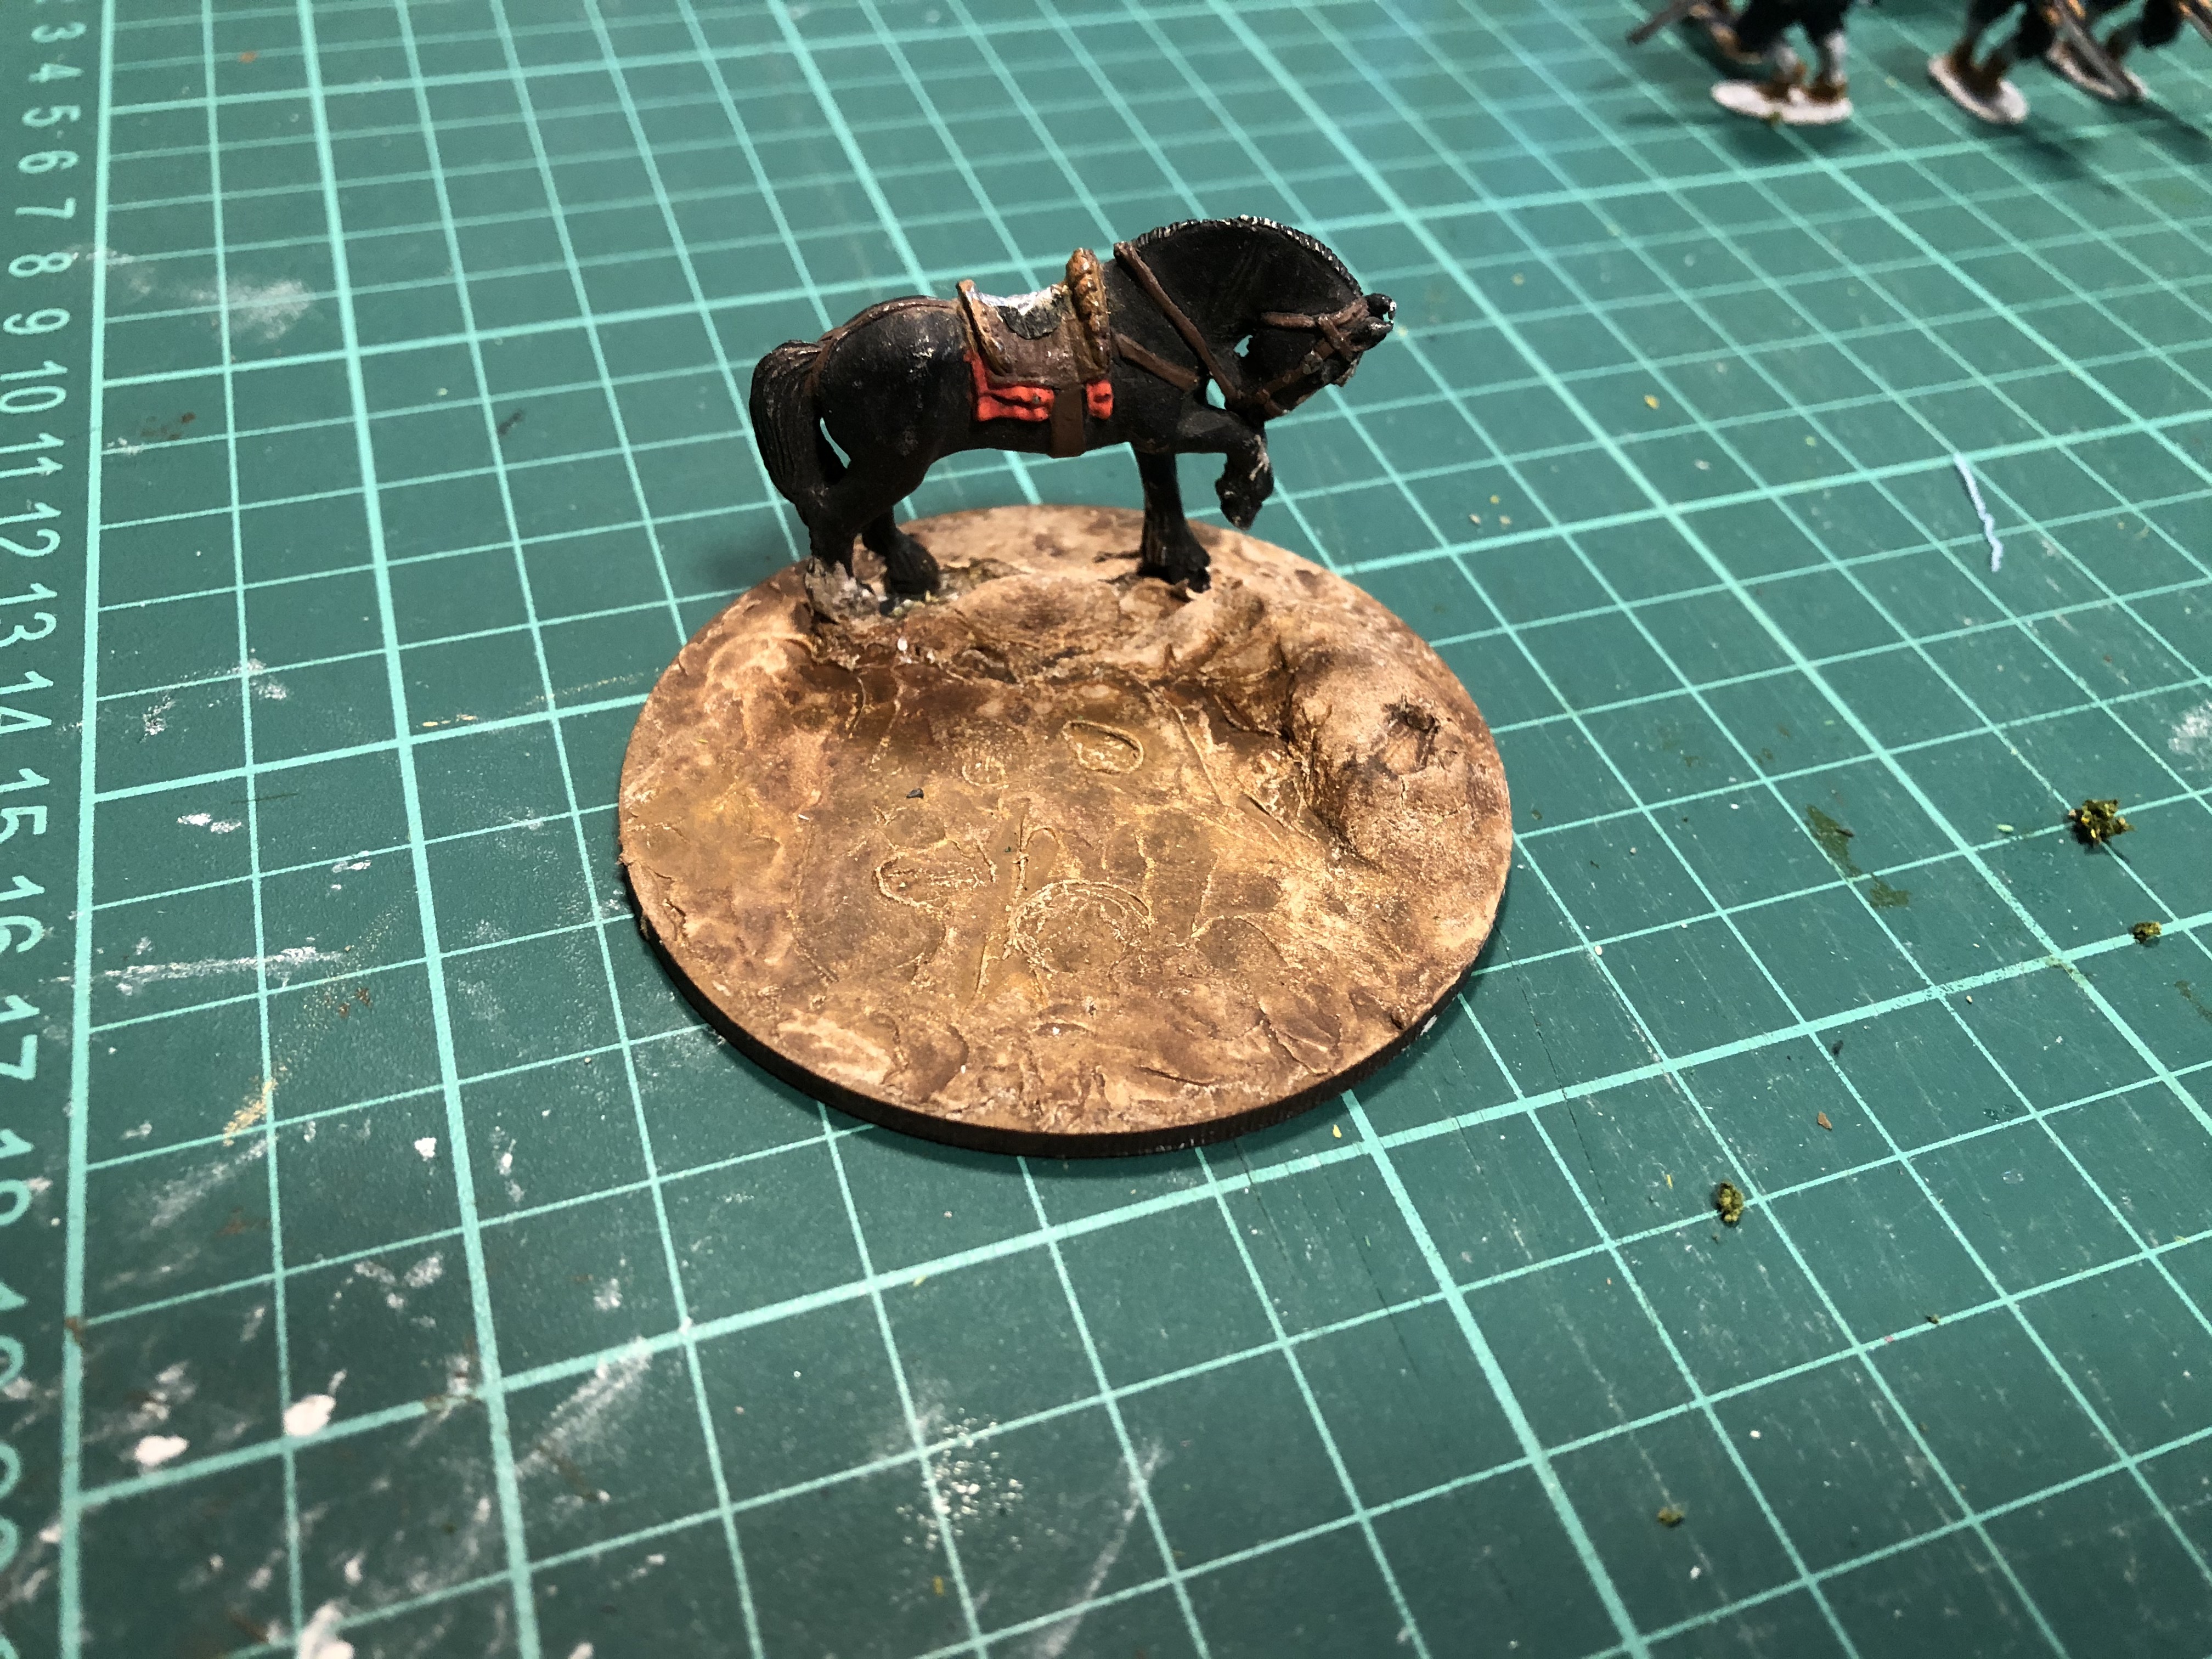
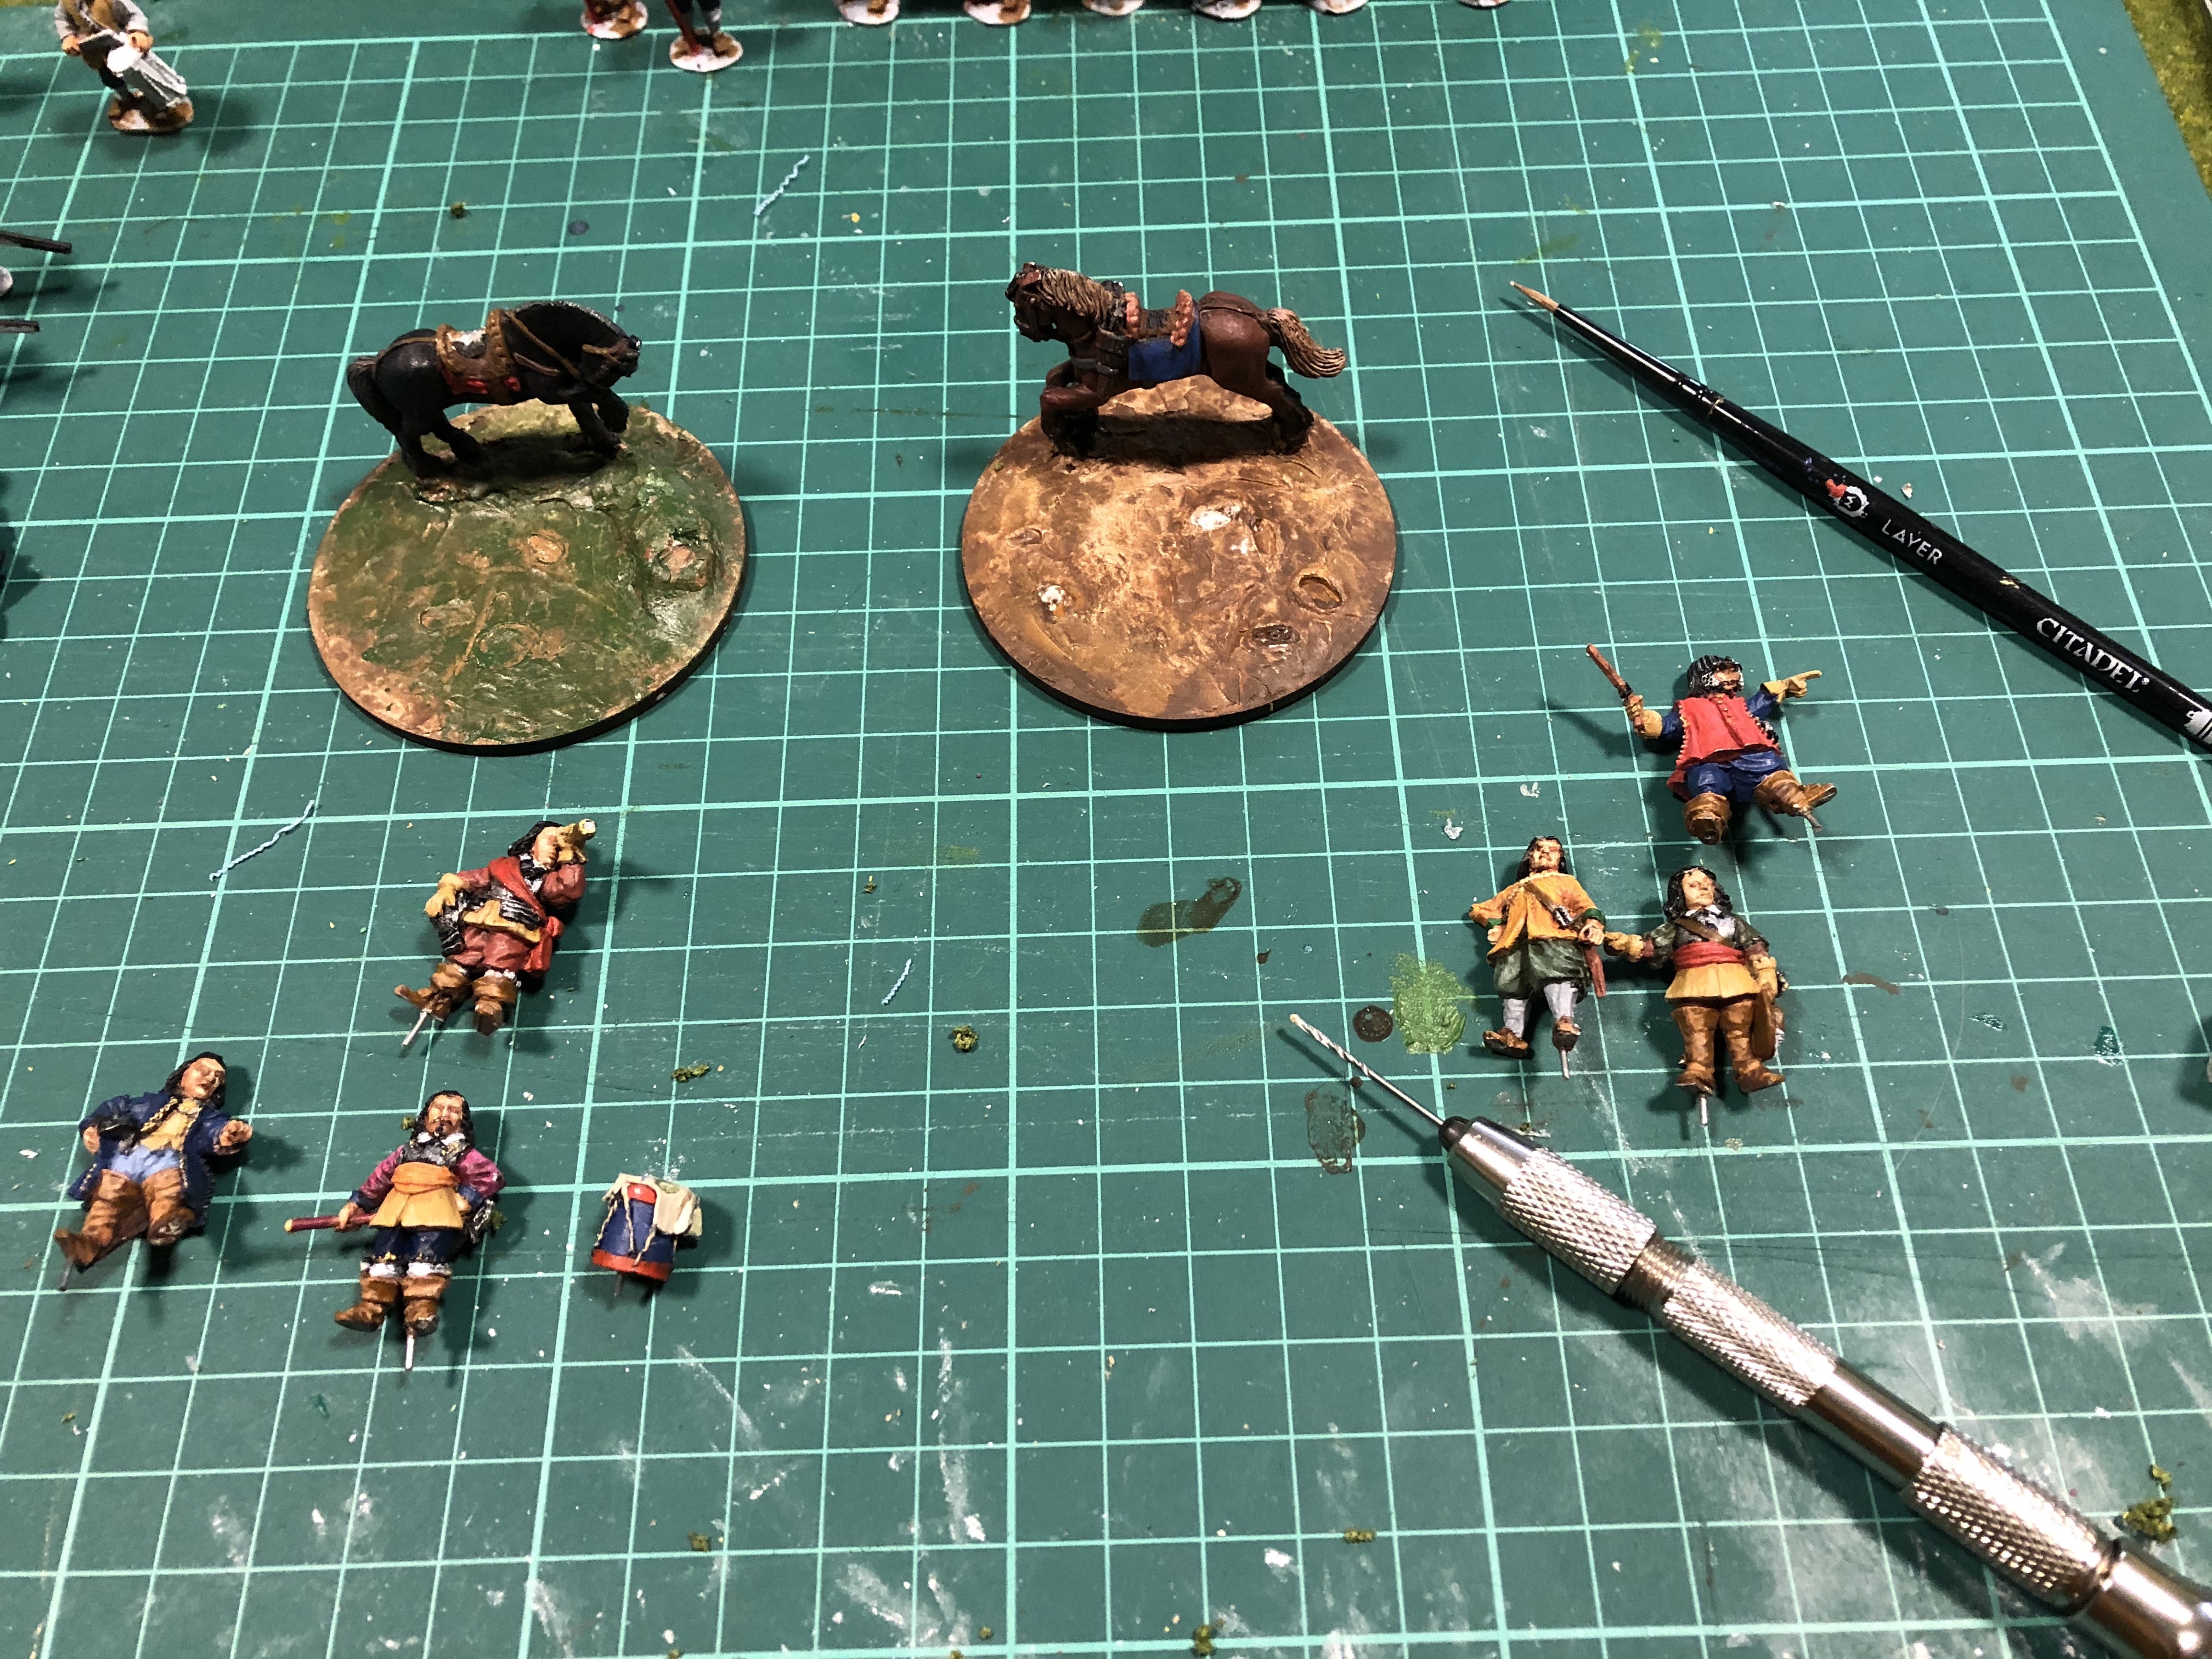
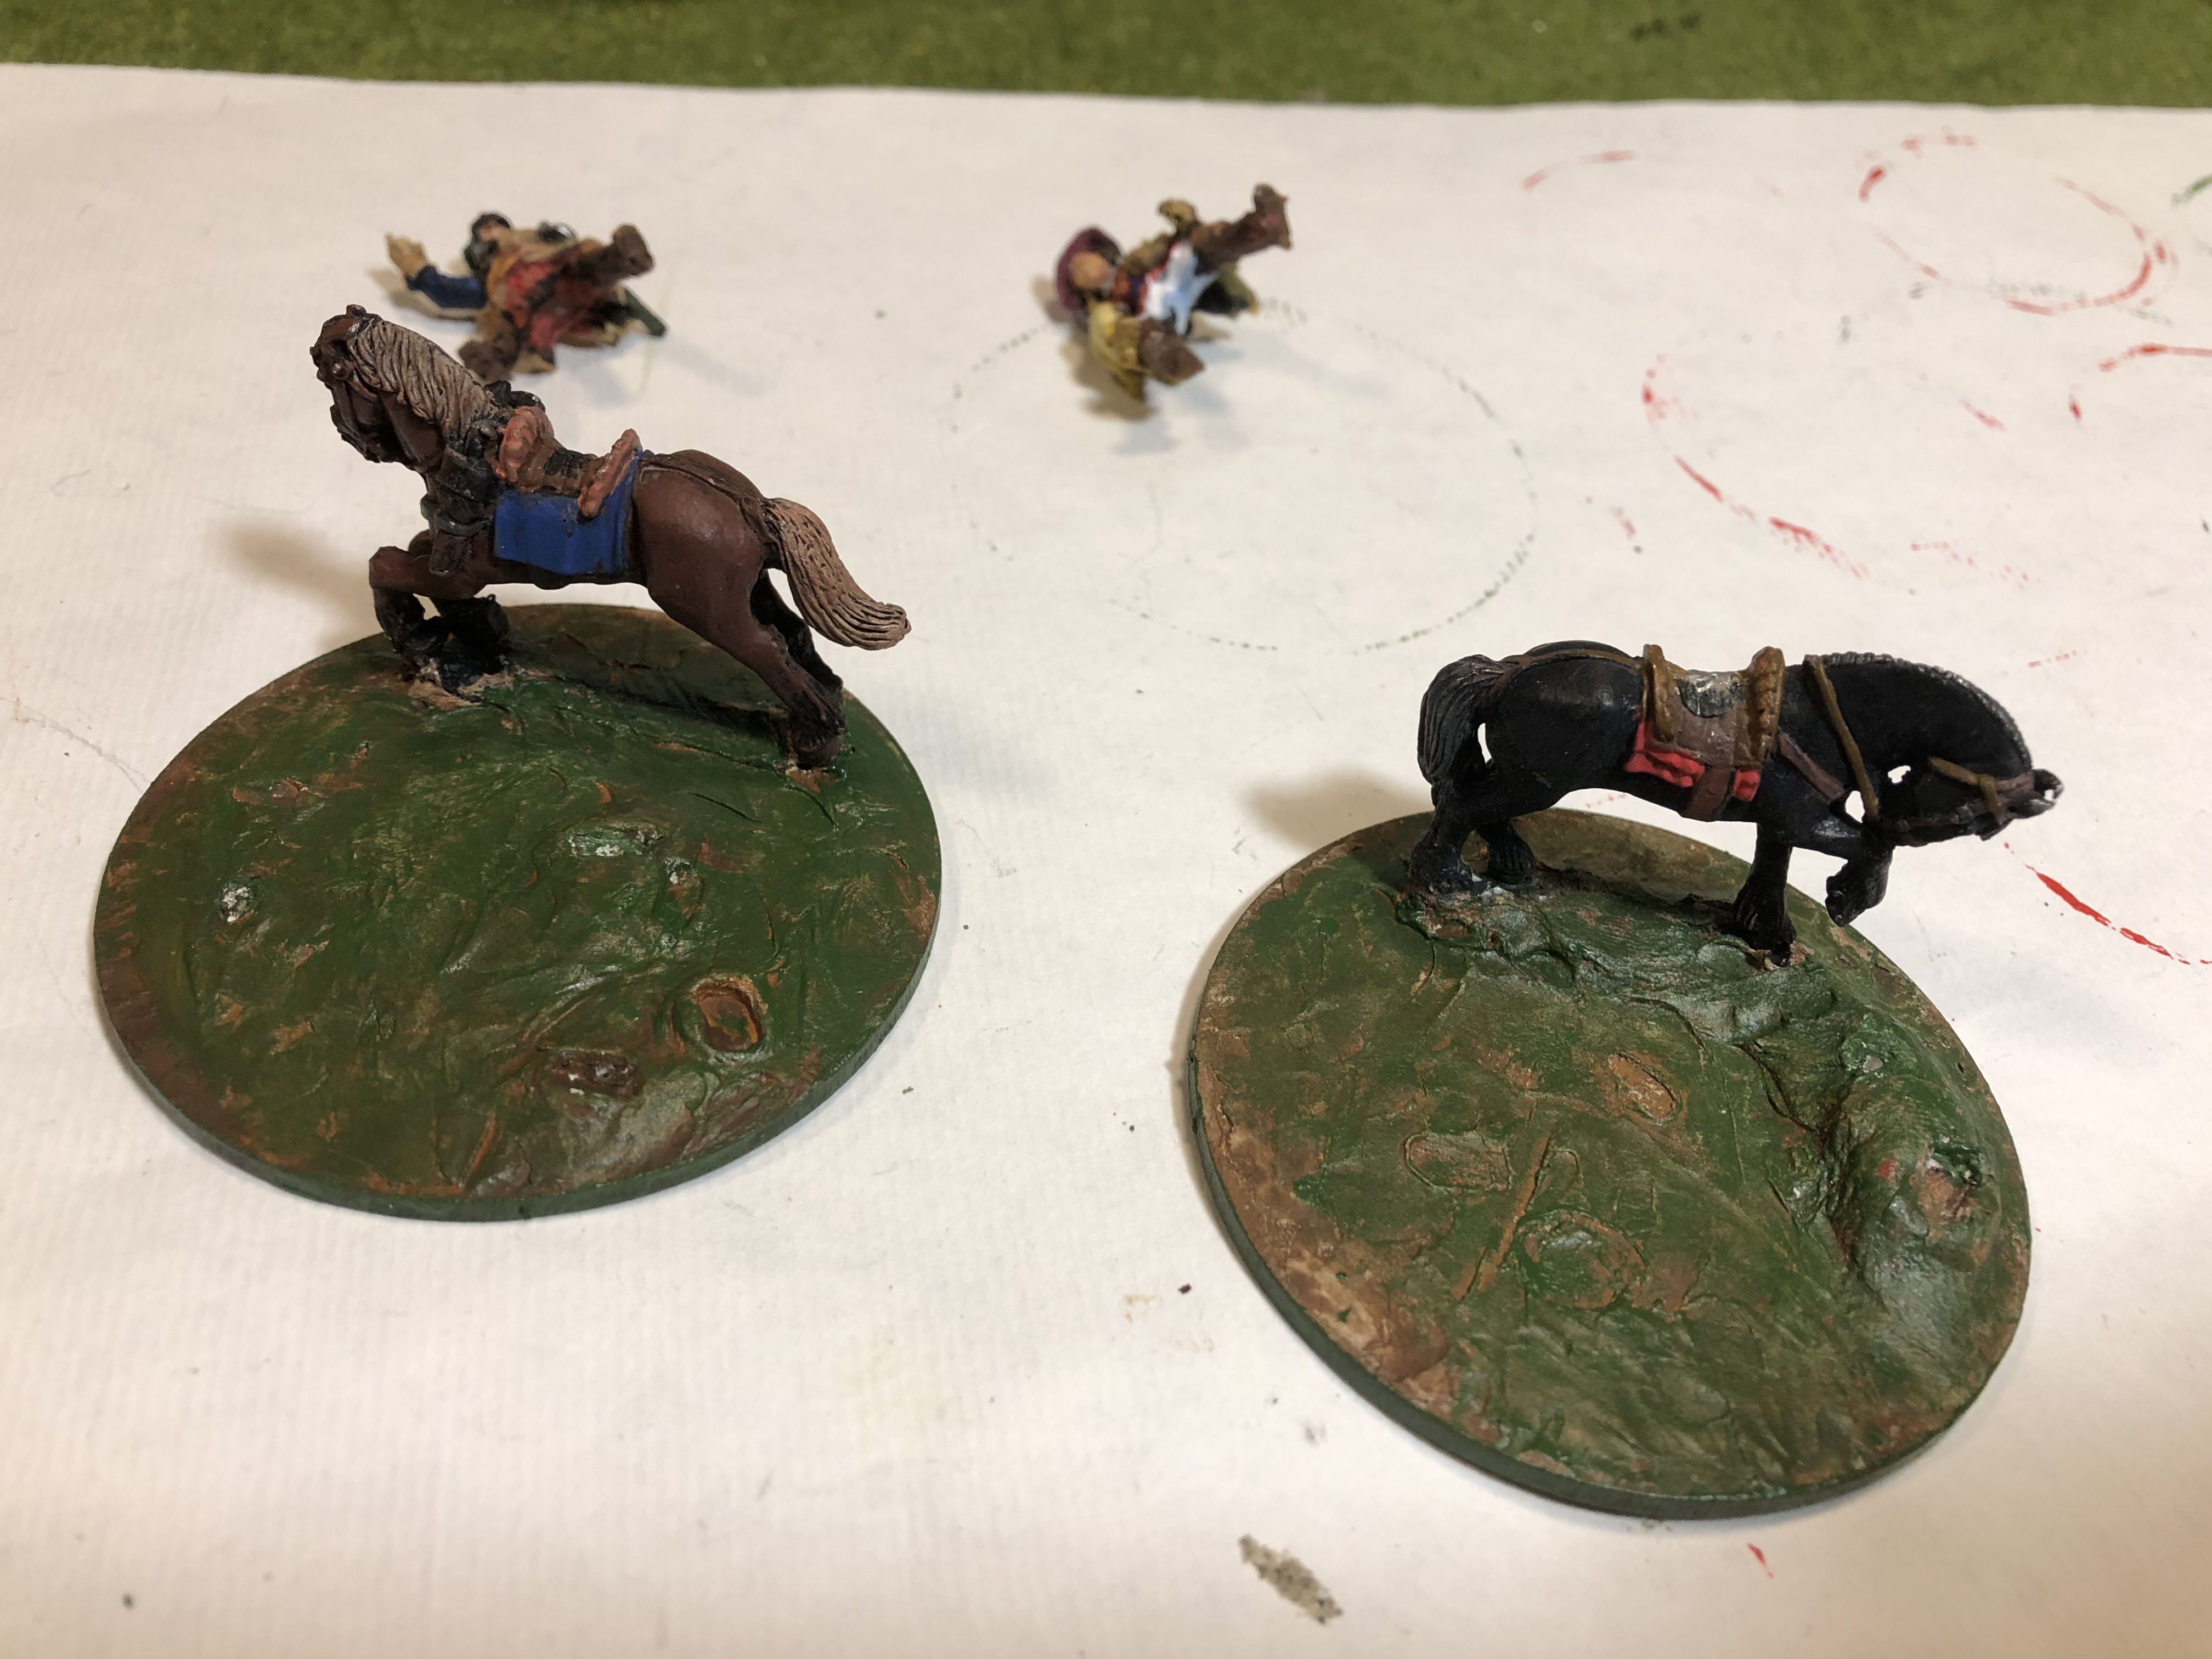

The basing for the C-in-Cs is a little more complex. The initial base – a 60 mm round – has a horse fixed initially. The base is then given a more undulating surface by using DAS air drying clay to create more texture. I just pressed the clay down firmly with my fingers and squished the clay about to add texture.
This is the first time I’ve used DAS so I was not sure how the final base would look. As the clay dried, I stood the minis in the positions I wanted them to indent the clay slightly. Just enough to indicate when their feet would stand.
Each of the figures had their own bases trimmed off and a short piece of rod – actually this is an off cut from a paper clip – used as a mounting point. Once the DAS dried off (I left it a full 24 hours) I checked the positions again, and drilled holes in the base using a small hand drill. I guess a Dremel or similar would work just as well.
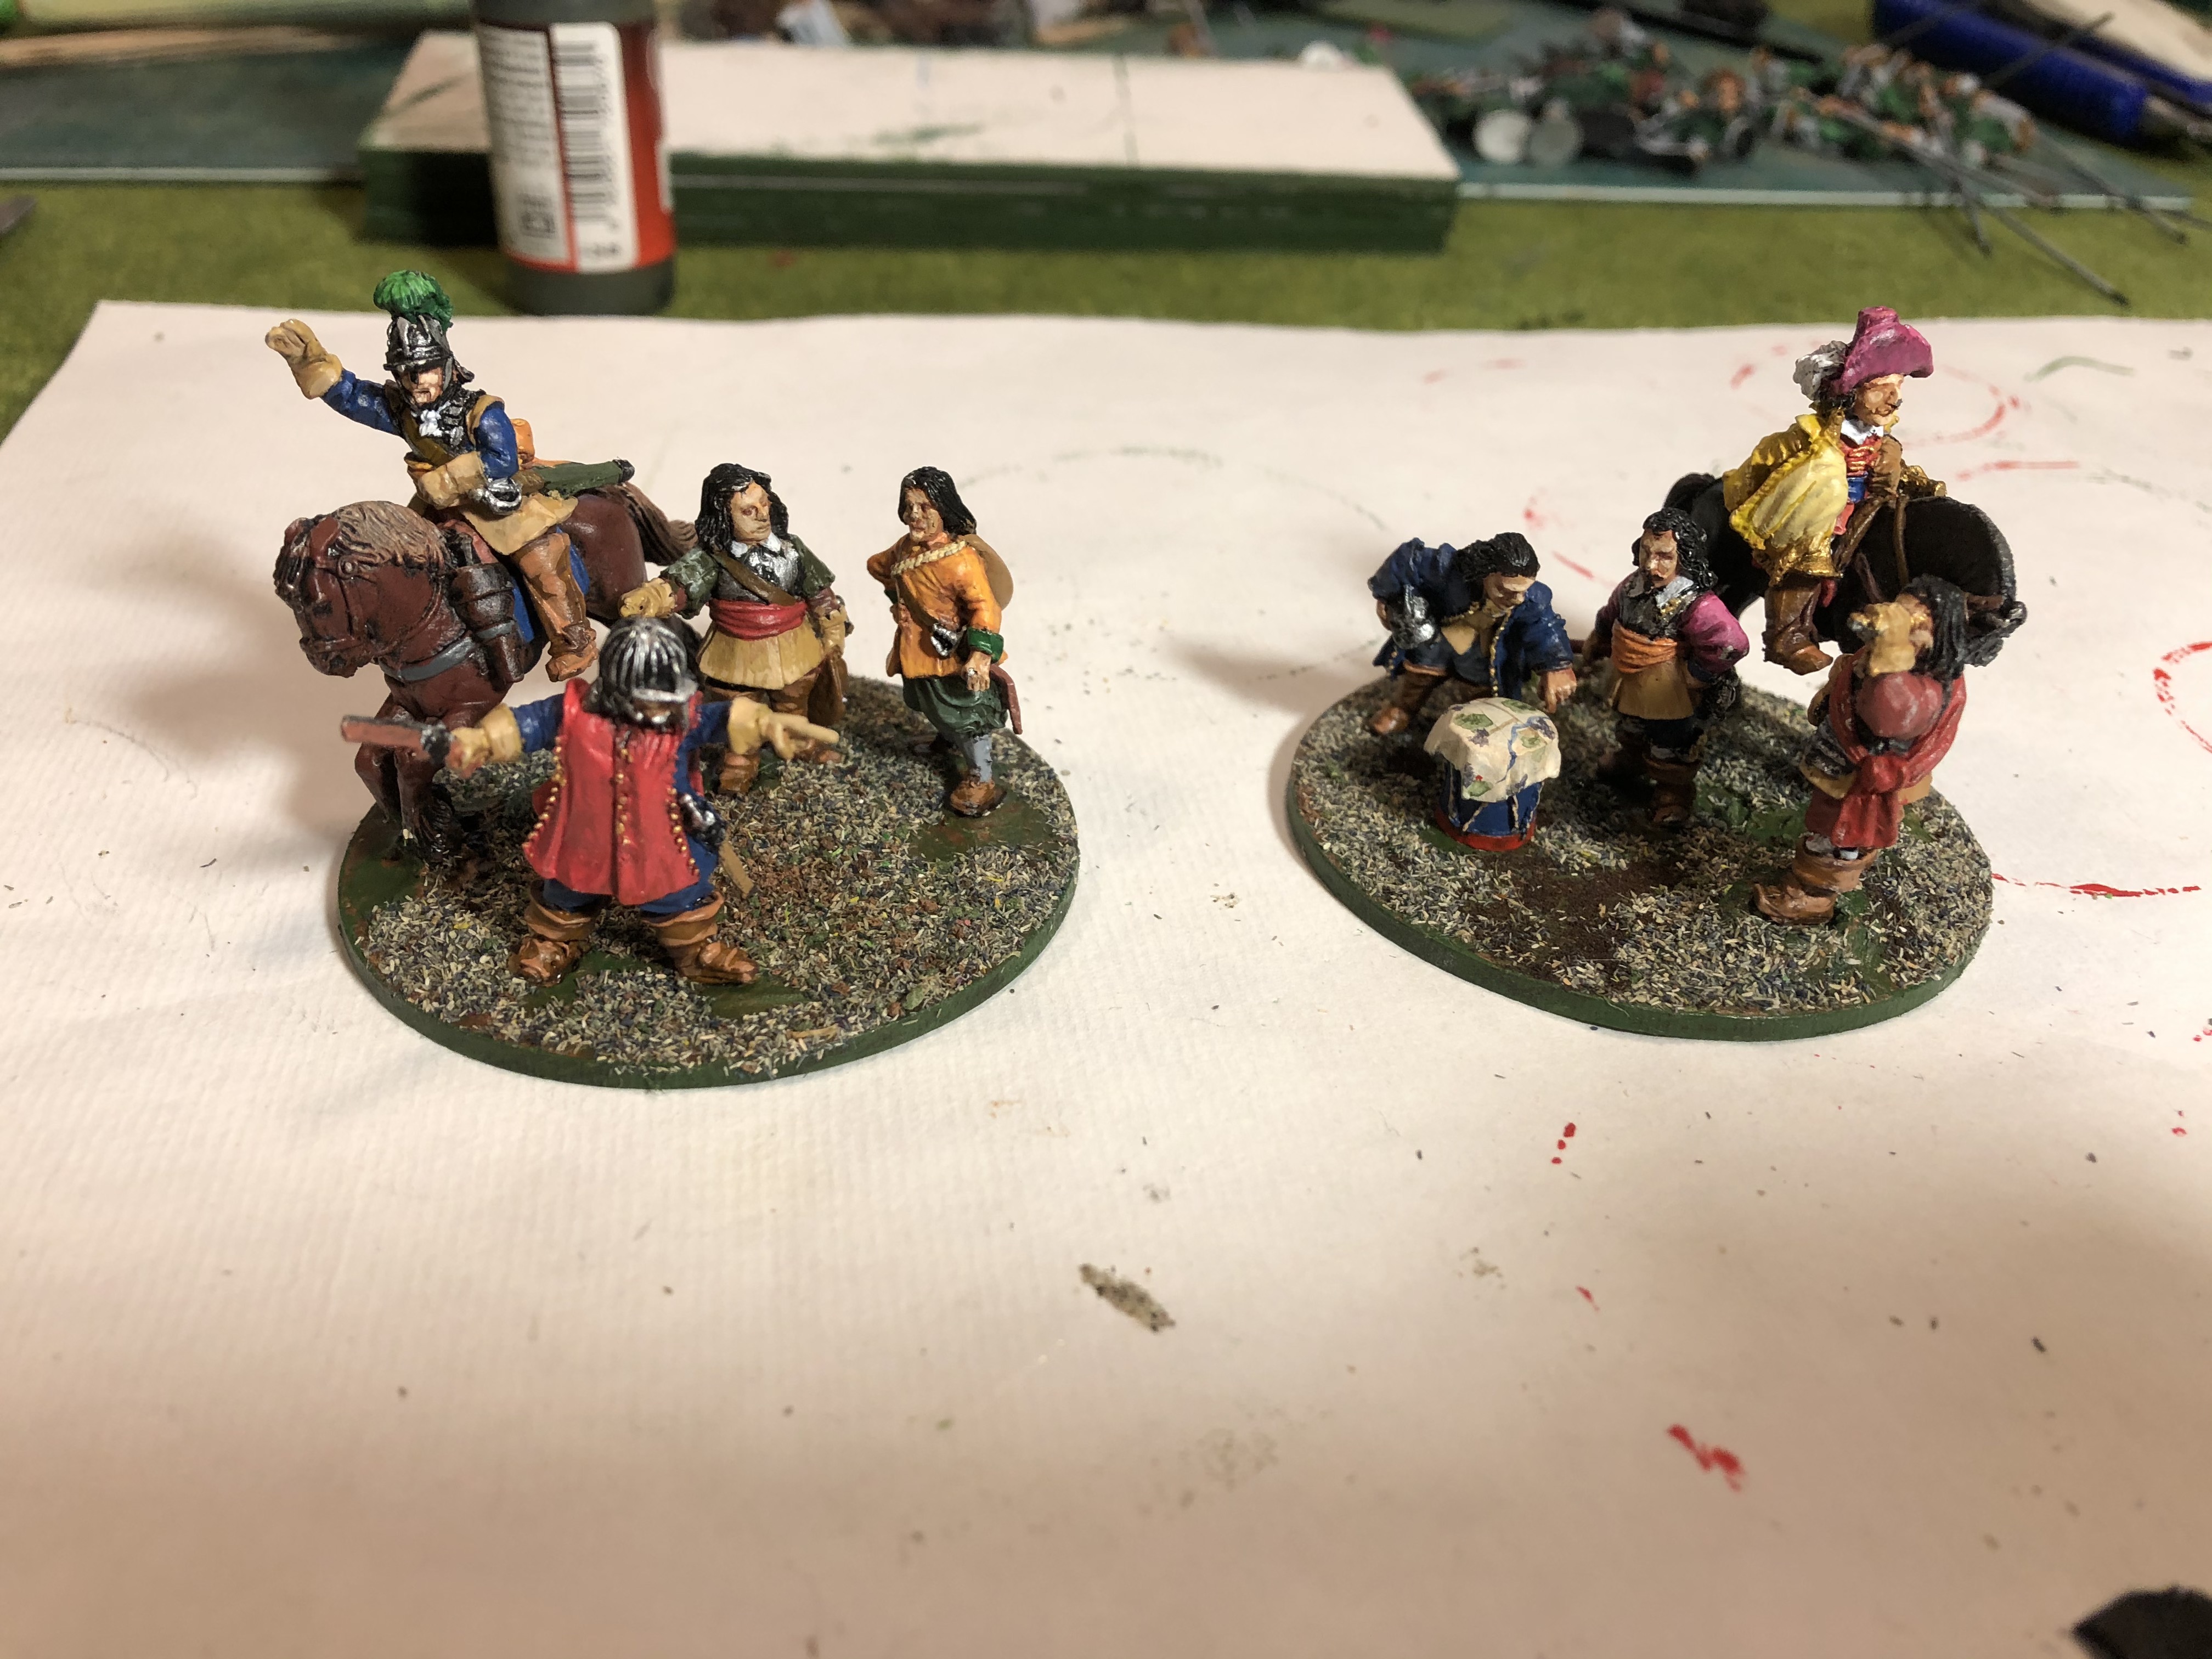
The surface was coated with two coats of watered down PVA (about 50/50 or 60/40 water to PVA, I didn’t measure it specifically). This was also allowed to dry fully for 24 hours. Once set I painted the bases in a random way with acrylic paints, using brown and green (just what I had in).
Once fully dry, the figures were fixed into position with super glue and some flock added to finish off the base.
The size of the base isn’t particularly important, but they can be used in both the full Principles of War rules, and the condensed ones I developed for my son and I to play.
So, next step is to get a further 4/5 Foote regiments finished, then on to the cavalry – which I’m not looking forward to. I don’t like painting horses.
Up-date after Easter

A bit of a break over the TWO Easters we celebrate as I am living in an Orthodox Christian country and this year Easter was one week later than the UK.
So a bit of a slow period in the predicted work, but so far there are three Foote regiments, 12 casualty markers, eight re-load markers, four Brigade commanders, and the two Commanders-in-Chief.
We also played through the rules a couple of times (my son is SO “lucky” with his dice throws – no reflection on my command decisions at ALL!) and I realized I need some form of “Unsteady” marker as well – so, I’ll give that some thought.
Also for the “full” game, I want the regiments to have different starting ammunition – I am thinking of 2d6, or d6+6 (this makes the differences between units less dramatic), and again an on-table-top marker might be good. But, does that mean too many markers? Not sure yet, so I’ll make a couple of testers and see how they look.
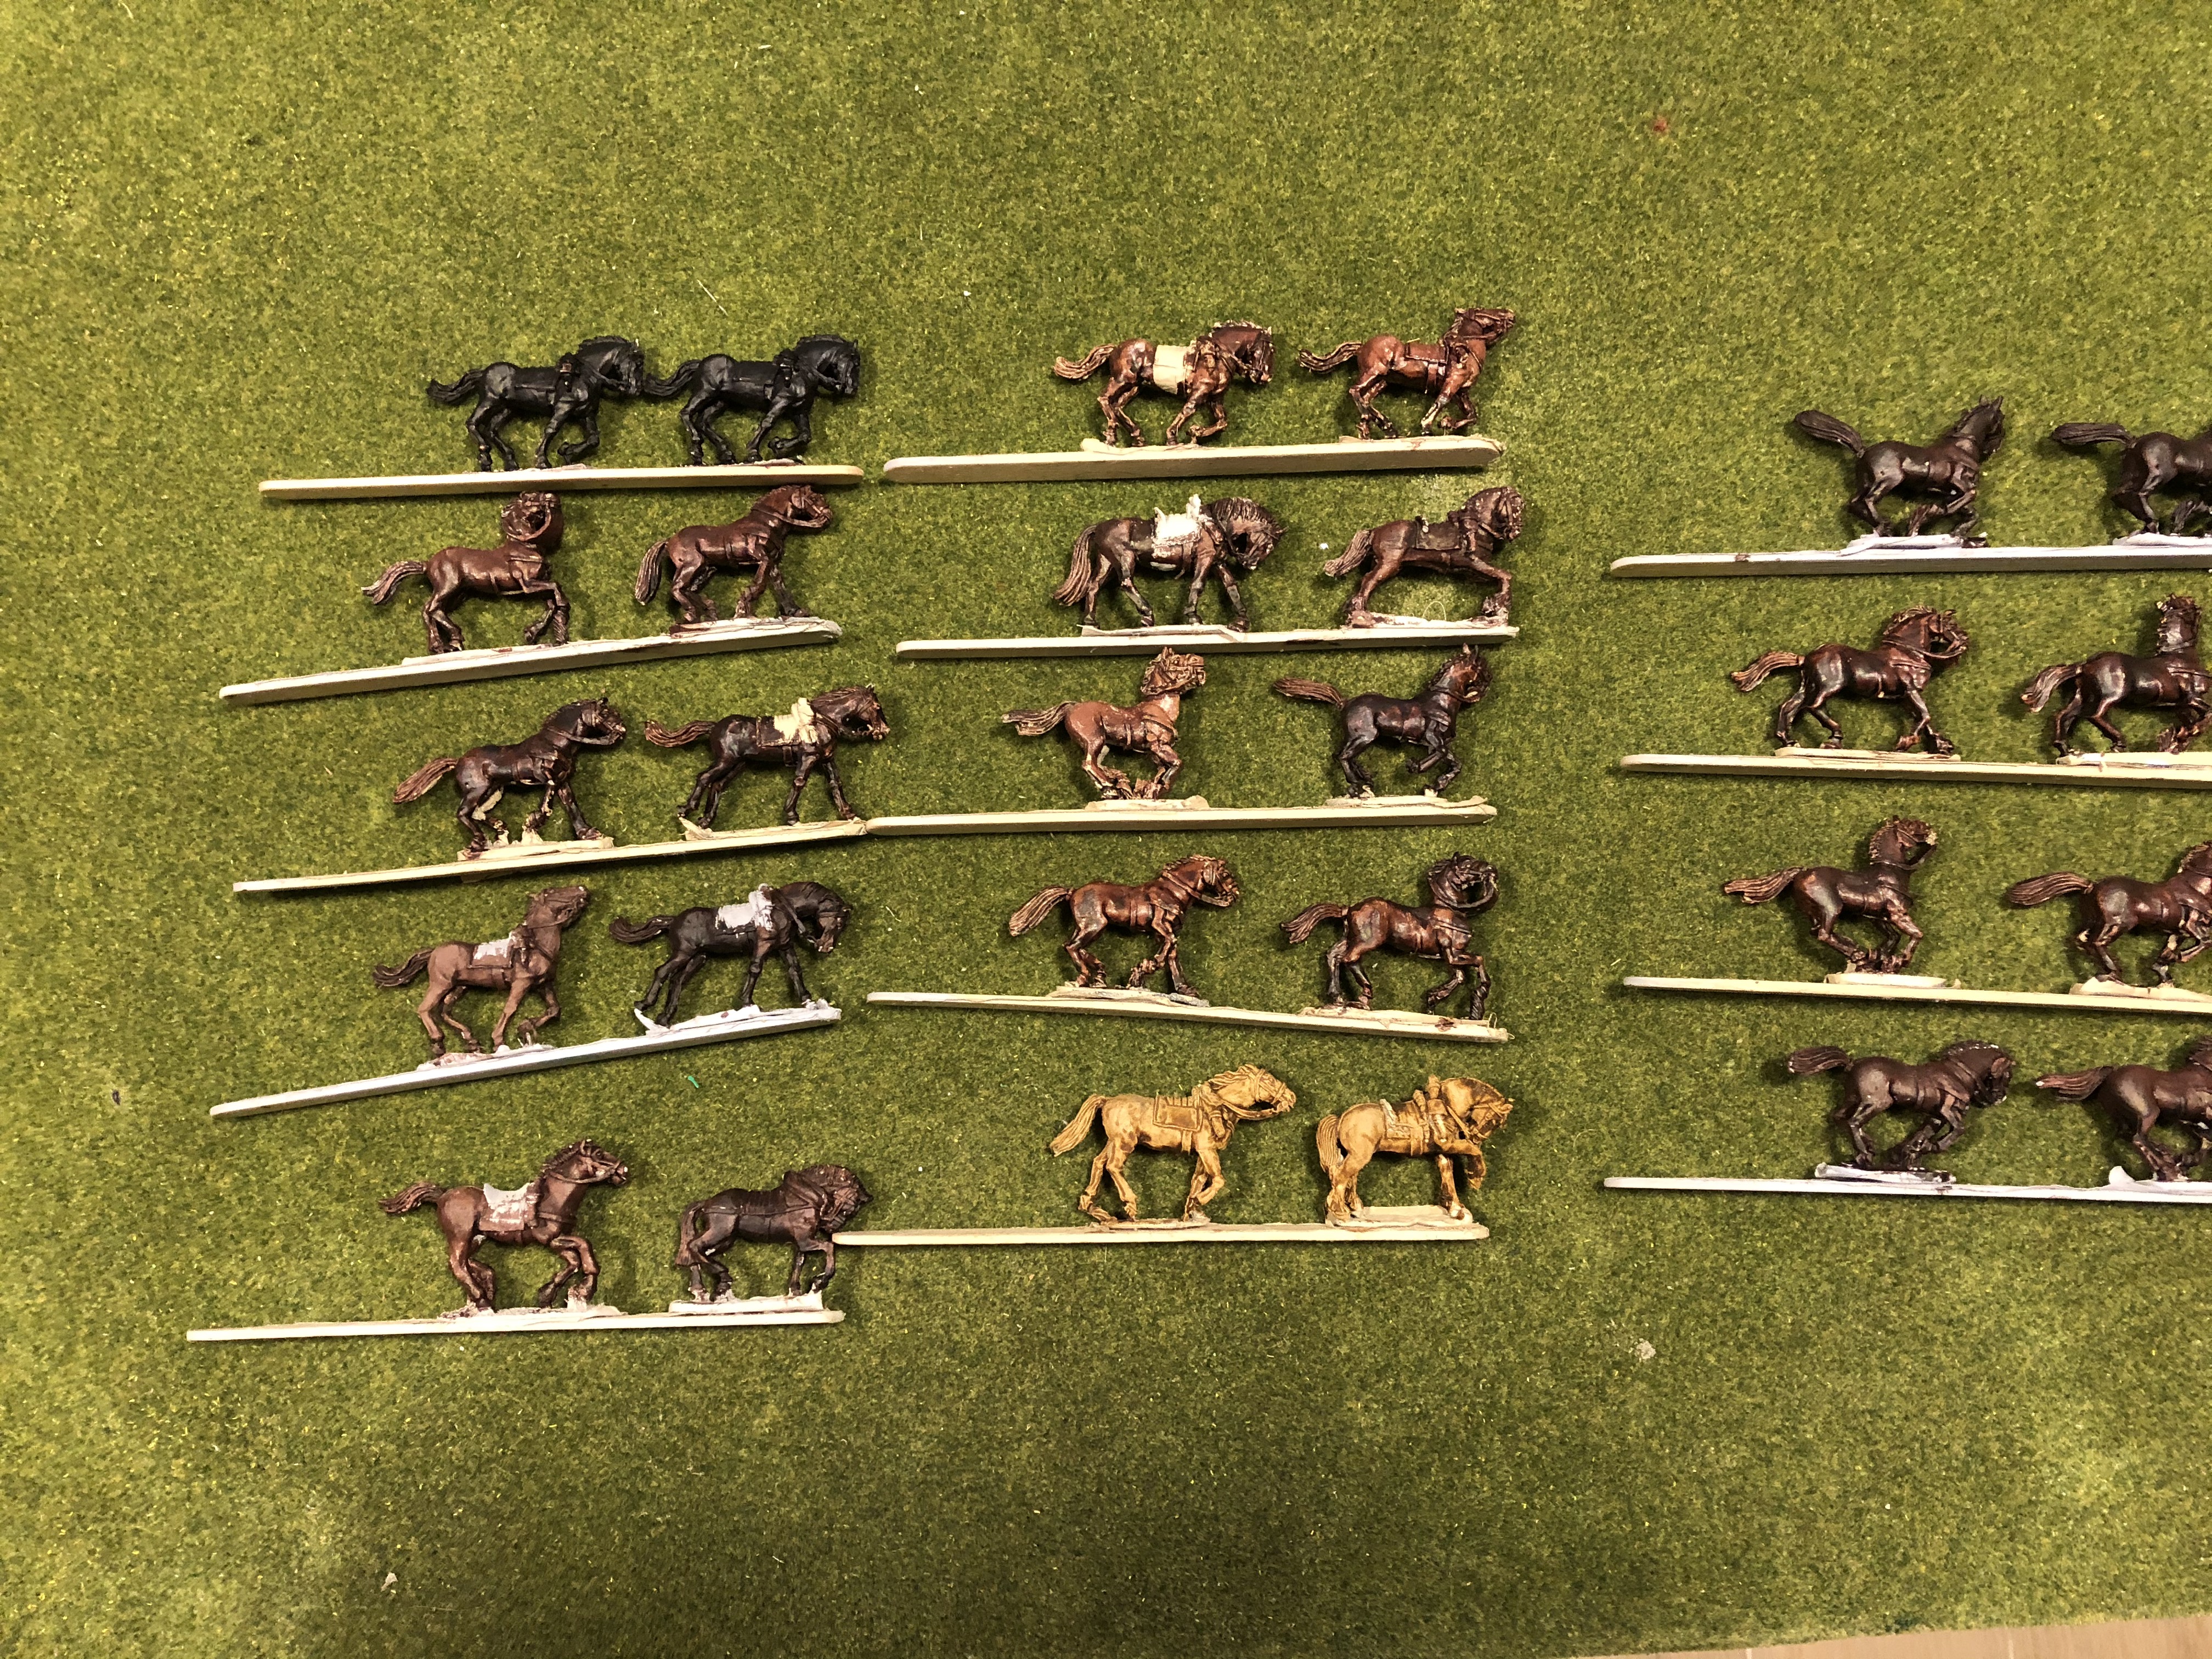
Next up I want to start on the Cavalry and all those horses. I’ll be tying out some different techniques with contrast paint (a brown) over different base colours. I expect that I’ll try different light browns as the base colour. I have several of the “Foundry triad” paints, and the highlight colour of the three might work. I’ll see.
All the best.
Horses and Contrast paint
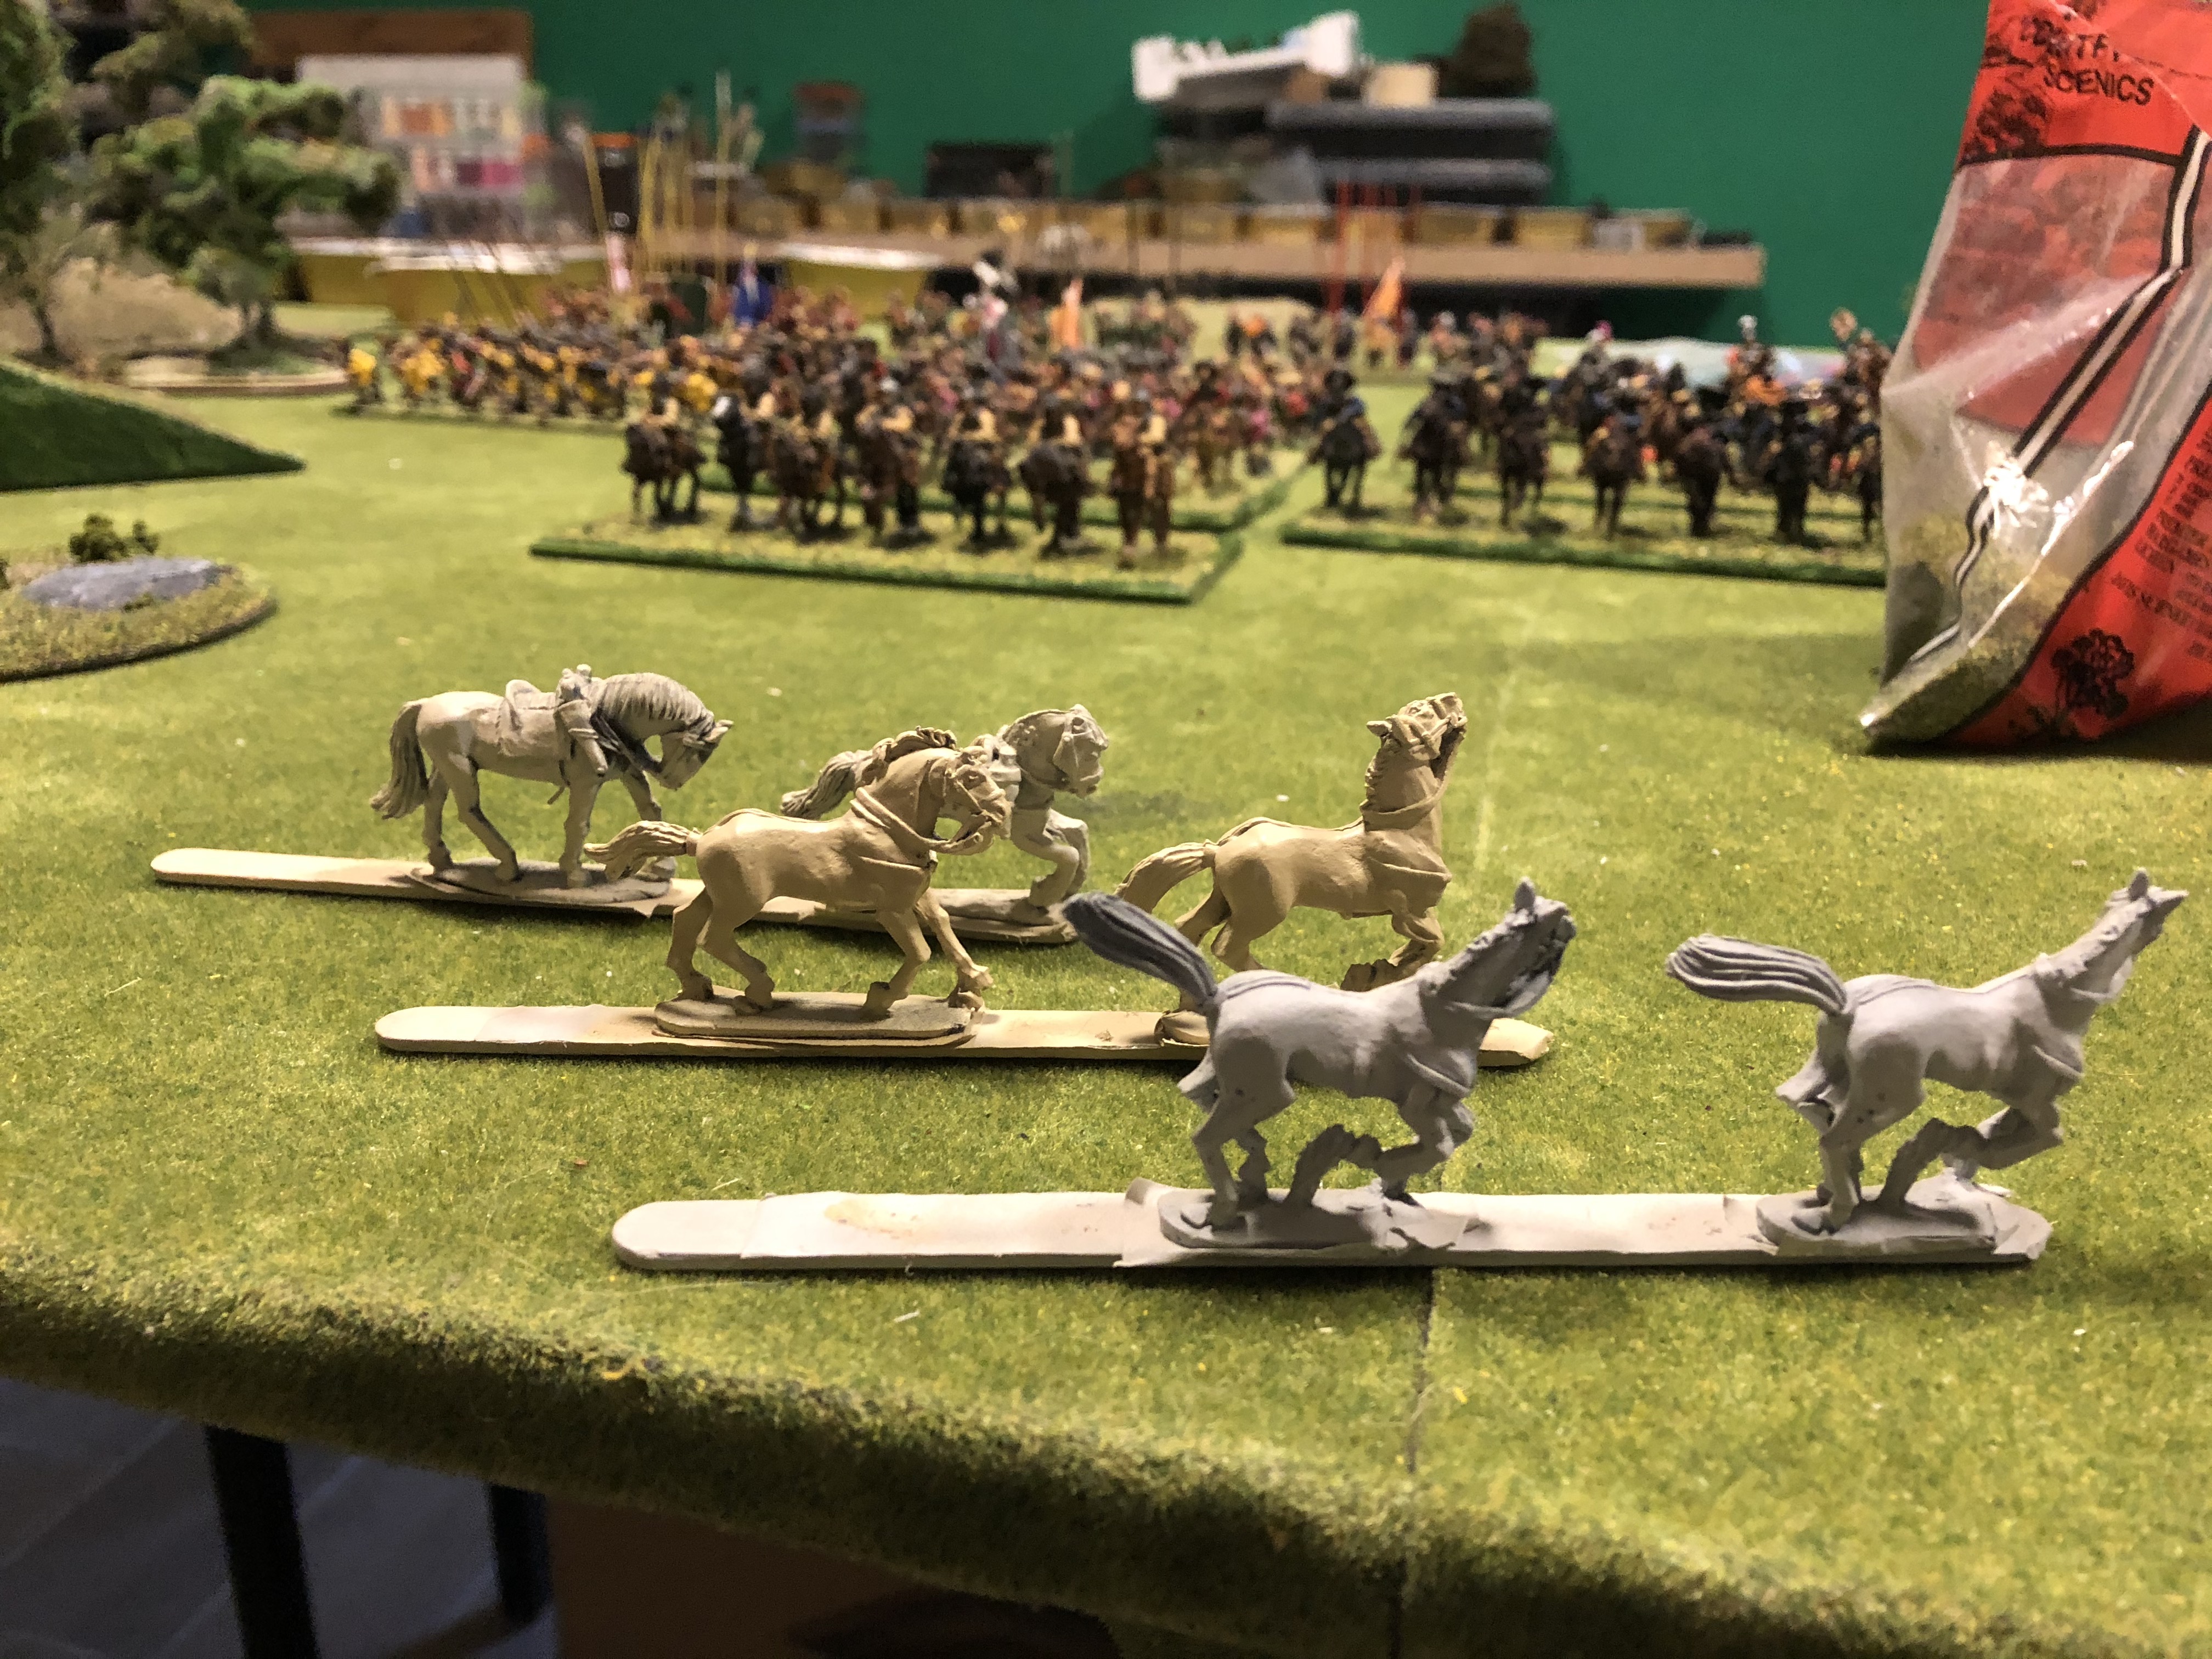
As I have a lot of horses to pain, and the whole point of this Spring Clean challenge is to get as many units painted and on the table as possible, I am looking for a simple, but reasonably effective solution.
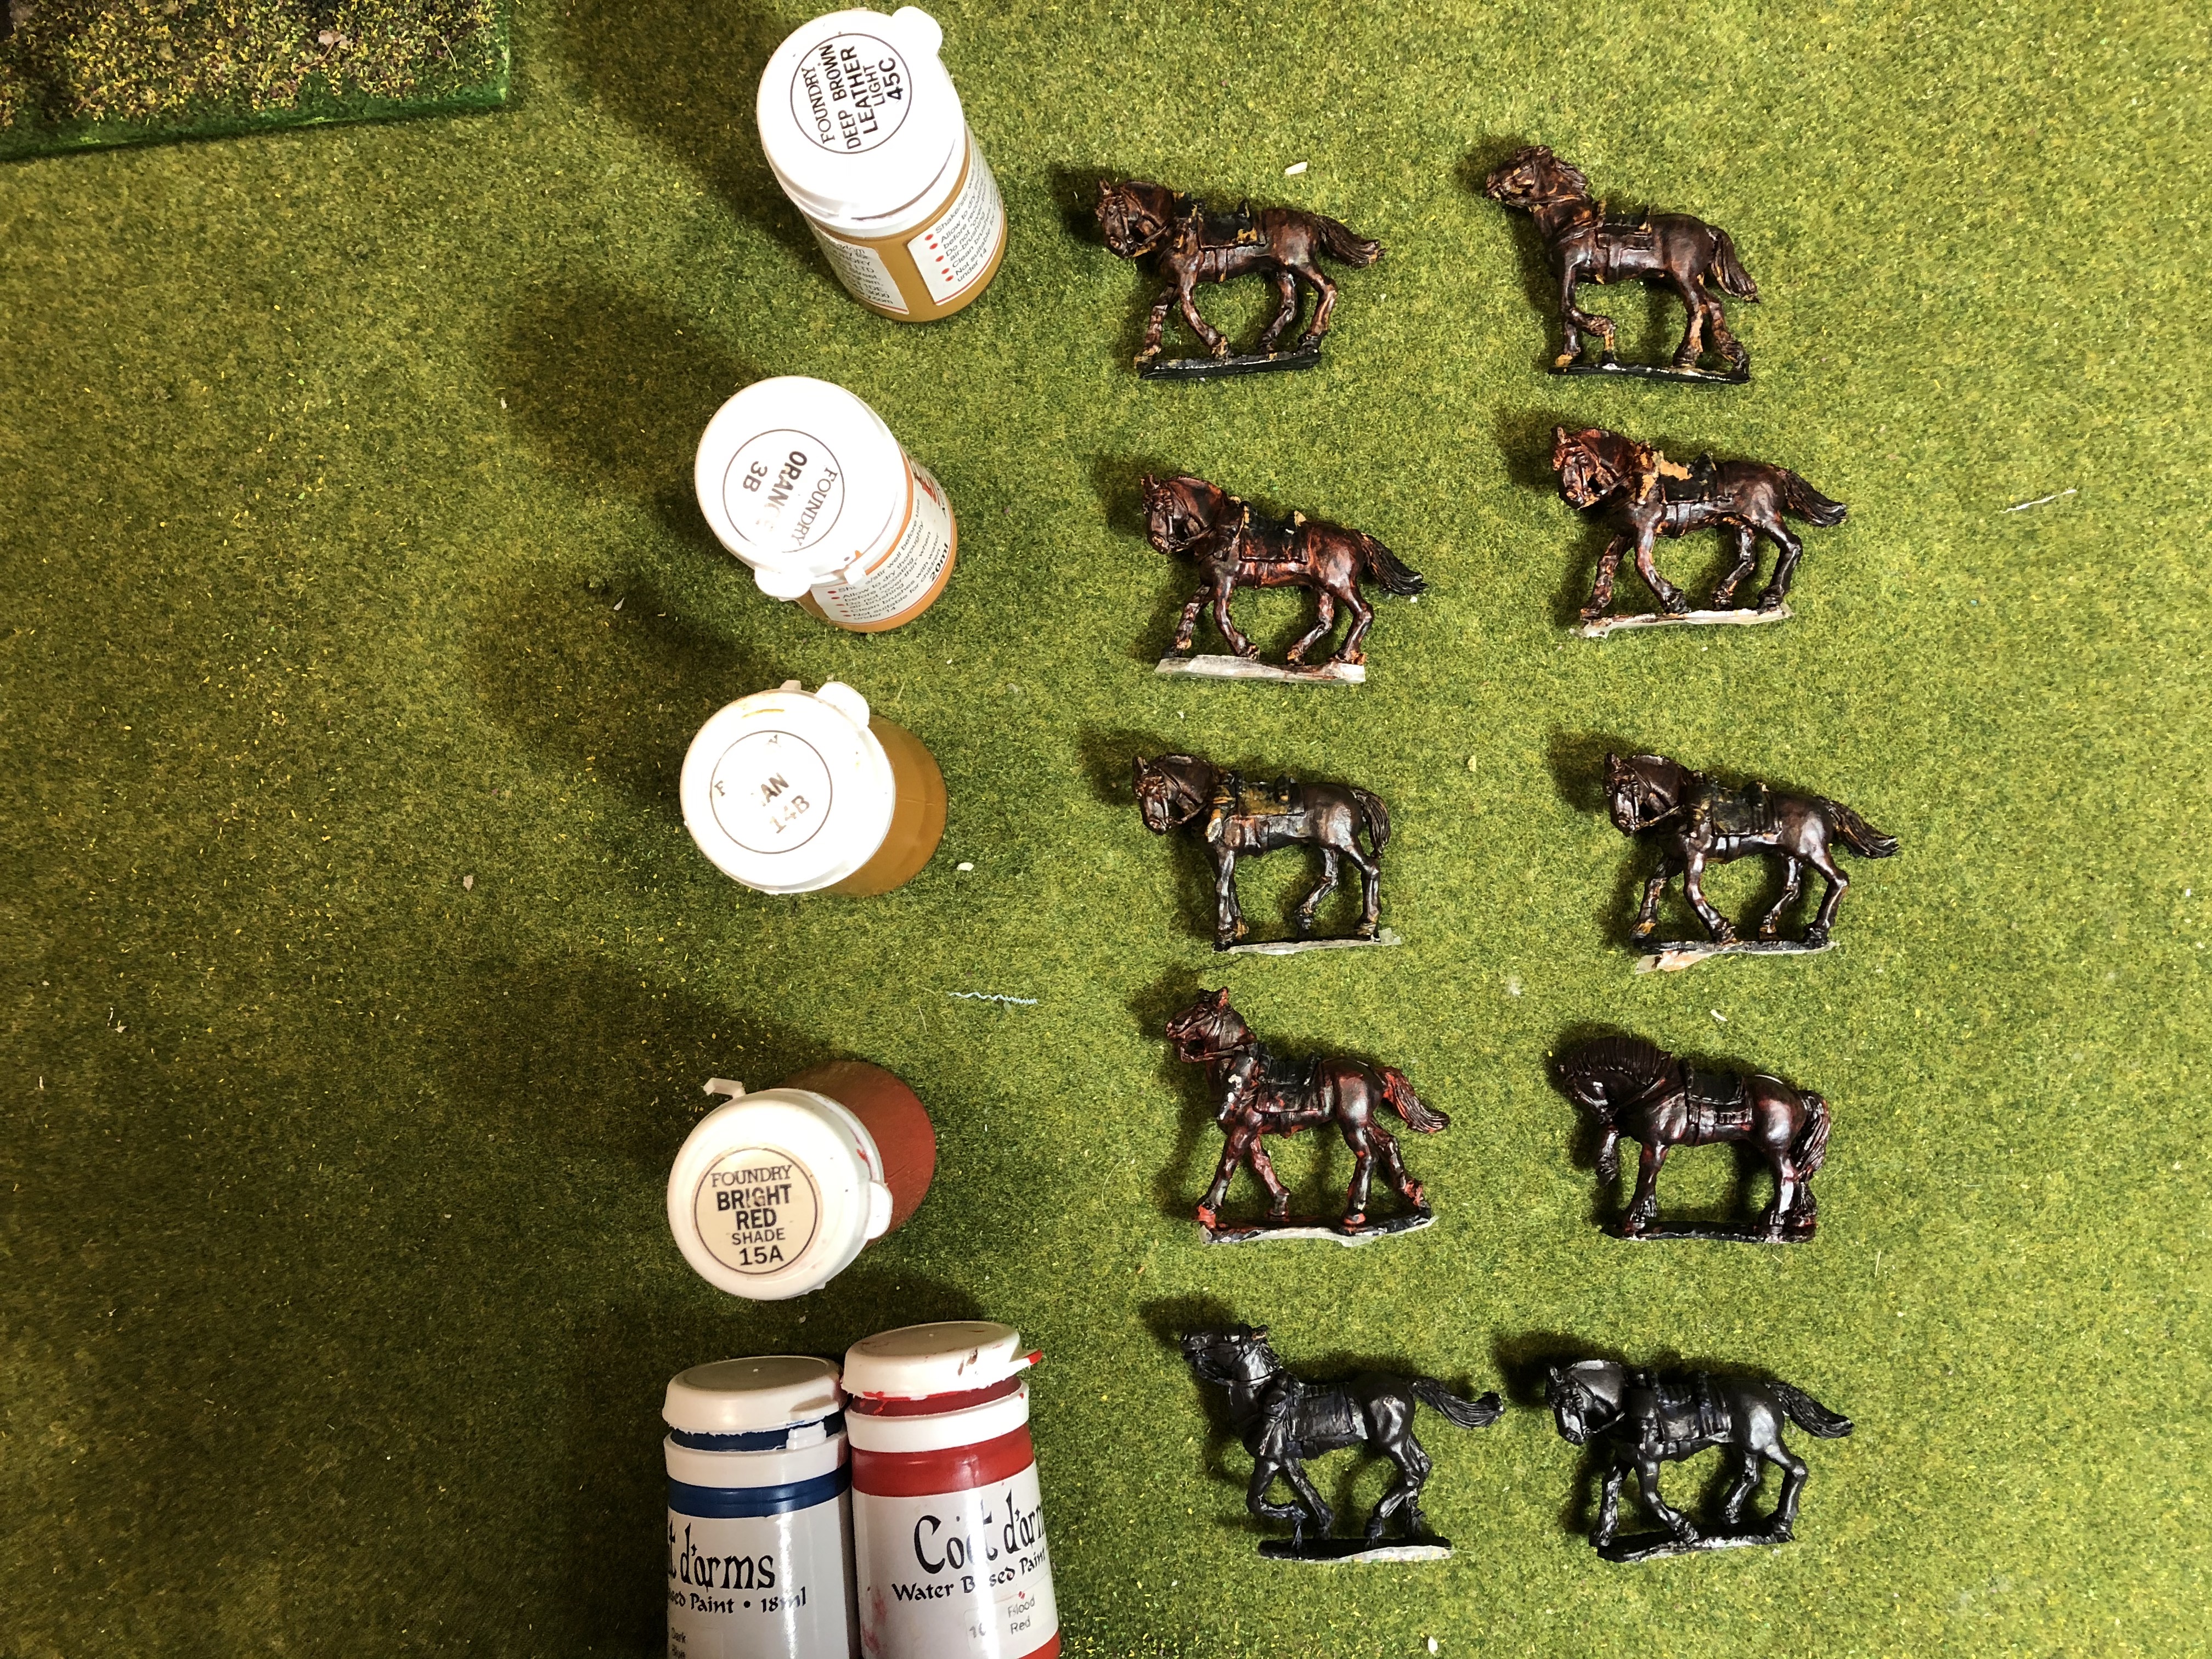
Some time ago I bought a brown contrast paint from GW (Cygor Brown) with the intention of trying it on another project (which hasn’t as yet started!), so I thought this might be a solution. I was advised to paint it straight from the pot, although some dilution was possible. I was also told that the underlying base paint would influence the final colour.
With this in mind I used the three primer paint spray cans I had (From GW: Corax White and Wraith Bone, and from Army painter their Skeleton bone). I sampled six horses with the primers – two of each colour.
I then painted one of each set with undiluted Contrast paint, and the other with a slightly diluted paint. Probably about 60/40 paint to water. The effect was interesting. At least to my aging eyes, there was hardly any difference between the colours on the three test horses with the pure paint. But the diluted paint appears to me to show some variations. (See pictures)
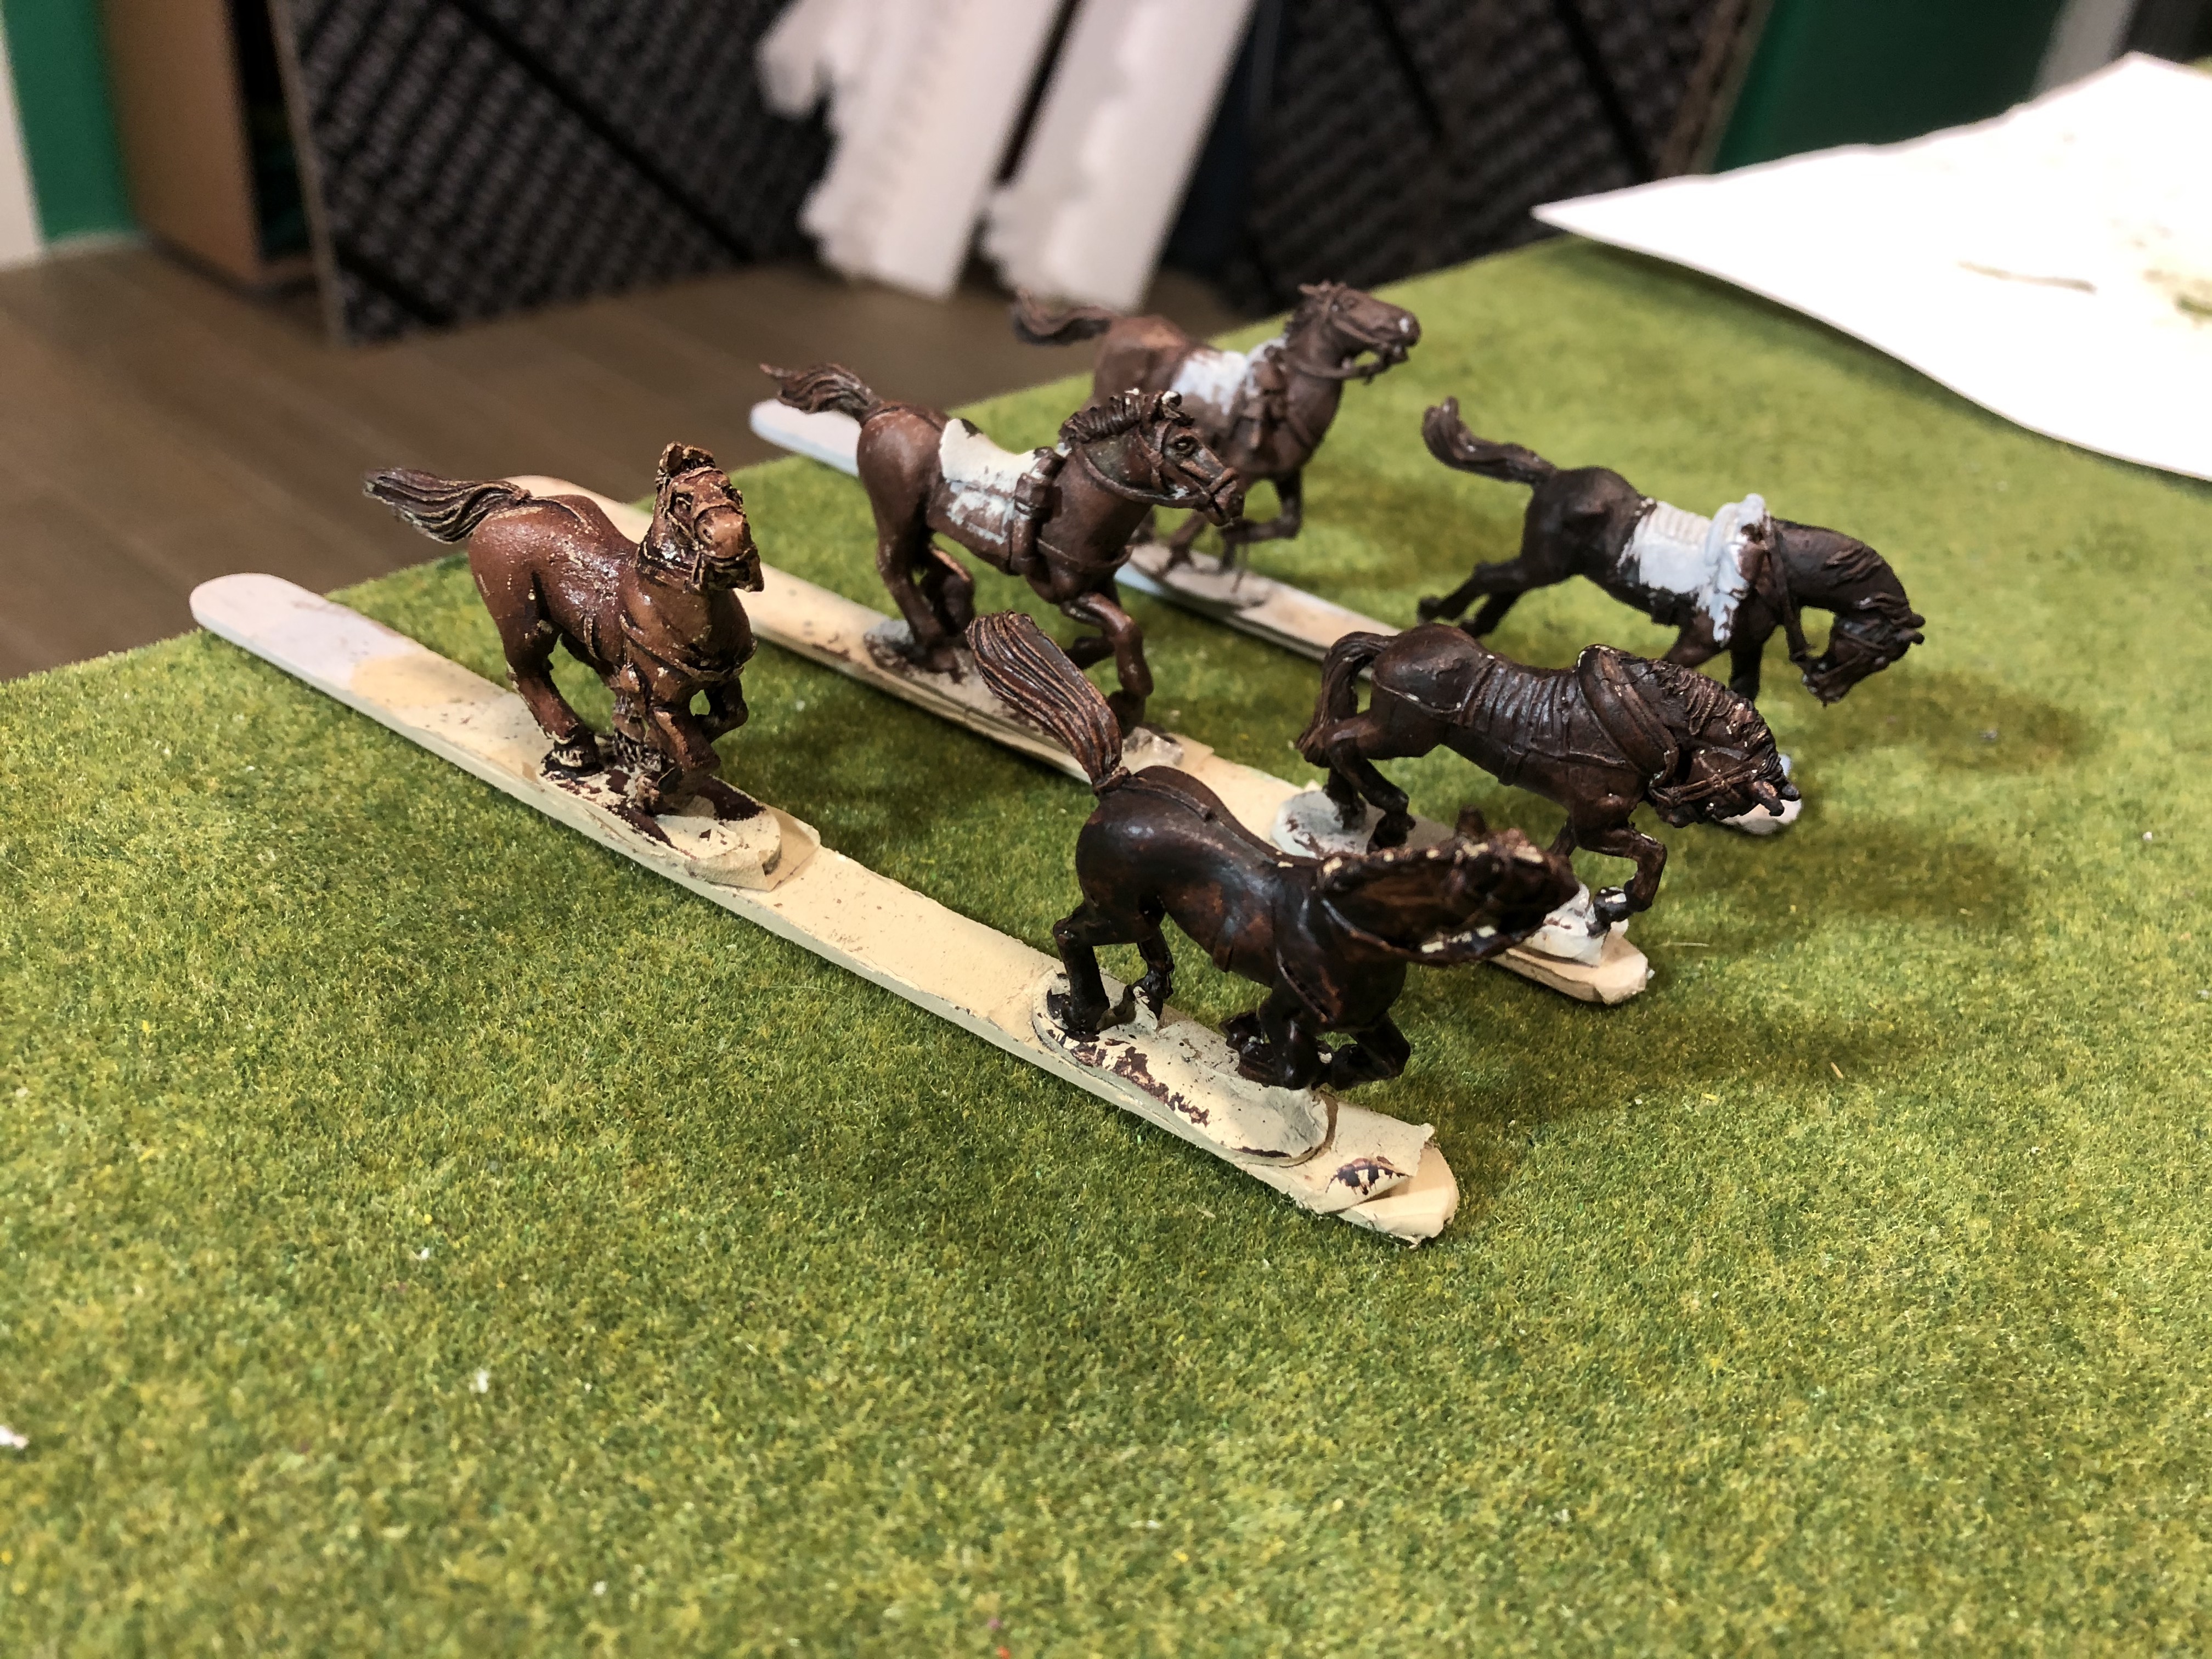
So I charged ahead and painted up some more. I think that the Skeleton bone has the best affect with the contrast paint and with a dilution of 60/40 this works for me. I tried it with more dilution and this became too runny and mottled effect. Did not look good at all. Some picture below of the horses painted using this method so far. As a group I think they pass muster. I will continue experimenting with different undercoats to see what effect they have. In passing, Black undercoat doesn’t help! Hardly any contrast to me.
A digression - contrast paint
So, although the intention of this Spring Challenge was to get as many figures painted as possible, over Easter I found myself experimenting (briefly) with contrast paints and horses.
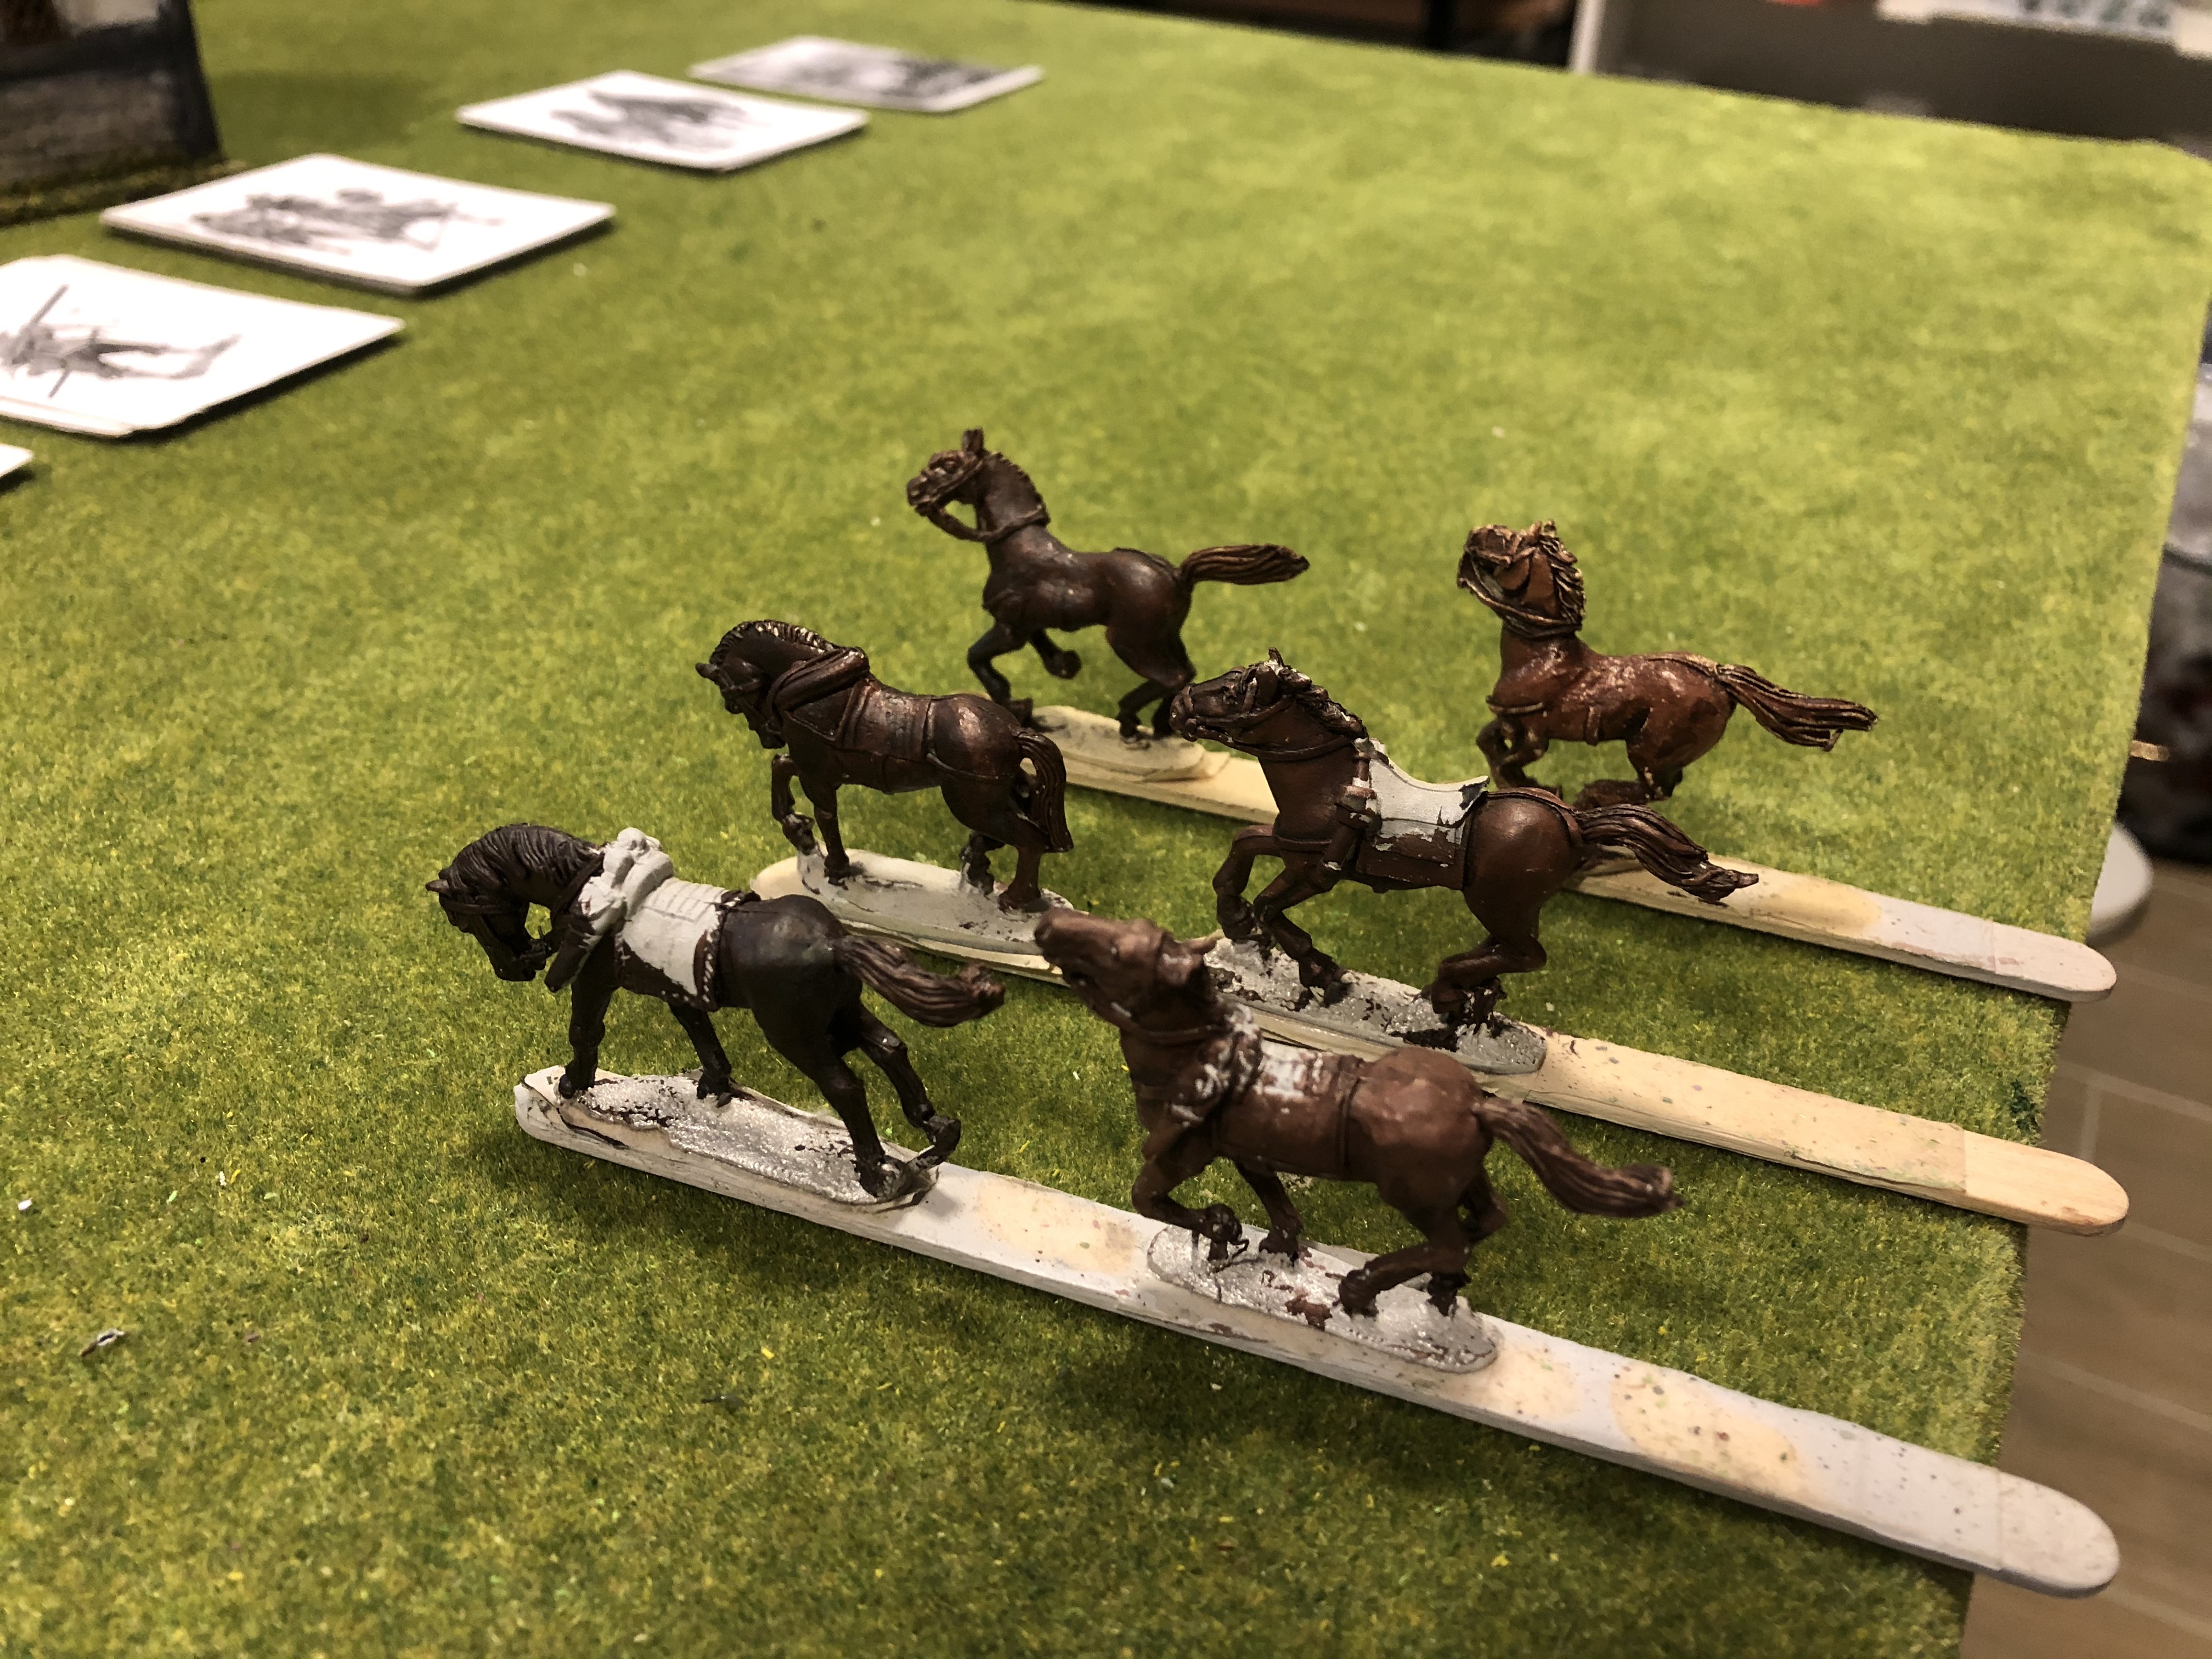
 Perhaps some odd base painting?
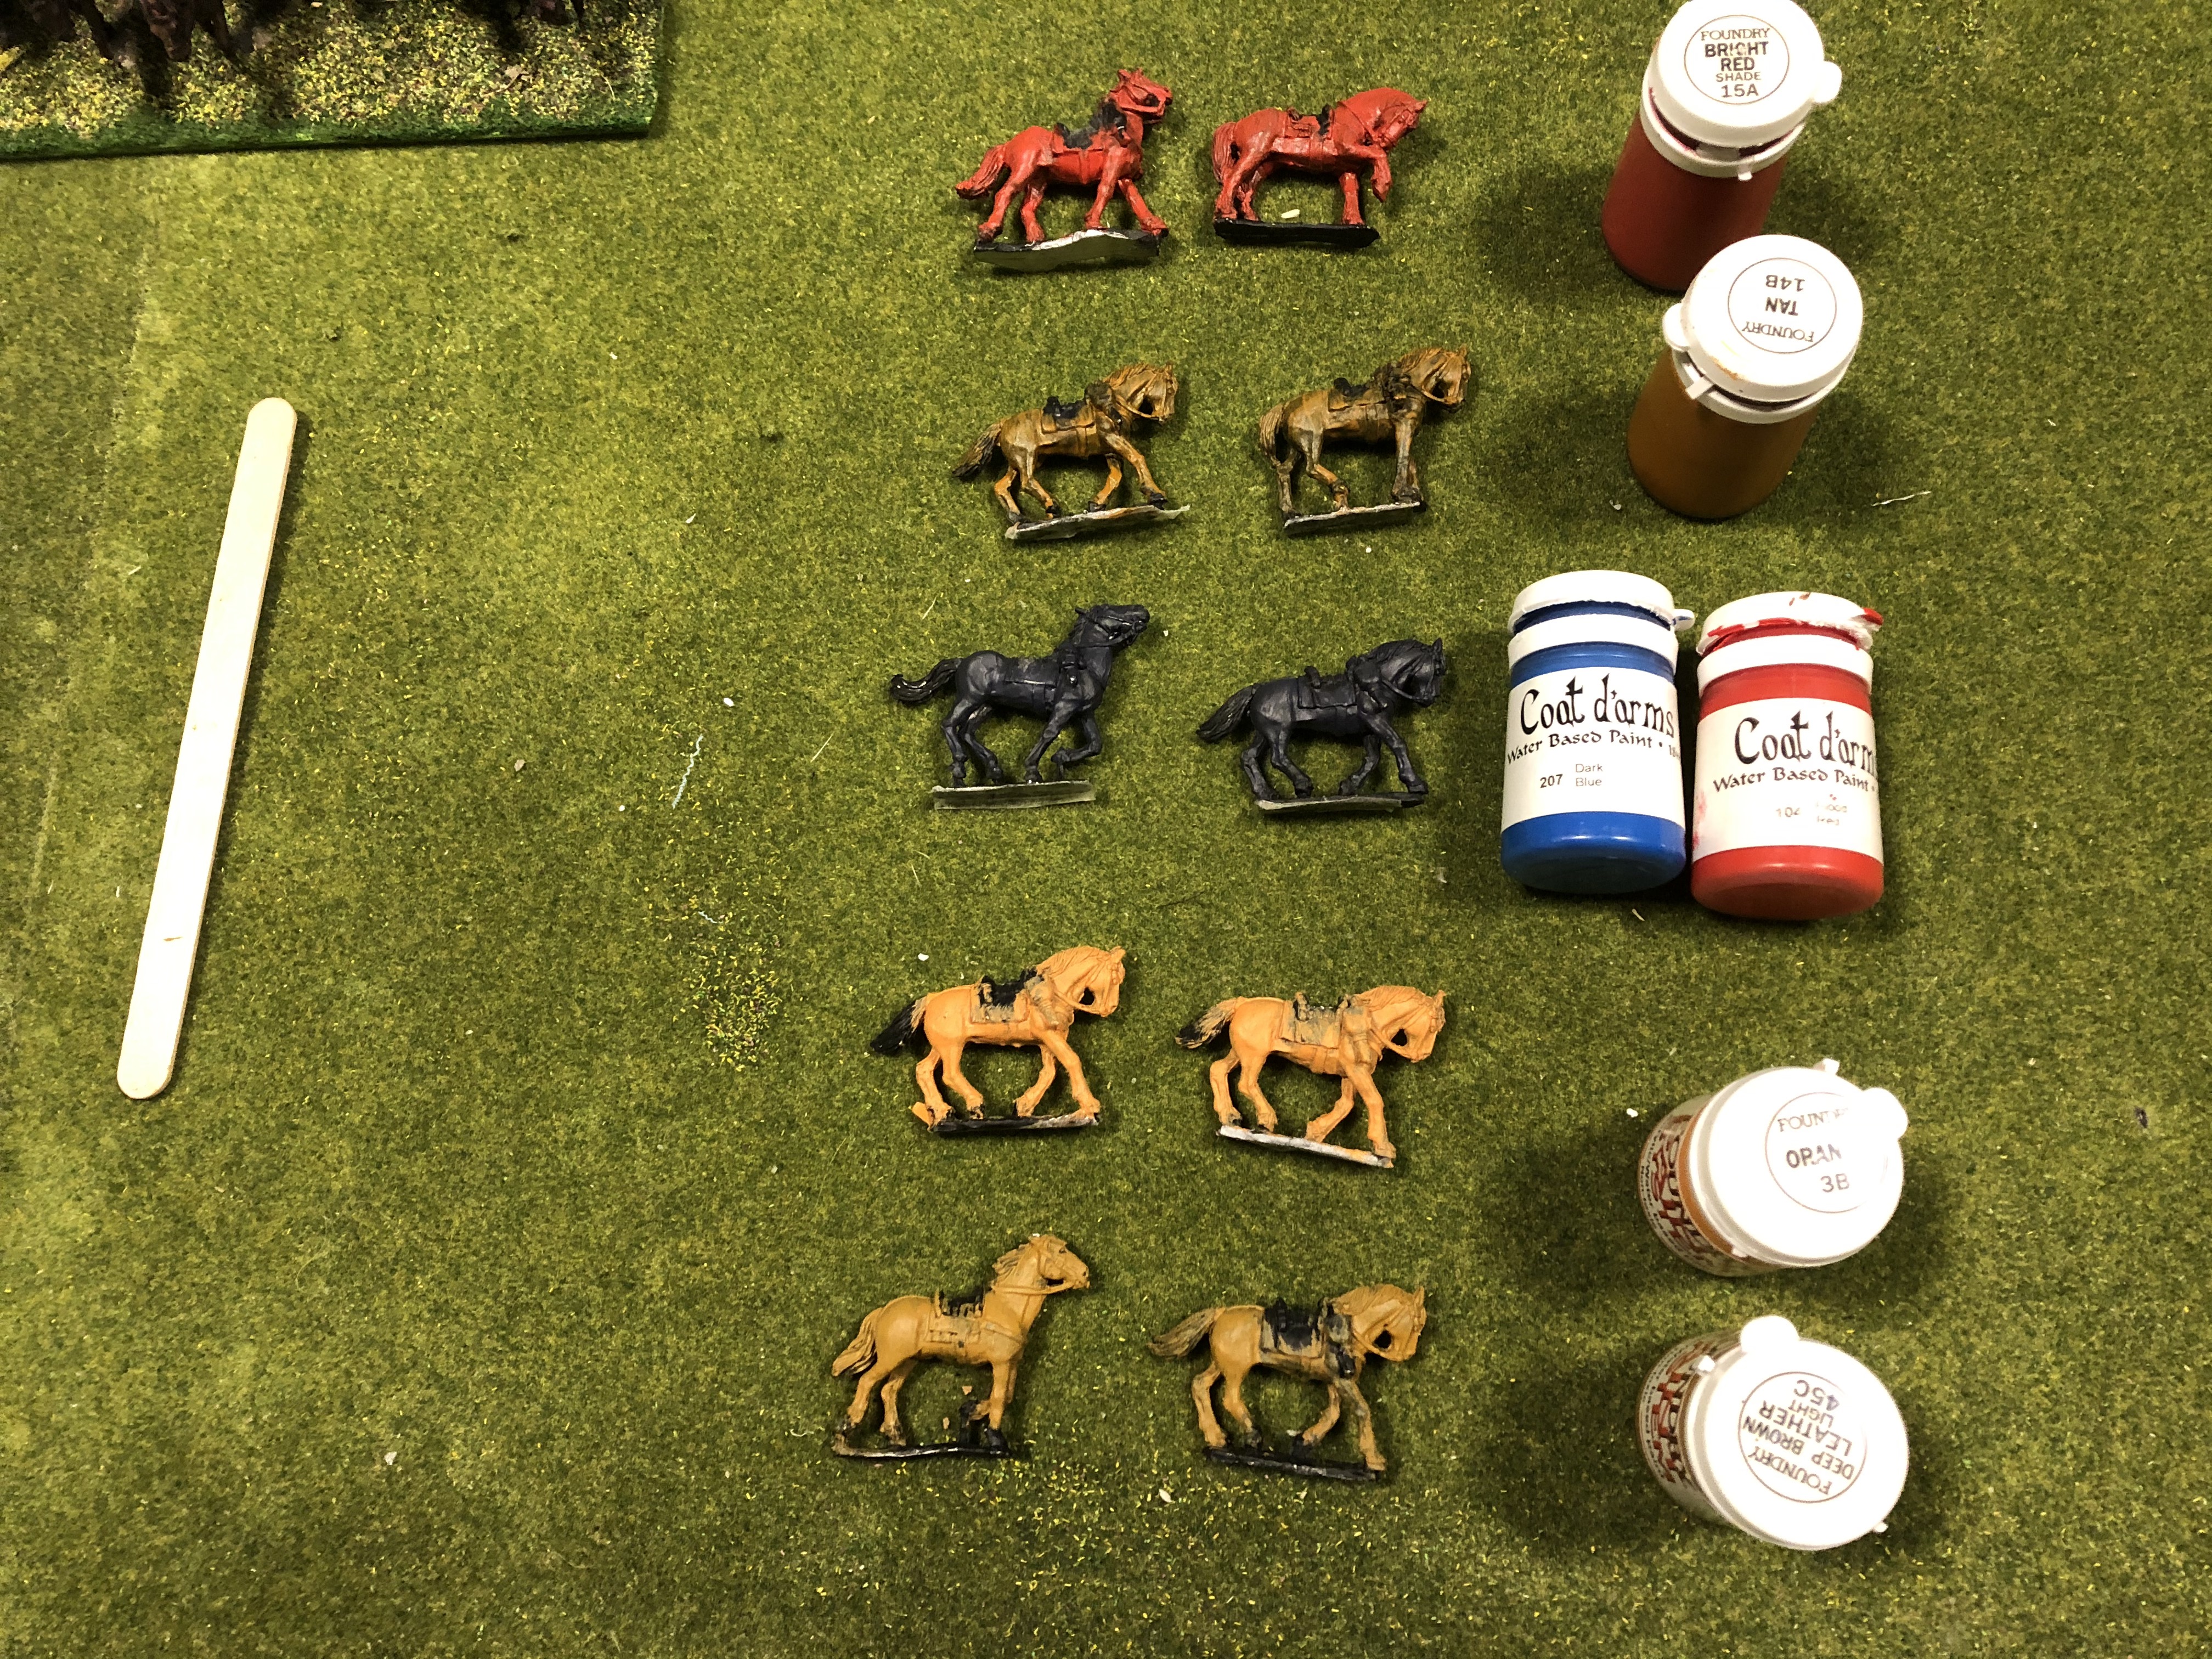
I decided to see what the brown contrast paint would be over a different base colour other than the usual black/grey/white. I already think the buff/cream base works well, but what about more “exotic” colours?
So, Orange, Red, Purple base and let’s see where we go from here
 Interesting colours?
I didn’t try to be too careful – so please excuse the “mess” on some of the horses.
But, I think the results are interesting. Overall the Orange/cream base seems good. And even the Red does offer some potential with a more serious base coat. the purple gets a bit lost, but it ends up with a kind of soft black which works to some extent.
So, I think it’s worth persevering with this idea more. By the by, the contrast pains was used pure and about 30/70 dilution for the two horses. I like the potential with the diluted paint.
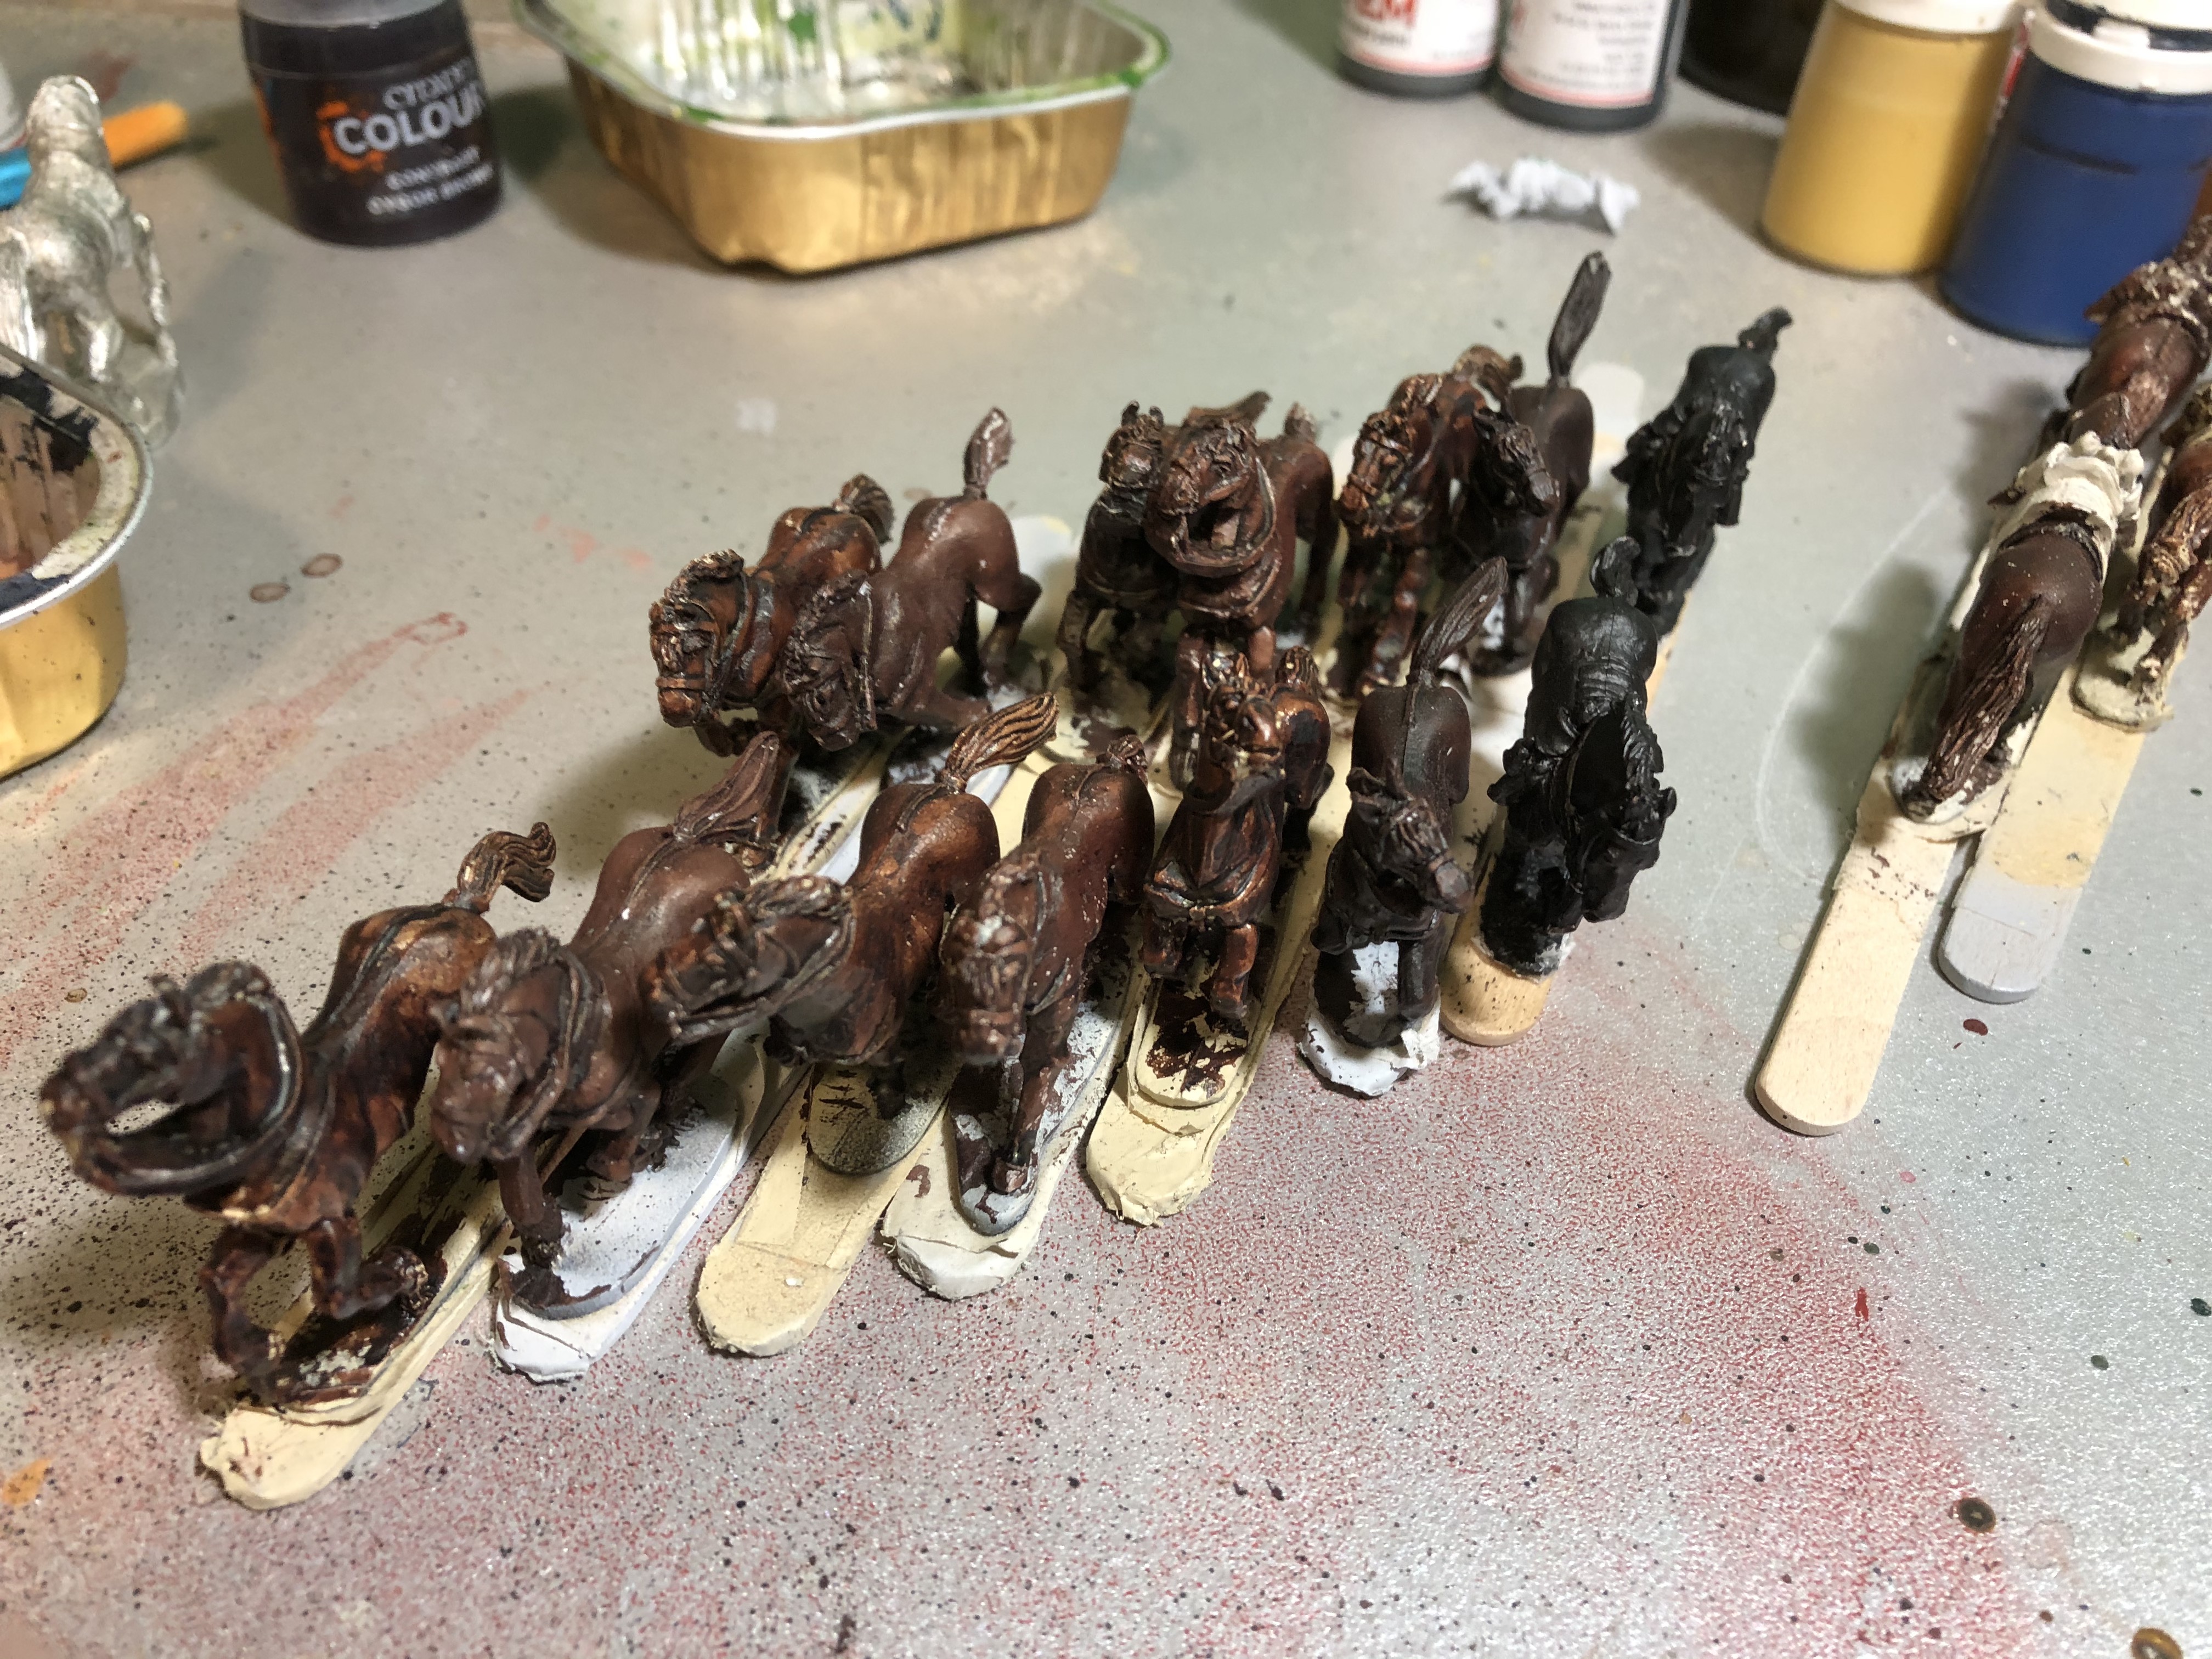
 Some results of contrast painting
Cavalry
 The first bases
Been trying to post this update for a couple of days without success – hopefully with only one picture it will work this time.
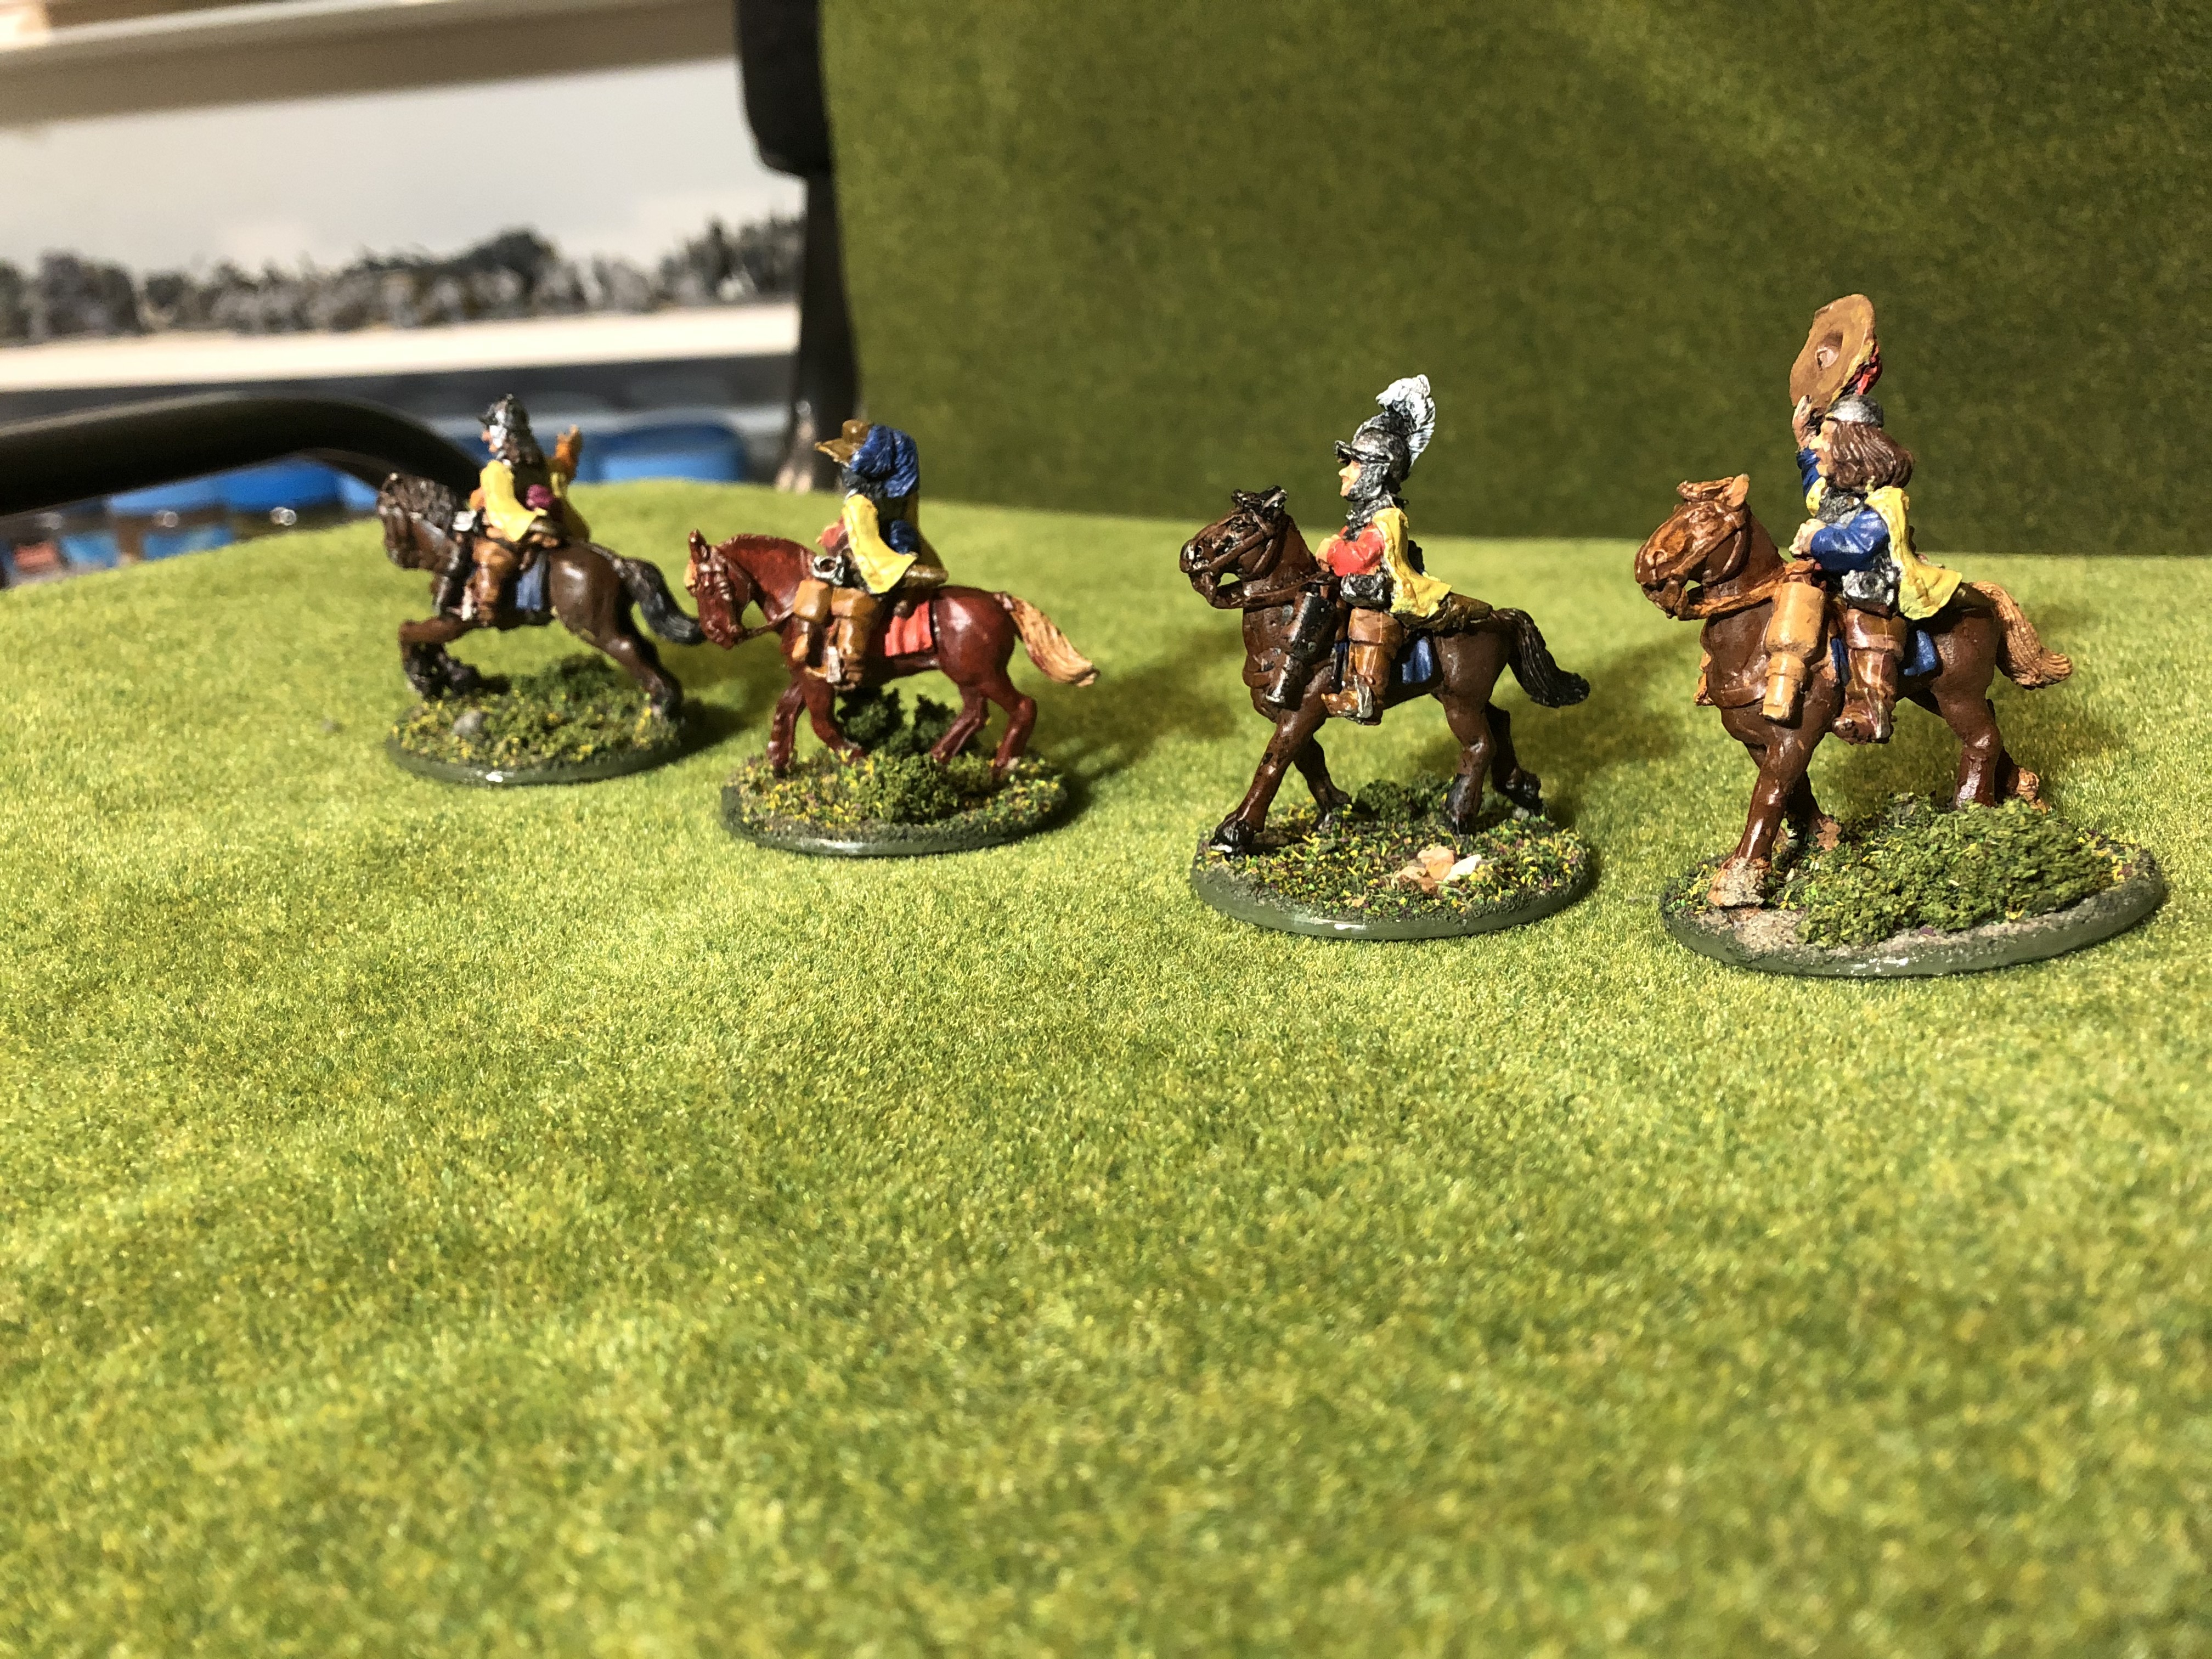
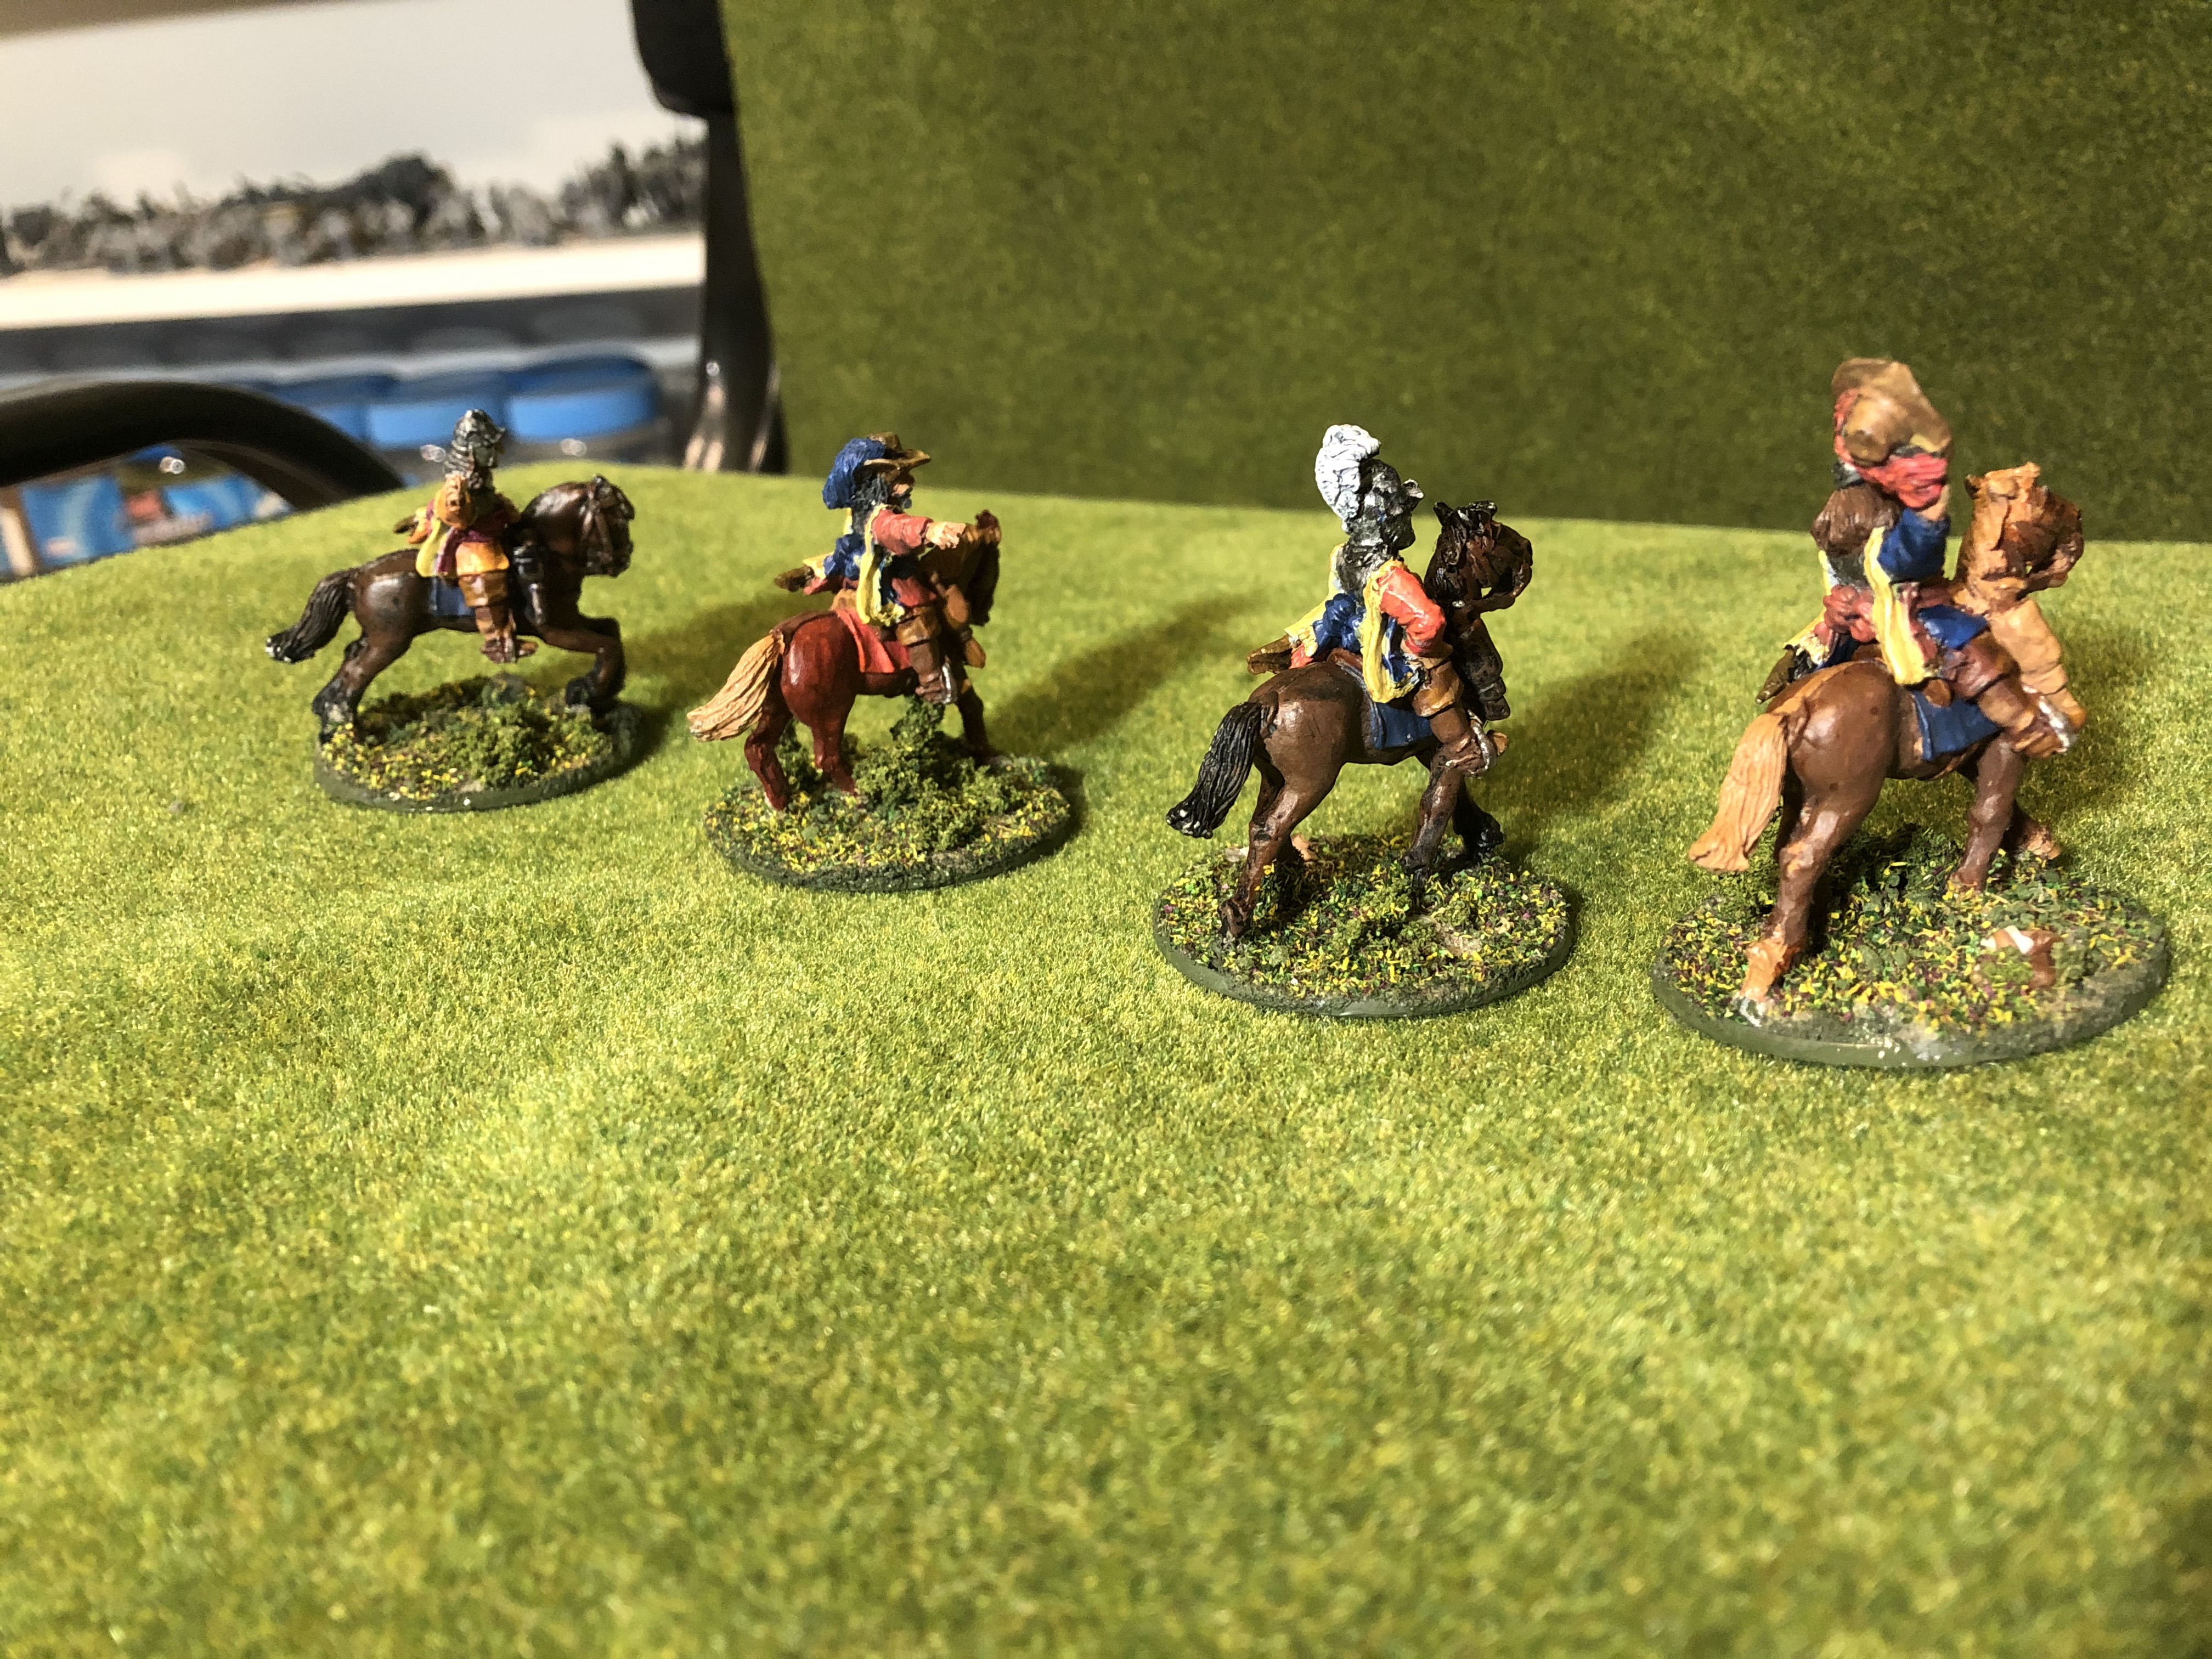
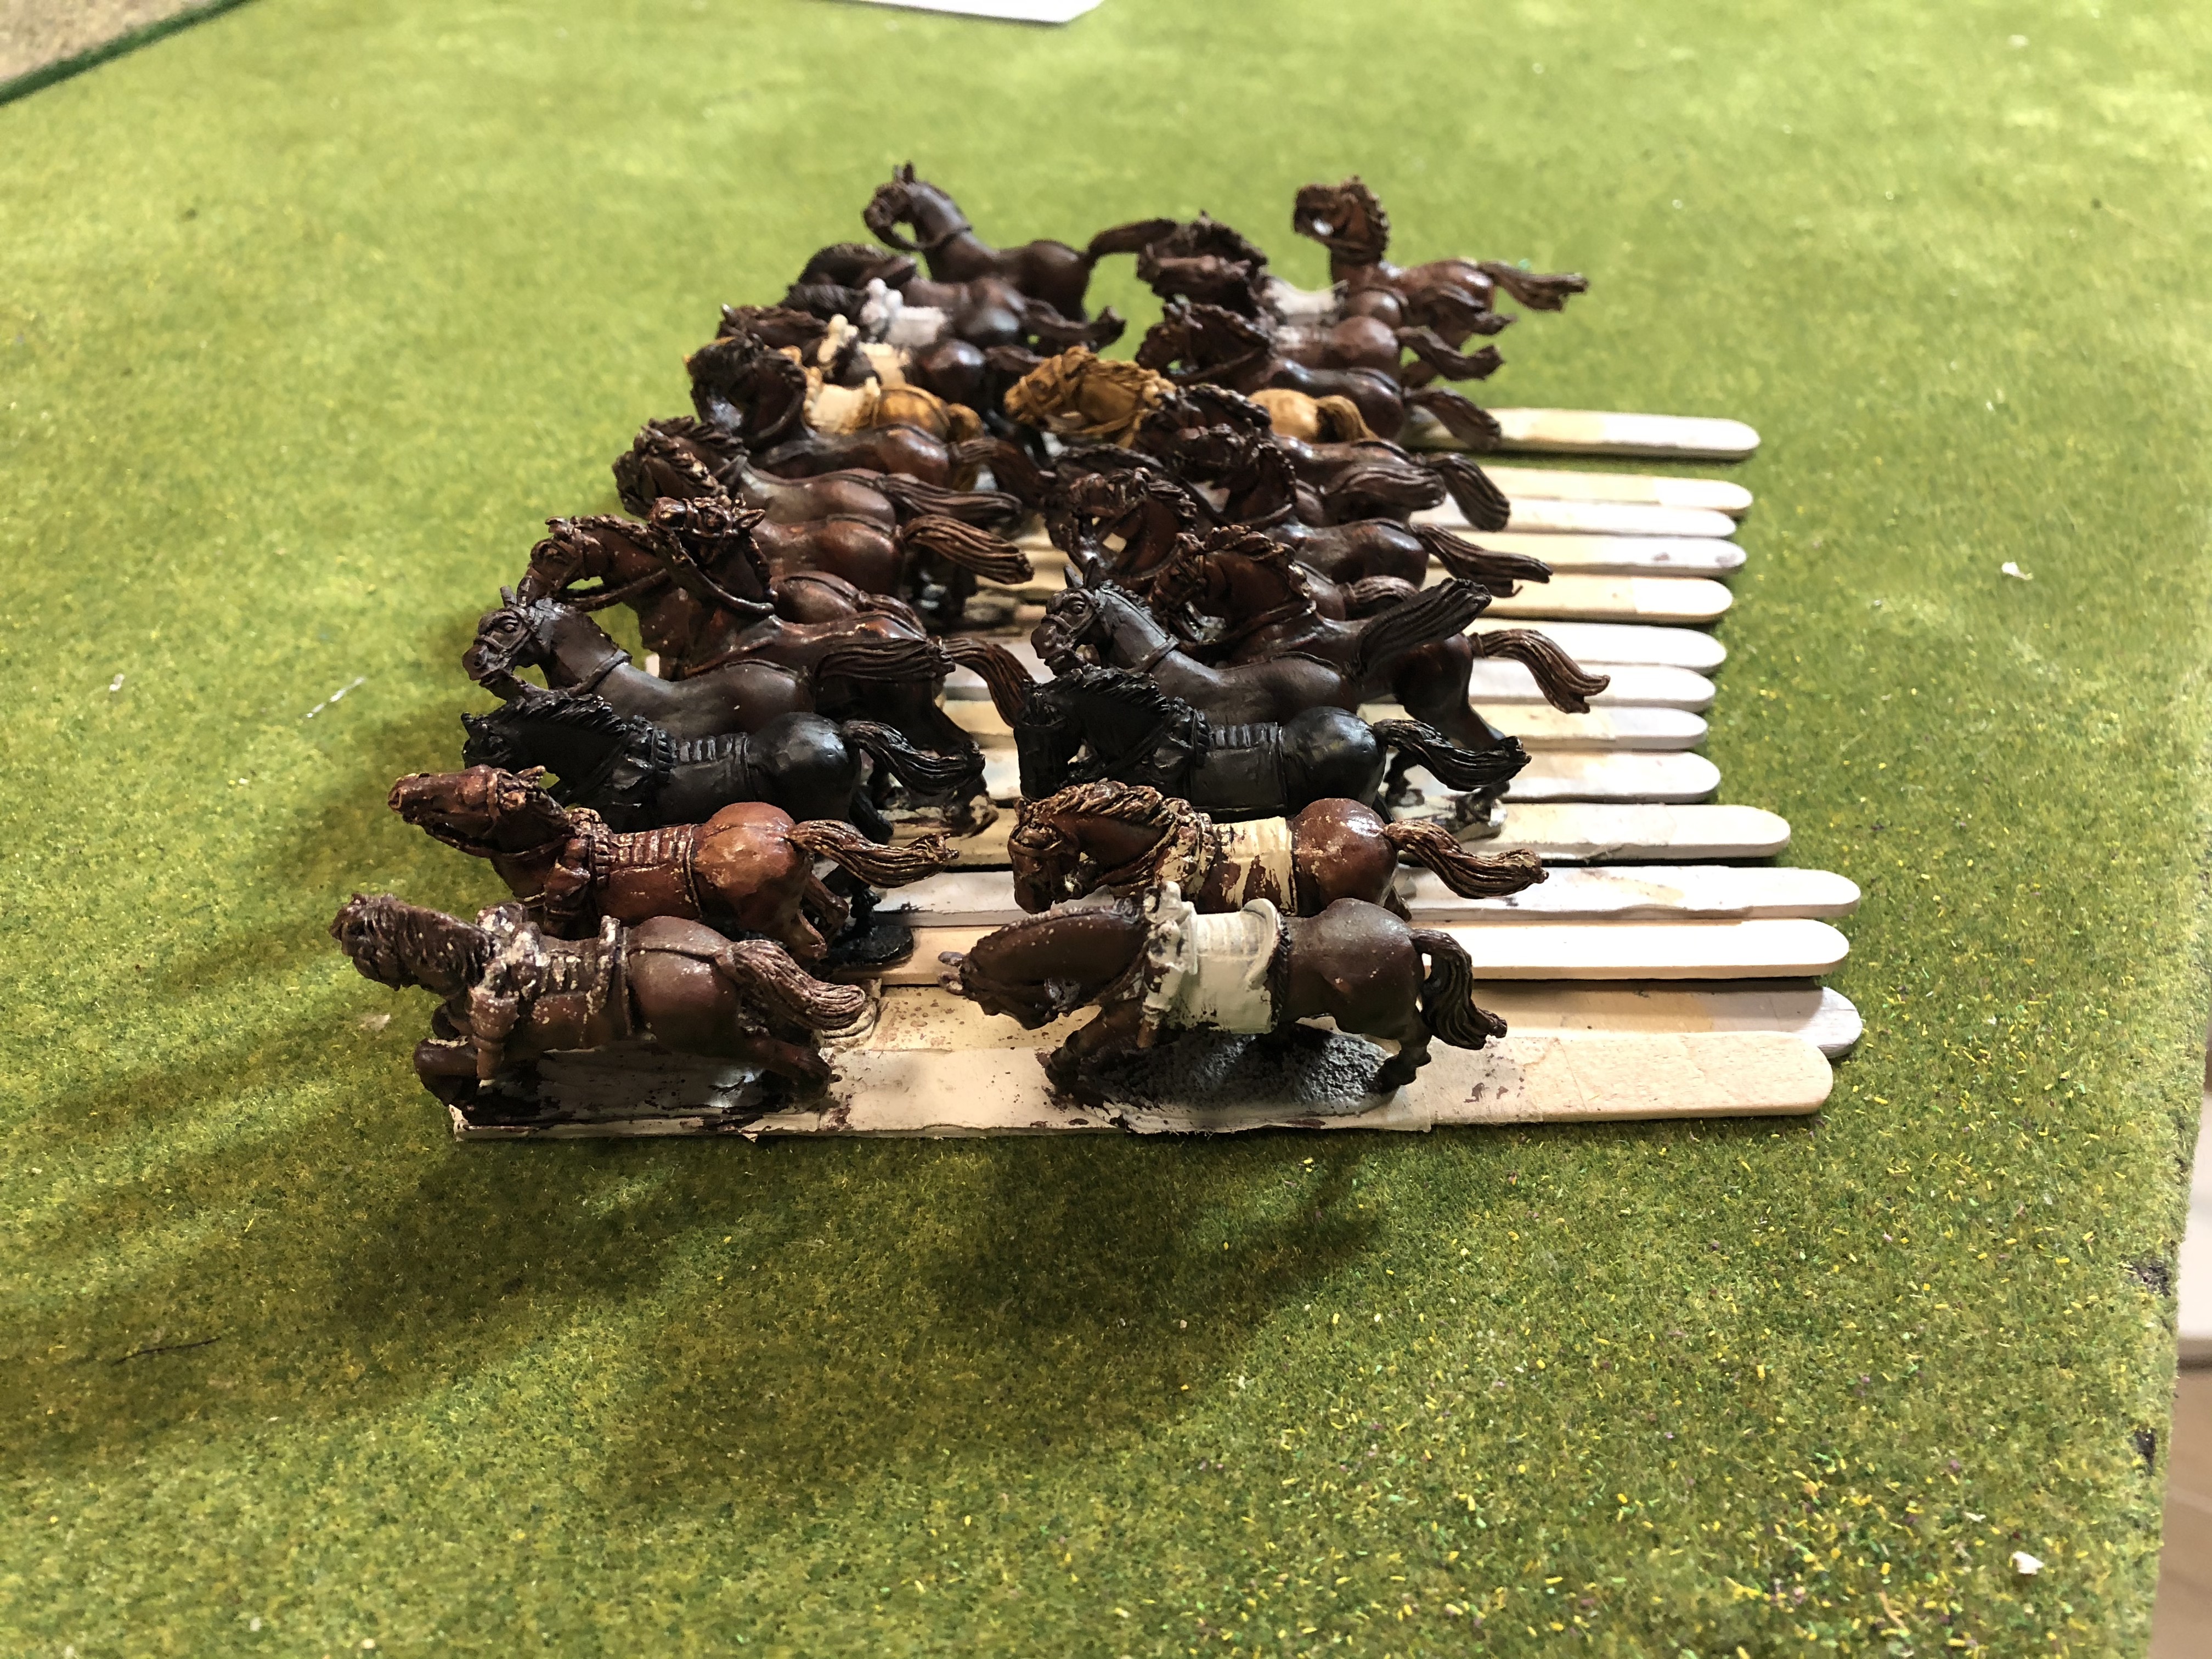
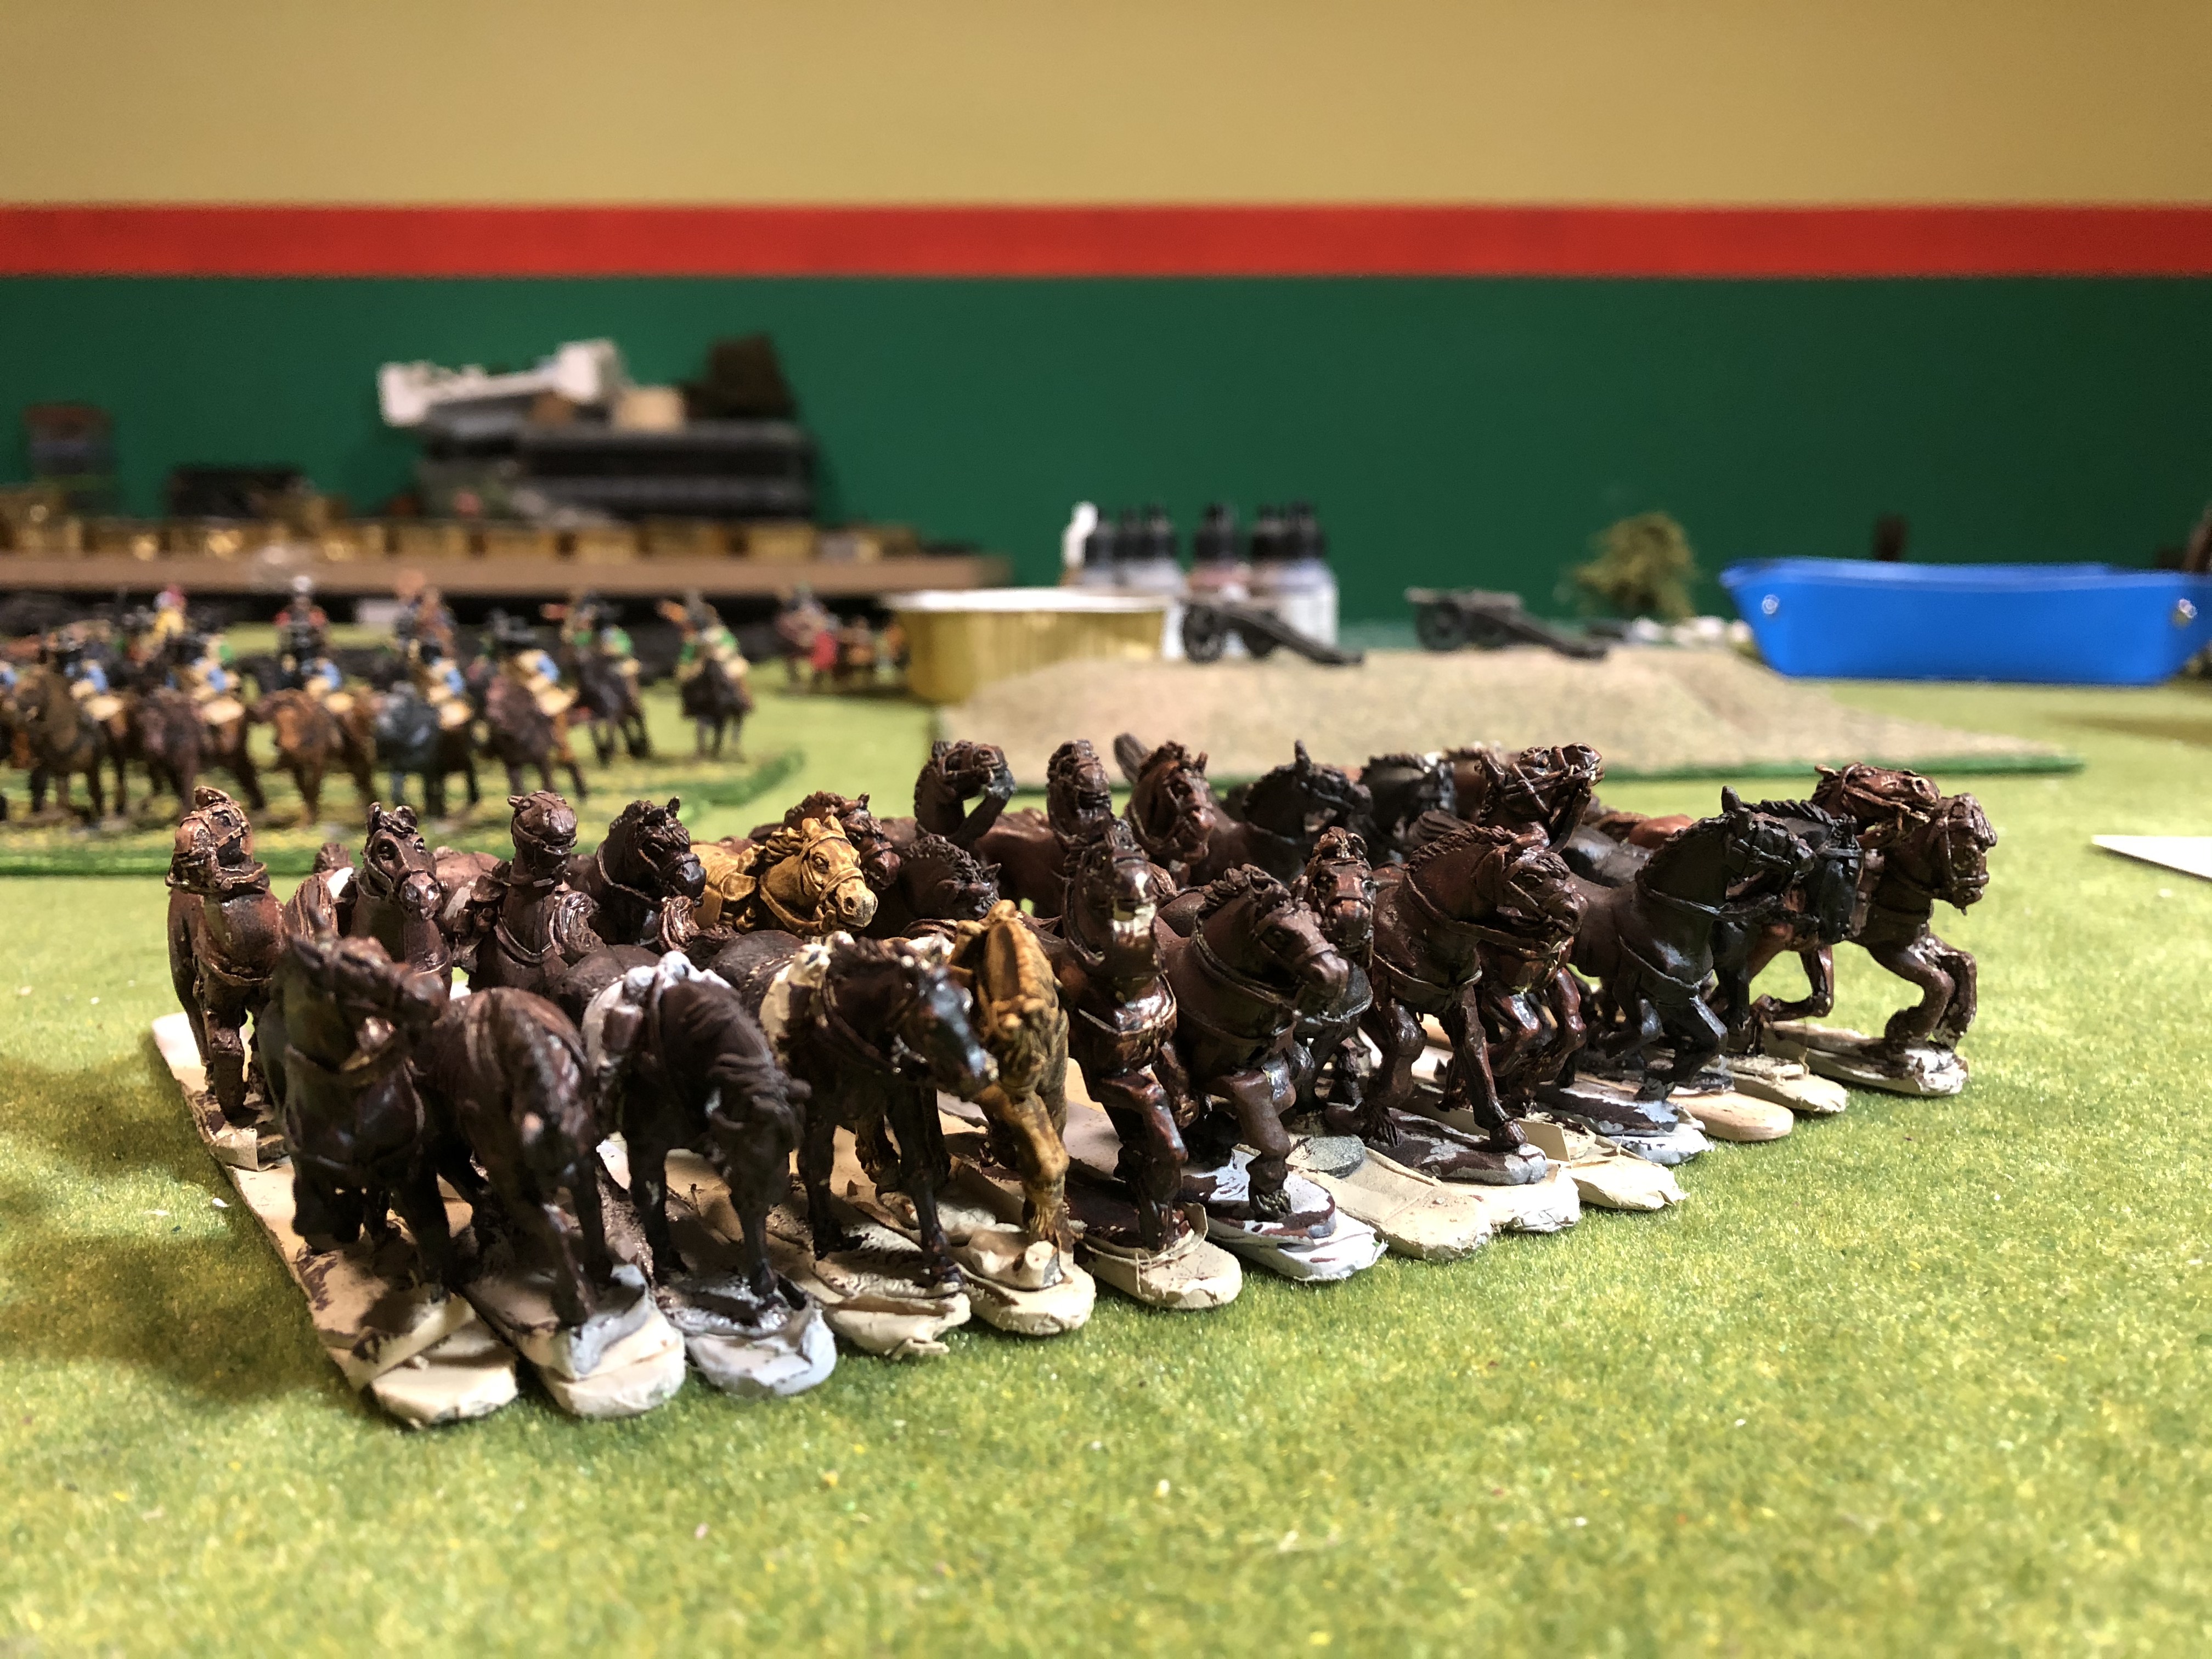
Finished painting the previously based cavalry (a bit frustrating at times – will definitely paint horses and riders separately in future and base only when they’re finished).
Overall I’m happy enough with the paint job – it’s not perfect, but will do for now. I adopt the 3′ guideline, i.e. what does it look like at three feet distance (normal gaming distance). And in that sense, they are ok.
Up next some Scottish Covenanters, to be followed by Scots cavalry, and then on to the canon.
The Scots are coming
I am working on a small Scottish covenanter/Montrose force, and hopefully I’ll be posting an update soon. But, in the meantime, here is what I have done with a Scottish light artillery unit.
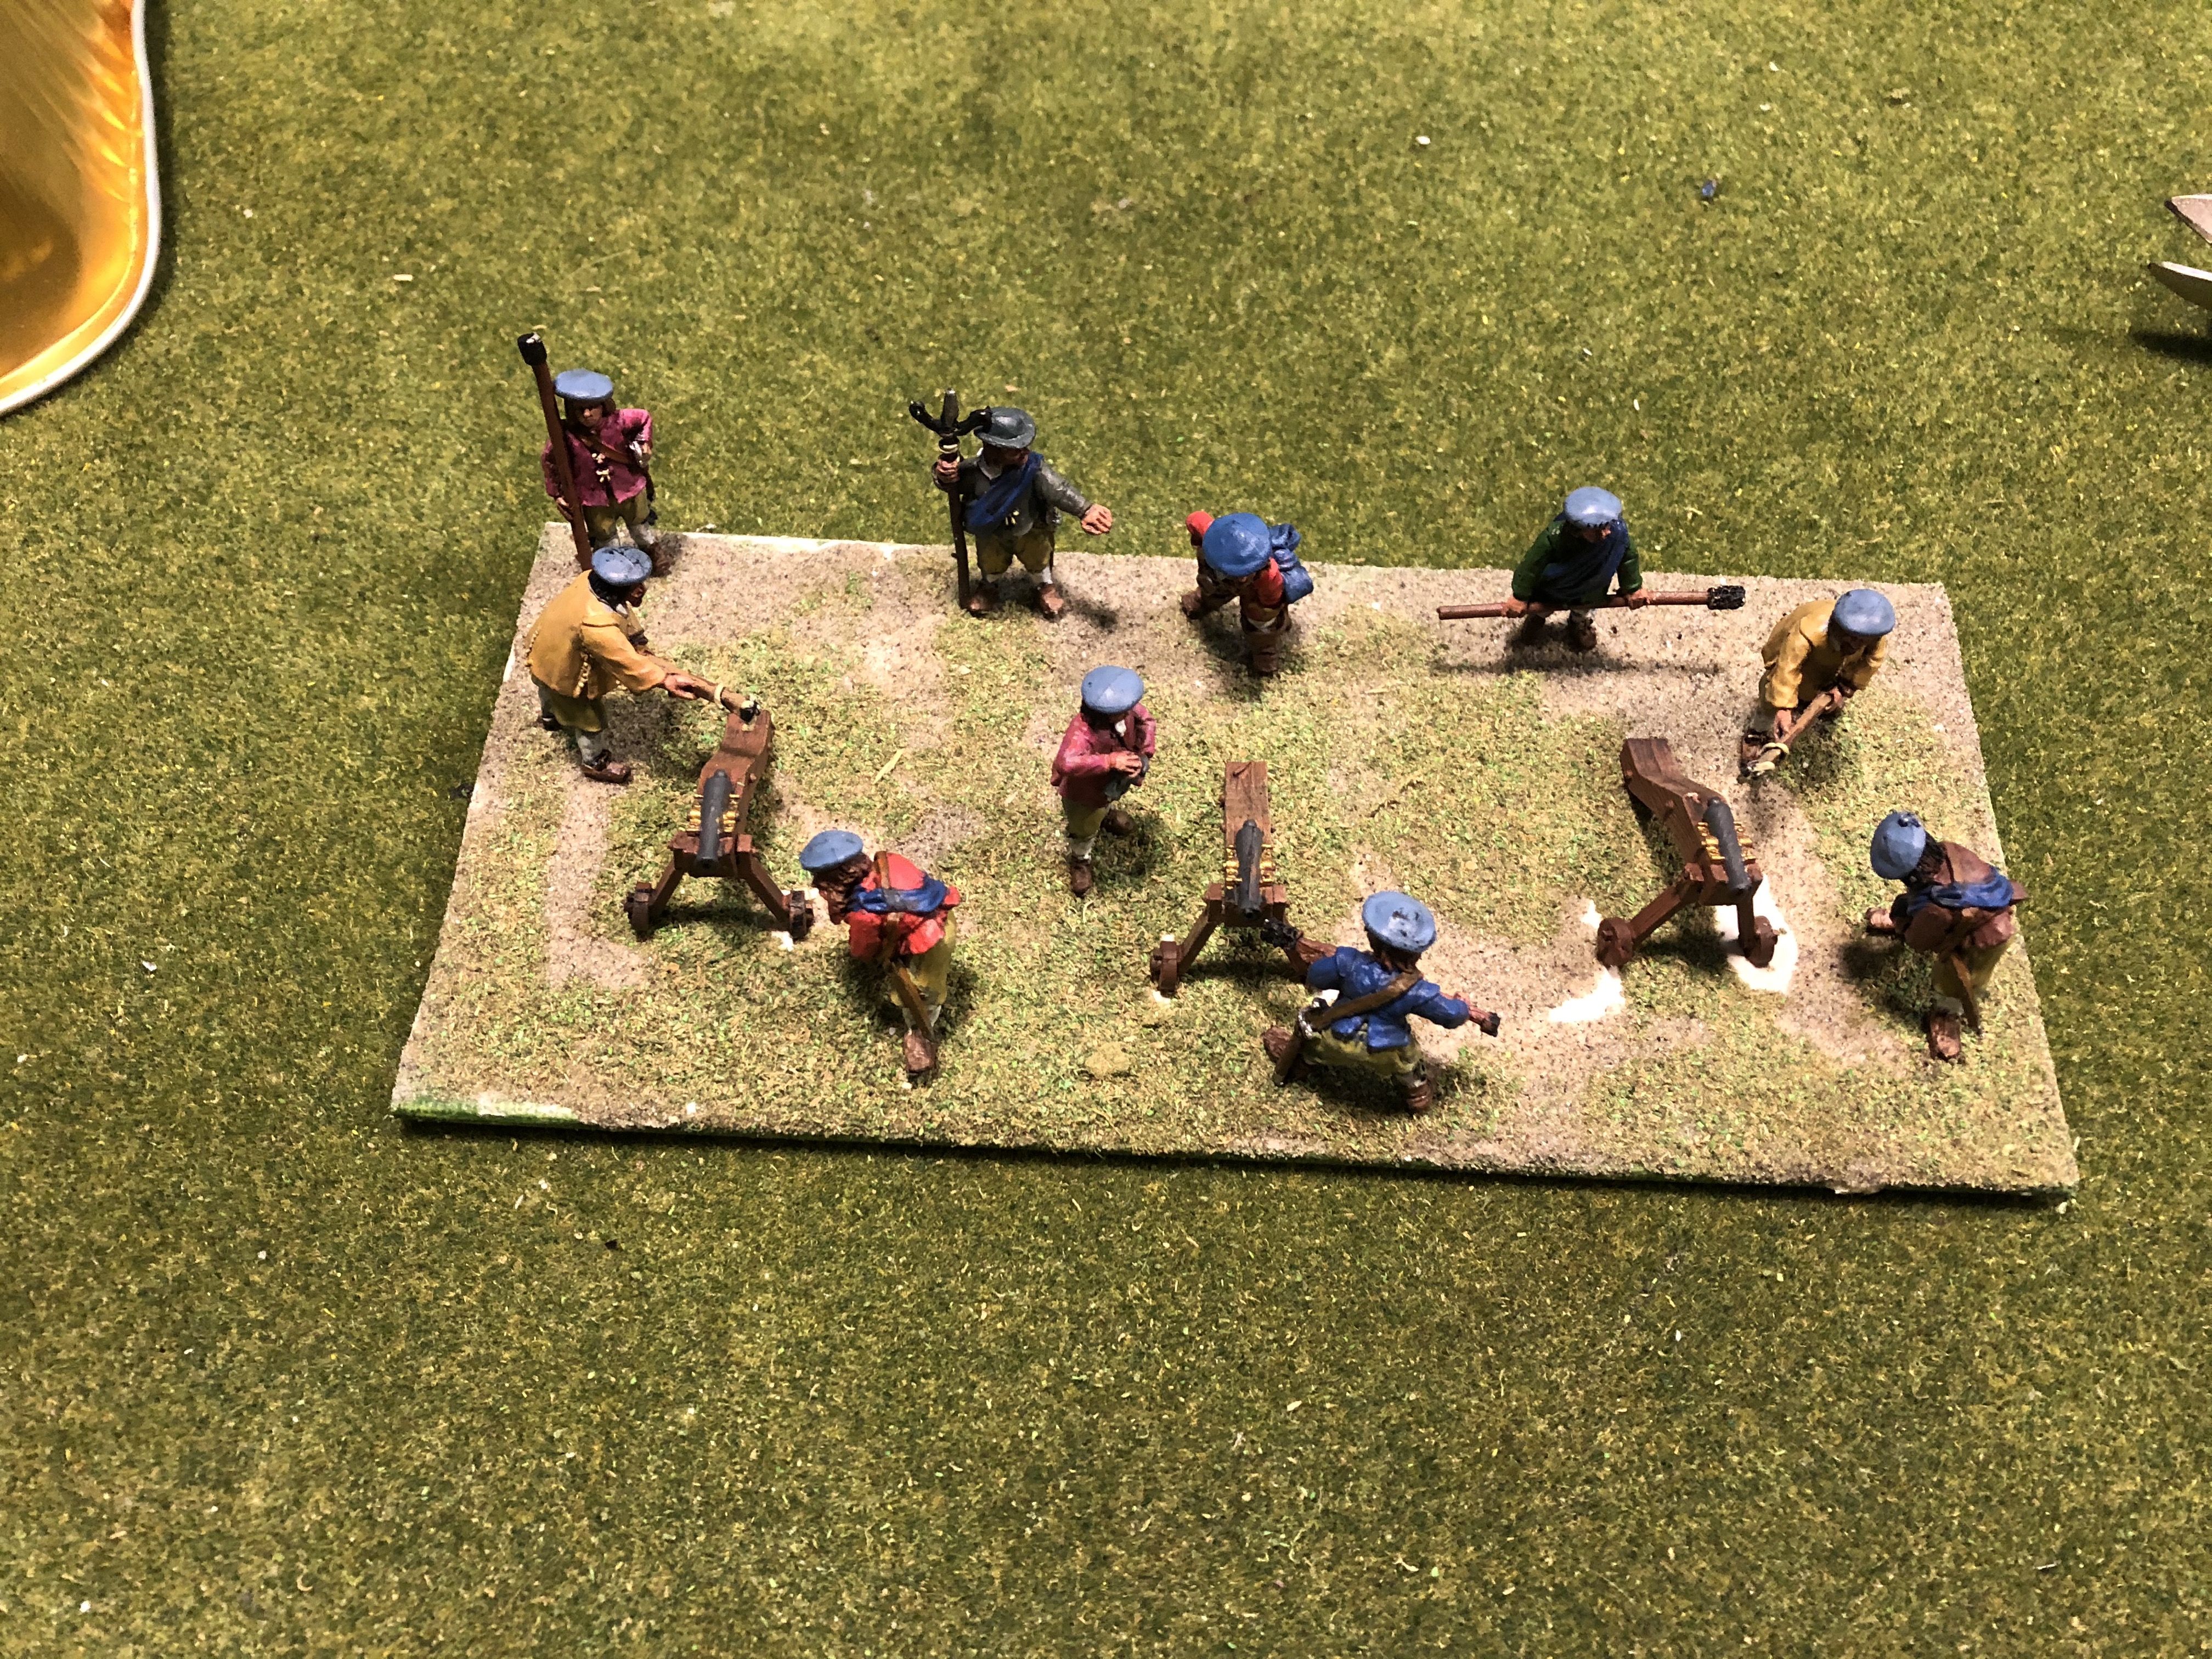
This is the base for an artillery unit. I have added DAS to the base to give some texture and modulate the surface. I fixed the DAS with pva glue first, and then as it dried I used a wet finger to smooth the surface. I also pushed the three guns into the DAS before it fully dried to make an impression for later, and once dried off, I coated it with pva 50/50 and fine sand, and later added some flock.

Once the figures were added (I cut off the bases and pinned them to the base), I finished with some additional flocking of different browns and greens, and some “bushes”; finally sealing with a 10% pva solution.
I am in the midst of painting six Scottish foote, and five cavalry units. Be back with you soon.
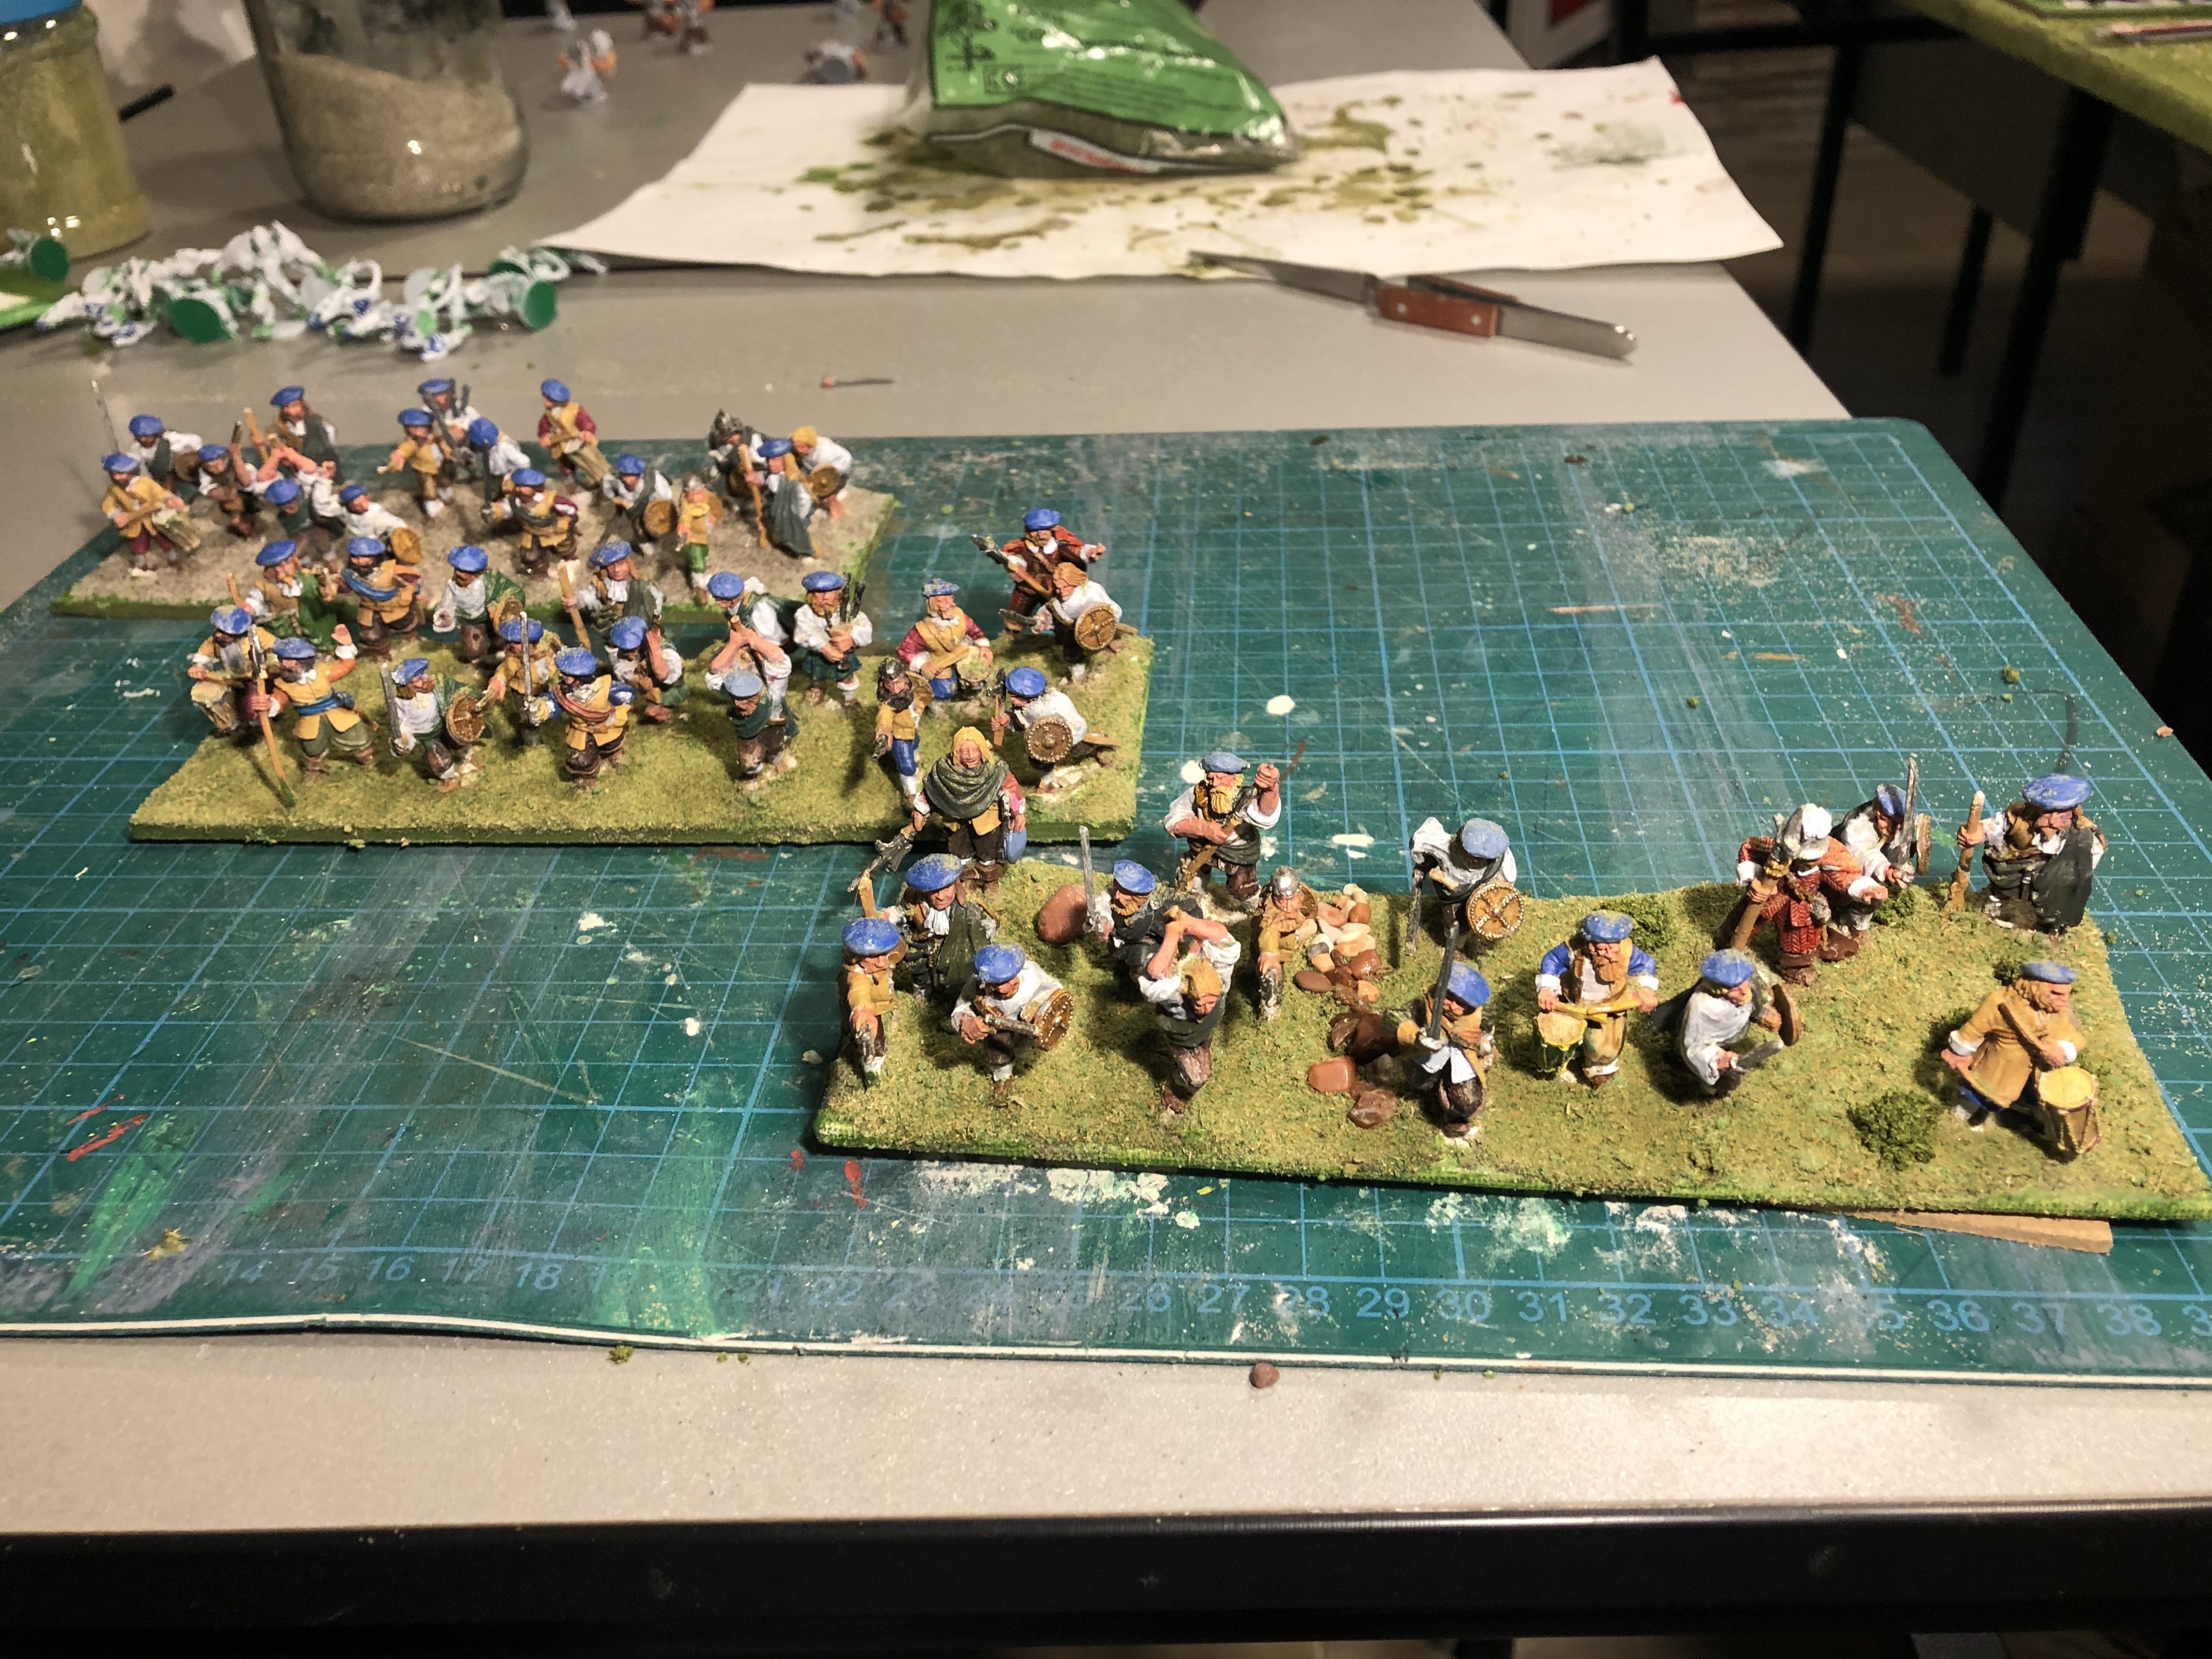
Scottish vanguard is here
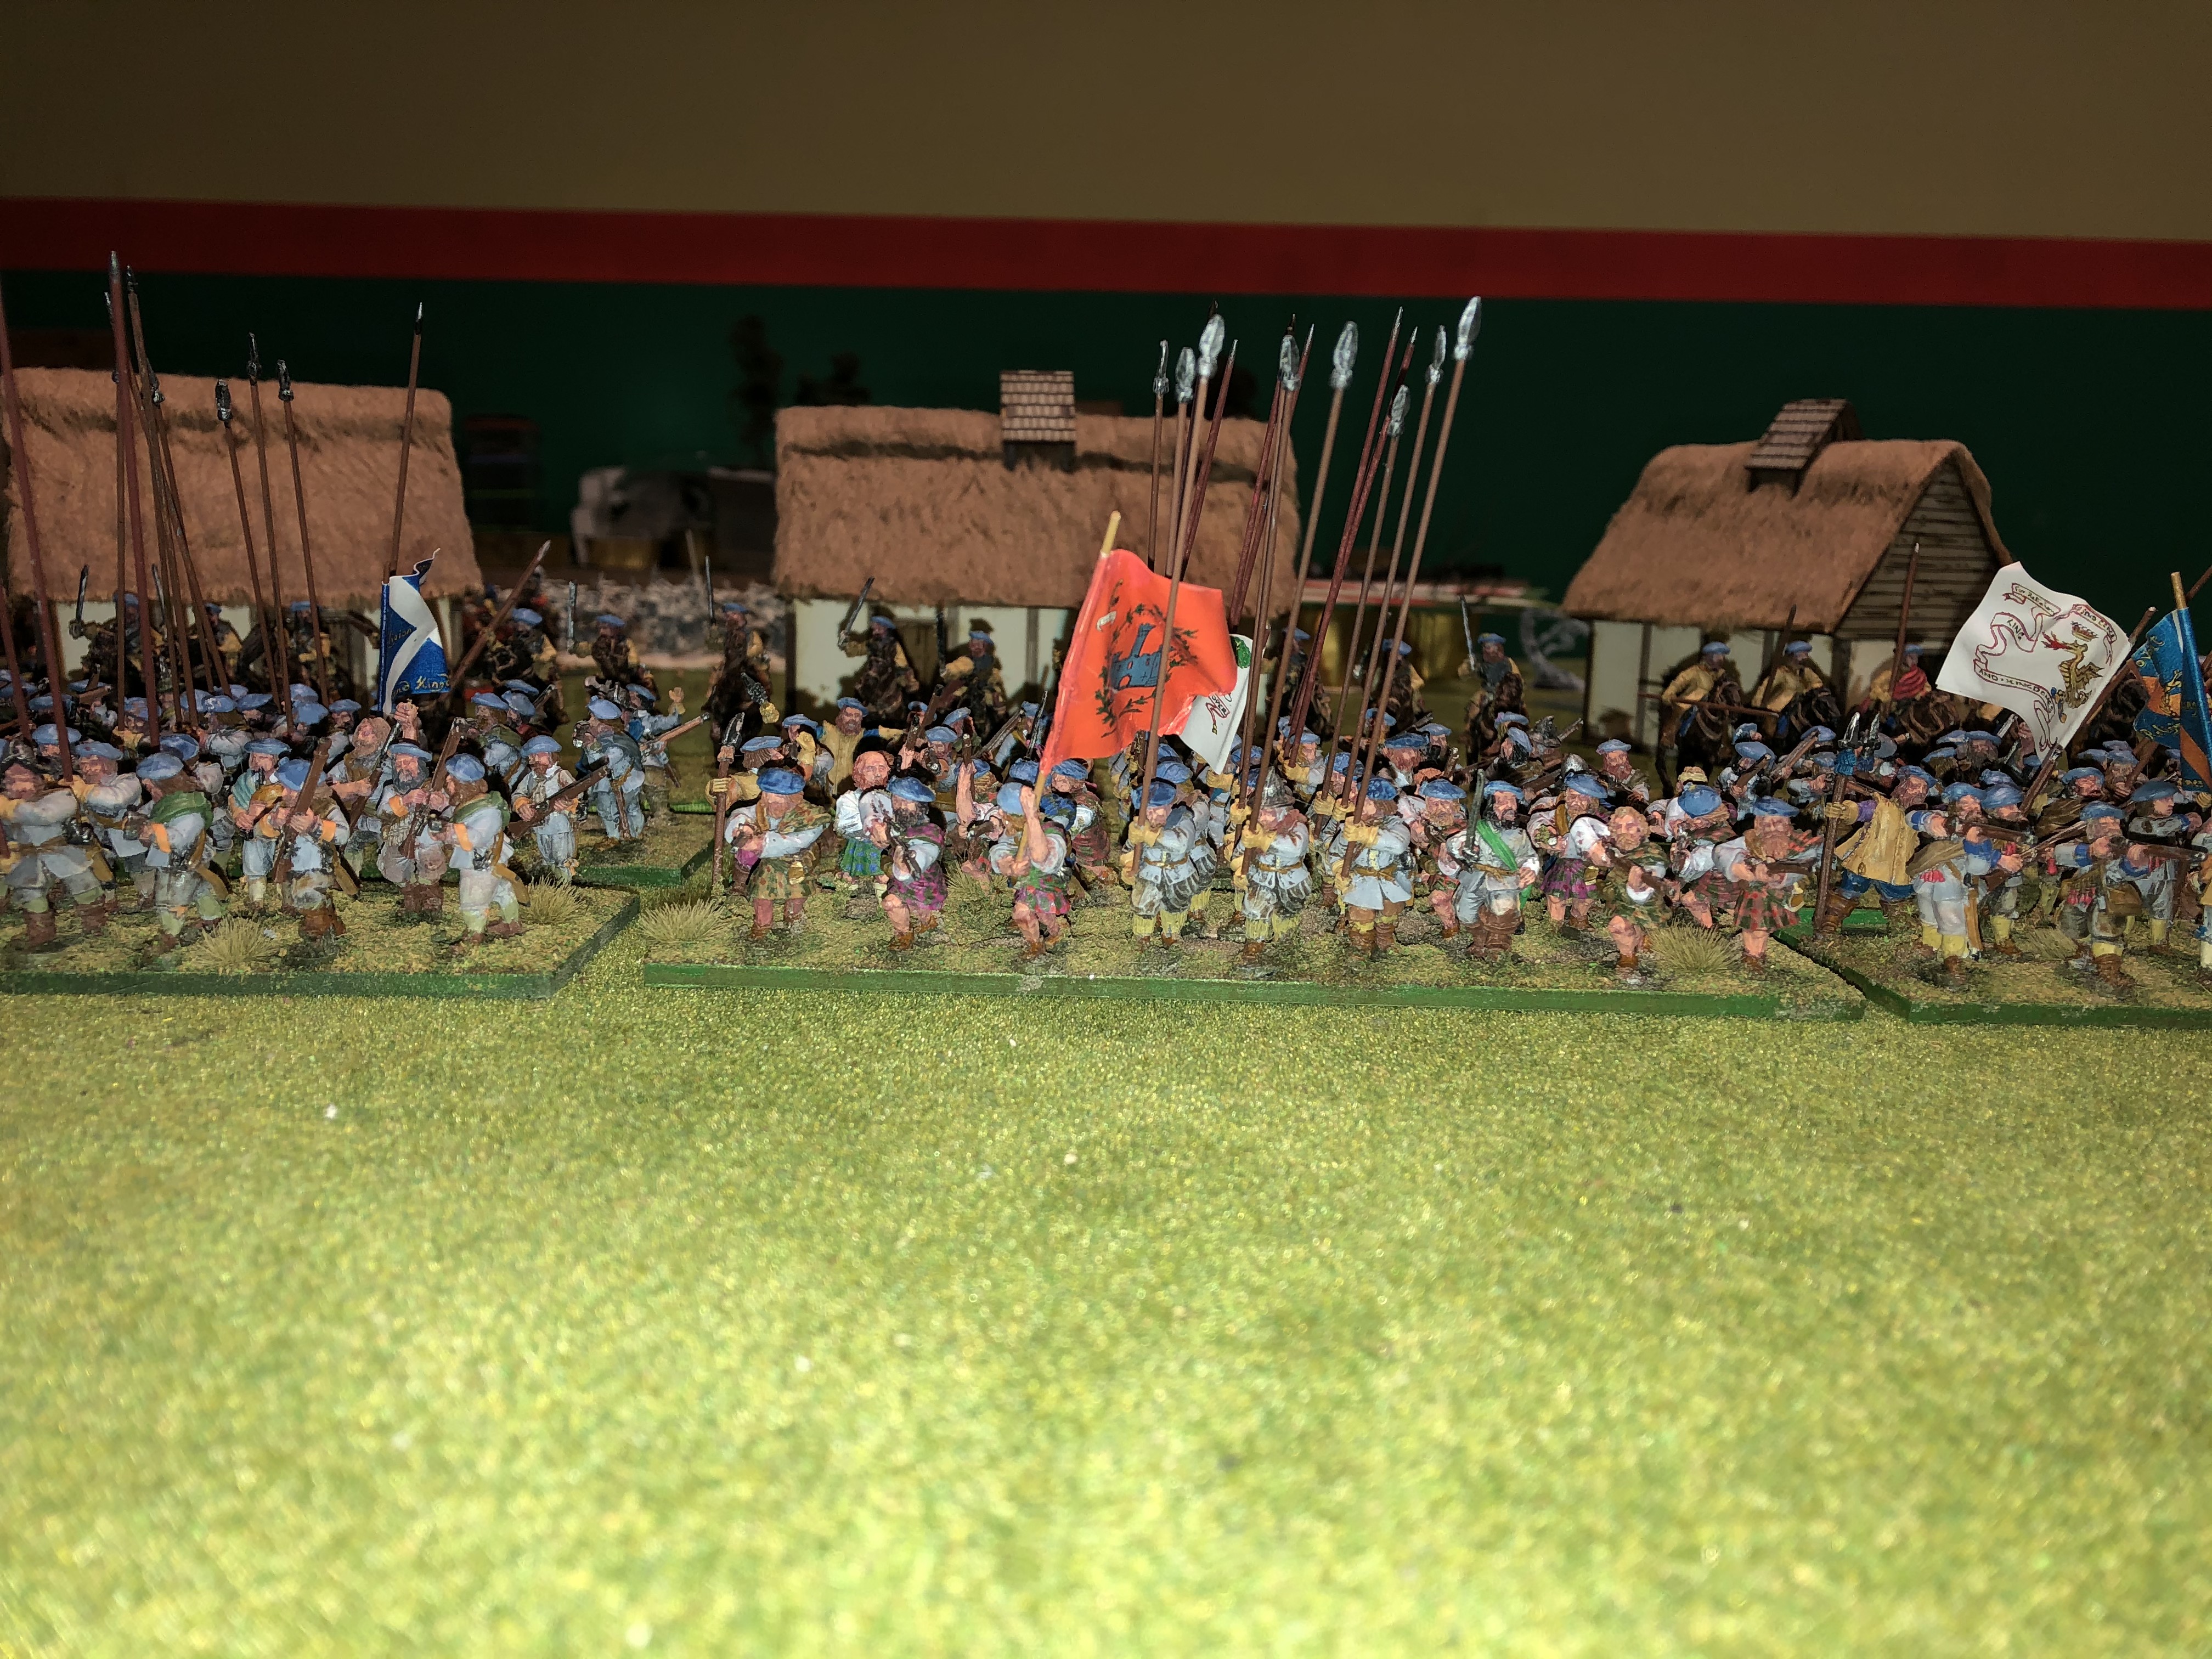
So far there are six regiments of foote, three cavalry squadrons, and the single base of light guns.
The Scottish armies had limited access to cannon, but those they did have were identical to the ones used elsewhere in the ECW so when I get them done, they can be used by anyone.
There are still 2/3 foote regiments and probably two bases of Highlanders (essentially they are “mobs” in the rules with assorted weaponry, but no pike support). Of course the Highlanders means more kilts!
For these I went with a very simply approach – the single unit with kilts is front centre and all I did was paint a green base for the underlying tartan and then paint a series of thinnish lines to make a hatched effect. Where these overlapped, I added a “dot” of a deeper colour. If I feel brave, I’ll try a more complex pattern of tartan with the next units.
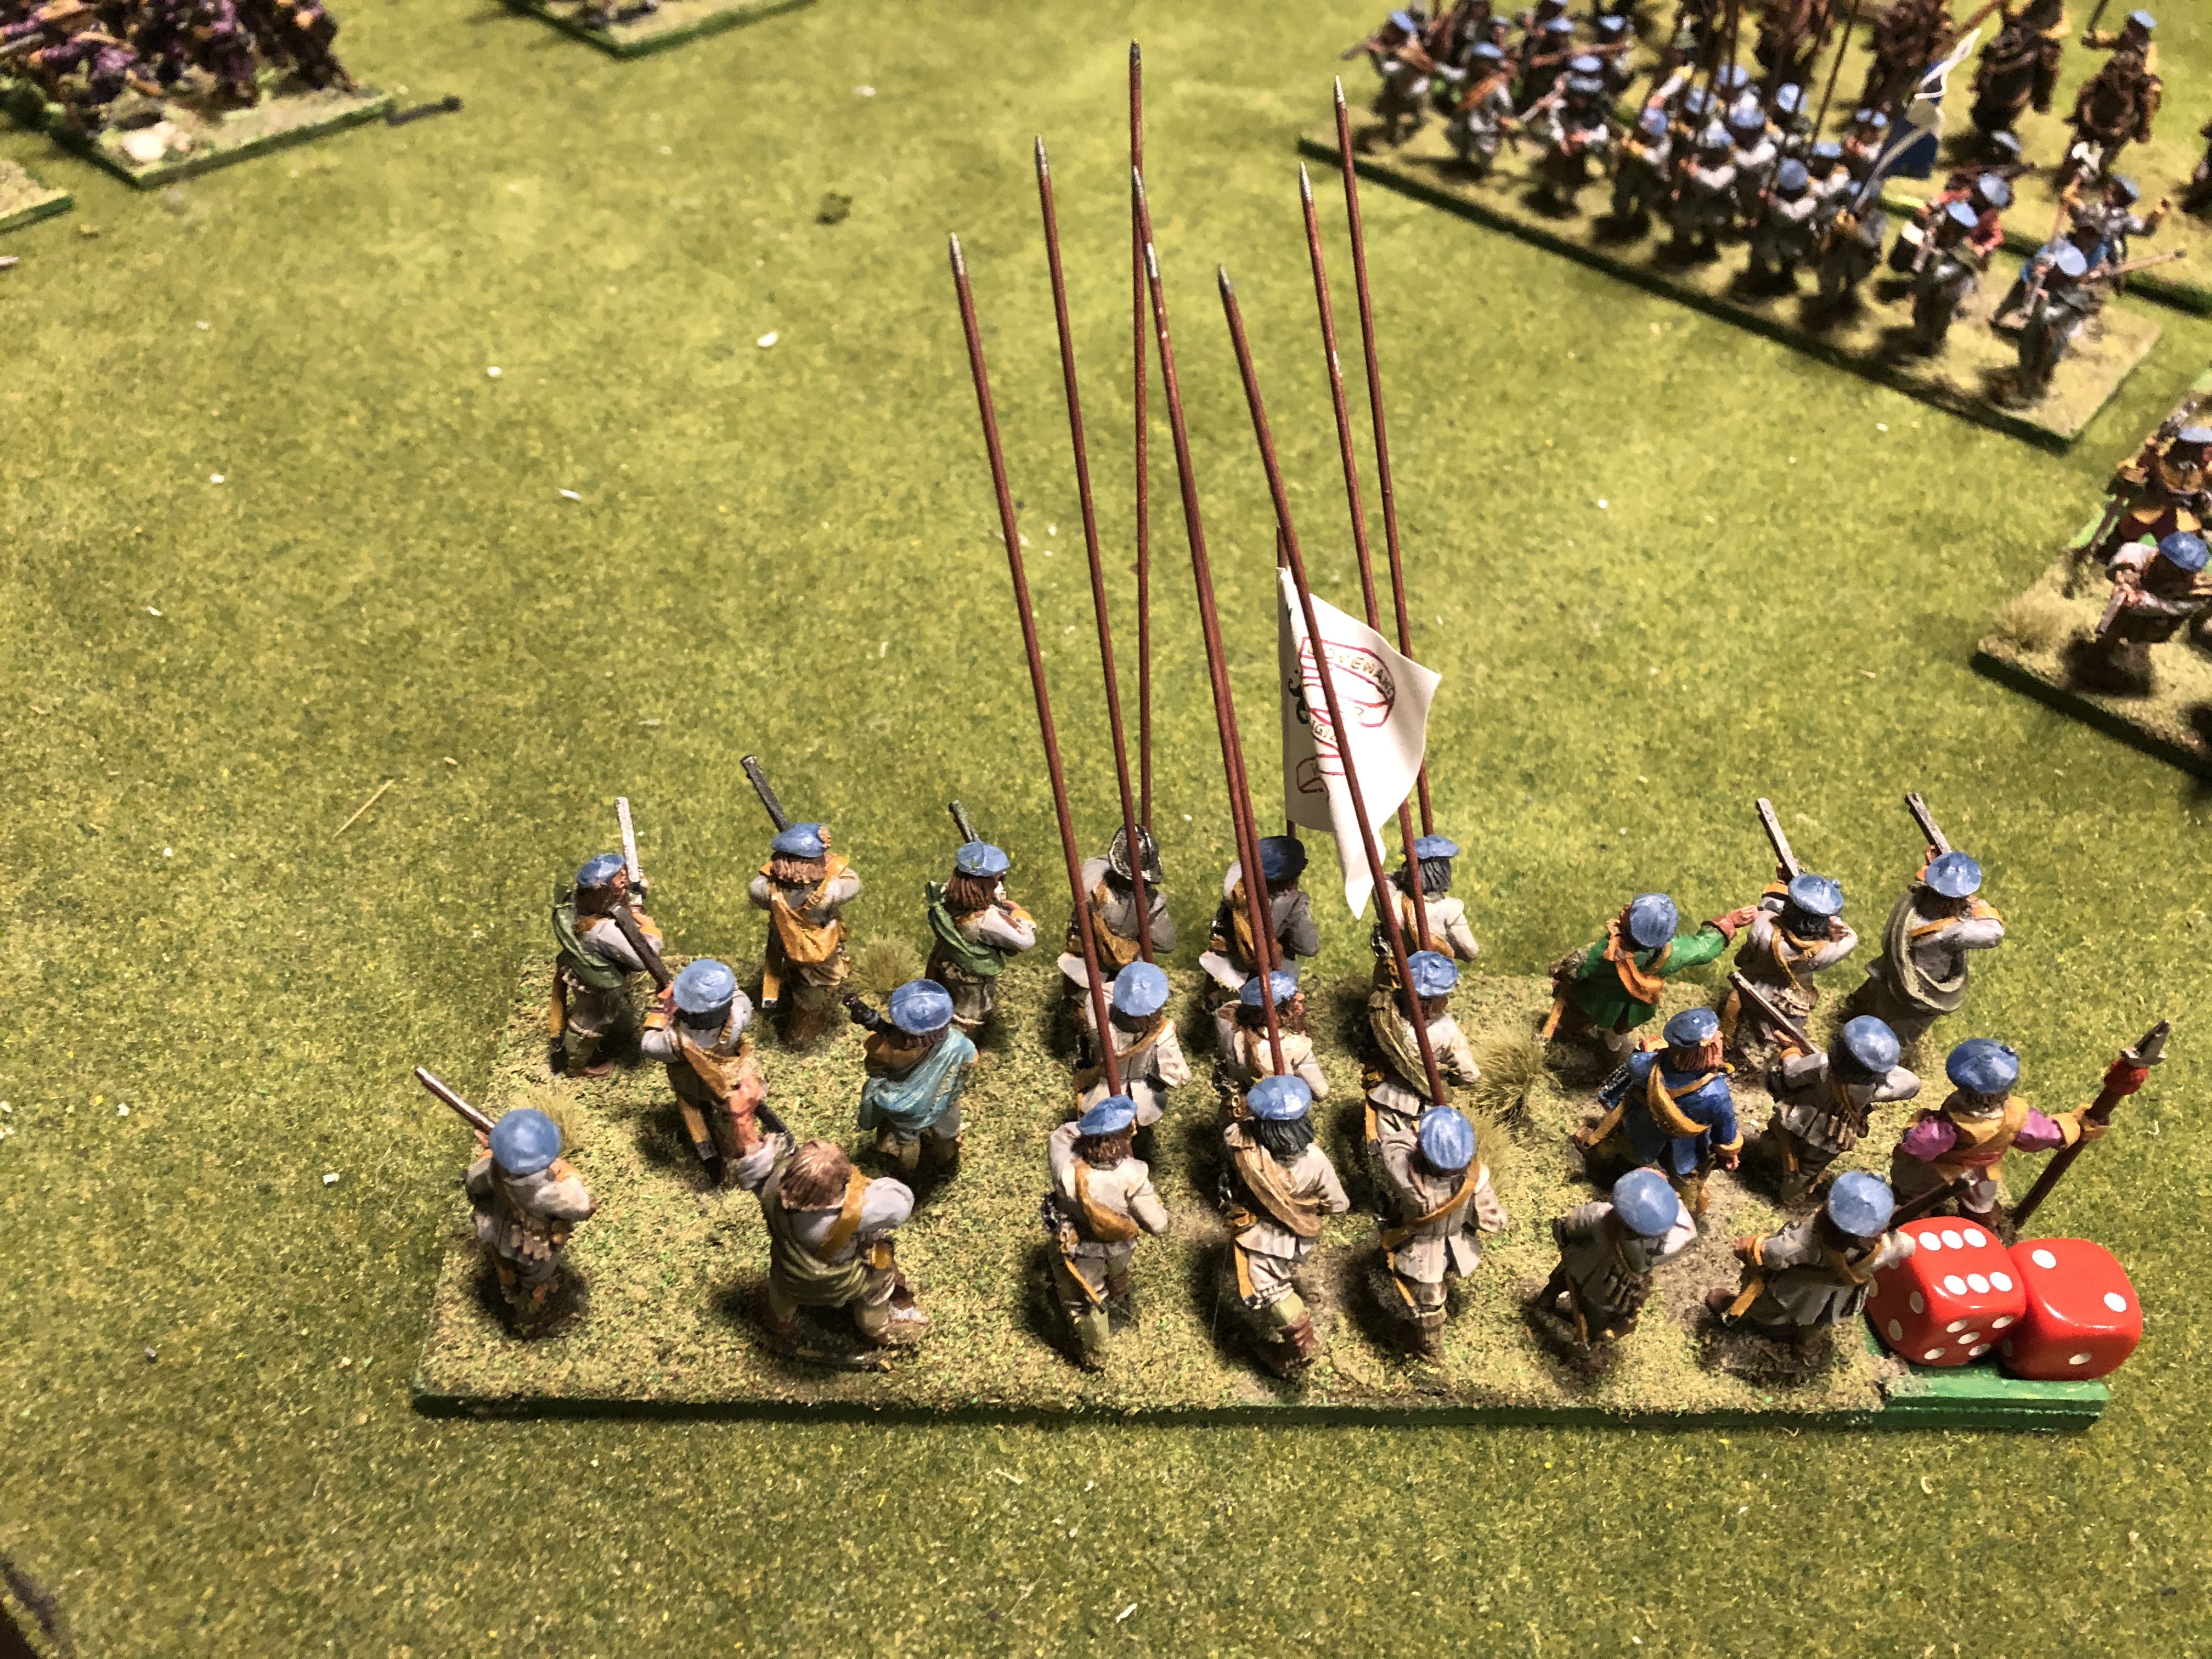 The "Ammo" dice as part of the base
In a previous post I mentioned that the more elaborate rules will have a variable of ammunition for the foote units. I was originally thinking of having a marker, but as there will already be a casualty marker and a re-load marker, (and possibly a “disorganized” marker, yet another would be too much.
So, all I did was glue a short piece of matchstick to the back of the base, and fix figures on the two sides on the base. The dice can be removed easily, and from the rear clearly indicate how many rounds are left.
So, next up I’ll move to artillery to have a break from the larger units for a while.
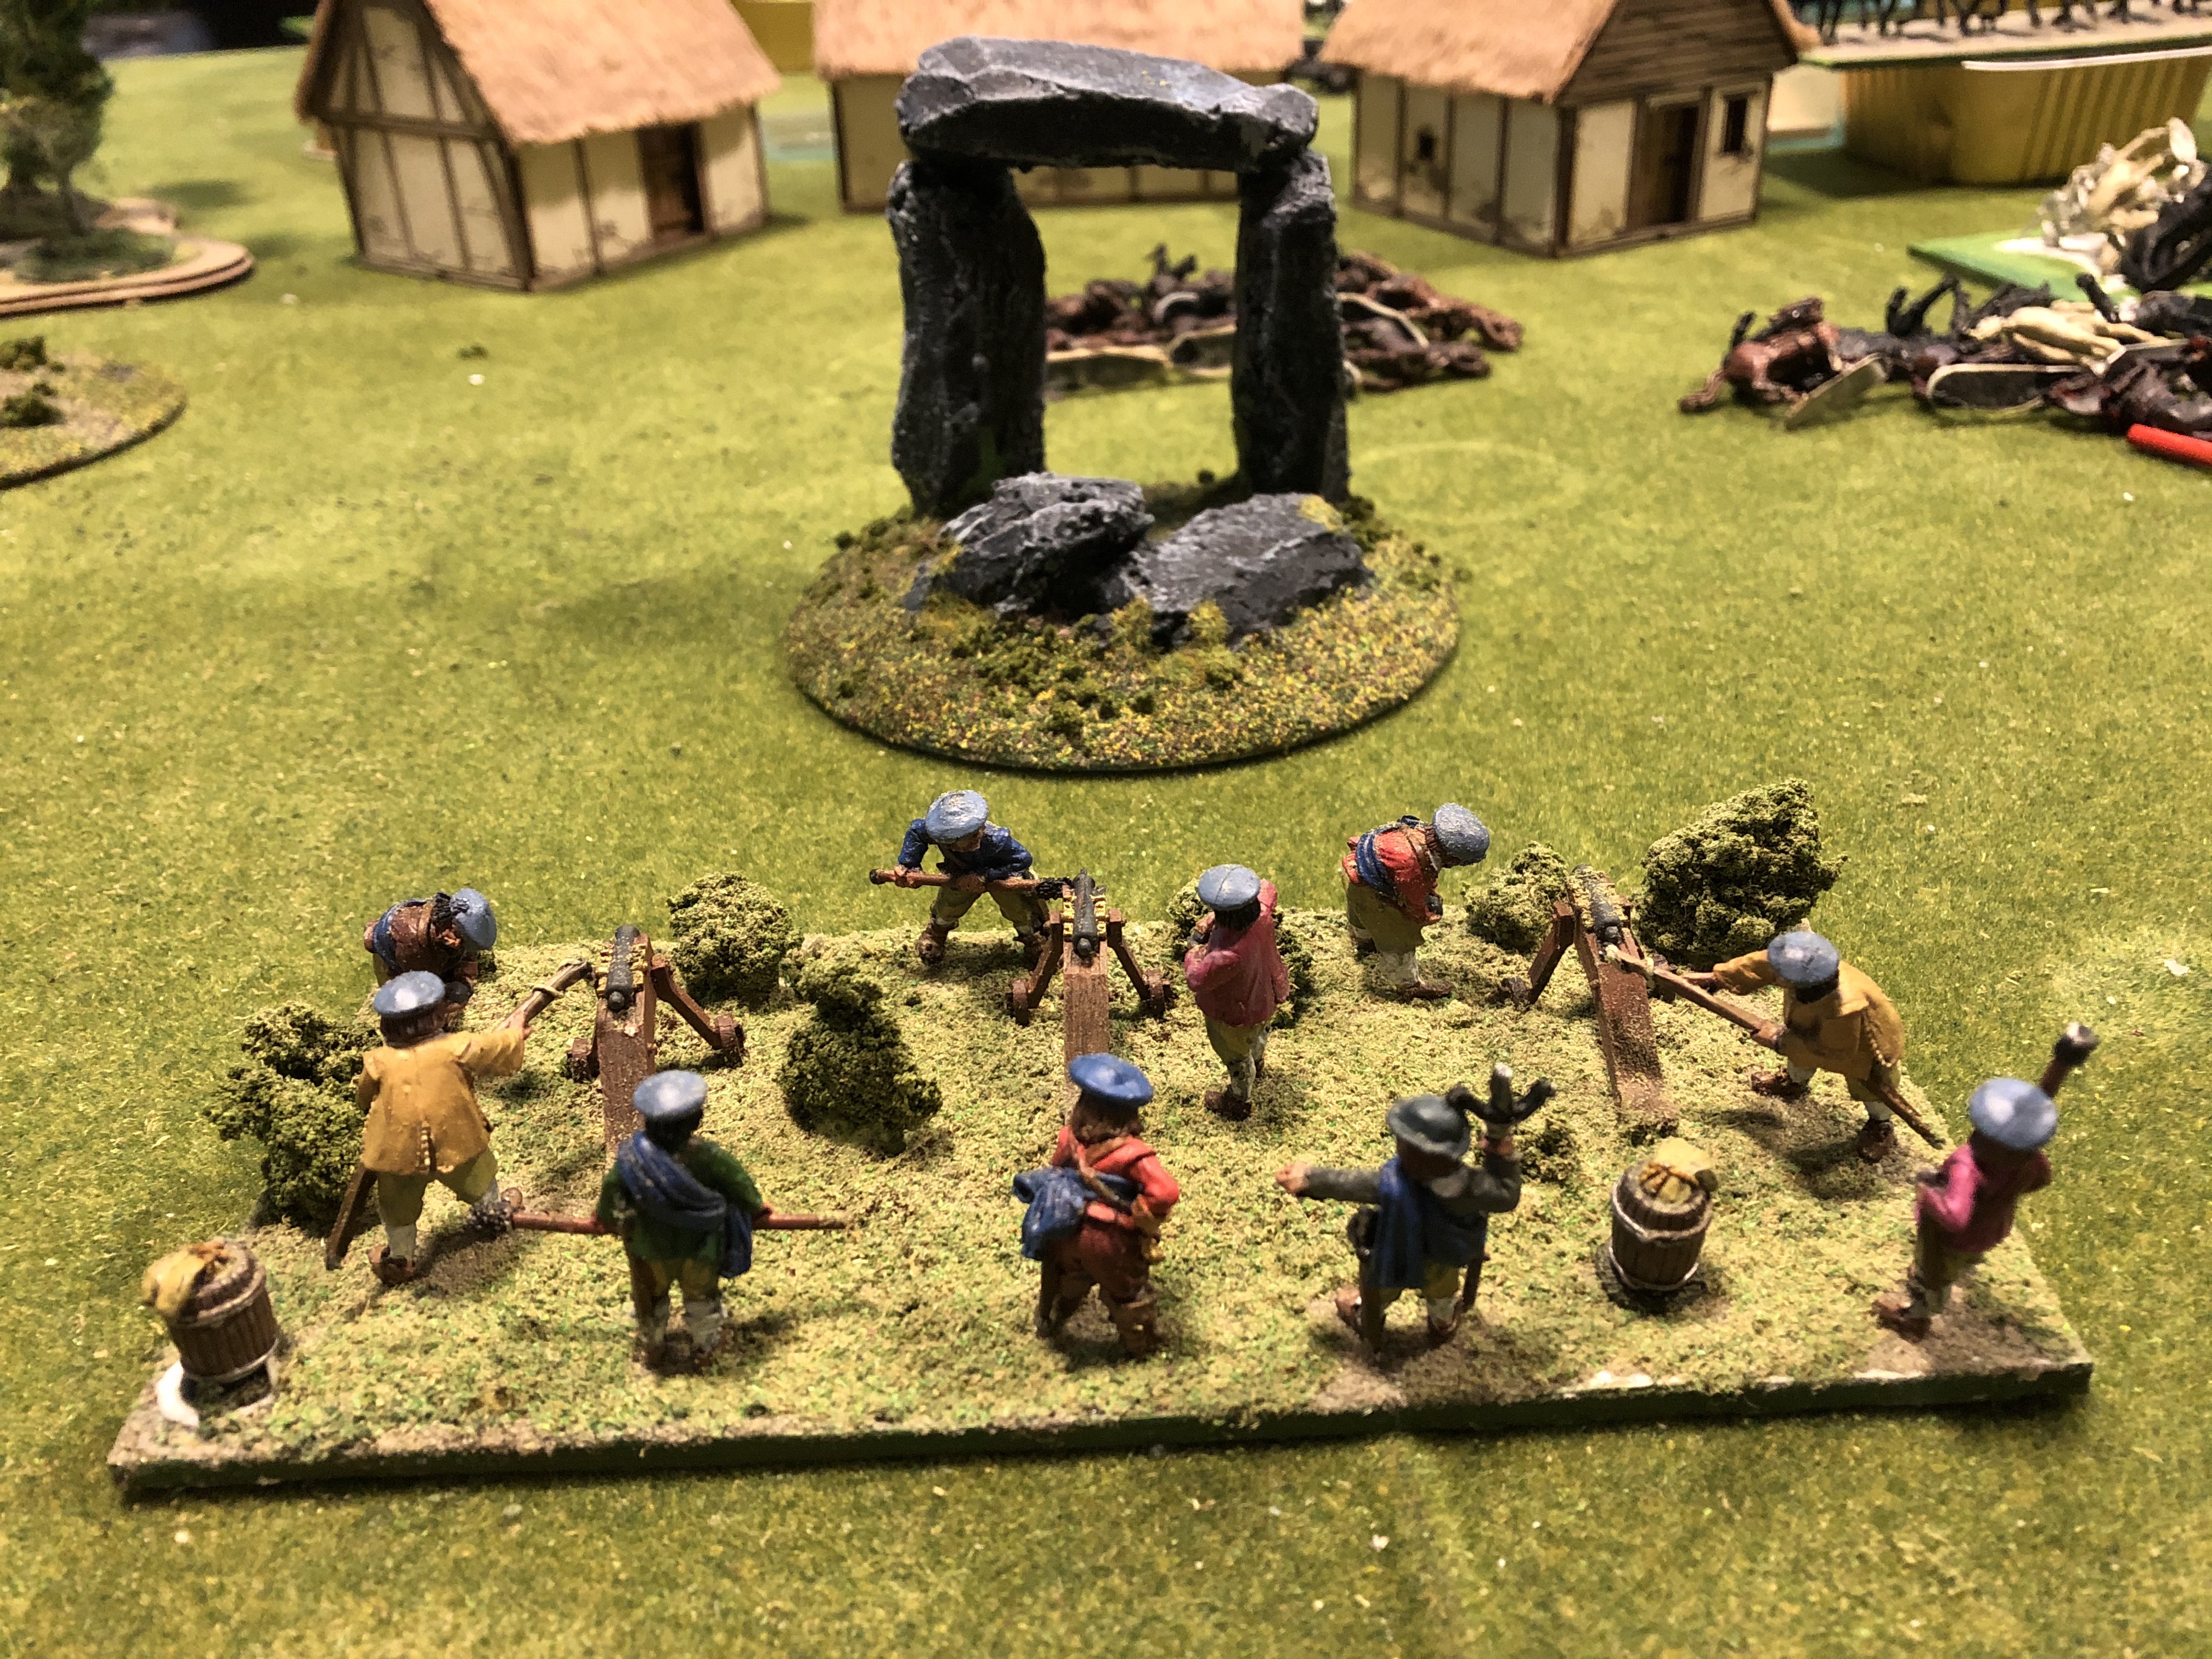
Artillery bases
 Base with foam core to 'mark the space'
I’ve reduced the pictures as I couldn’t get it to post with a picture heavy content, so hopefully this will still be clear.
Start with base on which general space is delineated with off cuts of foam core. On this foundation a layer of DAS air drying clay is fixed to give more form and volume.
During drying the gabions are pressed into the clay to make an initial impression for later gluing and the basis for two small waddle fences are begun by gluing toothpicks in place. Note always have an ODD number of uprights or the later weaving of thick Yarn will not work.
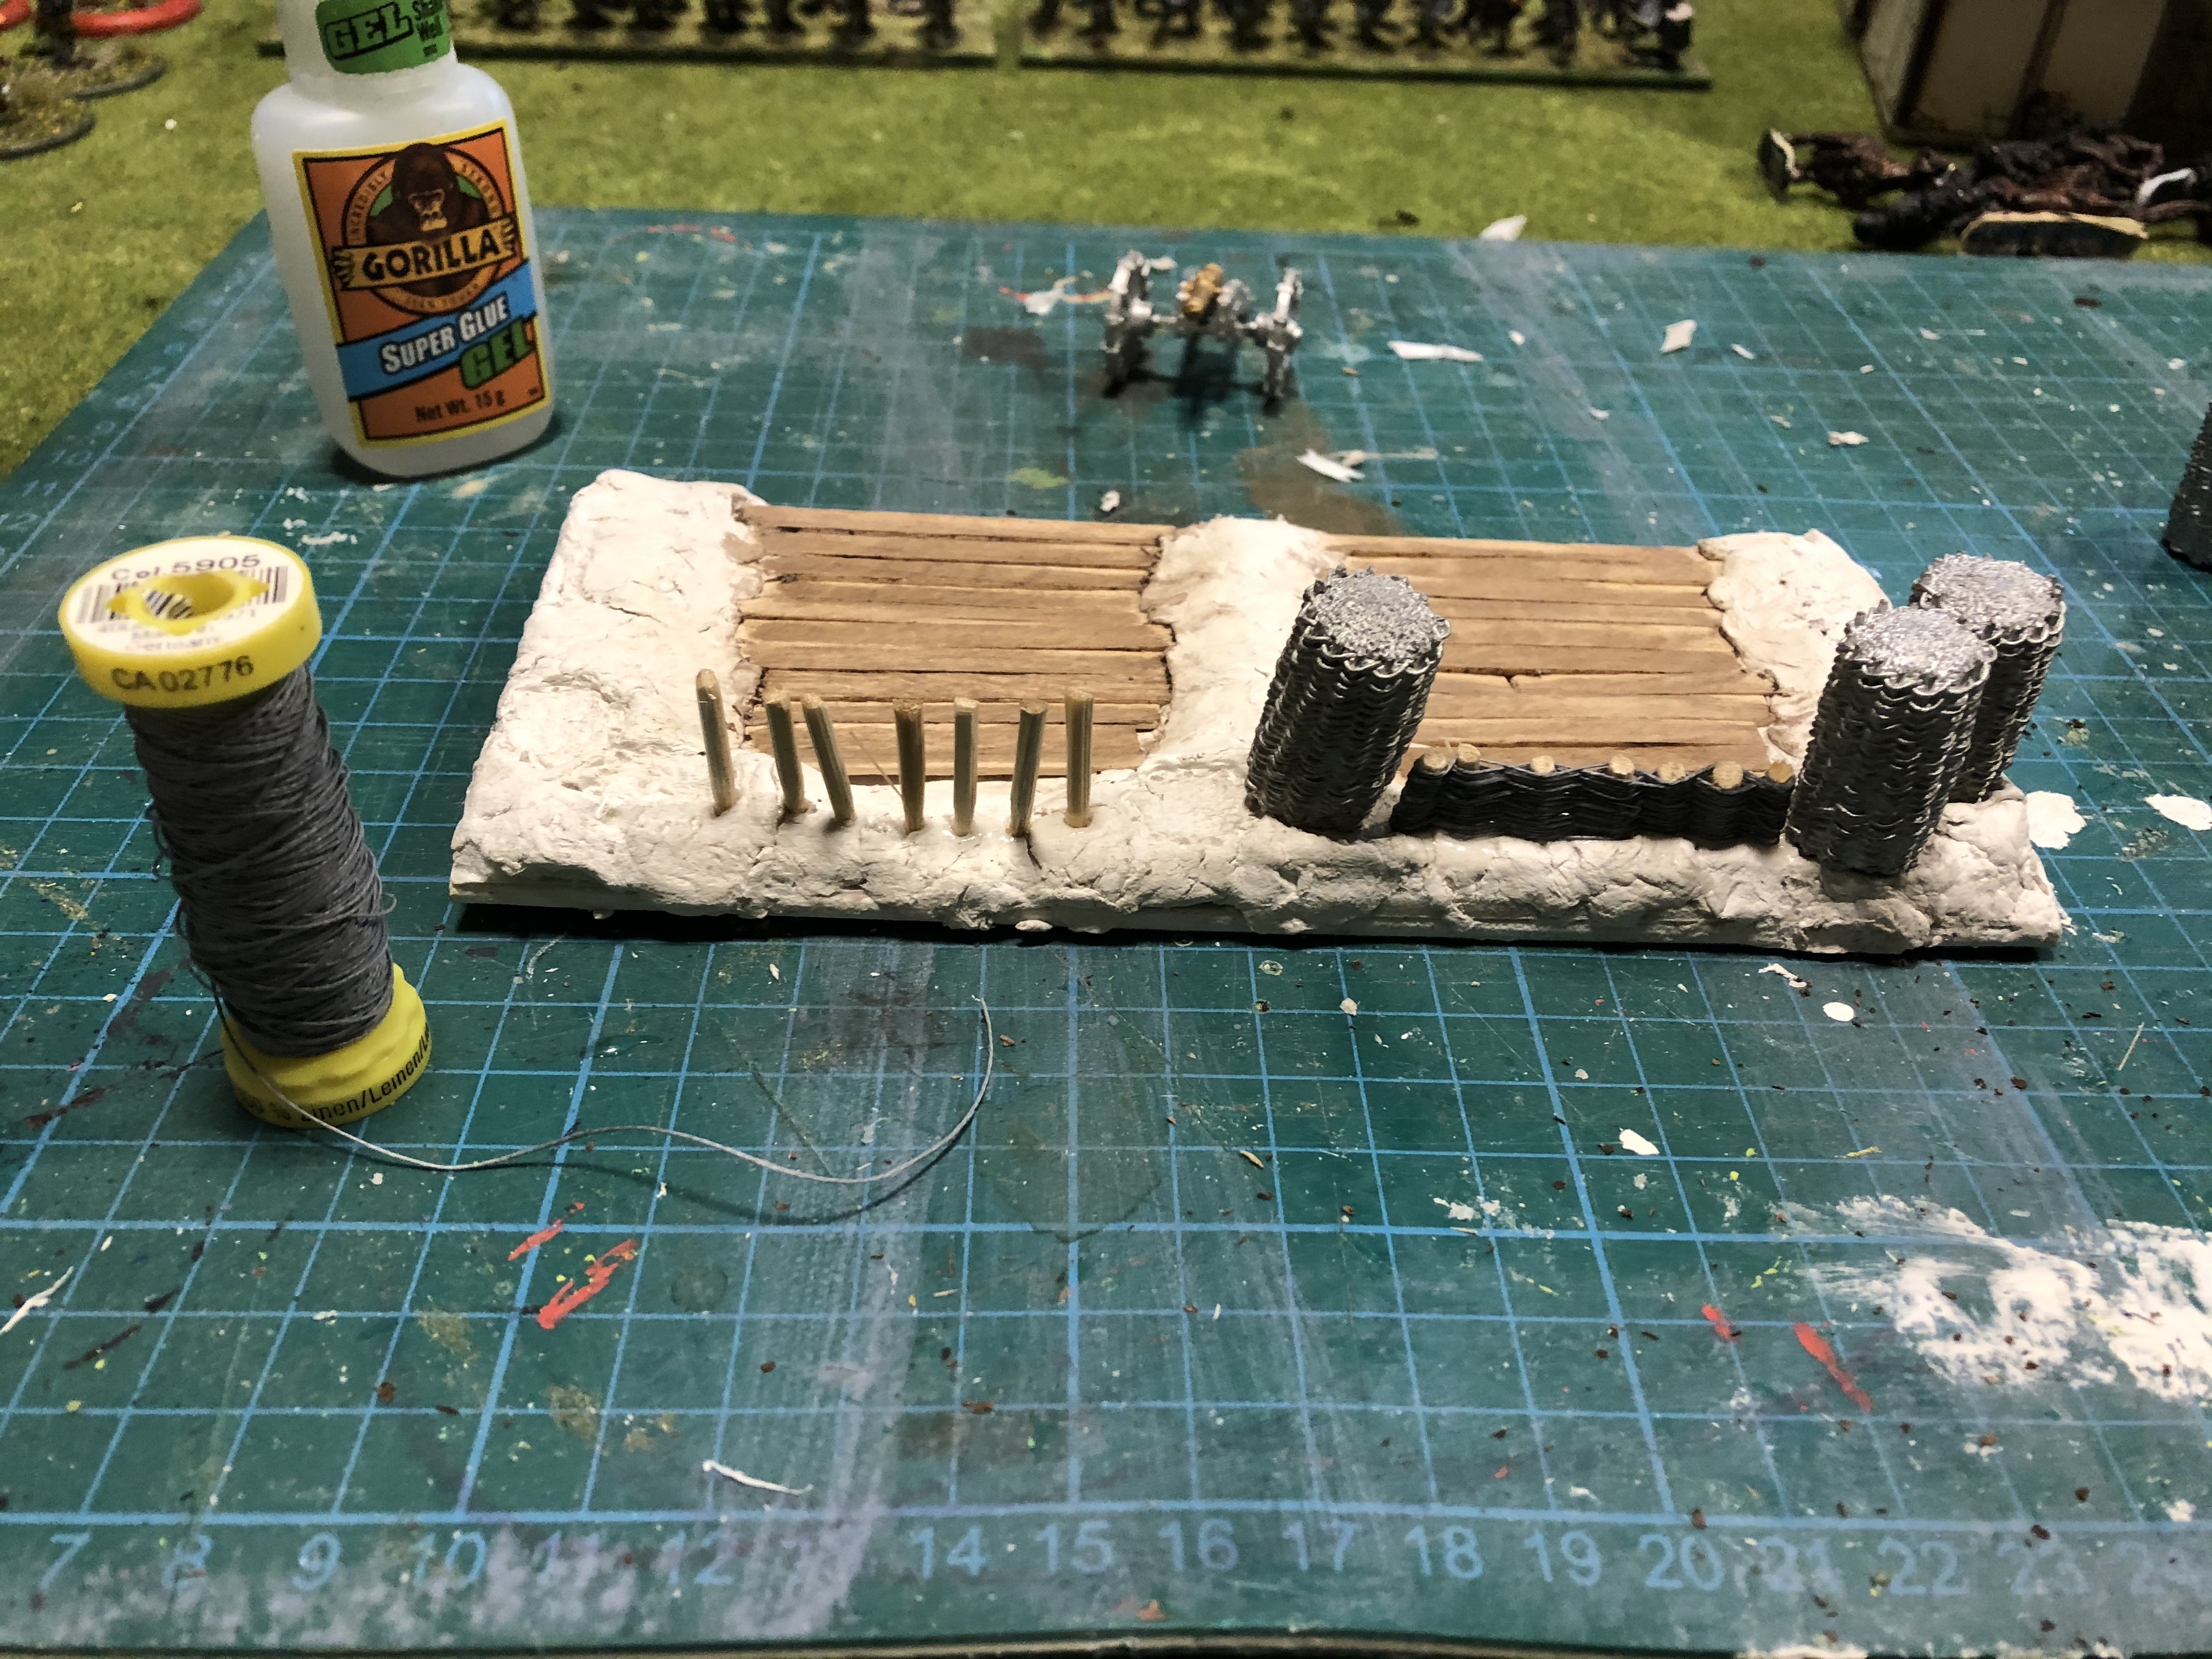 Coffee sticks are stuck down to act as planks of wood, and the waddle fence is begun.
 The image shows how the DIY fence sits between the purchased gabions. I will try to make my own gabion for the next one. I’ll use the same approach, an odd number of uprights and weave through with stiff cotton yarn.
The finished fence is ‘fixed’ with a PVA solution, about 60/40, and once dry the entire base is primed with artists acrylics, and flock.
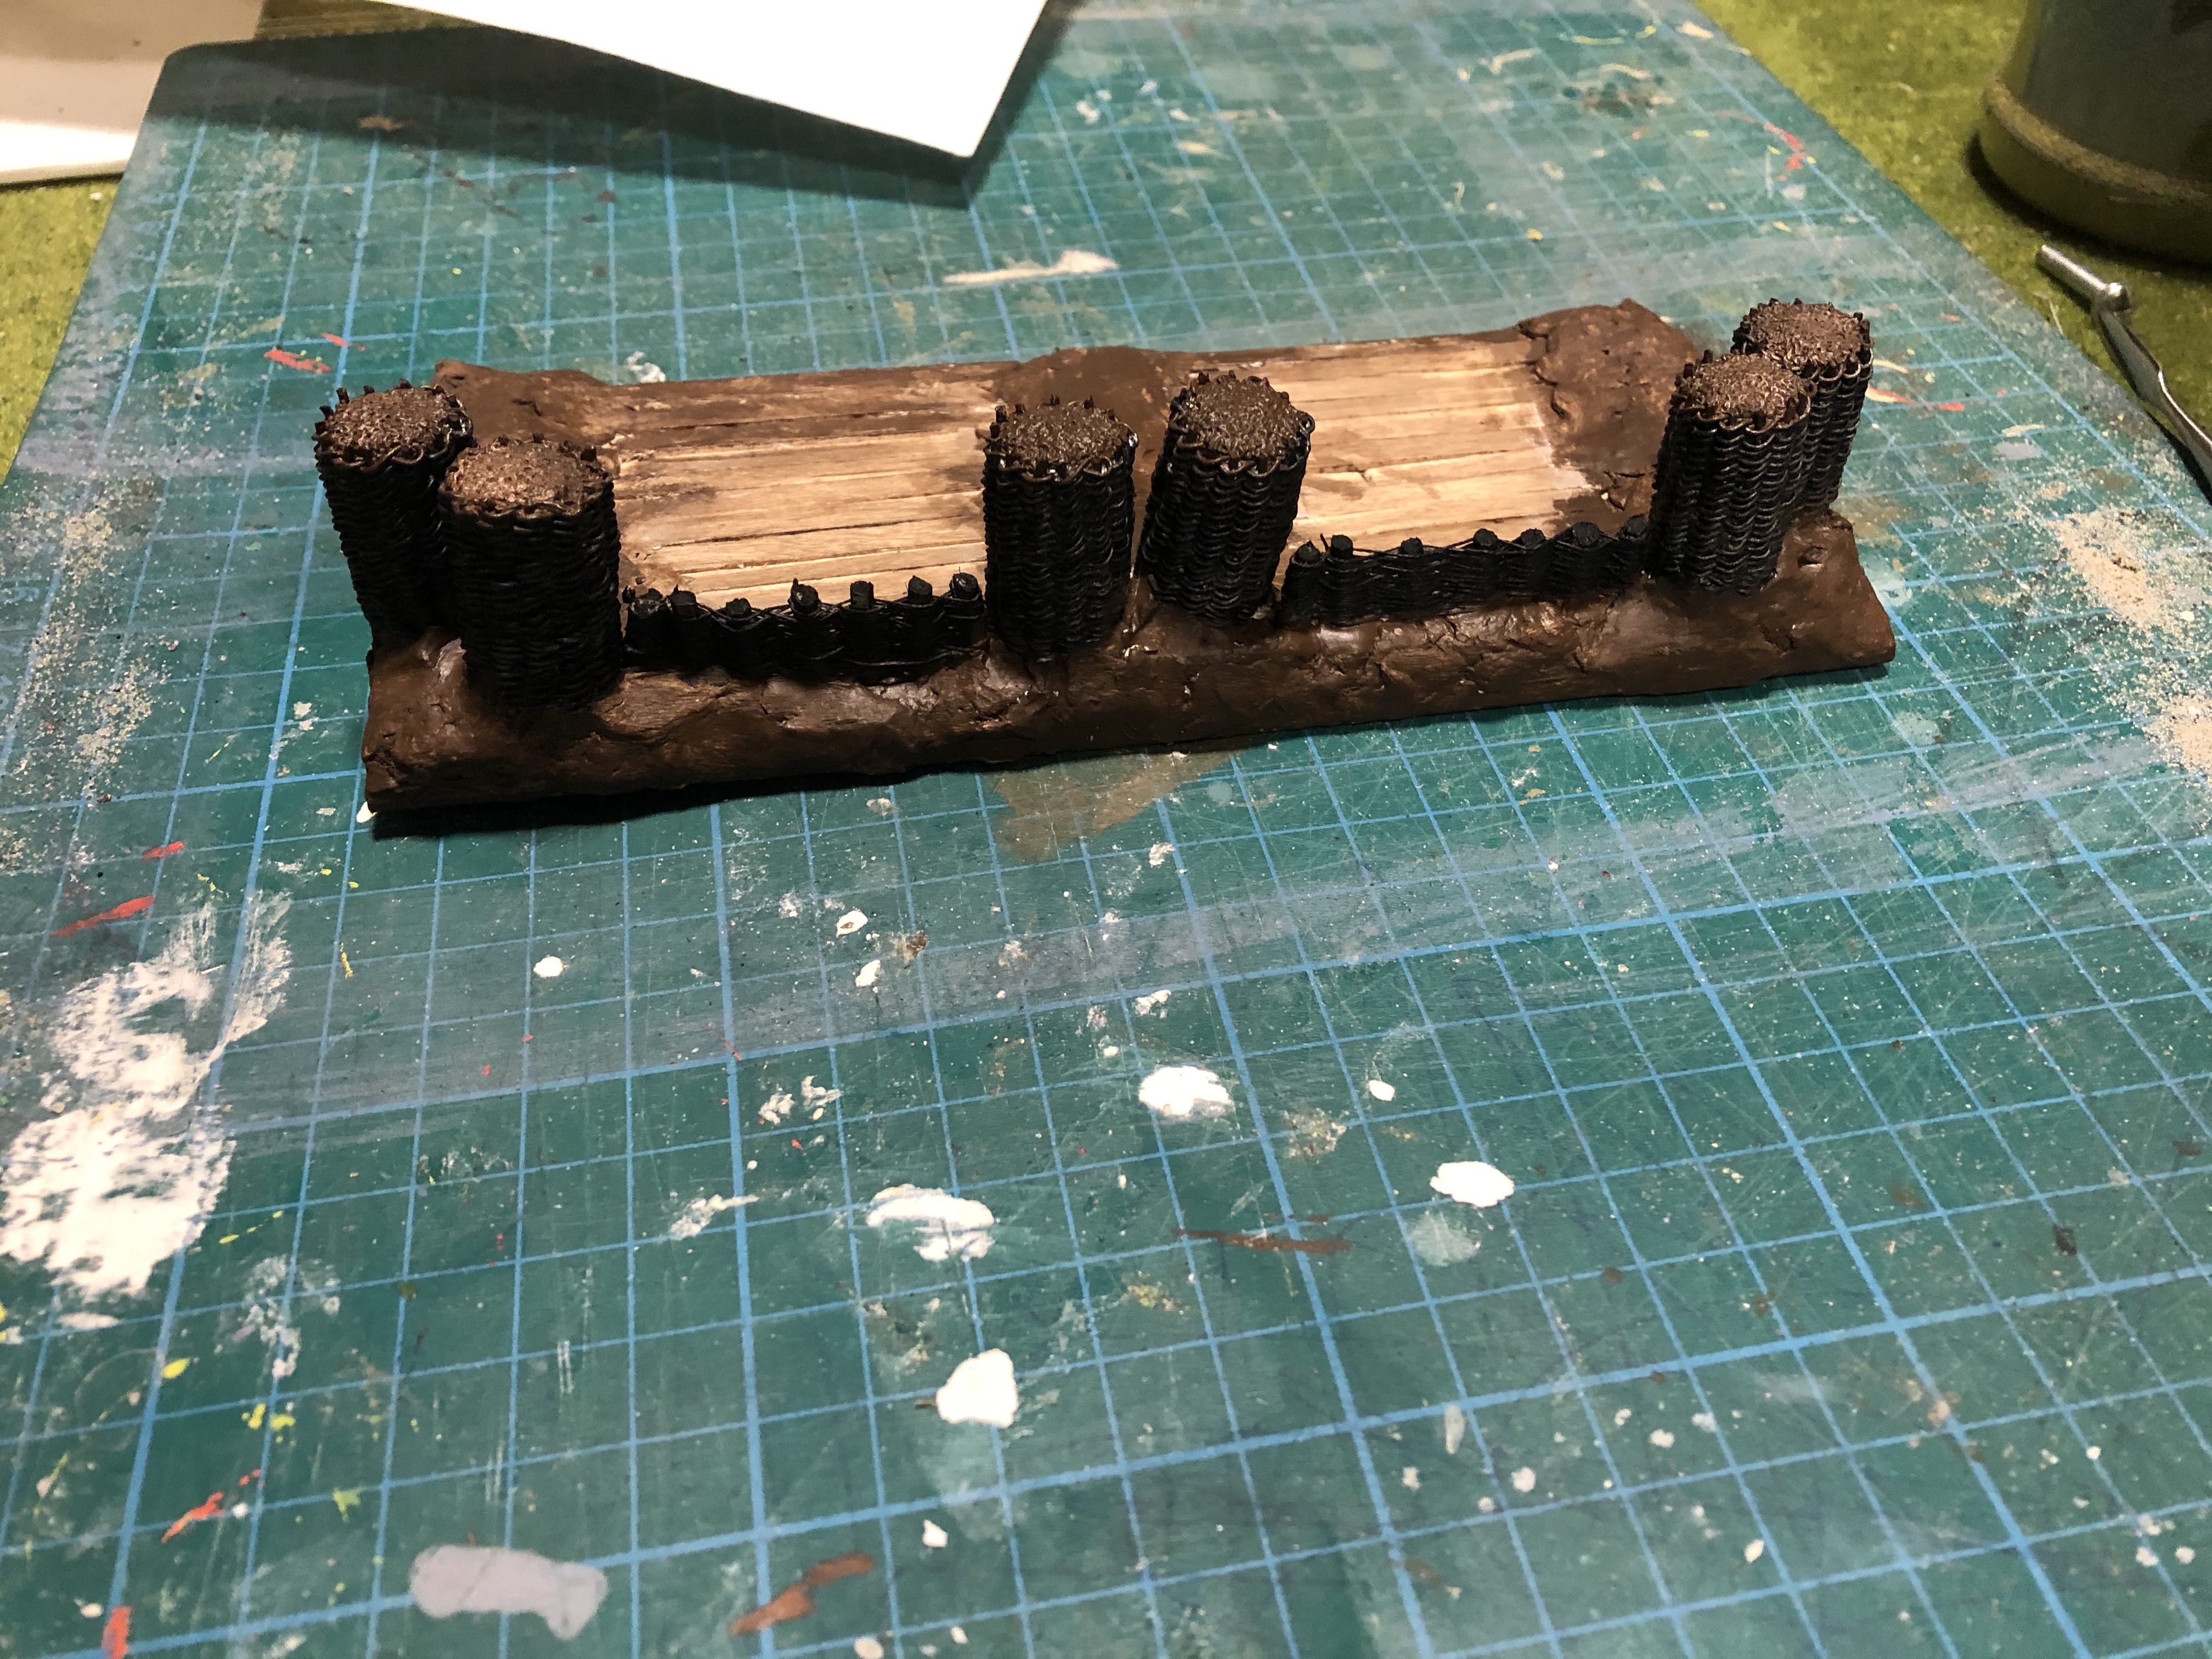 Primed and ready for flocking
 Figures fixed in place - gap for the gun
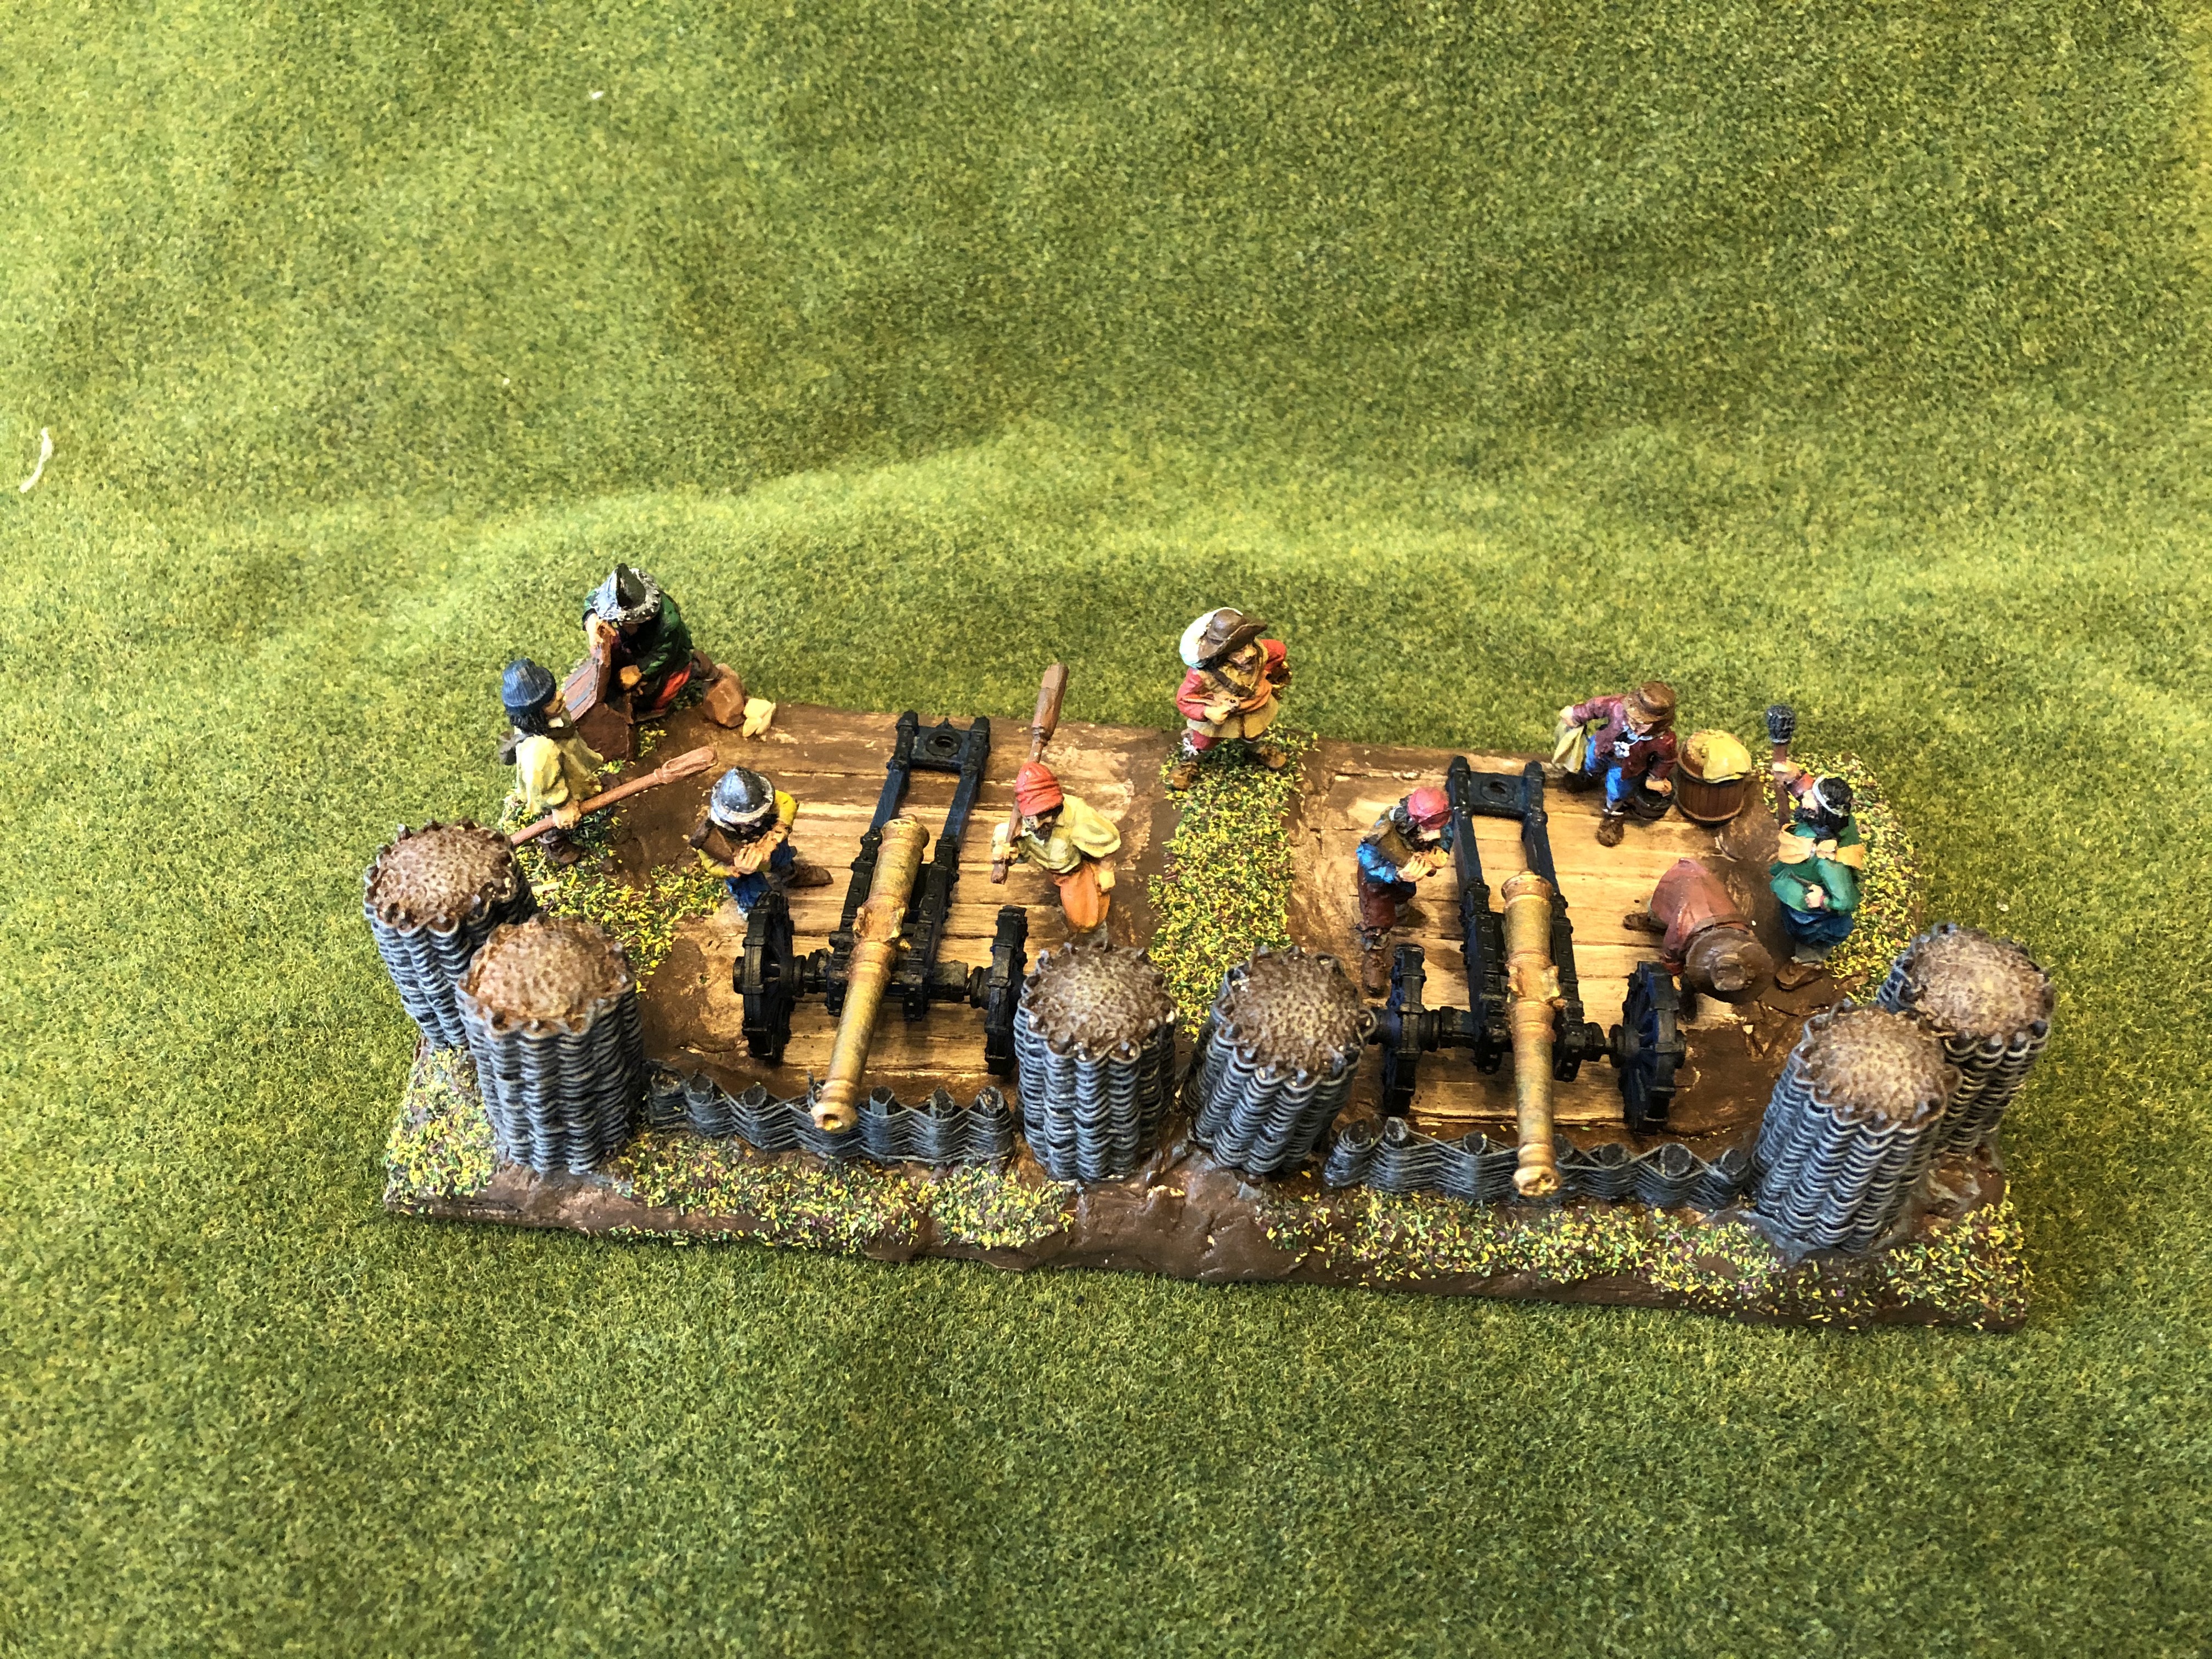 Ready to Fire!
Highlanders Bases
 Base steps: 1. Odd bits of FoamCore; 2. Attach figures; 3. Apply DAS to mould landscape
Not much to present unfortunately, been sidetracked with a number if issues, BUT, I wanted to share quickly the three Highlander bases I am working on. The steps are self explanatory, but essentially I have stuck down some random foam core to a standard base to add limited hight differences.
Figures are glued down once the foam core is set, and afterwards DAS air-drying clay is stuck down to give volume and texture to the base.
 Step 4. PvA glue and sand; 5. Flocking; 6. Assorted scatter
Likewise the final steps are as expected. Watered down PvA (about 60/40) applied to the dry DAS base and fine sand added. This helps to give some texture and also seems to set the figures in better to the base.
After that, the usual flock is applied (also with 60/40 PvA) and finally some odds and ends of bushes, stones etc. to give a little dioramic affect.
I’ll post a final summary on the 20th, but as an aside, I was sufficiently enthused that I attempted to make some small houses. Again nothing new here. Foam core walls, balsa wood roof with added DAS for the thatched effect.
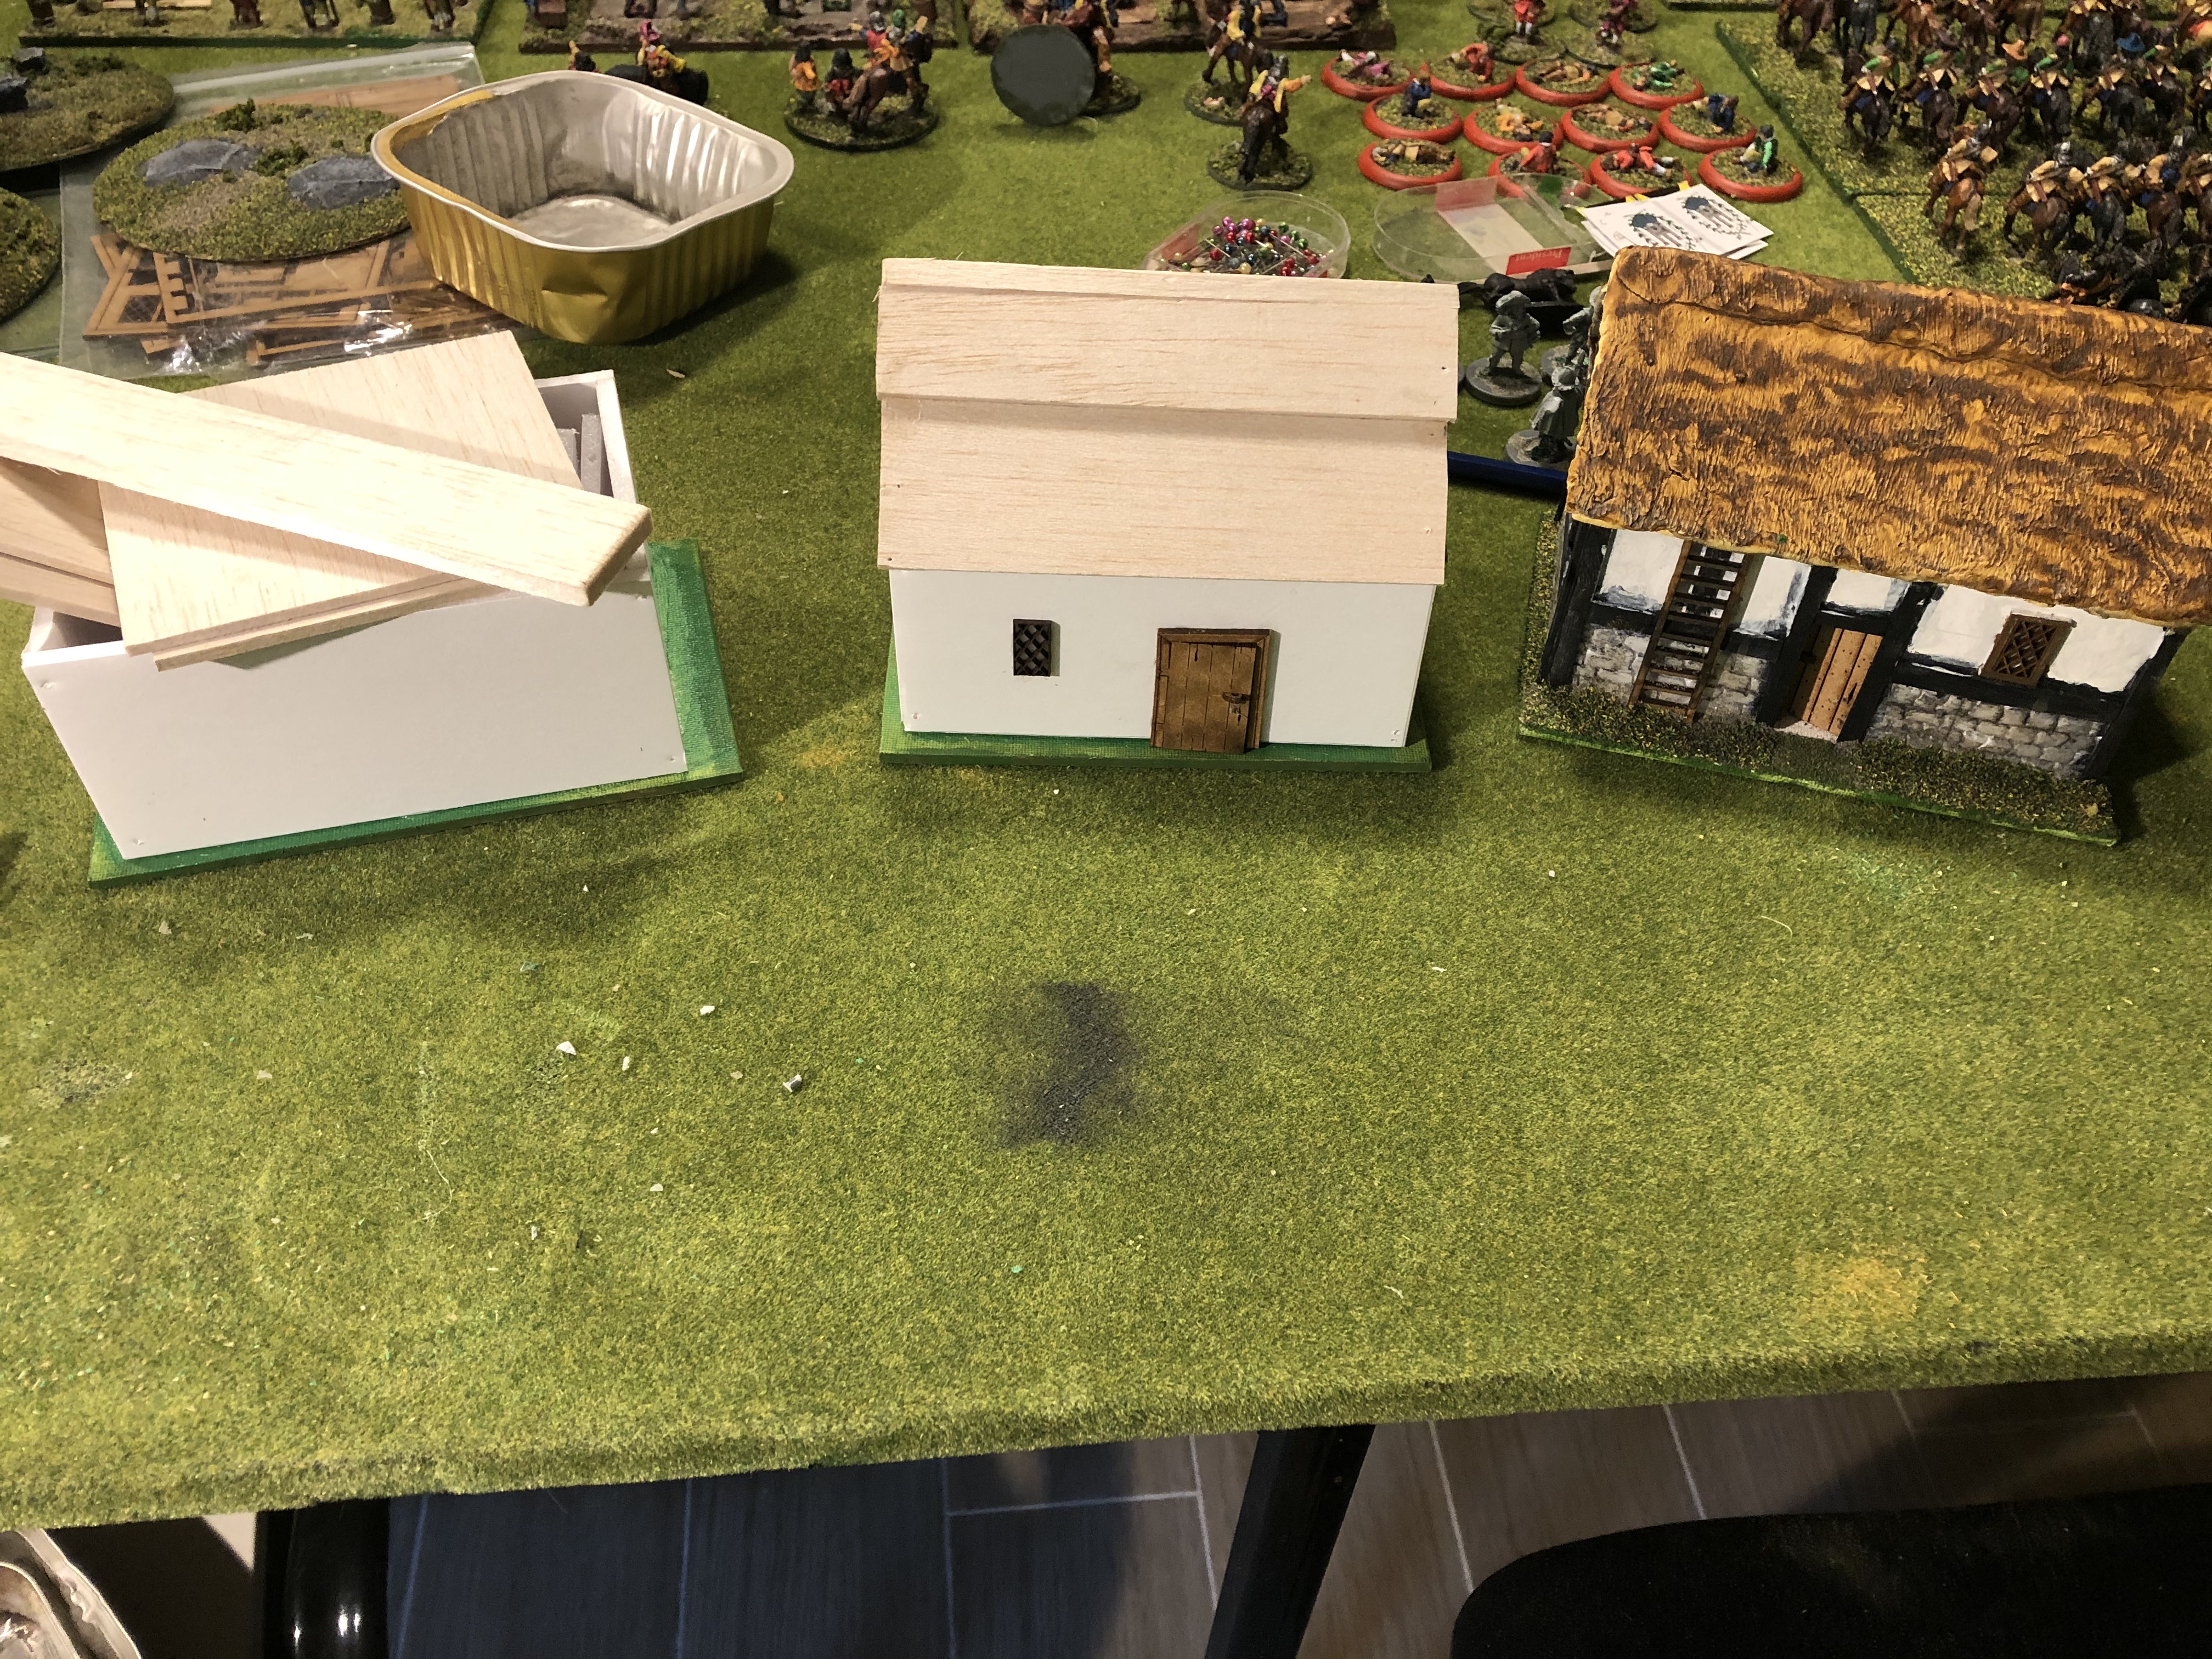 Houses "adorned" with mdf fixtures from 4ground
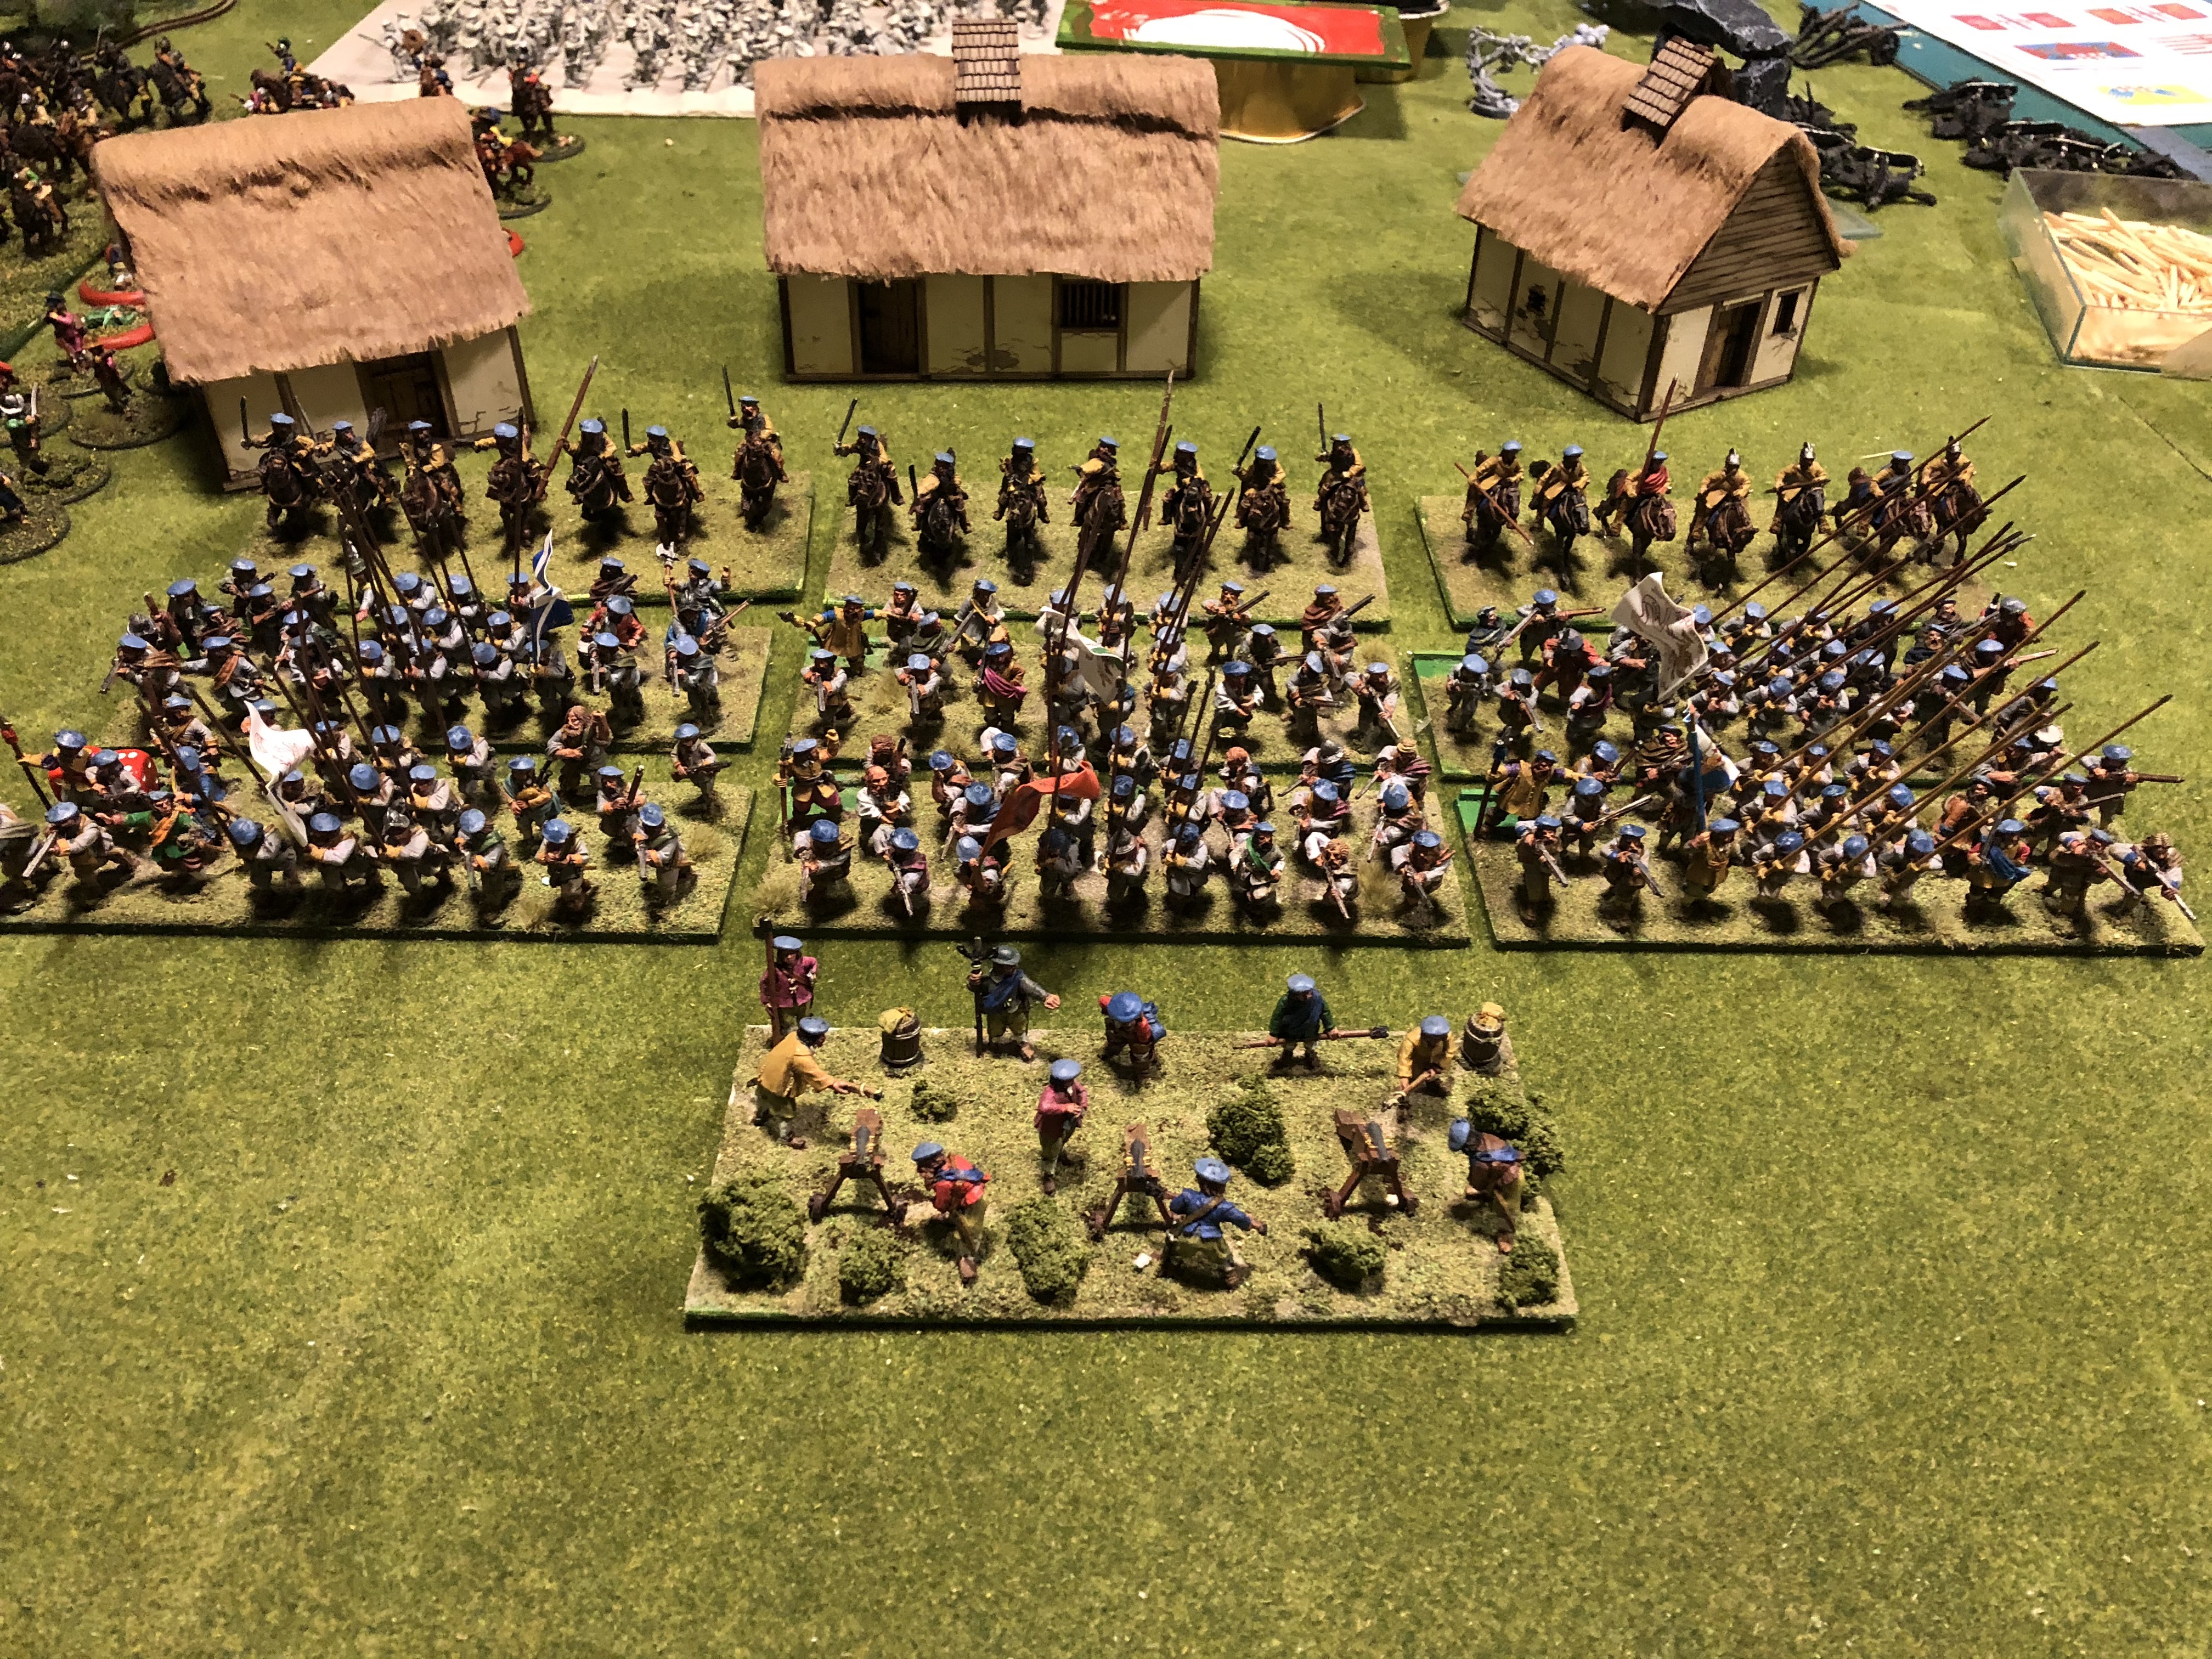
Spring Clean final
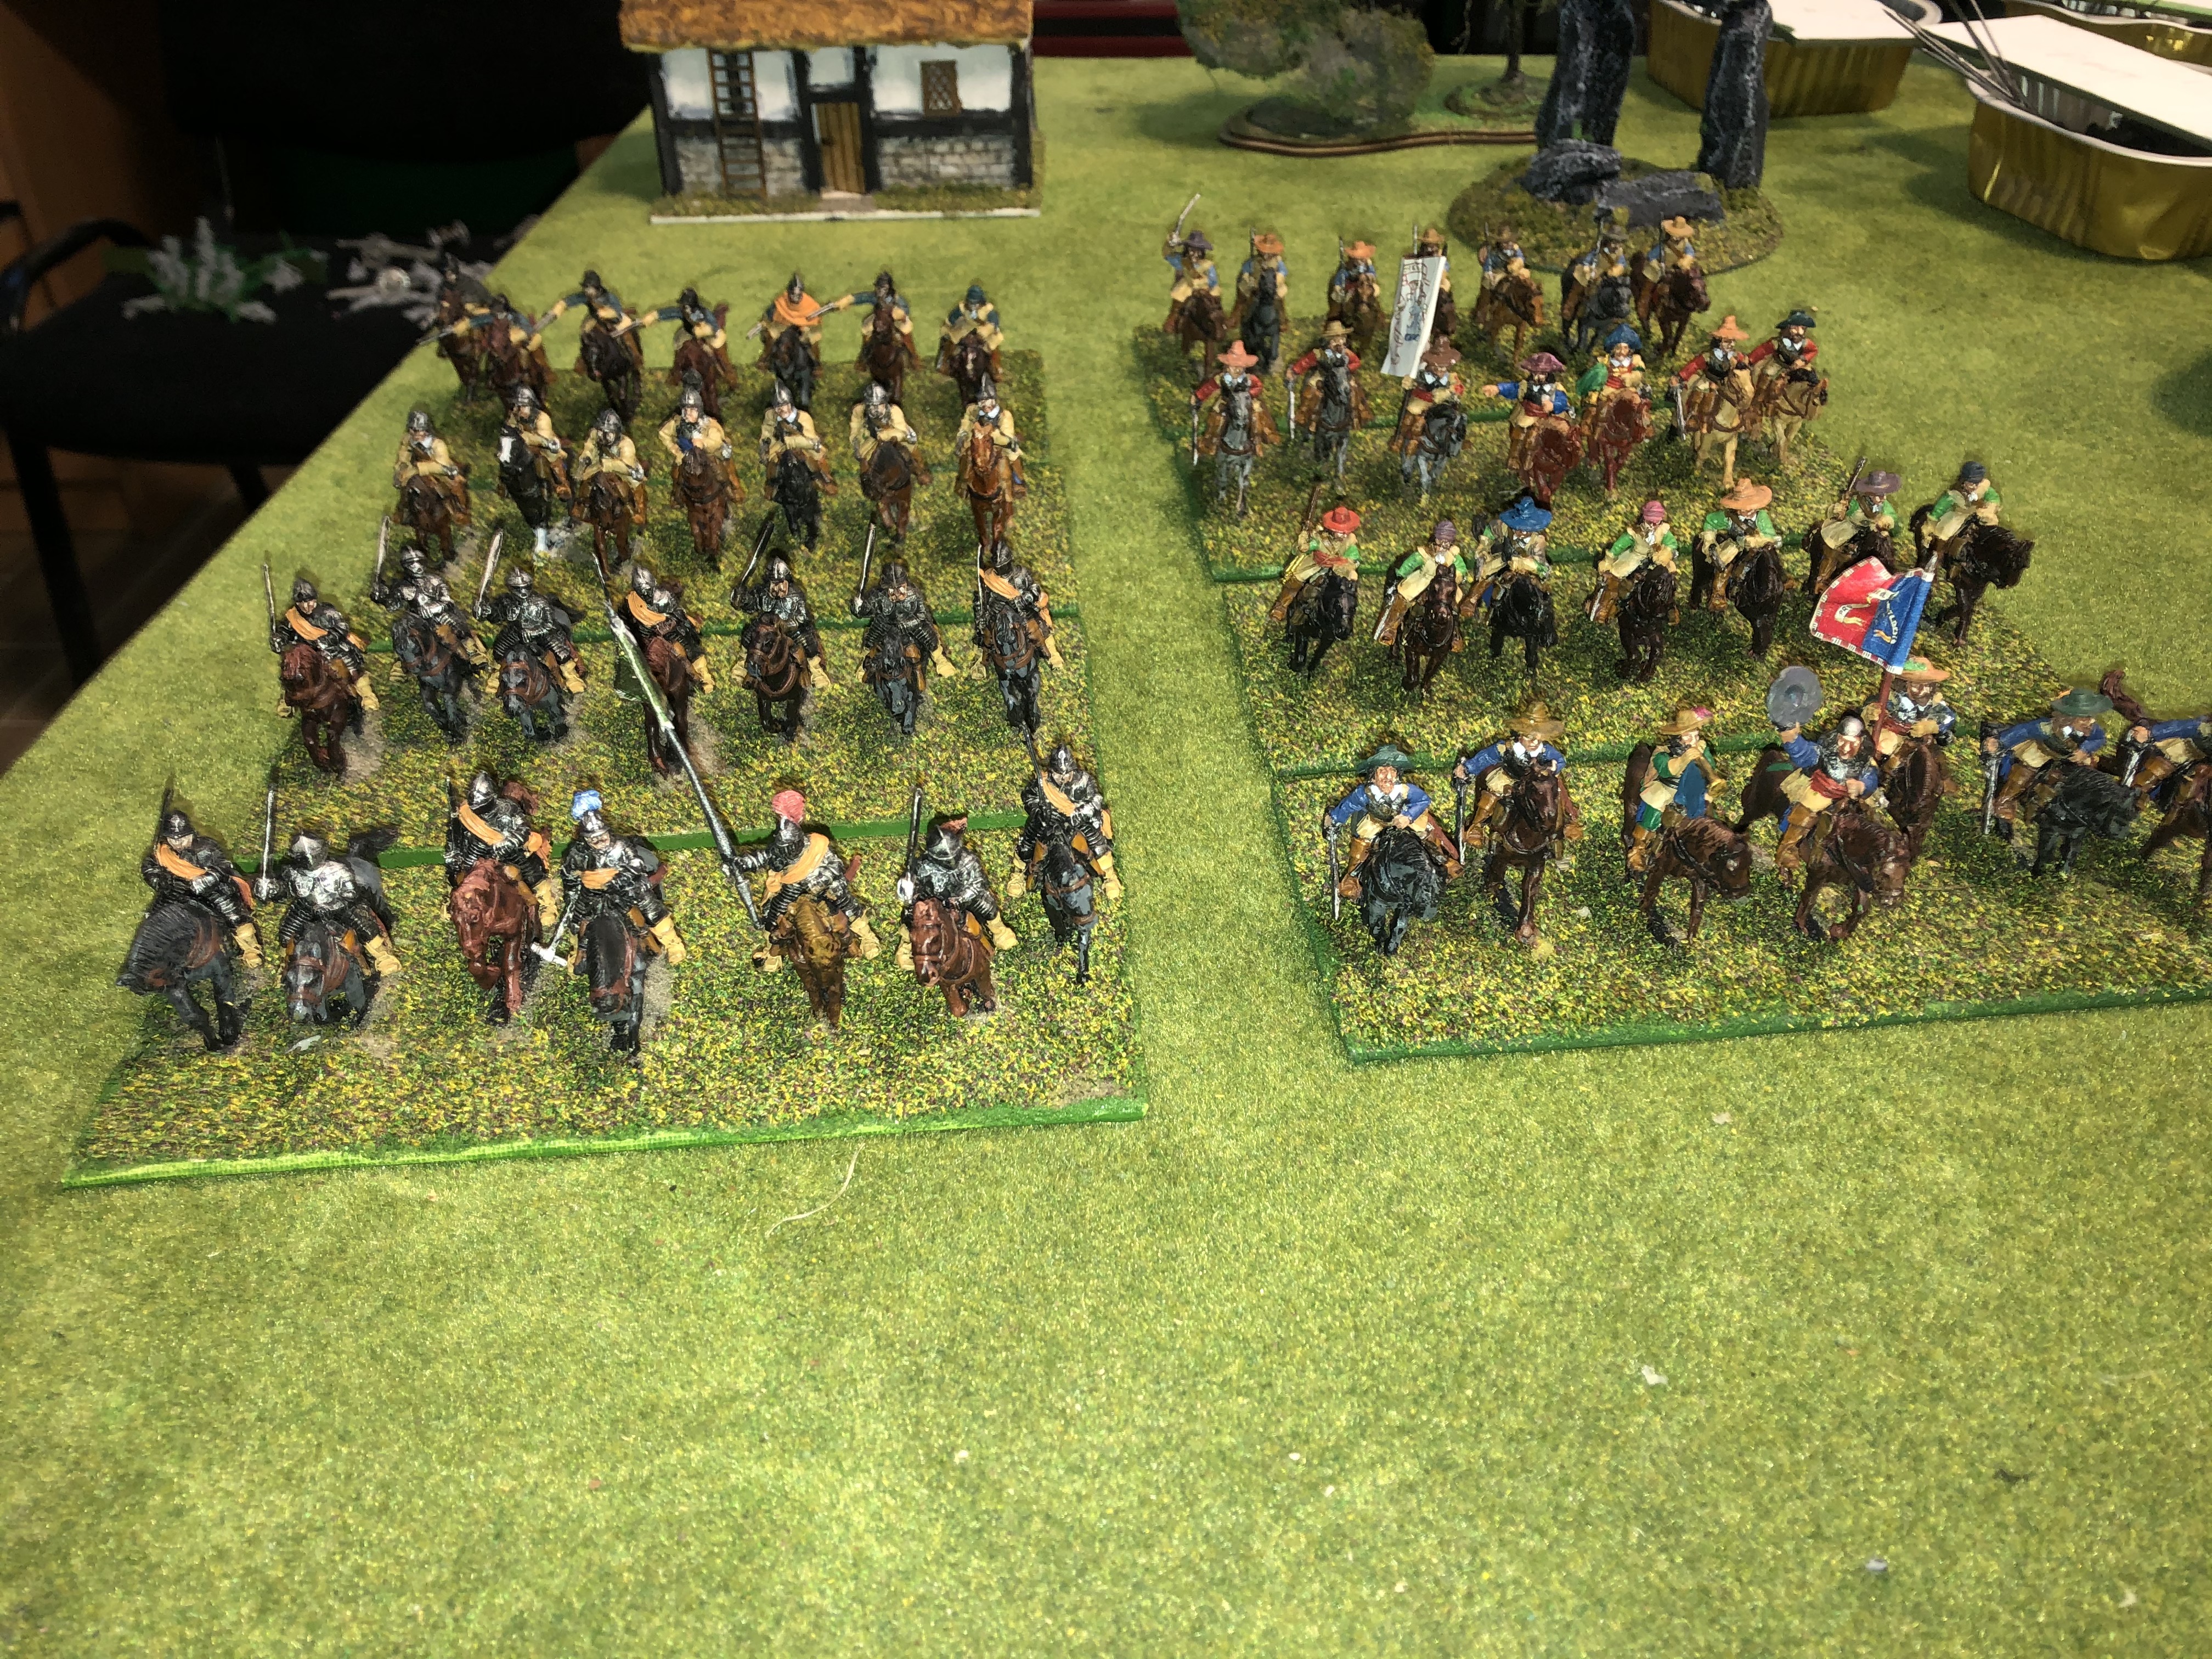
So, here is my final post within the time frame of the Spring Clean Challenge. First to say a thank you to those who made recommendations (quite surprised, to be honest!) and to the comments, all appreciated.
Did I do everything I hoped? No. Life sometimes gets in the way, but without the challenge, I doubt I would even have resurrected these armies, and even now there are sufficient forces for a decent game.
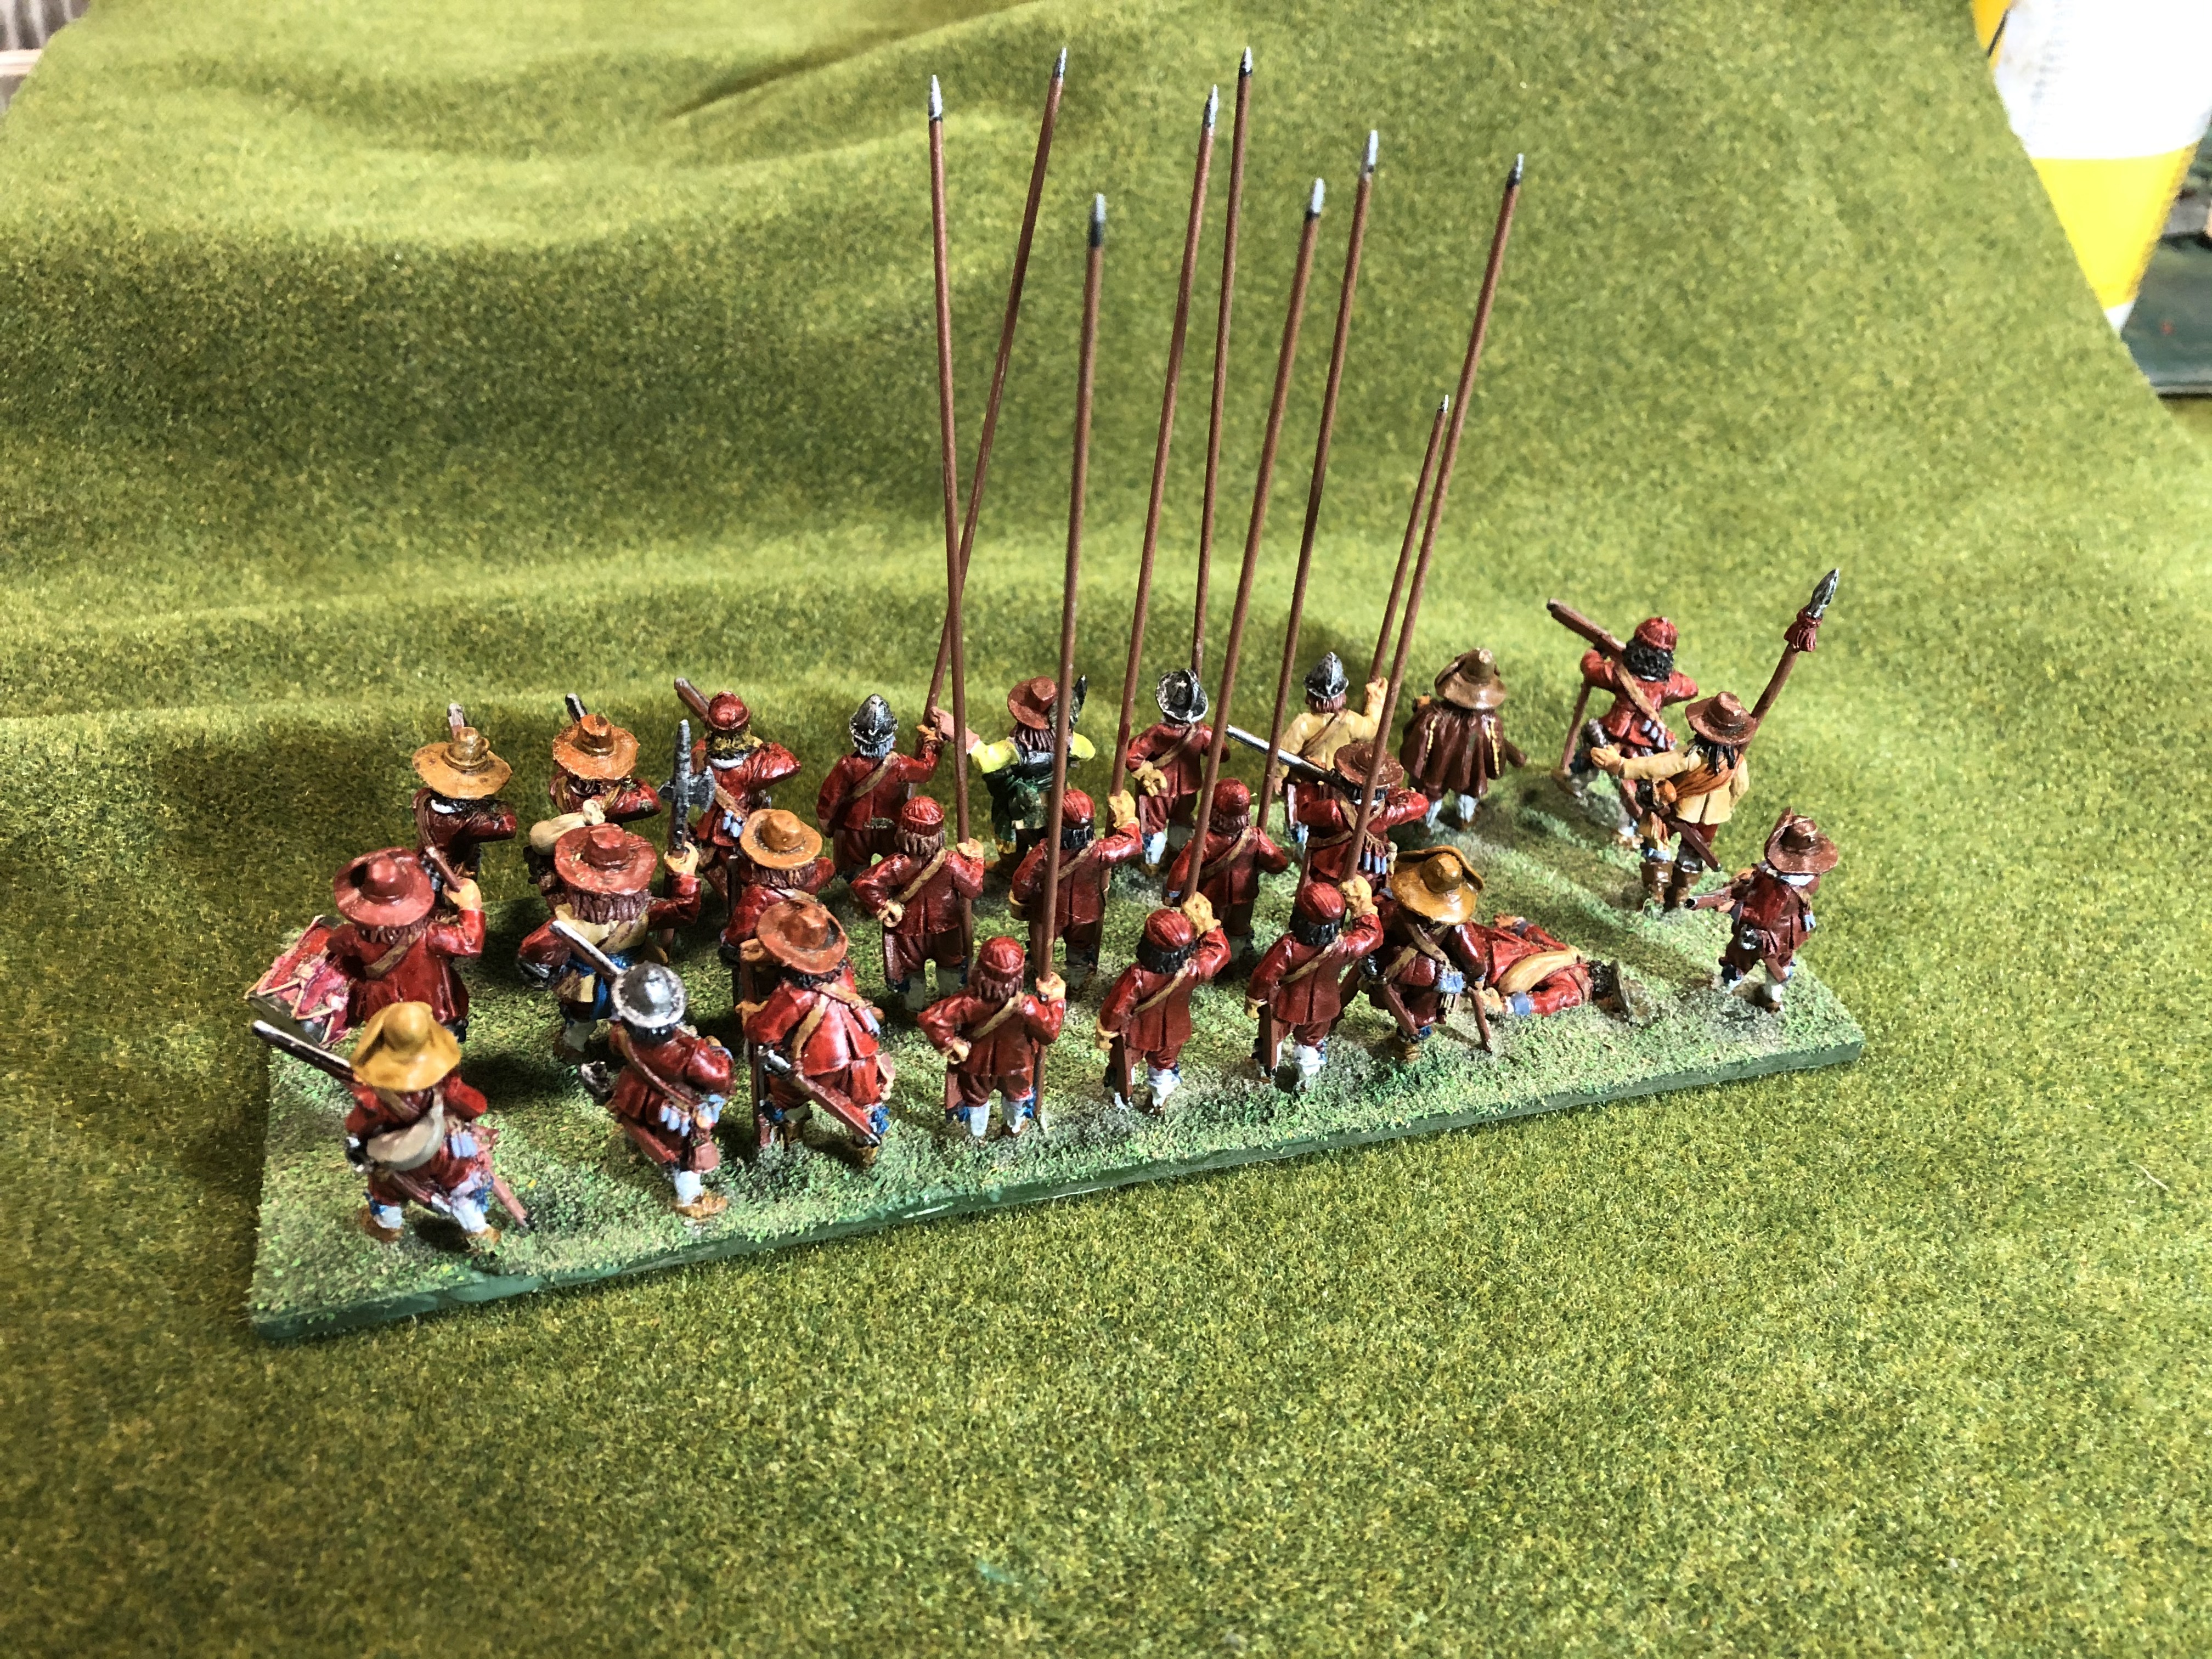
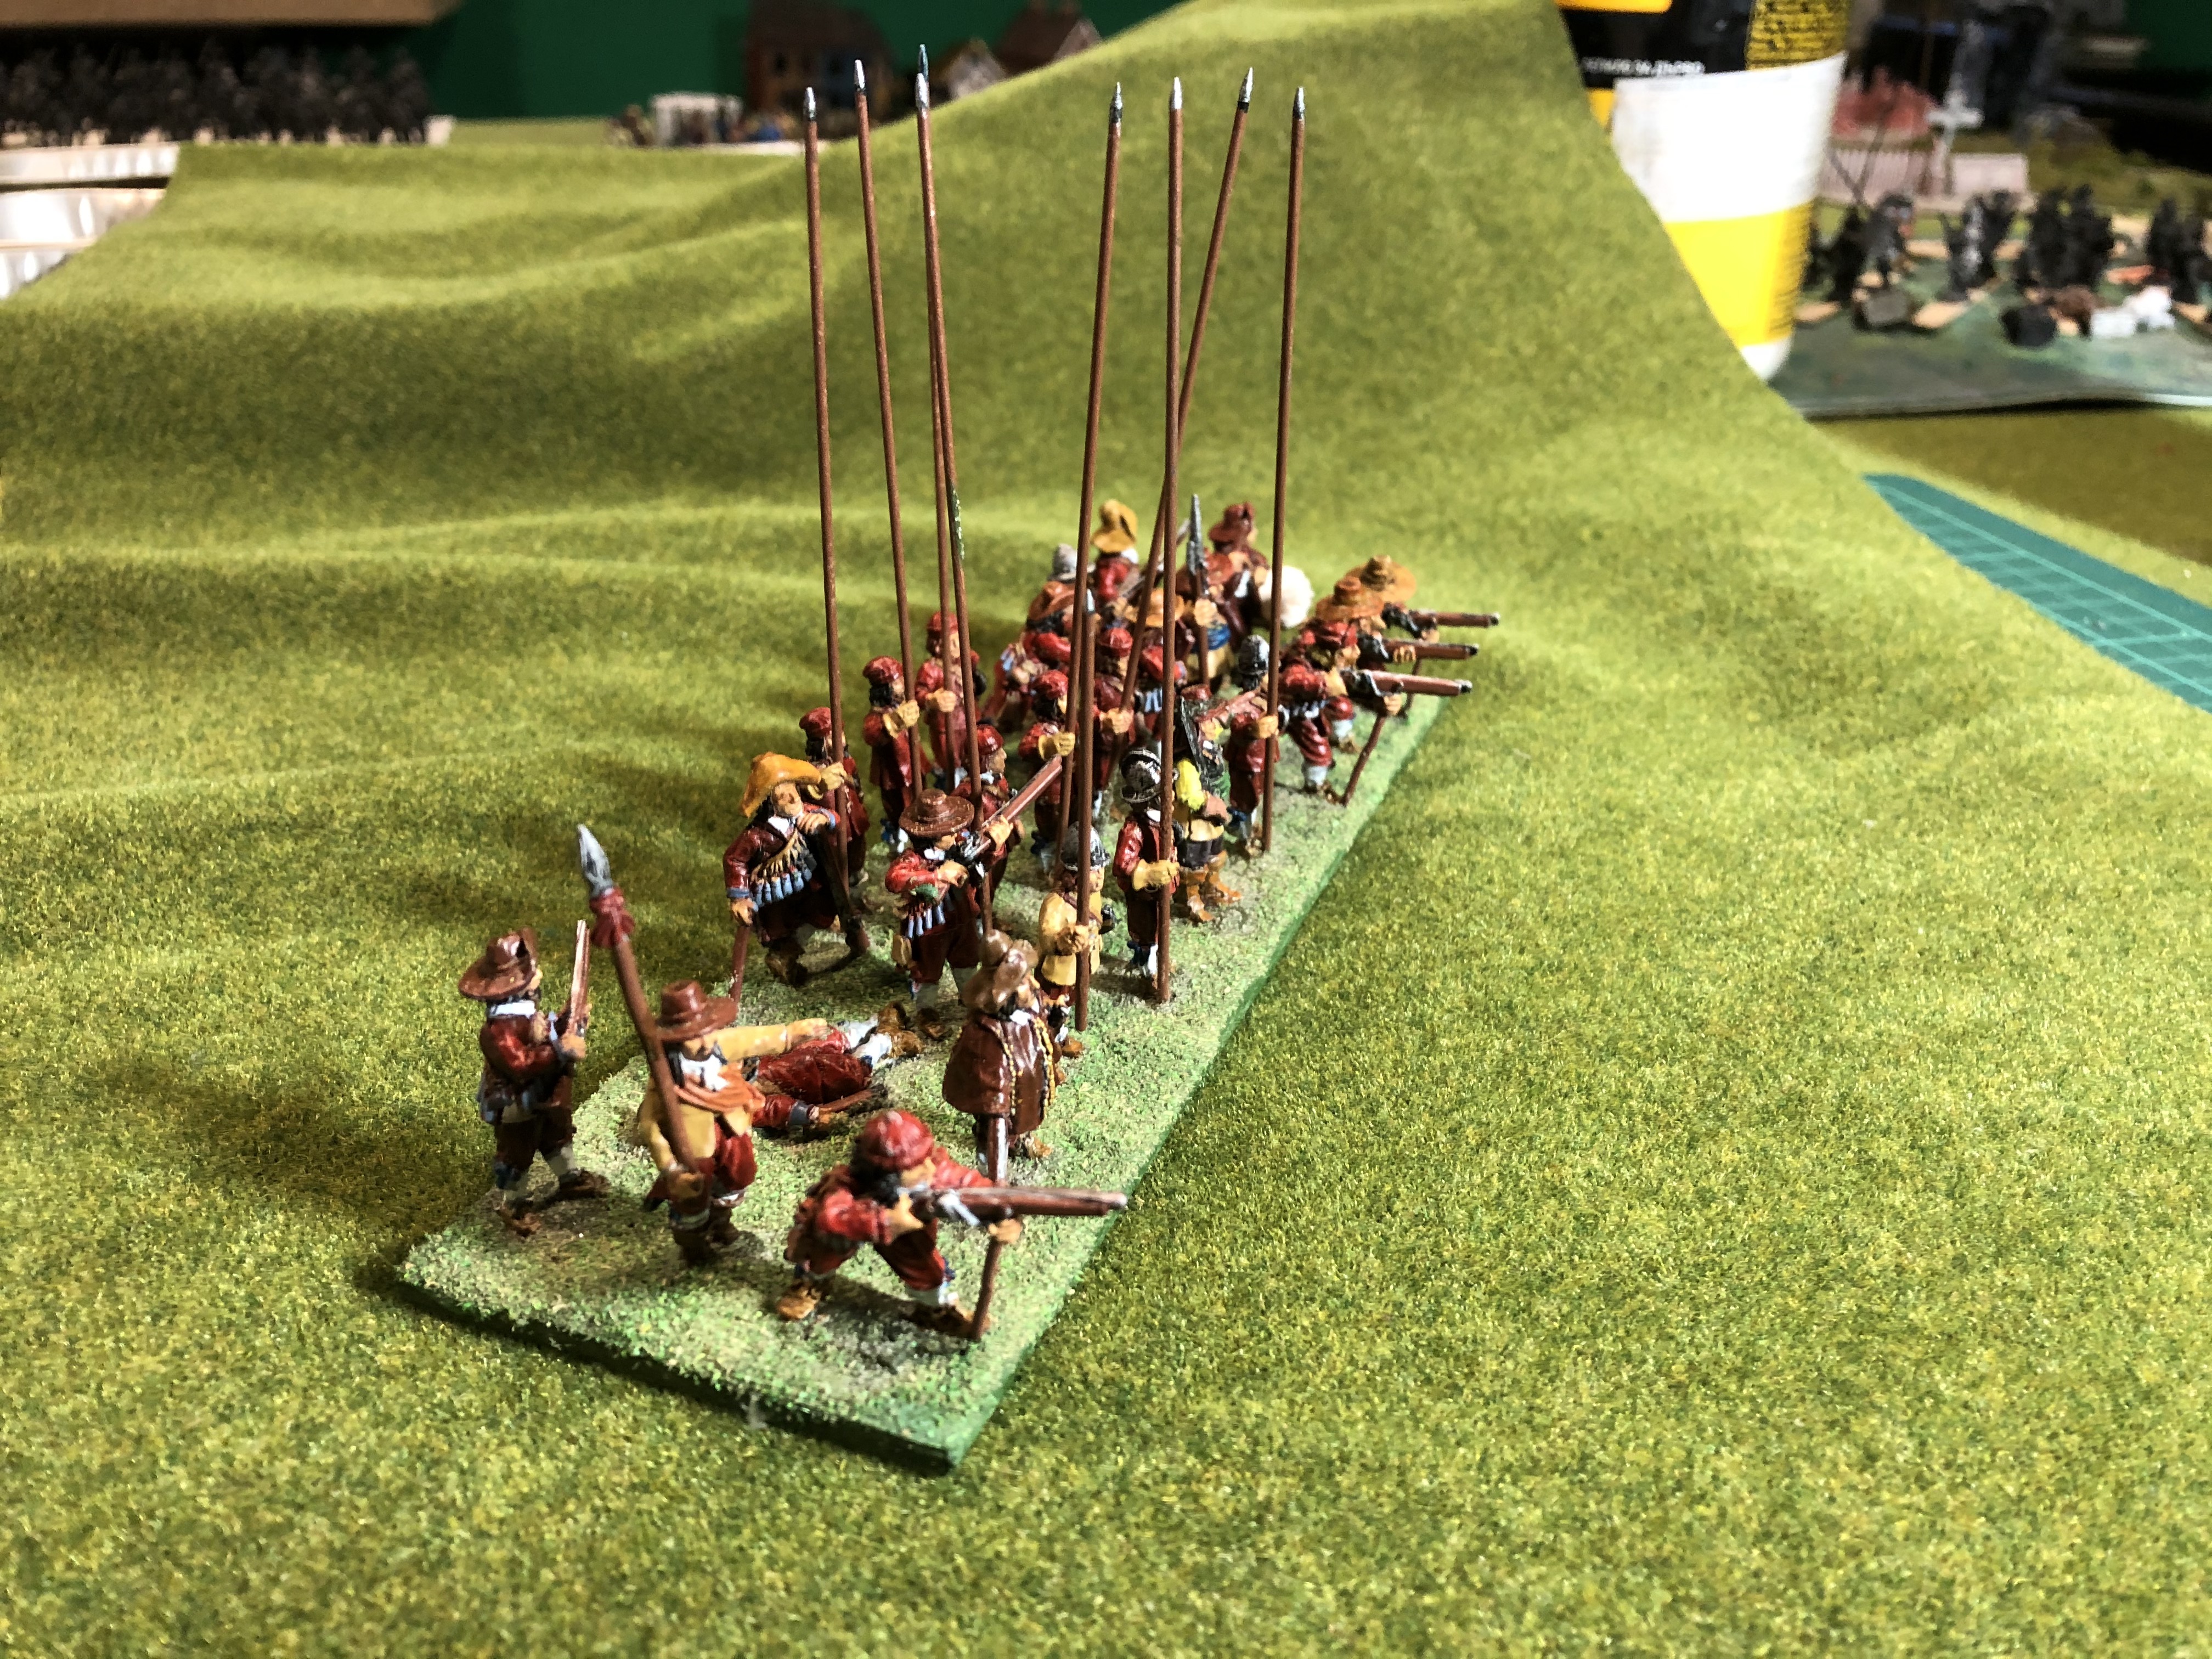
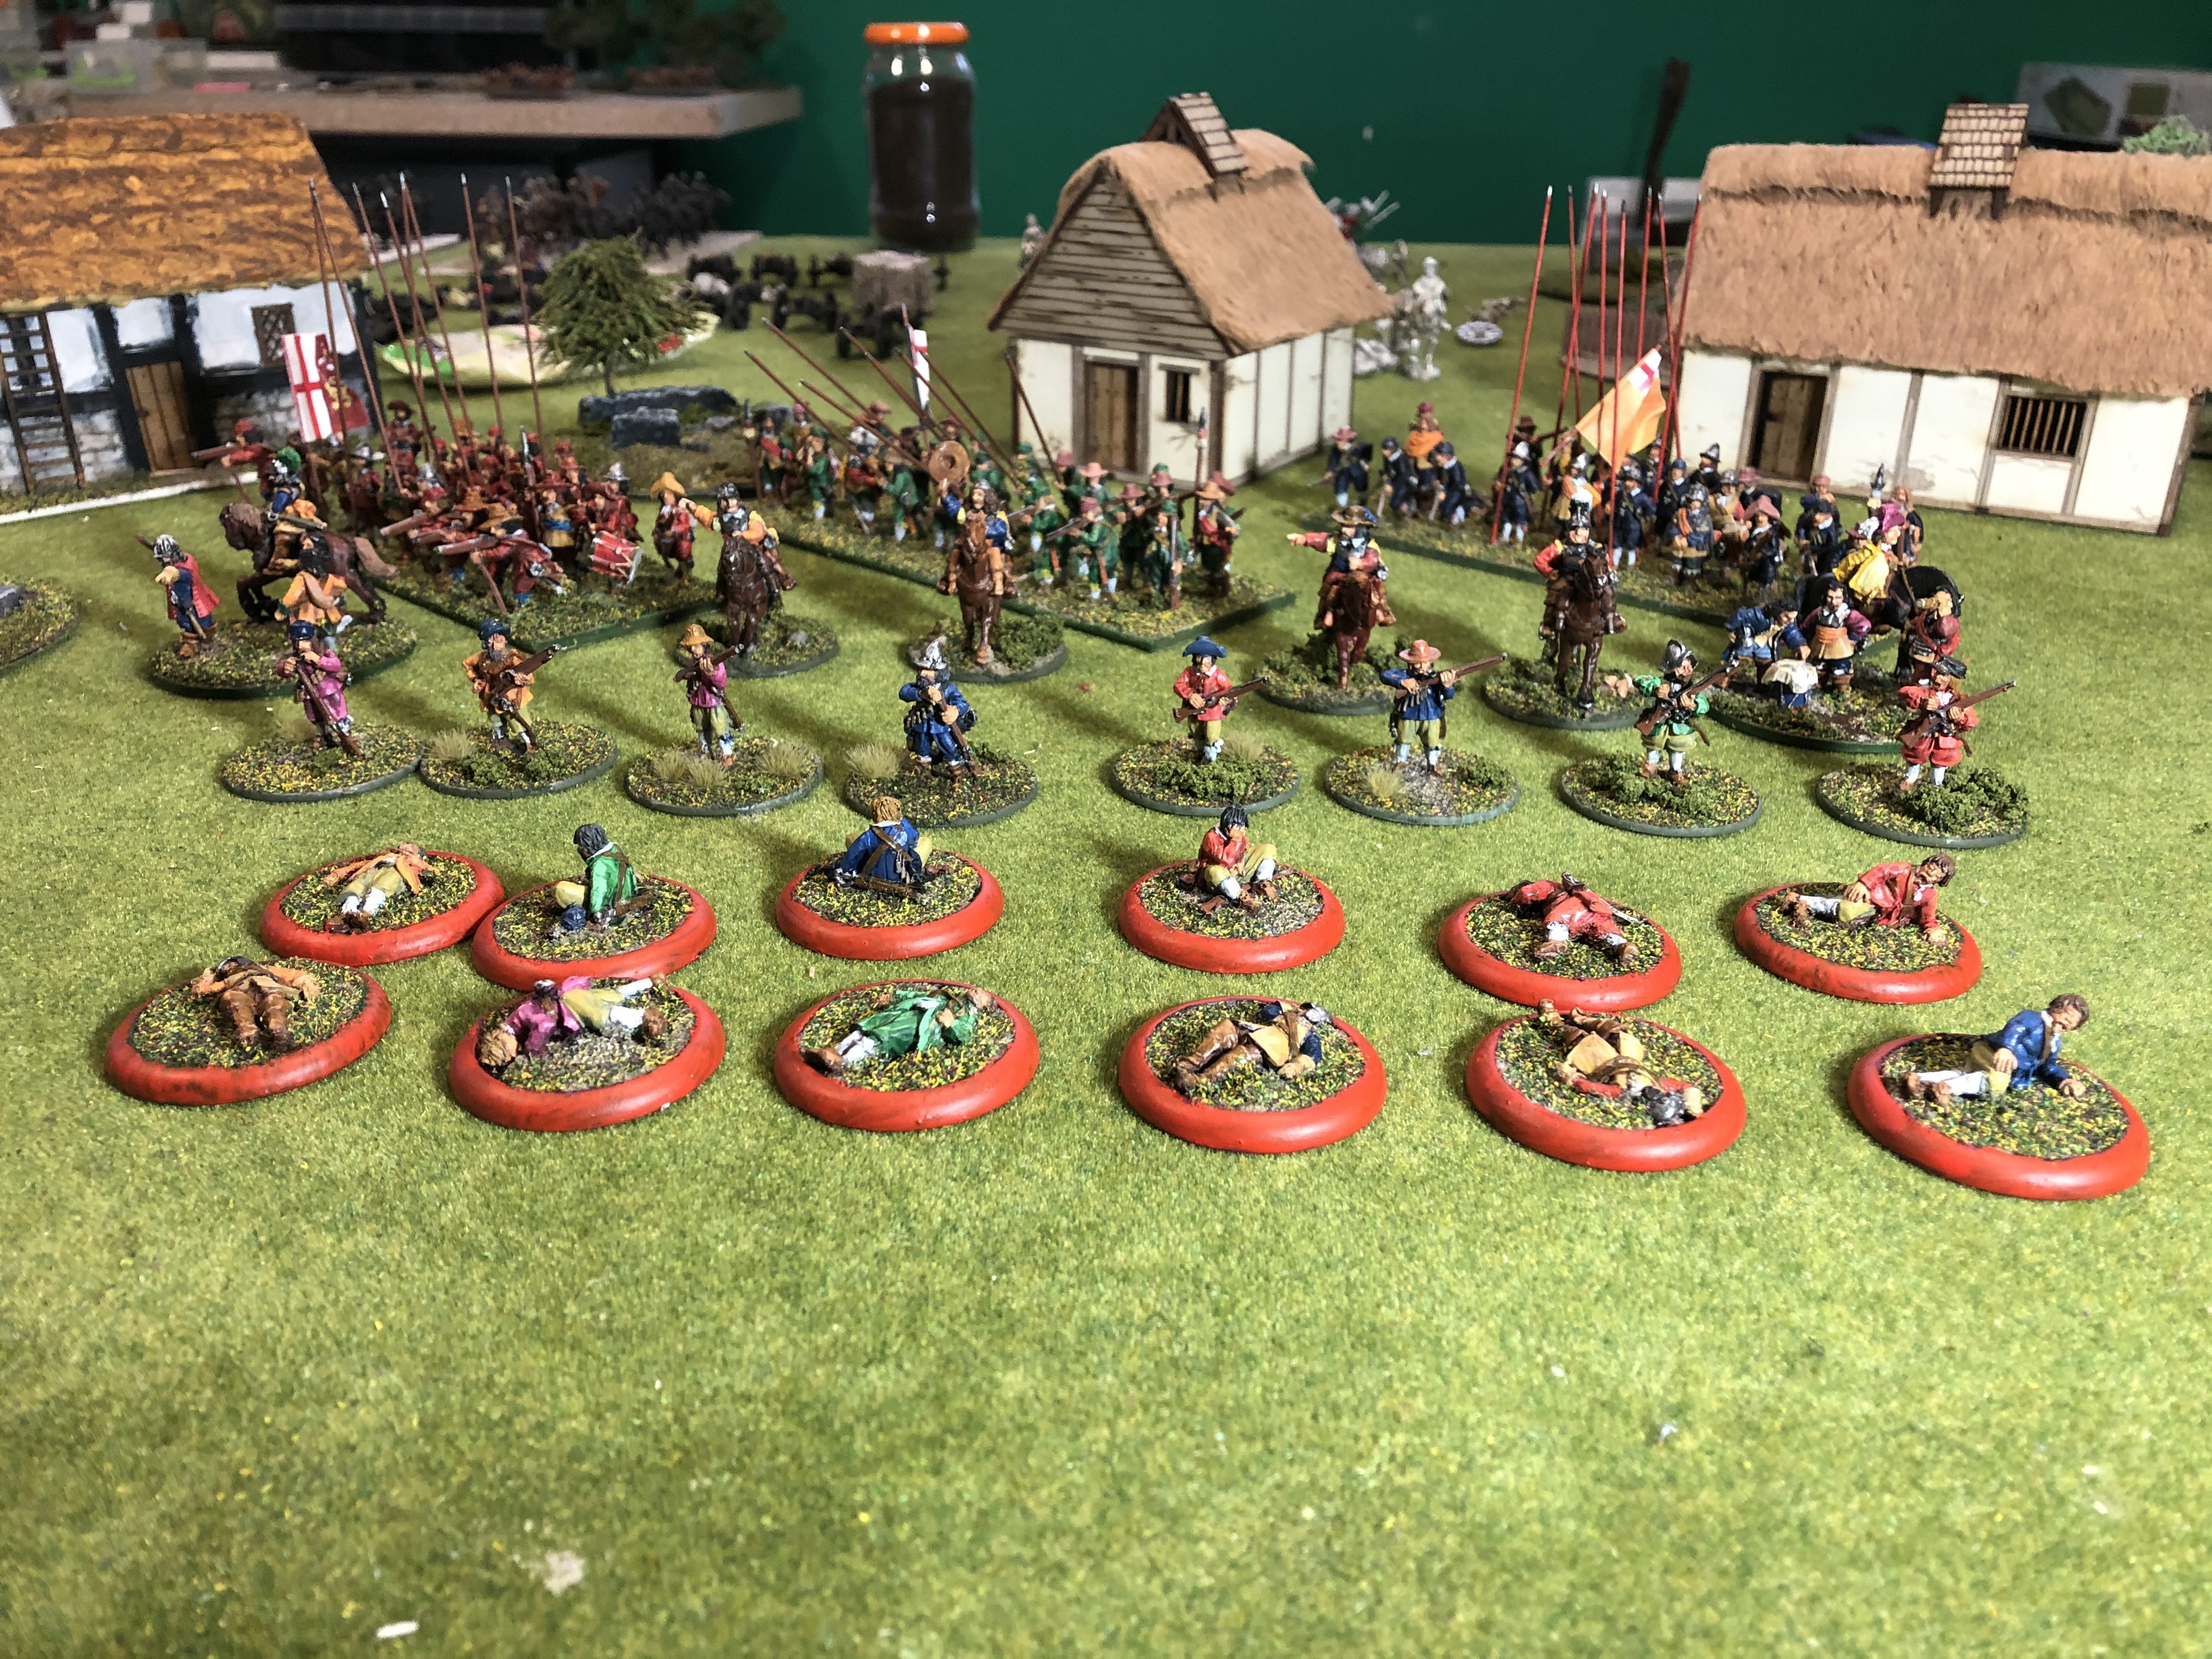
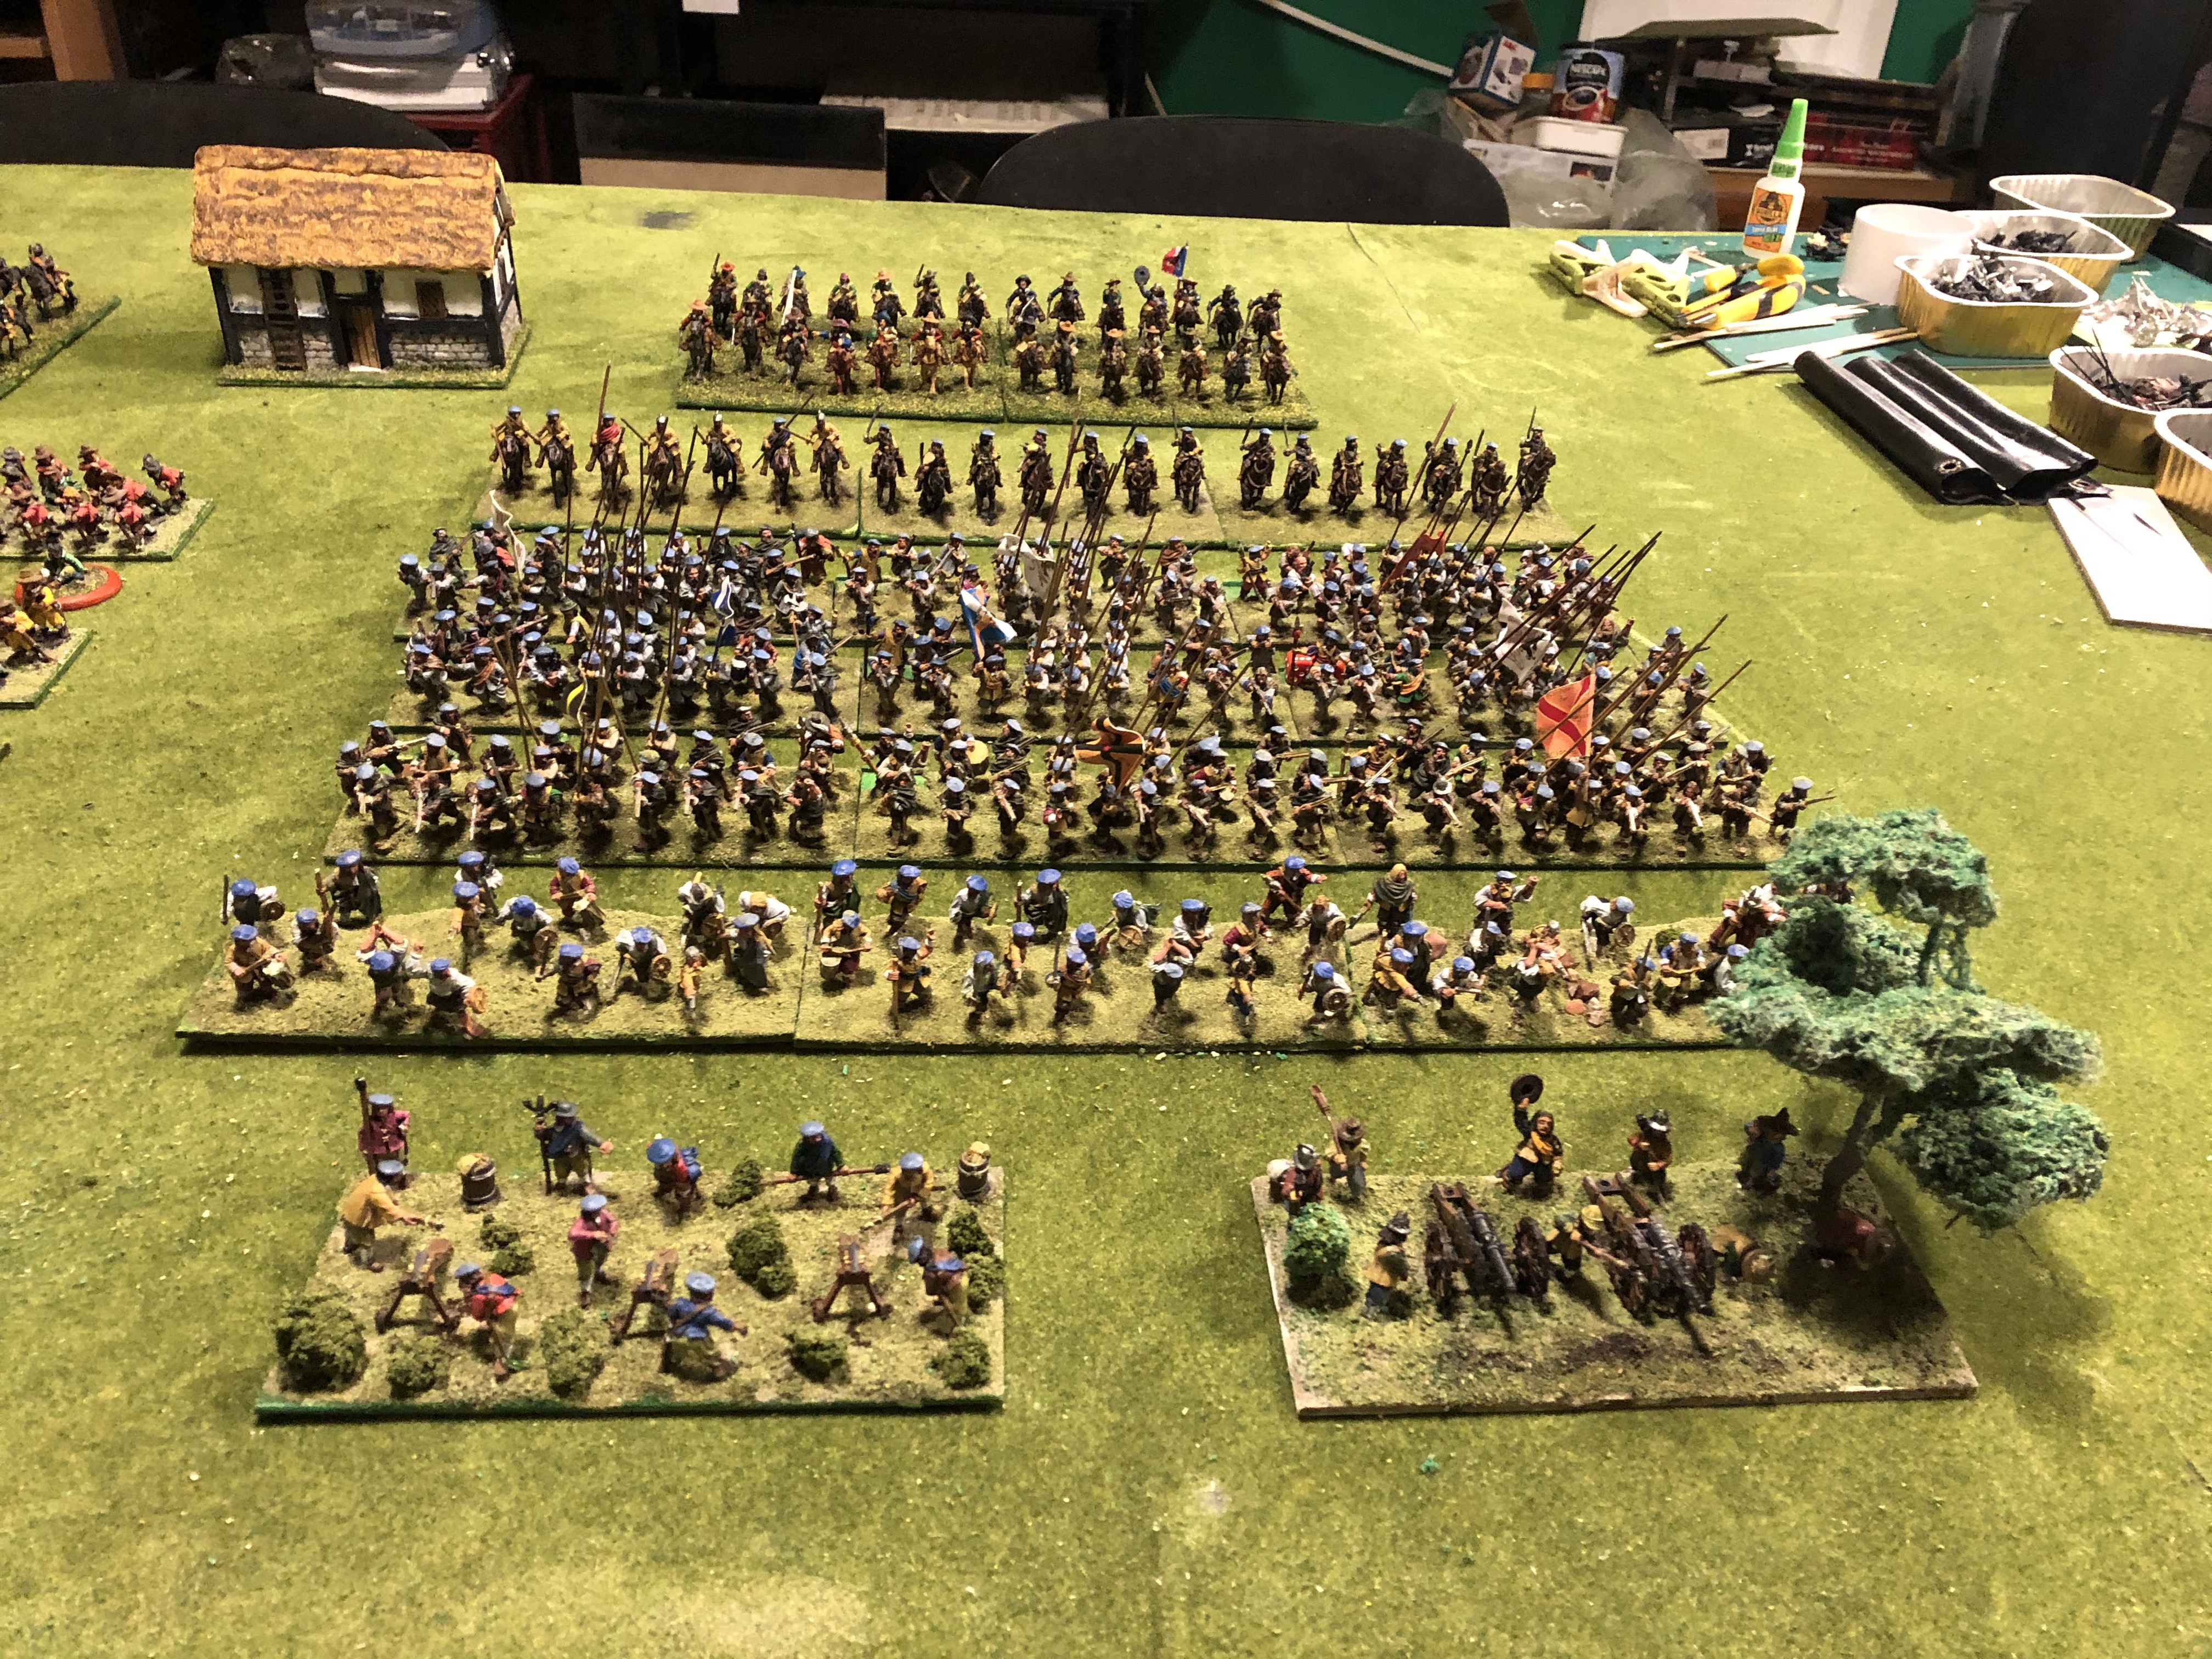
Here is a picture of the models from the rear. The Scottish are to the Left and the English to the Right. Although in the period, both sides fought within their countries and well as against each other. So it’s a flexible period for mixing up armies as both sides were similarly armed and uniformed.
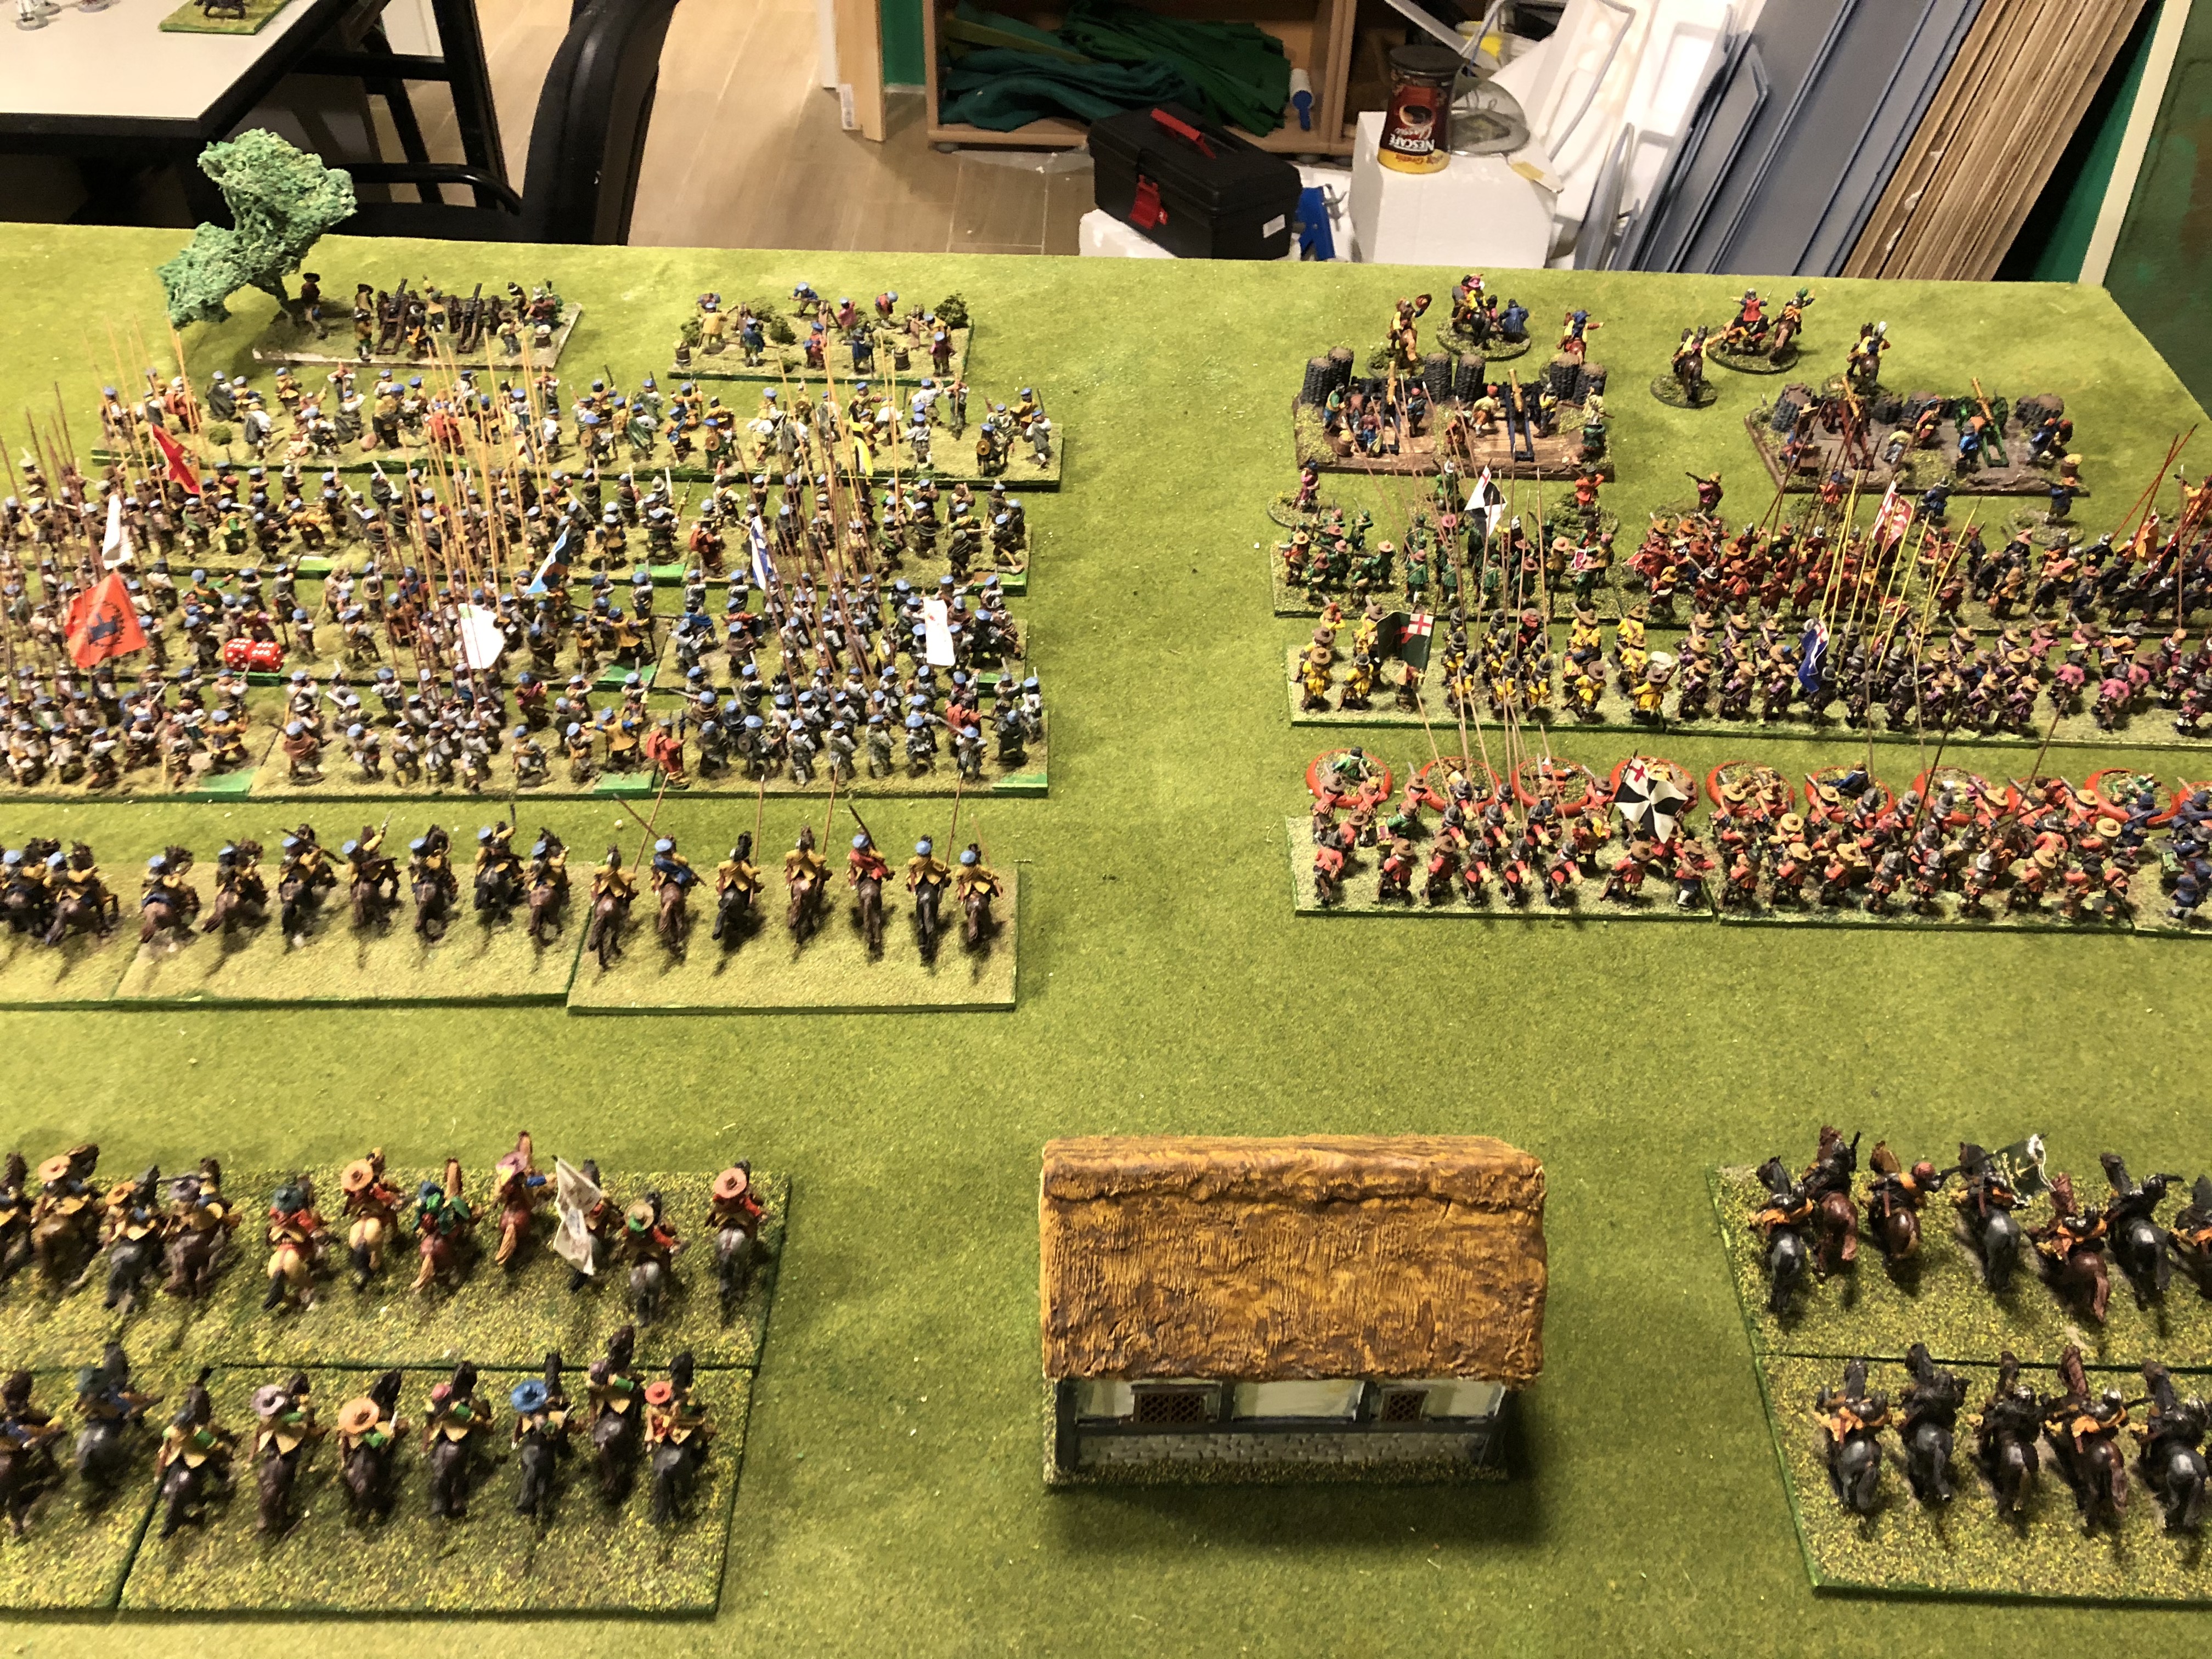 From the rear, cavalry, infantry and guns
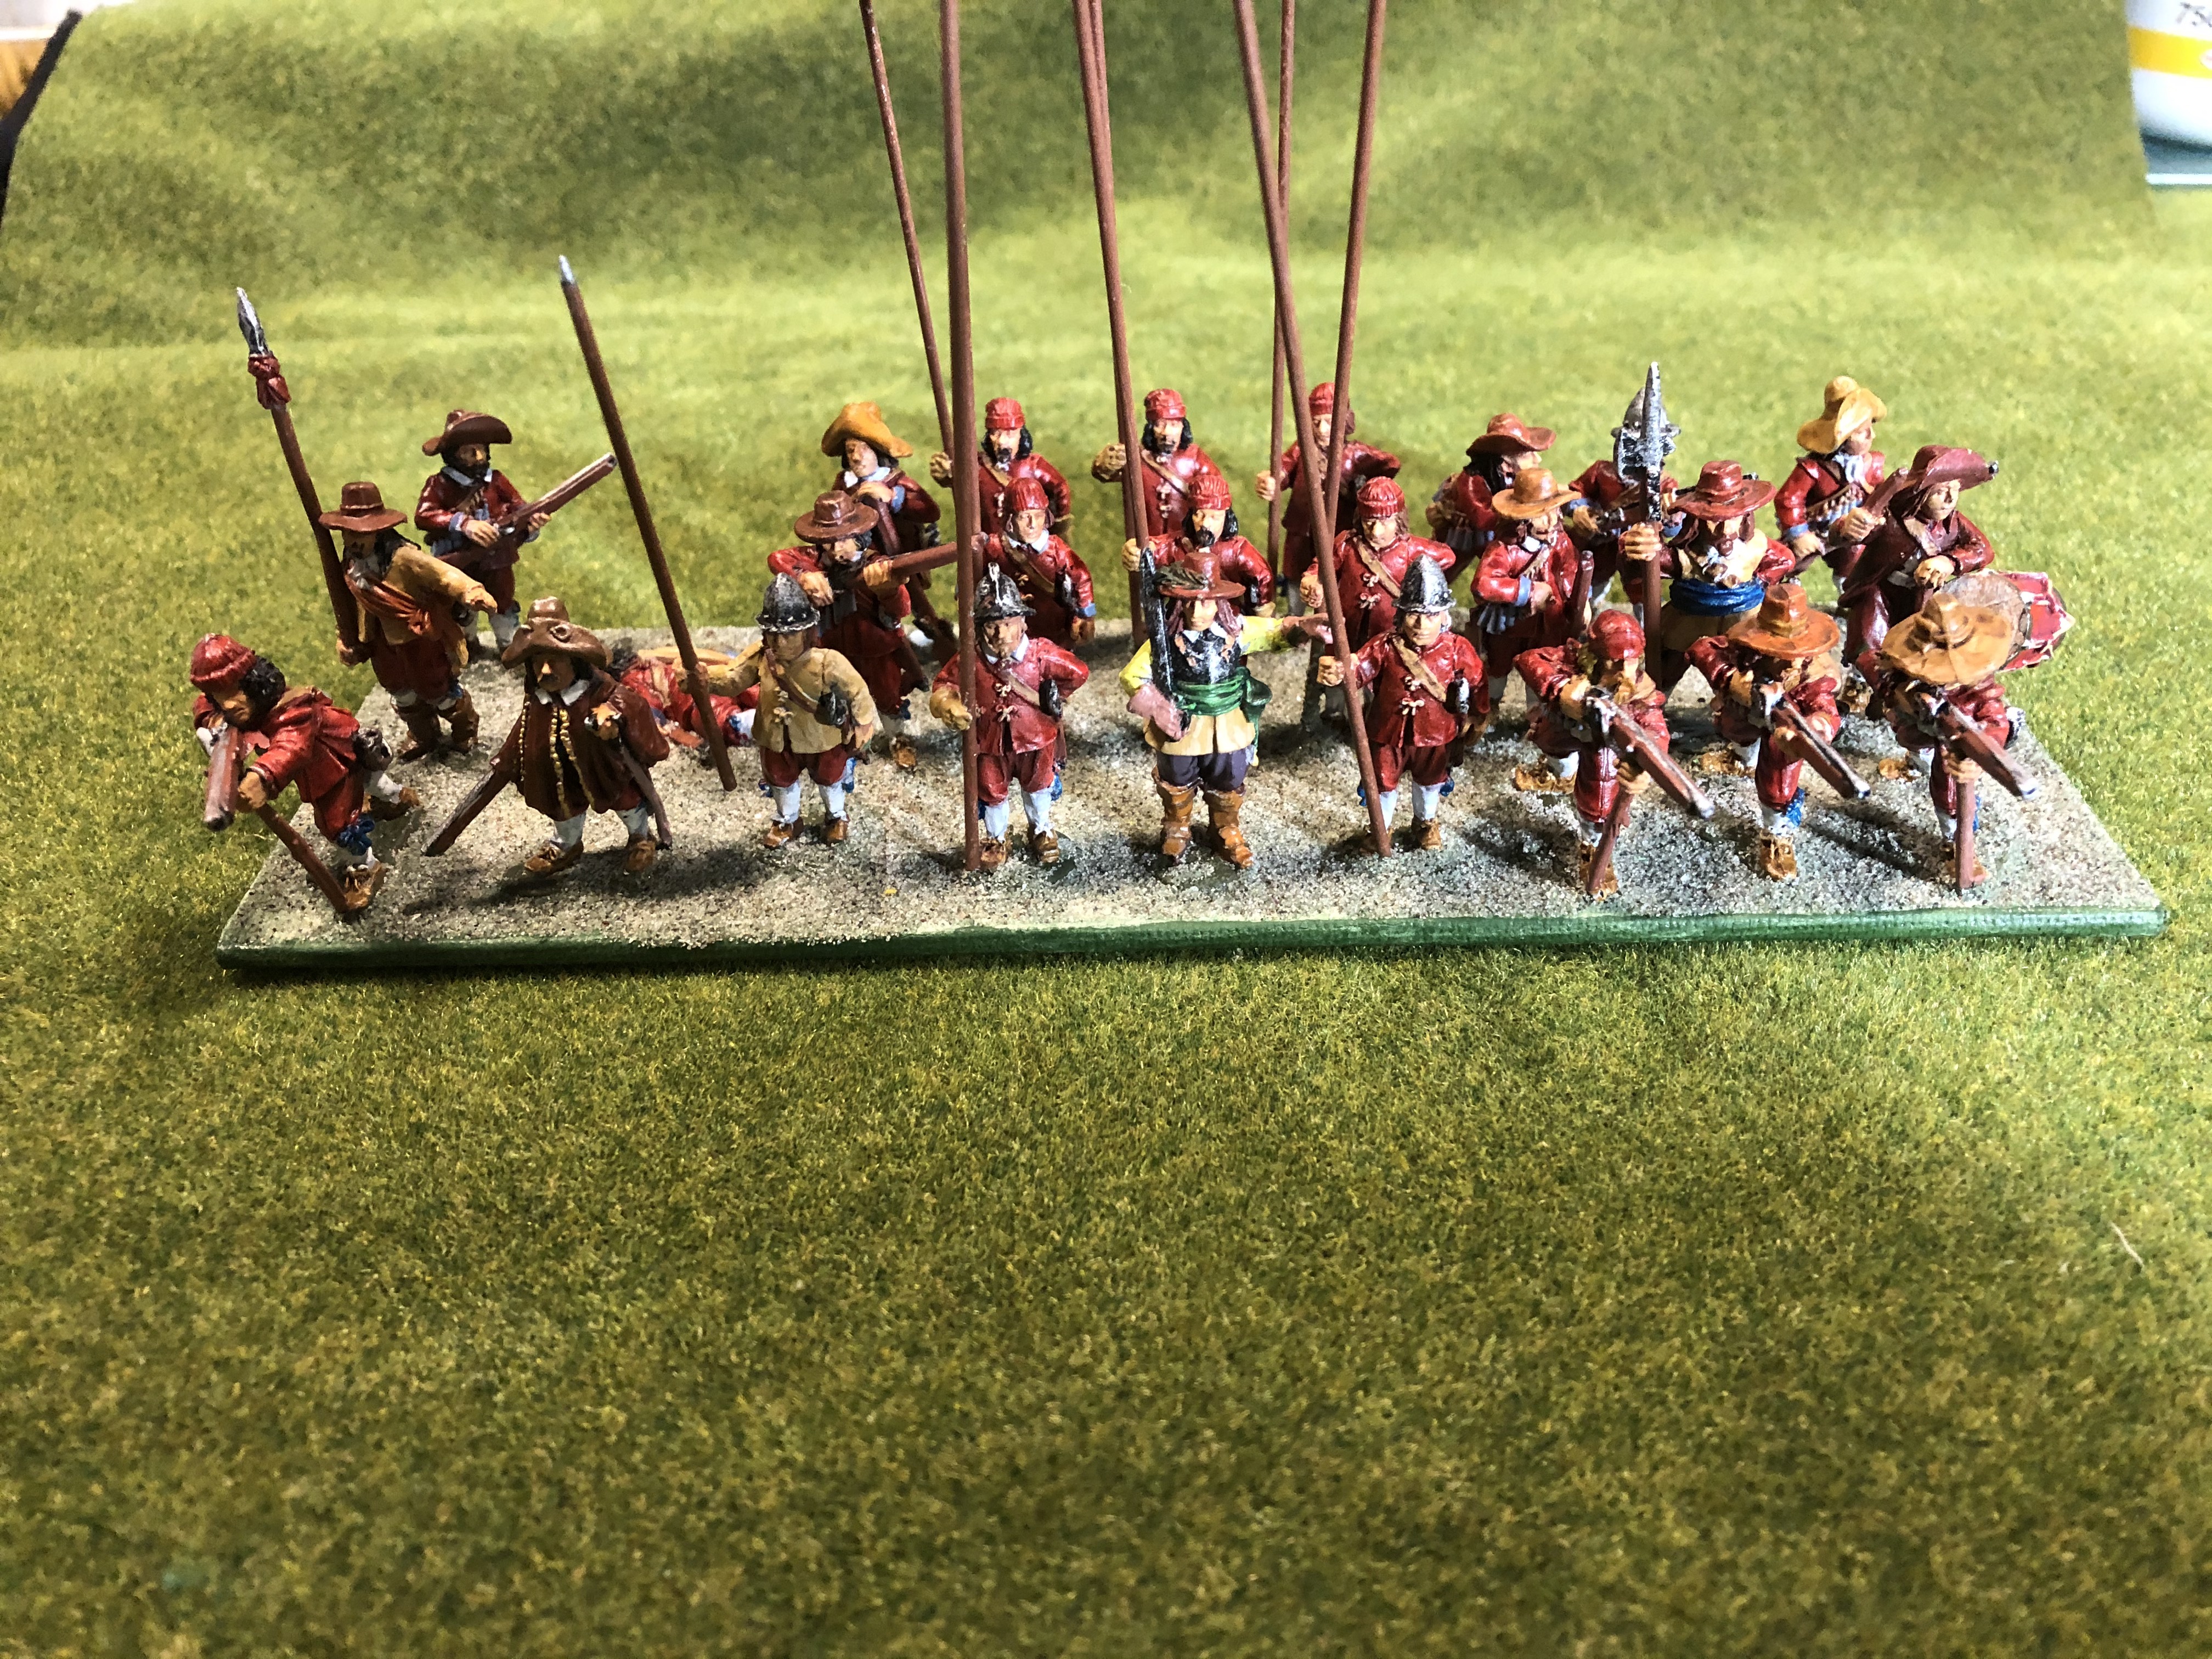
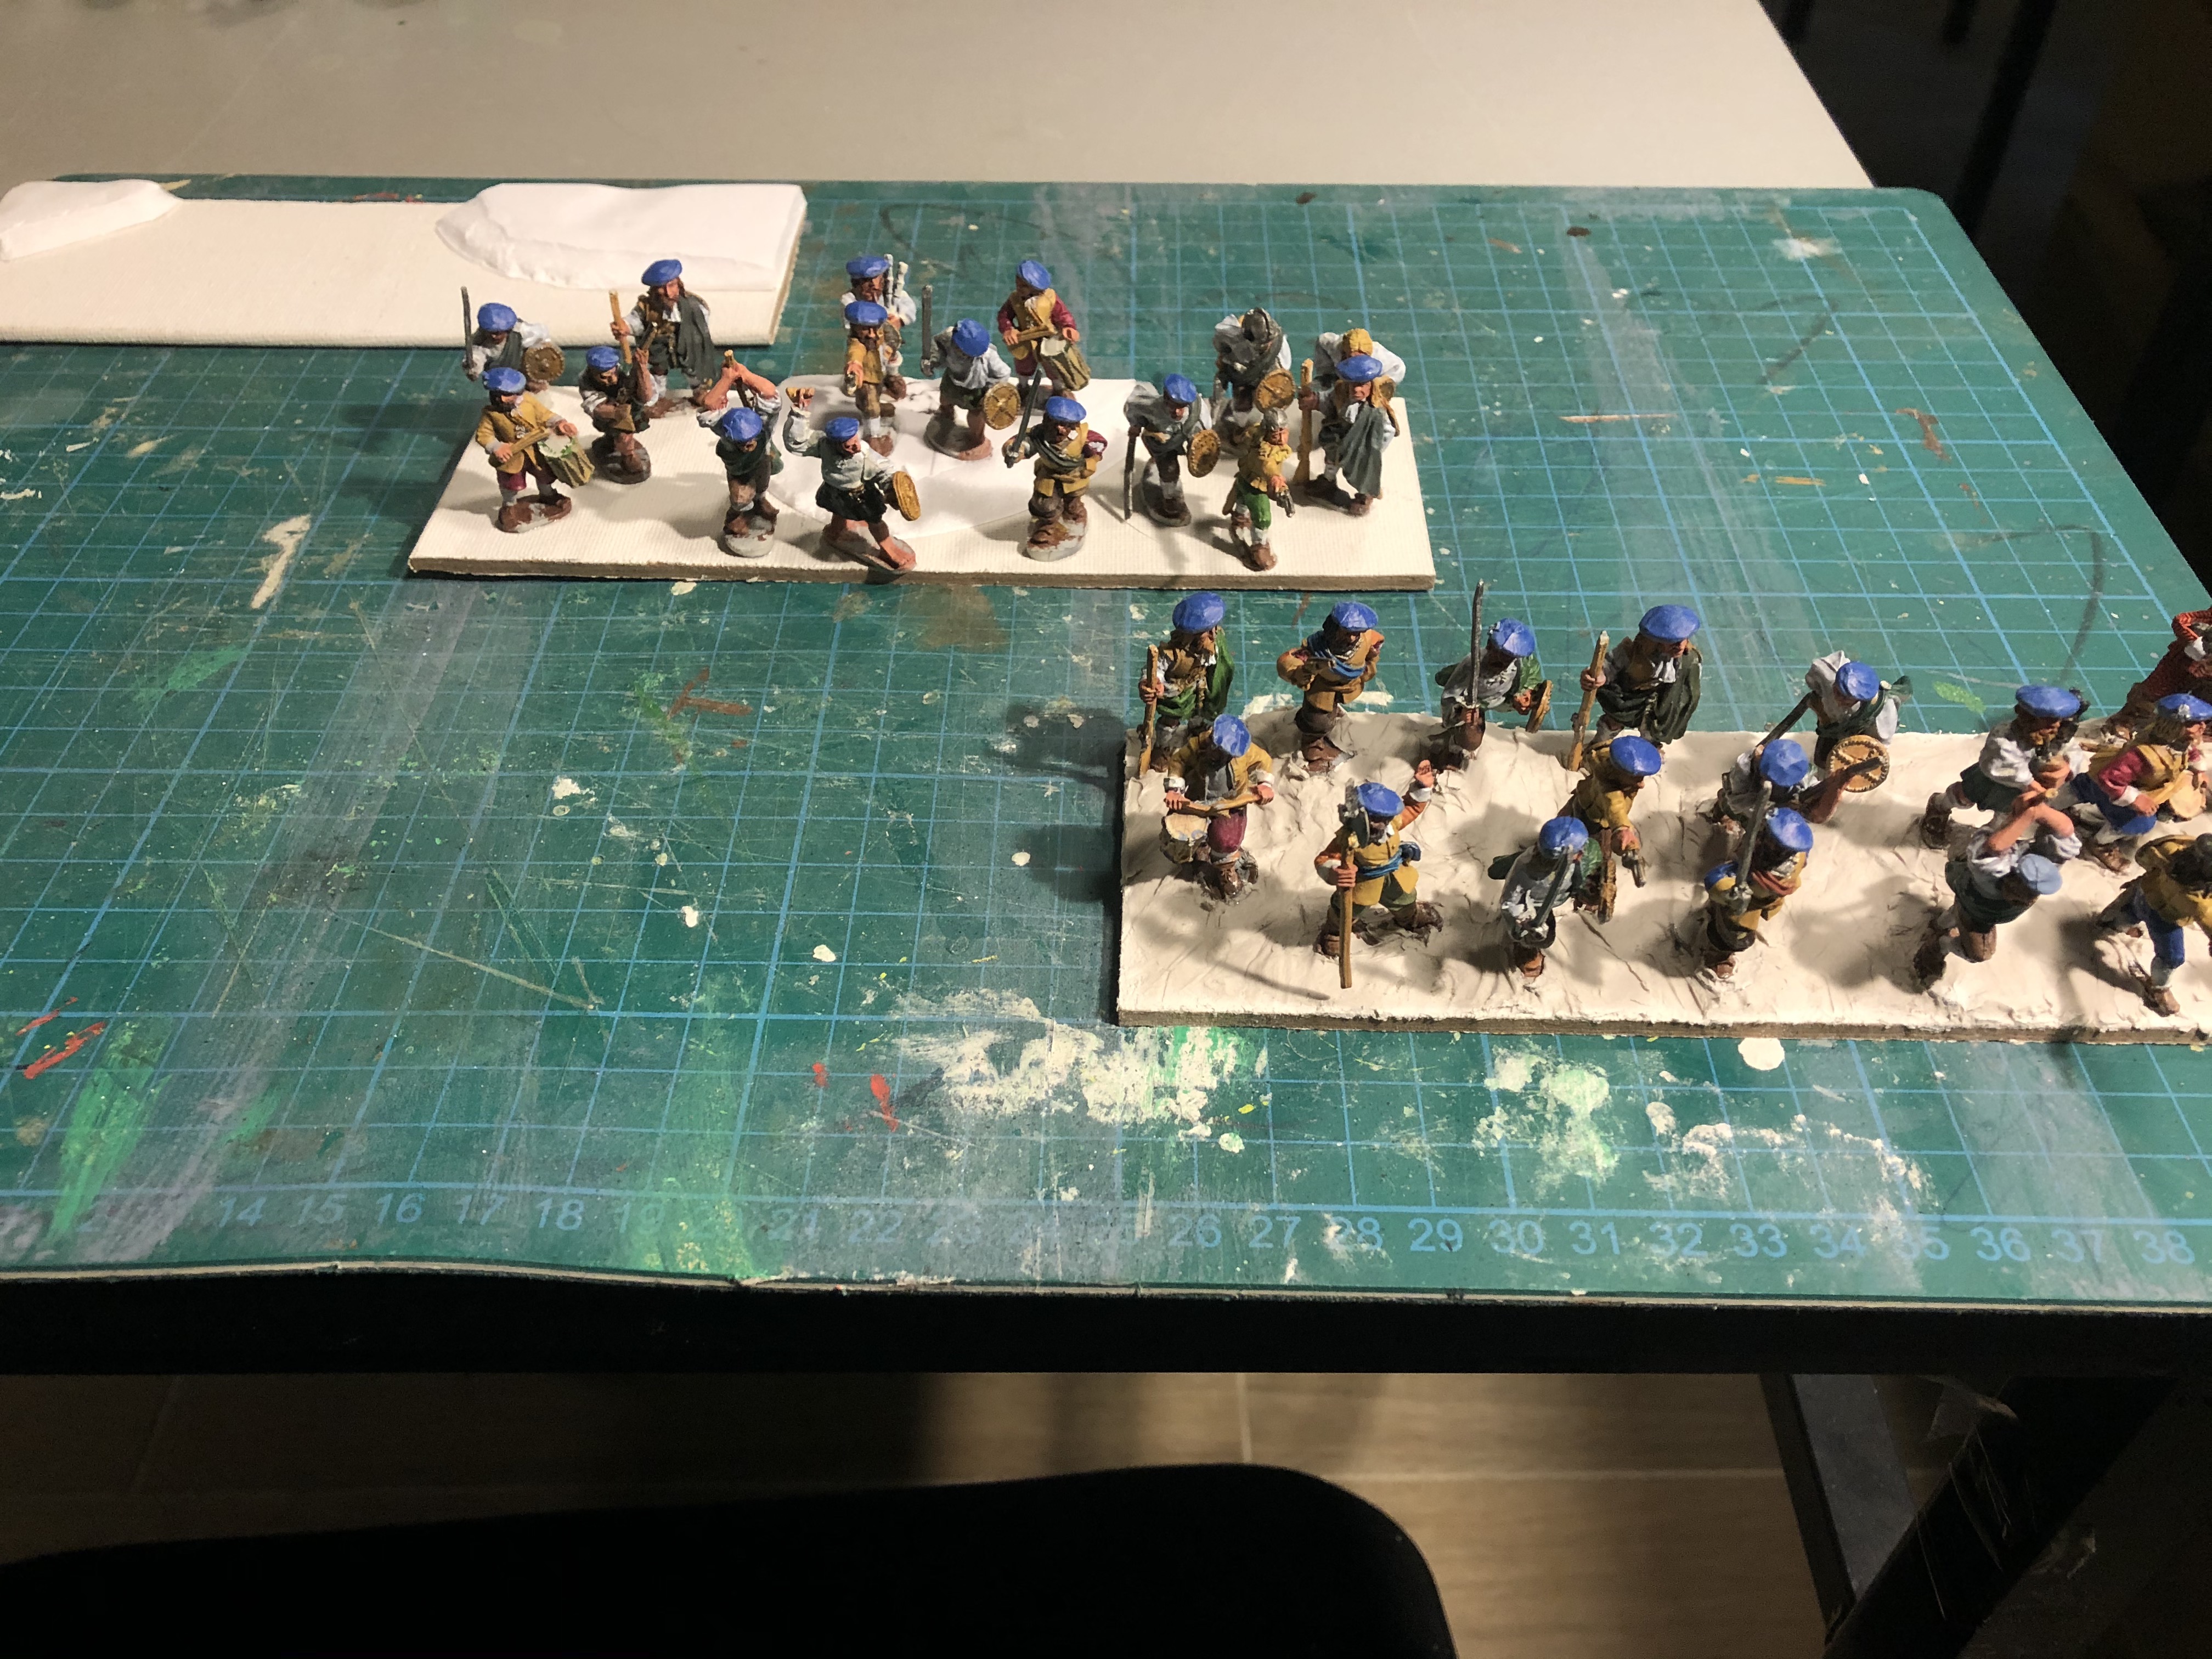
The next two pictures show the respective nationalities from the front. As the challenge progressed, I found that I was more inclined to try out some simply “diorama” on the bases. No figure removal, so it’s possible. Works best with smaller groups of figures, e.g. Highlanders or artillery. I’ll continue to work on father bases and for the Dragoons will have a mixed base of Cavalry and Foot in a diorama setting.
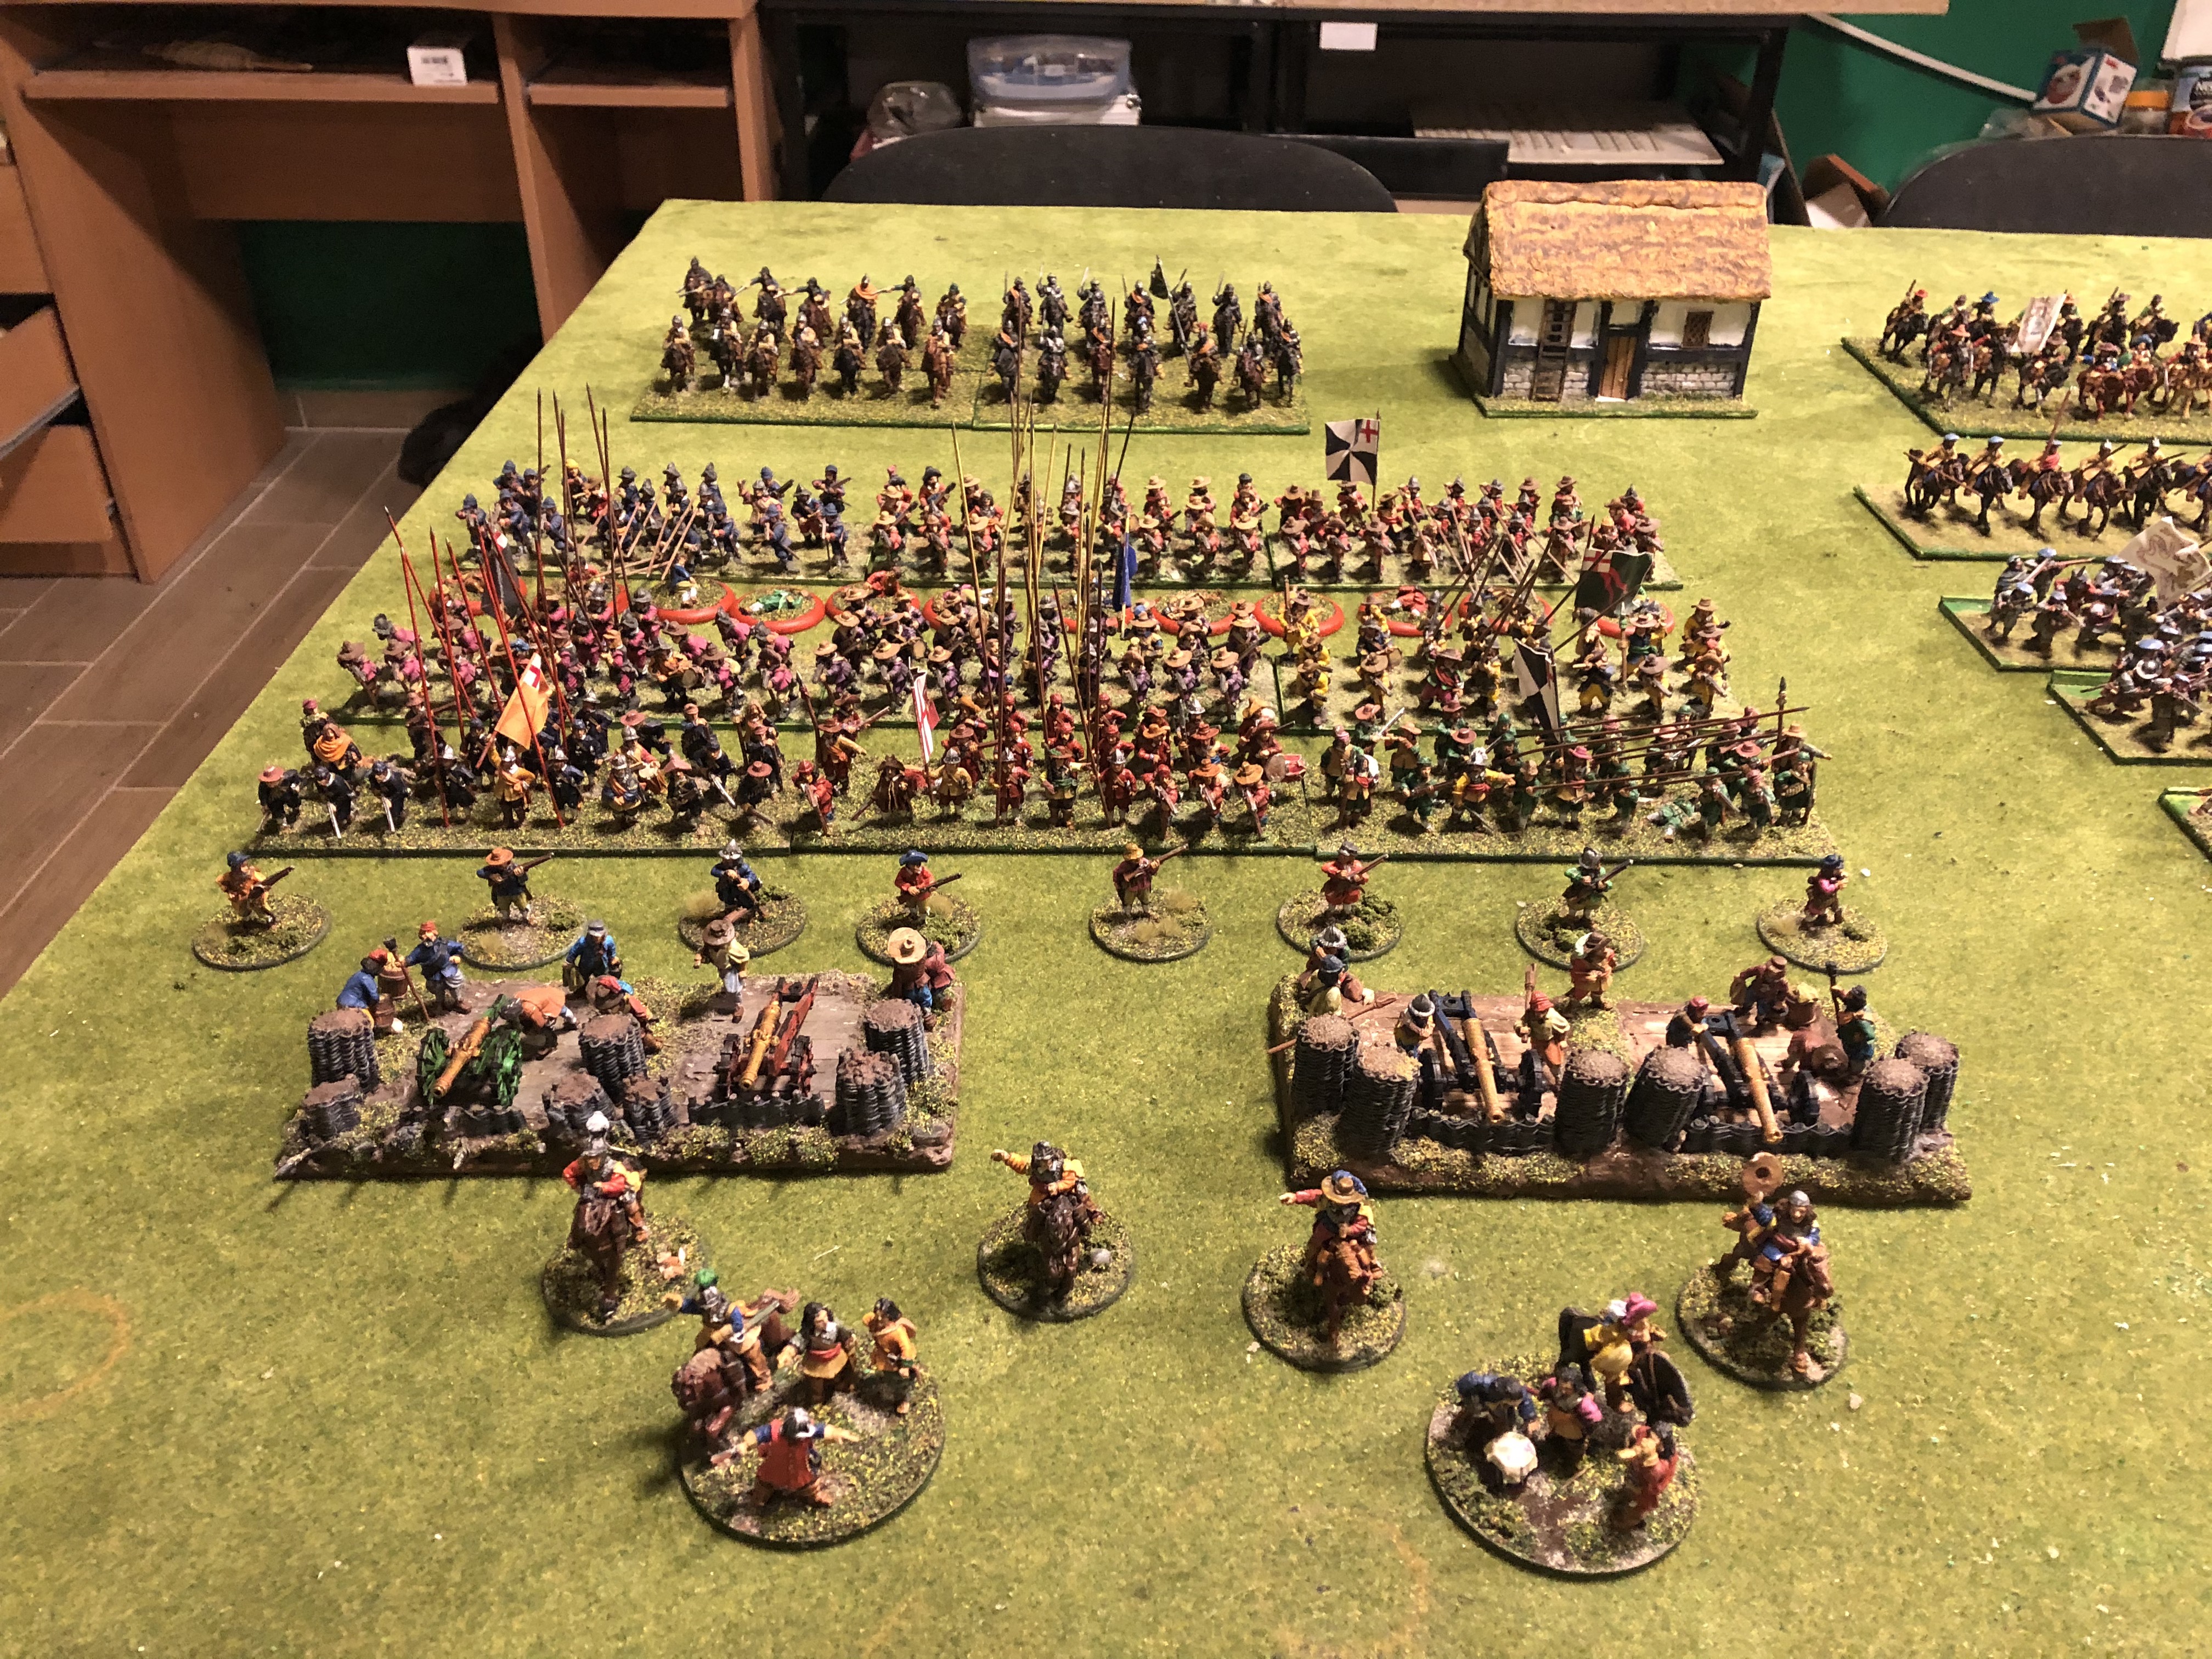
And finally some work in progress. Apart from these I have quite a lot still to do. Approximately 7 infantry bases, 8 Cavalry and another 3/4 artillery. In addition I have more Command bases, and the differently base coated infantry figures will become “disruption” markers eventually. I’ve also started to make some buildings (one complete in the main picture another two WiP).
So, thanks again to all who took an interest. It was a fun project and I’ll post further pictures as units are completed
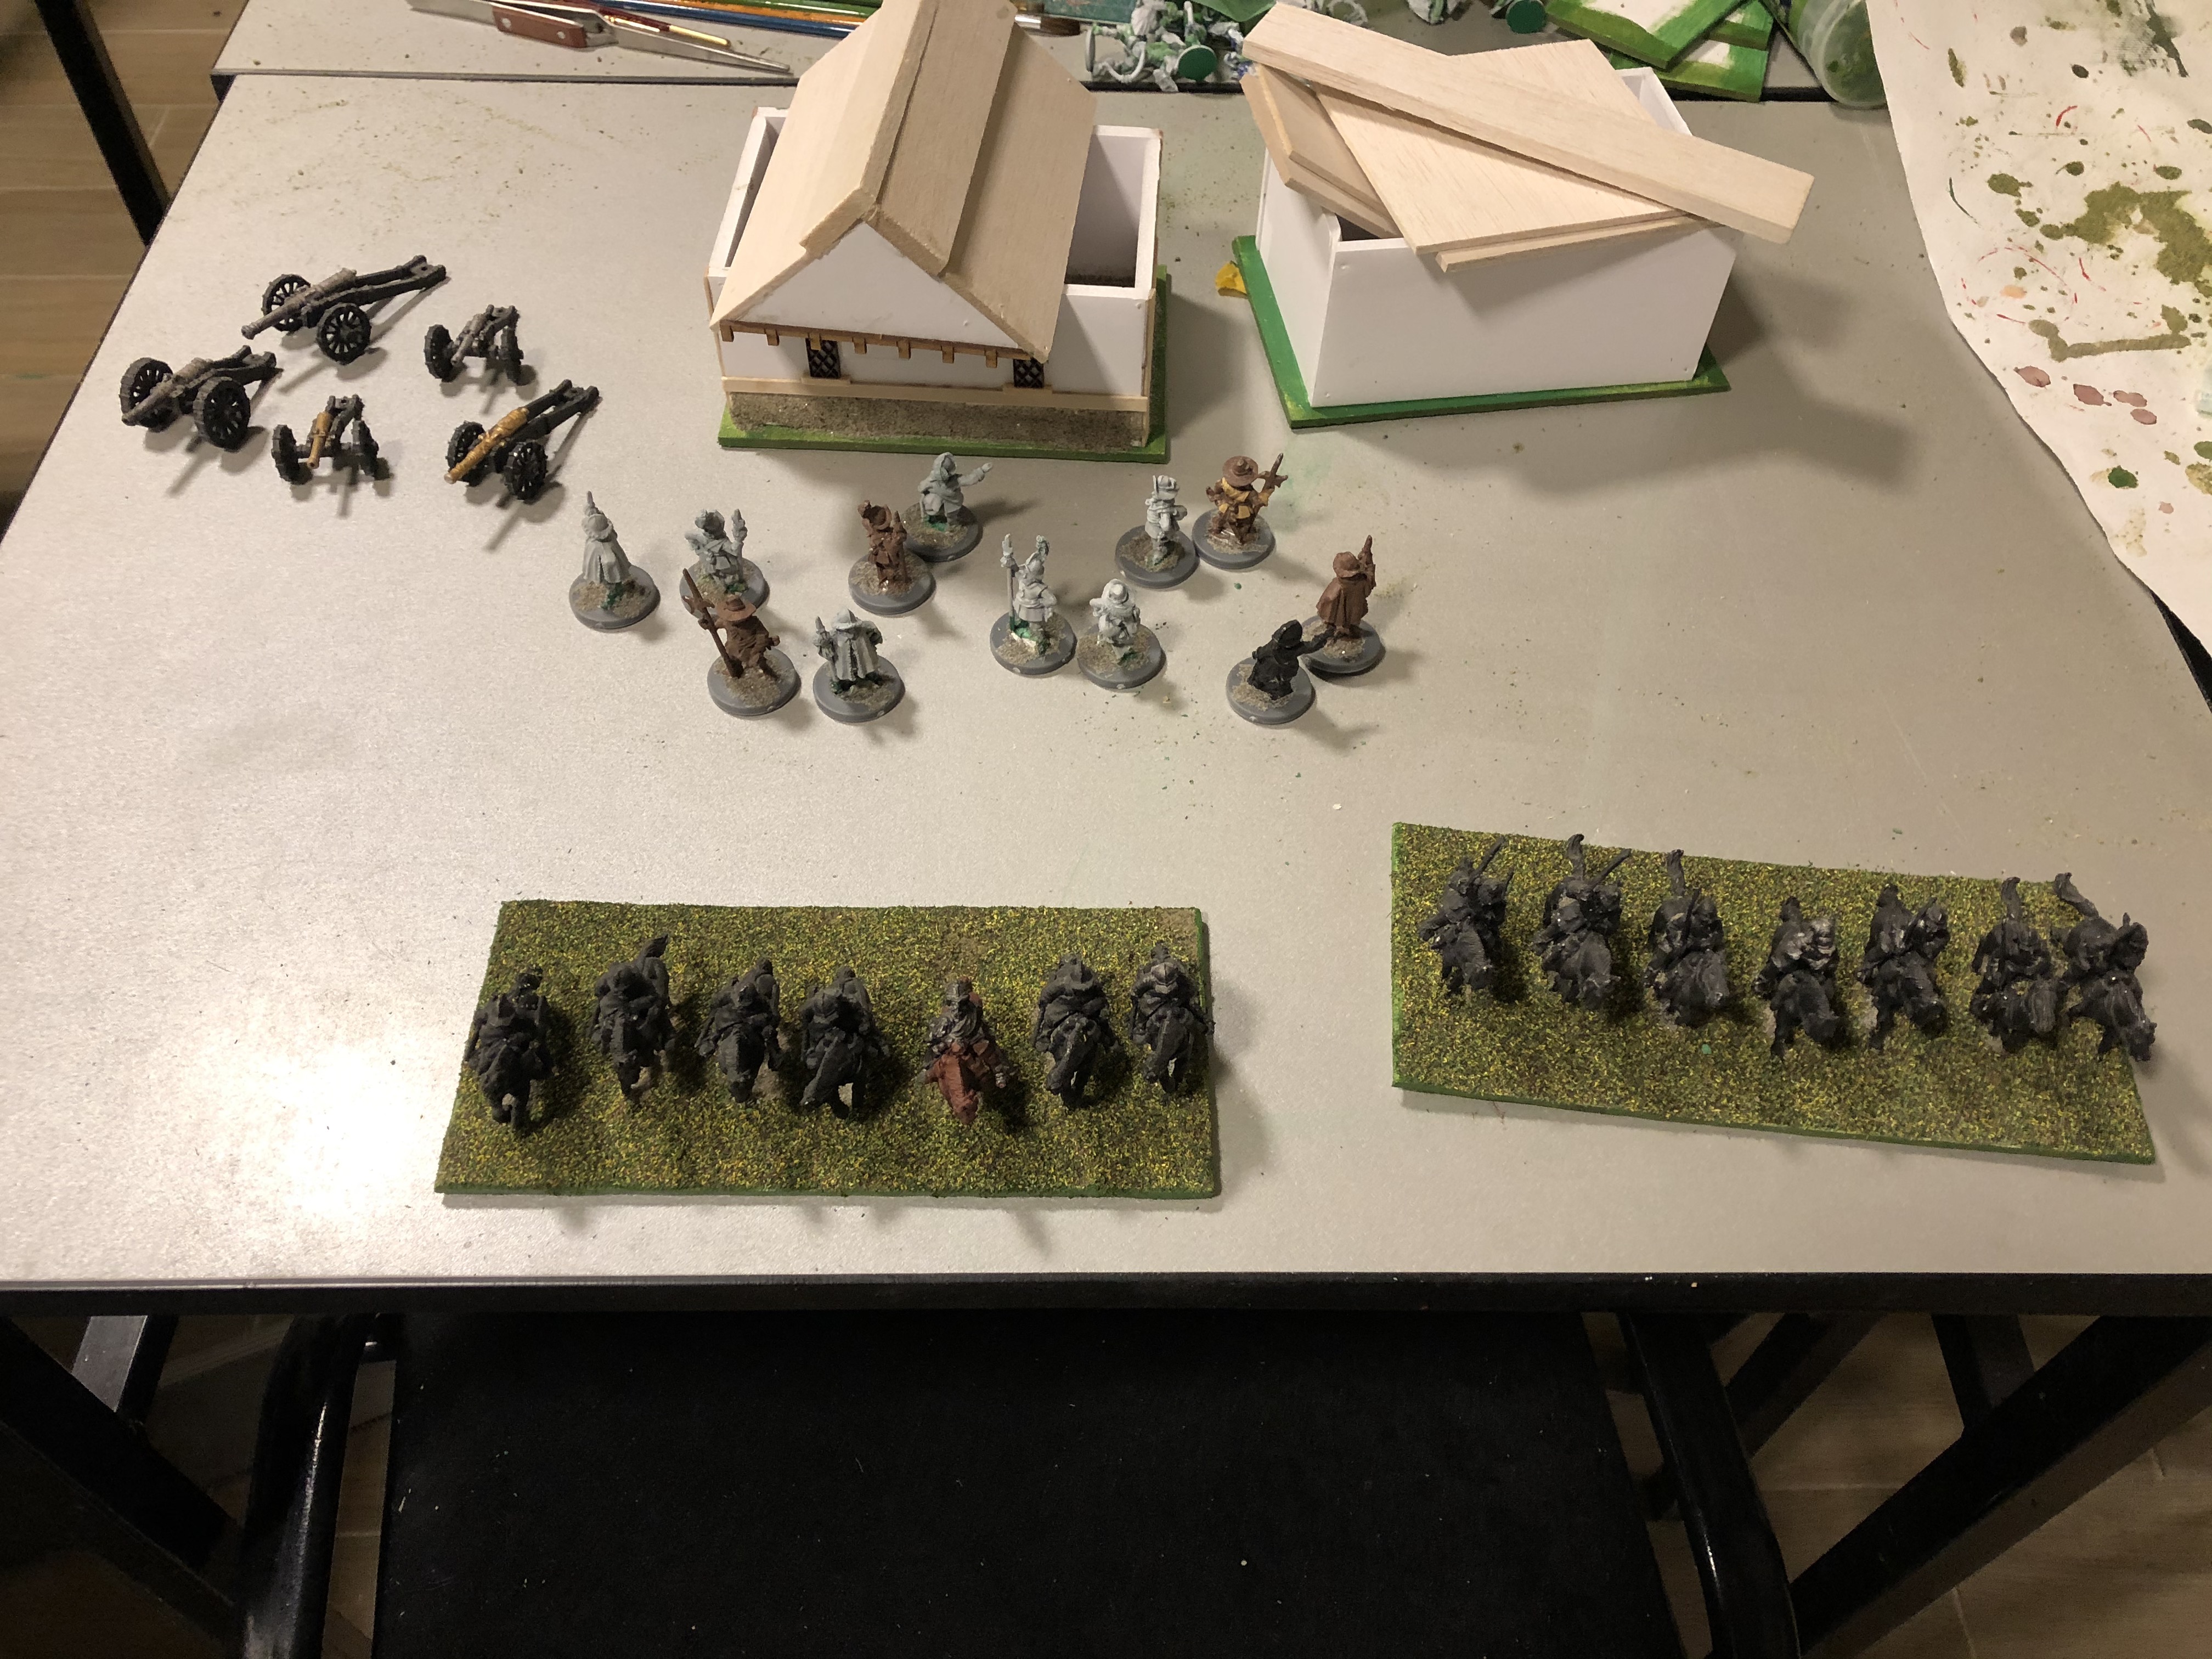 A tiny sample of the WiP


